V Rising tips and tricks: A beginner’s guide to survival in V Rising
Use these tips to get started with V Rising


Looking for a beginner’s guide to V Rising? It seems as though almost everyone who spends a bit of time with Stunlock Studios’ vampiric survival and crafting game comes away extremely impressed. It may not look like much at first, but V Rising scratches the same itch as Valheim did before it. And, just like Valheim, there are an awful lot of overlapping systems in play in V Rising, which means there’s a huge amount to learn before you can call yourself a master vampire.
Below you’ll find our beginner’s guide to V Rising, which is now out of early access following the release of the 1.0 update . We’ve packed our guide with useful tips and tricks for new players, including details on avoiding sunlight, crafting equipment, tracking and defeating bosses, building spectacular castles, and much more. The sun has set. The Bloodmoon rises. Now is the time to venture out into the wonderful world of Vardoran.

V Rising has all the basic pillars of a great survival and crafting game. There’s exploration, there are enemies to fight, weapons and armour to craft, technologies to unlock, bosses to slay, and magnificent gothic cathedrals to build.
But the depth of some of these systems may surprise you. Combat is layered and skill-based. Buildings require careful planning, particularly on PvP servers. The day/night cycle is extremely important, because sunlight is deadly to vampires like you. If you want to get off to a roaring start in V Rising, check out the tips below and keep them in mind while you play. You’ll be flying ahead (literally) of the other immortals on your server in no time.
V Rising tips and tricks
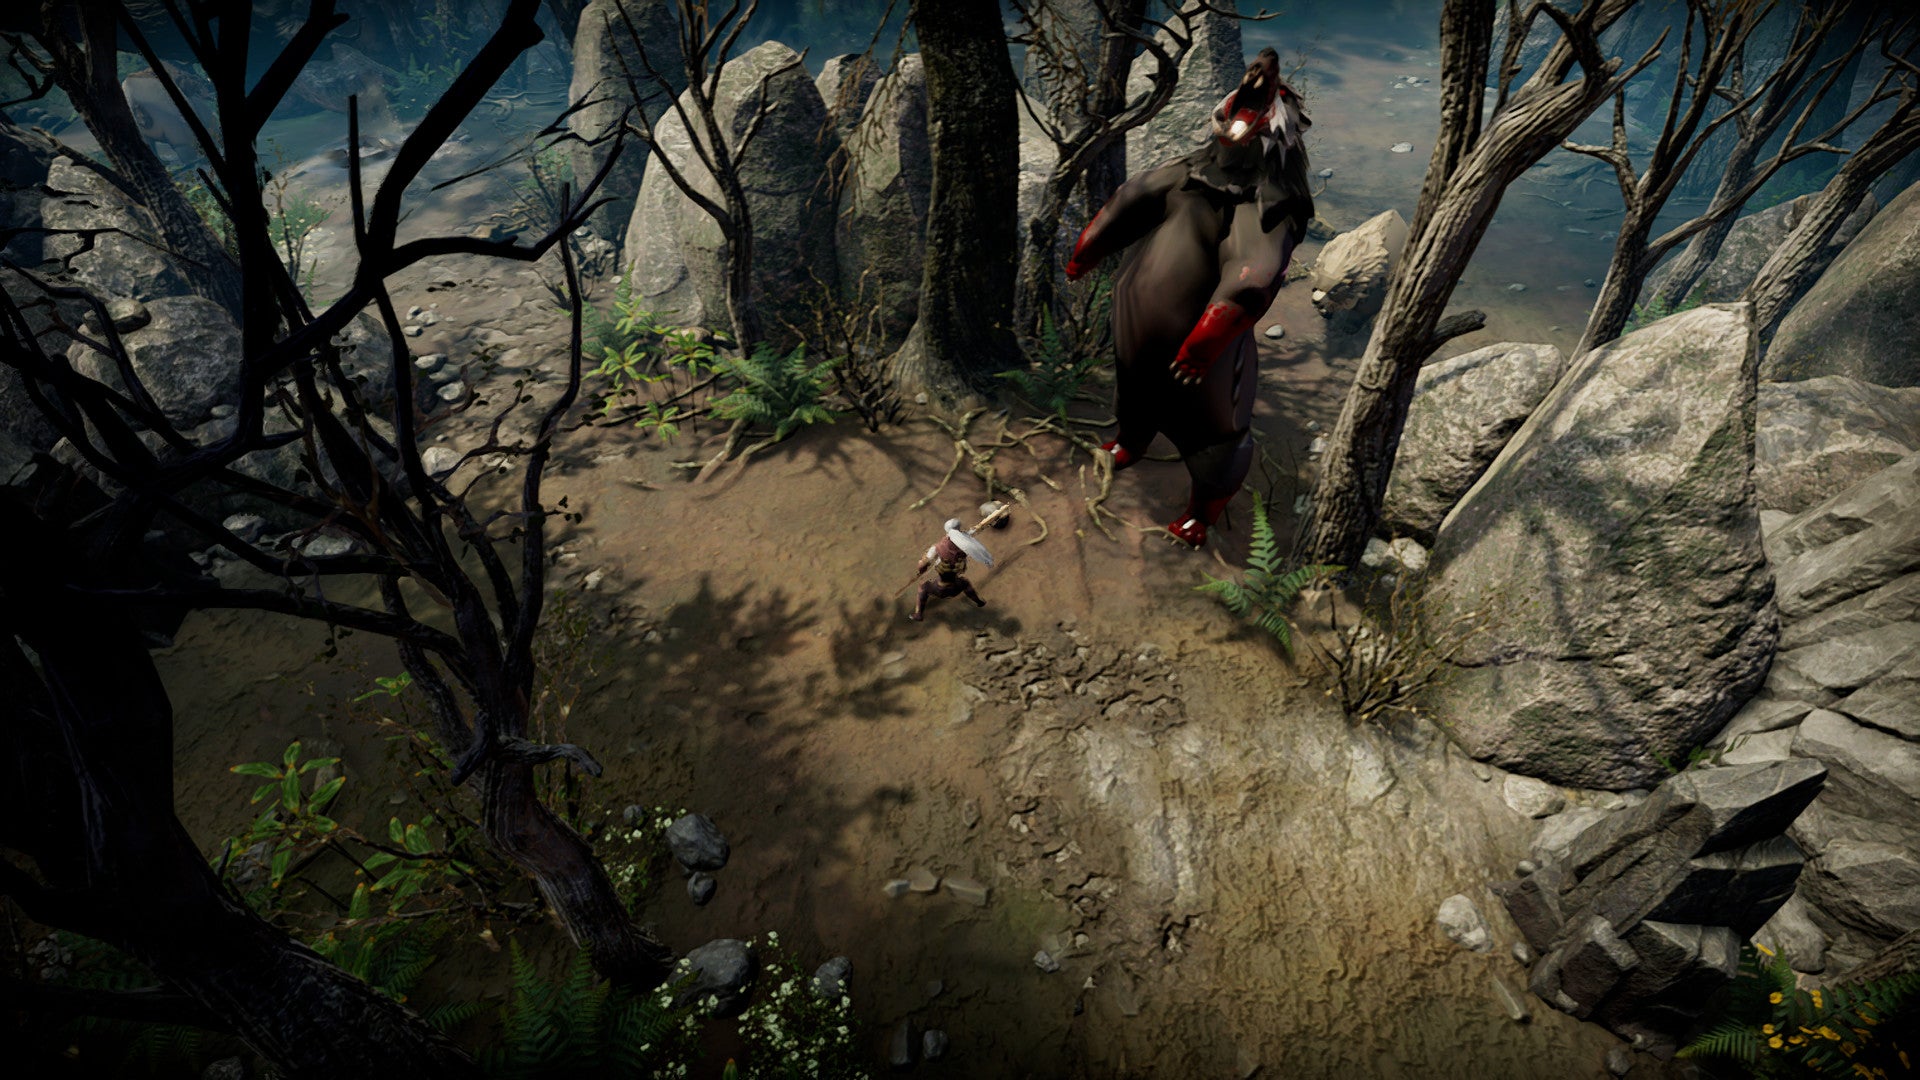
Play on the right server type for you
When you first start a game in V Rising, you’ll be asked to choose a server type. All servers are divided into PvE and PvP. In PvE servers, you can’t attack other players, or damage or steal their possessions. In PvP, you can attack enemies, and during certain times of the day you can raid other players’ castles.
There are also extra settings beyond these two server types, which include how much of your equipment you lose upon dying; what times of day you can raid enemy castles; how many resources you get from mining and gathering, and so on.
If you want to just learn how to play and progress through the tech tree, you’d best pick PvE, at least at first. If you’re interested in the extra layer and challenge of facing off against other vampires while you explore and expand your domain, then PvP is for you. Check the full list of servers to find one that fits your needs, and if you don’t find one, you can feel free to start your own V Rising dedicated server instead using our comprehensive and easy to follow guide.
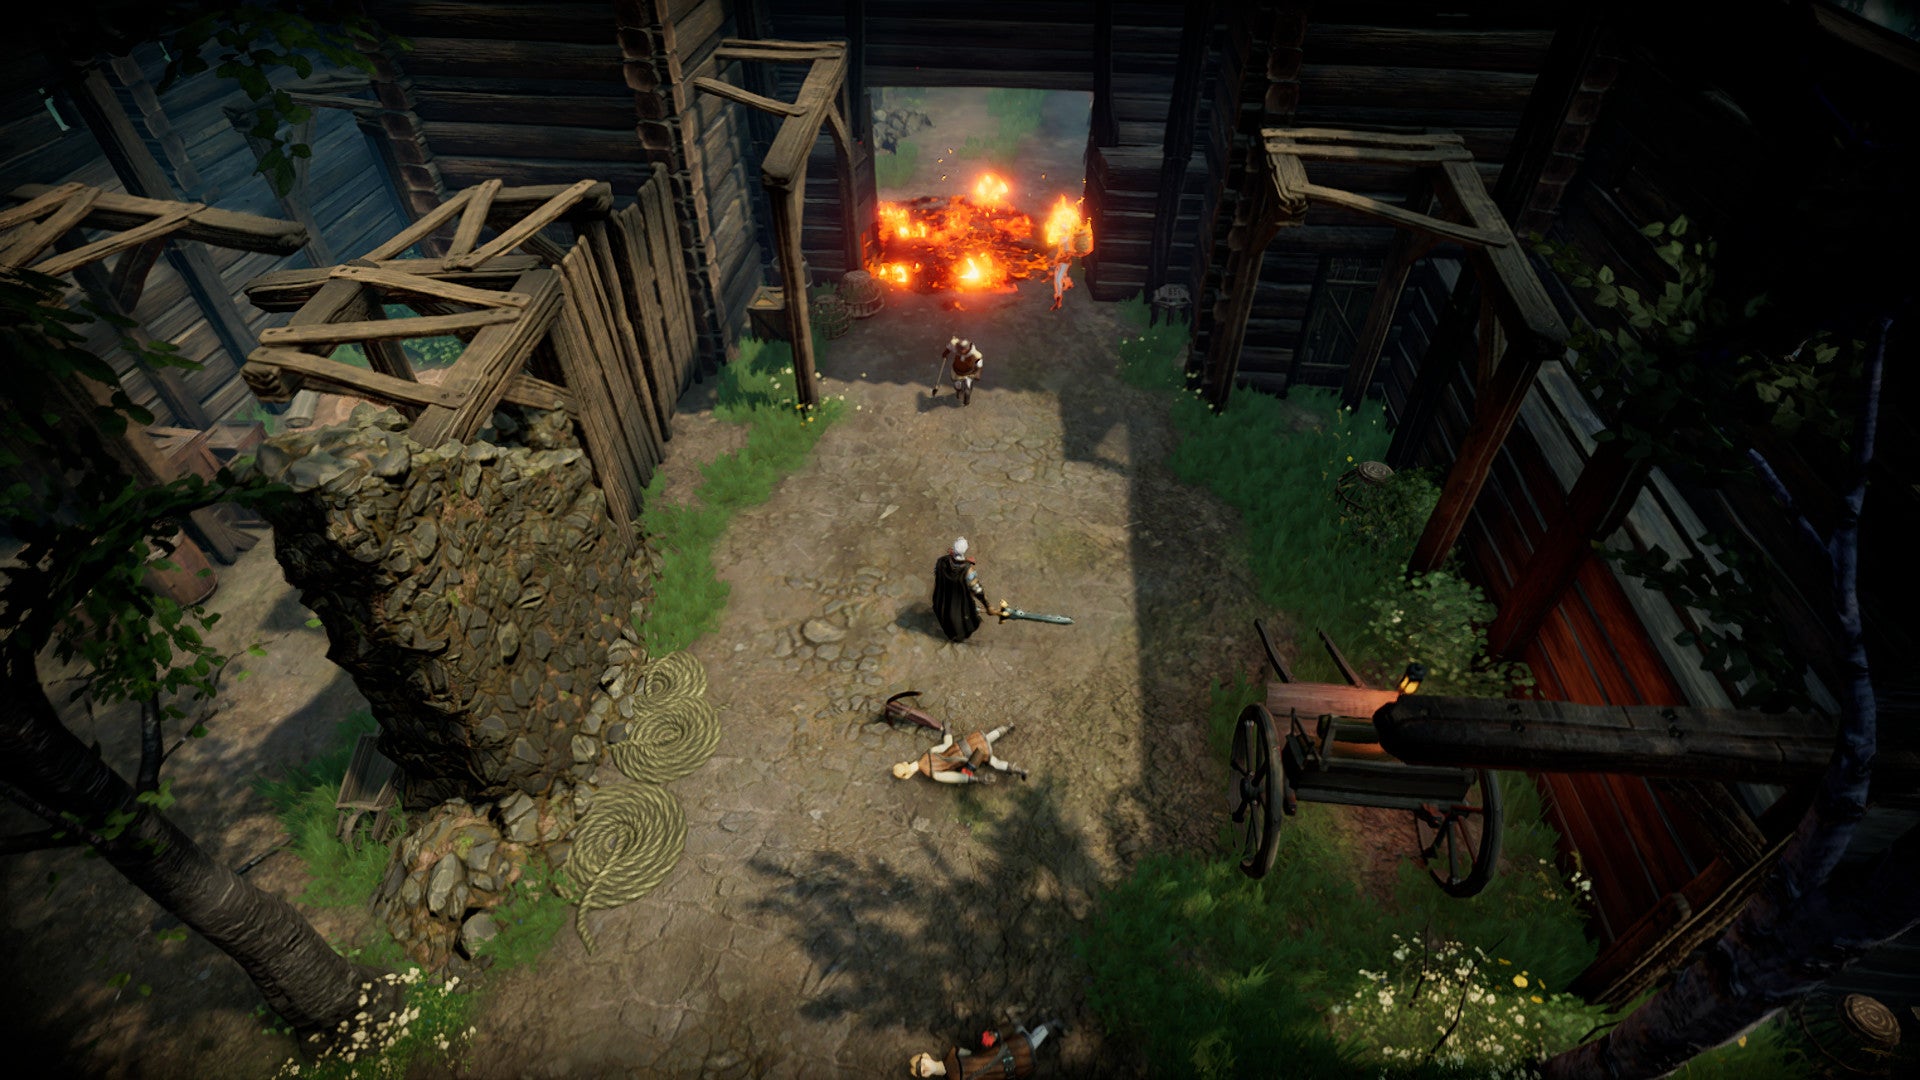
Learn the warnings signs of sunlight
The most common cause of death in V Rising is sunlight exposure. Sunlight is absolutely deadly in this game, so during the day you need to stay in the shadows as much as possible. The sun is a real object in the sky which moves throughout the day, so shadows will also move around over time. So be very careful before you step away from your keyboard for more than a few seconds.
If you step out into the sunlight, you have only a short time before you start taking massive damage. You can tell how near you are to taking damage by learning the warnings signs of sunlight:
- An orange fiery spark effect will start to emanate from your character.
- A ray of light will appear, shining from the sky down towards your character.
- The screen will grow brighter over time.
- A sound effect will play, growing louder over time.
If you experience any of these effects, you need to get to the shadows as quickly as possible, or you’ll be dead in seconds.

Spend time finding a good place to build your castle
Building is one of the key components of many a survival crafting game, and V Rising is no exception, giving players the chance to build massive gothic castles in which to house their vampiric possessions and necessities. But unlike many other such games, you can’t just build anywhere you feel like it. You first have to place down a Castle Heart, which lays claim to the surrounding area.
You only have 1 or 2 Castle Hearts at any given time (depending on the rules of your server), so it’s important to spend a fair bit of time exploring the starting region of the Farbane Woods and finding the ideal place to begin construction of your home.
Elevated areas are prioritised by most players, because the natural ramps up to these areas provide great chokepoints for defending against attacks. But you should also consider your surroundings. How close are you to key resource-gathering areas? If you’re near the beginning of a game, you might also want to build close to a Waygate so you can fast travel from point to point with ease. It’s well worth expending a bit of early game time exploring for a great location for your castle.
- V Rising building guide
- V Rising best base locations
- V Rising Castle Heart Decay explained
- How to make roofs in V Rising
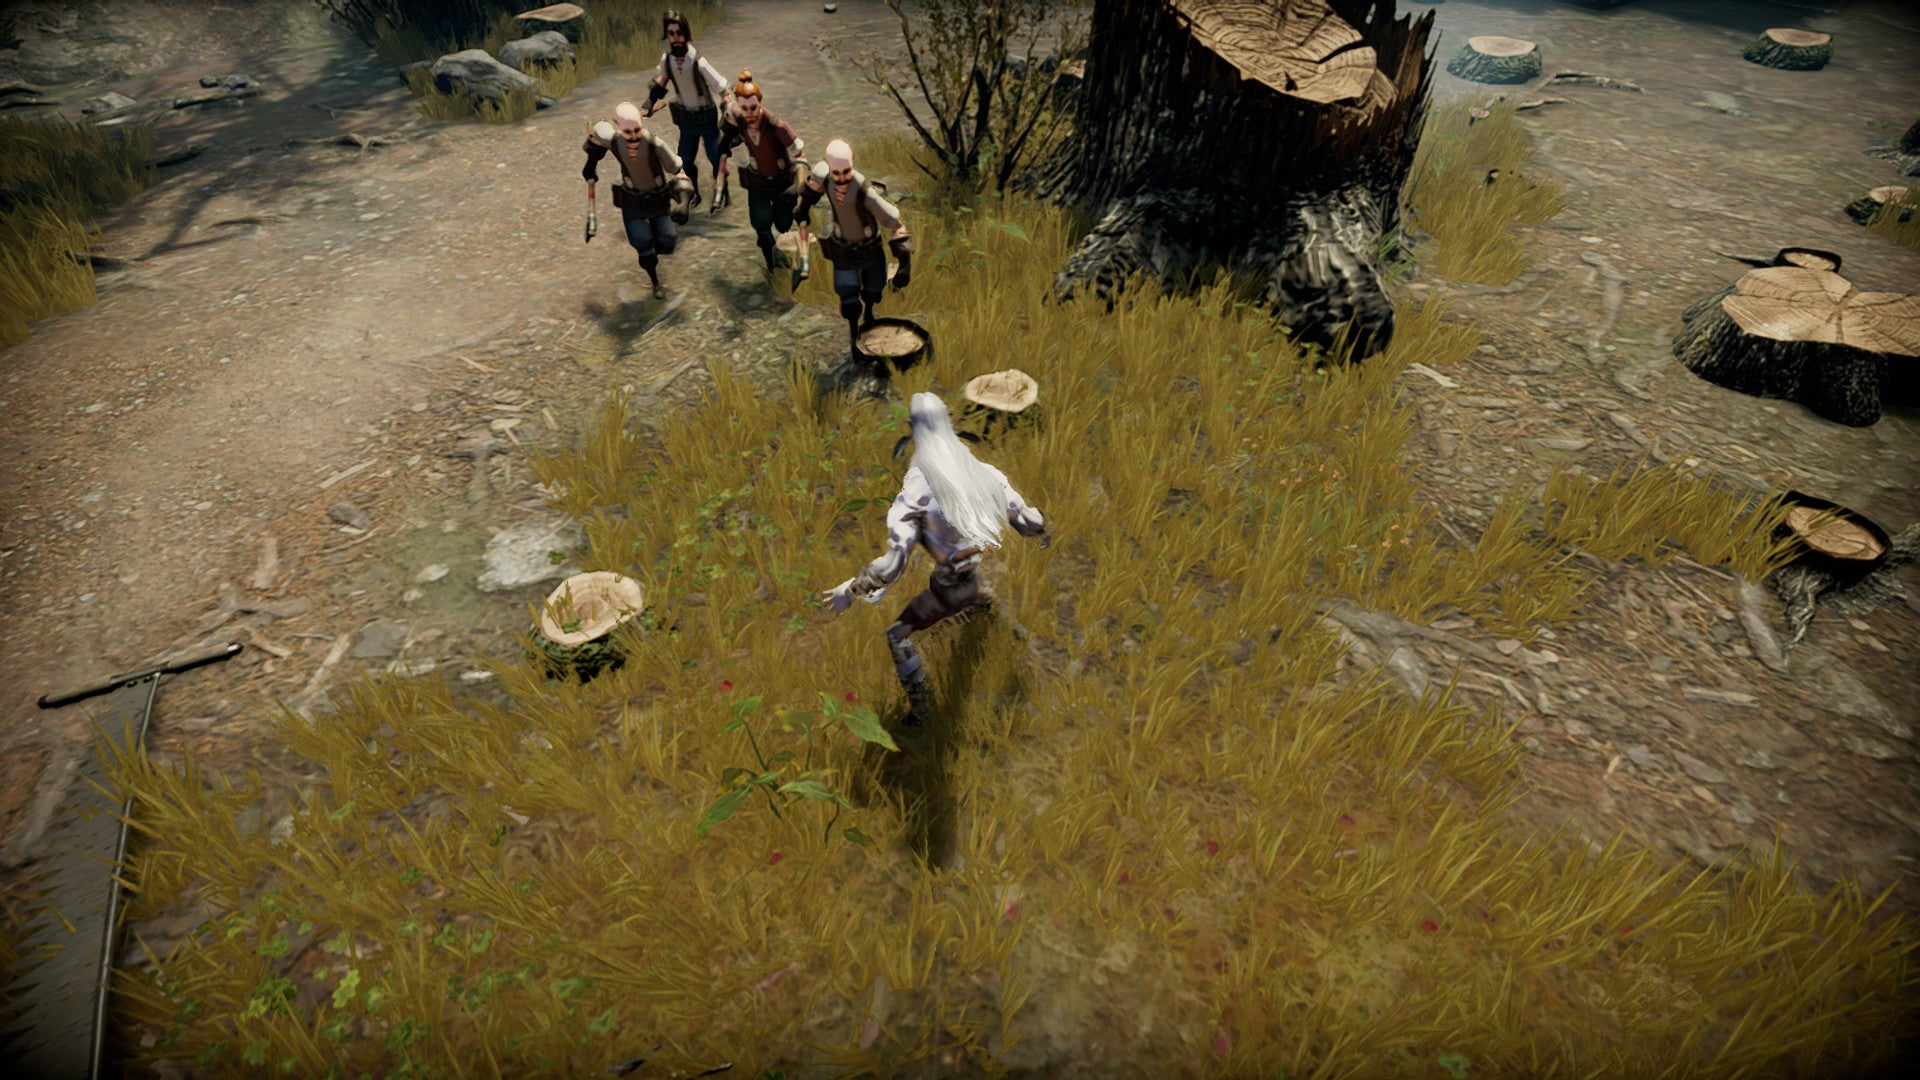
Use the right equipment for the job
Gear is everything in V Rising. Not only does it determine the types of attacks you can use on enemies, but it also increases your Gear Score, which has a dramatic effect on how easy or difficult you may find fights against different NPC enemies.
Your weapons in V Rising are simultaneously your resource-gathering tools. An axe is ideal for chopping trees for wood. A sword is great for cutting down vegetation. A mace is required for mining stone and ores from rocks.
At the same time, these implements each have different pros and cons when it comes to combat. Your starting weapons may not have much to differentiate themselves from each other, but as you upgrade your gear, you’ll find that different weapons have different special attacks and abilities which force you to make important decisions about which tools to use for fighting as well as gathering resources.
- V Rising Gear Score
- Best weapons in V Rising
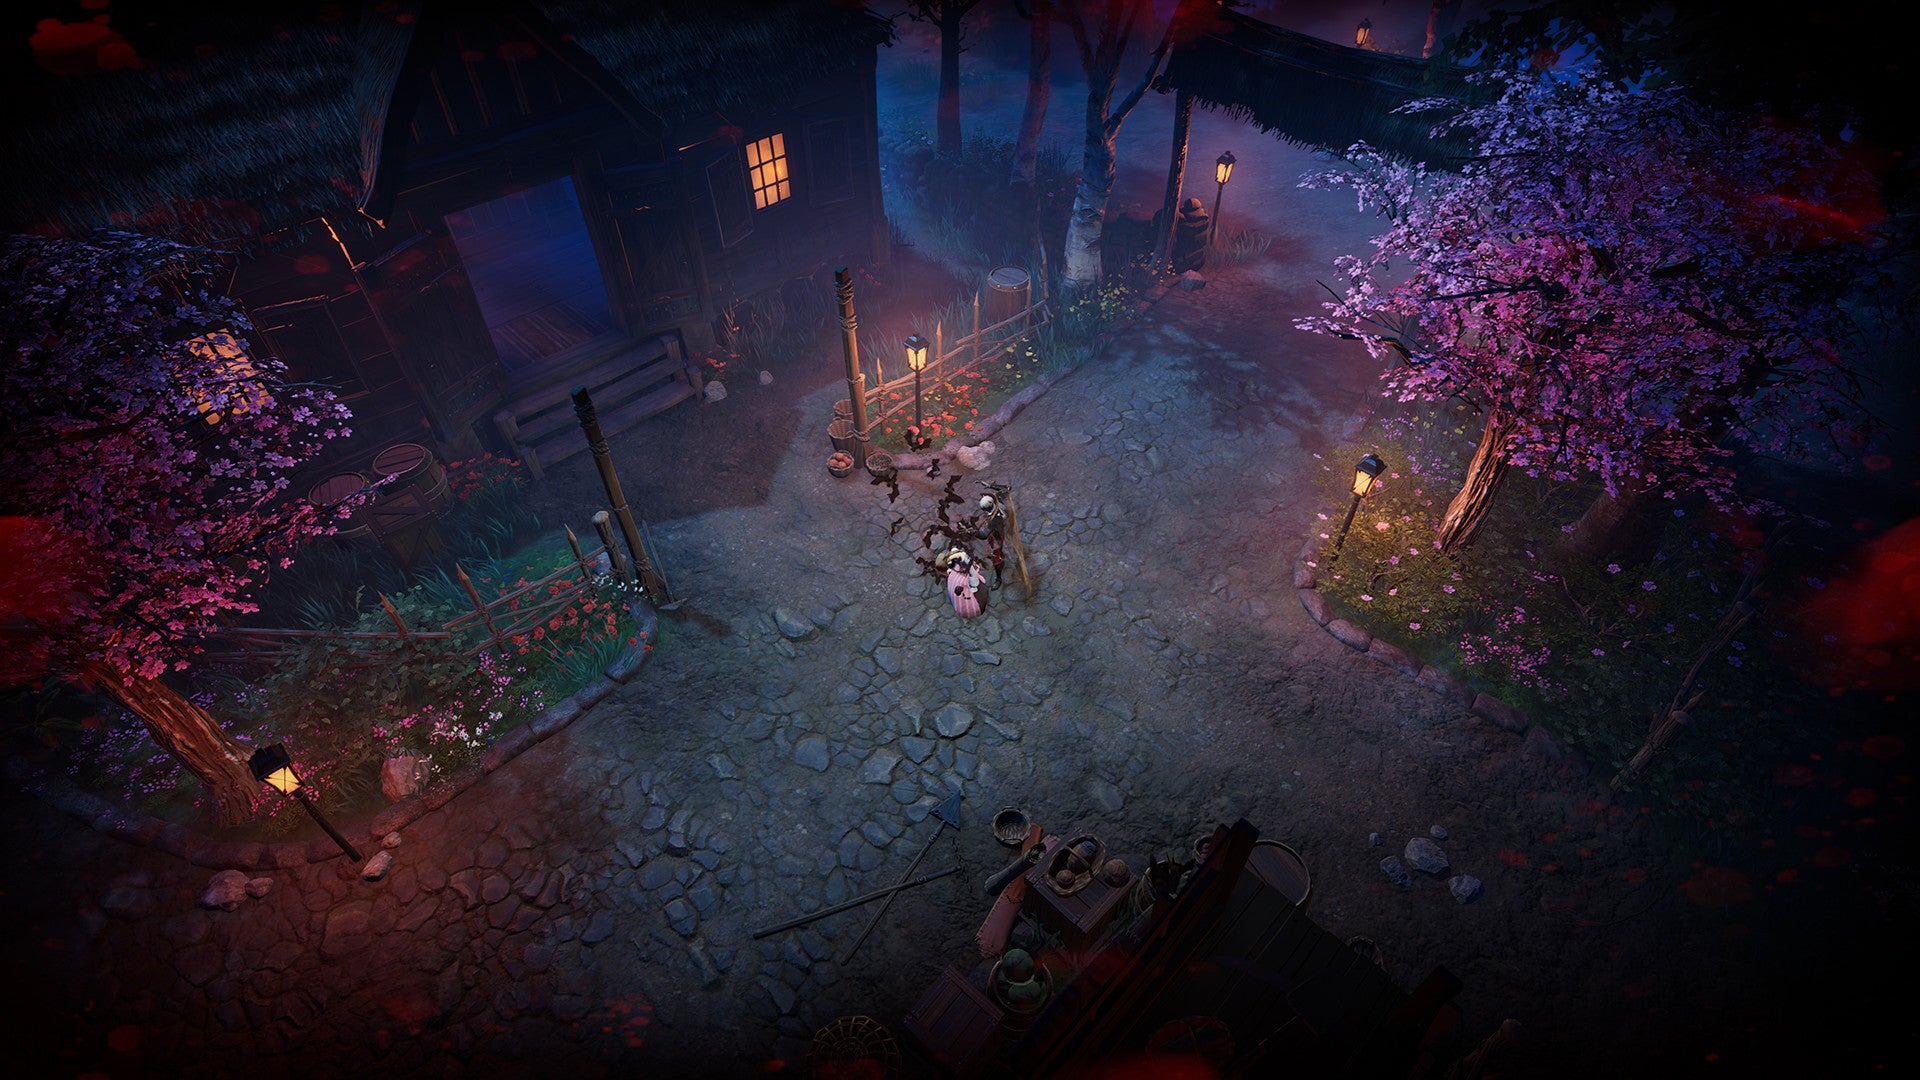
Use different blood types to your advantage
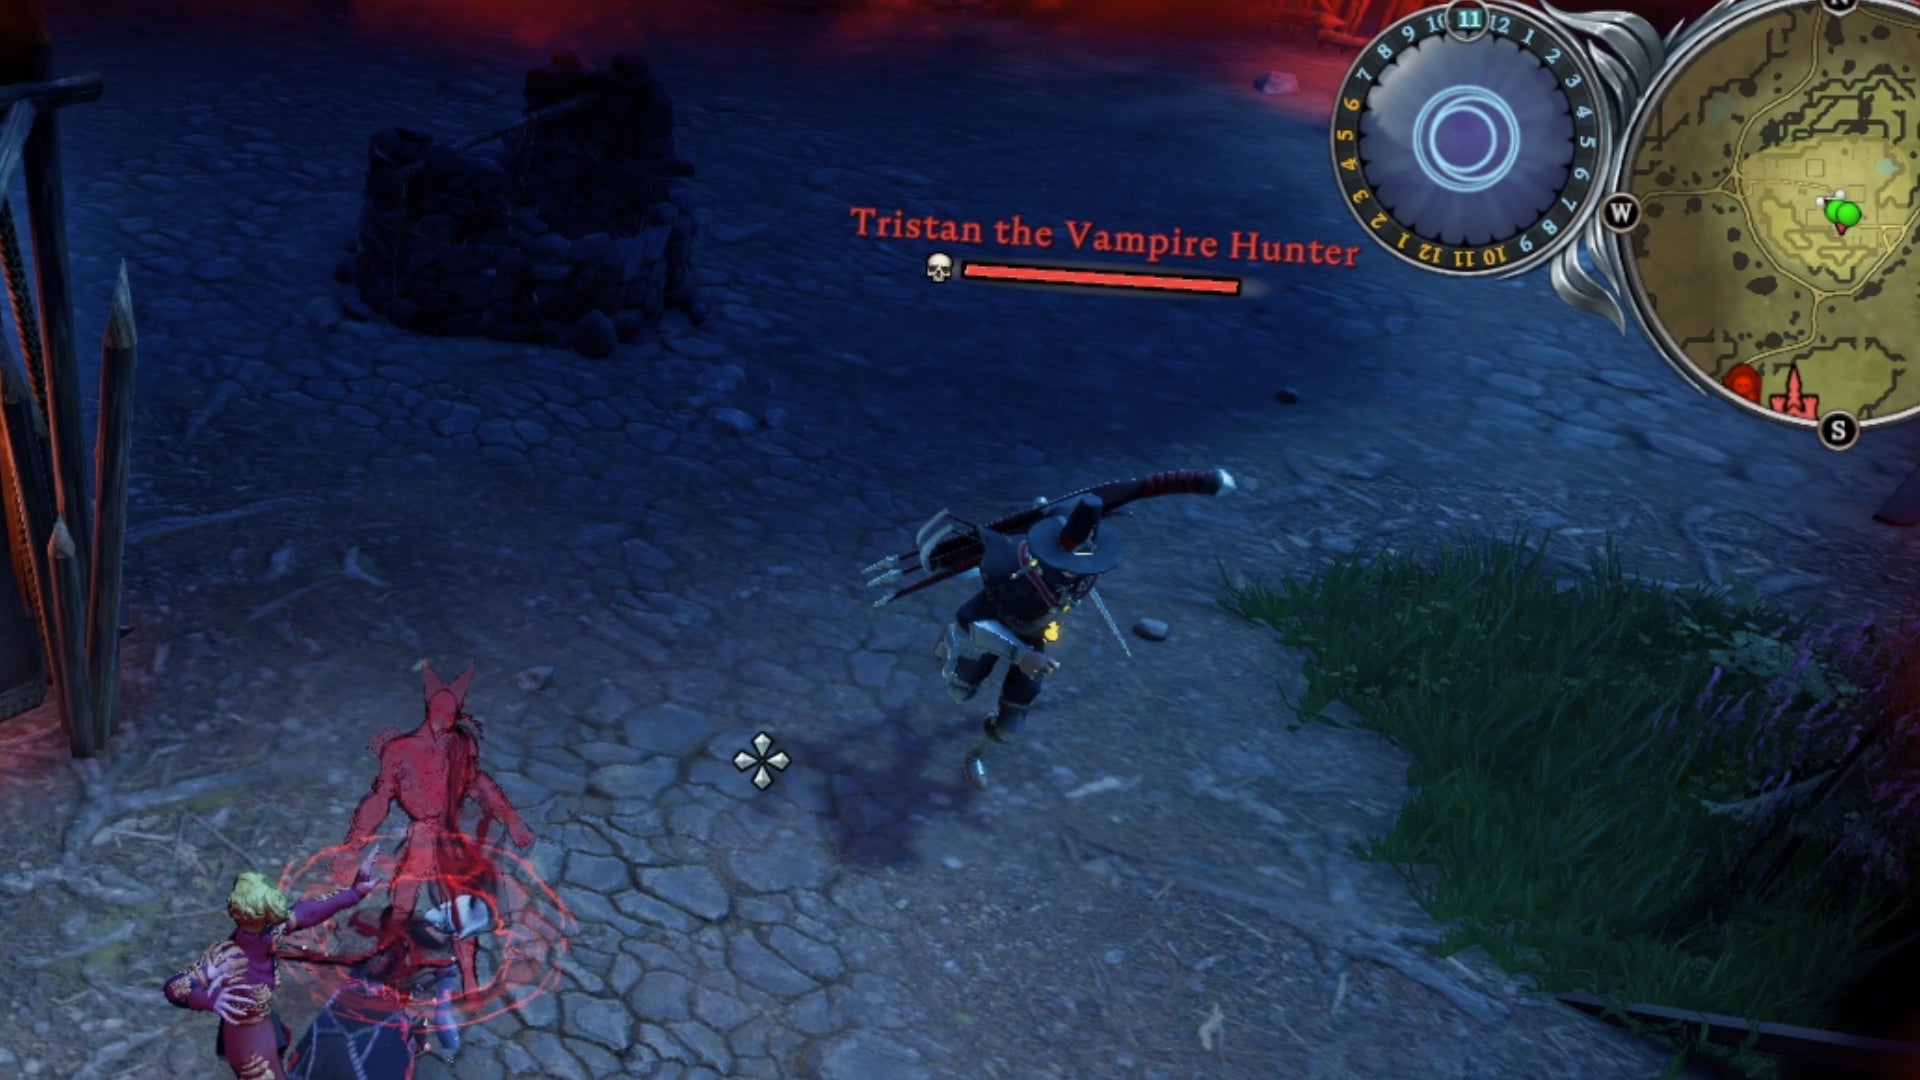
When you feed on an enemy, your blood type will change and you’ll adopt some of the qualities of the thing you fed upon. For example, feeding from a “Worker”-class enemy will give you better mining and gathering yields. Feeding from a “Creature”-class enemy gives you boosted movement speed and sunlight resistance. Feeding from a “Rogue”-class enemy gives you increased crit chance and damage potential.
Spend time preparing for each major fight
Vardoran is a dangerous place, and even seasoned blood-suckers can find themselves overwhelmed unless they come prepared for every fight. One important consideration is your current blood type, but it’s also important to bring the right tools and items for the job. An early consumable item you should stack up on is Vermin Salve, which can heal you over time without you having to resort to using up your blood reserves.
You should also plan to fight difficult fights during the night, because it’s much harder to fight effectively when you’re also trying to stay out of the sunlight. Looking ahead really pays off in V Rising.

Experiment with different forms of travel
There are various modes of transportation available to the vampiric immortals of V Rising. The simplest is running around on your own two feet, which is good for fighting and doing basic chores. But it’s not very quick.
The fastest mode of transporation is via Vampire Waygates, which you can use to teleport instantly across the map. But these are very limited, so perhaps instead you want a horse to ride for covering great distances quickly. But you’ll need to keep it alive and out of danger, which can be a hassle. Maybe the best thing is simply to transform yourself into a wolf, giving yourself greatly increased movement speed until you take damage or change forms again. Or perhaps you need to scale cliffs and avoid the terrain altogether, in which case a vampire bat form will do very nicely…
- V Rising map and regions explained
- How to get a horse in V Rising
- V Rising Fast Travel
Use the quests and the Blood Altar to progress
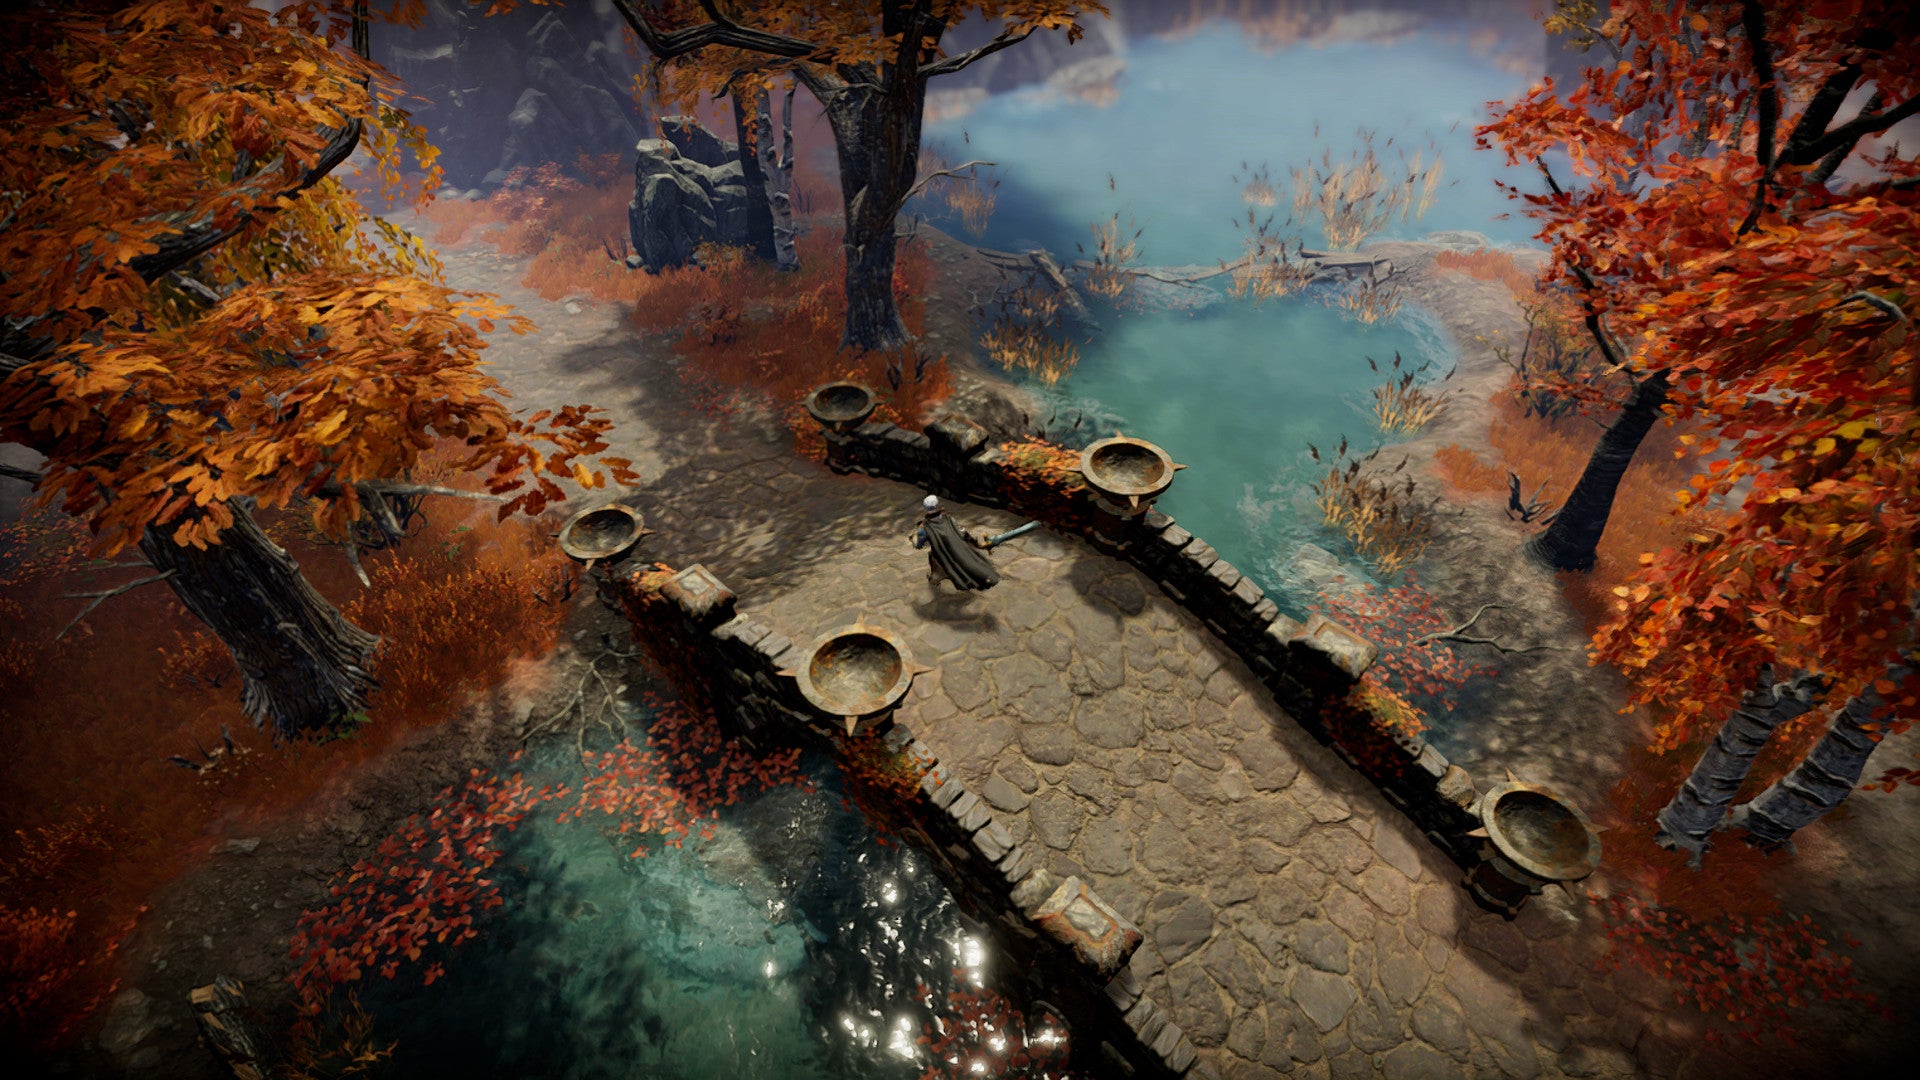
V Rising cleverly guides you along a good starting path of progression with its series of quests. These quests appear in the top-left corner, and following them is the best way to get started if you don’t know what’s going on in the game.
At first these quests are fairly straightforward, covering things such as gathering the resources required to craft basic gear. But later on, the quests may require you to take several intermediate steps on your own before you can complete them.
If you’re ever not sure what you have to do in order to complete the next quest, you should check out your Blood Altar. The Blood Altar is a building you can use to track down the game’s many bosses, and each boss will unlock new abilities, recipes, and buildings for you. So if it doesn’t look like you have what you need to complete your latest quest, your best bet is to see if you need to kill a boss in order to get what you’re after.
- V Rising boss locations map
- How to summon the Putrid Rat in V Rising
Check the map to learn where to get resources
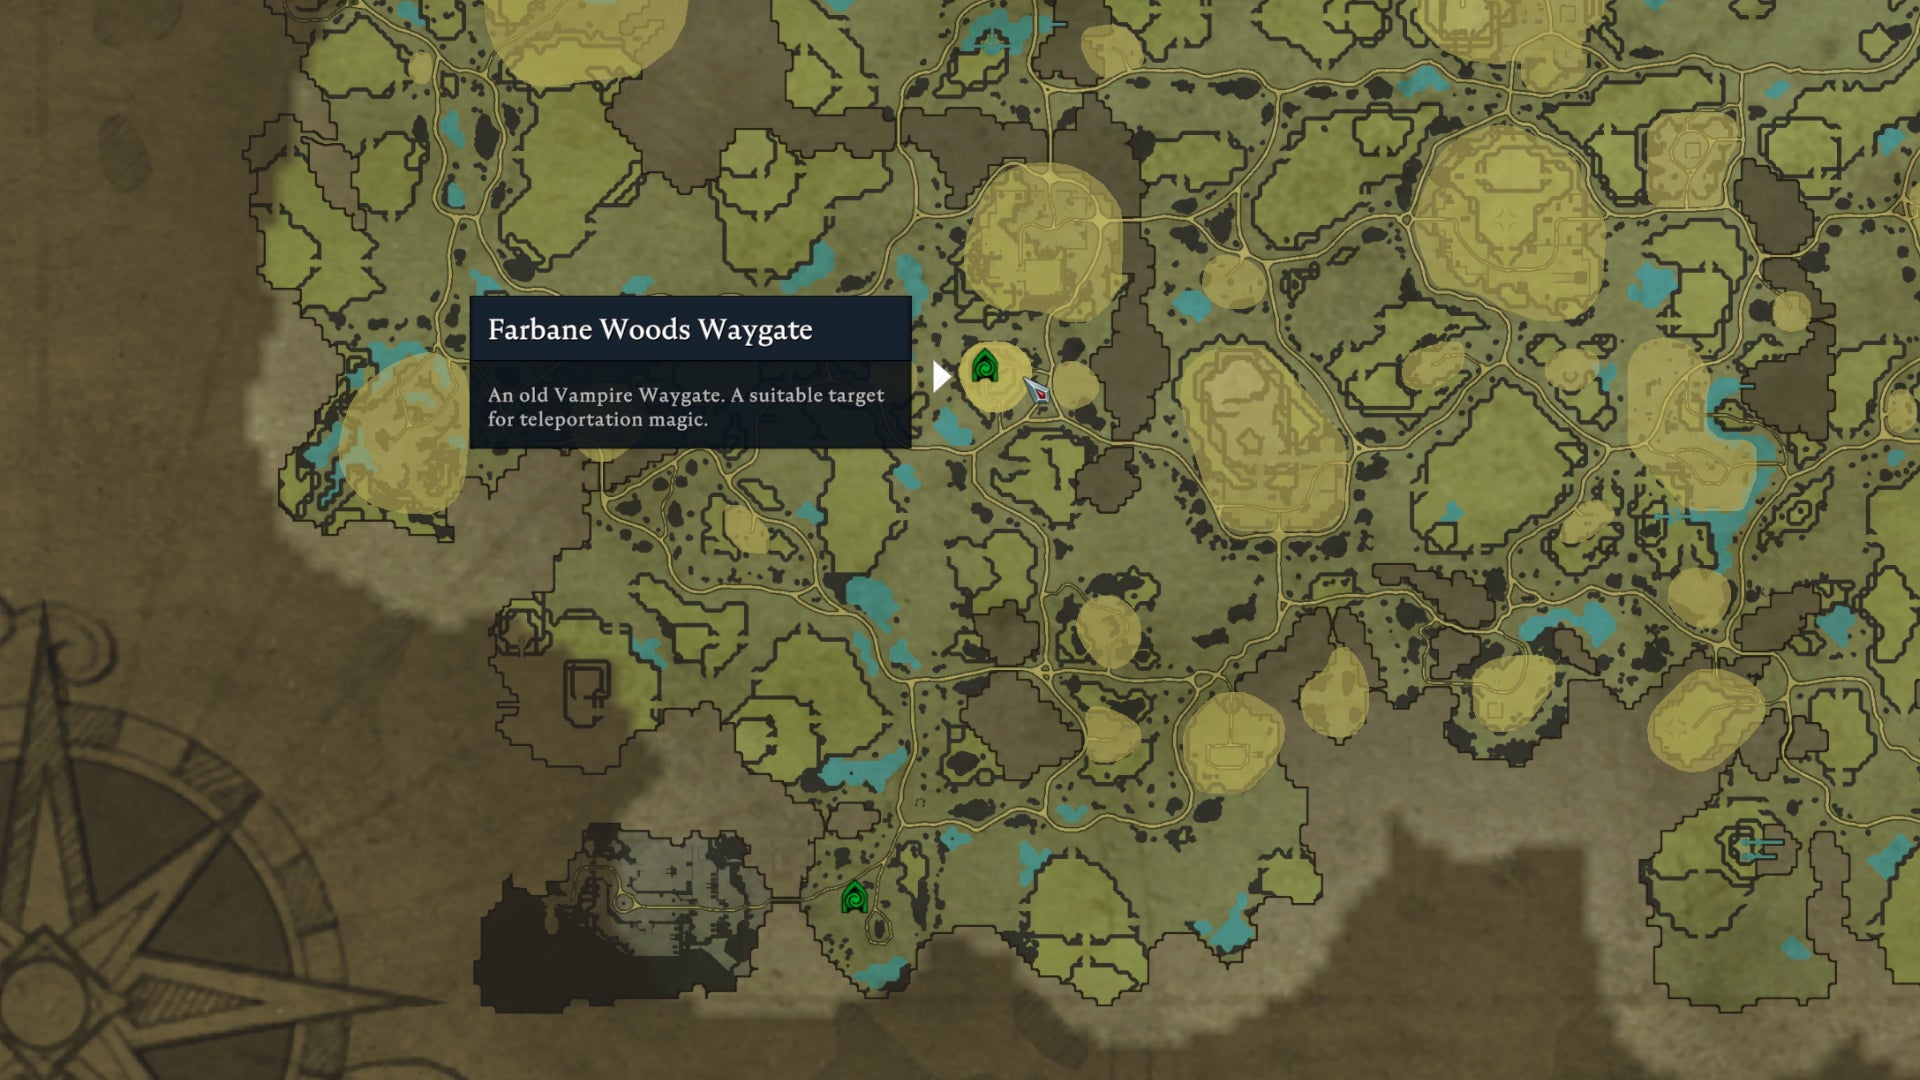
The map is a magnificent tool for new V Rising players. Unlike many survival games, there’s no procedurally generated terrain in this game: the map is always the same, and you can learn the regions as you might learn a map in a traditional MMO.
There are areas of interest dotted about every region in V Rising’s world of Vardoran, and you can hover over them in the map to view exactly what these areas are, and - most importantly - the resources that you can find there. So if you find yourself wondering where to find certain items or materials, your first port of call should be the map.
However, even despite the useful pointers on the map, certain resources can be very tricky to find. Below you’ll find guides on how to find some of the most important resources in V Rising, and how to make use of the automated buildings that churn out new materials for you to use.
- How to use the Sawmill in V Rising
- How to get Bones in V Rising
- How to get Blood Essence in V Rising
- How to get Leather in V Rising
- How to get Stone Bricks in V Rising
- How to get Whetstone in V Rising
- How to get Explosives in V Rising
- How to get Copper in V Rising
- How to get Iron in V Rising
- How to get Silver Ore in V Rising

Learn these minor tips and tricks to make life even easier
Finally, let’s finish off with a medley of random but very useful tips and bits of advice that we all wish we knew when we’d first started playing V Rising:
- You can hold left-click to attack. The same goes for chopping wood, mining rocks, and so on.
- Trees provide shade from sunlight. If you chop them down, the shade disappears. Don’t get caught out by this!
- You can hold down the interact button and move your mouse over loot on the floor to pick it all up in one go, rather than having to tap the interact button once for each piece of loot.
- Hover over enemies (both NPCs and players) to see their current blood type and blood quality.
- You can use the “Sort” button in inventory windows to neatly arrange all items within. In your inventory, the “Sort” button won’t affect anything on your hotbar; only items beneath.
- You can use the “Compulsively Count” button while interacting with a chest or other storage device to automatically transfer any items from your inventory which already exist within the chest.
- You can rename chests by clicking the icon next to the chest’s name in the chest window.
- While in Wolf form, NPC wolves won’t attack you.
- You can fight from horseback, but it’s risky. Left-click attacks deal more damage than usual while on horseback, but if you get hit, you’ll be thrown from your horse.
- You can craft a Fishing Rod after defeating Rufus The Foreman, an early boss; and then you can use the Fishing Rod wherever you see bubbles in water. Fishing is a great way to gather not just fish, but random gear and even research books as well.
- Occasionally, a Bloodmoon will rise during the night. During a Bloodmoon, you gain extra speed and boosted effects from your blood type.
- Pay attention to an enemy’s health bar. If it’s orange or red, it’s a higher level than you. If there’s a skull next to its name instead of a level, then it’s much higher level than you.
- You can use the Mace’s secondary attack as an extra dash to evade attacks while your primary dash is on cooldown. Note that you need a Bronze Mace or better to unlock the secondary attack.
- Click the plus and minus icons next to the minimap to zoom the minimap in or out. You can also click the lock icon to change the minimap’s orientation to be fixed or to change according to the player’s direction.
- Silver items such as coins will slowly inflict damage on you when held. This prevents you from using abilities such as the Wolf transformation, because the ability ends the moment you take damage.
- Don’t chop down every nearby tree around your house; it’s useful to have shade nearby.
- The Dunley Farmlands and other major regions of the map are far, far more dangerous than the Farbane Woods. Don’t venture out of the woods until you’re at least level 30.
- If you see any yellow, orange, or red gear icons above your hotbar, that’s an indicator that some of your gear has low durability and may soon break, meaning their effects are removed until repaired. You can repair it from your inventory as long as you have the required materials.
- While extracting V blood (blood from bosses), you are completely invulnerable - even from sunlight. Once you finish extracting the V blood, you’ll cause an explosion around you which severely damages all enemies and resource objects nearby.
- Extracting V blood doesn’t actually refill your blood supply, so if you’re low on blood, don’t look to bosses to satiate your thirst.
- From the ability selection screen, you can reorder the abilities shown on your vampire powers wheel (accessible by holding CTRL).
- Abilities like Blood Rage which increase your attack speed are also great for chopping down wood and mining rocks faster.


V Rising
Video Game
Rock Paper Shotgun is better when you sign in
Sign in and join us on our journey to discover strange and compelling PC games.

All 75 Arc Raiders Blueprints and where to get them
These areas have the highest chance of giving you Blueprints

Image credit:Rock Paper Shotgun/Embark Studios

Looking for more Arc Raiders Blueprints? It’s a special day when you find a Blueprint, as they’re among the most valuable items in Arc Raiders. If you find a Blueprint that you haven’t already found, then you must make sure you hold onto it at all costs, because Blueprints are the key to one of the most important and powerful systems of meta-progression in the game.
This guide aims to be the very best guide on Blueprints you can find, starting with a primer on what exactly they are and how they work in Arc Raiders, before delving into exactly where to get Blueprints and the very best farming spots for you to take in your search.
We’ll also go over how to get Blueprints from other unlikely activities, such as destroying Surveyors and completing specific quests. And you’ll also find the full list of all 75 Blueprints in Arc Raiders on this page (including the newest Blueprints added with the Cold Snap update , such as the Deadline Blueprint and Firework Box Blueprint), giving you all the information you need to expand your own crafting repertoire.
In this guide:
- What are Blueprints in Arc Raiders?
- Full Blueprint list: All crafting recipes
- Where to find Blueprints in Arc Raiders Blueprints obtained from quests Blueprints obtained from Trials Best Blueprint farming locations

What are Blueprints in Arc Raiders?
Blueprints in Arc Raiders are special items which, if you manage to extract with them, you can expend to permanently unlock a new crafting recipe in your Workshop. If you manage to extract from a raid with an Anvil Blueprint, for example, you can unlock the ability to craft your very own Anvil Pistol, as many times as you like (as long as you have the crafting materials).
To use a Blueprint, simply open your Inventory while in the lobby, then right-click on the Blueprint and click “Learn And Consume” . This will permanently unlock the recipe for that item in your Workshop. As of the Stella Montis update, there are allegedly 75 different Blueprints to unlock - although only 68 are confirmed to be in the game so far. You can see all the Blueprints you’ve found and unlocked by going to the Workshop menu, and hitting “R” to bring up the Blueprint screen.
It’s possible to find duplicates of past Blueprints you’ve already unlocked. If you find these, then you can either sell them, or - if you like to play with friends - you can take it into a match and gift it to your friend so they can unlock that recipe for themselves. Another option is to keep hold of them until the time comes to donate them to the Expedition.
Full Blueprint list: All crafting recipes
Below is the full list of all the Blueprints that are currently available to find in Arc Raiders, and the crafting recipe required for each item:
| Blueprint | Type | Recipe | Crafted At |
|---|---|---|---|
| Bettina | Weapon | 3x Advanced Mechanical Components 3x Heavy Gun Parts 3x Canister | Gunsmith 3 |
| Blue Light Stick | Quick Use | 3x Chemicals | Utility Station 1 |
| Aphelion | Weapon | 3x Magnetic Accelerator 3x Complex Gun Parts 1x Matriarch Reactor | Gunsmith 3 |
| Combat Mk. 3 (Flanking) | Augment | 2x Advanced Electrical Components 3x Processor | Gear Bench 3 |
| Combat Mk. 3 (Aggressive) | Augment | 2x Advanced Electrical Components 3x Processor | Gear Bench 3 |
| Complex Gun Parts | Material | 2x Light Gun Parts 2x Medium Gun Parts 2x Heavy Gun Parts | Refiner 3 |
| Fireworks Box | Quick Use | 1x Explosive Compound 3x Pop Trigger | Explosives Station 2 |
| Gas Mine | Mine | 4x Chemicals 2x Rubber Parts | Explosives Station 1 |
| Green Light Stick | Quick Use | 3x Chemicals | Utility Station 1 |
| Pulse Mine | Mine | 1x Crude Explosives 1x Wires | Explosives Station 1 |
| Seeker Grenade | Grenade | 1x Crude Explosives 2x ARC Alloy | Explosives Station 1 |
| Looting Mk. 3 (Survivor) | Augment | 2x Advanced Electrical Components 3x Processor | Gear Bench 3 |
| Angled Grip II | Mod | 2x Mechanical Components 3x Duct Tape | Gunsmith 2 |
| Angled Grip III | Mod | 2x Mod Components 5x Duct Tape | Gunsmith 3 |
| Hullcracker | Weapon | 1x Magnetic Accelerator 3x Heavy Gun Parts 1x Exodus Modules | Gunsmith 3 |
| Launcher Ammo | Ammo | 5x Metal Parts 1x Crude Explosives | Workbench 1 |
| Anvil | Weapon | 5x Mechanical Components 5x Simple Gun Parts | Gunsmith 2 |
| Anvil Splitter | Mod | 2x Mod Components 3x Processor | Gunsmith 3 |
| ??? | ??? | ??? | ??? |
| Barricade Kit | Quick Use | 1x Mechanical Components | Utility Station 2 |
| Blaze Grenade | Grenade | 1x Explosive Compound 2x Oil | Explosives Station 3 |
| Bobcat | Weapon | 3x Advanced Mechanical Components 3x Light Gun Parts | Gunsmith 3 |
| Osprey | Weapon | 2x Advanced Mechanical Components 3x Medium Gun Parts 7x Wires | Gunsmith 3 |
| Burletta | Weapon | 3x Mechanical Components 3x Simple Gun Parts | Gunsmith 1 |
| Compensator II | Mod | 2x Mechanical Components 4x Wires | Gunsmith 2 |
| Compensator III | Mod | 2x Mod Components 8x Wires | Gunsmith 3 |
| Defibrillator | Quick Use | 9x Plastic Parts 1x Moss | Medical Lab 2 |
| ??? | ??? | ??? | ??? |
| Equalizer | Weapon | 3x Magnetic Accelerator 3x Complex Gun Parts 1x Queen Reactor | Gunsmith 3 |
| Extended Barrel | Mod | 2x Mod Components 8x Wires | Gunsmith 3 |
| Extended Light Mag II | Mod | 2x Mechanical Components 3x Steel Spring | Gunsmith 2 |
| Extended Light Mag III | Mod | 2x Mod Components 5x Steel Spring | Gunsmith 3 |
| Extended Medium Mag II | Mod | 2x Mechanical Components 3x Steel Spring | Gunsmith 2 |
| Extended Medium Mag III | Mod | 2x Mod Components 5x Steel Spring | Gunsmith 3 |
| Extended Shotgun Mag II | Mod | 2x Mechanical Components 3x Steel Spring | Gunsmith 2 |
| Extended Shotgun Mag III | Mod | 2x Mod Components 5x Steel Spring | Gunsmith 3 |
| Remote Raider Flare | Quick Use | 2x Chemicals 4x Rubber Parts | Utility Station 1 |
| Heavy Gun Parts | Material | 4x Simple Gun Parts | Refiner 2 |
| Venator | Weapon | 2x Advanced Mechanical Components 3x Medium Gun Parts 5x Magnet | Gunsmith 3 |
| Il Toro | Weapon | 5x Mechanical Components 6x Simple Gun Parts | Gunsmith 1 |
| Jolt Mine | Mine | 1x Electrical Components 1x Battery | Explosives Station 2 |
| Explosive Mine | Mine | 1x Explosive Compound 1x Sensors | Explosives Station 3 |
| Jupiter | Weapon | 3x Magnetic Accelerator 3x Complex Gun Parts 1x Queen Reactor | Gunsmith 3 |
| Light Gun Parts | Material | 4x Simple Gun Parts | Refiner 2 |
| Lightweight Stock | Mod | 2x Mod Components 5x Duct Tape | Gunsmith 3 |
| Lure Grenade | Grenade | 1x Speaker Component 1x Electrical Components | Utility Station 2 |
| Medium Gun Parts | Material | 4x Simple Gun Parts | Refiner 2 |
| Torrente | Weapon | 2x Advanced Mechanical Components 3x Medium Gun Parts 6x Steel Spring | Gunsmith 3 |
| Muzzle Brake II | Mod | 2x Mechanical Components 4x Wires | Gunsmith 2 |
| Muzzle Brake III | Mod | 2x Mod Components 8x Wires | Gunsmith 3 |
| Padded Stock | Mod | 2x Mod Components 5x Duct Tape | Gunsmith 3 |
| Shotgun Choke II | Mod | 2x Mechanical Components 4x Wires | Gunsmith 2 |
| Shotgun Choke III | Mod | 2x Mod Components 8x Wires | Gunsmith 3 |
| Shotgun Silencer | Mod | 2x Mod Components 8x Wires | Gunsmith 3 |
| Showstopper | Grenade | 1x Advanced Electrical Components 1x Voltage Converter | Explosives Station 3 |
| Silencer I | Mod | 2x Mechanical Components 4x Wires | Gunsmith 2 |
| Silencer II | Mod | 2x Mod Components 8x Wires | Gunsmith 3 |
| Snap Hook | Quick Use | 2x Power Rod 3x Rope 1x Exodus Modules | Utility Station 3 |
| Stable Stock II | Mod | 2x Mechanical Components 3x Duct Tape | Gunsmith 2 |
| Stable Stock III | Mod | 2x Mod Components 5x Duct Tape | Gunsmith 3 |
| Tagging Grenade | Grenade | 1x Electrical Components 1x Sensors | Utility Station 3 |
| Tempest | Weapon | 3x Advanced Mechanical Components 3x Medium Gun Parts 3x Canister | Gunsmith 3 |
| Trigger Nade | Grenade | 2x Crude Explosives 1x Processor | Explosives Station 2 |
| Vertical Grip II | Mod | 2x Mechanical Components 3x Duct Tape | Gunsmith 2 |
| Vertical Grip III | Mod | 2x Mod Components 5x Duct Tape | Gunsmith 3 |
| Vita Shot | Quick Use | 2x Antiseptic 1x Syringe | Medical Lab 3 |
| Vita Spray | Quick Use | 3x Antiseptic 1x Canister | Medical Lab 3 |
| Vulcano | Weapon | 1x Magnetic Accelerator 3x Heavy Gun Parts 1x Exodus Modules | Gunsmith 3 |
| Wolfpack | Grenade | 2x Explosive Compound 2x Sensors | Explosives Station 3 |
| Red Light Stick | Quick Use | 3x Chemicals | Utility Station 1 |
| Smoke Grenade | Grenade | 14x Chemicals 1x Canister | Utility Station 2 |
| Deadline | Mine | 3x Explosive Compound 2x ARC Circuitry | Explosives Station 3 |
| Trailblazer | Grenade | 1x Explosive Compound 1x Synthesized Fuel | Explosives Station 3 |
| Tactical Mk. 3 (Defensive) | Augment | 2x Advanced Electrical Components 3x Processor | Gear Bench 3 |
| Tactical Mk. 3 (Healing) | Augment | 2x Advanced Electrical Components 3x Processor | Gear Bench 3 |
| Yellow Light Stick | Quick Use | 3x Chemicals | Utility Station 1 |
Note: The missing Blueprints in this list likely have not actually been added to the game at the time of writing, because none of the playerbase has managed to find any of them. As they are added to the game, I will update this page with the most relevant information so you know exactly how to get all 75 Arc Raiders Blueprints.
Where to find Blueprints in Arc Raiders
Below is a list of all containers, modifiers, and events which maximise your chances of finding Blueprints:
- Certain quests reward you with specific Blueprints .
- Completing Trials has a high chance of offering Blueprints as rewards.
- Surveyors have a decent chance of dropping Blueprints on death.
- High loot value areas tend to have a greater chance of spawning Blueprints.
- Night Raids and Storms may increase rare Blueprint spawn chances in containers.
- Containers with higher numbers of items may have a higher tendency to spawn Blueprints. As a result, Blue Gate (which has many “large” containers containing multiple items) may give you a higher chance of spawning Blueprints.
- Raider containers (Raider Caches, Weapon Boxes, Medical Bags, Grenade Tubes) have increased Blueprint drop rates. As a result, the Uncovered Caches event gives you a high chance of finding Blueprints.
- Security Lockers have a higher than average chance of containing Blueprints.
- Certain Blueprints only seem to spawn under specific circumstances: Tempest Blueprint only spawns during Night Raid events. Vulcano Blueprint only spawns during Hidden Bunker events. Jupiter and Equaliser Blueprints only spawn during Harvester events.

Raider Caches, Weapon Boxes, and other raider-oriented container types have a good chance of offering Blueprints. |Image credit:Rock Paper Shotgun/Embark Studios
Blueprints have a very low chance of spawning in any container in Arc Raiders, around 1-2% on average. However, there is a higher chance of finding Blueprints in particular container types. Specifically, you can find more Blueprints in Raider containers and security lockers.
Beyond this, if you’re looking for Blueprints you should focus on regions of the map which are marked as having particularly high-value loot. Areas such as the Control Tower in Dam Battlegrounds, the Arrival and Departure Buildings in Spaceport, and Pilgrim’s Peak in Blue Gate all have a better-than-average chance of spawning Blueprints somewhere amongst all their containers. Night Raids and Electromagnetic Storm events also increase the drop chances of certain Blueprints .
In addition to these containers, you can often loot Blueprints from destroyed Surveyors - the largest of the rolling ball ARC. Surveyors are more commonly found on the later maps - Spaceport and Blue Gate - and if one spawns in your match, you’ll likely see it by the blue laser beam that it casts into the sky while “surveying”.
Surveyors are quite well-armoured and will very speedily run away from you once it notices you, but if you can take one down then make sure you loot all its parts for a chance of obtaining certain unusual Blueprints.
Blueprints obtained from quests
One way in which you can get Blueprints is by completing certain quests for the vendors in Speranza. Some quests will reward you with a specific item Blueprint upon completion, so as long as you work through all the quests in Arc Raiders, you are guaranteed those Blueprints.
Here is the full list of all Blueprints you can get from quest rewards:
- Trigger Nade Blueprint: Rewarded after completing “Sparks Fly”.
- Lure Grenade Blueprint: Rewarded after completing “Greasing Her Palms”.
- Burletta Blueprint: Rewarded after completing “Industrial Espionage”.
- Hullcracker Blueprint (and Launcher Ammo Blueprint): Rewarded after completing “The Major’s Footlocker”.
Alas, that’s only 4 Blueprints out of a total of 75 to unlock, so for the vast majority you will need to find them yourself during a raid. If you’re intent on farming Blueprints, then it’s best to equip yourself with cheap gear in case you lose it, but don’t use a free loadout because then you won’t get a safe pocket to stash any new Blueprint you find. No pain in Arc Raiders is sharper than failing to extract with a new Blueprint you’ve been after for a dozen hours already.

One of the best ways to get Blueprints is by hitting three stars on all five Trials every week. |Image credit:Rock Paper Shotgun/Embark Studios
Blueprints obtained from Trials
One of the very best ways to get Blueprints is as rewards for completing Trials in Arc Raiders. Trials are unlocked from Level 15 onwards, and allow you to earn rewards by focusing on certain tasks over the course of several raids. For example, one Trial might task you with dealing damage to Hornets, while another might challenge you to loot Supply Drops.
Trials refresh on a weekly basis, with a new week bringing five new Trials. Each Trial can offer up to three rewards after passing certain score milestones, and it’s possible to receive very high level loot from these reward crates - including Blueprints. So if you want to unlock as many Blueprints as possible, you should make a point of completing as many Trials as possible each week.
Best Blueprint farming locations
The very best way to get Blueprints is to frequent specific areas of the maps which combine high-tier loot pools with the right types of containers to search. Here are my recommendations for where to find Blueprints on every map, so you can always keep the search going for new crafting recipes to unlock.

Image credit:Rock Paper Shotgun/Embark Studios
Dam Battlegrounds
The best places to farm Blueprints on Dam Battlegrounds are the Control Tower, Power Generation Complex, Ruby Residence, and Pale Apartments . The first two regions, despite only being marked on the map as mid-tier loot, contain a phenomenal number of containers to loot. The Control Tower can also contain a couple of high-tier Security Lockers - though of course, you’ll need to have unlocked the Security Breach skill at the end of the Survival tree.
There’s also a lot of reporting amongst the playerbase that the Residential areas in the top-left of the map - Pale Apartments and Ruby Residence - give you a comparatively strong chance of finding Blueprints. Considering their size, there’s a high density of containers to loot in both locations, and they also have the benefit of being fairly out of the way. So you’re more likely to have all the containers to yourself.
Buried City
The best Blueprint farming locations on Buried City are the Santa Maria Houses, Grandioso Apartments, Town Hall, and the various buildings of the New District . Grandioso Apartments has a lower number of containers than the rest, but a high chance of spawning weapon cases - which have good Blueprint drop rates. The others are high-tier loot areas, with plenty of lootable containers - including Security Lockers.
Spaceport
The best places to find Blueprints on Spaceport are the Arrival and Departure Buildings, as well as Control Tower A6 and the Launch Towers . All these areas are labelled as high-value loot regions, and many of them are also very handily connected to one another by the Spaceport wall, which you can use to quickly run from one area to the next. At the tops of most of these buildings you’ll find at least one Security Locker, so this is an excellent farming route for players looking to find Blueprints.
The downside to looting Blueprints on Spaceport is that all these areas are hotly contested, particularly in Duos and Squads. You’ll need to be very focused and fast in order to complete the full farming route.

Image credit:Rock Paper Shotgun/Embark Studios
Blue Gate
Blue Gate tends to have a good chance of dropping Blueprints, potentially because it generally has a high number of containers which can hold lots of items; so there’s a higher chance of a Blueprint spawning in each container. In my experience, the best Blueprint farming spots on Blue Gate are Pilgrim’s Peak, Raider’s Refuge, the Ancient Fort, and the Underground Complex beneath the Warehouse .
All of these areas contain a wealth of containers to loot. Raider’s Refuge has less to loot, but the majority of the containers in and around the Refuge are raider containers, which have a high chance of containing Blueprints - particularly during major events.
Stella Montis
On the whole, Stella Montis seems to have a very low drop rate for Blueprints (though a high chance of dropping other high-tier loot). If you do want to try farming Blueprints on this map, the best places to find Blueprints in Stella Montis are Medical Research, Assembly Workshop, and the Business Center . These areas have the highest density of containers to loot on the map.
In addition to this, the Western Tunnel has a few different Security Lockers to loot, so while there’s very little to loot elsewhere in this area of the map, it’s worth hitting those Security Lockers if you spawn there at the start of a match.
That wraps up this primer on how to get all the Blueprints in Arc Raiders as quickly as possible. With the Expedition system constantly resetting a large number of players’ Blueprints, it’s more important than ever to have the most up-to-date information on where to find all these Blueprints.
While you’re here, be sure to check out our Arc Raiders best guns tier list , as well as our primers on the best skills to unlock and all the different Field Depot locations on every map.


ARC Raiders
PS5 , Xbox Series X/S , PC
Rock Paper Shotgun is better when you sign in
Sign in and join us on our journey to discover strange and compelling PC games.
