The Tea Ceremony walkthrough - Assassin’s Creed Shadows
All correct answers, and whether to confront Otama or Wakasa
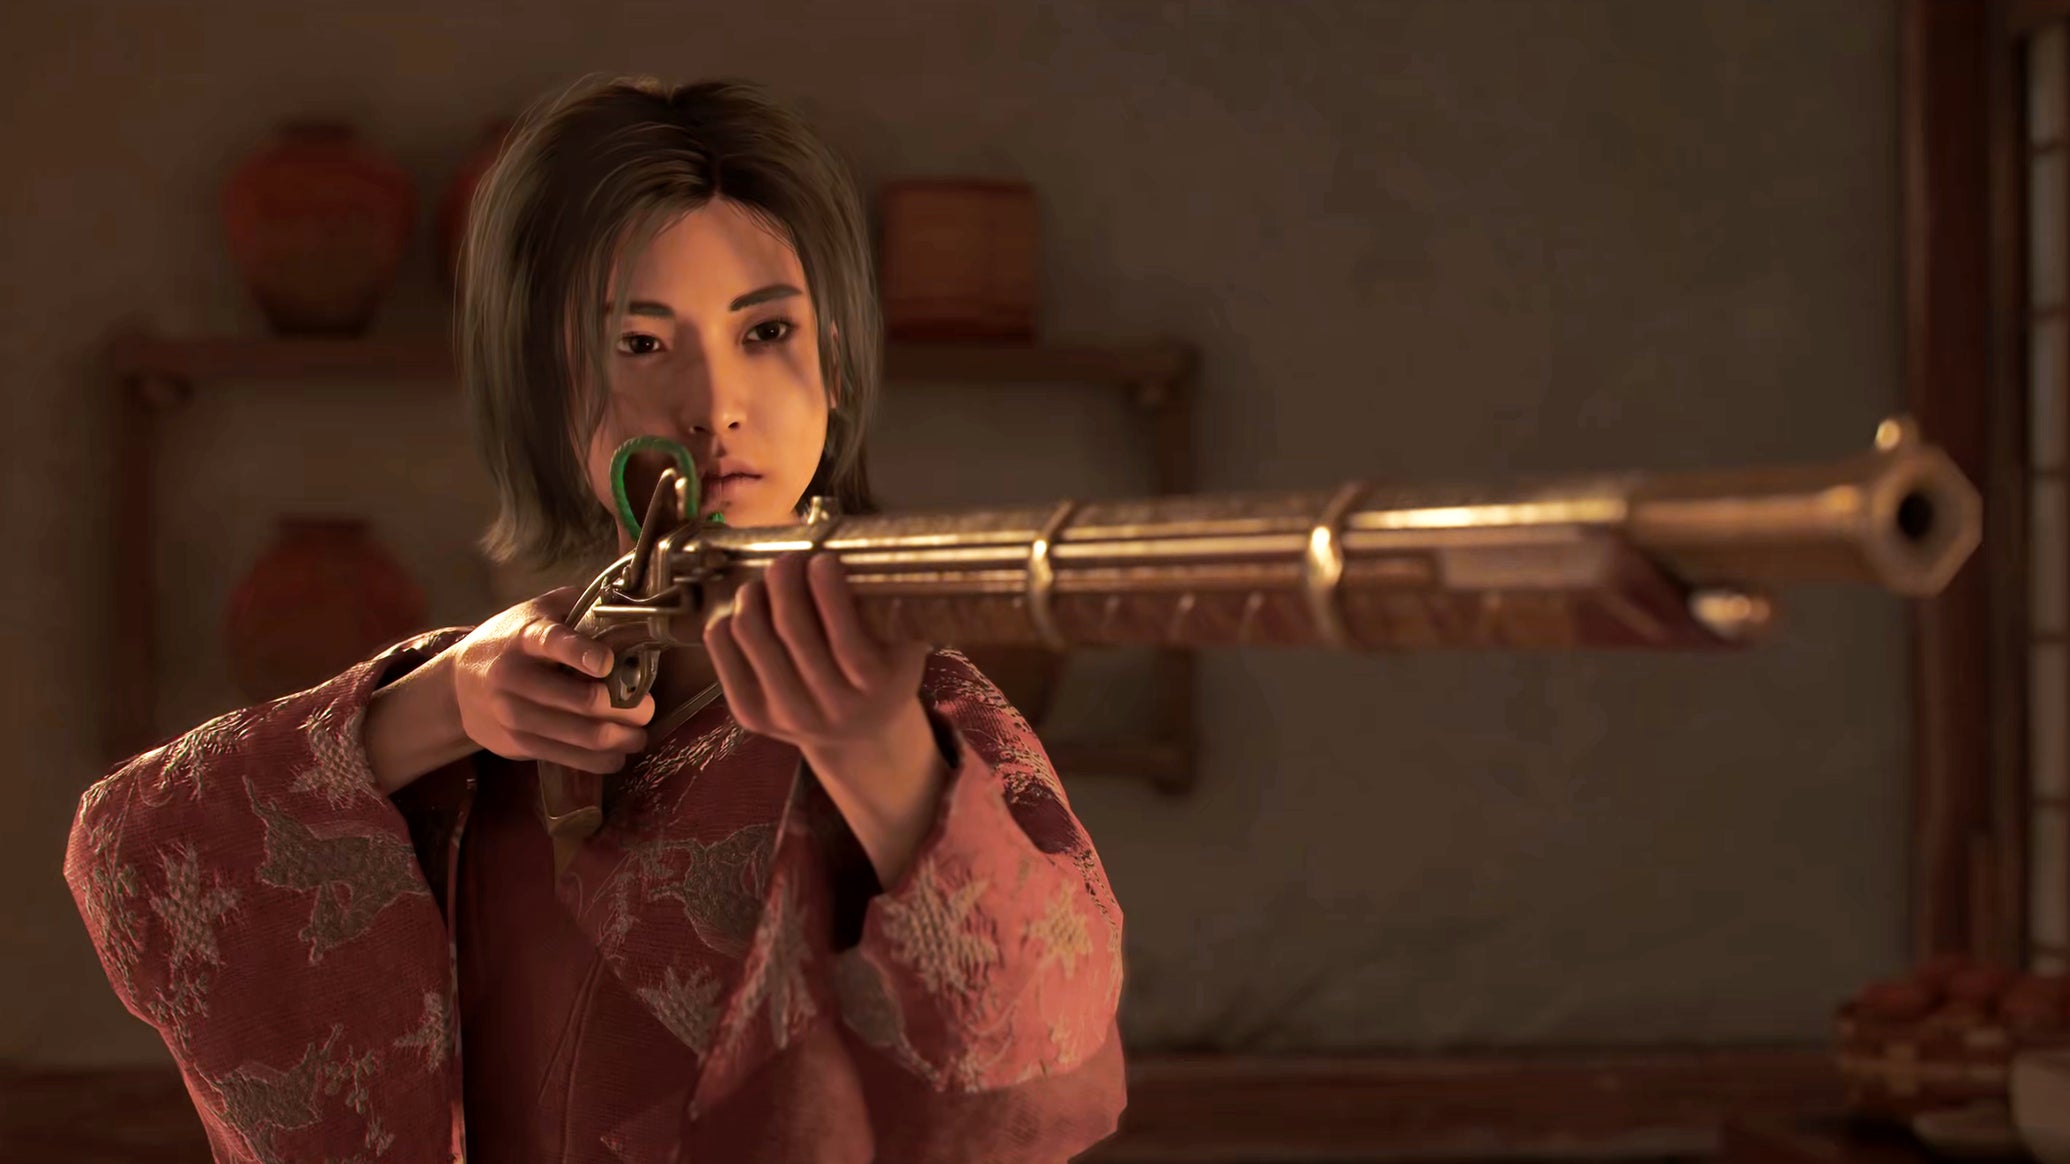
Image credit:Rock Paper Shotgun/Ubisoft

Should you confront Otama or Wakasa in “The Tea Ceremony” quest in Assassin’s Creed Shadows? Naoe’s overarching objective in Assassin’s Creed Shadows is to assassinate all of the Onryo - the group of masked evildoers at large in Sengoku-era Japan. One of the earliest Onryo assassination missions targets the Golden Teppo - the masked woman who shot Naoe during that fateful night outside Katano Castle. The quest to track down the Golden Teppo’s true identity is called “The Tea Ceremony” - and it’s one of the most interesting and in-depth quests in the game.
During this quest, you must maintain your secret identity by learning and perfectly performing all the expected customs and etiquette of the tea ceremony, while simultaneously trying to figure out which of the three women around you is your true target. It’s a questline with several important choices, which can lead you to two different endings to The Tea Ceremony.
In our Tea Ceremony walkthrough , we’ll walk you through the entirety of this confusing quest, answering important questions including which way you should turn the bowl during the ceremony, and whether to confront Otama or Wakasa at the end of the questline.
In this guide:
- The Tea Ceremony walkthrough: All correct answers
- Dress For Success: Red or Black Kosode?
- The Perfect Gift: Teapot, Jar, or Ladle?
- Conversation with Wakasa: Correct answers
- Should you bow head, halfway, or deeply?
- Which way should you turn the bowl?
- Should you confront Otama or Wakasa?

The Tea Ceremony walkthrough: All correct answers
There are six dialogue choices which determine the outcome of The Tea Ceremony quest. All the other dialogue choices in the questline are flavour and will not have any bearing on your task to hunt down the Golden Teppo. At a glance, here are the correct answers to these important choices during the Tea Ceremony:
- When introduced to Wakasa: Pick whichever name you gave to Imai Sokun .
- When Wakasa asks if you’ve heard of her: Pick " I’m new to Sakai “.
- When Wakasa asks where you’re from: Pick " I didn’t say where I was from “.
- At the start of the Tea Ceremony: Pick " Bow halfway “.
- During the Tea Ceremony: Pick " Turn bowl right twice “.
- After the Tea Ceremony: Pick " Confront Wakasa “.
These six choices determine how easy it is for you to assassinate the Golden Teppo. If you do everything correctly, then the assassination is carried out during a simple cutscene. If not, then you’ll need to track down the Golden Teppo and assassinate her inside Osaka Castle while she’s surrounded by enemies, making Naoe’s task considerably more challenging.
You’re allowed to get one wrong answer before you confront Wakasa, but if you get two or more answers wrong during the Tea Ceremony or the conversation beforehand, then no matter who you confront, you’ll be given the more challenging outcome of having to track down the Golden Teppo inside Osaka Castle.
Below I’ll walk you through several key points and decisions in the leadup to this questline and the Tea Ceremony itself, so that you know exactly what to do at each stage of the quest.
Dress For Success: Red or Black Kosode?
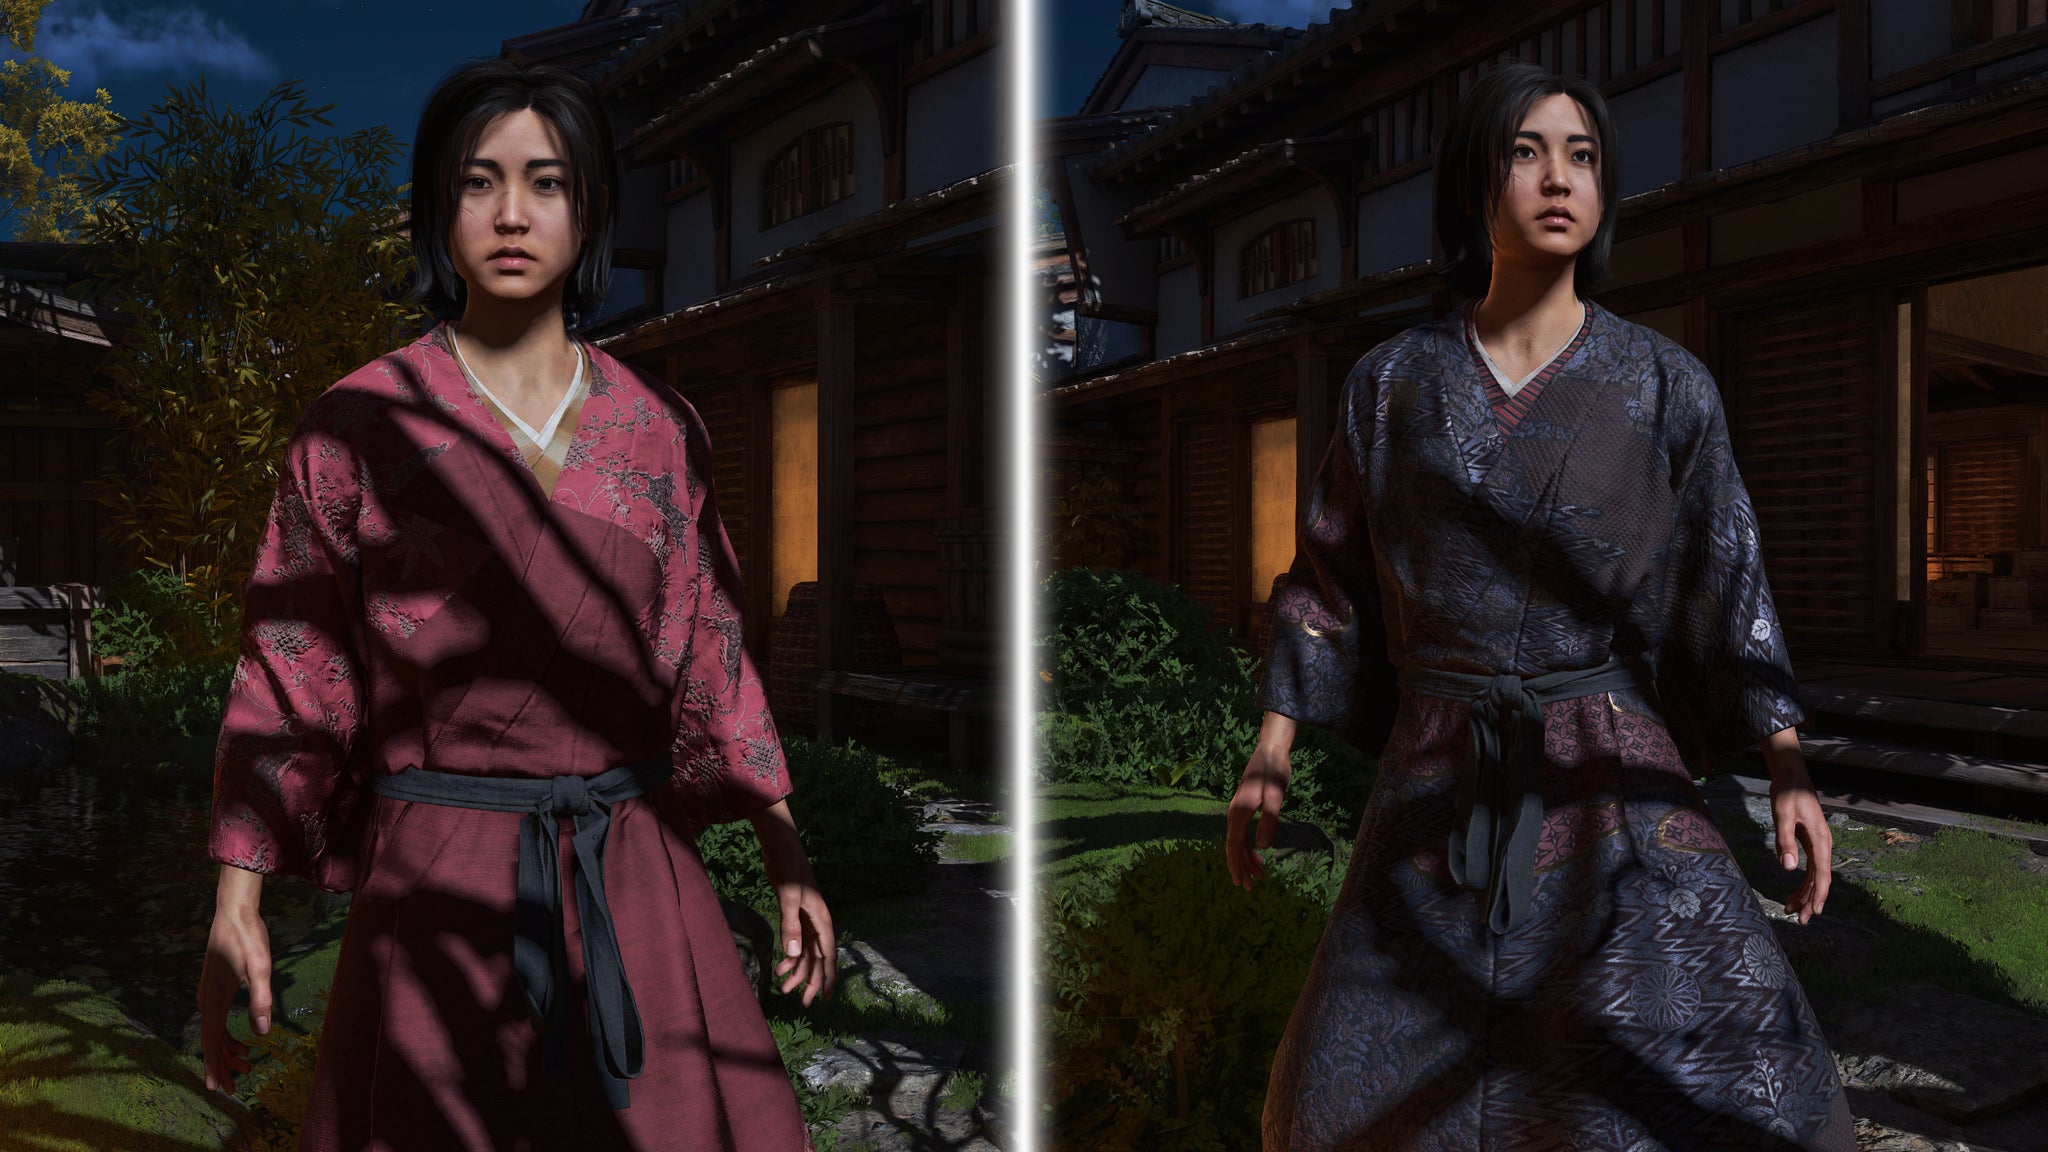
Your choice of dress matters little, but Wakasa will compliment you if you dress in the Portuguese black silk. |Image credit:Rock Paper Shotgun/Ubisoft
Before the Tea Ceremony begins, you need to complete the miniquest: “Dress For Success”. At the end of this quest, you’re asked whether you’d like a red kosode or black kosode for the Tea Ceremony.
It does not matter whether you pick the red or black dress; the only difference is some minor dialogue changes in your first conversation with Wakasa. If you choose red, then Wakasa will gently suggest that you should put more effort into your kosode. If you choose black, then she’ll compliment you on your choice.
Regardless of your choice, you can carry out the rest of the quest without any meaningful consequences. And in case you’re wondering - whichever kosode colour you pick, Otama will still give you the exact same slight about your lack of fashion sense.
| Red Kosode: | Black Kosode: |
|---|---|
| Wakasa: [sighs] From one climber to another? It is worth the extra effort for a better kosode. Naoe: There was a shortage of silk. Wakasa: Still, you must find a way. You don’t settle in Sakai, you make your claim. | Wakasa: What a beautiful kosode! I love the trim. You wouldn’t mind if I steal it from you? |
The Perfect Gift: Teapot, Jar, or Ladle?
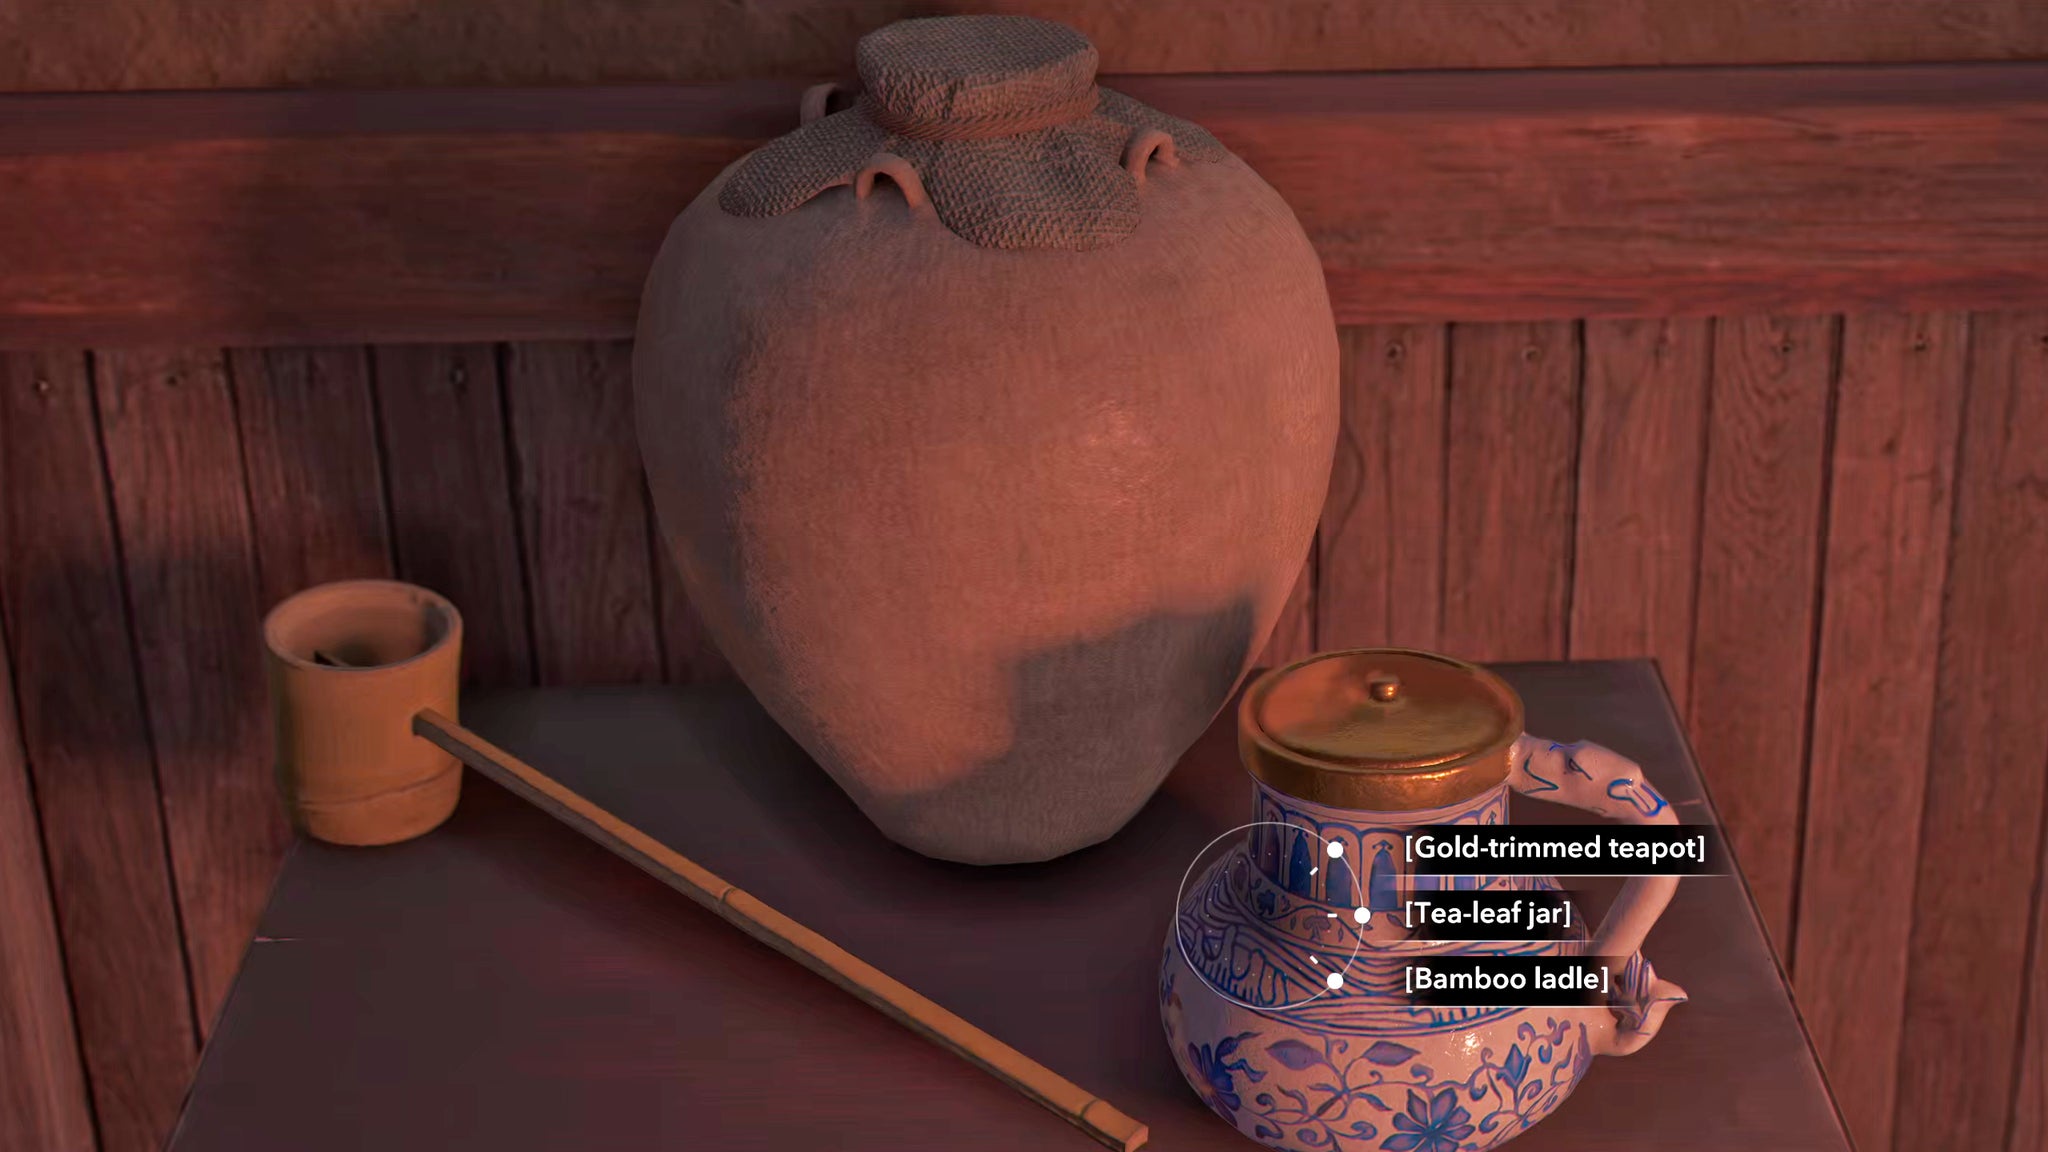
It doesn’t matter which gift you choose - all are received favourably. |Image credit:Rock Paper Shotgun/Ubisoft
The other quest you must complete to prepare for the Tea Ceremony is “The Perfect Gift”, during which a tea master teaches you basic etiquette for the ceremony. At the end of this quest, Master Sen no Rikyu will offer you a choice of three gifts to present to Imai Sokyu at the end of the Tea Ceremony:
- Gold-trimmed Teapot
- Tea-leaf Jar
- Bamboo Ladle
It doesn’t matter which gift you choose - Master Imai Sokyu will be pleased regardless. Interestingly, while the dialogue for presenting the Tea-leaf Jar and Bamboo Ladle are almost identical, the dialogue for the Teapot differs from the rest. If you choose the Teapot, then Naoe will apologise that the Jar is not up to the standard of the other women’s gifts, to which Sokyu will respond that it’s in fact a rare and thoughtful gift. Otama will scathingly suggest that the gold trim clashes with its simple elegance, but Wakasa defends your choice of gift.
Regardless, your choice of gift has no bearing on the outcome of the Tea Ceremony quest and your task to assassinate the Golden Teppo.
| Teapot: | Jar: | Ladle: |
|---|---|---|
| Naoe: My gift can’t compare to these treasures. Why would a tea master need another pot? Imai Sokyu: That is a Yixing pot. Very hard to come by. A thoughtful gift. Otama: Don’t you think the gold clashes with its simple elegance? Wakasa: Not me. | Naoe: Master Sokyu, please accept this humble gift. Imai Sokyu: The leaf-jar Komatsushima. From Lord Nobunaga’s personal collection. How did you come to possess it? Naoe: I got it through Master Rikyu. I’m sorry to have caused offense. Imai Sokyu: I see. That explains much. You gave no offense. I shall repay Master Rikyu for this act of generosity. | Naoe: Master Sokyu, please accept this humble gift. Imai Sokyu: I recognize that ladle. It’s a Shutoku, from Lord Nobunaga’s personal collection. Naoe: I got it through Master Rikyu. I’m sorry to have caused offense. Imai Sokyu: I see. That explains much. You gave no offense. I shall repay Master Rikyu for this act of generosity. |
Conversation with Wakasa: Correct answers
Just before the Tea Ceremony begins, you’ll have the chance to speak with each of the women who could potentially be the Golden Teppo. You have several dialogue choices during each conversation, but the only ones which matter in any way are during your conversation with Wakasa. Feel free to answer how you like with the other two.
When you first greet Wakasa, you need to introduce yourself with the same name that you gave Imai Sokun during the previous main quest, “Searching Sakai”. You’re free to pick any of the three names: Shizuka, Sanuki, or Shigure. It doesn’t matter which you pick, as long as you remember it, and choose the same answer when introducing yourself to Wakasa.
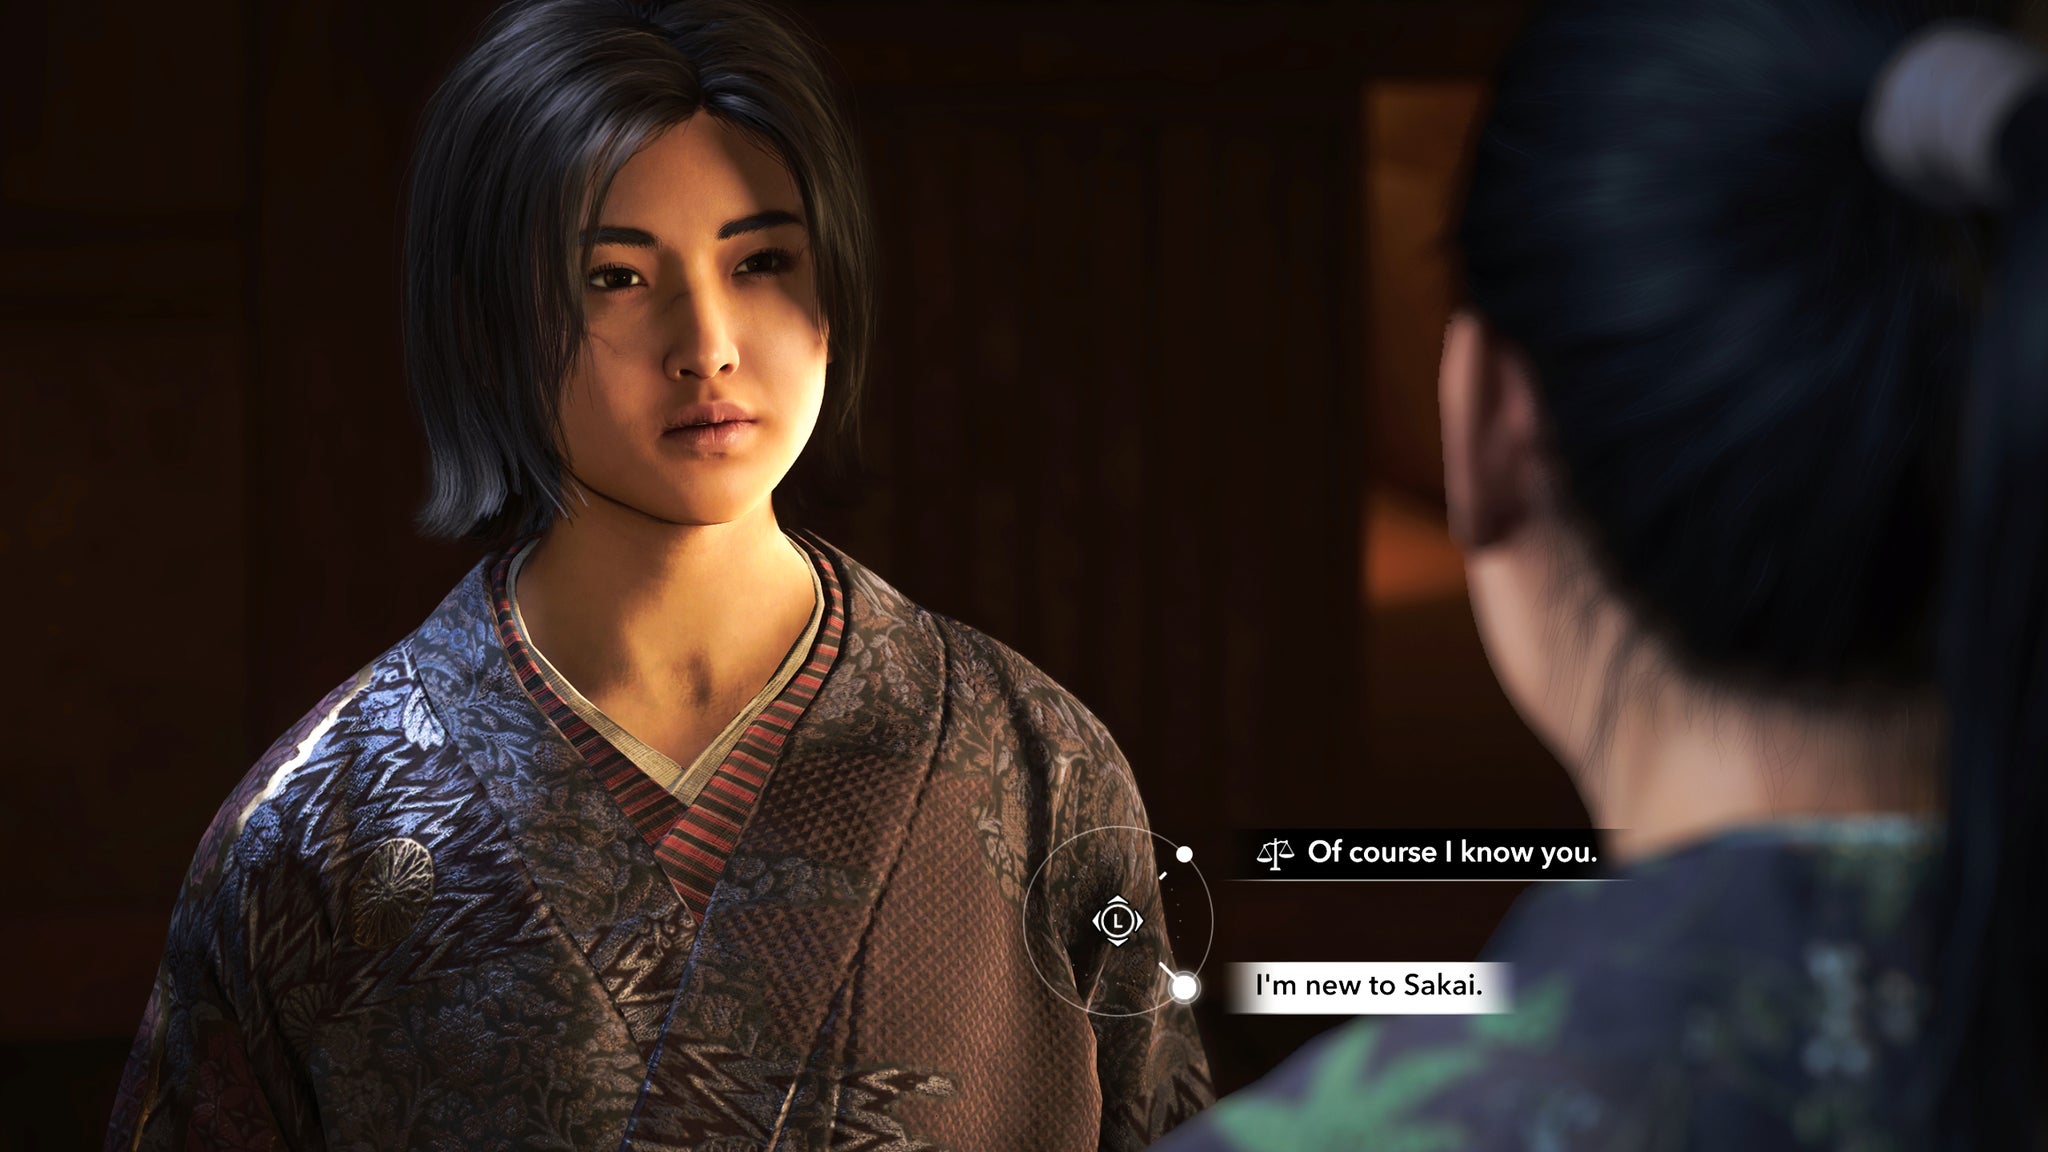
Don’t try to lie to Wakasa (except with your name). She will see right through you! |Image credit:Rock Paper Shotgun/Ubisoft
Shortly into the conversation, Wakasa will introduce herself with the line: “[chuckles] I mean no disrespect. I am Wakasa. You may have heard of me?”. The correct choice is to respond with “I’m new to Sakai”. If you do this, Wakasa will repond positively to your truthfulness. If you pick the other option - “Of course I know you” - then Wakasa will easily catch you in the lie.
The final important moment in your conversation with Wakasa is when she asks: “Where did you say you were from?”. The correct answer here is “I didn’t say where I was from”. Wakasa will appreciate your answer, which is a great deal better than the alternative. If you lie and choose “I’m from Nagasaki”, then Wakasa will again see right through you by testing your Portuguese.
Remember - you’re allowed to get one of the key choices wrong during this questline, but if you get more than one of them wrong then it will prevent you from taking the easy route at the end of The Tea Ceremony quest.
Should you bow head, halfway, or deeply?
After speaking with the three women, the Tea Ceremony itself will begin. Your first test is how to bow to the host, Master Imai Sokyu. You can choose:
- [Bow head]
- [Bow halfway] (CORRECT ANSWER)
- [Bow deeply]
The correct answer is to bow halfway, as this is part of the etiquette that Master Sen no Rikyu taught Naoe during “The Perfect Gift” quest. As he explained during this quest, “the half-bow puts us on equal standing”, which is an important aspect of the ceremony. If you bow halfway, Imai Sokyu will smile at you; if you choose either of the other options, he will shake his head and glare at the misstep.
Which way should you turn the bowl?
During the Tea Ceremony, each guest must drink from the bowl, turning it beforehand so that the pattern on the bowl faces outward towards the rest of the group. This was also explained by Master Sen no Rikyu during “The Perfect Gift” quest - but when the time comes, the phrasing of the choices is extremely ambiguous, and leaves you wondering what exactly is the correct choice.
When it comes to turning the bowl, your choices are:
- [Turn bowl left twice]
- [Turn bowl right twice] (CORRECT ANSWER)
- [Do not turn bowl]
The correct answer is to turn the bowl right twice, as this is the option which will show the pattern on the bowl to the rest of the group. It’s very confusingly phrased though; the options ought to have been whether to turn the bowl clockwise or counter-clockwise . You can see Wakasa very deliberately turn the bowl clockwise beforehand, so this phrasing would make the answer much clearer.
Should you confront Otama or Wakasa?
<img loading=“lazy” src=“https://assetsio.gnwcdn.com/assassins-creed-shadows-confront-otama-or-wakasa.jpg?width=2048&height=2048&fit=bounds&quality=85&format=jpg&auto=webp" onerror=“this.onerror=null;this.src=‘https://blogger.googleusercontent.com/img/a/AVvXsEhe7F7TRXHtjiKvHb5vS7DmnxvpHiDyoYyYvm1nHB3Qp2_w3BnM6A2eq4v7FYxCC9bfZt3a9vIMtAYEKUiaDQbHMg-ViyGmRIj39MLp0bGFfgfYw1Dc9q_H-T0wiTm3l0Uq42dETrN9eC8aGJ9_IORZsxST1AcLR7np1koOfcc7tnHa4S8Mwz_xD9d0=s16000';" alt=“Three women stands in a group in a garden at night in Assassin’s Creed Shadows. A dialogue option at the bottom of the screen prompts the player to choose between “Confront Otama” and “Confront Wakasa”. - 7”>
Otama may be an awful person, but she’s not your true target… |Image credit:Rock Paper Shotgun/Ubisoft
The final - and most important - choice in The Tea Ceremony quest is whether to confront Otama or Wakasa in the garden after the ceremony is finished. This is the moment where you must use the clues you’ve gained during the quest to figure out the identity of the Golden Teppo who shot Naoe at the beginning of the game.
The correct answer is to confront Wakasa. She is the true Golden Teppo. If you confront Wakasa, then she’ll approach you in the garden and begin another conversation. This conversation can go one of two directions, depending on whether you kept your secret identity hidden or not by guessing the correct answers previously in the quest.
As Naoe said, Lady Satoko really doesn’t seem like the type to be the Golden Teppo, so that leaves Otama or Wakasa. While Otama is a nasty piece of work, she seems rather more of a straightforward materialistic high society enjoyer. Wakasa, on the other hand, makes it clear that she is highly ambitious and has big plans for the future of Sakai. The gift she presents to Imai Sokyu is also telling: a dagger, with connections to the previous Shogun.
What’s more - if you choose to lie about your background to Wakasa earlier, she’ll start speaking Portuguese. Yes, this technically is an incorrect choice, but it can also lead you straight to Wakasa if you recall that the Golden Teppo cursed in Portuguese when Naoe’s father appeared just after she shot Naoe.
Weighed against this is the red herring of Otama calling you “a cat with a silver coin”, which happens to be exactly the phrase that the Golden Teppo used after shooting Naoe earlier in the game. This is the part that’s most likely to misdirect you towards incorrectly confronting Otama instead of Wakasa.
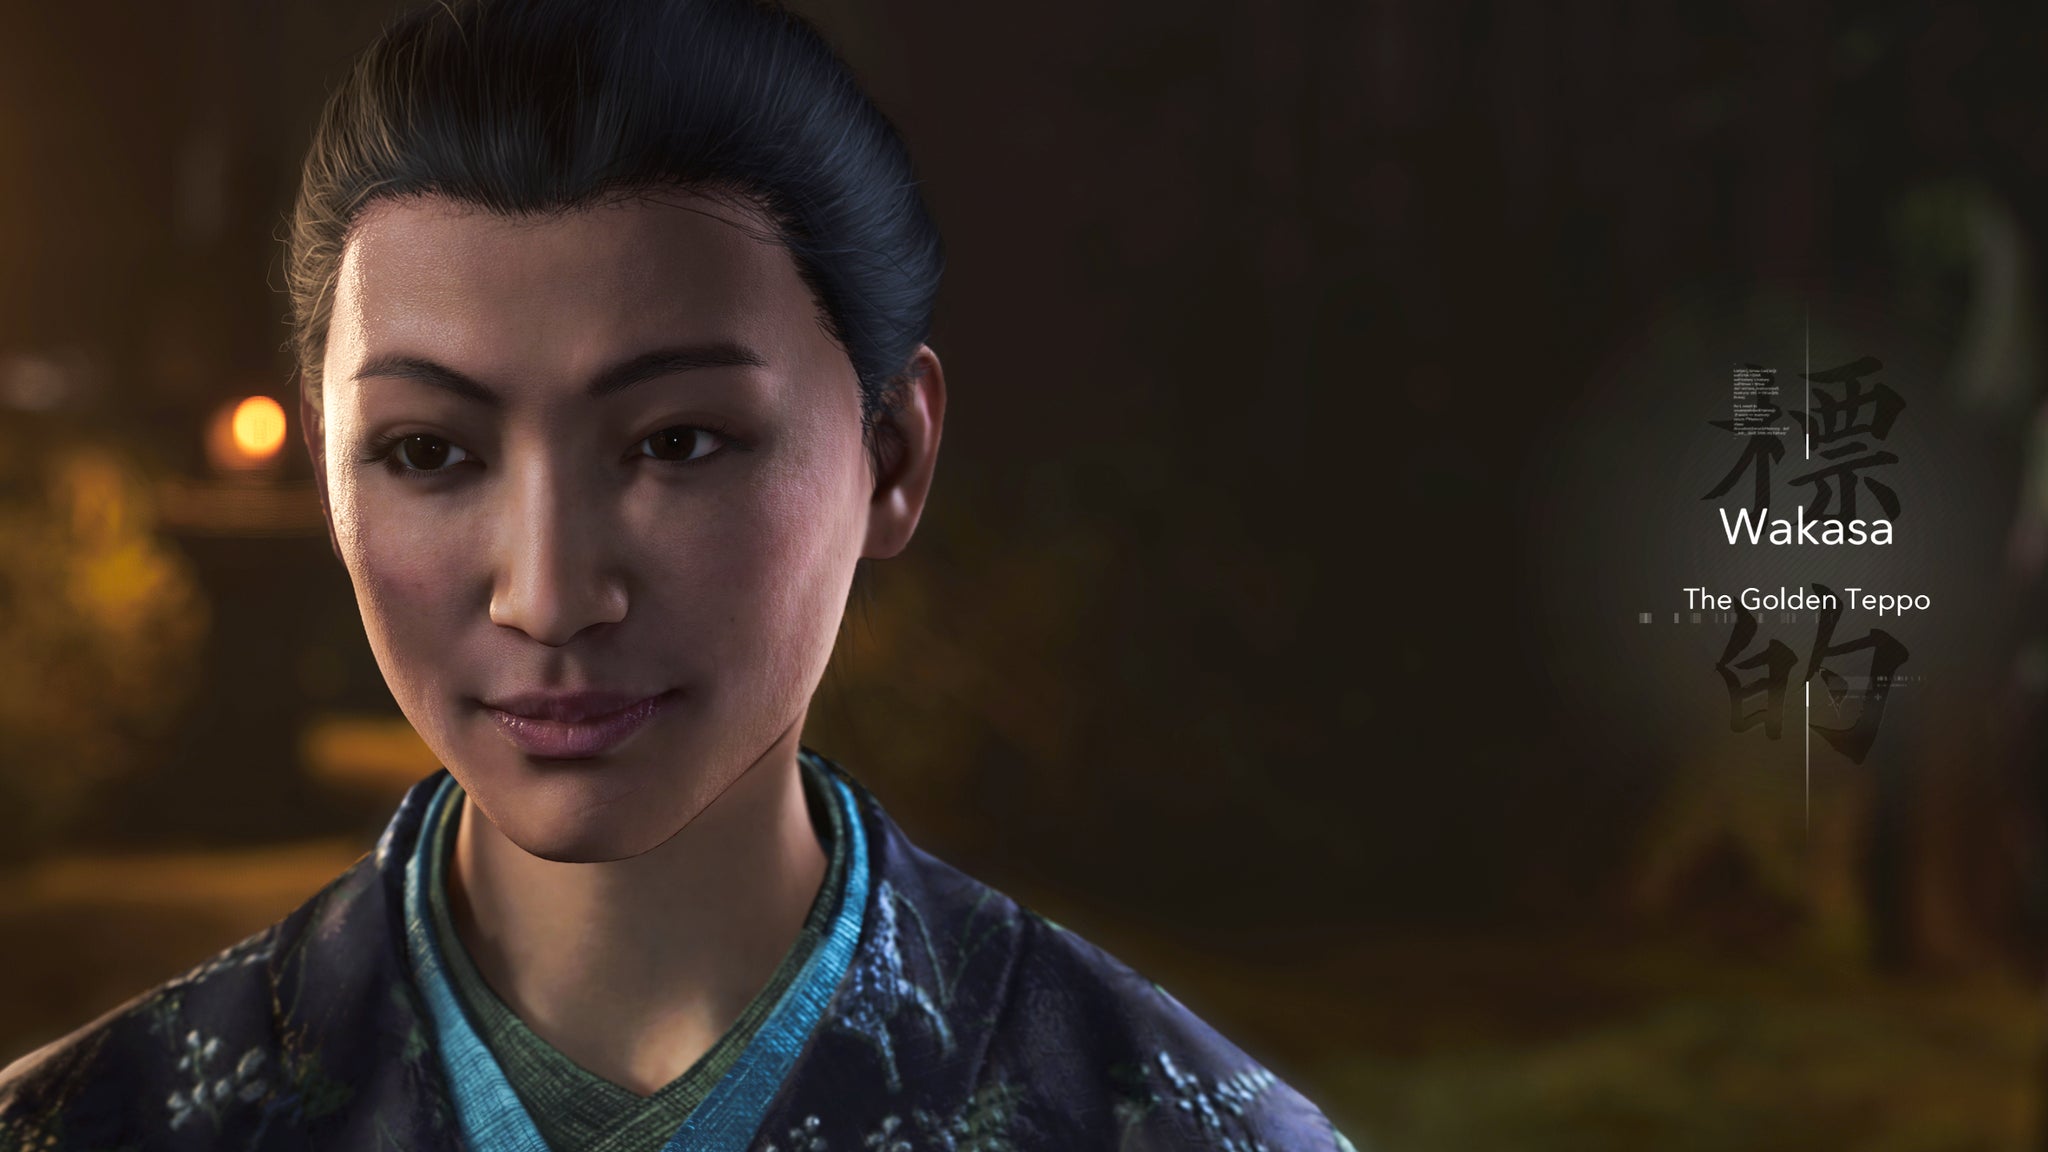
Yep, Wakasa was the true Golden Teppo all along. |Image credit:Rock Paper Shotgun/Ubisoft
If you made just one mistake or none at all, then Wakasa will invite you back to her home, giving you a chance to easily assassinate her. If you made two or more mistakes previously in the quest, then Wakasa will tell you that she recognises you, and warn you to leave Sakai while you still can. She’ll then disappear, and you’ll be placed back into the open world in order to track her down in Osaka Castle.
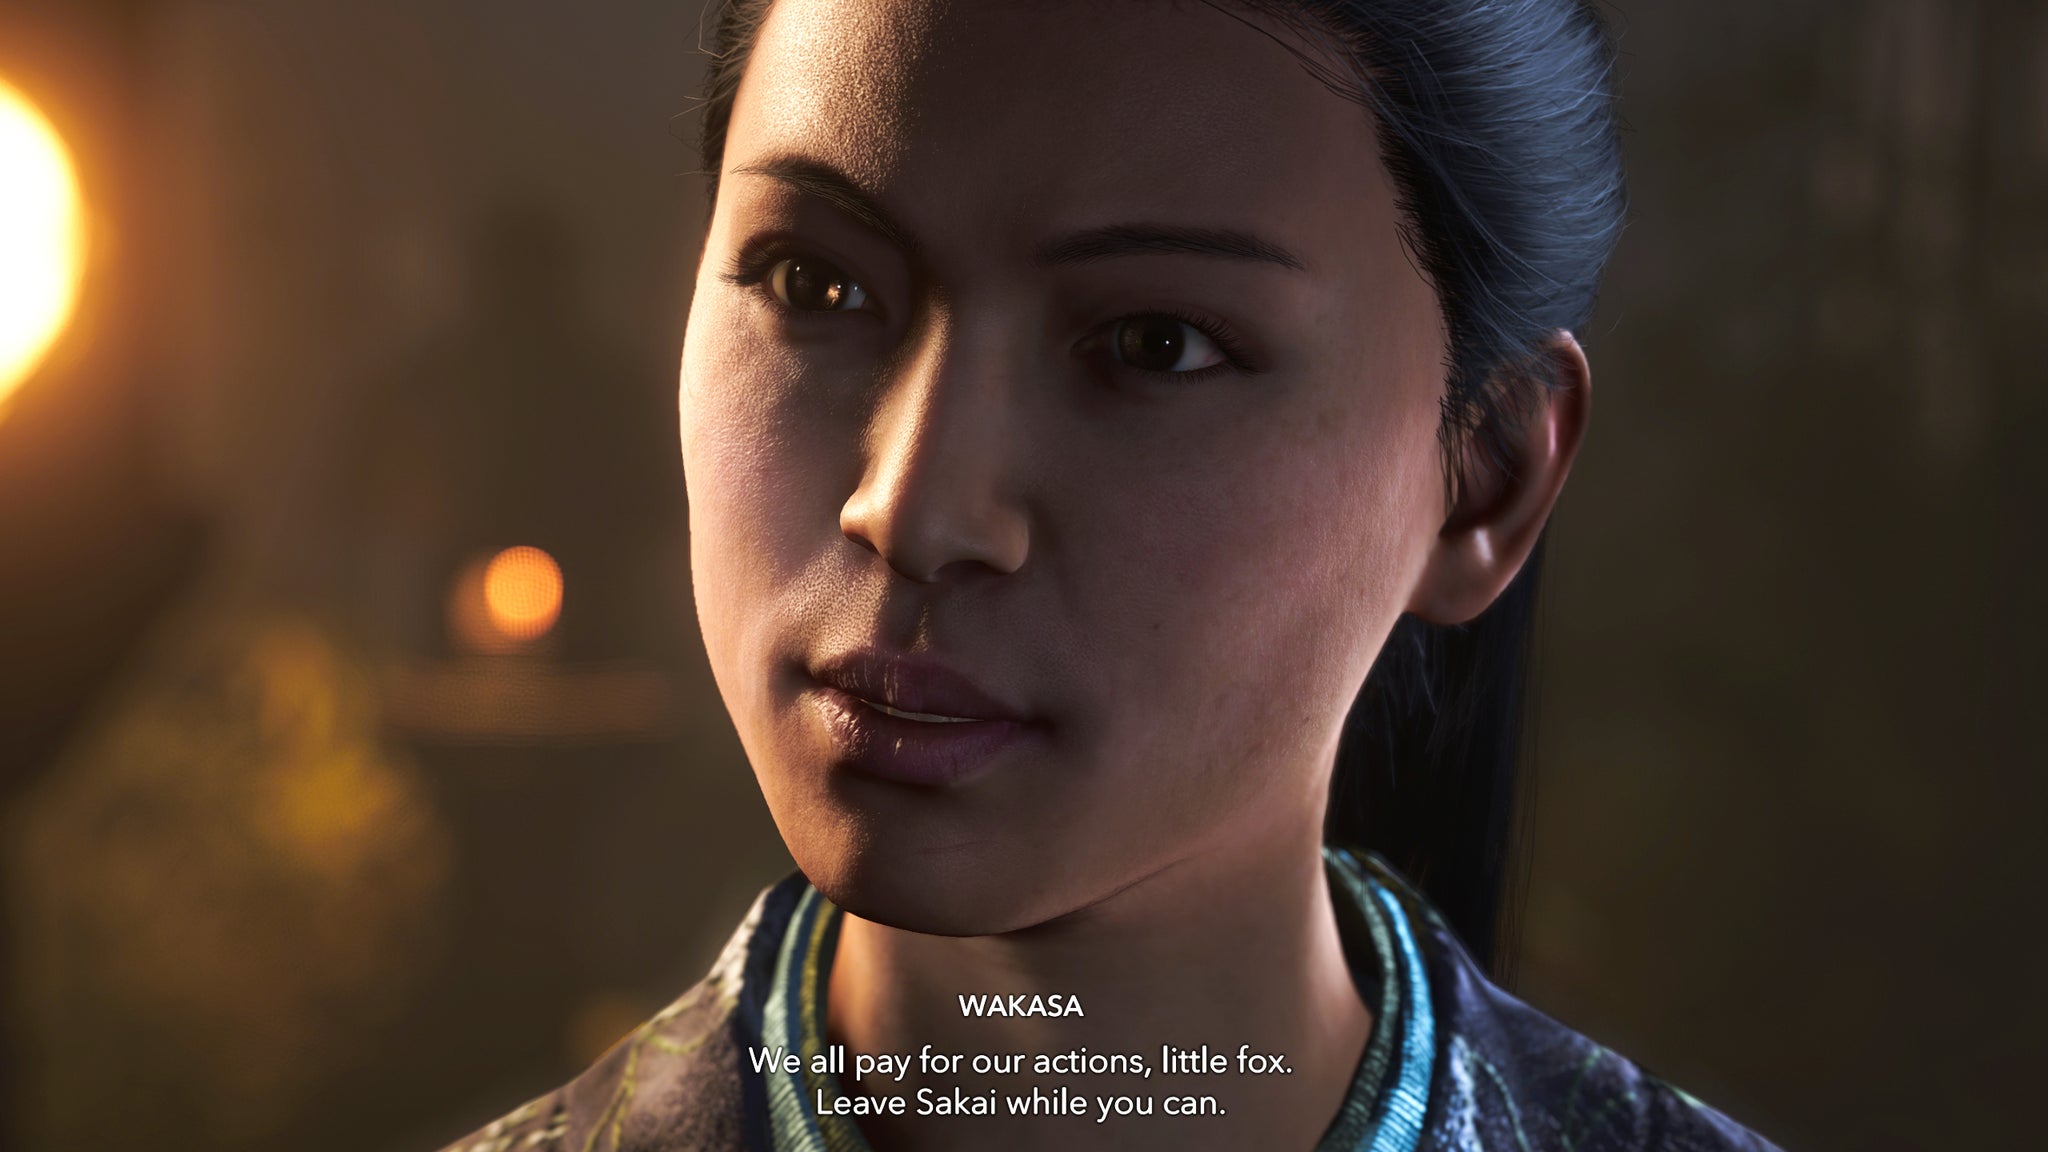
If you make too many incorrect decisions during the ceremony, then Wakasa will realise who you are. |Image credit:Rock Paper Shotgun/Ubisoft
If you choose incorrectly and confront Otama , then Naoe will follow Otama as she leaves. You must then chase down Otama and assassinate her. Once you’ve killed her, you’ll be able to read a letter on her person to Wakasa, which makes it clear that Wakasa was the true Golden Teppo all along. The silver lining is that the letter also confirms Otama was corrupt to the core, so killing her is no great loss to humanity. You’re then left with no choice but to track down Wakasa inside Osaka Castle.
Easy Ending: Follow Wakasa to her home
If you make all the correct choices in the Tea Ceremony quest, then Wakasa will not recognise you, and invite you back to her home. You’re then free to move around her home while Wakasa continues to talk about her past. Head around to the other side of the wall nearest Wakasa, and you’ll find her Golden Teppo mounted on the wall. Interact with it to trigger a cutscene where Naoe picks up the Teppo and drops the act at last.
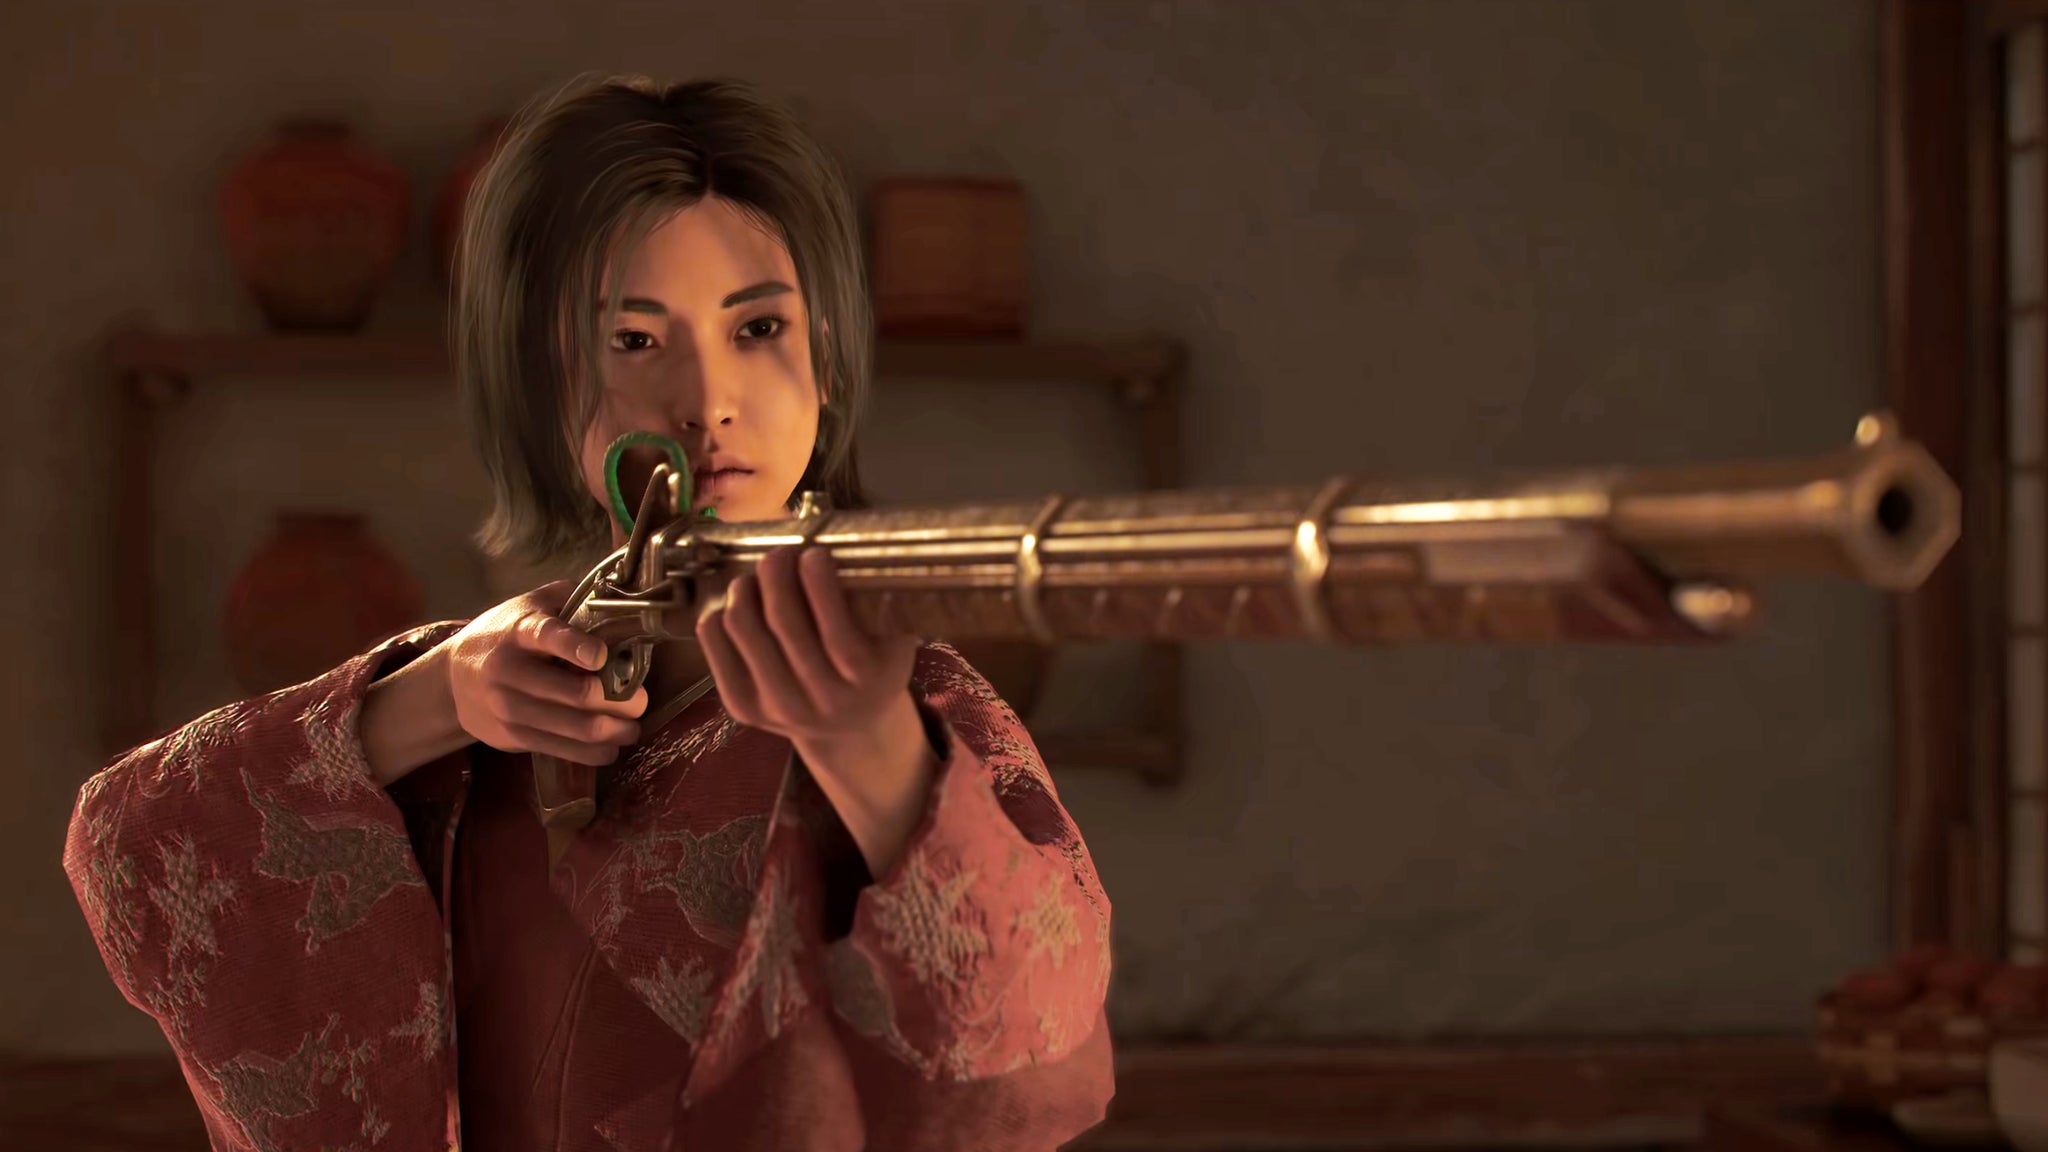
Regardless of your choice inside Wakasa’s home, Naoe will end up killing her with her own Golden Teppo. |Image credit:Rock Paper Shotgun/Ubisoft
Faced with her own Teppo, Wakasa will finally recognise Naoe, and start to calmly bargain for her life. You then have one more dialogue choice to make:
- “Give me the box.”
- “I want revenge.”
It doesn’t matter which choice you pick in the end - either of them will result in Naoe killing Wakasa with a single shot to the head. If you choose to demand the box, then Wakasa will say she knows where it is, but refuses to tell you, instead asking you to let her take you to it. Naoe, wisely, refuses on your behalf and shoots her.
If you choose “I want revenge”, then Naoe will tell Wakasa that she wants her to feel the pain Naoe felt when her father was slain by the Onryo. Wakasa will say that there’s little hope of this, seeing as there’s no love lost between Wakasa and her own father. She then tries to bargain with Naoe one more time, but Naoe refuses and shoots her.
| “Give me the box.” | “I want revenge.” |
|---|---|
| Naoe: I want the box you took from me that night. Wakasa: Ah, the box. Well, it isn’t here, but I can take you to it. Naoe: No, you’ll tell me where it is. Wakasa: I do that, you’ll have no reason to let me live. Naoe: So, you won’t tell me where it is? Wakasa: No. Naoe: Then you’re of no use to me at all. [Shoots] | Naoe: I want you to feel the pain I’ve felt. The loss. You took my father from me. Wakasa: Hm. My father sold me to pirates for a bag of rice. Killing him would be a mercy. Naoe: So you’re saying you have nothing to lose? What about all this? Wakasa: You can have it all. I started with nothing. I can do it again. Naoe: There is nothing here that I want. Wakasa: You must want something. Naoe: I want my father back. [Shoots] |
Hard Ending: Assassinate Wakasa in Osaka Castle
You will reach the hard ending to The Tea Ceremony quest either by confronting Otama or by making one too many mistakes during the ceremony itself. Either way, you’ll be forced to journey to Osaka Castle in order to assassinate Wakasa. This is still a fairly straightforward mission, with all the same dangers of any well-defended samurai-infested Castle you can encounter in the open world throughout the game.
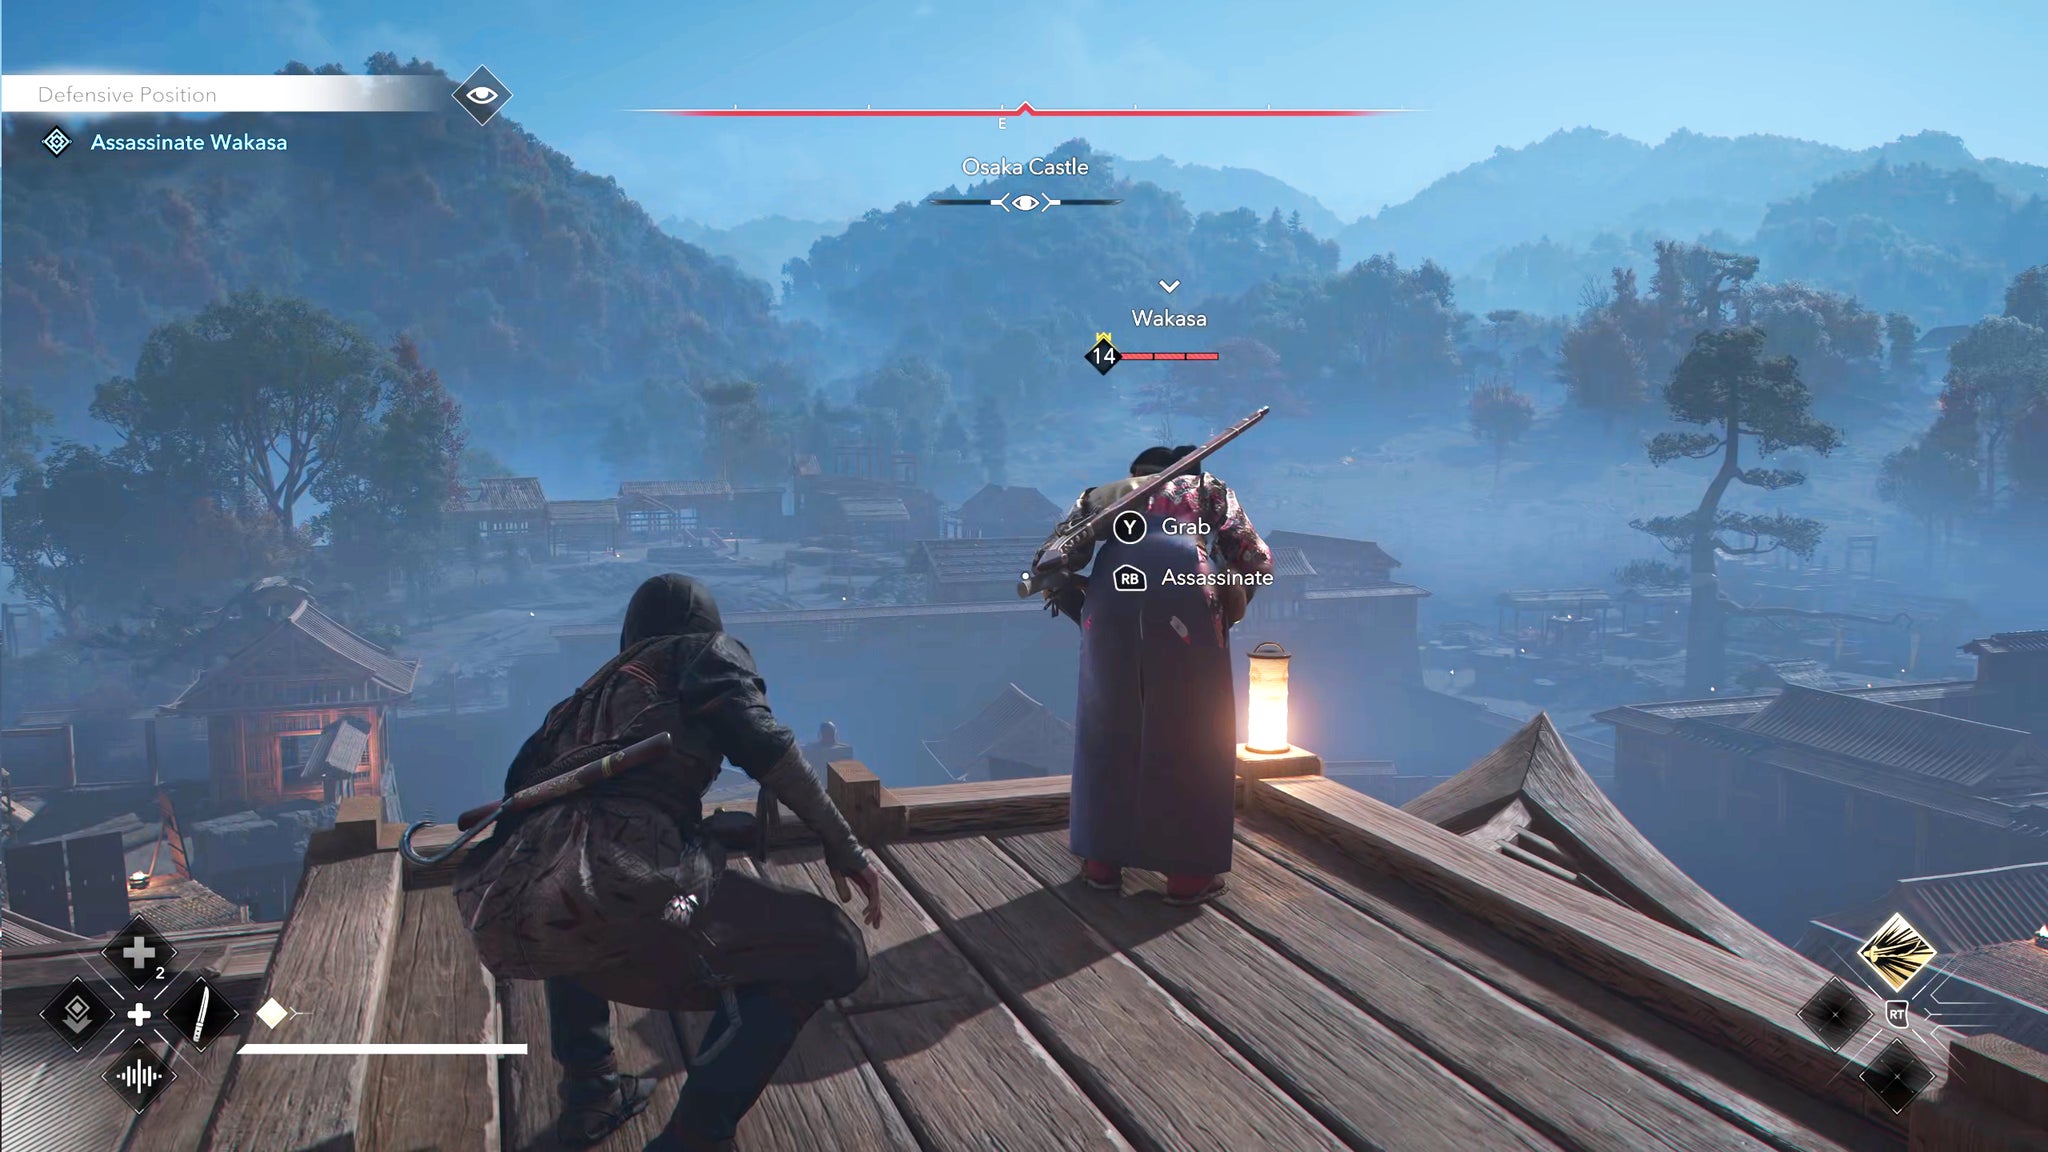
If you want a climactic fight instead of a climactic cutscene, then it’s best to intentionally go for the hard ending to The Tea Ceremony quest. |Image credit:Rock Paper Shotgun/Ubisoft
Wakasa herself can be found on the edge of a large rooftop, shouting orders down to her soldiers below. It’s easy enough to sneak up behind her and assassinate her with a single attack, but be wary of the lone soldier on the roof with her. If Wakasa notices you, then she’ll fight with both her teppo and her katana, staying on the rooftop where possible.
Once you kill her, a short cutscene will trigger showing Naoe picking up her Golden Teppo and snapping it in half, before resolving to find the horseman - the seeming leader of the Onryo - who she assumes has the missing box.
That wraps up the entirety of “The Tea Ceremony” quest, one of my personal favourites in Assassin’s Creed Shadows. If you want a glimmer of something slightly more lighthearted than this intense assassination mission, then check out our guide to all the Assassin’s Creed Shadows romance options . You can also consult our handy primers on how to use Scouts , all the Allies in AC Shadows , all the Viewpoint locations , and how to reach Cat Island !

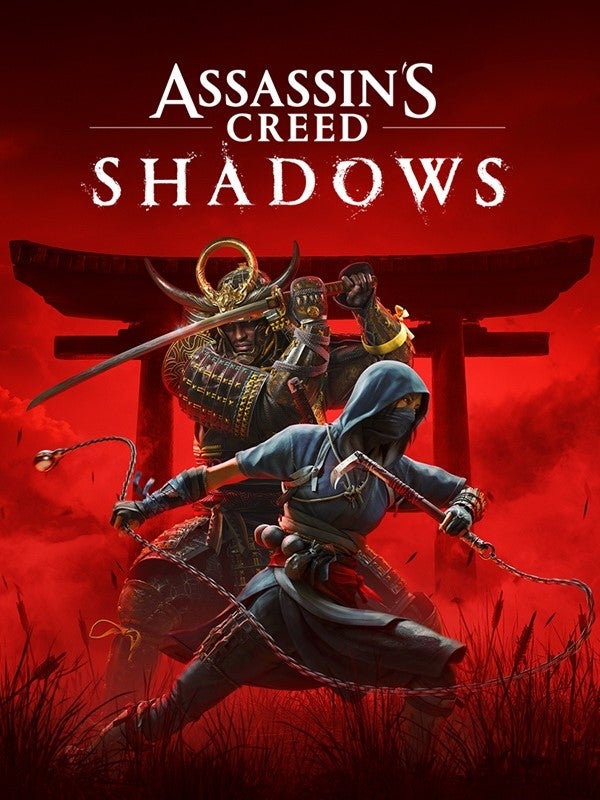
Assassin’s Creed Shadows
PS5 , Xbox Series X/S , PC , Mac , Nintendo Switch 2
Rock Paper Shotgun is better when you sign in
Sign in and join us on our journey to discover strange and compelling PC games.

All 75 Arc Raiders Blueprints and where to get them
These areas have the highest chance of giving you Blueprints

Image credit:Rock Paper Shotgun/Embark Studios

Looking for more Arc Raiders Blueprints? It’s a special day when you find a Blueprint, as they’re among the most valuable items in Arc Raiders. If you find a Blueprint that you haven’t already found, then you must make sure you hold onto it at all costs, because Blueprints are the key to one of the most important and powerful systems of meta-progression in the game.
This guide aims to be the very best guide on Blueprints you can find, starting with a primer on what exactly they are and how they work in Arc Raiders, before delving into exactly where to get Blueprints and the very best farming spots for you to take in your search.
We’ll also go over how to get Blueprints from other unlikely activities, such as destroying Surveyors and completing specific quests. And you’ll also find the full list of all 75 Blueprints in Arc Raiders on this page (including the newest Blueprints added with the Cold Snap update , such as the Deadline Blueprint and Firework Box Blueprint), giving you all the information you need to expand your own crafting repertoire.
In this guide:
- What are Blueprints in Arc Raiders?
- Full Blueprint list: All crafting recipes
- Where to find Blueprints in Arc Raiders Blueprints obtained from quests Blueprints obtained from Trials Best Blueprint farming locations

What are Blueprints in Arc Raiders?
Blueprints in Arc Raiders are special items which, if you manage to extract with them, you can expend to permanently unlock a new crafting recipe in your Workshop. If you manage to extract from a raid with an Anvil Blueprint, for example, you can unlock the ability to craft your very own Anvil Pistol, as many times as you like (as long as you have the crafting materials).
To use a Blueprint, simply open your Inventory while in the lobby, then right-click on the Blueprint and click “Learn And Consume” . This will permanently unlock the recipe for that item in your Workshop. As of the Stella Montis update, there are allegedly 75 different Blueprints to unlock - although only 68 are confirmed to be in the game so far. You can see all the Blueprints you’ve found and unlocked by going to the Workshop menu, and hitting “R” to bring up the Blueprint screen.
It’s possible to find duplicates of past Blueprints you’ve already unlocked. If you find these, then you can either sell them, or - if you like to play with friends - you can take it into a match and gift it to your friend so they can unlock that recipe for themselves. Another option is to keep hold of them until the time comes to donate them to the Expedition.
Full Blueprint list: All crafting recipes
Below is the full list of all the Blueprints that are currently available to find in Arc Raiders, and the crafting recipe required for each item:
| Blueprint | Type | Recipe | Crafted At |
|---|---|---|---|
| Bettina | Weapon | 3x Advanced Mechanical Components 3x Heavy Gun Parts 3x Canister | Gunsmith 3 |
| Blue Light Stick | Quick Use | 3x Chemicals | Utility Station 1 |
| Aphelion | Weapon | 3x Magnetic Accelerator 3x Complex Gun Parts 1x Matriarch Reactor | Gunsmith 3 |
| Combat Mk. 3 (Flanking) | Augment | 2x Advanced Electrical Components 3x Processor | Gear Bench 3 |
| Combat Mk. 3 (Aggressive) | Augment | 2x Advanced Electrical Components 3x Processor | Gear Bench 3 |
| Complex Gun Parts | Material | 2x Light Gun Parts 2x Medium Gun Parts 2x Heavy Gun Parts | Refiner 3 |
| Fireworks Box | Quick Use | 1x Explosive Compound 3x Pop Trigger | Explosives Station 2 |
| Gas Mine | Mine | 4x Chemicals 2x Rubber Parts | Explosives Station 1 |
| Green Light Stick | Quick Use | 3x Chemicals | Utility Station 1 |
| Pulse Mine | Mine | 1x Crude Explosives 1x Wires | Explosives Station 1 |
| Seeker Grenade | Grenade | 1x Crude Explosives 2x ARC Alloy | Explosives Station 1 |
| Looting Mk. 3 (Survivor) | Augment | 2x Advanced Electrical Components 3x Processor | Gear Bench 3 |
| Angled Grip II | Mod | 2x Mechanical Components 3x Duct Tape | Gunsmith 2 |
| Angled Grip III | Mod | 2x Mod Components 5x Duct Tape | Gunsmith 3 |
| Hullcracker | Weapon | 1x Magnetic Accelerator 3x Heavy Gun Parts 1x Exodus Modules | Gunsmith 3 |
| Launcher Ammo | Ammo | 5x Metal Parts 1x Crude Explosives | Workbench 1 |
| Anvil | Weapon | 5x Mechanical Components 5x Simple Gun Parts | Gunsmith 2 |
| Anvil Splitter | Mod | 2x Mod Components 3x Processor | Gunsmith 3 |
| ??? | ??? | ??? | ??? |
| Barricade Kit | Quick Use | 1x Mechanical Components | Utility Station 2 |
| Blaze Grenade | Grenade | 1x Explosive Compound 2x Oil | Explosives Station 3 |
| Bobcat | Weapon | 3x Advanced Mechanical Components 3x Light Gun Parts | Gunsmith 3 |
| Osprey | Weapon | 2x Advanced Mechanical Components 3x Medium Gun Parts 7x Wires | Gunsmith 3 |
| Burletta | Weapon | 3x Mechanical Components 3x Simple Gun Parts | Gunsmith 1 |
| Compensator II | Mod | 2x Mechanical Components 4x Wires | Gunsmith 2 |
| Compensator III | Mod | 2x Mod Components 8x Wires | Gunsmith 3 |
| Defibrillator | Quick Use | 9x Plastic Parts 1x Moss | Medical Lab 2 |
| ??? | ??? | ??? | ??? |
| Equalizer | Weapon | 3x Magnetic Accelerator 3x Complex Gun Parts 1x Queen Reactor | Gunsmith 3 |
| Extended Barrel | Mod | 2x Mod Components 8x Wires | Gunsmith 3 |
| Extended Light Mag II | Mod | 2x Mechanical Components 3x Steel Spring | Gunsmith 2 |
| Extended Light Mag III | Mod | 2x Mod Components 5x Steel Spring | Gunsmith 3 |
| Extended Medium Mag II | Mod | 2x Mechanical Components 3x Steel Spring | Gunsmith 2 |
| Extended Medium Mag III | Mod | 2x Mod Components 5x Steel Spring | Gunsmith 3 |
| Extended Shotgun Mag II | Mod | 2x Mechanical Components 3x Steel Spring | Gunsmith 2 |
| Extended Shotgun Mag III | Mod | 2x Mod Components 5x Steel Spring | Gunsmith 3 |
| Remote Raider Flare | Quick Use | 2x Chemicals 4x Rubber Parts | Utility Station 1 |
| Heavy Gun Parts | Material | 4x Simple Gun Parts | Refiner 2 |
| Venator | Weapon | 2x Advanced Mechanical Components 3x Medium Gun Parts 5x Magnet | Gunsmith 3 |
| Il Toro | Weapon | 5x Mechanical Components 6x Simple Gun Parts | Gunsmith 1 |
| Jolt Mine | Mine | 1x Electrical Components 1x Battery | Explosives Station 2 |
| Explosive Mine | Mine | 1x Explosive Compound 1x Sensors | Explosives Station 3 |
| Jupiter | Weapon | 3x Magnetic Accelerator 3x Complex Gun Parts 1x Queen Reactor | Gunsmith 3 |
| Light Gun Parts | Material | 4x Simple Gun Parts | Refiner 2 |
| Lightweight Stock | Mod | 2x Mod Components 5x Duct Tape | Gunsmith 3 |
| Lure Grenade | Grenade | 1x Speaker Component 1x Electrical Components | Utility Station 2 |
| Medium Gun Parts | Material | 4x Simple Gun Parts | Refiner 2 |
| Torrente | Weapon | 2x Advanced Mechanical Components 3x Medium Gun Parts 6x Steel Spring | Gunsmith 3 |
| Muzzle Brake II | Mod | 2x Mechanical Components 4x Wires | Gunsmith 2 |
| Muzzle Brake III | Mod | 2x Mod Components 8x Wires | Gunsmith 3 |
| Padded Stock | Mod | 2x Mod Components 5x Duct Tape | Gunsmith 3 |
| Shotgun Choke II | Mod | 2x Mechanical Components 4x Wires | Gunsmith 2 |
| Shotgun Choke III | Mod | 2x Mod Components 8x Wires | Gunsmith 3 |
| Shotgun Silencer | Mod | 2x Mod Components 8x Wires | Gunsmith 3 |
| Showstopper | Grenade | 1x Advanced Electrical Components 1x Voltage Converter | Explosives Station 3 |
| Silencer I | Mod | 2x Mechanical Components 4x Wires | Gunsmith 2 |
| Silencer II | Mod | 2x Mod Components 8x Wires | Gunsmith 3 |
| Snap Hook | Quick Use | 2x Power Rod 3x Rope 1x Exodus Modules | Utility Station 3 |
| Stable Stock II | Mod | 2x Mechanical Components 3x Duct Tape | Gunsmith 2 |
| Stable Stock III | Mod | 2x Mod Components 5x Duct Tape | Gunsmith 3 |
| Tagging Grenade | Grenade | 1x Electrical Components 1x Sensors | Utility Station 3 |
| Tempest | Weapon | 3x Advanced Mechanical Components 3x Medium Gun Parts 3x Canister | Gunsmith 3 |
| Trigger Nade | Grenade | 2x Crude Explosives 1x Processor | Explosives Station 2 |
| Vertical Grip II | Mod | 2x Mechanical Components 3x Duct Tape | Gunsmith 2 |
| Vertical Grip III | Mod | 2x Mod Components 5x Duct Tape | Gunsmith 3 |
| Vita Shot | Quick Use | 2x Antiseptic 1x Syringe | Medical Lab 3 |
| Vita Spray | Quick Use | 3x Antiseptic 1x Canister | Medical Lab 3 |
| Vulcano | Weapon | 1x Magnetic Accelerator 3x Heavy Gun Parts 1x Exodus Modules | Gunsmith 3 |
| Wolfpack | Grenade | 2x Explosive Compound 2x Sensors | Explosives Station 3 |
| Red Light Stick | Quick Use | 3x Chemicals | Utility Station 1 |
| Smoke Grenade | Grenade | 14x Chemicals 1x Canister | Utility Station 2 |
| Deadline | Mine | 3x Explosive Compound 2x ARC Circuitry | Explosives Station 3 |
| Trailblazer | Grenade | 1x Explosive Compound 1x Synthesized Fuel | Explosives Station 3 |
| Tactical Mk. 3 (Defensive) | Augment | 2x Advanced Electrical Components 3x Processor | Gear Bench 3 |
| Tactical Mk. 3 (Healing) | Augment | 2x Advanced Electrical Components 3x Processor | Gear Bench 3 |
| Yellow Light Stick | Quick Use | 3x Chemicals | Utility Station 1 |
Note: The missing Blueprints in this list likely have not actually been added to the game at the time of writing, because none of the playerbase has managed to find any of them. As they are added to the game, I will update this page with the most relevant information so you know exactly how to get all 75 Arc Raiders Blueprints.
Where to find Blueprints in Arc Raiders
Below is a list of all containers, modifiers, and events which maximise your chances of finding Blueprints:
- Certain quests reward you with specific Blueprints .
- Completing Trials has a high chance of offering Blueprints as rewards.
- Surveyors have a decent chance of dropping Blueprints on death.
- High loot value areas tend to have a greater chance of spawning Blueprints.
- Night Raids and Storms may increase rare Blueprint spawn chances in containers.
- Containers with higher numbers of items may have a higher tendency to spawn Blueprints. As a result, Blue Gate (which has many “large” containers containing multiple items) may give you a higher chance of spawning Blueprints.
- Raider containers (Raider Caches, Weapon Boxes, Medical Bags, Grenade Tubes) have increased Blueprint drop rates. As a result, the Uncovered Caches event gives you a high chance of finding Blueprints.
- Security Lockers have a higher than average chance of containing Blueprints.
- Certain Blueprints only seem to spawn under specific circumstances: Tempest Blueprint only spawns during Night Raid events. Vulcano Blueprint only spawns during Hidden Bunker events. Jupiter and Equaliser Blueprints only spawn during Harvester events.

Raider Caches, Weapon Boxes, and other raider-oriented container types have a good chance of offering Blueprints. |Image credit:Rock Paper Shotgun/Embark Studios
Blueprints have a very low chance of spawning in any container in Arc Raiders, around 1-2% on average. However, there is a higher chance of finding Blueprints in particular container types. Specifically, you can find more Blueprints in Raider containers and security lockers.
Beyond this, if you’re looking for Blueprints you should focus on regions of the map which are marked as having particularly high-value loot. Areas such as the Control Tower in Dam Battlegrounds, the Arrival and Departure Buildings in Spaceport, and Pilgrim’s Peak in Blue Gate all have a better-than-average chance of spawning Blueprints somewhere amongst all their containers. Night Raids and Electromagnetic Storm events also increase the drop chances of certain Blueprints .
In addition to these containers, you can often loot Blueprints from destroyed Surveyors - the largest of the rolling ball ARC. Surveyors are more commonly found on the later maps - Spaceport and Blue Gate - and if one spawns in your match, you’ll likely see it by the blue laser beam that it casts into the sky while “surveying”.
Surveyors are quite well-armoured and will very speedily run away from you once it notices you, but if you can take one down then make sure you loot all its parts for a chance of obtaining certain unusual Blueprints.
Blueprints obtained from quests
One way in which you can get Blueprints is by completing certain quests for the vendors in Speranza. Some quests will reward you with a specific item Blueprint upon completion, so as long as you work through all the quests in Arc Raiders, you are guaranteed those Blueprints.
Here is the full list of all Blueprints you can get from quest rewards:
- Trigger Nade Blueprint: Rewarded after completing “Sparks Fly”.
- Lure Grenade Blueprint: Rewarded after completing “Greasing Her Palms”.
- Burletta Blueprint: Rewarded after completing “Industrial Espionage”.
- Hullcracker Blueprint (and Launcher Ammo Blueprint): Rewarded after completing “The Major’s Footlocker”.
Alas, that’s only 4 Blueprints out of a total of 75 to unlock, so for the vast majority you will need to find them yourself during a raid. If you’re intent on farming Blueprints, then it’s best to equip yourself with cheap gear in case you lose it, but don’t use a free loadout because then you won’t get a safe pocket to stash any new Blueprint you find. No pain in Arc Raiders is sharper than failing to extract with a new Blueprint you’ve been after for a dozen hours already.

One of the best ways to get Blueprints is by hitting three stars on all five Trials every week. |Image credit:Rock Paper Shotgun/Embark Studios
Blueprints obtained from Trials
One of the very best ways to get Blueprints is as rewards for completing Trials in Arc Raiders. Trials are unlocked from Level 15 onwards, and allow you to earn rewards by focusing on certain tasks over the course of several raids. For example, one Trial might task you with dealing damage to Hornets, while another might challenge you to loot Supply Drops.
Trials refresh on a weekly basis, with a new week bringing five new Trials. Each Trial can offer up to three rewards after passing certain score milestones, and it’s possible to receive very high level loot from these reward crates - including Blueprints. So if you want to unlock as many Blueprints as possible, you should make a point of completing as many Trials as possible each week.
Best Blueprint farming locations
The very best way to get Blueprints is to frequent specific areas of the maps which combine high-tier loot pools with the right types of containers to search. Here are my recommendations for where to find Blueprints on every map, so you can always keep the search going for new crafting recipes to unlock.

Image credit:Rock Paper Shotgun/Embark Studios
Dam Battlegrounds
The best places to farm Blueprints on Dam Battlegrounds are the Control Tower, Power Generation Complex, Ruby Residence, and Pale Apartments . The first two regions, despite only being marked on the map as mid-tier loot, contain a phenomenal number of containers to loot. The Control Tower can also contain a couple of high-tier Security Lockers - though of course, you’ll need to have unlocked the Security Breach skill at the end of the Survival tree.
There’s also a lot of reporting amongst the playerbase that the Residential areas in the top-left of the map - Pale Apartments and Ruby Residence - give you a comparatively strong chance of finding Blueprints. Considering their size, there’s a high density of containers to loot in both locations, and they also have the benefit of being fairly out of the way. So you’re more likely to have all the containers to yourself.
Buried City
The best Blueprint farming locations on Buried City are the Santa Maria Houses, Grandioso Apartments, Town Hall, and the various buildings of the New District . Grandioso Apartments has a lower number of containers than the rest, but a high chance of spawning weapon cases - which have good Blueprint drop rates. The others are high-tier loot areas, with plenty of lootable containers - including Security Lockers.
Spaceport
The best places to find Blueprints on Spaceport are the Arrival and Departure Buildings, as well as Control Tower A6 and the Launch Towers . All these areas are labelled as high-value loot regions, and many of them are also very handily connected to one another by the Spaceport wall, which you can use to quickly run from one area to the next. At the tops of most of these buildings you’ll find at least one Security Locker, so this is an excellent farming route for players looking to find Blueprints.
The downside to looting Blueprints on Spaceport is that all these areas are hotly contested, particularly in Duos and Squads. You’ll need to be very focused and fast in order to complete the full farming route.

Image credit:Rock Paper Shotgun/Embark Studios
Blue Gate
Blue Gate tends to have a good chance of dropping Blueprints, potentially because it generally has a high number of containers which can hold lots of items; so there’s a higher chance of a Blueprint spawning in each container. In my experience, the best Blueprint farming spots on Blue Gate are Pilgrim’s Peak, Raider’s Refuge, the Ancient Fort, and the Underground Complex beneath the Warehouse .
All of these areas contain a wealth of containers to loot. Raider’s Refuge has less to loot, but the majority of the containers in and around the Refuge are raider containers, which have a high chance of containing Blueprints - particularly during major events.
Stella Montis
On the whole, Stella Montis seems to have a very low drop rate for Blueprints (though a high chance of dropping other high-tier loot). If you do want to try farming Blueprints on this map, the best places to find Blueprints in Stella Montis are Medical Research, Assembly Workshop, and the Business Center . These areas have the highest density of containers to loot on the map.
In addition to this, the Western Tunnel has a few different Security Lockers to loot, so while there’s very little to loot elsewhere in this area of the map, it’s worth hitting those Security Lockers if you spawn there at the start of a match.
That wraps up this primer on how to get all the Blueprints in Arc Raiders as quickly as possible. With the Expedition system constantly resetting a large number of players’ Blueprints, it’s more important than ever to have the most up-to-date information on where to find all these Blueprints.
While you’re here, be sure to check out our Arc Raiders best guns tier list , as well as our primers on the best skills to unlock and all the different Field Depot locations on every map.


ARC Raiders
PS5 , Xbox Series X/S , PC
Rock Paper Shotgun is better when you sign in
Sign in and join us on our journey to discover strange and compelling PC games.
