The Beastmaster of S.T.A.L.K.E.R. 2, part one: How to make friends and eviscerate people
No guns, no knives, only beasts

Image credit:Rock Paper Shotgun/GSC Game World

S.T.A.L.K.E.R. 2 : Heart of Chornobyl challenges you to survive the Zone, a land where the rules of nature are more like half-hearted suggestions and death may come from a mutant’s fang as quickly as a bandit’s bullet. But what if you could not only survive it, but tame it?
I am Bohdan Beastmaster, aspiring wrangler of all the radiation-twisted insults to God that occupy the Zone. One of its rogue Artifacts exploded my flat, and rather than find a place on SpareRoom, I’ve gone for the easier and safer option of venturing into the wilds of Chornobyl – armed not with rusty AKs or scavenged grenades but the teeth and claws of my mutant soon-to-be companions. The absence of any actual fauna-influencing tools or techniques only makes my plan even simpler: find beasts, aggro beasts onto human enemies, win.
My first job, upon being deposited at the Zone by a helpful nerd, would be recruiting a mutie. And immediately after slipping through a crack in the perimeter wall, that’s exactly what I do. It’s a Flesh, a mad-eyed abomination of what used to be a pig, and while he wastes no time trying to maul me with razor-sharp trotters, his thick hide and simple-minded chasing make him ideal for siccing on whatever baddies I find. I name him Ham, and can just tell that we’re going to be best friends for life.
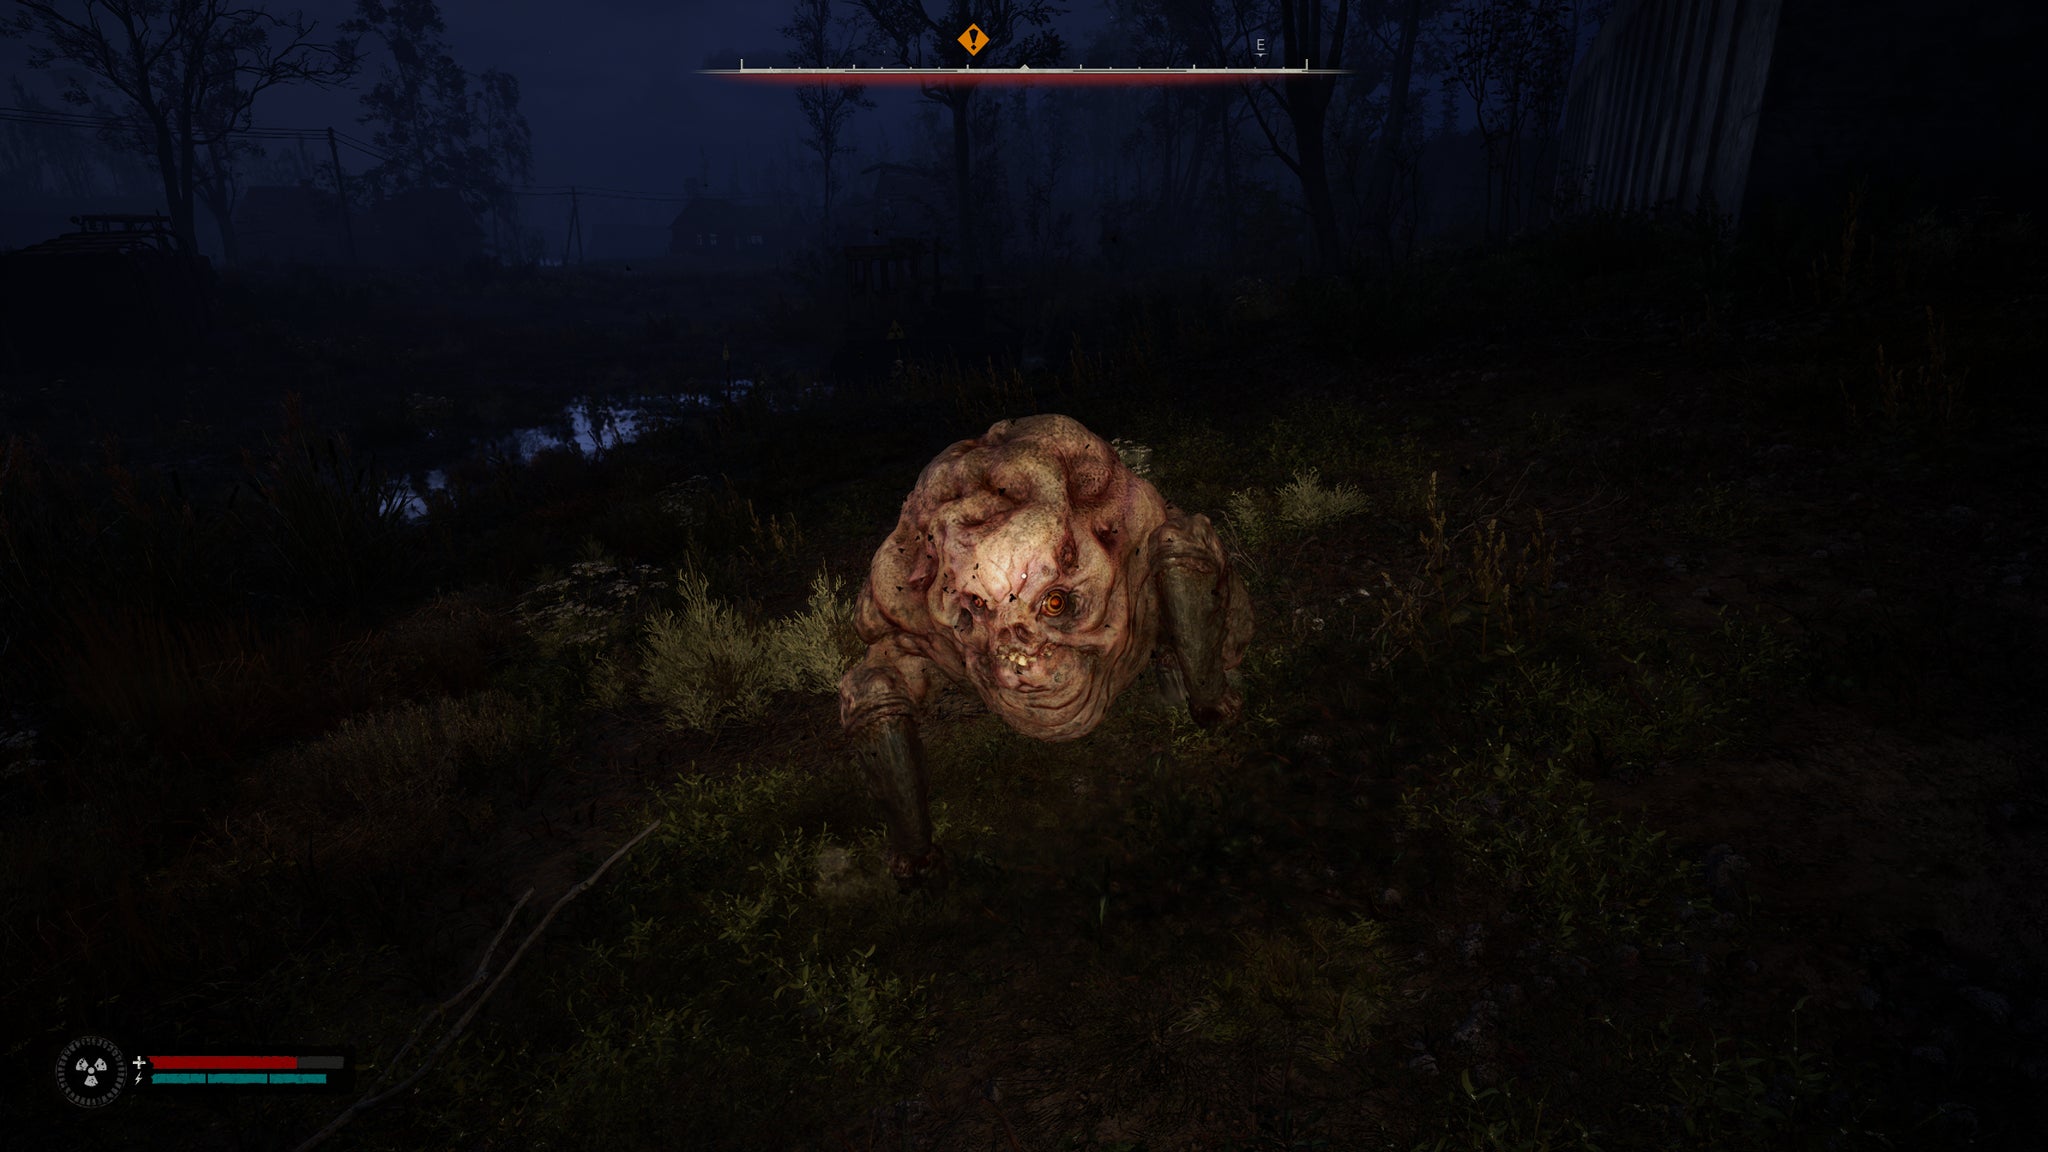
Image credit:Rock Paper Shotgun/GSC Game World
Moments later, I abandon Ham, forced to continue alone by an inconsiderately placed ladder tutorial in which he just can’t seem to figure out the rungs. After ransacking a science outpost and grabbing an Artifact of my own, a worthy replacement shows up: the fearsome, self-camouflaging Bloodsucker, whose alliance proposal begins with leaping out of his cloak and knocking me on my arse. Such ferocious hunting instincts would be perfect for my beastrmastering, but alas, he too is left behind after declining to follow me through what I would have previously considered a Bloodsucker-sized hole in a fence.

Image credit:Rock Paper Shotgun/GSC Game World
This was a problem, as my next encounter would be with a gang of bandits, who – seemingly granted exceptional night vision by all the radioactive vodka in their diet – instantly spot me trying to creep past. I flee into a nearby swamp, their bullets thwipping into the murky water around me, and manage to wade with only a few new holes into the shell of a grounded barge.
I’m not the first one there. In a stroke of luck, this ship is haunted by a Poltergeist, an invisible mutant that telekinetically flings debris at intruders with the force of Eric Cantona kung-fu kicking a Croydoner. I’m unarmed, bleeding, and being pelted with crates, but if I can stay put and stay alive, this might be exactly what I need to turn the tables. I cower for a few seconds to let my pursuers catch up, then muster just enough courage to stick my head through a doorway and see a bandit cop a steel bucket in the head. Yes, Eric!
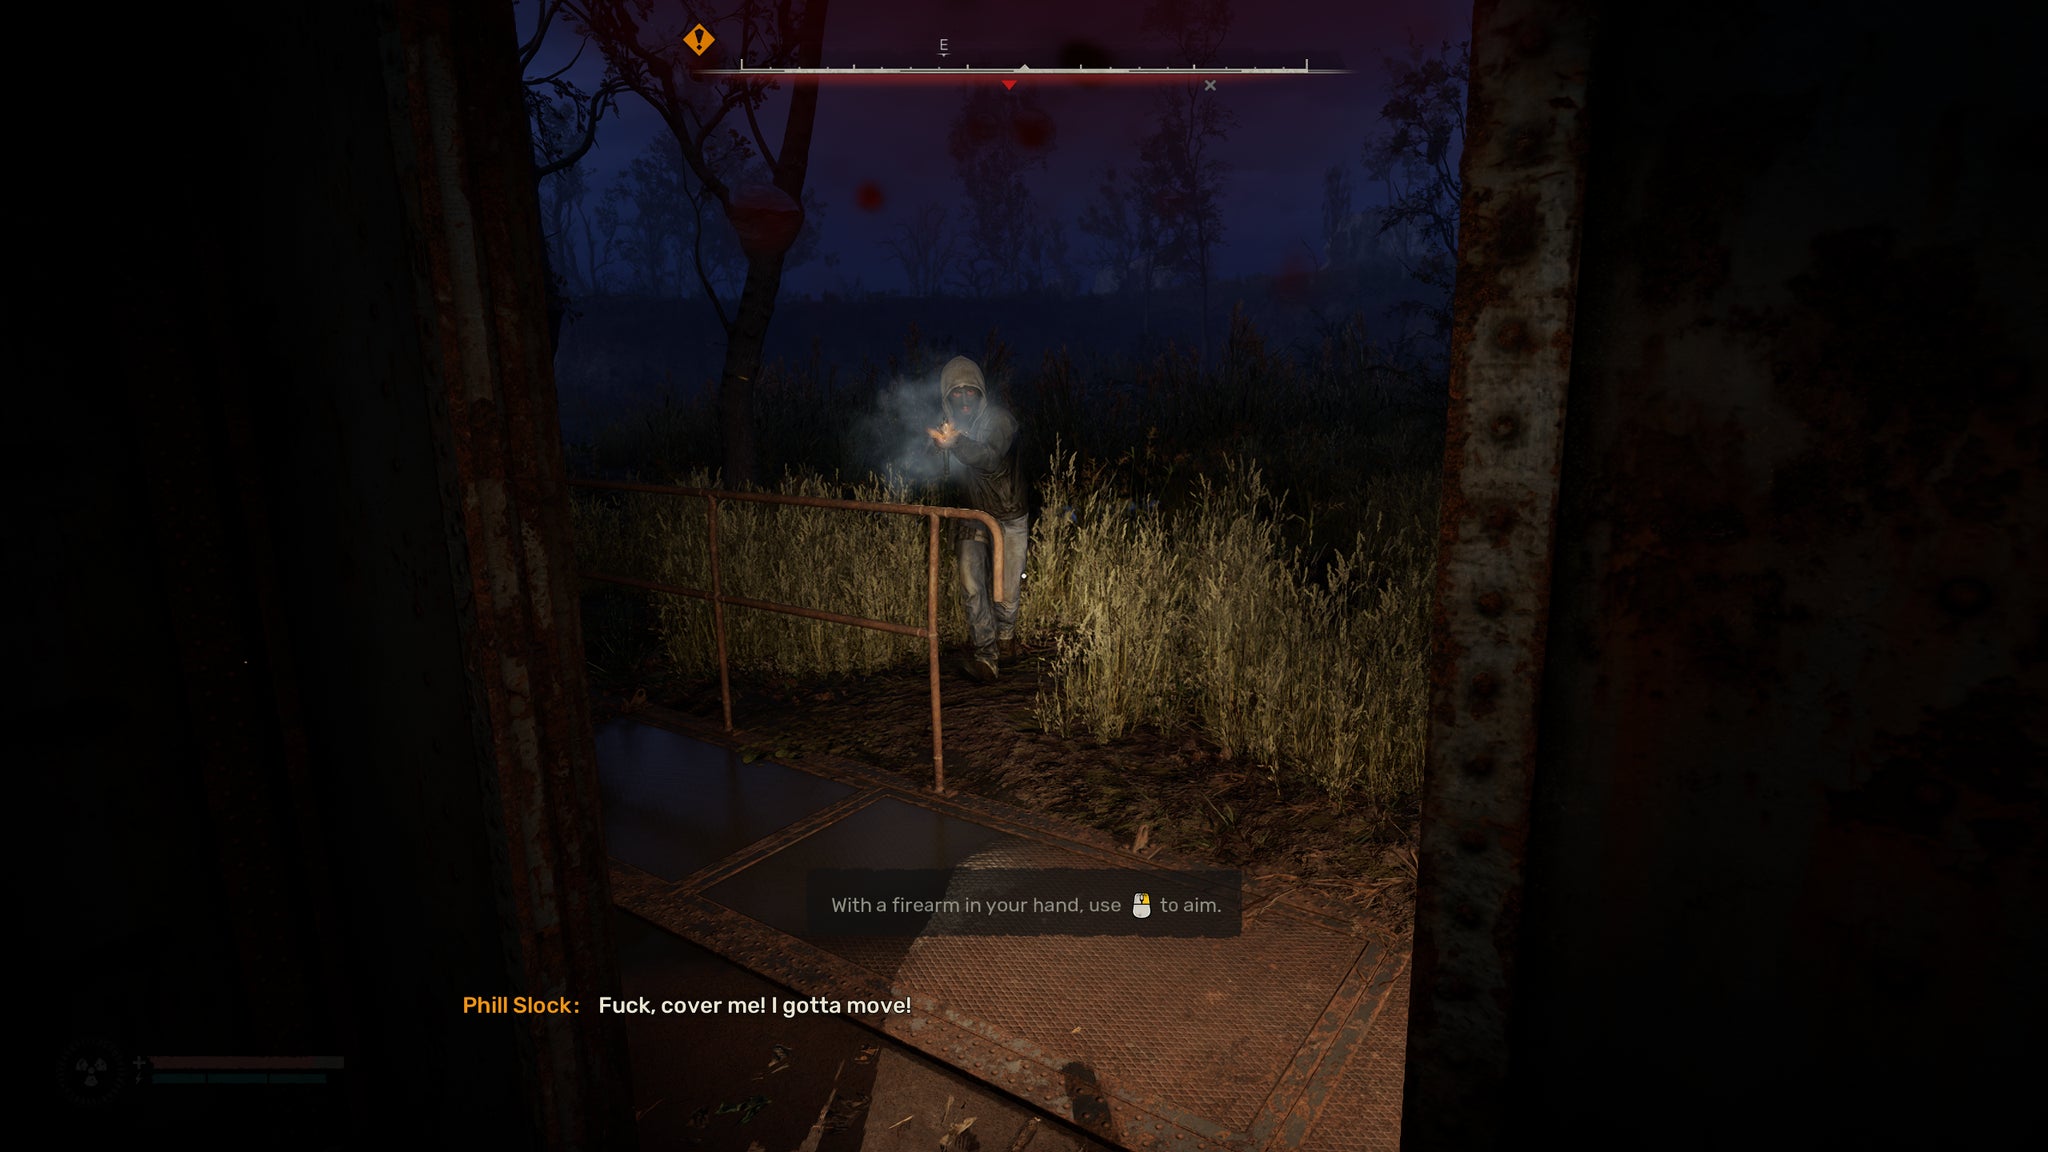
Image credit:Rock Paper Shotgun/GSC Game World
At last, I’ve engineered my first monster vs. man battle, but my lack of healing items means I can’t risk hanging around to watch. I instead hoof it to the top deck and listen out for the sounds of clattering oil drums and perishing highwaymen. Seconds later:
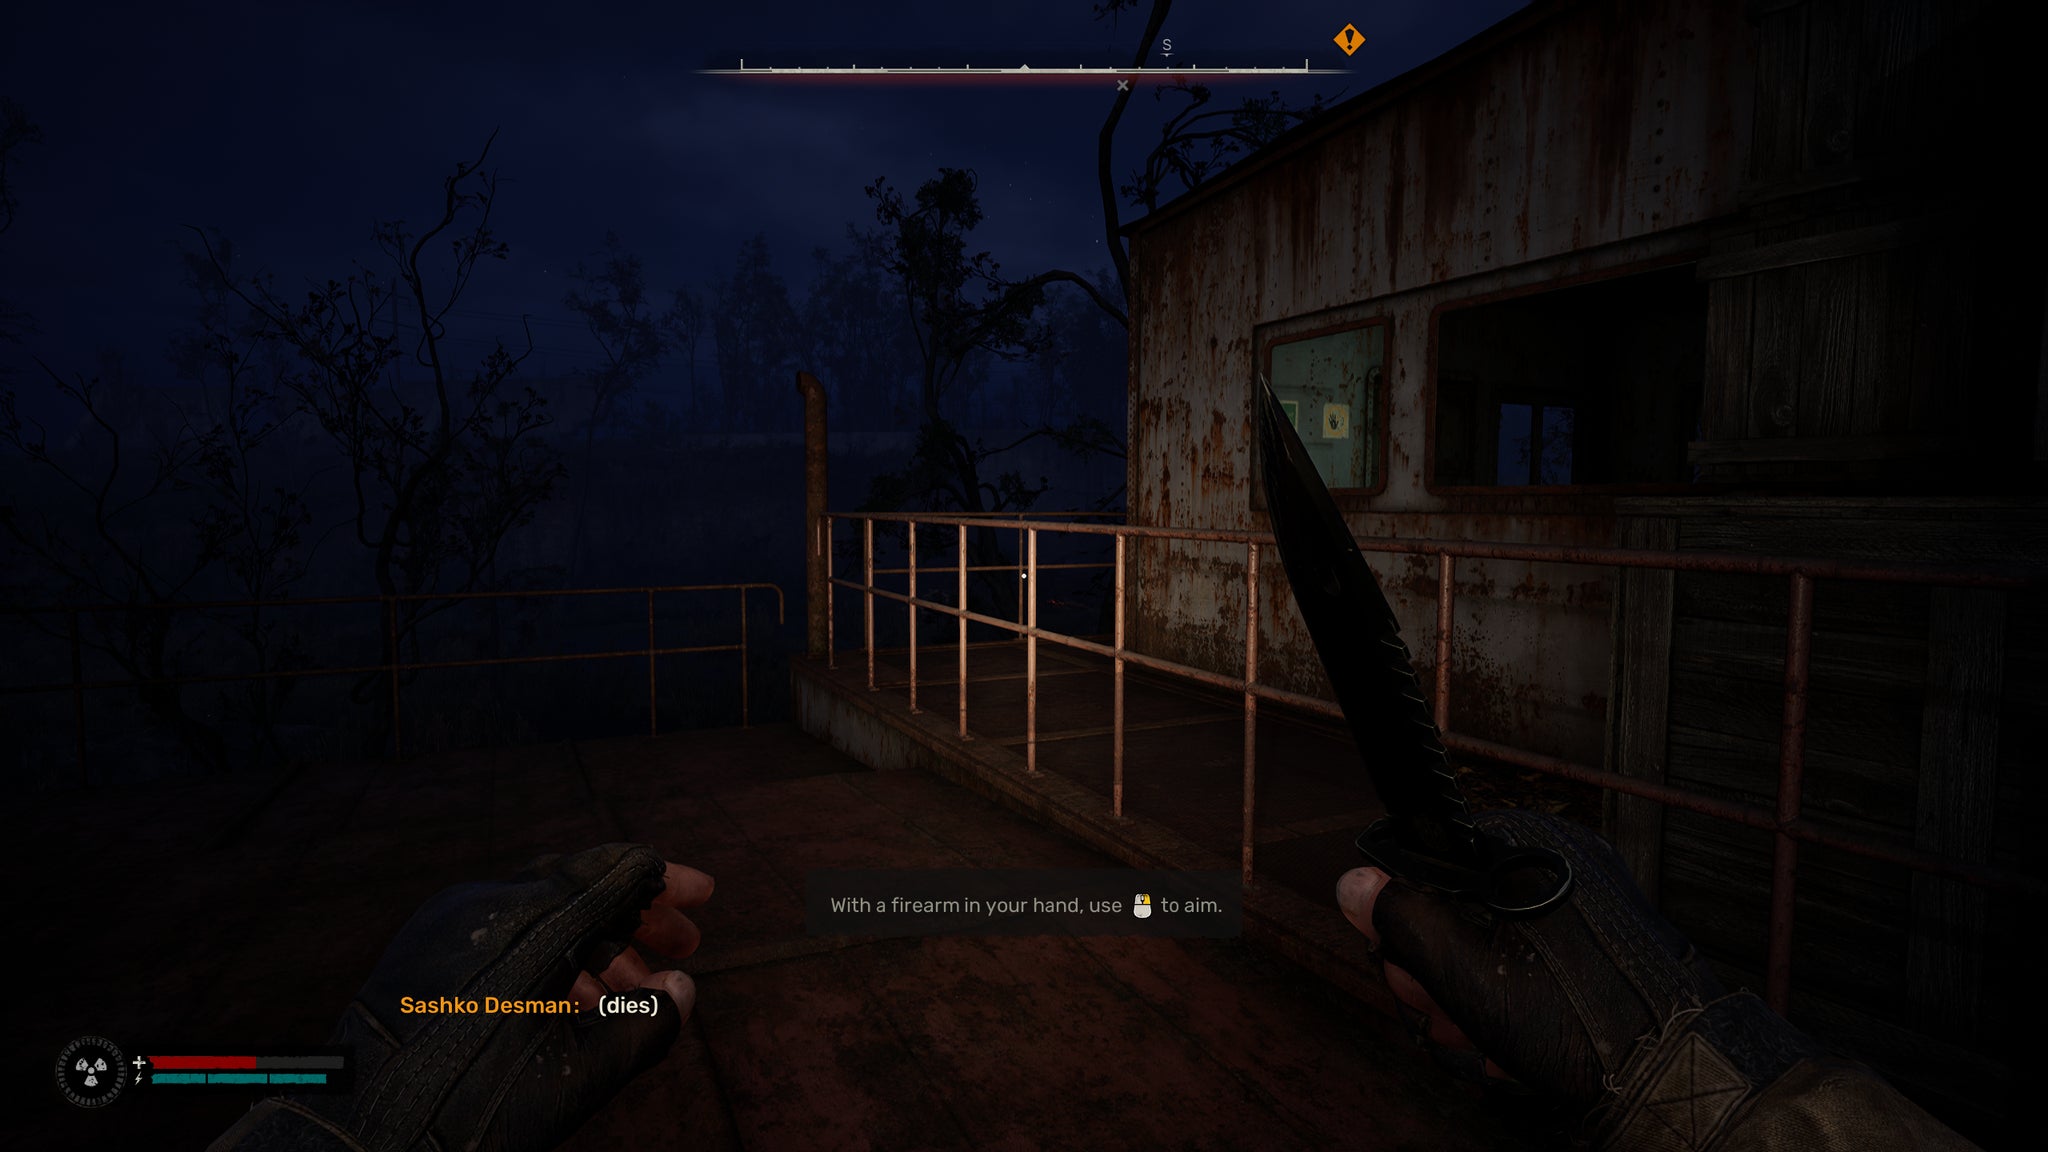
Image credit:Rock Paper Shotgun/GSC Game World
Yes, Eric.
Unlike Flesh, Poltergeists won’t let themselves be baited away from their homes, so I wait for the screams to stop before gingerly hopping back down to ground level, bidding goodbye to my see-through saviour on the way. The nerd reappears on the radio, urging me to finish up an anomaly hunt post-haste, but it’s hard to hear his whinging over the singing of my own heart, buoyed by a first successful application of the Zone’s creatures onto its more invasive inhabitants.
The anomaly thing, on the other hand, could hardly go worse. Mysterious soldiers crash my scanning party, only to be attacked and picked off themselves by unseen assailants. In the confusion, I make a run for it, and am promptly clobbered, robbed, and knocked out cold by a shadowy stalker. Ham, wherever he was, was no help at all.
I awake to the hum of gravitational anomalies and the growl of a stray dog gnawing on my trousers. Maybe he wants to be friends?
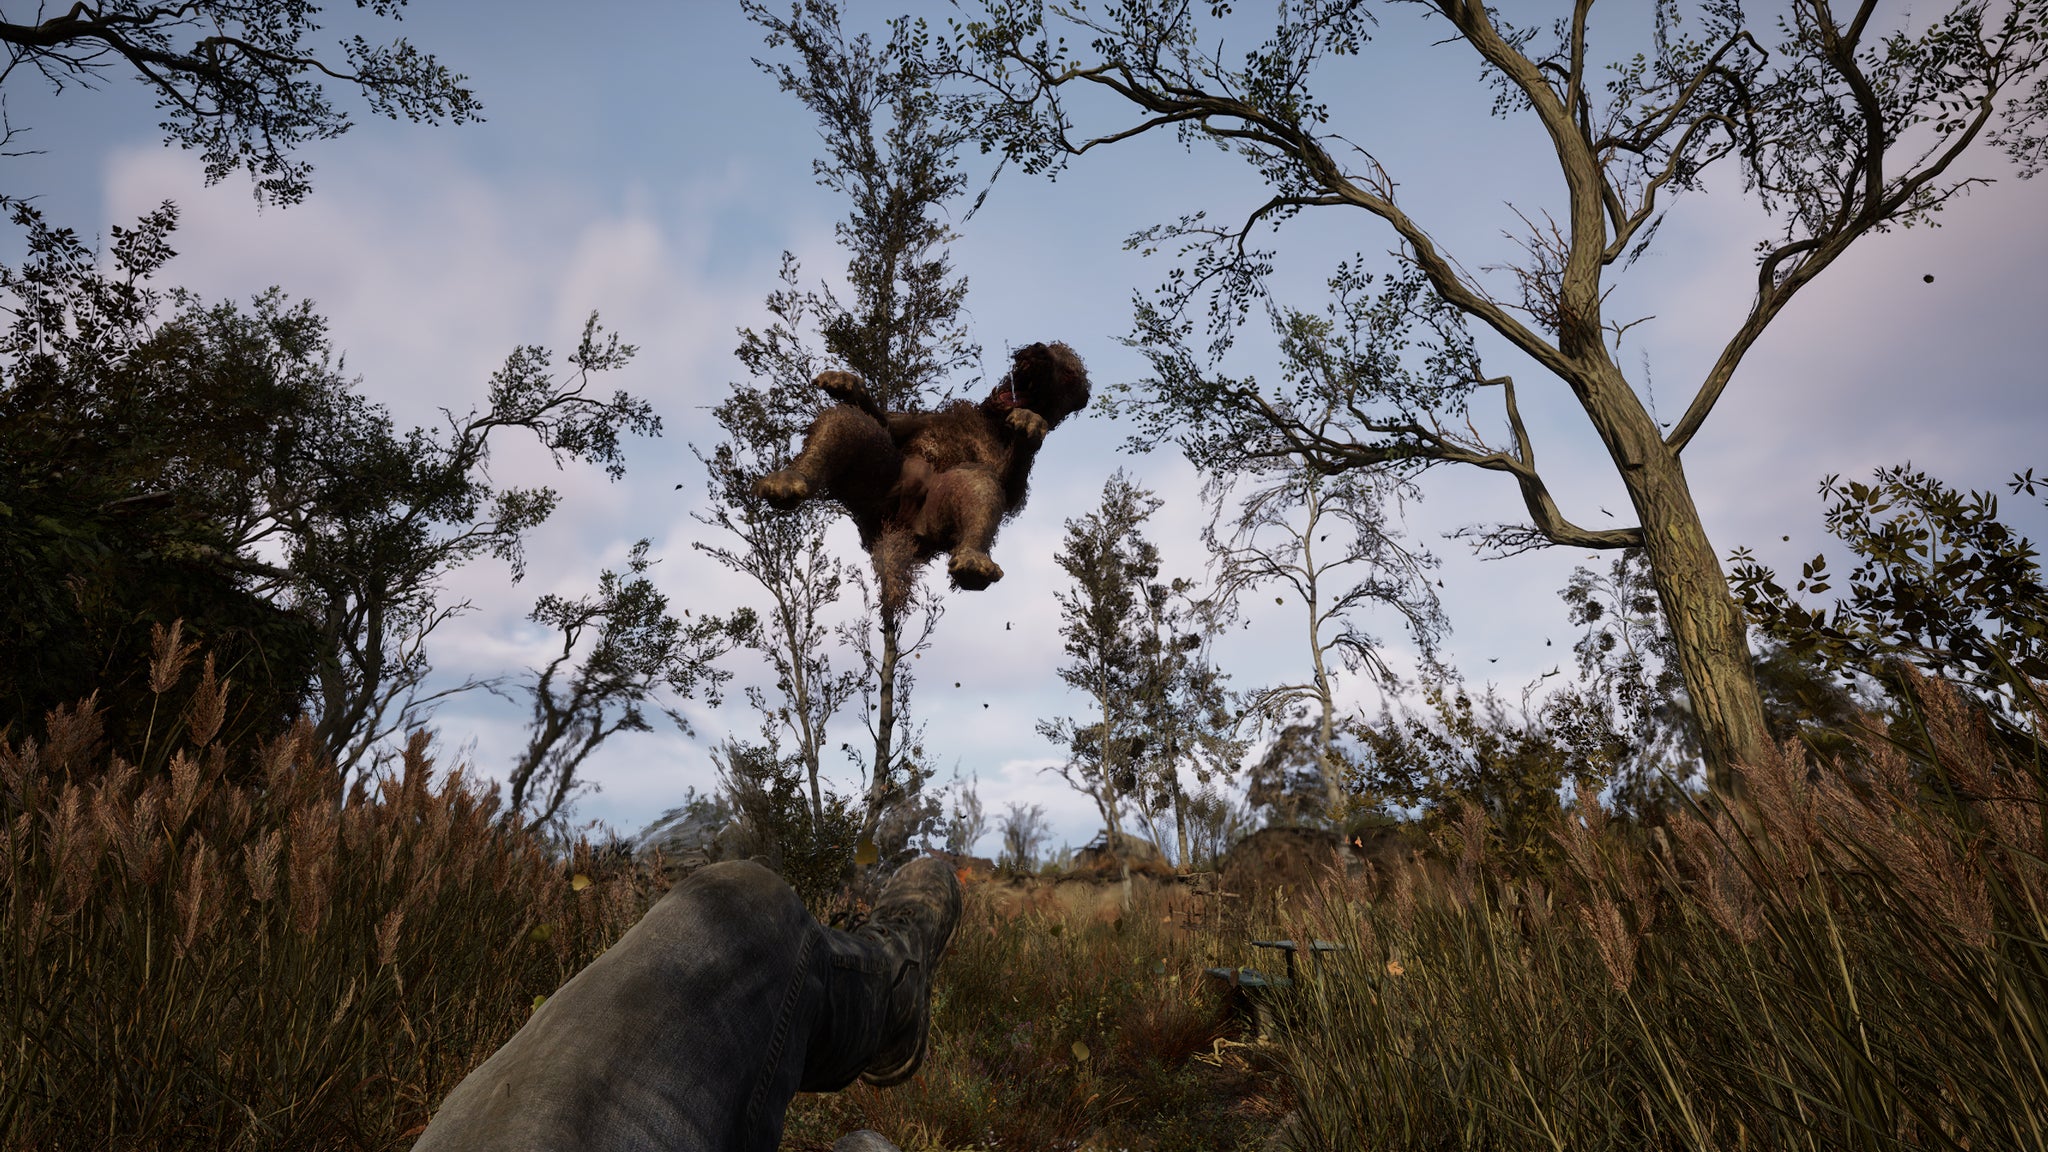
Image credit:Rock Paper Shotgun/GSC Game World
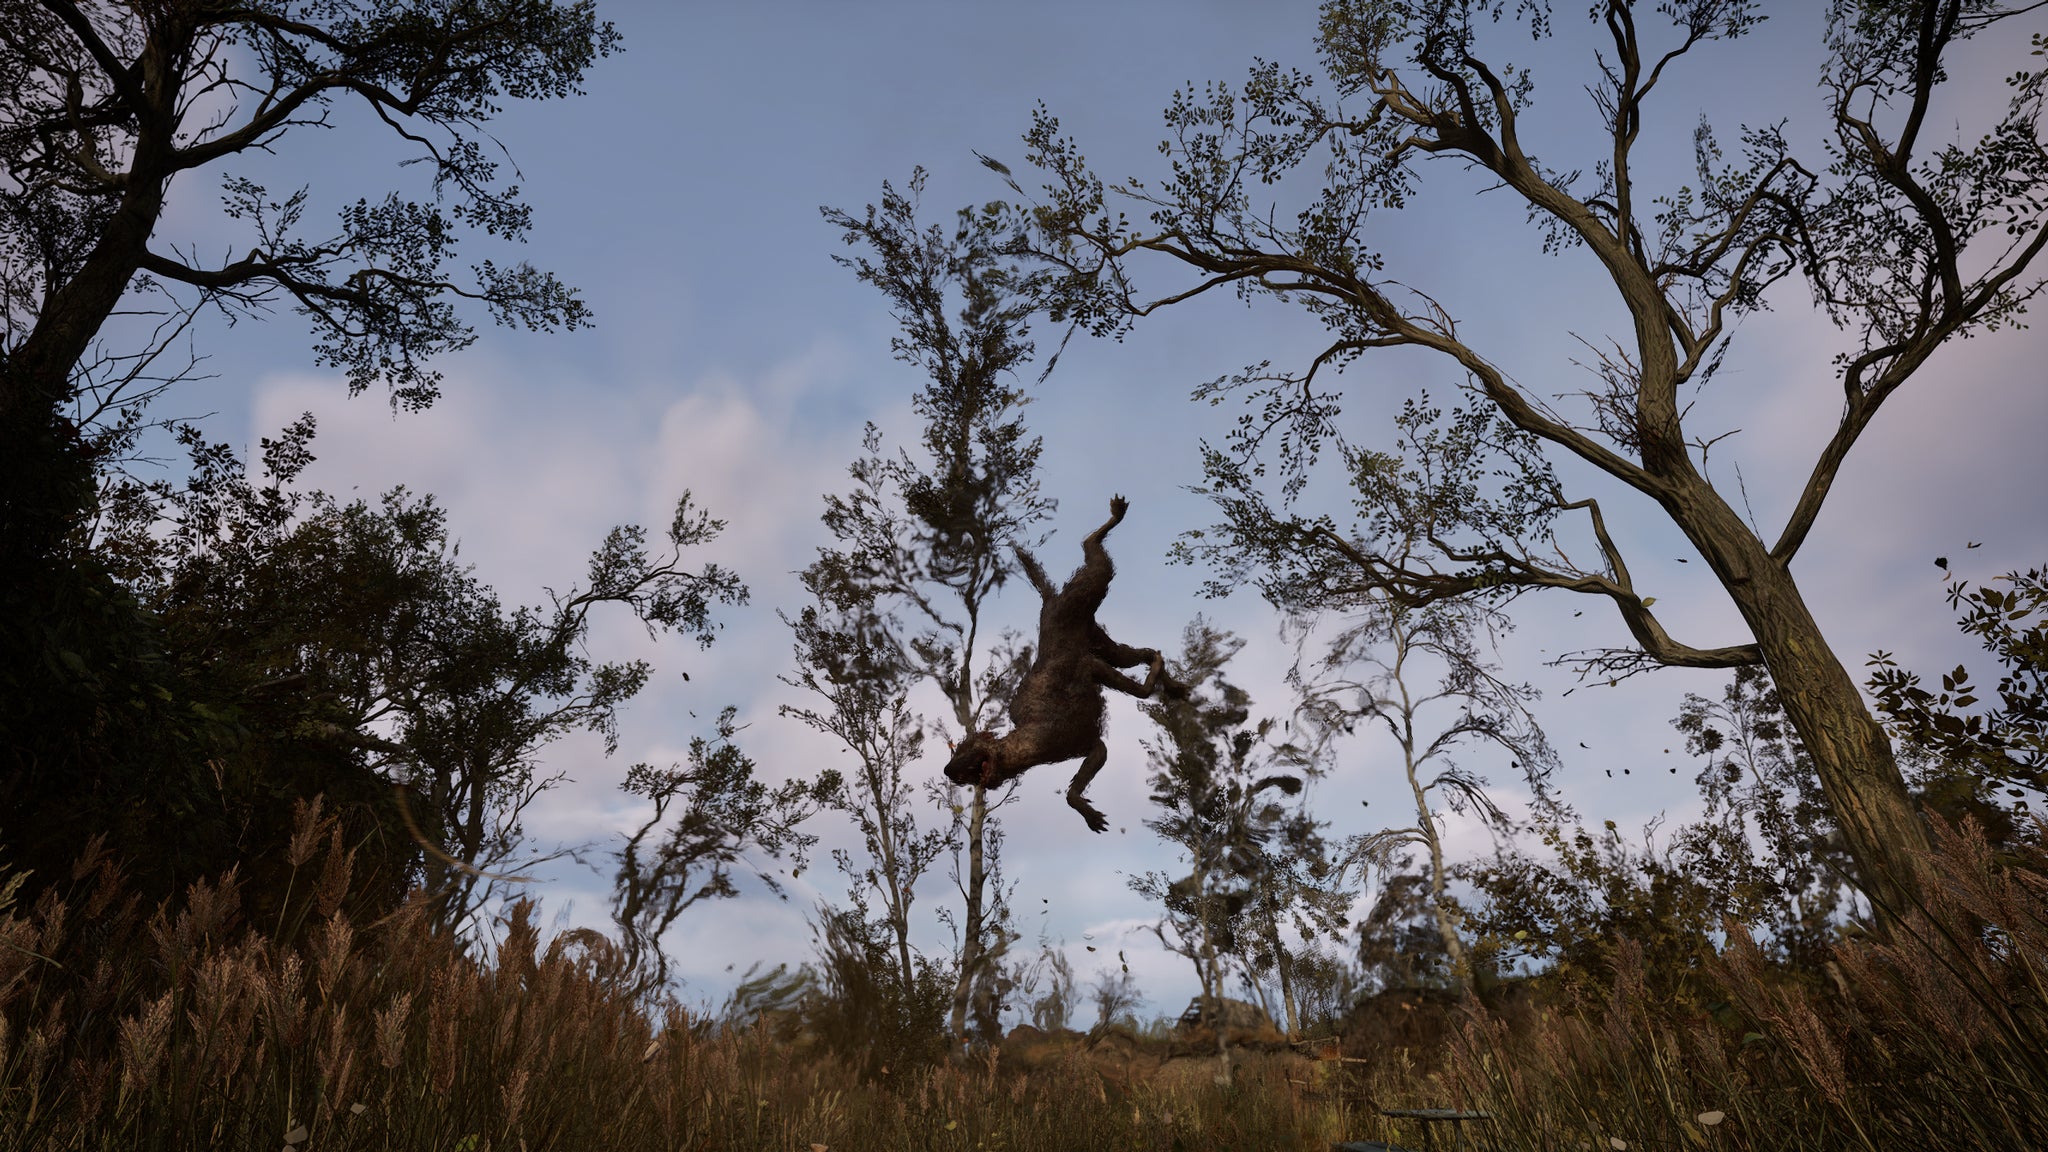
Image credit:Rock Paper Shotgun/GSC Game World
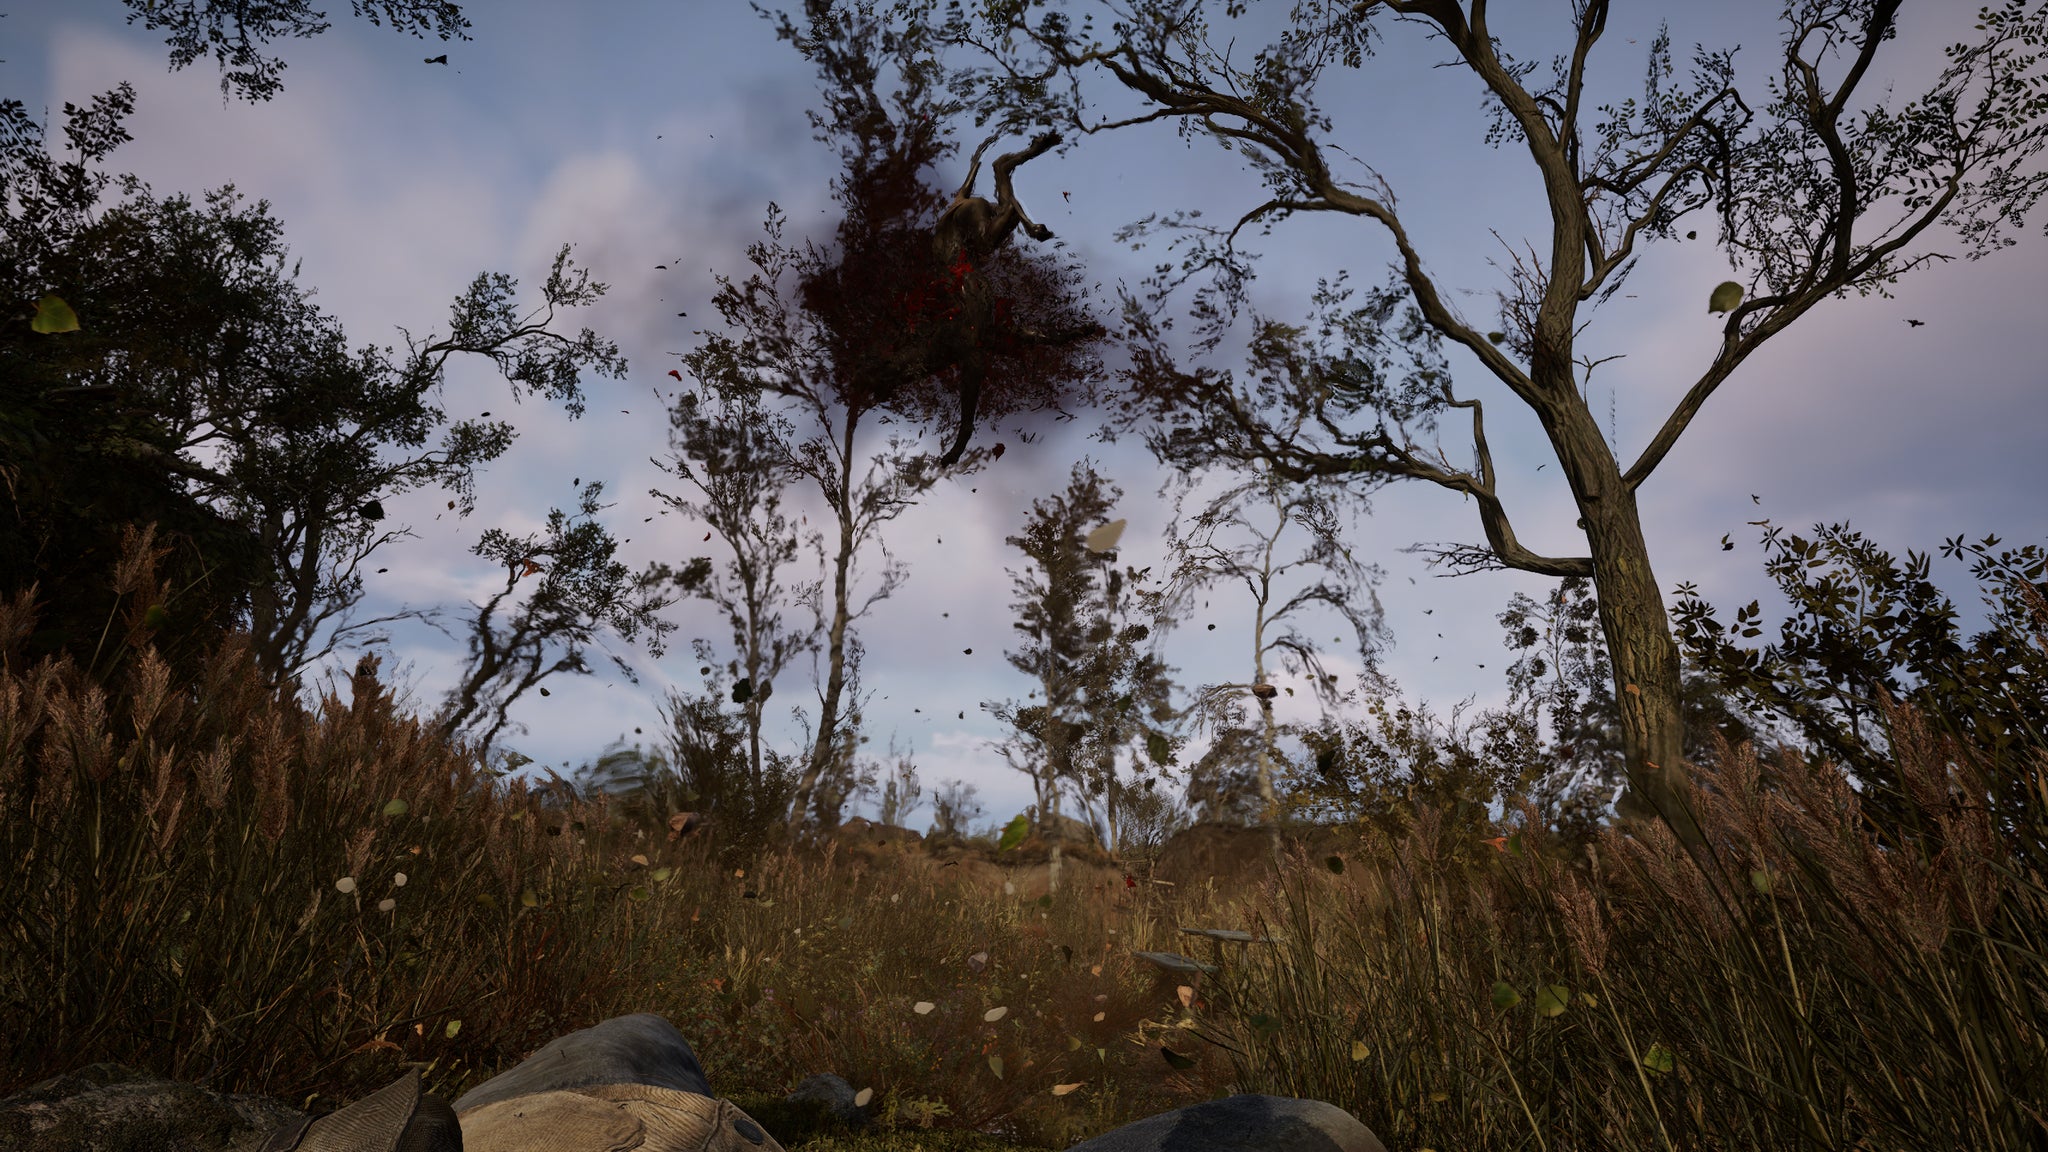
Image credit:Rock Paper Shotgun/GSC Game World
Guess not. But I am rescued by cheery solo stalker Richter, who gifts me an infinite supply of bolts and directs me to the nearest settlement. What a nice man. I’ll be sure to keep my pets away from him. Speaking of which, I’m now out of the linear stretch and into the open Zone, which should alleviate my problems with adopting mutants who can’t range beyond a tiny patch of fenced-in mud. Not 30 seconds up the road, the opportunity to test this assumption presents itself, with a trio of bandits harassing some poor bloke trapped in a bungalow. This looks like a job for Bohdan, and whichever hungry claw blobs I can find around here.
My first stop, an old warehouse, is a bust – its only occupants are more bandits, who turn out to be mates of the three I’m already plotting to kill. A nearby cowshed, however, turns out to be teeming with Flesh, and before long I’m being accompanied/chased by a full squad of four post-pig warriors.
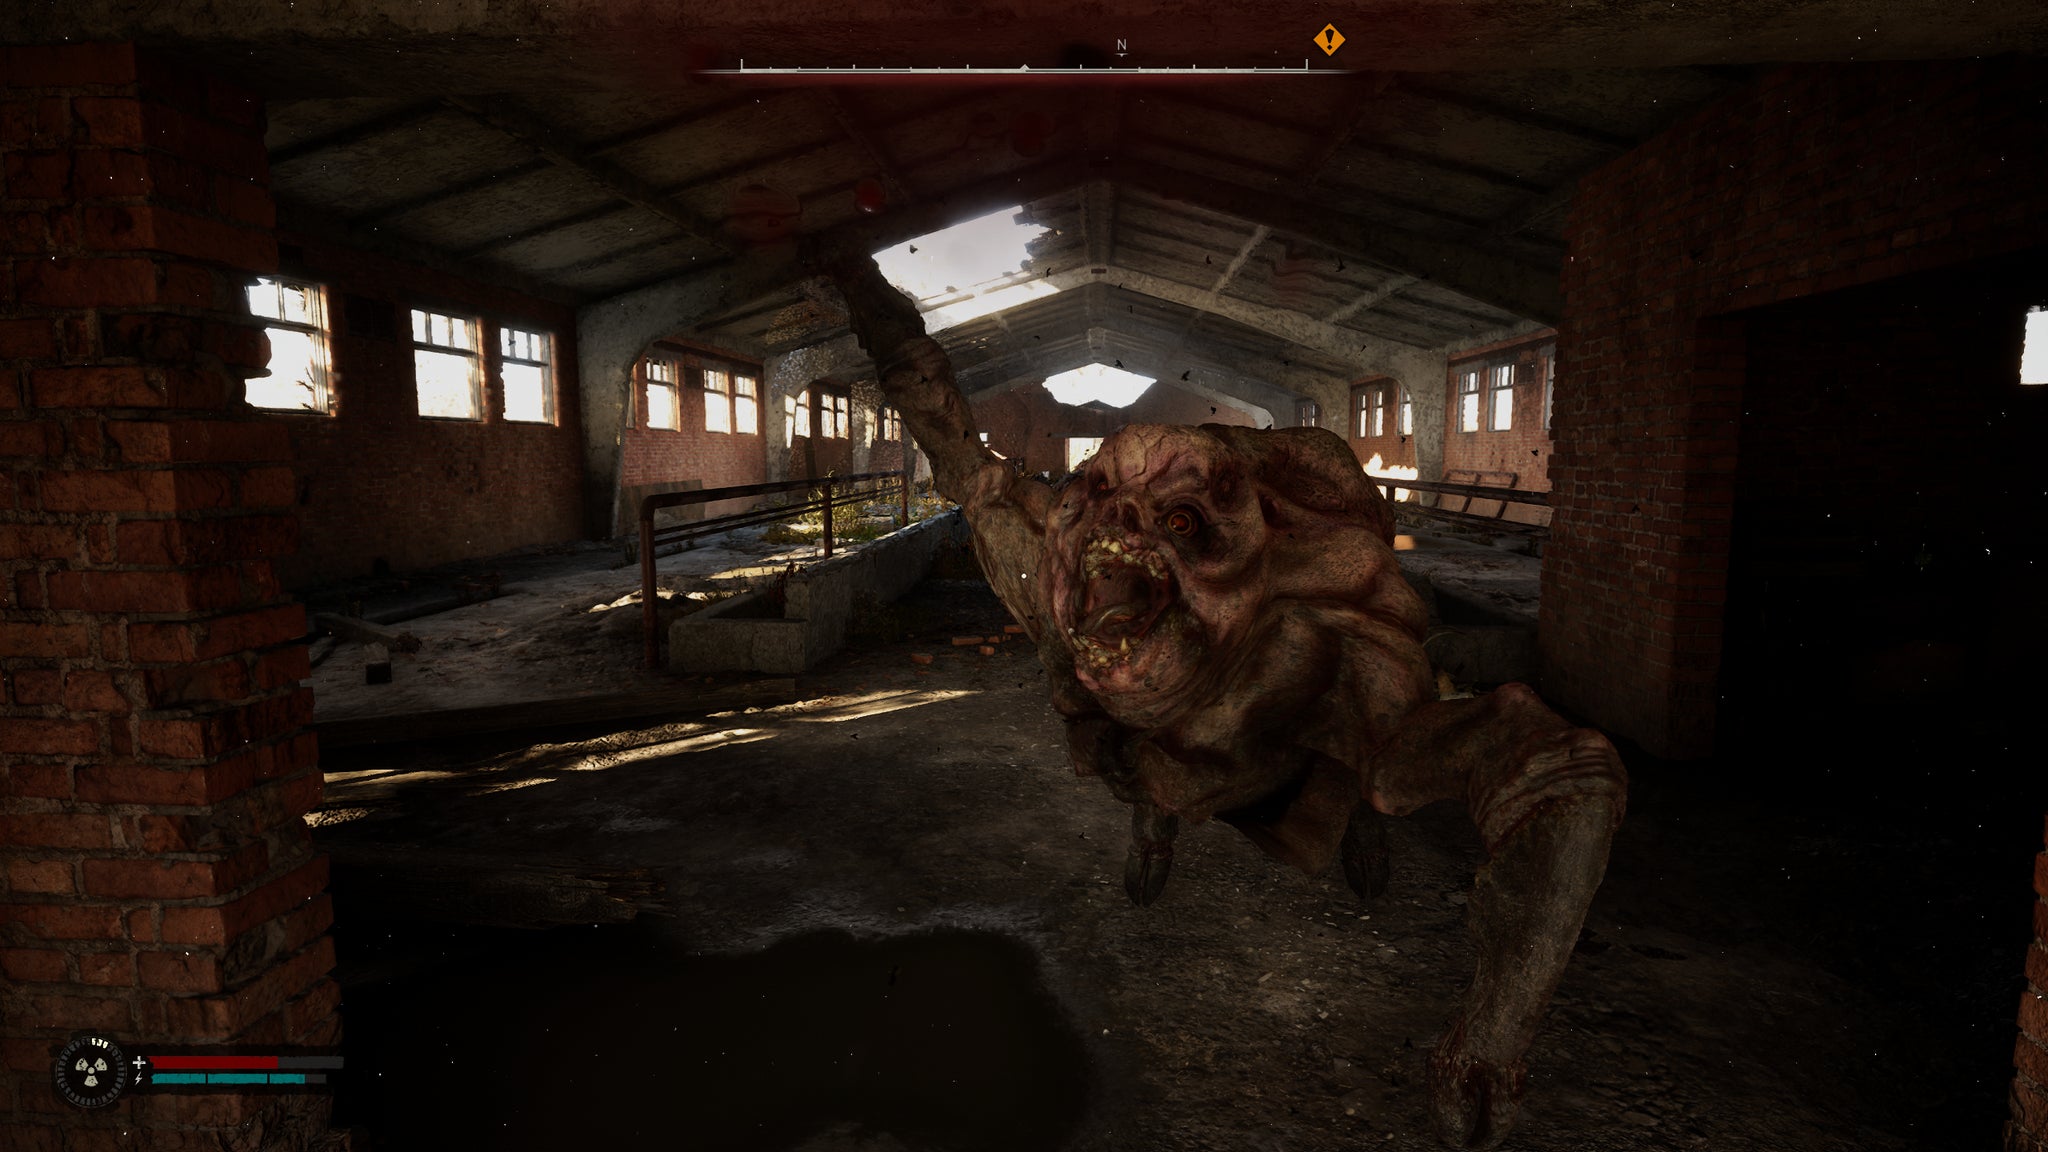
Image credit:Rock Paper Shotgun/GSC Game World
Sadly, there was no longer a war to fight. I’m too late – by the time I return to the victim’s hovel, he’s been killed to death, and the perpetrators have fled alongside their accomplices at the warehouse. I drag my butchershop quartet around the surrounding hills, looking for something non-innocent to pitch them against, but this part of the Zone suddenly seems awfully light on evildoers, and I can’t bring myself to start a bloodbath in the town that my new bolt dealer is friendly with.
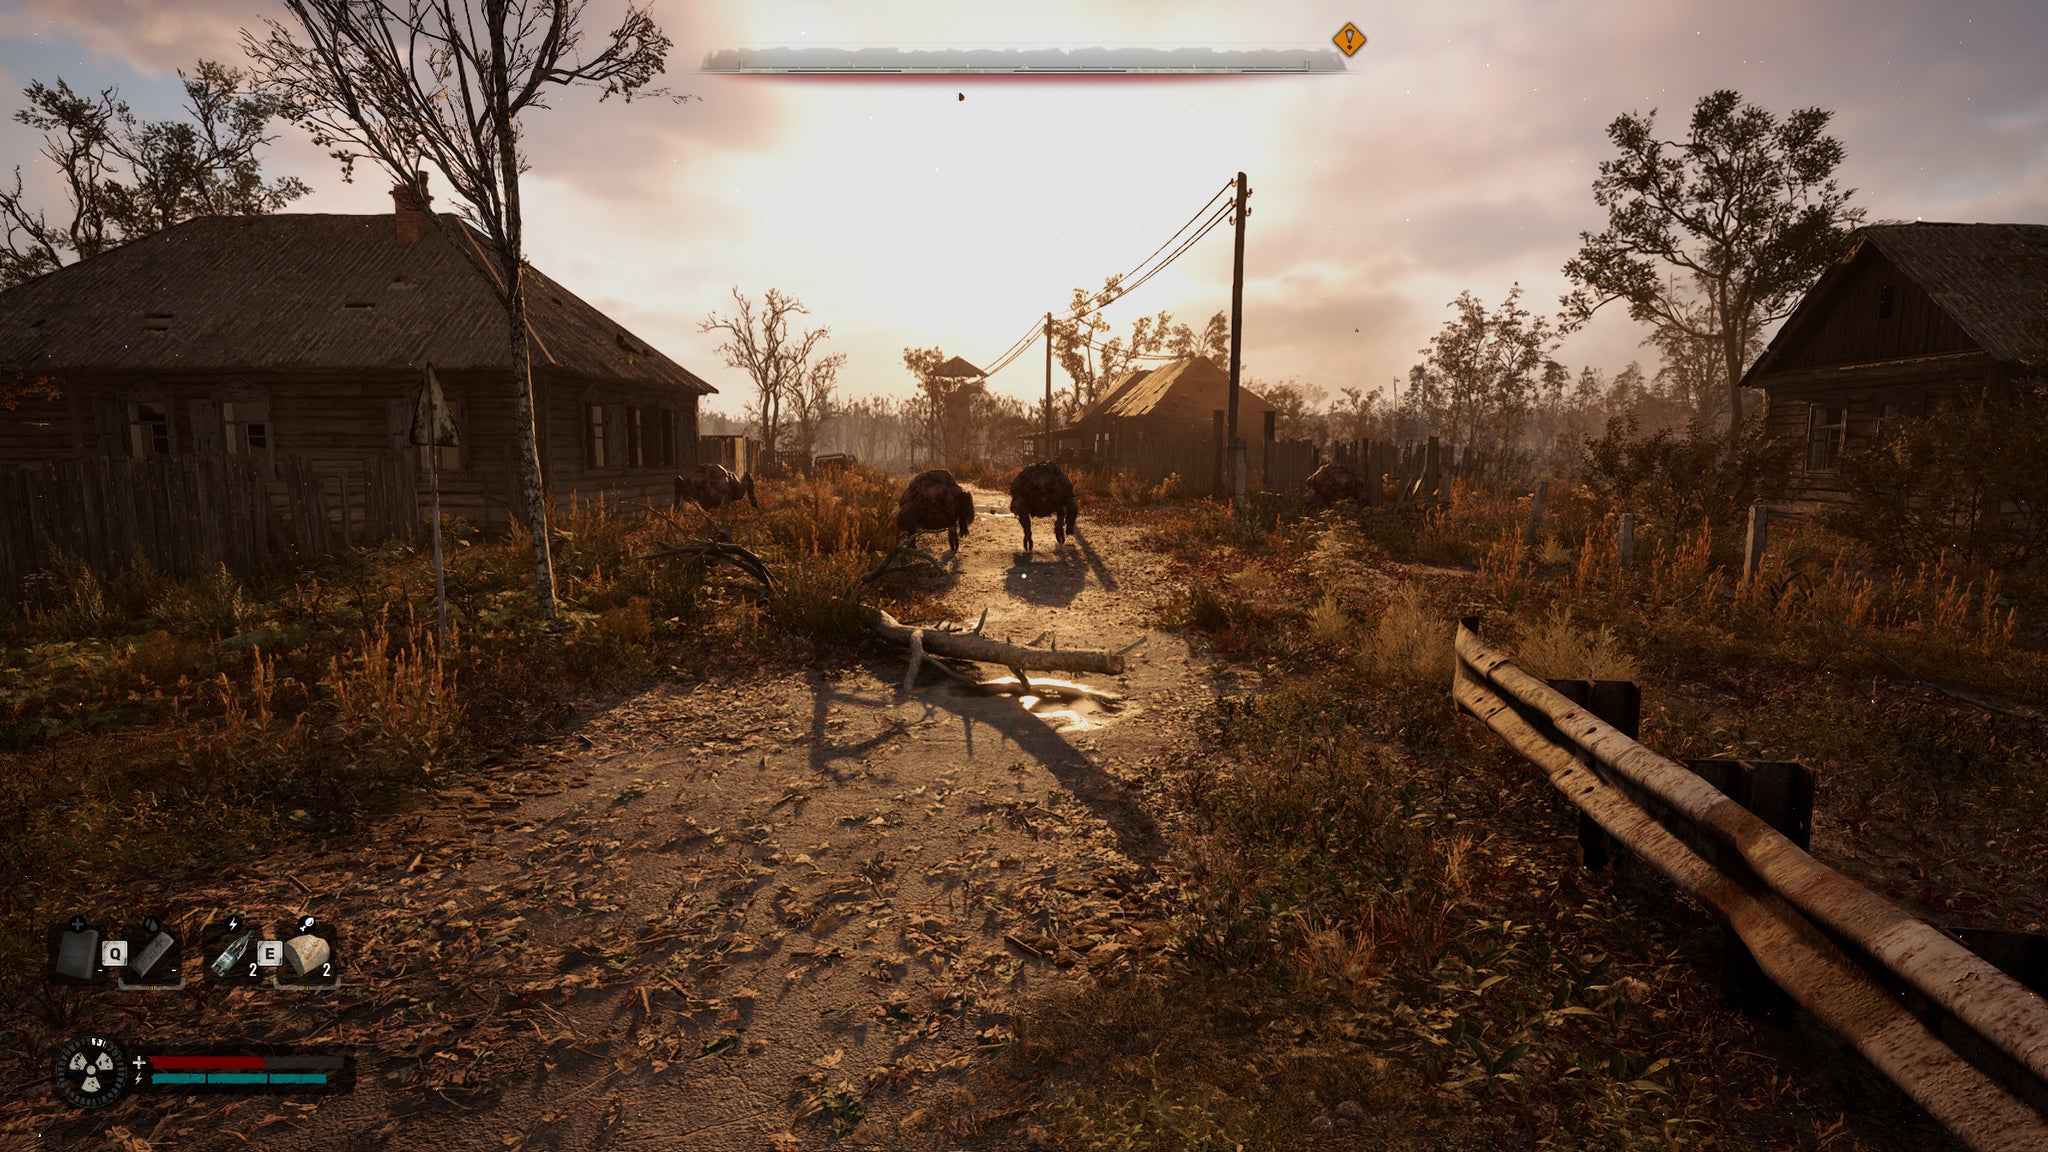
Image credit:Rock Paper Shotgun/GSC Game World
Foolishly, however, I fail to consider the patrolling soldiers that sweep the settlement’s outskirts. They’re not hostile to me personally, but in their eyes, four bloodthirsty mutants look an awful lot like four bloodthirsty mutants, and a roaming duo of grunts eventually arrive to start pumping rounds into my crew. There are encouraging signs that my wider mission isn’t doomed: despite the range disadvantage of pig hands against two assault rifles, they do manage to tear down one of the soldiers before squealing their last. Still, it’s not the end I wanted for these guys, any more so than the man I couldn’t save earlier.
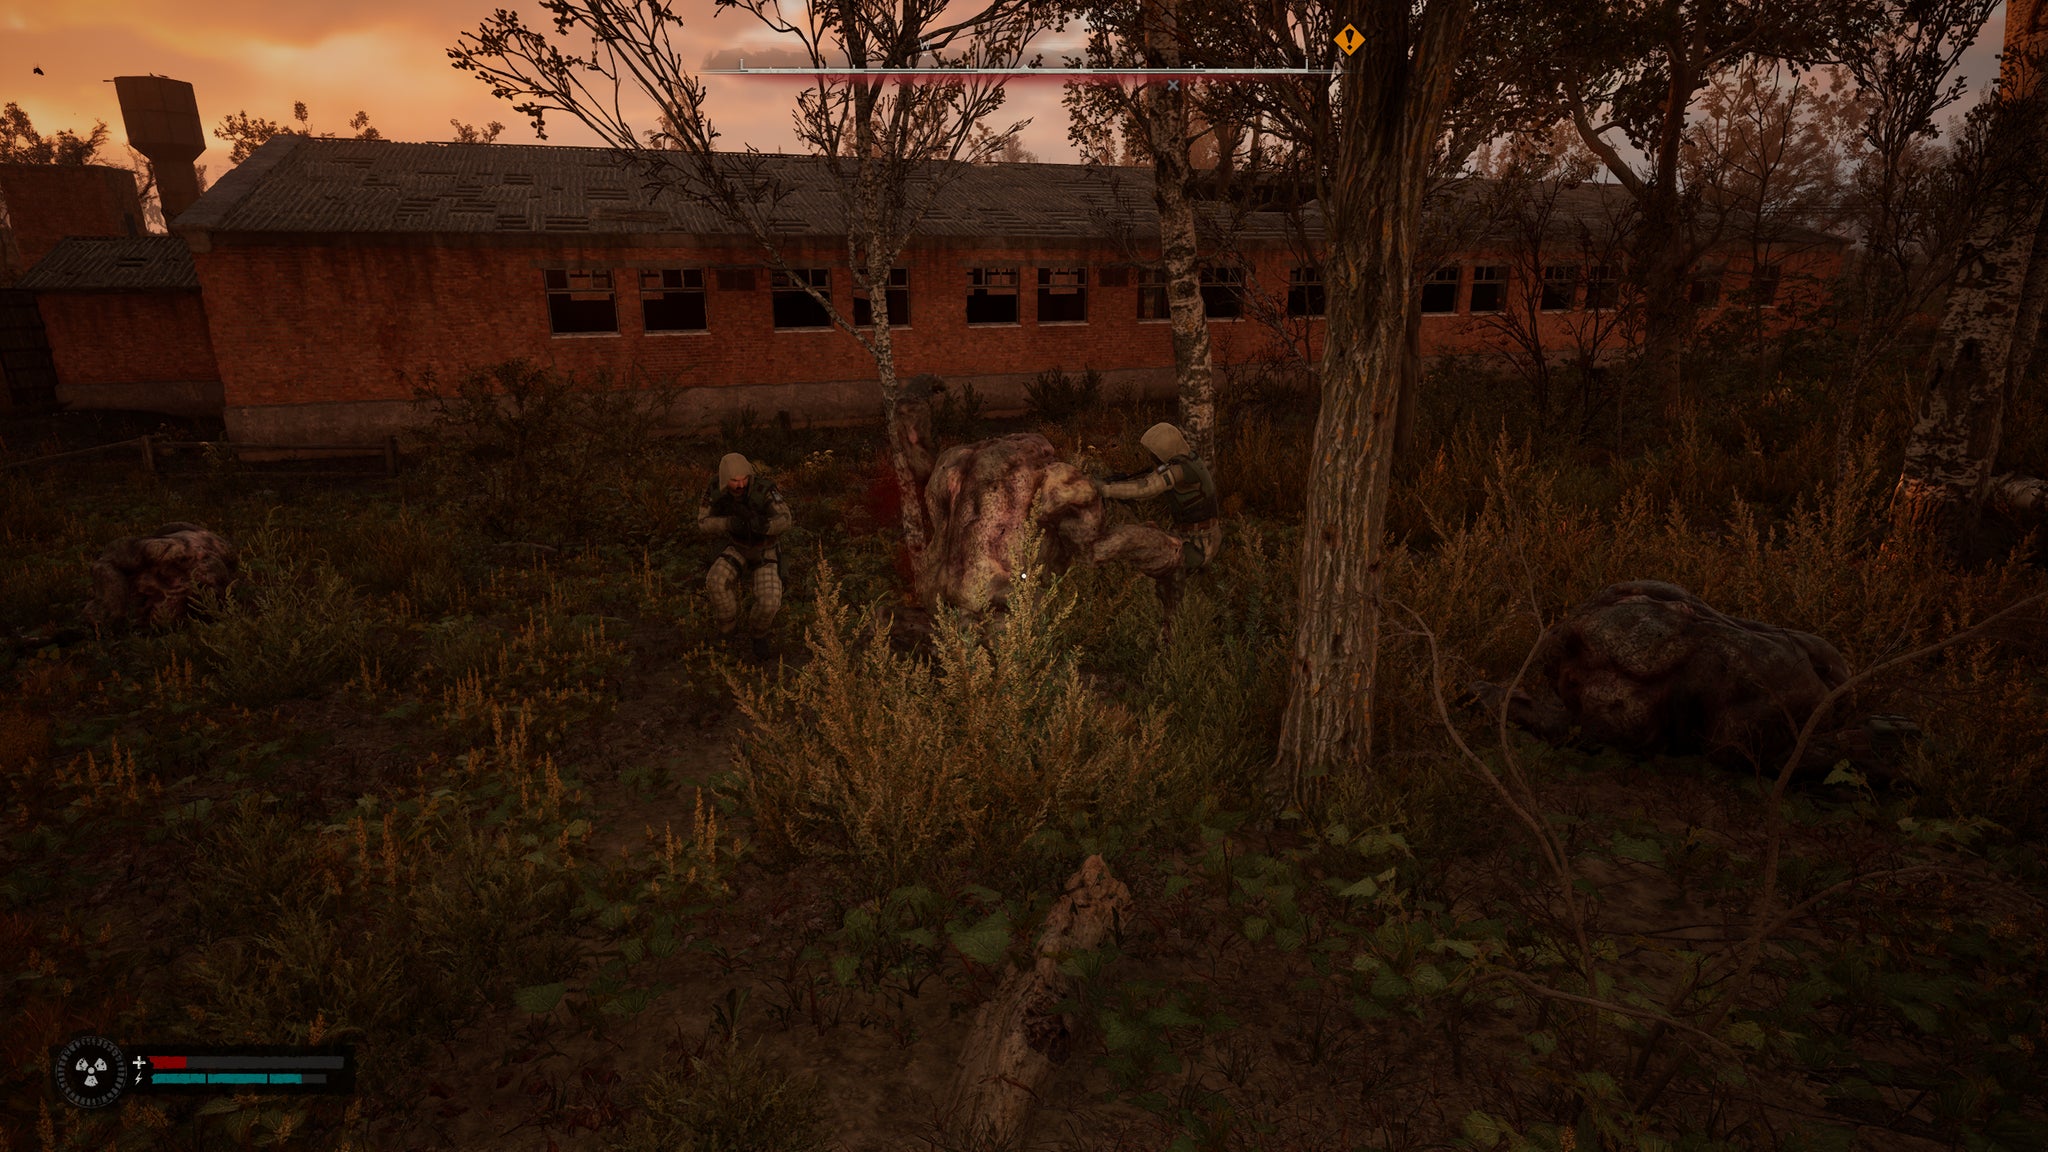
Image credit:Rock Paper Shotgun/GSC Game World
Feeling a bit deflated, I slink into town and trade my unwanted ammo for a single sausage, hoping that the scent of cured meat will lure more beasties my way. In search of extra sausage money, I also pick up a job from the barman, agreeing to track down a debtor who’s hiding out nearby. On approach, I see that he too is being accosted by a small band of would-be thieves. Could this be a chance for redemption? Darting off to pick up more monsters could risk another mission failure, but since the chances of crushing them under a pile of fifty thousand thrown bolts seem slim (and would break my rules), I don’t have much of a choice.
The immediate surroundings aren’t very forthcoming with helpers. A pack of dogs attack when I investigate the local factory, but being territorial creatures, they don’t chase me beyond its outer walls. A bombed-out house looks promising, and contains some valuable medkits, but is still devoid of recruitable horrors.
Short on options, I retreat to what I know, and schlep all the way back to the cowshed in the hopes that some other mutants have moved in. Instead, I find one last, lone Flesh, snuffling around in the darkness. Perhaps the offspring of my previous cohorts? My hopes fade when I realise he’s alone, and likely not a match for multiple Uzi wielders, but then they all come rushing back when I realise he’s not attacking me. He’s not attacking me . He’ll follow me around the shed, and jump up if I move suddenly, but he is not. Attacking me.
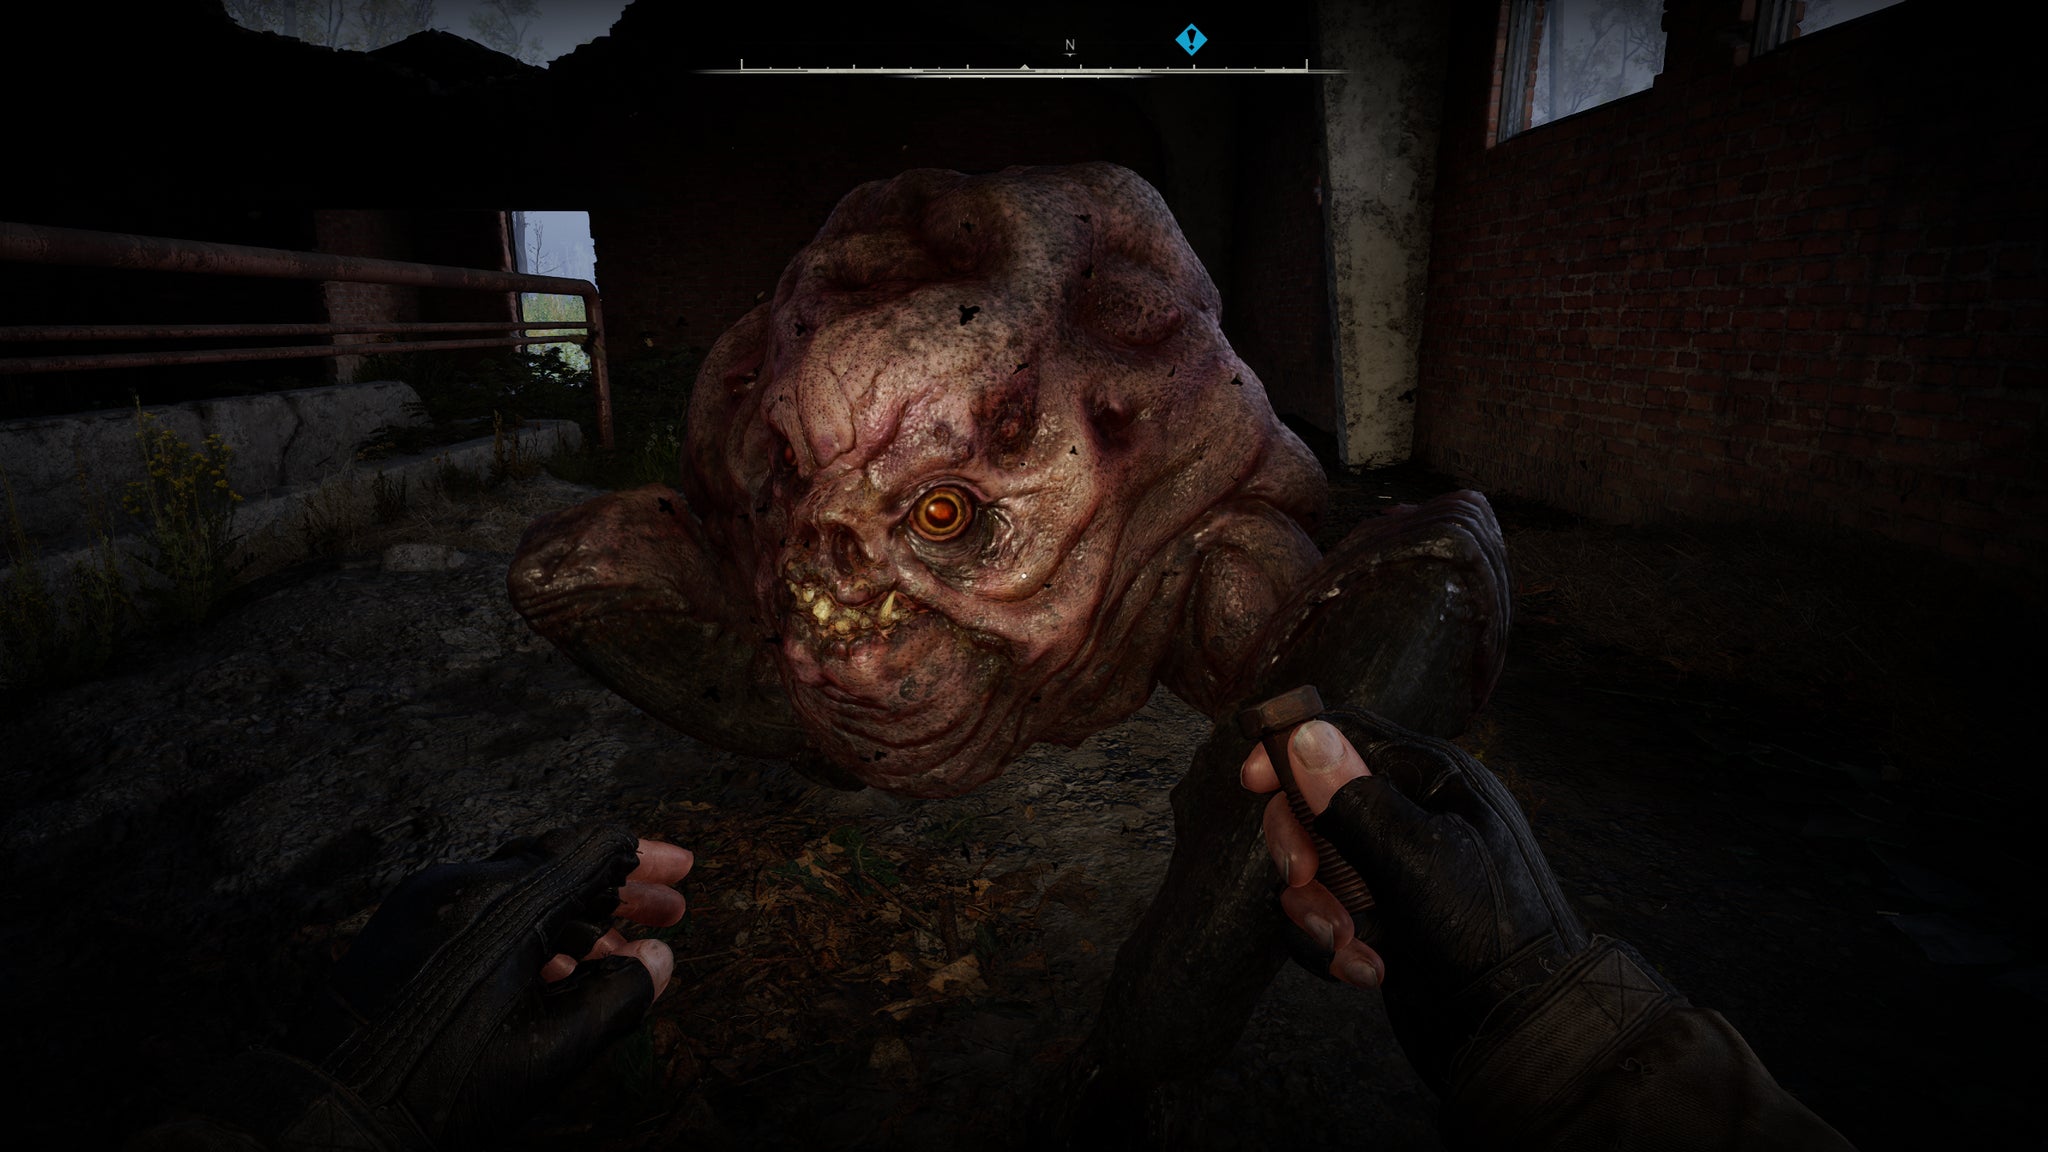
Image credit:Rock Paper Shotgun/GSC Game World
Clearly, Bohdan Beastmaster’s taming skills are beyond even the comprehension of myself, and/or GSC Game World’s QA department . Somehow, I’ve brought this little fella – who I’ll name Ham II – to heel, and there’s no way that I’m going to botch another rescue with such a loyal companion. He even does a sploot when I stop for him, like a vast tumorous corgi.
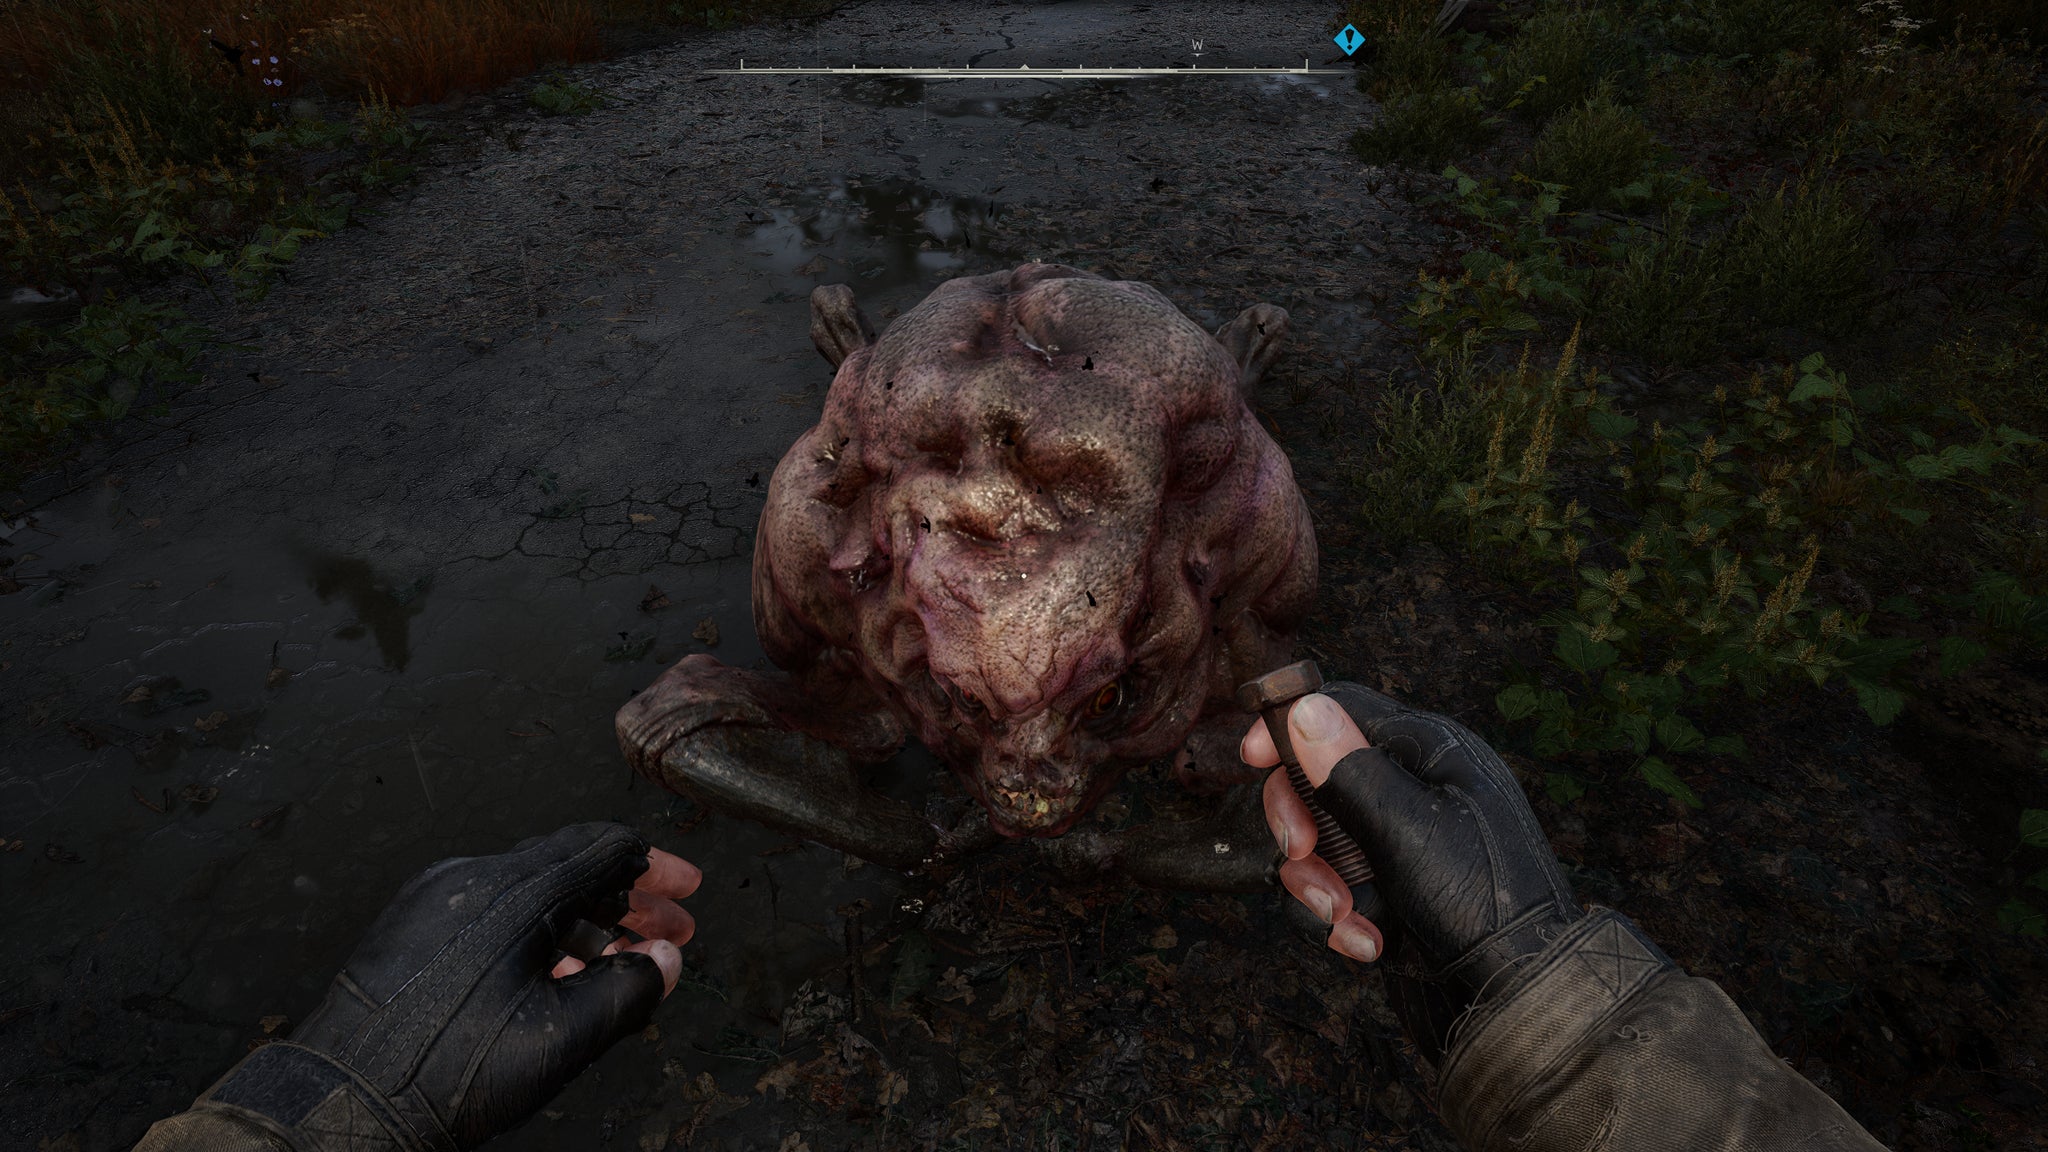
Image credit:Rock Paper Shotgun/GSC Game World
Together, we’d march up the hill and vanquish the tracksuited scum. Together, we’d free the debtor and claim our prize. Together, we’d… ah, alright lads. Nah, he’s with me. Nah we’re just going to no stop wait-
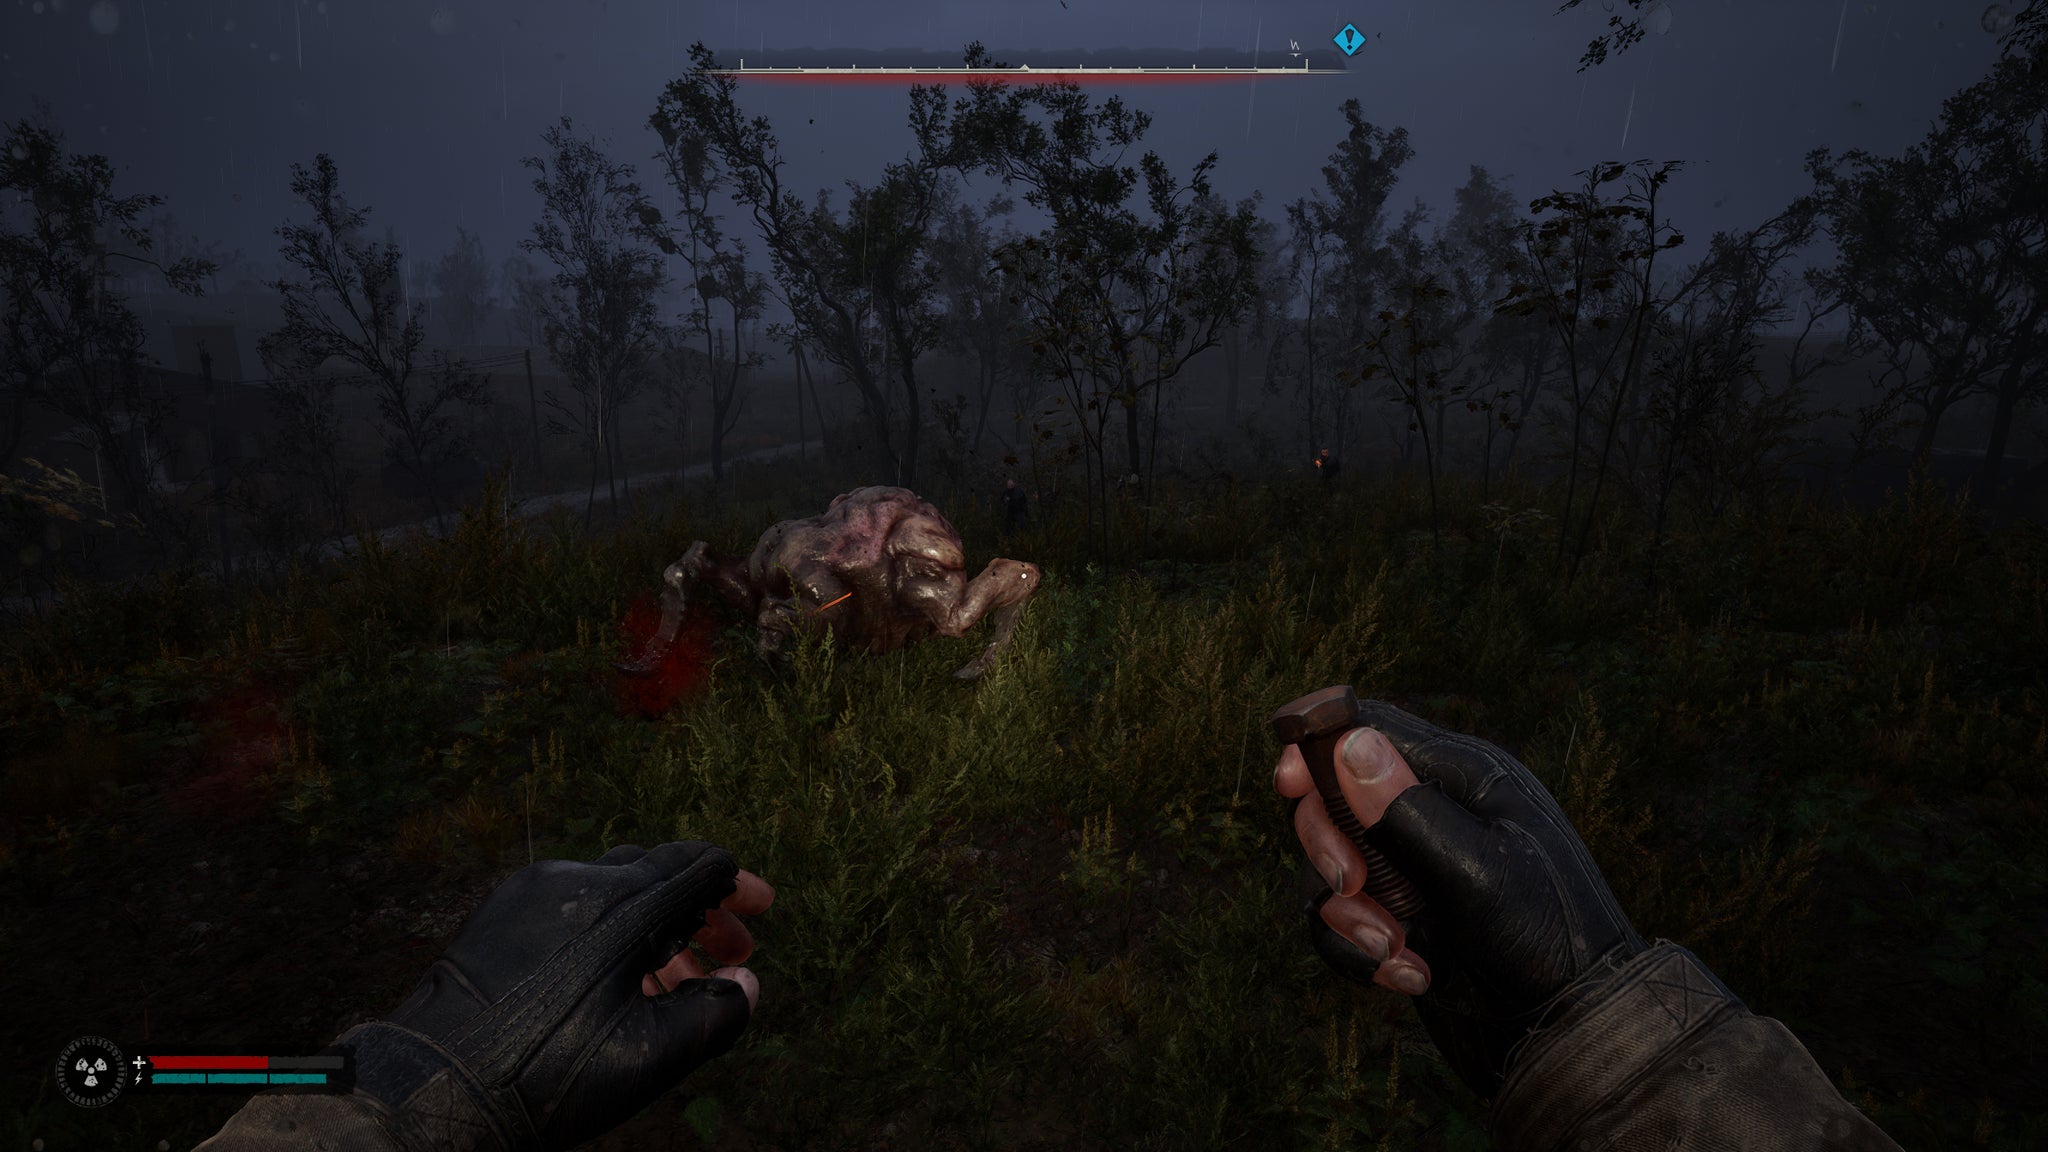
Image credit:Rock Paper Shotgun/GSC Game World
No Ham II, don’t-
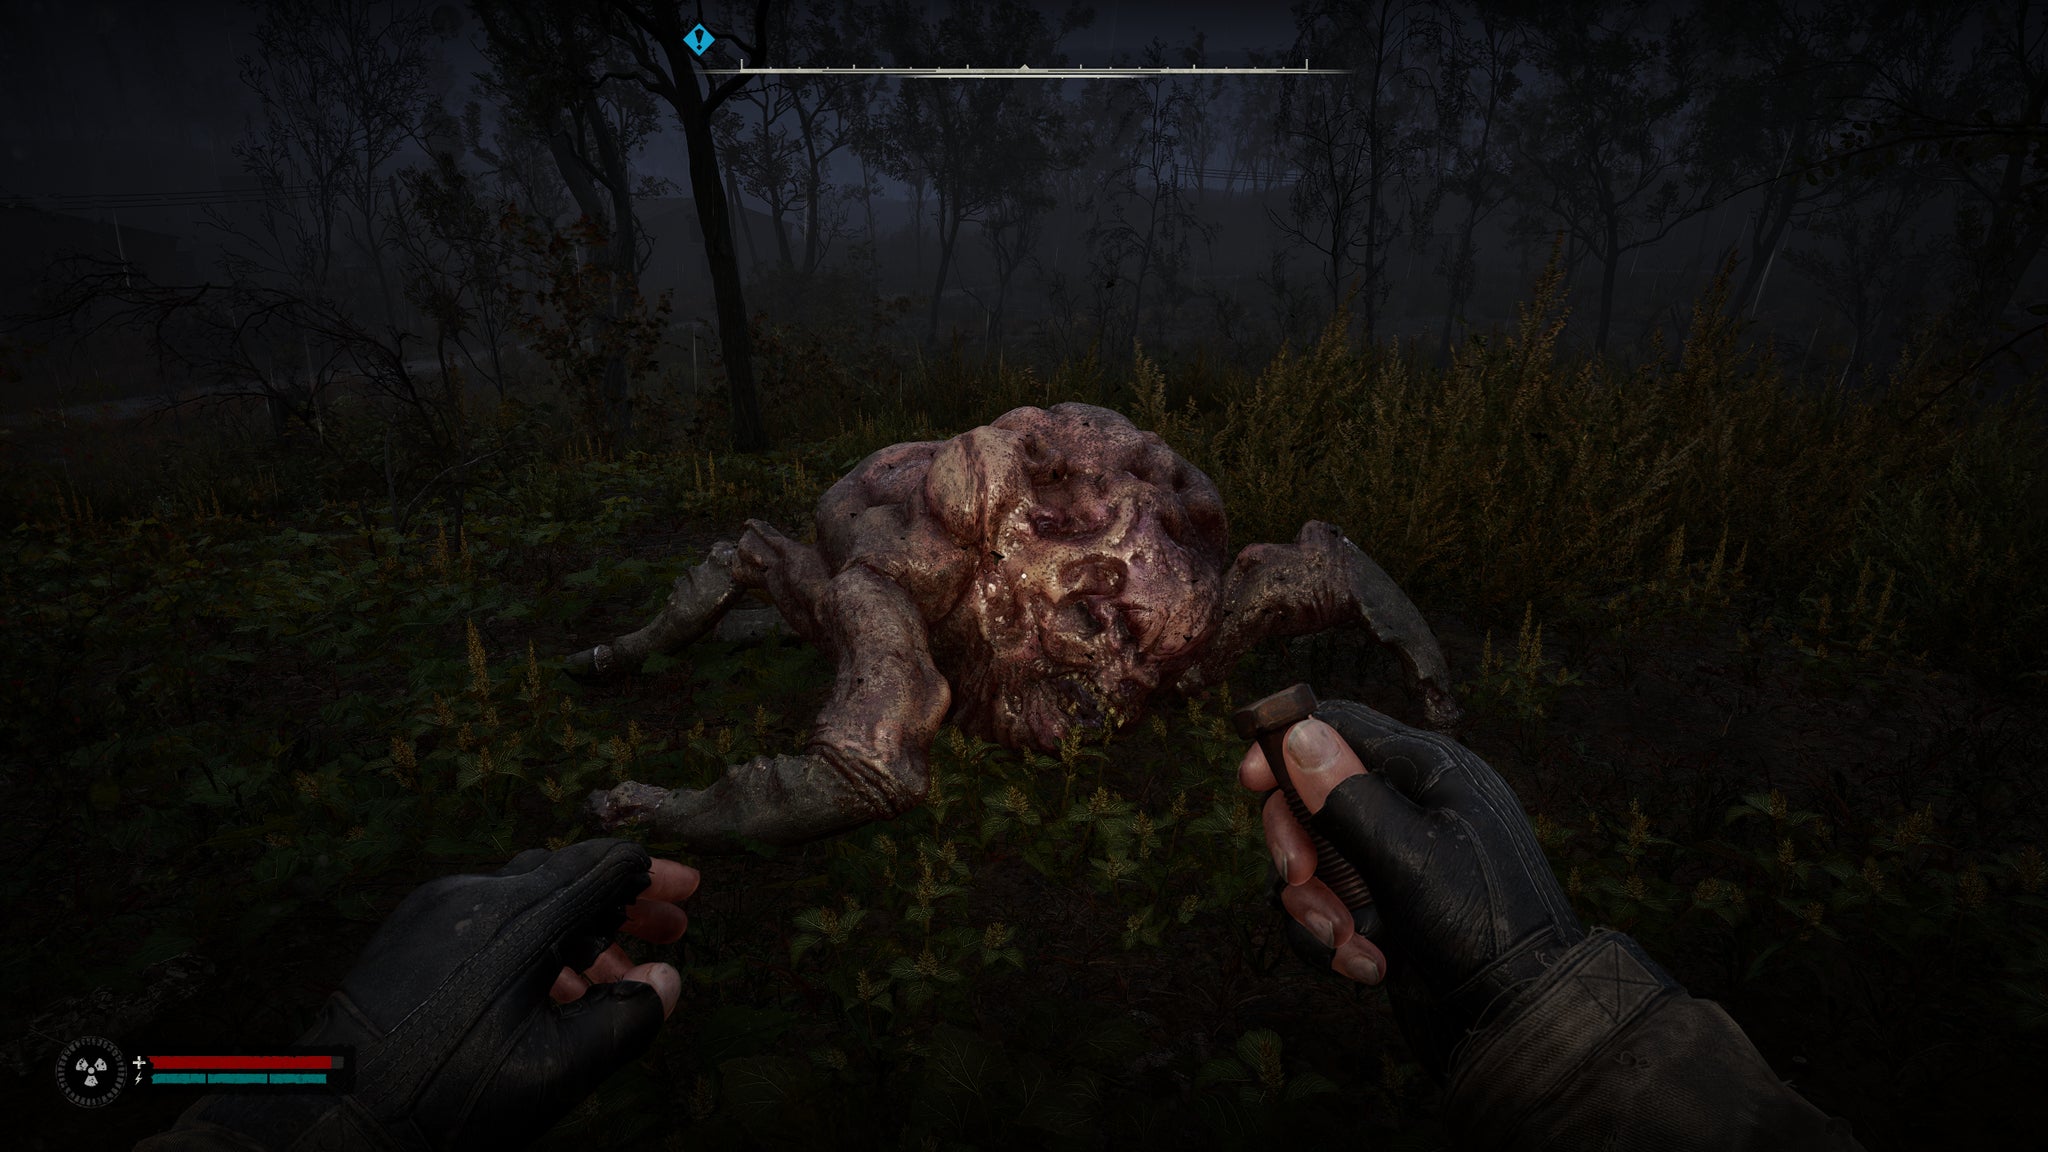
Image credit:Rock Paper Shotgun/GSC Game World
…I’m going to need more pigs.

S.T.A.L.K.E.R. 2: Heart of Chornobyl
Video Game
Rock Paper Shotgun is better when you sign in
Sign in and join us on our journey to discover strange and compelling PC games.

All 75 Arc Raiders Blueprints and where to get them
These areas have the highest chance of giving you Blueprints

Image credit:Rock Paper Shotgun/Embark Studios

Looking for more Arc Raiders Blueprints? It’s a special day when you find a Blueprint, as they’re among the most valuable items in Arc Raiders. If you find a Blueprint that you haven’t already found, then you must make sure you hold onto it at all costs, because Blueprints are the key to one of the most important and powerful systems of meta-progression in the game.
This guide aims to be the very best guide on Blueprints you can find, starting with a primer on what exactly they are and how they work in Arc Raiders, before delving into exactly where to get Blueprints and the very best farming spots for you to take in your search.
We’ll also go over how to get Blueprints from other unlikely activities, such as destroying Surveyors and completing specific quests. And you’ll also find the full list of all 75 Blueprints in Arc Raiders on this page (including the newest Blueprints added with the Cold Snap update , such as the Deadline Blueprint and Firework Box Blueprint), giving you all the information you need to expand your own crafting repertoire.
In this guide:
- What are Blueprints in Arc Raiders?
- Full Blueprint list: All crafting recipes
- Where to find Blueprints in Arc Raiders Blueprints obtained from quests Blueprints obtained from Trials Best Blueprint farming locations

What are Blueprints in Arc Raiders?
Blueprints in Arc Raiders are special items which, if you manage to extract with them, you can expend to permanently unlock a new crafting recipe in your Workshop. If you manage to extract from a raid with an Anvil Blueprint, for example, you can unlock the ability to craft your very own Anvil Pistol, as many times as you like (as long as you have the crafting materials).
To use a Blueprint, simply open your Inventory while in the lobby, then right-click on the Blueprint and click “Learn And Consume” . This will permanently unlock the recipe for that item in your Workshop. As of the Stella Montis update, there are allegedly 75 different Blueprints to unlock - although only 68 are confirmed to be in the game so far. You can see all the Blueprints you’ve found and unlocked by going to the Workshop menu, and hitting “R” to bring up the Blueprint screen.
It’s possible to find duplicates of past Blueprints you’ve already unlocked. If you find these, then you can either sell them, or - if you like to play with friends - you can take it into a match and gift it to your friend so they can unlock that recipe for themselves. Another option is to keep hold of them until the time comes to donate them to the Expedition.
Full Blueprint list: All crafting recipes
Below is the full list of all the Blueprints that are currently available to find in Arc Raiders, and the crafting recipe required for each item:
| Blueprint | Type | Recipe | Crafted At |
|---|---|---|---|
| Bettina | Weapon | 3x Advanced Mechanical Components 3x Heavy Gun Parts 3x Canister | Gunsmith 3 |
| Blue Light Stick | Quick Use | 3x Chemicals | Utility Station 1 |
| Aphelion | Weapon | 3x Magnetic Accelerator 3x Complex Gun Parts 1x Matriarch Reactor | Gunsmith 3 |
| Combat Mk. 3 (Flanking) | Augment | 2x Advanced Electrical Components 3x Processor | Gear Bench 3 |
| Combat Mk. 3 (Aggressive) | Augment | 2x Advanced Electrical Components 3x Processor | Gear Bench 3 |
| Complex Gun Parts | Material | 2x Light Gun Parts 2x Medium Gun Parts 2x Heavy Gun Parts | Refiner 3 |
| Fireworks Box | Quick Use | 1x Explosive Compound 3x Pop Trigger | Explosives Station 2 |
| Gas Mine | Mine | 4x Chemicals 2x Rubber Parts | Explosives Station 1 |
| Green Light Stick | Quick Use | 3x Chemicals | Utility Station 1 |
| Pulse Mine | Mine | 1x Crude Explosives 1x Wires | Explosives Station 1 |
| Seeker Grenade | Grenade | 1x Crude Explosives 2x ARC Alloy | Explosives Station 1 |
| Looting Mk. 3 (Survivor) | Augment | 2x Advanced Electrical Components 3x Processor | Gear Bench 3 |
| Angled Grip II | Mod | 2x Mechanical Components 3x Duct Tape | Gunsmith 2 |
| Angled Grip III | Mod | 2x Mod Components 5x Duct Tape | Gunsmith 3 |
| Hullcracker | Weapon | 1x Magnetic Accelerator 3x Heavy Gun Parts 1x Exodus Modules | Gunsmith 3 |
| Launcher Ammo | Ammo | 5x Metal Parts 1x Crude Explosives | Workbench 1 |
| Anvil | Weapon | 5x Mechanical Components 5x Simple Gun Parts | Gunsmith 2 |
| Anvil Splitter | Mod | 2x Mod Components 3x Processor | Gunsmith 3 |
| ??? | ??? | ??? | ??? |
| Barricade Kit | Quick Use | 1x Mechanical Components | Utility Station 2 |
| Blaze Grenade | Grenade | 1x Explosive Compound 2x Oil | Explosives Station 3 |
| Bobcat | Weapon | 3x Advanced Mechanical Components 3x Light Gun Parts | Gunsmith 3 |
| Osprey | Weapon | 2x Advanced Mechanical Components 3x Medium Gun Parts 7x Wires | Gunsmith 3 |
| Burletta | Weapon | 3x Mechanical Components 3x Simple Gun Parts | Gunsmith 1 |
| Compensator II | Mod | 2x Mechanical Components 4x Wires | Gunsmith 2 |
| Compensator III | Mod | 2x Mod Components 8x Wires | Gunsmith 3 |
| Defibrillator | Quick Use | 9x Plastic Parts 1x Moss | Medical Lab 2 |
| ??? | ??? | ??? | ??? |
| Equalizer | Weapon | 3x Magnetic Accelerator 3x Complex Gun Parts 1x Queen Reactor | Gunsmith 3 |
| Extended Barrel | Mod | 2x Mod Components 8x Wires | Gunsmith 3 |
| Extended Light Mag II | Mod | 2x Mechanical Components 3x Steel Spring | Gunsmith 2 |
| Extended Light Mag III | Mod | 2x Mod Components 5x Steel Spring | Gunsmith 3 |
| Extended Medium Mag II | Mod | 2x Mechanical Components 3x Steel Spring | Gunsmith 2 |
| Extended Medium Mag III | Mod | 2x Mod Components 5x Steel Spring | Gunsmith 3 |
| Extended Shotgun Mag II | Mod | 2x Mechanical Components 3x Steel Spring | Gunsmith 2 |
| Extended Shotgun Mag III | Mod | 2x Mod Components 5x Steel Spring | Gunsmith 3 |
| Remote Raider Flare | Quick Use | 2x Chemicals 4x Rubber Parts | Utility Station 1 |
| Heavy Gun Parts | Material | 4x Simple Gun Parts | Refiner 2 |
| Venator | Weapon | 2x Advanced Mechanical Components 3x Medium Gun Parts 5x Magnet | Gunsmith 3 |
| Il Toro | Weapon | 5x Mechanical Components 6x Simple Gun Parts | Gunsmith 1 |
| Jolt Mine | Mine | 1x Electrical Components 1x Battery | Explosives Station 2 |
| Explosive Mine | Mine | 1x Explosive Compound 1x Sensors | Explosives Station 3 |
| Jupiter | Weapon | 3x Magnetic Accelerator 3x Complex Gun Parts 1x Queen Reactor | Gunsmith 3 |
| Light Gun Parts | Material | 4x Simple Gun Parts | Refiner 2 |
| Lightweight Stock | Mod | 2x Mod Components 5x Duct Tape | Gunsmith 3 |
| Lure Grenade | Grenade | 1x Speaker Component 1x Electrical Components | Utility Station 2 |
| Medium Gun Parts | Material | 4x Simple Gun Parts | Refiner 2 |
| Torrente | Weapon | 2x Advanced Mechanical Components 3x Medium Gun Parts 6x Steel Spring | Gunsmith 3 |
| Muzzle Brake II | Mod | 2x Mechanical Components 4x Wires | Gunsmith 2 |
| Muzzle Brake III | Mod | 2x Mod Components 8x Wires | Gunsmith 3 |
| Padded Stock | Mod | 2x Mod Components 5x Duct Tape | Gunsmith 3 |
| Shotgun Choke II | Mod | 2x Mechanical Components 4x Wires | Gunsmith 2 |
| Shotgun Choke III | Mod | 2x Mod Components 8x Wires | Gunsmith 3 |
| Shotgun Silencer | Mod | 2x Mod Components 8x Wires | Gunsmith 3 |
| Showstopper | Grenade | 1x Advanced Electrical Components 1x Voltage Converter | Explosives Station 3 |
| Silencer I | Mod | 2x Mechanical Components 4x Wires | Gunsmith 2 |
| Silencer II | Mod | 2x Mod Components 8x Wires | Gunsmith 3 |
| Snap Hook | Quick Use | 2x Power Rod 3x Rope 1x Exodus Modules | Utility Station 3 |
| Stable Stock II | Mod | 2x Mechanical Components 3x Duct Tape | Gunsmith 2 |
| Stable Stock III | Mod | 2x Mod Components 5x Duct Tape | Gunsmith 3 |
| Tagging Grenade | Grenade | 1x Electrical Components 1x Sensors | Utility Station 3 |
| Tempest | Weapon | 3x Advanced Mechanical Components 3x Medium Gun Parts 3x Canister | Gunsmith 3 |
| Trigger Nade | Grenade | 2x Crude Explosives 1x Processor | Explosives Station 2 |
| Vertical Grip II | Mod | 2x Mechanical Components 3x Duct Tape | Gunsmith 2 |
| Vertical Grip III | Mod | 2x Mod Components 5x Duct Tape | Gunsmith 3 |
| Vita Shot | Quick Use | 2x Antiseptic 1x Syringe | Medical Lab 3 |
| Vita Spray | Quick Use | 3x Antiseptic 1x Canister | Medical Lab 3 |
| Vulcano | Weapon | 1x Magnetic Accelerator 3x Heavy Gun Parts 1x Exodus Modules | Gunsmith 3 |
| Wolfpack | Grenade | 2x Explosive Compound 2x Sensors | Explosives Station 3 |
| Red Light Stick | Quick Use | 3x Chemicals | Utility Station 1 |
| Smoke Grenade | Grenade | 14x Chemicals 1x Canister | Utility Station 2 |
| Deadline | Mine | 3x Explosive Compound 2x ARC Circuitry | Explosives Station 3 |
| Trailblazer | Grenade | 1x Explosive Compound 1x Synthesized Fuel | Explosives Station 3 |
| Tactical Mk. 3 (Defensive) | Augment | 2x Advanced Electrical Components 3x Processor | Gear Bench 3 |
| Tactical Mk. 3 (Healing) | Augment | 2x Advanced Electrical Components 3x Processor | Gear Bench 3 |
| Yellow Light Stick | Quick Use | 3x Chemicals | Utility Station 1 |
Note: The missing Blueprints in this list likely have not actually been added to the game at the time of writing, because none of the playerbase has managed to find any of them. As they are added to the game, I will update this page with the most relevant information so you know exactly how to get all 75 Arc Raiders Blueprints.
Where to find Blueprints in Arc Raiders
Below is a list of all containers, modifiers, and events which maximise your chances of finding Blueprints:
- Certain quests reward you with specific Blueprints .
- Completing Trials has a high chance of offering Blueprints as rewards.
- Surveyors have a decent chance of dropping Blueprints on death.
- High loot value areas tend to have a greater chance of spawning Blueprints.
- Night Raids and Storms may increase rare Blueprint spawn chances in containers.
- Containers with higher numbers of items may have a higher tendency to spawn Blueprints. As a result, Blue Gate (which has many “large” containers containing multiple items) may give you a higher chance of spawning Blueprints.
- Raider containers (Raider Caches, Weapon Boxes, Medical Bags, Grenade Tubes) have increased Blueprint drop rates. As a result, the Uncovered Caches event gives you a high chance of finding Blueprints.
- Security Lockers have a higher than average chance of containing Blueprints.
- Certain Blueprints only seem to spawn under specific circumstances: Tempest Blueprint only spawns during Night Raid events. Vulcano Blueprint only spawns during Hidden Bunker events. Jupiter and Equaliser Blueprints only spawn during Harvester events.

Raider Caches, Weapon Boxes, and other raider-oriented container types have a good chance of offering Blueprints. |Image credit:Rock Paper Shotgun/Embark Studios
Blueprints have a very low chance of spawning in any container in Arc Raiders, around 1-2% on average. However, there is a higher chance of finding Blueprints in particular container types. Specifically, you can find more Blueprints in Raider containers and security lockers.
Beyond this, if you’re looking for Blueprints you should focus on regions of the map which are marked as having particularly high-value loot. Areas such as the Control Tower in Dam Battlegrounds, the Arrival and Departure Buildings in Spaceport, and Pilgrim’s Peak in Blue Gate all have a better-than-average chance of spawning Blueprints somewhere amongst all their containers. Night Raids and Electromagnetic Storm events also increase the drop chances of certain Blueprints .
In addition to these containers, you can often loot Blueprints from destroyed Surveyors - the largest of the rolling ball ARC. Surveyors are more commonly found on the later maps - Spaceport and Blue Gate - and if one spawns in your match, you’ll likely see it by the blue laser beam that it casts into the sky while “surveying”.
Surveyors are quite well-armoured and will very speedily run away from you once it notices you, but if you can take one down then make sure you loot all its parts for a chance of obtaining certain unusual Blueprints.
Blueprints obtained from quests
One way in which you can get Blueprints is by completing certain quests for the vendors in Speranza. Some quests will reward you with a specific item Blueprint upon completion, so as long as you work through all the quests in Arc Raiders, you are guaranteed those Blueprints.
Here is the full list of all Blueprints you can get from quest rewards:
- Trigger Nade Blueprint: Rewarded after completing “Sparks Fly”.
- Lure Grenade Blueprint: Rewarded after completing “Greasing Her Palms”.
- Burletta Blueprint: Rewarded after completing “Industrial Espionage”.
- Hullcracker Blueprint (and Launcher Ammo Blueprint): Rewarded after completing “The Major’s Footlocker”.
Alas, that’s only 4 Blueprints out of a total of 75 to unlock, so for the vast majority you will need to find them yourself during a raid. If you’re intent on farming Blueprints, then it’s best to equip yourself with cheap gear in case you lose it, but don’t use a free loadout because then you won’t get a safe pocket to stash any new Blueprint you find. No pain in Arc Raiders is sharper than failing to extract with a new Blueprint you’ve been after for a dozen hours already.

One of the best ways to get Blueprints is by hitting three stars on all five Trials every week. |Image credit:Rock Paper Shotgun/Embark Studios
Blueprints obtained from Trials
One of the very best ways to get Blueprints is as rewards for completing Trials in Arc Raiders. Trials are unlocked from Level 15 onwards, and allow you to earn rewards by focusing on certain tasks over the course of several raids. For example, one Trial might task you with dealing damage to Hornets, while another might challenge you to loot Supply Drops.
Trials refresh on a weekly basis, with a new week bringing five new Trials. Each Trial can offer up to three rewards after passing certain score milestones, and it’s possible to receive very high level loot from these reward crates - including Blueprints. So if you want to unlock as many Blueprints as possible, you should make a point of completing as many Trials as possible each week.
Best Blueprint farming locations
The very best way to get Blueprints is to frequent specific areas of the maps which combine high-tier loot pools with the right types of containers to search. Here are my recommendations for where to find Blueprints on every map, so you can always keep the search going for new crafting recipes to unlock.

Image credit:Rock Paper Shotgun/Embark Studios
Dam Battlegrounds
The best places to farm Blueprints on Dam Battlegrounds are the Control Tower, Power Generation Complex, Ruby Residence, and Pale Apartments . The first two regions, despite only being marked on the map as mid-tier loot, contain a phenomenal number of containers to loot. The Control Tower can also contain a couple of high-tier Security Lockers - though of course, you’ll need to have unlocked the Security Breach skill at the end of the Survival tree.
There’s also a lot of reporting amongst the playerbase that the Residential areas in the top-left of the map - Pale Apartments and Ruby Residence - give you a comparatively strong chance of finding Blueprints. Considering their size, there’s a high density of containers to loot in both locations, and they also have the benefit of being fairly out of the way. So you’re more likely to have all the containers to yourself.
Buried City
The best Blueprint farming locations on Buried City are the Santa Maria Houses, Grandioso Apartments, Town Hall, and the various buildings of the New District . Grandioso Apartments has a lower number of containers than the rest, but a high chance of spawning weapon cases - which have good Blueprint drop rates. The others are high-tier loot areas, with plenty of lootable containers - including Security Lockers.
Spaceport
The best places to find Blueprints on Spaceport are the Arrival and Departure Buildings, as well as Control Tower A6 and the Launch Towers . All these areas are labelled as high-value loot regions, and many of them are also very handily connected to one another by the Spaceport wall, which you can use to quickly run from one area to the next. At the tops of most of these buildings you’ll find at least one Security Locker, so this is an excellent farming route for players looking to find Blueprints.
The downside to looting Blueprints on Spaceport is that all these areas are hotly contested, particularly in Duos and Squads. You’ll need to be very focused and fast in order to complete the full farming route.

Image credit:Rock Paper Shotgun/Embark Studios
Blue Gate
Blue Gate tends to have a good chance of dropping Blueprints, potentially because it generally has a high number of containers which can hold lots of items; so there’s a higher chance of a Blueprint spawning in each container. In my experience, the best Blueprint farming spots on Blue Gate are Pilgrim’s Peak, Raider’s Refuge, the Ancient Fort, and the Underground Complex beneath the Warehouse .
All of these areas contain a wealth of containers to loot. Raider’s Refuge has less to loot, but the majority of the containers in and around the Refuge are raider containers, which have a high chance of containing Blueprints - particularly during major events.
Stella Montis
On the whole, Stella Montis seems to have a very low drop rate for Blueprints (though a high chance of dropping other high-tier loot). If you do want to try farming Blueprints on this map, the best places to find Blueprints in Stella Montis are Medical Research, Assembly Workshop, and the Business Center . These areas have the highest density of containers to loot on the map.
In addition to this, the Western Tunnel has a few different Security Lockers to loot, so while there’s very little to loot elsewhere in this area of the map, it’s worth hitting those Security Lockers if you spawn there at the start of a match.
That wraps up this primer on how to get all the Blueprints in Arc Raiders as quickly as possible. With the Expedition system constantly resetting a large number of players’ Blueprints, it’s more important than ever to have the most up-to-date information on where to find all these Blueprints.
While you’re here, be sure to check out our Arc Raiders best guns tier list , as well as our primers on the best skills to unlock and all the different Field Depot locations on every map.


ARC Raiders
PS5 , Xbox Series X/S , PC
Rock Paper Shotgun is better when you sign in
Sign in and join us on our journey to discover strange and compelling PC games.
