Starfield best ship: 7 best ships in Starfield and locations
We break down Starfield’s best ships for combat, cargo, and more
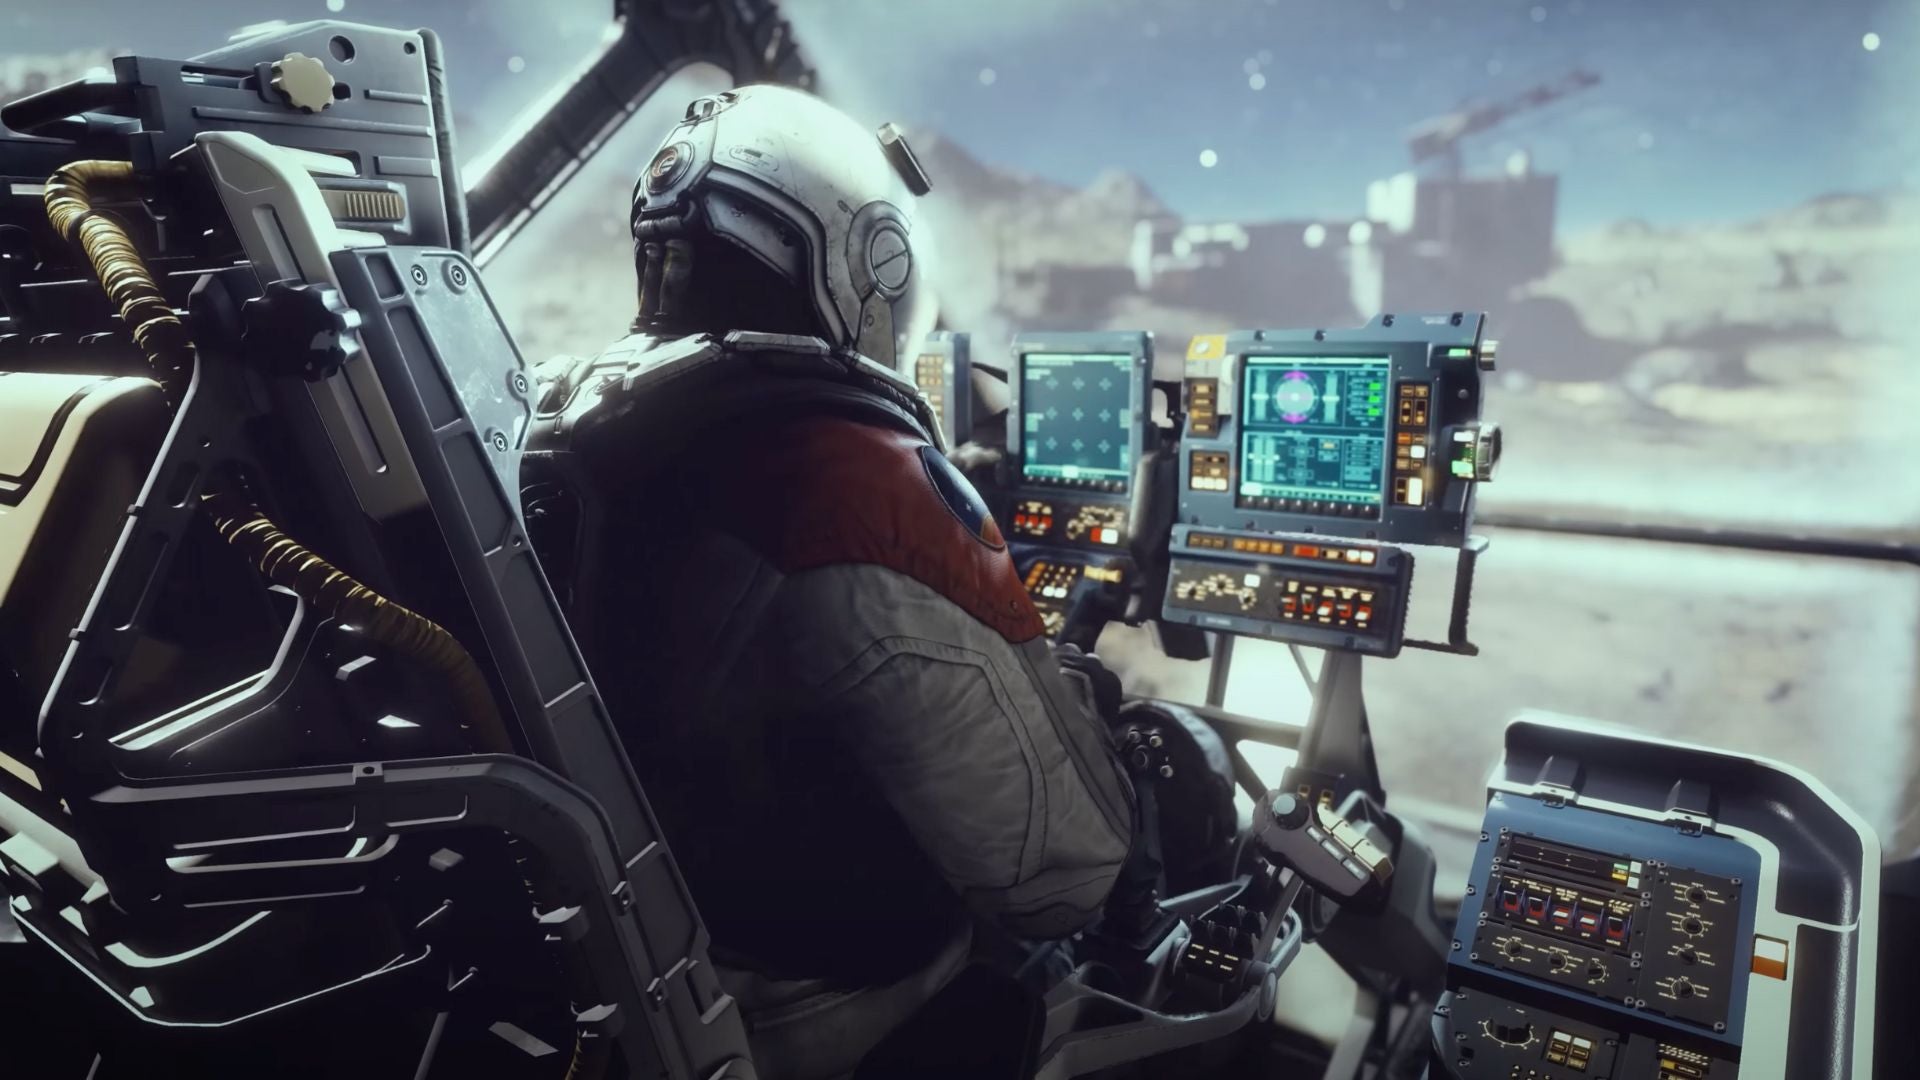
Image credit:Bethesda

Looking for the best Starfield ship? Aquiring the best ship in Starfield can be a confusing search given the large number of ships available throughout the game.
Below we’ve gathered the best ships in Starfield according to important factors like ship storage , weapons the grav jump mechanic, fuel capacity, cargo capacity, the ship’s shield strength, and hull, which is a numerical representation of the overall health of the ship. We’ve also listed the best ships for early to late game and the best free ship overall.
With this, you should be able to conquer the stars in style , regardless of class, as long as you have room in your ten-ship maximum capacity. Here is a list of the best ships in Starfield for some inspiration, whether you’re a new player or returning in time for the Shattered Space expansion !
In this guide:
- Best Starfield ships
- What is the best Starfield early game ship?
- What is the best free ship in Starfield?
- Best Starfield ship for new game plus
Best Starfield ships
The best Starfield ships are the Abyss Trekker, Narwal, Razorleaf, Silent Runner, Star Eagle, Starborn Guardian, and Stronghold.
Below we’ve gone into more detail about each of these ships and what makes them the very best.
Abyss Trekker
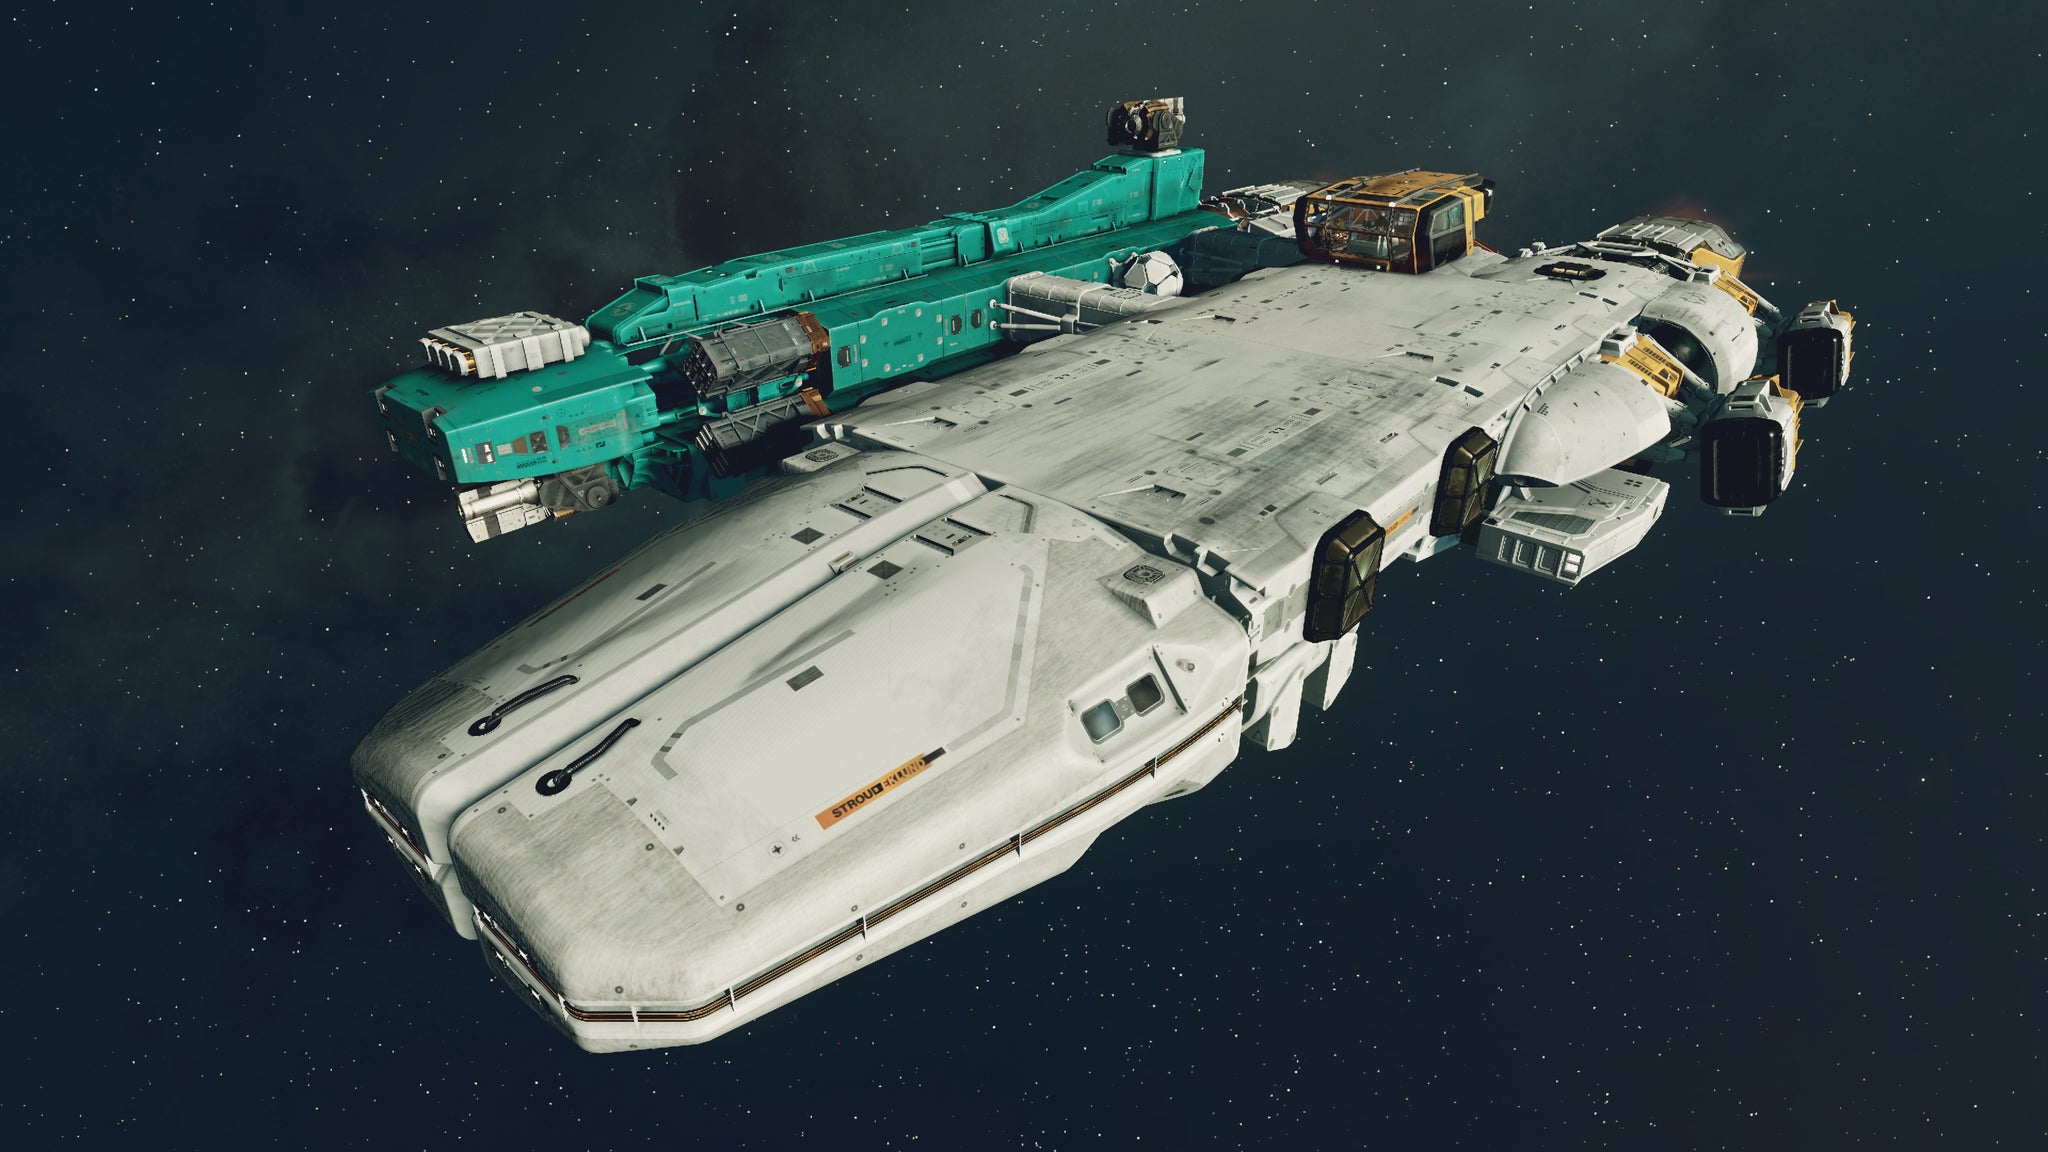
The Abyss Trekker is speedy and packs a punch. |Image credit:Rock Paper Shotgun/Bethesda Game Studios
- Cost: 365,525
- Location: Can be purchased from the Ship Services Technician in Paradiso.
- Class: C
- Hull: 1031
- Shield: 850
- Particle Cannons: 38
- Missiles: 96
- Ballistics: 162
- Fuel: 950
- Grav Jump Range: 25 LY
- Cargo Capacity: 340
- Max Crew: 6
The Class C ship Abyss Trekker is great for moving quickly throughout space, rendering it a solid pick for speed and space combat. Although it has limited cargo capacity, it also has one of the game’s most balanced overall ship systems in terms of fuel, its 25 lightyear jump distance, and base 96 missile and 162 ballistics stats.
Narwhal

The Narwhal is a great all-rounder with an impressive crew count. |Image credit:Rock Paper Shotgun/Bethesda Game Studios
- Cost: 455,400
- Location: Purchased from the Ryujin building in Neon from Taiyo Astroengineering.
- Class: C
- Hull: 2118
- Shield: 995
- Lasers: 24
- Ballistics: 114
- Missiles: 82
- Fuel: 560
- Grav Jump Range: 30 LY
- Cargo Capacity: 1760
- Max Crew: 7
As the most expensive ship in the game, it’s no surprise that many players consider this class C ship the best due to its all-around solid stats, including 114 ballistics and 82 missiles. It is a beast of a ship with relatively high cargo and very hull stats, plus it holds seven crew, which is the most we’ve seen in the game to date.
Razorleaf
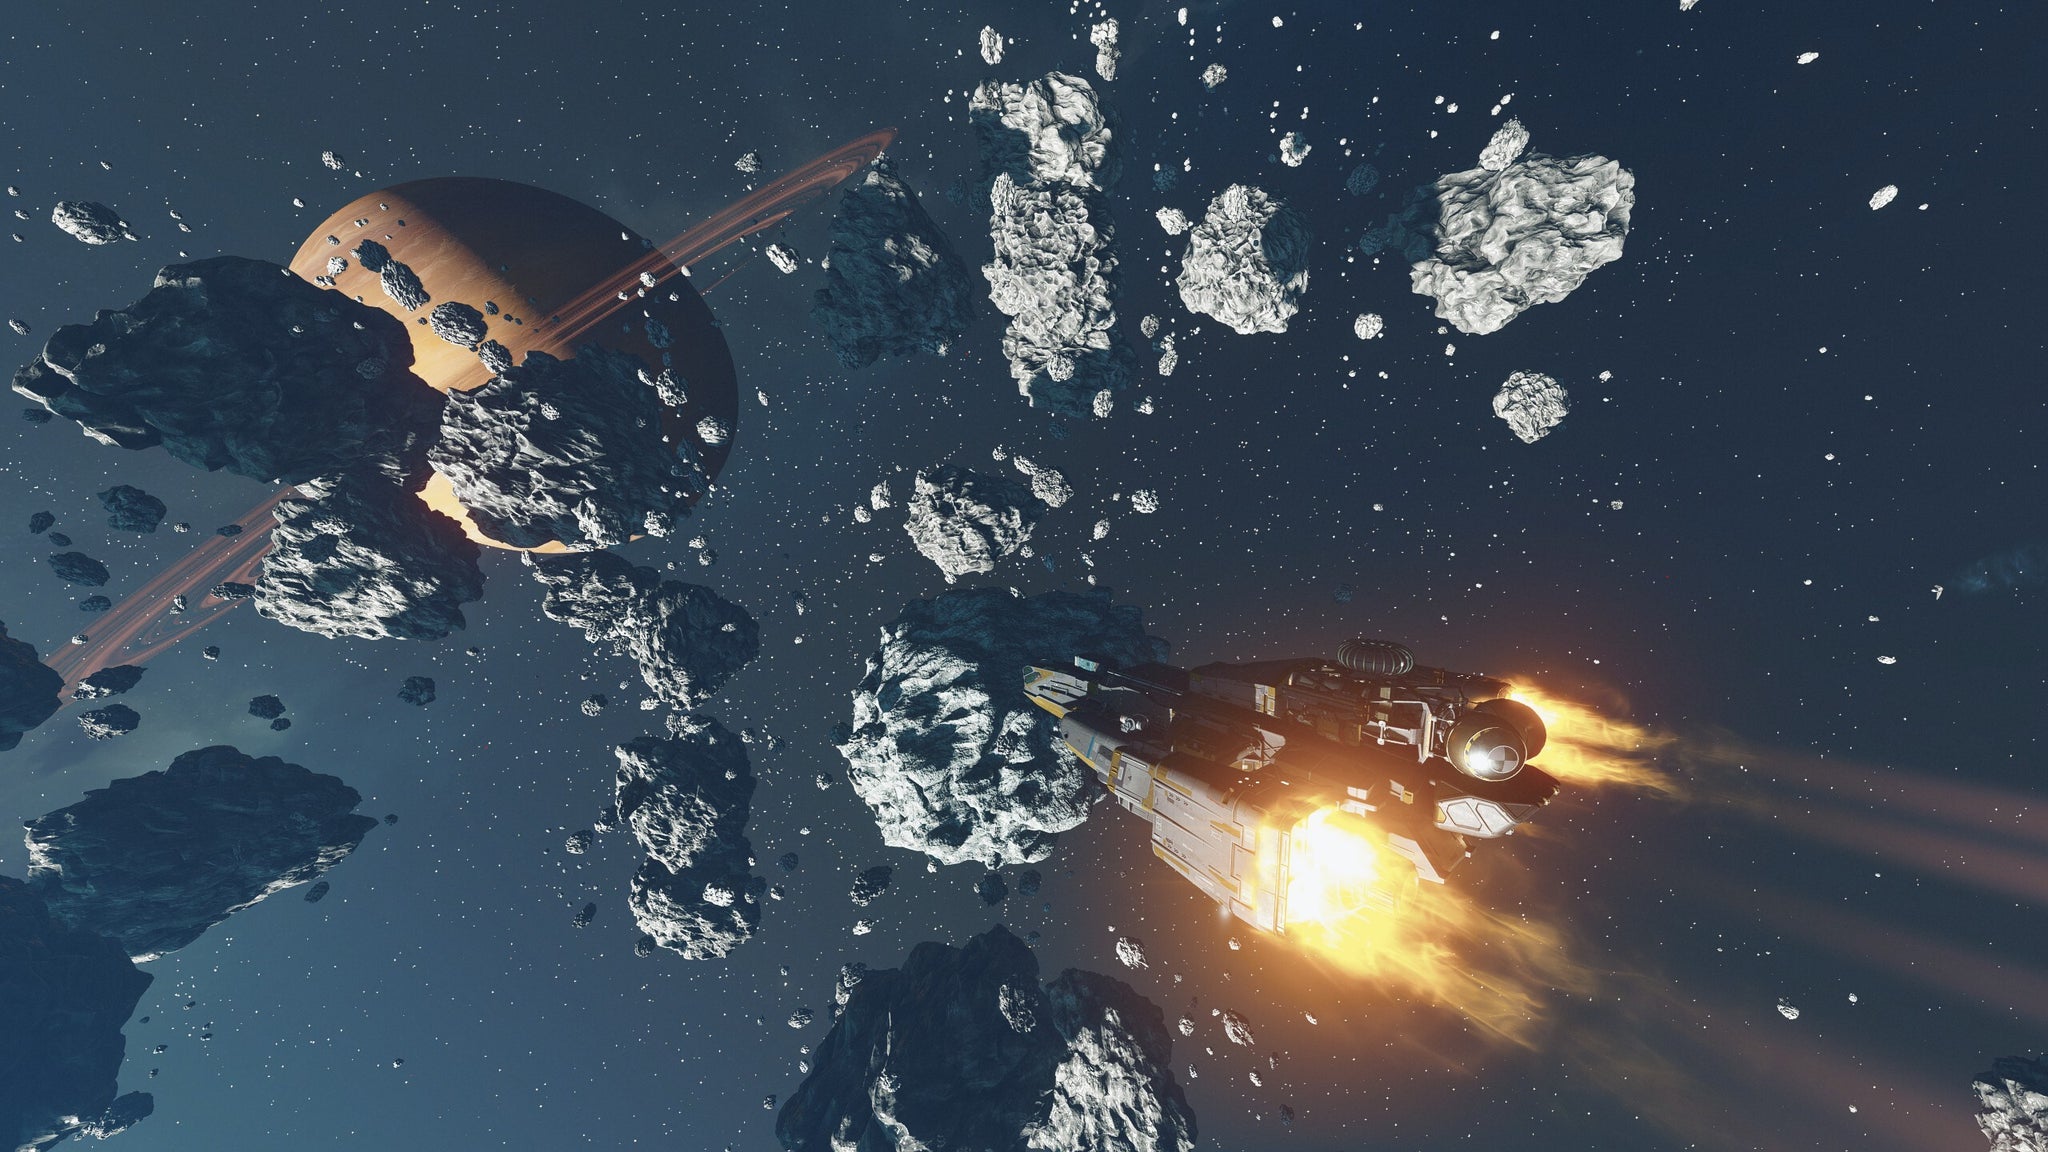
The Razorleaf is a fan-favourite among the Starfield community, and for good reason. |Image credit:Rock Paper Shotgun/Bethesda Game Studios
- Cost: Free
- Location: Reward upon completing the Mantis questline.
- Class: A
- Hull: 469
- Shield: 390
- Lasers: 6
- Particle Cannons: 16
- Missiles: 36
- Fuel: 140
- Grav Jump Range: 16 LY
- Cargo Capacity: 420
- Max Crew: 2
The Razorleaf is one of the best Class A early-game options. And, as a reward for completing the Mantis quest line , it’s completely free. The ship has powerful weapons and a shielded cargo capacity of 160 for smuggling contraband. It’s quickly grown to become a favorite ship among players, and with good reason.
Silent Runner
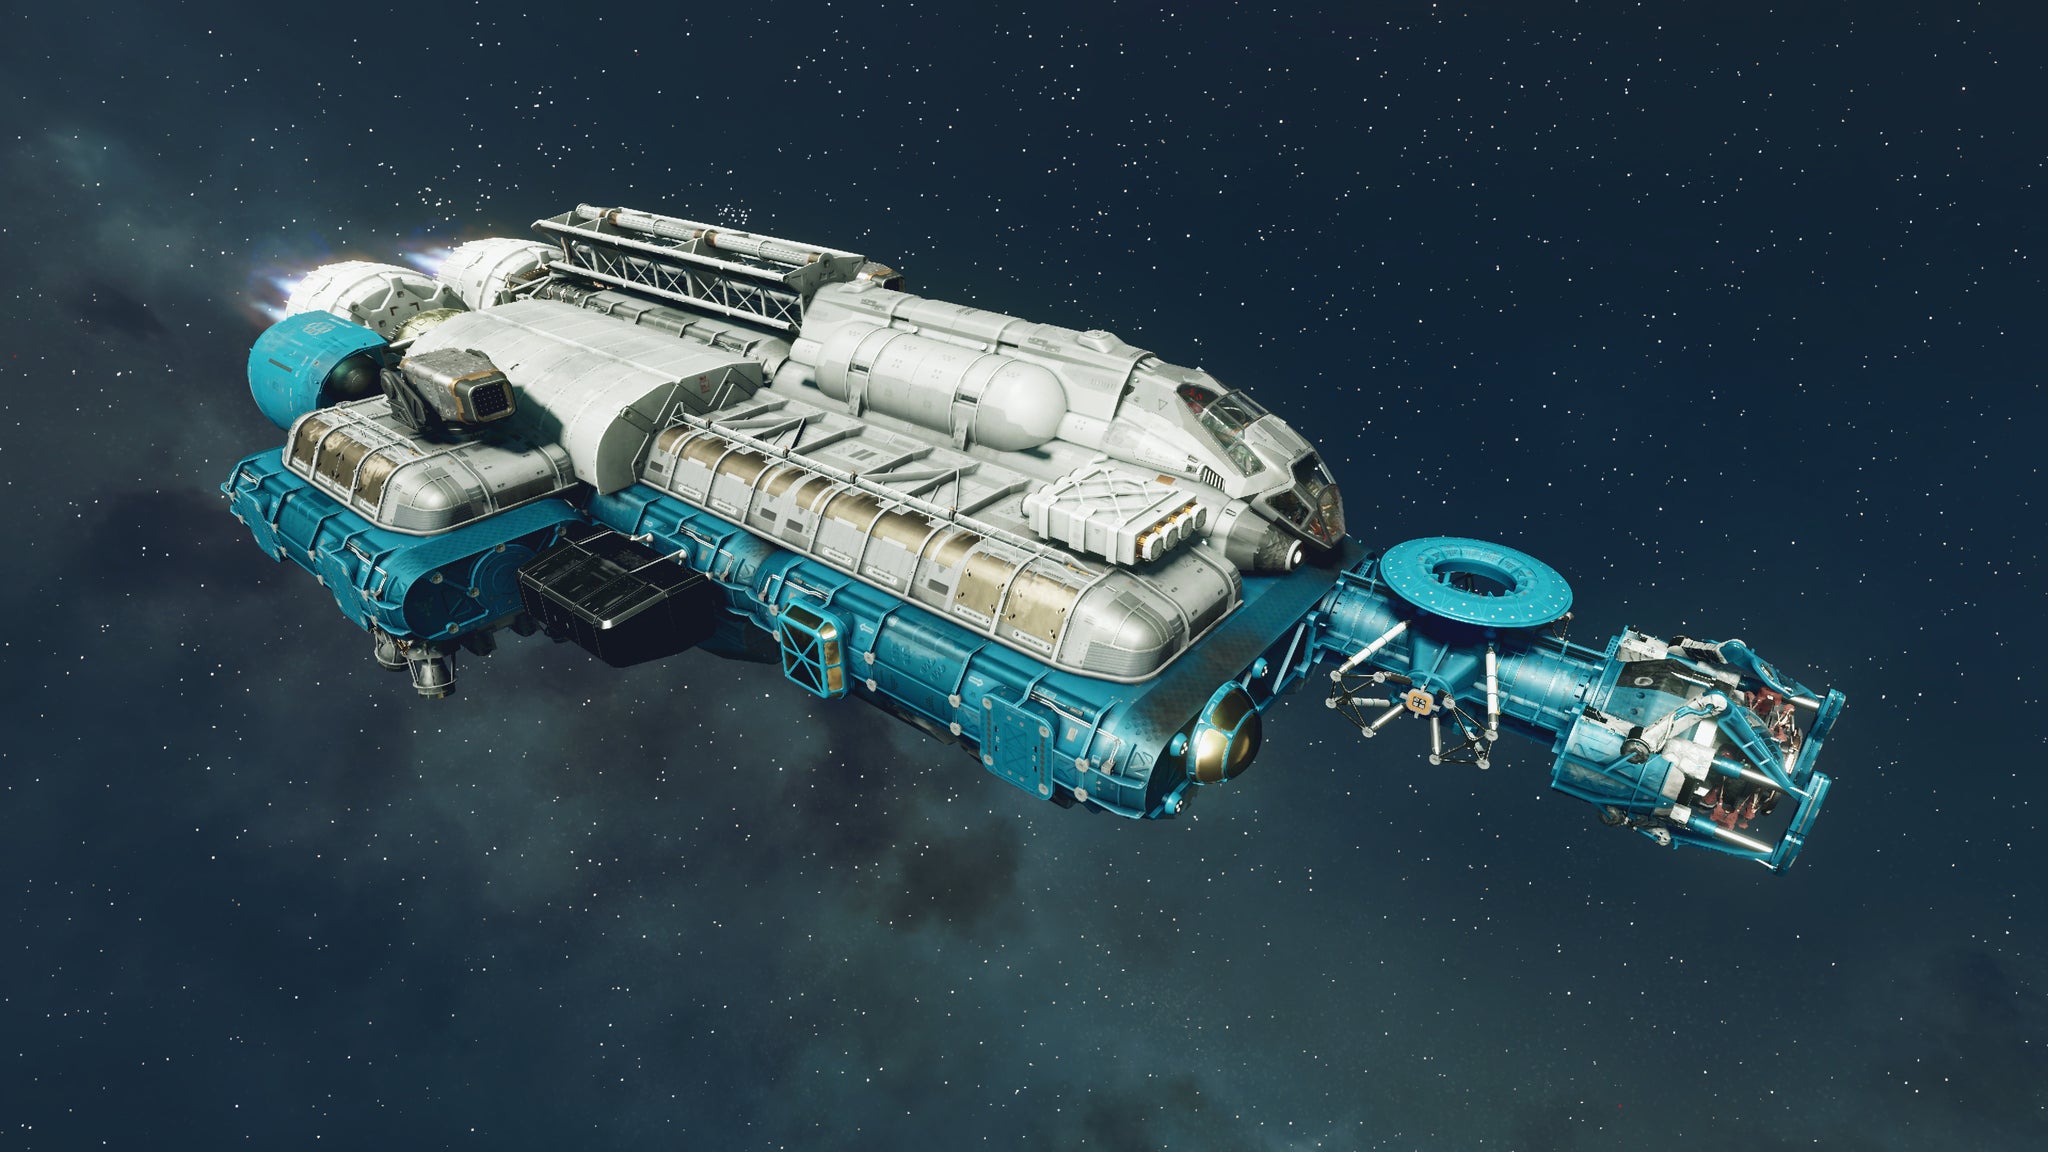
If cargo capacity is important to you, there’s no better ship than the Silent Runner. |Image credit:Rock Paper Shotgun/Bethesda Game Studios
- Cost: 390,150
- Location: HopeTown.
- Class: C
- Hull: 1164
- Shield: 975
- Particle Cannons: 38
- Missiles: 96
- Fuel: 300
- Grav Jump Range: 30 LY
- Cargo Capacity: 6060
- Max Crew: 5
The Silent Runner is the best ship for running cargo, with a staggering 6060 cargo space, over 1,000 more than the next-highest ship. It also has a 30-lightyear jump distance and a 34 reactor, making this thing a powerful beast of a machine that’s also not too shabby in its shield and hull stats.
Star Eagle
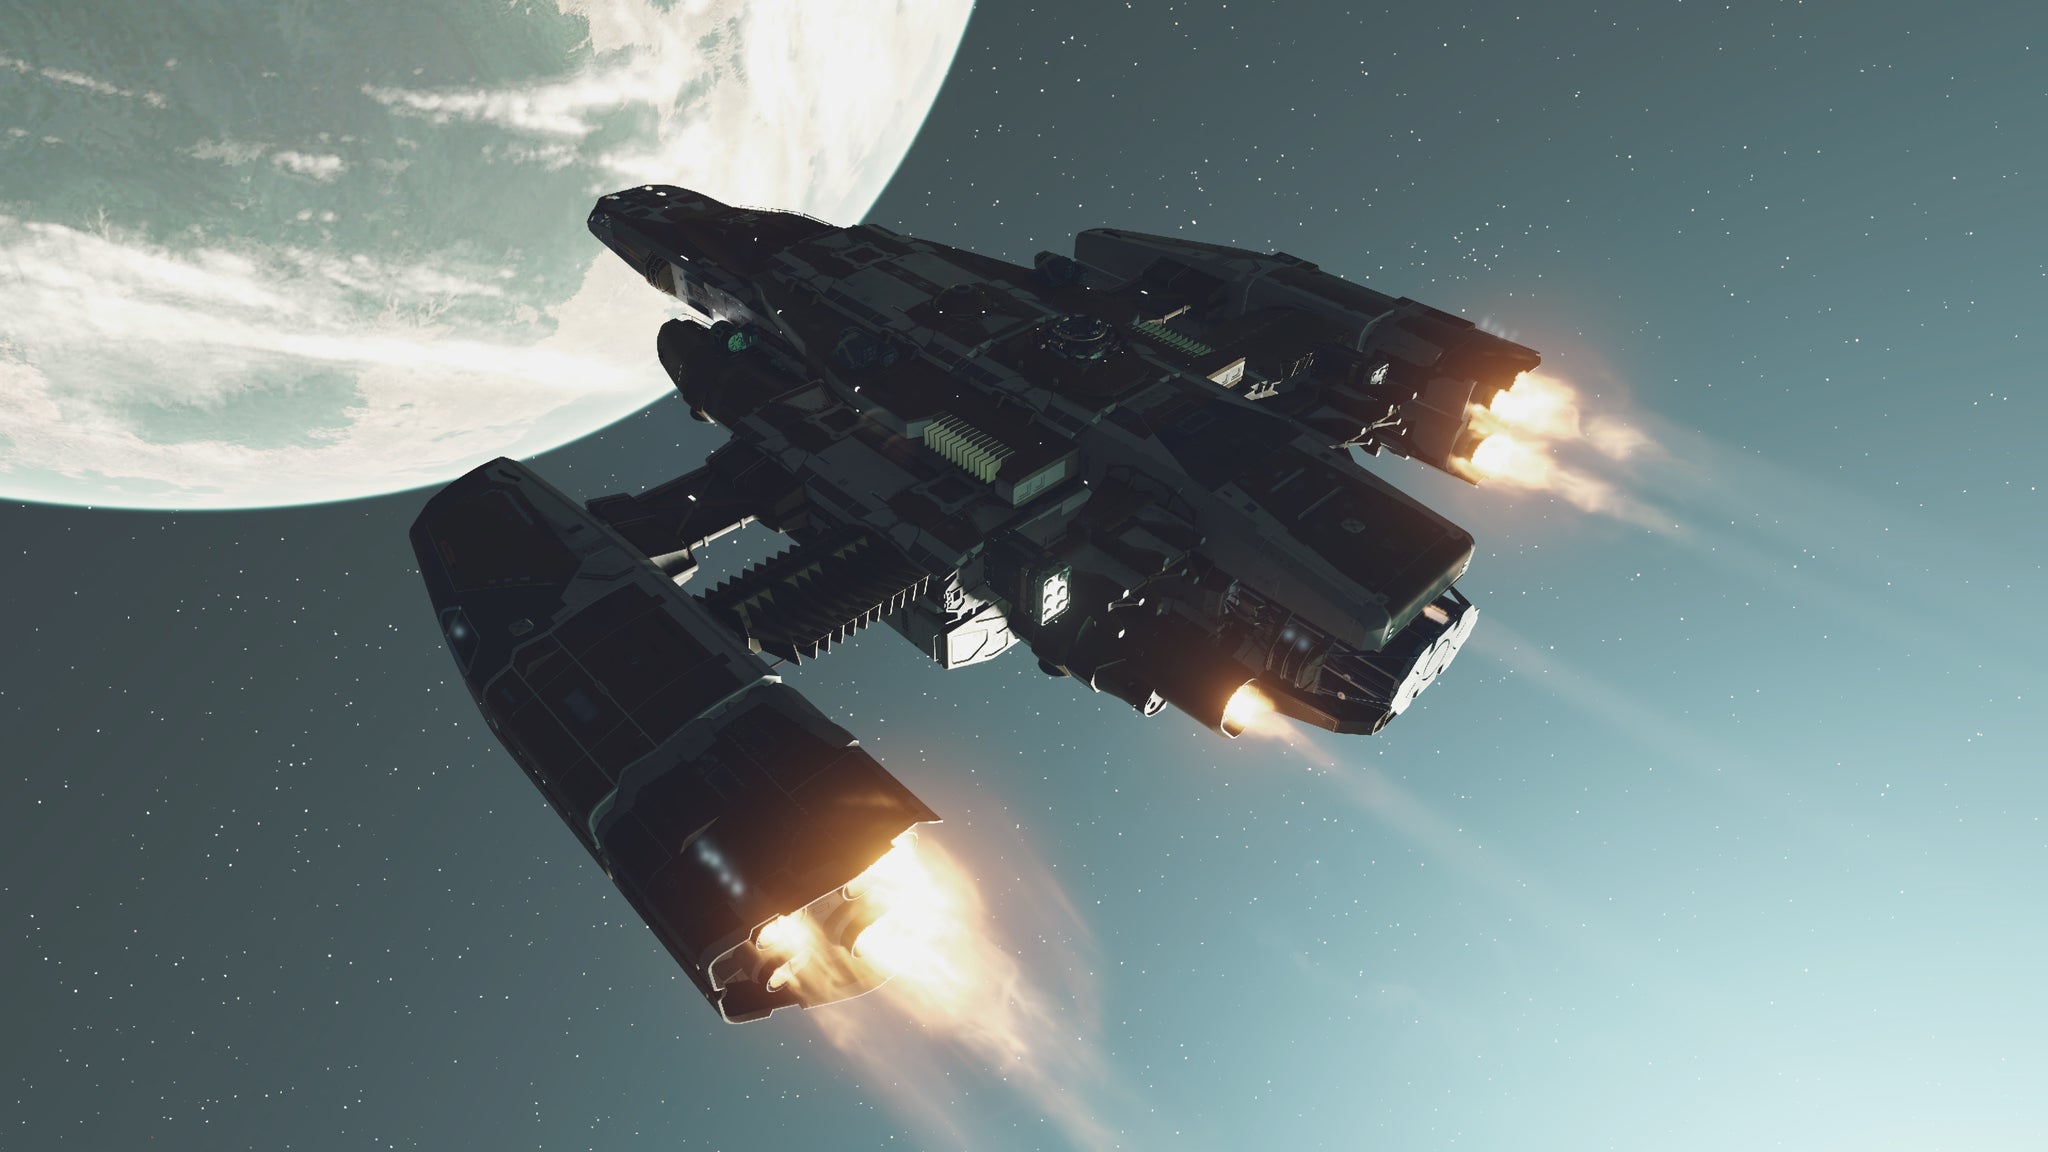
The Star Eagle is a great all-rounder ship in Starfield. |Image credit:Rock Paper Shotgun/Bethesda Game Studios
- Cost: Free.
- Location: Reward upon completing the Freestar Ranger questline. Can be picked up in Akila City.
- Class: A
- Hull: 948
- Shield: 760
- Electromagnetic: 2
- Missiles: 136
- Lasers: 12
- Fuel: 140
- Grav Jump Range: 16 LY
- Cargo Capacity: 2508
- Max Crew: 5
The Star Eagle is a large, well-rounded ship with a high cargo capacity, making it a strong choice for resource gathering. As a balanced middle-ground ship, it’s an excellent pick for regular use as a middle-game ship option.
Starborn Guardian
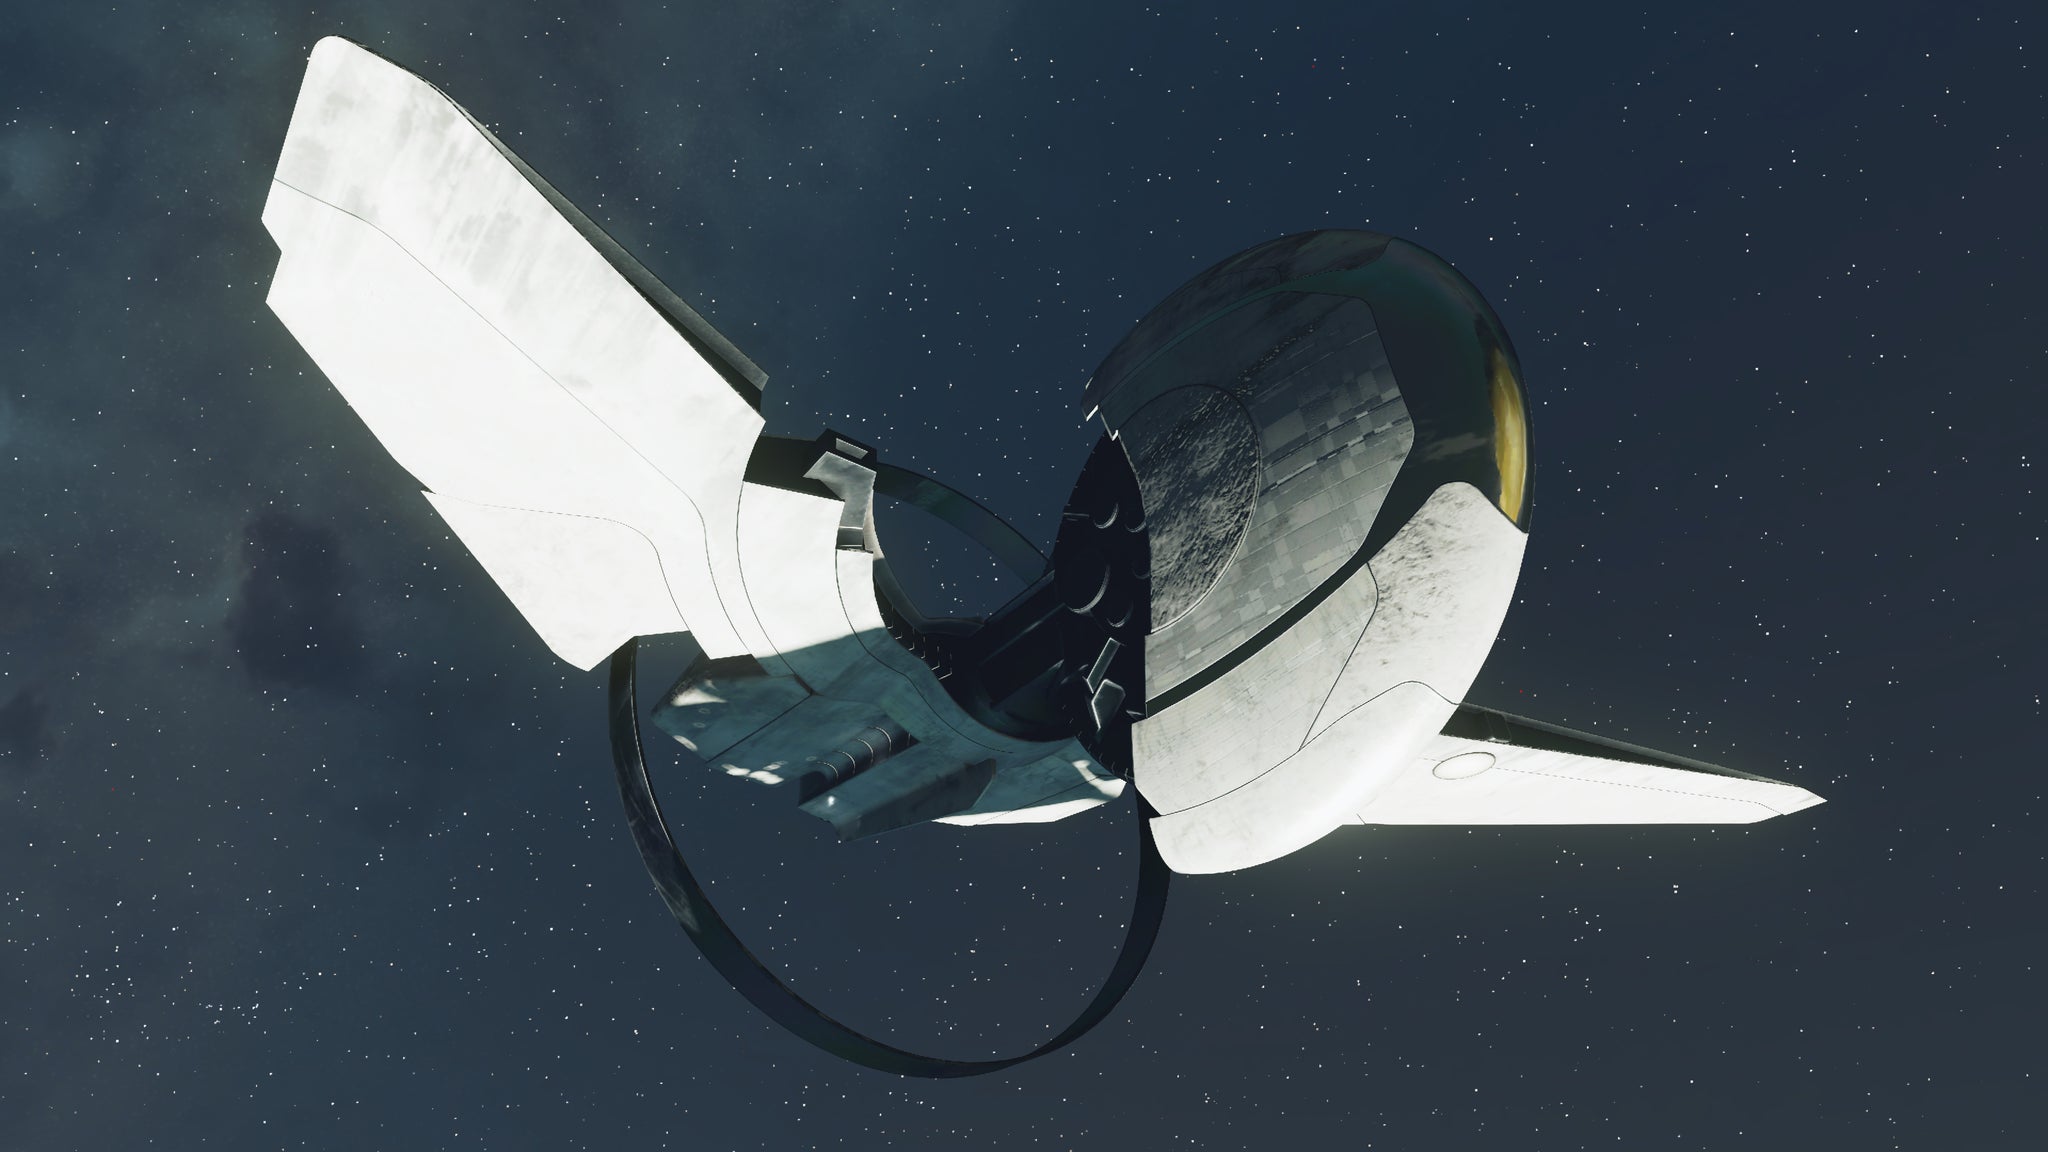
You can also get the Starborn Armor upon completing Starfield and starting new game plus. |Image credit:Rock Paper Shotgun/Bethesda Game Studios
- Cost: Free.
- Location: complete the main quest and start new game plus.
- Class: A
- Hull: 944
- Shield: 1480
- Solar Flare Beam: 30
- Gravity Torpedo: 100
- Fuel: 1500
- Grav Jump Range: 30 LY
- Cargo Capacity: 950
- Max Crew: 5
Stronghold
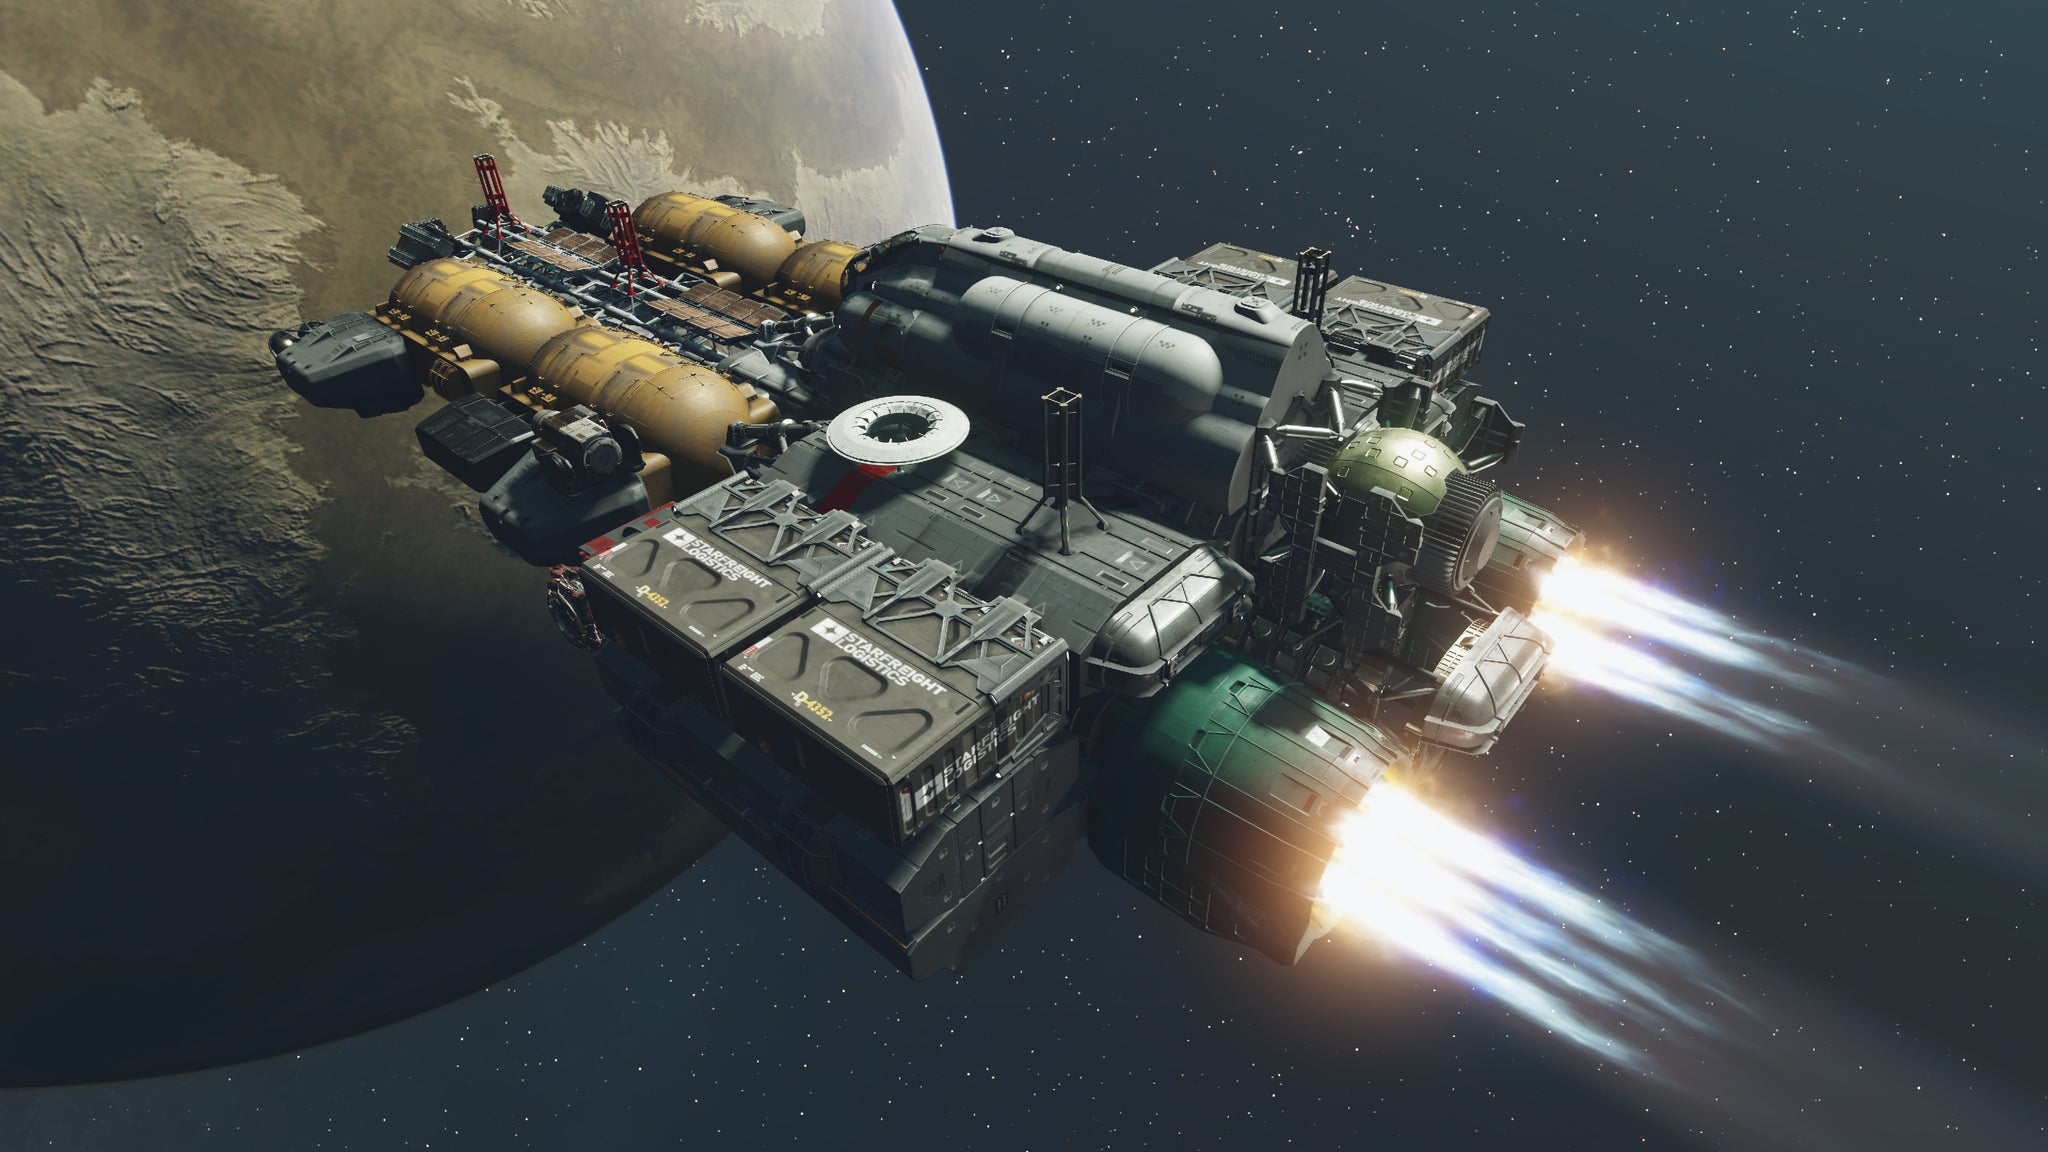
The Stronghold is one of the best large-capacity Starfield ships. |Image credit:Rock Paper Shotgun/Bethesda Game Studios
- Cost: 400,125
- Location: Akila City.
- Class: C
- Hull: 1047
- Shield: 1600
- Lasers: 36
- Ballistics: 48
- Fuel: 2200
- Grav Jump Range: 30 LY
- Cargo Capacity: 2360
- Max Crew: 6
The Stronghold ’s high fuel capacity, cargo capacity, 30 lightyear jump, and extremely strong defenses make it one of Starfield’s most powerful ships. It’s an ideal choice for quickly transporting large cargo amounts over long distances. The ship’s built-in defenses are strong enough to protect you from enemies as you travel. However, at more than 400,000, it will cost you a pretty penny.
What is the best Starfield early game ship?
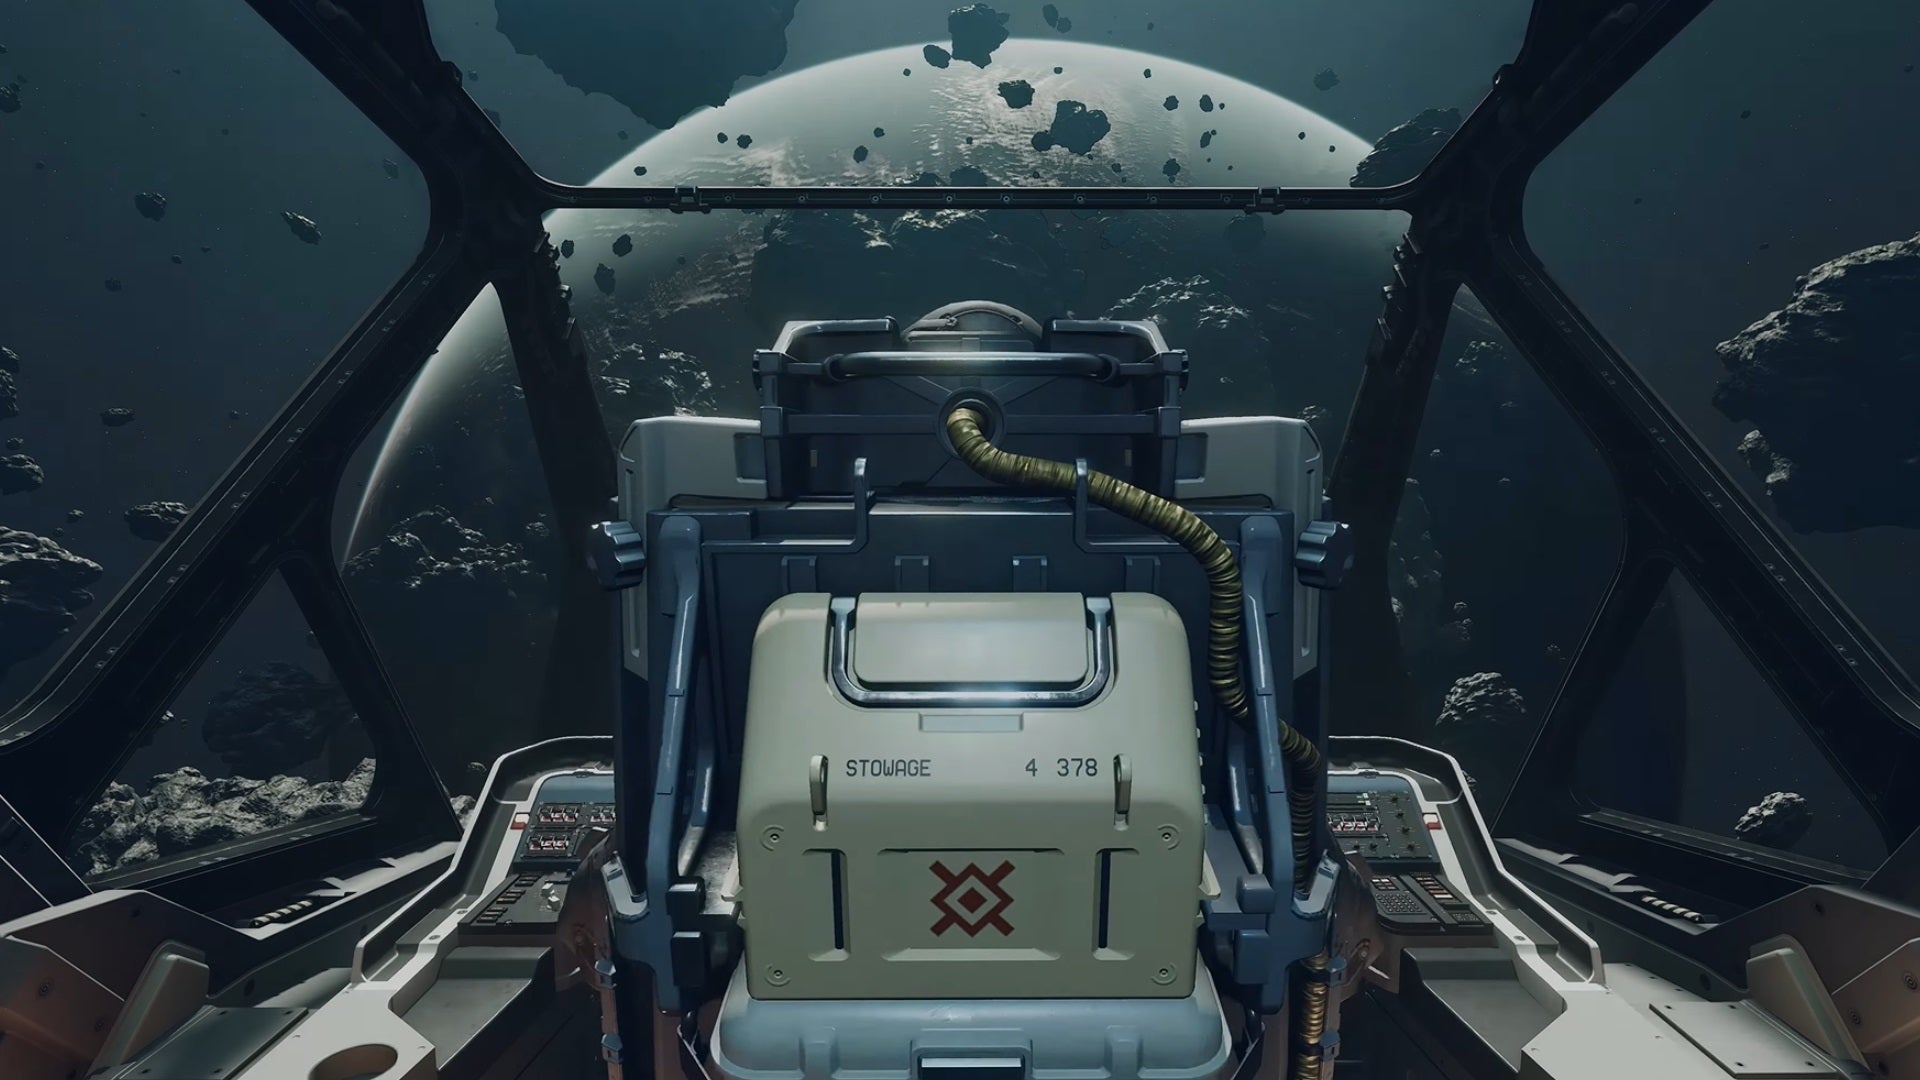
There are a few great ships you can get early on in Starfield for little cost and even for free. |Image credit:Bethesda Game Studios
We’ve cherry-picked some of the best ships you can get early on in Starfield, either for free or a few credits. Of course, there are better ships to choose from once you’ve established yourself, but these are solid options if you’ve found you have quickly outgrown The Frontier.
Kepler R
The fantastic thing about the Kepler R is that it is both free and has a cargo capacity of over 3,500. A substantial amount - especially for a free vessel that can be obtained fairly early in the game. To make the Kepler R yours, you must complete the quest ’ Overdesigned ’ given to you by Walter at The Lodge (most players get to this quest at around level ten). The ship is a Class C vessel, with a fuel capacity of 2,800 - not bad, especially for those first-time runs to the Settled Systems.
Razorleaf
The Razorleaf is a fantastic ship for many of the reasons listed above. It can also be rewarded to the player for free early in the game if you’re lucky. To get your hands on the ship, you need to kill Spacer and Crimson Fleet Pirates. Each enemy will have a random chance to drop a quest item called the Secret Outpost Slate, which will trigger The Mantis questline.
Wanderwell
The Wanderwell is another free ship that can be granted early in Starfield. However, you can only access the ship if you have chosen the Kid Stuff Trait . If you have the trait, regularly visit your parents, and donate 2% of your credits to them, they will eventually gift the ship to you. The Wanderwell has a fantastic cargo capacity of 800, making it a great option for relatively little work.
What is the best free ship in Starfield?
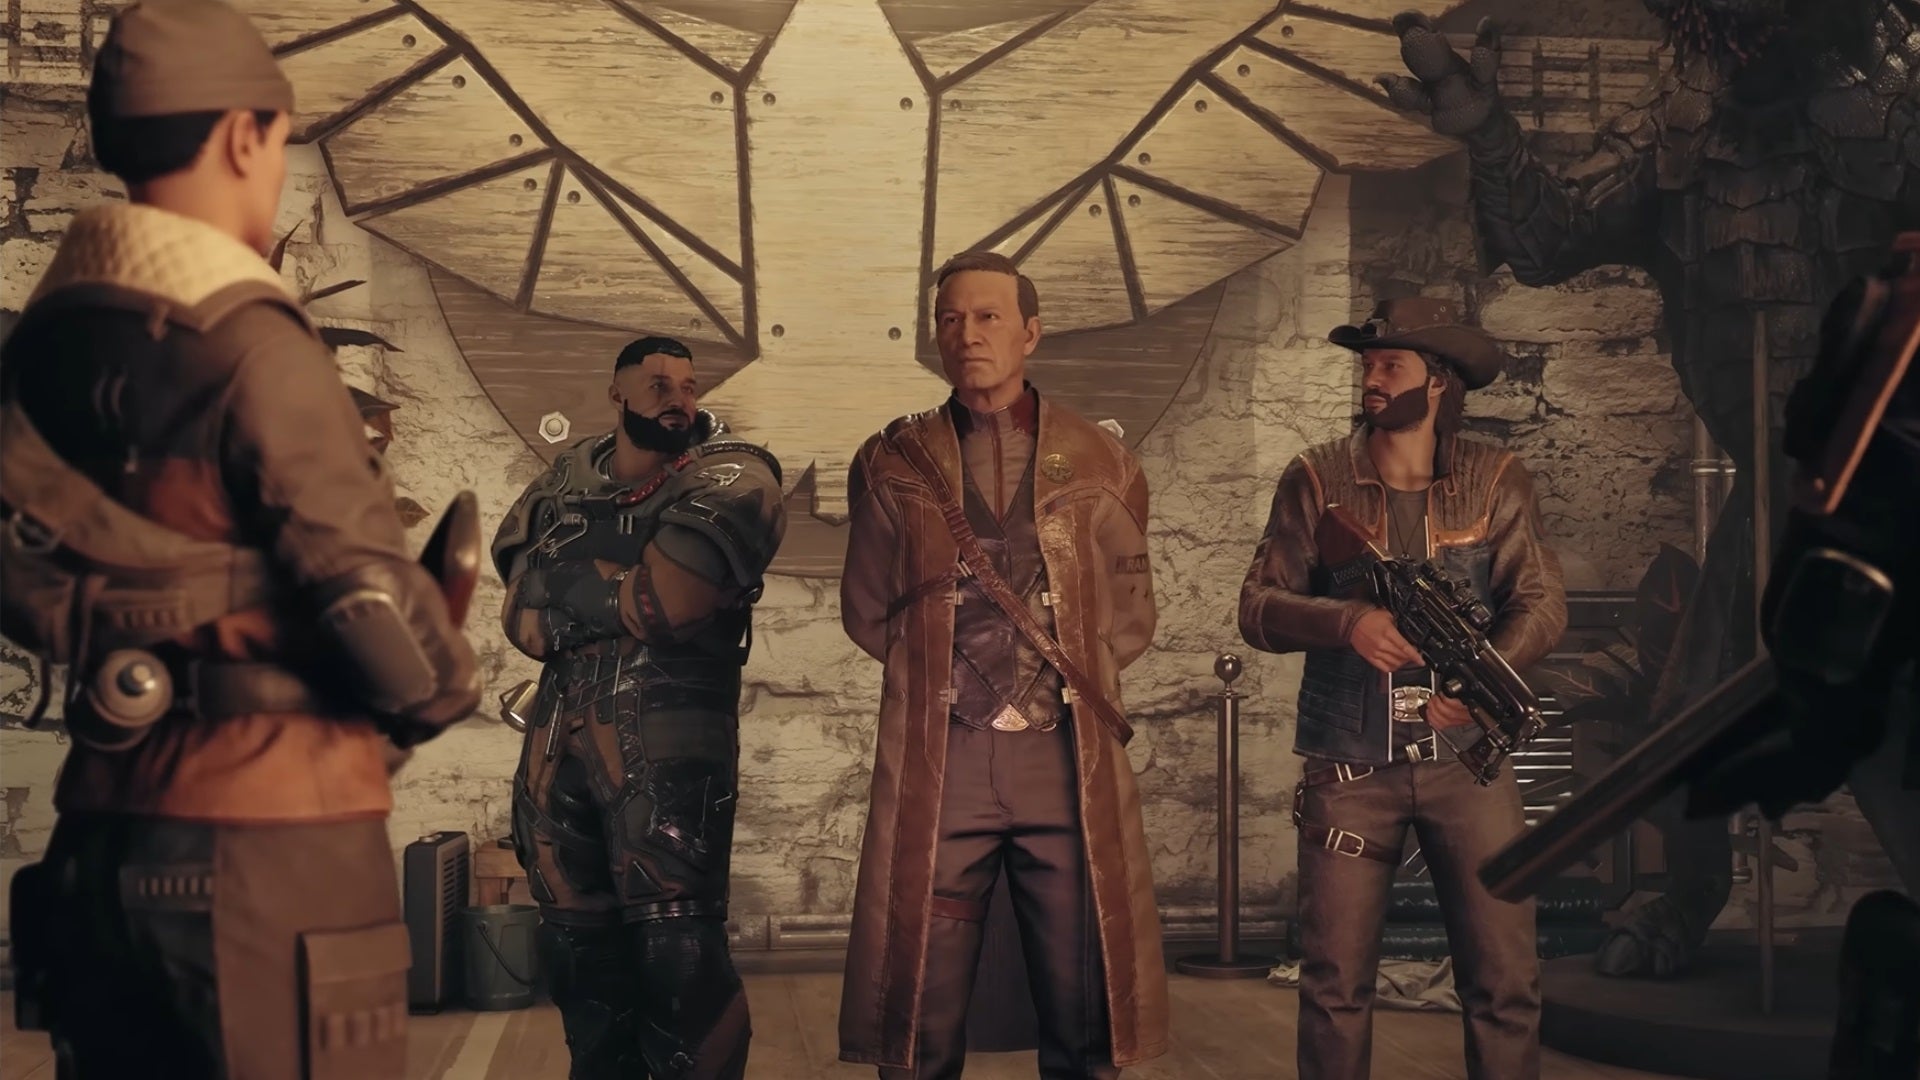
You can kick off the Freestar Collective quest line by talking to Sam Cole in The Lodge in New Atlantis. |Image credit:Bethesda Game Studios
If you’d rather save your credits, we’ve scoured around for the best ship you can get in Starfield for free. It will come as no surprise that most of the best free ships are earned for completing faction missions or specific questlines . Here is our top pick.
Star Eagle
The Star Eagle is a great all-rounder with a substantial cargo capacity of 2,280 shield range of 760 and space for five crew members, as such it’s a great little freebie. The Star Eagle can be obtained after completing the ‘Hammer Falls’ quest for the Freestar Collective on Arcturus.
Best ship for new game plus
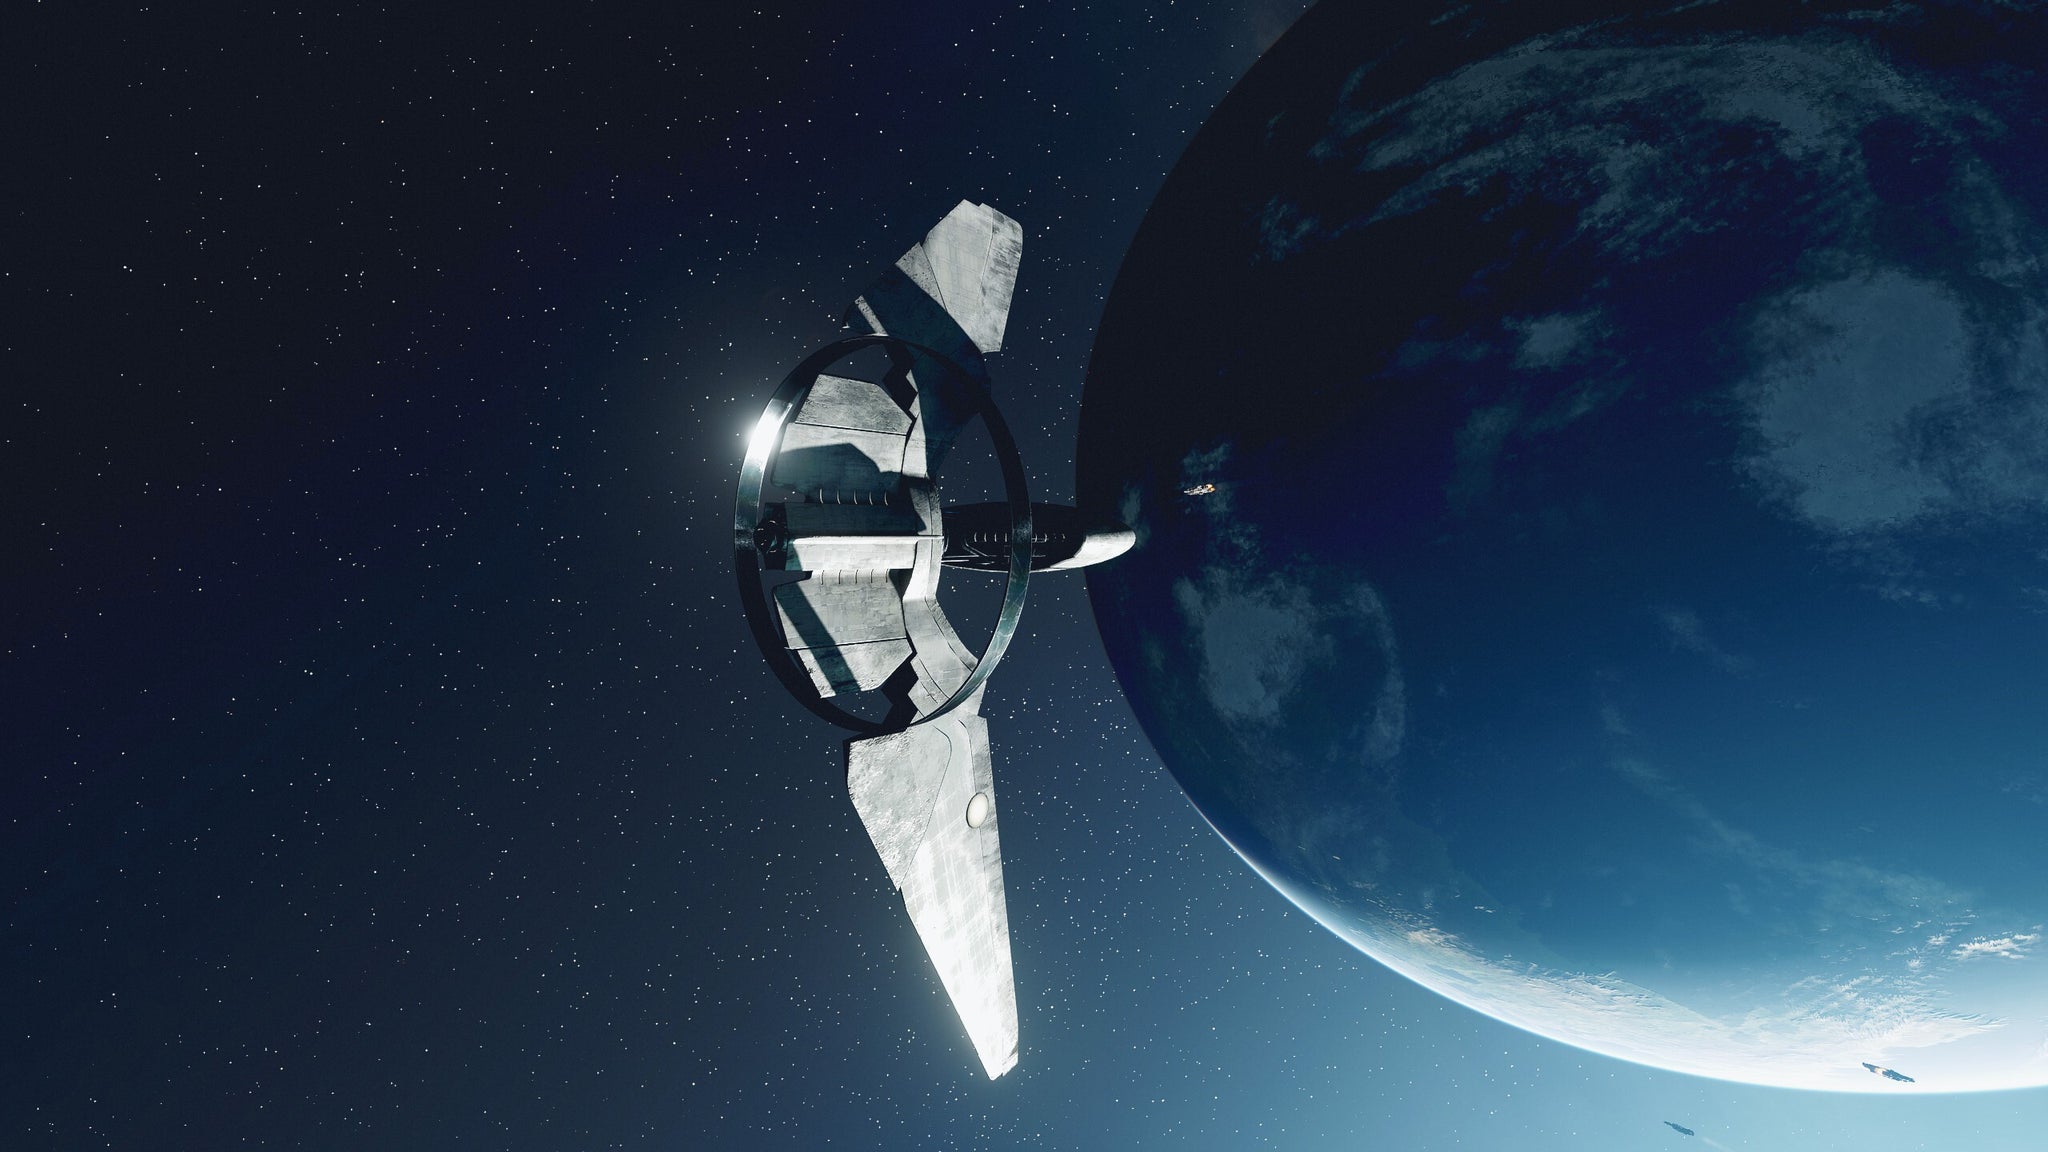
You’ll get the Starborn Guardian as a reward upon completing Starfield. |Image credit:Rock Paper Shotgun/Bethesda Game Studios
In new game plus experience points, skills, and powers carry over but you’ll lose your current Credits, inventory and crucially - any ships you have built or stolen. As such, you’ll need a cheap and powerful ship to get you through the first few hours until you have the resources for something special.
Starborn Guardian
If you’ve completed Starfield and are looking for the perfect ship for New Game plus in time for the Shattered Space expansion, consider the Starborn Guardian .
As mentioned above, the Starborn Guardian is a class A ship you’ll get for free upon completing the main game. This allows you to explore and build up your funds without having to worry about ships right away.
Although lacking in some fundamentals like a bed, limited cargo space and onboard crafting stations, the Starborn Guardian offers unique dialogue interactions, two unique weapons (the Solar Flare Beam and Gravity Torpedo), and built-in shielded cargo. Think of it as a decent starter ship for a new game plus before you outgrow it and move onto something a bit punchier like the Razorleaf or Star Eagle.
That’s our round-up on the best ships in Starfield. Be sure also to check out our guide to the game’s free ships and our guide to the best skills on the Starfield skill tree , too. We also have a Starfield character creation guide, and an overview all Starfield traits and how they work .


Starfield
Xbox Series X/S , PC
Rock Paper Shotgun is better when you sign in
Sign in and join us on our journey to discover strange and compelling PC games.

All 75 Arc Raiders Blueprints and where to get them
These areas have the highest chance of giving you Blueprints

Image credit:Rock Paper Shotgun/Embark Studios

Looking for more Arc Raiders Blueprints? It’s a special day when you find a Blueprint, as they’re among the most valuable items in Arc Raiders. If you find a Blueprint that you haven’t already found, then you must make sure you hold onto it at all costs, because Blueprints are the key to one of the most important and powerful systems of meta-progression in the game.
This guide aims to be the very best guide on Blueprints you can find, starting with a primer on what exactly they are and how they work in Arc Raiders, before delving into exactly where to get Blueprints and the very best farming spots for you to take in your search.
We’ll also go over how to get Blueprints from other unlikely activities, such as destroying Surveyors and completing specific quests. And you’ll also find the full list of all 75 Blueprints in Arc Raiders on this page (including the newest Blueprints added with the Cold Snap update , such as the Deadline Blueprint and Firework Box Blueprint), giving you all the information you need to expand your own crafting repertoire.
In this guide:
- What are Blueprints in Arc Raiders?
- Full Blueprint list: All crafting recipes
- Where to find Blueprints in Arc Raiders Blueprints obtained from quests Blueprints obtained from Trials Best Blueprint farming locations

What are Blueprints in Arc Raiders?
Blueprints in Arc Raiders are special items which, if you manage to extract with them, you can expend to permanently unlock a new crafting recipe in your Workshop. If you manage to extract from a raid with an Anvil Blueprint, for example, you can unlock the ability to craft your very own Anvil Pistol, as many times as you like (as long as you have the crafting materials).
To use a Blueprint, simply open your Inventory while in the lobby, then right-click on the Blueprint and click “Learn And Consume” . This will permanently unlock the recipe for that item in your Workshop. As of the Stella Montis update, there are allegedly 75 different Blueprints to unlock - although only 68 are confirmed to be in the game so far. You can see all the Blueprints you’ve found and unlocked by going to the Workshop menu, and hitting “R” to bring up the Blueprint screen.
It’s possible to find duplicates of past Blueprints you’ve already unlocked. If you find these, then you can either sell them, or - if you like to play with friends - you can take it into a match and gift it to your friend so they can unlock that recipe for themselves. Another option is to keep hold of them until the time comes to donate them to the Expedition.
Full Blueprint list: All crafting recipes
Below is the full list of all the Blueprints that are currently available to find in Arc Raiders, and the crafting recipe required for each item:
| Blueprint | Type | Recipe | Crafted At |
|---|---|---|---|
| Bettina | Weapon | 3x Advanced Mechanical Components 3x Heavy Gun Parts 3x Canister | Gunsmith 3 |
| Blue Light Stick | Quick Use | 3x Chemicals | Utility Station 1 |
| Aphelion | Weapon | 3x Magnetic Accelerator 3x Complex Gun Parts 1x Matriarch Reactor | Gunsmith 3 |
| Combat Mk. 3 (Flanking) | Augment | 2x Advanced Electrical Components 3x Processor | Gear Bench 3 |
| Combat Mk. 3 (Aggressive) | Augment | 2x Advanced Electrical Components 3x Processor | Gear Bench 3 |
| Complex Gun Parts | Material | 2x Light Gun Parts 2x Medium Gun Parts 2x Heavy Gun Parts | Refiner 3 |
| Fireworks Box | Quick Use | 1x Explosive Compound 3x Pop Trigger | Explosives Station 2 |
| Gas Mine | Mine | 4x Chemicals 2x Rubber Parts | Explosives Station 1 |
| Green Light Stick | Quick Use | 3x Chemicals | Utility Station 1 |
| Pulse Mine | Mine | 1x Crude Explosives 1x Wires | Explosives Station 1 |
| Seeker Grenade | Grenade | 1x Crude Explosives 2x ARC Alloy | Explosives Station 1 |
| Looting Mk. 3 (Survivor) | Augment | 2x Advanced Electrical Components 3x Processor | Gear Bench 3 |
| Angled Grip II | Mod | 2x Mechanical Components 3x Duct Tape | Gunsmith 2 |
| Angled Grip III | Mod | 2x Mod Components 5x Duct Tape | Gunsmith 3 |
| Hullcracker | Weapon | 1x Magnetic Accelerator 3x Heavy Gun Parts 1x Exodus Modules | Gunsmith 3 |
| Launcher Ammo | Ammo | 5x Metal Parts 1x Crude Explosives | Workbench 1 |
| Anvil | Weapon | 5x Mechanical Components 5x Simple Gun Parts | Gunsmith 2 |
| Anvil Splitter | Mod | 2x Mod Components 3x Processor | Gunsmith 3 |
| ??? | ??? | ??? | ??? |
| Barricade Kit | Quick Use | 1x Mechanical Components | Utility Station 2 |
| Blaze Grenade | Grenade | 1x Explosive Compound 2x Oil | Explosives Station 3 |
| Bobcat | Weapon | 3x Advanced Mechanical Components 3x Light Gun Parts | Gunsmith 3 |
| Osprey | Weapon | 2x Advanced Mechanical Components 3x Medium Gun Parts 7x Wires | Gunsmith 3 |
| Burletta | Weapon | 3x Mechanical Components 3x Simple Gun Parts | Gunsmith 1 |
| Compensator II | Mod | 2x Mechanical Components 4x Wires | Gunsmith 2 |
| Compensator III | Mod | 2x Mod Components 8x Wires | Gunsmith 3 |
| Defibrillator | Quick Use | 9x Plastic Parts 1x Moss | Medical Lab 2 |
| ??? | ??? | ??? | ??? |
| Equalizer | Weapon | 3x Magnetic Accelerator 3x Complex Gun Parts 1x Queen Reactor | Gunsmith 3 |
| Extended Barrel | Mod | 2x Mod Components 8x Wires | Gunsmith 3 |
| Extended Light Mag II | Mod | 2x Mechanical Components 3x Steel Spring | Gunsmith 2 |
| Extended Light Mag III | Mod | 2x Mod Components 5x Steel Spring | Gunsmith 3 |
| Extended Medium Mag II | Mod | 2x Mechanical Components 3x Steel Spring | Gunsmith 2 |
| Extended Medium Mag III | Mod | 2x Mod Components 5x Steel Spring | Gunsmith 3 |
| Extended Shotgun Mag II | Mod | 2x Mechanical Components 3x Steel Spring | Gunsmith 2 |
| Extended Shotgun Mag III | Mod | 2x Mod Components 5x Steel Spring | Gunsmith 3 |
| Remote Raider Flare | Quick Use | 2x Chemicals 4x Rubber Parts | Utility Station 1 |
| Heavy Gun Parts | Material | 4x Simple Gun Parts | Refiner 2 |
| Venator | Weapon | 2x Advanced Mechanical Components 3x Medium Gun Parts 5x Magnet | Gunsmith 3 |
| Il Toro | Weapon | 5x Mechanical Components 6x Simple Gun Parts | Gunsmith 1 |
| Jolt Mine | Mine | 1x Electrical Components 1x Battery | Explosives Station 2 |
| Explosive Mine | Mine | 1x Explosive Compound 1x Sensors | Explosives Station 3 |
| Jupiter | Weapon | 3x Magnetic Accelerator 3x Complex Gun Parts 1x Queen Reactor | Gunsmith 3 |
| Light Gun Parts | Material | 4x Simple Gun Parts | Refiner 2 |
| Lightweight Stock | Mod | 2x Mod Components 5x Duct Tape | Gunsmith 3 |
| Lure Grenade | Grenade | 1x Speaker Component 1x Electrical Components | Utility Station 2 |
| Medium Gun Parts | Material | 4x Simple Gun Parts | Refiner 2 |
| Torrente | Weapon | 2x Advanced Mechanical Components 3x Medium Gun Parts 6x Steel Spring | Gunsmith 3 |
| Muzzle Brake II | Mod | 2x Mechanical Components 4x Wires | Gunsmith 2 |
| Muzzle Brake III | Mod | 2x Mod Components 8x Wires | Gunsmith 3 |
| Padded Stock | Mod | 2x Mod Components 5x Duct Tape | Gunsmith 3 |
| Shotgun Choke II | Mod | 2x Mechanical Components 4x Wires | Gunsmith 2 |
| Shotgun Choke III | Mod | 2x Mod Components 8x Wires | Gunsmith 3 |
| Shotgun Silencer | Mod | 2x Mod Components 8x Wires | Gunsmith 3 |
| Showstopper | Grenade | 1x Advanced Electrical Components 1x Voltage Converter | Explosives Station 3 |
| Silencer I | Mod | 2x Mechanical Components 4x Wires | Gunsmith 2 |
| Silencer II | Mod | 2x Mod Components 8x Wires | Gunsmith 3 |
| Snap Hook | Quick Use | 2x Power Rod 3x Rope 1x Exodus Modules | Utility Station 3 |
| Stable Stock II | Mod | 2x Mechanical Components 3x Duct Tape | Gunsmith 2 |
| Stable Stock III | Mod | 2x Mod Components 5x Duct Tape | Gunsmith 3 |
| Tagging Grenade | Grenade | 1x Electrical Components 1x Sensors | Utility Station 3 |
| Tempest | Weapon | 3x Advanced Mechanical Components 3x Medium Gun Parts 3x Canister | Gunsmith 3 |
| Trigger Nade | Grenade | 2x Crude Explosives 1x Processor | Explosives Station 2 |
| Vertical Grip II | Mod | 2x Mechanical Components 3x Duct Tape | Gunsmith 2 |
| Vertical Grip III | Mod | 2x Mod Components 5x Duct Tape | Gunsmith 3 |
| Vita Shot | Quick Use | 2x Antiseptic 1x Syringe | Medical Lab 3 |
| Vita Spray | Quick Use | 3x Antiseptic 1x Canister | Medical Lab 3 |
| Vulcano | Weapon | 1x Magnetic Accelerator 3x Heavy Gun Parts 1x Exodus Modules | Gunsmith 3 |
| Wolfpack | Grenade | 2x Explosive Compound 2x Sensors | Explosives Station 3 |
| Red Light Stick | Quick Use | 3x Chemicals | Utility Station 1 |
| Smoke Grenade | Grenade | 14x Chemicals 1x Canister | Utility Station 2 |
| Deadline | Mine | 3x Explosive Compound 2x ARC Circuitry | Explosives Station 3 |
| Trailblazer | Grenade | 1x Explosive Compound 1x Synthesized Fuel | Explosives Station 3 |
| Tactical Mk. 3 (Defensive) | Augment | 2x Advanced Electrical Components 3x Processor | Gear Bench 3 |
| Tactical Mk. 3 (Healing) | Augment | 2x Advanced Electrical Components 3x Processor | Gear Bench 3 |
| Yellow Light Stick | Quick Use | 3x Chemicals | Utility Station 1 |
Note: The missing Blueprints in this list likely have not actually been added to the game at the time of writing, because none of the playerbase has managed to find any of them. As they are added to the game, I will update this page with the most relevant information so you know exactly how to get all 75 Arc Raiders Blueprints.
Where to find Blueprints in Arc Raiders
Below is a list of all containers, modifiers, and events which maximise your chances of finding Blueprints:
- Certain quests reward you with specific Blueprints .
- Completing Trials has a high chance of offering Blueprints as rewards.
- Surveyors have a decent chance of dropping Blueprints on death.
- High loot value areas tend to have a greater chance of spawning Blueprints.
- Night Raids and Storms may increase rare Blueprint spawn chances in containers.
- Containers with higher numbers of items may have a higher tendency to spawn Blueprints. As a result, Blue Gate (which has many “large” containers containing multiple items) may give you a higher chance of spawning Blueprints.
- Raider containers (Raider Caches, Weapon Boxes, Medical Bags, Grenade Tubes) have increased Blueprint drop rates. As a result, the Uncovered Caches event gives you a high chance of finding Blueprints.
- Security Lockers have a higher than average chance of containing Blueprints.
- Certain Blueprints only seem to spawn under specific circumstances: Tempest Blueprint only spawns during Night Raid events. Vulcano Blueprint only spawns during Hidden Bunker events. Jupiter and Equaliser Blueprints only spawn during Harvester events.

Raider Caches, Weapon Boxes, and other raider-oriented container types have a good chance of offering Blueprints. |Image credit:Rock Paper Shotgun/Embark Studios
Blueprints have a very low chance of spawning in any container in Arc Raiders, around 1-2% on average. However, there is a higher chance of finding Blueprints in particular container types. Specifically, you can find more Blueprints in Raider containers and security lockers.
Beyond this, if you’re looking for Blueprints you should focus on regions of the map which are marked as having particularly high-value loot. Areas such as the Control Tower in Dam Battlegrounds, the Arrival and Departure Buildings in Spaceport, and Pilgrim’s Peak in Blue Gate all have a better-than-average chance of spawning Blueprints somewhere amongst all their containers. Night Raids and Electromagnetic Storm events also increase the drop chances of certain Blueprints .
In addition to these containers, you can often loot Blueprints from destroyed Surveyors - the largest of the rolling ball ARC. Surveyors are more commonly found on the later maps - Spaceport and Blue Gate - and if one spawns in your match, you’ll likely see it by the blue laser beam that it casts into the sky while “surveying”.
Surveyors are quite well-armoured and will very speedily run away from you once it notices you, but if you can take one down then make sure you loot all its parts for a chance of obtaining certain unusual Blueprints.
Blueprints obtained from quests
One way in which you can get Blueprints is by completing certain quests for the vendors in Speranza. Some quests will reward you with a specific item Blueprint upon completion, so as long as you work through all the quests in Arc Raiders, you are guaranteed those Blueprints.
Here is the full list of all Blueprints you can get from quest rewards:
- Trigger Nade Blueprint: Rewarded after completing “Sparks Fly”.
- Lure Grenade Blueprint: Rewarded after completing “Greasing Her Palms”.
- Burletta Blueprint: Rewarded after completing “Industrial Espionage”.
- Hullcracker Blueprint (and Launcher Ammo Blueprint): Rewarded after completing “The Major’s Footlocker”.
Alas, that’s only 4 Blueprints out of a total of 75 to unlock, so for the vast majority you will need to find them yourself during a raid. If you’re intent on farming Blueprints, then it’s best to equip yourself with cheap gear in case you lose it, but don’t use a free loadout because then you won’t get a safe pocket to stash any new Blueprint you find. No pain in Arc Raiders is sharper than failing to extract with a new Blueprint you’ve been after for a dozen hours already.

One of the best ways to get Blueprints is by hitting three stars on all five Trials every week. |Image credit:Rock Paper Shotgun/Embark Studios
Blueprints obtained from Trials
One of the very best ways to get Blueprints is as rewards for completing Trials in Arc Raiders. Trials are unlocked from Level 15 onwards, and allow you to earn rewards by focusing on certain tasks over the course of several raids. For example, one Trial might task you with dealing damage to Hornets, while another might challenge you to loot Supply Drops.
Trials refresh on a weekly basis, with a new week bringing five new Trials. Each Trial can offer up to three rewards after passing certain score milestones, and it’s possible to receive very high level loot from these reward crates - including Blueprints. So if you want to unlock as many Blueprints as possible, you should make a point of completing as many Trials as possible each week.
Best Blueprint farming locations
The very best way to get Blueprints is to frequent specific areas of the maps which combine high-tier loot pools with the right types of containers to search. Here are my recommendations for where to find Blueprints on every map, so you can always keep the search going for new crafting recipes to unlock.

Image credit:Rock Paper Shotgun/Embark Studios
Dam Battlegrounds
The best places to farm Blueprints on Dam Battlegrounds are the Control Tower, Power Generation Complex, Ruby Residence, and Pale Apartments . The first two regions, despite only being marked on the map as mid-tier loot, contain a phenomenal number of containers to loot. The Control Tower can also contain a couple of high-tier Security Lockers - though of course, you’ll need to have unlocked the Security Breach skill at the end of the Survival tree.
There’s also a lot of reporting amongst the playerbase that the Residential areas in the top-left of the map - Pale Apartments and Ruby Residence - give you a comparatively strong chance of finding Blueprints. Considering their size, there’s a high density of containers to loot in both locations, and they also have the benefit of being fairly out of the way. So you’re more likely to have all the containers to yourself.
Buried City
The best Blueprint farming locations on Buried City are the Santa Maria Houses, Grandioso Apartments, Town Hall, and the various buildings of the New District . Grandioso Apartments has a lower number of containers than the rest, but a high chance of spawning weapon cases - which have good Blueprint drop rates. The others are high-tier loot areas, with plenty of lootable containers - including Security Lockers.
Spaceport
The best places to find Blueprints on Spaceport are the Arrival and Departure Buildings, as well as Control Tower A6 and the Launch Towers . All these areas are labelled as high-value loot regions, and many of them are also very handily connected to one another by the Spaceport wall, which you can use to quickly run from one area to the next. At the tops of most of these buildings you’ll find at least one Security Locker, so this is an excellent farming route for players looking to find Blueprints.
The downside to looting Blueprints on Spaceport is that all these areas are hotly contested, particularly in Duos and Squads. You’ll need to be very focused and fast in order to complete the full farming route.

Image credit:Rock Paper Shotgun/Embark Studios
Blue Gate
Blue Gate tends to have a good chance of dropping Blueprints, potentially because it generally has a high number of containers which can hold lots of items; so there’s a higher chance of a Blueprint spawning in each container. In my experience, the best Blueprint farming spots on Blue Gate are Pilgrim’s Peak, Raider’s Refuge, the Ancient Fort, and the Underground Complex beneath the Warehouse .
All of these areas contain a wealth of containers to loot. Raider’s Refuge has less to loot, but the majority of the containers in and around the Refuge are raider containers, which have a high chance of containing Blueprints - particularly during major events.
Stella Montis
On the whole, Stella Montis seems to have a very low drop rate for Blueprints (though a high chance of dropping other high-tier loot). If you do want to try farming Blueprints on this map, the best places to find Blueprints in Stella Montis are Medical Research, Assembly Workshop, and the Business Center . These areas have the highest density of containers to loot on the map.
In addition to this, the Western Tunnel has a few different Security Lockers to loot, so while there’s very little to loot elsewhere in this area of the map, it’s worth hitting those Security Lockers if you spawn there at the start of a match.
That wraps up this primer on how to get all the Blueprints in Arc Raiders as quickly as possible. With the Expedition system constantly resetting a large number of players’ Blueprints, it’s more important than ever to have the most up-to-date information on where to find all these Blueprints.
While you’re here, be sure to check out our Arc Raiders best guns tier list , as well as our primers on the best skills to unlock and all the different Field Depot locations on every map.


ARC Raiders
PS5 , Xbox Series X/S , PC
Rock Paper Shotgun is better when you sign in
Sign in and join us on our journey to discover strange and compelling PC games.
