Star Wars: Dark Forces Remaster review: a handsome glow-up of LucasArts’ classic, if now rather creaky Star Wars FPS
Smuggler’s run

Image credit:Rock Paper Shotgun/Nightdive Studios

- Developer: Nightdive Studios, LucasArts
- Publisher: Nightdive Studios
- Release: February 28th 2024
- On: Windows
- From: Steam , GOG
- Price: £25/€30/$30
- Reviewed on: Intel Core i9-11900K, 16GB RAM, Nvidia RTX 3080, Windows 10
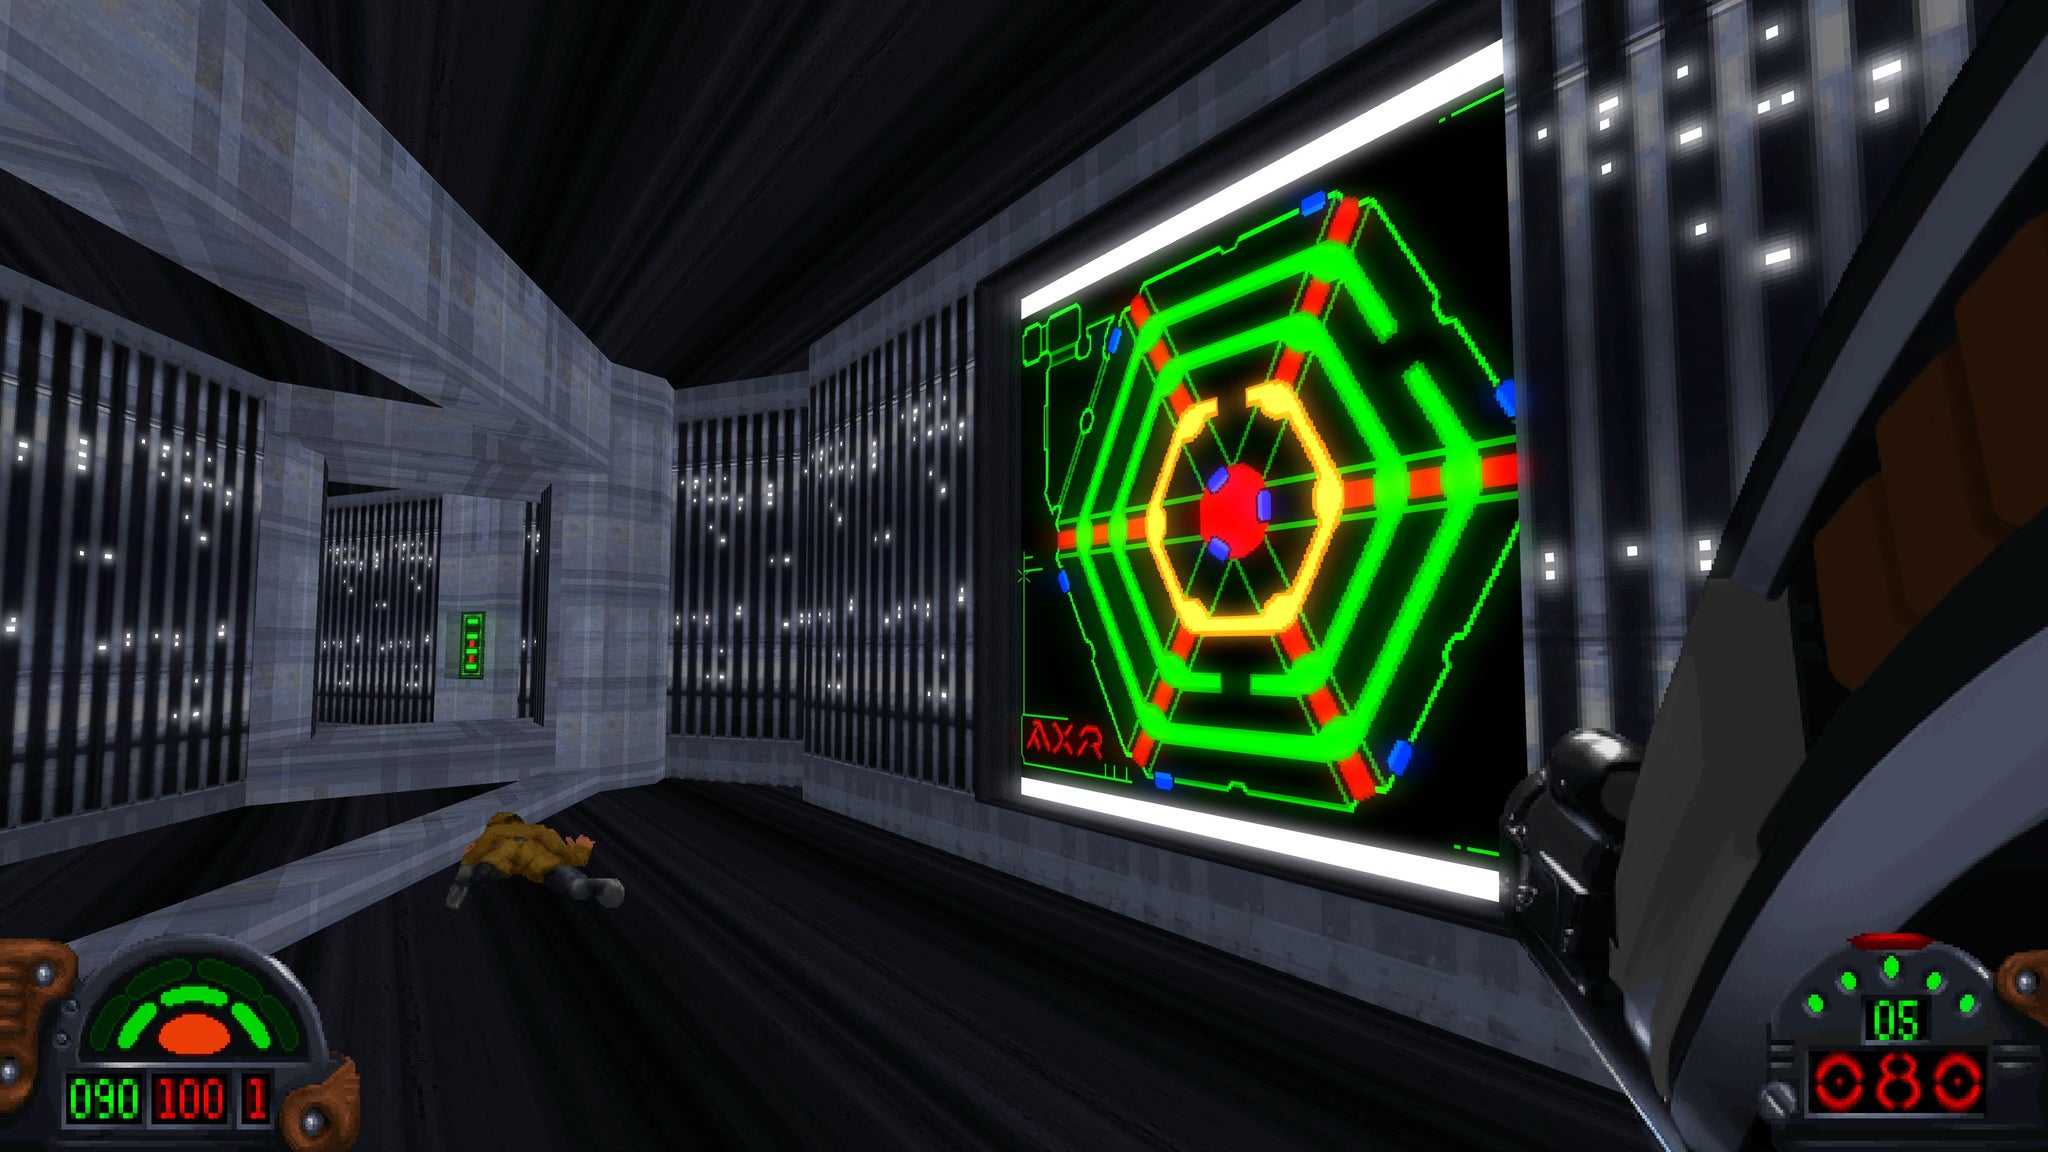
A long time ago on a desktop far, far away, my family once owned a demo disc for the original Star Wars: Dark Forces . I cannot remember for the life of me which level(s) it contained. My only surviving memory of it is having quite a good time blasting Stormtroopers and the chaps in black with the swoopy, knock-off Vader helmets, but also getting terribly lost and not really knowing what the heck I was meant to be doing. Now, playing Nightdive Studio’s Star Wars: Dark Forces Remaster as an adult probably close to three decades later, both these feelings have come roaring back, as this is very much a Star Wars FPS in the vein of Doom and other early 90s shooters (thumbs up). But it’s one that leans so hard into its maze-like level design that it can regularly feel like a little bit of a tough hang in the cold hard light of 2024 (thumbs down).
Crucially, though, not to the point where it’s best left consigned to the history books. This is still an enjoyable and worthwhile artefact in Star Wars’ PC gaming history, and if your eyes (and general patience levels) can’t quite stomach the ‘Classic’ and still available 1995 original, then this remaster is a pin-sharp glow-up for modern hardware.

Image credit:Rock Paper Shotgun/Nightdive Studios
Blasting Stormtroopers and other Star Wars baddies remains excellent fun, whatever the setting. |Image credit:Rock Paper Shotgun/Nightdive Studios
Of course, whether this is worth stumping up the extra £20-odd over the £5 1995 ‘Classic’ Edition will probably be mostly down to a matter of convenience. The behind-the-scenes Vault features are quite sparse and poorly presented, consisting of concept art, old sketches, early 3D models, cutscene renders and other things that will make you go, ‘Huh, well that’s neat,’ for all of five seconds and then never opening that menu screen ever again. It’s the sort of stuff that will likely only appeal to the hardest of hardcore Star Wars-er, but even that feels like a bit of a stretch.
The one highlight is the playable prototype of its old CES demo, The Avenger, which is set inside a Star Destroyer-like ship with lots and lots of Stormtroopers to shoot. It was ultimately cut from the final game, but some of its concepts do live on in one of Dark Forces’ later levels. It’s quite a neat curio from a design perspective, but it’s probably going to be Dark Forces Remaster’s other modern additions that will be worth the cost of entry.

Alice chatted to Liam about her favourite thing in Star Wars Jedi: Survivor.Watch on YouTube
Indeed, with support for 4K resolutions, frame rates of up to 120fps, proper game pad controls, and accessibility options for gun flashes, crosshair types and head-bobbing, there’s arguably never been an easier or more convenient way to enjoy Dark Forces than this 2024 remaster. You can also opt to keep the original pixel graphics for both its cutscenes and general sprite work, or toggle over to Nightdive’s much sharper and more pristine high res updates. It is, admittedly, not quite as seamless a transition as the one-button-press in the Tomb Raider 1-3 Remastered Trilogy , alas, but you can still swap between them whenever you like by dipping into the menu options, and all without the need for a restart.
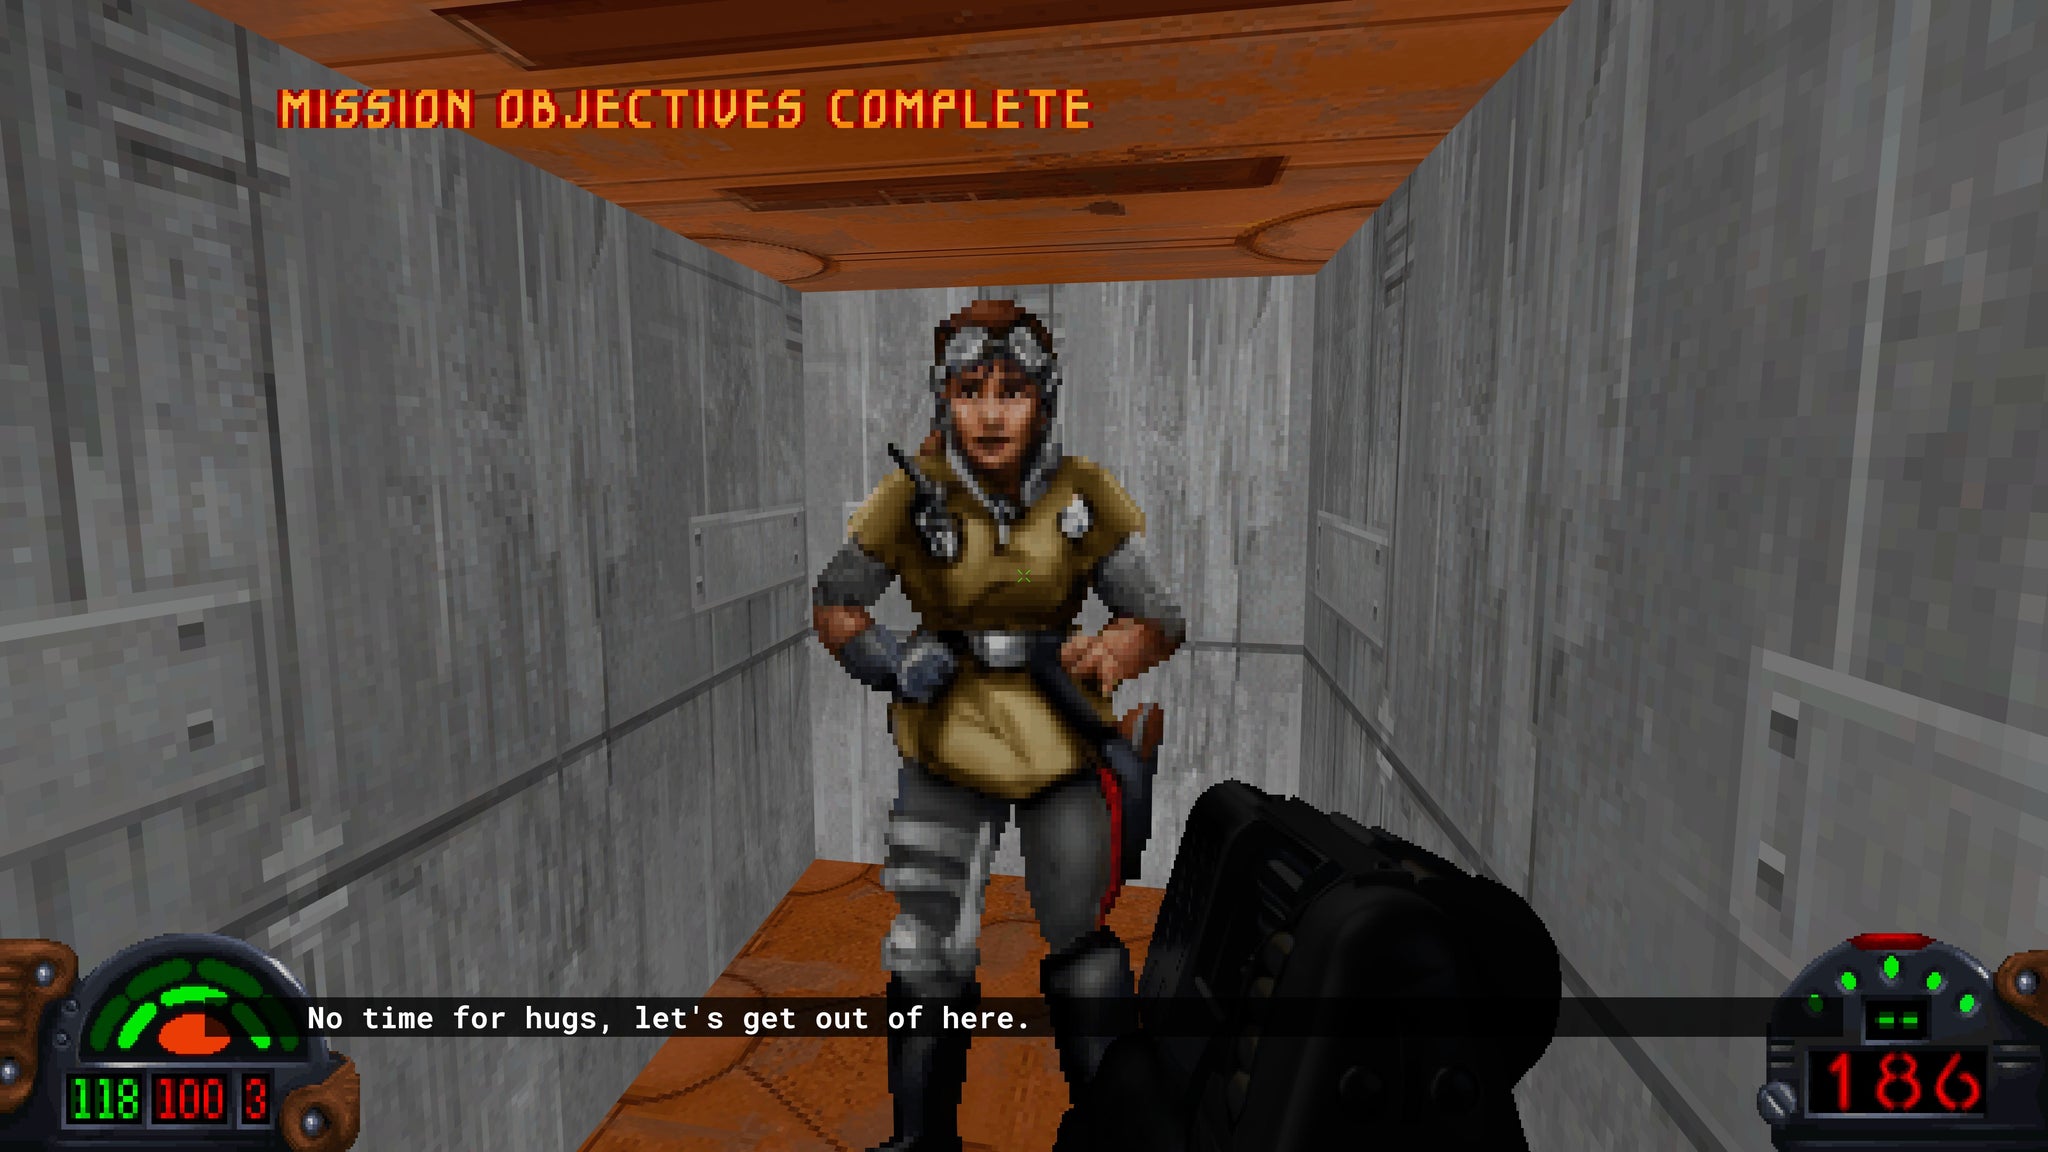
Classic Jan. |Image credit:Rock Paper Shotgun/Nightdive Studios
The newer graphics are a serviceable update on its older pixel visuals, giving enemies greater definition and your guns a bit more punch and contrast. They just about avoid falling into that all-too-common modern trap of smoothing everything out with a big dollop of Vaseline, and personally, I played half of the game with the enhanced graphics, and the other half without. Both look great blown up at 4K, and everything is perfectly clear and visible, regardless of which style you go for. Nothing is lost by opting for one or the other. The music is still, blissfully, the brilliant old MIDI trumpet parps, too - Clint Bajakian’s original score doing a very admirable John Williams impression here - and together with the retro voice barks and pew pew lasers of your blaster gun, appropriated Stormtrooper rifle and other assorted weapons, it still looks and sounds distinctly Star Wars.

For such a muscular fellow, Kyle Katarn sure can move and bend like an Olympian gymnast. |Image credit:Rock Paper Shotgun/Nightdive Studios
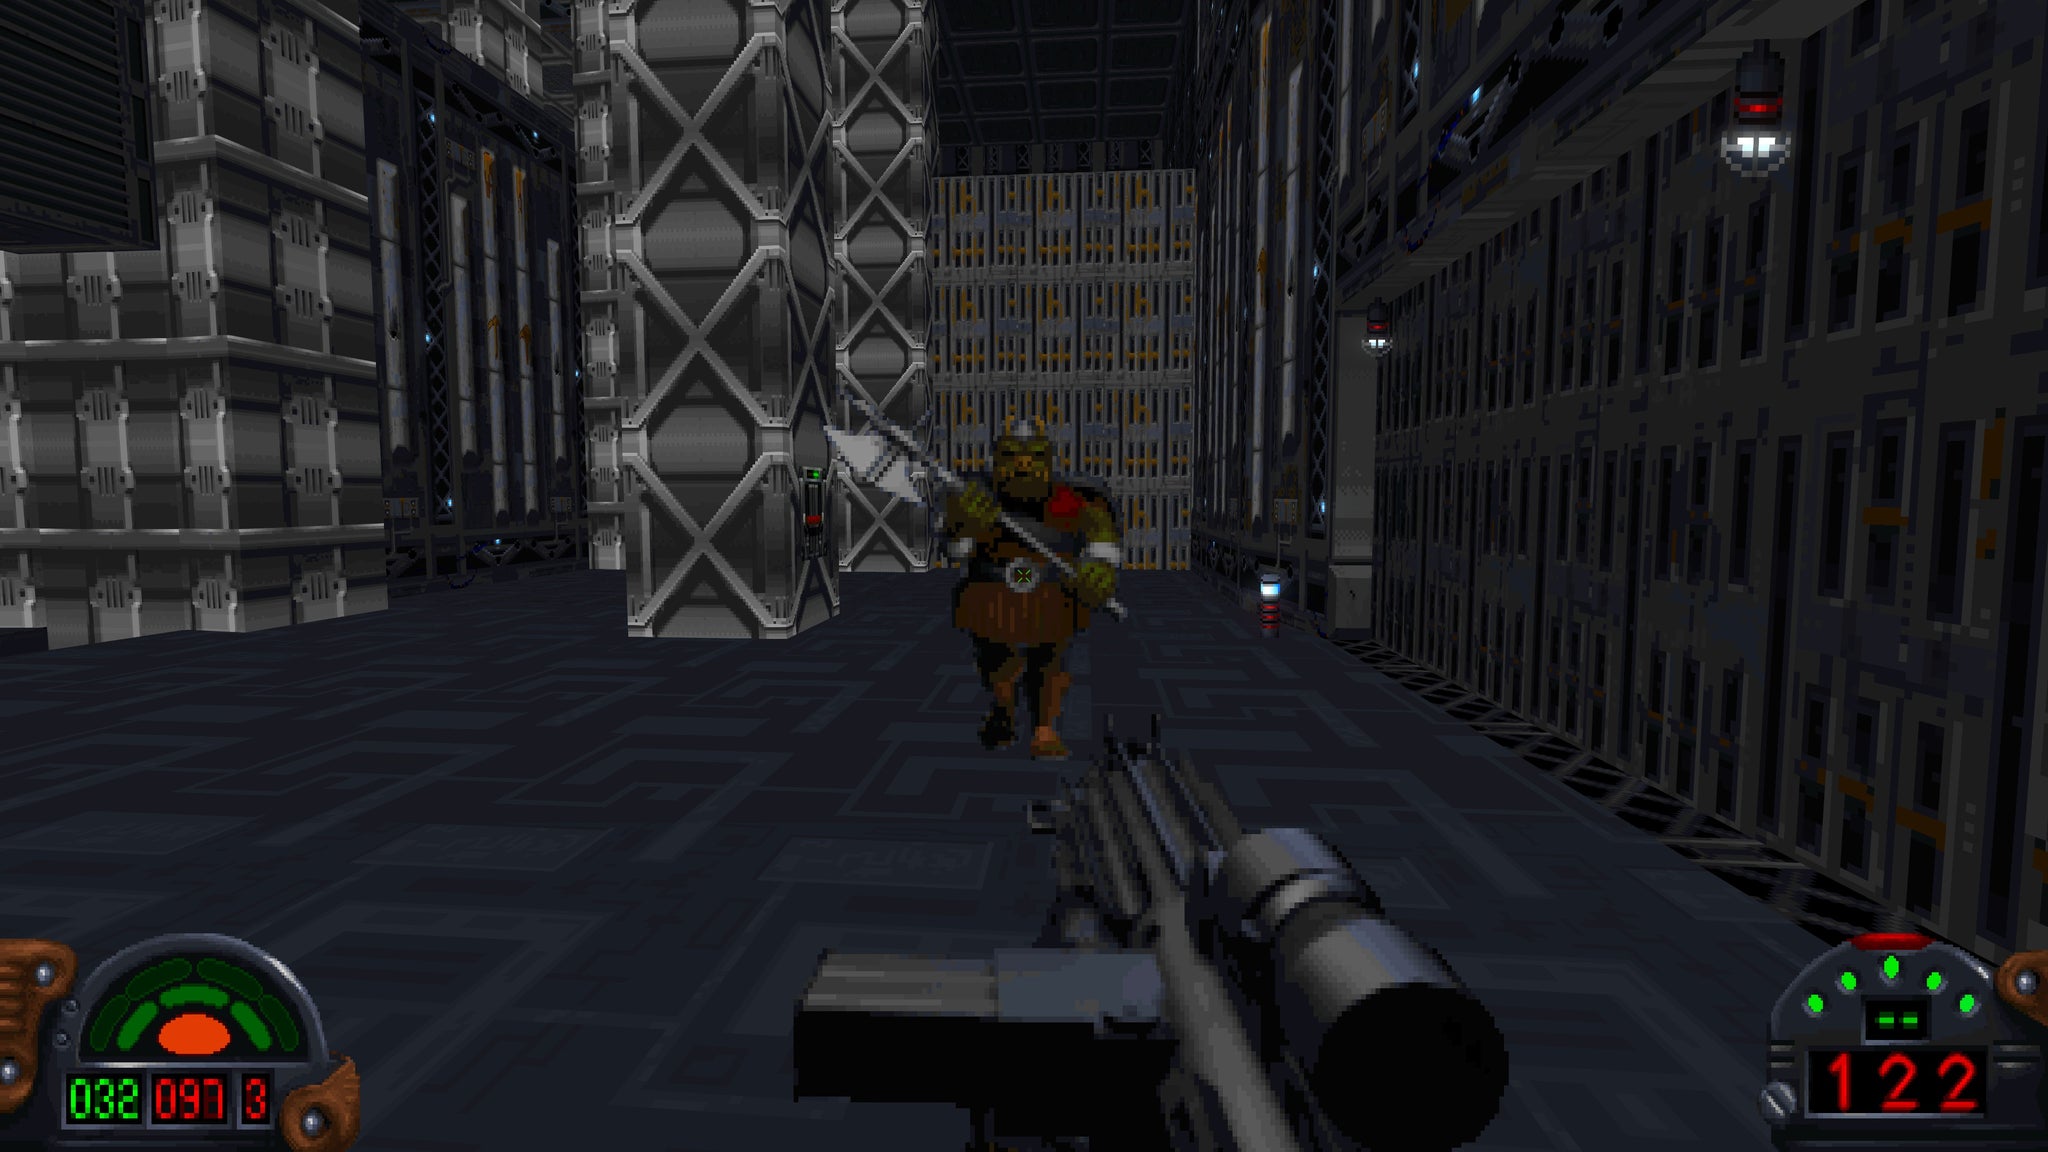
What it feels like, however, is Doom with more puzzles . Each of its 14 missions are big, boxy mazes with smatterings of easily-blasted Stormtroopers, Imperial officers and floating droids to mow down at high speed, and to advance you’ll collect different coloured keys to open the special locked doors keeping you from your objectives. Its three difficulty settings mostly just chuck more enemies at you at once, and if you lose all your lives (which regenerate each mission), it’s back to the start of the level. It’s good, pulpy fun, and the joy of obliterating Storm Troopers with Star Wars appropriate sounds and weaponry is quite the powerful nostalgia trip.
It helps that Dark Forces has quite a few more modern trimmings than the early Dooms , though this is down to the technological advancements of the 95 original than this particular remaster. Dark Forces was quite a trailblazer for its time, building on Doom’s foundations with proper mouse look that let you aim up and down, as well as a jump (often implausibly high), and a crouch (also implausibly small). Still, while the secret behind smuggler hero Kyle Katarn’s physicality remains as much a mystery now as it probably did back in the mid-90s, he does feel, to all intents and purposes, like any other 2024 FPS protagonist.
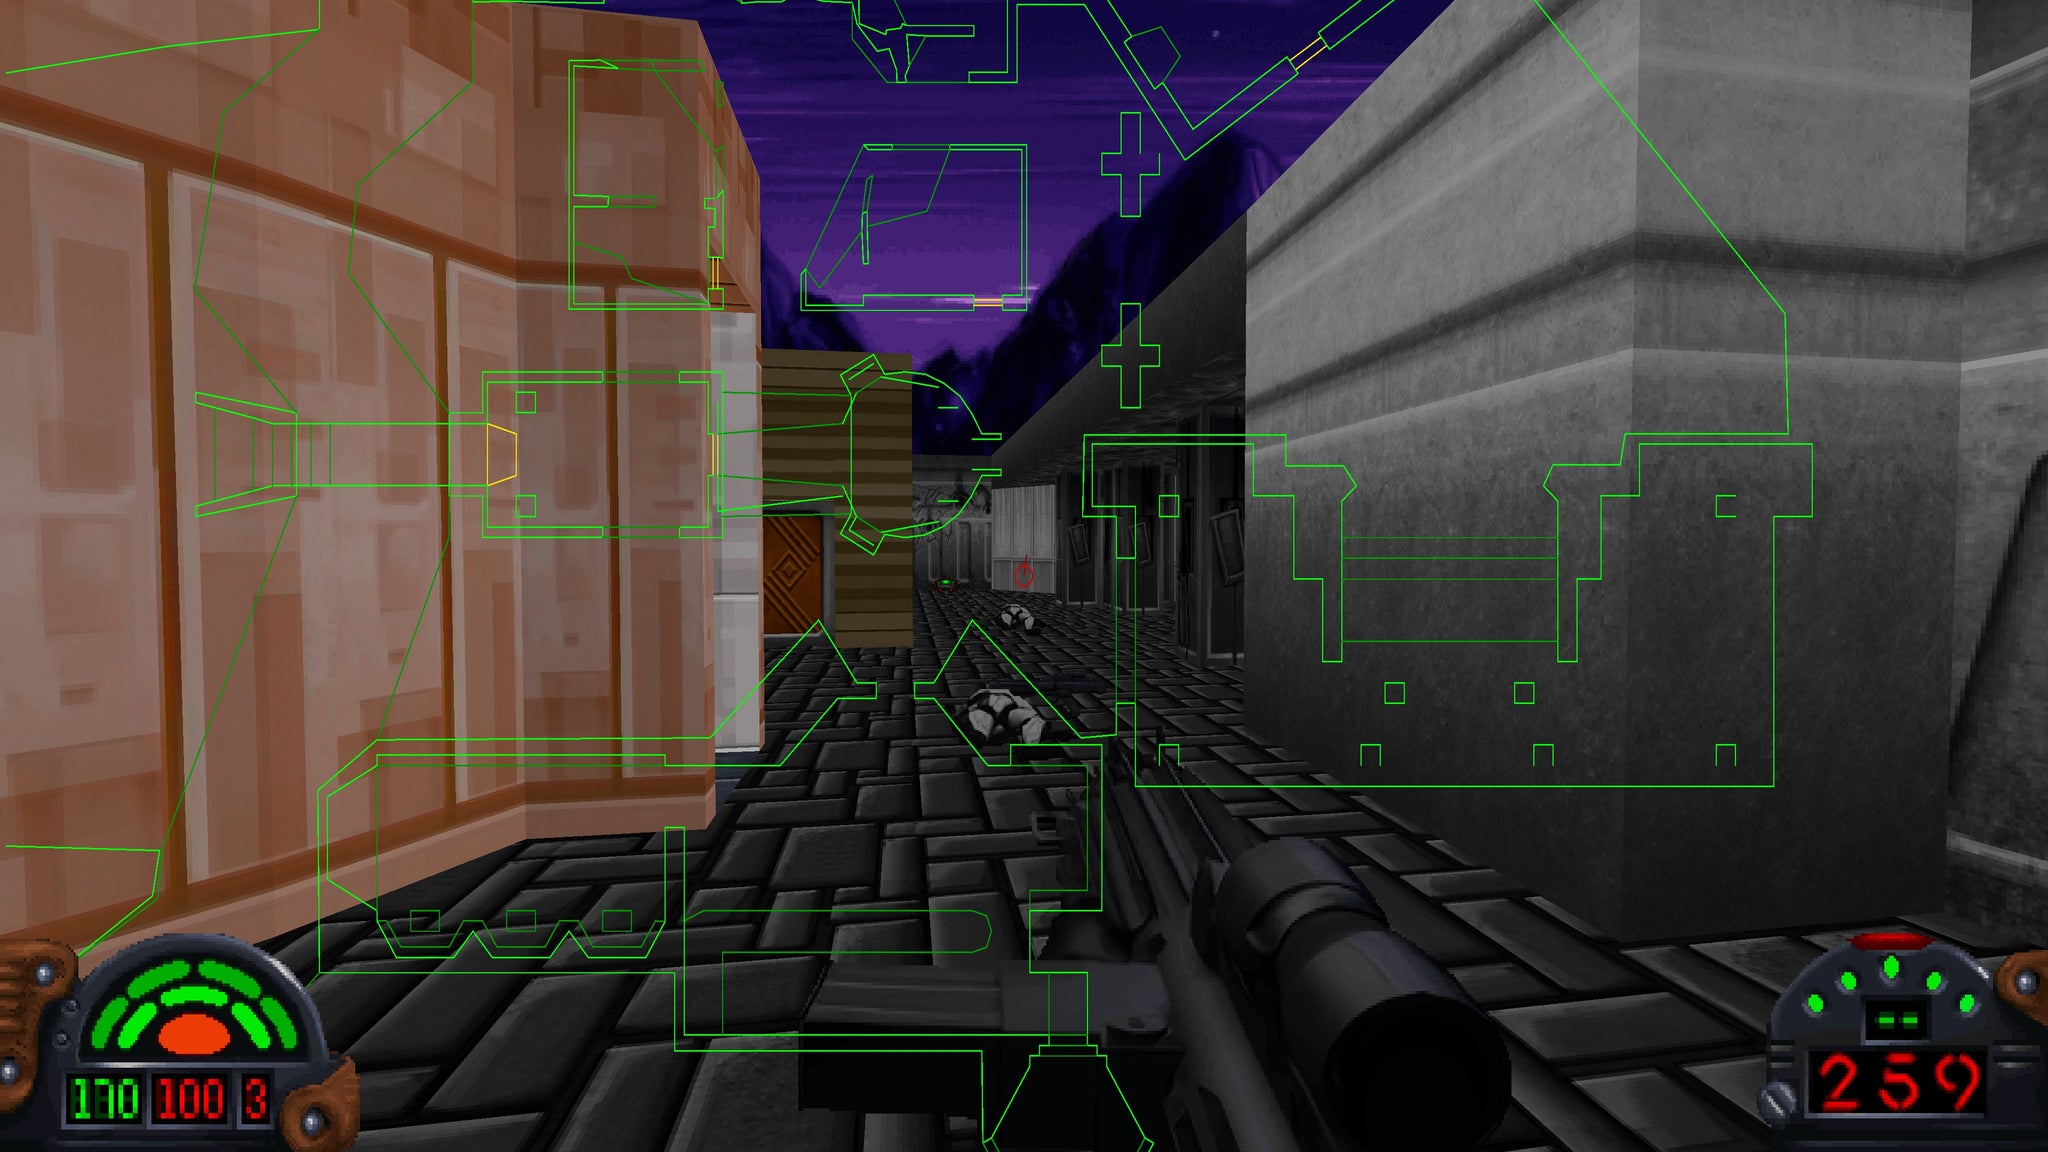
Ah, wireframe maps, my old friend. |Image credit:Rock Paper Shotgun/Nightdive Studios
It makes for a very slick and comfortable experience in today’s landscape of retro shooters, and you can see how the big setpiece puzzles that distinguish it the most from its mid-90s contemporaries would have felt impressive at the time. Sure, these puzzles have become less complicated with age, but more because recent games have lent on its rotating bridges, prison keycards and sliding locked door panels ad infinitum in the years since. In the moment, these still require complex dances of switch pulling and platform jumping to execute successfully, and they provide a welcome change of pace to all the runnin’ and gunnin’.
Structurally, there’s also a healthy mix of extraction missions, where you’ll need to infiltrate an area, retrieve an object, and then make your way back to your ship’s landing pad, as well as more straightforward A to B missions that don’t require a return journey. That said, the latter are always something of a relief. On top of Dark Forces hailing from the twisty-turny maze school of early 3D level design, the architecture of some of these places can be legitimately baffling sometimes. Some corridor entrances are so tiny and obscured from view that you’d have to happen upon it just to even realise it was there, and key locations are sometimes so far away from their corresponding doors that I regularly lost track of how to get from one side of a level to another just to carry on. Sometimes it’s not keys at all, but canny (and easily missed) switch placement - and honest to Grogu, I will never look at a sewer level quite the same way again. Those one-way sludge chutes, man. They change a person.
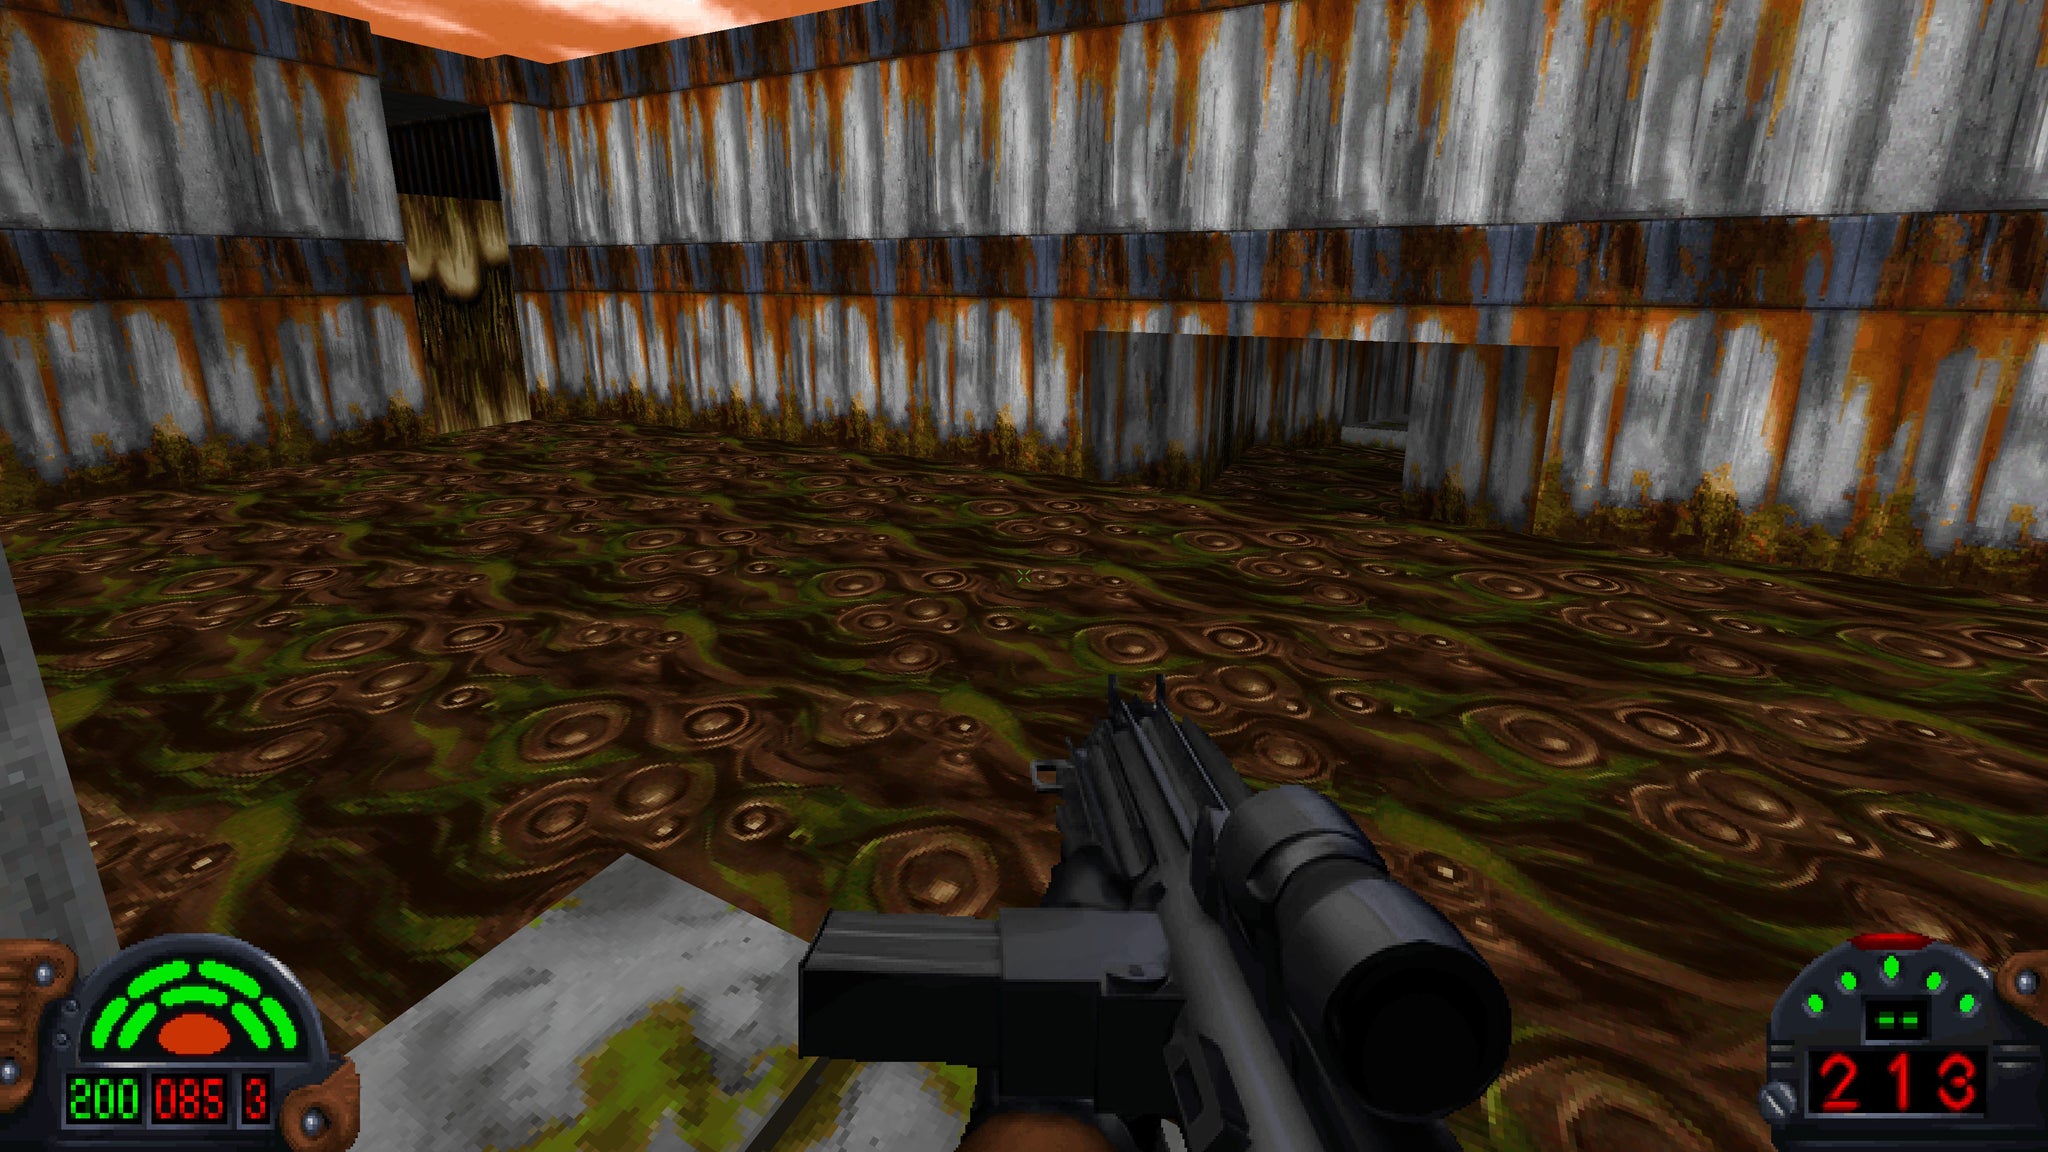
Brrr… If you know, you know. |Image credit:Rock Paper Shotgun/Nightdive Studios
It felt like I spent a lot of time bashing my head against a wall wondering where to go next, but despite all this, I still managed to wolf down the entirety of Dark Forces Remaster in a breezy seven hours. A very agreeable run-time in an age of somewhat bloated Star Wars games , but I should stress: there were also a handful of instances where I felt like I happened upon an area or the solution to a particular puzzle without really knowing why or how I managed it. Special doors with three code symbols opened for me by happy, key-mashing accident on a few occasions - but for all the back-tracking and aimless wandering I did between each attempt, I’m not sure I’d be able to tell you how you were meant to work them out correctly. There were also levels where I’d come across a locked door, backtrack for several minutes trying to find the right key, only to stumble upon the actual exit in a completely different direction, without needing said key at all to complete the level.
Dark Forces’ puzzles still tax the old grey cells, even 30 years later. |Image credit:Rock Paper Shotgun/Nightdive Studios
These moments frequently left me feeling quite stumped and frustrated, and it’s here where Dark Forces’ age really makes itself felt. Here’s another example: while important info such as your health, shield, ammo and lives are all displayed on the game’s HUD, the rest of your inventory beyond your obvious weapons was a complete mystery to me. Perhaps I missed the particular menu setting, but I never found anything to tell me what keys I’d picked up, or what other crucial survival items I had in my pocket - such as the gas mask I needed to avoid suffocating multiple times in a row while attempting to navigate a poisonous ice station. Heck, I’ve had settled for a prompt or something that just told me how to equip the damn thing, but alas, I had to look this up in the controls menu having lost all my lives to it. I also never worked out if there was a way to look around the wireframe overlay map without also moving at the same time - another reason why I ended up backtracking so much, as most of the map was hidden from view.
To less wizened players, this might, understandably, all prove too much to make this remaster either enjoyable or worthwhile. But if you’re willing to try and divine the inner workings of Dark Forces with a bit of spit and elbow grease, then there’s certainly an interesting artefact to be found here - even if it’s frequently wonky and obtuse in places. Despite the aimless wandering, I did have a good time with Star Wars Dark Forces Remaster, especially after only experiencing it through a demo disc all those years ago. But I’m also glad it’s over now, and that I can go back to playing properly new games again. In that sense, Dark Forces Remaster is a complete success. It’s reminded me of a fun memory from a long time ago, and having now revisited it and admired it from every angle, I’m happy to put it back in the carbon freezer, far, far away.
This review is based on a retail build of the game, provided by developers Nightdive Studios.
Find out how we conduct our reviews by reading our review policy .
Star Wars: Dark Forces Remaster
PS4 , PS5 , Xbox One , Xbox Series X/S , PC , Nintendo Switch
Rock Paper Shotgun is better when you sign in
Sign in and join us on our journey to discover strange and compelling PC games.

All 75 Arc Raiders Blueprints and where to get them
These areas have the highest chance of giving you Blueprints

Image credit:Rock Paper Shotgun/Embark Studios

Looking for more Arc Raiders Blueprints? It’s a special day when you find a Blueprint, as they’re among the most valuable items in Arc Raiders. If you find a Blueprint that you haven’t already found, then you must make sure you hold onto it at all costs, because Blueprints are the key to one of the most important and powerful systems of meta-progression in the game.
This guide aims to be the very best guide on Blueprints you can find, starting with a primer on what exactly they are and how they work in Arc Raiders, before delving into exactly where to get Blueprints and the very best farming spots for you to take in your search.
We’ll also go over how to get Blueprints from other unlikely activities, such as destroying Surveyors and completing specific quests. And you’ll also find the full list of all 75 Blueprints in Arc Raiders on this page (including the newest Blueprints added with the Cold Snap update , such as the Deadline Blueprint and Firework Box Blueprint), giving you all the information you need to expand your own crafting repertoire.
In this guide:
- What are Blueprints in Arc Raiders?
- Full Blueprint list: All crafting recipes
- Where to find Blueprints in Arc Raiders Blueprints obtained from quests Blueprints obtained from Trials Best Blueprint farming locations

What are Blueprints in Arc Raiders?
Blueprints in Arc Raiders are special items which, if you manage to extract with them, you can expend to permanently unlock a new crafting recipe in your Workshop. If you manage to extract from a raid with an Anvil Blueprint, for example, you can unlock the ability to craft your very own Anvil Pistol, as many times as you like (as long as you have the crafting materials).
To use a Blueprint, simply open your Inventory while in the lobby, then right-click on the Blueprint and click “Learn And Consume” . This will permanently unlock the recipe for that item in your Workshop. As of the Stella Montis update, there are allegedly 75 different Blueprints to unlock - although only 68 are confirmed to be in the game so far. You can see all the Blueprints you’ve found and unlocked by going to the Workshop menu, and hitting “R” to bring up the Blueprint screen.
It’s possible to find duplicates of past Blueprints you’ve already unlocked. If you find these, then you can either sell them, or - if you like to play with friends - you can take it into a match and gift it to your friend so they can unlock that recipe for themselves. Another option is to keep hold of them until the time comes to donate them to the Expedition.
Full Blueprint list: All crafting recipes
Below is the full list of all the Blueprints that are currently available to find in Arc Raiders, and the crafting recipe required for each item:
| Blueprint | Type | Recipe | Crafted At |
|---|---|---|---|
| Bettina | Weapon | 3x Advanced Mechanical Components 3x Heavy Gun Parts 3x Canister | Gunsmith 3 |
| Blue Light Stick | Quick Use | 3x Chemicals | Utility Station 1 |
| Aphelion | Weapon | 3x Magnetic Accelerator 3x Complex Gun Parts 1x Matriarch Reactor | Gunsmith 3 |
| Combat Mk. 3 (Flanking) | Augment | 2x Advanced Electrical Components 3x Processor | Gear Bench 3 |
| Combat Mk. 3 (Aggressive) | Augment | 2x Advanced Electrical Components 3x Processor | Gear Bench 3 |
| Complex Gun Parts | Material | 2x Light Gun Parts 2x Medium Gun Parts 2x Heavy Gun Parts | Refiner 3 |
| Fireworks Box | Quick Use | 1x Explosive Compound 3x Pop Trigger | Explosives Station 2 |
| Gas Mine | Mine | 4x Chemicals 2x Rubber Parts | Explosives Station 1 |
| Green Light Stick | Quick Use | 3x Chemicals | Utility Station 1 |
| Pulse Mine | Mine | 1x Crude Explosives 1x Wires | Explosives Station 1 |
| Seeker Grenade | Grenade | 1x Crude Explosives 2x ARC Alloy | Explosives Station 1 |
| Looting Mk. 3 (Survivor) | Augment | 2x Advanced Electrical Components 3x Processor | Gear Bench 3 |
| Angled Grip II | Mod | 2x Mechanical Components 3x Duct Tape | Gunsmith 2 |
| Angled Grip III | Mod | 2x Mod Components 5x Duct Tape | Gunsmith 3 |
| Hullcracker | Weapon | 1x Magnetic Accelerator 3x Heavy Gun Parts 1x Exodus Modules | Gunsmith 3 |
| Launcher Ammo | Ammo | 5x Metal Parts 1x Crude Explosives | Workbench 1 |
| Anvil | Weapon | 5x Mechanical Components 5x Simple Gun Parts | Gunsmith 2 |
| Anvil Splitter | Mod | 2x Mod Components 3x Processor | Gunsmith 3 |
| ??? | ??? | ??? | ??? |
| Barricade Kit | Quick Use | 1x Mechanical Components | Utility Station 2 |
| Blaze Grenade | Grenade | 1x Explosive Compound 2x Oil | Explosives Station 3 |
| Bobcat | Weapon | 3x Advanced Mechanical Components 3x Light Gun Parts | Gunsmith 3 |
| Osprey | Weapon | 2x Advanced Mechanical Components 3x Medium Gun Parts 7x Wires | Gunsmith 3 |
| Burletta | Weapon | 3x Mechanical Components 3x Simple Gun Parts | Gunsmith 1 |
| Compensator II | Mod | 2x Mechanical Components 4x Wires | Gunsmith 2 |
| Compensator III | Mod | 2x Mod Components 8x Wires | Gunsmith 3 |
| Defibrillator | Quick Use | 9x Plastic Parts 1x Moss | Medical Lab 2 |
| ??? | ??? | ??? | ??? |
| Equalizer | Weapon | 3x Magnetic Accelerator 3x Complex Gun Parts 1x Queen Reactor | Gunsmith 3 |
| Extended Barrel | Mod | 2x Mod Components 8x Wires | Gunsmith 3 |
| Extended Light Mag II | Mod | 2x Mechanical Components 3x Steel Spring | Gunsmith 2 |
| Extended Light Mag III | Mod | 2x Mod Components 5x Steel Spring | Gunsmith 3 |
| Extended Medium Mag II | Mod | 2x Mechanical Components 3x Steel Spring | Gunsmith 2 |
| Extended Medium Mag III | Mod | 2x Mod Components 5x Steel Spring | Gunsmith 3 |
| Extended Shotgun Mag II | Mod | 2x Mechanical Components 3x Steel Spring | Gunsmith 2 |
| Extended Shotgun Mag III | Mod | 2x Mod Components 5x Steel Spring | Gunsmith 3 |
| Remote Raider Flare | Quick Use | 2x Chemicals 4x Rubber Parts | Utility Station 1 |
| Heavy Gun Parts | Material | 4x Simple Gun Parts | Refiner 2 |
| Venator | Weapon | 2x Advanced Mechanical Components 3x Medium Gun Parts 5x Magnet | Gunsmith 3 |
| Il Toro | Weapon | 5x Mechanical Components 6x Simple Gun Parts | Gunsmith 1 |
| Jolt Mine | Mine | 1x Electrical Components 1x Battery | Explosives Station 2 |
| Explosive Mine | Mine | 1x Explosive Compound 1x Sensors | Explosives Station 3 |
| Jupiter | Weapon | 3x Magnetic Accelerator 3x Complex Gun Parts 1x Queen Reactor | Gunsmith 3 |
| Light Gun Parts | Material | 4x Simple Gun Parts | Refiner 2 |
| Lightweight Stock | Mod | 2x Mod Components 5x Duct Tape | Gunsmith 3 |
| Lure Grenade | Grenade | 1x Speaker Component 1x Electrical Components | Utility Station 2 |
| Medium Gun Parts | Material | 4x Simple Gun Parts | Refiner 2 |
| Torrente | Weapon | 2x Advanced Mechanical Components 3x Medium Gun Parts 6x Steel Spring | Gunsmith 3 |
| Muzzle Brake II | Mod | 2x Mechanical Components 4x Wires | Gunsmith 2 |
| Muzzle Brake III | Mod | 2x Mod Components 8x Wires | Gunsmith 3 |
| Padded Stock | Mod | 2x Mod Components 5x Duct Tape | Gunsmith 3 |
| Shotgun Choke II | Mod | 2x Mechanical Components 4x Wires | Gunsmith 2 |
| Shotgun Choke III | Mod | 2x Mod Components 8x Wires | Gunsmith 3 |
| Shotgun Silencer | Mod | 2x Mod Components 8x Wires | Gunsmith 3 |
| Showstopper | Grenade | 1x Advanced Electrical Components 1x Voltage Converter | Explosives Station 3 |
| Silencer I | Mod | 2x Mechanical Components 4x Wires | Gunsmith 2 |
| Silencer II | Mod | 2x Mod Components 8x Wires | Gunsmith 3 |
| Snap Hook | Quick Use | 2x Power Rod 3x Rope 1x Exodus Modules | Utility Station 3 |
| Stable Stock II | Mod | 2x Mechanical Components 3x Duct Tape | Gunsmith 2 |
| Stable Stock III | Mod | 2x Mod Components 5x Duct Tape | Gunsmith 3 |
| Tagging Grenade | Grenade | 1x Electrical Components 1x Sensors | Utility Station 3 |
| Tempest | Weapon | 3x Advanced Mechanical Components 3x Medium Gun Parts 3x Canister | Gunsmith 3 |
| Trigger Nade | Grenade | 2x Crude Explosives 1x Processor | Explosives Station 2 |
| Vertical Grip II | Mod | 2x Mechanical Components 3x Duct Tape | Gunsmith 2 |
| Vertical Grip III | Mod | 2x Mod Components 5x Duct Tape | Gunsmith 3 |
| Vita Shot | Quick Use | 2x Antiseptic 1x Syringe | Medical Lab 3 |
| Vita Spray | Quick Use | 3x Antiseptic 1x Canister | Medical Lab 3 |
| Vulcano | Weapon | 1x Magnetic Accelerator 3x Heavy Gun Parts 1x Exodus Modules | Gunsmith 3 |
| Wolfpack | Grenade | 2x Explosive Compound 2x Sensors | Explosives Station 3 |
| Red Light Stick | Quick Use | 3x Chemicals | Utility Station 1 |
| Smoke Grenade | Grenade | 14x Chemicals 1x Canister | Utility Station 2 |
| Deadline | Mine | 3x Explosive Compound 2x ARC Circuitry | Explosives Station 3 |
| Trailblazer | Grenade | 1x Explosive Compound 1x Synthesized Fuel | Explosives Station 3 |
| Tactical Mk. 3 (Defensive) | Augment | 2x Advanced Electrical Components 3x Processor | Gear Bench 3 |
| Tactical Mk. 3 (Healing) | Augment | 2x Advanced Electrical Components 3x Processor | Gear Bench 3 |
| Yellow Light Stick | Quick Use | 3x Chemicals | Utility Station 1 |
Note: The missing Blueprints in this list likely have not actually been added to the game at the time of writing, because none of the playerbase has managed to find any of them. As they are added to the game, I will update this page with the most relevant information so you know exactly how to get all 75 Arc Raiders Blueprints.
Where to find Blueprints in Arc Raiders
Below is a list of all containers, modifiers, and events which maximise your chances of finding Blueprints:
- Certain quests reward you with specific Blueprints .
- Completing Trials has a high chance of offering Blueprints as rewards.
- Surveyors have a decent chance of dropping Blueprints on death.
- High loot value areas tend to have a greater chance of spawning Blueprints.
- Night Raids and Storms may increase rare Blueprint spawn chances in containers.
- Containers with higher numbers of items may have a higher tendency to spawn Blueprints. As a result, Blue Gate (which has many “large” containers containing multiple items) may give you a higher chance of spawning Blueprints.
- Raider containers (Raider Caches, Weapon Boxes, Medical Bags, Grenade Tubes) have increased Blueprint drop rates. As a result, the Uncovered Caches event gives you a high chance of finding Blueprints.
- Security Lockers have a higher than average chance of containing Blueprints.
- Certain Blueprints only seem to spawn under specific circumstances: Tempest Blueprint only spawns during Night Raid events. Vulcano Blueprint only spawns during Hidden Bunker events. Jupiter and Equaliser Blueprints only spawn during Harvester events.

Raider Caches, Weapon Boxes, and other raider-oriented container types have a good chance of offering Blueprints. |Image credit:Rock Paper Shotgun/Embark Studios
Blueprints have a very low chance of spawning in any container in Arc Raiders, around 1-2% on average. However, there is a higher chance of finding Blueprints in particular container types. Specifically, you can find more Blueprints in Raider containers and security lockers.
Beyond this, if you’re looking for Blueprints you should focus on regions of the map which are marked as having particularly high-value loot. Areas such as the Control Tower in Dam Battlegrounds, the Arrival and Departure Buildings in Spaceport, and Pilgrim’s Peak in Blue Gate all have a better-than-average chance of spawning Blueprints somewhere amongst all their containers. Night Raids and Electromagnetic Storm events also increase the drop chances of certain Blueprints .
In addition to these containers, you can often loot Blueprints from destroyed Surveyors - the largest of the rolling ball ARC. Surveyors are more commonly found on the later maps - Spaceport and Blue Gate - and if one spawns in your match, you’ll likely see it by the blue laser beam that it casts into the sky while “surveying”.
Surveyors are quite well-armoured and will very speedily run away from you once it notices you, but if you can take one down then make sure you loot all its parts for a chance of obtaining certain unusual Blueprints.
Blueprints obtained from quests
One way in which you can get Blueprints is by completing certain quests for the vendors in Speranza. Some quests will reward you with a specific item Blueprint upon completion, so as long as you work through all the quests in Arc Raiders, you are guaranteed those Blueprints.
Here is the full list of all Blueprints you can get from quest rewards:
- Trigger Nade Blueprint: Rewarded after completing “Sparks Fly”.
- Lure Grenade Blueprint: Rewarded after completing “Greasing Her Palms”.
- Burletta Blueprint: Rewarded after completing “Industrial Espionage”.
- Hullcracker Blueprint (and Launcher Ammo Blueprint): Rewarded after completing “The Major’s Footlocker”.
Alas, that’s only 4 Blueprints out of a total of 75 to unlock, so for the vast majority you will need to find them yourself during a raid. If you’re intent on farming Blueprints, then it’s best to equip yourself with cheap gear in case you lose it, but don’t use a free loadout because then you won’t get a safe pocket to stash any new Blueprint you find. No pain in Arc Raiders is sharper than failing to extract with a new Blueprint you’ve been after for a dozen hours already.

One of the best ways to get Blueprints is by hitting three stars on all five Trials every week. |Image credit:Rock Paper Shotgun/Embark Studios
Blueprints obtained from Trials
One of the very best ways to get Blueprints is as rewards for completing Trials in Arc Raiders. Trials are unlocked from Level 15 onwards, and allow you to earn rewards by focusing on certain tasks over the course of several raids. For example, one Trial might task you with dealing damage to Hornets, while another might challenge you to loot Supply Drops.
Trials refresh on a weekly basis, with a new week bringing five new Trials. Each Trial can offer up to three rewards after passing certain score milestones, and it’s possible to receive very high level loot from these reward crates - including Blueprints. So if you want to unlock as many Blueprints as possible, you should make a point of completing as many Trials as possible each week.
Best Blueprint farming locations
The very best way to get Blueprints is to frequent specific areas of the maps which combine high-tier loot pools with the right types of containers to search. Here are my recommendations for where to find Blueprints on every map, so you can always keep the search going for new crafting recipes to unlock.

Image credit:Rock Paper Shotgun/Embark Studios
Dam Battlegrounds
The best places to farm Blueprints on Dam Battlegrounds are the Control Tower, Power Generation Complex, Ruby Residence, and Pale Apartments . The first two regions, despite only being marked on the map as mid-tier loot, contain a phenomenal number of containers to loot. The Control Tower can also contain a couple of high-tier Security Lockers - though of course, you’ll need to have unlocked the Security Breach skill at the end of the Survival tree.
There’s also a lot of reporting amongst the playerbase that the Residential areas in the top-left of the map - Pale Apartments and Ruby Residence - give you a comparatively strong chance of finding Blueprints. Considering their size, there’s a high density of containers to loot in both locations, and they also have the benefit of being fairly out of the way. So you’re more likely to have all the containers to yourself.
Buried City
The best Blueprint farming locations on Buried City are the Santa Maria Houses, Grandioso Apartments, Town Hall, and the various buildings of the New District . Grandioso Apartments has a lower number of containers than the rest, but a high chance of spawning weapon cases - which have good Blueprint drop rates. The others are high-tier loot areas, with plenty of lootable containers - including Security Lockers.
Spaceport
The best places to find Blueprints on Spaceport are the Arrival and Departure Buildings, as well as Control Tower A6 and the Launch Towers . All these areas are labelled as high-value loot regions, and many of them are also very handily connected to one another by the Spaceport wall, which you can use to quickly run from one area to the next. At the tops of most of these buildings you’ll find at least one Security Locker, so this is an excellent farming route for players looking to find Blueprints.
The downside to looting Blueprints on Spaceport is that all these areas are hotly contested, particularly in Duos and Squads. You’ll need to be very focused and fast in order to complete the full farming route.

Image credit:Rock Paper Shotgun/Embark Studios
Blue Gate
Blue Gate tends to have a good chance of dropping Blueprints, potentially because it generally has a high number of containers which can hold lots of items; so there’s a higher chance of a Blueprint spawning in each container. In my experience, the best Blueprint farming spots on Blue Gate are Pilgrim’s Peak, Raider’s Refuge, the Ancient Fort, and the Underground Complex beneath the Warehouse .
All of these areas contain a wealth of containers to loot. Raider’s Refuge has less to loot, but the majority of the containers in and around the Refuge are raider containers, which have a high chance of containing Blueprints - particularly during major events.
Stella Montis
On the whole, Stella Montis seems to have a very low drop rate for Blueprints (though a high chance of dropping other high-tier loot). If you do want to try farming Blueprints on this map, the best places to find Blueprints in Stella Montis are Medical Research, Assembly Workshop, and the Business Center . These areas have the highest density of containers to loot on the map.
In addition to this, the Western Tunnel has a few different Security Lockers to loot, so while there’s very little to loot elsewhere in this area of the map, it’s worth hitting those Security Lockers if you spawn there at the start of a match.
That wraps up this primer on how to get all the Blueprints in Arc Raiders as quickly as possible. With the Expedition system constantly resetting a large number of players’ Blueprints, it’s more important than ever to have the most up-to-date information on where to find all these Blueprints.
While you’re here, be sure to check out our Arc Raiders best guns tier list , as well as our primers on the best skills to unlock and all the different Field Depot locations on every map.

ARC Raiders
PS5 , Xbox Series X/S , PC
Rock Paper Shotgun is better when you sign in
Sign in and join us on our journey to discover strange and compelling PC games.
