Space Marine 2’s co-op suggests it is in fact jetpacks that make the dream work
Mostly meaty good fun so far, especially if you’re a big killstealer like Edwin
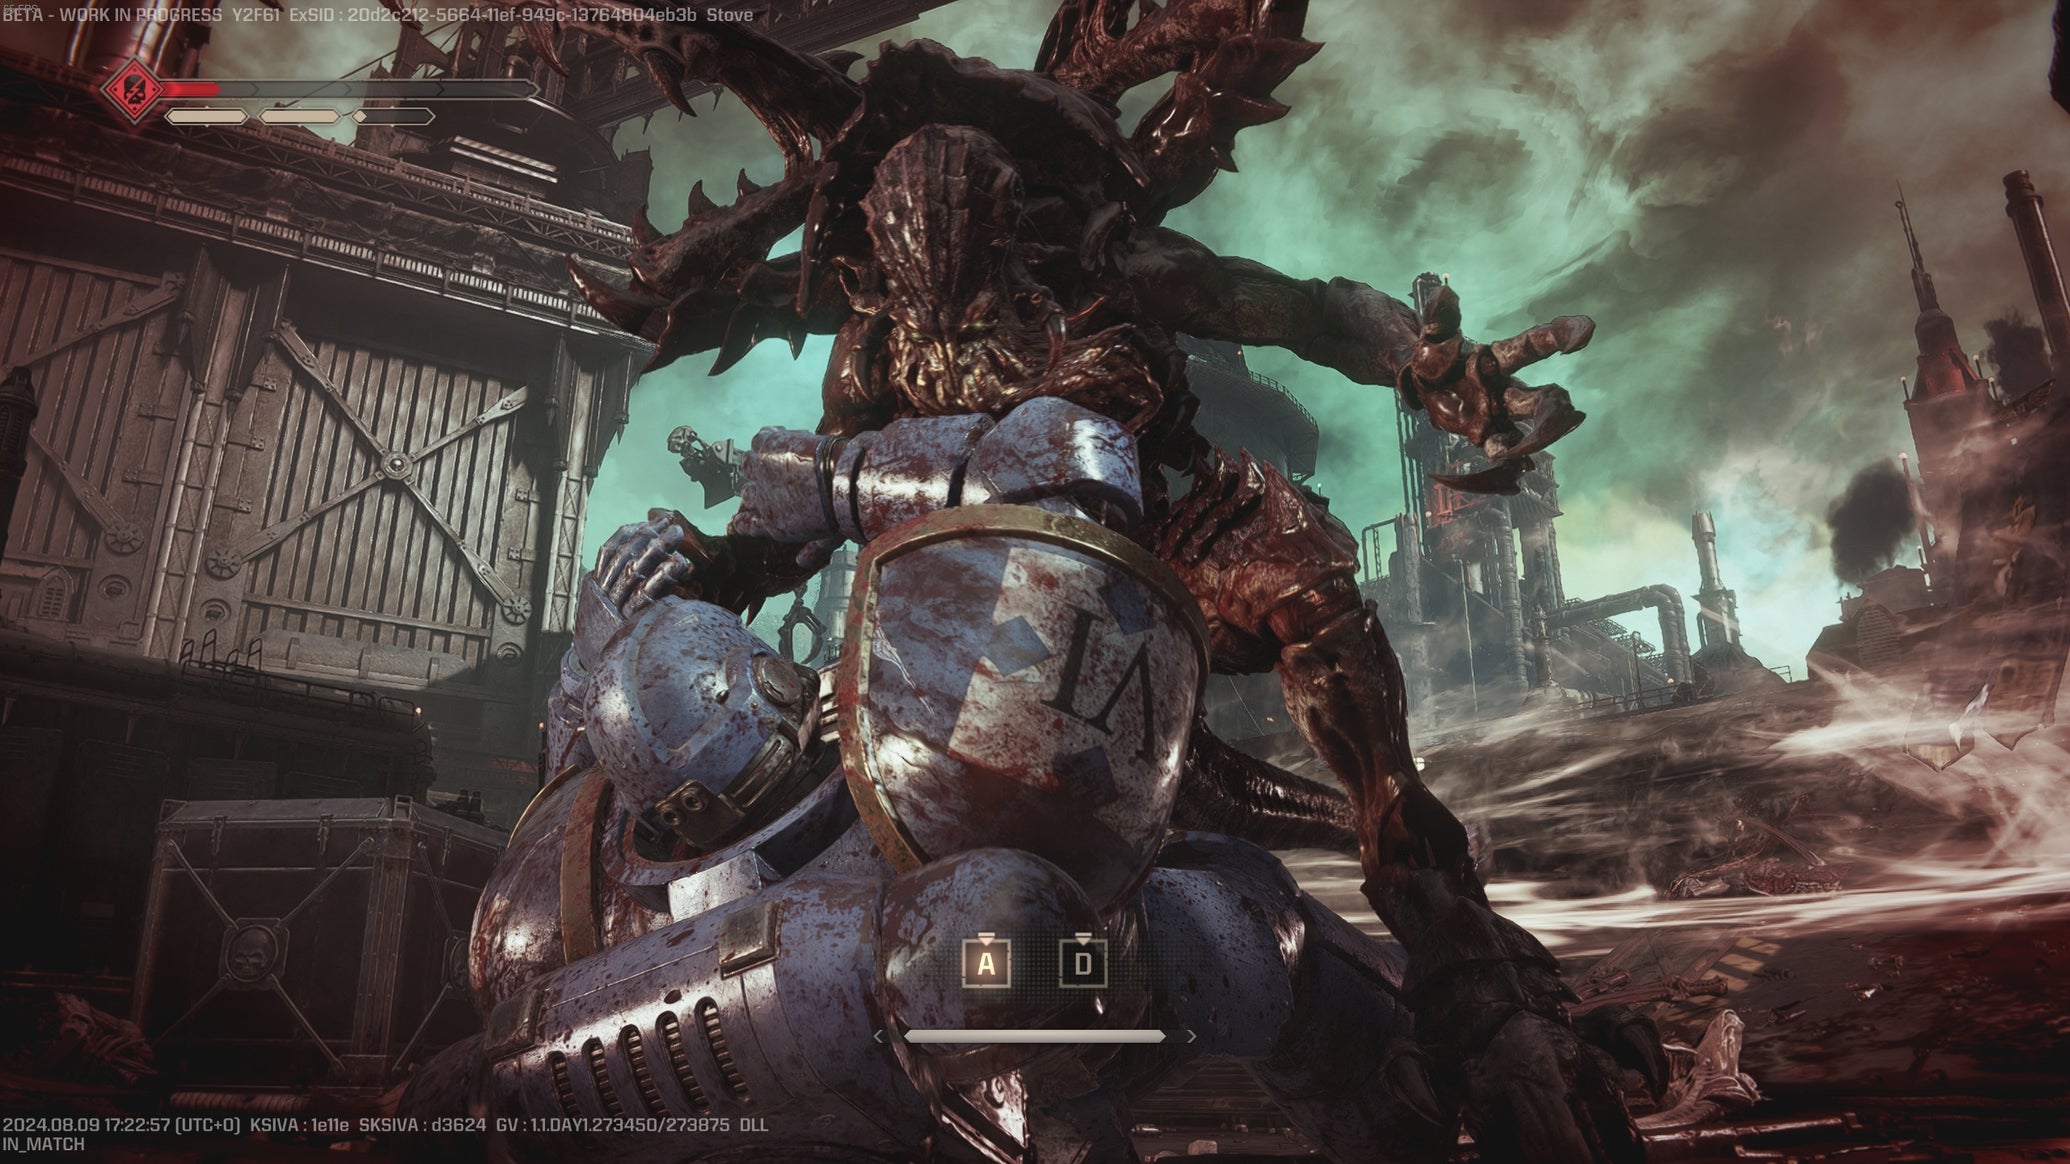
Image credit:Saber Interactive/Rock Paper Shotgun

In the grim heatwave of the midsummer, everyone you know would love to come hunch over a table and roll dice for six hours, actually, but they’ve got that thing on. You remember that thing , right? Plus, no-one’s got a big enough table. Or the new errata. Also, Trevor’s been banging on about lady Custodes for five months straight and nobody wants to be around him right now. Thank the Omni-trevor, then, for the three-player co-op of Warhammer 40,000: Space Marine 2 . “Warhammer with the boys?” said Horace as he stretchily dished out preview keys from an entirely different postcode. James, Edwin and Nic were initially all booked-up for the week, but Horace repeated himself, making it absolutely clear that it wasn’t a question.
James: Alright chaps, first thing’s first: are Space Marine II’s Space Marines as heavy and stompy as Space Marines should be? I feel yes when moving, heck yes when shooting, and ehhh not so much when melee’ing.
Nic: It does feel like there’s some conflicting priorities between wanting to offer up a cathartic horde hack n’ slash and giving you timed parries and dodge rolls for precise counters. The tells are decently telegraphed, and the counters are mainly useful for the warriors, which are much taller than your average ‘nid. Still, I wasn’t quite able to get in the rhythm of it all. The jump pack, however…
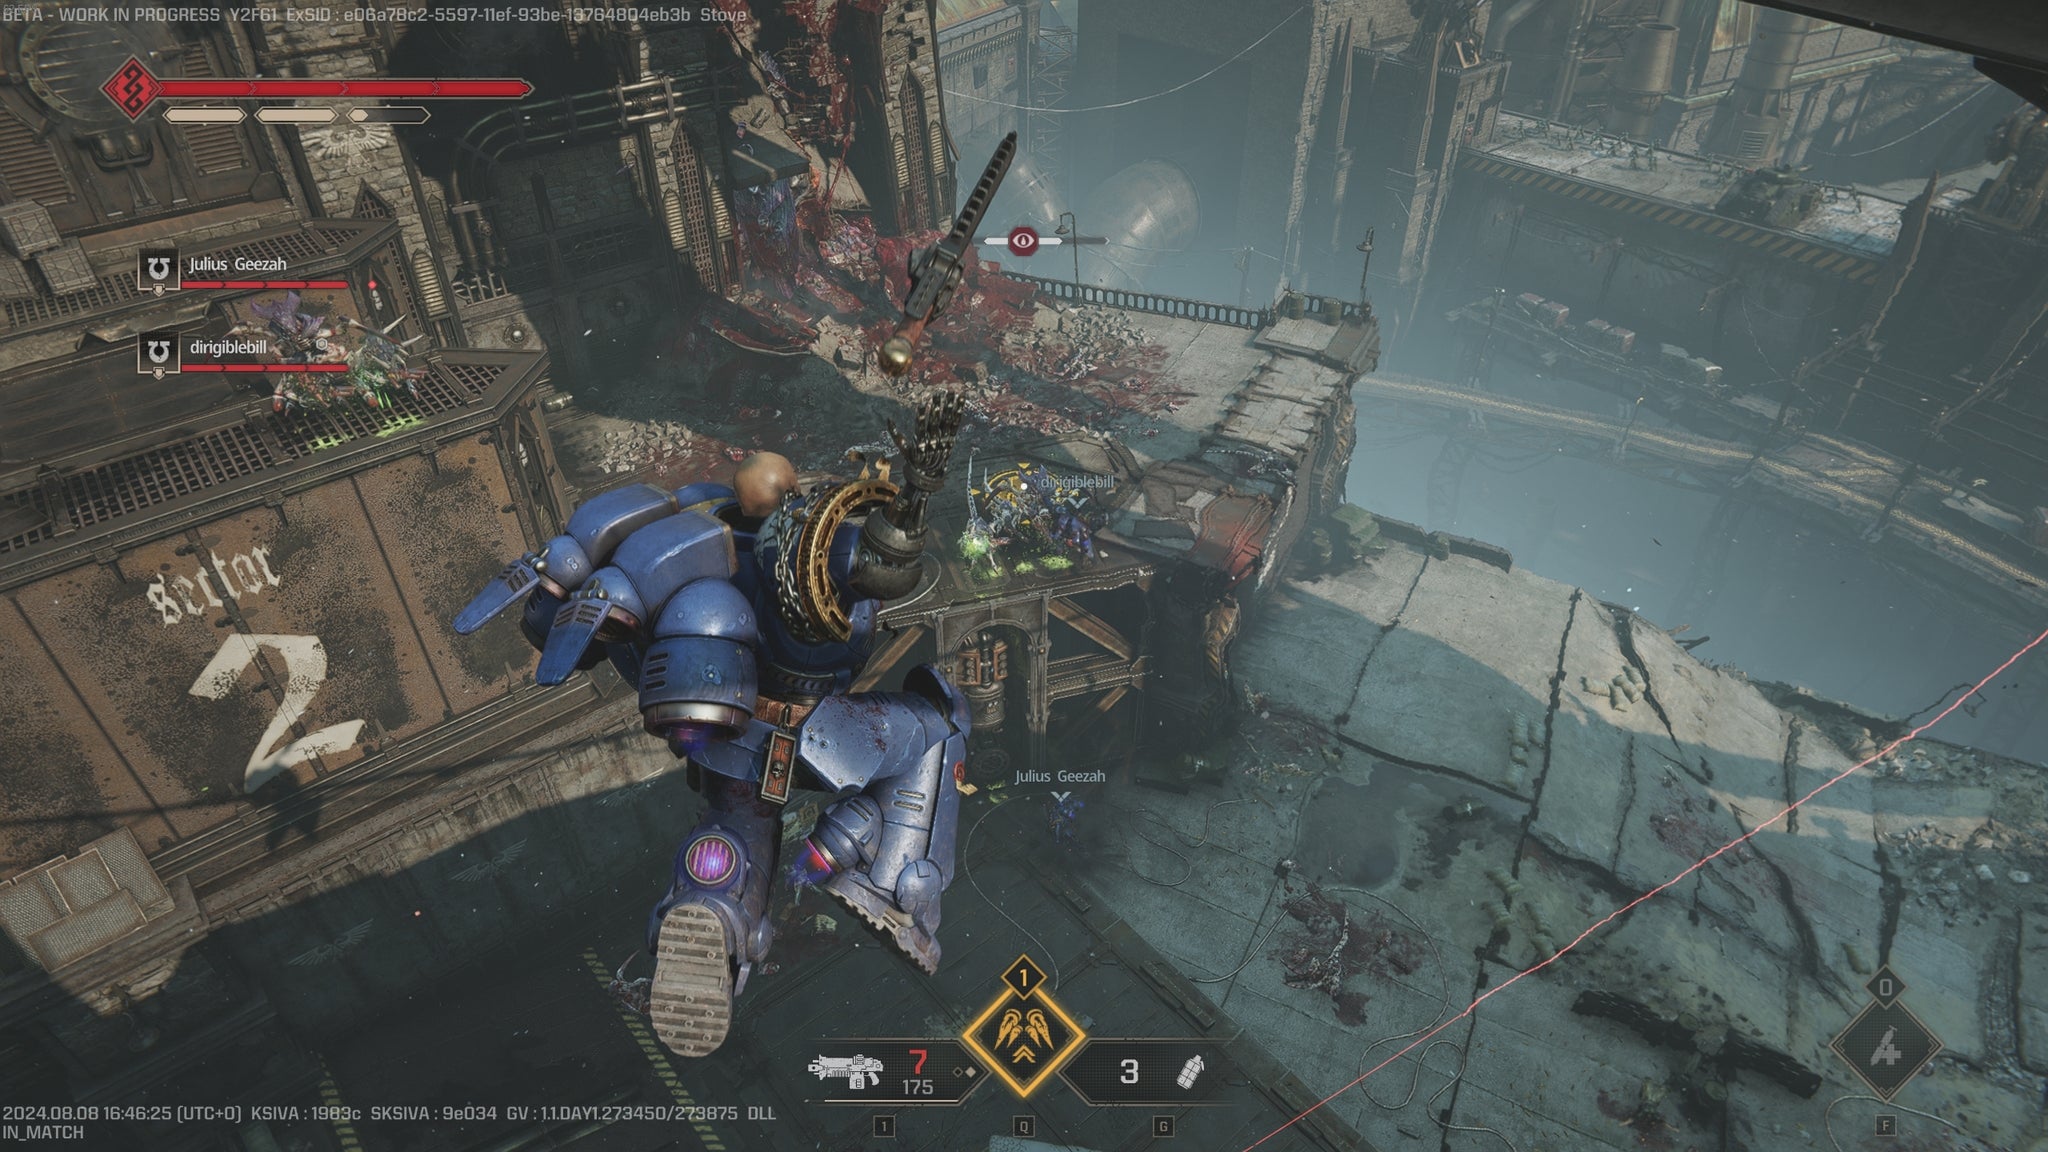
A Jump Pack is one of several specials you’ll be able to use on a cool down. Also, it’s the best one. |Image credit:Saber Interactive/Rock Paper Shotgun
Edwin: They seem commendably chonky to me? I was playing on controller, which has rumble for footsteps. I didn’t feel like they were too light-touch in melee, either. I thought they were overly sluggish, in fact, if not outright contemptuous of my attempts to evade, but then I realised there was a dodge button. I do agree that there’s tension between this being a horde-slaying game and a duelling game. And yeah, that jetpack. Similar to the first game, it launches you directly up and lets you aim a landing reticule in hover view. If you aim it far afield it makes the game feel almost like a wingsuit simulator. Space Marines are more aerodynamic than they seem.
James: I did enjoy the one-on-one, chainsword-versus-handknife duels when they happened, especially since winning them ends with a satisfying coup de grâce and a fresh burst of regenerated armour. It’s just that you’re so easily mobbed by the smaller Tyranids that those dances rarely have a chance to get going – if I stop swinging wildly, I’ll lose more health to their nibbling than I’d get back from a Big Nid kill.
That’s partly why I preferred sticking to blasting, along with the guns themselves being properly deafening bang-bang factories. I’m just enough into 40k that I care about the fantasy of firing Bolter weapons, and these ones are very, very well-realised.
Nic: It’s a given by this point that whenever a 40k game comes up, some charming giganerd will make a long video breaking down how lore-accurate the Bolters are. They’re basically cannons, you see. And yep, they do feel great here. You do get a good sense of just how massive the Marines are too, since the intro starts you off near a gaggle of pathetic, regular-sized humans, and also has some Imperial Guard fail to open a door that you easily yank apart.
Edwin : Ah, the Imperial Guard. You see a lot of them in the opening campaign mission and it’s a nice way to inflate the player’s self-esteem. They’re so tiny! And so helpless.
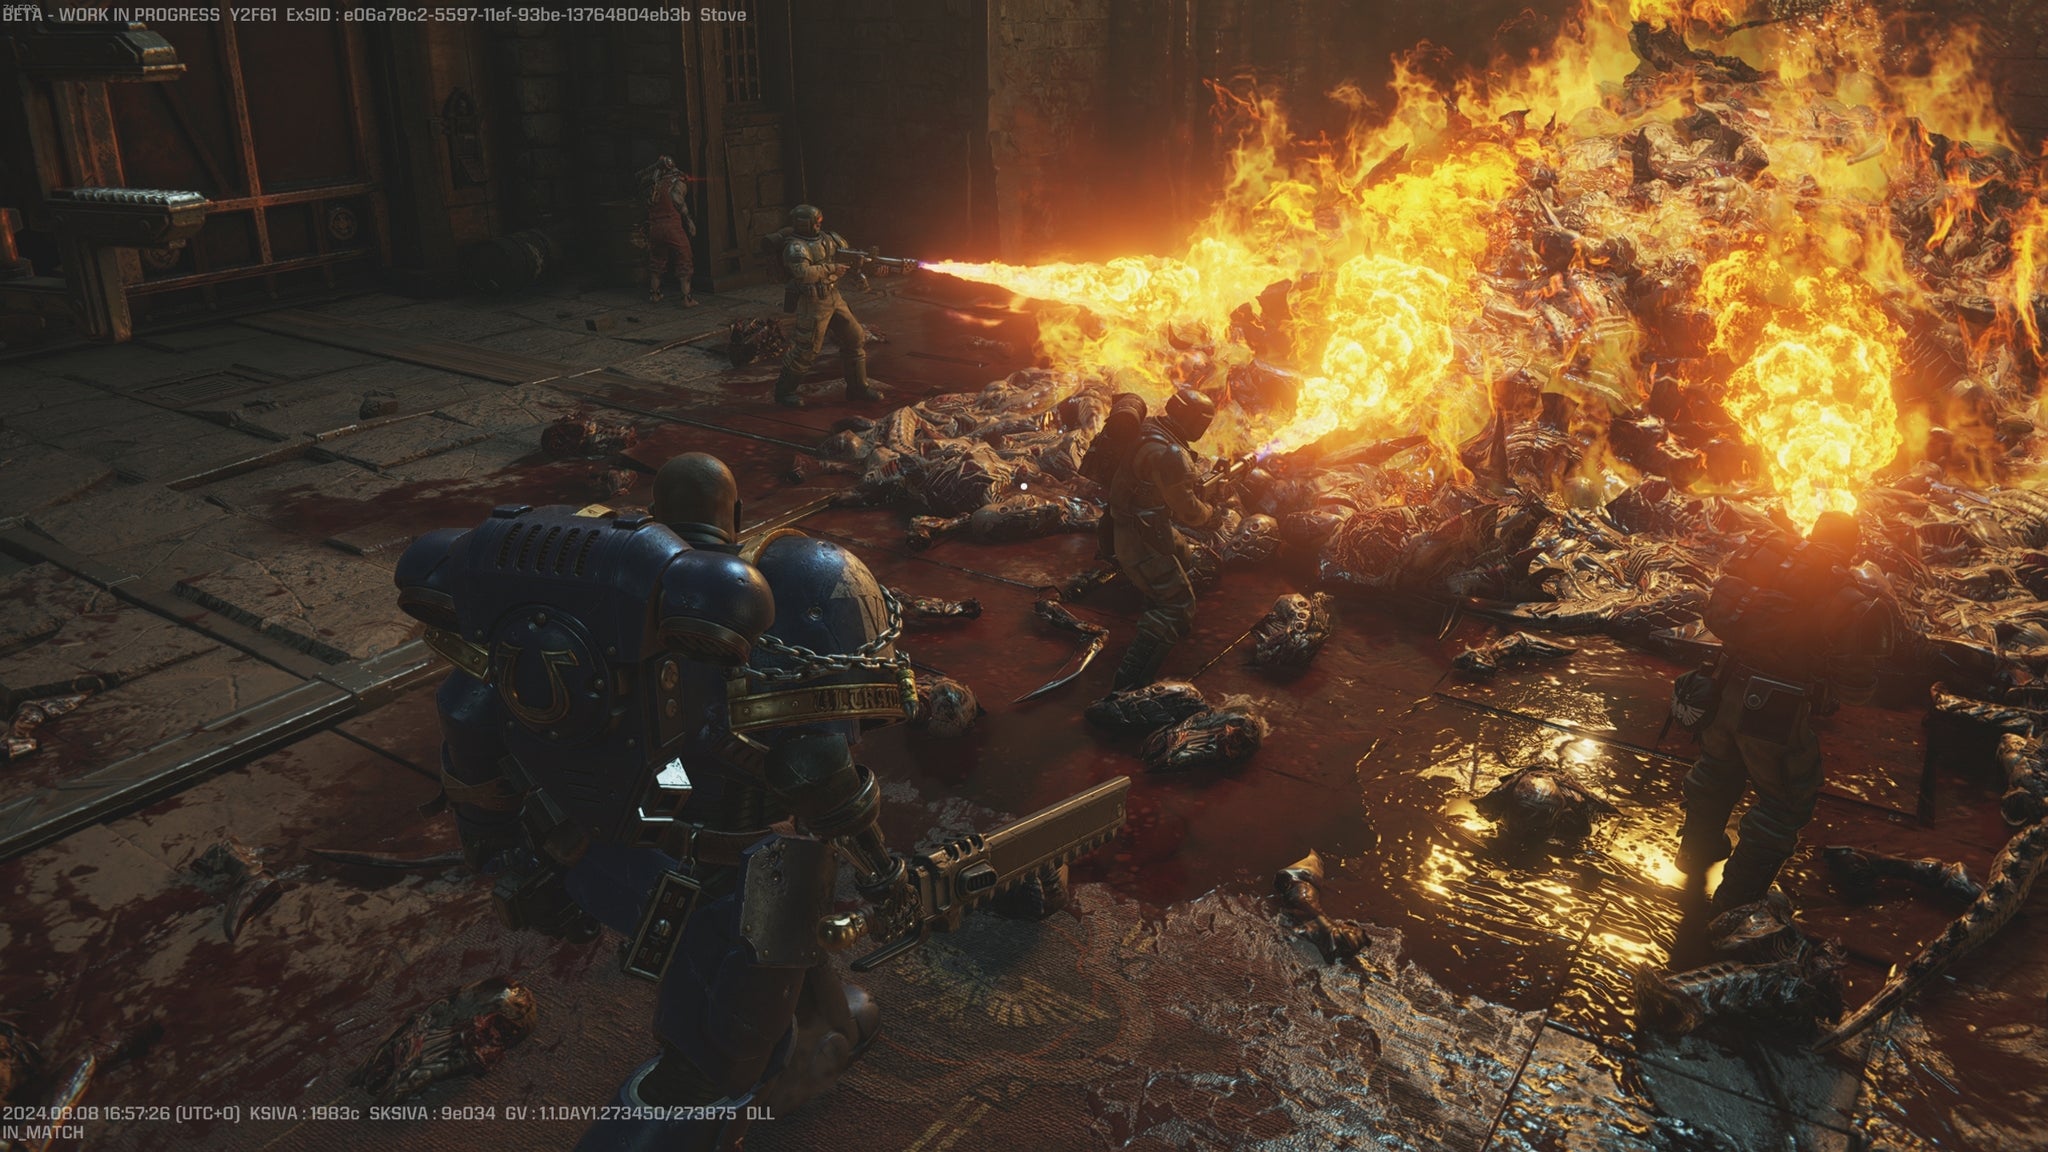
Image credit:Saber Interactive/Rock Paper Shotgun
Nic: A fun feature of doing this piece is I can start a sentence in chat with “What’s cool about that Thunderhawk Gunship…” and James and Edwin absolutely have to listen to me, because it’s technically work-related. But yes, Space Marine II’s opening level goes hard on the wish fulfilment. Even standing next to a static model of a flyer that would cost you, lol, 598 actual pounds to interact with on the tabletop feels like an opulent power fantasy.
Edwin: Is this the one I said I wanted to eat? With the lovely lozenge-y blue hull panels and those nibbly golden parts. I think the Imperial fleet at large would make for an amazing line of luxury ice creams – all those pistachio green crenellations and that white chocolate bit on the prow of a Lunar cruiser. It turns out I’d like to eat quite a lot of the Warhammer 40K universe, actually. Maybe not so much the Eldar, who seem awfully stringy with hat plumes that make me think of the irritating fibrous parts of sweetcorn. Now the smaller Tyranids, they look like they’d be great sautéed with some salty spring greens and a splash of red wine. Sorry, what were we talking about again?
Nic: I, too, have been watching too much Delicious In Dungeon. Were we talking about jetpacks?
James: The Battle Barge does look a little like a Viennetta, now come to think of it. Wait, no, it was jetpacks. Or Jump Packs. Whatever. I appreciated how they let the grand bedlam continue playing out at ground level, but also grant you the agility to take fights more decisively, and not just get buffeted around by the horde. They’re such a strong powerup that I think we all realised simultaneously that they were but fleeting toys, soon to be taken away again.
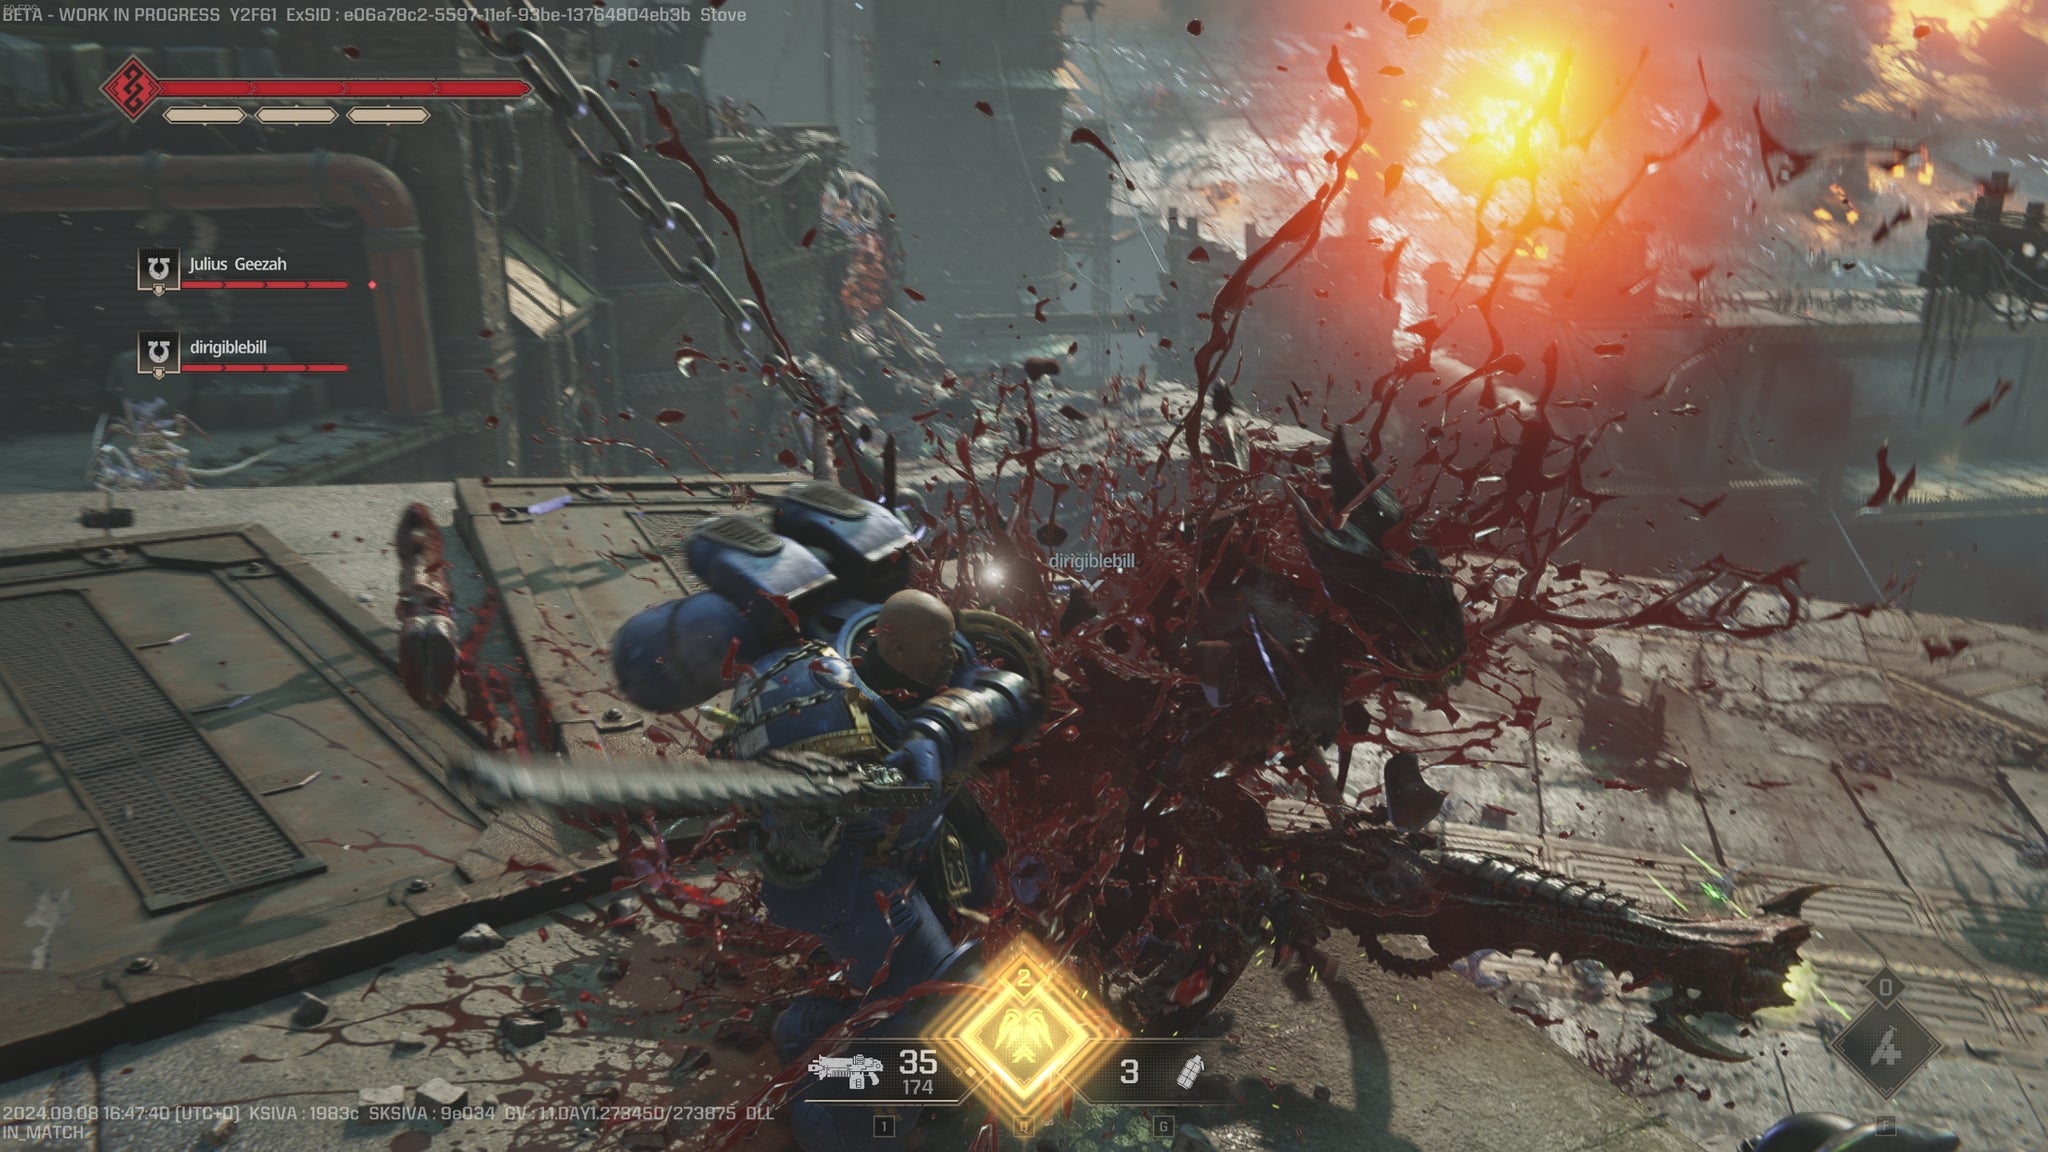
Combat is rife with meaty, spectacular canned finishers. |Image credit:Saber Interactive/Rock Paper Shotgun
Nic: Yeah it was hard to tell, since the preview only covered the opening up to the first boss, but I was a bit concerned about the game blowing its load too quickly. That’s a compliment, really. The first stage was so explosive and utterly swarmed with enemies that it had me wondering where they’d take it from there. And lawdy, those skyboxes! Although, talking of the first boss, I was a bit disappointed to see him summoning regular mobs, which felt like a bit of a tired trick to fall back on so soon. But, yeah, there was definitely that sense of likely getting Megamanned after a frantic opening. It’s at this point that I envisioned the jetpack gaining sentience just so it could return later in your hour of need and rescue you while spouting one liners.
James: “Sorry I had to… jet.”
Edwin : Picture it showing up as a Warhammer brand Mr Clippy. “It looks like you’re trying to climb some platforms. Would you like a jetpack?”
Nic: “I’m back…pack!” I feel I might have stolen that one from one of you two.
James: Possibly from Edwin. But then I’ll allow it, because Edwin was always STEALING MY KILLS.
Edwin: “Feeling exhausted” was definitely mine. As were all those executions I stole from you, James, during our try at the dedicated co-op PvE missions, which give you six classes to choose from. The best is the one that has a wrist grapple, to be used exclusively for reeling yourself in for a canned finisher. Ah, the look on your face as I Spider-Manned past you and nabbed murder after murder from right under your nose. That flying brain thing, for example. It was kind of a dick move, in hindsight. Finishers in Space Marine II aren’t just for show - they replenish your shields. I guess that’s why you kept dying suddenly? Sorry about that.
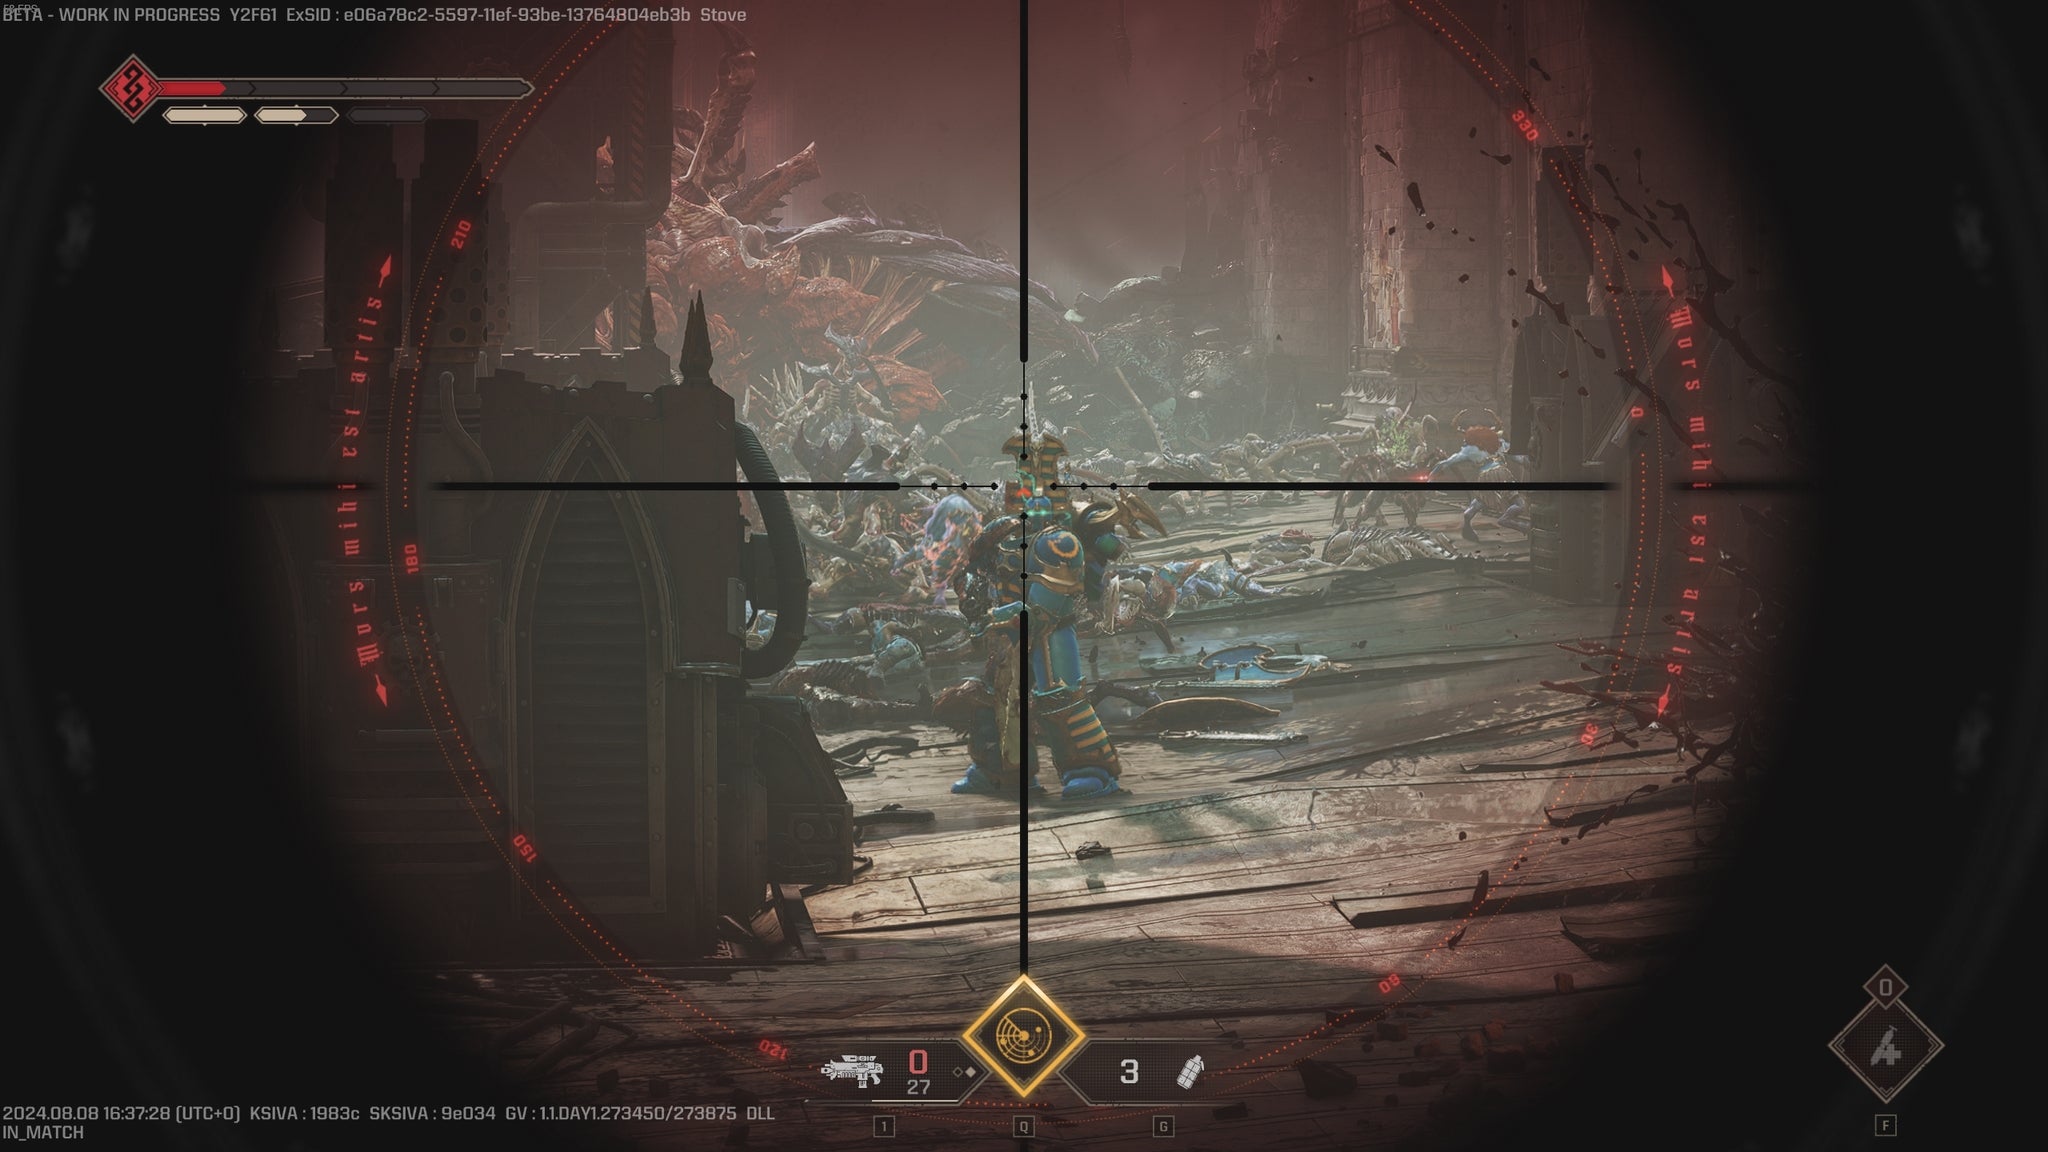
Image credit:Saber Interactive/Rock Paper Shotgun
James: I definitely got some Spess Mehreen FOMO watching you two, the MO part covering both my chances of healing and the more interesting/dynamic abilities. My skill just created a big green holo-ball that marked beasties for extra damage. Extra damage? Sir, my gun fires explosive shells the size of their skulls, outgoing damage ain’t the issue here.
Nic: Yeah, there’s definetely a gap between how useful or fun the skills feel, although I can see the more humdrum support skills being very useful in the PvE operation’s higher difficulties. With the campaign, a neat thing I didn’t pick up from the trailers is how quickly non-Tyranid enemies get introduced. Waiter, there’s some blue goats in my bug soup! Or Tzaangors, I suppose, if you want to be a nerd about it. You’d burst into a room to see ‘nids fighting Tzeentch chaos warriors. I do hope the Orks make a return later though. I feel there’s not much levity with ‘nids, unless you count spiking them into the concrete.
Edwin: I like how you can bully the smaller nids - there are canned finishers for them too. COME HITHER, SCURRYING XENO CHILD. BANG BANG BANG ON THE FLOOR WITH YOU.
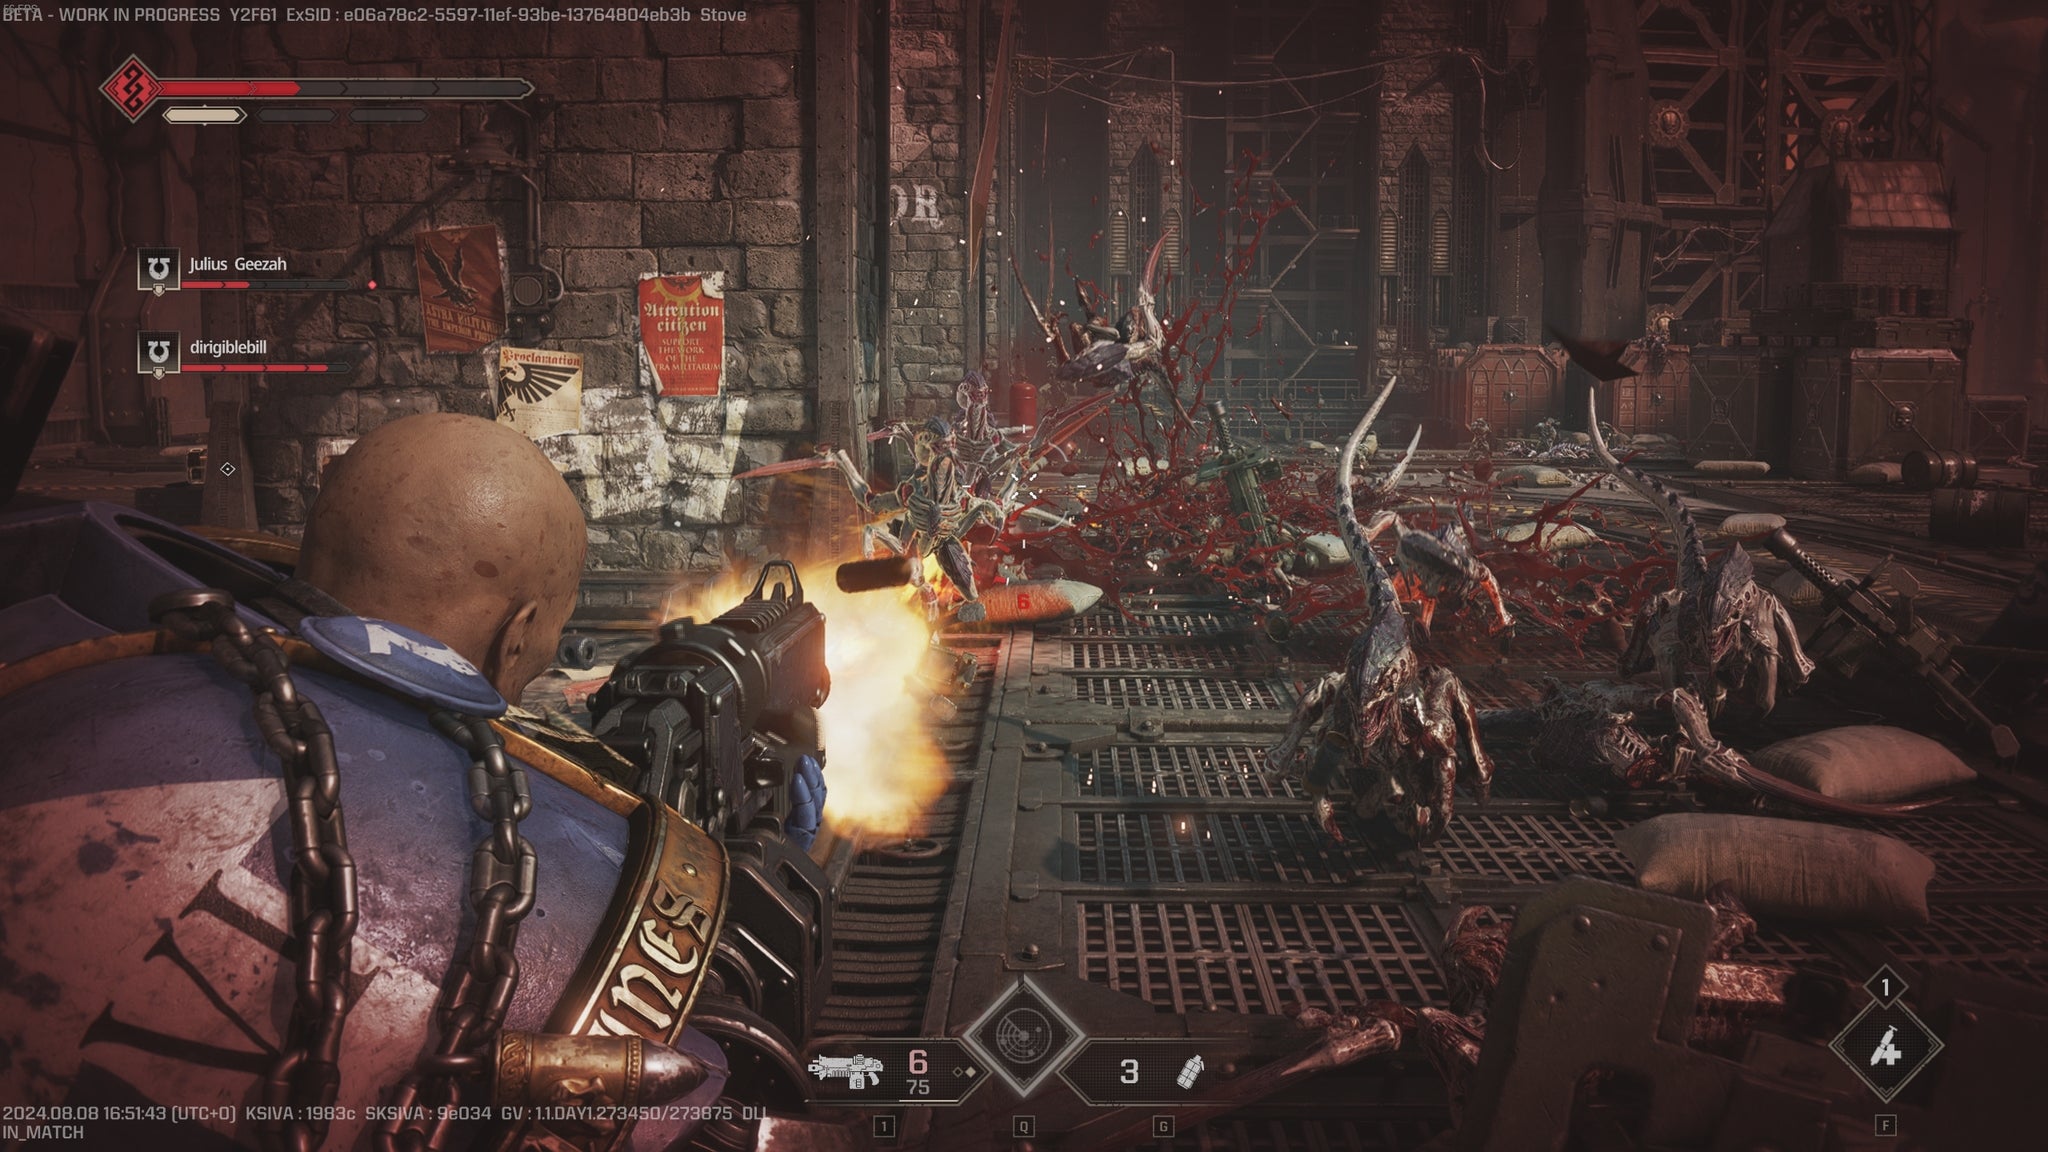
Image credit:Saber Interactive/Rock Paper Shotgun
James: I too enjoyed the mishmash of xenos and Chaos baddies; previous trailers suggested Space Marine II might just pull the exact same “Ahhhh it was the cult dudes all along” late-game reveal as the first one. Nope - Tzeentch’s lads are on tour and they don’t care who knows it. Also, their Chaos Space Marines explode into a clattering pile of shattered armour on death, which is even funnier than stealing a Tyranid’s arm and hitting him with it.
Warhammer with the boys continued apace up until the game’s first boss. We spent less time with the Darktide -esque operations mode overall, but it’s looking very expansive, with multiple classes and huge skill trees for each. You can even switch weapons mid-match. Nic got a powerfist at one point, then spent the rest of the match demanding that James and Edwin exclusively refer to him as ‘Captain Fisto’. Rumour has it he’s still demanding everyone refer to him as ‘Captain Fisto’ to this day, although no-one can hear him from the storage cupboard he’s now locked inside.

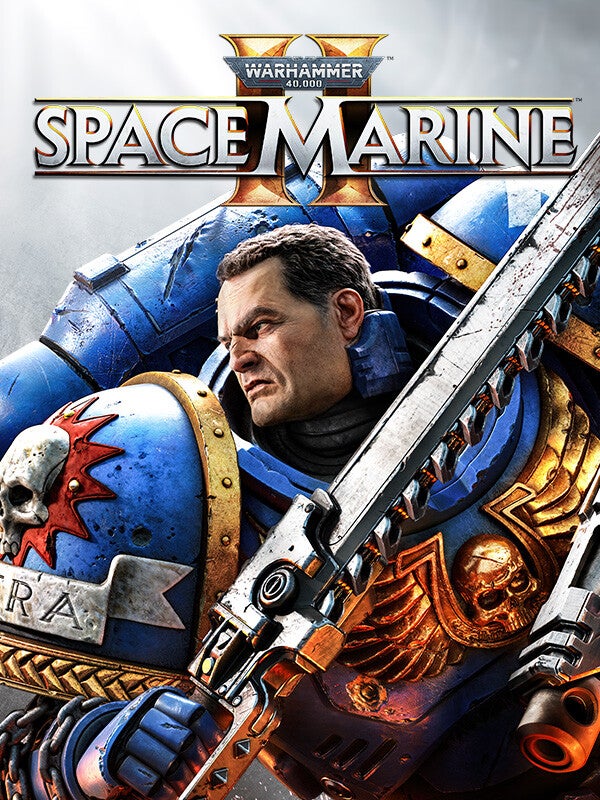
Warhammer 40,000: Space Marine II
PS5 , Xbox Series X/S , PC
Rock Paper Shotgun is better when you sign in
Sign in and join us on our journey to discover strange and compelling PC games.

All 75 Arc Raiders Blueprints and where to get them
These areas have the highest chance of giving you Blueprints

Image credit:Rock Paper Shotgun/Embark Studios

Looking for more Arc Raiders Blueprints? It’s a special day when you find a Blueprint, as they’re among the most valuable items in Arc Raiders. If you find a Blueprint that you haven’t already found, then you must make sure you hold onto it at all costs, because Blueprints are the key to one of the most important and powerful systems of meta-progression in the game.
This guide aims to be the very best guide on Blueprints you can find, starting with a primer on what exactly they are and how they work in Arc Raiders, before delving into exactly where to get Blueprints and the very best farming spots for you to take in your search.
We’ll also go over how to get Blueprints from other unlikely activities, such as destroying Surveyors and completing specific quests. And you’ll also find the full list of all 75 Blueprints in Arc Raiders on this page (including the newest Blueprints added with the Cold Snap update , such as the Deadline Blueprint and Firework Box Blueprint), giving you all the information you need to expand your own crafting repertoire.
In this guide:
- What are Blueprints in Arc Raiders?
- Full Blueprint list: All crafting recipes
- Where to find Blueprints in Arc Raiders Blueprints obtained from quests Blueprints obtained from Trials Best Blueprint farming locations

What are Blueprints in Arc Raiders?
Blueprints in Arc Raiders are special items which, if you manage to extract with them, you can expend to permanently unlock a new crafting recipe in your Workshop. If you manage to extract from a raid with an Anvil Blueprint, for example, you can unlock the ability to craft your very own Anvil Pistol, as many times as you like (as long as you have the crafting materials).
To use a Blueprint, simply open your Inventory while in the lobby, then right-click on the Blueprint and click “Learn And Consume” . This will permanently unlock the recipe for that item in your Workshop. As of the Stella Montis update, there are allegedly 75 different Blueprints to unlock - although only 68 are confirmed to be in the game so far. You can see all the Blueprints you’ve found and unlocked by going to the Workshop menu, and hitting “R” to bring up the Blueprint screen.
It’s possible to find duplicates of past Blueprints you’ve already unlocked. If you find these, then you can either sell them, or - if you like to play with friends - you can take it into a match and gift it to your friend so they can unlock that recipe for themselves. Another option is to keep hold of them until the time comes to donate them to the Expedition.
Full Blueprint list: All crafting recipes
Below is the full list of all the Blueprints that are currently available to find in Arc Raiders, and the crafting recipe required for each item:
| Blueprint | Type | Recipe | Crafted At |
|---|---|---|---|
| Bettina | Weapon | 3x Advanced Mechanical Components 3x Heavy Gun Parts 3x Canister | Gunsmith 3 |
| Blue Light Stick | Quick Use | 3x Chemicals | Utility Station 1 |
| Aphelion | Weapon | 3x Magnetic Accelerator 3x Complex Gun Parts 1x Matriarch Reactor | Gunsmith 3 |
| Combat Mk. 3 (Flanking) | Augment | 2x Advanced Electrical Components 3x Processor | Gear Bench 3 |
| Combat Mk. 3 (Aggressive) | Augment | 2x Advanced Electrical Components 3x Processor | Gear Bench 3 |
| Complex Gun Parts | Material | 2x Light Gun Parts 2x Medium Gun Parts 2x Heavy Gun Parts | Refiner 3 |
| Fireworks Box | Quick Use | 1x Explosive Compound 3x Pop Trigger | Explosives Station 2 |
| Gas Mine | Mine | 4x Chemicals 2x Rubber Parts | Explosives Station 1 |
| Green Light Stick | Quick Use | 3x Chemicals | Utility Station 1 |
| Pulse Mine | Mine | 1x Crude Explosives 1x Wires | Explosives Station 1 |
| Seeker Grenade | Grenade | 1x Crude Explosives 2x ARC Alloy | Explosives Station 1 |
| Looting Mk. 3 (Survivor) | Augment | 2x Advanced Electrical Components 3x Processor | Gear Bench 3 |
| Angled Grip II | Mod | 2x Mechanical Components 3x Duct Tape | Gunsmith 2 |
| Angled Grip III | Mod | 2x Mod Components 5x Duct Tape | Gunsmith 3 |
| Hullcracker | Weapon | 1x Magnetic Accelerator 3x Heavy Gun Parts 1x Exodus Modules | Gunsmith 3 |
| Launcher Ammo | Ammo | 5x Metal Parts 1x Crude Explosives | Workbench 1 |
| Anvil | Weapon | 5x Mechanical Components 5x Simple Gun Parts | Gunsmith 2 |
| Anvil Splitter | Mod | 2x Mod Components 3x Processor | Gunsmith 3 |
| ??? | ??? | ??? | ??? |
| Barricade Kit | Quick Use | 1x Mechanical Components | Utility Station 2 |
| Blaze Grenade | Grenade | 1x Explosive Compound 2x Oil | Explosives Station 3 |
| Bobcat | Weapon | 3x Advanced Mechanical Components 3x Light Gun Parts | Gunsmith 3 |
| Osprey | Weapon | 2x Advanced Mechanical Components 3x Medium Gun Parts 7x Wires | Gunsmith 3 |
| Burletta | Weapon | 3x Mechanical Components 3x Simple Gun Parts | Gunsmith 1 |
| Compensator II | Mod | 2x Mechanical Components 4x Wires | Gunsmith 2 |
| Compensator III | Mod | 2x Mod Components 8x Wires | Gunsmith 3 |
| Defibrillator | Quick Use | 9x Plastic Parts 1x Moss | Medical Lab 2 |
| ??? | ??? | ??? | ??? |
| Equalizer | Weapon | 3x Magnetic Accelerator 3x Complex Gun Parts 1x Queen Reactor | Gunsmith 3 |
| Extended Barrel | Mod | 2x Mod Components 8x Wires | Gunsmith 3 |
| Extended Light Mag II | Mod | 2x Mechanical Components 3x Steel Spring | Gunsmith 2 |
| Extended Light Mag III | Mod | 2x Mod Components 5x Steel Spring | Gunsmith 3 |
| Extended Medium Mag II | Mod | 2x Mechanical Components 3x Steel Spring | Gunsmith 2 |
| Extended Medium Mag III | Mod | 2x Mod Components 5x Steel Spring | Gunsmith 3 |
| Extended Shotgun Mag II | Mod | 2x Mechanical Components 3x Steel Spring | Gunsmith 2 |
| Extended Shotgun Mag III | Mod | 2x Mod Components 5x Steel Spring | Gunsmith 3 |
| Remote Raider Flare | Quick Use | 2x Chemicals 4x Rubber Parts | Utility Station 1 |
| Heavy Gun Parts | Material | 4x Simple Gun Parts | Refiner 2 |
| Venator | Weapon | 2x Advanced Mechanical Components 3x Medium Gun Parts 5x Magnet | Gunsmith 3 |
| Il Toro | Weapon | 5x Mechanical Components 6x Simple Gun Parts | Gunsmith 1 |
| Jolt Mine | Mine | 1x Electrical Components 1x Battery | Explosives Station 2 |
| Explosive Mine | Mine | 1x Explosive Compound 1x Sensors | Explosives Station 3 |
| Jupiter | Weapon | 3x Magnetic Accelerator 3x Complex Gun Parts 1x Queen Reactor | Gunsmith 3 |
| Light Gun Parts | Material | 4x Simple Gun Parts | Refiner 2 |
| Lightweight Stock | Mod | 2x Mod Components 5x Duct Tape | Gunsmith 3 |
| Lure Grenade | Grenade | 1x Speaker Component 1x Electrical Components | Utility Station 2 |
| Medium Gun Parts | Material | 4x Simple Gun Parts | Refiner 2 |
| Torrente | Weapon | 2x Advanced Mechanical Components 3x Medium Gun Parts 6x Steel Spring | Gunsmith 3 |
| Muzzle Brake II | Mod | 2x Mechanical Components 4x Wires | Gunsmith 2 |
| Muzzle Brake III | Mod | 2x Mod Components 8x Wires | Gunsmith 3 |
| Padded Stock | Mod | 2x Mod Components 5x Duct Tape | Gunsmith 3 |
| Shotgun Choke II | Mod | 2x Mechanical Components 4x Wires | Gunsmith 2 |
| Shotgun Choke III | Mod | 2x Mod Components 8x Wires | Gunsmith 3 |
| Shotgun Silencer | Mod | 2x Mod Components 8x Wires | Gunsmith 3 |
| Showstopper | Grenade | 1x Advanced Electrical Components 1x Voltage Converter | Explosives Station 3 |
| Silencer I | Mod | 2x Mechanical Components 4x Wires | Gunsmith 2 |
| Silencer II | Mod | 2x Mod Components 8x Wires | Gunsmith 3 |
| Snap Hook | Quick Use | 2x Power Rod 3x Rope 1x Exodus Modules | Utility Station 3 |
| Stable Stock II | Mod | 2x Mechanical Components 3x Duct Tape | Gunsmith 2 |
| Stable Stock III | Mod | 2x Mod Components 5x Duct Tape | Gunsmith 3 |
| Tagging Grenade | Grenade | 1x Electrical Components 1x Sensors | Utility Station 3 |
| Tempest | Weapon | 3x Advanced Mechanical Components 3x Medium Gun Parts 3x Canister | Gunsmith 3 |
| Trigger Nade | Grenade | 2x Crude Explosives 1x Processor | Explosives Station 2 |
| Vertical Grip II | Mod | 2x Mechanical Components 3x Duct Tape | Gunsmith 2 |
| Vertical Grip III | Mod | 2x Mod Components 5x Duct Tape | Gunsmith 3 |
| Vita Shot | Quick Use | 2x Antiseptic 1x Syringe | Medical Lab 3 |
| Vita Spray | Quick Use | 3x Antiseptic 1x Canister | Medical Lab 3 |
| Vulcano | Weapon | 1x Magnetic Accelerator 3x Heavy Gun Parts 1x Exodus Modules | Gunsmith 3 |
| Wolfpack | Grenade | 2x Explosive Compound 2x Sensors | Explosives Station 3 |
| Red Light Stick | Quick Use | 3x Chemicals | Utility Station 1 |
| Smoke Grenade | Grenade | 14x Chemicals 1x Canister | Utility Station 2 |
| Deadline | Mine | 3x Explosive Compound 2x ARC Circuitry | Explosives Station 3 |
| Trailblazer | Grenade | 1x Explosive Compound 1x Synthesized Fuel | Explosives Station 3 |
| Tactical Mk. 3 (Defensive) | Augment | 2x Advanced Electrical Components 3x Processor | Gear Bench 3 |
| Tactical Mk. 3 (Healing) | Augment | 2x Advanced Electrical Components 3x Processor | Gear Bench 3 |
| Yellow Light Stick | Quick Use | 3x Chemicals | Utility Station 1 |
Note: The missing Blueprints in this list likely have not actually been added to the game at the time of writing, because none of the playerbase has managed to find any of them. As they are added to the game, I will update this page with the most relevant information so you know exactly how to get all 75 Arc Raiders Blueprints.
Where to find Blueprints in Arc Raiders
Below is a list of all containers, modifiers, and events which maximise your chances of finding Blueprints:
- Certain quests reward you with specific Blueprints .
- Completing Trials has a high chance of offering Blueprints as rewards.
- Surveyors have a decent chance of dropping Blueprints on death.
- High loot value areas tend to have a greater chance of spawning Blueprints.
- Night Raids and Storms may increase rare Blueprint spawn chances in containers.
- Containers with higher numbers of items may have a higher tendency to spawn Blueprints. As a result, Blue Gate (which has many “large” containers containing multiple items) may give you a higher chance of spawning Blueprints.
- Raider containers (Raider Caches, Weapon Boxes, Medical Bags, Grenade Tubes) have increased Blueprint drop rates. As a result, the Uncovered Caches event gives you a high chance of finding Blueprints.
- Security Lockers have a higher than average chance of containing Blueprints.
- Certain Blueprints only seem to spawn under specific circumstances: Tempest Blueprint only spawns during Night Raid events. Vulcano Blueprint only spawns during Hidden Bunker events. Jupiter and Equaliser Blueprints only spawn during Harvester events.

Raider Caches, Weapon Boxes, and other raider-oriented container types have a good chance of offering Blueprints. |Image credit:Rock Paper Shotgun/Embark Studios
Blueprints have a very low chance of spawning in any container in Arc Raiders, around 1-2% on average. However, there is a higher chance of finding Blueprints in particular container types. Specifically, you can find more Blueprints in Raider containers and security lockers.
Beyond this, if you’re looking for Blueprints you should focus on regions of the map which are marked as having particularly high-value loot. Areas such as the Control Tower in Dam Battlegrounds, the Arrival and Departure Buildings in Spaceport, and Pilgrim’s Peak in Blue Gate all have a better-than-average chance of spawning Blueprints somewhere amongst all their containers. Night Raids and Electromagnetic Storm events also increase the drop chances of certain Blueprints .
In addition to these containers, you can often loot Blueprints from destroyed Surveyors - the largest of the rolling ball ARC. Surveyors are more commonly found on the later maps - Spaceport and Blue Gate - and if one spawns in your match, you’ll likely see it by the blue laser beam that it casts into the sky while “surveying”.
Surveyors are quite well-armoured and will very speedily run away from you once it notices you, but if you can take one down then make sure you loot all its parts for a chance of obtaining certain unusual Blueprints.
Blueprints obtained from quests
One way in which you can get Blueprints is by completing certain quests for the vendors in Speranza. Some quests will reward you with a specific item Blueprint upon completion, so as long as you work through all the quests in Arc Raiders, you are guaranteed those Blueprints.
Here is the full list of all Blueprints you can get from quest rewards:
- Trigger Nade Blueprint: Rewarded after completing “Sparks Fly”.
- Lure Grenade Blueprint: Rewarded after completing “Greasing Her Palms”.
- Burletta Blueprint: Rewarded after completing “Industrial Espionage”.
- Hullcracker Blueprint (and Launcher Ammo Blueprint): Rewarded after completing “The Major’s Footlocker”.
Alas, that’s only 4 Blueprints out of a total of 75 to unlock, so for the vast majority you will need to find them yourself during a raid. If you’re intent on farming Blueprints, then it’s best to equip yourself with cheap gear in case you lose it, but don’t use a free loadout because then you won’t get a safe pocket to stash any new Blueprint you find. No pain in Arc Raiders is sharper than failing to extract with a new Blueprint you’ve been after for a dozen hours already.

One of the best ways to get Blueprints is by hitting three stars on all five Trials every week. |Image credit:Rock Paper Shotgun/Embark Studios
Blueprints obtained from Trials
One of the very best ways to get Blueprints is as rewards for completing Trials in Arc Raiders. Trials are unlocked from Level 15 onwards, and allow you to earn rewards by focusing on certain tasks over the course of several raids. For example, one Trial might task you with dealing damage to Hornets, while another might challenge you to loot Supply Drops.
Trials refresh on a weekly basis, with a new week bringing five new Trials. Each Trial can offer up to three rewards after passing certain score milestones, and it’s possible to receive very high level loot from these reward crates - including Blueprints. So if you want to unlock as many Blueprints as possible, you should make a point of completing as many Trials as possible each week.
Best Blueprint farming locations
The very best way to get Blueprints is to frequent specific areas of the maps which combine high-tier loot pools with the right types of containers to search. Here are my recommendations for where to find Blueprints on every map, so you can always keep the search going for new crafting recipes to unlock.

Image credit:Rock Paper Shotgun/Embark Studios
Dam Battlegrounds
The best places to farm Blueprints on Dam Battlegrounds are the Control Tower, Power Generation Complex, Ruby Residence, and Pale Apartments . The first two regions, despite only being marked on the map as mid-tier loot, contain a phenomenal number of containers to loot. The Control Tower can also contain a couple of high-tier Security Lockers - though of course, you’ll need to have unlocked the Security Breach skill at the end of the Survival tree.
There’s also a lot of reporting amongst the playerbase that the Residential areas in the top-left of the map - Pale Apartments and Ruby Residence - give you a comparatively strong chance of finding Blueprints. Considering their size, there’s a high density of containers to loot in both locations, and they also have the benefit of being fairly out of the way. So you’re more likely to have all the containers to yourself.
Buried City
The best Blueprint farming locations on Buried City are the Santa Maria Houses, Grandioso Apartments, Town Hall, and the various buildings of the New District . Grandioso Apartments has a lower number of containers than the rest, but a high chance of spawning weapon cases - which have good Blueprint drop rates. The others are high-tier loot areas, with plenty of lootable containers - including Security Lockers.
Spaceport
The best places to find Blueprints on Spaceport are the Arrival and Departure Buildings, as well as Control Tower A6 and the Launch Towers . All these areas are labelled as high-value loot regions, and many of them are also very handily connected to one another by the Spaceport wall, which you can use to quickly run from one area to the next. At the tops of most of these buildings you’ll find at least one Security Locker, so this is an excellent farming route for players looking to find Blueprints.
The downside to looting Blueprints on Spaceport is that all these areas are hotly contested, particularly in Duos and Squads. You’ll need to be very focused and fast in order to complete the full farming route.

Image credit:Rock Paper Shotgun/Embark Studios
Blue Gate
Blue Gate tends to have a good chance of dropping Blueprints, potentially because it generally has a high number of containers which can hold lots of items; so there’s a higher chance of a Blueprint spawning in each container. In my experience, the best Blueprint farming spots on Blue Gate are Pilgrim’s Peak, Raider’s Refuge, the Ancient Fort, and the Underground Complex beneath the Warehouse .
All of these areas contain a wealth of containers to loot. Raider’s Refuge has less to loot, but the majority of the containers in and around the Refuge are raider containers, which have a high chance of containing Blueprints - particularly during major events.
Stella Montis
On the whole, Stella Montis seems to have a very low drop rate for Blueprints (though a high chance of dropping other high-tier loot). If you do want to try farming Blueprints on this map, the best places to find Blueprints in Stella Montis are Medical Research, Assembly Workshop, and the Business Center . These areas have the highest density of containers to loot on the map.
In addition to this, the Western Tunnel has a few different Security Lockers to loot, so while there’s very little to loot elsewhere in this area of the map, it’s worth hitting those Security Lockers if you spawn there at the start of a match.
That wraps up this primer on how to get all the Blueprints in Arc Raiders as quickly as possible. With the Expedition system constantly resetting a large number of players’ Blueprints, it’s more important than ever to have the most up-to-date information on where to find all these Blueprints.
While you’re here, be sure to check out our Arc Raiders best guns tier list , as well as our primers on the best skills to unlock and all the different Field Depot locations on every map.


ARC Raiders
PS5 , Xbox Series X/S , PC
Rock Paper Shotgun is better when you sign in
Sign in and join us on our journey to discover strange and compelling PC games.
