Sins of a Solar Empire 2’s AI will now only hate you if you give it a good reason
How to win friends and influence aliens
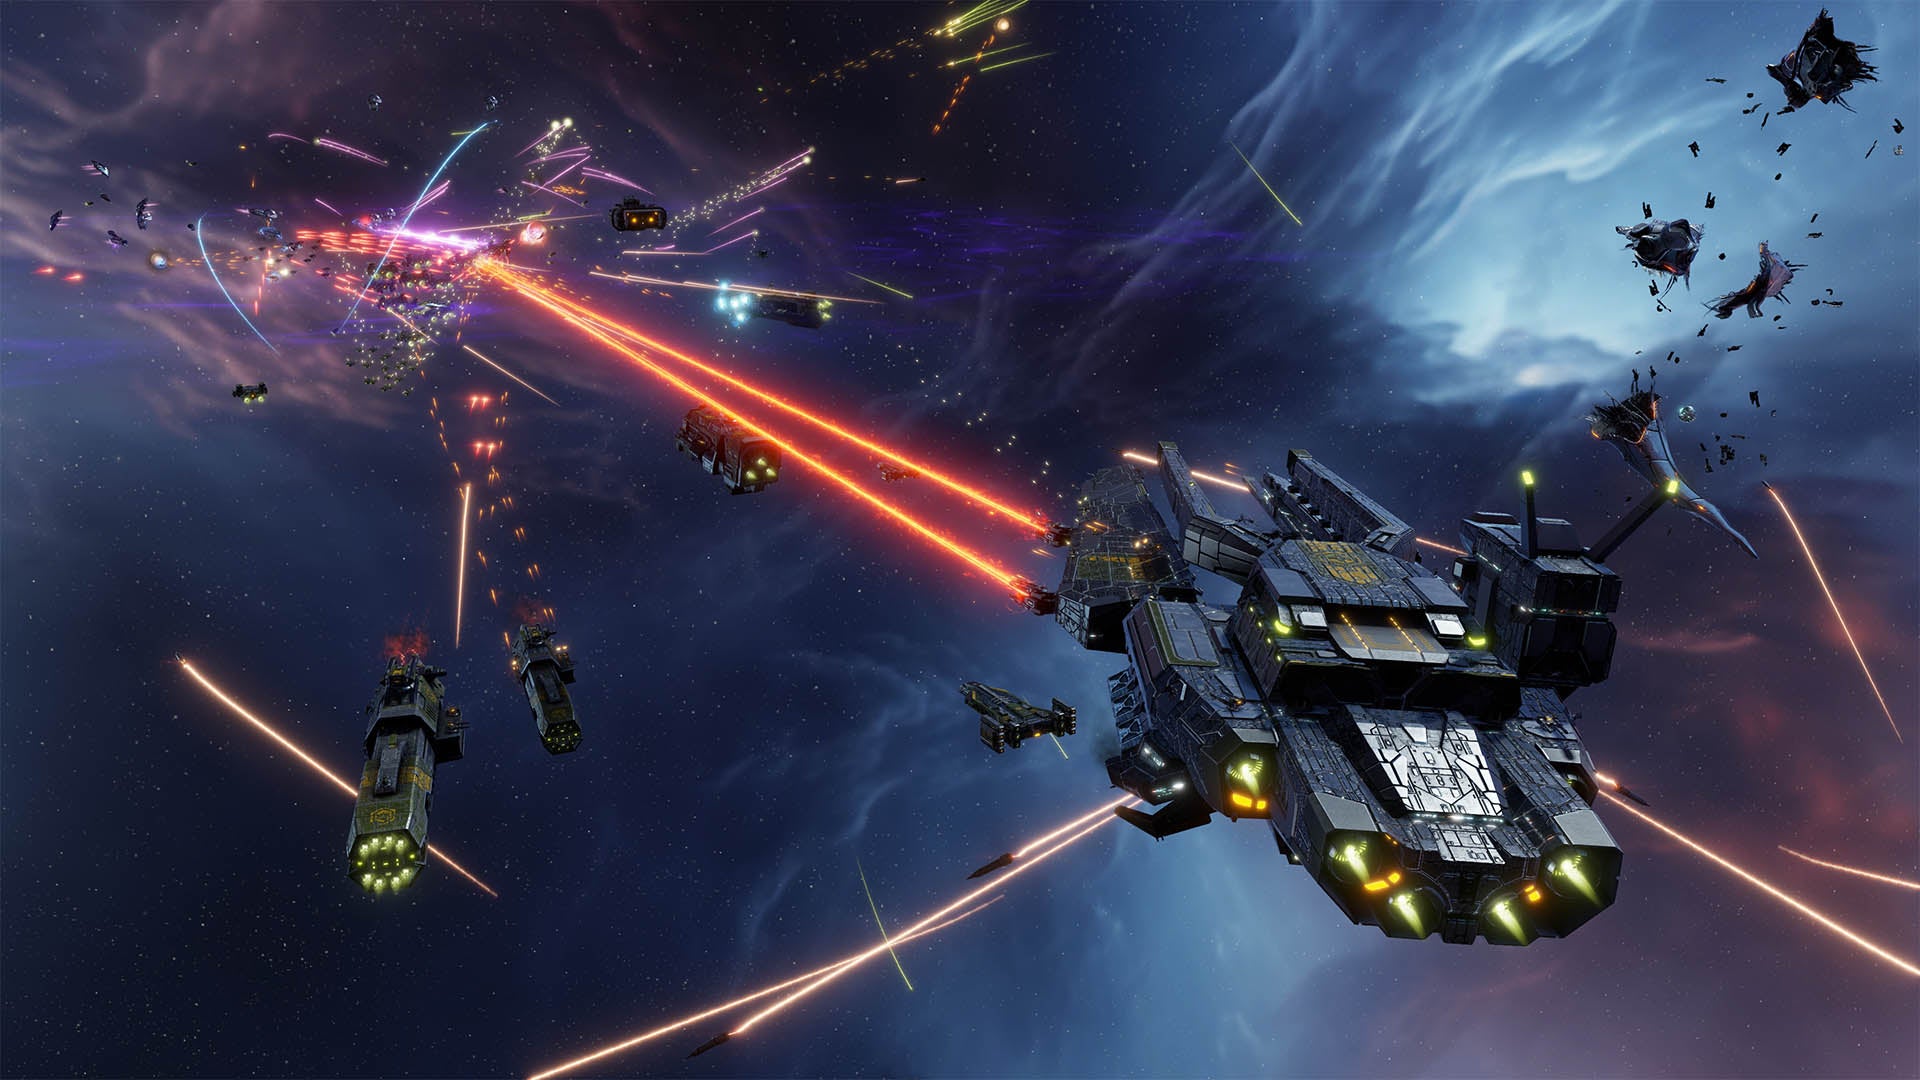
Image credit:Stardock Entertainment

As players got their teeth in Sins of a Solar Empire 2 at launch last year, they began to report odd behaviour from the galaxy’s computer-controlled factions. It wasn’t that the NPC commanders resisted human expansion, but it was as though they hated humans. Not only would these groups reject any peaceful overtures, turning up their noses at ceasefire agreements and gifts of resources – the idea of an alliance was practically out of the question – but the computer-led nations seemed to be allying with one another to focus all their hatred on the fleshy humans.
Unlike Civilization and other strategy games, Sins of a Solar Empire 2 doesn’t offer a peaceful path to victory. You can either destroy your enemies’ home worlds, colonise over 51% of the galaxy, or annihilate every enemy faction’s planets and ships. It is space imperialism writ large. This isn’t something Sins’ lore shies away from – the TEC (Trader Emergency Coalition) Primacy faction are out and out space racists who want to exterminate all alien threats. Yet, despite this, Sins is not meant to be a game where everyone you meet is immediately your enemy, and you should be able to remain cordial with one faction while you shaft another.
When developers Stardock looked into these reports, they found that the players’ suspicions about NPCs conspiring against them were well-founded. “They were actually allying with each other, against humans,” development lead Brian Clair says. It was all down to hatred.
Well, hatred and a rigged dice roll.
AI factions in Sins 2 have a statistic called ‘Hatred’, Clair explains. “Hatred accumulates based on how many units or structures or planets you destroy of that player’s.” If an AI hates you more than any other faction, then it becomes your rival. As you expand out into Sins’ galaxy, colonising planets and spreading your ships across the stars, you are going to come into spats with other factions. Trading blows is just part of the space general’s life, especially in a game where there are only military victory conditions. Except, the AI took this deeply and irrevocably personally. “Turns out that there was no upper bound to that [Hatred stat],” Clair says. “And if you got the most hatred with an AI, you had no way of getting out of it. You will end up having maximum hatred, whether you intended to or not.”
Compounding the problem was a simple bug. “To be frank, it was a die roll,” Clair says. “We discovered, if you roll [under a number] the AI won’t ally with the human, and it never will again for that entire game.” So once you made an enemy of the AI, it would be your enemy forever. And, as the most hated faction in the galaxy, the AI factions would happily partner up against you, General Wanker.
“It sounds bad, and it was,” Clair says of the bugs, but there was a silver lining. “The underpinnings for making the whole system better were there. It’s not like we had to toss it and redo the whole thing. That really would have been a Herculean task.”
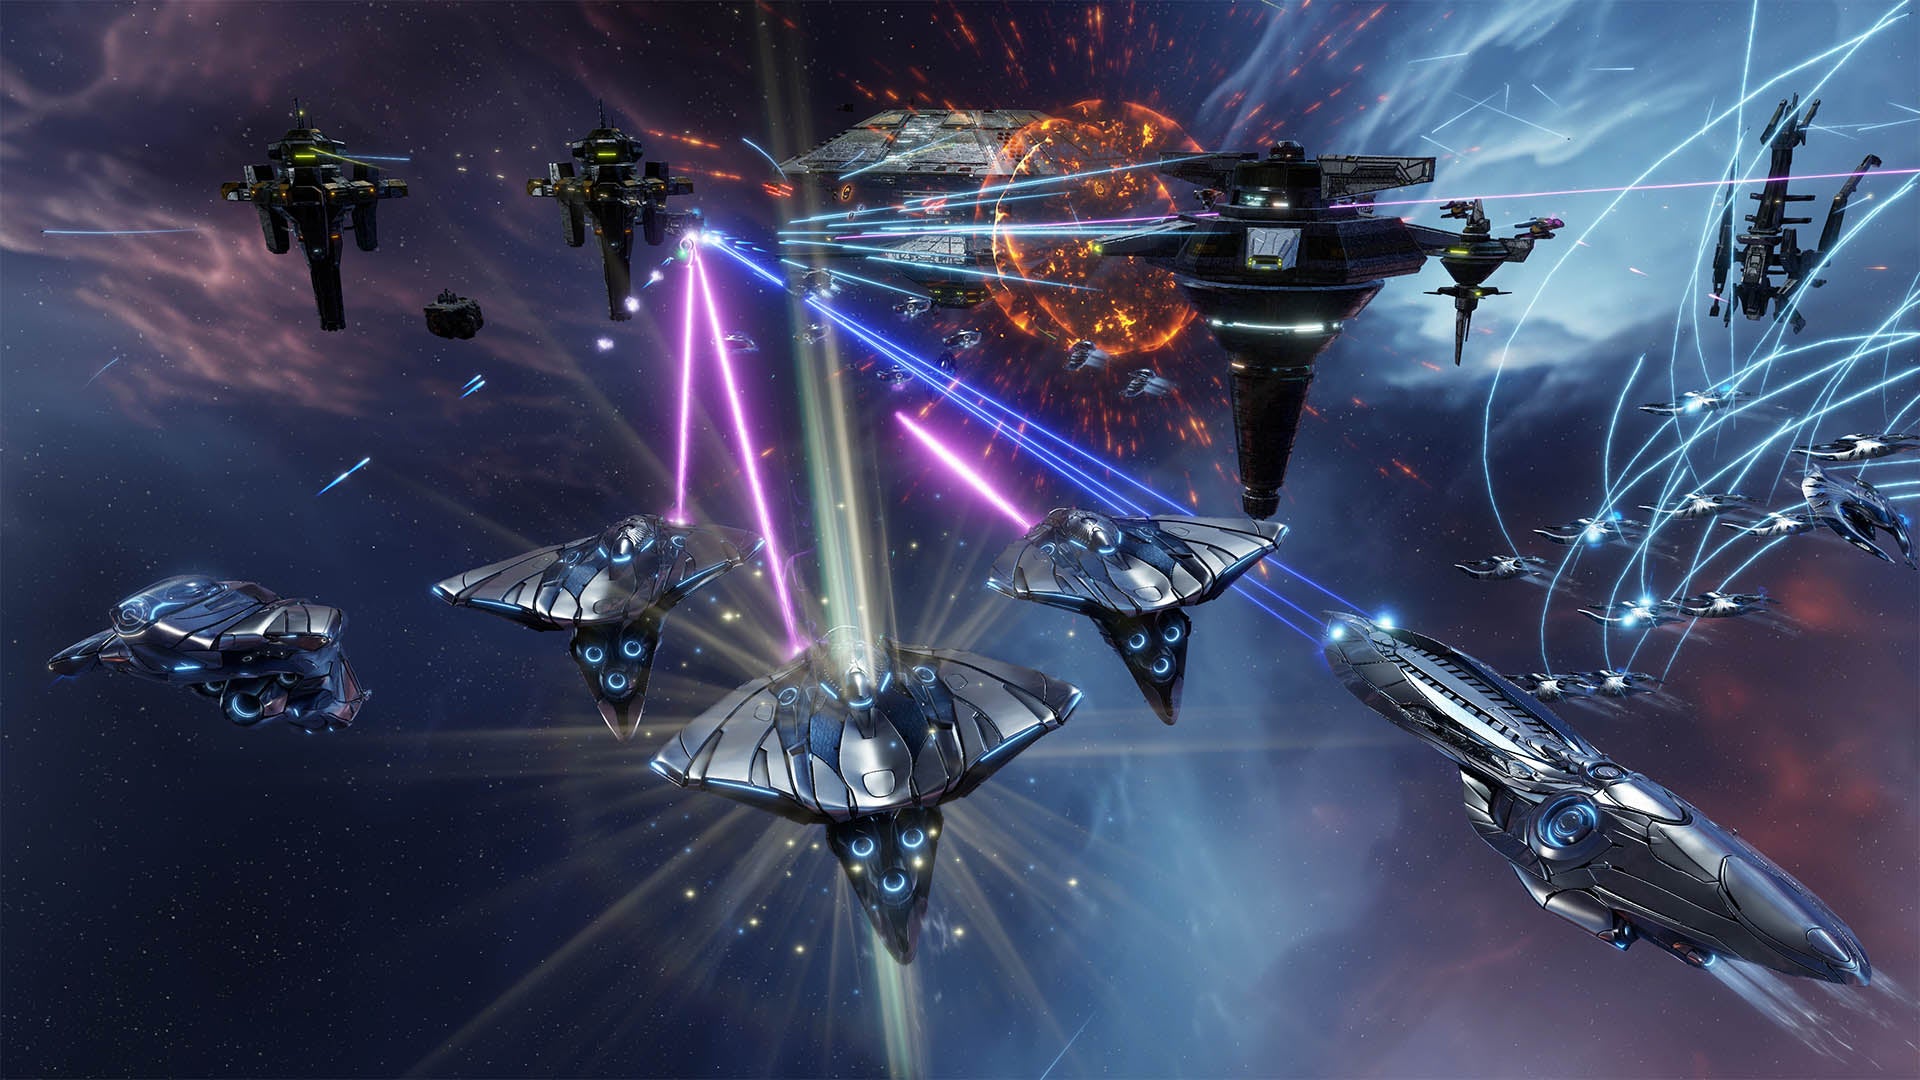
Image credit:Stardock Entertainment
When the team at Stardock began their plans for update 1.5, fixing Sins of a Solar Empire 2’s AI was top of the agenda. But after looking under the hood, they realised they couldn’t begin to tackle the problems there without also overhauling and expanding Diplomacy at the same time.
“We didn’t realise how ingrained the two systems were,” Clair says. “When we started delving into the code base, we discovered [Diplomacy was behind] a lot of the reasons why the AI did the wacky things players were reporting.” After all, Diplomacy isn’t only the tools with which players use to broker alliances and ceasefires, it’s also the behind the scenes stats and systems that determine whether an AI player decides to accept them.
To explain what is now going on on the other side of the screen, Clair rattles through some of the changes coming in Sins of a Solar Empire 2’s 1.5 update. Hatred is still a stat that builds as you destroy enemy units, and that hatred can blossom into a rivalry. But before the computer makes that dice roll and declares you a rival, it will consider other factors too. Do you share a border or are your domains distant from one another? Are you a threat militarily, or are your armies weaker than theirs? Who else are you in an alliance with? What races are you playing? The religious fanatics of the Advent hate the TEC, and the TEC despise the locust-like alien Vasari, but the Vasari and the Advent get along just fine. And within the races, the subfactions have their own biases. “TEC Primacy really hates the Vasari, that’s their whole thing,” Clair says. While the more defense-focused TEC Enclave can see past their xenophobia if it means undisturbed borders.
The tried and tested maxim of ‘The enemy of my enemy…’ is also now alive and well in Sins of a Solar Empire 2. “Let’s say we don’t have a deal [with an AI], but I’m attacking their enemy,” Clair says, “They’re going to start liking me more. I may not even know at the time that it is their enemy, but they like that I’m beating the crap out of them.” So, just know, as you fly through the galaxy, firebombing a planet from orbit, someone across the galaxy might be warming to you.
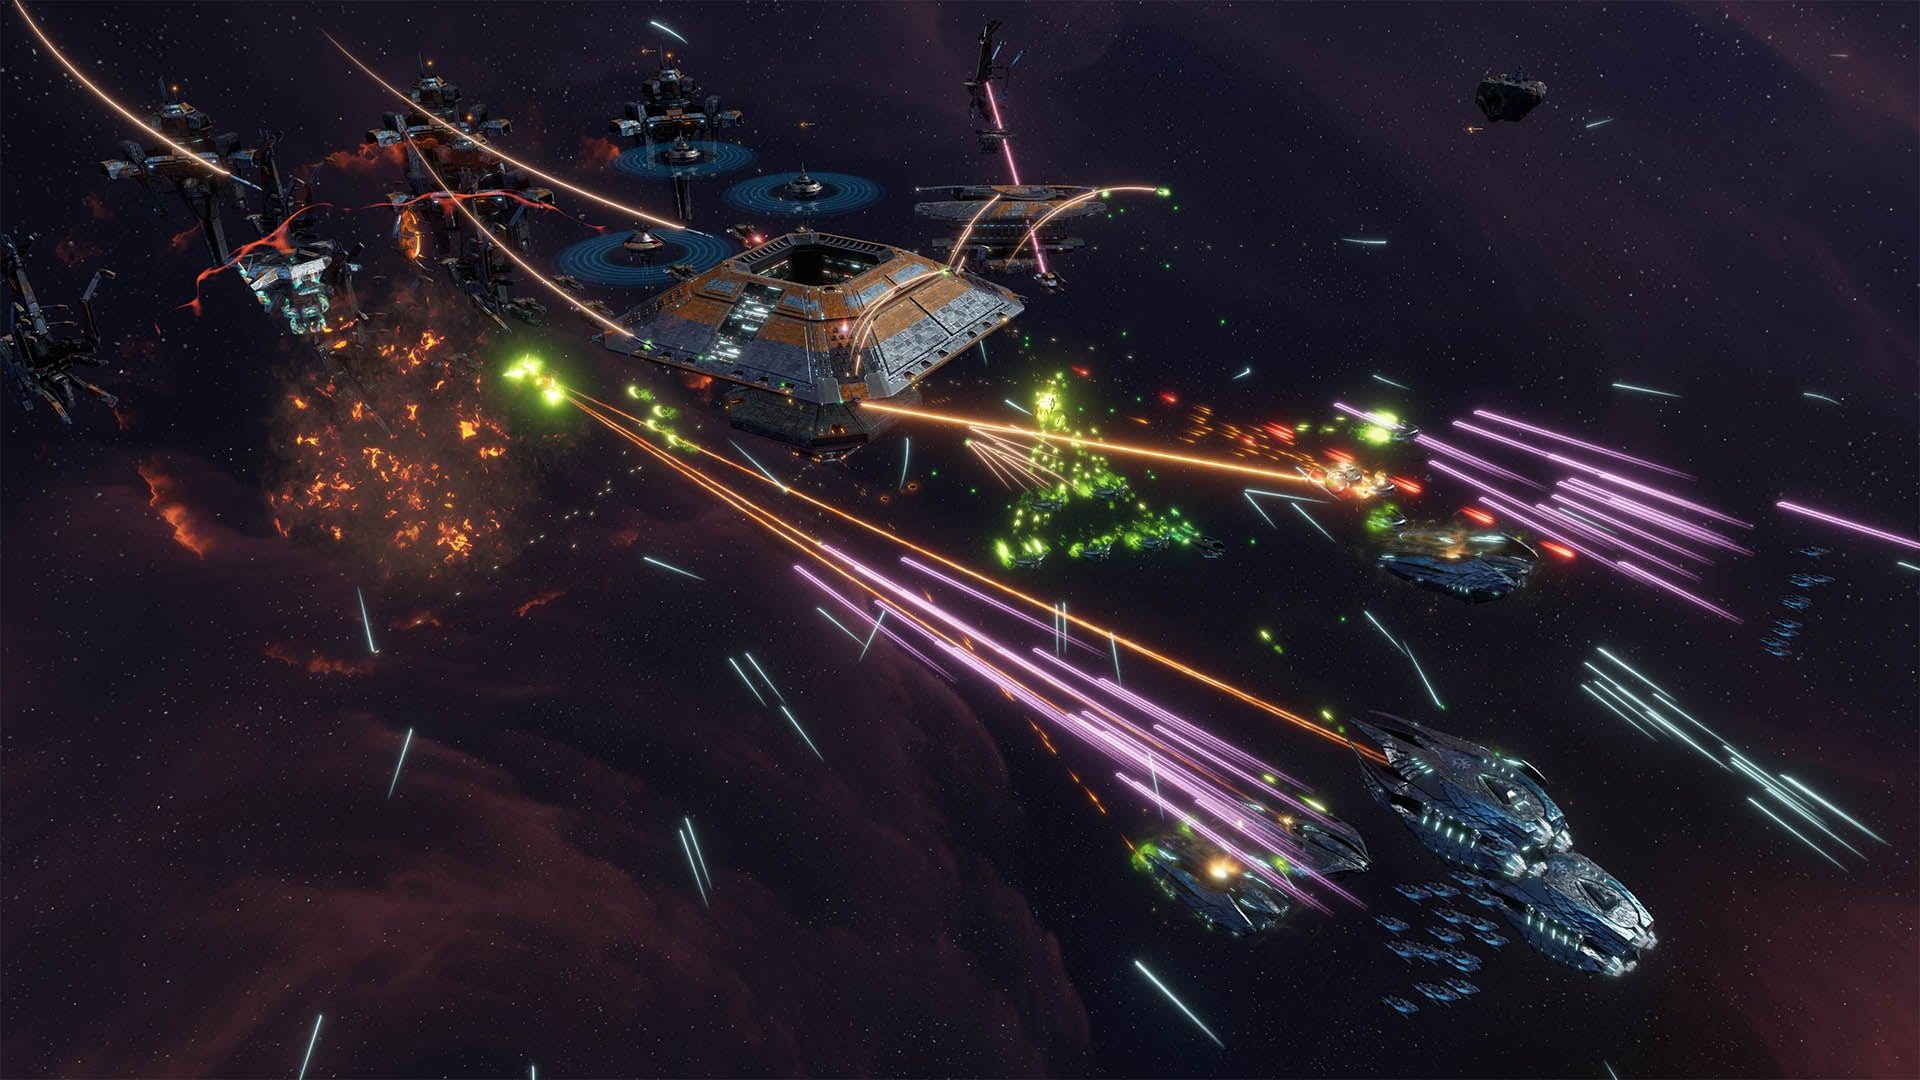
Image credit:Stardock Entertainment
As well as background factors that are largely out of your control, shifting and changing as a side-effect of the actions you take in your campaign, Stardock are introducing a slew of new ways to make friends with and influence the AI.
“Before, there wasn’t any real way for the AI to like you unless you happened to get lucky when making an alliance first thing in the game,” Clair says. Drawing on their experience building Diplomacy systems for 2012’s Sins of a Solar Empire: Rebellion , Stardock added the tools to give gifts to other factions. These range from basic resources, such as credits, crystal and metal, to more rare or complex items, such as exotics, items, and even planets. “The more valuable the gift is to them, the more it’s worth,” Clair says. Though, the inverse is also true: Vasari society doesn’t use credits, so the alien locusts are unlikely to accept a peace offering of cold hard cash. Cold hard metal on the other hand…
Your gifts can be given with no strings attached, simply to up your relationship with a faction. Though, if you’ve a particular deal in mind, the gift can be used to sweeten a treaty proffer or demand, same as you can in the Total War games. “You can see in real-time, as you’re offering things, the likelihood of it making the deal go through,” Clair says.
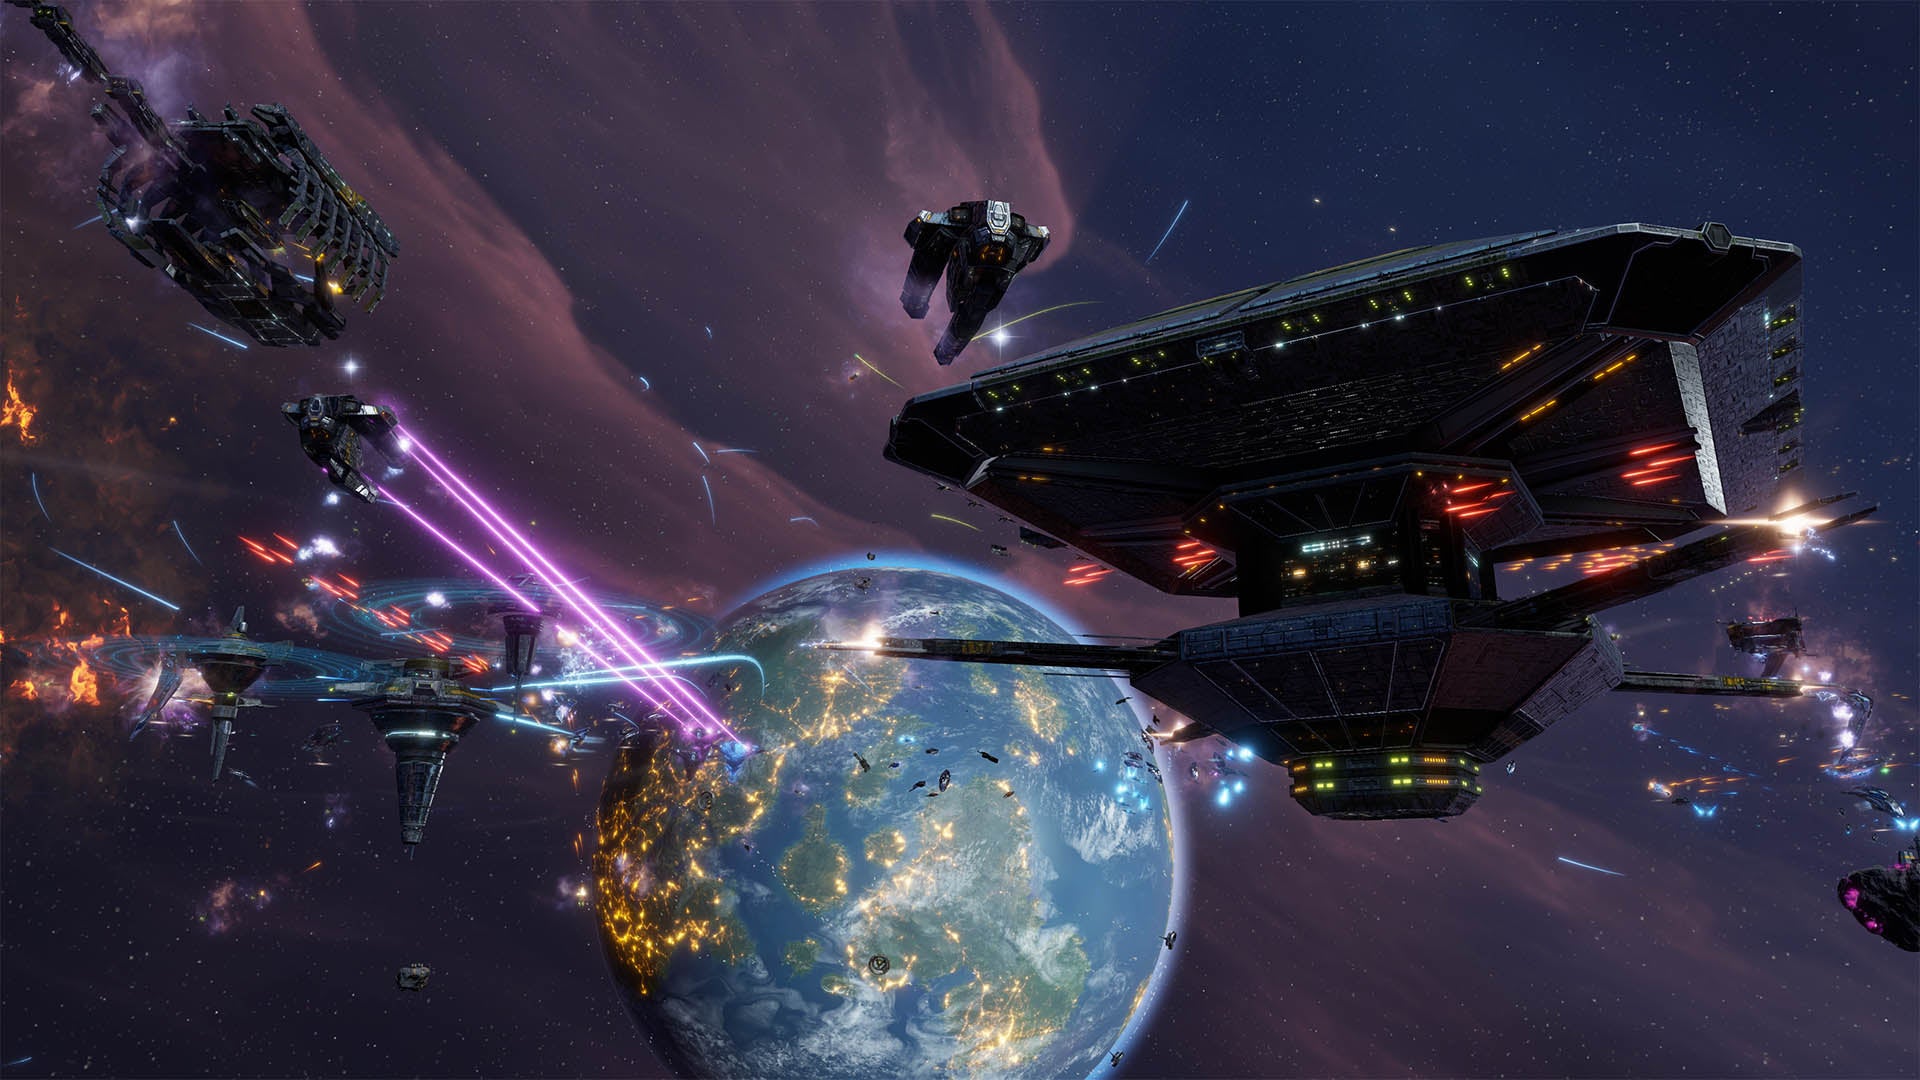
Image credit:Stardock Entertainment
While the focus is on how computer-led factions behave, Stardock accounted for human nature too. “We had to make sure you couldn’t game the system, because we know our players,” Clair says. “We built a safeguard called Patience. Essentially, if you nag the AI with requests, gifts or ‘Hey, do you want to make this alliance?’ it gets annoyed with you. And once it gets too annoyed, it just won’t deal with you until its Patience fills up.”
The final factor to account for is Trust. If you abide by the terms of your agreements with other players, not violating a ceasefire, for instance, then you build trust with that faction. But Trust is more widespread than that, Clair explains. “Even if you have an alliance with an AI, if you backstab another player that lowers trust [with your ally], because you might do the same to them. They’re aware of what you’re doing.”
With all these new systems in play, your Sins of a Solar Empire campaign shouldn’t become predictable by the mid-game. At launch, by the time you had encountered all of the other players and expanded your starting borders to the point factions were butting up against each other, it was already too late for peace. Every AI faction would have identified you as their rival and potentially even formed an alliance focused on taking you down. Now, those alliances won’t be fixed and the relationships between the computer factions will tense and strain based on their power and location relative to one another.
“It’s no longer a case where even if you build up a tonne of hatred because you’ve just bombed the crap out of someone [that it’s scorched earth],” Clair says. “There is always a way to essentially buy your way out of hatred. But the more damage you do, the more [resources] it takes. At some point you’re just not going to have enough to do it.”
Many of these systems will be familiar to players of Sins of a Solar Empire: Rebellion, the game in which Stardock first expanded the series’ diplomatic toolbox. But, one underlying feature of modern Sins that makes the familiar unfamiliar is its galaxies’ shifting orbits.
As a Sins of a Solar Empire 2 campaign progresses, the planets that make up a map move from their starting positions. New travel routes open up between them and factions that start on the other side of the map from you may move closer. Predicting the impact of those celestial movements could be a make or break decisions in some games. “It might behoove you to make an alliance with the guy on the other side of the map, because early on, you’re not going to be rivals,” Clair says. “But if the orbit shifts enough, you could come into contention. And, you probably won’t be able to become friends at that point.”
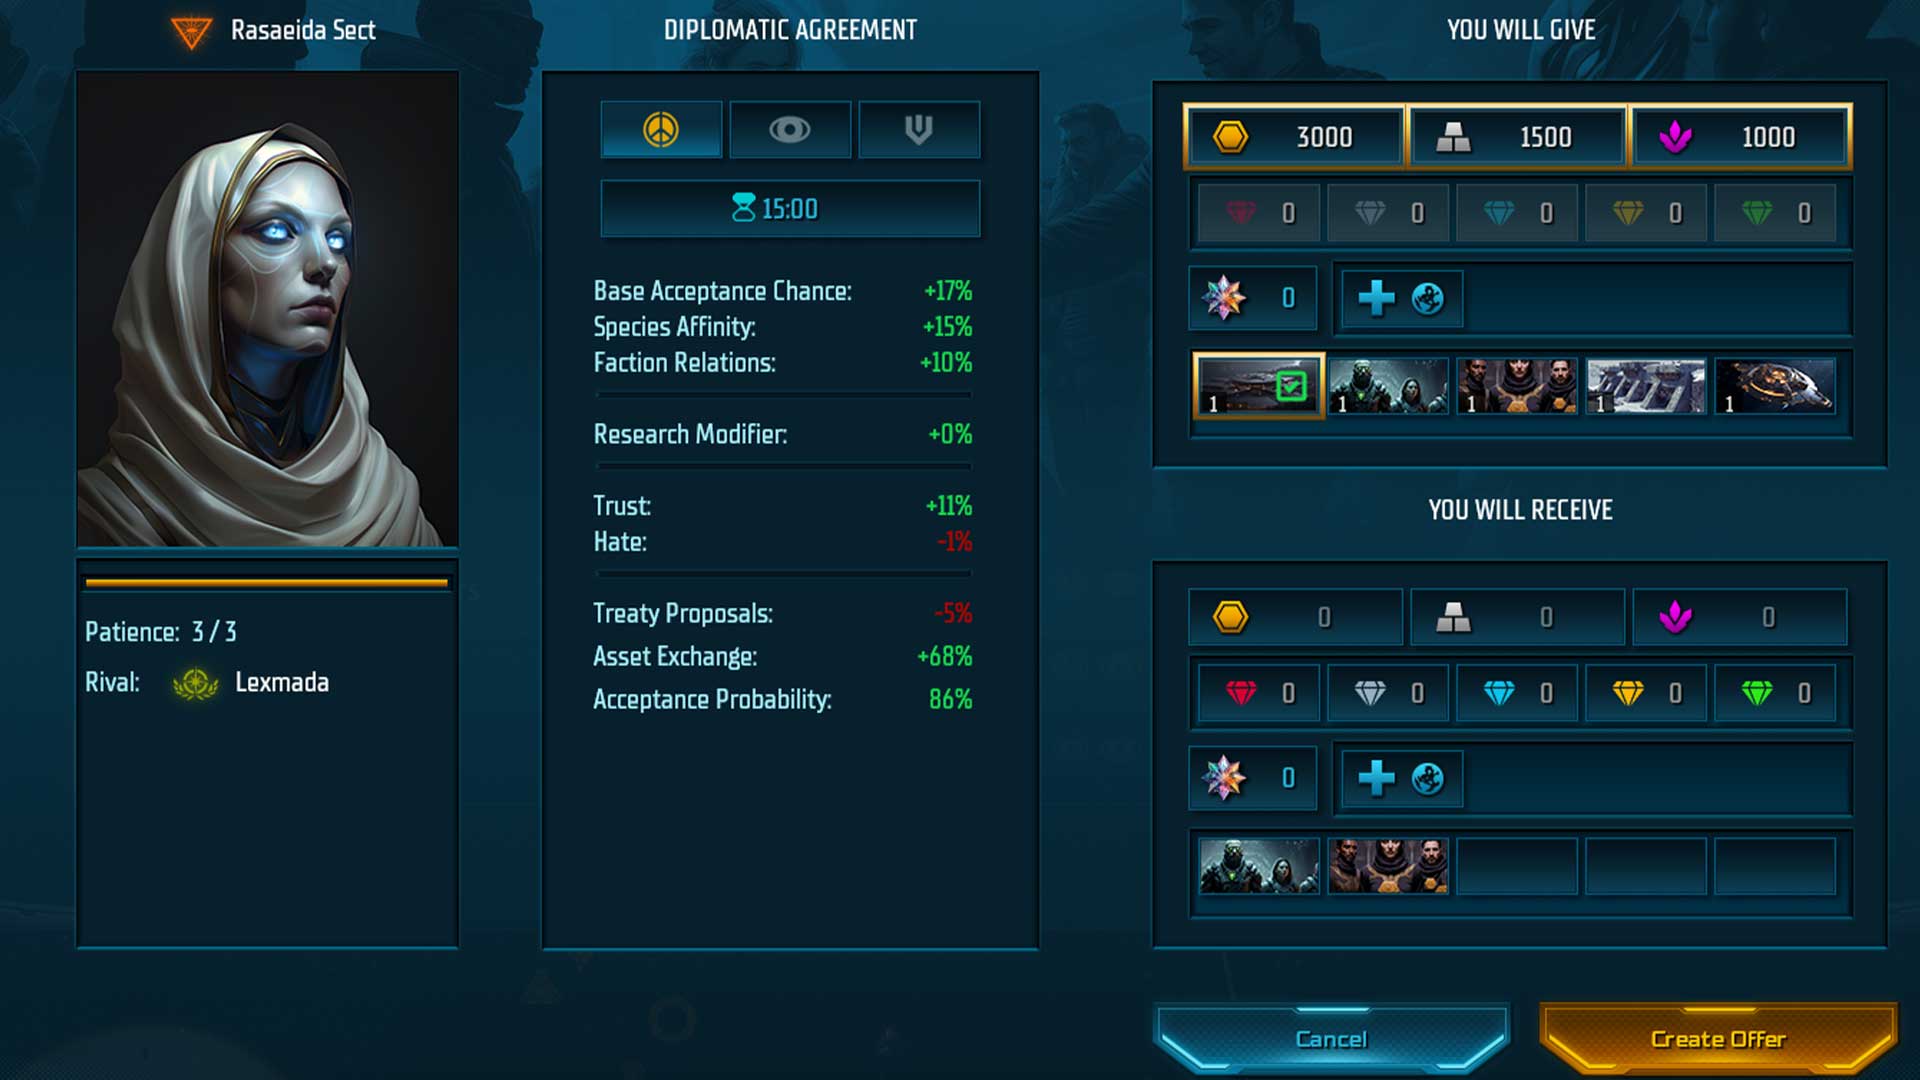
Image credit:Stardock Entertainment
Clearly there will be a lot more to account for after Update 1.5’s release. Though Stardock have made those important stats – Hatred, Patience, Trust, and the factors that influence them – visible in the Diplomacy interface. “The player can see what each AI player thinks of them,” Clair says. “Your actions impacted these numbers, and you can see why [the AI] feels the way it does about you.”
While there’s a lot more coming in today’s Sins of a Solar Empire 1.5 update , with tweaks to the economy and tech trees also set to impact play, it’s the changes to AI and diplomacy that will most radically change your campaigns. Or maybe I just like to see that in the cold distant future, we will be able to make friends with AI overlords. We may just have to give them a pile of metal and punch their most-detested neighbour to do it.

Sins Of A Solar Empire 2
PC
Rock Paper Shotgun is better when you sign in
Sign in and join us on our journey to discover strange and compelling PC games.

All 75 Arc Raiders Blueprints and where to get them
These areas have the highest chance of giving you Blueprints

Image credit:Rock Paper Shotgun/Embark Studios

Looking for more Arc Raiders Blueprints? It’s a special day when you find a Blueprint, as they’re among the most valuable items in Arc Raiders. If you find a Blueprint that you haven’t already found, then you must make sure you hold onto it at all costs, because Blueprints are the key to one of the most important and powerful systems of meta-progression in the game.
This guide aims to be the very best guide on Blueprints you can find, starting with a primer on what exactly they are and how they work in Arc Raiders, before delving into exactly where to get Blueprints and the very best farming spots for you to take in your search.
We’ll also go over how to get Blueprints from other unlikely activities, such as destroying Surveyors and completing specific quests. And you’ll also find the full list of all 75 Blueprints in Arc Raiders on this page (including the newest Blueprints added with the Cold Snap update , such as the Deadline Blueprint and Firework Box Blueprint), giving you all the information you need to expand your own crafting repertoire.
In this guide:
- What are Blueprints in Arc Raiders?
- Full Blueprint list: All crafting recipes
- Where to find Blueprints in Arc Raiders Blueprints obtained from quests Blueprints obtained from Trials Best Blueprint farming locations

What are Blueprints in Arc Raiders?
Blueprints in Arc Raiders are special items which, if you manage to extract with them, you can expend to permanently unlock a new crafting recipe in your Workshop. If you manage to extract from a raid with an Anvil Blueprint, for example, you can unlock the ability to craft your very own Anvil Pistol, as many times as you like (as long as you have the crafting materials).
To use a Blueprint, simply open your Inventory while in the lobby, then right-click on the Blueprint and click “Learn And Consume” . This will permanently unlock the recipe for that item in your Workshop. As of the Stella Montis update, there are allegedly 75 different Blueprints to unlock - although only 68 are confirmed to be in the game so far. You can see all the Blueprints you’ve found and unlocked by going to the Workshop menu, and hitting “R” to bring up the Blueprint screen.
It’s possible to find duplicates of past Blueprints you’ve already unlocked. If you find these, then you can either sell them, or - if you like to play with friends - you can take it into a match and gift it to your friend so they can unlock that recipe for themselves. Another option is to keep hold of them until the time comes to donate them to the Expedition.
Full Blueprint list: All crafting recipes
Below is the full list of all the Blueprints that are currently available to find in Arc Raiders, and the crafting recipe required for each item:
| Blueprint | Type | Recipe | Crafted At |
|---|---|---|---|
| Bettina | Weapon | 3x Advanced Mechanical Components 3x Heavy Gun Parts 3x Canister | Gunsmith 3 |
| Blue Light Stick | Quick Use | 3x Chemicals | Utility Station 1 |
| Aphelion | Weapon | 3x Magnetic Accelerator 3x Complex Gun Parts 1x Matriarch Reactor | Gunsmith 3 |
| Combat Mk. 3 (Flanking) | Augment | 2x Advanced Electrical Components 3x Processor | Gear Bench 3 |
| Combat Mk. 3 (Aggressive) | Augment | 2x Advanced Electrical Components 3x Processor | Gear Bench 3 |
| Complex Gun Parts | Material | 2x Light Gun Parts 2x Medium Gun Parts 2x Heavy Gun Parts | Refiner 3 |
| Fireworks Box | Quick Use | 1x Explosive Compound 3x Pop Trigger | Explosives Station 2 |
| Gas Mine | Mine | 4x Chemicals 2x Rubber Parts | Explosives Station 1 |
| Green Light Stick | Quick Use | 3x Chemicals | Utility Station 1 |
| Pulse Mine | Mine | 1x Crude Explosives 1x Wires | Explosives Station 1 |
| Seeker Grenade | Grenade | 1x Crude Explosives 2x ARC Alloy | Explosives Station 1 |
| Looting Mk. 3 (Survivor) | Augment | 2x Advanced Electrical Components 3x Processor | Gear Bench 3 |
| Angled Grip II | Mod | 2x Mechanical Components 3x Duct Tape | Gunsmith 2 |
| Angled Grip III | Mod | 2x Mod Components 5x Duct Tape | Gunsmith 3 |
| Hullcracker | Weapon | 1x Magnetic Accelerator 3x Heavy Gun Parts 1x Exodus Modules | Gunsmith 3 |
| Launcher Ammo | Ammo | 5x Metal Parts 1x Crude Explosives | Workbench 1 |
| Anvil | Weapon | 5x Mechanical Components 5x Simple Gun Parts | Gunsmith 2 |
| Anvil Splitter | Mod | 2x Mod Components 3x Processor | Gunsmith 3 |
| ??? | ??? | ??? | ??? |
| Barricade Kit | Quick Use | 1x Mechanical Components | Utility Station 2 |
| Blaze Grenade | Grenade | 1x Explosive Compound 2x Oil | Explosives Station 3 |
| Bobcat | Weapon | 3x Advanced Mechanical Components 3x Light Gun Parts | Gunsmith 3 |
| Osprey | Weapon | 2x Advanced Mechanical Components 3x Medium Gun Parts 7x Wires | Gunsmith 3 |
| Burletta | Weapon | 3x Mechanical Components 3x Simple Gun Parts | Gunsmith 1 |
| Compensator II | Mod | 2x Mechanical Components 4x Wires | Gunsmith 2 |
| Compensator III | Mod | 2x Mod Components 8x Wires | Gunsmith 3 |
| Defibrillator | Quick Use | 9x Plastic Parts 1x Moss | Medical Lab 2 |
| ??? | ??? | ??? | ??? |
| Equalizer | Weapon | 3x Magnetic Accelerator 3x Complex Gun Parts 1x Queen Reactor | Gunsmith 3 |
| Extended Barrel | Mod | 2x Mod Components 8x Wires | Gunsmith 3 |
| Extended Light Mag II | Mod | 2x Mechanical Components 3x Steel Spring | Gunsmith 2 |
| Extended Light Mag III | Mod | 2x Mod Components 5x Steel Spring | Gunsmith 3 |
| Extended Medium Mag II | Mod | 2x Mechanical Components 3x Steel Spring | Gunsmith 2 |
| Extended Medium Mag III | Mod | 2x Mod Components 5x Steel Spring | Gunsmith 3 |
| Extended Shotgun Mag II | Mod | 2x Mechanical Components 3x Steel Spring | Gunsmith 2 |
| Extended Shotgun Mag III | Mod | 2x Mod Components 5x Steel Spring | Gunsmith 3 |
| Remote Raider Flare | Quick Use | 2x Chemicals 4x Rubber Parts | Utility Station 1 |
| Heavy Gun Parts | Material | 4x Simple Gun Parts | Refiner 2 |
| Venator | Weapon | 2x Advanced Mechanical Components 3x Medium Gun Parts 5x Magnet | Gunsmith 3 |
| Il Toro | Weapon | 5x Mechanical Components 6x Simple Gun Parts | Gunsmith 1 |
| Jolt Mine | Mine | 1x Electrical Components 1x Battery | Explosives Station 2 |
| Explosive Mine | Mine | 1x Explosive Compound 1x Sensors | Explosives Station 3 |
| Jupiter | Weapon | 3x Magnetic Accelerator 3x Complex Gun Parts 1x Queen Reactor | Gunsmith 3 |
| Light Gun Parts | Material | 4x Simple Gun Parts | Refiner 2 |
| Lightweight Stock | Mod | 2x Mod Components 5x Duct Tape | Gunsmith 3 |
| Lure Grenade | Grenade | 1x Speaker Component 1x Electrical Components | Utility Station 2 |
| Medium Gun Parts | Material | 4x Simple Gun Parts | Refiner 2 |
| Torrente | Weapon | 2x Advanced Mechanical Components 3x Medium Gun Parts 6x Steel Spring | Gunsmith 3 |
| Muzzle Brake II | Mod | 2x Mechanical Components 4x Wires | Gunsmith 2 |
| Muzzle Brake III | Mod | 2x Mod Components 8x Wires | Gunsmith 3 |
| Padded Stock | Mod | 2x Mod Components 5x Duct Tape | Gunsmith 3 |
| Shotgun Choke II | Mod | 2x Mechanical Components 4x Wires | Gunsmith 2 |
| Shotgun Choke III | Mod | 2x Mod Components 8x Wires | Gunsmith 3 |
| Shotgun Silencer | Mod | 2x Mod Components 8x Wires | Gunsmith 3 |
| Showstopper | Grenade | 1x Advanced Electrical Components 1x Voltage Converter | Explosives Station 3 |
| Silencer I | Mod | 2x Mechanical Components 4x Wires | Gunsmith 2 |
| Silencer II | Mod | 2x Mod Components 8x Wires | Gunsmith 3 |
| Snap Hook | Quick Use | 2x Power Rod 3x Rope 1x Exodus Modules | Utility Station 3 |
| Stable Stock II | Mod | 2x Mechanical Components 3x Duct Tape | Gunsmith 2 |
| Stable Stock III | Mod | 2x Mod Components 5x Duct Tape | Gunsmith 3 |
| Tagging Grenade | Grenade | 1x Electrical Components 1x Sensors | Utility Station 3 |
| Tempest | Weapon | 3x Advanced Mechanical Components 3x Medium Gun Parts 3x Canister | Gunsmith 3 |
| Trigger Nade | Grenade | 2x Crude Explosives 1x Processor | Explosives Station 2 |
| Vertical Grip II | Mod | 2x Mechanical Components 3x Duct Tape | Gunsmith 2 |
| Vertical Grip III | Mod | 2x Mod Components 5x Duct Tape | Gunsmith 3 |
| Vita Shot | Quick Use | 2x Antiseptic 1x Syringe | Medical Lab 3 |
| Vita Spray | Quick Use | 3x Antiseptic 1x Canister | Medical Lab 3 |
| Vulcano | Weapon | 1x Magnetic Accelerator 3x Heavy Gun Parts 1x Exodus Modules | Gunsmith 3 |
| Wolfpack | Grenade | 2x Explosive Compound 2x Sensors | Explosives Station 3 |
| Red Light Stick | Quick Use | 3x Chemicals | Utility Station 1 |
| Smoke Grenade | Grenade | 14x Chemicals 1x Canister | Utility Station 2 |
| Deadline | Mine | 3x Explosive Compound 2x ARC Circuitry | Explosives Station 3 |
| Trailblazer | Grenade | 1x Explosive Compound 1x Synthesized Fuel | Explosives Station 3 |
| Tactical Mk. 3 (Defensive) | Augment | 2x Advanced Electrical Components 3x Processor | Gear Bench 3 |
| Tactical Mk. 3 (Healing) | Augment | 2x Advanced Electrical Components 3x Processor | Gear Bench 3 |
| Yellow Light Stick | Quick Use | 3x Chemicals | Utility Station 1 |
Note: The missing Blueprints in this list likely have not actually been added to the game at the time of writing, because none of the playerbase has managed to find any of them. As they are added to the game, I will update this page with the most relevant information so you know exactly how to get all 75 Arc Raiders Blueprints.
Where to find Blueprints in Arc Raiders
Below is a list of all containers, modifiers, and events which maximise your chances of finding Blueprints:
- Certain quests reward you with specific Blueprints .
- Completing Trials has a high chance of offering Blueprints as rewards.
- Surveyors have a decent chance of dropping Blueprints on death.
- High loot value areas tend to have a greater chance of spawning Blueprints.
- Night Raids and Storms may increase rare Blueprint spawn chances in containers.
- Containers with higher numbers of items may have a higher tendency to spawn Blueprints. As a result, Blue Gate (which has many “large” containers containing multiple items) may give you a higher chance of spawning Blueprints.
- Raider containers (Raider Caches, Weapon Boxes, Medical Bags, Grenade Tubes) have increased Blueprint drop rates. As a result, the Uncovered Caches event gives you a high chance of finding Blueprints.
- Security Lockers have a higher than average chance of containing Blueprints.
- Certain Blueprints only seem to spawn under specific circumstances: Tempest Blueprint only spawns during Night Raid events. Vulcano Blueprint only spawns during Hidden Bunker events. Jupiter and Equaliser Blueprints only spawn during Harvester events.

Raider Caches, Weapon Boxes, and other raider-oriented container types have a good chance of offering Blueprints. |Image credit:Rock Paper Shotgun/Embark Studios
Blueprints have a very low chance of spawning in any container in Arc Raiders, around 1-2% on average. However, there is a higher chance of finding Blueprints in particular container types. Specifically, you can find more Blueprints in Raider containers and security lockers.
Beyond this, if you’re looking for Blueprints you should focus on regions of the map which are marked as having particularly high-value loot. Areas such as the Control Tower in Dam Battlegrounds, the Arrival and Departure Buildings in Spaceport, and Pilgrim’s Peak in Blue Gate all have a better-than-average chance of spawning Blueprints somewhere amongst all their containers. Night Raids and Electromagnetic Storm events also increase the drop chances of certain Blueprints .
In addition to these containers, you can often loot Blueprints from destroyed Surveyors - the largest of the rolling ball ARC. Surveyors are more commonly found on the later maps - Spaceport and Blue Gate - and if one spawns in your match, you’ll likely see it by the blue laser beam that it casts into the sky while “surveying”.
Surveyors are quite well-armoured and will very speedily run away from you once it notices you, but if you can take one down then make sure you loot all its parts for a chance of obtaining certain unusual Blueprints.
Blueprints obtained from quests
One way in which you can get Blueprints is by completing certain quests for the vendors in Speranza. Some quests will reward you with a specific item Blueprint upon completion, so as long as you work through all the quests in Arc Raiders, you are guaranteed those Blueprints.
Here is the full list of all Blueprints you can get from quest rewards:
- Trigger Nade Blueprint: Rewarded after completing “Sparks Fly”.
- Lure Grenade Blueprint: Rewarded after completing “Greasing Her Palms”.
- Burletta Blueprint: Rewarded after completing “Industrial Espionage”.
- Hullcracker Blueprint (and Launcher Ammo Blueprint): Rewarded after completing “The Major’s Footlocker”.
Alas, that’s only 4 Blueprints out of a total of 75 to unlock, so for the vast majority you will need to find them yourself during a raid. If you’re intent on farming Blueprints, then it’s best to equip yourself with cheap gear in case you lose it, but don’t use a free loadout because then you won’t get a safe pocket to stash any new Blueprint you find. No pain in Arc Raiders is sharper than failing to extract with a new Blueprint you’ve been after for a dozen hours already.

One of the best ways to get Blueprints is by hitting three stars on all five Trials every week. |Image credit:Rock Paper Shotgun/Embark Studios
Blueprints obtained from Trials
One of the very best ways to get Blueprints is as rewards for completing Trials in Arc Raiders. Trials are unlocked from Level 15 onwards, and allow you to earn rewards by focusing on certain tasks over the course of several raids. For example, one Trial might task you with dealing damage to Hornets, while another might challenge you to loot Supply Drops.
Trials refresh on a weekly basis, with a new week bringing five new Trials. Each Trial can offer up to three rewards after passing certain score milestones, and it’s possible to receive very high level loot from these reward crates - including Blueprints. So if you want to unlock as many Blueprints as possible, you should make a point of completing as many Trials as possible each week.
Best Blueprint farming locations
The very best way to get Blueprints is to frequent specific areas of the maps which combine high-tier loot pools with the right types of containers to search. Here are my recommendations for where to find Blueprints on every map, so you can always keep the search going for new crafting recipes to unlock.

Image credit:Rock Paper Shotgun/Embark Studios
Dam Battlegrounds
The best places to farm Blueprints on Dam Battlegrounds are the Control Tower, Power Generation Complex, Ruby Residence, and Pale Apartments . The first two regions, despite only being marked on the map as mid-tier loot, contain a phenomenal number of containers to loot. The Control Tower can also contain a couple of high-tier Security Lockers - though of course, you’ll need to have unlocked the Security Breach skill at the end of the Survival tree.
There’s also a lot of reporting amongst the playerbase that the Residential areas in the top-left of the map - Pale Apartments and Ruby Residence - give you a comparatively strong chance of finding Blueprints. Considering their size, there’s a high density of containers to loot in both locations, and they also have the benefit of being fairly out of the way. So you’re more likely to have all the containers to yourself.
Buried City
The best Blueprint farming locations on Buried City are the Santa Maria Houses, Grandioso Apartments, Town Hall, and the various buildings of the New District . Grandioso Apartments has a lower number of containers than the rest, but a high chance of spawning weapon cases - which have good Blueprint drop rates. The others are high-tier loot areas, with plenty of lootable containers - including Security Lockers.
Spaceport
The best places to find Blueprints on Spaceport are the Arrival and Departure Buildings, as well as Control Tower A6 and the Launch Towers . All these areas are labelled as high-value loot regions, and many of them are also very handily connected to one another by the Spaceport wall, which you can use to quickly run from one area to the next. At the tops of most of these buildings you’ll find at least one Security Locker, so this is an excellent farming route for players looking to find Blueprints.
The downside to looting Blueprints on Spaceport is that all these areas are hotly contested, particularly in Duos and Squads. You’ll need to be very focused and fast in order to complete the full farming route.

Image credit:Rock Paper Shotgun/Embark Studios
Blue Gate
Blue Gate tends to have a good chance of dropping Blueprints, potentially because it generally has a high number of containers which can hold lots of items; so there’s a higher chance of a Blueprint spawning in each container. In my experience, the best Blueprint farming spots on Blue Gate are Pilgrim’s Peak, Raider’s Refuge, the Ancient Fort, and the Underground Complex beneath the Warehouse .
All of these areas contain a wealth of containers to loot. Raider’s Refuge has less to loot, but the majority of the containers in and around the Refuge are raider containers, which have a high chance of containing Blueprints - particularly during major events.
Stella Montis
On the whole, Stella Montis seems to have a very low drop rate for Blueprints (though a high chance of dropping other high-tier loot). If you do want to try farming Blueprints on this map, the best places to find Blueprints in Stella Montis are Medical Research, Assembly Workshop, and the Business Center . These areas have the highest density of containers to loot on the map.
In addition to this, the Western Tunnel has a few different Security Lockers to loot, so while there’s very little to loot elsewhere in this area of the map, it’s worth hitting those Security Lockers if you spawn there at the start of a match.
That wraps up this primer on how to get all the Blueprints in Arc Raiders as quickly as possible. With the Expedition system constantly resetting a large number of players’ Blueprints, it’s more important than ever to have the most up-to-date information on where to find all these Blueprints.
While you’re here, be sure to check out our Arc Raiders best guns tier list , as well as our primers on the best skills to unlock and all the different Field Depot locations on every map.


ARC Raiders
PS5 , Xbox Series X/S , PC
Rock Paper Shotgun is better when you sign in
Sign in and join us on our journey to discover strange and compelling PC games.
