Should you give the Ward Sensors to Richter or Captain Zotov in Stalker 2?
Which side should you take at the end of “A Needle In A Haystack”?

Image credit:Rock Paper Shotgun/GSC Game World

Should you give the Ward Sensors to Richter or Captain Zotov in Stalker 2? Stalker 2 has a great many minor choices to choose between, and a small handful of very important choices. And the very first choice with important, real consequences is deciding who to give the Ward Sensors you procure from Squint in the " A Needle In A Haystack " main quest.
Both these characters reside in Zalissya at this early point in Stalker 2. Richter is a fellow Stalker like you, whereas Captain Zotov is a member of the militaristic Ward who are temporarily occupying Zalissya for an investigation after Squint killed a number of their men. But who is the best person to give the Ward Sensors to?
The Ward Sensors decision affects the next several hours of Stalker 2’s story, so keep reading to learn everything you need to know to make the right decision for your playthrough.
In this guide:
- Should you give the Ward Sensors to Richter or Zotov?
- Option 1: Give the Ward Sensors to Richter
- Option 2: Give the Ward Sensors to Captain Zotov
Warning: story spoilers for the next few main quests follow!

Should you give the Ward Sensors to Richter or Zotov?
There’s no objectively correct choice here. Depending on who you give the Ward Sensors back in Zalissya, you’ll get a rather different story experience for the next few hours of your playthrough. Both choices end up in roughly the same place, and the material differences aren’t huge, but in terms of story differences, you are essentially choosing between the individualistic Stalker faction and the militaristic Ward faction. So above all, you should choose whichever path intrigues you the most.
Here are the main differences that arise depending on whether you give the Ward Sensors to Richter or Zotov:
| If you give Ward Sensors to Richter | If you give Ward Sensors to Zotov |
|---|---|
| You’ll earn slightly more coupons but have an arguably harder time in the next quest. | You’ll earn slightly less coupons but have an arguably easier time in the next quest. |
| You’ll enter the Sphere via the Ribs. | You’ll enter the Sphere via the IPSF outpost. |
| Richter will tell you to collect the key from Gaffer so you can exit the Lesser Zone via the Northern Checkpoint into Garbage. | Zotov will tell you to exit the Lesser Zone via the Western Checkpoint into the Chemical Plant. |
| The “Answers Come At A Price” quest involves meeting with Star and infiltrating the nearby laboratory. | The “Answers Come At A Price” quest involves meeting with Colonel Korshunov and attacking Chornozem’s gang at the Depot. |
| Richter’s path leads you to an early encounter with Scar, leader of Spark. | Zotov’s path leads you to an early encounter with Colonel Korshunov, leader of the Ward. |
| During the quest “Back To The Slag Heap”, Colonel Korshunov is less trustful of you, and Scar is more trustful of you. | During the quest “Back To The Slag Heap”, Colonel Korshunov is more trustful of you, and Scar is less trustful of you. |
That’s a fair few consequences to mull over, so let’s break down both paths and see exactly what happens when you give the Ward Sensors to Richter or Captain Zotov.
Option 1: Give the Ward Sensors to Richter
Enter the Sphere via the Ribs
If you give the Ward Sensors to Richter, you’ll immediately be given 2,024 Coupons as a reward - a bit more than the 1,350 coupons Zotov would have given you. Richter tells you about a way to get into the Sphere via the Ribs , which is an entrance that is more about dodging anomalies than dealing with people.
Essentially the Sphere is one long underground pathway which connects the Ribs to a IPSF outpost. At the centre of the path is Solder , the man you’re trying to find. Deal with him however you like; after that, you’ll have to escape via the IPSF outpost side. This is arguably the harder choice, because the IPSF outpost is very well-guarded by dozens of soldiers.
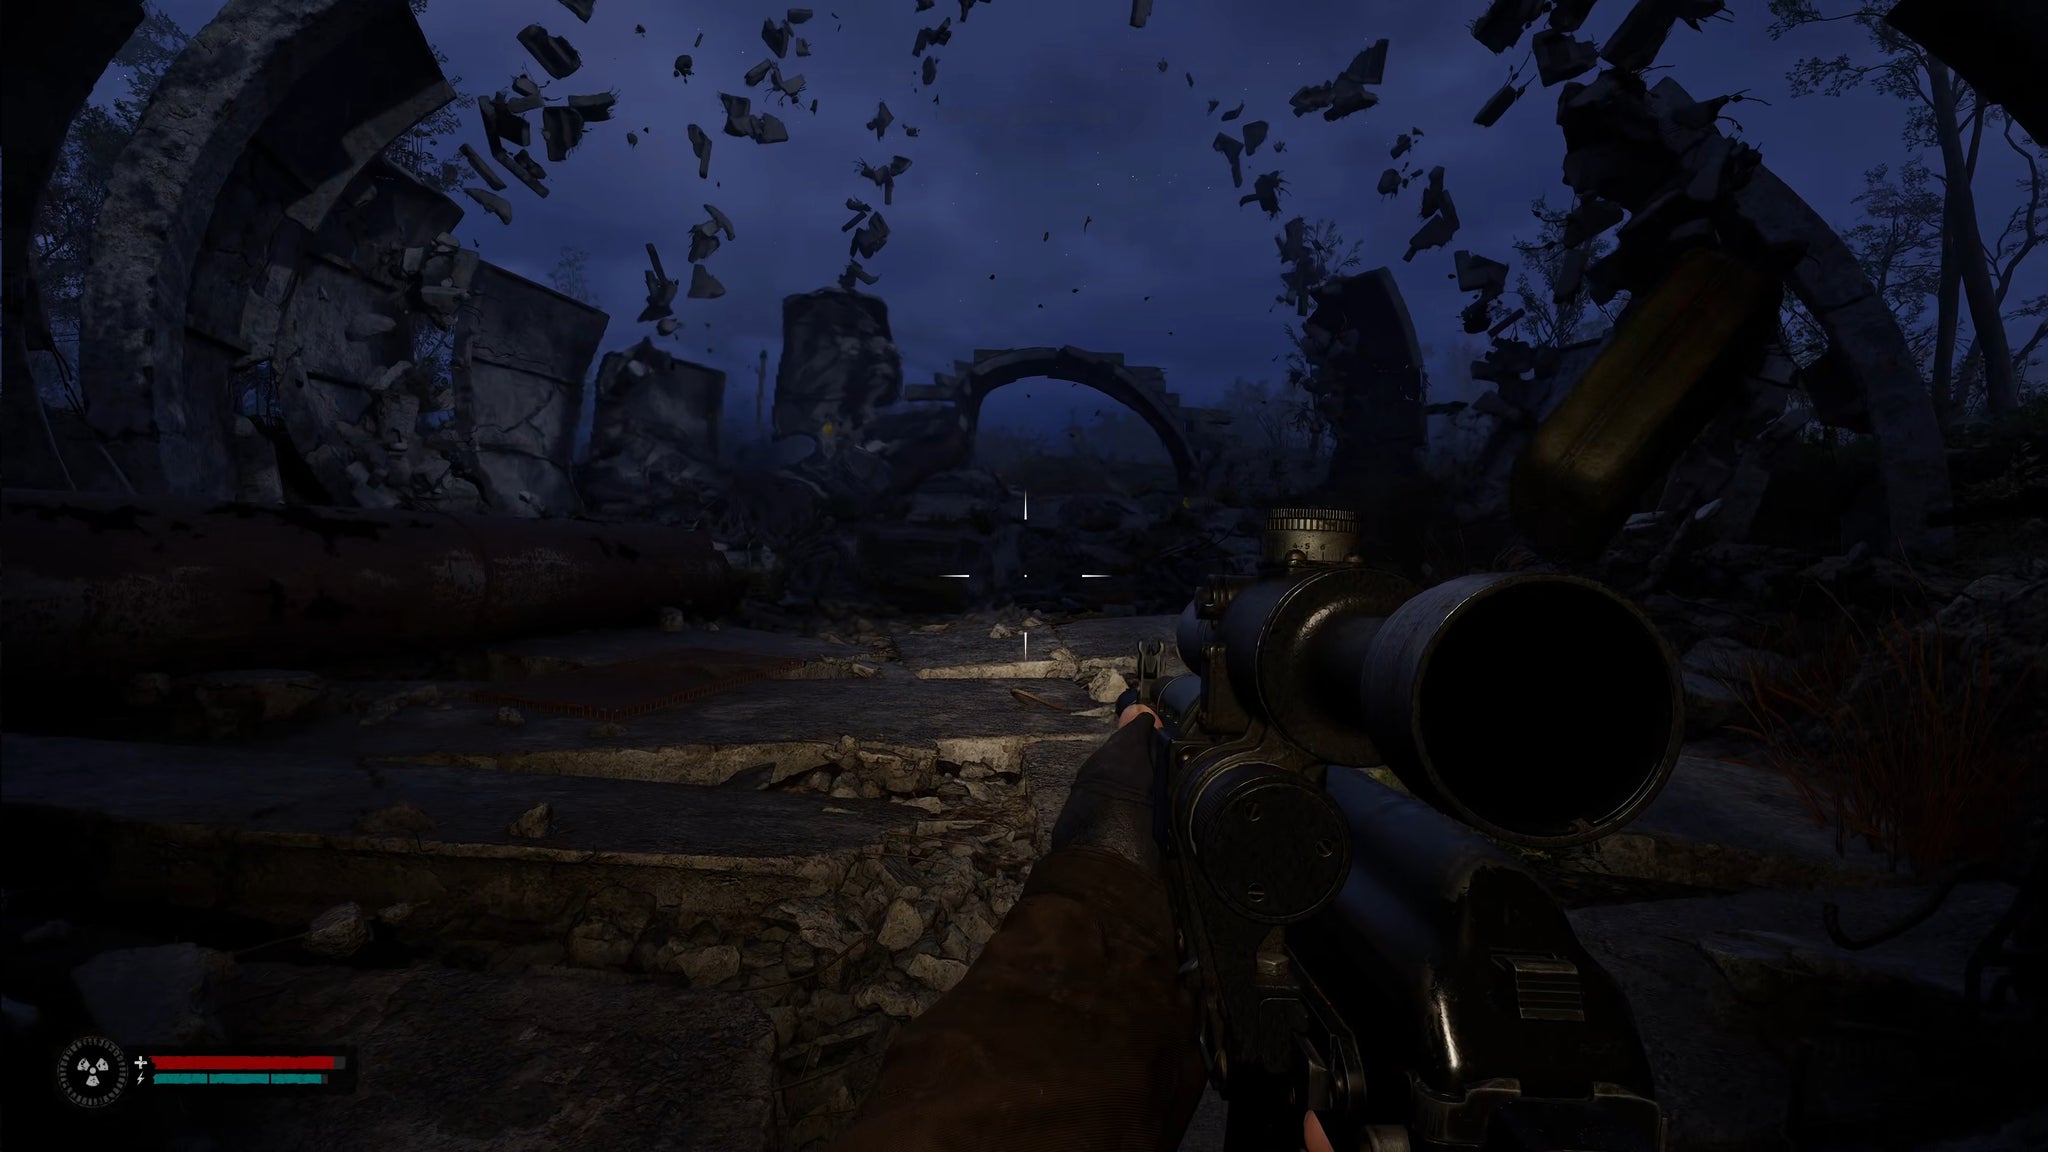
Choosing Richter will allow you to enter the Sphere via the Ribs - dodging anomalies instead of soldiers. |Image credit:Rock Paper Shotgun/GSC Game World
Leave via the Northern Checkpoint into Garbage
Once you’ve escaped the Sphere, Richter will contact you and tell you to get the Northern Checkpoint key off of Gaffer back in Zalissya. Do this, and then you can leave the Lesser Zone via the Northern Checkpoint.
The moment you leave the Lesser Zone, you’ll be wired a handful more coupons (2,699 to be exact), and you’ll be given the next quest - “Answers Come At A Price”.

This is the main story path you’ll take from Zalissya to Slag Heap if you choose Richter’s path. |Image credit:Rock Paper Shotgun/GSC Game World
Answers Come At A Price quest
Giving the Ward Sensors to Richter means you need to first meet up with a man called Star and his soldiers at the nearby Detention Centre in the south of Garbage. Speak to Star, and he’ll give you a lead on where to find Nestor, current leader of Garbage, and the man Solder told you was behind the Scanner attack that befell you at the beginning of the game. But first, he needs you to help some of his men, who are trapped in the basement of a nearby factory lab.
You can take the lab by force or sneak by all the enemies there. Either way, inside the basement area you’ll eventually come across a recording which links Nestor to Diode , a Tech in the settlement of Slag Heap.
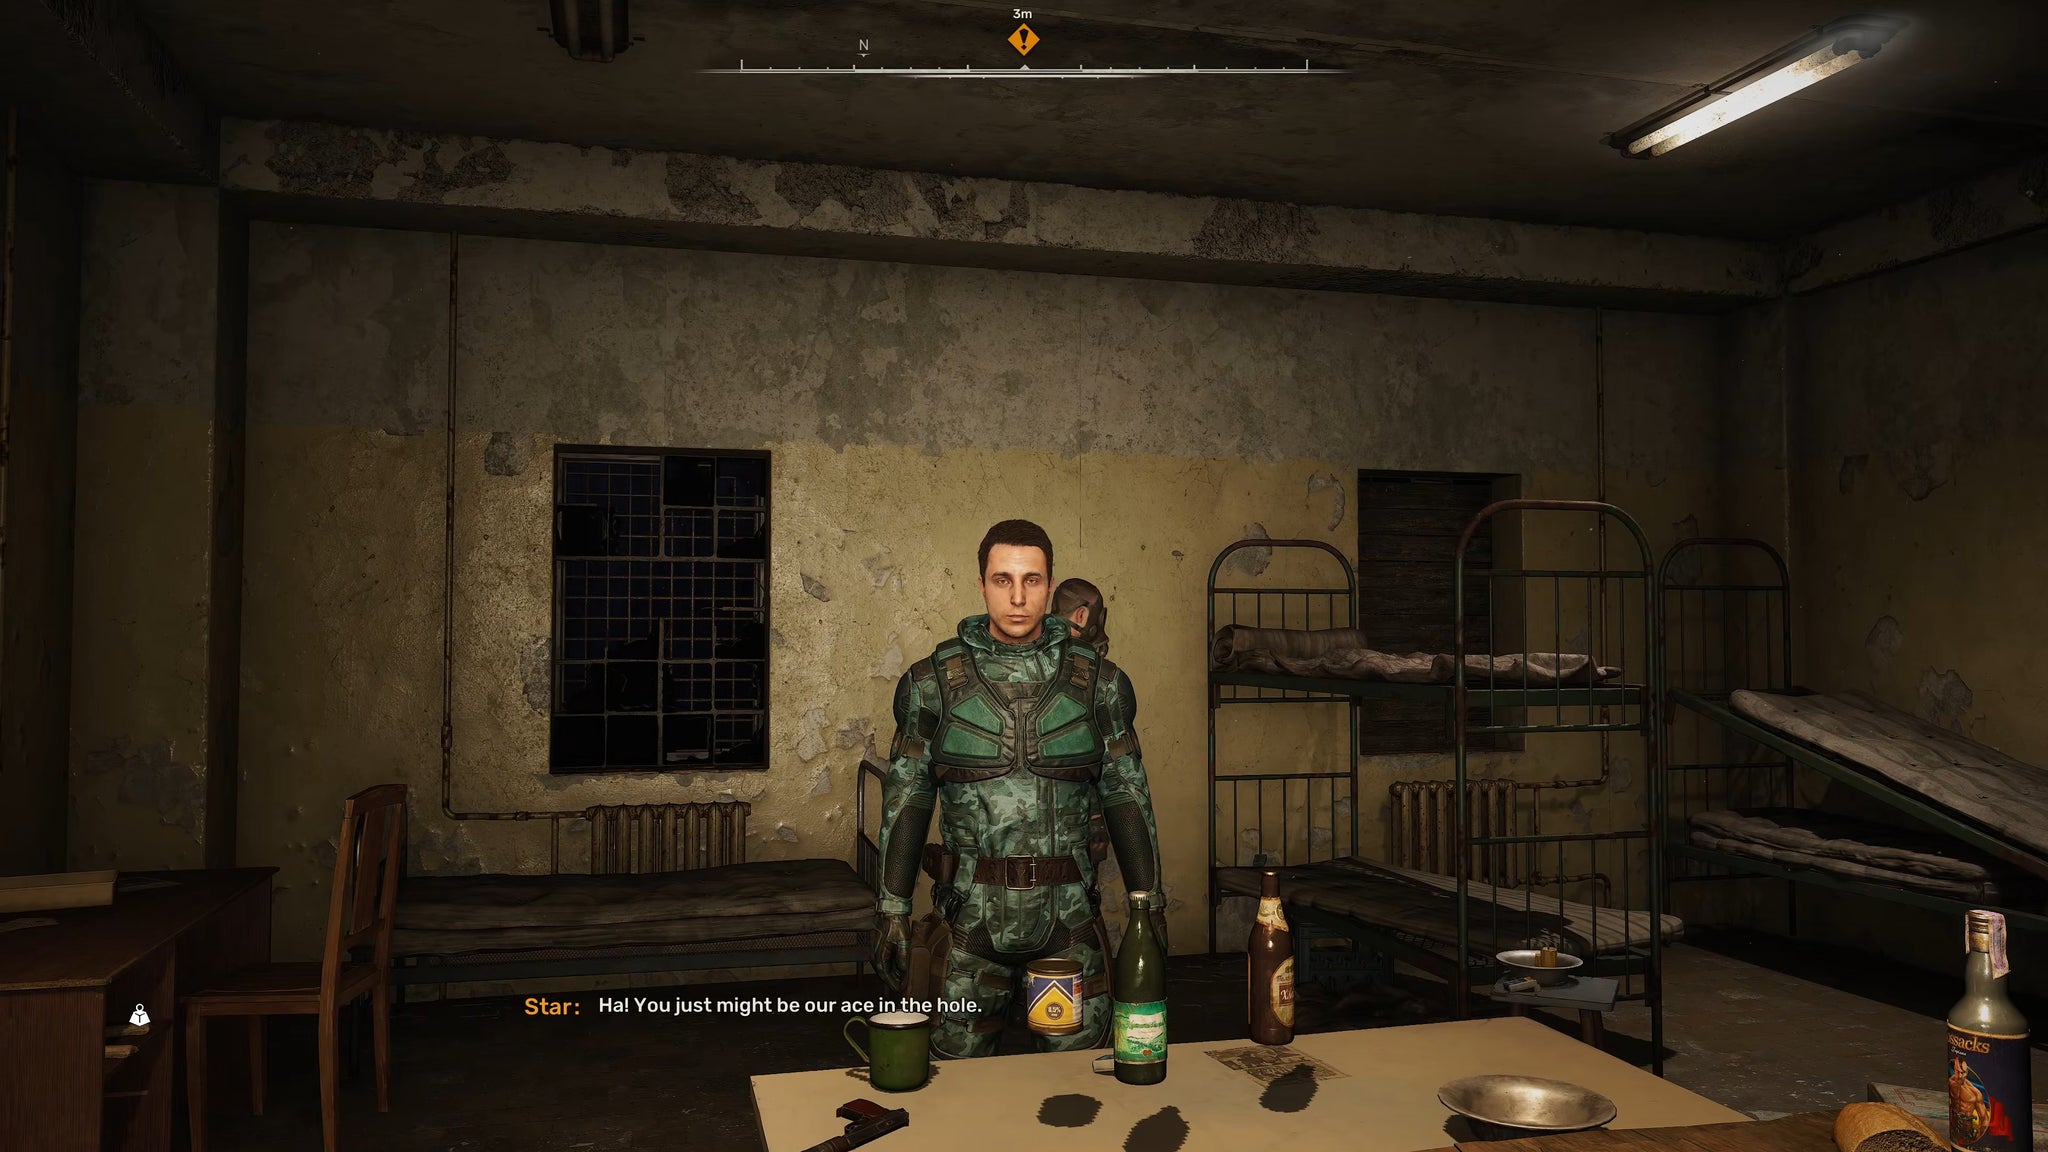
Star, Richter’s contact, will give you a quest to save his men from a factory lab basement. |Image credit:Rock Paper Shotgun/GSC Game World
An early meeting with Scar
The moment you finish listening to this recording, you’ll be contacted by an unknown individual, who leads you to him and then helps you to escape the lab. You don’t know it yet, but this unknown man is Scar - leader of the faction known as Spark, and Star’s boss. This meeting puts you on better terms with him when you next meet him.
Report back to Star that you saved his men, and then you’re off to visit Diode in Slag Heap. This next portion of the main story is roughly the same for both paths. Diode will give you the quest “The Price Goes Up”, and after that you’ll meet with Varan in the quest “Deal With The Devil”.

Richter’s path brings you an early meeting with Scar, a key faction leader. |Image credit:Rock Paper Shotgun/GSC Game World
Korshunov and Scar
After those quests are both finished and you’ve looted the “Unusual PDA” from the body in Varan’s cell, you’ll reach the tail-end of the consequences of the Ward Sensors choice. When you head back to the Slag Heap to speak to Diode, you’ll find the settlement has been taken over by the Ward.
You’ll be ushered upstairs to a meeting with Colonel Korshunov , leader of the Ward, who doesn’t trust you one bit at first, given your previous choice of helping the Stalkers over the Ward. You’ll have the choice during this conversation to hand over the “Unusual PDA”, but that’s a matter for another guide. All that’s relevant is that your first meeting with Colonel Korshunov is quite a bit less friendly if you chose to give Richter the Ward Sensors.
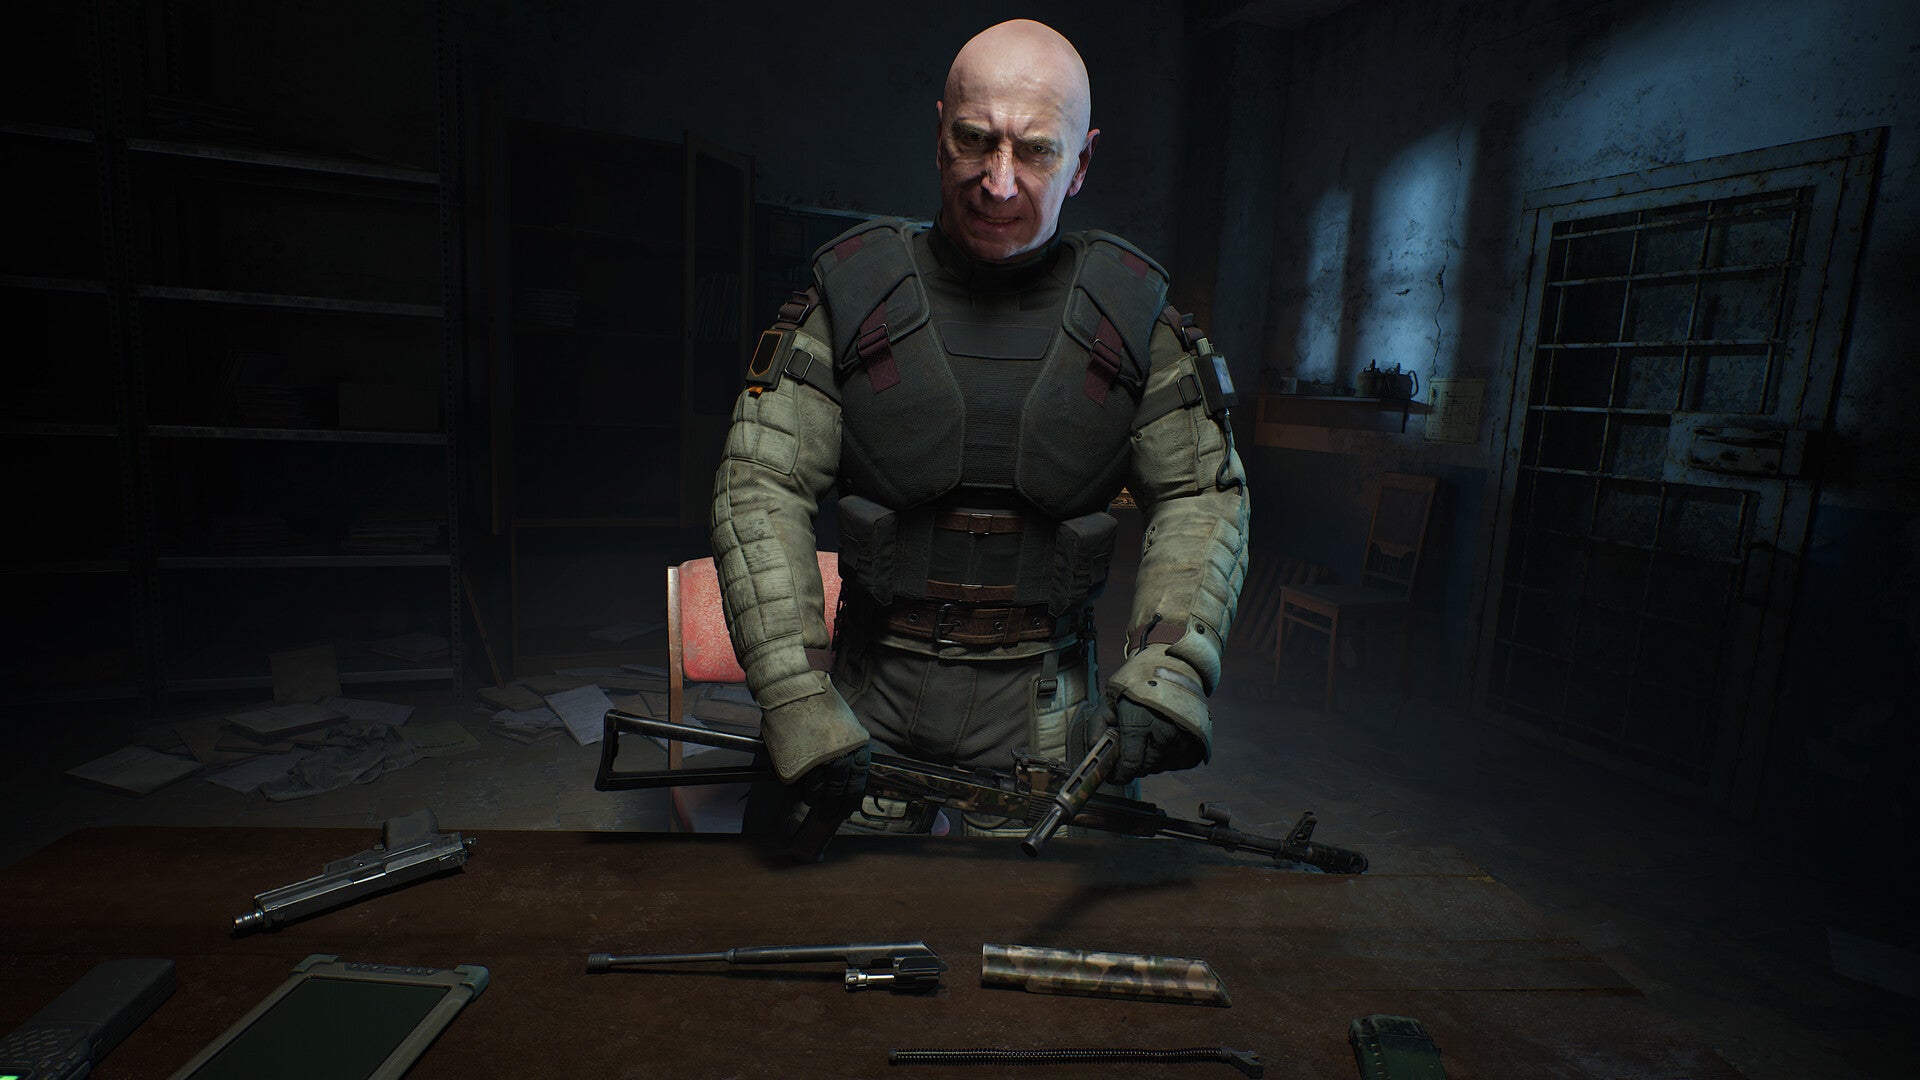
Korshunov is not happy with you at a result of your choices at first, but you can win him over. |Image credit:GSC Game World
After that, Richter will send you to the nearby Sawmill to meet with Scar again , and he’ll briefly reference your previous meeting before the main story continues on. At this point, both Richter’s path and Zotov’s path converge once more.
Option 2: Give the Ward Sensors to Captain Zotov
Enter the Sphere via the IPSF outpost
If you give the Ward Sensors to Captain Zotov, then you’ll earn a more meagre immediate reward of 1,350 coupons (compared to Richter’s 2,024). Afterwards, you’ll be sent to the IPSF outpost nearby, where Zotov has a loyal mole waiting at the gate to let you in. You can either sneak through the base quietly until you reach the underground area, or you can go in guns blazing - it’s up to you. Sneaking is by far the easiest option though, and the main benefit of choosing Zotov’s path - at least at first.

Zotov’s path allows you to sneak through an IPSF outpost to enter the Sphere. |Image credit:Rock Paper Shotgun/GSC Game World
Leave via the Western Checkpoint into Chemical Plant
After dealing with Solder inside the Sphere, you’ll escape via the Ribs , and Zotov will contact you to tell you to leave the Lesser Zone via the Western Checkpoint . He says that your best bet to find answers about Nestor will be by speaking to Colonel Korshunov yourself.
It may look like this path takes you into the Chemical Plant region, but you’ll only stay in there for a few minutes. You need to meet a Warden called Mateus , who tells you where to find Colonel Korshunov (surprise! He’s just across the border in Garbage). Meet with Korshunov, and he’ll give you a wholly different version of the “Answers Come At A Price” quest.

This is the main story path you’ll take from Zalissya to Slag Heap if you choose Zotov’s path. |Image credit:Rock Paper Shotgun/GSC Game World
Answers Come At A Price quest
Speak to Korshunov and he’ll tell you that the last person to talk to Nestor was Chornozem - a gang leader holed up in the Depot very nearby. Korshunov and his men are mere moments away from attacking the Depot anyway for its strategic value, but he’ll let you either join the firefight or go ahead of them and attempt to get information from Chornozem.
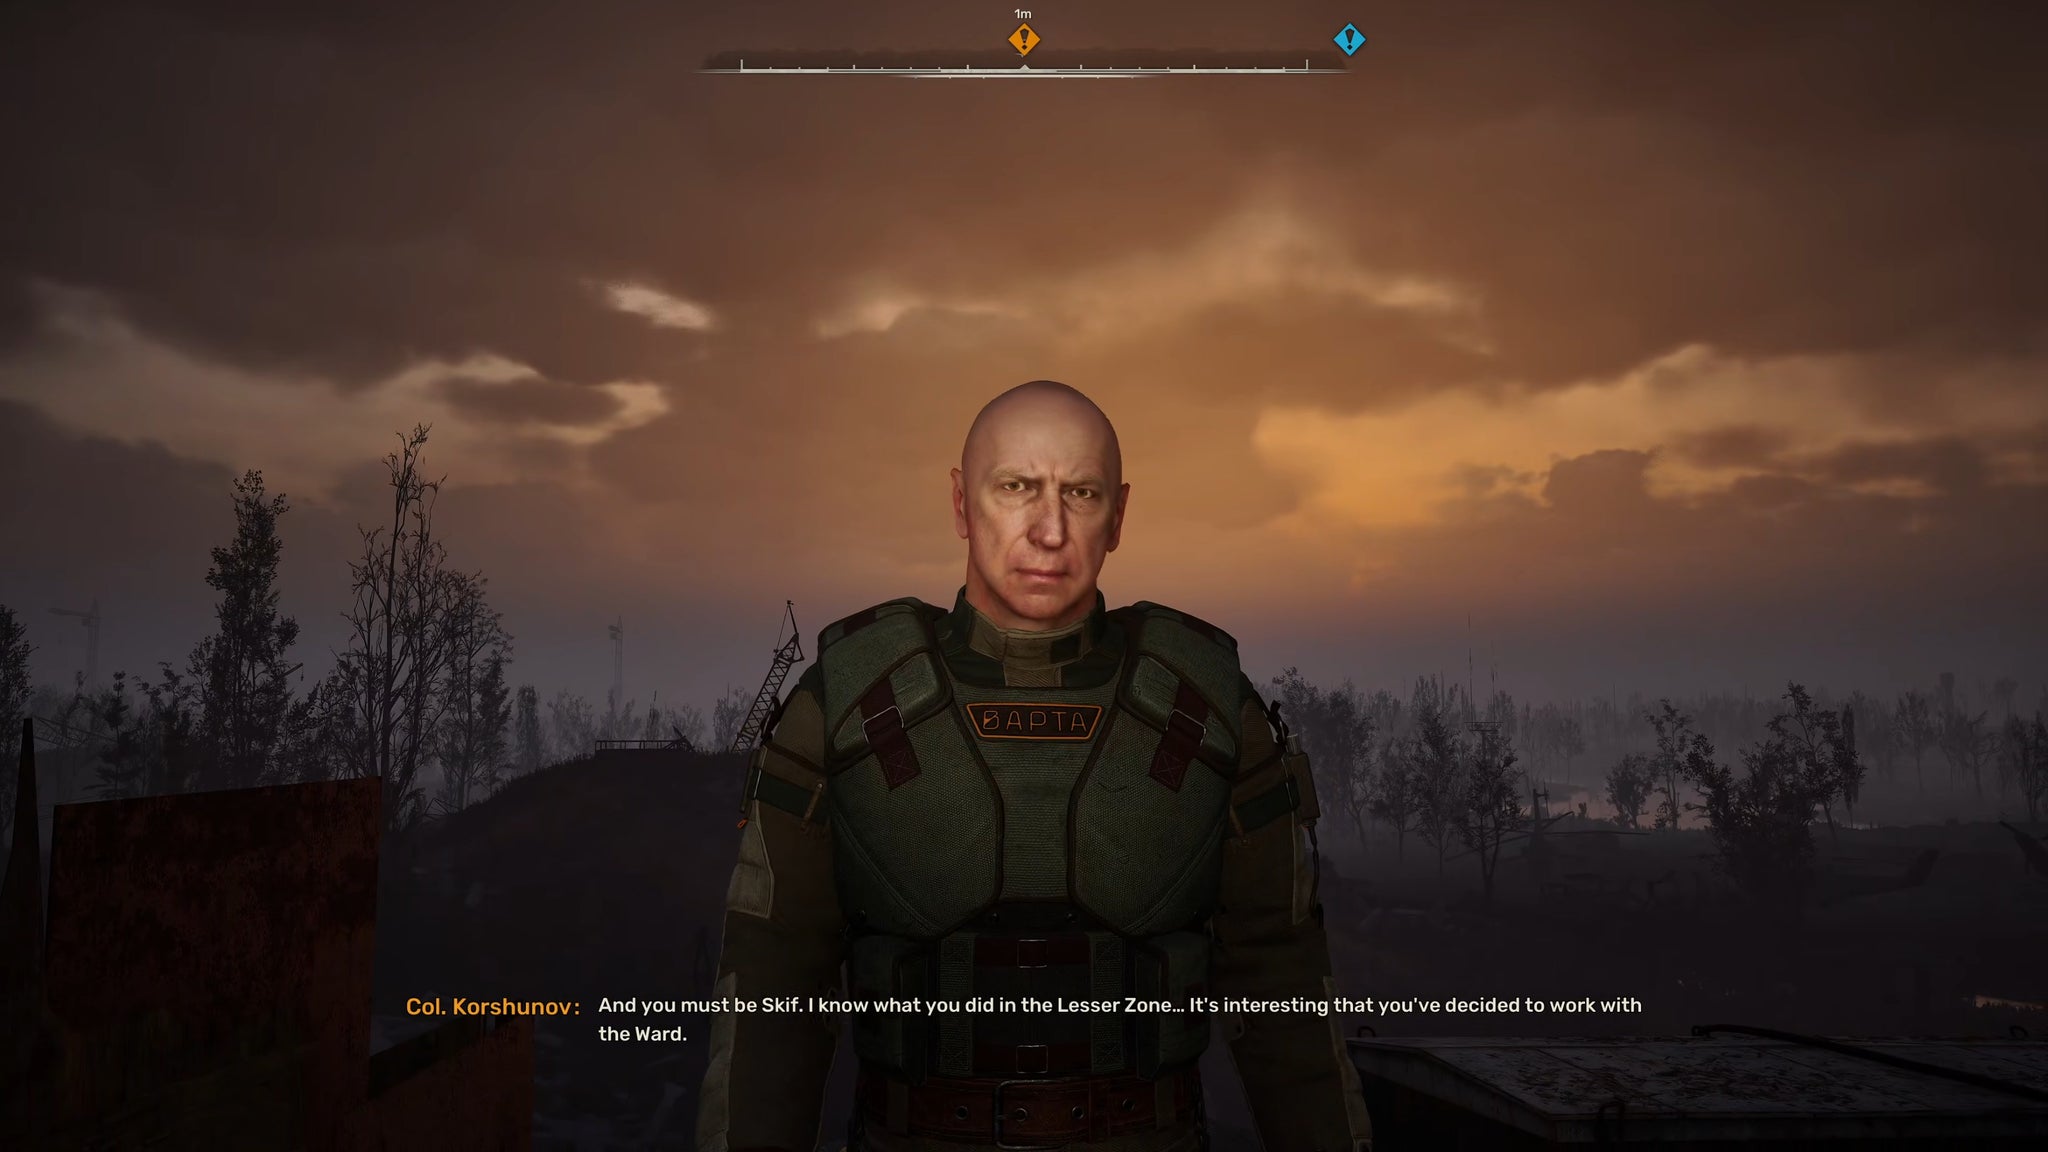
This path gives you an early meeting and potential alliance with Colonel Korshunov. |Image credit:Rock Paper Shotgun/GSC Game World
Whether you attack the gang or speak to Chornozem makes no difference - you’ll be forced to kill the gang anyway, and you’ll always get the information you need: that the person you actually need to speak to is Diode. And thus the paths converge once again.
Korshunov and Scar
After this, you’ll need to visit Diode and complete the next set of quests (“The Price Goes Up” and “Deal With The Devil”. Return to the Slag Heap, and you’ll be brought upstairs to meet once more with Korshunov. In this path, Korshunov is far friendlier towards you , because you’ve previously displayed a willingness to work with the Ward.
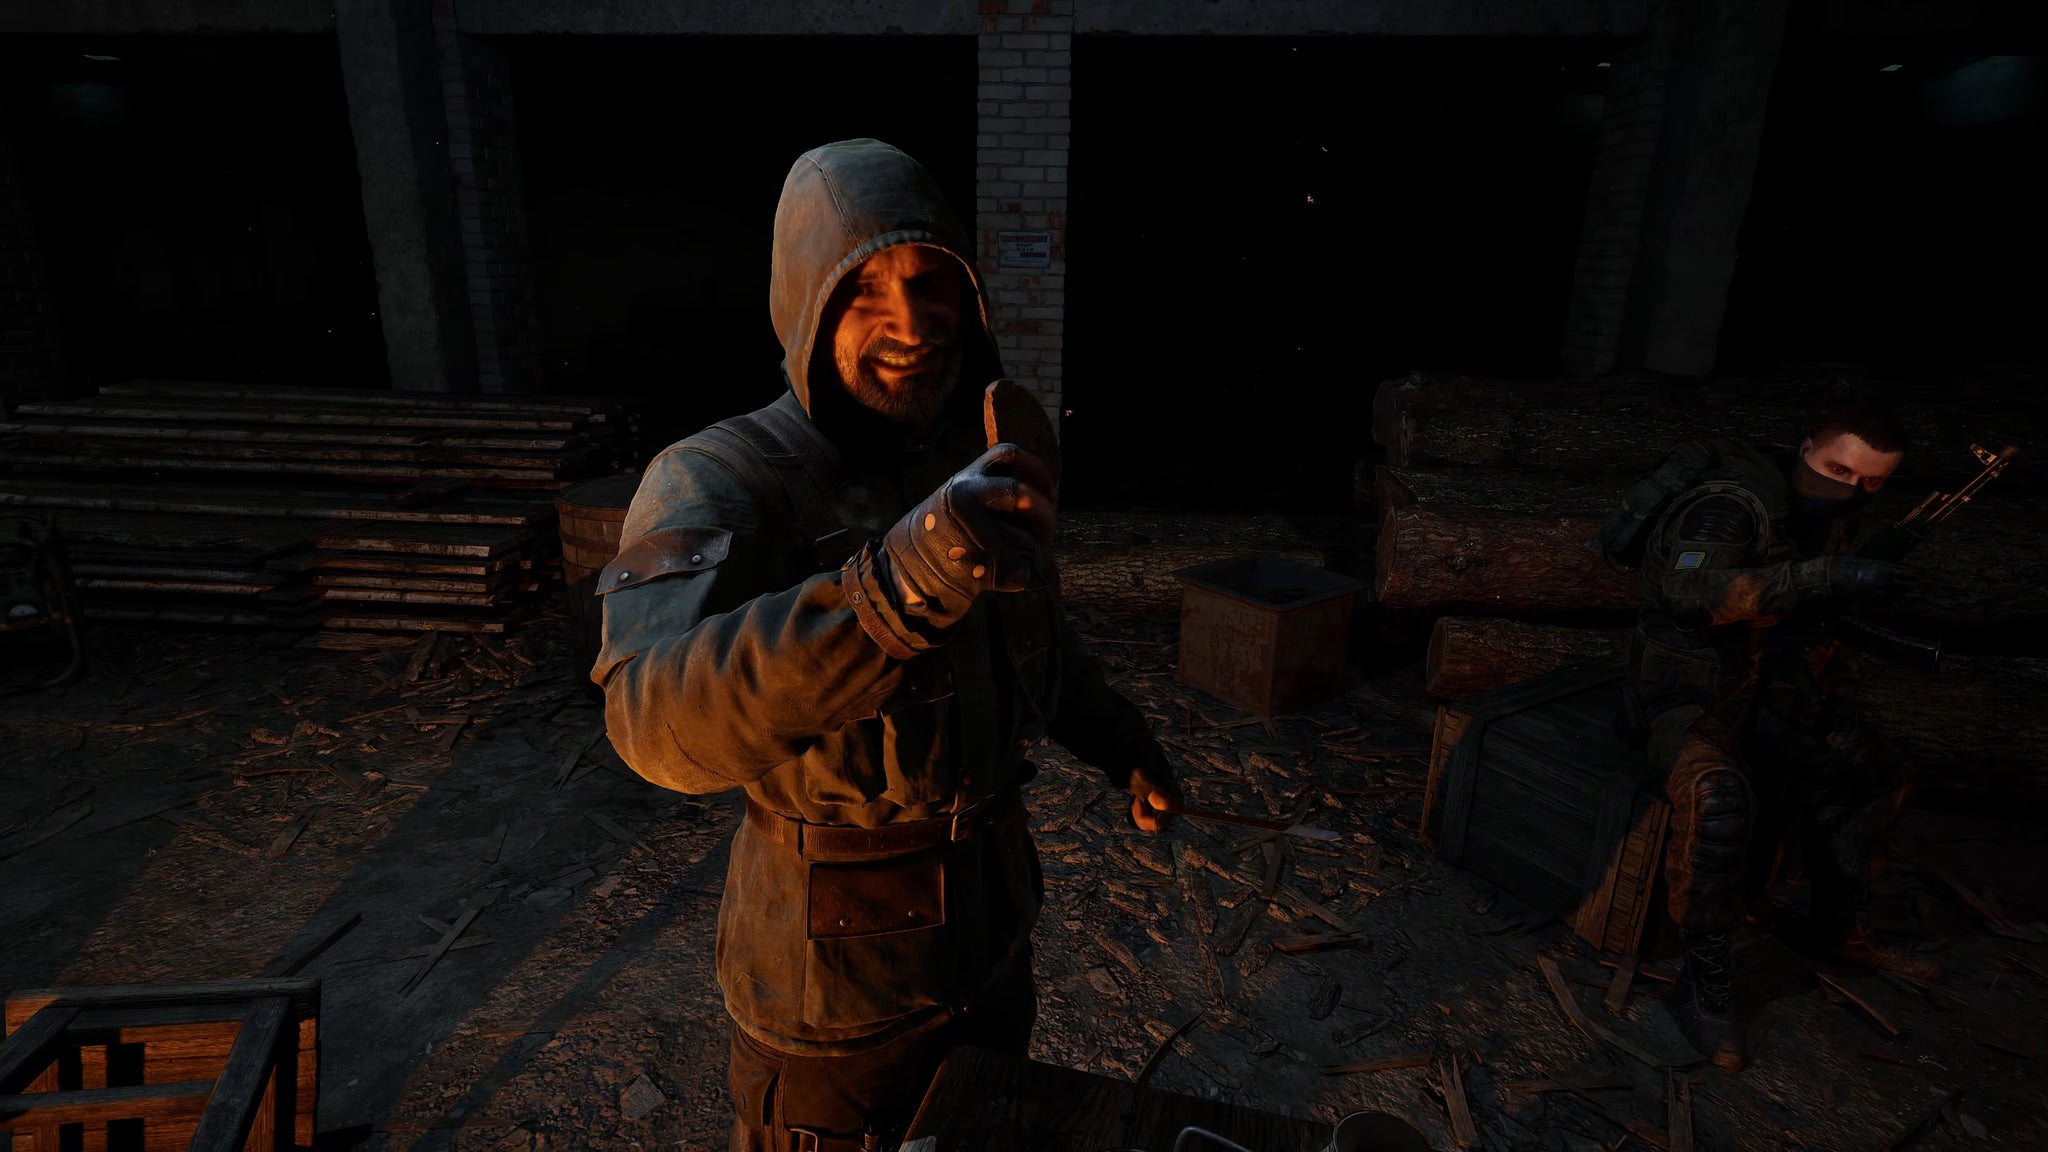
Scar doesn’t seem too upset by your previous choices. |Image credit:Rock Paper Shotgun/GSC Game World
After your meeting with Korshunov and Dalin (and whether or not you decide to show him the PDA), you’ll then be sent by Richter to meet Scar at the Sawmill. If you chose to give the Ward Sensors to Zotov, then this will be your first meeting with Scar , and he’ll introduce himself properly. Unlike Korshunov, who is markedly more hostile if you didn’t choose the Ward-friendly path, Scar is pretty much the same temperament for both paths, which may or may not sway you.
All in all, there’s no definitive right or wrong choice when it comes to giving away the Ward Sensors to one side or the other. It represents a different set of quests which take you out of the Lesser Zone, and it also represents an initial leaning towards either the Stalkers/Spark or the Ward - but either way, you can choose to counteract or further this leaning with your next major choice, which is who to show the Strange PDA to.
That wraps up this guide, but we’ve got plenty more Stalker 2 wisdom to give. Check out our other guides on how to fast travel in Stalker 2 , how to get more ammo , how to repair and upgrade weapons , and how to use Bolts .

S.T.A.L.K.E.R. 2: Heart of Chornobyl
Video Game
Rock Paper Shotgun is better when you sign in
Sign in and join us on our journey to discover strange and compelling PC games.

All 75 Arc Raiders Blueprints and where to get them
These areas have the highest chance of giving you Blueprints

Image credit:Rock Paper Shotgun/Embark Studios

Looking for more Arc Raiders Blueprints? It’s a special day when you find a Blueprint, as they’re among the most valuable items in Arc Raiders. If you find a Blueprint that you haven’t already found, then you must make sure you hold onto it at all costs, because Blueprints are the key to one of the most important and powerful systems of meta-progression in the game.
This guide aims to be the very best guide on Blueprints you can find, starting with a primer on what exactly they are and how they work in Arc Raiders, before delving into exactly where to get Blueprints and the very best farming spots for you to take in your search.
We’ll also go over how to get Blueprints from other unlikely activities, such as destroying Surveyors and completing specific quests. And you’ll also find the full list of all 75 Blueprints in Arc Raiders on this page (including the newest Blueprints added with the Cold Snap update , such as the Deadline Blueprint and Firework Box Blueprint), giving you all the information you need to expand your own crafting repertoire.
In this guide:
- What are Blueprints in Arc Raiders?
- Full Blueprint list: All crafting recipes
- Where to find Blueprints in Arc Raiders Blueprints obtained from quests Blueprints obtained from Trials Best Blueprint farming locations

What are Blueprints in Arc Raiders?
Blueprints in Arc Raiders are special items which, if you manage to extract with them, you can expend to permanently unlock a new crafting recipe in your Workshop. If you manage to extract from a raid with an Anvil Blueprint, for example, you can unlock the ability to craft your very own Anvil Pistol, as many times as you like (as long as you have the crafting materials).
To use a Blueprint, simply open your Inventory while in the lobby, then right-click on the Blueprint and click “Learn And Consume” . This will permanently unlock the recipe for that item in your Workshop. As of the Stella Montis update, there are allegedly 75 different Blueprints to unlock - although only 68 are confirmed to be in the game so far. You can see all the Blueprints you’ve found and unlocked by going to the Workshop menu, and hitting “R” to bring up the Blueprint screen.
It’s possible to find duplicates of past Blueprints you’ve already unlocked. If you find these, then you can either sell them, or - if you like to play with friends - you can take it into a match and gift it to your friend so they can unlock that recipe for themselves. Another option is to keep hold of them until the time comes to donate them to the Expedition.
Full Blueprint list: All crafting recipes
Below is the full list of all the Blueprints that are currently available to find in Arc Raiders, and the crafting recipe required for each item:
| Blueprint | Type | Recipe | Crafted At |
|---|---|---|---|
| Bettina | Weapon | 3x Advanced Mechanical Components 3x Heavy Gun Parts 3x Canister | Gunsmith 3 |
| Blue Light Stick | Quick Use | 3x Chemicals | Utility Station 1 |
| Aphelion | Weapon | 3x Magnetic Accelerator 3x Complex Gun Parts 1x Matriarch Reactor | Gunsmith 3 |
| Combat Mk. 3 (Flanking) | Augment | 2x Advanced Electrical Components 3x Processor | Gear Bench 3 |
| Combat Mk. 3 (Aggressive) | Augment | 2x Advanced Electrical Components 3x Processor | Gear Bench 3 |
| Complex Gun Parts | Material | 2x Light Gun Parts 2x Medium Gun Parts 2x Heavy Gun Parts | Refiner 3 |
| Fireworks Box | Quick Use | 1x Explosive Compound 3x Pop Trigger | Explosives Station 2 |
| Gas Mine | Mine | 4x Chemicals 2x Rubber Parts | Explosives Station 1 |
| Green Light Stick | Quick Use | 3x Chemicals | Utility Station 1 |
| Pulse Mine | Mine | 1x Crude Explosives 1x Wires | Explosives Station 1 |
| Seeker Grenade | Grenade | 1x Crude Explosives 2x ARC Alloy | Explosives Station 1 |
| Looting Mk. 3 (Survivor) | Augment | 2x Advanced Electrical Components 3x Processor | Gear Bench 3 |
| Angled Grip II | Mod | 2x Mechanical Components 3x Duct Tape | Gunsmith 2 |
| Angled Grip III | Mod | 2x Mod Components 5x Duct Tape | Gunsmith 3 |
| Hullcracker | Weapon | 1x Magnetic Accelerator 3x Heavy Gun Parts 1x Exodus Modules | Gunsmith 3 |
| Launcher Ammo | Ammo | 5x Metal Parts 1x Crude Explosives | Workbench 1 |
| Anvil | Weapon | 5x Mechanical Components 5x Simple Gun Parts | Gunsmith 2 |
| Anvil Splitter | Mod | 2x Mod Components 3x Processor | Gunsmith 3 |
| ??? | ??? | ??? | ??? |
| Barricade Kit | Quick Use | 1x Mechanical Components | Utility Station 2 |
| Blaze Grenade | Grenade | 1x Explosive Compound 2x Oil | Explosives Station 3 |
| Bobcat | Weapon | 3x Advanced Mechanical Components 3x Light Gun Parts | Gunsmith 3 |
| Osprey | Weapon | 2x Advanced Mechanical Components 3x Medium Gun Parts 7x Wires | Gunsmith 3 |
| Burletta | Weapon | 3x Mechanical Components 3x Simple Gun Parts | Gunsmith 1 |
| Compensator II | Mod | 2x Mechanical Components 4x Wires | Gunsmith 2 |
| Compensator III | Mod | 2x Mod Components 8x Wires | Gunsmith 3 |
| Defibrillator | Quick Use | 9x Plastic Parts 1x Moss | Medical Lab 2 |
| ??? | ??? | ??? | ??? |
| Equalizer | Weapon | 3x Magnetic Accelerator 3x Complex Gun Parts 1x Queen Reactor | Gunsmith 3 |
| Extended Barrel | Mod | 2x Mod Components 8x Wires | Gunsmith 3 |
| Extended Light Mag II | Mod | 2x Mechanical Components 3x Steel Spring | Gunsmith 2 |
| Extended Light Mag III | Mod | 2x Mod Components 5x Steel Spring | Gunsmith 3 |
| Extended Medium Mag II | Mod | 2x Mechanical Components 3x Steel Spring | Gunsmith 2 |
| Extended Medium Mag III | Mod | 2x Mod Components 5x Steel Spring | Gunsmith 3 |
| Extended Shotgun Mag II | Mod | 2x Mechanical Components 3x Steel Spring | Gunsmith 2 |
| Extended Shotgun Mag III | Mod | 2x Mod Components 5x Steel Spring | Gunsmith 3 |
| Remote Raider Flare | Quick Use | 2x Chemicals 4x Rubber Parts | Utility Station 1 |
| Heavy Gun Parts | Material | 4x Simple Gun Parts | Refiner 2 |
| Venator | Weapon | 2x Advanced Mechanical Components 3x Medium Gun Parts 5x Magnet | Gunsmith 3 |
| Il Toro | Weapon | 5x Mechanical Components 6x Simple Gun Parts | Gunsmith 1 |
| Jolt Mine | Mine | 1x Electrical Components 1x Battery | Explosives Station 2 |
| Explosive Mine | Mine | 1x Explosive Compound 1x Sensors | Explosives Station 3 |
| Jupiter | Weapon | 3x Magnetic Accelerator 3x Complex Gun Parts 1x Queen Reactor | Gunsmith 3 |
| Light Gun Parts | Material | 4x Simple Gun Parts | Refiner 2 |
| Lightweight Stock | Mod | 2x Mod Components 5x Duct Tape | Gunsmith 3 |
| Lure Grenade | Grenade | 1x Speaker Component 1x Electrical Components | Utility Station 2 |
| Medium Gun Parts | Material | 4x Simple Gun Parts | Refiner 2 |
| Torrente | Weapon | 2x Advanced Mechanical Components 3x Medium Gun Parts 6x Steel Spring | Gunsmith 3 |
| Muzzle Brake II | Mod | 2x Mechanical Components 4x Wires | Gunsmith 2 |
| Muzzle Brake III | Mod | 2x Mod Components 8x Wires | Gunsmith 3 |
| Padded Stock | Mod | 2x Mod Components 5x Duct Tape | Gunsmith 3 |
| Shotgun Choke II | Mod | 2x Mechanical Components 4x Wires | Gunsmith 2 |
| Shotgun Choke III | Mod | 2x Mod Components 8x Wires | Gunsmith 3 |
| Shotgun Silencer | Mod | 2x Mod Components 8x Wires | Gunsmith 3 |
| Showstopper | Grenade | 1x Advanced Electrical Components 1x Voltage Converter | Explosives Station 3 |
| Silencer I | Mod | 2x Mechanical Components 4x Wires | Gunsmith 2 |
| Silencer II | Mod | 2x Mod Components 8x Wires | Gunsmith 3 |
| Snap Hook | Quick Use | 2x Power Rod 3x Rope 1x Exodus Modules | Utility Station 3 |
| Stable Stock II | Mod | 2x Mechanical Components 3x Duct Tape | Gunsmith 2 |
| Stable Stock III | Mod | 2x Mod Components 5x Duct Tape | Gunsmith 3 |
| Tagging Grenade | Grenade | 1x Electrical Components 1x Sensors | Utility Station 3 |
| Tempest | Weapon | 3x Advanced Mechanical Components 3x Medium Gun Parts 3x Canister | Gunsmith 3 |
| Trigger Nade | Grenade | 2x Crude Explosives 1x Processor | Explosives Station 2 |
| Vertical Grip II | Mod | 2x Mechanical Components 3x Duct Tape | Gunsmith 2 |
| Vertical Grip III | Mod | 2x Mod Components 5x Duct Tape | Gunsmith 3 |
| Vita Shot | Quick Use | 2x Antiseptic 1x Syringe | Medical Lab 3 |
| Vita Spray | Quick Use | 3x Antiseptic 1x Canister | Medical Lab 3 |
| Vulcano | Weapon | 1x Magnetic Accelerator 3x Heavy Gun Parts 1x Exodus Modules | Gunsmith 3 |
| Wolfpack | Grenade | 2x Explosive Compound 2x Sensors | Explosives Station 3 |
| Red Light Stick | Quick Use | 3x Chemicals | Utility Station 1 |
| Smoke Grenade | Grenade | 14x Chemicals 1x Canister | Utility Station 2 |
| Deadline | Mine | 3x Explosive Compound 2x ARC Circuitry | Explosives Station 3 |
| Trailblazer | Grenade | 1x Explosive Compound 1x Synthesized Fuel | Explosives Station 3 |
| Tactical Mk. 3 (Defensive) | Augment | 2x Advanced Electrical Components 3x Processor | Gear Bench 3 |
| Tactical Mk. 3 (Healing) | Augment | 2x Advanced Electrical Components 3x Processor | Gear Bench 3 |
| Yellow Light Stick | Quick Use | 3x Chemicals | Utility Station 1 |
Note: The missing Blueprints in this list likely have not actually been added to the game at the time of writing, because none of the playerbase has managed to find any of them. As they are added to the game, I will update this page with the most relevant information so you know exactly how to get all 75 Arc Raiders Blueprints.
Where to find Blueprints in Arc Raiders
Below is a list of all containers, modifiers, and events which maximise your chances of finding Blueprints:
- Certain quests reward you with specific Blueprints .
- Completing Trials has a high chance of offering Blueprints as rewards.
- Surveyors have a decent chance of dropping Blueprints on death.
- High loot value areas tend to have a greater chance of spawning Blueprints.
- Night Raids and Storms may increase rare Blueprint spawn chances in containers.
- Containers with higher numbers of items may have a higher tendency to spawn Blueprints. As a result, Blue Gate (which has many “large” containers containing multiple items) may give you a higher chance of spawning Blueprints.
- Raider containers (Raider Caches, Weapon Boxes, Medical Bags, Grenade Tubes) have increased Blueprint drop rates. As a result, the Uncovered Caches event gives you a high chance of finding Blueprints.
- Security Lockers have a higher than average chance of containing Blueprints.
- Certain Blueprints only seem to spawn under specific circumstances: Tempest Blueprint only spawns during Night Raid events. Vulcano Blueprint only spawns during Hidden Bunker events. Jupiter and Equaliser Blueprints only spawn during Harvester events.

Raider Caches, Weapon Boxes, and other raider-oriented container types have a good chance of offering Blueprints. |Image credit:Rock Paper Shotgun/Embark Studios
Blueprints have a very low chance of spawning in any container in Arc Raiders, around 1-2% on average. However, there is a higher chance of finding Blueprints in particular container types. Specifically, you can find more Blueprints in Raider containers and security lockers.
Beyond this, if you’re looking for Blueprints you should focus on regions of the map which are marked as having particularly high-value loot. Areas such as the Control Tower in Dam Battlegrounds, the Arrival and Departure Buildings in Spaceport, and Pilgrim’s Peak in Blue Gate all have a better-than-average chance of spawning Blueprints somewhere amongst all their containers. Night Raids and Electromagnetic Storm events also increase the drop chances of certain Blueprints .
In addition to these containers, you can often loot Blueprints from destroyed Surveyors - the largest of the rolling ball ARC. Surveyors are more commonly found on the later maps - Spaceport and Blue Gate - and if one spawns in your match, you’ll likely see it by the blue laser beam that it casts into the sky while “surveying”.
Surveyors are quite well-armoured and will very speedily run away from you once it notices you, but if you can take one down then make sure you loot all its parts for a chance of obtaining certain unusual Blueprints.
Blueprints obtained from quests
One way in which you can get Blueprints is by completing certain quests for the vendors in Speranza. Some quests will reward you with a specific item Blueprint upon completion, so as long as you work through all the quests in Arc Raiders, you are guaranteed those Blueprints.
Here is the full list of all Blueprints you can get from quest rewards:
- Trigger Nade Blueprint: Rewarded after completing “Sparks Fly”.
- Lure Grenade Blueprint: Rewarded after completing “Greasing Her Palms”.
- Burletta Blueprint: Rewarded after completing “Industrial Espionage”.
- Hullcracker Blueprint (and Launcher Ammo Blueprint): Rewarded after completing “The Major’s Footlocker”.
Alas, that’s only 4 Blueprints out of a total of 75 to unlock, so for the vast majority you will need to find them yourself during a raid. If you’re intent on farming Blueprints, then it’s best to equip yourself with cheap gear in case you lose it, but don’t use a free loadout because then you won’t get a safe pocket to stash any new Blueprint you find. No pain in Arc Raiders is sharper than failing to extract with a new Blueprint you’ve been after for a dozen hours already.

One of the best ways to get Blueprints is by hitting three stars on all five Trials every week. |Image credit:Rock Paper Shotgun/Embark Studios
Blueprints obtained from Trials
One of the very best ways to get Blueprints is as rewards for completing Trials in Arc Raiders. Trials are unlocked from Level 15 onwards, and allow you to earn rewards by focusing on certain tasks over the course of several raids. For example, one Trial might task you with dealing damage to Hornets, while another might challenge you to loot Supply Drops.
Trials refresh on a weekly basis, with a new week bringing five new Trials. Each Trial can offer up to three rewards after passing certain score milestones, and it’s possible to receive very high level loot from these reward crates - including Blueprints. So if you want to unlock as many Blueprints as possible, you should make a point of completing as many Trials as possible each week.
Best Blueprint farming locations
The very best way to get Blueprints is to frequent specific areas of the maps which combine high-tier loot pools with the right types of containers to search. Here are my recommendations for where to find Blueprints on every map, so you can always keep the search going for new crafting recipes to unlock.

Image credit:Rock Paper Shotgun/Embark Studios
Dam Battlegrounds
The best places to farm Blueprints on Dam Battlegrounds are the Control Tower, Power Generation Complex, Ruby Residence, and Pale Apartments . The first two regions, despite only being marked on the map as mid-tier loot, contain a phenomenal number of containers to loot. The Control Tower can also contain a couple of high-tier Security Lockers - though of course, you’ll need to have unlocked the Security Breach skill at the end of the Survival tree.
There’s also a lot of reporting amongst the playerbase that the Residential areas in the top-left of the map - Pale Apartments and Ruby Residence - give you a comparatively strong chance of finding Blueprints. Considering their size, there’s a high density of containers to loot in both locations, and they also have the benefit of being fairly out of the way. So you’re more likely to have all the containers to yourself.
Buried City
The best Blueprint farming locations on Buried City are the Santa Maria Houses, Grandioso Apartments, Town Hall, and the various buildings of the New District . Grandioso Apartments has a lower number of containers than the rest, but a high chance of spawning weapon cases - which have good Blueprint drop rates. The others are high-tier loot areas, with plenty of lootable containers - including Security Lockers.
Spaceport
The best places to find Blueprints on Spaceport are the Arrival and Departure Buildings, as well as Control Tower A6 and the Launch Towers . All these areas are labelled as high-value loot regions, and many of them are also very handily connected to one another by the Spaceport wall, which you can use to quickly run from one area to the next. At the tops of most of these buildings you’ll find at least one Security Locker, so this is an excellent farming route for players looking to find Blueprints.
The downside to looting Blueprints on Spaceport is that all these areas are hotly contested, particularly in Duos and Squads. You’ll need to be very focused and fast in order to complete the full farming route.

Image credit:Rock Paper Shotgun/Embark Studios
Blue Gate
Blue Gate tends to have a good chance of dropping Blueprints, potentially because it generally has a high number of containers which can hold lots of items; so there’s a higher chance of a Blueprint spawning in each container. In my experience, the best Blueprint farming spots on Blue Gate are Pilgrim’s Peak, Raider’s Refuge, the Ancient Fort, and the Underground Complex beneath the Warehouse .
All of these areas contain a wealth of containers to loot. Raider’s Refuge has less to loot, but the majority of the containers in and around the Refuge are raider containers, which have a high chance of containing Blueprints - particularly during major events.
Stella Montis
On the whole, Stella Montis seems to have a very low drop rate for Blueprints (though a high chance of dropping other high-tier loot). If you do want to try farming Blueprints on this map, the best places to find Blueprints in Stella Montis are Medical Research, Assembly Workshop, and the Business Center . These areas have the highest density of containers to loot on the map.
In addition to this, the Western Tunnel has a few different Security Lockers to loot, so while there’s very little to loot elsewhere in this area of the map, it’s worth hitting those Security Lockers if you spawn there at the start of a match.
That wraps up this primer on how to get all the Blueprints in Arc Raiders as quickly as possible. With the Expedition system constantly resetting a large number of players’ Blueprints, it’s more important than ever to have the most up-to-date information on where to find all these Blueprints.
While you’re here, be sure to check out our Arc Raiders best guns tier list , as well as our primers on the best skills to unlock and all the different Field Depot locations on every map.


ARC Raiders
PS5 , Xbox Series X/S , PC
Rock Paper Shotgun is better when you sign in
Sign in and join us on our journey to discover strange and compelling PC games.
