RoadCraft review
Tires me out
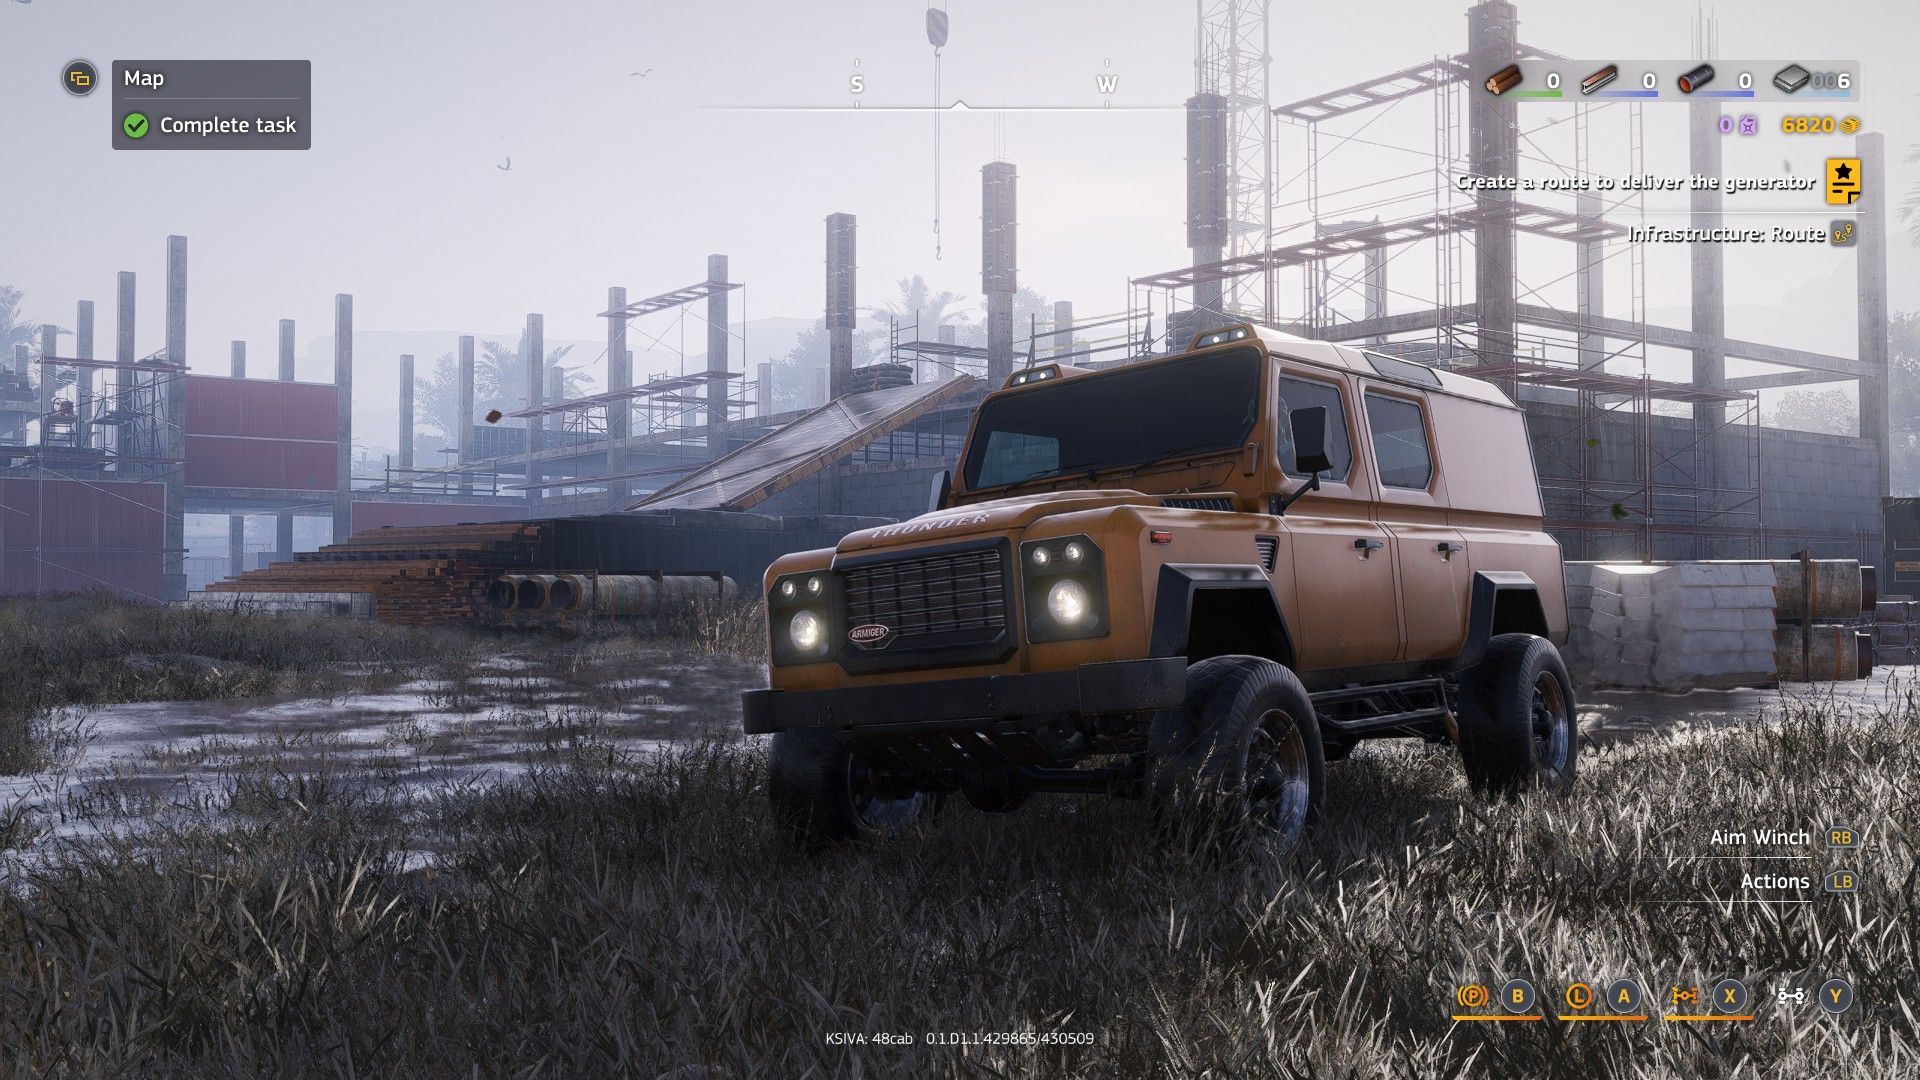
Image credit:Rock Paper Shotgun / Focus Entertainment

A trundlesome road-building simulator with weighty vehicle physics and baby-brained AI drivers, in which logistics takes a long time.
- Developer: Saber Interactive
- Publisher: Focus Entertainment
- Release: May 20th, 2025
- On: Windows
- From: Steam
- Price: £35/$40/€40
- Reviewed on: Intel Core-i7-11700F, 16GB RAM, Nvidia GeForce RTX 3060, Windows 10
I am falling asleep at the wheel of a big bulldozer. RoadCraft is not necessarily a boring game, but it is so meditatively slow, lumbering, and bit-by-bit that I find myself dozing when I’m supposed to be, um, dozing. Some of this is down to simple tiredness, but there’s also a dreamy sensation while playing this engine-purring infrastructure ’em up. I don’t mean dreamy in the sense that it fulfills the promise of nostalgic fantasy put forward by the game’s trailer (the one that suggests you’ll feel like a child playing with toy diggers again ). I just mean that flattening sand makes me sleepy.

It is a simulation in the most traditional sense. You’re the operator of a construction company that specialises in rebuilding roads and supply networks after natural disasters have wrecked the landscape. Rockslides, earthquakes, floods - all the devastation mother earth can possibly throw at a major railway line or harbour town. It’s your job to fix the place up with a fleet of diggers, bulldozers, steamrollers, and sand haulers, among other vehicles you may have never even seen before.
Your objective can be as straightforward as steering an all-wheel drive Jeepalike from a ruined factory to a derelict gas station, while using a blippy radar button to scan the ground and see which paths are drive-uponable (green circle for good solid dirt, red X for wheel-trapping muck). But this scouting quickly evolves into missions of hauling scrap metal to recycling plants using cranes and cargo trucks, or dumping mounds of sand into muddy holes to make a route passable for later AI-controlled convoys.
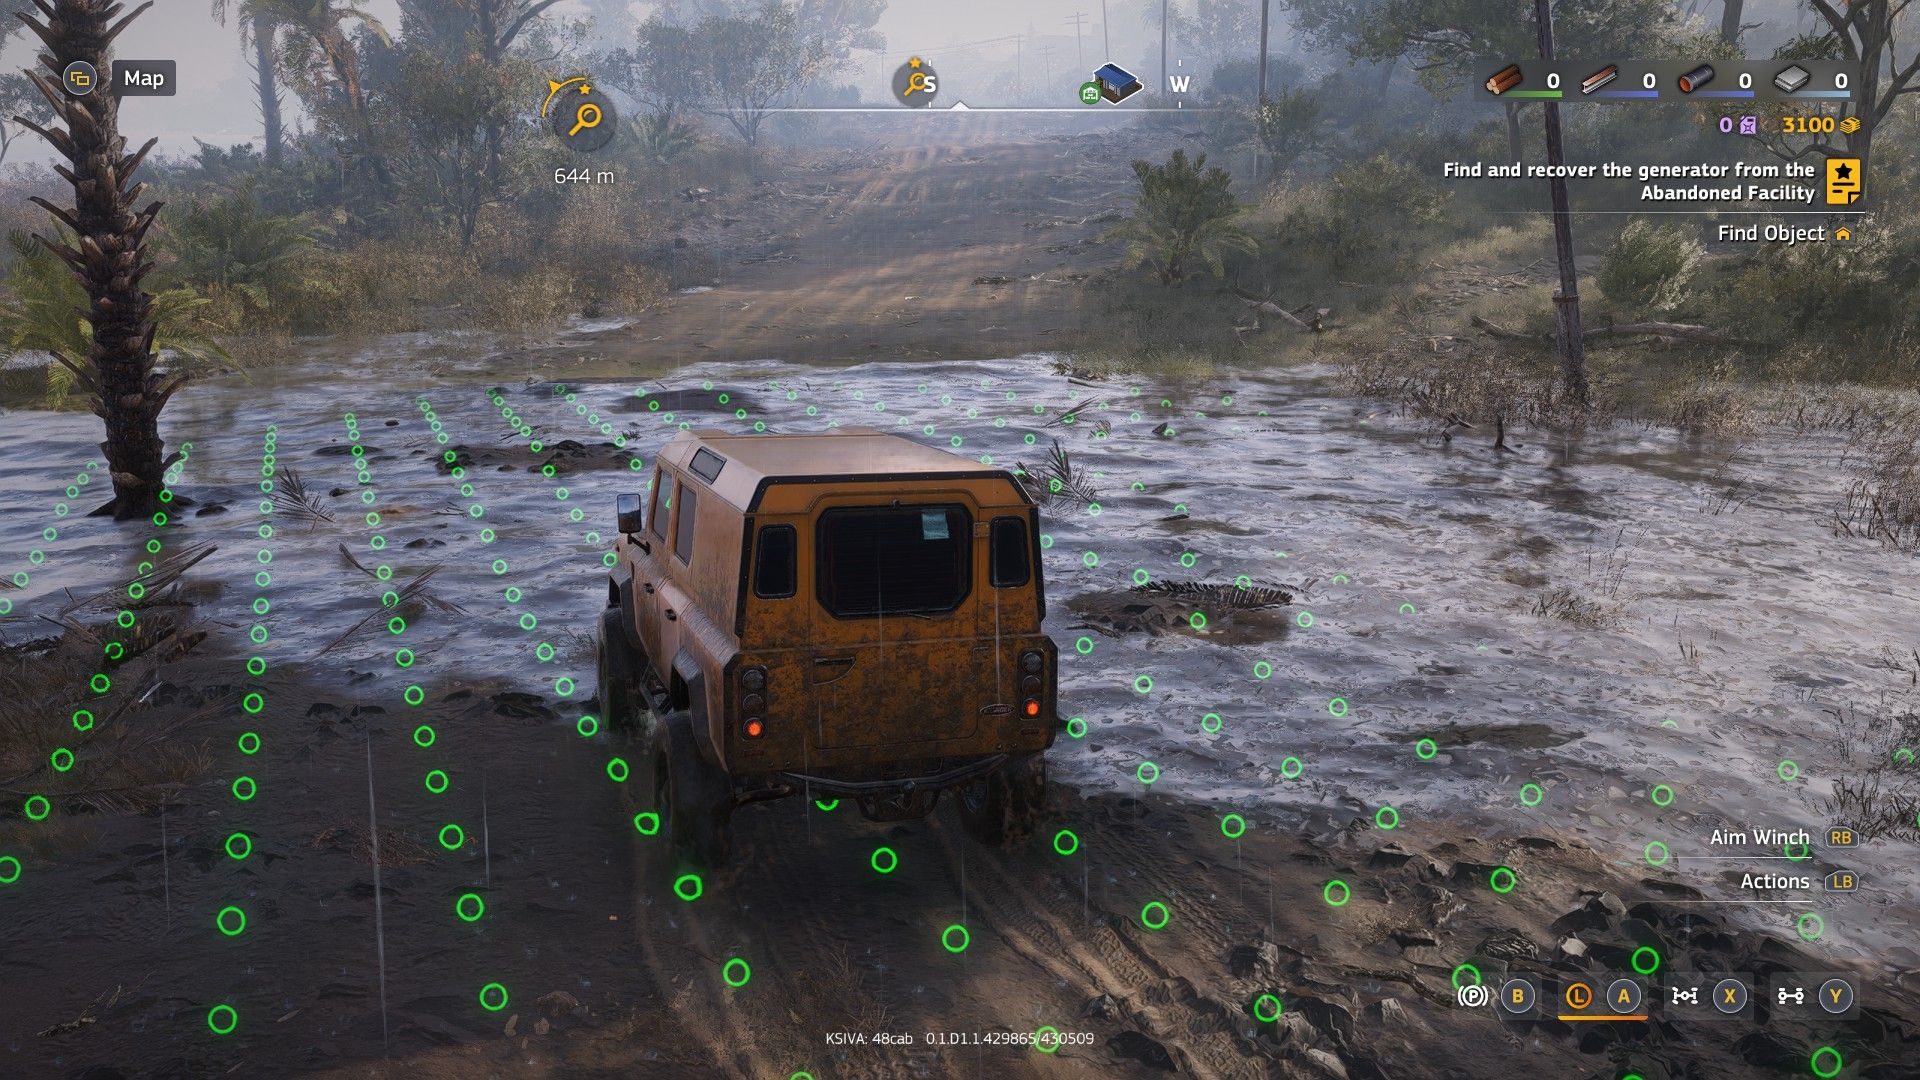
Seeing no symbol at all on the water’s surface means it’s so deep your engine will start to flood. |Image credit:Rock Paper Shotgun / Focus Entertainment
Laying roads is the most common activity, a necessity upon which all other deliveries and drivealongs rely (the clue is in the name). To build a road takes multiple steps in different vehicles. First, bring a dump truck full of sand to an offensively muddy patch of land and upend the stuff in as neat a line as you can. Then use a dozer to flatten the sand like a big coarse pancake. Third step, get an asphalter to come and make hot tarmacky love to the surface of the earth. Finally, use a roller to flatten it all out, following some big glowing lines to ensure it is suitably “road"ish.
This to-and-fro often involves getting those less capable vehicles (eg. the roller and the asphalter) to the scene of construction, a place which may itself be cut off by boggish obstacles or landslide-stricken roads. Ultimately, it’s a long process that you can sometimes automate, but realistically it’ll take up the majority of your time. Other objectives, like replacing pipes in pipelines or laying electric cables offer their own challenges. But you’ll often want good roads before doing any of that.
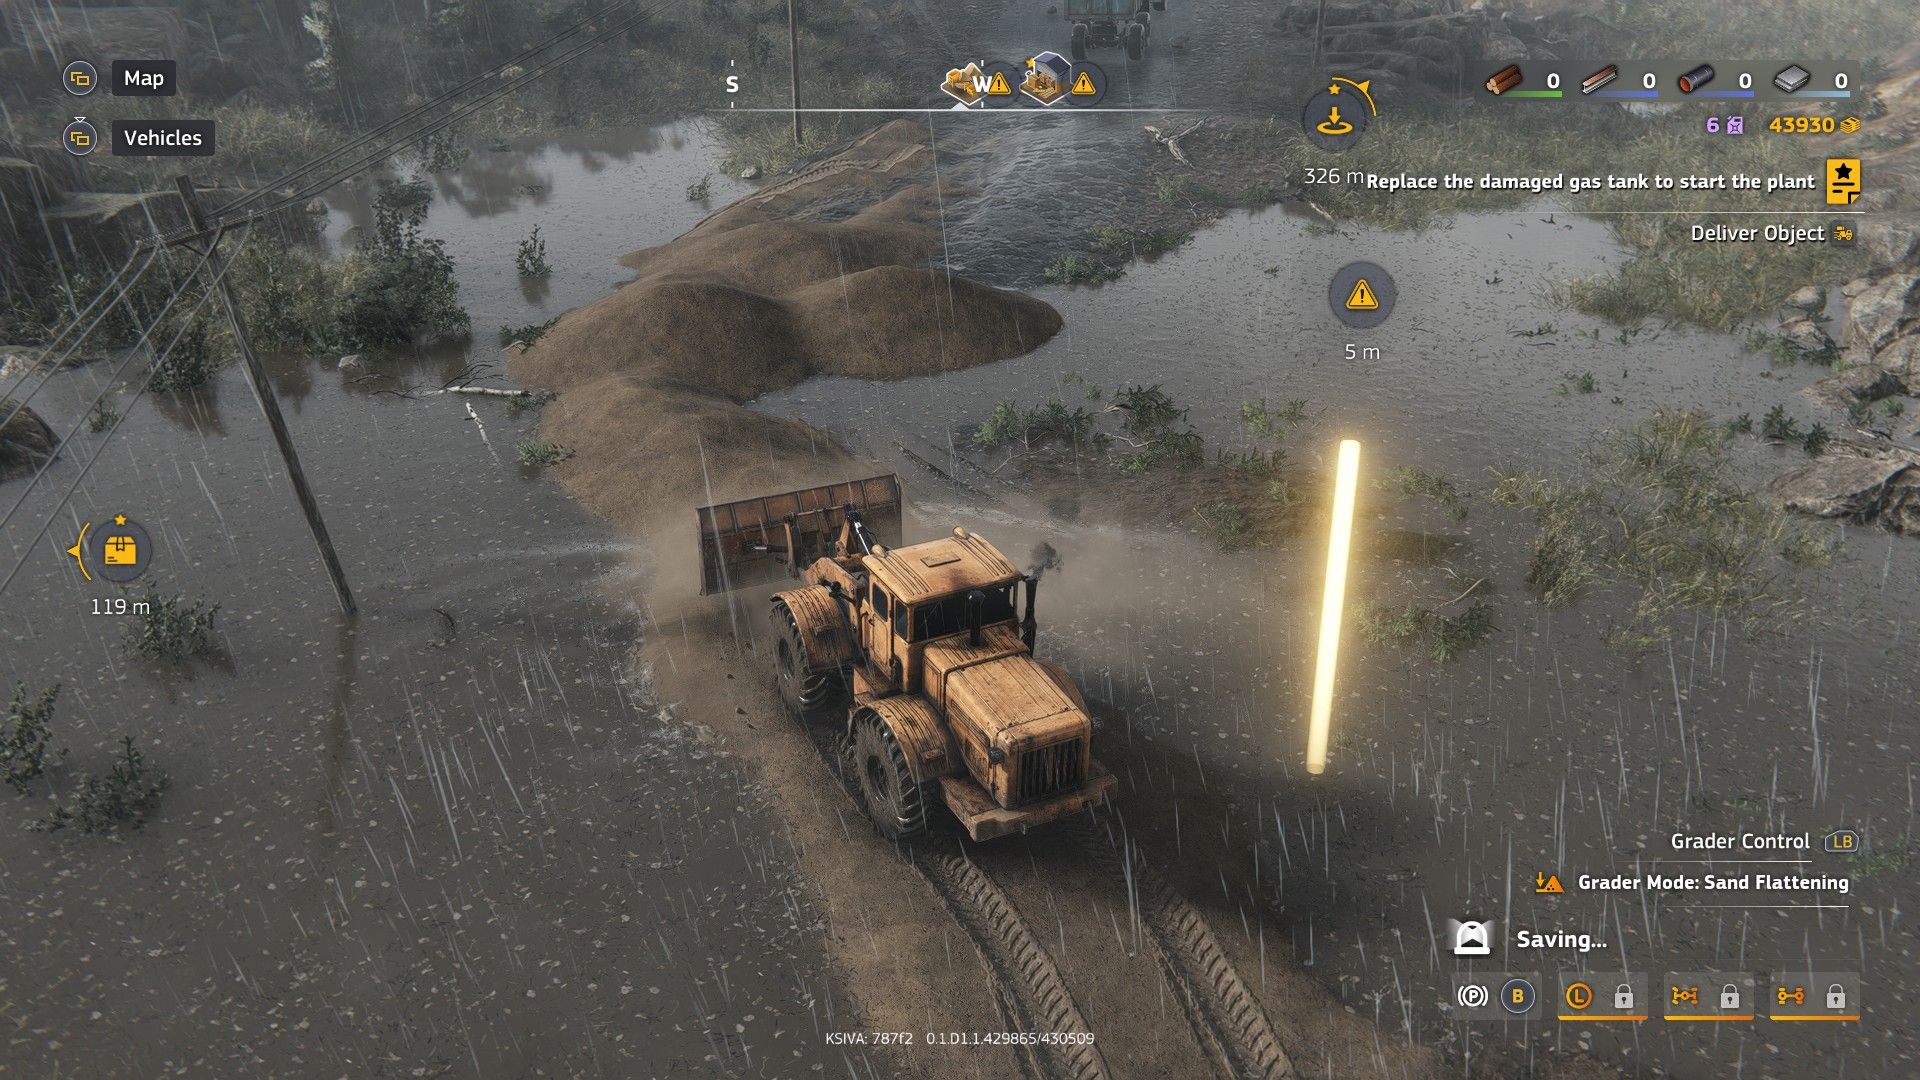
Performance talk! The game eats a lot of memory, and I have been victim of some blurry textures (sand being the worst affected). It became much less egregious when I turned off upscaling and played in native resolution. |Image credit:Rock Paper Shotgun / Focus Entertainment
The vehicles themselves feel suitably weighty. They bounce and tip and sway with all the heft you’d expect from a game by the developers of SnowRunner . But they’re also sometimes fiddly in a way that makes my brain do a mental squint. Vehicle controls can feel cluttered, with many mechanistic movements shoved onto one controller. Face buttons do things like activate low gear mode (wheels no slippy-slip) or lock differential (car no fall over). Simple enough on their own. But then holding down shoulder buttons unleashes a small swarm of vehicle specific controls - loader ramps, cargo straps, anchor feet.
It’s hard to tell if the resultant clawhanded shenanigans is intentional or not. The crane controls are particularly pat-head-rub-belly-ish. For me using some vehicles was often a bunch of staccato hand movements, like I was playing some kind of Toyota Land Cruiser QWOP . I want to say it soon gets easier, but the constant swapping of vehicles effectively stalls practice in each type of movement. Like many things in RoadCraft, getting a handle on the machinery took much longer than I expected. That I got the controller working at all was also a relief - the game had some issues with this at release, and the devs recommend disabling Steam controller input , which worked for me.
The slow and steady rhythm means it can take hours to do fundamental stuff, like getting a supply route into good shape. And despite the HQs and special trucks, both of which let you spawn vehicles nearby, there’s still a lot of lumbering back ’n’ forth over the same roads. This isn’t at all bad if you love the feel of a big vehicle under your thumbs, but you will have to be really into Caterpillar if you’re to avoid the inevitable yawns at a tenth sand-lugging trip up and down the same dirt track.


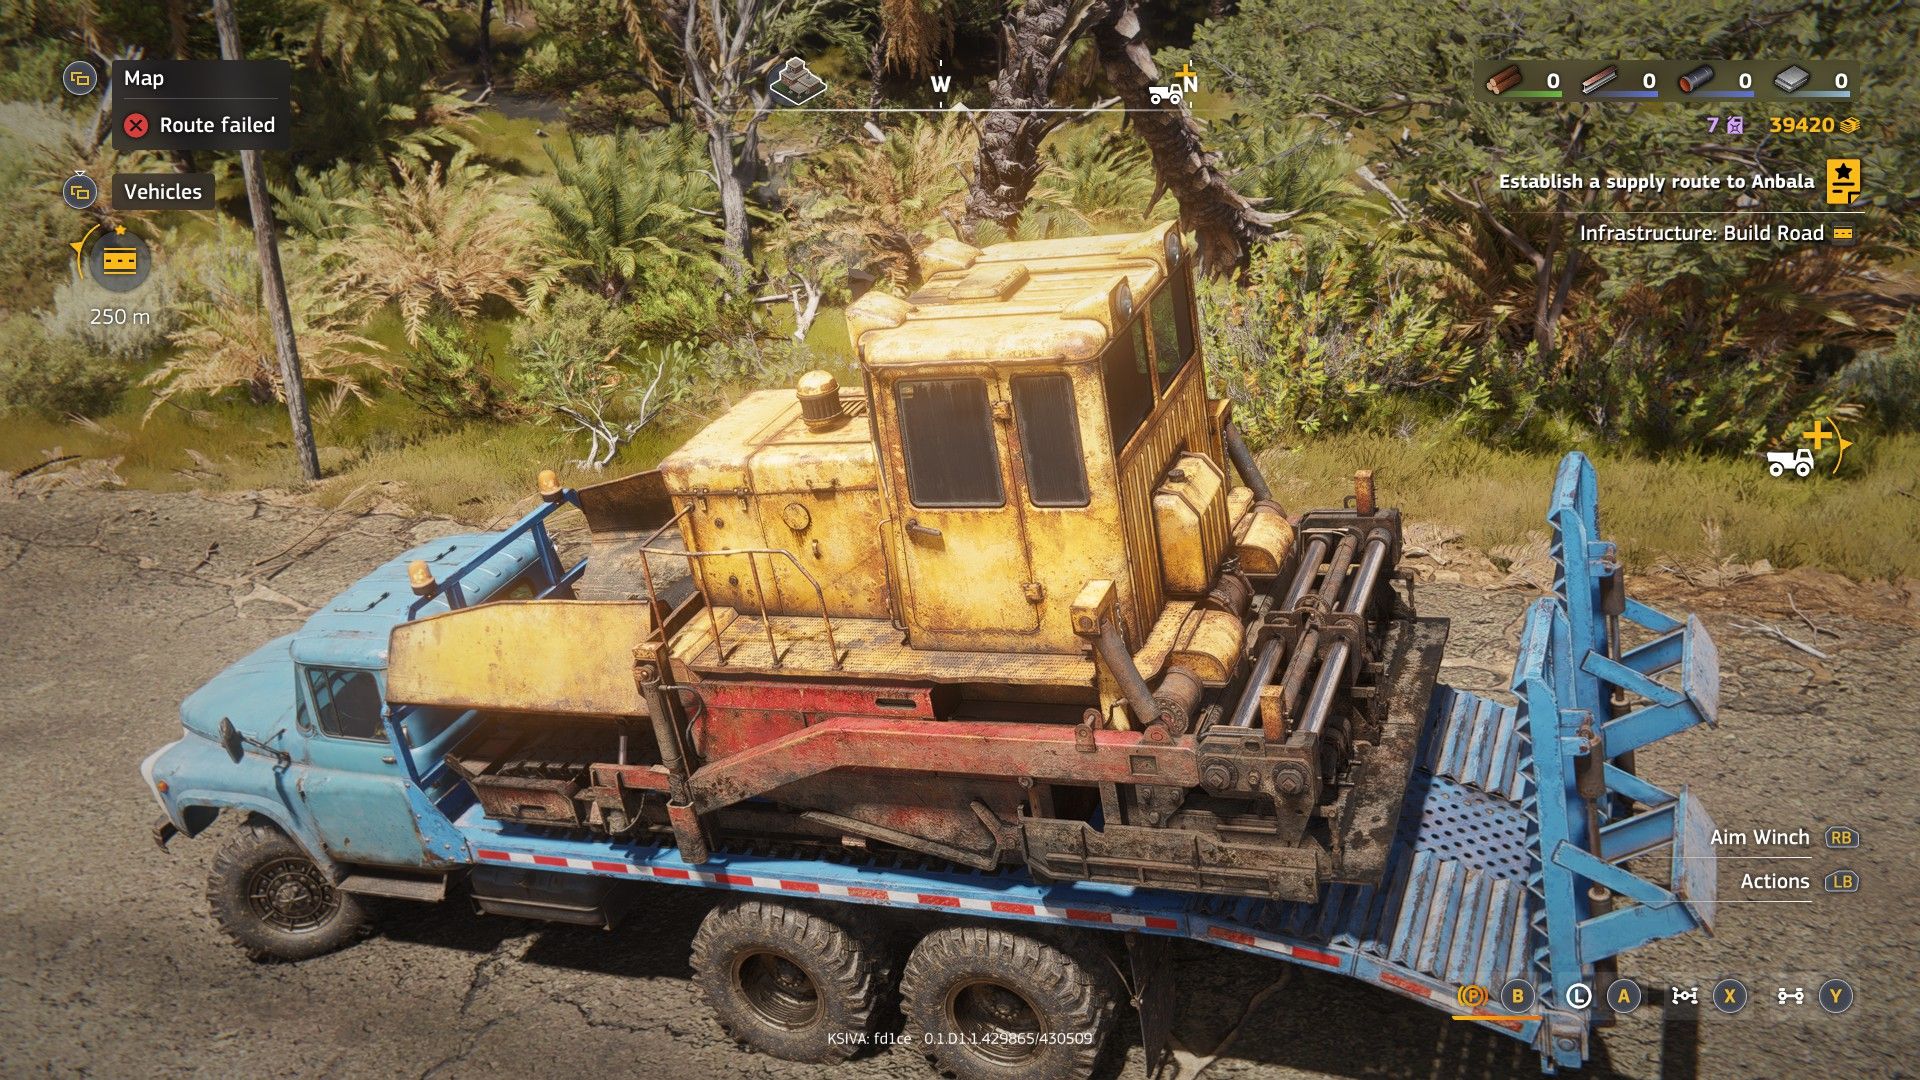
Some excitement did kick in any time I was asked to explore some new region, or scout a path from some busted town to an abandoned steel pipes factory. It’s in the simple act of getting from A to B that RoadCraft excels - an adventurous rumble to find out exactly what B looks like, or what lies between. This isn’t surprising. The developer’s previous SnowRunner and MudRunner games made the bumbling journey their core pleasure. The objective there is simpler, and there’s no hopping around from tow truck to road wrecker to sand presser to rolly polly boy. Those are games about driving, whereas RoadCraft is a game about logistics.
This is where things get mucky. There’s a tension between the management side of things and the physical act of driving about. Once a route has some decent roads (or at least some reinforcing sand) you will plot a course from, say, a settlement to an oil refinery. Then watch as a convoy of wee computer-controlled eejits drive to their destination as safely as possible. In this way you earn resources, and money to buy new, slightly better vehicles (a cargo truck with a built-in crane is your fist must-by vehicle - since it avoids some of that cumbersome vehicle swappage).
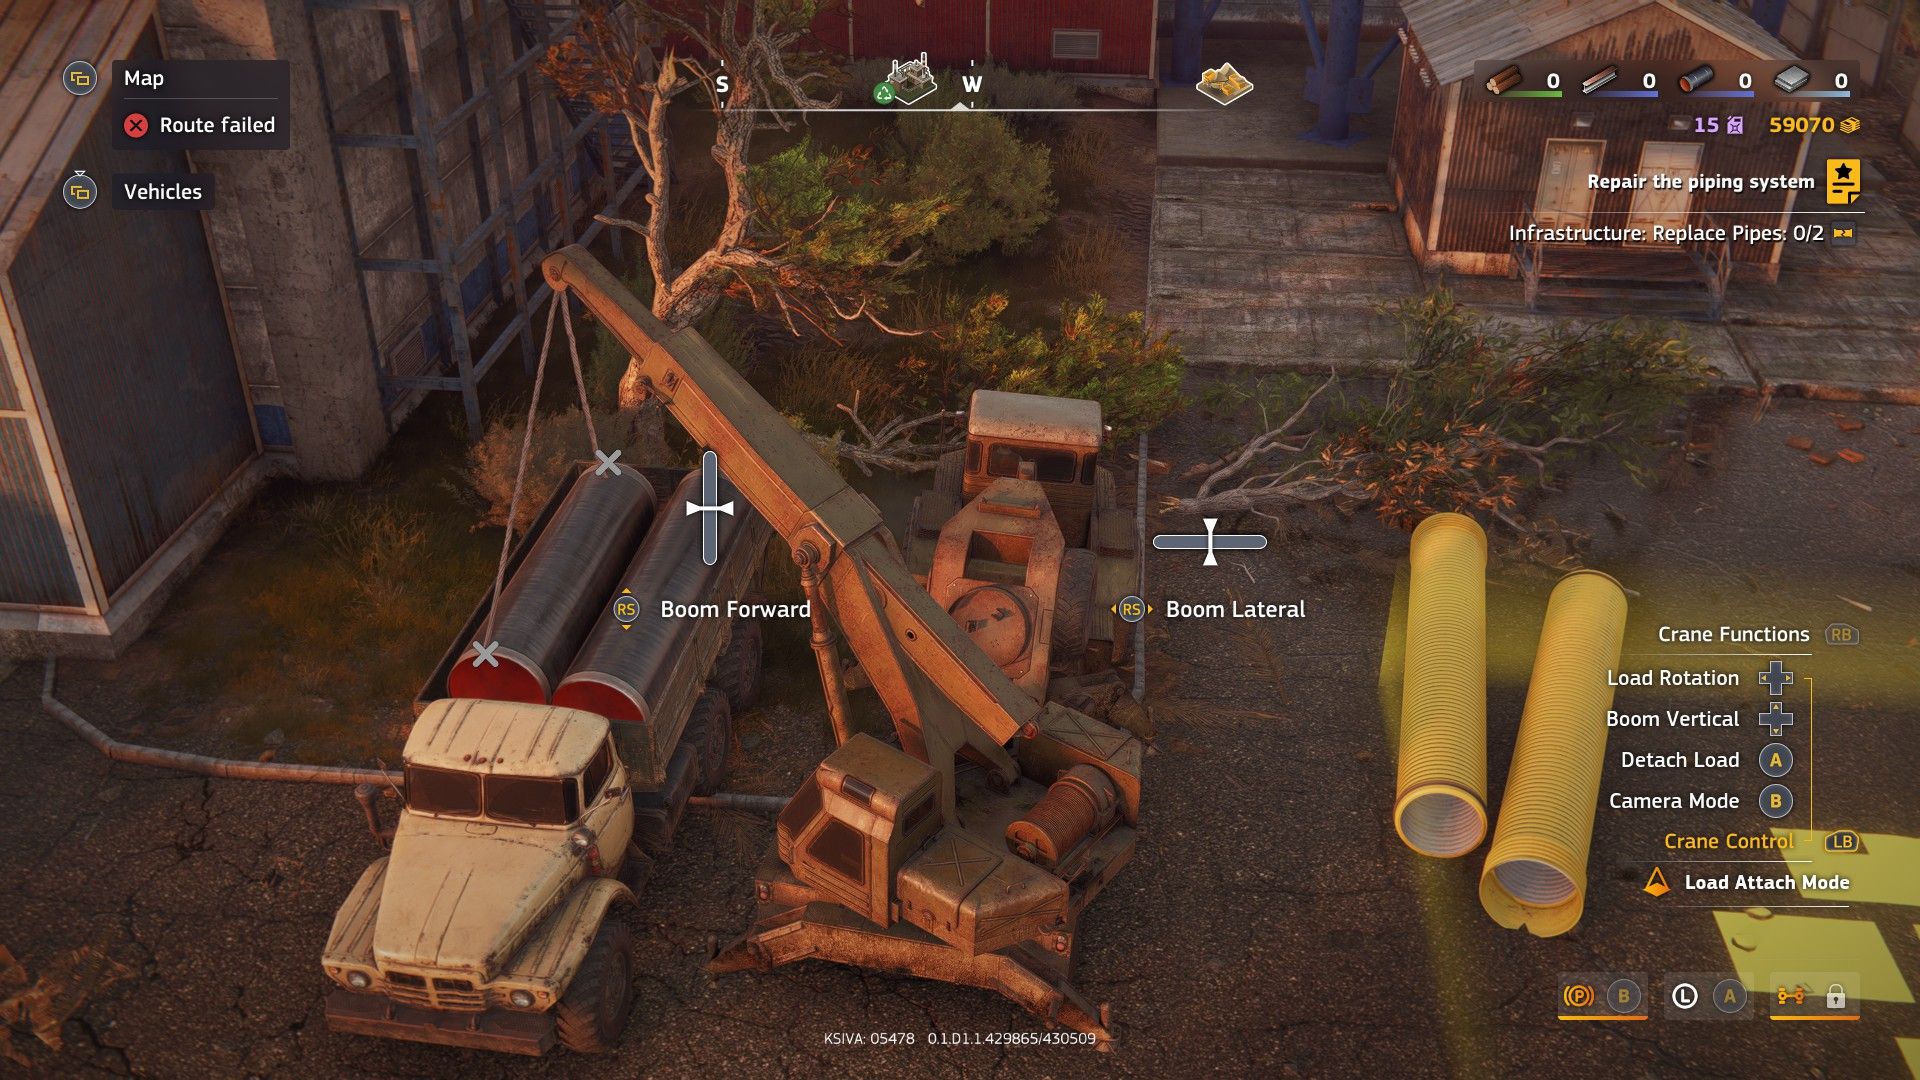
The crane controls remind me of learning to play Brothers: A Tale Of Two Sons. |Image credit:Rock Paper Shotgun / Focus Entertainment
While you become more adept at maneuvering through the muck and rocks of the landscape, those AI workmates aren’t always as adaptable. Plotting viable routes for your AI drivers can quickly become an act of parenting, as you pick up every little shopping trolley or abandoned car that the dumbasses ride straight into. It’s your responsibility to help these computerised HGV morons avoid even minor detritus - you’re the one with the eye in the sky, after all, a wide satellite map showing detailed road ruination with multiple levels of zoom. But I still felt like slapping the drivers in the back of the head. Please Jerry, attain a basic level of autonomy wouldya? Though there is comic relief when those same drivers come honking down the road in a panic, and crash into you as you try to lay down some sand or crane concrete debris into the back of a truck.
The conflict between hands-off management sim and do-it-yourself design is noticeable when you look at what specific tasks need to be done manually and what busy-bodying is outsourced to the game. You can unload big steel bars and slabs from the back of your cargo truck with the tap of a button, for example. But loading them onto the truck requires a crane and lots of your own work. You have to carry certain recyclable cargo from place to place, but refilling sand can be done at the push of a button anywhere in range of a sand quarry.
What does this game want me to be: a digger driver, or a foreman? Each of the time-savey features may individually make sense from the designer’s perspective, but it makes learning the language and intentions of the game more difficult. When I see processes like speedy sand loading or rapid cargo chucking, it makes me desire other quicker, button-tappy ways to auto-do things, which is arguably against the entire philosophy of the game’s slow and manual approach.
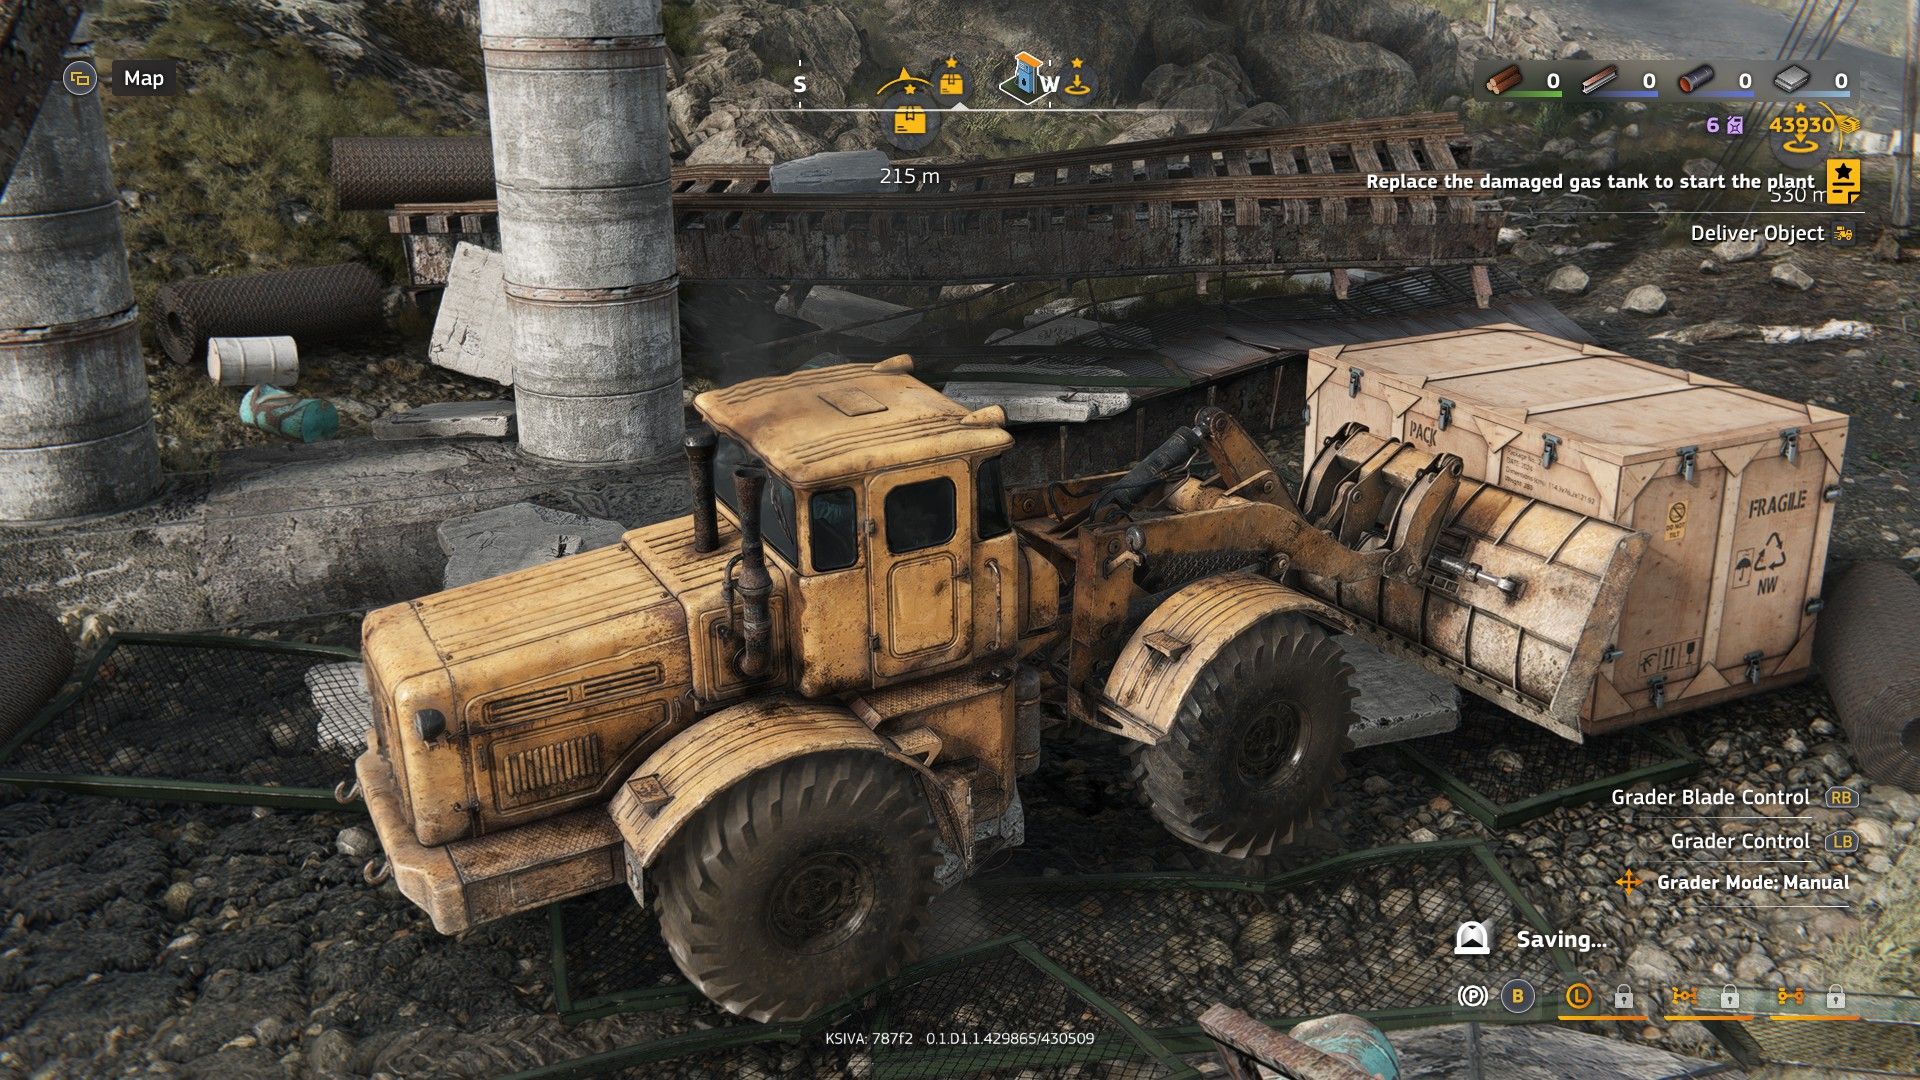
Obstacles can feel inconsistent, forcing you to learn what is destructible and what is impervious to even the heftiest steam roll. A portapotty? Destructible. A shopping trolley? Made of impervious supernatural alloy. |Image credit:Rock Paper Shotgun / Focus Entertainment
In its best moments it reminds me of the connective roadmaking and zipline networking of Death Stranding - a grindy walking sim that I found myself enjoying to my own utter astonishment. In RoadCraft, the building of roads is a multi-step physical process, rather than Norman Reedus’ hoovering up of resources and dumping them in a postbox. This should - in theory - feel more satisfying and meaningful. But somewhere in all the switching in and out of multiple vehicular bodies, I felt a juddering sense of “start-and-stop, start-and-stop, start-and-stop” that frustrated me. In multiplayer this problem may not exist, as each person can man one vehicle and take on a specialist role - sand flattener, rolly polly-er, earth fucker. But I haven’t found time to try that out - maybe in a future article.
If I had lots of free time, I would probably enjoy it a lot more. But I don’t, so tipping over with a cargo bay full of steel beams makes me frown, where it might have otherwise made me laugh. This, I think, is another issue. RoadCraft is a podcast game, in the same vein as Truck Simulator or Elite: Dangerous. There’s a big place for games like this in the world, sims that excel in delivering a specific kind of wonderful and comforting boredom. Slow tasks that act as a reassuring sedative in the manic whorl of life. But RoadCraft’s start-and-go flow makes it a bumpier ride for me. I was falling asleep, but I never quite drifted off into its promised dreamland.

Find out how we conduct our reviews by reading our review policy .
RoadCraft
PS5 , Xbox Series X/S , PC
Rock Paper Shotgun is better when you sign in
Sign in and join us on our journey to discover strange and compelling PC games.

All 75 Arc Raiders Blueprints and where to get them
These areas have the highest chance of giving you Blueprints

Image credit:Rock Paper Shotgun/Embark Studios

Looking for more Arc Raiders Blueprints? It’s a special day when you find a Blueprint, as they’re among the most valuable items in Arc Raiders. If you find a Blueprint that you haven’t already found, then you must make sure you hold onto it at all costs, because Blueprints are the key to one of the most important and powerful systems of meta-progression in the game.
This guide aims to be the very best guide on Blueprints you can find, starting with a primer on what exactly they are and how they work in Arc Raiders, before delving into exactly where to get Blueprints and the very best farming spots for you to take in your search.
We’ll also go over how to get Blueprints from other unlikely activities, such as destroying Surveyors and completing specific quests. And you’ll also find the full list of all 75 Blueprints in Arc Raiders on this page (including the newest Blueprints added with the Cold Snap update , such as the Deadline Blueprint and Firework Box Blueprint), giving you all the information you need to expand your own crafting repertoire.
In this guide:
- What are Blueprints in Arc Raiders?
- Full Blueprint list: All crafting recipes
- Where to find Blueprints in Arc Raiders Blueprints obtained from quests Blueprints obtained from Trials Best Blueprint farming locations

What are Blueprints in Arc Raiders?
Blueprints in Arc Raiders are special items which, if you manage to extract with them, you can expend to permanently unlock a new crafting recipe in your Workshop. If you manage to extract from a raid with an Anvil Blueprint, for example, you can unlock the ability to craft your very own Anvil Pistol, as many times as you like (as long as you have the crafting materials).
To use a Blueprint, simply open your Inventory while in the lobby, then right-click on the Blueprint and click “Learn And Consume” . This will permanently unlock the recipe for that item in your Workshop. As of the Stella Montis update, there are allegedly 75 different Blueprints to unlock - although only 68 are confirmed to be in the game so far. You can see all the Blueprints you’ve found and unlocked by going to the Workshop menu, and hitting “R” to bring up the Blueprint screen.
It’s possible to find duplicates of past Blueprints you’ve already unlocked. If you find these, then you can either sell them, or - if you like to play with friends - you can take it into a match and gift it to your friend so they can unlock that recipe for themselves. Another option is to keep hold of them until the time comes to donate them to the Expedition.
Full Blueprint list: All crafting recipes
Below is the full list of all the Blueprints that are currently available to find in Arc Raiders, and the crafting recipe required for each item:
| Blueprint | Type | Recipe | Crafted At |
|---|---|---|---|
| Bettina | Weapon | 3x Advanced Mechanical Components 3x Heavy Gun Parts 3x Canister | Gunsmith 3 |
| Blue Light Stick | Quick Use | 3x Chemicals | Utility Station 1 |
| Aphelion | Weapon | 3x Magnetic Accelerator 3x Complex Gun Parts 1x Matriarch Reactor | Gunsmith 3 |
| Combat Mk. 3 (Flanking) | Augment | 2x Advanced Electrical Components 3x Processor | Gear Bench 3 |
| Combat Mk. 3 (Aggressive) | Augment | 2x Advanced Electrical Components 3x Processor | Gear Bench 3 |
| Complex Gun Parts | Material | 2x Light Gun Parts 2x Medium Gun Parts 2x Heavy Gun Parts | Refiner 3 |
| Fireworks Box | Quick Use | 1x Explosive Compound 3x Pop Trigger | Explosives Station 2 |
| Gas Mine | Mine | 4x Chemicals 2x Rubber Parts | Explosives Station 1 |
| Green Light Stick | Quick Use | 3x Chemicals | Utility Station 1 |
| Pulse Mine | Mine | 1x Crude Explosives 1x Wires | Explosives Station 1 |
| Seeker Grenade | Grenade | 1x Crude Explosives 2x ARC Alloy | Explosives Station 1 |
| Looting Mk. 3 (Survivor) | Augment | 2x Advanced Electrical Components 3x Processor | Gear Bench 3 |
| Angled Grip II | Mod | 2x Mechanical Components 3x Duct Tape | Gunsmith 2 |
| Angled Grip III | Mod | 2x Mod Components 5x Duct Tape | Gunsmith 3 |
| Hullcracker | Weapon | 1x Magnetic Accelerator 3x Heavy Gun Parts 1x Exodus Modules | Gunsmith 3 |
| Launcher Ammo | Ammo | 5x Metal Parts 1x Crude Explosives | Workbench 1 |
| Anvil | Weapon | 5x Mechanical Components 5x Simple Gun Parts | Gunsmith 2 |
| Anvil Splitter | Mod | 2x Mod Components 3x Processor | Gunsmith 3 |
| ??? | ??? | ??? | ??? |
| Barricade Kit | Quick Use | 1x Mechanical Components | Utility Station 2 |
| Blaze Grenade | Grenade | 1x Explosive Compound 2x Oil | Explosives Station 3 |
| Bobcat | Weapon | 3x Advanced Mechanical Components 3x Light Gun Parts | Gunsmith 3 |
| Osprey | Weapon | 2x Advanced Mechanical Components 3x Medium Gun Parts 7x Wires | Gunsmith 3 |
| Burletta | Weapon | 3x Mechanical Components 3x Simple Gun Parts | Gunsmith 1 |
| Compensator II | Mod | 2x Mechanical Components 4x Wires | Gunsmith 2 |
| Compensator III | Mod | 2x Mod Components 8x Wires | Gunsmith 3 |
| Defibrillator | Quick Use | 9x Plastic Parts 1x Moss | Medical Lab 2 |
| ??? | ??? | ??? | ??? |
| Equalizer | Weapon | 3x Magnetic Accelerator 3x Complex Gun Parts 1x Queen Reactor | Gunsmith 3 |
| Extended Barrel | Mod | 2x Mod Components 8x Wires | Gunsmith 3 |
| Extended Light Mag II | Mod | 2x Mechanical Components 3x Steel Spring | Gunsmith 2 |
| Extended Light Mag III | Mod | 2x Mod Components 5x Steel Spring | Gunsmith 3 |
| Extended Medium Mag II | Mod | 2x Mechanical Components 3x Steel Spring | Gunsmith 2 |
| Extended Medium Mag III | Mod | 2x Mod Components 5x Steel Spring | Gunsmith 3 |
| Extended Shotgun Mag II | Mod | 2x Mechanical Components 3x Steel Spring | Gunsmith 2 |
| Extended Shotgun Mag III | Mod | 2x Mod Components 5x Steel Spring | Gunsmith 3 |
| Remote Raider Flare | Quick Use | 2x Chemicals 4x Rubber Parts | Utility Station 1 |
| Heavy Gun Parts | Material | 4x Simple Gun Parts | Refiner 2 |
| Venator | Weapon | 2x Advanced Mechanical Components 3x Medium Gun Parts 5x Magnet | Gunsmith 3 |
| Il Toro | Weapon | 5x Mechanical Components 6x Simple Gun Parts | Gunsmith 1 |
| Jolt Mine | Mine | 1x Electrical Components 1x Battery | Explosives Station 2 |
| Explosive Mine | Mine | 1x Explosive Compound 1x Sensors | Explosives Station 3 |
| Jupiter | Weapon | 3x Magnetic Accelerator 3x Complex Gun Parts 1x Queen Reactor | Gunsmith 3 |
| Light Gun Parts | Material | 4x Simple Gun Parts | Refiner 2 |
| Lightweight Stock | Mod | 2x Mod Components 5x Duct Tape | Gunsmith 3 |
| Lure Grenade | Grenade | 1x Speaker Component 1x Electrical Components | Utility Station 2 |
| Medium Gun Parts | Material | 4x Simple Gun Parts | Refiner 2 |
| Torrente | Weapon | 2x Advanced Mechanical Components 3x Medium Gun Parts 6x Steel Spring | Gunsmith 3 |
| Muzzle Brake II | Mod | 2x Mechanical Components 4x Wires | Gunsmith 2 |
| Muzzle Brake III | Mod | 2x Mod Components 8x Wires | Gunsmith 3 |
| Padded Stock | Mod | 2x Mod Components 5x Duct Tape | Gunsmith 3 |
| Shotgun Choke II | Mod | 2x Mechanical Components 4x Wires | Gunsmith 2 |
| Shotgun Choke III | Mod | 2x Mod Components 8x Wires | Gunsmith 3 |
| Shotgun Silencer | Mod | 2x Mod Components 8x Wires | Gunsmith 3 |
| Showstopper | Grenade | 1x Advanced Electrical Components 1x Voltage Converter | Explosives Station 3 |
| Silencer I | Mod | 2x Mechanical Components 4x Wires | Gunsmith 2 |
| Silencer II | Mod | 2x Mod Components 8x Wires | Gunsmith 3 |
| Snap Hook | Quick Use | 2x Power Rod 3x Rope 1x Exodus Modules | Utility Station 3 |
| Stable Stock II | Mod | 2x Mechanical Components 3x Duct Tape | Gunsmith 2 |
| Stable Stock III | Mod | 2x Mod Components 5x Duct Tape | Gunsmith 3 |
| Tagging Grenade | Grenade | 1x Electrical Components 1x Sensors | Utility Station 3 |
| Tempest | Weapon | 3x Advanced Mechanical Components 3x Medium Gun Parts 3x Canister | Gunsmith 3 |
| Trigger Nade | Grenade | 2x Crude Explosives 1x Processor | Explosives Station 2 |
| Vertical Grip II | Mod | 2x Mechanical Components 3x Duct Tape | Gunsmith 2 |
| Vertical Grip III | Mod | 2x Mod Components 5x Duct Tape | Gunsmith 3 |
| Vita Shot | Quick Use | 2x Antiseptic 1x Syringe | Medical Lab 3 |
| Vita Spray | Quick Use | 3x Antiseptic 1x Canister | Medical Lab 3 |
| Vulcano | Weapon | 1x Magnetic Accelerator 3x Heavy Gun Parts 1x Exodus Modules | Gunsmith 3 |
| Wolfpack | Grenade | 2x Explosive Compound 2x Sensors | Explosives Station 3 |
| Red Light Stick | Quick Use | 3x Chemicals | Utility Station 1 |
| Smoke Grenade | Grenade | 14x Chemicals 1x Canister | Utility Station 2 |
| Deadline | Mine | 3x Explosive Compound 2x ARC Circuitry | Explosives Station 3 |
| Trailblazer | Grenade | 1x Explosive Compound 1x Synthesized Fuel | Explosives Station 3 |
| Tactical Mk. 3 (Defensive) | Augment | 2x Advanced Electrical Components 3x Processor | Gear Bench 3 |
| Tactical Mk. 3 (Healing) | Augment | 2x Advanced Electrical Components 3x Processor | Gear Bench 3 |
| Yellow Light Stick | Quick Use | 3x Chemicals | Utility Station 1 |
Note: The missing Blueprints in this list likely have not actually been added to the game at the time of writing, because none of the playerbase has managed to find any of them. As they are added to the game, I will update this page with the most relevant information so you know exactly how to get all 75 Arc Raiders Blueprints.
Where to find Blueprints in Arc Raiders
Below is a list of all containers, modifiers, and events which maximise your chances of finding Blueprints:
- Certain quests reward you with specific Blueprints .
- Completing Trials has a high chance of offering Blueprints as rewards.
- Surveyors have a decent chance of dropping Blueprints on death.
- High loot value areas tend to have a greater chance of spawning Blueprints.
- Night Raids and Storms may increase rare Blueprint spawn chances in containers.
- Containers with higher numbers of items may have a higher tendency to spawn Blueprints. As a result, Blue Gate (which has many “large” containers containing multiple items) may give you a higher chance of spawning Blueprints.
- Raider containers (Raider Caches, Weapon Boxes, Medical Bags, Grenade Tubes) have increased Blueprint drop rates. As a result, the Uncovered Caches event gives you a high chance of finding Blueprints.
- Security Lockers have a higher than average chance of containing Blueprints.
- Certain Blueprints only seem to spawn under specific circumstances: Tempest Blueprint only spawns during Night Raid events. Vulcano Blueprint only spawns during Hidden Bunker events. Jupiter and Equaliser Blueprints only spawn during Harvester events.

Raider Caches, Weapon Boxes, and other raider-oriented container types have a good chance of offering Blueprints. |Image credit:Rock Paper Shotgun/Embark Studios
Blueprints have a very low chance of spawning in any container in Arc Raiders, around 1-2% on average. However, there is a higher chance of finding Blueprints in particular container types. Specifically, you can find more Blueprints in Raider containers and security lockers.
Beyond this, if you’re looking for Blueprints you should focus on regions of the map which are marked as having particularly high-value loot. Areas such as the Control Tower in Dam Battlegrounds, the Arrival and Departure Buildings in Spaceport, and Pilgrim’s Peak in Blue Gate all have a better-than-average chance of spawning Blueprints somewhere amongst all their containers. Night Raids and Electromagnetic Storm events also increase the drop chances of certain Blueprints .
In addition to these containers, you can often loot Blueprints from destroyed Surveyors - the largest of the rolling ball ARC. Surveyors are more commonly found on the later maps - Spaceport and Blue Gate - and if one spawns in your match, you’ll likely see it by the blue laser beam that it casts into the sky while “surveying”.
Surveyors are quite well-armoured and will very speedily run away from you once it notices you, but if you can take one down then make sure you loot all its parts for a chance of obtaining certain unusual Blueprints.
Blueprints obtained from quests
One way in which you can get Blueprints is by completing certain quests for the vendors in Speranza. Some quests will reward you with a specific item Blueprint upon completion, so as long as you work through all the quests in Arc Raiders, you are guaranteed those Blueprints.
Here is the full list of all Blueprints you can get from quest rewards:
- Trigger Nade Blueprint: Rewarded after completing “Sparks Fly”.
- Lure Grenade Blueprint: Rewarded after completing “Greasing Her Palms”.
- Burletta Blueprint: Rewarded after completing “Industrial Espionage”.
- Hullcracker Blueprint (and Launcher Ammo Blueprint): Rewarded after completing “The Major’s Footlocker”.
Alas, that’s only 4 Blueprints out of a total of 75 to unlock, so for the vast majority you will need to find them yourself during a raid. If you’re intent on farming Blueprints, then it’s best to equip yourself with cheap gear in case you lose it, but don’t use a free loadout because then you won’t get a safe pocket to stash any new Blueprint you find. No pain in Arc Raiders is sharper than failing to extract with a new Blueprint you’ve been after for a dozen hours already.

One of the best ways to get Blueprints is by hitting three stars on all five Trials every week. |Image credit:Rock Paper Shotgun/Embark Studios
Blueprints obtained from Trials
One of the very best ways to get Blueprints is as rewards for completing Trials in Arc Raiders. Trials are unlocked from Level 15 onwards, and allow you to earn rewards by focusing on certain tasks over the course of several raids. For example, one Trial might task you with dealing damage to Hornets, while another might challenge you to loot Supply Drops.
Trials refresh on a weekly basis, with a new week bringing five new Trials. Each Trial can offer up to three rewards after passing certain score milestones, and it’s possible to receive very high level loot from these reward crates - including Blueprints. So if you want to unlock as many Blueprints as possible, you should make a point of completing as many Trials as possible each week.
Best Blueprint farming locations
The very best way to get Blueprints is to frequent specific areas of the maps which combine high-tier loot pools with the right types of containers to search. Here are my recommendations for where to find Blueprints on every map, so you can always keep the search going for new crafting recipes to unlock.

Image credit:Rock Paper Shotgun/Embark Studios
Dam Battlegrounds
The best places to farm Blueprints on Dam Battlegrounds are the Control Tower, Power Generation Complex, Ruby Residence, and Pale Apartments . The first two regions, despite only being marked on the map as mid-tier loot, contain a phenomenal number of containers to loot. The Control Tower can also contain a couple of high-tier Security Lockers - though of course, you’ll need to have unlocked the Security Breach skill at the end of the Survival tree.
There’s also a lot of reporting amongst the playerbase that the Residential areas in the top-left of the map - Pale Apartments and Ruby Residence - give you a comparatively strong chance of finding Blueprints. Considering their size, there’s a high density of containers to loot in both locations, and they also have the benefit of being fairly out of the way. So you’re more likely to have all the containers to yourself.
Buried City
The best Blueprint farming locations on Buried City are the Santa Maria Houses, Grandioso Apartments, Town Hall, and the various buildings of the New District . Grandioso Apartments has a lower number of containers than the rest, but a high chance of spawning weapon cases - which have good Blueprint drop rates. The others are high-tier loot areas, with plenty of lootable containers - including Security Lockers.
Spaceport
The best places to find Blueprints on Spaceport are the Arrival and Departure Buildings, as well as Control Tower A6 and the Launch Towers . All these areas are labelled as high-value loot regions, and many of them are also very handily connected to one another by the Spaceport wall, which you can use to quickly run from one area to the next. At the tops of most of these buildings you’ll find at least one Security Locker, so this is an excellent farming route for players looking to find Blueprints.
The downside to looting Blueprints on Spaceport is that all these areas are hotly contested, particularly in Duos and Squads. You’ll need to be very focused and fast in order to complete the full farming route.

Image credit:Rock Paper Shotgun/Embark Studios
Blue Gate
Blue Gate tends to have a good chance of dropping Blueprints, potentially because it generally has a high number of containers which can hold lots of items; so there’s a higher chance of a Blueprint spawning in each container. In my experience, the best Blueprint farming spots on Blue Gate are Pilgrim’s Peak, Raider’s Refuge, the Ancient Fort, and the Underground Complex beneath the Warehouse .
All of these areas contain a wealth of containers to loot. Raider’s Refuge has less to loot, but the majority of the containers in and around the Refuge are raider containers, which have a high chance of containing Blueprints - particularly during major events.
Stella Montis
On the whole, Stella Montis seems to have a very low drop rate for Blueprints (though a high chance of dropping other high-tier loot). If you do want to try farming Blueprints on this map, the best places to find Blueprints in Stella Montis are Medical Research, Assembly Workshop, and the Business Center . These areas have the highest density of containers to loot on the map.
In addition to this, the Western Tunnel has a few different Security Lockers to loot, so while there’s very little to loot elsewhere in this area of the map, it’s worth hitting those Security Lockers if you spawn there at the start of a match.
That wraps up this primer on how to get all the Blueprints in Arc Raiders as quickly as possible. With the Expedition system constantly resetting a large number of players’ Blueprints, it’s more important than ever to have the most up-to-date information on where to find all these Blueprints.
While you’re here, be sure to check out our Arc Raiders best guns tier list , as well as our primers on the best skills to unlock and all the different Field Depot locations on every map.


ARC Raiders
PS5 , Xbox Series X/S , PC
Rock Paper Shotgun is better when you sign in
Sign in and join us on our journey to discover strange and compelling PC games.
