Potential BIOS dive aside, Battlefield 6 goes surprisingly easy on PC hardware
GPUs and settings tested in DICE’s hoo-rahhing shooter

Image credit:Rock Paper Shotgun/EA

Battlefield 6 marks the first time, in all my years of hardwaring, that I have been summoned to someone’s house in order to make a PC game work. I can’t offer this Jim’ll Fix It service to everyone, not least because IGN’s lawyers have issues with the name, so I’ll just say this: Enabling Secure Boot and TPM 2.0 is inconvenient, but not as fiddly as it sounds, and can be done with at most a couple of toggles in your BIOS/UEFI’s Security section.
As it turns out, that’s probably the worst of BF6’s hardware worries. I don’t know who forgot to tell DICE that all FPS blockbusters must now be callously demanding graphics card shin-kickers, but in both the campaign and multiplayer, this seems to run quite… well? Likely well enough that as long as you’re on any reasonably modern rig, you might not need to do much twiddling with the visual settings.
Still. Let’s have a go at it anyway.

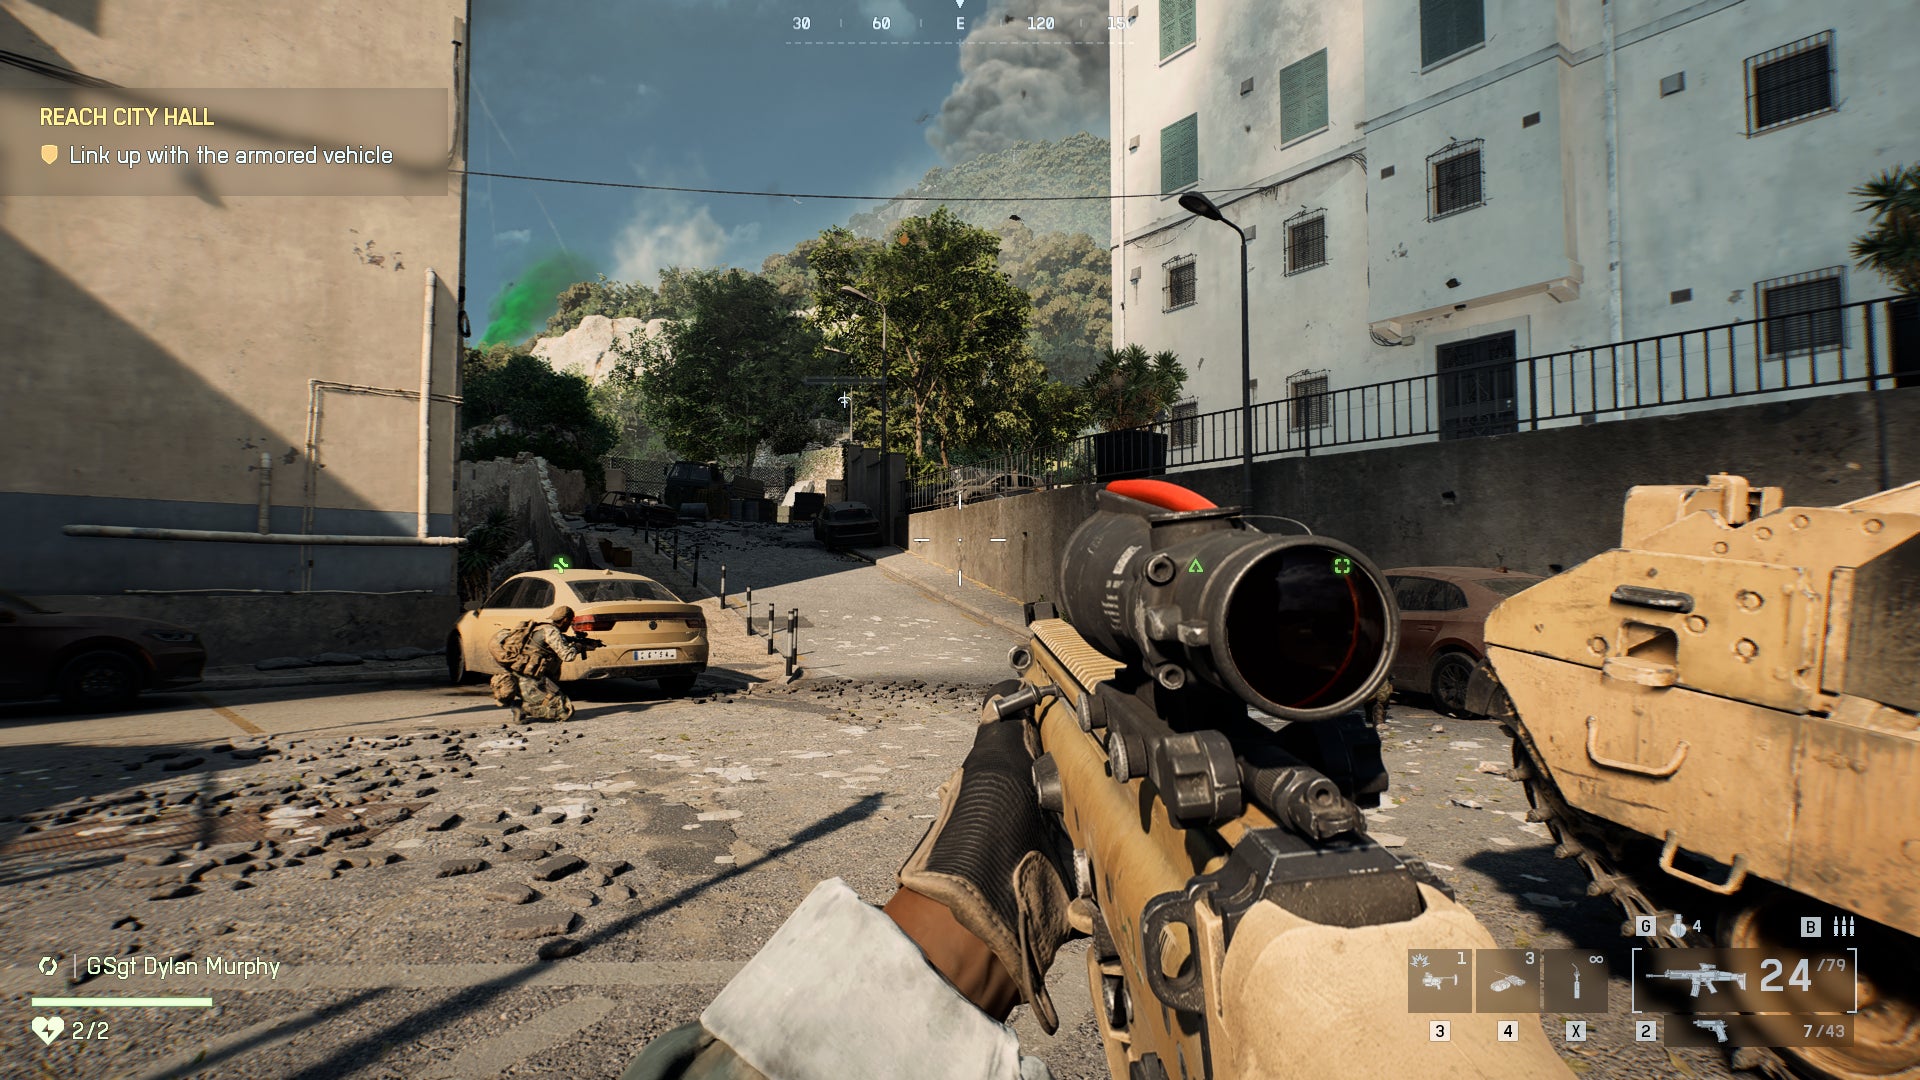
Image credit:Rock Paper Shotgun/EA
Battlefield 6 system requirements and PC performance
For a game that ultimately performs rather smoothly, BF6 does exhibit some oddities in its PC requirements. There’s the TPM and Secure Boot requirement, of course, which I suspect adds the need for a newer generation of CPUs than the game might have required otherwise. It’s rare to see two different install sizes between the minimum and recommended specs, too – EA say this is owing to how the highest-res textures are an optional download. I wasn’t offered this option when downloading through Steam, the luxury textures being bundled in by default, but then it could be added in the planned day-one patch .
Battlefield 6 minimum PC specs
- OS: Windows 10
- CPU: Intel Core i5-8400 / AMD Ryzen 5 2600
- RAM: 16GB RAM
- GPU: Nvidia GeForce RTX 2060 / AMD Radeon RX 5600 XT 6GB / Intel Arc A380
- DirectX: Version 12
- Storage: 55GB available space
- Additional Notes: TPM 2.0 Enabled, UEFI Secure Booth Enabled, HVCI Capable, VBS Capable
Battlefield 6 recommended PC specs
- OS: Windows 11
- CPU: Intel Core i7-10700 / AMD Ryzen 7 3700X
- RAM: 16GB RAM
- GPU: Nvidia RTX 3060 Ti / AMD Radeon RX 6700 XT / Intel Arc B580
- DirectX: Version 12
- Storage: 80GB available space
- Additional Notes: TPM 2.0 Enabled, UEFI Secure Booth Enabled, HVCI Capable, VBS Capable
Fortunately, nothing here is too mad, with the recommended GPUs in particular comprised of older mid-range cards and newer budget models. After finding a good benchmarking spot – a highly explosion-ridden, destruction-heavy armoured attack sequence early in the campaign – I tried the Overkill preset on the Arc B580 , which at its natural 1080p resolution, averaged a comfortable 68fps. While Intel’s GPU had the advantage of pairing with the RPS Test Rig’s very much above-spec Ryzen 7 9800X3D, that’s inarguably a good result for a cheap card running non-upscaled max settings.
Even the underpowered RTX 5050 had a solid go, averaging 62fps – also on Overkill – with native-res TAA, and enabling DLSS upscaling on Quality mode pushed that to a slick 79fps. BF6’s DLSS 4 support also let it switch on 4x Multi Frame Generation (MFG) for 185fps, and although most of those weren’t real frames, everything looked smooth and clean in motion. Input lag – frame generation’s ancient enemy – didn’t spike too high either, making MFG a viable option, so long as there’s a strong base of conventional frames to build on.

Image credit:Rock Paper Shotgun/EA
Plenty of other affordable cards make the grade too. Without DLSS, the RTX 4060 managed 64fps at 1080p/Overkill, rising to 73fps on the less VRAM-intensive Ultra. The 8GB version of the RTX 4060 Ti only went slightly faster, averaging 67fps at 1080p, but with DLSS on Quality it could still hit 63fps at 1440p. Heading up a couple of GeForce tiers, Quality DLSS paved the way for the RTX 4070 Ti to produce 114fps at 1440p – or 174fps with 2x frame gen – and the same settings were more than playable at 4K, averaging 107fps with frame gen and 73fps without.
Battlefield 6 also scales well with the latest and greatest hardware, with the RTX 5080 pumping out 102fps at 4K/Overkill with just a touch of Quality DLSS. 4x MFG pushed this to up to 277fps, with aiming still feeling sharp, though if you don’t have a 240Hz-plus monitor then it makes more sense to stick with 2x or 3x. Otherwise, you’re just spending resources to generate frames you can’t see.
I’ve been saying “averaged” so much because there can be framerate peaks and troughs, depending on what’s happening on-screen: the same PC might render a hectic firefight around 80fps and a quiet sneak through a hallway at 100fps. But in practice, these oscillations aren’t so sudden as to be particularly noticeable, and I never witnessed any bothersome stuttering, even when I was wilfully disregarding the game’s warnings about graphics memory shortages.
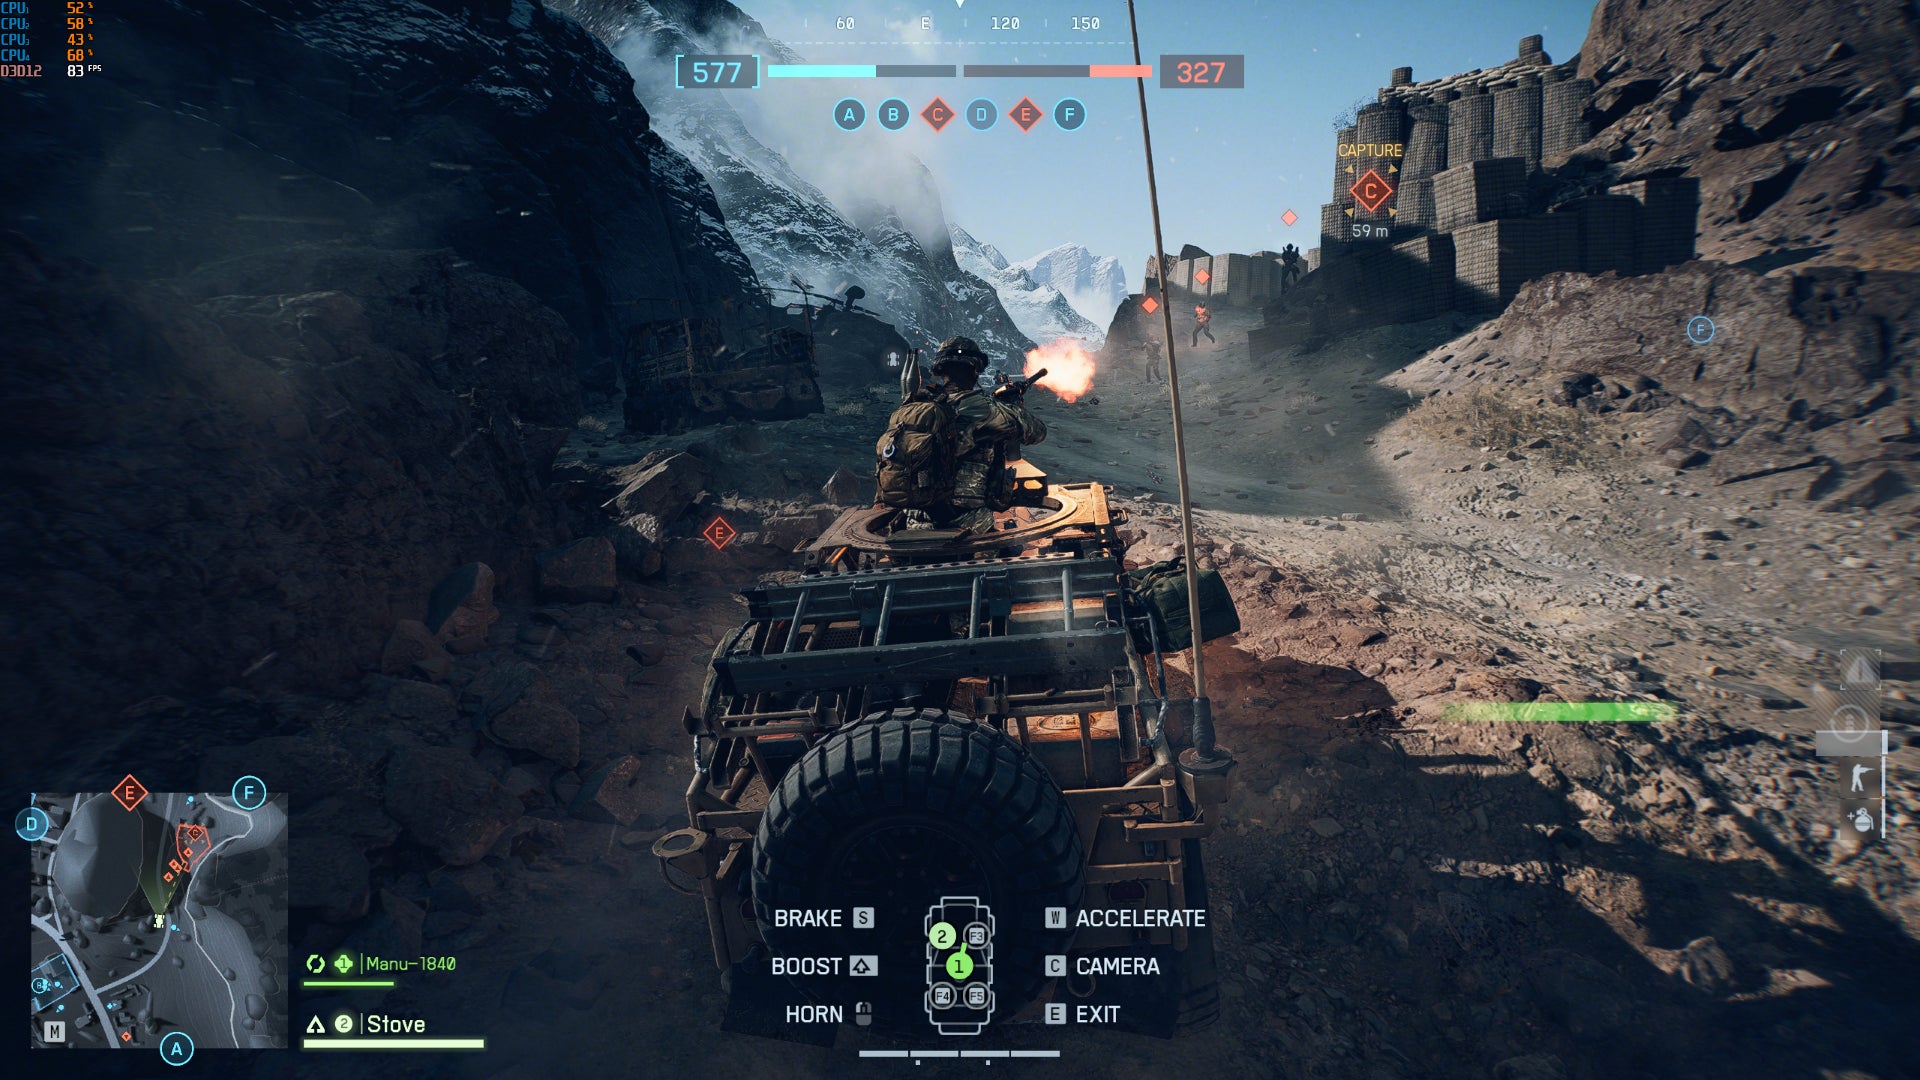
Image credit:Rock Paper Shotgun/EA
What the hell, Battlefield 6? You’re an action game in 2025. Aren’t you supposed to be sluggish and forcibly ray traced, or what. It’ll even run on a base-model Asus ROG Ally , albeit needing the resolution dropped to 1280x720 and FSR upscaling on Quality mode to keep Low quality reliably above 30fps. Still, that’s better than on the Steam Deck , whose Secure Boot incompatibility takes it out of the running.
As for Battlefield’s historical proclivity for bugs , BF6 can’t entirely help itself, but then they’re also mainly limited to minor cosmetic flubs. The ragdolls of fresh kills jerking upwards before flopping back down, for instance, or machine gun turrets sometimes popping out of existence upon destruction, instead of rolling a falling-apart animation. There’s little evidence, including from what I’ve played of the multiplayer, for the kind of major structural weaknesses that afflicted previous Battlefields.

Image credit:Rock Paper Shotgun/EA
Battlefield 6 best settings guide
The gap between BF6’s highest and lowest quality settings confirms that trading shininess for speed is a feasible endeavour – which sounds obvious, yet hasn’t always been the case with recent big-budget shooters. The RTX 4060, that modest 8GB GPU that took the Overkill preset to 64fps at 1080p? That also averaged 73fps on Ultra, 84fps on High, 97fps on Medium, and 110fps on Low, so there are clearly gains to be had.
Given the better-looking settings run well on anything outside of ancient hardware and little handhelds, I wouldn’t suggest getting too chop-happy, though it’s not like Low and Medium are hideous either. In fact, certain changes – like switching anti-aliasing from the default TAA to DLSS, or disabling the murky chromatic aberration effect – can make Battlefield 6 both run and look better.
Here’s what I’ve settled on, after testing the performance impact of every individual graphics setting:
- Textures quality: Ultra
- Terrain quality: Low
- Sun shadow quality: High
- Screen space AO & GI: GTAO High
- Weapon motion blur: 0
- World motion blur: 0
- Chromatic aberration: Off
- Upscaling technique: DLSS/FSR on Quality
- Everything else: Overkill preset equivalent
Dropping from those gigabyte-devouring Overkill textures to Ultra frees up a lot of video memory usage while granting a modest FPS boost, so try it out even if you’ve got a relatively muscular rig. Terrain quality and sun shadow quality also grant small framerate bonuses, but it’s the GTAO High setting for screen space AO & GI that’s really worth choosing. Besides making the game run faster, it also produced a more stable framerate, so you’ll see less of the ups-and-downs that I mentioned earlier.
Motion blur can be enabled or disabled to taste – it doesn’t affect performance either way – but when it’s as easy to get above 60fps as it is here, it doesn’t really serve a purpose. And chromatic aberration, to my eyes, actively makes BF6 look worse, so switch it off for a clearer view.
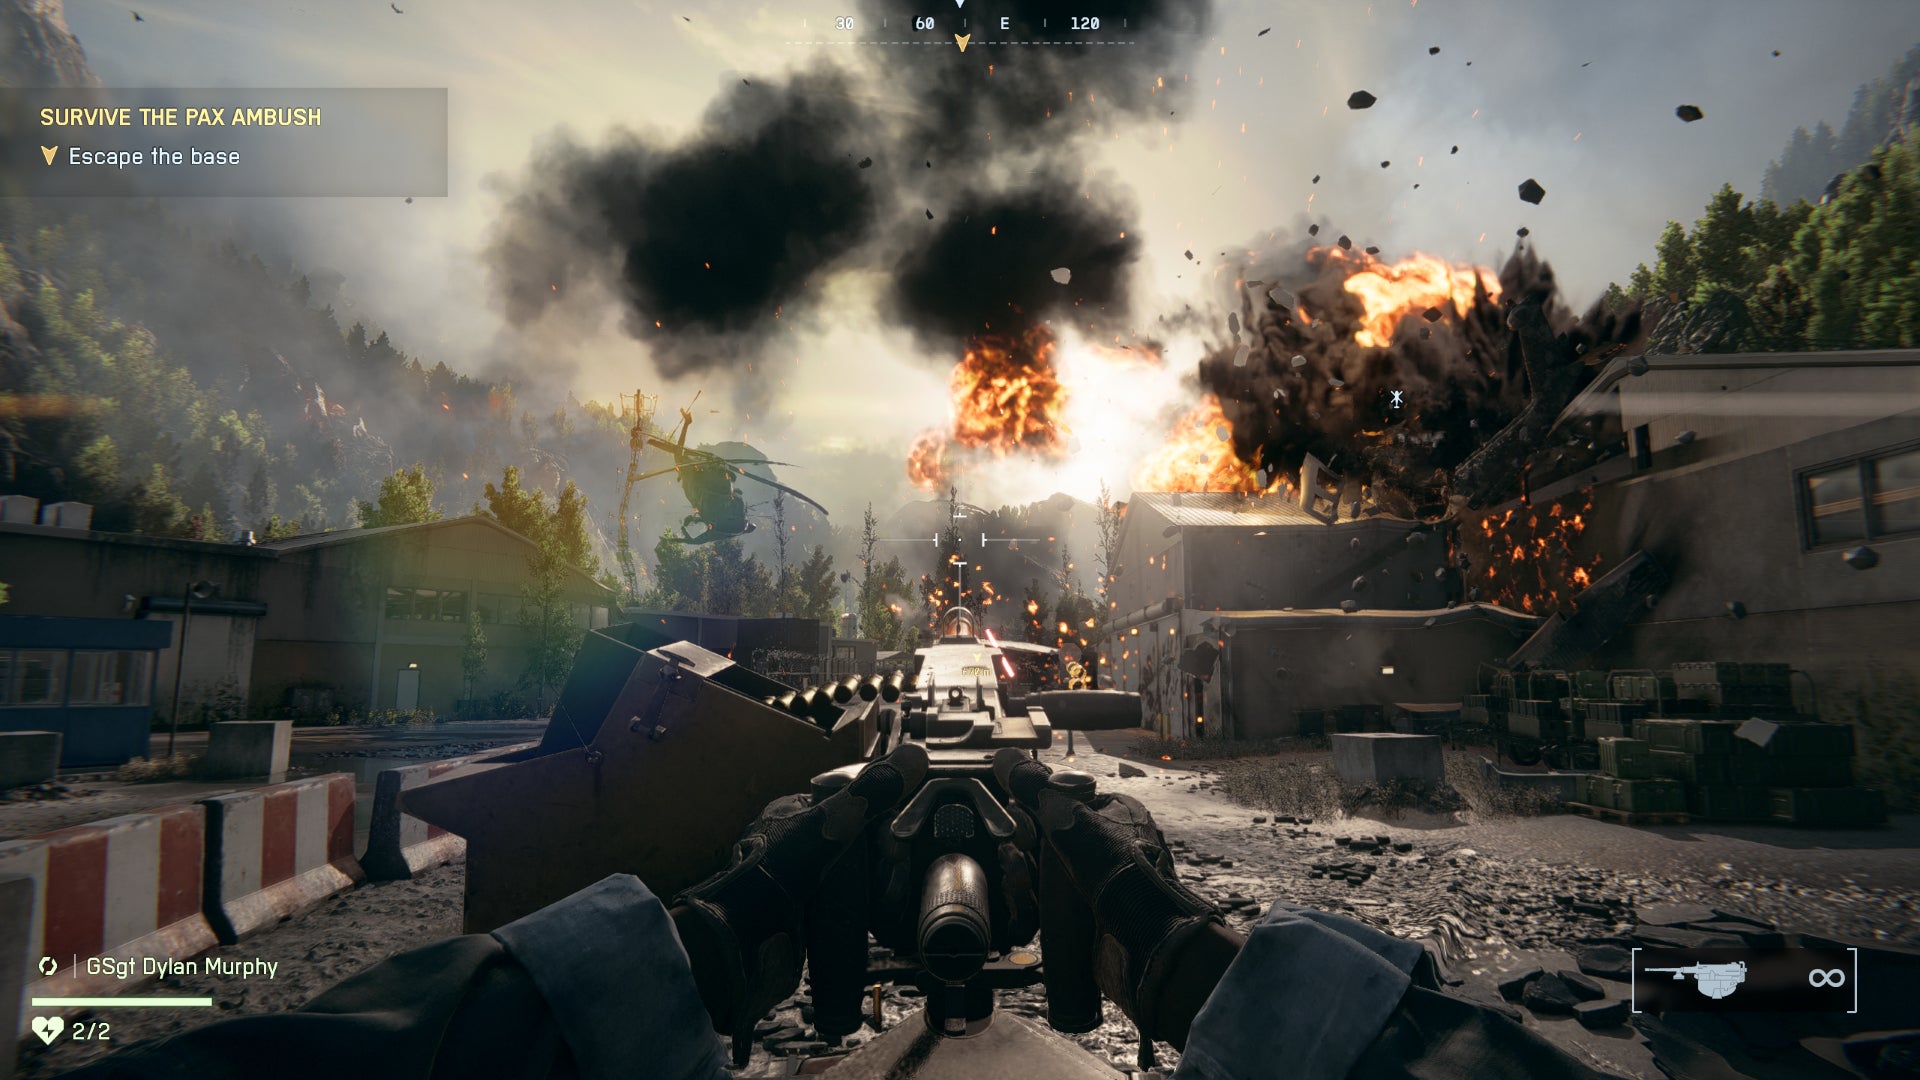
Image credit:Rock Paper Shotgun/EA
Upscaling via DLSS (or FSR, depending on your GPU) is a must as well. Not because BF6 is hopelessly slow without it – it isn’t – but because on their respective Quality modes, DLSS and FSR both look sharper than native-res TAA. Even at 1080p, where upscaling can be a diceroll on whether it looks fine or a blurry mess. Here, the blur is all TAA’s, so ditch it.
Lastly, I’ve left frame generation off the list, as it’s inherantly a cuts-both-ways kinda tech that should ways be optional, no matter what Capcom say . But with DLSS 4 in particular, Battlefield 6 does at least have one of the better implementations I’ve played with. At both 2x and 4x, it stays smooth and doesn’t drag your mouse down with excessive input lag. Just make sure you can first produce a good base framerate without it, as you probably will with the settings above; on the RTX 4060, they got that 64fps average up to 95fps, which became a responsive 143fps with 2x frame gen.

Battlefield 6
PS5 , Xbox Series X/S , PC
Rock Paper Shotgun is better when you sign in
Sign in and join us on our journey to discover strange and compelling PC games.

All 75 Arc Raiders Blueprints and where to get them
These areas have the highest chance of giving you Blueprints

Image credit:Rock Paper Shotgun/Embark Studios

Looking for more Arc Raiders Blueprints? It’s a special day when you find a Blueprint, as they’re among the most valuable items in Arc Raiders. If you find a Blueprint that you haven’t already found, then you must make sure you hold onto it at all costs, because Blueprints are the key to one of the most important and powerful systems of meta-progression in the game.
This guide aims to be the very best guide on Blueprints you can find, starting with a primer on what exactly they are and how they work in Arc Raiders, before delving into exactly where to get Blueprints and the very best farming spots for you to take in your search.
We’ll also go over how to get Blueprints from other unlikely activities, such as destroying Surveyors and completing specific quests. And you’ll also find the full list of all 75 Blueprints in Arc Raiders on this page (including the newest Blueprints added with the Cold Snap update , such as the Deadline Blueprint and Firework Box Blueprint), giving you all the information you need to expand your own crafting repertoire.
In this guide:
- What are Blueprints in Arc Raiders?
- Full Blueprint list: All crafting recipes
- Where to find Blueprints in Arc Raiders Blueprints obtained from quests Blueprints obtained from Trials Best Blueprint farming locations

What are Blueprints in Arc Raiders?
Blueprints in Arc Raiders are special items which, if you manage to extract with them, you can expend to permanently unlock a new crafting recipe in your Workshop. If you manage to extract from a raid with an Anvil Blueprint, for example, you can unlock the ability to craft your very own Anvil Pistol, as many times as you like (as long as you have the crafting materials).
To use a Blueprint, simply open your Inventory while in the lobby, then right-click on the Blueprint and click “Learn And Consume” . This will permanently unlock the recipe for that item in your Workshop. As of the Stella Montis update, there are allegedly 75 different Blueprints to unlock - although only 68 are confirmed to be in the game so far. You can see all the Blueprints you’ve found and unlocked by going to the Workshop menu, and hitting “R” to bring up the Blueprint screen.
It’s possible to find duplicates of past Blueprints you’ve already unlocked. If you find these, then you can either sell them, or - if you like to play with friends - you can take it into a match and gift it to your friend so they can unlock that recipe for themselves. Another option is to keep hold of them until the time comes to donate them to the Expedition.
Full Blueprint list: All crafting recipes
Below is the full list of all the Blueprints that are currently available to find in Arc Raiders, and the crafting recipe required for each item:
| Blueprint | Type | Recipe | Crafted At |
|---|---|---|---|
| Bettina | Weapon | 3x Advanced Mechanical Components 3x Heavy Gun Parts 3x Canister | Gunsmith 3 |
| Blue Light Stick | Quick Use | 3x Chemicals | Utility Station 1 |
| Aphelion | Weapon | 3x Magnetic Accelerator 3x Complex Gun Parts 1x Matriarch Reactor | Gunsmith 3 |
| Combat Mk. 3 (Flanking) | Augment | 2x Advanced Electrical Components 3x Processor | Gear Bench 3 |
| Combat Mk. 3 (Aggressive) | Augment | 2x Advanced Electrical Components 3x Processor | Gear Bench 3 |
| Complex Gun Parts | Material | 2x Light Gun Parts 2x Medium Gun Parts 2x Heavy Gun Parts | Refiner 3 |
| Fireworks Box | Quick Use | 1x Explosive Compound 3x Pop Trigger | Explosives Station 2 |
| Gas Mine | Mine | 4x Chemicals 2x Rubber Parts | Explosives Station 1 |
| Green Light Stick | Quick Use | 3x Chemicals | Utility Station 1 |
| Pulse Mine | Mine | 1x Crude Explosives 1x Wires | Explosives Station 1 |
| Seeker Grenade | Grenade | 1x Crude Explosives 2x ARC Alloy | Explosives Station 1 |
| Looting Mk. 3 (Survivor) | Augment | 2x Advanced Electrical Components 3x Processor | Gear Bench 3 |
| Angled Grip II | Mod | 2x Mechanical Components 3x Duct Tape | Gunsmith 2 |
| Angled Grip III | Mod | 2x Mod Components 5x Duct Tape | Gunsmith 3 |
| Hullcracker | Weapon | 1x Magnetic Accelerator 3x Heavy Gun Parts 1x Exodus Modules | Gunsmith 3 |
| Launcher Ammo | Ammo | 5x Metal Parts 1x Crude Explosives | Workbench 1 |
| Anvil | Weapon | 5x Mechanical Components 5x Simple Gun Parts | Gunsmith 2 |
| Anvil Splitter | Mod | 2x Mod Components 3x Processor | Gunsmith 3 |
| ??? | ??? | ??? | ??? |
| Barricade Kit | Quick Use | 1x Mechanical Components | Utility Station 2 |
| Blaze Grenade | Grenade | 1x Explosive Compound 2x Oil | Explosives Station 3 |
| Bobcat | Weapon | 3x Advanced Mechanical Components 3x Light Gun Parts | Gunsmith 3 |
| Osprey | Weapon | 2x Advanced Mechanical Components 3x Medium Gun Parts 7x Wires | Gunsmith 3 |
| Burletta | Weapon | 3x Mechanical Components 3x Simple Gun Parts | Gunsmith 1 |
| Compensator II | Mod | 2x Mechanical Components 4x Wires | Gunsmith 2 |
| Compensator III | Mod | 2x Mod Components 8x Wires | Gunsmith 3 |
| Defibrillator | Quick Use | 9x Plastic Parts 1x Moss | Medical Lab 2 |
| ??? | ??? | ??? | ??? |
| Equalizer | Weapon | 3x Magnetic Accelerator 3x Complex Gun Parts 1x Queen Reactor | Gunsmith 3 |
| Extended Barrel | Mod | 2x Mod Components 8x Wires | Gunsmith 3 |
| Extended Light Mag II | Mod | 2x Mechanical Components 3x Steel Spring | Gunsmith 2 |
| Extended Light Mag III | Mod | 2x Mod Components 5x Steel Spring | Gunsmith 3 |
| Extended Medium Mag II | Mod | 2x Mechanical Components 3x Steel Spring | Gunsmith 2 |
| Extended Medium Mag III | Mod | 2x Mod Components 5x Steel Spring | Gunsmith 3 |
| Extended Shotgun Mag II | Mod | 2x Mechanical Components 3x Steel Spring | Gunsmith 2 |
| Extended Shotgun Mag III | Mod | 2x Mod Components 5x Steel Spring | Gunsmith 3 |
| Remote Raider Flare | Quick Use | 2x Chemicals 4x Rubber Parts | Utility Station 1 |
| Heavy Gun Parts | Material | 4x Simple Gun Parts | Refiner 2 |
| Venator | Weapon | 2x Advanced Mechanical Components 3x Medium Gun Parts 5x Magnet | Gunsmith 3 |
| Il Toro | Weapon | 5x Mechanical Components 6x Simple Gun Parts | Gunsmith 1 |
| Jolt Mine | Mine | 1x Electrical Components 1x Battery | Explosives Station 2 |
| Explosive Mine | Mine | 1x Explosive Compound 1x Sensors | Explosives Station 3 |
| Jupiter | Weapon | 3x Magnetic Accelerator 3x Complex Gun Parts 1x Queen Reactor | Gunsmith 3 |
| Light Gun Parts | Material | 4x Simple Gun Parts | Refiner 2 |
| Lightweight Stock | Mod | 2x Mod Components 5x Duct Tape | Gunsmith 3 |
| Lure Grenade | Grenade | 1x Speaker Component 1x Electrical Components | Utility Station 2 |
| Medium Gun Parts | Material | 4x Simple Gun Parts | Refiner 2 |
| Torrente | Weapon | 2x Advanced Mechanical Components 3x Medium Gun Parts 6x Steel Spring | Gunsmith 3 |
| Muzzle Brake II | Mod | 2x Mechanical Components 4x Wires | Gunsmith 2 |
| Muzzle Brake III | Mod | 2x Mod Components 8x Wires | Gunsmith 3 |
| Padded Stock | Mod | 2x Mod Components 5x Duct Tape | Gunsmith 3 |
| Shotgun Choke II | Mod | 2x Mechanical Components 4x Wires | Gunsmith 2 |
| Shotgun Choke III | Mod | 2x Mod Components 8x Wires | Gunsmith 3 |
| Shotgun Silencer | Mod | 2x Mod Components 8x Wires | Gunsmith 3 |
| Showstopper | Grenade | 1x Advanced Electrical Components 1x Voltage Converter | Explosives Station 3 |
| Silencer I | Mod | 2x Mechanical Components 4x Wires | Gunsmith 2 |
| Silencer II | Mod | 2x Mod Components 8x Wires | Gunsmith 3 |
| Snap Hook | Quick Use | 2x Power Rod 3x Rope 1x Exodus Modules | Utility Station 3 |
| Stable Stock II | Mod | 2x Mechanical Components 3x Duct Tape | Gunsmith 2 |
| Stable Stock III | Mod | 2x Mod Components 5x Duct Tape | Gunsmith 3 |
| Tagging Grenade | Grenade | 1x Electrical Components 1x Sensors | Utility Station 3 |
| Tempest | Weapon | 3x Advanced Mechanical Components 3x Medium Gun Parts 3x Canister | Gunsmith 3 |
| Trigger Nade | Grenade | 2x Crude Explosives 1x Processor | Explosives Station 2 |
| Vertical Grip II | Mod | 2x Mechanical Components 3x Duct Tape | Gunsmith 2 |
| Vertical Grip III | Mod | 2x Mod Components 5x Duct Tape | Gunsmith 3 |
| Vita Shot | Quick Use | 2x Antiseptic 1x Syringe | Medical Lab 3 |
| Vita Spray | Quick Use | 3x Antiseptic 1x Canister | Medical Lab 3 |
| Vulcano | Weapon | 1x Magnetic Accelerator 3x Heavy Gun Parts 1x Exodus Modules | Gunsmith 3 |
| Wolfpack | Grenade | 2x Explosive Compound 2x Sensors | Explosives Station 3 |
| Red Light Stick | Quick Use | 3x Chemicals | Utility Station 1 |
| Smoke Grenade | Grenade | 14x Chemicals 1x Canister | Utility Station 2 |
| Deadline | Mine | 3x Explosive Compound 2x ARC Circuitry | Explosives Station 3 |
| Trailblazer | Grenade | 1x Explosive Compound 1x Synthesized Fuel | Explosives Station 3 |
| Tactical Mk. 3 (Defensive) | Augment | 2x Advanced Electrical Components 3x Processor | Gear Bench 3 |
| Tactical Mk. 3 (Healing) | Augment | 2x Advanced Electrical Components 3x Processor | Gear Bench 3 |
| Yellow Light Stick | Quick Use | 3x Chemicals | Utility Station 1 |
Note: The missing Blueprints in this list likely have not actually been added to the game at the time of writing, because none of the playerbase has managed to find any of them. As they are added to the game, I will update this page with the most relevant information so you know exactly how to get all 75 Arc Raiders Blueprints.
Where to find Blueprints in Arc Raiders
Below is a list of all containers, modifiers, and events which maximise your chances of finding Blueprints:
- Certain quests reward you with specific Blueprints .
- Completing Trials has a high chance of offering Blueprints as rewards.
- Surveyors have a decent chance of dropping Blueprints on death.
- High loot value areas tend to have a greater chance of spawning Blueprints.
- Night Raids and Storms may increase rare Blueprint spawn chances in containers.
- Containers with higher numbers of items may have a higher tendency to spawn Blueprints. As a result, Blue Gate (which has many “large” containers containing multiple items) may give you a higher chance of spawning Blueprints.
- Raider containers (Raider Caches, Weapon Boxes, Medical Bags, Grenade Tubes) have increased Blueprint drop rates. As a result, the Uncovered Caches event gives you a high chance of finding Blueprints.
- Security Lockers have a higher than average chance of containing Blueprints.
- Certain Blueprints only seem to spawn under specific circumstances: Tempest Blueprint only spawns during Night Raid events. Vulcano Blueprint only spawns during Hidden Bunker events. Jupiter and Equaliser Blueprints only spawn during Harvester events.

Raider Caches, Weapon Boxes, and other raider-oriented container types have a good chance of offering Blueprints. |Image credit:Rock Paper Shotgun/Embark Studios
Blueprints have a very low chance of spawning in any container in Arc Raiders, around 1-2% on average. However, there is a higher chance of finding Blueprints in particular container types. Specifically, you can find more Blueprints in Raider containers and security lockers.
Beyond this, if you’re looking for Blueprints you should focus on regions of the map which are marked as having particularly high-value loot. Areas such as the Control Tower in Dam Battlegrounds, the Arrival and Departure Buildings in Spaceport, and Pilgrim’s Peak in Blue Gate all have a better-than-average chance of spawning Blueprints somewhere amongst all their containers. Night Raids and Electromagnetic Storm events also increase the drop chances of certain Blueprints .
In addition to these containers, you can often loot Blueprints from destroyed Surveyors - the largest of the rolling ball ARC. Surveyors are more commonly found on the later maps - Spaceport and Blue Gate - and if one spawns in your match, you’ll likely see it by the blue laser beam that it casts into the sky while “surveying”.
Surveyors are quite well-armoured and will very speedily run away from you once it notices you, but if you can take one down then make sure you loot all its parts for a chance of obtaining certain unusual Blueprints.
Blueprints obtained from quests
One way in which you can get Blueprints is by completing certain quests for the vendors in Speranza. Some quests will reward you with a specific item Blueprint upon completion, so as long as you work through all the quests in Arc Raiders, you are guaranteed those Blueprints.
Here is the full list of all Blueprints you can get from quest rewards:
- Trigger Nade Blueprint: Rewarded after completing “Sparks Fly”.
- Lure Grenade Blueprint: Rewarded after completing “Greasing Her Palms”.
- Burletta Blueprint: Rewarded after completing “Industrial Espionage”.
- Hullcracker Blueprint (and Launcher Ammo Blueprint): Rewarded after completing “The Major’s Footlocker”.
Alas, that’s only 4 Blueprints out of a total of 75 to unlock, so for the vast majority you will need to find them yourself during a raid. If you’re intent on farming Blueprints, then it’s best to equip yourself with cheap gear in case you lose it, but don’t use a free loadout because then you won’t get a safe pocket to stash any new Blueprint you find. No pain in Arc Raiders is sharper than failing to extract with a new Blueprint you’ve been after for a dozen hours already.

One of the best ways to get Blueprints is by hitting three stars on all five Trials every week. |Image credit:Rock Paper Shotgun/Embark Studios
Blueprints obtained from Trials
One of the very best ways to get Blueprints is as rewards for completing Trials in Arc Raiders. Trials are unlocked from Level 15 onwards, and allow you to earn rewards by focusing on certain tasks over the course of several raids. For example, one Trial might task you with dealing damage to Hornets, while another might challenge you to loot Supply Drops.
Trials refresh on a weekly basis, with a new week bringing five new Trials. Each Trial can offer up to three rewards after passing certain score milestones, and it’s possible to receive very high level loot from these reward crates - including Blueprints. So if you want to unlock as many Blueprints as possible, you should make a point of completing as many Trials as possible each week.
Best Blueprint farming locations
The very best way to get Blueprints is to frequent specific areas of the maps which combine high-tier loot pools with the right types of containers to search. Here are my recommendations for where to find Blueprints on every map, so you can always keep the search going for new crafting recipes to unlock.

Image credit:Rock Paper Shotgun/Embark Studios
Dam Battlegrounds
The best places to farm Blueprints on Dam Battlegrounds are the Control Tower, Power Generation Complex, Ruby Residence, and Pale Apartments . The first two regions, despite only being marked on the map as mid-tier loot, contain a phenomenal number of containers to loot. The Control Tower can also contain a couple of high-tier Security Lockers - though of course, you’ll need to have unlocked the Security Breach skill at the end of the Survival tree.
There’s also a lot of reporting amongst the playerbase that the Residential areas in the top-left of the map - Pale Apartments and Ruby Residence - give you a comparatively strong chance of finding Blueprints. Considering their size, there’s a high density of containers to loot in both locations, and they also have the benefit of being fairly out of the way. So you’re more likely to have all the containers to yourself.
Buried City
The best Blueprint farming locations on Buried City are the Santa Maria Houses, Grandioso Apartments, Town Hall, and the various buildings of the New District . Grandioso Apartments has a lower number of containers than the rest, but a high chance of spawning weapon cases - which have good Blueprint drop rates. The others are high-tier loot areas, with plenty of lootable containers - including Security Lockers.
Spaceport
The best places to find Blueprints on Spaceport are the Arrival and Departure Buildings, as well as Control Tower A6 and the Launch Towers . All these areas are labelled as high-value loot regions, and many of them are also very handily connected to one another by the Spaceport wall, which you can use to quickly run from one area to the next. At the tops of most of these buildings you’ll find at least one Security Locker, so this is an excellent farming route for players looking to find Blueprints.
The downside to looting Blueprints on Spaceport is that all these areas are hotly contested, particularly in Duos and Squads. You’ll need to be very focused and fast in order to complete the full farming route.

Image credit:Rock Paper Shotgun/Embark Studios
Blue Gate
Blue Gate tends to have a good chance of dropping Blueprints, potentially because it generally has a high number of containers which can hold lots of items; so there’s a higher chance of a Blueprint spawning in each container. In my experience, the best Blueprint farming spots on Blue Gate are Pilgrim’s Peak, Raider’s Refuge, the Ancient Fort, and the Underground Complex beneath the Warehouse .
All of these areas contain a wealth of containers to loot. Raider’s Refuge has less to loot, but the majority of the containers in and around the Refuge are raider containers, which have a high chance of containing Blueprints - particularly during major events.
Stella Montis
On the whole, Stella Montis seems to have a very low drop rate for Blueprints (though a high chance of dropping other high-tier loot). If you do want to try farming Blueprints on this map, the best places to find Blueprints in Stella Montis are Medical Research, Assembly Workshop, and the Business Center . These areas have the highest density of containers to loot on the map.
In addition to this, the Western Tunnel has a few different Security Lockers to loot, so while there’s very little to loot elsewhere in this area of the map, it’s worth hitting those Security Lockers if you spawn there at the start of a match.
That wraps up this primer on how to get all the Blueprints in Arc Raiders as quickly as possible. With the Expedition system constantly resetting a large number of players’ Blueprints, it’s more important than ever to have the most up-to-date information on where to find all these Blueprints.
While you’re here, be sure to check out our Arc Raiders best guns tier list , as well as our primers on the best skills to unlock and all the different Field Depot locations on every map.

ARC Raiders
PS5 , Xbox Series X/S , PC
Rock Paper Shotgun is better when you sign in
Sign in and join us on our journey to discover strange and compelling PC games.
