Persona 3 Reload review: a high school reunion better left in the history books
Persona-ly, not my cup of tea
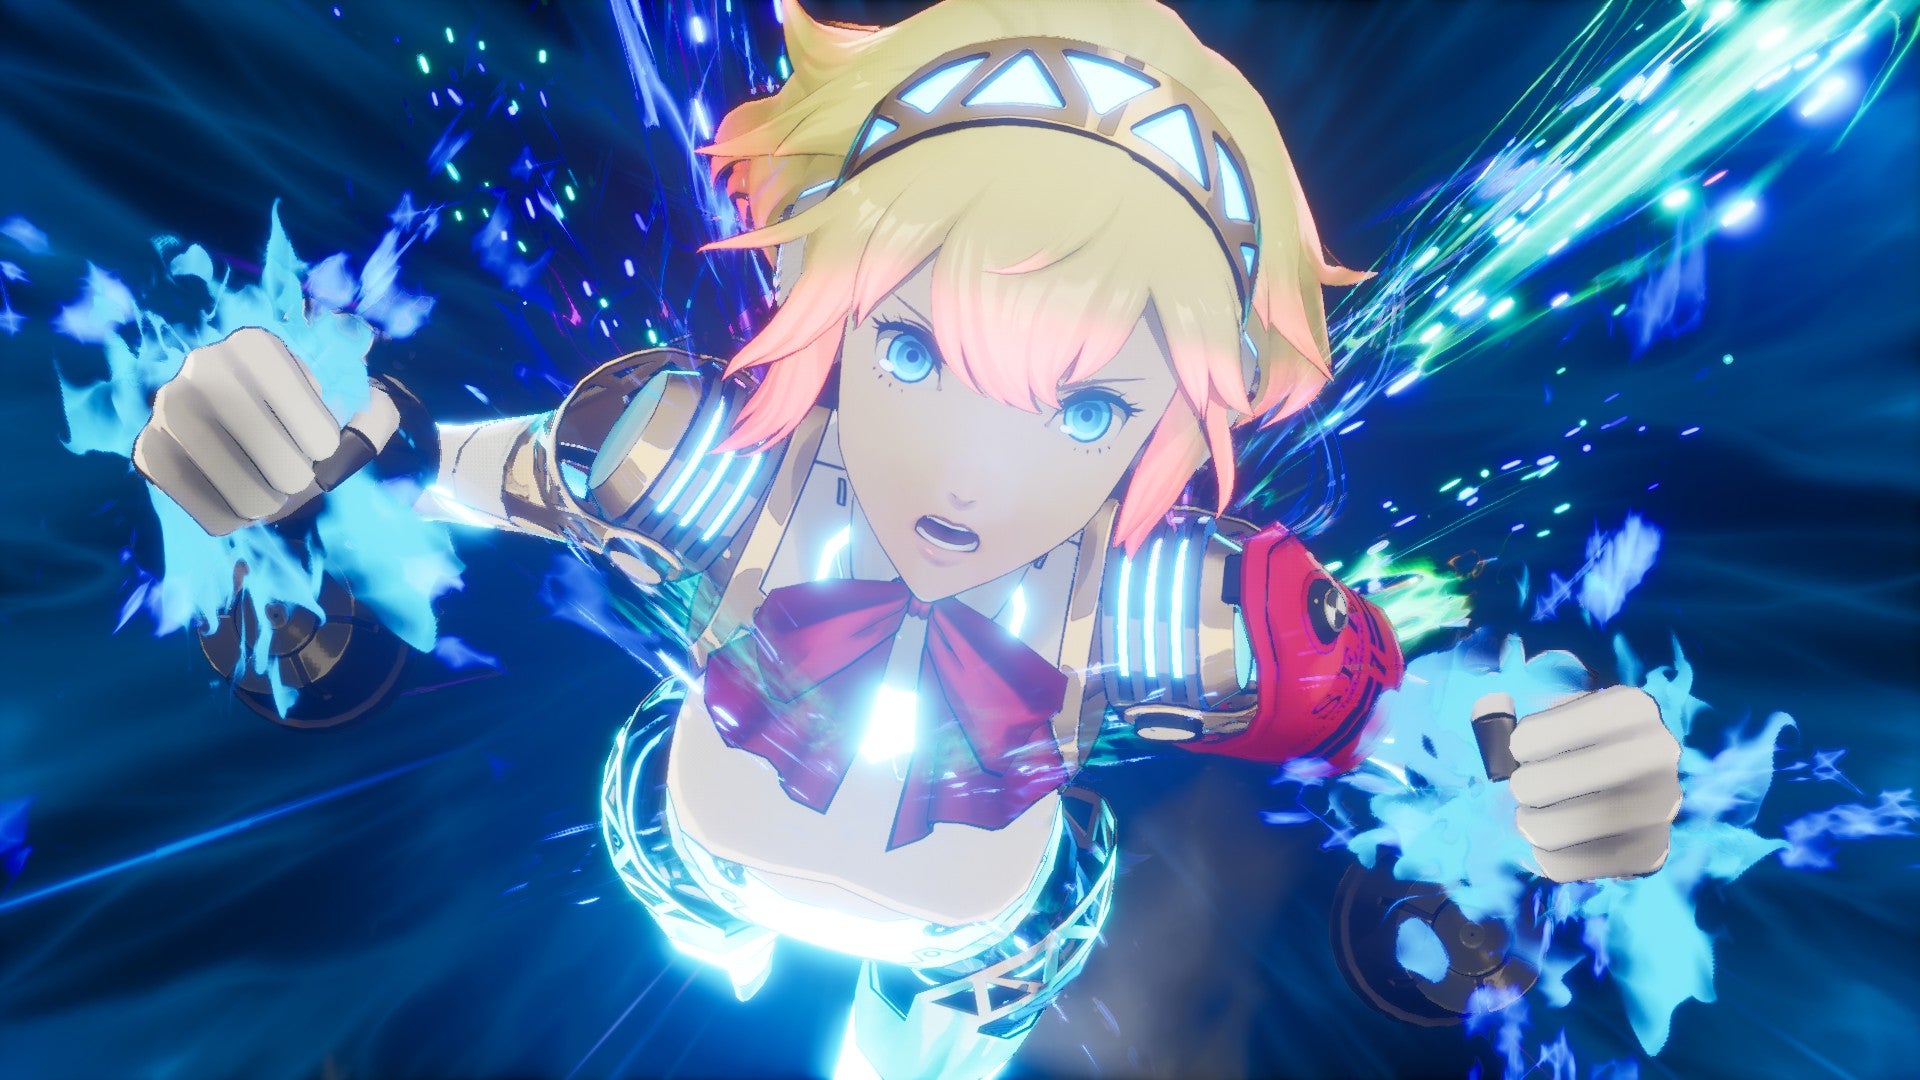
Image credit:Rock Paper Shotgun/Sega

- Developer: Atlus
- Publisher: Sega
- Release: February 2nd 2024
- On: Windows 10
- From: Steam , Game Pass
- Price: £60/$70/€70
- Reviewed on: Intel Core i7 10875H, 16GB RAM, Nvidia RTX 2080 Super, Windows 11
On the 23rd of May, I strode out of the exam hall with my head held high. Not only had we cleared out the 42nd floor of the cursed extra-dimensional horror house that was our school’s midnight alter-ego, I’d also just aced my midterms. I spent the afternoon helping my french foreign exchange friend sew a kimono for his estranged uncle, then killed some time before bed by consoling the small child I’d been hanging out with lately about her parent’s divorce.
So goes an average day in one of the very, very many days stuffed into Persona 3 Reload ’s year long taste of demon-slaying high school life. A charming fantasy? Perhaps! There’s plenty here for fans who don’t mind an old-school approach to grinding while exploring heartfelt, albeit cheesy, friendships. Those who don’t get on with anime tropes, though, might find it exhaustingly written and repetitive.
A note, to start: I’m a Persona newbie, and I’ll largely assume you are too. If you’ve played the original and are looking for a piece that speaks to how well the fifteen year-old game has been modernised, you’re better off elsewhere . On the flipside, if you’re merely Persona curious and considering jumping into Reload with minimal JRPG experience, then my pre-playing perspective matched yours. On to the reviewing!
<img loading=“lazy” src=“https://assetsio.gnwcdn.com/Personareview-1.jpg?width=2048&height=2048&fit=bounds&quality=85&format=jpg&auto=webp" onerror=“this.onerror=null;this.src=‘https://blogger.googleusercontent.com/img/a/AVvXsEhe7F7TRXHtjiKvHb5vS7DmnxvpHiDyoYyYvm1nHB3Qp2_w3BnM6A2eq4v7FYxCC9bfZt3a9vIMtAYEKUiaDQbHMg-ViyGmRIj39MLp0bGFfgfYw1Dc9q_H-T0wiTm3l0Uq42dETrN9eC8aGJ9_IORZsxST1AcLR7np1koOfcc7tnHa4S8Mwz_xD9d0=s16000';" alt=“Inflicting a “Weak!” status effect on an enemy in Persona 3 Reload. - 3”>
Image credit:Rock Paper Shotgun/Sega
You’re a transfer student with a murky, mysterious past - a student who’s remarkably unfazed when the night sky turns green and puddles of blood ripple through a city with an ominous lack of people but an odd abundance of giant upright coffins. Turns out you’re walking home in the Dark Hour, a creepy liminal time where demons called Shadows stalk the streets and your soon-to-be high school transforms into Tartarus: an Escher-esque tower stuffed to the brim with floor after floor (after floor, after floor, after floor…) of the bastards.
It’s not long before you join a gang of Shadow hunters, who are conveniently also your fellow students and dormmates. You’re a Persona wielder, see, blessed with the ability to summon a combat-ready monster/god/novelty snowman from the depths of your soul. Because you’re super-duper special it turns out you can pick from multiple personas, while every other chump gets stuck with one.
Combat is mostly a Pokémon-like affair of picking which Persona to invoke and which spell to use, with wrinkles that keep things interesting for a few hours tops. You and your foes are vulnerable to certain types of attack, and there’s a knockdown system that gives you an extra action each time you successfully target a weakness. Ideally, you’ll chain attacks together until every opponent is on their knees and your whole team can charge in for an “all-out attack”.
It’s telling that you’re given various tools to make the combat largely play itself. Once you’ve found those weaknesses, either through trial and error or a particular character’s special ability, you can press F to automatically select an attack or item that will target it. If you’ve already triggered a knockdown on your turn, pressing F can also hand your bonus turn over to a pal with an appropriate ability on hand. This baton-passing is smooth, slick, and mindless. You can also assign your teammates behaviours so they’ll play out their turns for you, conveniently sparing you from three quarters of the button hammering.
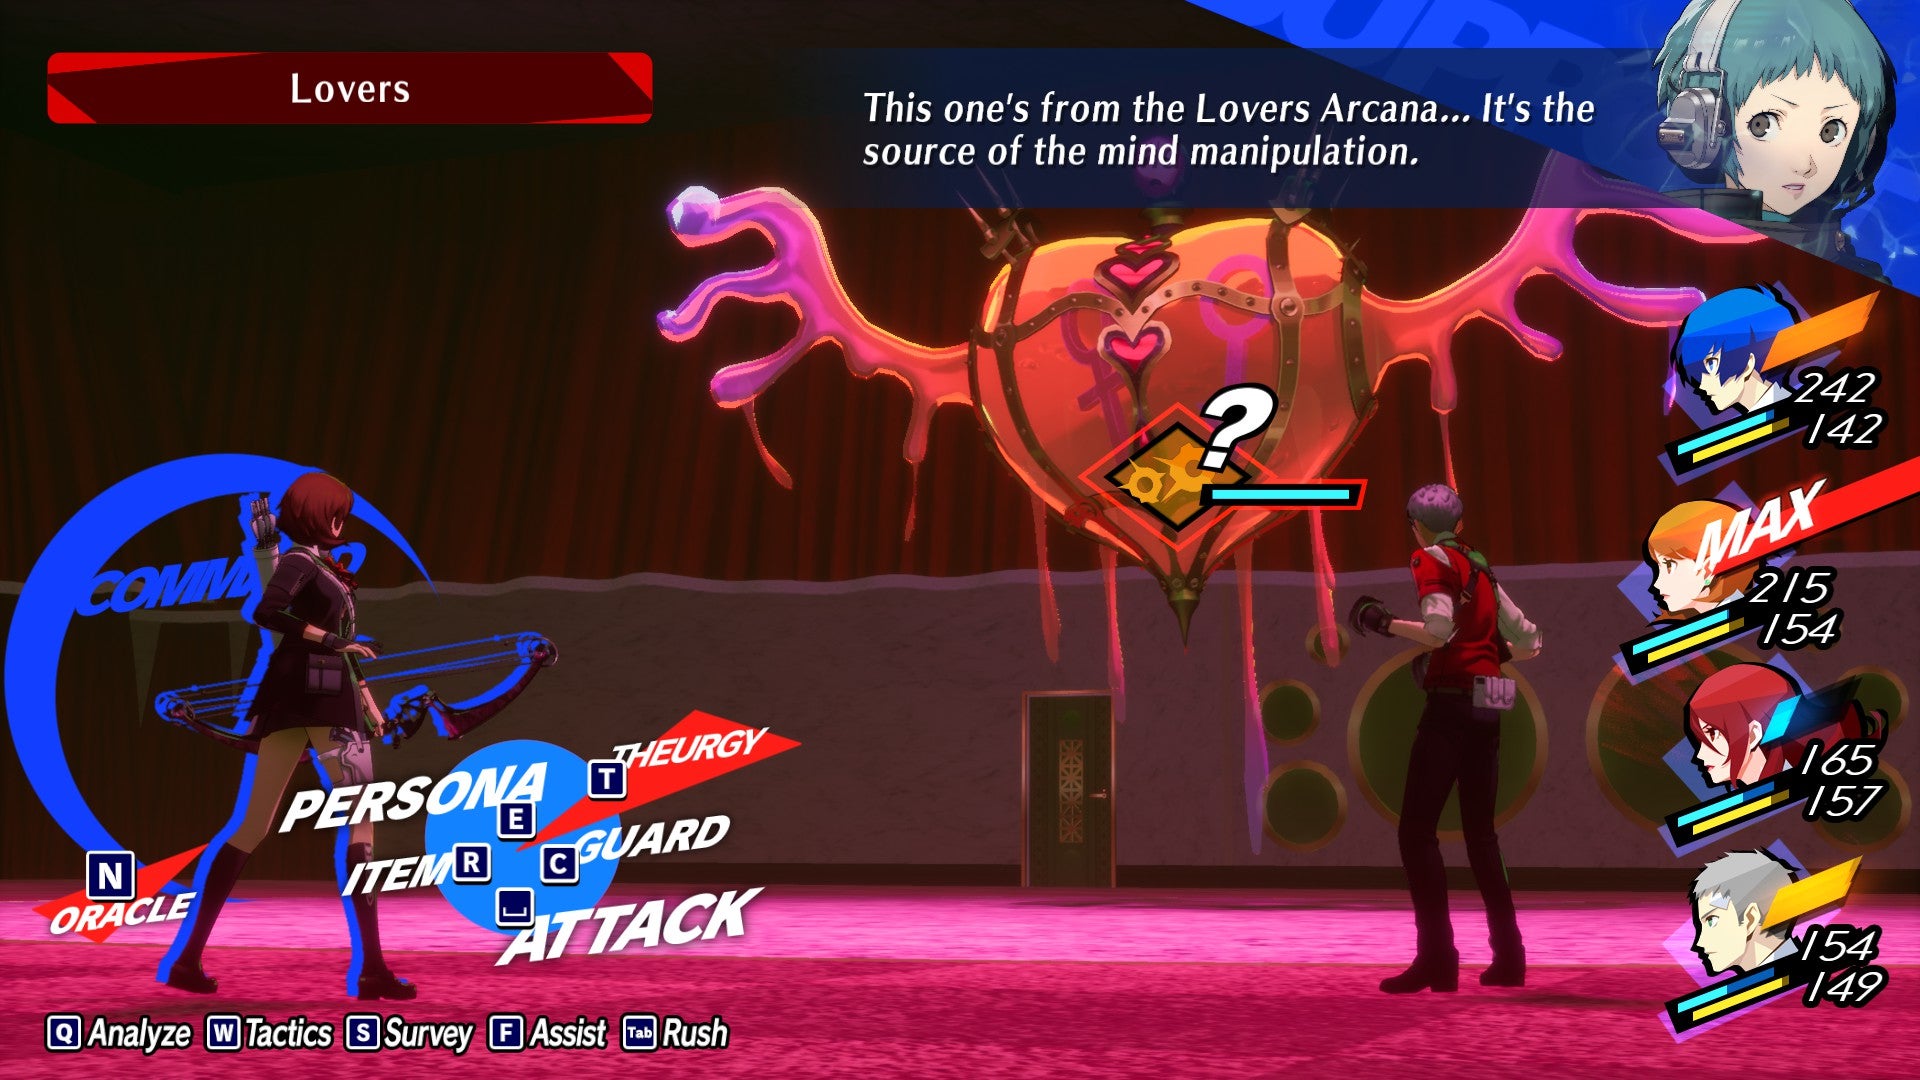
Image credit:Rock Paper Shotgun/Sega
Eventually you unlock special attacks, which cutely charge up by taking actions sometimes vaguely relevant to that character’s personality. I grinned through the first one I saw, enjoying a little dash of flip-filled anime pazazz. I wasn’t grinning by the time I’d seen it for the 79 bajillienth time. Mercifully, there is a button that fast forwards through each normal combat animation (not the special attacks, you’ll bafflingly have to watch those in full), but if you leave it held down then you’ll just do often-piddly basic attacks with your equipped weapon. My principal engagement with fighting soon became timing the pressing of that button with the start and end of each attack.
I suppose you could see it as more of a resource management type challenge, with each fight eating at your - easily-restored, however - health and mana. On higher difficulties, small decisions over whether to debuff an enemy before attacking them might matter more. Playing on a difficulty above normal seems like the only way to make deviating from simply targeting weaknesses whenever possible a worthwhile strategy, potentially avoiding combat devolving into just making the same choice over and over again. Even then there’s no real breadth of options for how to tackle each fight, and curveballs like monsters with no weaknesses wind up simplifying your decision-making rather than making it more interesting.
Unfortunately, I wouldn’t touch the higher difficulties with a ten-foot barge Persona because even on normal there are enemies that can one-shot your character (depending on how much grinding you’ve done), thus insta-ending a potentially 20 minute long fight. I’m not exaggerating - the way some enemies have an infuriating habit of healing themselves all way to full had me howling at my screen.

Image credit:Rock Paper Shotgun/Sega
Navigating Tartarus is wrapped up in its own tedium, with no end of superfluous mechanics attached to either initiating or avoiding fights with the bads moping about on each floor. Before long I simply chose to sprint past all of them.
If you don’t sprint past them, there’s a separate system where you can combine Personas into new ones that carry over your choice of spells from your previous ones. I found it initially intriguing, poring over the various monstrosities I could concoct. Before long, though, it felt like admin, trying to keep track of which attacks I might be losing with each fuse. It’s also the case that a lot of the attacks are simply more powerful versions of previous ones, rather than those that offer new tactical possibilities.
To its credit, some of the Shadow and Persona designs are inventive. I liked showing off my tentacle brain-monster persona, and the special story encounters chucked some impressively un-hinged creatures at me. I could go on, but enough of Tartarus: suffice to say there are too many floors, and they are far too repetitive. As tiresome as all of that is, whether or not you’ll like Persona probably hinges more on whether or not you like the writing and the characters.
You’ve got your classic spread of teen archetypes: there’s the brash cocky dude, the shy nervous girl, the bookish nerd, the machinegun wielding robo-girl who can talk to the pet dog. They’re not without charm, and some scenes drew a smile (even, once, a chuckle) out of me. There is a lot of overly-earnest schmaltz, but there are also silly twists and playful surprises - though a lot of the turns are comically grim. You go into a bookshop, hang out with the nice elderly couple running the place, they tell you about the tragic death of their son and your Hierophant Persona levels up. Happy days.


For the most part the writing isn’t so much on the nose as it is hammering your nose into your skull, one cliche about believing in yourself or friendship or not running away from your problems at a time. It’s also laced with perviness, including a particularly icky beach holiday segment where one character plays swimsuit judge to all the 16 - 18 year old female bikini-clad characters as they turn up for a swim. Maybe that’s ignorable for some, but personally I find it hard to rally behind the power of friendship when one of my pals is a massive perv. It hasn’t aged well, and a remake was a missed opportunity to leave this and other parts on the cutting room floor.
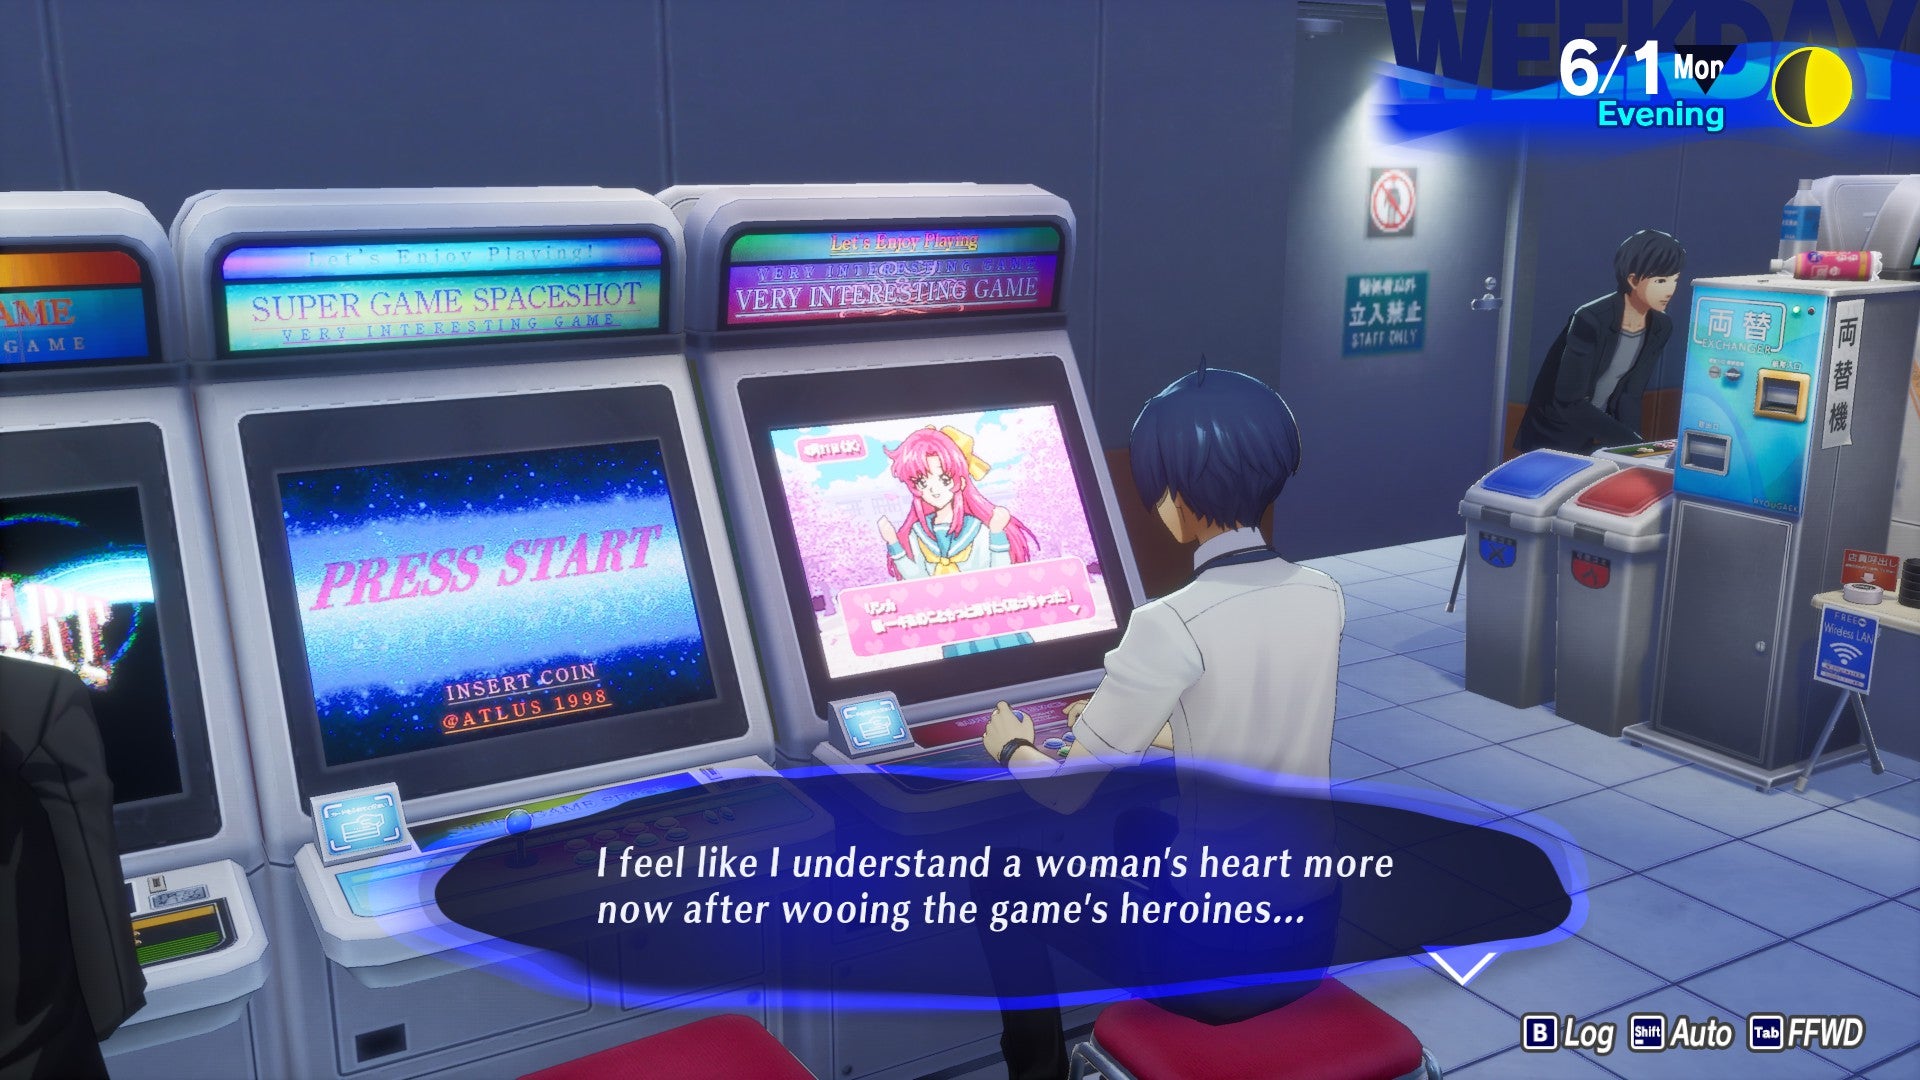
To be fair, my first 10 or so hours were carried along by a certain momentum. The days do have a compulsive rhythm, at first, pinging you between tests and chats and dungeon runs. I even felt a sense of pride in getting all the trivia questions right on my first semester finals, alongside ploughing enough evenings into working at a coffee shop to max out my courage and charisma. That’s part of a very barebones system that won’t let you talk to certain people until you’ve progressed from a timid, plain slacker to a badass charismatic genius. Most optional activities are attached to such rewards, which feel much more significant before you see the limit of their impact. Although, I can see how they might work better for people who are keen to lean into the fantasy of hanging out with high-school pals, enjoying a mix of low-stakes mall-based escapades and more serious family dramas.
Moving around town is very slick, I’ll give it that. You can get to almost anywhere with just a few keyboard tippy taps, diving straight into your next dollop of friendship forging frippery. I’ll say again, some of those drew me in! I’m glad I indulged my curiosity about the drunken monk in the night club that I definitely should not have been allowed into, and I enjoyed mulling over whether to tell that little girl it was her fault her parents were divorcing. The scenes are hit and miss, though, and you have to sit through an awful lot of nothing interactions for every fun encounter.
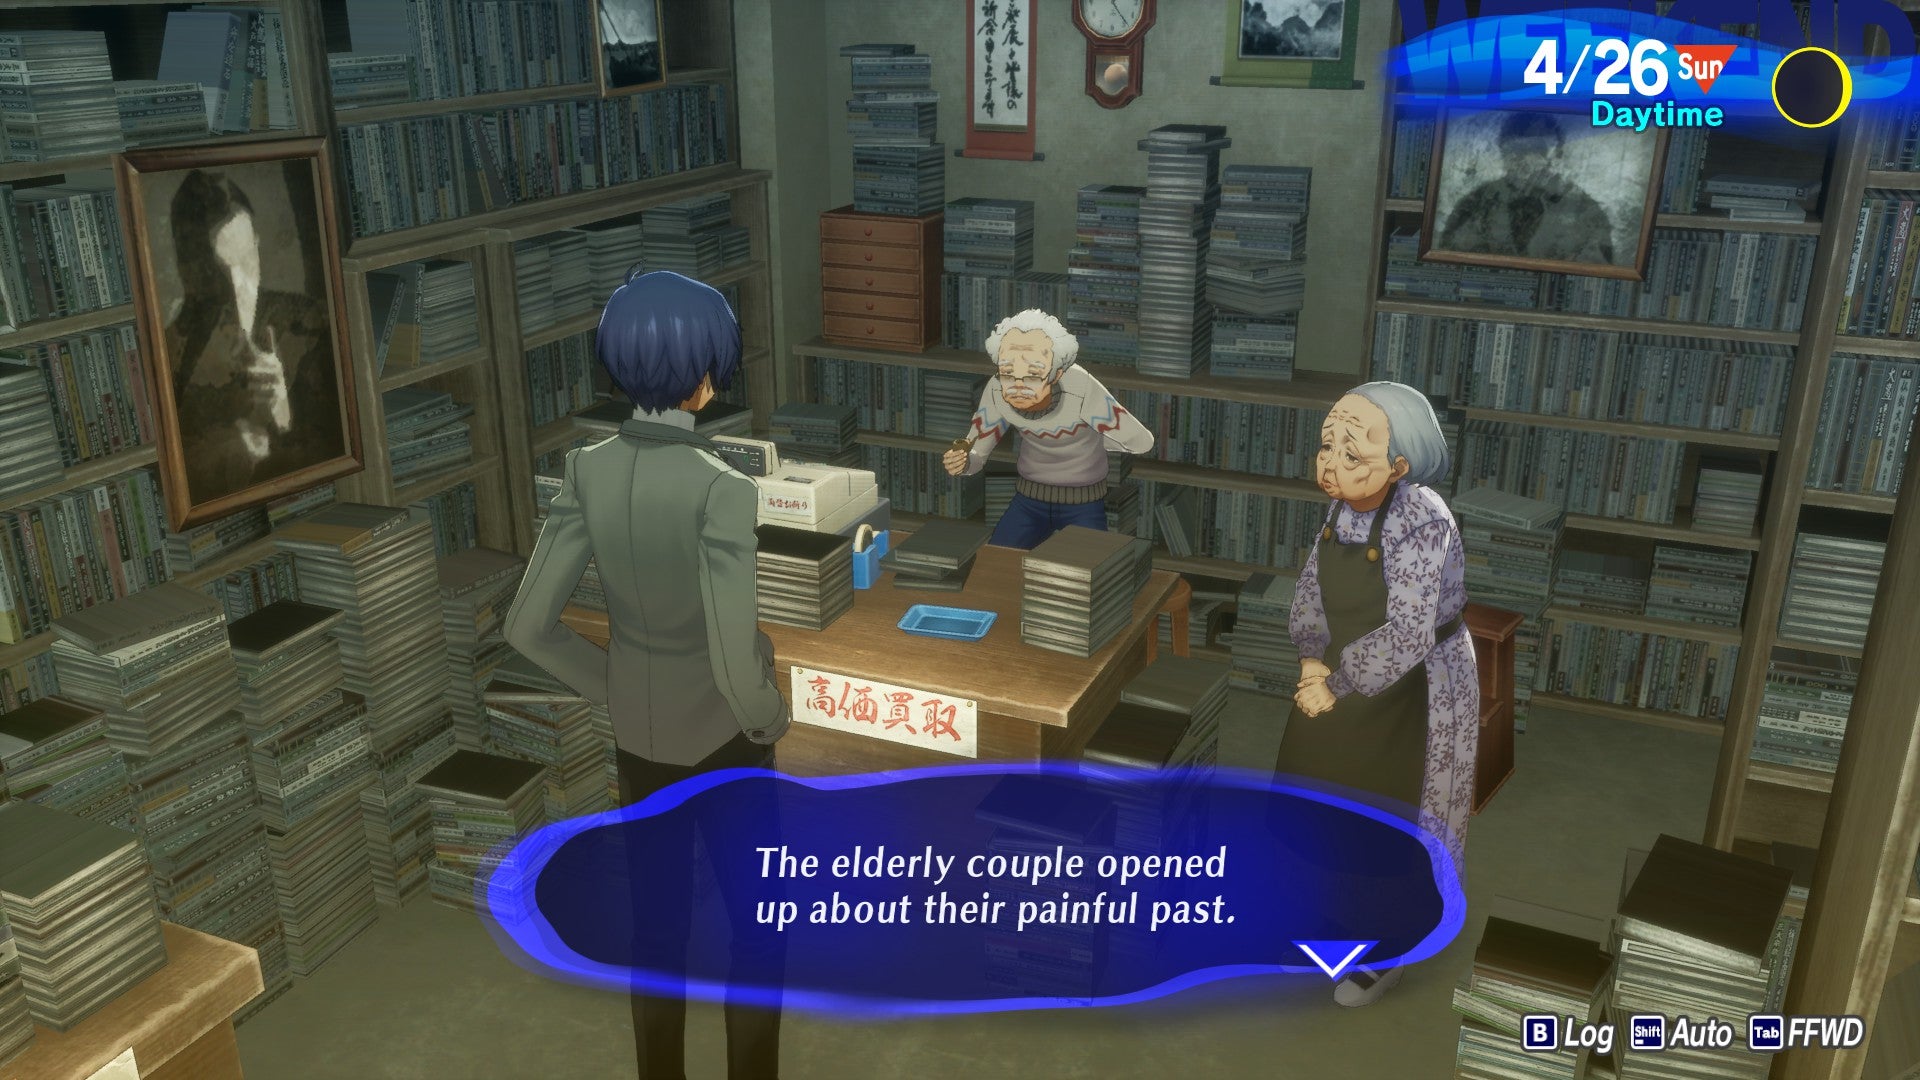
Image credit:Rock Paper Shotgun/Sega
More importantly, for me, any shot at depth or profundity misses the mark entirely, which is unfortunately what the main plot spends most of its time aiming at. Characters are wheeled out with traumas and grievances I couldn’t bring myself to care about, because they don’t talk or act enough like real people do. Their thoughts and actions swept along by dogmatic adherence to predictable, played out notions of revenge, duty and unsubstantiated nihilism. No wisdom Persona 3 can impart goes beyond the notion that life sucks sometimes, but it’s still important to keep fighting, to believe in yourself and - above all - to embrace the power of friendship. If you don’t mind that kind of cheesiness, maybe the more heartfelt moments will land for you. For me, it’s emblematic of writing that relies on appeals to generic truisms rather than genuinely knotty moral, existential or personal problems.
Perhaps, for you, anime characters not acting like real humans is all part of the buy-in, and it’s silly to expect otherwise. That’s fine! In the past I’ve very much enjoyed shows with a similar friendship-worshipping ethos, swamped as they are in earnest cliche. They don’t move me, though, and a 20 minute TV show is a better context for me to enjoy characters as quipping, plot-propelling toys rather than people. Anime trappings don’t let me see them as anything else.
For me enjoying anime comes down to whether I can weather the inevitable anime tropes, and here they overwhelmed my flood defences. I found little solace in combat that was either overly cruel and grind-demanding or mindlessly easy, yet always agonisingly repetitive even on the easiest and therefore speediest difficulty. I’m sure existing fans will be pleased with the modernisations, and newcomers who want cheesy anime, low stakes conversations, and dungeon crawling will find plenty to love here. But if you’re Persona-curious, I’d be wary of leaving your giant street coffin.
This review is based on a review build of the game provided by publishers Sega.
Find out how we conduct our reviews by reading our review policy .

Persona 3 Reload
Xbox One , Xbox Series X/S , PC
Rock Paper Shotgun is better when you sign in
Sign in and join us on our journey to discover strange and compelling PC games.

All 75 Arc Raiders Blueprints and where to get them
These areas have the highest chance of giving you Blueprints

Image credit:Rock Paper Shotgun/Embark Studios

Looking for more Arc Raiders Blueprints? It’s a special day when you find a Blueprint, as they’re among the most valuable items in Arc Raiders. If you find a Blueprint that you haven’t already found, then you must make sure you hold onto it at all costs, because Blueprints are the key to one of the most important and powerful systems of meta-progression in the game.
This guide aims to be the very best guide on Blueprints you can find, starting with a primer on what exactly they are and how they work in Arc Raiders, before delving into exactly where to get Blueprints and the very best farming spots for you to take in your search.
We’ll also go over how to get Blueprints from other unlikely activities, such as destroying Surveyors and completing specific quests. And you’ll also find the full list of all 75 Blueprints in Arc Raiders on this page (including the newest Blueprints added with the Cold Snap update , such as the Deadline Blueprint and Firework Box Blueprint), giving you all the information you need to expand your own crafting repertoire.
In this guide:
- What are Blueprints in Arc Raiders?
- Full Blueprint list: All crafting recipes
- Where to find Blueprints in Arc Raiders Blueprints obtained from quests Blueprints obtained from Trials Best Blueprint farming locations

What are Blueprints in Arc Raiders?
Blueprints in Arc Raiders are special items which, if you manage to extract with them, you can expend to permanently unlock a new crafting recipe in your Workshop. If you manage to extract from a raid with an Anvil Blueprint, for example, you can unlock the ability to craft your very own Anvil Pistol, as many times as you like (as long as you have the crafting materials).
To use a Blueprint, simply open your Inventory while in the lobby, then right-click on the Blueprint and click “Learn And Consume” . This will permanently unlock the recipe for that item in your Workshop. As of the Stella Montis update, there are allegedly 75 different Blueprints to unlock - although only 68 are confirmed to be in the game so far. You can see all the Blueprints you’ve found and unlocked by going to the Workshop menu, and hitting “R” to bring up the Blueprint screen.
It’s possible to find duplicates of past Blueprints you’ve already unlocked. If you find these, then you can either sell them, or - if you like to play with friends - you can take it into a match and gift it to your friend so they can unlock that recipe for themselves. Another option is to keep hold of them until the time comes to donate them to the Expedition.
Full Blueprint list: All crafting recipes
Below is the full list of all the Blueprints that are currently available to find in Arc Raiders, and the crafting recipe required for each item:
| Blueprint | Type | Recipe | Crafted At |
|---|---|---|---|
| Bettina | Weapon | 3x Advanced Mechanical Components 3x Heavy Gun Parts 3x Canister | Gunsmith 3 |
| Blue Light Stick | Quick Use | 3x Chemicals | Utility Station 1 |
| Aphelion | Weapon | 3x Magnetic Accelerator 3x Complex Gun Parts 1x Matriarch Reactor | Gunsmith 3 |
| Combat Mk. 3 (Flanking) | Augment | 2x Advanced Electrical Components 3x Processor | Gear Bench 3 |
| Combat Mk. 3 (Aggressive) | Augment | 2x Advanced Electrical Components 3x Processor | Gear Bench 3 |
| Complex Gun Parts | Material | 2x Light Gun Parts 2x Medium Gun Parts 2x Heavy Gun Parts | Refiner 3 |
| Fireworks Box | Quick Use | 1x Explosive Compound 3x Pop Trigger | Explosives Station 2 |
| Gas Mine | Mine | 4x Chemicals 2x Rubber Parts | Explosives Station 1 |
| Green Light Stick | Quick Use | 3x Chemicals | Utility Station 1 |
| Pulse Mine | Mine | 1x Crude Explosives 1x Wires | Explosives Station 1 |
| Seeker Grenade | Grenade | 1x Crude Explosives 2x ARC Alloy | Explosives Station 1 |
| Looting Mk. 3 (Survivor) | Augment | 2x Advanced Electrical Components 3x Processor | Gear Bench 3 |
| Angled Grip II | Mod | 2x Mechanical Components 3x Duct Tape | Gunsmith 2 |
| Angled Grip III | Mod | 2x Mod Components 5x Duct Tape | Gunsmith 3 |
| Hullcracker | Weapon | 1x Magnetic Accelerator 3x Heavy Gun Parts 1x Exodus Modules | Gunsmith 3 |
| Launcher Ammo | Ammo | 5x Metal Parts 1x Crude Explosives | Workbench 1 |
| Anvil | Weapon | 5x Mechanical Components 5x Simple Gun Parts | Gunsmith 2 |
| Anvil Splitter | Mod | 2x Mod Components 3x Processor | Gunsmith 3 |
| ??? | ??? | ??? | ??? |
| Barricade Kit | Quick Use | 1x Mechanical Components | Utility Station 2 |
| Blaze Grenade | Grenade | 1x Explosive Compound 2x Oil | Explosives Station 3 |
| Bobcat | Weapon | 3x Advanced Mechanical Components 3x Light Gun Parts | Gunsmith 3 |
| Osprey | Weapon | 2x Advanced Mechanical Components 3x Medium Gun Parts 7x Wires | Gunsmith 3 |
| Burletta | Weapon | 3x Mechanical Components 3x Simple Gun Parts | Gunsmith 1 |
| Compensator II | Mod | 2x Mechanical Components 4x Wires | Gunsmith 2 |
| Compensator III | Mod | 2x Mod Components 8x Wires | Gunsmith 3 |
| Defibrillator | Quick Use | 9x Plastic Parts 1x Moss | Medical Lab 2 |
| ??? | ??? | ??? | ??? |
| Equalizer | Weapon | 3x Magnetic Accelerator 3x Complex Gun Parts 1x Queen Reactor | Gunsmith 3 |
| Extended Barrel | Mod | 2x Mod Components 8x Wires | Gunsmith 3 |
| Extended Light Mag II | Mod | 2x Mechanical Components 3x Steel Spring | Gunsmith 2 |
| Extended Light Mag III | Mod | 2x Mod Components 5x Steel Spring | Gunsmith 3 |
| Extended Medium Mag II | Mod | 2x Mechanical Components 3x Steel Spring | Gunsmith 2 |
| Extended Medium Mag III | Mod | 2x Mod Components 5x Steel Spring | Gunsmith 3 |
| Extended Shotgun Mag II | Mod | 2x Mechanical Components 3x Steel Spring | Gunsmith 2 |
| Extended Shotgun Mag III | Mod | 2x Mod Components 5x Steel Spring | Gunsmith 3 |
| Remote Raider Flare | Quick Use | 2x Chemicals 4x Rubber Parts | Utility Station 1 |
| Heavy Gun Parts | Material | 4x Simple Gun Parts | Refiner 2 |
| Venator | Weapon | 2x Advanced Mechanical Components 3x Medium Gun Parts 5x Magnet | Gunsmith 3 |
| Il Toro | Weapon | 5x Mechanical Components 6x Simple Gun Parts | Gunsmith 1 |
| Jolt Mine | Mine | 1x Electrical Components 1x Battery | Explosives Station 2 |
| Explosive Mine | Mine | 1x Explosive Compound 1x Sensors | Explosives Station 3 |
| Jupiter | Weapon | 3x Magnetic Accelerator 3x Complex Gun Parts 1x Queen Reactor | Gunsmith 3 |
| Light Gun Parts | Material | 4x Simple Gun Parts | Refiner 2 |
| Lightweight Stock | Mod | 2x Mod Components 5x Duct Tape | Gunsmith 3 |
| Lure Grenade | Grenade | 1x Speaker Component 1x Electrical Components | Utility Station 2 |
| Medium Gun Parts | Material | 4x Simple Gun Parts | Refiner 2 |
| Torrente | Weapon | 2x Advanced Mechanical Components 3x Medium Gun Parts 6x Steel Spring | Gunsmith 3 |
| Muzzle Brake II | Mod | 2x Mechanical Components 4x Wires | Gunsmith 2 |
| Muzzle Brake III | Mod | 2x Mod Components 8x Wires | Gunsmith 3 |
| Padded Stock | Mod | 2x Mod Components 5x Duct Tape | Gunsmith 3 |
| Shotgun Choke II | Mod | 2x Mechanical Components 4x Wires | Gunsmith 2 |
| Shotgun Choke III | Mod | 2x Mod Components 8x Wires | Gunsmith 3 |
| Shotgun Silencer | Mod | 2x Mod Components 8x Wires | Gunsmith 3 |
| Showstopper | Grenade | 1x Advanced Electrical Components 1x Voltage Converter | Explosives Station 3 |
| Silencer I | Mod | 2x Mechanical Components 4x Wires | Gunsmith 2 |
| Silencer II | Mod | 2x Mod Components 8x Wires | Gunsmith 3 |
| Snap Hook | Quick Use | 2x Power Rod 3x Rope 1x Exodus Modules | Utility Station 3 |
| Stable Stock II | Mod | 2x Mechanical Components 3x Duct Tape | Gunsmith 2 |
| Stable Stock III | Mod | 2x Mod Components 5x Duct Tape | Gunsmith 3 |
| Tagging Grenade | Grenade | 1x Electrical Components 1x Sensors | Utility Station 3 |
| Tempest | Weapon | 3x Advanced Mechanical Components 3x Medium Gun Parts 3x Canister | Gunsmith 3 |
| Trigger Nade | Grenade | 2x Crude Explosives 1x Processor | Explosives Station 2 |
| Vertical Grip II | Mod | 2x Mechanical Components 3x Duct Tape | Gunsmith 2 |
| Vertical Grip III | Mod | 2x Mod Components 5x Duct Tape | Gunsmith 3 |
| Vita Shot | Quick Use | 2x Antiseptic 1x Syringe | Medical Lab 3 |
| Vita Spray | Quick Use | 3x Antiseptic 1x Canister | Medical Lab 3 |
| Vulcano | Weapon | 1x Magnetic Accelerator 3x Heavy Gun Parts 1x Exodus Modules | Gunsmith 3 |
| Wolfpack | Grenade | 2x Explosive Compound 2x Sensors | Explosives Station 3 |
| Red Light Stick | Quick Use | 3x Chemicals | Utility Station 1 |
| Smoke Grenade | Grenade | 14x Chemicals 1x Canister | Utility Station 2 |
| Deadline | Mine | 3x Explosive Compound 2x ARC Circuitry | Explosives Station 3 |
| Trailblazer | Grenade | 1x Explosive Compound 1x Synthesized Fuel | Explosives Station 3 |
| Tactical Mk. 3 (Defensive) | Augment | 2x Advanced Electrical Components 3x Processor | Gear Bench 3 |
| Tactical Mk. 3 (Healing) | Augment | 2x Advanced Electrical Components 3x Processor | Gear Bench 3 |
| Yellow Light Stick | Quick Use | 3x Chemicals | Utility Station 1 |
Note: The missing Blueprints in this list likely have not actually been added to the game at the time of writing, because none of the playerbase has managed to find any of them. As they are added to the game, I will update this page with the most relevant information so you know exactly how to get all 75 Arc Raiders Blueprints.
Where to find Blueprints in Arc Raiders
Below is a list of all containers, modifiers, and events which maximise your chances of finding Blueprints:
- Certain quests reward you with specific Blueprints .
- Completing Trials has a high chance of offering Blueprints as rewards.
- Surveyors have a decent chance of dropping Blueprints on death.
- High loot value areas tend to have a greater chance of spawning Blueprints.
- Night Raids and Storms may increase rare Blueprint spawn chances in containers.
- Containers with higher numbers of items may have a higher tendency to spawn Blueprints. As a result, Blue Gate (which has many “large” containers containing multiple items) may give you a higher chance of spawning Blueprints.
- Raider containers (Raider Caches, Weapon Boxes, Medical Bags, Grenade Tubes) have increased Blueprint drop rates. As a result, the Uncovered Caches event gives you a high chance of finding Blueprints.
- Security Lockers have a higher than average chance of containing Blueprints.
- Certain Blueprints only seem to spawn under specific circumstances: Tempest Blueprint only spawns during Night Raid events. Vulcano Blueprint only spawns during Hidden Bunker events. Jupiter and Equaliser Blueprints only spawn during Harvester events.

Raider Caches, Weapon Boxes, and other raider-oriented container types have a good chance of offering Blueprints. |Image credit:Rock Paper Shotgun/Embark Studios
Blueprints have a very low chance of spawning in any container in Arc Raiders, around 1-2% on average. However, there is a higher chance of finding Blueprints in particular container types. Specifically, you can find more Blueprints in Raider containers and security lockers.
Beyond this, if you’re looking for Blueprints you should focus on regions of the map which are marked as having particularly high-value loot. Areas such as the Control Tower in Dam Battlegrounds, the Arrival and Departure Buildings in Spaceport, and Pilgrim’s Peak in Blue Gate all have a better-than-average chance of spawning Blueprints somewhere amongst all their containers. Night Raids and Electromagnetic Storm events also increase the drop chances of certain Blueprints .
In addition to these containers, you can often loot Blueprints from destroyed Surveyors - the largest of the rolling ball ARC. Surveyors are more commonly found on the later maps - Spaceport and Blue Gate - and if one spawns in your match, you’ll likely see it by the blue laser beam that it casts into the sky while “surveying”.
Surveyors are quite well-armoured and will very speedily run away from you once it notices you, but if you can take one down then make sure you loot all its parts for a chance of obtaining certain unusual Blueprints.
Blueprints obtained from quests
One way in which you can get Blueprints is by completing certain quests for the vendors in Speranza. Some quests will reward you with a specific item Blueprint upon completion, so as long as you work through all the quests in Arc Raiders, you are guaranteed those Blueprints.
Here is the full list of all Blueprints you can get from quest rewards:
- Trigger Nade Blueprint: Rewarded after completing “Sparks Fly”.
- Lure Grenade Blueprint: Rewarded after completing “Greasing Her Palms”.
- Burletta Blueprint: Rewarded after completing “Industrial Espionage”.
- Hullcracker Blueprint (and Launcher Ammo Blueprint): Rewarded after completing “The Major’s Footlocker”.
Alas, that’s only 4 Blueprints out of a total of 75 to unlock, so for the vast majority you will need to find them yourself during a raid. If you’re intent on farming Blueprints, then it’s best to equip yourself with cheap gear in case you lose it, but don’t use a free loadout because then you won’t get a safe pocket to stash any new Blueprint you find. No pain in Arc Raiders is sharper than failing to extract with a new Blueprint you’ve been after for a dozen hours already.

One of the best ways to get Blueprints is by hitting three stars on all five Trials every week. |Image credit:Rock Paper Shotgun/Embark Studios
Blueprints obtained from Trials
One of the very best ways to get Blueprints is as rewards for completing Trials in Arc Raiders. Trials are unlocked from Level 15 onwards, and allow you to earn rewards by focusing on certain tasks over the course of several raids. For example, one Trial might task you with dealing damage to Hornets, while another might challenge you to loot Supply Drops.
Trials refresh on a weekly basis, with a new week bringing five new Trials. Each Trial can offer up to three rewards after passing certain score milestones, and it’s possible to receive very high level loot from these reward crates - including Blueprints. So if you want to unlock as many Blueprints as possible, you should make a point of completing as many Trials as possible each week.
Best Blueprint farming locations
The very best way to get Blueprints is to frequent specific areas of the maps which combine high-tier loot pools with the right types of containers to search. Here are my recommendations for where to find Blueprints on every map, so you can always keep the search going for new crafting recipes to unlock.

Image credit:Rock Paper Shotgun/Embark Studios
Dam Battlegrounds
The best places to farm Blueprints on Dam Battlegrounds are the Control Tower, Power Generation Complex, Ruby Residence, and Pale Apartments . The first two regions, despite only being marked on the map as mid-tier loot, contain a phenomenal number of containers to loot. The Control Tower can also contain a couple of high-tier Security Lockers - though of course, you’ll need to have unlocked the Security Breach skill at the end of the Survival tree.
There’s also a lot of reporting amongst the playerbase that the Residential areas in the top-left of the map - Pale Apartments and Ruby Residence - give you a comparatively strong chance of finding Blueprints. Considering their size, there’s a high density of containers to loot in both locations, and they also have the benefit of being fairly out of the way. So you’re more likely to have all the containers to yourself.
Buried City
The best Blueprint farming locations on Buried City are the Santa Maria Houses, Grandioso Apartments, Town Hall, and the various buildings of the New District . Grandioso Apartments has a lower number of containers than the rest, but a high chance of spawning weapon cases - which have good Blueprint drop rates. The others are high-tier loot areas, with plenty of lootable containers - including Security Lockers.
Spaceport
The best places to find Blueprints on Spaceport are the Arrival and Departure Buildings, as well as Control Tower A6 and the Launch Towers . All these areas are labelled as high-value loot regions, and many of them are also very handily connected to one another by the Spaceport wall, which you can use to quickly run from one area to the next. At the tops of most of these buildings you’ll find at least one Security Locker, so this is an excellent farming route for players looking to find Blueprints.
The downside to looting Blueprints on Spaceport is that all these areas are hotly contested, particularly in Duos and Squads. You’ll need to be very focused and fast in order to complete the full farming route.

Image credit:Rock Paper Shotgun/Embark Studios
Blue Gate
Blue Gate tends to have a good chance of dropping Blueprints, potentially because it generally has a high number of containers which can hold lots of items; so there’s a higher chance of a Blueprint spawning in each container. In my experience, the best Blueprint farming spots on Blue Gate are Pilgrim’s Peak, Raider’s Refuge, the Ancient Fort, and the Underground Complex beneath the Warehouse .
All of these areas contain a wealth of containers to loot. Raider’s Refuge has less to loot, but the majority of the containers in and around the Refuge are raider containers, which have a high chance of containing Blueprints - particularly during major events.
Stella Montis
On the whole, Stella Montis seems to have a very low drop rate for Blueprints (though a high chance of dropping other high-tier loot). If you do want to try farming Blueprints on this map, the best places to find Blueprints in Stella Montis are Medical Research, Assembly Workshop, and the Business Center . These areas have the highest density of containers to loot on the map.
In addition to this, the Western Tunnel has a few different Security Lockers to loot, so while there’s very little to loot elsewhere in this area of the map, it’s worth hitting those Security Lockers if you spawn there at the start of a match.
That wraps up this primer on how to get all the Blueprints in Arc Raiders as quickly as possible. With the Expedition system constantly resetting a large number of players’ Blueprints, it’s more important than ever to have the most up-to-date information on where to find all these Blueprints.
While you’re here, be sure to check out our Arc Raiders best guns tier list , as well as our primers on the best skills to unlock and all the different Field Depot locations on every map.

ARC Raiders
PS5 , Xbox Series X/S , PC
Rock Paper Shotgun is better when you sign in
Sign in and join us on our journey to discover strange and compelling PC games.
