Palworld early access review: base building junk food
Poke the legally distinct monster nest

Image credit:Rock Paper Shotgun/Pocketpair

- Developer: Pocketpair
- Publisher: Pocketpair
- Release: Out now (early access)
- On: Windows
- From: Steam , Game Pass
- Price: £25/€30/$30
- Reviewed on: Intel Core i9-11900K, 16GB RAM, Nvidia RTX 3080, Windows 10
The greatest compliment I can give to Palworld is that it lights up my brain in the same way a modern Assassin’s Creed game does. It taps into the same checklist clearing compulsion that saw me spend over 100 hours in both Odyssey’s Ancient Greek archipelago and the Viking open world of Valhalla - only instead of chasing map icons that take you down weird sidequest rabbit holes that riff on Fenton the (sheep)dog, or gobbling up story events just so you can make googly eyes at every warm-blooded human in a ten mile radius, Palworld hooks you in with its enormous catalogue of base building tasks. Not catching the 100+ Pal monsters roaming around its mysterious islands, but crafting the perfect sweatshop to put them to work in. It’s one of those, “I’ll just add this furnace so I can craft some ingots that will let me make a cooking pot to level up my base, but wait, now I need some ore to make those ingots, and oh god, I’ve just spent seven hours doing not very much at all, have I?”
To be clear, I’ve had those same dread-filled, “What the heck have I just spent my entire weekend on?”, epiphanies when I’ve played those aforementioned AssCreed games, too. I know full well that there’s no real reason why I spend such vast stretches of time with them, and that much of their map-clearing has considerably less nutritional value, say, than pursuing their core story quests and calling it a day. They’re tasks for the sake of having a task a lot of the time, a breadcrumb trail of dopamine dings that make it feel like you’re accomplishing something, when really all you’re doing is pointless busywork. And yet. There I go, doing it all anyway, despite myself.
Bloodthirsty, man-eating Pals, they tell you at the start. Terrors of the night. Evil demons that must be stopped, with their big googly eyes and innocent smiles… |Image credit:Rock Paper Shotgun/Pocketpair
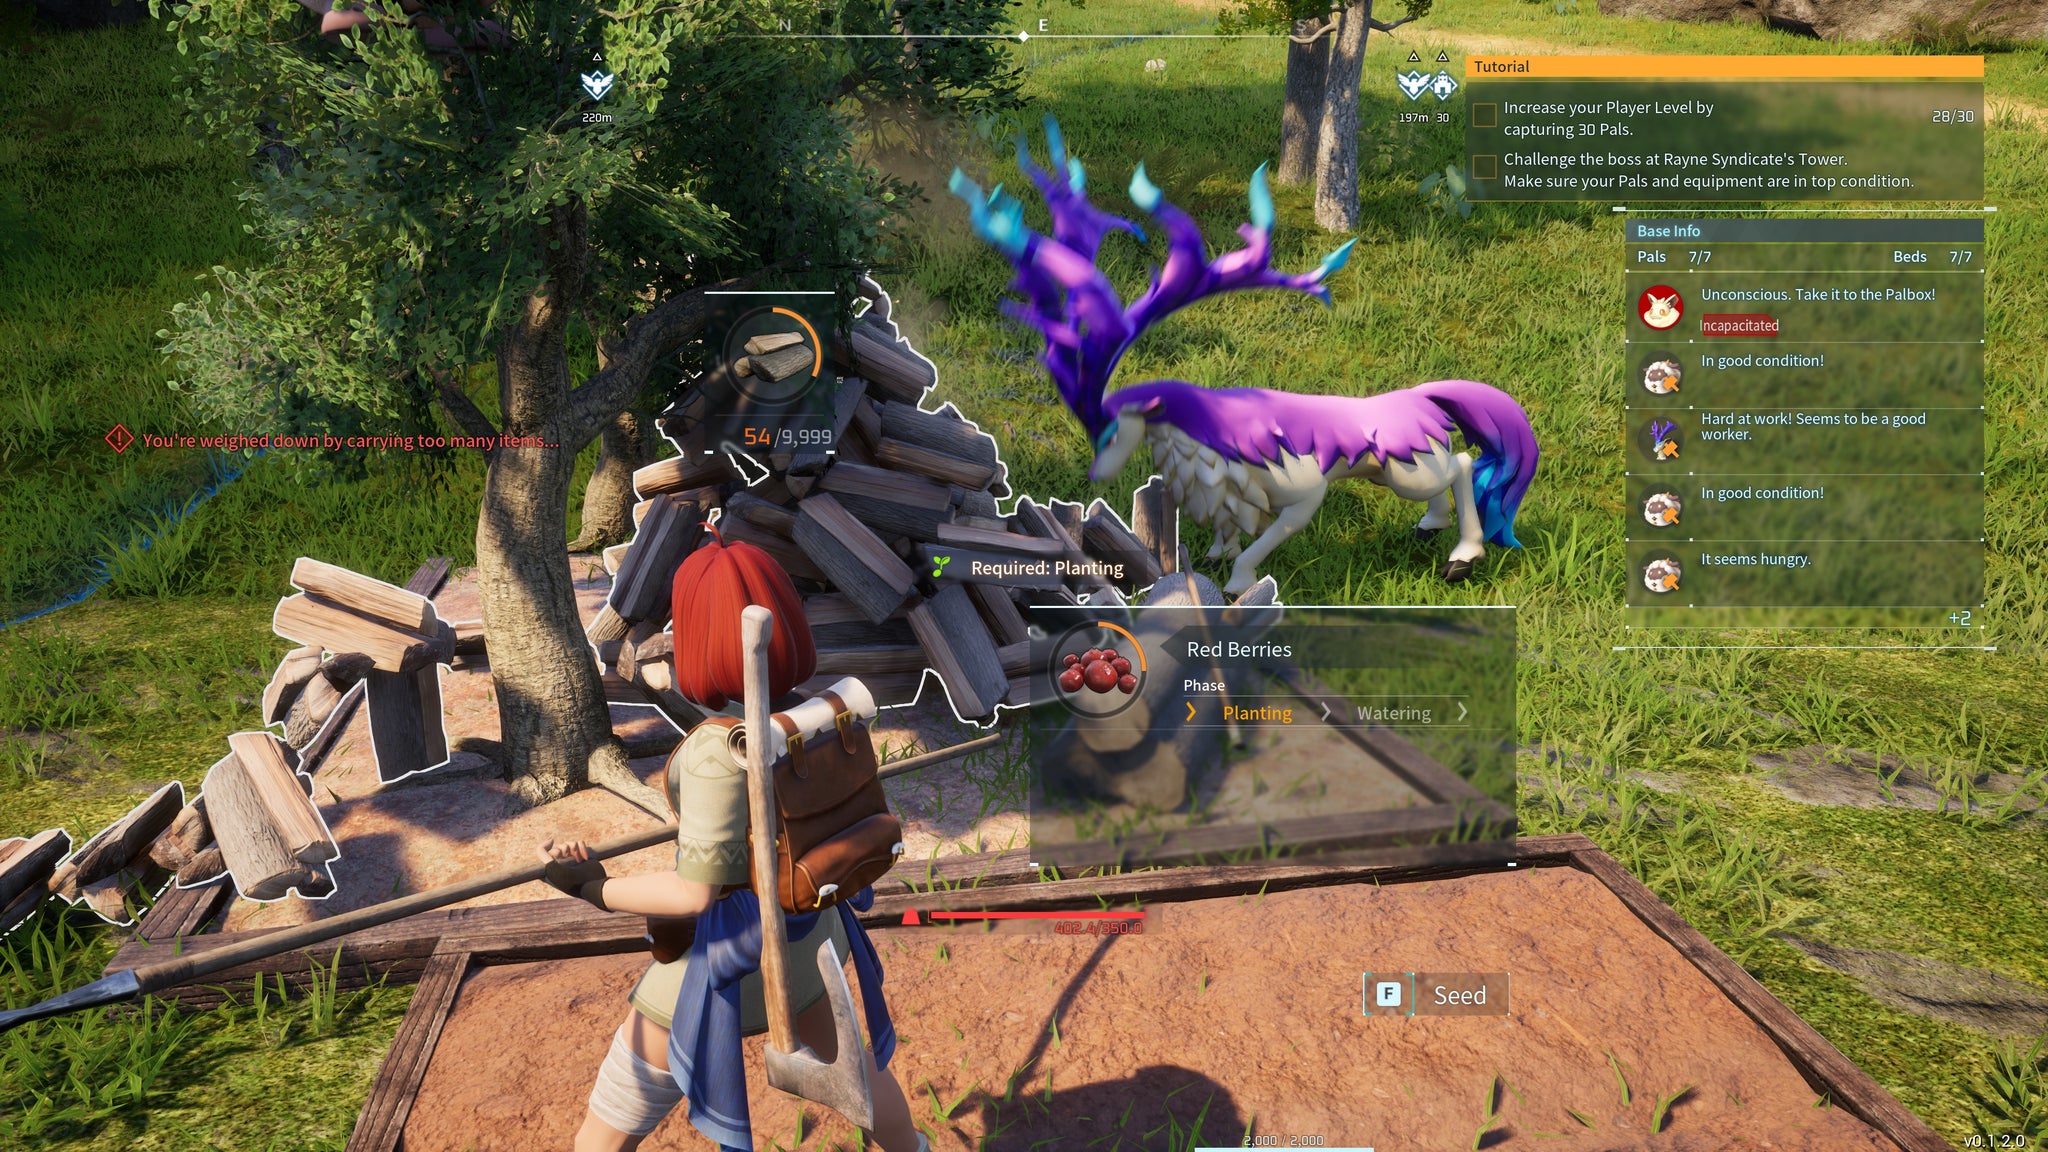
Palworld scratches this exact same itch with its base building , keeping you stuffed with a long list of objectives so you’ve always got something to work toward. Once you’re out of the tutorial, these are drip-fed to you via your Palbox, the second thing you’re taught to build after the all-important crafting bench. This not only functions as your centralised Pal storage, a bit like Pokémon’s PC Boxes, but it’s also the place where you’ll assign Pals to your party, and level up your base. And the higher base level you have, the more Pal workers you’ll have under your thumb to craft, farm and build the stuff you need faster and more efficiently. Thus, the checklist cycle begins, and Palworld quickly settles into that familiar rhythm of gaining EXP and Technology points to unlock the requisite contraptions from your Technology tree, the raw materials to build them with, and as well as other machines to process some of those ingredients into more advanced building blocks. Rinse, repeat, and lo and behold, another five hours have gone by.
This is the core of what Palworld actually is. Despite its cuddly-looking (and just about legally distinct ) Pokémon-esque creatures being plastered front and centre in both the title, art and general hubbub about the game, Palworld isn’t really that interested in being an actual Pokémon-like, or at least not in the same way as games like Cassette Beasts , Coromon or TemTem are. Sure, you can call upon Pals in battle to fight alongside you, and you can, via special pinecone doodads, teach them specific moves to add to their very limited skill set. Eventually, you can also set about breeding them , but the focus is never on the Pals themselves. Rather, it’s mostly about what those Pals can do for you and your base, and how they can best service those needs via their stats, abilities and traits.


It’s a small, but important distinction, and one that puts Palworld in better company with the likes of Monster Hunter and Wild Hearts . Well, sort of. In battle, for example, the attention remains centred on you as a player, giving encounters the same kind of frenzied pace and ‘anything can happen anywhere’ action as Capcom’s premier beast slayer. But even then, Palworld still feels like a poor imitation. Despite an array of craftable weapons at your disposal, they all boil down to the same single mouse or button press. There are no attack combos to use or classes to master, and the only real ‘move’ you have is a dodge roll.
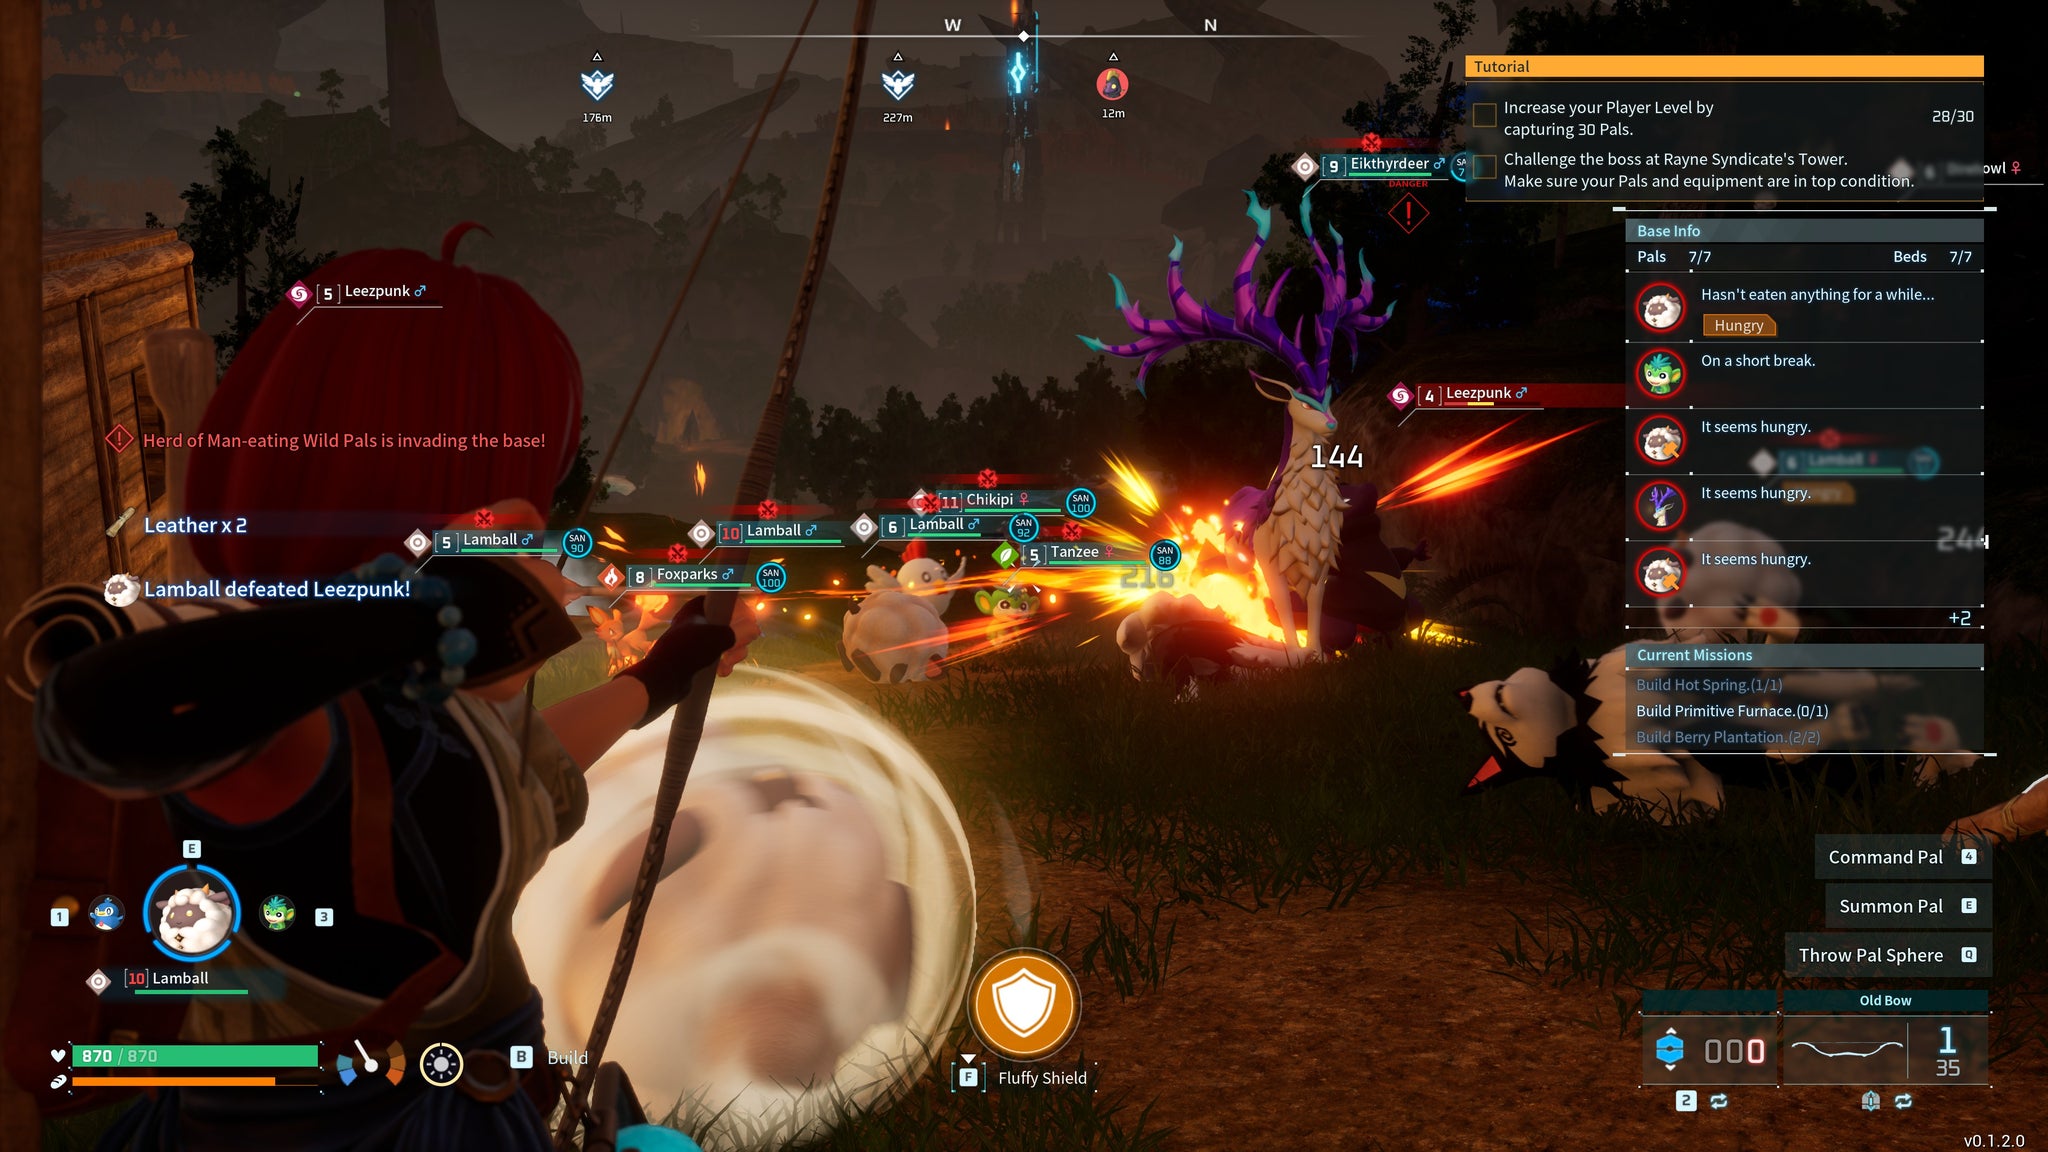
Thus, battles end up following the same repetitive pattern as its base building. Each fight feels exactly the same as the last, and even boss battles become dreary slogs to grind those HP bars down to zero. There’s no escalation in the sense of drama or excitement, and no slathering jawlines or stumbles of exhaustion as your quarry gets beaten into submission. More often than not, fights descend into such a hectic bombardment of conflicting health bars and Pal attack effects, that joining the fray quickly becomes a madman’s game. Instead, you’re much better off sticking to the sidelines, either sitting them out entirely while your Pals do the hard work for you, or, if you’re feeling generous, pelting your opponents’ spongey bodies with arrow after arrow (and later bullet after bullet) from afar.
It doesn’t matter what Pals you’ve got fighting alongside you either. You see, Pals operate independently of the player, using their small crop of abilities on whatever object - human or Pal alike - happens to be in front of them. Only a select few let you exercise any direct control over them (once you’ve crafted the necessary gloves and harnesses to hoik them up under your arm and squeeze them like an elemental bagpipe, that is), and even then it’s mostly just a single special attack that’s governed by an extensive cooldown period. The rest of the time, it’s back to taking potshots with your bow. And again, the resulting mess of everything onscreen still makes you want to take a backseat until everyone’s finished clobbering each other.
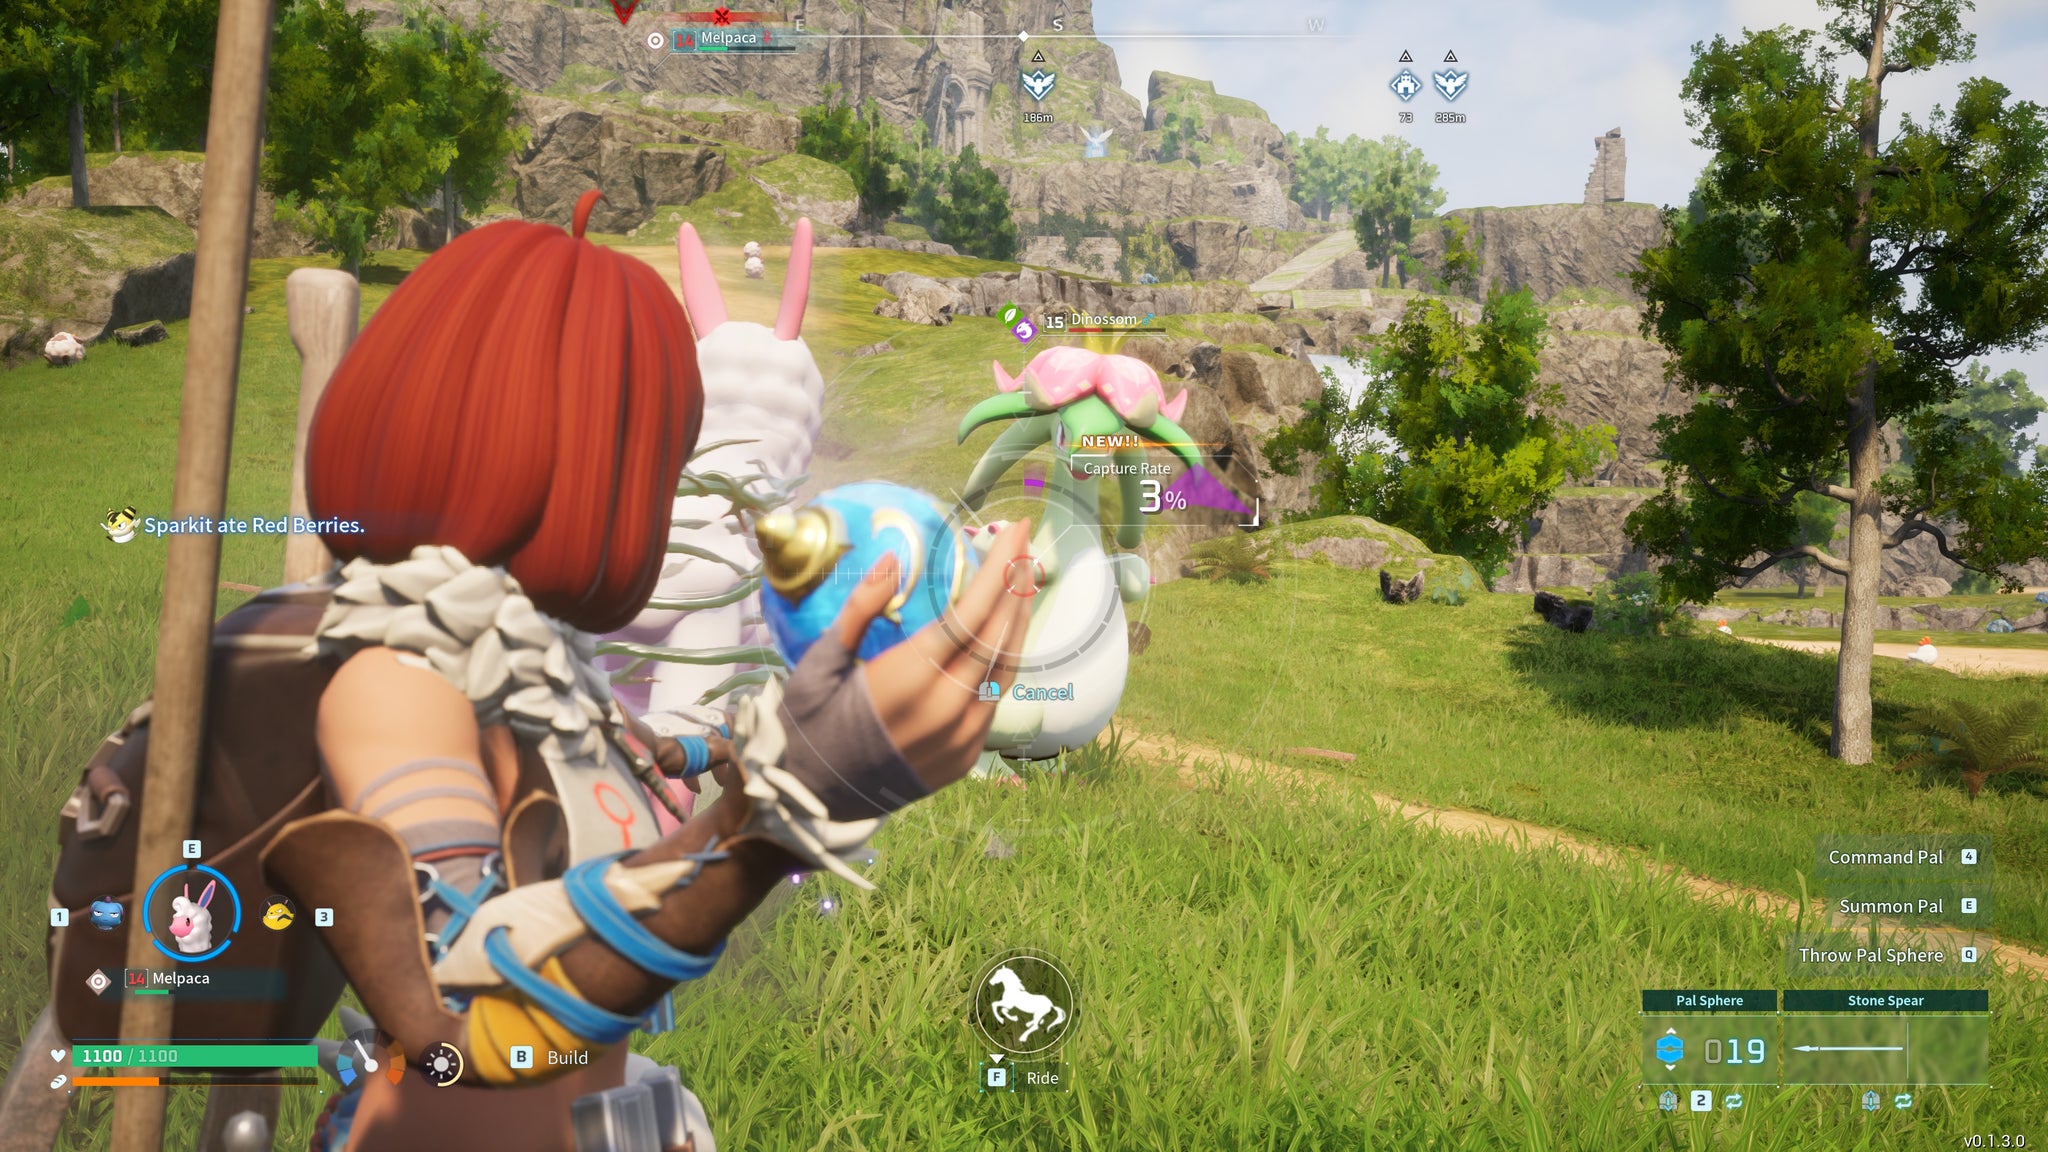
Image credit:Rock Paper Shotgun/Pocketpair
Night-time battles are especially hard to read, but even during the day it can be hard to parse exactly who’s attacking what. |Image credit:Rock Paper Shotgun/Pocketpair
The only way to fully control the battlefield is to ride one of your (again, select few) mount Pals into the fray, as that puts a whopping three (3) attack commands at your fingertips, and thus finally some variation in how you tackle enemies. But just as your pulse starts racing with excitement, Palworld manages to kill that feeling almost straight away thanks to its unwieldy controls. Aiming and manoeuvring your Pal’s attacks is a maddening affair when swarms of creatures half your size are coming at you from all angles, and yet again, it’s simply more efficient (and better for your health) to get off your Pal, head for the hills and let them do their thing. That’s because death in Palworld means you’ll drop all your stuff on the spot, then respawn in nothing but your pants at one of few pre-ordained checkpoints.
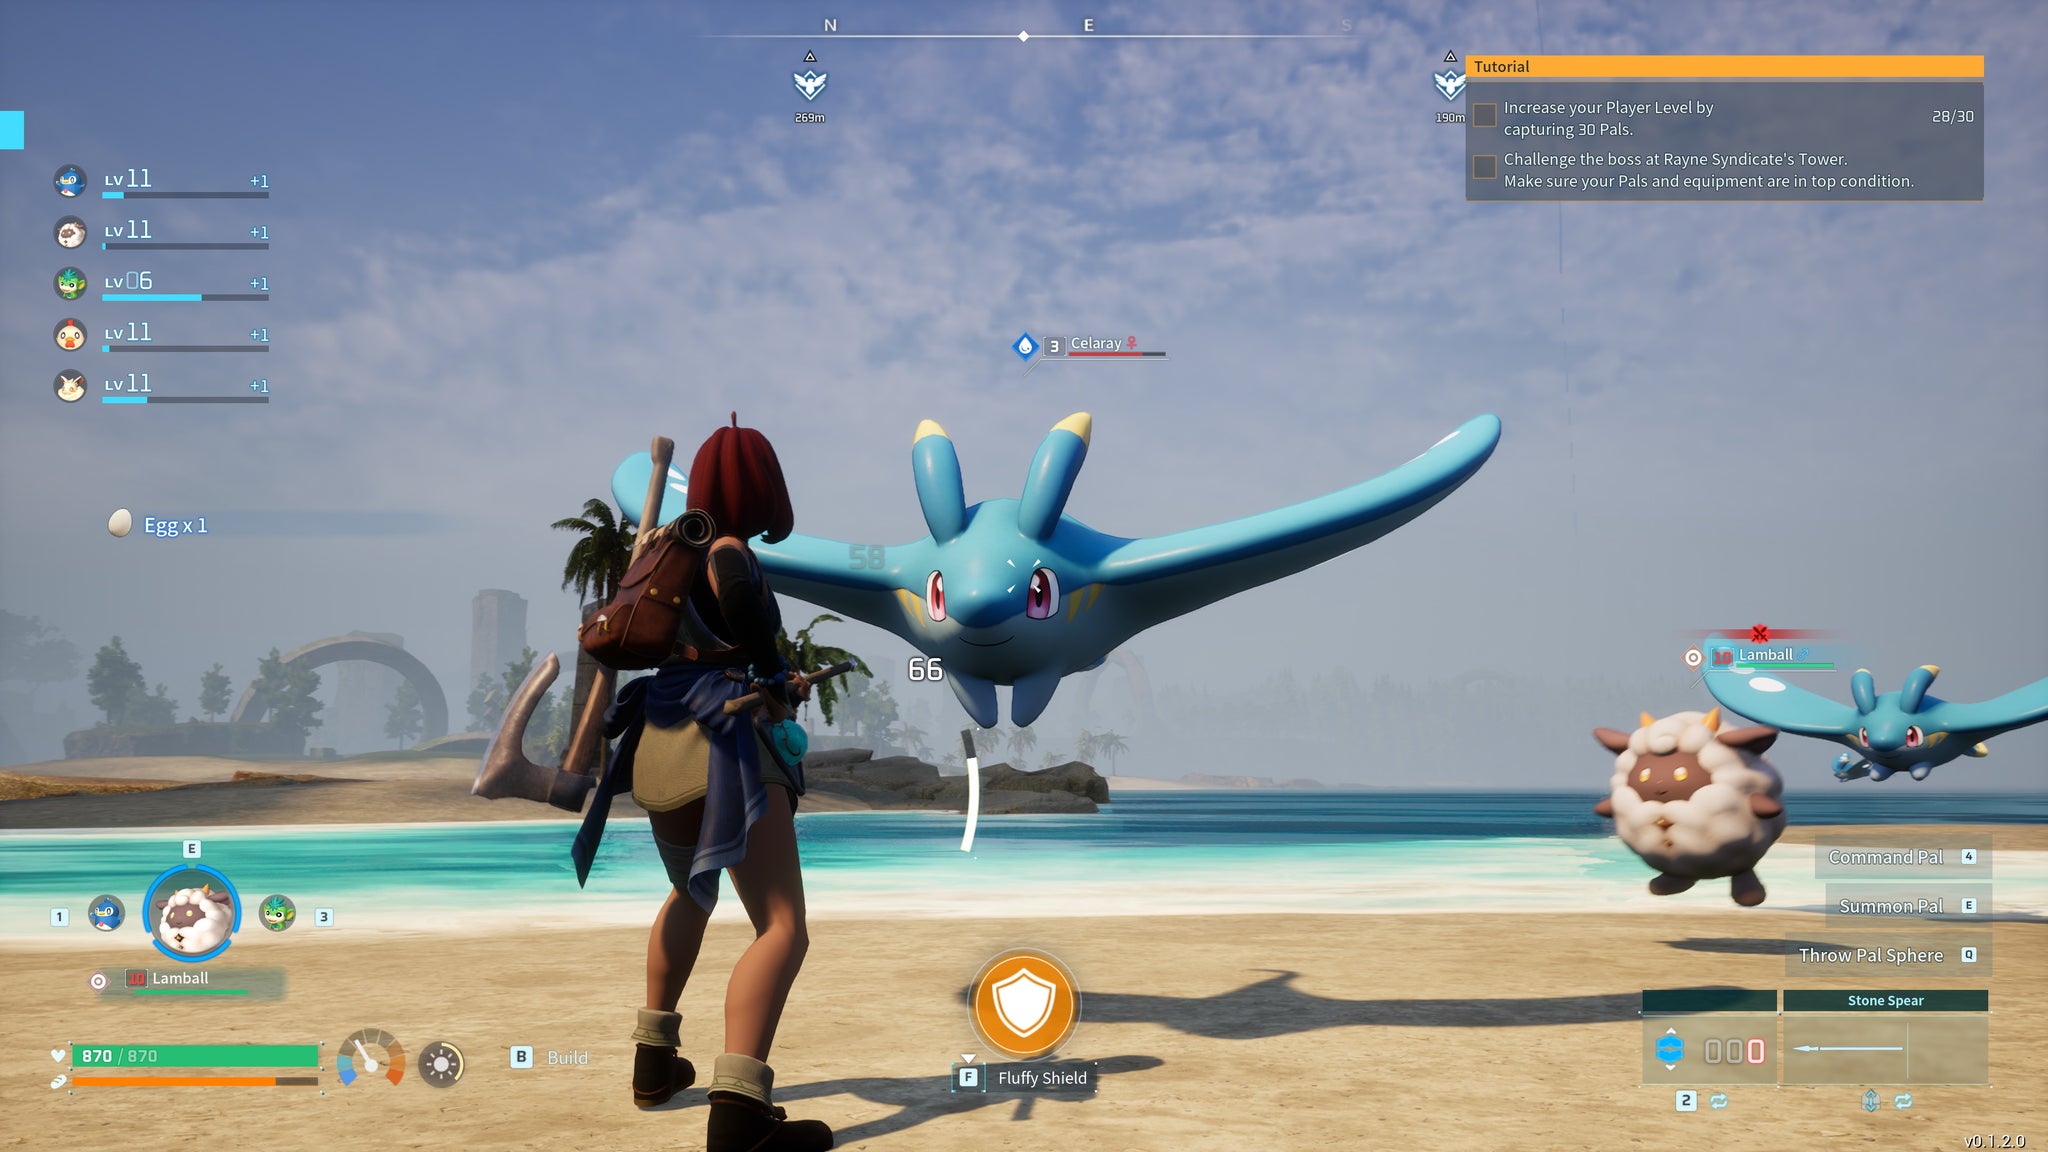
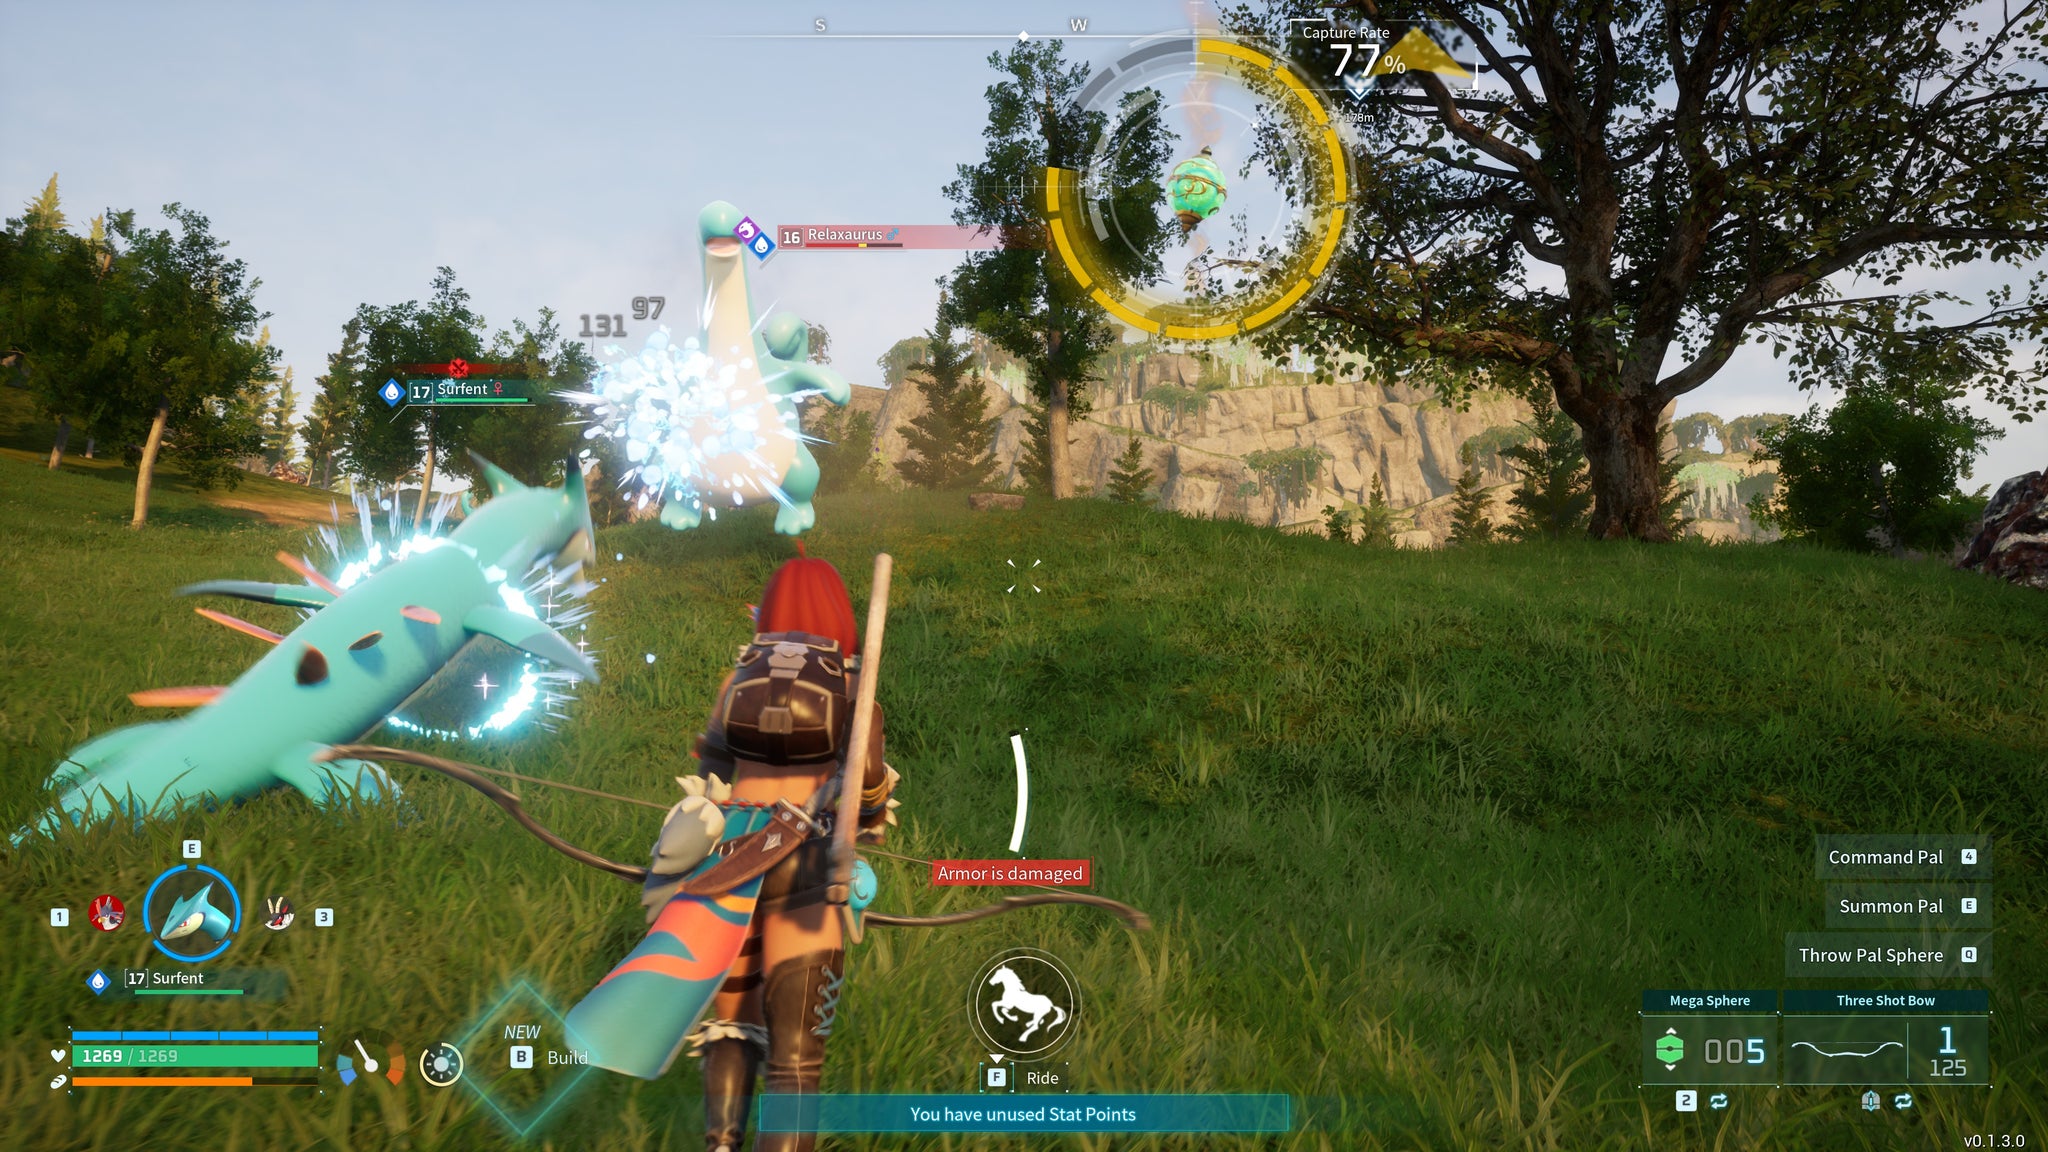
Capturing Pals is worse still. On the rare occasion that I manage to identify which of the many red health bars belongs to the monster I actually want to catch, 90% of the time my Pal companion will simply wallop them into the afterlife before I’ve even whipped out my Pal Sphere (and in the other 10%, I’ll throw the damn ball, the Pal will break out and then get walloped before I can throw another one). Did I also mention that you lose every ball you throw, regardless of whether it hits something or not? That’s minutes of crafting work down the drain in a simple mis-tap, and unless you’ve got the wherewithal to recall your Pal at critical moments (which is tricky when you’ve got ten turtles all dosing you with bubble beams), or are ultra-quick with finicky keyboard commands (hitting 4 to bring up the Pal’s menu dial and selecting ‘DO NOT ATTACK, FOR THE LOVE OF GOD’ - a nigh on impossible task in the heat of battle), even trying to play it like a regular Pokémon-like is often fraught with frustration.
There are moments, of course, where the fog of confusion clears, Pals are easily caught, and everything just about holds together enough to keep you moving forward. Heck, I still feel uncomfortable with the way it so relishes inflicting extreme violence on its innocuous wildlife, but I’ll admit that I’ve become numb to it over time, my defences ground down by the need to ding those never-ending checklists. I know it’s as mindless as it comes, but once you get into the swing of those upgrade chores, Palworld does just a good enough job of dangling its dopamine carrots in front of my face that it will string me along for hours, even when playing alone.
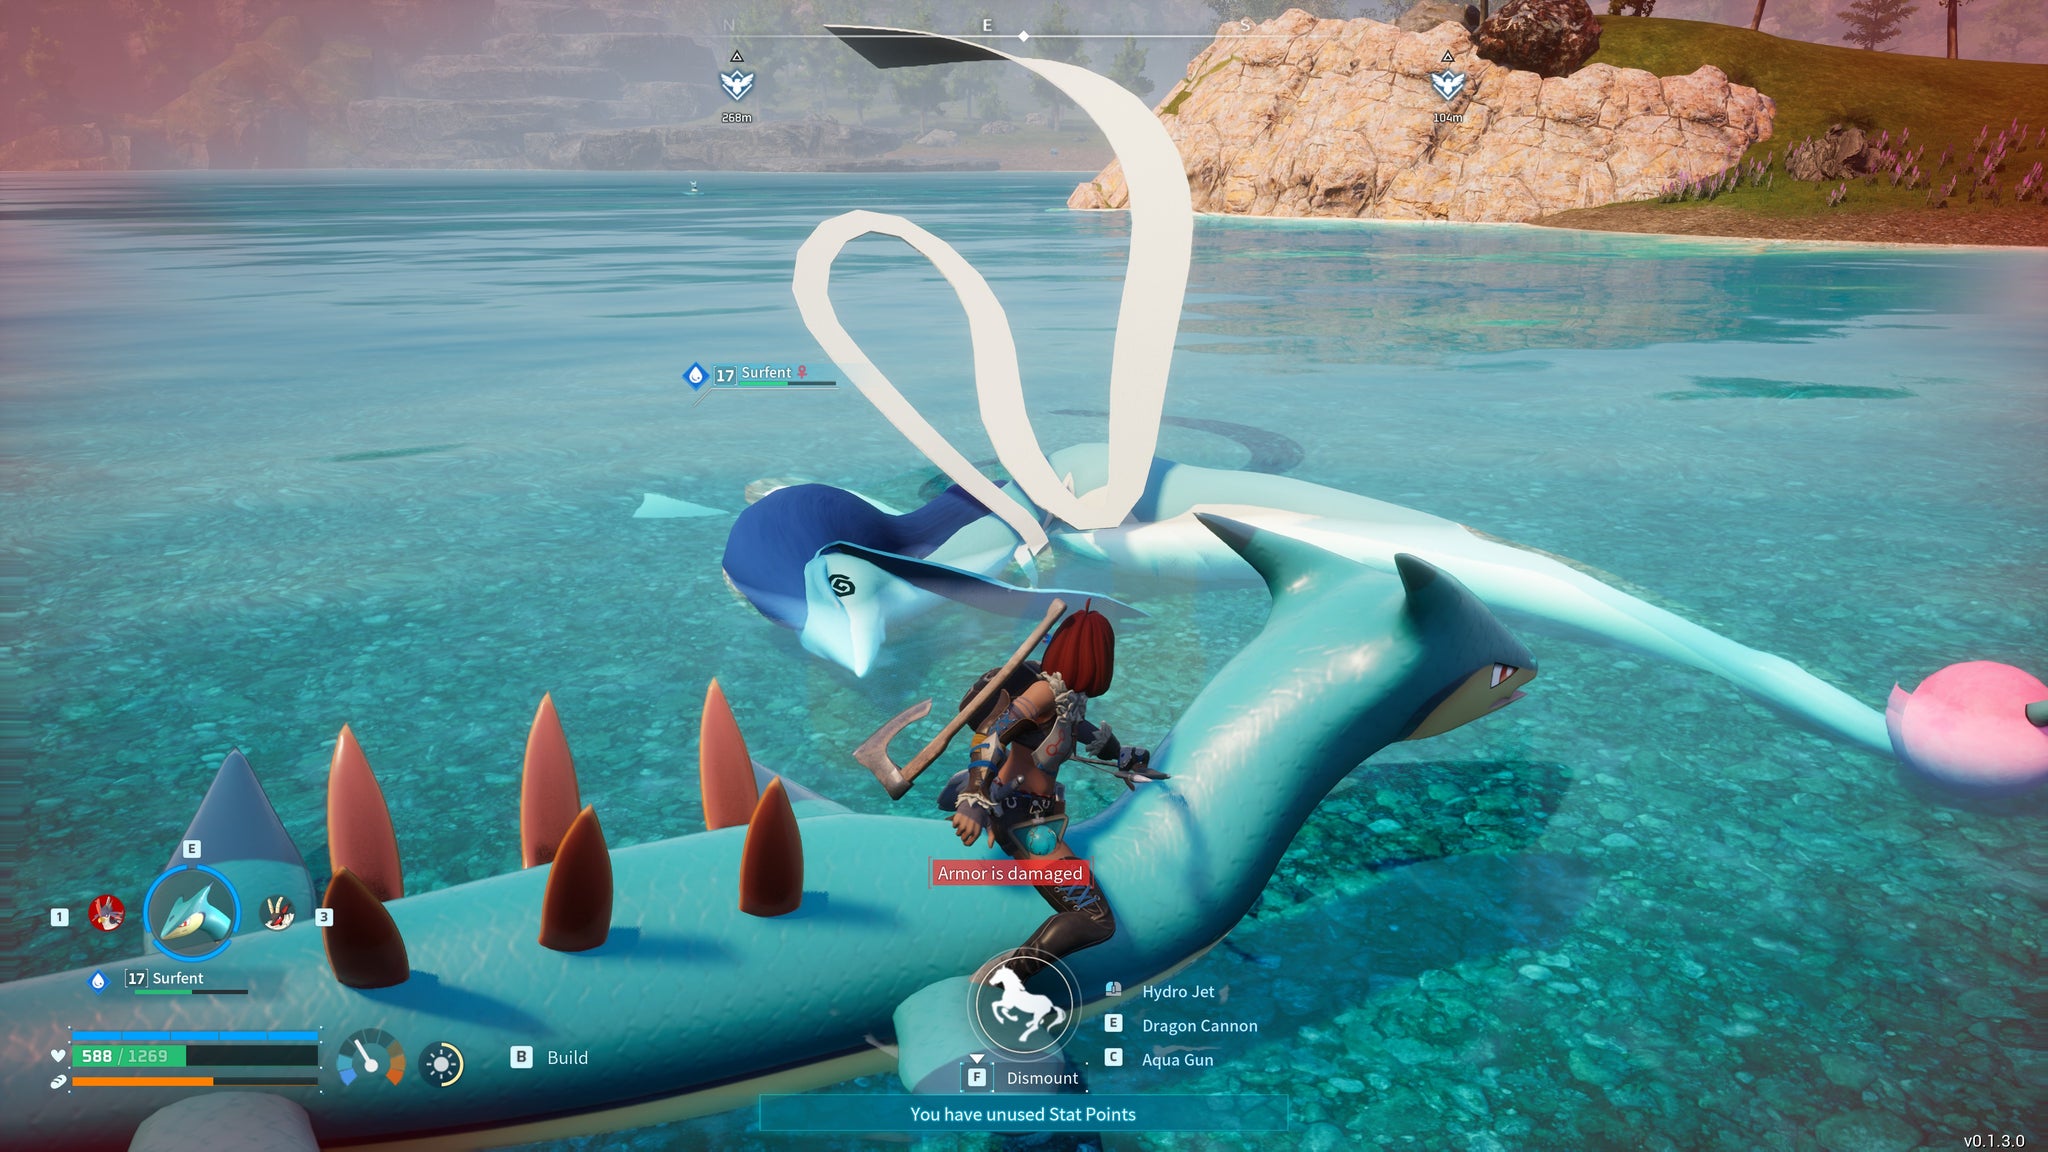
Image credit:Rock Paper Shotgun/Pocketpair
Riding a Pal as a mount gives you more options in battle, but they’re so hard to control that they’re really best suited to helping you get around the environment a bit faster. |Image credit:Rock Paper Shotgun/Pocketpair
You can quite easily leave your base to hum along in your absence, too, as your Pals will continue beavering away headbutting logs, punching rocks, farming your berry plots and keeping themselves fed and watered all without your supervision. Although I find it depressing that their core stat in worker bee mode is simply “Sanity”, as if nothing else matters or is even vaguely important in maintaining a healthy worklife balance. Naturally, you don’t want their sanity levels to drop too low from overwork, but while there are buildings you can construct to keep them vaguely happy, the smoothest path to dealing with terminal grumps and slackers (or Pals who repeatedly manage to clip through the environment and almost starve themselves in the process) is to simply whack them back in the Palbox and swap them out for another. Because that’s what these dumb creatures are at the end of the day: entirely replaceable, and more fodder for the base building machine.
That’s why, deep down, I know Palworld is essentially junk food of the highest order. There’s no real joy or soul to be found here. All that’s left is another neuron firing off in my brain, clapping its hands in a daze of stupefied glee. For as soon as I take my eyes off those carrots and start looking beyond the boundaries of my base, the rest of Palworld feels as tired and stale as its repetitive combat. It is, of course, still in early access at the moment, and future updates may well fill in some of the gaps it’s currently lacking. But there are deeper flaws present here that I’m not sure can be fixed by fleshing out a few things.
For instance, the world of Palpagos Islands is, frankly, an empty hodgepodge of assets thrown together in a blender. Autumnal forests will butt up against beaches, mountains and grassy plateaus in what feels like the same 100m radius, and the Pals themselves never feel like they belong to particular habitats. It all routinely fails to ignite any sense of wonder or curiosity about what lies beyond the next hill, mostly because there are either too many trees blocking the view, or there’s just… nothing tempting you further toward the horizon. And on the few occasions you do make it to a vaguely unusual-looking landmark or mountaintop, there’s seldom anything there to make it worth the effort - not even a knock-off Breath Of The Wild Korok seed for your trouble.
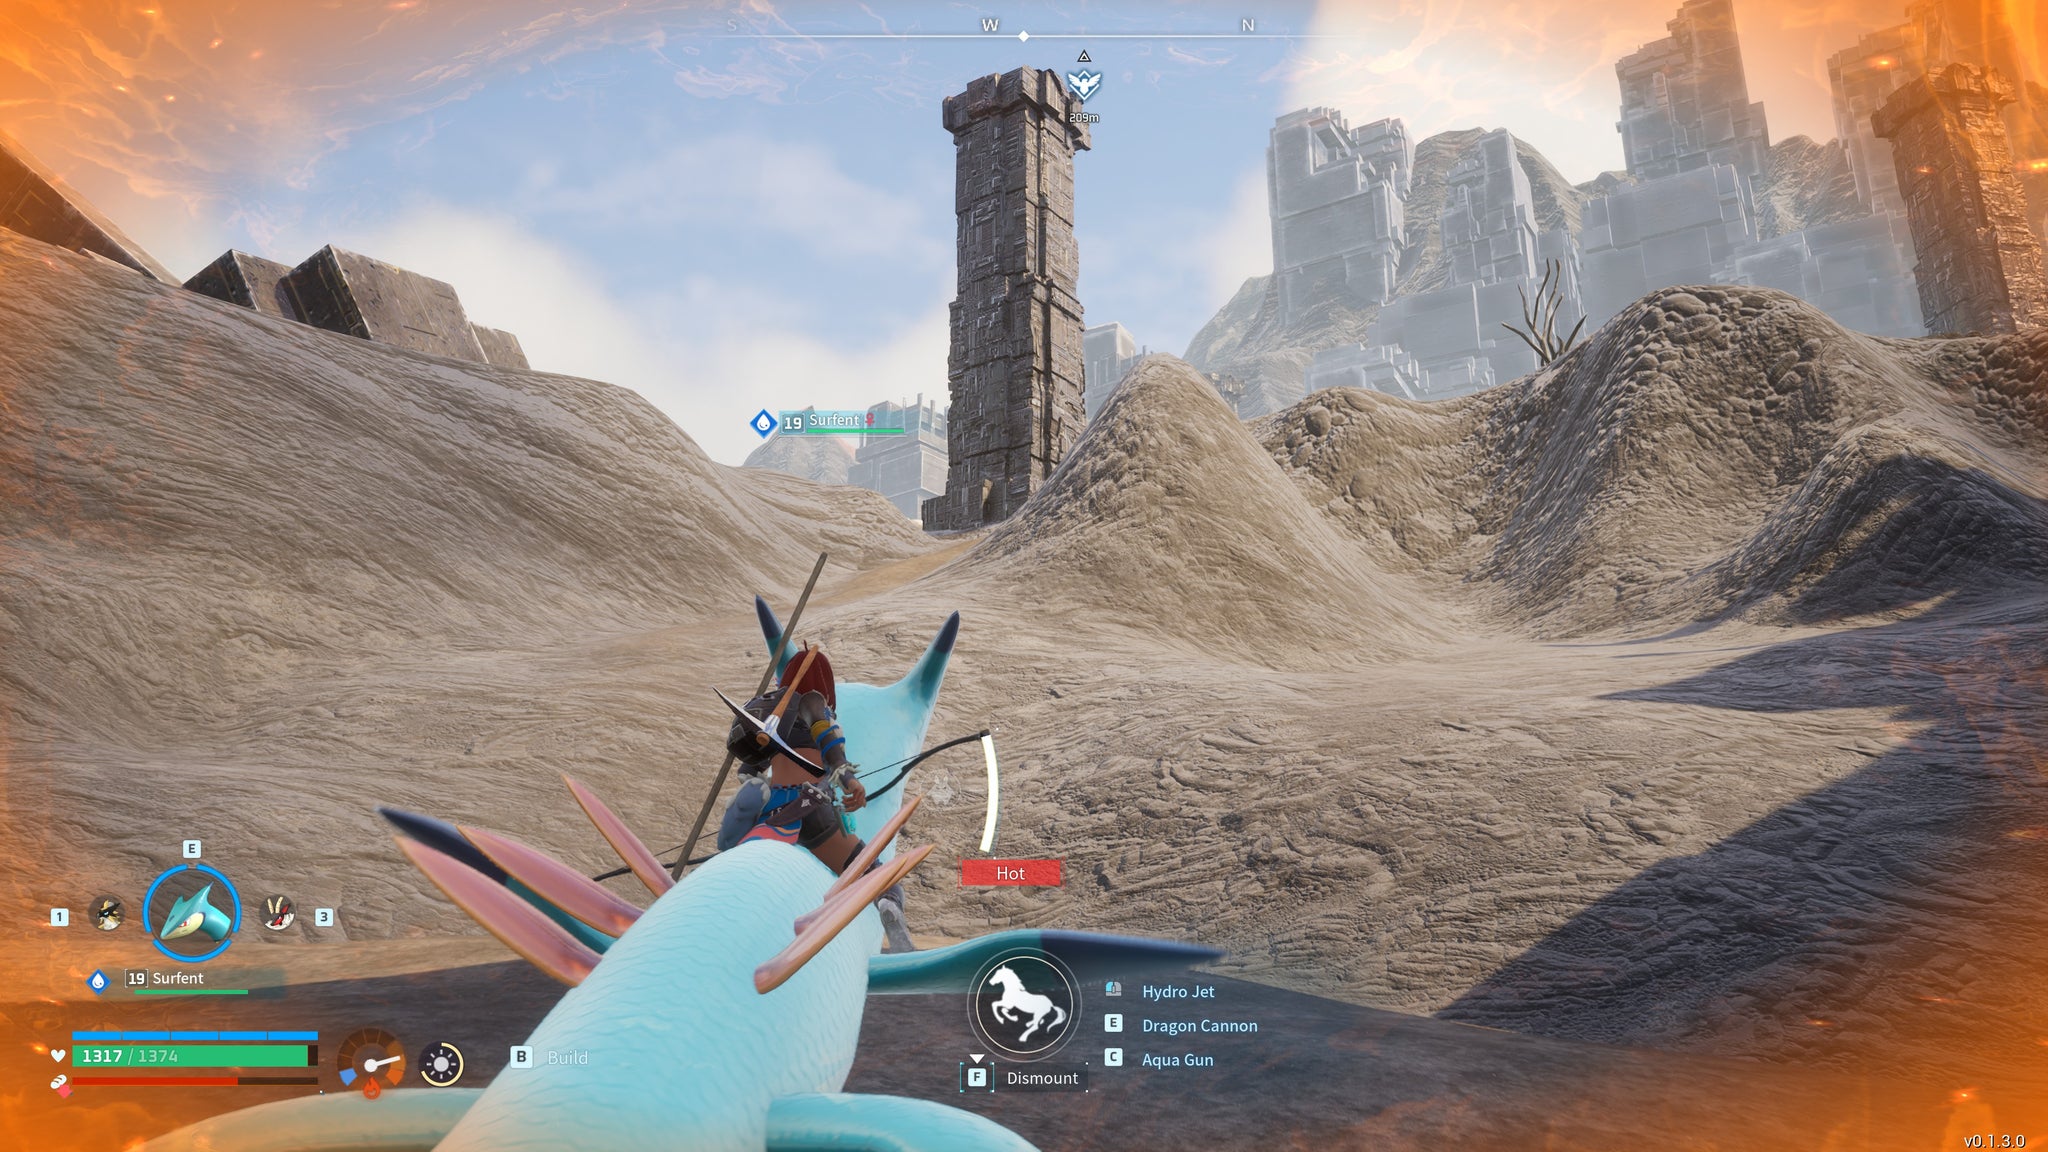
You’ll need to craft special armour pelts to push into some of Palworld’s higher level and more extreme temperature regions, but honestly? I’m good, mate. What’s worth coming back for? |Image credit:Rock Paper Shotgun/Pocketpair
It’s all aimless, because once you take away the muscle of Palworld’s base building, you’re left with a skeleton that can barely prop itself up, let alone provide any forward momentum. Sure, there’s that mysterious tablet from the start of the game spouting some cryptic nonsense about how ’the towers hold the key’ or some such (the towers effectively being Palworld’s version of Pokémon’s gym leader battles), but once you complete the first tower to round off the tutorial, they’re barely mentioned ever again. There’s no wider story beats chivvying you along to tackle this tower or that one, and when the world’s so bland and uninviting, the desire to explore for the sake of adventure is practically non-existent.
Everything’s in service of building your base in Palworld, and if that’s where you get your kicks from, then by all means have at it. There’s room in this world for junk food as well as fine cuisine, and sometimes we all need a bit of simple satisfaction in our lives. But right now, there’s very little else to recommend Palworld, least of all its ’take take take’ mentality and the way it so brazenly frames everything as a tool to exploit for your own gain. Maybe Assassin’s Creed is guilty of that, too, as well as Monster Hunter, Pokémon and all the other games Palworld’s so clearly riffing on. The difference, I think, is one of attitude and ambition, because for all their respective monster mauling, those games still feel alive in ways that Palworld simply doesn’t at the moment. They have the heart and presence to laugh at their own silliness, but Palworld just feels a bit dead behind the eyes. All that exists is the infernal checklist.
This review is based on a retail build of the game provided by developers Pocketpair.
Find out how we conduct our reviews by reading our review policy .

Palworld
PS4 , PS5 , Xbox One , Xbox Series X/S , PC
Rock Paper Shotgun is better when you sign in
Sign in and join us on our journey to discover strange and compelling PC games.

All 75 Arc Raiders Blueprints and where to get them
These areas have the highest chance of giving you Blueprints

Image credit:Rock Paper Shotgun/Embark Studios

Looking for more Arc Raiders Blueprints? It’s a special day when you find a Blueprint, as they’re among the most valuable items in Arc Raiders. If you find a Blueprint that you haven’t already found, then you must make sure you hold onto it at all costs, because Blueprints are the key to one of the most important and powerful systems of meta-progression in the game.
This guide aims to be the very best guide on Blueprints you can find, starting with a primer on what exactly they are and how they work in Arc Raiders, before delving into exactly where to get Blueprints and the very best farming spots for you to take in your search.
We’ll also go over how to get Blueprints from other unlikely activities, such as destroying Surveyors and completing specific quests. And you’ll also find the full list of all 75 Blueprints in Arc Raiders on this page (including the newest Blueprints added with the Cold Snap update , such as the Deadline Blueprint and Firework Box Blueprint), giving you all the information you need to expand your own crafting repertoire.
In this guide:
- What are Blueprints in Arc Raiders?
- Full Blueprint list: All crafting recipes
- Where to find Blueprints in Arc Raiders Blueprints obtained from quests Blueprints obtained from Trials Best Blueprint farming locations

What are Blueprints in Arc Raiders?
Blueprints in Arc Raiders are special items which, if you manage to extract with them, you can expend to permanently unlock a new crafting recipe in your Workshop. If you manage to extract from a raid with an Anvil Blueprint, for example, you can unlock the ability to craft your very own Anvil Pistol, as many times as you like (as long as you have the crafting materials).
To use a Blueprint, simply open your Inventory while in the lobby, then right-click on the Blueprint and click “Learn And Consume” . This will permanently unlock the recipe for that item in your Workshop. As of the Stella Montis update, there are allegedly 75 different Blueprints to unlock - although only 68 are confirmed to be in the game so far. You can see all the Blueprints you’ve found and unlocked by going to the Workshop menu, and hitting “R” to bring up the Blueprint screen.
It’s possible to find duplicates of past Blueprints you’ve already unlocked. If you find these, then you can either sell them, or - if you like to play with friends - you can take it into a match and gift it to your friend so they can unlock that recipe for themselves. Another option is to keep hold of them until the time comes to donate them to the Expedition.
Full Blueprint list: All crafting recipes
Below is the full list of all the Blueprints that are currently available to find in Arc Raiders, and the crafting recipe required for each item:
| Blueprint | Type | Recipe | Crafted At |
|---|---|---|---|
| Bettina | Weapon | 3x Advanced Mechanical Components 3x Heavy Gun Parts 3x Canister | Gunsmith 3 |
| Blue Light Stick | Quick Use | 3x Chemicals | Utility Station 1 |
| Aphelion | Weapon | 3x Magnetic Accelerator 3x Complex Gun Parts 1x Matriarch Reactor | Gunsmith 3 |
| Combat Mk. 3 (Flanking) | Augment | 2x Advanced Electrical Components 3x Processor | Gear Bench 3 |
| Combat Mk. 3 (Aggressive) | Augment | 2x Advanced Electrical Components 3x Processor | Gear Bench 3 |
| Complex Gun Parts | Material | 2x Light Gun Parts 2x Medium Gun Parts 2x Heavy Gun Parts | Refiner 3 |
| Fireworks Box | Quick Use | 1x Explosive Compound 3x Pop Trigger | Explosives Station 2 |
| Gas Mine | Mine | 4x Chemicals 2x Rubber Parts | Explosives Station 1 |
| Green Light Stick | Quick Use | 3x Chemicals | Utility Station 1 |
| Pulse Mine | Mine | 1x Crude Explosives 1x Wires | Explosives Station 1 |
| Seeker Grenade | Grenade | 1x Crude Explosives 2x ARC Alloy | Explosives Station 1 |
| Looting Mk. 3 (Survivor) | Augment | 2x Advanced Electrical Components 3x Processor | Gear Bench 3 |
| Angled Grip II | Mod | 2x Mechanical Components 3x Duct Tape | Gunsmith 2 |
| Angled Grip III | Mod | 2x Mod Components 5x Duct Tape | Gunsmith 3 |
| Hullcracker | Weapon | 1x Magnetic Accelerator 3x Heavy Gun Parts 1x Exodus Modules | Gunsmith 3 |
| Launcher Ammo | Ammo | 5x Metal Parts 1x Crude Explosives | Workbench 1 |
| Anvil | Weapon | 5x Mechanical Components 5x Simple Gun Parts | Gunsmith 2 |
| Anvil Splitter | Mod | 2x Mod Components 3x Processor | Gunsmith 3 |
| ??? | ??? | ??? | ??? |
| Barricade Kit | Quick Use | 1x Mechanical Components | Utility Station 2 |
| Blaze Grenade | Grenade | 1x Explosive Compound 2x Oil | Explosives Station 3 |
| Bobcat | Weapon | 3x Advanced Mechanical Components 3x Light Gun Parts | Gunsmith 3 |
| Osprey | Weapon | 2x Advanced Mechanical Components 3x Medium Gun Parts 7x Wires | Gunsmith 3 |
| Burletta | Weapon | 3x Mechanical Components 3x Simple Gun Parts | Gunsmith 1 |
| Compensator II | Mod | 2x Mechanical Components 4x Wires | Gunsmith 2 |
| Compensator III | Mod | 2x Mod Components 8x Wires | Gunsmith 3 |
| Defibrillator | Quick Use | 9x Plastic Parts 1x Moss | Medical Lab 2 |
| ??? | ??? | ??? | ??? |
| Equalizer | Weapon | 3x Magnetic Accelerator 3x Complex Gun Parts 1x Queen Reactor | Gunsmith 3 |
| Extended Barrel | Mod | 2x Mod Components 8x Wires | Gunsmith 3 |
| Extended Light Mag II | Mod | 2x Mechanical Components 3x Steel Spring | Gunsmith 2 |
| Extended Light Mag III | Mod | 2x Mod Components 5x Steel Spring | Gunsmith 3 |
| Extended Medium Mag II | Mod | 2x Mechanical Components 3x Steel Spring | Gunsmith 2 |
| Extended Medium Mag III | Mod | 2x Mod Components 5x Steel Spring | Gunsmith 3 |
| Extended Shotgun Mag II | Mod | 2x Mechanical Components 3x Steel Spring | Gunsmith 2 |
| Extended Shotgun Mag III | Mod | 2x Mod Components 5x Steel Spring | Gunsmith 3 |
| Remote Raider Flare | Quick Use | 2x Chemicals 4x Rubber Parts | Utility Station 1 |
| Heavy Gun Parts | Material | 4x Simple Gun Parts | Refiner 2 |
| Venator | Weapon | 2x Advanced Mechanical Components 3x Medium Gun Parts 5x Magnet | Gunsmith 3 |
| Il Toro | Weapon | 5x Mechanical Components 6x Simple Gun Parts | Gunsmith 1 |
| Jolt Mine | Mine | 1x Electrical Components 1x Battery | Explosives Station 2 |
| Explosive Mine | Mine | 1x Explosive Compound 1x Sensors | Explosives Station 3 |
| Jupiter | Weapon | 3x Magnetic Accelerator 3x Complex Gun Parts 1x Queen Reactor | Gunsmith 3 |
| Light Gun Parts | Material | 4x Simple Gun Parts | Refiner 2 |
| Lightweight Stock | Mod | 2x Mod Components 5x Duct Tape | Gunsmith 3 |
| Lure Grenade | Grenade | 1x Speaker Component 1x Electrical Components | Utility Station 2 |
| Medium Gun Parts | Material | 4x Simple Gun Parts | Refiner 2 |
| Torrente | Weapon | 2x Advanced Mechanical Components 3x Medium Gun Parts 6x Steel Spring | Gunsmith 3 |
| Muzzle Brake II | Mod | 2x Mechanical Components 4x Wires | Gunsmith 2 |
| Muzzle Brake III | Mod | 2x Mod Components 8x Wires | Gunsmith 3 |
| Padded Stock | Mod | 2x Mod Components 5x Duct Tape | Gunsmith 3 |
| Shotgun Choke II | Mod | 2x Mechanical Components 4x Wires | Gunsmith 2 |
| Shotgun Choke III | Mod | 2x Mod Components 8x Wires | Gunsmith 3 |
| Shotgun Silencer | Mod | 2x Mod Components 8x Wires | Gunsmith 3 |
| Showstopper | Grenade | 1x Advanced Electrical Components 1x Voltage Converter | Explosives Station 3 |
| Silencer I | Mod | 2x Mechanical Components 4x Wires | Gunsmith 2 |
| Silencer II | Mod | 2x Mod Components 8x Wires | Gunsmith 3 |
| Snap Hook | Quick Use | 2x Power Rod 3x Rope 1x Exodus Modules | Utility Station 3 |
| Stable Stock II | Mod | 2x Mechanical Components 3x Duct Tape | Gunsmith 2 |
| Stable Stock III | Mod | 2x Mod Components 5x Duct Tape | Gunsmith 3 |
| Tagging Grenade | Grenade | 1x Electrical Components 1x Sensors | Utility Station 3 |
| Tempest | Weapon | 3x Advanced Mechanical Components 3x Medium Gun Parts 3x Canister | Gunsmith 3 |
| Trigger Nade | Grenade | 2x Crude Explosives 1x Processor | Explosives Station 2 |
| Vertical Grip II | Mod | 2x Mechanical Components 3x Duct Tape | Gunsmith 2 |
| Vertical Grip III | Mod | 2x Mod Components 5x Duct Tape | Gunsmith 3 |
| Vita Shot | Quick Use | 2x Antiseptic 1x Syringe | Medical Lab 3 |
| Vita Spray | Quick Use | 3x Antiseptic 1x Canister | Medical Lab 3 |
| Vulcano | Weapon | 1x Magnetic Accelerator 3x Heavy Gun Parts 1x Exodus Modules | Gunsmith 3 |
| Wolfpack | Grenade | 2x Explosive Compound 2x Sensors | Explosives Station 3 |
| Red Light Stick | Quick Use | 3x Chemicals | Utility Station 1 |
| Smoke Grenade | Grenade | 14x Chemicals 1x Canister | Utility Station 2 |
| Deadline | Mine | 3x Explosive Compound 2x ARC Circuitry | Explosives Station 3 |
| Trailblazer | Grenade | 1x Explosive Compound 1x Synthesized Fuel | Explosives Station 3 |
| Tactical Mk. 3 (Defensive) | Augment | 2x Advanced Electrical Components 3x Processor | Gear Bench 3 |
| Tactical Mk. 3 (Healing) | Augment | 2x Advanced Electrical Components 3x Processor | Gear Bench 3 |
| Yellow Light Stick | Quick Use | 3x Chemicals | Utility Station 1 |
Note: The missing Blueprints in this list likely have not actually been added to the game at the time of writing, because none of the playerbase has managed to find any of them. As they are added to the game, I will update this page with the most relevant information so you know exactly how to get all 75 Arc Raiders Blueprints.
Where to find Blueprints in Arc Raiders
Below is a list of all containers, modifiers, and events which maximise your chances of finding Blueprints:
- Certain quests reward you with specific Blueprints .
- Completing Trials has a high chance of offering Blueprints as rewards.
- Surveyors have a decent chance of dropping Blueprints on death.
- High loot value areas tend to have a greater chance of spawning Blueprints.
- Night Raids and Storms may increase rare Blueprint spawn chances in containers.
- Containers with higher numbers of items may have a higher tendency to spawn Blueprints. As a result, Blue Gate (which has many “large” containers containing multiple items) may give you a higher chance of spawning Blueprints.
- Raider containers (Raider Caches, Weapon Boxes, Medical Bags, Grenade Tubes) have increased Blueprint drop rates. As a result, the Uncovered Caches event gives you a high chance of finding Blueprints.
- Security Lockers have a higher than average chance of containing Blueprints.
- Certain Blueprints only seem to spawn under specific circumstances: Tempest Blueprint only spawns during Night Raid events. Vulcano Blueprint only spawns during Hidden Bunker events. Jupiter and Equaliser Blueprints only spawn during Harvester events.

Raider Caches, Weapon Boxes, and other raider-oriented container types have a good chance of offering Blueprints. |Image credit:Rock Paper Shotgun/Embark Studios
Blueprints have a very low chance of spawning in any container in Arc Raiders, around 1-2% on average. However, there is a higher chance of finding Blueprints in particular container types. Specifically, you can find more Blueprints in Raider containers and security lockers.
Beyond this, if you’re looking for Blueprints you should focus on regions of the map which are marked as having particularly high-value loot. Areas such as the Control Tower in Dam Battlegrounds, the Arrival and Departure Buildings in Spaceport, and Pilgrim’s Peak in Blue Gate all have a better-than-average chance of spawning Blueprints somewhere amongst all their containers. Night Raids and Electromagnetic Storm events also increase the drop chances of certain Blueprints .
In addition to these containers, you can often loot Blueprints from destroyed Surveyors - the largest of the rolling ball ARC. Surveyors are more commonly found on the later maps - Spaceport and Blue Gate - and if one spawns in your match, you’ll likely see it by the blue laser beam that it casts into the sky while “surveying”.
Surveyors are quite well-armoured and will very speedily run away from you once it notices you, but if you can take one down then make sure you loot all its parts for a chance of obtaining certain unusual Blueprints.
Blueprints obtained from quests
One way in which you can get Blueprints is by completing certain quests for the vendors in Speranza. Some quests will reward you with a specific item Blueprint upon completion, so as long as you work through all the quests in Arc Raiders, you are guaranteed those Blueprints.
Here is the full list of all Blueprints you can get from quest rewards:
- Trigger Nade Blueprint: Rewarded after completing “Sparks Fly”.
- Lure Grenade Blueprint: Rewarded after completing “Greasing Her Palms”.
- Burletta Blueprint: Rewarded after completing “Industrial Espionage”.
- Hullcracker Blueprint (and Launcher Ammo Blueprint): Rewarded after completing “The Major’s Footlocker”.
Alas, that’s only 4 Blueprints out of a total of 75 to unlock, so for the vast majority you will need to find them yourself during a raid. If you’re intent on farming Blueprints, then it’s best to equip yourself with cheap gear in case you lose it, but don’t use a free loadout because then you won’t get a safe pocket to stash any new Blueprint you find. No pain in Arc Raiders is sharper than failing to extract with a new Blueprint you’ve been after for a dozen hours already.

One of the best ways to get Blueprints is by hitting three stars on all five Trials every week. |Image credit:Rock Paper Shotgun/Embark Studios
Blueprints obtained from Trials
One of the very best ways to get Blueprints is as rewards for completing Trials in Arc Raiders. Trials are unlocked from Level 15 onwards, and allow you to earn rewards by focusing on certain tasks over the course of several raids. For example, one Trial might task you with dealing damage to Hornets, while another might challenge you to loot Supply Drops.
Trials refresh on a weekly basis, with a new week bringing five new Trials. Each Trial can offer up to three rewards after passing certain score milestones, and it’s possible to receive very high level loot from these reward crates - including Blueprints. So if you want to unlock as many Blueprints as possible, you should make a point of completing as many Trials as possible each week.
Best Blueprint farming locations
The very best way to get Blueprints is to frequent specific areas of the maps which combine high-tier loot pools with the right types of containers to search. Here are my recommendations for where to find Blueprints on every map, so you can always keep the search going for new crafting recipes to unlock.

Image credit:Rock Paper Shotgun/Embark Studios
Dam Battlegrounds
The best places to farm Blueprints on Dam Battlegrounds are the Control Tower, Power Generation Complex, Ruby Residence, and Pale Apartments . The first two regions, despite only being marked on the map as mid-tier loot, contain a phenomenal number of containers to loot. The Control Tower can also contain a couple of high-tier Security Lockers - though of course, you’ll need to have unlocked the Security Breach skill at the end of the Survival tree.
There’s also a lot of reporting amongst the playerbase that the Residential areas in the top-left of the map - Pale Apartments and Ruby Residence - give you a comparatively strong chance of finding Blueprints. Considering their size, there’s a high density of containers to loot in both locations, and they also have the benefit of being fairly out of the way. So you’re more likely to have all the containers to yourself.
Buried City
The best Blueprint farming locations on Buried City are the Santa Maria Houses, Grandioso Apartments, Town Hall, and the various buildings of the New District . Grandioso Apartments has a lower number of containers than the rest, but a high chance of spawning weapon cases - which have good Blueprint drop rates. The others are high-tier loot areas, with plenty of lootable containers - including Security Lockers.
Spaceport
The best places to find Blueprints on Spaceport are the Arrival and Departure Buildings, as well as Control Tower A6 and the Launch Towers . All these areas are labelled as high-value loot regions, and many of them are also very handily connected to one another by the Spaceport wall, which you can use to quickly run from one area to the next. At the tops of most of these buildings you’ll find at least one Security Locker, so this is an excellent farming route for players looking to find Blueprints.
The downside to looting Blueprints on Spaceport is that all these areas are hotly contested, particularly in Duos and Squads. You’ll need to be very focused and fast in order to complete the full farming route.

Image credit:Rock Paper Shotgun/Embark Studios
Blue Gate
Blue Gate tends to have a good chance of dropping Blueprints, potentially because it generally has a high number of containers which can hold lots of items; so there’s a higher chance of a Blueprint spawning in each container. In my experience, the best Blueprint farming spots on Blue Gate are Pilgrim’s Peak, Raider’s Refuge, the Ancient Fort, and the Underground Complex beneath the Warehouse .
All of these areas contain a wealth of containers to loot. Raider’s Refuge has less to loot, but the majority of the containers in and around the Refuge are raider containers, which have a high chance of containing Blueprints - particularly during major events.
Stella Montis
On the whole, Stella Montis seems to have a very low drop rate for Blueprints (though a high chance of dropping other high-tier loot). If you do want to try farming Blueprints on this map, the best places to find Blueprints in Stella Montis are Medical Research, Assembly Workshop, and the Business Center . These areas have the highest density of containers to loot on the map.
In addition to this, the Western Tunnel has a few different Security Lockers to loot, so while there’s very little to loot elsewhere in this area of the map, it’s worth hitting those Security Lockers if you spawn there at the start of a match.
That wraps up this primer on how to get all the Blueprints in Arc Raiders as quickly as possible. With the Expedition system constantly resetting a large number of players’ Blueprints, it’s more important than ever to have the most up-to-date information on where to find all these Blueprints.
While you’re here, be sure to check out our Arc Raiders best guns tier list , as well as our primers on the best skills to unlock and all the different Field Depot locations on every map.

ARC Raiders
PS5 , Xbox Series X/S , PC
Rock Paper Shotgun is better when you sign in
Sign in and join us on our journey to discover strange and compelling PC games.
