Oblivion Remastered: How to join the Mages Guild and Arcane University
How to join the Mages Guild and get recommendations for the Arcane University
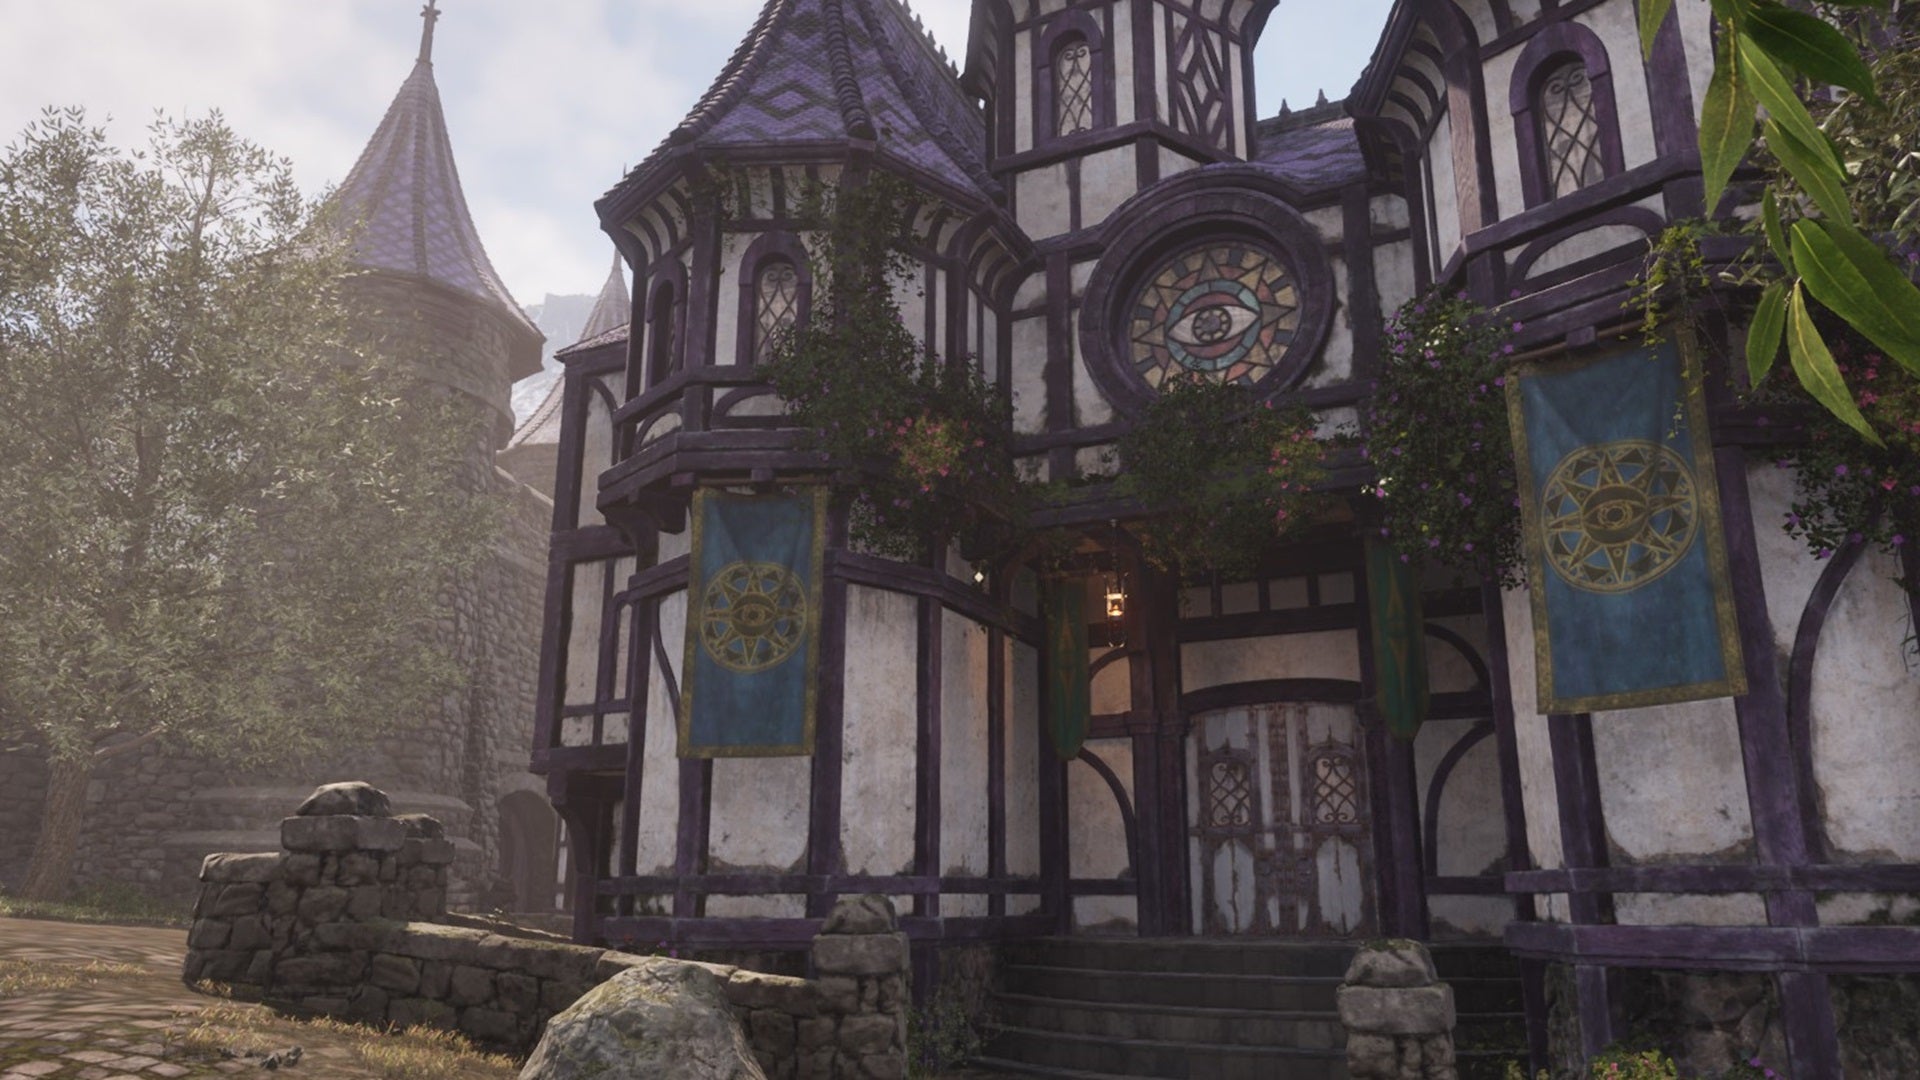
Image credit:Rock Paper Shotgun/Bethesda

Wondering how to join the Mages Guild in The Elder Scrolls IV: Oblivion Remastered? The Mages Guild in Oblivion is a school for sorcerers and anyone who wants to improve their Magicka skill. Joining the guild gives you easier access to spells, potion ingredients, soul gems, and all the other wonderous items that a mage could ever need. Even better, Mages Guild membership is a stepping stone towards gaining access to the Arcane University of Cyrodiil’s Imperial City - a sanctum of magical knowledge.
In this guide, we’ll explain what you need to do to join the Mages Guild and get access to the Arcane University in Oblivion Remastered. We’ll also list some of the benefits that come with membership into these esteemed halls of magical learning.

How to join the Mages Guild in Oblivion
To get basic access to guild amenities, you need to talk to one of the leaders of the various Mages Guild halls. They’ll speak with you as long as you don’t have a bounty on your head, and can find them in the following locations:
- Carahil in Anvil
- Kud-Ei in Bravil
- Jeanne Frasoric in Bruma
- Falcar in Cheydinhal
- Teekeeus in Chorrol
- Dagail in Leyawiin
- Adrienne Berene in Skingrad
When compared to joining Oblivion’s other factions, like the Thieves Guild or the Dark Brotherhood , this probably seems easy. However, in order to gain the true benefits of the Mages Guild, you need to get access to the prestigious Arcane University, which is considerably more time consuming. This requires getting a recommendation and completing a side quest from each of the leaders listed above. Once you’ve acquired all of your recommendations, go to the Arcane University in the Imperial City. Speak with Raminus Polus , who gives you an official welcome to the Mages Guild.
We’ve outlined each recommendation quest below.
- Anvil Recommendation
- Bravil Recommendation
- Bruma Recommendation
- Cheydinhal Recommendation
- Chorrol Recommendation
- Leyawiin Recommendation
- Skingrad Recommendation
Anvil Recommendation
Go to Anvil and chat with Carahil, who asks you to investigate deaths along the Gold Road caused by a rogue battlemage. She tells you to speak with Arielle Jurard at the Brina Cross Inn for more information. Before you head out, talk with Carahil a second time about ‘Rogue Mage’, and she’ll give you three useful Frost Shell scrolls.
The Brina Cross Inn is north of Anvil. Once you get there, speak with Arielle and rent a room to pose as a travelling merchant. Talk to the other folks in the inn - namely Christophe and Caminalda - and make sure to say you’re a travelling merchant. Then go to your room and wait for Arielle to speak with you. Sleep at the inn for at least an hour and then get ready to travel along the Gold Road, with Arielle and two other magas following behind you.
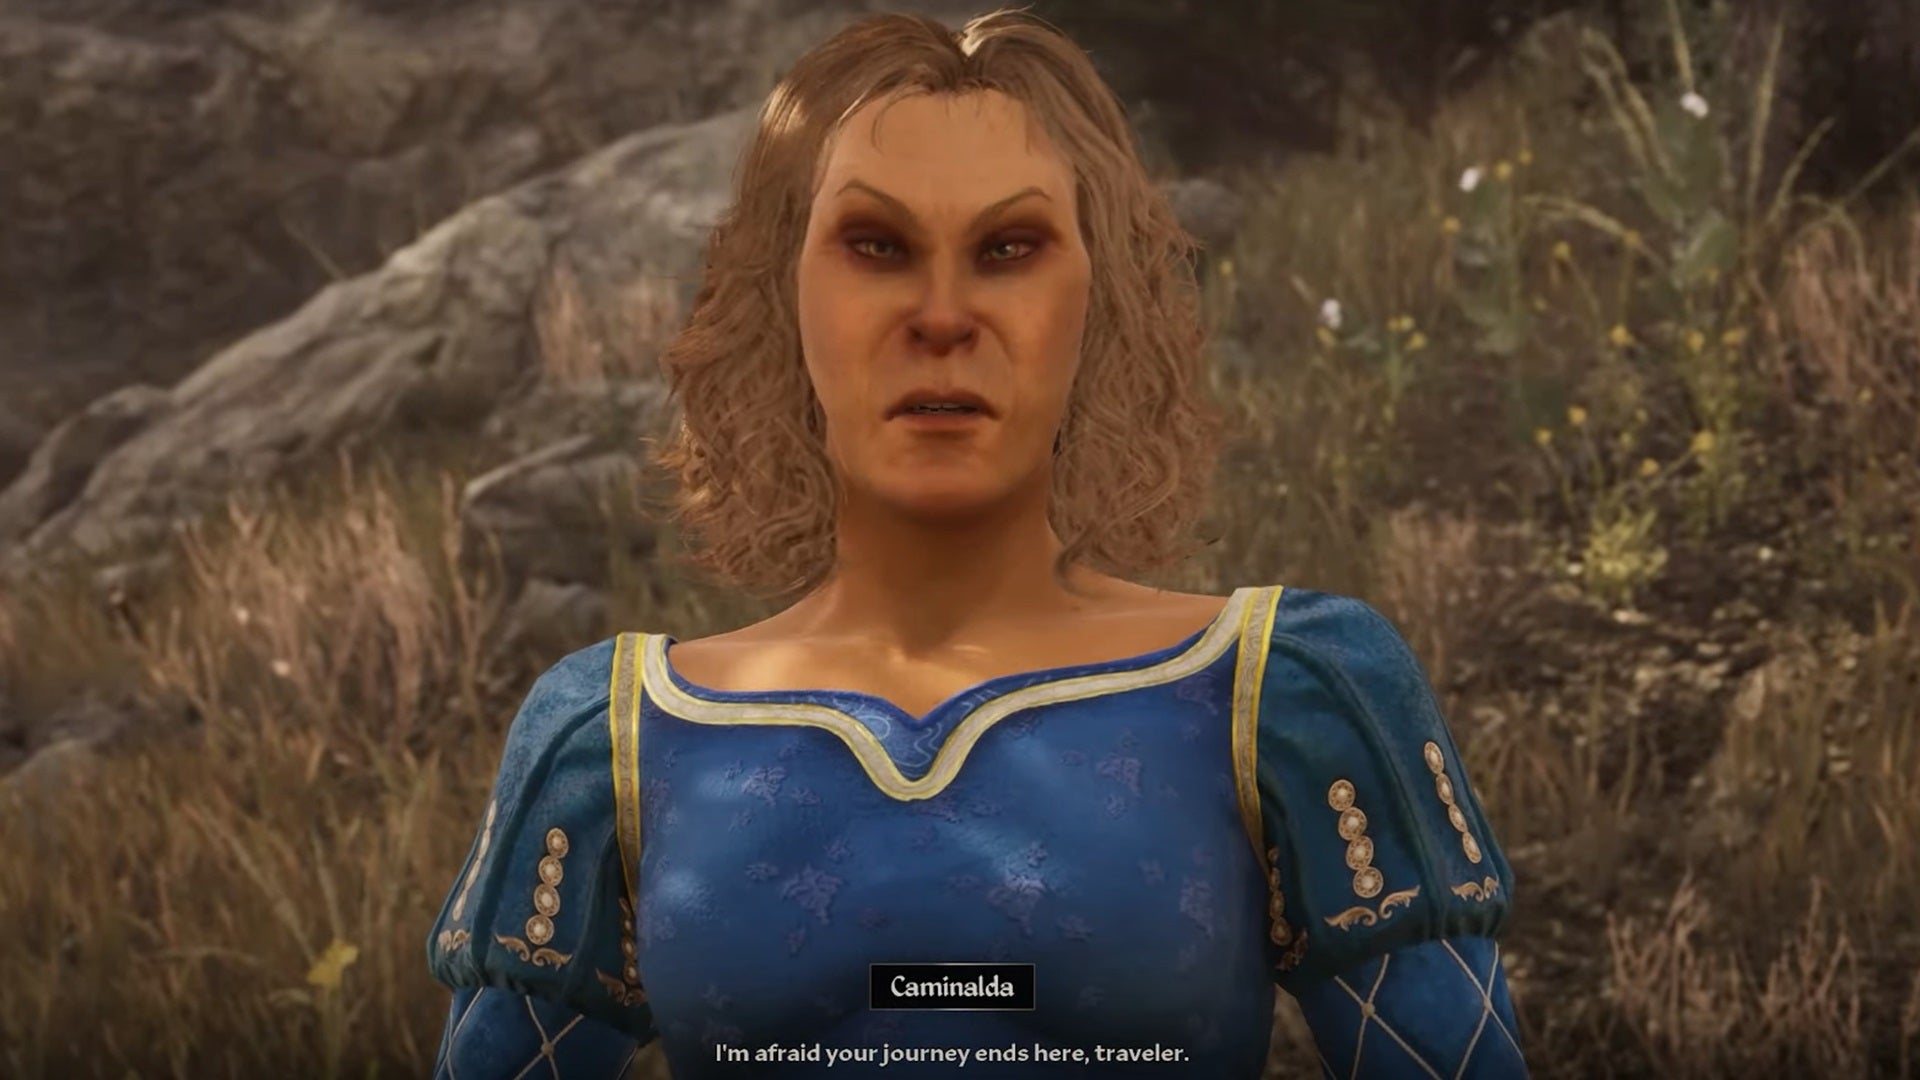
Caminalda would’ve gotten away with it, too - if it hadn’t been for that meddling mage! |Image credit:Rock Paper Shotgun/Bethesda
Eventually Caminalda will rush up and attack you. Feel free to contribute to the combat or just let Arielle and her friends do the dirty work. Loot her corpse when you’re done - this opens her room at the Brina Cross Inn, which contains a chest with gold. Then, head back to Carahil to get your recommendation.
Bravil Recommendation
Go to Bravil and speak with Kud-Ei, who asks you to find the missing Ardaline’s Staff , which was pilfered by a certain Varon Varmoni . You’ll also get a Beguile scroll, which you can use to increase someone’s disposition towards you.
Varon either hangs out in the guild, in his home north of the guild hall, or in Silverhome on the Water, an inn not far from Bravil’s main gate. Speak with him, and as long as his disposition towards you is at least 65, he’ll admit that he took the staff and sold it to Soris Arenim in the Imperial City. Relay this info back to Varon and you’ll get three more Beguile scrolls.
Now, head to the Imperial City and Soris Arenim’s house. Chat with his wife and raise her disposition as much as you can (or just use the Beguile scrolls) until she reveals that the staff is in a basement chest, with the key upstairs. The upstairs locked door is easily picked; grab the key and then go into the basement for the chest. If for whatever reason you fail in this, you can also bribe Soris Arenim to give up the staff for 200 gold - but only if his disposition is high enough. Then return to Kud-Ei to get your recommendation.
Bruma Recommendation
Head over to Bruma and speak with Jeanne Frasoric, who tells you to find a fellow named J’skar who has supposedly disappeared. Actually, he’s just turned invisible, the sly bastard. To draw him out, chat with Volanaro - if his disposition is high enough, he’ll ask you to play a prank and steal Jeanne’s Manual of Spellcraft. He’ll also teach you a spell to open easy locks.
Go upstairs into Jeanne’s room, unlock her desk using Volanaro’s spell (or your own lockpicks if you prefer) and grab the manual. Then meet Volanaro at 10 PM downstairs in the guild. J’skar will pop up as well to gloat in the prank. Afterwards, you can go back upstairs and tell Jeanne that you’ve found your man to receive the recommendation.
Cheydinhal Recommendation
Speak with Falcar in the Cheydinal Mages Guild to start this quest. He’s an extremely condescending guy, but he’ll give you a chance to prove yourself by retrieving a ring that was tossed into a well behind the guild. To gain access to the well, you need to chat with Deetsan , an Argonian mage who hangs out in the guild. She will only chat with you if Falcar isn’t around, which is in the afternoon. She reveals that an associate named Vidkun vanished with the ring, and gives you the well key and a Buoyancy spell.
Go behind the guild to the well and use the Buoyancy spell to breathe underwater. Once you enter the well, look around until you find Vidkun’s body. Search it to obtain the ring, but beware - the ring has a weight of 150 , and you’ll be seriously encumbered unless you have inventory space. Looks like this is how poor Vidkun died.
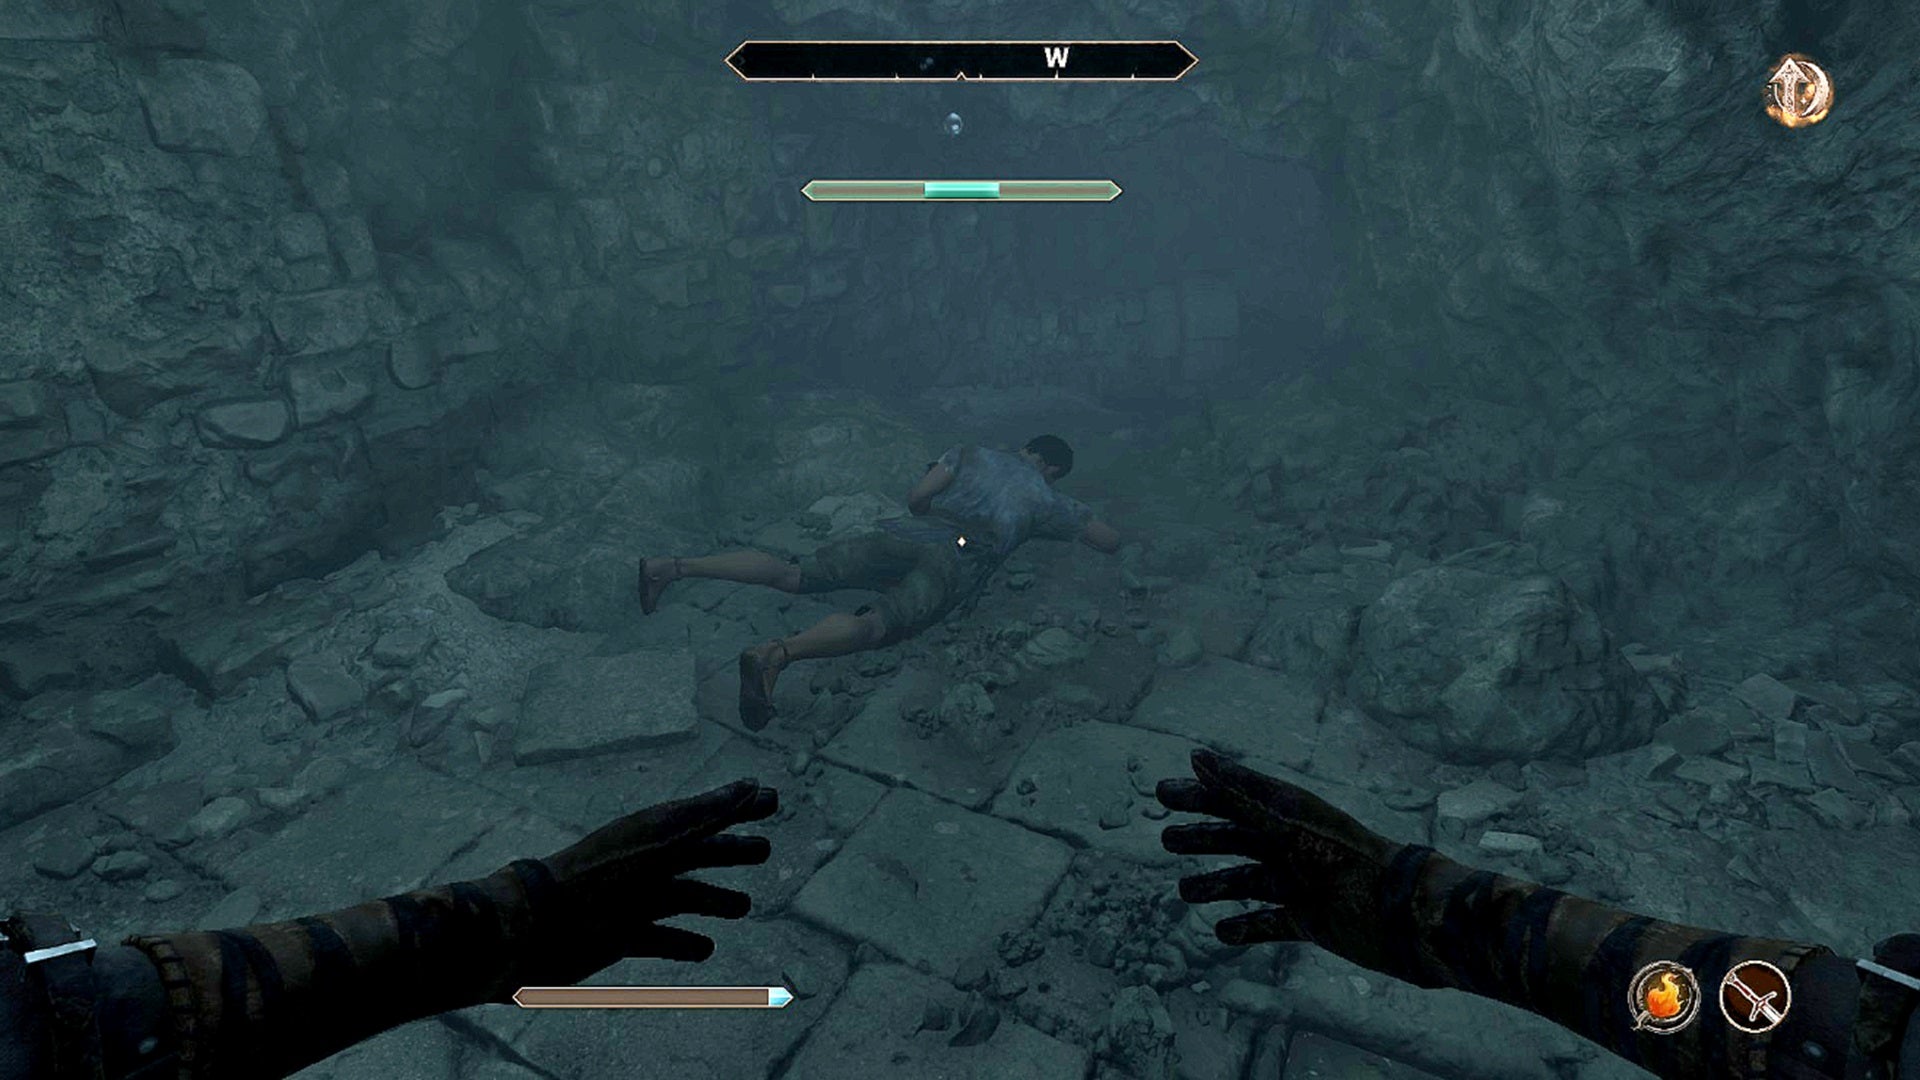
Morbid stuff. Guess he didn’t have enough room in his inventory. |Image credit:Rock Paper Shotgun/Bethesda
Head back up, speak with Deetsan and tell her about Vidkun. Looks like Falcar had a little tantrum while you were away - go search his room in the basement and lockpick the locked drawer to find two Black Soul Gems . Report back to Deetsan, who will take the gems, muse that Falcar is probably up to no good, and write your recommendation herself.
Chorrol Recommendation
This quest’s a little more elaborate, and if you play your cards right you can end up with some new magic to go along with your recommendation. Chat with Teekeeus in Chorrol to learn that you’ll need to meet Earana , who can be found outside the guild in the courtyard during the morning and afternoon, or in The Grey Mare tavern in the evening. When you speak with her, she’ll ask you to get a book called Fingers of the Mountain . She says you can’t tell Teekeeus about the book, but for the sake of inciting drama (and learning exactly where the book is), go ahead and snitch. Teekeeus wants the book for himself, and asks you to deliver it to him.
To find the book, go to Cloud Top , which is northwest of Chorrol. Search the charred remains on the ground by a statue; Fingers of the Mountain is located amongst these remains. After you’ve got the book, it’s time to choose between giving it to either Teekeeus or Earana, as there are a few different outcomes that result.
Giving it to Teekeeus is simplest, and he’ll give you your recommendation right away. But if you want a new spell, it pays to give it to Teekeeus, tell Earana about this fact, and then steal the book back from Teekeeus when he isn’t looking. Once Earana has the book, she reveals that she wants to translate it; wait for 24 hours before speaking with her and she’ll provide Earana’s Notes . Read them and you’ll learn that you can get a new spell on Cloud Top if you follow a certain set of procedures.
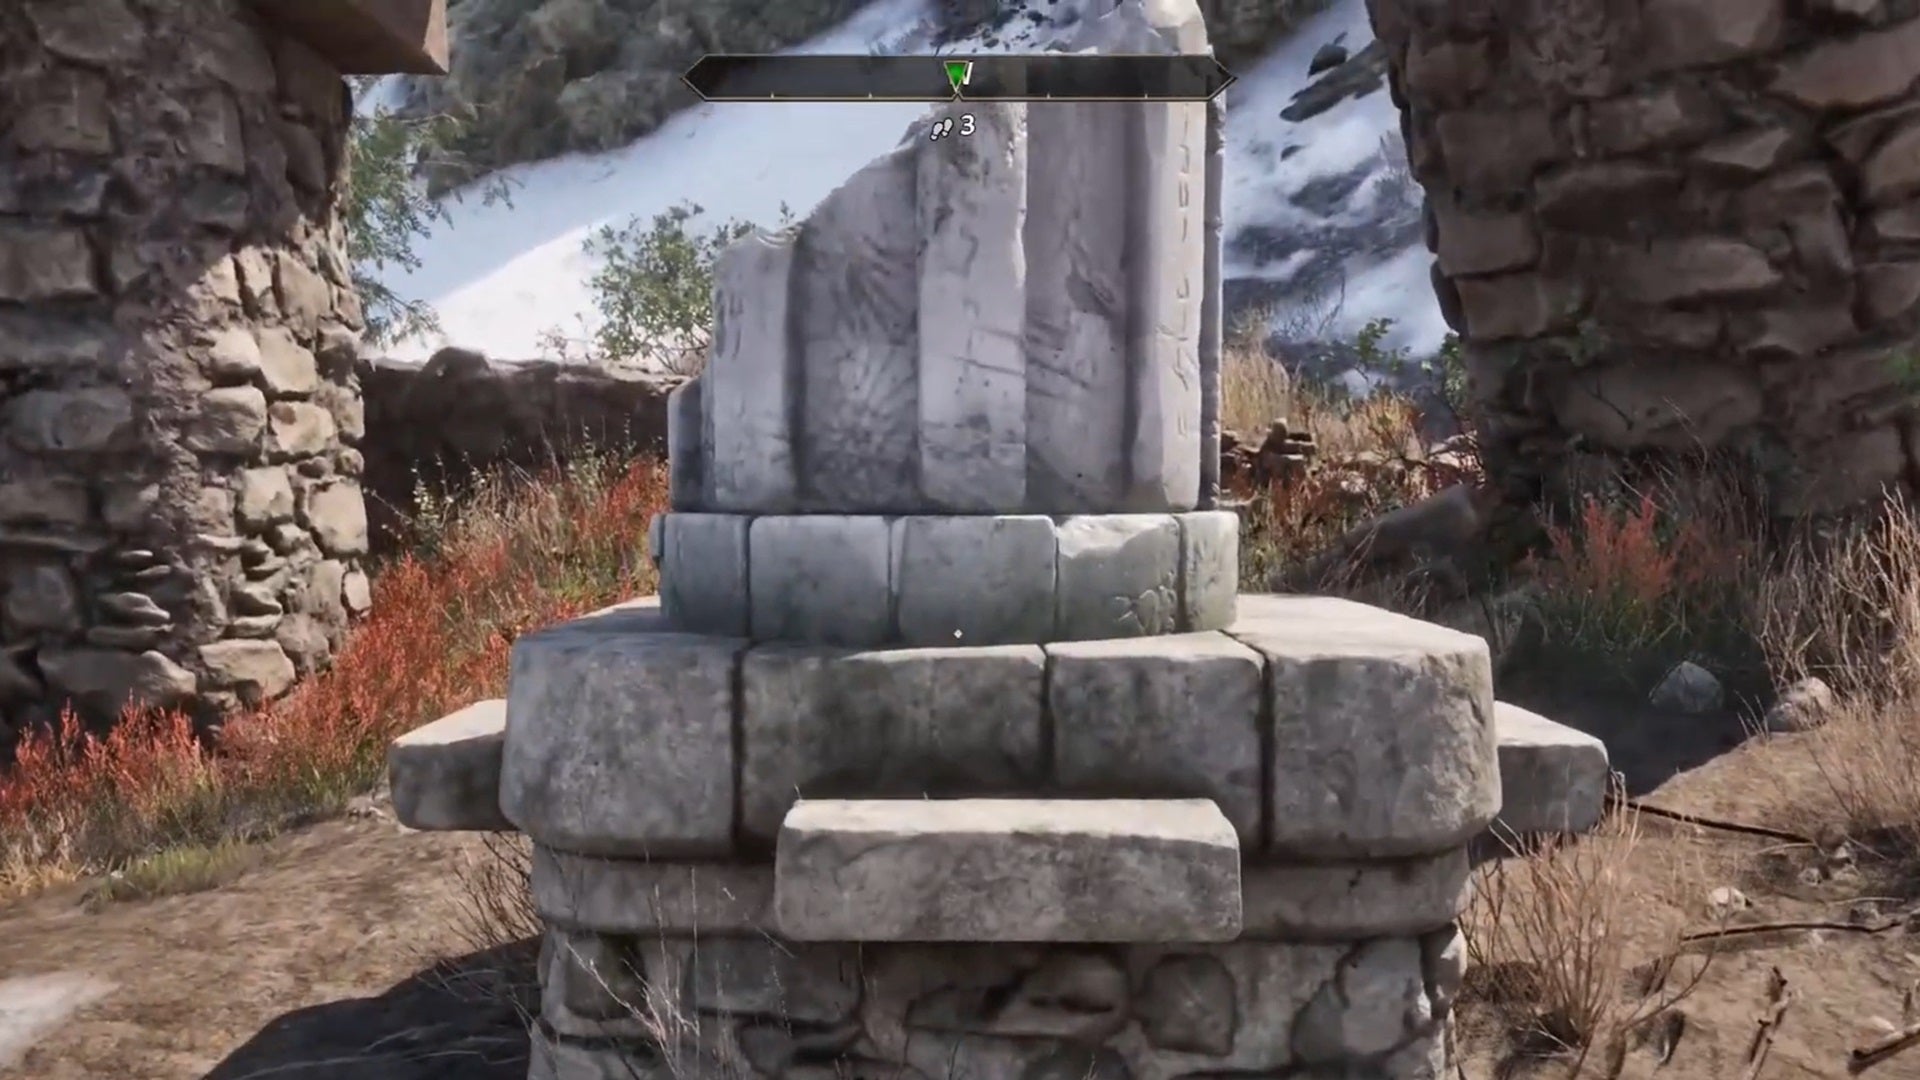
Zap this pillar to get a nifty magic reward. |Image credit:Rock Paper Shotgun/Bethesda
Basically, you need a Welkynd Stone (which can be commonly found in the Aeylid Ruins). With this stone in your inventory, go to Cloud Top and cast Shock (or any similar spell that deals shock damage) on the broken pillar in the ruin. You’ll get the Fingers of the Mountain spell in your inventory. Nice!
Leyawiin Recommendation
Speak with Dagail in Leyawiin and you’ll be instructed to check in with Agata , another guild member. If you talk with Agata, you’ll learn that Dagail’s Seers’ Stone has gone missing. She’ll ask you to investigate, and if you talk with everyone in the guild you’ll eventually encounter Kalthar , who usually hangs out in the basement, complains about how Dagail doesn’t deserve her position, and mentions her father.
Return to Agata with this revelation, and then speak with Dagail again about her father. You’ll now have to explore Fort Blueblood , where Dagail’s father was once stationed. This is located southeast of Leyawiin. Once you get there, beware, as the Fort is full of marauder fighters, archers, and battlemages. Fight your way through and take out the warlord boss for a key to open a door that leads to a coffin. Inside the coffin is Manduin’s Amulet .

What a tool, this guy. |Image credit:Rock Paper Shotgun/Bethesda
Kalthar appears and asks for the amulet once you’ve got it. Turns out he stole it all along! Give him a solid ass whooping and then loot the key from his body. Then return to Dagail and Agata to get your recommendation.
Skingrad Recommendation
In Skingrad, speak with Adrienne Berene, who’ll ask you to get some notes from Erthor . Ask around in the guild to hear details on how Erthor settled down in Bleak Flats Cave , which will be marked on your map after you’ve spoken with Druja. If you go back to Adrienne and inquire about Bleak Flats Cave, she’ll send you to pick up Erthor, and she’ll also give you a Weak Fireball spell.
The cave isn’t a massive dungeon, but you do need to deal with some deranged zombies within its confines. Clear out the cave and Erthor will leave and accompany you back to Skingrad. Chat with Erthor and Adrienne afterwards to get your recommendation.
Mages Guild benefits
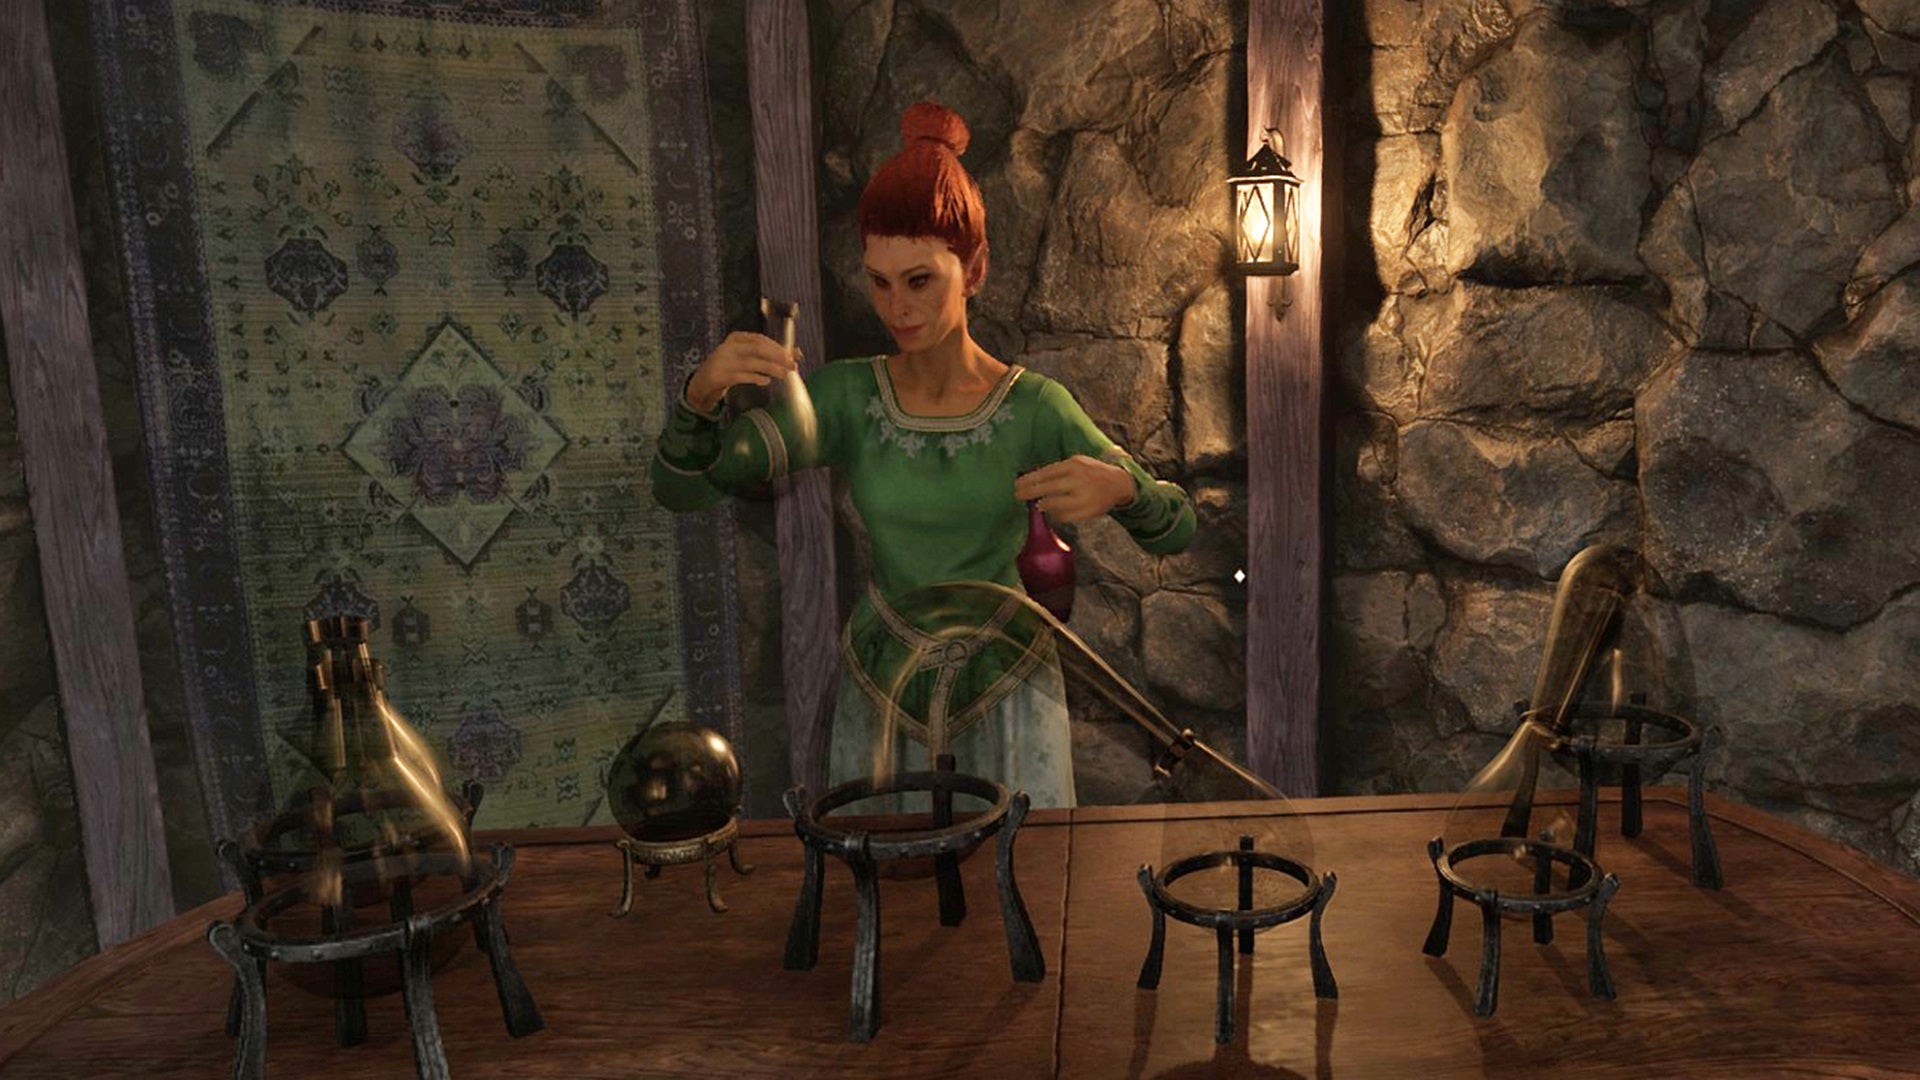
If you have any interest in mixology or creating your own magics, Mages Guild membership is a must. |Image credit:Rock Paper Shotgun/Bethesda
It takes a while to jump through all of the hoops to gain proper entrance into the Mages Guild and the Arcane University, but doing so is worth it, especially for any wizard character. Considering that the Spellsword is one of Oblivion’s best classes , melee combatants with an inkling of magic power will also benefit from guild membership, which confers the following benefits:
- The Arcane University contains the Altar of Spellmaking, which lets you engage in spellcrafting, the creation of custom spells. If you’re interested in the ins and outs of this, see our guide on how to create spells in Oblivion.
- Each Mages Guild hall, aside from offering a place to sleep, contains a plethora of raw materials suitable for potioncrafting or any alchemist build. Most have Novice alchemy tools available as well, which means you don’t necessarily need to carry a set with you and can simply return to a guild whenever you need to do some mixing.
- The Practice Rooms in the Arcane University contain practice targets and apprentices constantly shooting magic spells. If you’ve got the Atronach birthsign - one of the best birthsigns in the game - here’s a neat trick: just stand between them to get your Magicka instantly recharged!
- When you rise through the ranks of the guild and become Arch-Mage, you’ll get access to the Arch-Mage’s Quarters, which contains an Enchanted Chest which lets you duplicate ingredients - yet another handy aid to your creation of custom spells.
You can get suspended from the Mages Guild if you kill or attack another guild member or steal. If you’re suspended, you can beg Raminus Polus to be readmitted. He can be found in the Arch-Mage’s Lobby during the day and will typically send you on alchemical fetch quests before reinstating you.
And that’s a wrap on everything you need to do to join the Mages Guild and get access to the Arcane University in Oblivion Remastered! If you’d rather investigate other ways to advance your character, check out our guides on how to change your appearance , how to raise all of your stats , or how to start the many Daedric Quests that encompass Oblivion’s epic plot.

The Elder Scrolls IV: Oblivion
PS3 , Xbox 360 , PC
The Elder Scrolls IV: Oblivion Remastered
PS5 , Xbox Series X/S , PC
Rock Paper Shotgun is better when you sign in
Sign in and join us on our journey to discover strange and compelling PC games.

All 75 Arc Raiders Blueprints and where to get them
These areas have the highest chance of giving you Blueprints

Image credit:Rock Paper Shotgun/Embark Studios

Looking for more Arc Raiders Blueprints? It’s a special day when you find a Blueprint, as they’re among the most valuable items in Arc Raiders. If you find a Blueprint that you haven’t already found, then you must make sure you hold onto it at all costs, because Blueprints are the key to one of the most important and powerful systems of meta-progression in the game.
This guide aims to be the very best guide on Blueprints you can find, starting with a primer on what exactly they are and how they work in Arc Raiders, before delving into exactly where to get Blueprints and the very best farming spots for you to take in your search.
We’ll also go over how to get Blueprints from other unlikely activities, such as destroying Surveyors and completing specific quests. And you’ll also find the full list of all 75 Blueprints in Arc Raiders on this page (including the newest Blueprints added with the Cold Snap update , such as the Deadline Blueprint and Firework Box Blueprint), giving you all the information you need to expand your own crafting repertoire.
In this guide:
- What are Blueprints in Arc Raiders?
- Full Blueprint list: All crafting recipes
- Where to find Blueprints in Arc Raiders Blueprints obtained from quests Blueprints obtained from Trials Best Blueprint farming locations

What are Blueprints in Arc Raiders?
Blueprints in Arc Raiders are special items which, if you manage to extract with them, you can expend to permanently unlock a new crafting recipe in your Workshop. If you manage to extract from a raid with an Anvil Blueprint, for example, you can unlock the ability to craft your very own Anvil Pistol, as many times as you like (as long as you have the crafting materials).
To use a Blueprint, simply open your Inventory while in the lobby, then right-click on the Blueprint and click “Learn And Consume” . This will permanently unlock the recipe for that item in your Workshop. As of the Stella Montis update, there are allegedly 75 different Blueprints to unlock - although only 68 are confirmed to be in the game so far. You can see all the Blueprints you’ve found and unlocked by going to the Workshop menu, and hitting “R” to bring up the Blueprint screen.
It’s possible to find duplicates of past Blueprints you’ve already unlocked. If you find these, then you can either sell them, or - if you like to play with friends - you can take it into a match and gift it to your friend so they can unlock that recipe for themselves. Another option is to keep hold of them until the time comes to donate them to the Expedition.
Full Blueprint list: All crafting recipes
Below is the full list of all the Blueprints that are currently available to find in Arc Raiders, and the crafting recipe required for each item:
| Blueprint | Type | Recipe | Crafted At |
|---|---|---|---|
| Bettina | Weapon | 3x Advanced Mechanical Components 3x Heavy Gun Parts 3x Canister | Gunsmith 3 |
| Blue Light Stick | Quick Use | 3x Chemicals | Utility Station 1 |
| Aphelion | Weapon | 3x Magnetic Accelerator 3x Complex Gun Parts 1x Matriarch Reactor | Gunsmith 3 |
| Combat Mk. 3 (Flanking) | Augment | 2x Advanced Electrical Components 3x Processor | Gear Bench 3 |
| Combat Mk. 3 (Aggressive) | Augment | 2x Advanced Electrical Components 3x Processor | Gear Bench 3 |
| Complex Gun Parts | Material | 2x Light Gun Parts 2x Medium Gun Parts 2x Heavy Gun Parts | Refiner 3 |
| Fireworks Box | Quick Use | 1x Explosive Compound 3x Pop Trigger | Explosives Station 2 |
| Gas Mine | Mine | 4x Chemicals 2x Rubber Parts | Explosives Station 1 |
| Green Light Stick | Quick Use | 3x Chemicals | Utility Station 1 |
| Pulse Mine | Mine | 1x Crude Explosives 1x Wires | Explosives Station 1 |
| Seeker Grenade | Grenade | 1x Crude Explosives 2x ARC Alloy | Explosives Station 1 |
| Looting Mk. 3 (Survivor) | Augment | 2x Advanced Electrical Components 3x Processor | Gear Bench 3 |
| Angled Grip II | Mod | 2x Mechanical Components 3x Duct Tape | Gunsmith 2 |
| Angled Grip III | Mod | 2x Mod Components 5x Duct Tape | Gunsmith 3 |
| Hullcracker | Weapon | 1x Magnetic Accelerator 3x Heavy Gun Parts 1x Exodus Modules | Gunsmith 3 |
| Launcher Ammo | Ammo | 5x Metal Parts 1x Crude Explosives | Workbench 1 |
| Anvil | Weapon | 5x Mechanical Components 5x Simple Gun Parts | Gunsmith 2 |
| Anvil Splitter | Mod | 2x Mod Components 3x Processor | Gunsmith 3 |
| ??? | ??? | ??? | ??? |
| Barricade Kit | Quick Use | 1x Mechanical Components | Utility Station 2 |
| Blaze Grenade | Grenade | 1x Explosive Compound 2x Oil | Explosives Station 3 |
| Bobcat | Weapon | 3x Advanced Mechanical Components 3x Light Gun Parts | Gunsmith 3 |
| Osprey | Weapon | 2x Advanced Mechanical Components 3x Medium Gun Parts 7x Wires | Gunsmith 3 |
| Burletta | Weapon | 3x Mechanical Components 3x Simple Gun Parts | Gunsmith 1 |
| Compensator II | Mod | 2x Mechanical Components 4x Wires | Gunsmith 2 |
| Compensator III | Mod | 2x Mod Components 8x Wires | Gunsmith 3 |
| Defibrillator | Quick Use | 9x Plastic Parts 1x Moss | Medical Lab 2 |
| ??? | ??? | ??? | ??? |
| Equalizer | Weapon | 3x Magnetic Accelerator 3x Complex Gun Parts 1x Queen Reactor | Gunsmith 3 |
| Extended Barrel | Mod | 2x Mod Components 8x Wires | Gunsmith 3 |
| Extended Light Mag II | Mod | 2x Mechanical Components 3x Steel Spring | Gunsmith 2 |
| Extended Light Mag III | Mod | 2x Mod Components 5x Steel Spring | Gunsmith 3 |
| Extended Medium Mag II | Mod | 2x Mechanical Components 3x Steel Spring | Gunsmith 2 |
| Extended Medium Mag III | Mod | 2x Mod Components 5x Steel Spring | Gunsmith 3 |
| Extended Shotgun Mag II | Mod | 2x Mechanical Components 3x Steel Spring | Gunsmith 2 |
| Extended Shotgun Mag III | Mod | 2x Mod Components 5x Steel Spring | Gunsmith 3 |
| Remote Raider Flare | Quick Use | 2x Chemicals 4x Rubber Parts | Utility Station 1 |
| Heavy Gun Parts | Material | 4x Simple Gun Parts | Refiner 2 |
| Venator | Weapon | 2x Advanced Mechanical Components 3x Medium Gun Parts 5x Magnet | Gunsmith 3 |
| Il Toro | Weapon | 5x Mechanical Components 6x Simple Gun Parts | Gunsmith 1 |
| Jolt Mine | Mine | 1x Electrical Components 1x Battery | Explosives Station 2 |
| Explosive Mine | Mine | 1x Explosive Compound 1x Sensors | Explosives Station 3 |
| Jupiter | Weapon | 3x Magnetic Accelerator 3x Complex Gun Parts 1x Queen Reactor | Gunsmith 3 |
| Light Gun Parts | Material | 4x Simple Gun Parts | Refiner 2 |
| Lightweight Stock | Mod | 2x Mod Components 5x Duct Tape | Gunsmith 3 |
| Lure Grenade | Grenade | 1x Speaker Component 1x Electrical Components | Utility Station 2 |
| Medium Gun Parts | Material | 4x Simple Gun Parts | Refiner 2 |
| Torrente | Weapon | 2x Advanced Mechanical Components 3x Medium Gun Parts 6x Steel Spring | Gunsmith 3 |
| Muzzle Brake II | Mod | 2x Mechanical Components 4x Wires | Gunsmith 2 |
| Muzzle Brake III | Mod | 2x Mod Components 8x Wires | Gunsmith 3 |
| Padded Stock | Mod | 2x Mod Components 5x Duct Tape | Gunsmith 3 |
| Shotgun Choke II | Mod | 2x Mechanical Components 4x Wires | Gunsmith 2 |
| Shotgun Choke III | Mod | 2x Mod Components 8x Wires | Gunsmith 3 |
| Shotgun Silencer | Mod | 2x Mod Components 8x Wires | Gunsmith 3 |
| Showstopper | Grenade | 1x Advanced Electrical Components 1x Voltage Converter | Explosives Station 3 |
| Silencer I | Mod | 2x Mechanical Components 4x Wires | Gunsmith 2 |
| Silencer II | Mod | 2x Mod Components 8x Wires | Gunsmith 3 |
| Snap Hook | Quick Use | 2x Power Rod 3x Rope 1x Exodus Modules | Utility Station 3 |
| Stable Stock II | Mod | 2x Mechanical Components 3x Duct Tape | Gunsmith 2 |
| Stable Stock III | Mod | 2x Mod Components 5x Duct Tape | Gunsmith 3 |
| Tagging Grenade | Grenade | 1x Electrical Components 1x Sensors | Utility Station 3 |
| Tempest | Weapon | 3x Advanced Mechanical Components 3x Medium Gun Parts 3x Canister | Gunsmith 3 |
| Trigger Nade | Grenade | 2x Crude Explosives 1x Processor | Explosives Station 2 |
| Vertical Grip II | Mod | 2x Mechanical Components 3x Duct Tape | Gunsmith 2 |
| Vertical Grip III | Mod | 2x Mod Components 5x Duct Tape | Gunsmith 3 |
| Vita Shot | Quick Use | 2x Antiseptic 1x Syringe | Medical Lab 3 |
| Vita Spray | Quick Use | 3x Antiseptic 1x Canister | Medical Lab 3 |
| Vulcano | Weapon | 1x Magnetic Accelerator 3x Heavy Gun Parts 1x Exodus Modules | Gunsmith 3 |
| Wolfpack | Grenade | 2x Explosive Compound 2x Sensors | Explosives Station 3 |
| Red Light Stick | Quick Use | 3x Chemicals | Utility Station 1 |
| Smoke Grenade | Grenade | 14x Chemicals 1x Canister | Utility Station 2 |
| Deadline | Mine | 3x Explosive Compound 2x ARC Circuitry | Explosives Station 3 |
| Trailblazer | Grenade | 1x Explosive Compound 1x Synthesized Fuel | Explosives Station 3 |
| Tactical Mk. 3 (Defensive) | Augment | 2x Advanced Electrical Components 3x Processor | Gear Bench 3 |
| Tactical Mk. 3 (Healing) | Augment | 2x Advanced Electrical Components 3x Processor | Gear Bench 3 |
| Yellow Light Stick | Quick Use | 3x Chemicals | Utility Station 1 |
Note: The missing Blueprints in this list likely have not actually been added to the game at the time of writing, because none of the playerbase has managed to find any of them. As they are added to the game, I will update this page with the most relevant information so you know exactly how to get all 75 Arc Raiders Blueprints.
Where to find Blueprints in Arc Raiders
Below is a list of all containers, modifiers, and events which maximise your chances of finding Blueprints:
- Certain quests reward you with specific Blueprints .
- Completing Trials has a high chance of offering Blueprints as rewards.
- Surveyors have a decent chance of dropping Blueprints on death.
- High loot value areas tend to have a greater chance of spawning Blueprints.
- Night Raids and Storms may increase rare Blueprint spawn chances in containers.
- Containers with higher numbers of items may have a higher tendency to spawn Blueprints. As a result, Blue Gate (which has many “large” containers containing multiple items) may give you a higher chance of spawning Blueprints.
- Raider containers (Raider Caches, Weapon Boxes, Medical Bags, Grenade Tubes) have increased Blueprint drop rates. As a result, the Uncovered Caches event gives you a high chance of finding Blueprints.
- Security Lockers have a higher than average chance of containing Blueprints.
- Certain Blueprints only seem to spawn under specific circumstances: Tempest Blueprint only spawns during Night Raid events. Vulcano Blueprint only spawns during Hidden Bunker events. Jupiter and Equaliser Blueprints only spawn during Harvester events.

Raider Caches, Weapon Boxes, and other raider-oriented container types have a good chance of offering Blueprints. |Image credit:Rock Paper Shotgun/Embark Studios
Blueprints have a very low chance of spawning in any container in Arc Raiders, around 1-2% on average. However, there is a higher chance of finding Blueprints in particular container types. Specifically, you can find more Blueprints in Raider containers and security lockers.
Beyond this, if you’re looking for Blueprints you should focus on regions of the map which are marked as having particularly high-value loot. Areas such as the Control Tower in Dam Battlegrounds, the Arrival and Departure Buildings in Spaceport, and Pilgrim’s Peak in Blue Gate all have a better-than-average chance of spawning Blueprints somewhere amongst all their containers. Night Raids and Electromagnetic Storm events also increase the drop chances of certain Blueprints .
In addition to these containers, you can often loot Blueprints from destroyed Surveyors - the largest of the rolling ball ARC. Surveyors are more commonly found on the later maps - Spaceport and Blue Gate - and if one spawns in your match, you’ll likely see it by the blue laser beam that it casts into the sky while “surveying”.
Surveyors are quite well-armoured and will very speedily run away from you once it notices you, but if you can take one down then make sure you loot all its parts for a chance of obtaining certain unusual Blueprints.
Blueprints obtained from quests
One way in which you can get Blueprints is by completing certain quests for the vendors in Speranza. Some quests will reward you with a specific item Blueprint upon completion, so as long as you work through all the quests in Arc Raiders, you are guaranteed those Blueprints.
Here is the full list of all Blueprints you can get from quest rewards:
- Trigger Nade Blueprint: Rewarded after completing “Sparks Fly”.
- Lure Grenade Blueprint: Rewarded after completing “Greasing Her Palms”.
- Burletta Blueprint: Rewarded after completing “Industrial Espionage”.
- Hullcracker Blueprint (and Launcher Ammo Blueprint): Rewarded after completing “The Major’s Footlocker”.
Alas, that’s only 4 Blueprints out of a total of 75 to unlock, so for the vast majority you will need to find them yourself during a raid. If you’re intent on farming Blueprints, then it’s best to equip yourself with cheap gear in case you lose it, but don’t use a free loadout because then you won’t get a safe pocket to stash any new Blueprint you find. No pain in Arc Raiders is sharper than failing to extract with a new Blueprint you’ve been after for a dozen hours already.

One of the best ways to get Blueprints is by hitting three stars on all five Trials every week. |Image credit:Rock Paper Shotgun/Embark Studios
Blueprints obtained from Trials
One of the very best ways to get Blueprints is as rewards for completing Trials in Arc Raiders. Trials are unlocked from Level 15 onwards, and allow you to earn rewards by focusing on certain tasks over the course of several raids. For example, one Trial might task you with dealing damage to Hornets, while another might challenge you to loot Supply Drops.
Trials refresh on a weekly basis, with a new week bringing five new Trials. Each Trial can offer up to three rewards after passing certain score milestones, and it’s possible to receive very high level loot from these reward crates - including Blueprints. So if you want to unlock as many Blueprints as possible, you should make a point of completing as many Trials as possible each week.
Best Blueprint farming locations
The very best way to get Blueprints is to frequent specific areas of the maps which combine high-tier loot pools with the right types of containers to search. Here are my recommendations for where to find Blueprints on every map, so you can always keep the search going for new crafting recipes to unlock.

Image credit:Rock Paper Shotgun/Embark Studios
Dam Battlegrounds
The best places to farm Blueprints on Dam Battlegrounds are the Control Tower, Power Generation Complex, Ruby Residence, and Pale Apartments . The first two regions, despite only being marked on the map as mid-tier loot, contain a phenomenal number of containers to loot. The Control Tower can also contain a couple of high-tier Security Lockers - though of course, you’ll need to have unlocked the Security Breach skill at the end of the Survival tree.
There’s also a lot of reporting amongst the playerbase that the Residential areas in the top-left of the map - Pale Apartments and Ruby Residence - give you a comparatively strong chance of finding Blueprints. Considering their size, there’s a high density of containers to loot in both locations, and they also have the benefit of being fairly out of the way. So you’re more likely to have all the containers to yourself.
Buried City
The best Blueprint farming locations on Buried City are the Santa Maria Houses, Grandioso Apartments, Town Hall, and the various buildings of the New District . Grandioso Apartments has a lower number of containers than the rest, but a high chance of spawning weapon cases - which have good Blueprint drop rates. The others are high-tier loot areas, with plenty of lootable containers - including Security Lockers.
Spaceport
The best places to find Blueprints on Spaceport are the Arrival and Departure Buildings, as well as Control Tower A6 and the Launch Towers . All these areas are labelled as high-value loot regions, and many of them are also very handily connected to one another by the Spaceport wall, which you can use to quickly run from one area to the next. At the tops of most of these buildings you’ll find at least one Security Locker, so this is an excellent farming route for players looking to find Blueprints.
The downside to looting Blueprints on Spaceport is that all these areas are hotly contested, particularly in Duos and Squads. You’ll need to be very focused and fast in order to complete the full farming route.

Image credit:Rock Paper Shotgun/Embark Studios
Blue Gate
Blue Gate tends to have a good chance of dropping Blueprints, potentially because it generally has a high number of containers which can hold lots of items; so there’s a higher chance of a Blueprint spawning in each container. In my experience, the best Blueprint farming spots on Blue Gate are Pilgrim’s Peak, Raider’s Refuge, the Ancient Fort, and the Underground Complex beneath the Warehouse .
All of these areas contain a wealth of containers to loot. Raider’s Refuge has less to loot, but the majority of the containers in and around the Refuge are raider containers, which have a high chance of containing Blueprints - particularly during major events.
Stella Montis
On the whole, Stella Montis seems to have a very low drop rate for Blueprints (though a high chance of dropping other high-tier loot). If you do want to try farming Blueprints on this map, the best places to find Blueprints in Stella Montis are Medical Research, Assembly Workshop, and the Business Center . These areas have the highest density of containers to loot on the map.
In addition to this, the Western Tunnel has a few different Security Lockers to loot, so while there’s very little to loot elsewhere in this area of the map, it’s worth hitting those Security Lockers if you spawn there at the start of a match.
That wraps up this primer on how to get all the Blueprints in Arc Raiders as quickly as possible. With the Expedition system constantly resetting a large number of players’ Blueprints, it’s more important than ever to have the most up-to-date information on where to find all these Blueprints.
While you’re here, be sure to check out our Arc Raiders best guns tier list , as well as our primers on the best skills to unlock and all the different Field Depot locations on every map.


ARC Raiders
PS5 , Xbox Series X/S , PC
Rock Paper Shotgun is better when you sign in
Sign in and join us on our journey to discover strange and compelling PC games.
