Nvidia DLSS 4 explained: Multi Frame Generation, the Transformer model, and the GPUs you’ll need to run them
Testing out the biggest DLSS overhaul yet
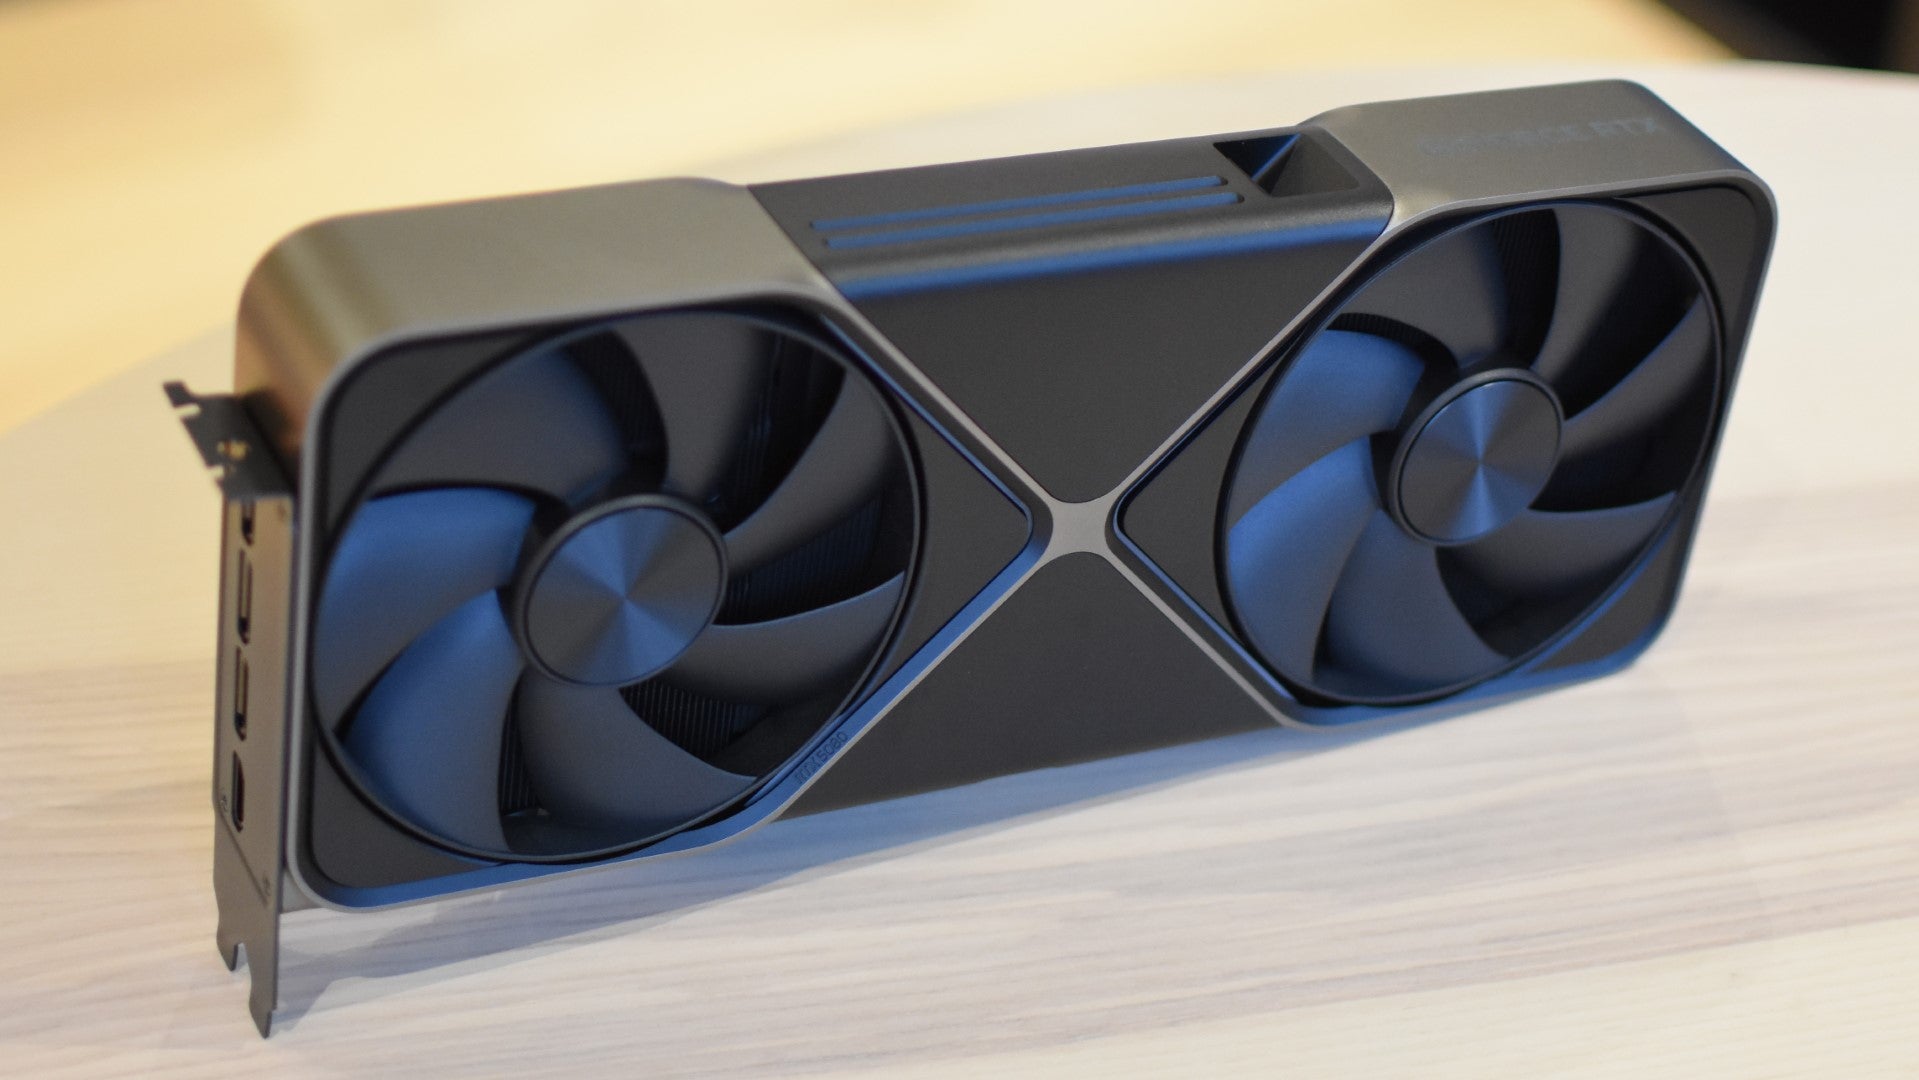
Image credit:Rock Paper Shotgun

Nvidia DLSS 4 has launched under not-terribly-happy circumstances. It’s a mostly AI-powered technology at a time when mistrust in artificial intelligence, fuelled by underbaked applications and anti-creative policies , is at all-time high – not to mention how the new GeForce GPUs it’s released alongside, the RTX 5080 and RTX 5090 , have immediately entered 2020-style stock shortage purgatory.
However, having tried it out in a few different games, I suspect time will prove kinder to DLSS 4 than the RTX 50 series launch has been. It is, in fact, a rather nifty collection of upscaling improvements that can help out older graphics cards as readily as the very newest, while building on DLSS 3 ’s frame generation tool with Multi Frame Generation (MFG) to send visual smoothness skyrocketing. If you care even the slightest iota for how your PC performs in modern games, DLSS 4 demands your attention.
Here, then, I’ll break down DLSS 4’s various tricks and components, looking at how they really affect performance – and whether it’s worth upgrading your rig to maximise compatibility with it.
- DLSS 4 part I : What “DLSS 4” actually means, and what can run it
- DLSS 4 part II : Upscaling image quality and the Transformer model
- DLSS 4 part III : Performance and Multi Frame Generation
- DLSS 4 part IV : The latency issue
- DLSS 4 part V : The verdict
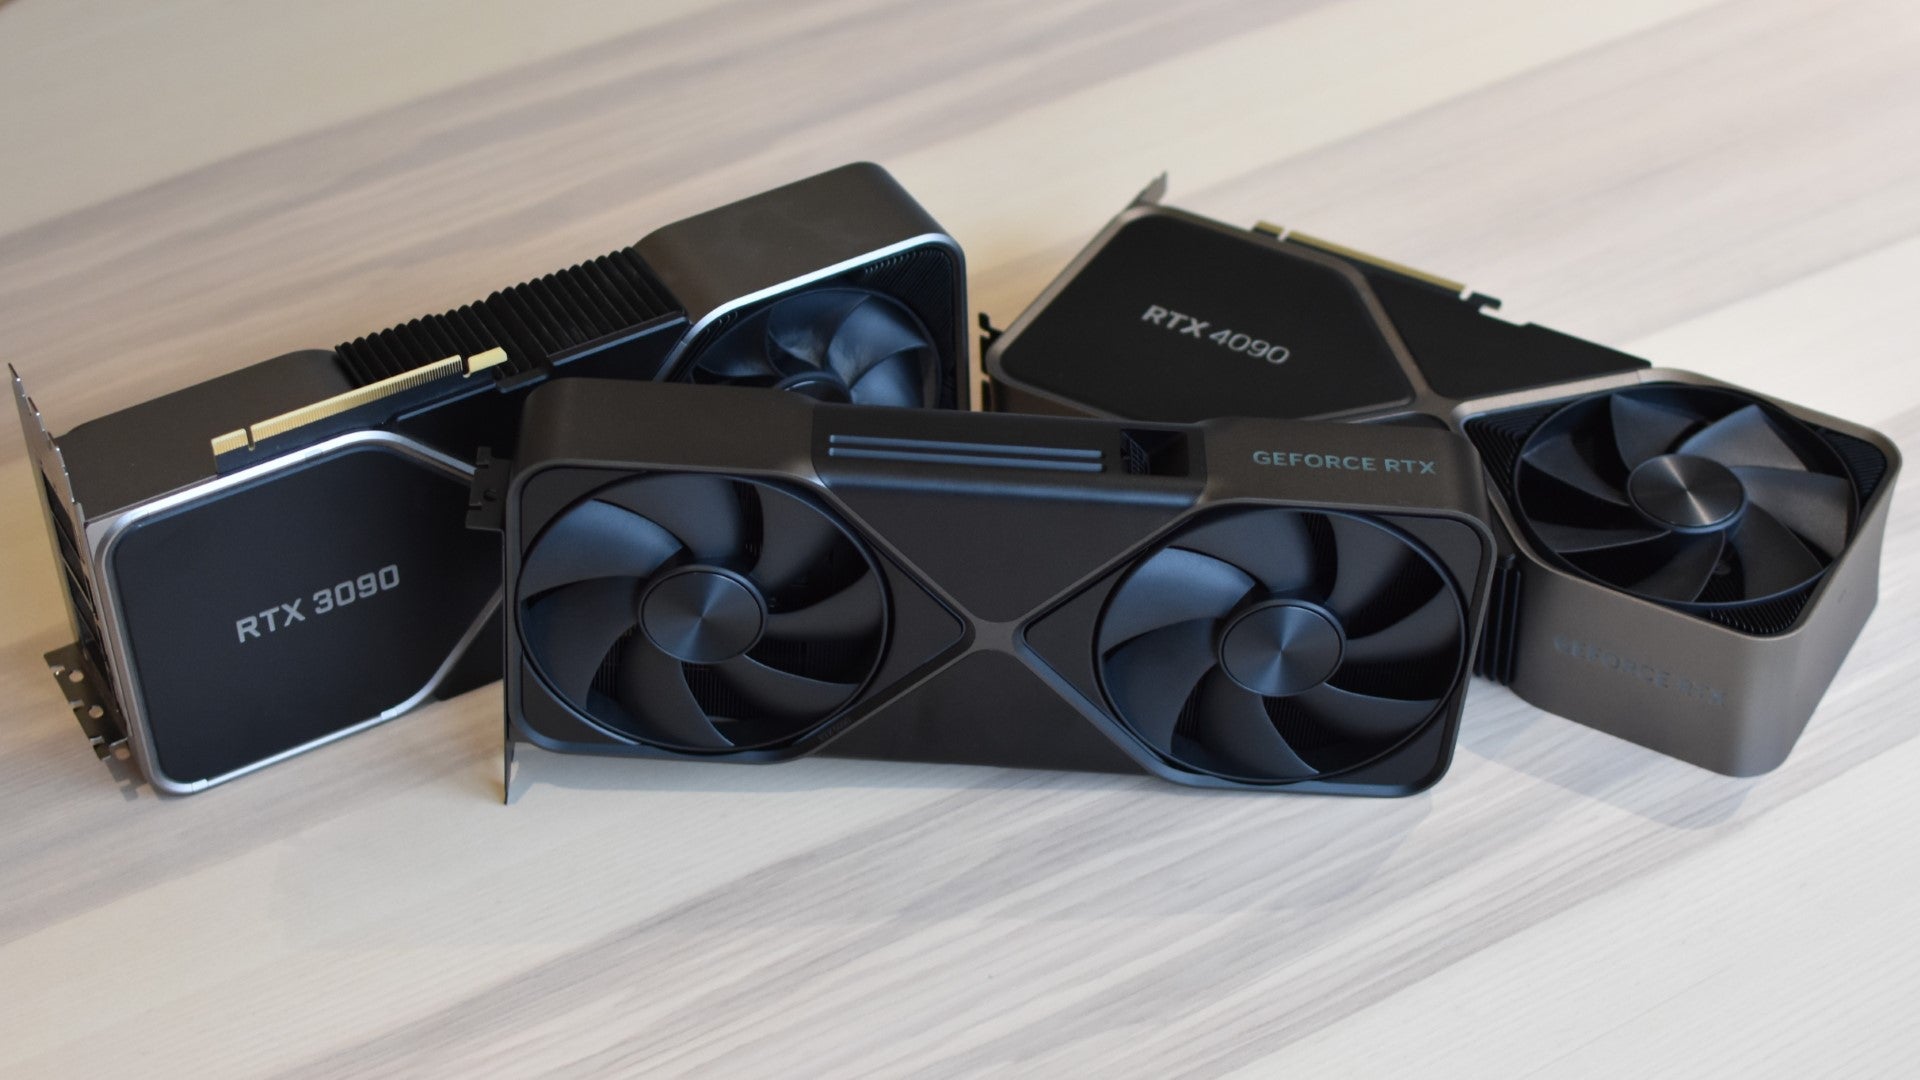
Image credit:Rock Paper Shotgun
DLSS 4 part I: What “DLSS 4” actually means, and what can run it
DLSS version names got a bit tangled up in themselves during the previous generation – DLSS 3 was all about the frame gen, then DLSS 3.5 showed up with Ray Reconstruction but nothing else to do with DLSS 3’s defining feature. This turned the simple act of talking them into a minefield of mismatched acronyms, so before anything else it’s worth defining what exactly DLSS 4 is.
The easiest (and, fortunately, most accurate) way of looking at it is that DLSS 4 is the umbrella term for a collection of GPU-based upscaling and performance features. In DLSS 4’s case, that includes the latest edition of its classic upscaling, as well as new renditions of tech that was previously referred to simply by the DLSS version that introduced it. MFG, for instance, is the next-gen take on DLSS 3 frame generation, and DLSS 4 also includes an improved version of DLSS 3.5’s Ray Reconstruction for luxury ray tracing /path tracing effects.
This does mean that statements like “Game X supports DLSS 4” might not be entirely accurate, as DLSS 4 covers so many different components that individual games likely won’t always work with the full set: they might support its upscaling and MFG, for instance, but not Ray Reconstruction. Thus, some confusion – and twisting, multiple-clause explanations by tired hardware editors – will remain. But there is an upside, namely that a lot of DLSS 4’s features will function on older RTX GPUs dating back to the original RTX 20 series.
Indeed, of all DLSS 4’s biggest doodads, only MFG outright requires an RTX 50 series graphics card. The improved upscaling, Ray Reconstruction, and the Nvidia app ’s DLSS overrides (more on those later) are all backwards-compatible with the RTX 20 series onwards. You’ll still need at least an RTX 40 series GPU to use frame generation at the same speeds of DLSS 3, though DLSS 4 also includes improvements for this, reducing memory usage and potentially making a slight increase to frame output. Just not as much as MFG, obviously.
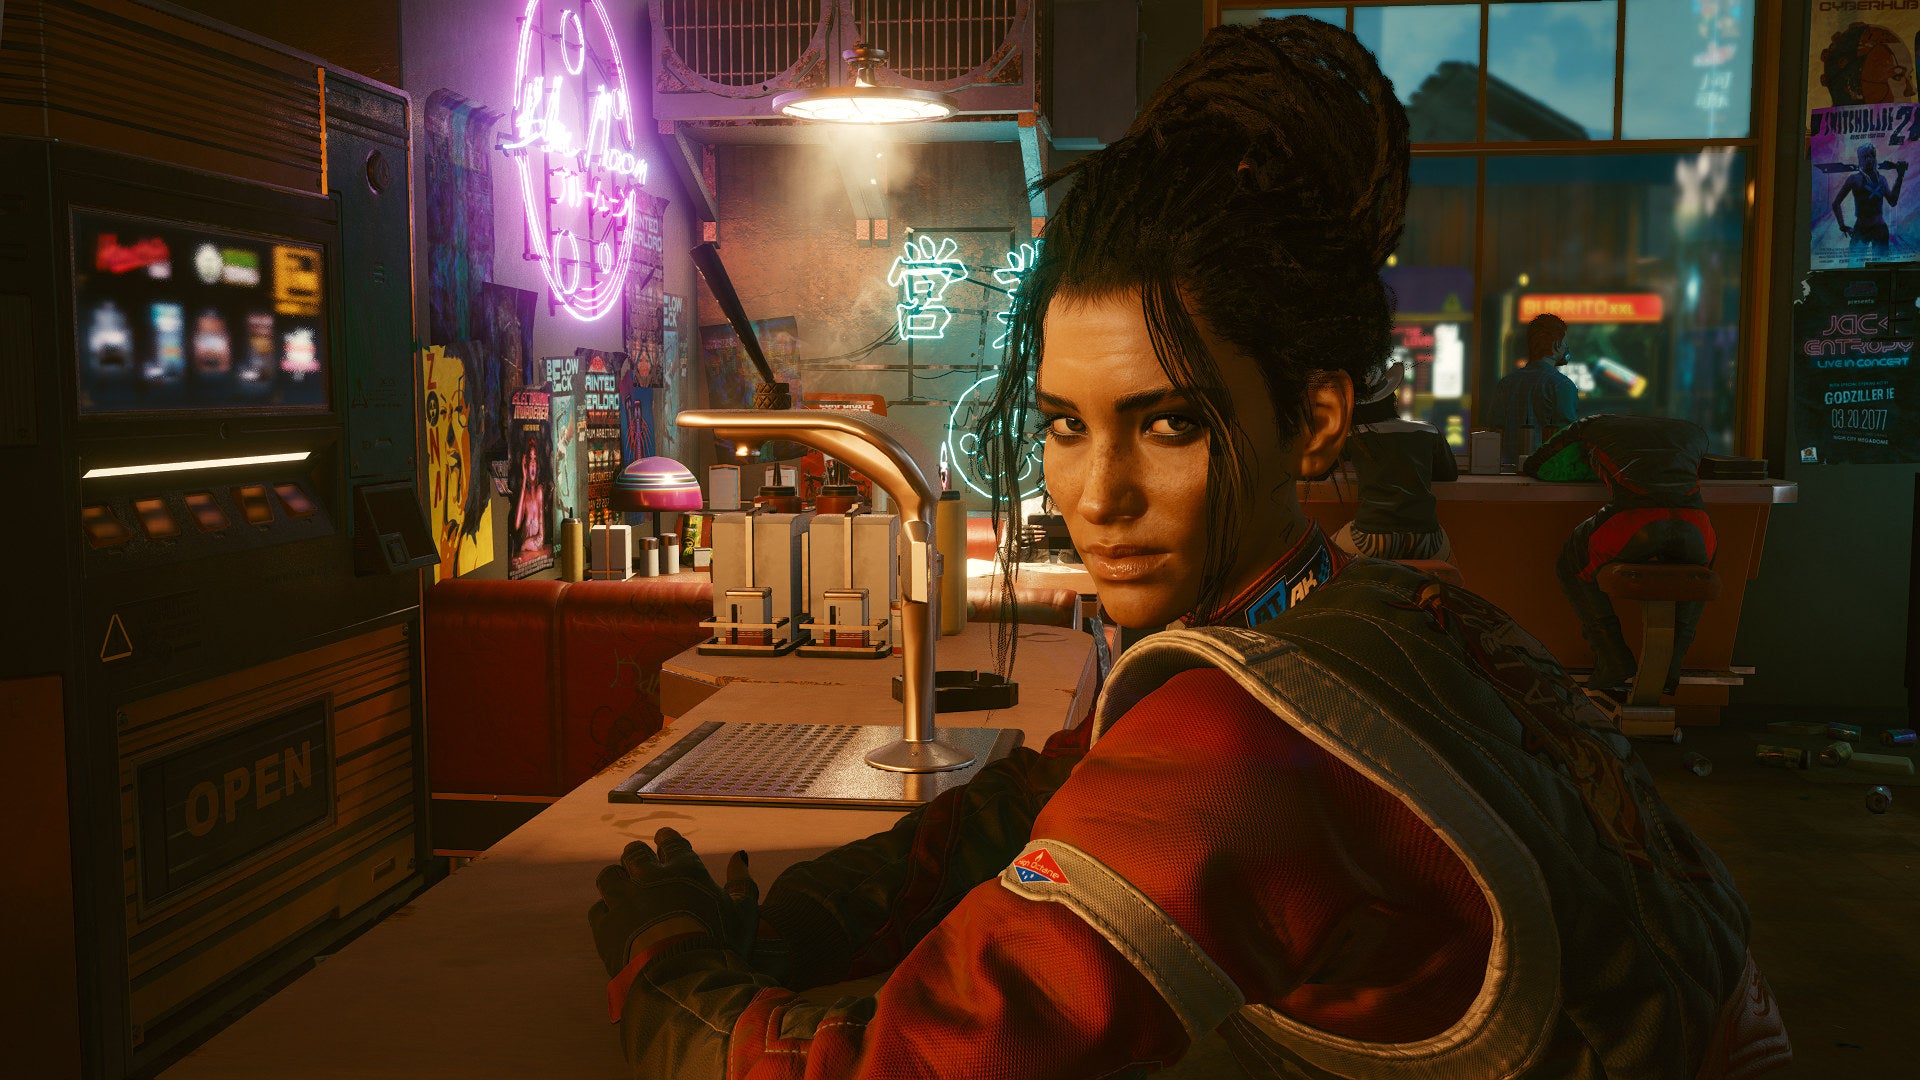
Image credit:Rock Paper Shotgun/CD Projekt RED
DLSS 4 part II: Upscaling image quality and the Transformer model
Image quality is hardly one of DLSS’s traditional weaknesses. Arguably the biggest single reason to use it over alternatives like AMD FSR or Intel XeSS is that it simply looks better: its AI-powered anti-aliasing produces the cleanest, sharpest edges and the fewest blurry textures among the big three upscalers. Even so, this component has been touched up further in DLSS 4, especially in games that let you switch from the previously employed Convolutional Neural Networks (CNN) AI model to its new Transformer model.
Nvidia’s explanation for how these models differ is several mouthfuls of impenetrable, “AI is the future bro” turbojargon, but the very basic version is that the Transformer model is smarter about where it places individual pixels when piecing together an upscaled frame. It’s slower than CNN on framerate enhancements – by about 9-10%, according to my testing on the RTX 5080 and 5090 – but within seconds of switching to Transformer mode in Cyberpunk 2077 , the visual improvements became apparent. Including, yes, the ones that Nvidia promised. Reduced ghosting? Subtle, but yes. Higher detail in motion? Definitely. Smoother edges? Yep, especially on very fine details like chainlink fences or individual blades of grass. DLSS upscaling has nearly always looked good; DLSS 4 makes it look better.

Left: Convolutional Neural Networks model. Right: Transformer model |Image credit:Rock Paper Shotgun/CD Projekt Red
I will say that these improvements are much more noticeable in motion than in static screenshots, so I don’t want to dwell on too many side-by-side, its-the-same-picture comparisons. But even here, you can see some of the Transformer model’s upsides, with less visual noise and finer detailing on the tape around V’s shotgun. Zoom in closer and you might notice less jagged edges than on the CNN model as well.
The Transformer model also has the knock-on effect of improving how frame generation looks, as the more intelligent pixel placement technique applies to AI-generated frames as well as the ordinarily rendered ones. Again, fast motion looks cleaner and sharper, with less ghosting, and that goes for ye olde DLSS 3 as well as the latest, RTX 50-exclusive MFG. Speaking of which…
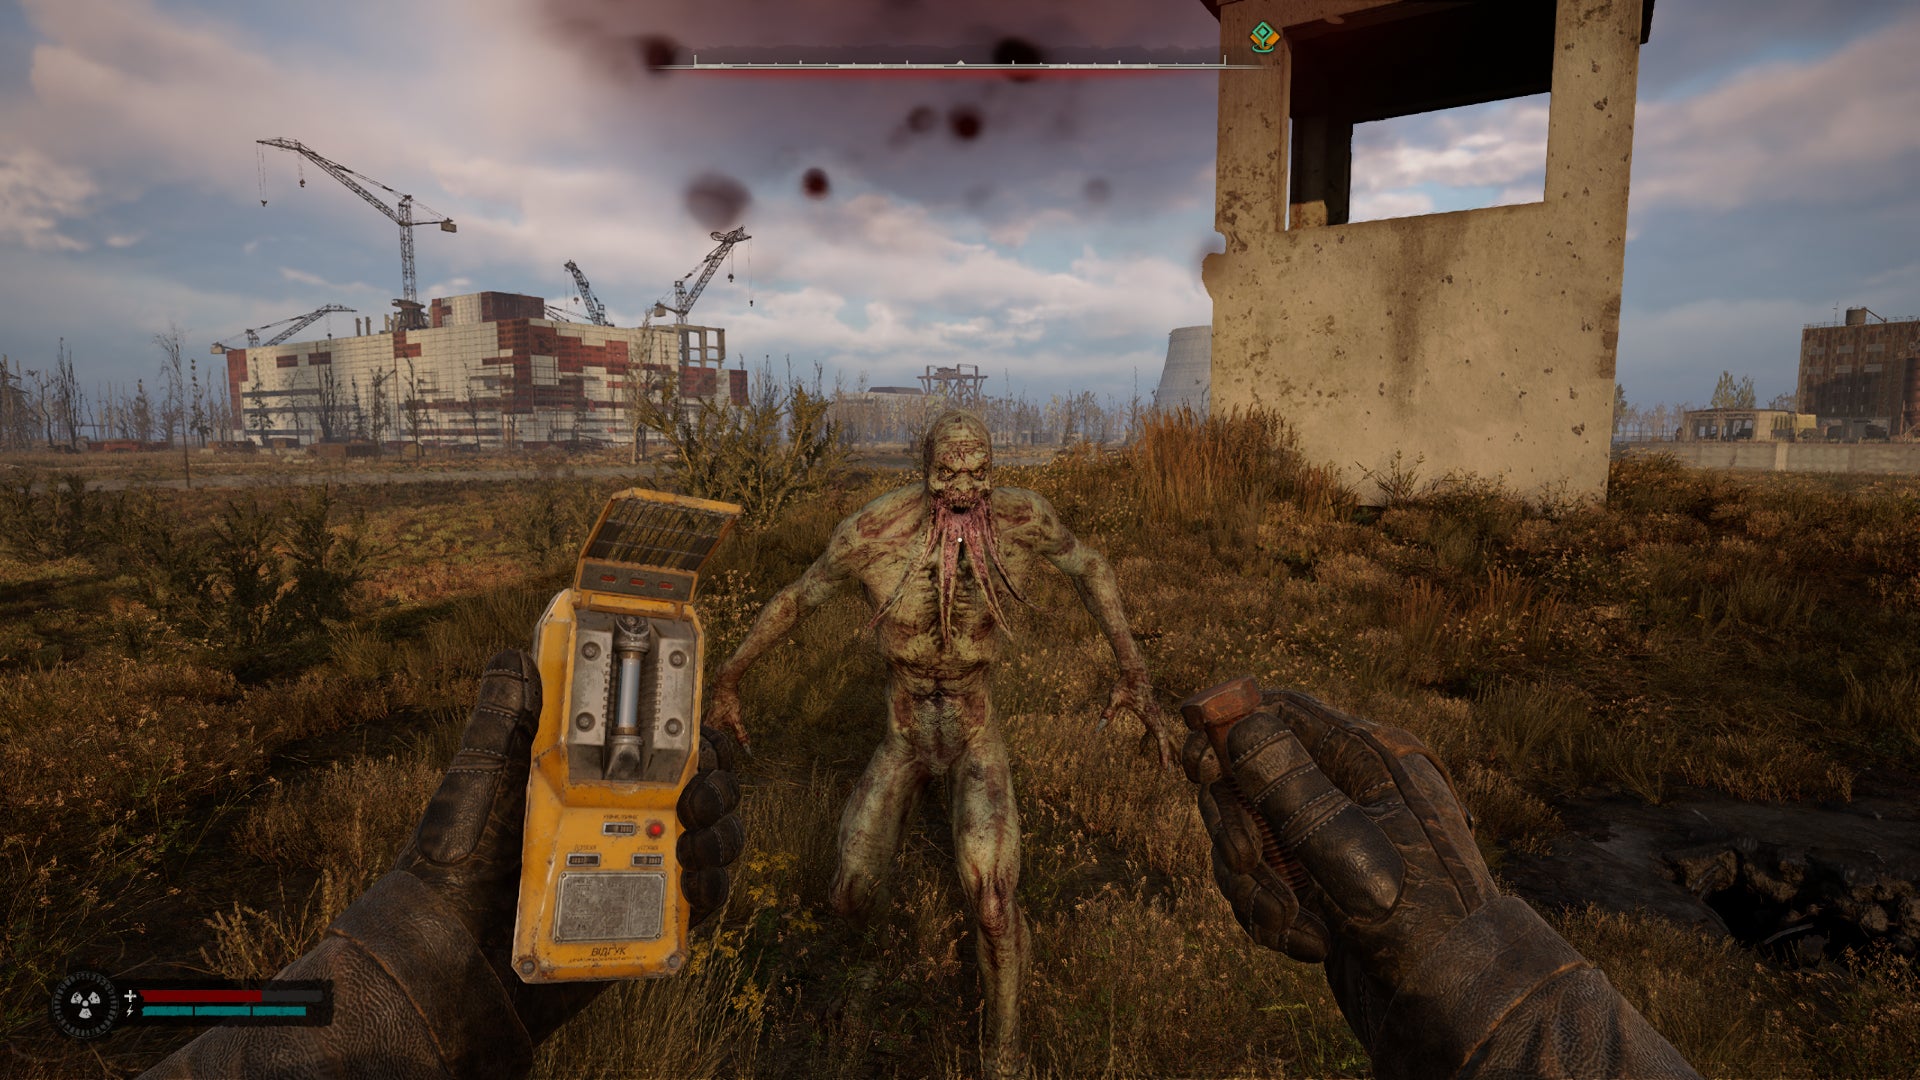
Image credit:Rock Paper Shotgun/GSC Game World
DLSS 4 part III: Performance and Multi Frame Generation
I suspect that MFG is already the most contentious of DLSS 4’s constituent parts. There’s definitely a perception among some PC players that the advantages of frame generation are “fake”, and there is some truth to that in the tech itself: AI-generated frames don’t take your control inputs into account, as rendered frames do, so a game that uses frame gen to turn 30fps into 60fps will look nicer but still have the ‘writing your initials in unset concrete’ feel of the former.
Still, if you approach DLSS 3 – and now DLSS 4’s MFG – with the full knowledge and understanding that frame gen is a purely visual enhancer, then both become a lot easier to get on with. And in these simple terms of raising frames per second, MFG is unmatched. It has the option to generate extra frames at a 2x rate, as DLSS 3 does, but also 3x and 4x, and while that fastest option might not have literally quadrupled the framerates of the games I’ve tested, it did punt them so high upwards that it’ll probably be another two graphics card generations before they’ll reach those heights through traditional rendering means.
Here’s how MFG polished up a few different games on the RTX 5080:
Image credit:Rock Paper Shotgun
Nearly 144fps for fully path-traced 4K? Hey, if you’re going to have fake frames, you might as well have absolutely loads of ’em. More than the (much more expensive) RTX 4090 can pump out with DLSS 3, for the record, and more than you’d ever get from the equivalent frame generation behind FSR 3.
Still, what both prospective GPU buyers should remember – as should game developers thinking frame gen can make up for performance shortfalls – is that these kinds of AI-assisted performances are still reliant on having a sturdy base of plain, old, PC-rendered frames. Running S.T.A.L.K.E.R. 2 at 200fps+ is fun because it looks silky smooth, yes, but it only works because I’m getting a nicely playable 64fps underneath the frame gen, which is really all that matters for keeping my aiming feeling sharp. You probably could take something that only runs at 15fps, slap 4x MFG on it and get the counter running at a respectable 50fps or so, but it’s still going to feel like spluttering dogshit because the screen is still only reflecting user inputs 15 times a second. Which, in PC game terms, is spluttering dogshit.
Perversely, then, you do need to get games running well without frame gen help before they… become suitable for frame gen. But I do think the technology still has value as an add-on bonus, and with DLSS 4 and MFG, that bonus has never been fatter.
Game support looks decent as well, with 75 games confirmed to either add MFG compatibility immediately or in the future. Some of these won’t have baked-in, native support, but that’s where another nice DLSS 4 feature comes in: DLSS overrides. Applied via the Nvidia app, these overrides can essentially add forwards compatibility with newer DLSS features if they supported an older equivalent. That means adding DLAA or the new Transformer model to games that launched with more limited DLSS upscaling support, or, if they worked with DLSS 3, you can toggle them to play nice with 3x and 4x MFG as well. That’s now I got Dragon Age: The Veilguard and S.T.A.L.K.E.R. 2 into these tests: they weren’t updated to include MFG as such, but I could force it via the Nvidia app.
This is a great feature that commendably changes tack from Nvidia’s usual inclination towards solely the latest and greatest. It doesn’t need an RTX 50 series card (unless you want an MFG override), and some of these 75 games are years old, breathing new life into them by unlocking hitherto blocked-off tools for boosting performance.
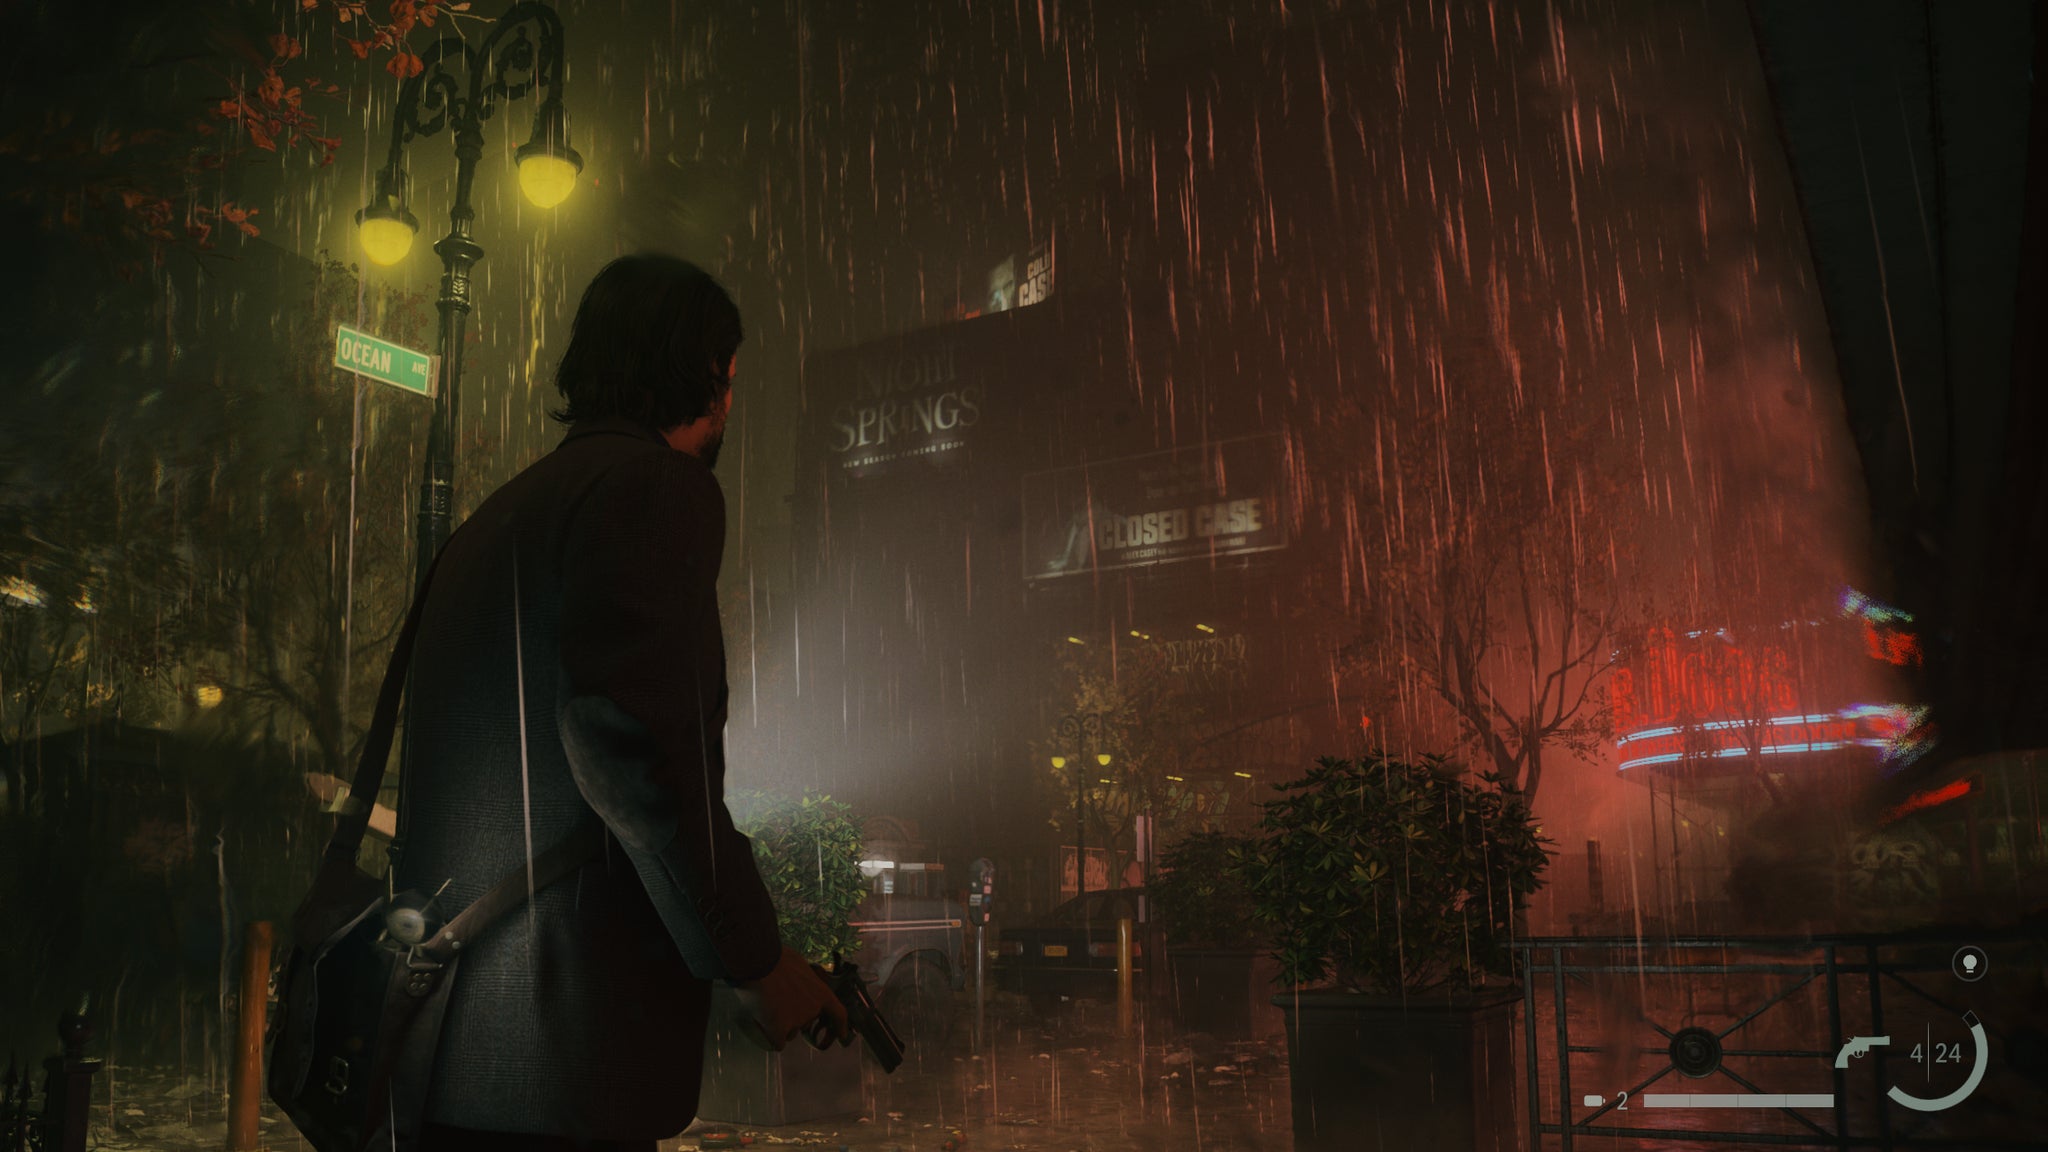
Image credit:Rock Paper Shotgun/Epic Games Publishing
DLSS 4 part IV: The latency issue
If MFG has a problem, it’s not so much that its frames aren’t real, but that it adds input lag. That’s delay between making a mouse movement or keyboard press, and your PC registering it as an input, leading to the appropriate action on your screen. Both DLSS 3 and now MFG can add more than a few precious milliseconds to this latency, which can result in a less responsive, more sluggish feel as you play.
The exact extent will vary by game, largely because – and I hope you appreciate the irony here as much as I do – latency is partially determined by framerate. As in, the real, regularly rendered framerates, with a higher FPS bringing down lag. Here’s how those four games tested above fared with both 2x and 4x frame gen:
| Cyberpunk 2077 | Alan Wake II | Dragon Age: The Veilguard | S.T.A.L.K.E.R. 2 | |
|---|---|---|---|---|
| DLSS Quality | 52-70ms | 64-72ms | 26-30ms | 51-67ms |
| DLSS Quality with 2x FG | 66-87ms | 78-95ms | 38-46ms | 55-76ms |
| DLSS Quality with 4x MFG | 69-89ms | 92-107ms | 36-50ms | 53-78ms |
Veilguard and S.T.A.L.K.E.R. 2 saw the lowest latency spikes, in part because they had a higher ‘base’ framerate without frame gen) to help keep it down. I actually didn’t feel much of a tangible difference with these two, so I personally wouldn’t have much beef with flicking MFG on.
Alan Wake II , on the other hand, clearly got a bit soupy as it rose through the frame gen rank, being the only one to break 100ms. Cyberpunk 2077 was okayish – I could sense a certain loss of snappiness in the aiming and car camera controls, though I didn’t actively struggle with it.
I’m saying “I” a lot because like framerates themselves, input lag is one of those tricky game things where people perceive them differently. There are surely some shooter fans who’d spit in disgust at anything over 20ms, whereas even the 80-100ms range won’t feel alien if you’ve played a lot of 30fps console games. Neither approach is wrong, but it is a fact that frame generation raises latency.
The good news, in a sense, is that 4x MFG only adds a relatively tiny dash more lag to what 2x MFG already does. And while you might notice a a 20ms-odd jump from turning on any kind of frame generation, the extra 3ms or so that 4x has over 2x is probably going to be harder to spot. As such, if you do end up with an RTX 50 series GPU and a taste for AI frames, my advice is that you might as well go all the way.
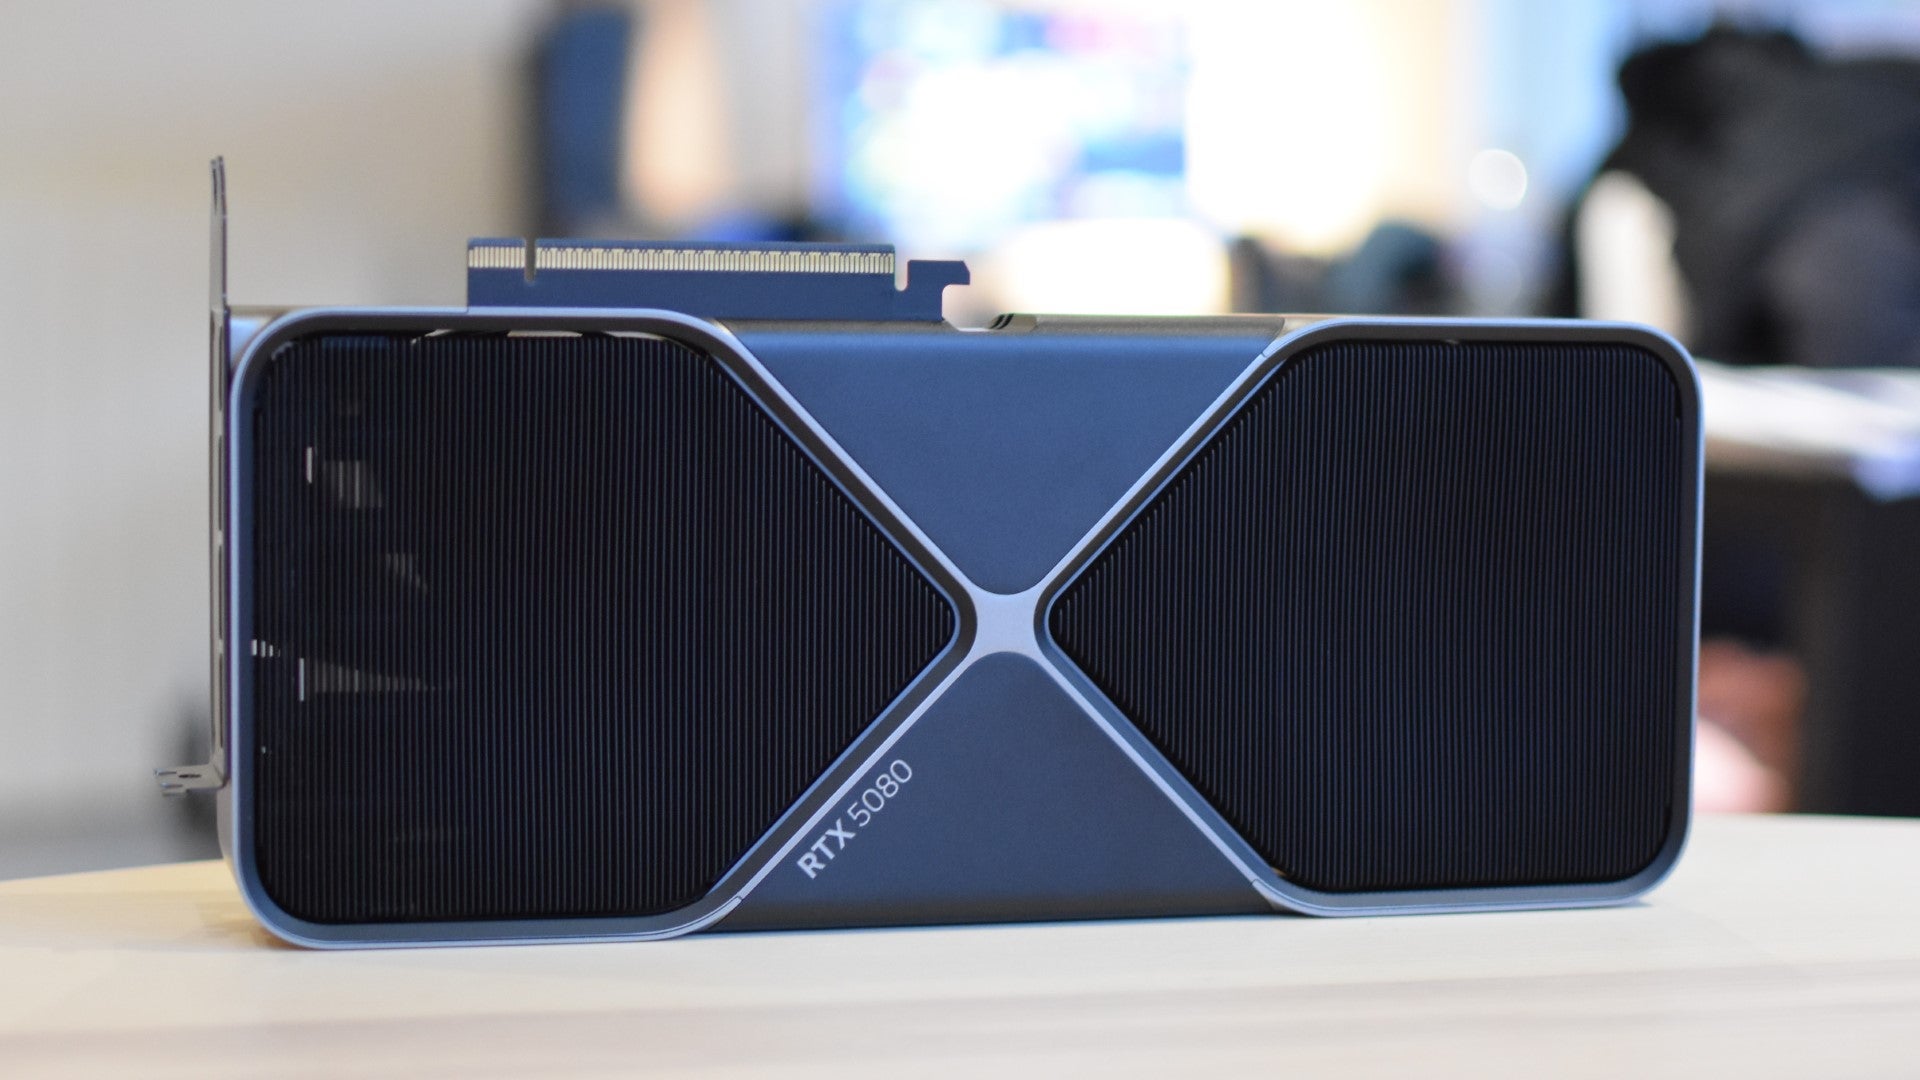
Image credit:Rock Paper Shotgun
DLSS 4 part V: The verdict
Otherwise, there isn’t really much wrong with DLSS 4. Its AI applications are a world apart from the dodgy, joyless, art-stealing stuff, and even if some individual components aren’t to everyone’s tastes, it’s still a broad collection of tech tools that make your games look nicer. Or run faster. Or both. Consider especially that several of its best upgrades are available to the older and cheaper members of Nvidia’s graphics card catalogue, and it’s already far more of an impactful update than DLSS 3 was.
Should you, though, go as far as to buy an RTX 50 model that can take full advantage of it? The answer is slightly awkward, as while MFG isn’t enough of a faultless panacea that everyone should immediately join the months-long waiting list for RTX 5080 stock, I do think tech like this is becoming more and more of a difference-maker when it comes to choosing future upgrades. The RTX 4080 Super , for instance, costs about the same as the 5080, and performs very nearly as well in games without frame gen gubbins. If all else is equal, why would you not choose the one with more features?
That might not be a ringing endorsement for the state of the graphics industry as a whole, and I guess there is the risk that continued reliance on DLSS magic could further exacerbate issues with questionable games performance and sky-high system requirements . But that would be a misappropriation of DLSS 4, not a misstep by the technology itself. Which, regardless of which RTX model you have, remains worth using.

Rock Paper Shotgun is better when you sign in
Sign in and join us on our journey to discover strange and compelling PC games.

All 75 Arc Raiders Blueprints and where to get them
These areas have the highest chance of giving you Blueprints

Image credit:Rock Paper Shotgun/Embark Studios

Looking for more Arc Raiders Blueprints? It’s a special day when you find a Blueprint, as they’re among the most valuable items in Arc Raiders. If you find a Blueprint that you haven’t already found, then you must make sure you hold onto it at all costs, because Blueprints are the key to one of the most important and powerful systems of meta-progression in the game.
This guide aims to be the very best guide on Blueprints you can find, starting with a primer on what exactly they are and how they work in Arc Raiders, before delving into exactly where to get Blueprints and the very best farming spots for you to take in your search.
We’ll also go over how to get Blueprints from other unlikely activities, such as destroying Surveyors and completing specific quests. And you’ll also find the full list of all 75 Blueprints in Arc Raiders on this page (including the newest Blueprints added with the Cold Snap update , such as the Deadline Blueprint and Firework Box Blueprint), giving you all the information you need to expand your own crafting repertoire.
In this guide:
- What are Blueprints in Arc Raiders?
- Full Blueprint list: All crafting recipes
- Where to find Blueprints in Arc Raiders Blueprints obtained from quests Blueprints obtained from Trials Best Blueprint farming locations

What are Blueprints in Arc Raiders?
Blueprints in Arc Raiders are special items which, if you manage to extract with them, you can expend to permanently unlock a new crafting recipe in your Workshop. If you manage to extract from a raid with an Anvil Blueprint, for example, you can unlock the ability to craft your very own Anvil Pistol, as many times as you like (as long as you have the crafting materials).
To use a Blueprint, simply open your Inventory while in the lobby, then right-click on the Blueprint and click “Learn And Consume” . This will permanently unlock the recipe for that item in your Workshop. As of the Stella Montis update, there are allegedly 75 different Blueprints to unlock - although only 68 are confirmed to be in the game so far. You can see all the Blueprints you’ve found and unlocked by going to the Workshop menu, and hitting “R” to bring up the Blueprint screen.
It’s possible to find duplicates of past Blueprints you’ve already unlocked. If you find these, then you can either sell them, or - if you like to play with friends - you can take it into a match and gift it to your friend so they can unlock that recipe for themselves. Another option is to keep hold of them until the time comes to donate them to the Expedition.
Full Blueprint list: All crafting recipes
Below is the full list of all the Blueprints that are currently available to find in Arc Raiders, and the crafting recipe required for each item:
| Blueprint | Type | Recipe | Crafted At |
|---|---|---|---|
| Bettina | Weapon | 3x Advanced Mechanical Components 3x Heavy Gun Parts 3x Canister | Gunsmith 3 |
| Blue Light Stick | Quick Use | 3x Chemicals | Utility Station 1 |
| Aphelion | Weapon | 3x Magnetic Accelerator 3x Complex Gun Parts 1x Matriarch Reactor | Gunsmith 3 |
| Combat Mk. 3 (Flanking) | Augment | 2x Advanced Electrical Components 3x Processor | Gear Bench 3 |
| Combat Mk. 3 (Aggressive) | Augment | 2x Advanced Electrical Components 3x Processor | Gear Bench 3 |
| Complex Gun Parts | Material | 2x Light Gun Parts 2x Medium Gun Parts 2x Heavy Gun Parts | Refiner 3 |
| Fireworks Box | Quick Use | 1x Explosive Compound 3x Pop Trigger | Explosives Station 2 |
| Gas Mine | Mine | 4x Chemicals 2x Rubber Parts | Explosives Station 1 |
| Green Light Stick | Quick Use | 3x Chemicals | Utility Station 1 |
| Pulse Mine | Mine | 1x Crude Explosives 1x Wires | Explosives Station 1 |
| Seeker Grenade | Grenade | 1x Crude Explosives 2x ARC Alloy | Explosives Station 1 |
| Looting Mk. 3 (Survivor) | Augment | 2x Advanced Electrical Components 3x Processor | Gear Bench 3 |
| Angled Grip II | Mod | 2x Mechanical Components 3x Duct Tape | Gunsmith 2 |
| Angled Grip III | Mod | 2x Mod Components 5x Duct Tape | Gunsmith 3 |
| Hullcracker | Weapon | 1x Magnetic Accelerator 3x Heavy Gun Parts 1x Exodus Modules | Gunsmith 3 |
| Launcher Ammo | Ammo | 5x Metal Parts 1x Crude Explosives | Workbench 1 |
| Anvil | Weapon | 5x Mechanical Components 5x Simple Gun Parts | Gunsmith 2 |
| Anvil Splitter | Mod | 2x Mod Components 3x Processor | Gunsmith 3 |
| ??? | ??? | ??? | ??? |
| Barricade Kit | Quick Use | 1x Mechanical Components | Utility Station 2 |
| Blaze Grenade | Grenade | 1x Explosive Compound 2x Oil | Explosives Station 3 |
| Bobcat | Weapon | 3x Advanced Mechanical Components 3x Light Gun Parts | Gunsmith 3 |
| Osprey | Weapon | 2x Advanced Mechanical Components 3x Medium Gun Parts 7x Wires | Gunsmith 3 |
| Burletta | Weapon | 3x Mechanical Components 3x Simple Gun Parts | Gunsmith 1 |
| Compensator II | Mod | 2x Mechanical Components 4x Wires | Gunsmith 2 |
| Compensator III | Mod | 2x Mod Components 8x Wires | Gunsmith 3 |
| Defibrillator | Quick Use | 9x Plastic Parts 1x Moss | Medical Lab 2 |
| ??? | ??? | ??? | ??? |
| Equalizer | Weapon | 3x Magnetic Accelerator 3x Complex Gun Parts 1x Queen Reactor | Gunsmith 3 |
| Extended Barrel | Mod | 2x Mod Components 8x Wires | Gunsmith 3 |
| Extended Light Mag II | Mod | 2x Mechanical Components 3x Steel Spring | Gunsmith 2 |
| Extended Light Mag III | Mod | 2x Mod Components 5x Steel Spring | Gunsmith 3 |
| Extended Medium Mag II | Mod | 2x Mechanical Components 3x Steel Spring | Gunsmith 2 |
| Extended Medium Mag III | Mod | 2x Mod Components 5x Steel Spring | Gunsmith 3 |
| Extended Shotgun Mag II | Mod | 2x Mechanical Components 3x Steel Spring | Gunsmith 2 |
| Extended Shotgun Mag III | Mod | 2x Mod Components 5x Steel Spring | Gunsmith 3 |
| Remote Raider Flare | Quick Use | 2x Chemicals 4x Rubber Parts | Utility Station 1 |
| Heavy Gun Parts | Material | 4x Simple Gun Parts | Refiner 2 |
| Venator | Weapon | 2x Advanced Mechanical Components 3x Medium Gun Parts 5x Magnet | Gunsmith 3 |
| Il Toro | Weapon | 5x Mechanical Components 6x Simple Gun Parts | Gunsmith 1 |
| Jolt Mine | Mine | 1x Electrical Components 1x Battery | Explosives Station 2 |
| Explosive Mine | Mine | 1x Explosive Compound 1x Sensors | Explosives Station 3 |
| Jupiter | Weapon | 3x Magnetic Accelerator 3x Complex Gun Parts 1x Queen Reactor | Gunsmith 3 |
| Light Gun Parts | Material | 4x Simple Gun Parts | Refiner 2 |
| Lightweight Stock | Mod | 2x Mod Components 5x Duct Tape | Gunsmith 3 |
| Lure Grenade | Grenade | 1x Speaker Component 1x Electrical Components | Utility Station 2 |
| Medium Gun Parts | Material | 4x Simple Gun Parts | Refiner 2 |
| Torrente | Weapon | 2x Advanced Mechanical Components 3x Medium Gun Parts 6x Steel Spring | Gunsmith 3 |
| Muzzle Brake II | Mod | 2x Mechanical Components 4x Wires | Gunsmith 2 |
| Muzzle Brake III | Mod | 2x Mod Components 8x Wires | Gunsmith 3 |
| Padded Stock | Mod | 2x Mod Components 5x Duct Tape | Gunsmith 3 |
| Shotgun Choke II | Mod | 2x Mechanical Components 4x Wires | Gunsmith 2 |
| Shotgun Choke III | Mod | 2x Mod Components 8x Wires | Gunsmith 3 |
| Shotgun Silencer | Mod | 2x Mod Components 8x Wires | Gunsmith 3 |
| Showstopper | Grenade | 1x Advanced Electrical Components 1x Voltage Converter | Explosives Station 3 |
| Silencer I | Mod | 2x Mechanical Components 4x Wires | Gunsmith 2 |
| Silencer II | Mod | 2x Mod Components 8x Wires | Gunsmith 3 |
| Snap Hook | Quick Use | 2x Power Rod 3x Rope 1x Exodus Modules | Utility Station 3 |
| Stable Stock II | Mod | 2x Mechanical Components 3x Duct Tape | Gunsmith 2 |
| Stable Stock III | Mod | 2x Mod Components 5x Duct Tape | Gunsmith 3 |
| Tagging Grenade | Grenade | 1x Electrical Components 1x Sensors | Utility Station 3 |
| Tempest | Weapon | 3x Advanced Mechanical Components 3x Medium Gun Parts 3x Canister | Gunsmith 3 |
| Trigger Nade | Grenade | 2x Crude Explosives 1x Processor | Explosives Station 2 |
| Vertical Grip II | Mod | 2x Mechanical Components 3x Duct Tape | Gunsmith 2 |
| Vertical Grip III | Mod | 2x Mod Components 5x Duct Tape | Gunsmith 3 |
| Vita Shot | Quick Use | 2x Antiseptic 1x Syringe | Medical Lab 3 |
| Vita Spray | Quick Use | 3x Antiseptic 1x Canister | Medical Lab 3 |
| Vulcano | Weapon | 1x Magnetic Accelerator 3x Heavy Gun Parts 1x Exodus Modules | Gunsmith 3 |
| Wolfpack | Grenade | 2x Explosive Compound 2x Sensors | Explosives Station 3 |
| Red Light Stick | Quick Use | 3x Chemicals | Utility Station 1 |
| Smoke Grenade | Grenade | 14x Chemicals 1x Canister | Utility Station 2 |
| Deadline | Mine | 3x Explosive Compound 2x ARC Circuitry | Explosives Station 3 |
| Trailblazer | Grenade | 1x Explosive Compound 1x Synthesized Fuel | Explosives Station 3 |
| Tactical Mk. 3 (Defensive) | Augment | 2x Advanced Electrical Components 3x Processor | Gear Bench 3 |
| Tactical Mk. 3 (Healing) | Augment | 2x Advanced Electrical Components 3x Processor | Gear Bench 3 |
| Yellow Light Stick | Quick Use | 3x Chemicals | Utility Station 1 |
Note: The missing Blueprints in this list likely have not actually been added to the game at the time of writing, because none of the playerbase has managed to find any of them. As they are added to the game, I will update this page with the most relevant information so you know exactly how to get all 75 Arc Raiders Blueprints.
Where to find Blueprints in Arc Raiders
Below is a list of all containers, modifiers, and events which maximise your chances of finding Blueprints:
- Certain quests reward you with specific Blueprints .
- Completing Trials has a high chance of offering Blueprints as rewards.
- Surveyors have a decent chance of dropping Blueprints on death.
- High loot value areas tend to have a greater chance of spawning Blueprints.
- Night Raids and Storms may increase rare Blueprint spawn chances in containers.
- Containers with higher numbers of items may have a higher tendency to spawn Blueprints. As a result, Blue Gate (which has many “large” containers containing multiple items) may give you a higher chance of spawning Blueprints.
- Raider containers (Raider Caches, Weapon Boxes, Medical Bags, Grenade Tubes) have increased Blueprint drop rates. As a result, the Uncovered Caches event gives you a high chance of finding Blueprints.
- Security Lockers have a higher than average chance of containing Blueprints.
- Certain Blueprints only seem to spawn under specific circumstances: Tempest Blueprint only spawns during Night Raid events. Vulcano Blueprint only spawns during Hidden Bunker events. Jupiter and Equaliser Blueprints only spawn during Harvester events.

Raider Caches, Weapon Boxes, and other raider-oriented container types have a good chance of offering Blueprints. |Image credit:Rock Paper Shotgun/Embark Studios
Blueprints have a very low chance of spawning in any container in Arc Raiders, around 1-2% on average. However, there is a higher chance of finding Blueprints in particular container types. Specifically, you can find more Blueprints in Raider containers and security lockers.
Beyond this, if you’re looking for Blueprints you should focus on regions of the map which are marked as having particularly high-value loot. Areas such as the Control Tower in Dam Battlegrounds, the Arrival and Departure Buildings in Spaceport, and Pilgrim’s Peak in Blue Gate all have a better-than-average chance of spawning Blueprints somewhere amongst all their containers. Night Raids and Electromagnetic Storm events also increase the drop chances of certain Blueprints .
In addition to these containers, you can often loot Blueprints from destroyed Surveyors - the largest of the rolling ball ARC. Surveyors are more commonly found on the later maps - Spaceport and Blue Gate - and if one spawns in your match, you’ll likely see it by the blue laser beam that it casts into the sky while “surveying”.
Surveyors are quite well-armoured and will very speedily run away from you once it notices you, but if you can take one down then make sure you loot all its parts for a chance of obtaining certain unusual Blueprints.
Blueprints obtained from quests
One way in which you can get Blueprints is by completing certain quests for the vendors in Speranza. Some quests will reward you with a specific item Blueprint upon completion, so as long as you work through all the quests in Arc Raiders, you are guaranteed those Blueprints.
Here is the full list of all Blueprints you can get from quest rewards:
- Trigger Nade Blueprint: Rewarded after completing “Sparks Fly”.
- Lure Grenade Blueprint: Rewarded after completing “Greasing Her Palms”.
- Burletta Blueprint: Rewarded after completing “Industrial Espionage”.
- Hullcracker Blueprint (and Launcher Ammo Blueprint): Rewarded after completing “The Major’s Footlocker”.
Alas, that’s only 4 Blueprints out of a total of 75 to unlock, so for the vast majority you will need to find them yourself during a raid. If you’re intent on farming Blueprints, then it’s best to equip yourself with cheap gear in case you lose it, but don’t use a free loadout because then you won’t get a safe pocket to stash any new Blueprint you find. No pain in Arc Raiders is sharper than failing to extract with a new Blueprint you’ve been after for a dozen hours already.

One of the best ways to get Blueprints is by hitting three stars on all five Trials every week. |Image credit:Rock Paper Shotgun/Embark Studios
Blueprints obtained from Trials
One of the very best ways to get Blueprints is as rewards for completing Trials in Arc Raiders. Trials are unlocked from Level 15 onwards, and allow you to earn rewards by focusing on certain tasks over the course of several raids. For example, one Trial might task you with dealing damage to Hornets, while another might challenge you to loot Supply Drops.
Trials refresh on a weekly basis, with a new week bringing five new Trials. Each Trial can offer up to three rewards after passing certain score milestones, and it’s possible to receive very high level loot from these reward crates - including Blueprints. So if you want to unlock as many Blueprints as possible, you should make a point of completing as many Trials as possible each week.
Best Blueprint farming locations
The very best way to get Blueprints is to frequent specific areas of the maps which combine high-tier loot pools with the right types of containers to search. Here are my recommendations for where to find Blueprints on every map, so you can always keep the search going for new crafting recipes to unlock.

Image credit:Rock Paper Shotgun/Embark Studios
Dam Battlegrounds
The best places to farm Blueprints on Dam Battlegrounds are the Control Tower, Power Generation Complex, Ruby Residence, and Pale Apartments . The first two regions, despite only being marked on the map as mid-tier loot, contain a phenomenal number of containers to loot. The Control Tower can also contain a couple of high-tier Security Lockers - though of course, you’ll need to have unlocked the Security Breach skill at the end of the Survival tree.
There’s also a lot of reporting amongst the playerbase that the Residential areas in the top-left of the map - Pale Apartments and Ruby Residence - give you a comparatively strong chance of finding Blueprints. Considering their size, there’s a high density of containers to loot in both locations, and they also have the benefit of being fairly out of the way. So you’re more likely to have all the containers to yourself.
Buried City
The best Blueprint farming locations on Buried City are the Santa Maria Houses, Grandioso Apartments, Town Hall, and the various buildings of the New District . Grandioso Apartments has a lower number of containers than the rest, but a high chance of spawning weapon cases - which have good Blueprint drop rates. The others are high-tier loot areas, with plenty of lootable containers - including Security Lockers.
Spaceport
The best places to find Blueprints on Spaceport are the Arrival and Departure Buildings, as well as Control Tower A6 and the Launch Towers . All these areas are labelled as high-value loot regions, and many of them are also very handily connected to one another by the Spaceport wall, which you can use to quickly run from one area to the next. At the tops of most of these buildings you’ll find at least one Security Locker, so this is an excellent farming route for players looking to find Blueprints.
The downside to looting Blueprints on Spaceport is that all these areas are hotly contested, particularly in Duos and Squads. You’ll need to be very focused and fast in order to complete the full farming route.

Image credit:Rock Paper Shotgun/Embark Studios
Blue Gate
Blue Gate tends to have a good chance of dropping Blueprints, potentially because it generally has a high number of containers which can hold lots of items; so there’s a higher chance of a Blueprint spawning in each container. In my experience, the best Blueprint farming spots on Blue Gate are Pilgrim’s Peak, Raider’s Refuge, the Ancient Fort, and the Underground Complex beneath the Warehouse .
All of these areas contain a wealth of containers to loot. Raider’s Refuge has less to loot, but the majority of the containers in and around the Refuge are raider containers, which have a high chance of containing Blueprints - particularly during major events.
Stella Montis
On the whole, Stella Montis seems to have a very low drop rate for Blueprints (though a high chance of dropping other high-tier loot). If you do want to try farming Blueprints on this map, the best places to find Blueprints in Stella Montis are Medical Research, Assembly Workshop, and the Business Center . These areas have the highest density of containers to loot on the map.
In addition to this, the Western Tunnel has a few different Security Lockers to loot, so while there’s very little to loot elsewhere in this area of the map, it’s worth hitting those Security Lockers if you spawn there at the start of a match.
That wraps up this primer on how to get all the Blueprints in Arc Raiders as quickly as possible. With the Expedition system constantly resetting a large number of players’ Blueprints, it’s more important than ever to have the most up-to-date information on where to find all these Blueprints.
While you’re here, be sure to check out our Arc Raiders best guns tier list , as well as our primers on the best skills to unlock and all the different Field Depot locations on every map.


ARC Raiders
PS5 , Xbox Series X/S , PC
Rock Paper Shotgun is better when you sign in
Sign in and join us on our journey to discover strange and compelling PC games.
