Millenia review: leaving your mark on history shouldn’t be this hard
Needed more time on the drawing board
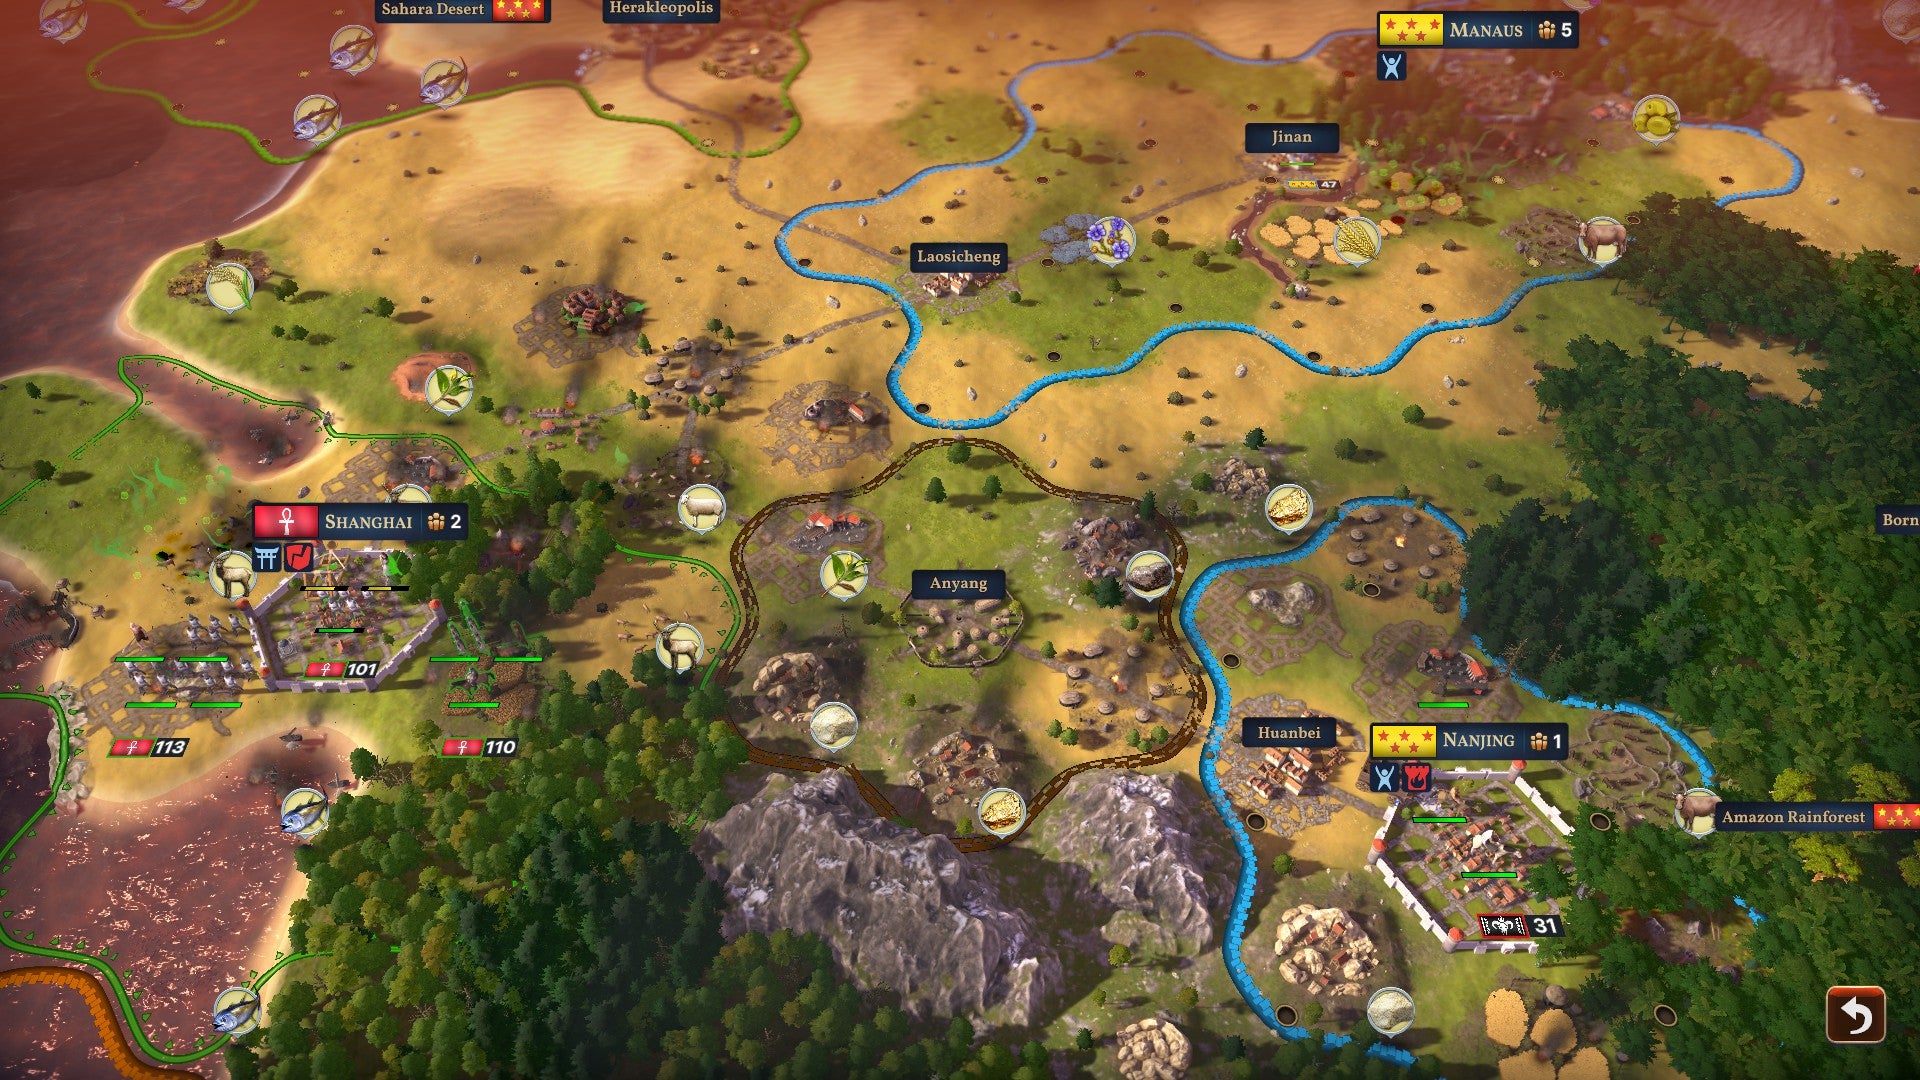
Image credit:Rock Paper Shotgun/Paradox Interactive

- Developer: C Prompt Games
- Publisher: Paradox Interactive
- Release: 26th March 2024
- On: Windows
- From: Steam
- Price: £35/€40/$40
- Reviewed on: AMD Ryzen 9 3900X, 32GB RAM, Nvidia RTX 4070 Ti, Windows 11
It’s been nearly eight years since the launch of Civilization VI , which is the longest gap between mainline Civ entries the series has seen since the first game appeared way back in 1991. It’s the perfect time for a new contender to rise and claim the historical 4X throne, and indeed, many have tried, and some have even come close. Soren Johnson and the gang at Mohawk Games struck gold in Old World by zeroing in on the ancient era and opening up the personal lives of rulers and generals as fields of play. Humankind let you fuse and blend cultures over the arc of time like a world-historic Doctor Moreau.
Millennia is perhaps the Civ-like that’s clung most tightly to the genre’s apron strings. It has a few new ideas that sound interesting on paper, but even as back-of-the-box features, they’re clearly not meant to significantly disrupt the established order. This is a strategy game that very much wants to be like Civilization, and has a lot of enthusiasm for the subject matter. Unfortunately, it isn’t a particularly good student.
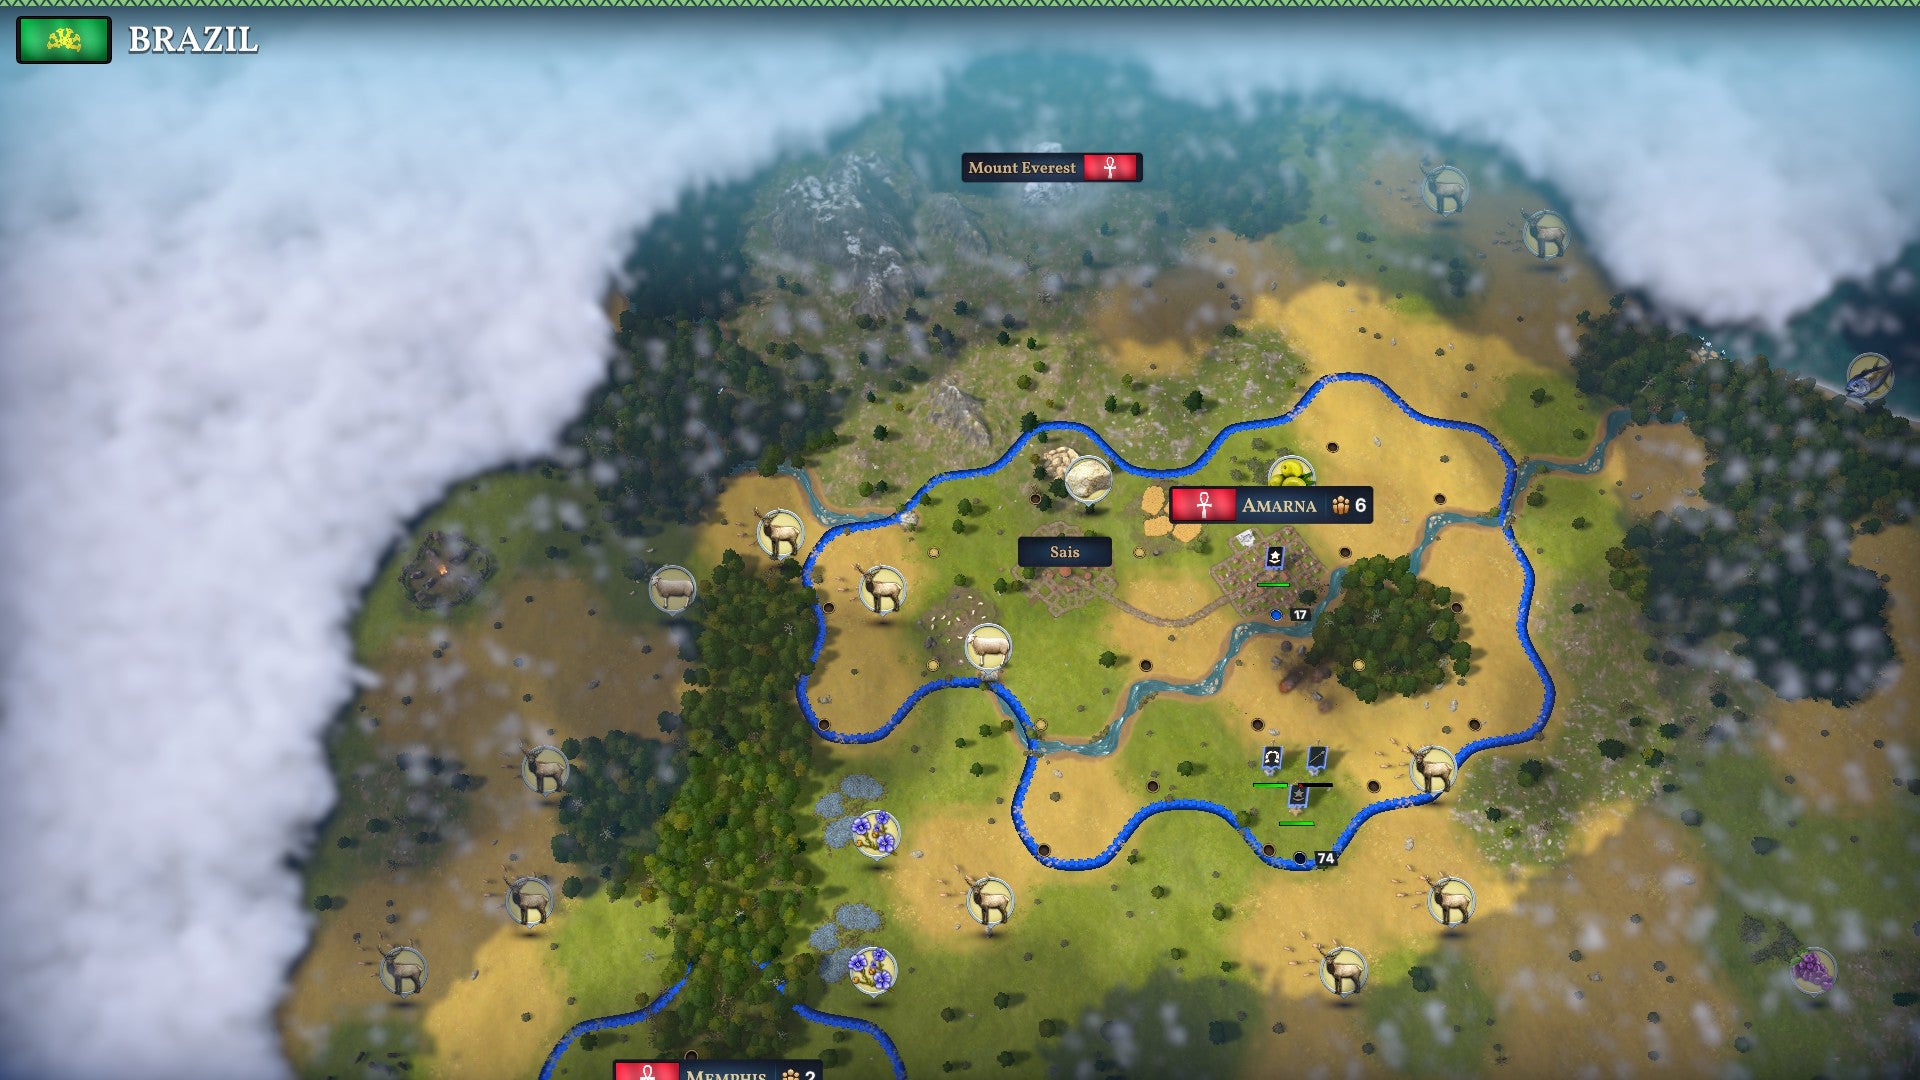
Image credit:Rock Paper Shotgun/Paradox Interactive
One of the first I had of this was when I realised, a few turns into my first game, that the nation I had chosen to lead was simply a label. In Millenium, Egyptians, Romans, and Americans all start out as blank slates - there aren’t any inherent national traits here, nothing Egyptian about playing as Egypt or Brazilian about playing Brazil, other than the randomised names the game selects for your settlements.
That’s… probably fine, I thought. It makes a certain amount of sense to give players the freedom to kitbash a culture from the ground up, even if it comes at the cost of some of the historical flavour and asymmetry that give Civilization its broad appeal. I like the idea in principle, too. Humankind’s big idea was that culture isn’t static, that it shifts and sometimes makes great leaps over time, incorporating past traditions into new ways of being as the eras roll by. Millennia’s approach to this is grounded in the idea that culture is at least partly a reaction to a people’s material circumstances.
The way this works in Millennia is that during key era transitions, you can select a “national spirit” for people to adopt. Early on, in the Age of Stone, options include “mound builders” and “wild hunters,” while later on, I can adopt spirits like “Khans” and “Olympians.” Each of these choices offers unique units, abilities, and buffs to further flesh out your national character and playstyle.
In practice, I never found these to feel very meaningful. Part of the problem is that like most things in Millennia, cultural development is boiled down to the distribution of various currencies earned with each passing turn. When I decided that my people would found an imperial dynasty, it manifested itself in a pop-up menu where I could dump “Government” points into various upgrades until I’d made my way up to a reform, at which point I would be able to use my “culture power” (when it was fully charged) to launch a peaceful revolution and select a new form of government.
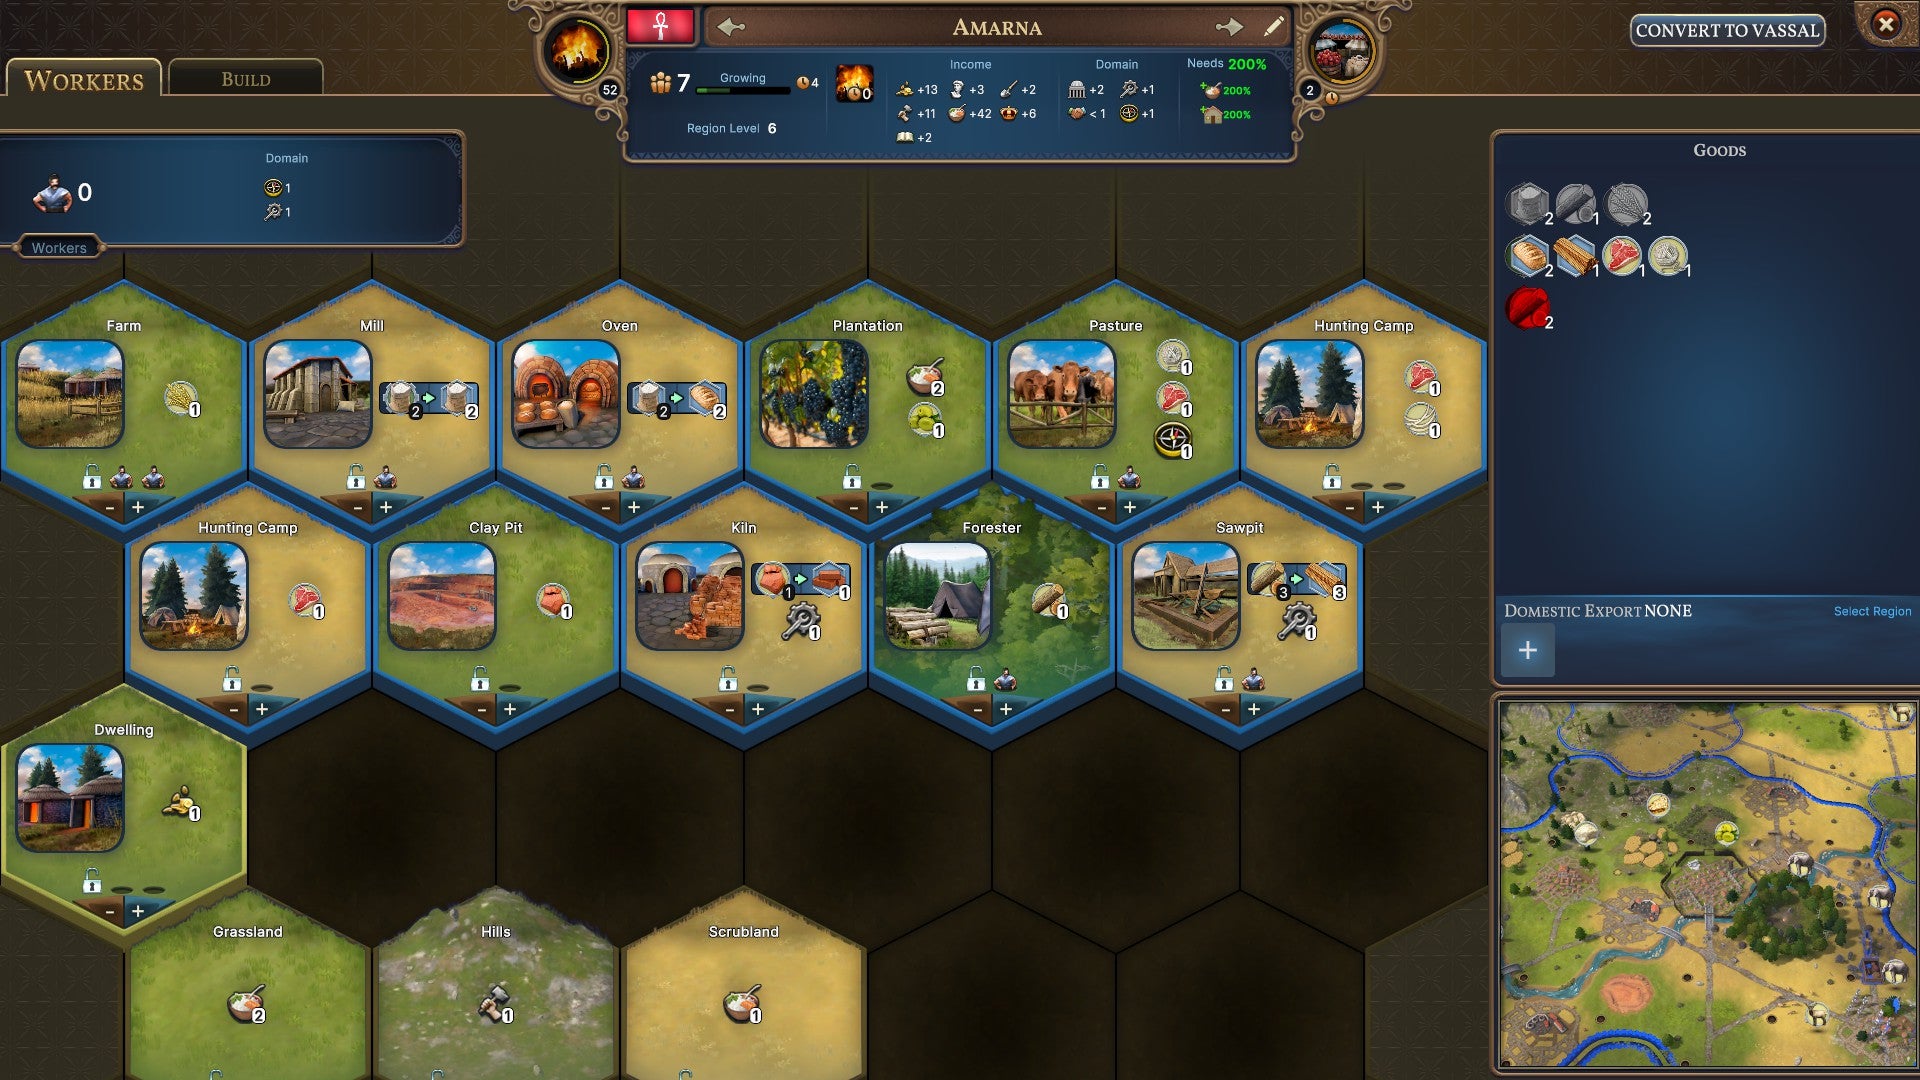
Image credit:Rock Paper Shotgun/Paradox Interactive
Alternatively, I could use some of those “Government” points to spark off a violent revolution, which is for some reason an ability that falls under the Government domain. Honestly, I had a terrible time trying to remember where each of these abilities lived. I could use Warfare points on military stuff, like healing units or ordering them on a forced march. But then I could also use Government points to raise a tribal army. Exploration points are used to spawn scouts, which makes sense, but they’re also used by plague doctors to cleanse tiles with outbreaks on them.
Arguably the most important currency in Millenia is Improvement Points, which are used to build tile improvements in your territory. These are tucked away in the bottom left corner of the screen, separate from the panel where all your other points live, which is another odd organisation issue. Apart from that, though, is the role these play in the game. After a couple failed campaigns, I realised that Millennia really wanted me to use these points whenever I could, and that failing to exploit every tile around every one of my cities was a good way to doom a save early on.
Initially, this was pretty straightforward: I matched the few production structures I had, like hunting camps and foresters, to tiles that had wild game or forests on them, and then filled the rest up with farms and dwellings to promote growth. As the ages passed, I discovered new types of raw resources and secondary products I could make with them, and setting up each region with the chains necessary to produce these high-value goods was a delicate process and frequently a source of frustration.
There’s no quick way to check what’s already available in a capital region, either. If I thought I might need a midden (to boost sanitation) in a territory, I could look at its tiles on the campaign map, but many of the improvements aren’t visually distinct enough to be able to really tell what’s there at a glance. Instead, I’d have to open each capital and check the workers tab, where at least each tile was labelled with whatever improvements I had made on them.
Still, there’s very little visualisation to help manage the economy, and again, there’s a very first-draft disorganisation to what’s there. There’s no one-stop shop to see, for example, that the press improvement is only used for olives and flax, and that to process grapes into more valuable wine, I’d need the vats improvement instead. Finding the information I needed was, seemingly always, a tiring hunt.
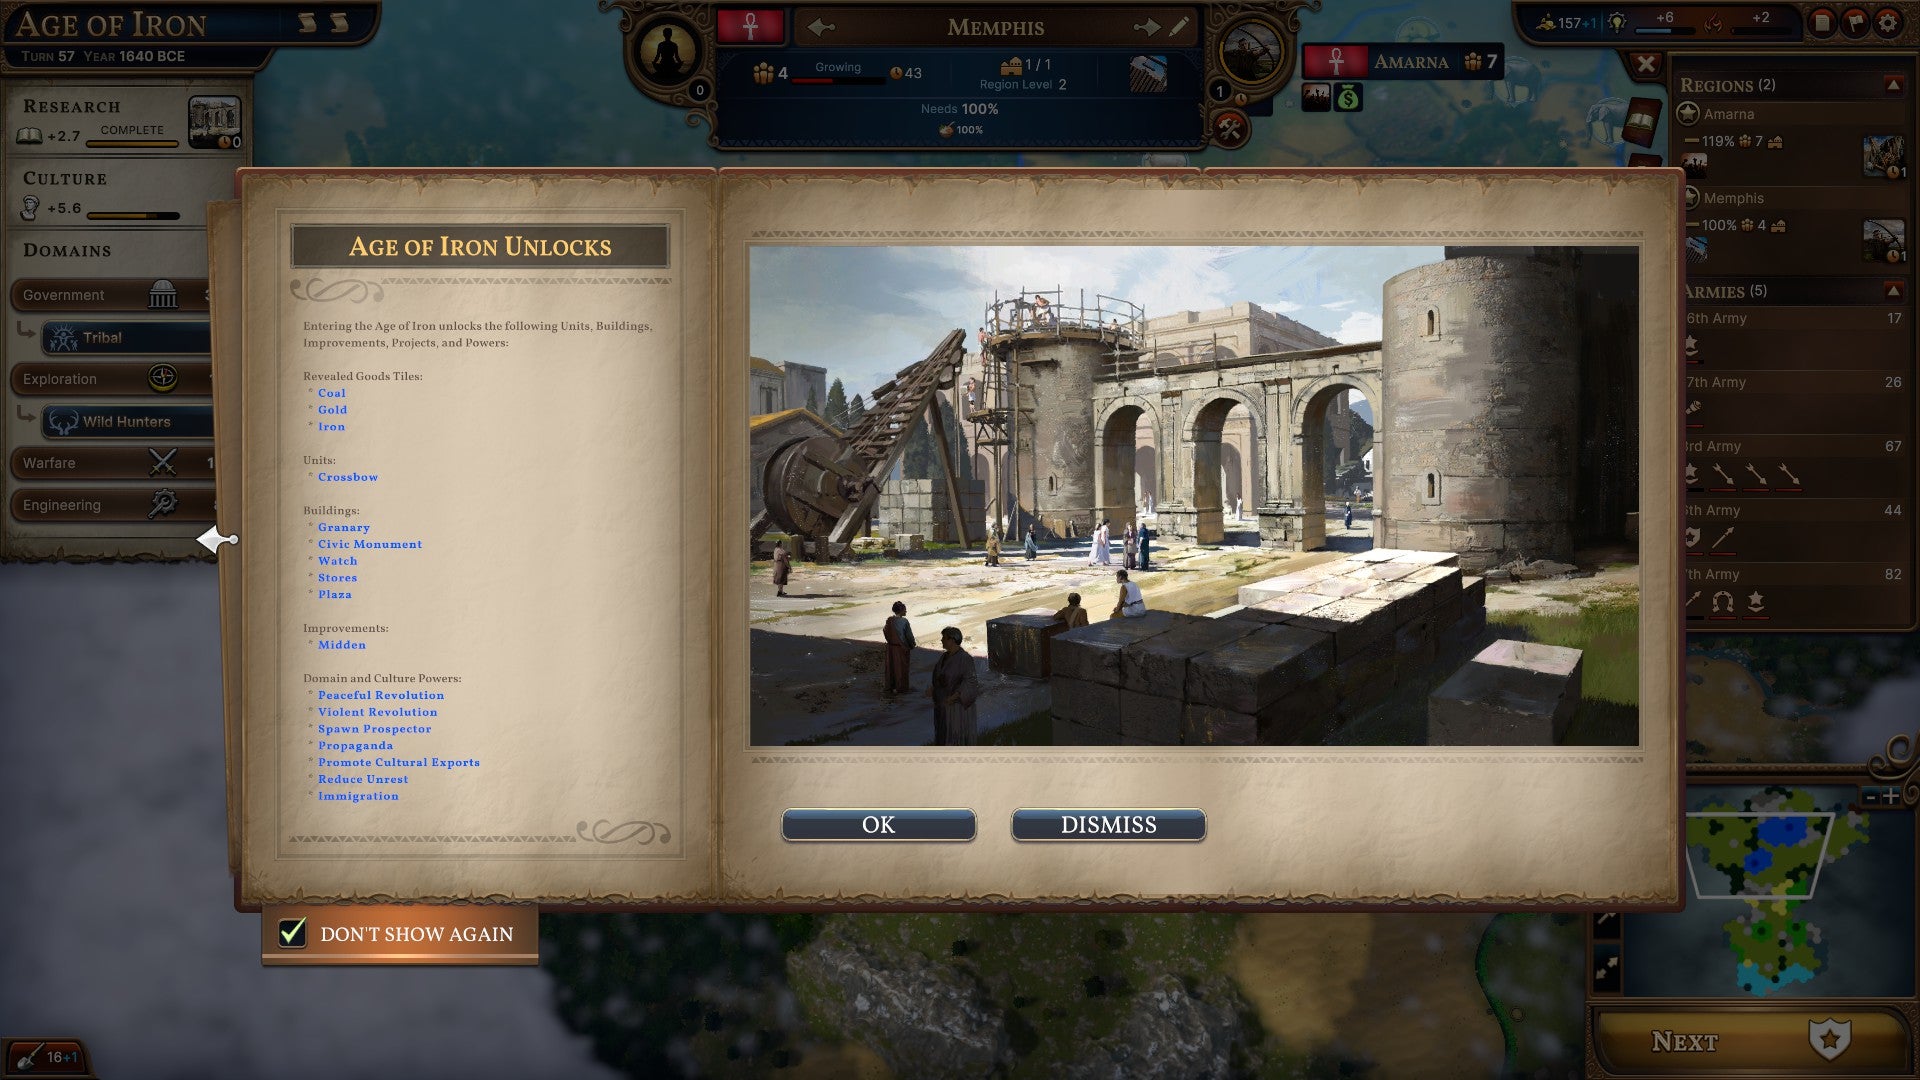
Image credit:Rock Paper Shotgun/Paradox Interactive
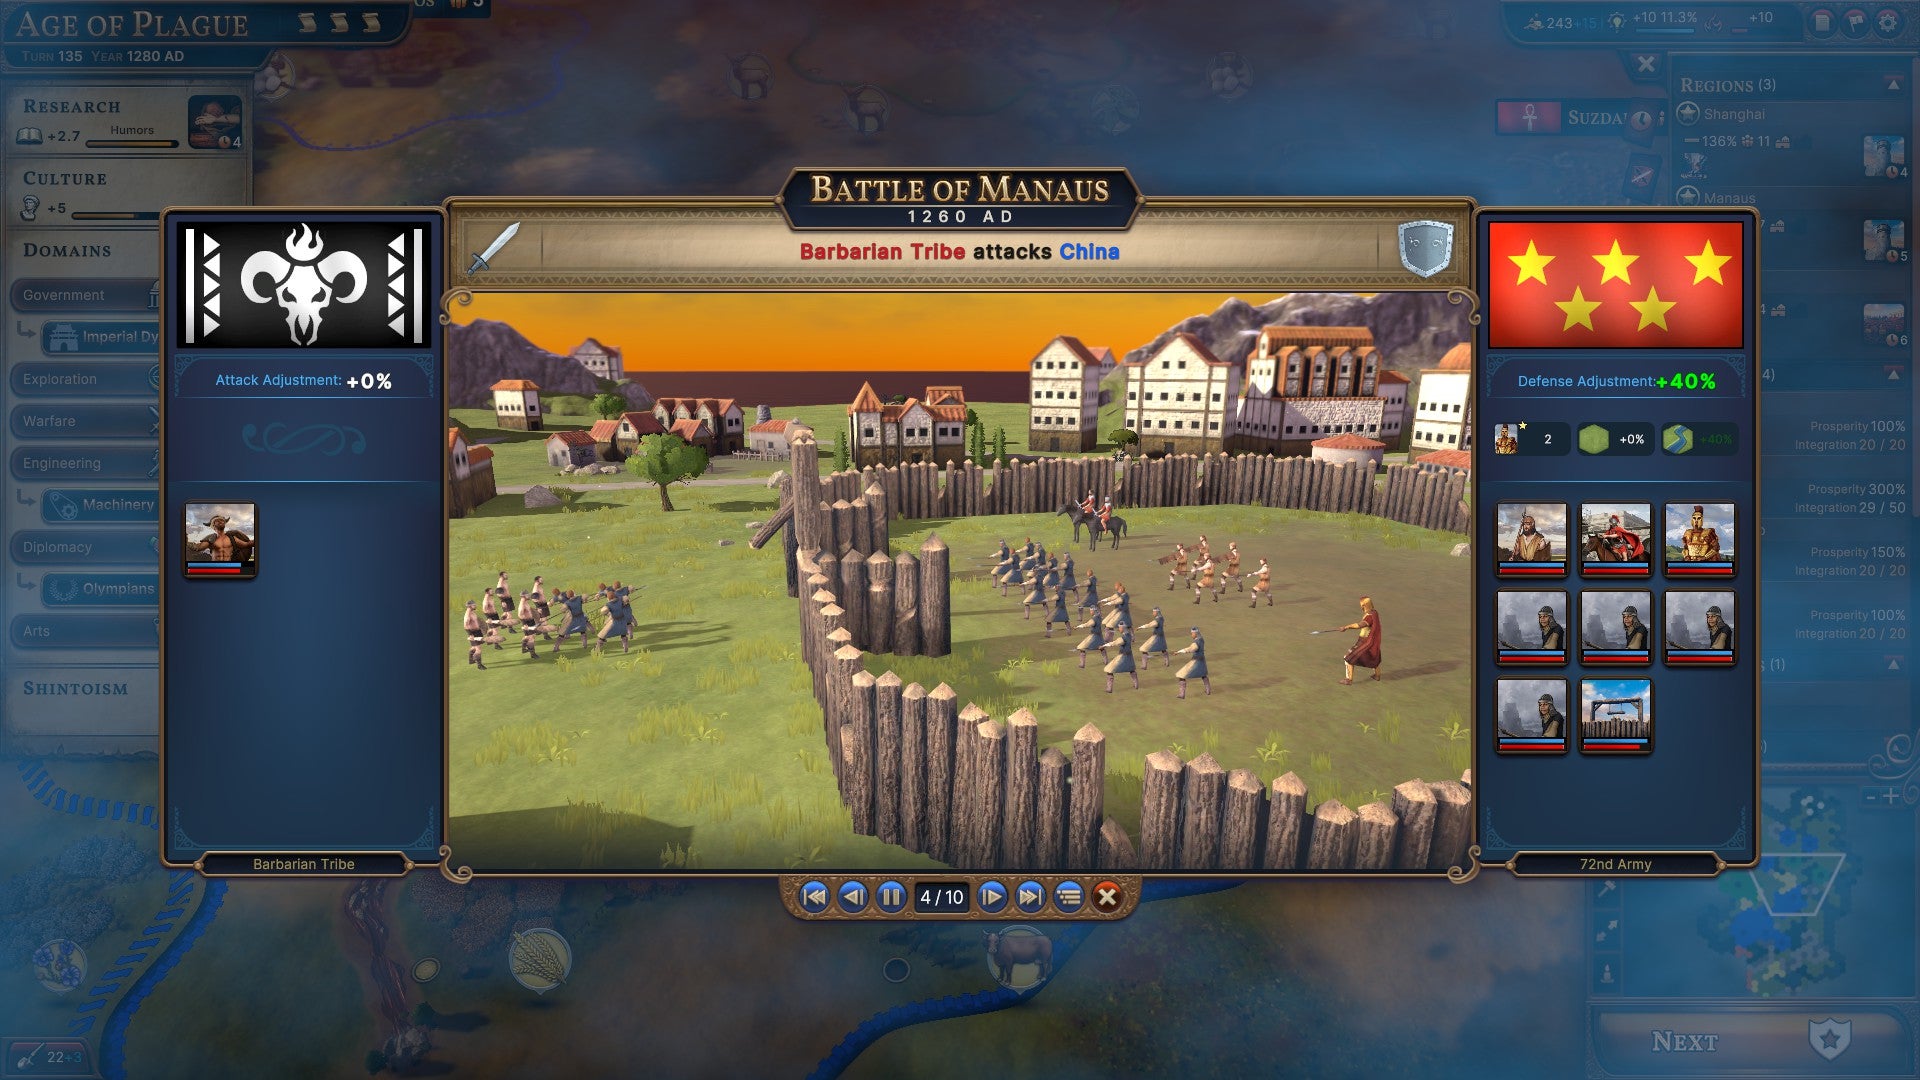
Image credit:Rock Paper Shotgun/Paradox Interactive
I thought that maybe Millenia would make up for these organisational misteps with its big distinguisher from Civilization: the way it handles the progression of historical epochs, or Ages. In Millennia, these are tied to the technology research system, and you have to unlock a certain number of techs from a specific age before you can begin research on the next one. What makes this interesting is that you can advance into alternate ages by fulfilling certain preconditions: early on, discovering three important landmarks opens up the chance to move into the variant Age of Heroes rather than the historical Age of Iron.
The variant ages open up some of the coolest stuff in the game - the Age of Aether, for example, is a Steampunk alternate history with lots of dirigibles and top hats, as well as new resources to gather and unique units to produce. However, they also include some of the most frustrating aspects of the game, especially with Crisis Ages that crank the difficulty and pressure up to punishing levels.
Here’s the problem: You only get to set the next age you head into if you’re the first nation to complete research on it. As I found out first hand, it doesn’t matter how many aqueducts you build to boost sanitation if someone a few turns ahead of you on the technology curve is headed into the Age of Plague.
The incentive, then, is to barrel through the ages as quickly as possible, researching only the bare minimum of the fastest techs available, just to stave off the possibility of one of your neighbours neglecting to wash their hands as a matter of national policy. This results in absurdities like reaching the Middle Ages without having found out what horses are for, or firing crossbows at barbarian tribes in 1400 BCE. I could always go back and pick these ancient technologies at a discount once I’d moved on to the next age, but those were precious turns I could spend on something cutting edge that would keep me in the driver’s seat when the next age rolled around.
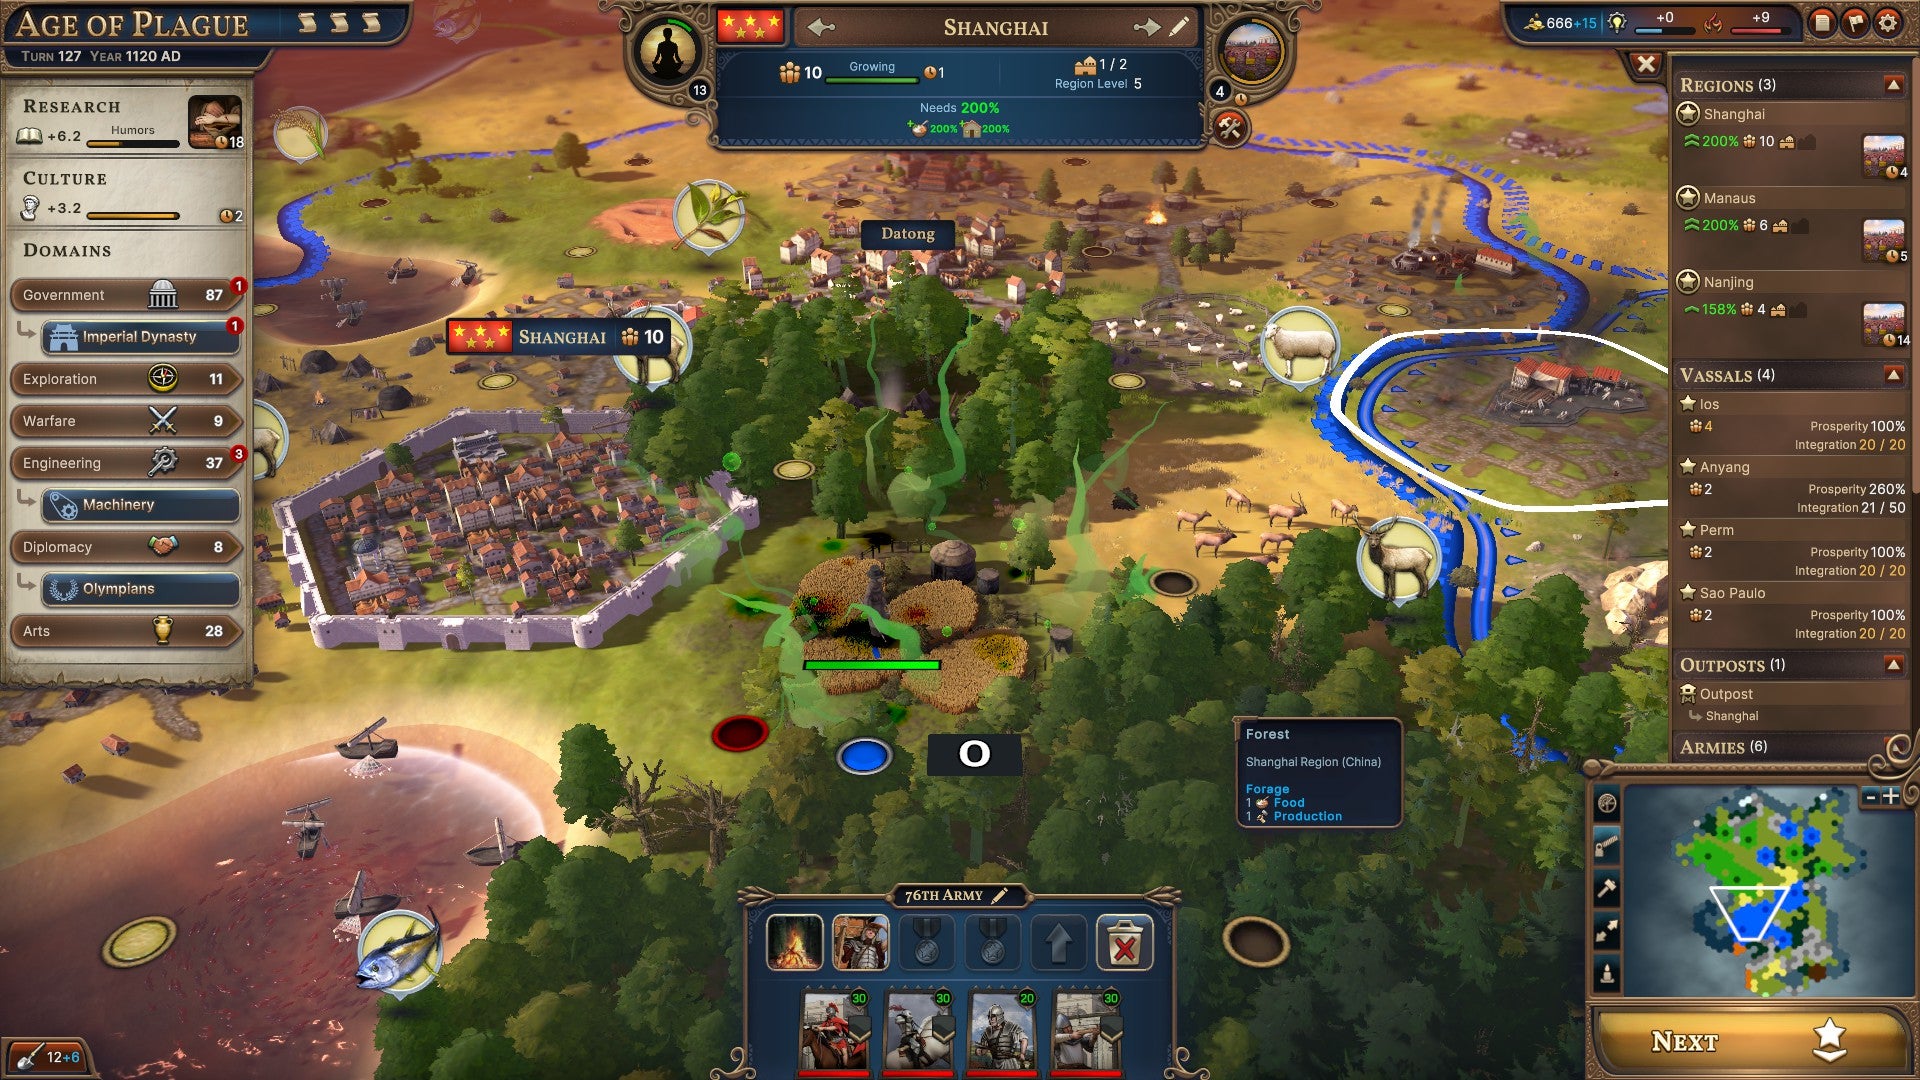
Image credit:Rock Paper Shotgun/Paradox Interactive
Much more often, though, I found myself riding along with whatever the speediest AI player wound up doing, because I’d inevitably need something like “construction” in order to keep my population housed and healthy. For all that, though, when India took my most recent campaign into the Age of Plague, I was wholly unequipped to deal with it. The era began by killing 33 percent of my population off the bat, and just got worse from there. I could send my new plague doctor unit around to cleanse outbreak tiles, but when I ran out of Exploration points, I just had to watch as the plague ran its course, killing off one unit of my population for every untreated tile. I could theoretically have deployed a second plague doctor, but researching “Humours” was going to take me 28 turns, and they’d be drawing from the same empty pool of Exploration points anyway.
This resulted in a failure cascade more violent and dramatic than anything I’ve seen in Civilization. The loss of workers to key tile improvements led to uprisings, and a surge in rebellions constantly ate away at my defences and increased my nation’s “chaos” level. Successive provinces declared independence, and with my treasury drained, Millennia decided I was out of options.
So for all Millennia’s talk about putting me in total control to build a nation from scratch and plot my own course through history, I rarely felt that my decisions were the ones that mattered. Spending thirty turns researching a neat new age variant, only to advance into the boring historical one because someone beat me there by a couple turns wasn’t fun, and neither was having a crisis age kick off despite doing everything possible to forestall it. Any excitement I might have felt about starting a new campaign to explore fun alt-history ages with steampunk zeppelins and alien invasions was vastly outweighed by the knowledge that I would have to play in a highly specific way to make that happen, and the odds being against it even if I did.
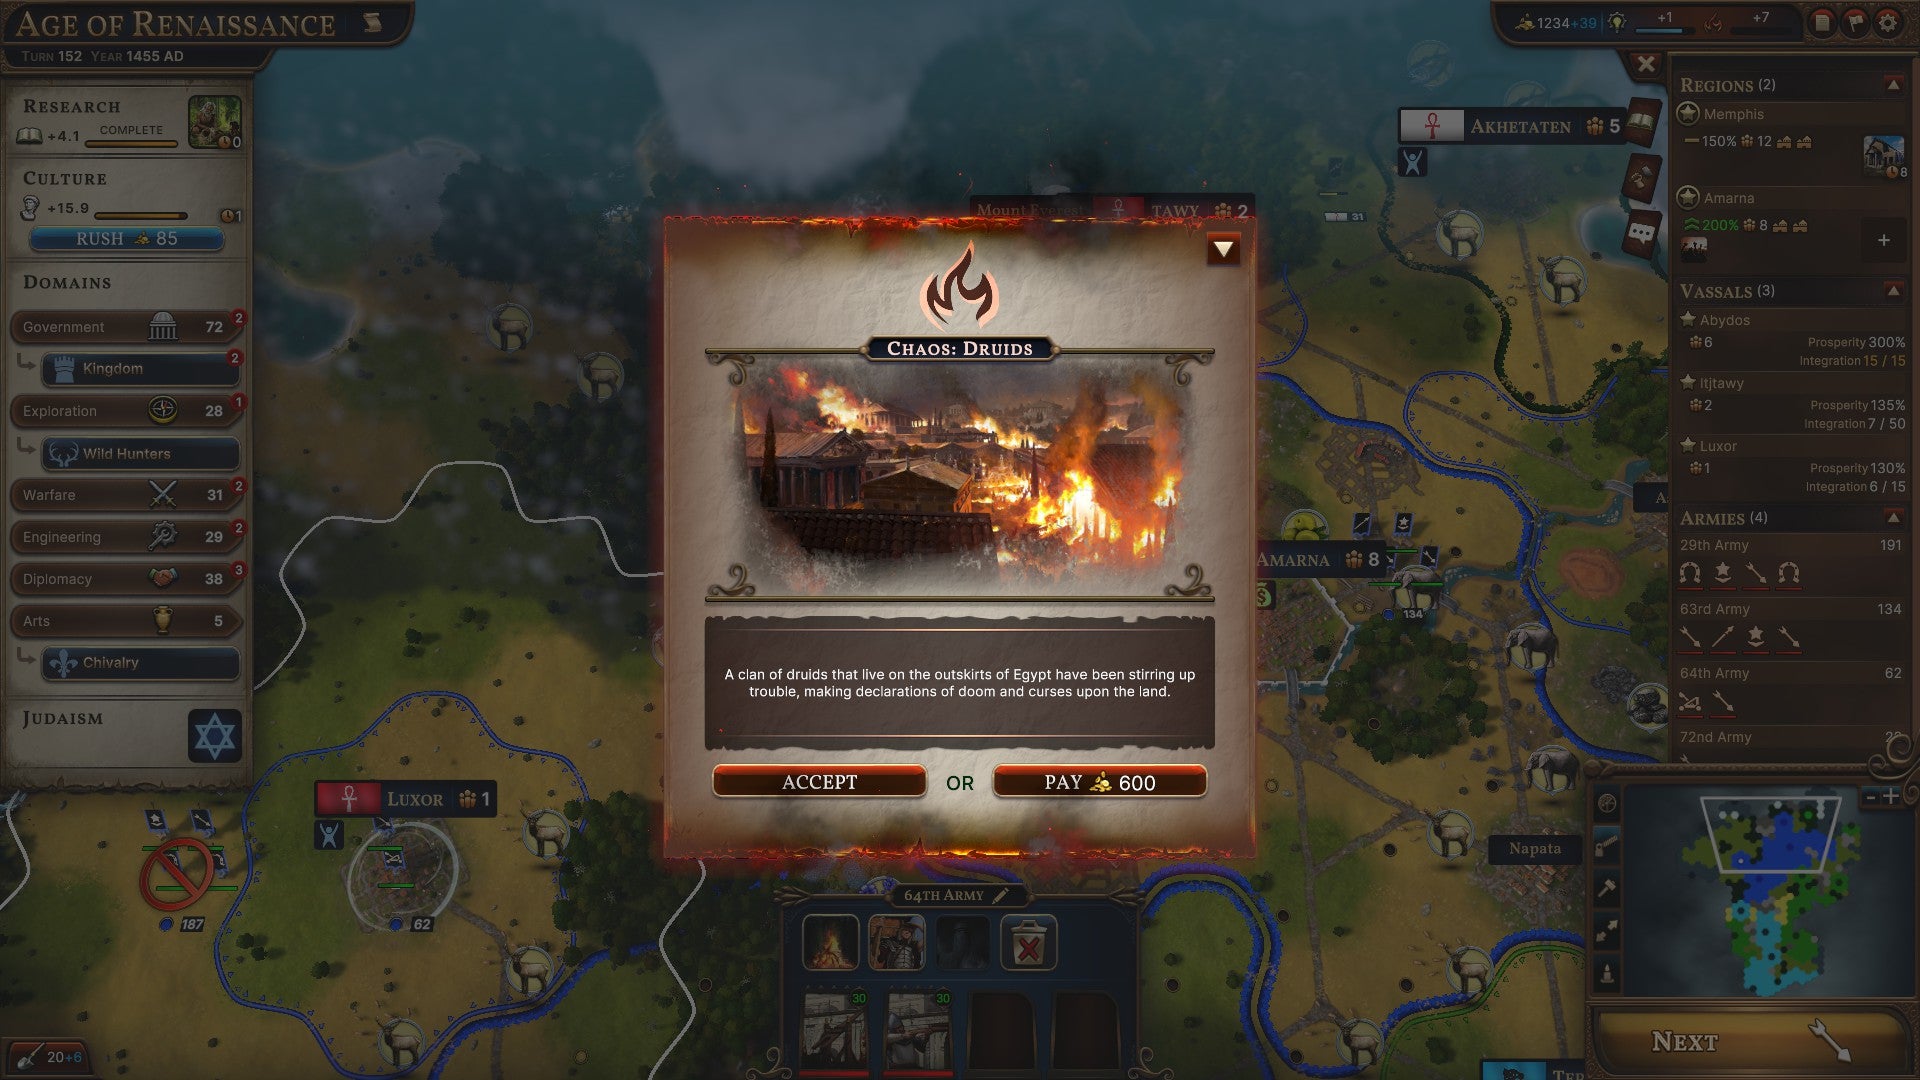
Image credit:Rock Paper Shotgun/Paradox Interactive
Millennia has other problems, too. Map visuals are all serviceable, but the battle animations are embarrassingly dated. Millennia let me create combined armies of three, four, or five individual units, but the turn-based battles played out automatically and I couldn’t discern any rational pattern as I watched them. Each of my units would attack a seemingly random enemy unit according to a turn order that I didn’t get to see.
Something else I didn’t get to see was any non-white characters. As mentioned above, names like Egypt, Japan, and Zulu are really just empty faction labels in Millennia that could just as easily have been red, blue, and yellow flags, but it still seems strange to be playing a game in the year 2024 that defaults to “everyone is a white guy.”
Millennia whiffs on some other fundamentals, too. Diplomacy and trade both feel half-formed, with very few points of interaction in either system. I could send merchants to other cities to generate wealth, or envoys could go to open up a few rudimentary interactions with other leaders. Frankly, any modern Total War game handles these with considerably more depth and nuance, which is disappointing.
The biggest miss, for me, is the Ages system, which feels like a solid concept that desperately needed more time in the pre-production concepting stage to make work the way it was intended. Pivoting to fantastical alternative eras of history could have made for a wildly exciting story with each campaign. Instead, it far more often ends up feeling like a compulsory family road trip to somewhere you don’t want to be, while you pass the hours half-listening to another podcast about the Roman empire.
This review was based on a review build of the game provided by publisher Paradox Interactive.
Find out how we conduct our reviews by reading our review policy .
Millennia
Video Game
Rock Paper Shotgun is better when you sign in
Sign in and join us on our journey to discover strange and compelling PC games.

All 75 Arc Raiders Blueprints and where to get them
These areas have the highest chance of giving you Blueprints

Image credit:Rock Paper Shotgun/Embark Studios

Looking for more Arc Raiders Blueprints? It’s a special day when you find a Blueprint, as they’re among the most valuable items in Arc Raiders. If you find a Blueprint that you haven’t already found, then you must make sure you hold onto it at all costs, because Blueprints are the key to one of the most important and powerful systems of meta-progression in the game.
This guide aims to be the very best guide on Blueprints you can find, starting with a primer on what exactly they are and how they work in Arc Raiders, before delving into exactly where to get Blueprints and the very best farming spots for you to take in your search.
We’ll also go over how to get Blueprints from other unlikely activities, such as destroying Surveyors and completing specific quests. And you’ll also find the full list of all 75 Blueprints in Arc Raiders on this page (including the newest Blueprints added with the Cold Snap update , such as the Deadline Blueprint and Firework Box Blueprint), giving you all the information you need to expand your own crafting repertoire.
In this guide:
- What are Blueprints in Arc Raiders?
- Full Blueprint list: All crafting recipes
- Where to find Blueprints in Arc Raiders Blueprints obtained from quests Blueprints obtained from Trials Best Blueprint farming locations

What are Blueprints in Arc Raiders?
Blueprints in Arc Raiders are special items which, if you manage to extract with them, you can expend to permanently unlock a new crafting recipe in your Workshop. If you manage to extract from a raid with an Anvil Blueprint, for example, you can unlock the ability to craft your very own Anvil Pistol, as many times as you like (as long as you have the crafting materials).
To use a Blueprint, simply open your Inventory while in the lobby, then right-click on the Blueprint and click “Learn And Consume” . This will permanently unlock the recipe for that item in your Workshop. As of the Stella Montis update, there are allegedly 75 different Blueprints to unlock - although only 68 are confirmed to be in the game so far. You can see all the Blueprints you’ve found and unlocked by going to the Workshop menu, and hitting “R” to bring up the Blueprint screen.
It’s possible to find duplicates of past Blueprints you’ve already unlocked. If you find these, then you can either sell them, or - if you like to play with friends - you can take it into a match and gift it to your friend so they can unlock that recipe for themselves. Another option is to keep hold of them until the time comes to donate them to the Expedition.
Full Blueprint list: All crafting recipes
Below is the full list of all the Blueprints that are currently available to find in Arc Raiders, and the crafting recipe required for each item:
| Blueprint | Type | Recipe | Crafted At |
|---|---|---|---|
| Bettina | Weapon | 3x Advanced Mechanical Components 3x Heavy Gun Parts 3x Canister | Gunsmith 3 |
| Blue Light Stick | Quick Use | 3x Chemicals | Utility Station 1 |
| Aphelion | Weapon | 3x Magnetic Accelerator 3x Complex Gun Parts 1x Matriarch Reactor | Gunsmith 3 |
| Combat Mk. 3 (Flanking) | Augment | 2x Advanced Electrical Components 3x Processor | Gear Bench 3 |
| Combat Mk. 3 (Aggressive) | Augment | 2x Advanced Electrical Components 3x Processor | Gear Bench 3 |
| Complex Gun Parts | Material | 2x Light Gun Parts 2x Medium Gun Parts 2x Heavy Gun Parts | Refiner 3 |
| Fireworks Box | Quick Use | 1x Explosive Compound 3x Pop Trigger | Explosives Station 2 |
| Gas Mine | Mine | 4x Chemicals 2x Rubber Parts | Explosives Station 1 |
| Green Light Stick | Quick Use | 3x Chemicals | Utility Station 1 |
| Pulse Mine | Mine | 1x Crude Explosives 1x Wires | Explosives Station 1 |
| Seeker Grenade | Grenade | 1x Crude Explosives 2x ARC Alloy | Explosives Station 1 |
| Looting Mk. 3 (Survivor) | Augment | 2x Advanced Electrical Components 3x Processor | Gear Bench 3 |
| Angled Grip II | Mod | 2x Mechanical Components 3x Duct Tape | Gunsmith 2 |
| Angled Grip III | Mod | 2x Mod Components 5x Duct Tape | Gunsmith 3 |
| Hullcracker | Weapon | 1x Magnetic Accelerator 3x Heavy Gun Parts 1x Exodus Modules | Gunsmith 3 |
| Launcher Ammo | Ammo | 5x Metal Parts 1x Crude Explosives | Workbench 1 |
| Anvil | Weapon | 5x Mechanical Components 5x Simple Gun Parts | Gunsmith 2 |
| Anvil Splitter | Mod | 2x Mod Components 3x Processor | Gunsmith 3 |
| ??? | ??? | ??? | ??? |
| Barricade Kit | Quick Use | 1x Mechanical Components | Utility Station 2 |
| Blaze Grenade | Grenade | 1x Explosive Compound 2x Oil | Explosives Station 3 |
| Bobcat | Weapon | 3x Advanced Mechanical Components 3x Light Gun Parts | Gunsmith 3 |
| Osprey | Weapon | 2x Advanced Mechanical Components 3x Medium Gun Parts 7x Wires | Gunsmith 3 |
| Burletta | Weapon | 3x Mechanical Components 3x Simple Gun Parts | Gunsmith 1 |
| Compensator II | Mod | 2x Mechanical Components 4x Wires | Gunsmith 2 |
| Compensator III | Mod | 2x Mod Components 8x Wires | Gunsmith 3 |
| Defibrillator | Quick Use | 9x Plastic Parts 1x Moss | Medical Lab 2 |
| ??? | ??? | ??? | ??? |
| Equalizer | Weapon | 3x Magnetic Accelerator 3x Complex Gun Parts 1x Queen Reactor | Gunsmith 3 |
| Extended Barrel | Mod | 2x Mod Components 8x Wires | Gunsmith 3 |
| Extended Light Mag II | Mod | 2x Mechanical Components 3x Steel Spring | Gunsmith 2 |
| Extended Light Mag III | Mod | 2x Mod Components 5x Steel Spring | Gunsmith 3 |
| Extended Medium Mag II | Mod | 2x Mechanical Components 3x Steel Spring | Gunsmith 2 |
| Extended Medium Mag III | Mod | 2x Mod Components 5x Steel Spring | Gunsmith 3 |
| Extended Shotgun Mag II | Mod | 2x Mechanical Components 3x Steel Spring | Gunsmith 2 |
| Extended Shotgun Mag III | Mod | 2x Mod Components 5x Steel Spring | Gunsmith 3 |
| Remote Raider Flare | Quick Use | 2x Chemicals 4x Rubber Parts | Utility Station 1 |
| Heavy Gun Parts | Material | 4x Simple Gun Parts | Refiner 2 |
| Venator | Weapon | 2x Advanced Mechanical Components 3x Medium Gun Parts 5x Magnet | Gunsmith 3 |
| Il Toro | Weapon | 5x Mechanical Components 6x Simple Gun Parts | Gunsmith 1 |
| Jolt Mine | Mine | 1x Electrical Components 1x Battery | Explosives Station 2 |
| Explosive Mine | Mine | 1x Explosive Compound 1x Sensors | Explosives Station 3 |
| Jupiter | Weapon | 3x Magnetic Accelerator 3x Complex Gun Parts 1x Queen Reactor | Gunsmith 3 |
| Light Gun Parts | Material | 4x Simple Gun Parts | Refiner 2 |
| Lightweight Stock | Mod | 2x Mod Components 5x Duct Tape | Gunsmith 3 |
| Lure Grenade | Grenade | 1x Speaker Component 1x Electrical Components | Utility Station 2 |
| Medium Gun Parts | Material | 4x Simple Gun Parts | Refiner 2 |
| Torrente | Weapon | 2x Advanced Mechanical Components 3x Medium Gun Parts 6x Steel Spring | Gunsmith 3 |
| Muzzle Brake II | Mod | 2x Mechanical Components 4x Wires | Gunsmith 2 |
| Muzzle Brake III | Mod | 2x Mod Components 8x Wires | Gunsmith 3 |
| Padded Stock | Mod | 2x Mod Components 5x Duct Tape | Gunsmith 3 |
| Shotgun Choke II | Mod | 2x Mechanical Components 4x Wires | Gunsmith 2 |
| Shotgun Choke III | Mod | 2x Mod Components 8x Wires | Gunsmith 3 |
| Shotgun Silencer | Mod | 2x Mod Components 8x Wires | Gunsmith 3 |
| Showstopper | Grenade | 1x Advanced Electrical Components 1x Voltage Converter | Explosives Station 3 |
| Silencer I | Mod | 2x Mechanical Components 4x Wires | Gunsmith 2 |
| Silencer II | Mod | 2x Mod Components 8x Wires | Gunsmith 3 |
| Snap Hook | Quick Use | 2x Power Rod 3x Rope 1x Exodus Modules | Utility Station 3 |
| Stable Stock II | Mod | 2x Mechanical Components 3x Duct Tape | Gunsmith 2 |
| Stable Stock III | Mod | 2x Mod Components 5x Duct Tape | Gunsmith 3 |
| Tagging Grenade | Grenade | 1x Electrical Components 1x Sensors | Utility Station 3 |
| Tempest | Weapon | 3x Advanced Mechanical Components 3x Medium Gun Parts 3x Canister | Gunsmith 3 |
| Trigger Nade | Grenade | 2x Crude Explosives 1x Processor | Explosives Station 2 |
| Vertical Grip II | Mod | 2x Mechanical Components 3x Duct Tape | Gunsmith 2 |
| Vertical Grip III | Mod | 2x Mod Components 5x Duct Tape | Gunsmith 3 |
| Vita Shot | Quick Use | 2x Antiseptic 1x Syringe | Medical Lab 3 |
| Vita Spray | Quick Use | 3x Antiseptic 1x Canister | Medical Lab 3 |
| Vulcano | Weapon | 1x Magnetic Accelerator 3x Heavy Gun Parts 1x Exodus Modules | Gunsmith 3 |
| Wolfpack | Grenade | 2x Explosive Compound 2x Sensors | Explosives Station 3 |
| Red Light Stick | Quick Use | 3x Chemicals | Utility Station 1 |
| Smoke Grenade | Grenade | 14x Chemicals 1x Canister | Utility Station 2 |
| Deadline | Mine | 3x Explosive Compound 2x ARC Circuitry | Explosives Station 3 |
| Trailblazer | Grenade | 1x Explosive Compound 1x Synthesized Fuel | Explosives Station 3 |
| Tactical Mk. 3 (Defensive) | Augment | 2x Advanced Electrical Components 3x Processor | Gear Bench 3 |
| Tactical Mk. 3 (Healing) | Augment | 2x Advanced Electrical Components 3x Processor | Gear Bench 3 |
| Yellow Light Stick | Quick Use | 3x Chemicals | Utility Station 1 |
Note: The missing Blueprints in this list likely have not actually been added to the game at the time of writing, because none of the playerbase has managed to find any of them. As they are added to the game, I will update this page with the most relevant information so you know exactly how to get all 75 Arc Raiders Blueprints.
Where to find Blueprints in Arc Raiders
Below is a list of all containers, modifiers, and events which maximise your chances of finding Blueprints:
- Certain quests reward you with specific Blueprints .
- Completing Trials has a high chance of offering Blueprints as rewards.
- Surveyors have a decent chance of dropping Blueprints on death.
- High loot value areas tend to have a greater chance of spawning Blueprints.
- Night Raids and Storms may increase rare Blueprint spawn chances in containers.
- Containers with higher numbers of items may have a higher tendency to spawn Blueprints. As a result, Blue Gate (which has many “large” containers containing multiple items) may give you a higher chance of spawning Blueprints.
- Raider containers (Raider Caches, Weapon Boxes, Medical Bags, Grenade Tubes) have increased Blueprint drop rates. As a result, the Uncovered Caches event gives you a high chance of finding Blueprints.
- Security Lockers have a higher than average chance of containing Blueprints.
- Certain Blueprints only seem to spawn under specific circumstances: Tempest Blueprint only spawns during Night Raid events. Vulcano Blueprint only spawns during Hidden Bunker events. Jupiter and Equaliser Blueprints only spawn during Harvester events.

Raider Caches, Weapon Boxes, and other raider-oriented container types have a good chance of offering Blueprints. |Image credit:Rock Paper Shotgun/Embark Studios
Blueprints have a very low chance of spawning in any container in Arc Raiders, around 1-2% on average. However, there is a higher chance of finding Blueprints in particular container types. Specifically, you can find more Blueprints in Raider containers and security lockers.
Beyond this, if you’re looking for Blueprints you should focus on regions of the map which are marked as having particularly high-value loot. Areas such as the Control Tower in Dam Battlegrounds, the Arrival and Departure Buildings in Spaceport, and Pilgrim’s Peak in Blue Gate all have a better-than-average chance of spawning Blueprints somewhere amongst all their containers. Night Raids and Electromagnetic Storm events also increase the drop chances of certain Blueprints .
In addition to these containers, you can often loot Blueprints from destroyed Surveyors - the largest of the rolling ball ARC. Surveyors are more commonly found on the later maps - Spaceport and Blue Gate - and if one spawns in your match, you’ll likely see it by the blue laser beam that it casts into the sky while “surveying”.
Surveyors are quite well-armoured and will very speedily run away from you once it notices you, but if you can take one down then make sure you loot all its parts for a chance of obtaining certain unusual Blueprints.
Blueprints obtained from quests
One way in which you can get Blueprints is by completing certain quests for the vendors in Speranza. Some quests will reward you with a specific item Blueprint upon completion, so as long as you work through all the quests in Arc Raiders, you are guaranteed those Blueprints.
Here is the full list of all Blueprints you can get from quest rewards:
- Trigger Nade Blueprint: Rewarded after completing “Sparks Fly”.
- Lure Grenade Blueprint: Rewarded after completing “Greasing Her Palms”.
- Burletta Blueprint: Rewarded after completing “Industrial Espionage”.
- Hullcracker Blueprint (and Launcher Ammo Blueprint): Rewarded after completing “The Major’s Footlocker”.
Alas, that’s only 4 Blueprints out of a total of 75 to unlock, so for the vast majority you will need to find them yourself during a raid. If you’re intent on farming Blueprints, then it’s best to equip yourself with cheap gear in case you lose it, but don’t use a free loadout because then you won’t get a safe pocket to stash any new Blueprint you find. No pain in Arc Raiders is sharper than failing to extract with a new Blueprint you’ve been after for a dozen hours already.

One of the best ways to get Blueprints is by hitting three stars on all five Trials every week. |Image credit:Rock Paper Shotgun/Embark Studios
Blueprints obtained from Trials
One of the very best ways to get Blueprints is as rewards for completing Trials in Arc Raiders. Trials are unlocked from Level 15 onwards, and allow you to earn rewards by focusing on certain tasks over the course of several raids. For example, one Trial might task you with dealing damage to Hornets, while another might challenge you to loot Supply Drops.
Trials refresh on a weekly basis, with a new week bringing five new Trials. Each Trial can offer up to three rewards after passing certain score milestones, and it’s possible to receive very high level loot from these reward crates - including Blueprints. So if you want to unlock as many Blueprints as possible, you should make a point of completing as many Trials as possible each week.
Best Blueprint farming locations
The very best way to get Blueprints is to frequent specific areas of the maps which combine high-tier loot pools with the right types of containers to search. Here are my recommendations for where to find Blueprints on every map, so you can always keep the search going for new crafting recipes to unlock.

Image credit:Rock Paper Shotgun/Embark Studios
Dam Battlegrounds
The best places to farm Blueprints on Dam Battlegrounds are the Control Tower, Power Generation Complex, Ruby Residence, and Pale Apartments . The first two regions, despite only being marked on the map as mid-tier loot, contain a phenomenal number of containers to loot. The Control Tower can also contain a couple of high-tier Security Lockers - though of course, you’ll need to have unlocked the Security Breach skill at the end of the Survival tree.
There’s also a lot of reporting amongst the playerbase that the Residential areas in the top-left of the map - Pale Apartments and Ruby Residence - give you a comparatively strong chance of finding Blueprints. Considering their size, there’s a high density of containers to loot in both locations, and they also have the benefit of being fairly out of the way. So you’re more likely to have all the containers to yourself.
Buried City
The best Blueprint farming locations on Buried City are the Santa Maria Houses, Grandioso Apartments, Town Hall, and the various buildings of the New District . Grandioso Apartments has a lower number of containers than the rest, but a high chance of spawning weapon cases - which have good Blueprint drop rates. The others are high-tier loot areas, with plenty of lootable containers - including Security Lockers.
Spaceport
The best places to find Blueprints on Spaceport are the Arrival and Departure Buildings, as well as Control Tower A6 and the Launch Towers . All these areas are labelled as high-value loot regions, and many of them are also very handily connected to one another by the Spaceport wall, which you can use to quickly run from one area to the next. At the tops of most of these buildings you’ll find at least one Security Locker, so this is an excellent farming route for players looking to find Blueprints.
The downside to looting Blueprints on Spaceport is that all these areas are hotly contested, particularly in Duos and Squads. You’ll need to be very focused and fast in order to complete the full farming route.

Image credit:Rock Paper Shotgun/Embark Studios
Blue Gate
Blue Gate tends to have a good chance of dropping Blueprints, potentially because it generally has a high number of containers which can hold lots of items; so there’s a higher chance of a Blueprint spawning in each container. In my experience, the best Blueprint farming spots on Blue Gate are Pilgrim’s Peak, Raider’s Refuge, the Ancient Fort, and the Underground Complex beneath the Warehouse .
All of these areas contain a wealth of containers to loot. Raider’s Refuge has less to loot, but the majority of the containers in and around the Refuge are raider containers, which have a high chance of containing Blueprints - particularly during major events.
Stella Montis
On the whole, Stella Montis seems to have a very low drop rate for Blueprints (though a high chance of dropping other high-tier loot). If you do want to try farming Blueprints on this map, the best places to find Blueprints in Stella Montis are Medical Research, Assembly Workshop, and the Business Center . These areas have the highest density of containers to loot on the map.
In addition to this, the Western Tunnel has a few different Security Lockers to loot, so while there’s very little to loot elsewhere in this area of the map, it’s worth hitting those Security Lockers if you spawn there at the start of a match.
That wraps up this primer on how to get all the Blueprints in Arc Raiders as quickly as possible. With the Expedition system constantly resetting a large number of players’ Blueprints, it’s more important than ever to have the most up-to-date information on where to find all these Blueprints.
While you’re here, be sure to check out our Arc Raiders best guns tier list , as well as our primers on the best skills to unlock and all the different Field Depot locations on every map.


ARC Raiders
PS5 , Xbox Series X/S , PC
Rock Paper Shotgun is better when you sign in
Sign in and join us on our journey to discover strange and compelling PC games.
