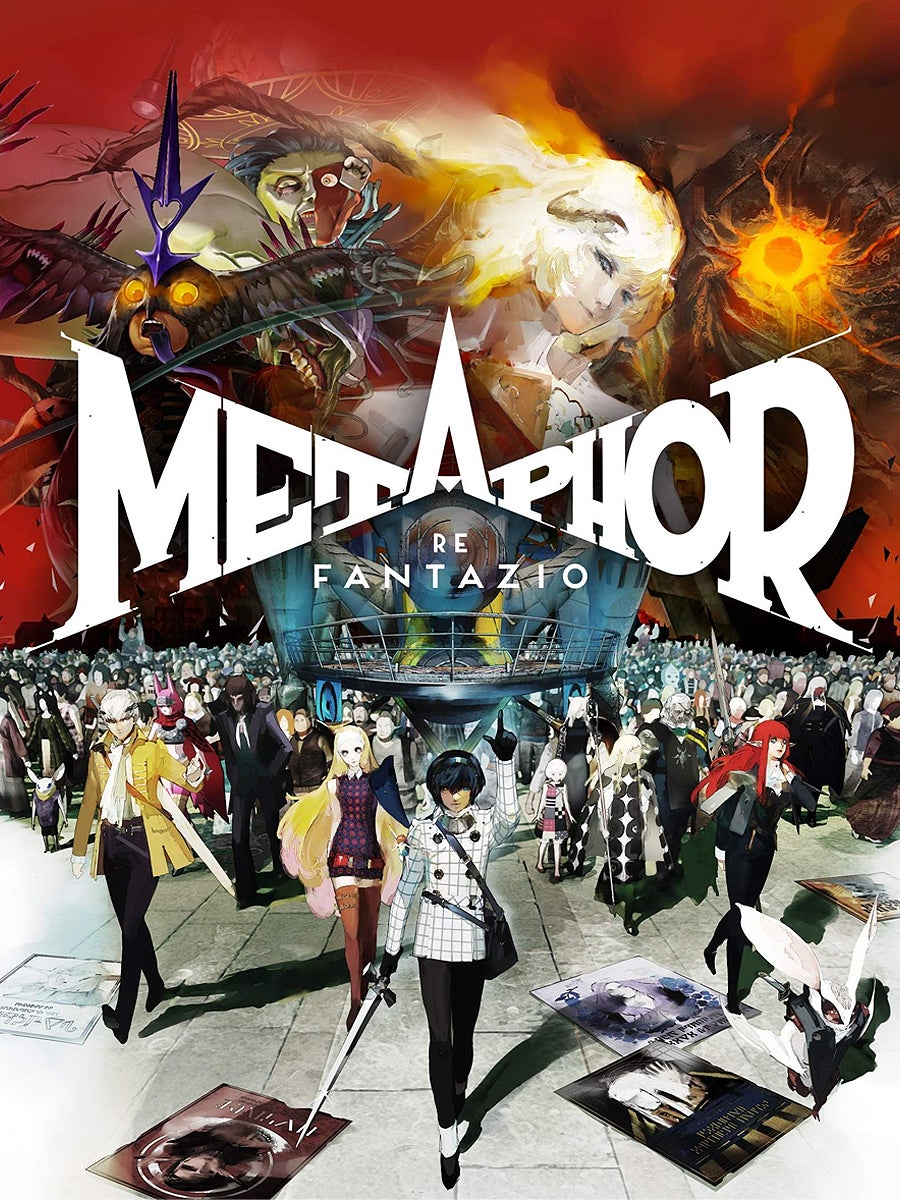
Metaphor: ReFantazio review: like a brilliant fantasy Persona, only with one major catch
It’s wonderful but…
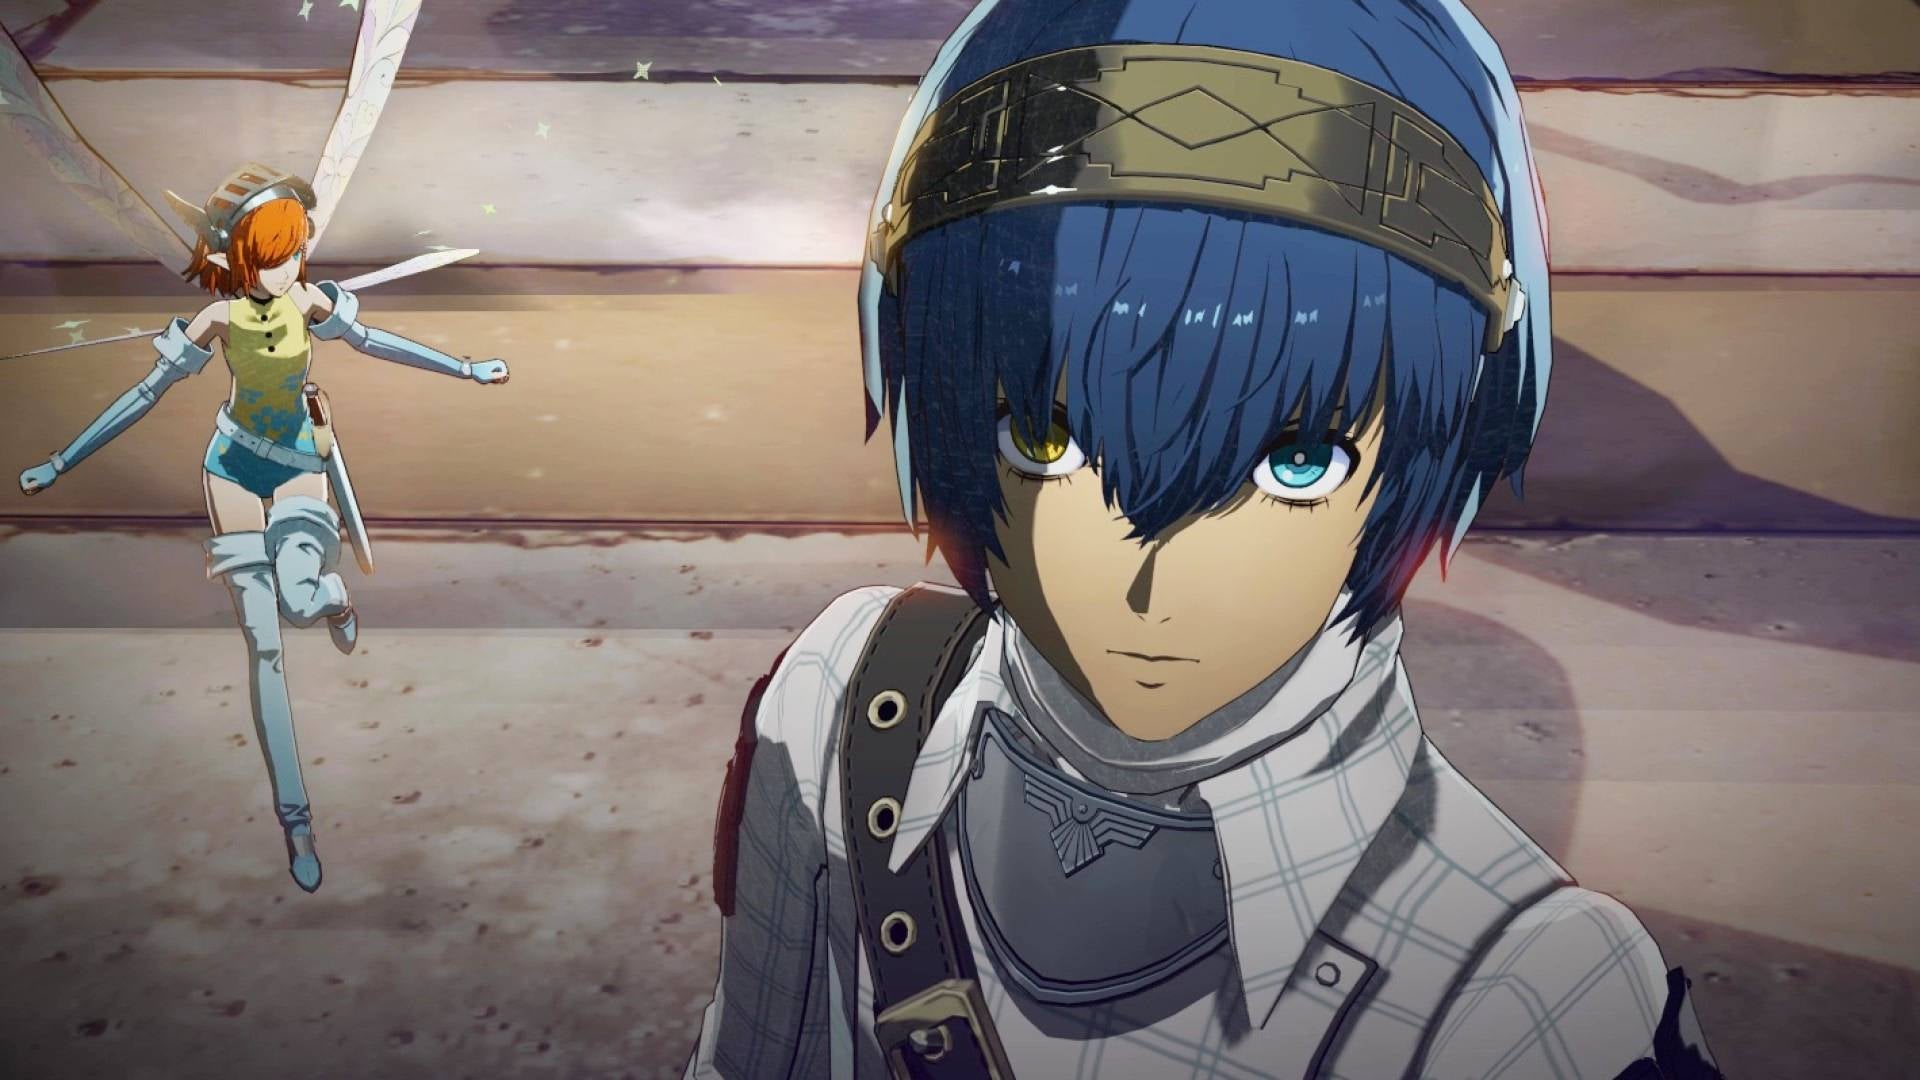
Image credit:Rock Paper Shotgun/Sega

- Developer: Atlus
- Publisher: Sega
- Release: October 11th 2024
- On: Windows
- From: Steam
- Price: £60/€70/$70
- Reviewed on: Intel Core i7-12700F, Nvidia RTX 3080, 16GB RAM, Windows 11
Graham asked me if I’d discovered what the metaphor in Metaphor: ReFantazio might be, and I replied, “I don’t know haha”, or something along those lines. Having given it more thought, I think there are two metaphors: 1) It plays quite like Persona . 2) Its story is like a commentary on our society… or something to that effect.
Metaphors aside, though, the game is a gigantic fantasy RPG that’s technically better than Persona 5 in a lot of ways. Structurally, it feels less repetitive. It has more animated cutscenes that elevate those key story moments. You can brush aside weaker enemies in real-time combat, rather than face them in tiresome turn-based tangoes. And overall, I think it’s the best game Persona or Persona-like Atlus have put out - it really is brilliant. But there’s a part of me that feels like it’s missing something that’ll leave it less ingrained in the memory than Persona 5 once its final chapter has closed.
In Metaphor you play as an anime lad, whose top dialogue options are almost always nice and inoffensive. However, you are an Elda, a rare race who’s looked down upon by the masses, the masses also being a hodgepodge of other races: those with cat ears, or ram horns, or wings, or cages over their heads. It’s quickly drilled into you, via overt conversations between stuck up townspeople (“What’s an Elda doing here?!”) or scenes of persecution (a cat-eared boy being hanged) that the world is horrible and unfair.
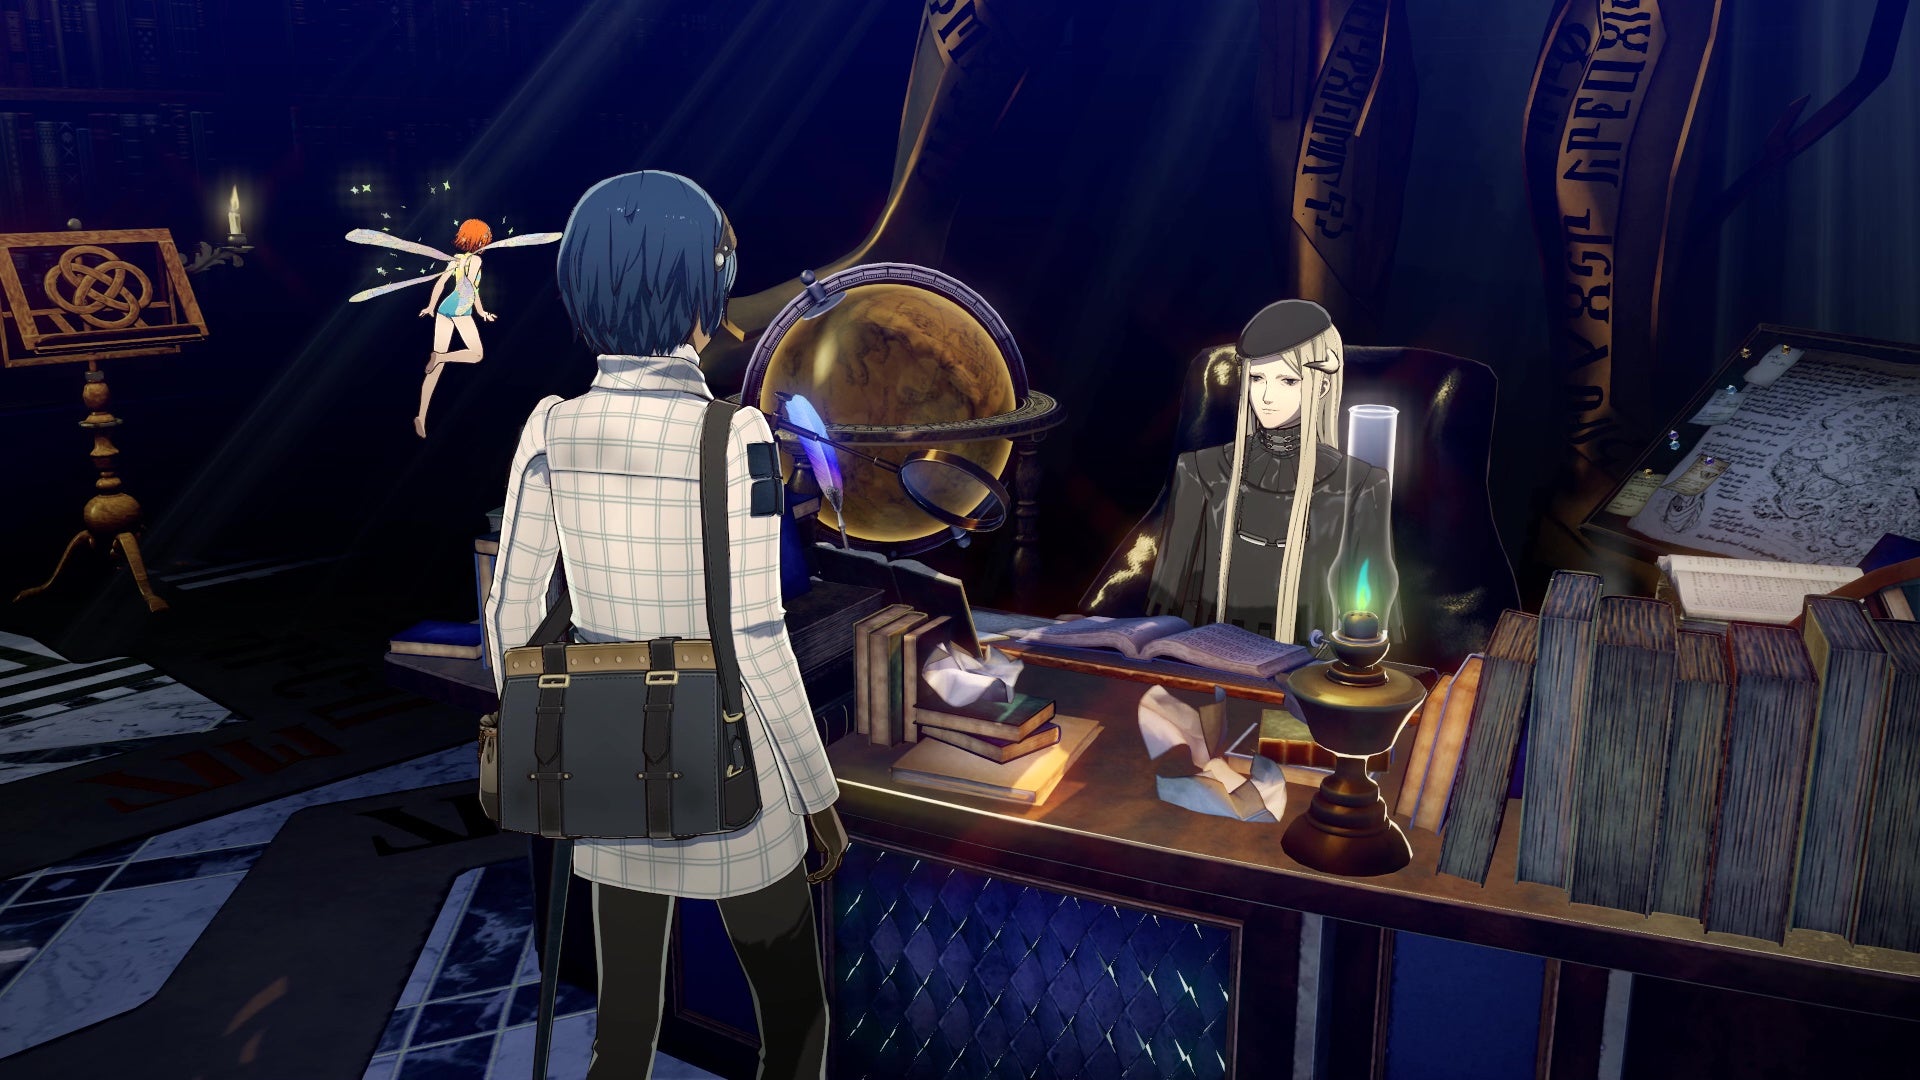
You’ll chat to this mysterious fella who researches Archetypes and sets you increasingly difficult challenges like: “Level up this Archetype to 15”. It’s well worth doing them, as they can lead to some really strong bonuses. |Image credit:Rock Paper Shotgun/Sega
And the universe itself is in turmoil, as its prince and heir to the throne has been cursed. Cursed by his older brother Louis who, it turns out, also butchered his father, the most recent king. Long story short, what ensues is a power struggle, as it turns out the dead king had Call Of Duty’s Last Stand perk equipped. This means his death initiates a magical gambit that sets forth one final competition for the throne. The contender who wins over the public over the course of three trials will become the next king. You, the Elda lad, are to enter. With the pretence of winning, naturally, but also to save the prince from his brother’s curse.
If you’re an anime-liker, you’ll get on with Metaphor’s earnestness and its overarching lesson: Racism is bad! Be nice to each other! Democracy rules! If you’re someone who doesn’t get on with obvious messaging, you’ll wrinkle your nose at it constantly, like someone trapped in a realm where they’re forced to cut their nose hair regularly. But I will say that the story, while sometimes predictable, chucks in enough twists and a sense of discovery to keep things from ever falling flat.
Much like the Persona games, your political campaign is governed by deadlines. You’re to beat this Big Important Dungeon before the 16th, for instance, so between now and then you use each day to up your power. You could hang with a pal to deepen a bond (more on this in a sec), using up your morning in the process. Then you could spend the night listening to gramps chat about the time he bumped into some fairies, upping your Imagination stat (one of a few virtues that open up special/rare dialogue options, exactly like Persona). Feeling somewhat ready to throw down? Then you could tackle the dungeon in manageable chunks, returning to it over multiple days to rest up and recoup as needed. So long as you beat it before the deadline, you’re all good.
The story really gets going once you’ve got the Gauntlet Runner, which is around ten hours in. |Image credit:Rockl Paper Shotgun/Sega
But where Persona feels rigid in its rhythm, as major story dungeons are sandwiched between long periods of chilling with the gang or grinding multistorey Mementos, Metaphor has a more natural flow. Yes you’re still bound by deadlines, but your kingly campaign is driven by your Gauntlet Runner. Or more accurately, scuttled, since it’s a ship with legs. Yes, it has magnificent thighs, and yes, it has a lovely interior that acts as your base. Unlike Persona which had the Leblanc cafe, Metaphor shifts your headquarters - teleportation lets you move instantly between cities later on - between its big cities depending on the story sitch.
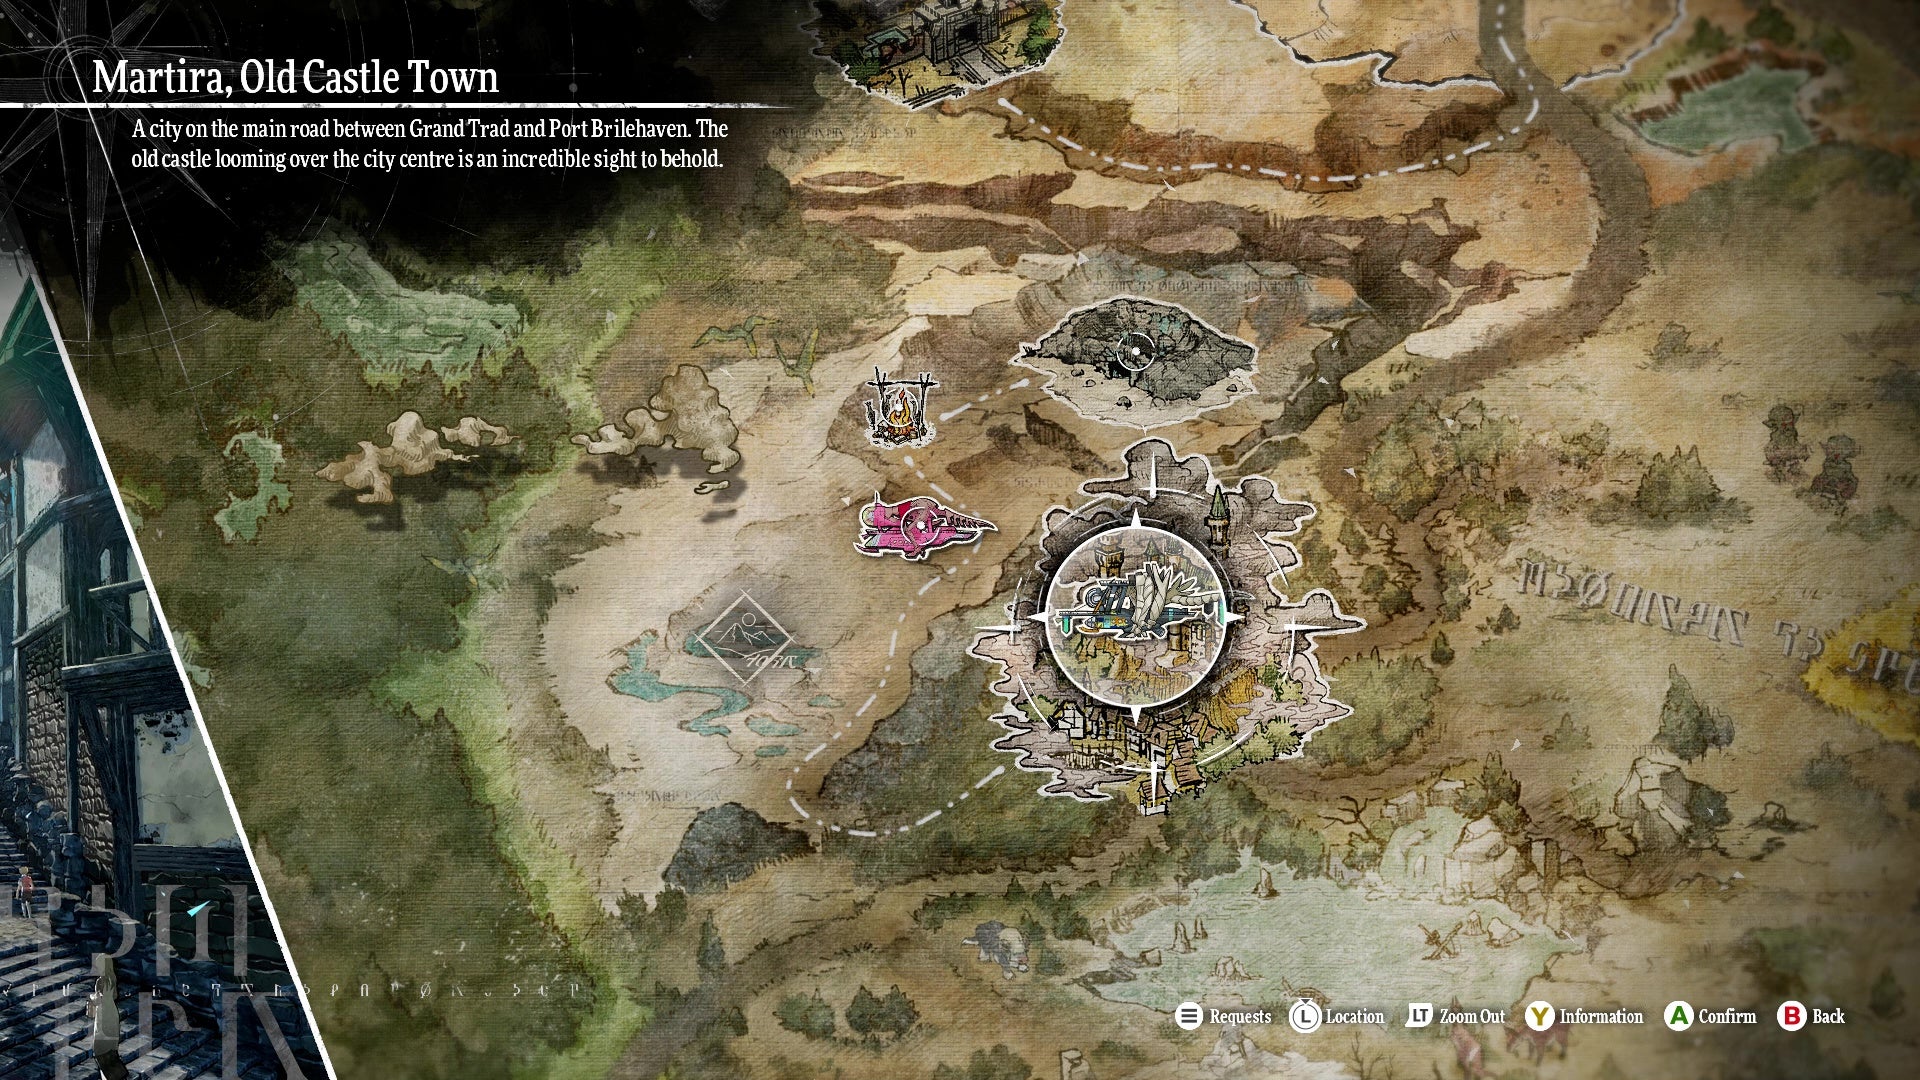
You might hang around the port city of Brilehaven, where swirling ocean orbs hover over a colosseum and its nearby salty streets. There’s Grand Trad, the glossy capital, or Martira, its malnourished people stricken by a deadly secret. All of them home to the usual, if perhaps static, series of shops: the armour one, the weapon one, the folks who up your Courage or whatever.
But it’s the added layer, which is perhaps the most important to giving Metaphor its identity. And that’s your ability, between those major deadlines, to take the Gauntlet Runner for a spin (the game makes it very obvious when you should do so). No, you can’t drive it about freely and swing its arse out like you’re drifting around San Andreas, drivebying imps with throwing knives. What you can do is accept quests around town and then visit the Recruitment Centre. The former hits you with fetch quests (“I lost my wife’s goblet lol”) and the latter, bounties (go kill the fucking massive worm in the desert). These then get marked on your map with a delicious pencil scribble noise, with routes between them outlining campsites and even rival Gauntlet Runners.
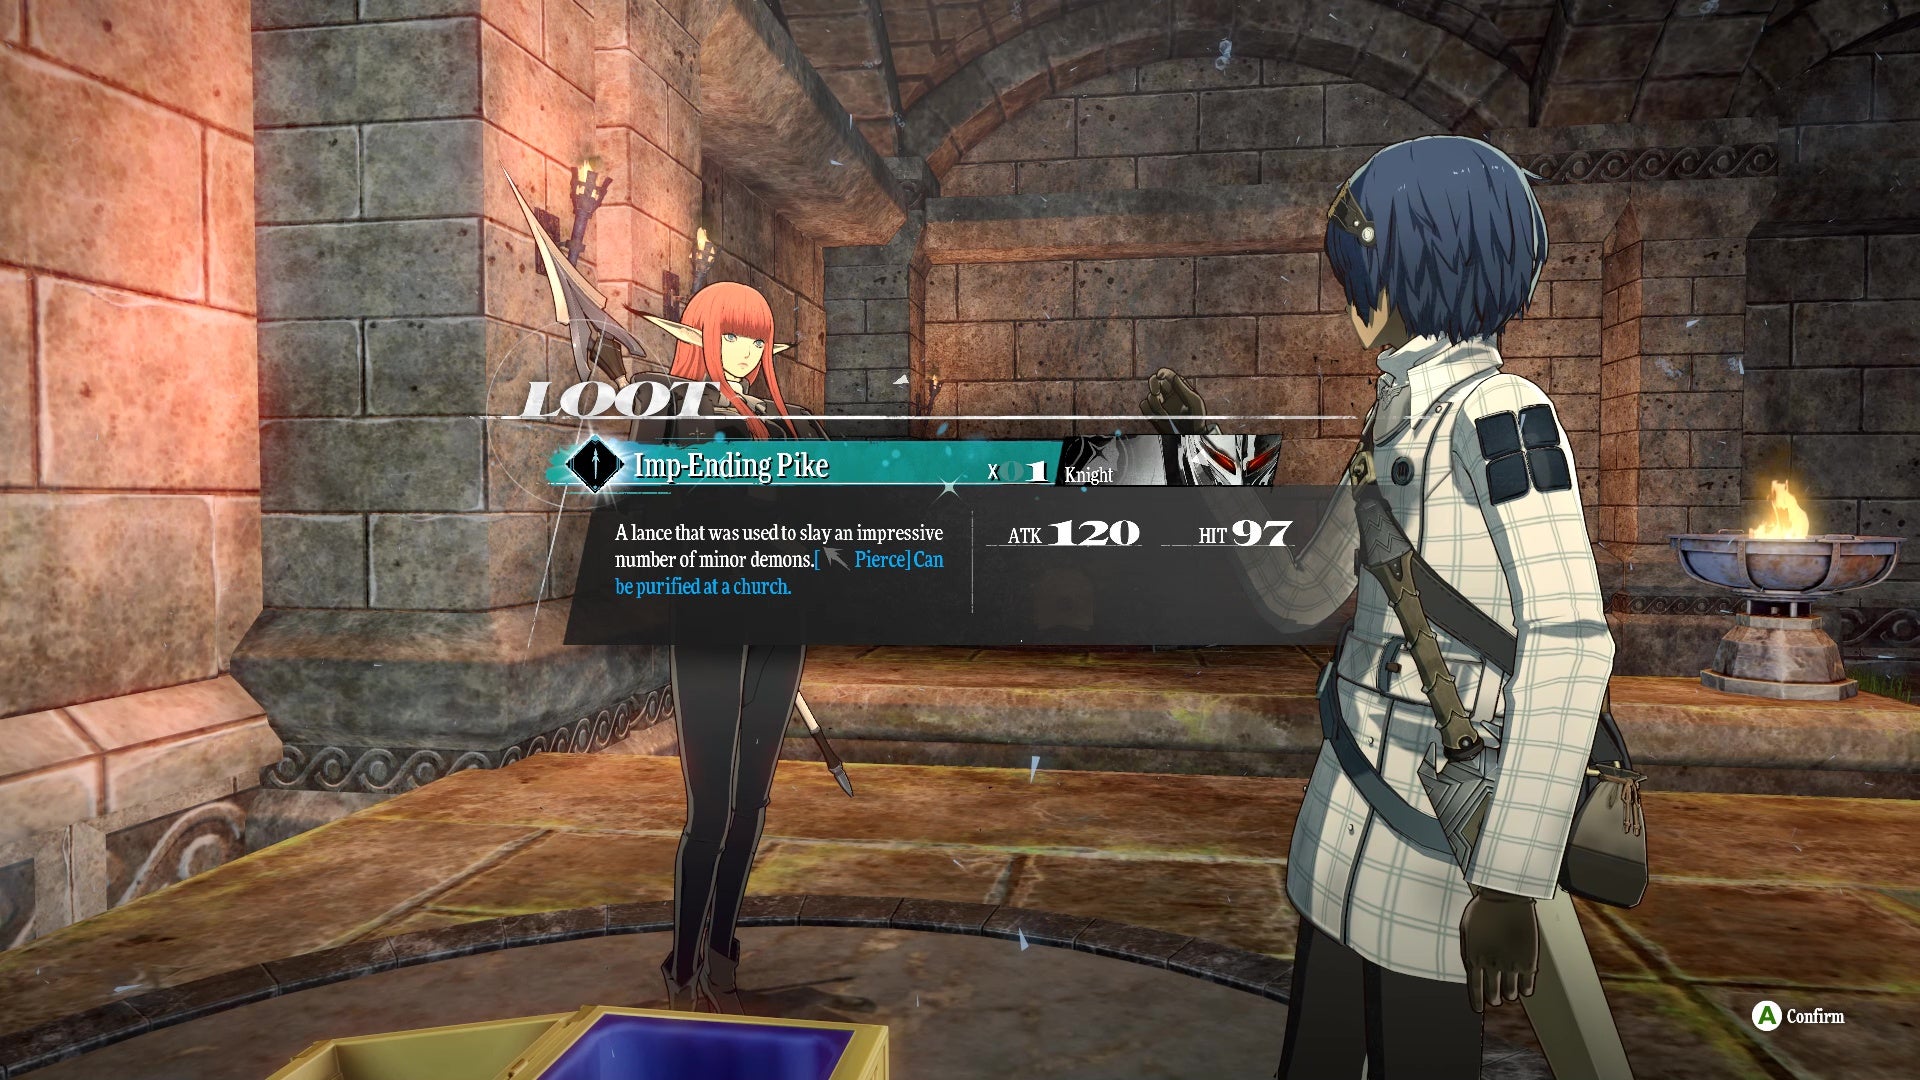
If you’ve taken a Gauntlet Runner to a far off dungeon away from your current ‘city base’, you can still tackle the dungeon over the course of a few days by staying at a nearby campsite. However! Because you’re away from the city’s amenities, you won’t be able to cash in any junk at vendors, appraise rusted equipment you might’ve found, or purify powerful gear at the Church to grant them better stats and abilities. |Image credit:Rock Paper Shotgun/Sega
Conveniently, a lot of fetch quests have you collect stuff from towns that are enroute to dungeons, which are natural endpoints. All you need to do is select the route you want, take into account how many days it’ll take to travel, then hit the “let’s go” button.
It’s these excursions that make up the bulk of your adventures then, as you must portion time to conquer these dungeons. And as you travel between them, you’ll have further opportunities to chat to your pals, sink into a hot tub, cook dishes, and occasionally fight invaders. Again, all of it lends the game a greater sense of dynamism and adventure than Persona.
Metaphor does retain one key thing from its forebear, though, and that’s each major character awakening to their own magical Archetype: a class that lets them do spells that consume MP as opposed to thwacks with their swords or maces that don’t consume anything. As the generic anime lad, you awaken to the Seeker first, a do-it-all hybrid swordfighter who can wield magic and, largely, exists as a sort of vessel for inheriting skills from other classes. Your main squeeze Strohl awakens to the Warrior. The red-haired glutton Hulkenberg, the Knight. Make friends with characters who look entirely different to every other civilian asset in the game and you’ll unlock new classes (the Brawler being one of the earliest, and in my opinion, one of the best). Further these bonds and you’ll unlock benefits for them, like extra skills and slots, or even benefits outside of combat like better bounty rewards.
Where Metaphor differs from Persona, is in its cultivation of Archetypes. In Persona you collect and mash together cock demons, evolving them and transferring abilities across bloodlines. In Metaphor, you cultivate Archetypes by building bonds with your pals, which unlocks better versions of them. But to actually unlock them for use, you’ll need to meet their requirements. For instance, Hulkenberg’s first advanced class unlock - if you take her down the Knight route - is the Magic Knight. To actually use it, you’ll need to earn enough MAG (a currency you accrue after battles, for choosing appropriate dialogue options, and other things) to purchase it, and also level up the Mage class to 10.
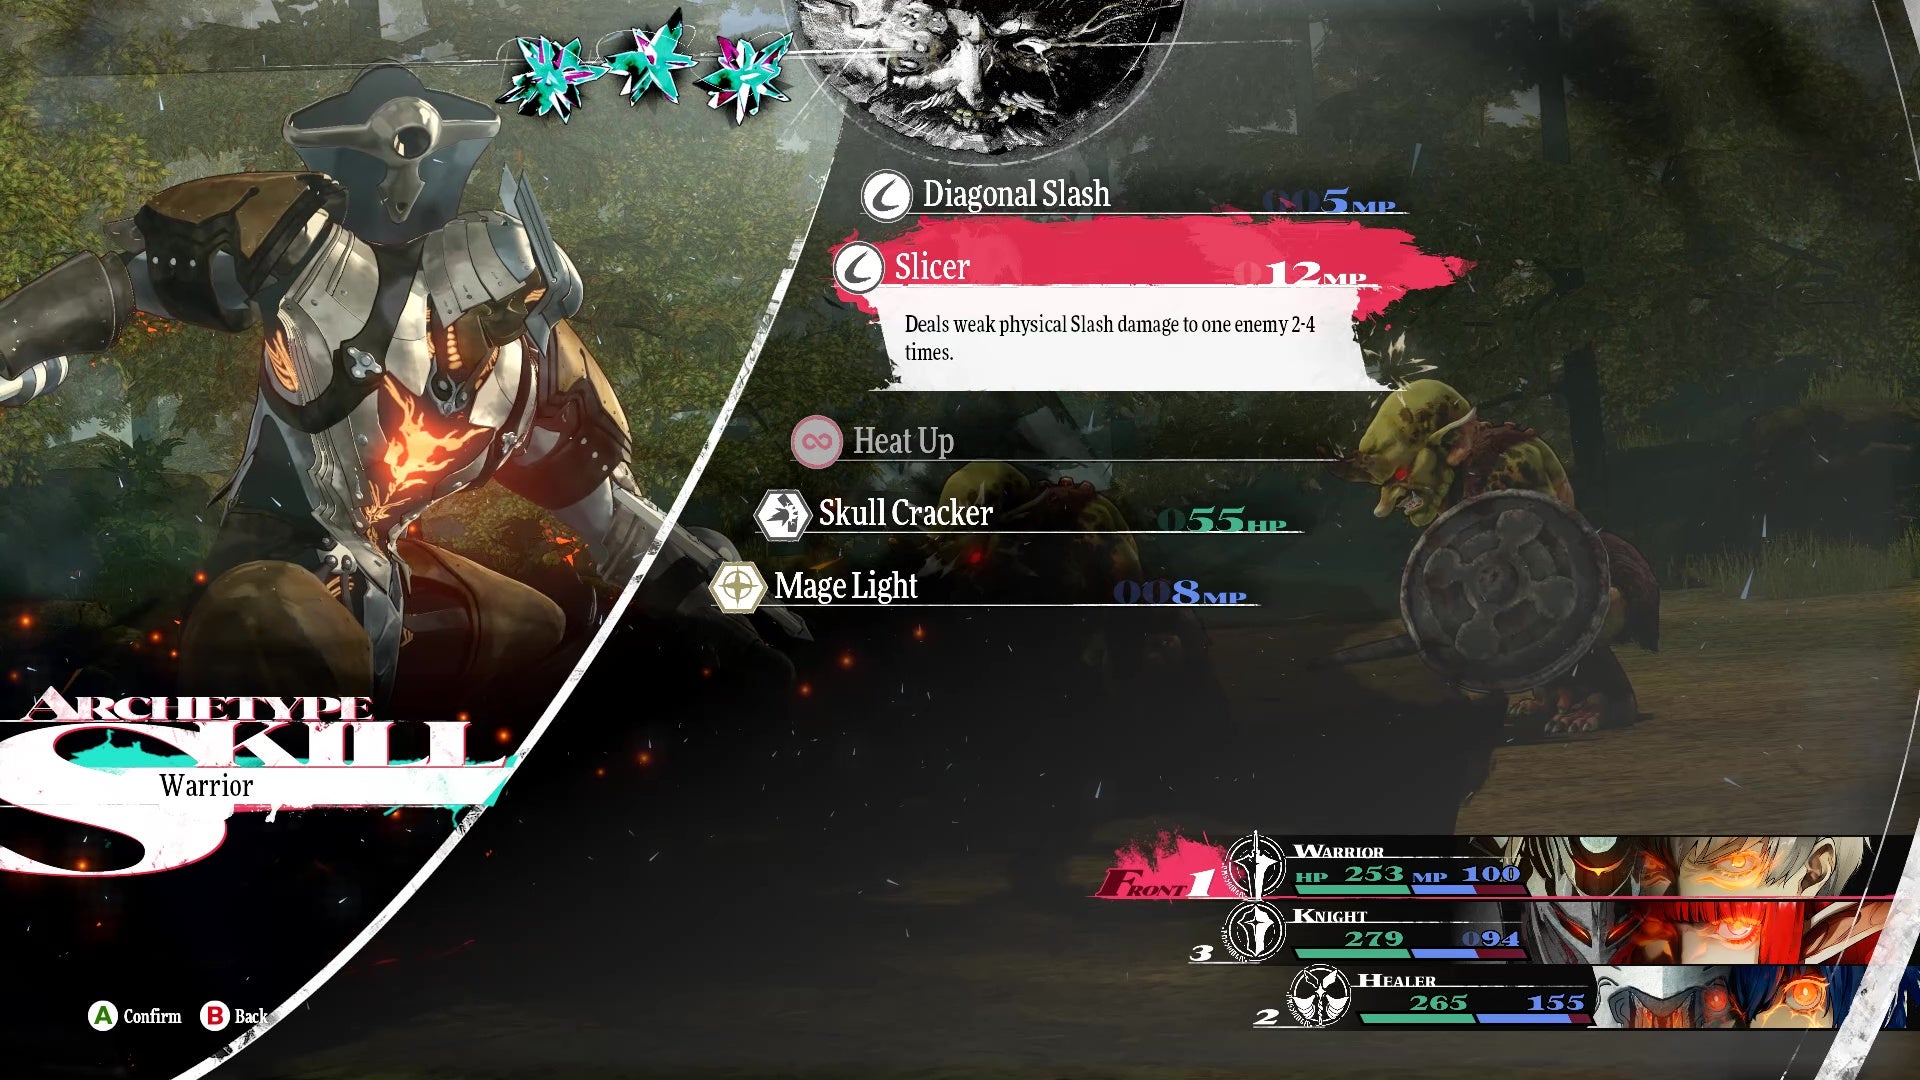
Choose classes from certain schools and they’ll unlock Synthesis abilities for use in battle. These are basically powerful team-up skills that use two turns instead of one. Despite their cost, they can really turn the tides and look very cool to boot. |Image credit:Rock Paper Shotgun/Sega
To get levelling, you’ll spend a lot of your spare time in dungeons. Many of these are a sight better than Persona’s, as they’re the beneficiary of some strong quality of life updates, including more convenient save points and enemies not respawning when you rest. They offer more variety, too, like getting to fight through a creature’s insides as a timer ticks down and slippery fish enemies rob you of precious seconds. Some dungeons are “Infiltration” missions, where you have to defeat enemies in a certain number of turns. Others feature stealth sequences, where you knock out guards Metal Gear -style.
Still, though, fighting through these dungeons demonstrates that many of Persona’s failings remain. Some dungeons are just annoying corridor mazes with multiple, samey floors. Restricting turns adds urgency and strategy, sure, but also makes RNG a colossal fanny when you miss on a final spell that would’ve killed them.
And yes, even your new ability to battle in real-time is a bit of a ‘mare. Your fairy companion Gallica can scan the environment, revealing the levels of enemies. If they’re a sight lower than you, they can be killed without going into turn-based combat - delightful! But if you’re roughly the same level as most mobs - and you will be, 90% of the time - then you’ll stun them, and won’t be able to finish them off without hopping into a turn-based battle. If you get hit, your enemy starts that turn-based battle with an advantage. In the end, real-time scraps don’t save you from samey fights unless you’re vastly overleveled, such as when you’re mopping up a side quest from several hours ago.
On a more positive note, the Archetype system grants your party a lot of freedom as it’s easy to switch between them and experiment with different compositions. But from another standpoint, you’re perpetually stressed in ensuring the one or two Archetypes that work well in a specific dungeon are, or will be, up to scratch. That’s thanks to informants who can let you in on a bounty’s weaknesses before you tackle them. Instead of flitting between multiple Archetypes on the fly then, you cycle between the most appropriate for the job, sometimes rinsing the same two spells for hours. You might imagine yourself as a spectral Simone Biles doing a back handspring into a splits, but Metaphor gives you more of an illusion of greater flexibility than it delivers.
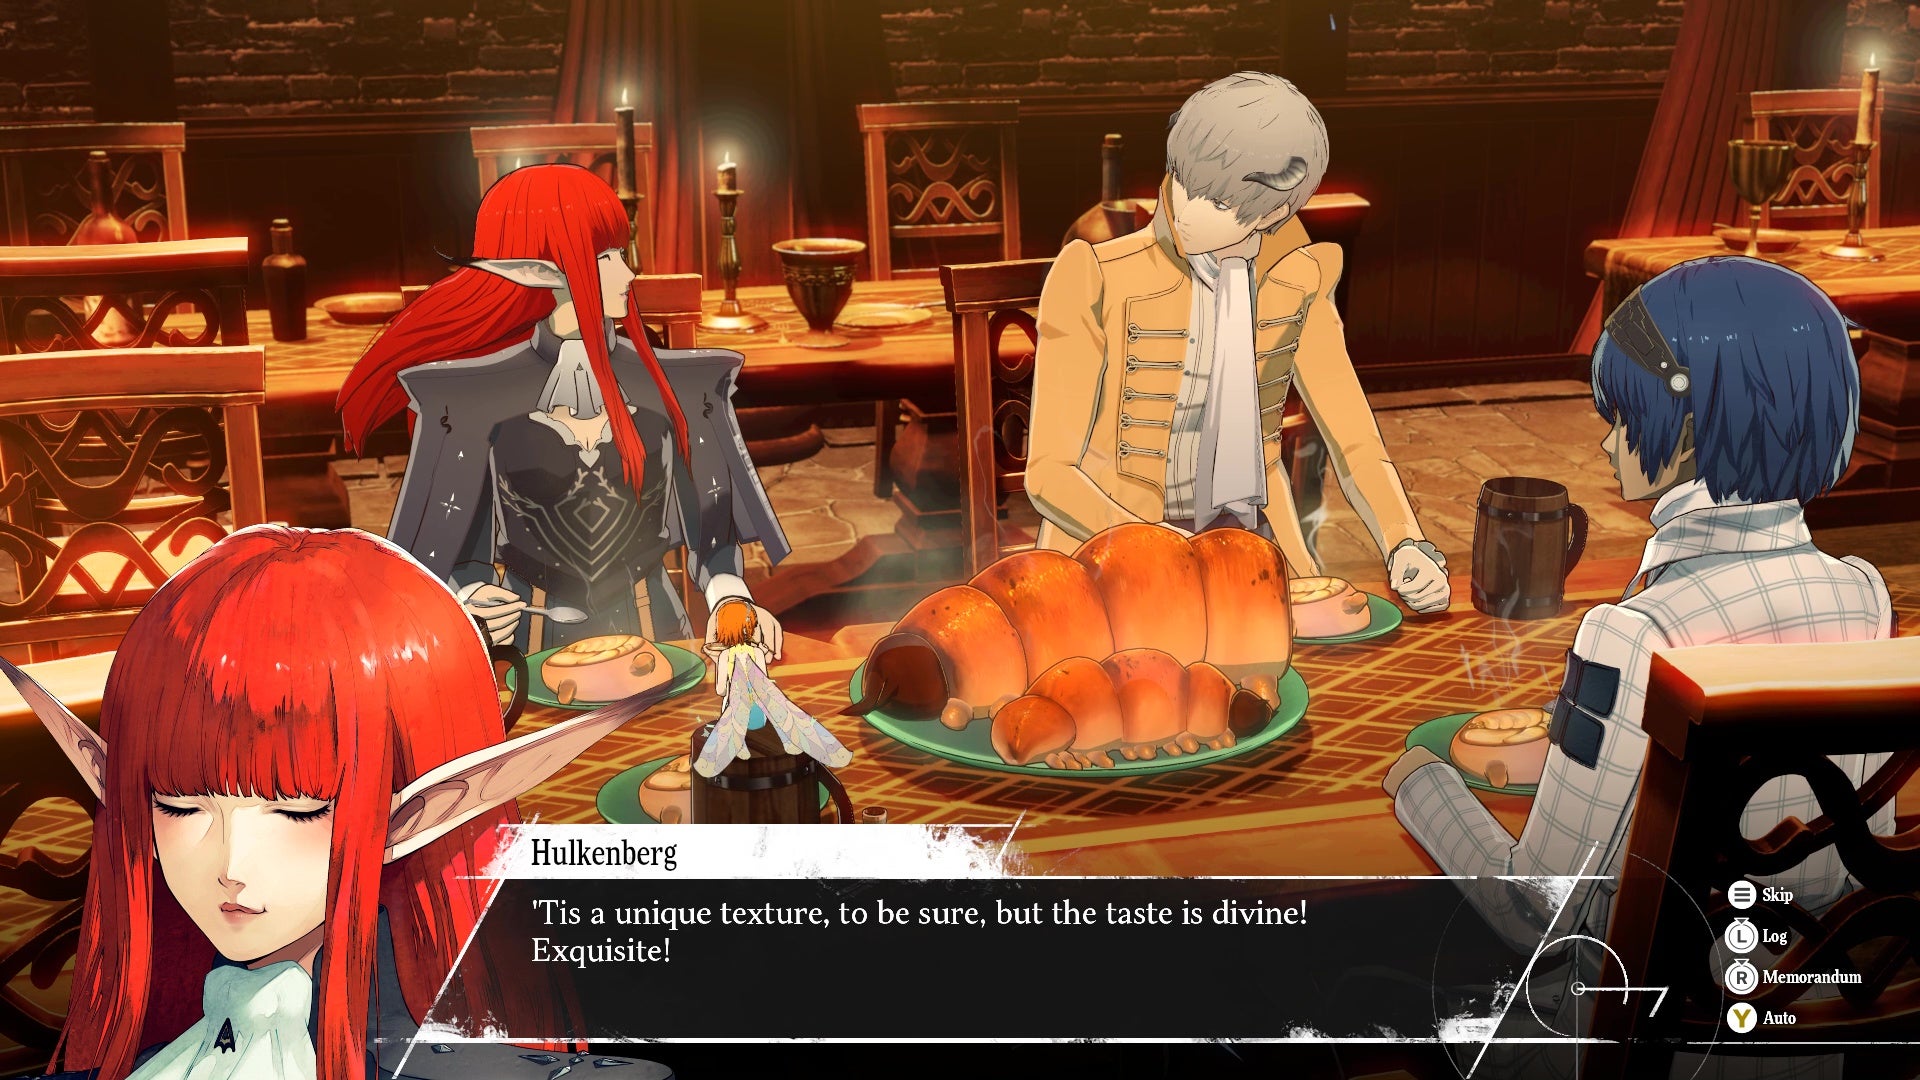
Image credit:Rock Paper Shotgun/Sega
If you’re unsure who or what to spend your precious time on, you can chat to Gallica who’ll offer some assistance. She’ll point out folks who might want to chat, bounties you might want to prioritise, and the like. It’s genuinely really helpful! |Image credit:Rock Paper Shotgun/Sega
That’s not to say I don’t enjoy chasing new Archetypes and battling monsters, I just think Metaphor’s combat focus can grate just as much as it pleases. For newcomers and Persona fans who want a bit more variety, I think it’ll do the job. For real strategy buffs? I don’t think it allows enough freedom. For me, I’m happy enough with it.
In other matters, I don’t think Metaphor quite has… The Juice.
What do I mean by this cringeworthy word I’ve added into my lexicon? What is The Juice ? It’s that your pals, Strohl and Hulkenberg and Gallica (and later people I won’t spoil) are all lovely and fine, but they’re quite serious. I want more goofballs and weirdos and cuties. Persona has this jazzy vibe and boppy presentation, whereas Metaphor leans more into the familiar Fire Emblem-style soundtrack of strings and plinks. It’s beautiful, don’t get me wrong! But Persona is aspirational: it offers the fantasy of living that double life through some virtual school pals, and of those lives intertwining in a cosy cafe or out in the streets of Japan. Metaphor’s chats and stories are shorter in general and while still relatable in some respects, in others, I felt a bit disconnected, given the larger scope of a world I couldn’t fully comprehend.
Despite my whining here at the end, I do genuinely believe Metaphor is a very good RPG and a grand adventure absolutely worth undertaking. It’s slick in its presentation, in its storytelling, and especially in its combat. Everyone, no matter if you’re a strategy god or a story hound will be served a good slice of both, perhaps spurring on more of an interest in the one side you hadn’t explored before. And it’s a better game than Persona, particularly Persona 5. But I think its focus skews more towards combat and less towards its characters, which makes it more of a thing that you’ll put down and go, “that was really great”, and not, “I want to exist here forever with my pals”.
Find out how we conduct our reviews by reading our review policy .
Metaphor: ReFantazio
Video Game
Rock Paper Shotgun is better when you sign in
Sign in and join us on our journey to discover strange and compelling PC games.

All 75 Arc Raiders Blueprints and where to get them
These areas have the highest chance of giving you Blueprints

Image credit:Rock Paper Shotgun/Embark Studios

Looking for more Arc Raiders Blueprints? It’s a special day when you find a Blueprint, as they’re among the most valuable items in Arc Raiders. If you find a Blueprint that you haven’t already found, then you must make sure you hold onto it at all costs, because Blueprints are the key to one of the most important and powerful systems of meta-progression in the game.
This guide aims to be the very best guide on Blueprints you can find, starting with a primer on what exactly they are and how they work in Arc Raiders, before delving into exactly where to get Blueprints and the very best farming spots for you to take in your search.
We’ll also go over how to get Blueprints from other unlikely activities, such as destroying Surveyors and completing specific quests. And you’ll also find the full list of all 75 Blueprints in Arc Raiders on this page (including the newest Blueprints added with the Cold Snap update , such as the Deadline Blueprint and Firework Box Blueprint), giving you all the information you need to expand your own crafting repertoire.
In this guide:
- What are Blueprints in Arc Raiders?
- Full Blueprint list: All crafting recipes
- Where to find Blueprints in Arc Raiders Blueprints obtained from quests Blueprints obtained from Trials Best Blueprint farming locations

What are Blueprints in Arc Raiders?
Blueprints in Arc Raiders are special items which, if you manage to extract with them, you can expend to permanently unlock a new crafting recipe in your Workshop. If you manage to extract from a raid with an Anvil Blueprint, for example, you can unlock the ability to craft your very own Anvil Pistol, as many times as you like (as long as you have the crafting materials).
To use a Blueprint, simply open your Inventory while in the lobby, then right-click on the Blueprint and click “Learn And Consume” . This will permanently unlock the recipe for that item in your Workshop. As of the Stella Montis update, there are allegedly 75 different Blueprints to unlock - although only 68 are confirmed to be in the game so far. You can see all the Blueprints you’ve found and unlocked by going to the Workshop menu, and hitting “R” to bring up the Blueprint screen.
It’s possible to find duplicates of past Blueprints you’ve already unlocked. If you find these, then you can either sell them, or - if you like to play with friends - you can take it into a match and gift it to your friend so they can unlock that recipe for themselves. Another option is to keep hold of them until the time comes to donate them to the Expedition.
Full Blueprint list: All crafting recipes
Below is the full list of all the Blueprints that are currently available to find in Arc Raiders, and the crafting recipe required for each item:
| Blueprint | Type | Recipe | Crafted At |
|---|---|---|---|
| Bettina | Weapon | 3x Advanced Mechanical Components 3x Heavy Gun Parts 3x Canister | Gunsmith 3 |
| Blue Light Stick | Quick Use | 3x Chemicals | Utility Station 1 |
| Aphelion | Weapon | 3x Magnetic Accelerator 3x Complex Gun Parts 1x Matriarch Reactor | Gunsmith 3 |
| Combat Mk. 3 (Flanking) | Augment | 2x Advanced Electrical Components 3x Processor | Gear Bench 3 |
| Combat Mk. 3 (Aggressive) | Augment | 2x Advanced Electrical Components 3x Processor | Gear Bench 3 |
| Complex Gun Parts | Material | 2x Light Gun Parts 2x Medium Gun Parts 2x Heavy Gun Parts | Refiner 3 |
| Fireworks Box | Quick Use | 1x Explosive Compound 3x Pop Trigger | Explosives Station 2 |
| Gas Mine | Mine | 4x Chemicals 2x Rubber Parts | Explosives Station 1 |
| Green Light Stick | Quick Use | 3x Chemicals | Utility Station 1 |
| Pulse Mine | Mine | 1x Crude Explosives 1x Wires | Explosives Station 1 |
| Seeker Grenade | Grenade | 1x Crude Explosives 2x ARC Alloy | Explosives Station 1 |
| Looting Mk. 3 (Survivor) | Augment | 2x Advanced Electrical Components 3x Processor | Gear Bench 3 |
| Angled Grip II | Mod | 2x Mechanical Components 3x Duct Tape | Gunsmith 2 |
| Angled Grip III | Mod | 2x Mod Components 5x Duct Tape | Gunsmith 3 |
| Hullcracker | Weapon | 1x Magnetic Accelerator 3x Heavy Gun Parts 1x Exodus Modules | Gunsmith 3 |
| Launcher Ammo | Ammo | 5x Metal Parts 1x Crude Explosives | Workbench 1 |
| Anvil | Weapon | 5x Mechanical Components 5x Simple Gun Parts | Gunsmith 2 |
| Anvil Splitter | Mod | 2x Mod Components 3x Processor | Gunsmith 3 |
| ??? | ??? | ??? | ??? |
| Barricade Kit | Quick Use | 1x Mechanical Components | Utility Station 2 |
| Blaze Grenade | Grenade | 1x Explosive Compound 2x Oil | Explosives Station 3 |
| Bobcat | Weapon | 3x Advanced Mechanical Components 3x Light Gun Parts | Gunsmith 3 |
| Osprey | Weapon | 2x Advanced Mechanical Components 3x Medium Gun Parts 7x Wires | Gunsmith 3 |
| Burletta | Weapon | 3x Mechanical Components 3x Simple Gun Parts | Gunsmith 1 |
| Compensator II | Mod | 2x Mechanical Components 4x Wires | Gunsmith 2 |
| Compensator III | Mod | 2x Mod Components 8x Wires | Gunsmith 3 |
| Defibrillator | Quick Use | 9x Plastic Parts 1x Moss | Medical Lab 2 |
| ??? | ??? | ??? | ??? |
| Equalizer | Weapon | 3x Magnetic Accelerator 3x Complex Gun Parts 1x Queen Reactor | Gunsmith 3 |
| Extended Barrel | Mod | 2x Mod Components 8x Wires | Gunsmith 3 |
| Extended Light Mag II | Mod | 2x Mechanical Components 3x Steel Spring | Gunsmith 2 |
| Extended Light Mag III | Mod | 2x Mod Components 5x Steel Spring | Gunsmith 3 |
| Extended Medium Mag II | Mod | 2x Mechanical Components 3x Steel Spring | Gunsmith 2 |
| Extended Medium Mag III | Mod | 2x Mod Components 5x Steel Spring | Gunsmith 3 |
| Extended Shotgun Mag II | Mod | 2x Mechanical Components 3x Steel Spring | Gunsmith 2 |
| Extended Shotgun Mag III | Mod | 2x Mod Components 5x Steel Spring | Gunsmith 3 |
| Remote Raider Flare | Quick Use | 2x Chemicals 4x Rubber Parts | Utility Station 1 |
| Heavy Gun Parts | Material | 4x Simple Gun Parts | Refiner 2 |
| Venator | Weapon | 2x Advanced Mechanical Components 3x Medium Gun Parts 5x Magnet | Gunsmith 3 |
| Il Toro | Weapon | 5x Mechanical Components 6x Simple Gun Parts | Gunsmith 1 |
| Jolt Mine | Mine | 1x Electrical Components 1x Battery | Explosives Station 2 |
| Explosive Mine | Mine | 1x Explosive Compound 1x Sensors | Explosives Station 3 |
| Jupiter | Weapon | 3x Magnetic Accelerator 3x Complex Gun Parts 1x Queen Reactor | Gunsmith 3 |
| Light Gun Parts | Material | 4x Simple Gun Parts | Refiner 2 |
| Lightweight Stock | Mod | 2x Mod Components 5x Duct Tape | Gunsmith 3 |
| Lure Grenade | Grenade | 1x Speaker Component 1x Electrical Components | Utility Station 2 |
| Medium Gun Parts | Material | 4x Simple Gun Parts | Refiner 2 |
| Torrente | Weapon | 2x Advanced Mechanical Components 3x Medium Gun Parts 6x Steel Spring | Gunsmith 3 |
| Muzzle Brake II | Mod | 2x Mechanical Components 4x Wires | Gunsmith 2 |
| Muzzle Brake III | Mod | 2x Mod Components 8x Wires | Gunsmith 3 |
| Padded Stock | Mod | 2x Mod Components 5x Duct Tape | Gunsmith 3 |
| Shotgun Choke II | Mod | 2x Mechanical Components 4x Wires | Gunsmith 2 |
| Shotgun Choke III | Mod | 2x Mod Components 8x Wires | Gunsmith 3 |
| Shotgun Silencer | Mod | 2x Mod Components 8x Wires | Gunsmith 3 |
| Showstopper | Grenade | 1x Advanced Electrical Components 1x Voltage Converter | Explosives Station 3 |
| Silencer I | Mod | 2x Mechanical Components 4x Wires | Gunsmith 2 |
| Silencer II | Mod | 2x Mod Components 8x Wires | Gunsmith 3 |
| Snap Hook | Quick Use | 2x Power Rod 3x Rope 1x Exodus Modules | Utility Station 3 |
| Stable Stock II | Mod | 2x Mechanical Components 3x Duct Tape | Gunsmith 2 |
| Stable Stock III | Mod | 2x Mod Components 5x Duct Tape | Gunsmith 3 |
| Tagging Grenade | Grenade | 1x Electrical Components 1x Sensors | Utility Station 3 |
| Tempest | Weapon | 3x Advanced Mechanical Components 3x Medium Gun Parts 3x Canister | Gunsmith 3 |
| Trigger Nade | Grenade | 2x Crude Explosives 1x Processor | Explosives Station 2 |
| Vertical Grip II | Mod | 2x Mechanical Components 3x Duct Tape | Gunsmith 2 |
| Vertical Grip III | Mod | 2x Mod Components 5x Duct Tape | Gunsmith 3 |
| Vita Shot | Quick Use | 2x Antiseptic 1x Syringe | Medical Lab 3 |
| Vita Spray | Quick Use | 3x Antiseptic 1x Canister | Medical Lab 3 |
| Vulcano | Weapon | 1x Magnetic Accelerator 3x Heavy Gun Parts 1x Exodus Modules | Gunsmith 3 |
| Wolfpack | Grenade | 2x Explosive Compound 2x Sensors | Explosives Station 3 |
| Red Light Stick | Quick Use | 3x Chemicals | Utility Station 1 |
| Smoke Grenade | Grenade | 14x Chemicals 1x Canister | Utility Station 2 |
| Deadline | Mine | 3x Explosive Compound 2x ARC Circuitry | Explosives Station 3 |
| Trailblazer | Grenade | 1x Explosive Compound 1x Synthesized Fuel | Explosives Station 3 |
| Tactical Mk. 3 (Defensive) | Augment | 2x Advanced Electrical Components 3x Processor | Gear Bench 3 |
| Tactical Mk. 3 (Healing) | Augment | 2x Advanced Electrical Components 3x Processor | Gear Bench 3 |
| Yellow Light Stick | Quick Use | 3x Chemicals | Utility Station 1 |
Note: The missing Blueprints in this list likely have not actually been added to the game at the time of writing, because none of the playerbase has managed to find any of them. As they are added to the game, I will update this page with the most relevant information so you know exactly how to get all 75 Arc Raiders Blueprints.
Where to find Blueprints in Arc Raiders
Below is a list of all containers, modifiers, and events which maximise your chances of finding Blueprints:
- Certain quests reward you with specific Blueprints .
- Completing Trials has a high chance of offering Blueprints as rewards.
- Surveyors have a decent chance of dropping Blueprints on death.
- High loot value areas tend to have a greater chance of spawning Blueprints.
- Night Raids and Storms may increase rare Blueprint spawn chances in containers.
- Containers with higher numbers of items may have a higher tendency to spawn Blueprints. As a result, Blue Gate (which has many “large” containers containing multiple items) may give you a higher chance of spawning Blueprints.
- Raider containers (Raider Caches, Weapon Boxes, Medical Bags, Grenade Tubes) have increased Blueprint drop rates. As a result, the Uncovered Caches event gives you a high chance of finding Blueprints.
- Security Lockers have a higher than average chance of containing Blueprints.
- Certain Blueprints only seem to spawn under specific circumstances: Tempest Blueprint only spawns during Night Raid events. Vulcano Blueprint only spawns during Hidden Bunker events. Jupiter and Equaliser Blueprints only spawn during Harvester events.

Raider Caches, Weapon Boxes, and other raider-oriented container types have a good chance of offering Blueprints. |Image credit:Rock Paper Shotgun/Embark Studios
Blueprints have a very low chance of spawning in any container in Arc Raiders, around 1-2% on average. However, there is a higher chance of finding Blueprints in particular container types. Specifically, you can find more Blueprints in Raider containers and security lockers.
Beyond this, if you’re looking for Blueprints you should focus on regions of the map which are marked as having particularly high-value loot. Areas such as the Control Tower in Dam Battlegrounds, the Arrival and Departure Buildings in Spaceport, and Pilgrim’s Peak in Blue Gate all have a better-than-average chance of spawning Blueprints somewhere amongst all their containers. Night Raids and Electromagnetic Storm events also increase the drop chances of certain Blueprints .
In addition to these containers, you can often loot Blueprints from destroyed Surveyors - the largest of the rolling ball ARC. Surveyors are more commonly found on the later maps - Spaceport and Blue Gate - and if one spawns in your match, you’ll likely see it by the blue laser beam that it casts into the sky while “surveying”.
Surveyors are quite well-armoured and will very speedily run away from you once it notices you, but if you can take one down then make sure you loot all its parts for a chance of obtaining certain unusual Blueprints.
Blueprints obtained from quests
One way in which you can get Blueprints is by completing certain quests for the vendors in Speranza. Some quests will reward you with a specific item Blueprint upon completion, so as long as you work through all the quests in Arc Raiders, you are guaranteed those Blueprints.
Here is the full list of all Blueprints you can get from quest rewards:
- Trigger Nade Blueprint: Rewarded after completing “Sparks Fly”.
- Lure Grenade Blueprint: Rewarded after completing “Greasing Her Palms”.
- Burletta Blueprint: Rewarded after completing “Industrial Espionage”.
- Hullcracker Blueprint (and Launcher Ammo Blueprint): Rewarded after completing “The Major’s Footlocker”.
Alas, that’s only 4 Blueprints out of a total of 75 to unlock, so for the vast majority you will need to find them yourself during a raid. If you’re intent on farming Blueprints, then it’s best to equip yourself with cheap gear in case you lose it, but don’t use a free loadout because then you won’t get a safe pocket to stash any new Blueprint you find. No pain in Arc Raiders is sharper than failing to extract with a new Blueprint you’ve been after for a dozen hours already.

One of the best ways to get Blueprints is by hitting three stars on all five Trials every week. |Image credit:Rock Paper Shotgun/Embark Studios
Blueprints obtained from Trials
One of the very best ways to get Blueprints is as rewards for completing Trials in Arc Raiders. Trials are unlocked from Level 15 onwards, and allow you to earn rewards by focusing on certain tasks over the course of several raids. For example, one Trial might task you with dealing damage to Hornets, while another might challenge you to loot Supply Drops.
Trials refresh on a weekly basis, with a new week bringing five new Trials. Each Trial can offer up to three rewards after passing certain score milestones, and it’s possible to receive very high level loot from these reward crates - including Blueprints. So if you want to unlock as many Blueprints as possible, you should make a point of completing as many Trials as possible each week.
Best Blueprint farming locations
The very best way to get Blueprints is to frequent specific areas of the maps which combine high-tier loot pools with the right types of containers to search. Here are my recommendations for where to find Blueprints on every map, so you can always keep the search going for new crafting recipes to unlock.

Image credit:Rock Paper Shotgun/Embark Studios
Dam Battlegrounds
The best places to farm Blueprints on Dam Battlegrounds are the Control Tower, Power Generation Complex, Ruby Residence, and Pale Apartments . The first two regions, despite only being marked on the map as mid-tier loot, contain a phenomenal number of containers to loot. The Control Tower can also contain a couple of high-tier Security Lockers - though of course, you’ll need to have unlocked the Security Breach skill at the end of the Survival tree.
There’s also a lot of reporting amongst the playerbase that the Residential areas in the top-left of the map - Pale Apartments and Ruby Residence - give you a comparatively strong chance of finding Blueprints. Considering their size, there’s a high density of containers to loot in both locations, and they also have the benefit of being fairly out of the way. So you’re more likely to have all the containers to yourself.
Buried City
The best Blueprint farming locations on Buried City are the Santa Maria Houses, Grandioso Apartments, Town Hall, and the various buildings of the New District . Grandioso Apartments has a lower number of containers than the rest, but a high chance of spawning weapon cases - which have good Blueprint drop rates. The others are high-tier loot areas, with plenty of lootable containers - including Security Lockers.
Spaceport
The best places to find Blueprints on Spaceport are the Arrival and Departure Buildings, as well as Control Tower A6 and the Launch Towers . All these areas are labelled as high-value loot regions, and many of them are also very handily connected to one another by the Spaceport wall, which you can use to quickly run from one area to the next. At the tops of most of these buildings you’ll find at least one Security Locker, so this is an excellent farming route for players looking to find Blueprints.
The downside to looting Blueprints on Spaceport is that all these areas are hotly contested, particularly in Duos and Squads. You’ll need to be very focused and fast in order to complete the full farming route.

Image credit:Rock Paper Shotgun/Embark Studios
Blue Gate
Blue Gate tends to have a good chance of dropping Blueprints, potentially because it generally has a high number of containers which can hold lots of items; so there’s a higher chance of a Blueprint spawning in each container. In my experience, the best Blueprint farming spots on Blue Gate are Pilgrim’s Peak, Raider’s Refuge, the Ancient Fort, and the Underground Complex beneath the Warehouse .
All of these areas contain a wealth of containers to loot. Raider’s Refuge has less to loot, but the majority of the containers in and around the Refuge are raider containers, which have a high chance of containing Blueprints - particularly during major events.
Stella Montis
On the whole, Stella Montis seems to have a very low drop rate for Blueprints (though a high chance of dropping other high-tier loot). If you do want to try farming Blueprints on this map, the best places to find Blueprints in Stella Montis are Medical Research, Assembly Workshop, and the Business Center . These areas have the highest density of containers to loot on the map.
In addition to this, the Western Tunnel has a few different Security Lockers to loot, so while there’s very little to loot elsewhere in this area of the map, it’s worth hitting those Security Lockers if you spawn there at the start of a match.
That wraps up this primer on how to get all the Blueprints in Arc Raiders as quickly as possible. With the Expedition system constantly resetting a large number of players’ Blueprints, it’s more important than ever to have the most up-to-date information on where to find all these Blueprints.
While you’re here, be sure to check out our Arc Raiders best guns tier list , as well as our primers on the best skills to unlock and all the different Field Depot locations on every map.

ARC Raiders
PS5 , Xbox Series X/S , PC
Rock Paper Shotgun is better when you sign in
Sign in and join us on our journey to discover strange and compelling PC games.
