Last Epoch: Best builds for every class
Create the strongest character in Last Epoch with these 10 top-tier builds

Image credit:Rock paper Shotgun/Eleventh Hour Games

What are the best builds for every class in Last Epoch? The hottest ARPG in town right now has five classes to choose from, followed by a number of subclasses specific to each, meaning there is a lot of build variation possible. When you’re first learning the game though, don’t worry too much about your build specifics. The best builds here are best suited to players who have reached level 70 and want to tackle the endgame content, though you can work your way towards these by unlocking the right skills as you progress through the story.
It’s an overwhelming game but with these builds, each of which we also have full dedicated guides for, it should be a little easier to manage. Here are the best builds for every class in Last Epoch , along with an alternative option for each.
Acolyte: Harvest Lich

Image credit:Rock Paper Shotgun/Eleventh Hour Games
If you want to channel the undead, our best Acolyte builds are what you need. This is a tricky class to play and as a result, maxing this build in particular out takes quite a while, so only go for this Harvest Lich if you’re ready for the commitment. It uses the Reaper Form skill to literally transform you into the Grim Reaper, but in this form, your health slowly decays. When it depletes entirely, rather than dying, you’re transformed back into a human at full health.
So the way to prolong Reaper Form is by using Harvest as much as possible on enemies, because with nodes such as Soul Maw, you can leech health from your foes. However, for a huge damage multiplier against bosses, you can use the Death Seal x Dance with Death combo which prevents you from healing for a short period in exchange for much more DPS. Then there’s Transplant, which is your movement skill, teleporting you to a chosen location while an explosion occurs where you came from. Finally, Bone Curse allows you to mark enemies for additional damage.
Acolyte: Torment Warlock

Image credit:Rock Paper Shotgun/Eleventh Hour Games
Rather than turning into the Grim Reaper, this Torment Warlock uses spirits via Chthonic Fissure as its main form of dealing damage, which are essentially homing projectiles. These also inflict Torment Curse on every foe they hit, which slows and deals damage over time. This means the primary playstyle for the build doesn’t require much precision, as you let these loose and let enemies fall around you as you make your way to the objective.
Spirit Plague is another skill that contributes to this as it also curses enemies to deal damage over time, while Wandering Spirits also deal damage over time, but the difference here is these spirits walk randomly rather than targeting specific enemies. Also, guess what? Profane Veil, the fourth skill, also deals damage over time to enemies around you, but it also ensures you dodge every hit that comes your way, with the only penalty being slower movement. Finally, this build also utilizes Transplant for movement, which allows you to dart all over the shop.
Mage: Hydrahedron Runemaster

Image credit:Rock Paper Shotgun/Eleventh Hour Games
The best Mage builds are a classic in ARPGs so if DPS is your aim, look no further than this Hydrahedron Runemaster build. This utilizes the Runic Invocation skill to combine one Lightning and two Fire runes to summon a Hydrahedron, which is an eight-sided fiery turret, essentially. You can then buff it with various other abilities to make it deal more damage, and while it’s active, you can focus on some of your other skills such as Runebolt for more DPS, and Frost Wall to block off an area.
Whereas some classes and builds in Last Epoch want to be right in the thick of it, the Hydrahedron Runemaster wants to put as much distance between itself and the enemies as possible. Flame Rush is your movement skill which can help with that, as can Flame Ward, which offers immense defensive capabilities. Make sure you have the Dual Aegis node for Flame Ward though, as it provides you with an extra charge for especially dire situations.
Mage: Glacier Sorcerer
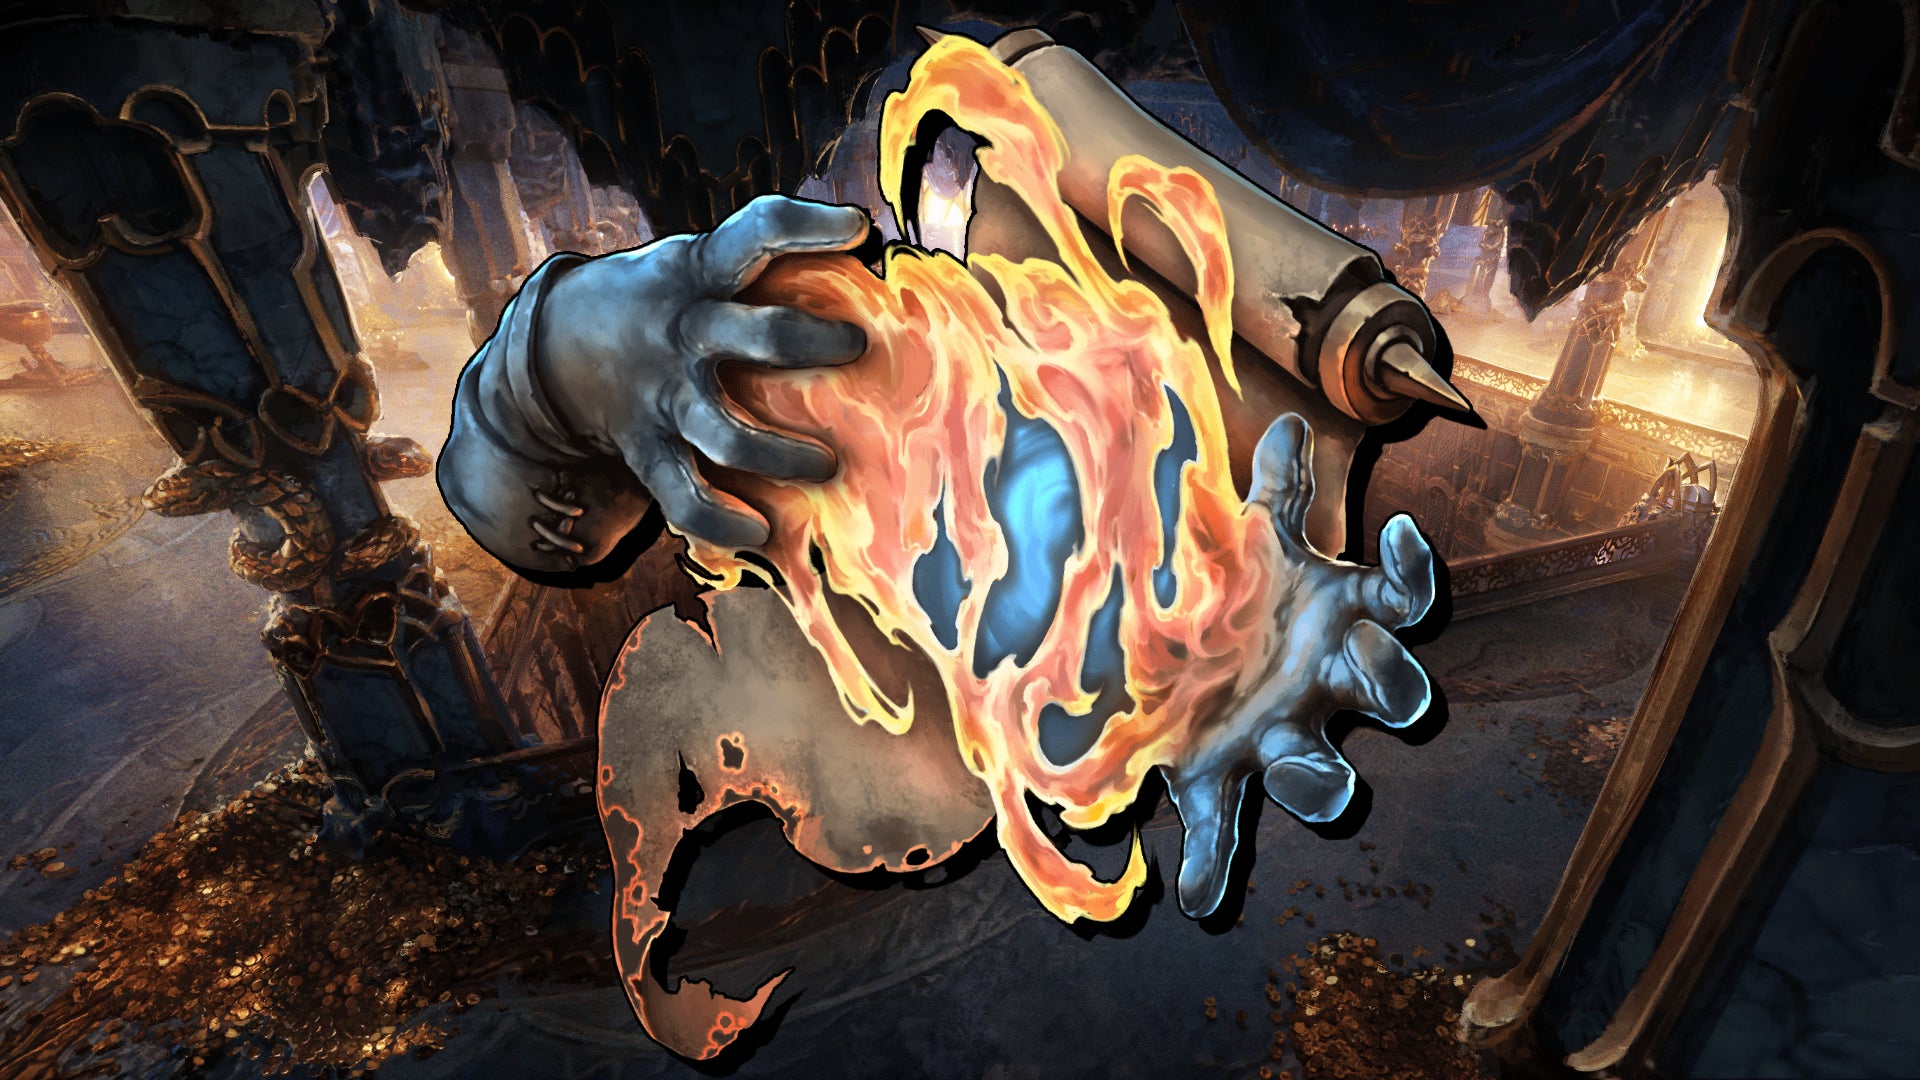
Image credit:Rock Paper Shotgun/Eleventh Hour Games
If you fancy channeling your inner Elsa instead of setting enemies alight, this Glacier Sorcerer build is for you. The primary skill here is Glacier, which causes three enormous ice explosions right in front of you, each one more powerful than the last. However, to make the most of this build, you want to group enemies up as much as possible, which can be done by using Teleport to manipulate their pathing.
Alongside these two essential skills, you’ll want Ice Barrage to focus on individual targets such as bosses and elites, and thanks to Ice Shield, you’ll be protected in the direction you’re firing. Then, much like the Hydrahedron Runemaster, you can utilize Flame Ward for its defensive prowess. Finally, we have Focus, which takes you out of action momentarily as you channel 100% increased mana regen and additional ward, but is essential for that huge mana influx.
Primalist: Thorn Totem Shaman

Image credit:Rock Paper Shotgun/Eleventh Hour Games
The Primalist is essentially your classic Druid, and our guide to the best Primalist builds have all the finer details on how to play this nature-loving class. This Thorn Totem Shaman is all about transforming into a Spriggan, which is essentially a big tree. In this form, you want to summon lots of friends to help you out in battle, and they do most of the work for you as long as you summon them at the right times.
Summon Spriggan will conjure up a Spriggan companion that heals you and attacks enemies, and alongside Summon Thorn Totem, is your primary damage dealer. You can also summon Storm Totems - enabled by the Stormcarved Testament unique gear - which cast lightning storms around enemies and buff your movement. Then there are the Healing Totems you can summon, which heal all nearby allies. The final skill, Eterra’s Blessing, provides a lot of healing to nearby allies and minions.
Primalist: Squirrel Beastmaster

Image credit:Rock Paper Shotgun/Eleventh Hour Games
Where the Shaman build is all about trees and totems, this Squirrel Beastmaster build loves summoning an army of bushy tailed rodents. Though funnily enough, the skill to summon said squirrels is Summon Wolf, thanks to the Herald of the Scurry unique helmet. Without it, you’re just a plain old Wolf Beastmaster (which is, admittedly, still pretty strong). Cast your companion ability - Sciurine Rage for squirrels - to aggravate them, then summon Frenzy Totems to increase that even further.
Warcry is a skill that knocks back nearby enemies, so use Fury Leap to get yourself into the thick of the action and unleash Warcry to give yourself some breathing room. Swipe is the skill that will be your primary source of damage though, as you can cast it repeatedly to hit all enemies in front of you. This is a pretty simple build to run and has a high damage ceiling.
Rogue: Ballista Falconer
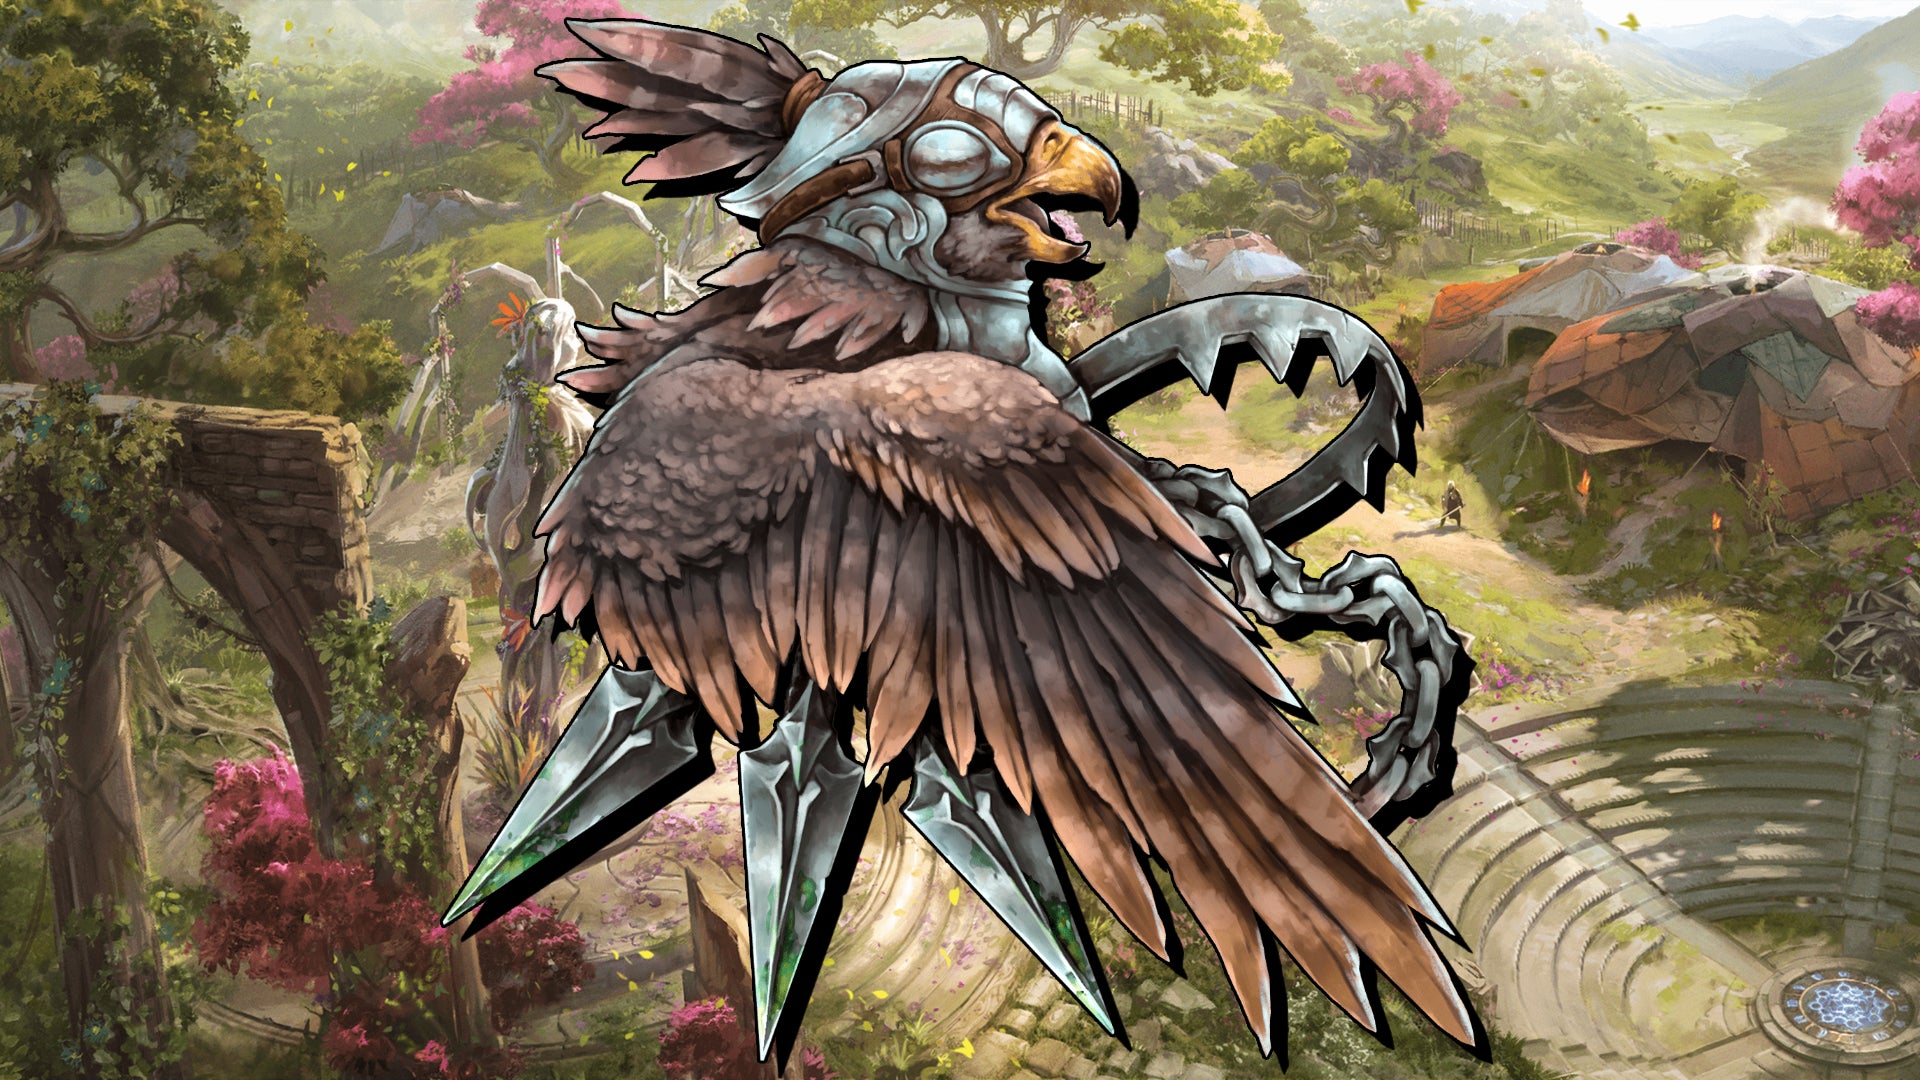
Image credit:Rock Paper Shotgun/Eleventh Hour Games
The Rogue is typically someone who operates stealthily, utilizing traps and other tools to their advantage, and our best Rogue builds follow suit. The first of which is this Ballista Falconer build that combines the mighty power of a summoned ballista - an ancient missile weapon that can launch huge bolts - with summoned falcon companions to fight alongside you. However, the ballistas are summoned by Explosive Trap, which must be a zero mana cost skill to ensure it generates mana instead thanks to the Sapping Strikes node.
Alongside Explosive Trap and Falcon Strikes, you also have Dive Bomb which instructs your falcon to dive bomb the ground at high speed, dealing area-of-effect damage to all enemies in the vicinity. You should equip a Decoy on your hotbar that will taunt and distract enemies since you don’t need Ballista there though, and Smoke Bomb is your movement skill, blinding enemies and granting you haste. Overall, the Rogue Ballista Falconer build is a jack-of-all-trades sort of build, with high specific-target DPS and lots of AoE, you just need to stay mobile and use Decoys wisely.
Rogue: Shadow Bladedancer

Image credit:Rock Paper Shotgun/Eleventh Hour Games
This Rogue build leans even heavier into the stealth aspect of being a Rogue, with much faster movement. Umbral Blades is the main DPS dealer here, launching a series of shadow blades into your target, all guaranteed to deal critical hits. You’ve also got Synchronized Strike which sort of doubles as a movement skill, as you leap forward and cast shadow blades all around you.
Shadow Cascade is another circular blade-based attack, but your actual movement skill, Shift, will proc it every time you use it so you can replace it with a Decoy on your hotbar. Shift is a simple dash forward but the main bonus is that it gives you invulnerability for a second or two, while this build also uses Smoke Bomb, and thanks to the Smoke Blades node, grants additional damage while you’re inside the smoke. This build is a little trickier to manage than the Ballista Falconer, but you are quick and can deal some ridiculous damage.
Sentinel: Nova Paladin
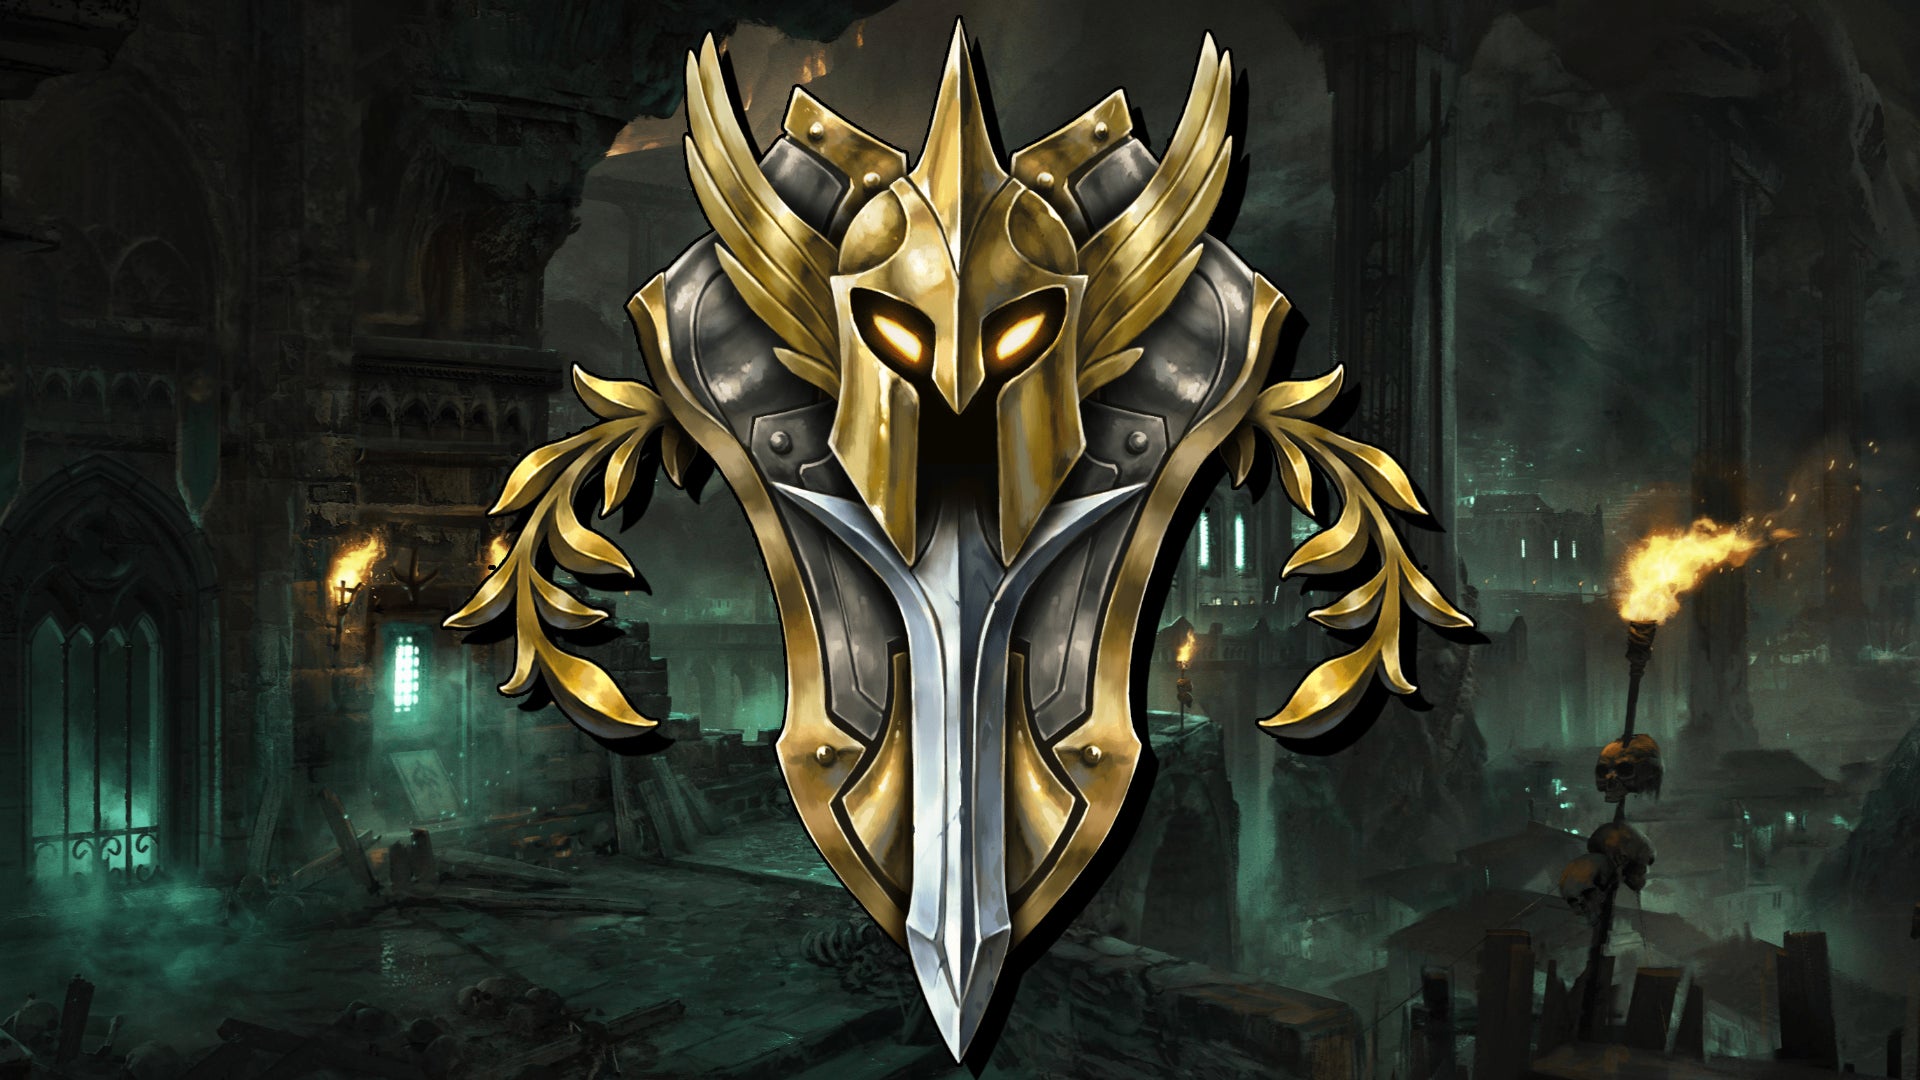
Image credit:Rock Paper Shotgun/Eleventh Hour Games
The Sentinel is possibly the best class to choose for ARPG newbies, as both of these best Sentinel builds are easy to learn and very consistent. The first is the Nova Paladin, which uses Hammer Throw to send out a flurry of hammers in all directions thanks to the Enra’s Technique and Avatar of the Spire nodes. However, before you send them out, you want to cast Sigils of Hope a few times, which means your attacks deal extra damage and you have 30% extra health regeneration.
On the support side of things, you’ve got Holy Aura which gives 30% increased damage and +15% elemental resistance for you and your nearby allies. You’ll want this active pretty much at all times because with the right nodes, it can grow significantly. There are also two movement skills here: Smite , when paired with the Descend node, teleports you to wherever the smite lands, while Volatile Reversal is sort of a reverse movement skill. Cast it to return to wherever you were two seconds ago, reverting all health and mana changes, so when you master it, you can charge in with all your skills active, then cast Volatile Reversal to gain everything back instantly. In short, you can deal lots of AoE damage, especially from range, but it’s best used when playing with others thanks to the support effects.
Sentinel: Manifest Armor Forge Guard
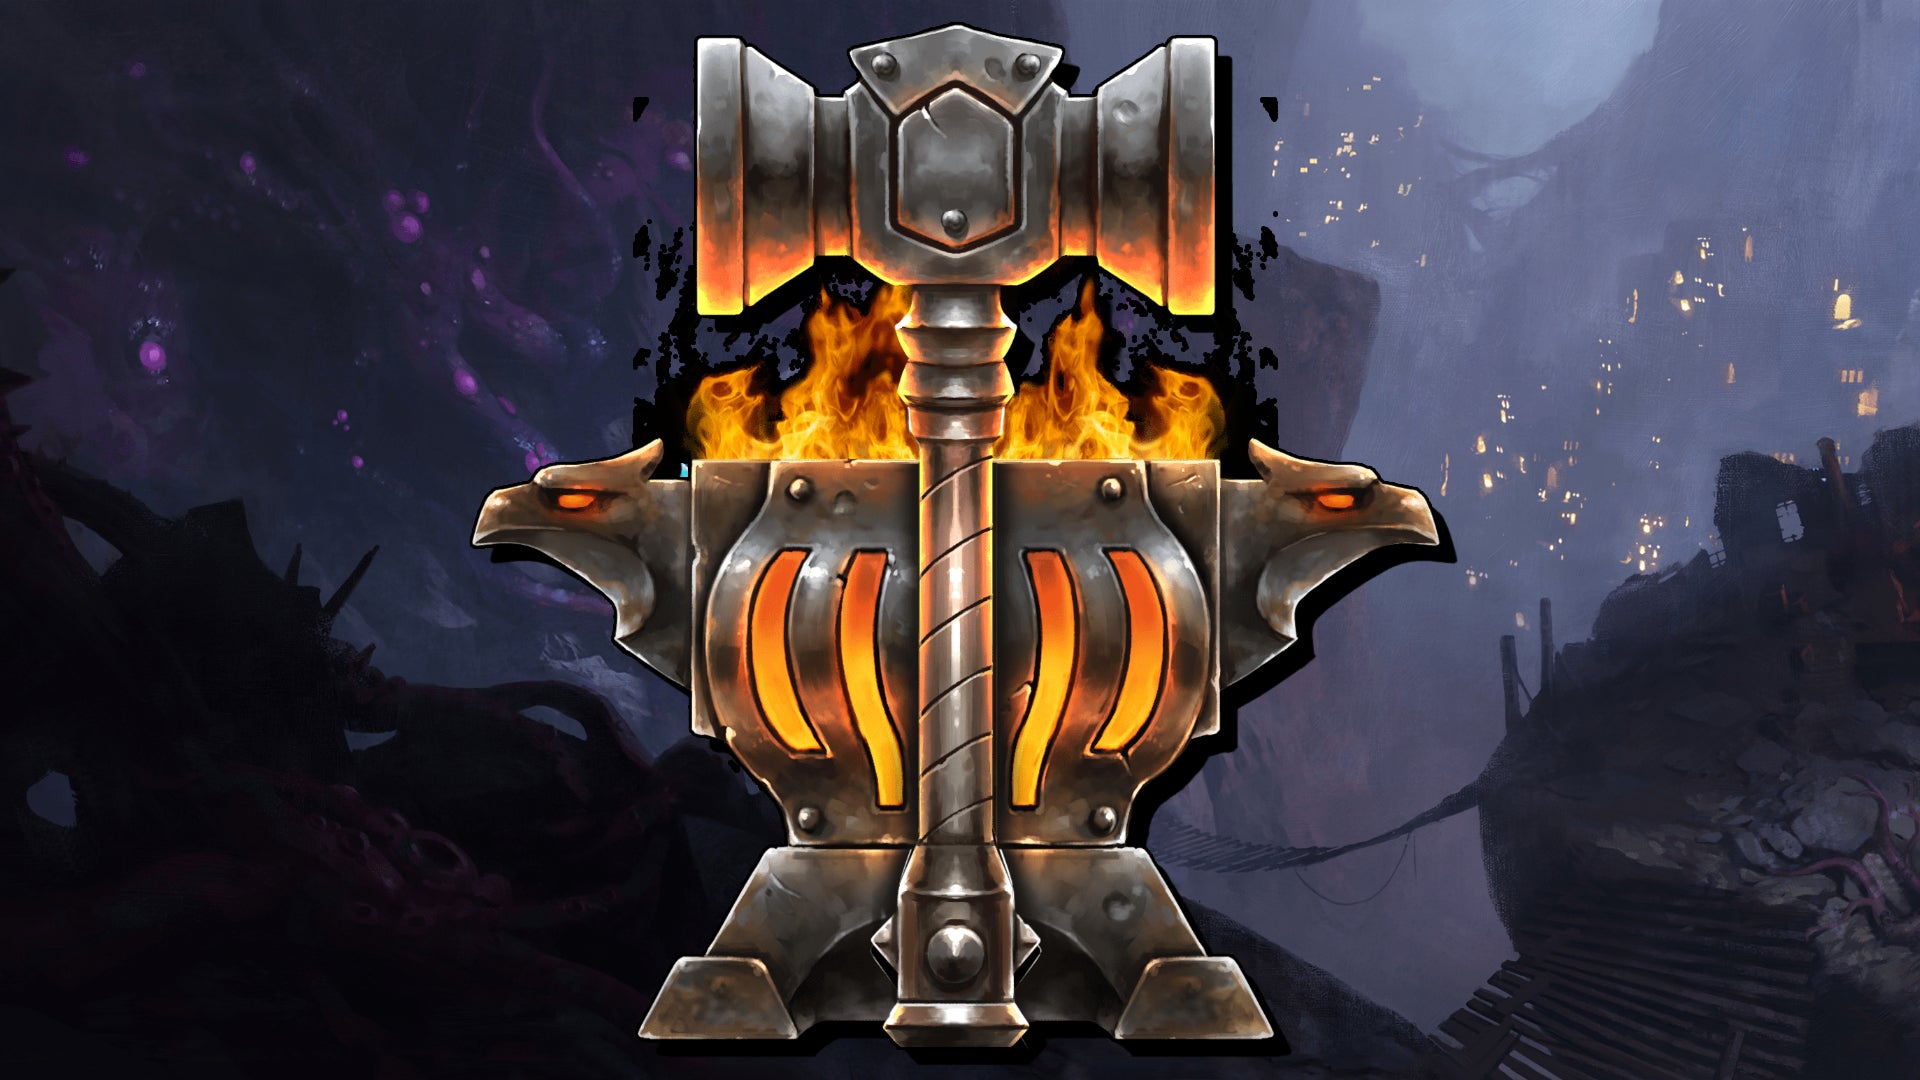
Image credit:Rock Paper Shotgun/Eleventh Hour Games
As mentioned, this is also a beginner friendly Sentinel build, but it features on single target DPS instead of AoE like the Nova Paladin. The Manifest Armor skill summons a companion made out of copies of your own armor, but with specific nodes, these stats can be grown much higher. Much like the other build, you’ve also got Sigils of Hope here for damage buffs, but this time you’re focused on primarily using the Javelin skill to get into the thick of the battle by converting it to a movement skill with the Surprise Initiative node.
To deal the most damage, you want to be casting Shield Throw, but the trick here is to cast it directly at your Manifest Armor, because doing so causes an AoE cleave attack around the armor. When the shield ricochets, it triggers it again, so you can basically act like the puppet master, sitting back while the armor does the work. When you do need to get into the action, you’ve got Void Cleave to attack enemies directly in front of you. Additionally, with the right nodes, this can buff your Manifest Armor’s DPS even further. This Sentinel build is much better for dealing with individual targets, so roll with this if you have a teammate with excellent AoE.
There you have it, 10 of the best builds in Last Epoch, with links to all of our dedicated class guides that dive even further into each build.


Last Epoch
Video Game
Rock Paper Shotgun is better when you sign in
Sign in and join us on our journey to discover strange and compelling PC games.

All 75 Arc Raiders Blueprints and where to get them
These areas have the highest chance of giving you Blueprints

Image credit:Rock Paper Shotgun/Embark Studios

Looking for more Arc Raiders Blueprints? It’s a special day when you find a Blueprint, as they’re among the most valuable items in Arc Raiders. If you find a Blueprint that you haven’t already found, then you must make sure you hold onto it at all costs, because Blueprints are the key to one of the most important and powerful systems of meta-progression in the game.
This guide aims to be the very best guide on Blueprints you can find, starting with a primer on what exactly they are and how they work in Arc Raiders, before delving into exactly where to get Blueprints and the very best farming spots for you to take in your search.
We’ll also go over how to get Blueprints from other unlikely activities, such as destroying Surveyors and completing specific quests. And you’ll also find the full list of all 75 Blueprints in Arc Raiders on this page (including the newest Blueprints added with the Cold Snap update , such as the Deadline Blueprint and Firework Box Blueprint), giving you all the information you need to expand your own crafting repertoire.
In this guide:
- What are Blueprints in Arc Raiders?
- Full Blueprint list: All crafting recipes
- Where to find Blueprints in Arc Raiders Blueprints obtained from quests Blueprints obtained from Trials Best Blueprint farming locations

What are Blueprints in Arc Raiders?
Blueprints in Arc Raiders are special items which, if you manage to extract with them, you can expend to permanently unlock a new crafting recipe in your Workshop. If you manage to extract from a raid with an Anvil Blueprint, for example, you can unlock the ability to craft your very own Anvil Pistol, as many times as you like (as long as you have the crafting materials).
To use a Blueprint, simply open your Inventory while in the lobby, then right-click on the Blueprint and click “Learn And Consume” . This will permanently unlock the recipe for that item in your Workshop. As of the Stella Montis update, there are allegedly 75 different Blueprints to unlock - although only 68 are confirmed to be in the game so far. You can see all the Blueprints you’ve found and unlocked by going to the Workshop menu, and hitting “R” to bring up the Blueprint screen.
It’s possible to find duplicates of past Blueprints you’ve already unlocked. If you find these, then you can either sell them, or - if you like to play with friends - you can take it into a match and gift it to your friend so they can unlock that recipe for themselves. Another option is to keep hold of them until the time comes to donate them to the Expedition.
Full Blueprint list: All crafting recipes
Below is the full list of all the Blueprints that are currently available to find in Arc Raiders, and the crafting recipe required for each item:
| Blueprint | Type | Recipe | Crafted At |
|---|---|---|---|
| Bettina | Weapon | 3x Advanced Mechanical Components 3x Heavy Gun Parts 3x Canister | Gunsmith 3 |
| Blue Light Stick | Quick Use | 3x Chemicals | Utility Station 1 |
| Aphelion | Weapon | 3x Magnetic Accelerator 3x Complex Gun Parts 1x Matriarch Reactor | Gunsmith 3 |
| Combat Mk. 3 (Flanking) | Augment | 2x Advanced Electrical Components 3x Processor | Gear Bench 3 |
| Combat Mk. 3 (Aggressive) | Augment | 2x Advanced Electrical Components 3x Processor | Gear Bench 3 |
| Complex Gun Parts | Material | 2x Light Gun Parts 2x Medium Gun Parts 2x Heavy Gun Parts | Refiner 3 |
| Fireworks Box | Quick Use | 1x Explosive Compound 3x Pop Trigger | Explosives Station 2 |
| Gas Mine | Mine | 4x Chemicals 2x Rubber Parts | Explosives Station 1 |
| Green Light Stick | Quick Use | 3x Chemicals | Utility Station 1 |
| Pulse Mine | Mine | 1x Crude Explosives 1x Wires | Explosives Station 1 |
| Seeker Grenade | Grenade | 1x Crude Explosives 2x ARC Alloy | Explosives Station 1 |
| Looting Mk. 3 (Survivor) | Augment | 2x Advanced Electrical Components 3x Processor | Gear Bench 3 |
| Angled Grip II | Mod | 2x Mechanical Components 3x Duct Tape | Gunsmith 2 |
| Angled Grip III | Mod | 2x Mod Components 5x Duct Tape | Gunsmith 3 |
| Hullcracker | Weapon | 1x Magnetic Accelerator 3x Heavy Gun Parts 1x Exodus Modules | Gunsmith 3 |
| Launcher Ammo | Ammo | 5x Metal Parts 1x Crude Explosives | Workbench 1 |
| Anvil | Weapon | 5x Mechanical Components 5x Simple Gun Parts | Gunsmith 2 |
| Anvil Splitter | Mod | 2x Mod Components 3x Processor | Gunsmith 3 |
| ??? | ??? | ??? | ??? |
| Barricade Kit | Quick Use | 1x Mechanical Components | Utility Station 2 |
| Blaze Grenade | Grenade | 1x Explosive Compound 2x Oil | Explosives Station 3 |
| Bobcat | Weapon | 3x Advanced Mechanical Components 3x Light Gun Parts | Gunsmith 3 |
| Osprey | Weapon | 2x Advanced Mechanical Components 3x Medium Gun Parts 7x Wires | Gunsmith 3 |
| Burletta | Weapon | 3x Mechanical Components 3x Simple Gun Parts | Gunsmith 1 |
| Compensator II | Mod | 2x Mechanical Components 4x Wires | Gunsmith 2 |
| Compensator III | Mod | 2x Mod Components 8x Wires | Gunsmith 3 |
| Defibrillator | Quick Use | 9x Plastic Parts 1x Moss | Medical Lab 2 |
| ??? | ??? | ??? | ??? |
| Equalizer | Weapon | 3x Magnetic Accelerator 3x Complex Gun Parts 1x Queen Reactor | Gunsmith 3 |
| Extended Barrel | Mod | 2x Mod Components 8x Wires | Gunsmith 3 |
| Extended Light Mag II | Mod | 2x Mechanical Components 3x Steel Spring | Gunsmith 2 |
| Extended Light Mag III | Mod | 2x Mod Components 5x Steel Spring | Gunsmith 3 |
| Extended Medium Mag II | Mod | 2x Mechanical Components 3x Steel Spring | Gunsmith 2 |
| Extended Medium Mag III | Mod | 2x Mod Components 5x Steel Spring | Gunsmith 3 |
| Extended Shotgun Mag II | Mod | 2x Mechanical Components 3x Steel Spring | Gunsmith 2 |
| Extended Shotgun Mag III | Mod | 2x Mod Components 5x Steel Spring | Gunsmith 3 |
| Remote Raider Flare | Quick Use | 2x Chemicals 4x Rubber Parts | Utility Station 1 |
| Heavy Gun Parts | Material | 4x Simple Gun Parts | Refiner 2 |
| Venator | Weapon | 2x Advanced Mechanical Components 3x Medium Gun Parts 5x Magnet | Gunsmith 3 |
| Il Toro | Weapon | 5x Mechanical Components 6x Simple Gun Parts | Gunsmith 1 |
| Jolt Mine | Mine | 1x Electrical Components 1x Battery | Explosives Station 2 |
| Explosive Mine | Mine | 1x Explosive Compound 1x Sensors | Explosives Station 3 |
| Jupiter | Weapon | 3x Magnetic Accelerator 3x Complex Gun Parts 1x Queen Reactor | Gunsmith 3 |
| Light Gun Parts | Material | 4x Simple Gun Parts | Refiner 2 |
| Lightweight Stock | Mod | 2x Mod Components 5x Duct Tape | Gunsmith 3 |
| Lure Grenade | Grenade | 1x Speaker Component 1x Electrical Components | Utility Station 2 |
| Medium Gun Parts | Material | 4x Simple Gun Parts | Refiner 2 |
| Torrente | Weapon | 2x Advanced Mechanical Components 3x Medium Gun Parts 6x Steel Spring | Gunsmith 3 |
| Muzzle Brake II | Mod | 2x Mechanical Components 4x Wires | Gunsmith 2 |
| Muzzle Brake III | Mod | 2x Mod Components 8x Wires | Gunsmith 3 |
| Padded Stock | Mod | 2x Mod Components 5x Duct Tape | Gunsmith 3 |
| Shotgun Choke II | Mod | 2x Mechanical Components 4x Wires | Gunsmith 2 |
| Shotgun Choke III | Mod | 2x Mod Components 8x Wires | Gunsmith 3 |
| Shotgun Silencer | Mod | 2x Mod Components 8x Wires | Gunsmith 3 |
| Showstopper | Grenade | 1x Advanced Electrical Components 1x Voltage Converter | Explosives Station 3 |
| Silencer I | Mod | 2x Mechanical Components 4x Wires | Gunsmith 2 |
| Silencer II | Mod | 2x Mod Components 8x Wires | Gunsmith 3 |
| Snap Hook | Quick Use | 2x Power Rod 3x Rope 1x Exodus Modules | Utility Station 3 |
| Stable Stock II | Mod | 2x Mechanical Components 3x Duct Tape | Gunsmith 2 |
| Stable Stock III | Mod | 2x Mod Components 5x Duct Tape | Gunsmith 3 |
| Tagging Grenade | Grenade | 1x Electrical Components 1x Sensors | Utility Station 3 |
| Tempest | Weapon | 3x Advanced Mechanical Components 3x Medium Gun Parts 3x Canister | Gunsmith 3 |
| Trigger Nade | Grenade | 2x Crude Explosives 1x Processor | Explosives Station 2 |
| Vertical Grip II | Mod | 2x Mechanical Components 3x Duct Tape | Gunsmith 2 |
| Vertical Grip III | Mod | 2x Mod Components 5x Duct Tape | Gunsmith 3 |
| Vita Shot | Quick Use | 2x Antiseptic 1x Syringe | Medical Lab 3 |
| Vita Spray | Quick Use | 3x Antiseptic 1x Canister | Medical Lab 3 |
| Vulcano | Weapon | 1x Magnetic Accelerator 3x Heavy Gun Parts 1x Exodus Modules | Gunsmith 3 |
| Wolfpack | Grenade | 2x Explosive Compound 2x Sensors | Explosives Station 3 |
| Red Light Stick | Quick Use | 3x Chemicals | Utility Station 1 |
| Smoke Grenade | Grenade | 14x Chemicals 1x Canister | Utility Station 2 |
| Deadline | Mine | 3x Explosive Compound 2x ARC Circuitry | Explosives Station 3 |
| Trailblazer | Grenade | 1x Explosive Compound 1x Synthesized Fuel | Explosives Station 3 |
| Tactical Mk. 3 (Defensive) | Augment | 2x Advanced Electrical Components 3x Processor | Gear Bench 3 |
| Tactical Mk. 3 (Healing) | Augment | 2x Advanced Electrical Components 3x Processor | Gear Bench 3 |
| Yellow Light Stick | Quick Use | 3x Chemicals | Utility Station 1 |
Note: The missing Blueprints in this list likely have not actually been added to the game at the time of writing, because none of the playerbase has managed to find any of them. As they are added to the game, I will update this page with the most relevant information so you know exactly how to get all 75 Arc Raiders Blueprints.
Where to find Blueprints in Arc Raiders
Below is a list of all containers, modifiers, and events which maximise your chances of finding Blueprints:
- Certain quests reward you with specific Blueprints .
- Completing Trials has a high chance of offering Blueprints as rewards.
- Surveyors have a decent chance of dropping Blueprints on death.
- High loot value areas tend to have a greater chance of spawning Blueprints.
- Night Raids and Storms may increase rare Blueprint spawn chances in containers.
- Containers with higher numbers of items may have a higher tendency to spawn Blueprints. As a result, Blue Gate (which has many “large” containers containing multiple items) may give you a higher chance of spawning Blueprints.
- Raider containers (Raider Caches, Weapon Boxes, Medical Bags, Grenade Tubes) have increased Blueprint drop rates. As a result, the Uncovered Caches event gives you a high chance of finding Blueprints.
- Security Lockers have a higher than average chance of containing Blueprints.
- Certain Blueprints only seem to spawn under specific circumstances: Tempest Blueprint only spawns during Night Raid events. Vulcano Blueprint only spawns during Hidden Bunker events. Jupiter and Equaliser Blueprints only spawn during Harvester events.

Raider Caches, Weapon Boxes, and other raider-oriented container types have a good chance of offering Blueprints. |Image credit:Rock Paper Shotgun/Embark Studios
Blueprints have a very low chance of spawning in any container in Arc Raiders, around 1-2% on average. However, there is a higher chance of finding Blueprints in particular container types. Specifically, you can find more Blueprints in Raider containers and security lockers.
Beyond this, if you’re looking for Blueprints you should focus on regions of the map which are marked as having particularly high-value loot. Areas such as the Control Tower in Dam Battlegrounds, the Arrival and Departure Buildings in Spaceport, and Pilgrim’s Peak in Blue Gate all have a better-than-average chance of spawning Blueprints somewhere amongst all their containers. Night Raids and Electromagnetic Storm events also increase the drop chances of certain Blueprints .
In addition to these containers, you can often loot Blueprints from destroyed Surveyors - the largest of the rolling ball ARC. Surveyors are more commonly found on the later maps - Spaceport and Blue Gate - and if one spawns in your match, you’ll likely see it by the blue laser beam that it casts into the sky while “surveying”.
Surveyors are quite well-armoured and will very speedily run away from you once it notices you, but if you can take one down then make sure you loot all its parts for a chance of obtaining certain unusual Blueprints.
Blueprints obtained from quests
One way in which you can get Blueprints is by completing certain quests for the vendors in Speranza. Some quests will reward you with a specific item Blueprint upon completion, so as long as you work through all the quests in Arc Raiders, you are guaranteed those Blueprints.
Here is the full list of all Blueprints you can get from quest rewards:
- Trigger Nade Blueprint: Rewarded after completing “Sparks Fly”.
- Lure Grenade Blueprint: Rewarded after completing “Greasing Her Palms”.
- Burletta Blueprint: Rewarded after completing “Industrial Espionage”.
- Hullcracker Blueprint (and Launcher Ammo Blueprint): Rewarded after completing “The Major’s Footlocker”.
Alas, that’s only 4 Blueprints out of a total of 75 to unlock, so for the vast majority you will need to find them yourself during a raid. If you’re intent on farming Blueprints, then it’s best to equip yourself with cheap gear in case you lose it, but don’t use a free loadout because then you won’t get a safe pocket to stash any new Blueprint you find. No pain in Arc Raiders is sharper than failing to extract with a new Blueprint you’ve been after for a dozen hours already.

One of the best ways to get Blueprints is by hitting three stars on all five Trials every week. |Image credit:Rock Paper Shotgun/Embark Studios
Blueprints obtained from Trials
One of the very best ways to get Blueprints is as rewards for completing Trials in Arc Raiders. Trials are unlocked from Level 15 onwards, and allow you to earn rewards by focusing on certain tasks over the course of several raids. For example, one Trial might task you with dealing damage to Hornets, while another might challenge you to loot Supply Drops.
Trials refresh on a weekly basis, with a new week bringing five new Trials. Each Trial can offer up to three rewards after passing certain score milestones, and it’s possible to receive very high level loot from these reward crates - including Blueprints. So if you want to unlock as many Blueprints as possible, you should make a point of completing as many Trials as possible each week.
Best Blueprint farming locations
The very best way to get Blueprints is to frequent specific areas of the maps which combine high-tier loot pools with the right types of containers to search. Here are my recommendations for where to find Blueprints on every map, so you can always keep the search going for new crafting recipes to unlock.

Image credit:Rock Paper Shotgun/Embark Studios
Dam Battlegrounds
The best places to farm Blueprints on Dam Battlegrounds are the Control Tower, Power Generation Complex, Ruby Residence, and Pale Apartments . The first two regions, despite only being marked on the map as mid-tier loot, contain a phenomenal number of containers to loot. The Control Tower can also contain a couple of high-tier Security Lockers - though of course, you’ll need to have unlocked the Security Breach skill at the end of the Survival tree.
There’s also a lot of reporting amongst the playerbase that the Residential areas in the top-left of the map - Pale Apartments and Ruby Residence - give you a comparatively strong chance of finding Blueprints. Considering their size, there’s a high density of containers to loot in both locations, and they also have the benefit of being fairly out of the way. So you’re more likely to have all the containers to yourself.
Buried City
The best Blueprint farming locations on Buried City are the Santa Maria Houses, Grandioso Apartments, Town Hall, and the various buildings of the New District . Grandioso Apartments has a lower number of containers than the rest, but a high chance of spawning weapon cases - which have good Blueprint drop rates. The others are high-tier loot areas, with plenty of lootable containers - including Security Lockers.
Spaceport
The best places to find Blueprints on Spaceport are the Arrival and Departure Buildings, as well as Control Tower A6 and the Launch Towers . All these areas are labelled as high-value loot regions, and many of them are also very handily connected to one another by the Spaceport wall, which you can use to quickly run from one area to the next. At the tops of most of these buildings you’ll find at least one Security Locker, so this is an excellent farming route for players looking to find Blueprints.
The downside to looting Blueprints on Spaceport is that all these areas are hotly contested, particularly in Duos and Squads. You’ll need to be very focused and fast in order to complete the full farming route.

Image credit:Rock Paper Shotgun/Embark Studios
Blue Gate
Blue Gate tends to have a good chance of dropping Blueprints, potentially because it generally has a high number of containers which can hold lots of items; so there’s a higher chance of a Blueprint spawning in each container. In my experience, the best Blueprint farming spots on Blue Gate are Pilgrim’s Peak, Raider’s Refuge, the Ancient Fort, and the Underground Complex beneath the Warehouse .
All of these areas contain a wealth of containers to loot. Raider’s Refuge has less to loot, but the majority of the containers in and around the Refuge are raider containers, which have a high chance of containing Blueprints - particularly during major events.
Stella Montis
On the whole, Stella Montis seems to have a very low drop rate for Blueprints (though a high chance of dropping other high-tier loot). If you do want to try farming Blueprints on this map, the best places to find Blueprints in Stella Montis are Medical Research, Assembly Workshop, and the Business Center . These areas have the highest density of containers to loot on the map.
In addition to this, the Western Tunnel has a few different Security Lockers to loot, so while there’s very little to loot elsewhere in this area of the map, it’s worth hitting those Security Lockers if you spawn there at the start of a match.
That wraps up this primer on how to get all the Blueprints in Arc Raiders as quickly as possible. With the Expedition system constantly resetting a large number of players’ Blueprints, it’s more important than ever to have the most up-to-date information on where to find all these Blueprints.
While you’re here, be sure to check out our Arc Raiders best guns tier list , as well as our primers on the best skills to unlock and all the different Field Depot locations on every map.


ARC Raiders
PS5 , Xbox Series X/S , PC
Rock Paper Shotgun is better when you sign in
Sign in and join us on our journey to discover strange and compelling PC games.
