In true early access style, Nightingale’s PC performance feels like a work in progress
Perhaps this settings guide can help
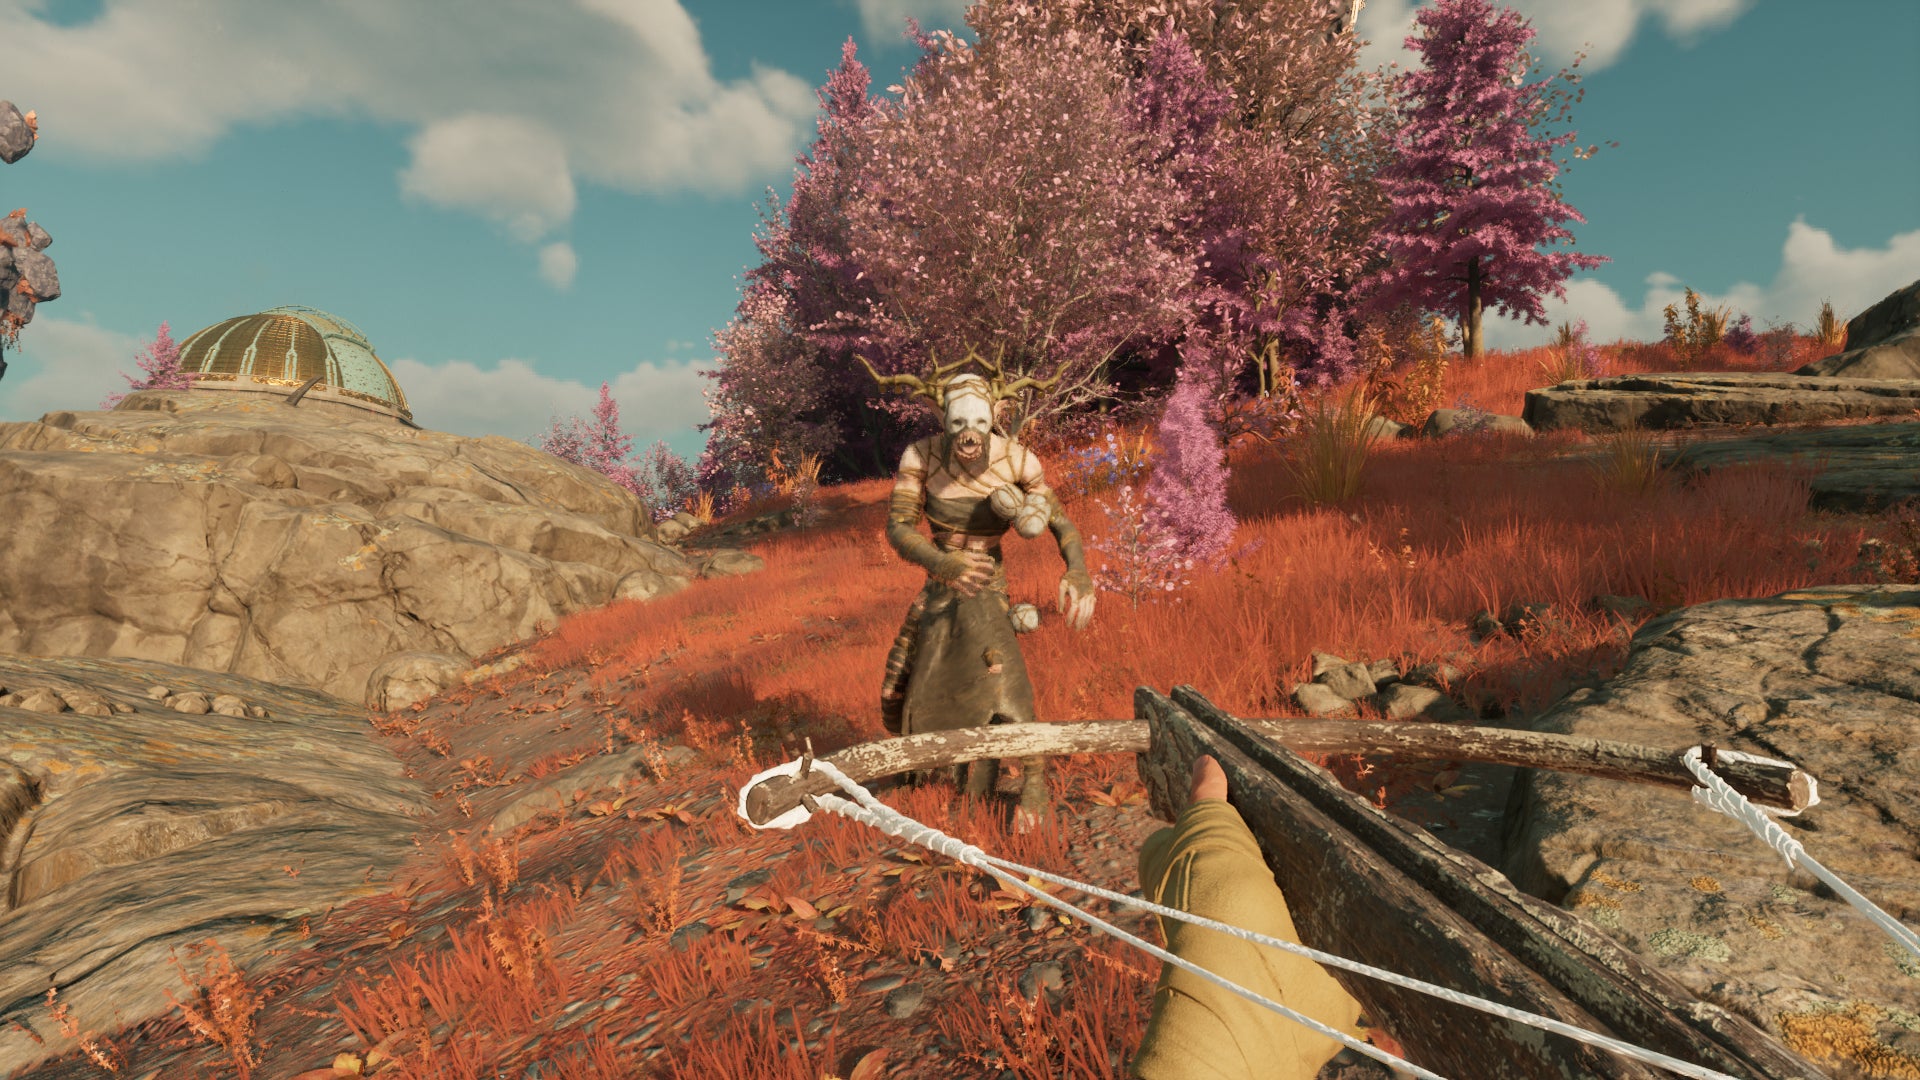
Image credit:Rock Paper Shotgun/Inflexion Games

Credit to Nightingale , I’ve been enjoying the early access form of Inflexion’s gaslamp fantasy survival crafter a fair bit more than I did its older stress test build . The UI is cleaner and tighter, and I’ve had more space to explore (and enjoy) the mysterious nooks of its magic ’n’ moustaches world. There’s potential here, but it’s very much the raw kind, especially when performance needs as much work as it does.
Besides relying on upscalers like DLSS for truly smooth running, Nightingale currently has a serious stuttering problem, and bumping into an ugly graphical artefact or even a hard crash is worryingly common. I’ve pulled together an optimised settings guide (down below) so that you don’t need to drop the visual quality lower than is strictly necessary, but do keep in mind that this is early access with emphasis on the early.
The upside is there’s clear scope for these issues to be buffed out. While Inflexion CEO Aaryn Flynn is keeping Nightingale’s early access roadmap close to the chest, it apparently includes further UI refinements and improvements to the combat, so there’s evidently not much confusion about where the game needs the most TLC. Maybe performance and stability upgrades are already in the works and this whole article will be worthless in a week! Who knows!
If you’d rather just play Nightingale right now, though, here’s how it currently runs on various hardware, and how you can wring some extra frames out by tinkering with the settings.
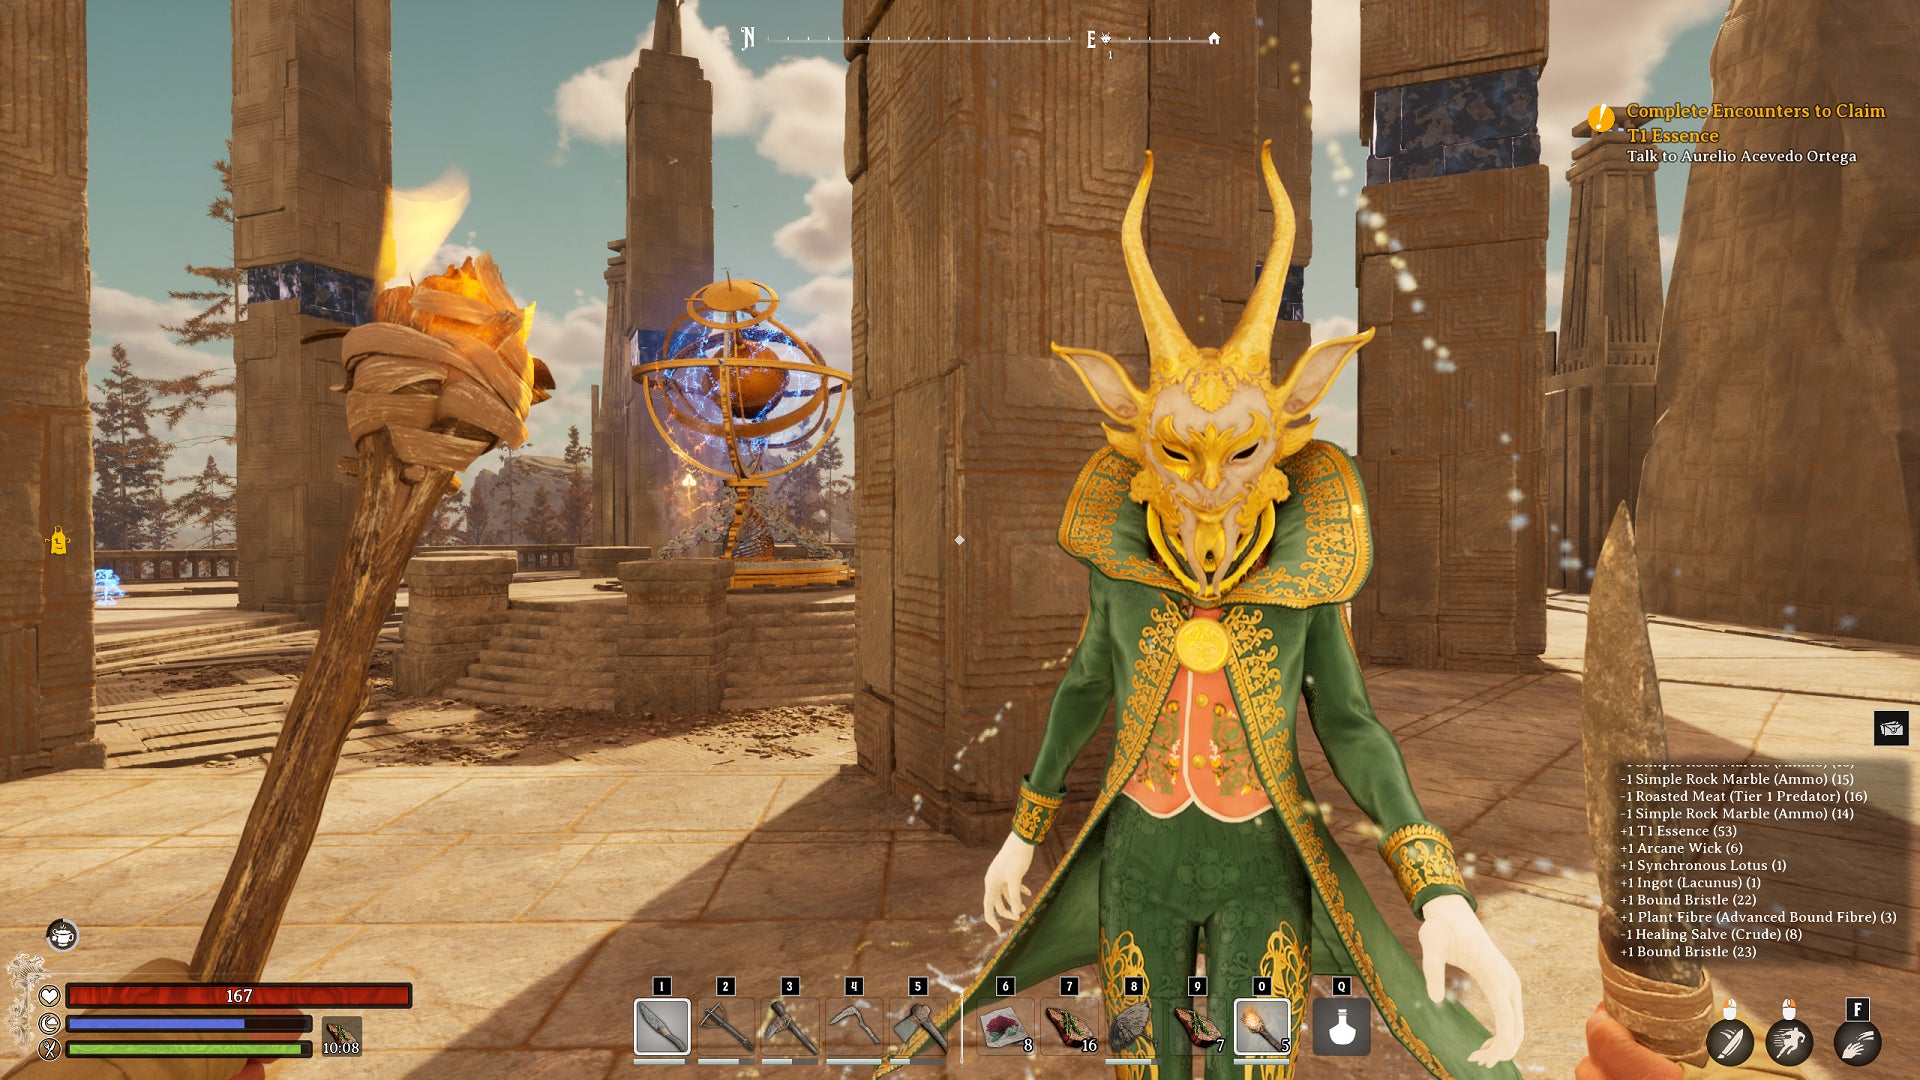
Image credit:Rock Paper Shotgun/Inflexion Games
Nightingale system requirements and PC performance
I’ve seen grimmer hardware requirements than Nightingale’s, to be sure. The need for at least 16GB of RAM might bother very low-end rigs but, really, 16GB should probably be the standard in this day and age. The listed CPUs are also pretty ancient, and the graphics cards don’t strike as unreasonable. Nightingale can look rather pretty indeed on its higher settings.
Nightingale minimum PC specs
- OS: Windows 10
- CPU: Intel Core i5-4430
- RAM: 16GB
- GPU: Nvidia GeForce GTX 1060 / AMD Radeon RX 580 / Intel Arc A580
- DirectX: Version 12
- Network: Broadband Internet connection
- Storage: 70GB (SSD required)
Nightingale recommended PC specs
- OS: Windows 10
- CPU: Intel Core i5-8600
- RAM: 16GB
- GPU: Nvidia GeForce RTX 2060 Super / AMD Radeon RX 5700 XT
- DirectX: Version 12
- Network: Broadband Internet connection
- Storage: 70GB (SSD required)
Since I had an old GTX 1060 knocking around, it plugged it into the RPS test rig (along with its usual Intel Core i5-11600K and 16GB of memory), finding it an appropriate GPU for the minimum rating. Running the Performance graphics preset at 1080p, with Temporal Resolution Scaling – Unreal Engine 5’s built-in upscaler – on Quality mode, I averaged a playable 40fps while pottering around a particularly demanding forest biome. With TSR on Balanced, that rose to 45fps.
TSR looks clean and sharp enough that having to enable upscaling at 1080p is more tolerable than it might otherwise have been. That said, I still wish developers wouldn’t make upscalers, which always have some kind of tradeoff, essential to game performance. Take the GTX 1060’s much newer descendent, the RTX 4060 : this is a GPU made to blast through Full HD, but on Nightingale’s Ultra Quality preset and with native-resolution AA, it could only crawl to 32fps. Throw on TSR on Ultra Quality or DLSS on Quality, and that leaps to 40fps and 48fps respectively. I’m glad that these technologies work as effectively as they do, but ideally they’d remain an optional go-faster button, without leaving anyone who prefers native sharpness out of luck.
Even the RTX 3070 couldn’t get especially fast with Ultra Quality at native 1080p, averaging 40fps. That the same card could reach 73fps at 1440p, with the Balanced preset and DLSS on Quality, shows that hefty speed boosts are possible – they’re just hard to achieve without upscaling.

Image credit:Rock Paper Shotgun/Inflexion Games
At least there’s another tool for ramping up framerates, even if it’s exclusive to RTX 40 series GPUs. DLSS 3 frame generation works well here, helping the RTX 4060 to jump from 58fps to 78fps at 1440p; that was with a combination of the Balanced preset and DLSS upscaling on Quality. The bigger, badder RTX 4070 Ti also wielded DLSS 3 to good effect at 4K. On Ultra Quality with DLSS set to Balanced, this GPU averaged 73fps with frame generation on and 53fps with it off.
Sadly, those of a Radeon persuasion will have to wait for their equivalent. Inflexion cut AMD FSR 3 support from Nightingale’s early access build mere days before it launched, citing crashing issues with the stress test version. It – or at least an older version of FSR, without frame generation – may be re-added in the future.
Really, though, a simple lack of available frames is not Nightingale’s problem. It’s the instability – the chunky stutters that can triggered by chopping down a tree, or mining some ore, or even just wandering through an unusually verdant swamp. Or the strange lighting behaviour that can produce a strobe-flashing sun or flickering shadows on trees and grass. Or the lurchingly sudden day/night transitions. Or the UI bugs that turn every hotbar icon into a spade until you mouse over them. Or the crashing, which thankfully is far rarer than these other snags, albeit more annoying.
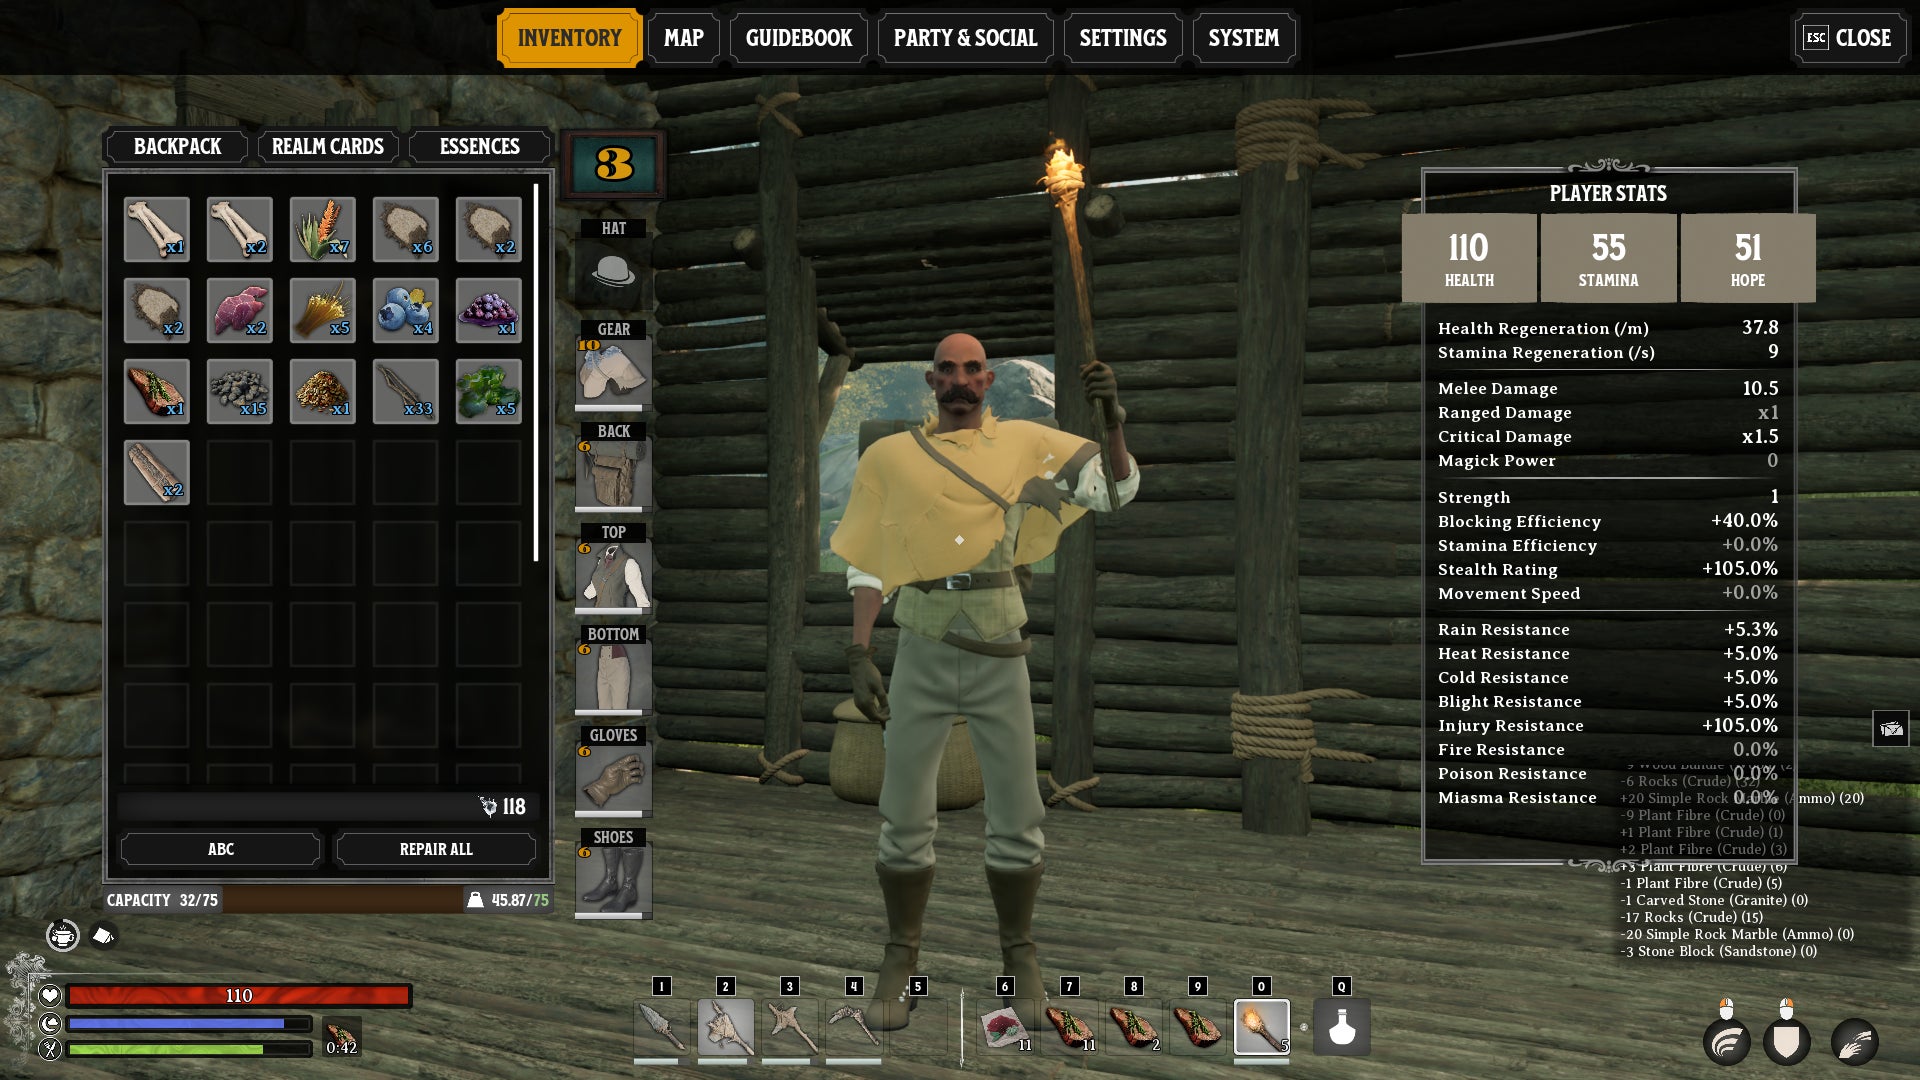
Image credit:Rock Paper Shotgun/Inflexion Games
Again, this is early access, so there’s little point in throwing a huff (and if I’m being totally honest, the spade thing amuses me). But the wonkiness does need addressing, and there’s no shortage of it to go around. At its worst, this lack of technical solidity can spoil the fun of Nightingale’s best bits: the otherwise wondrous spectacle of its Realmic Transmuters, magic plinths that can instantly rewrite a realm’s reality, is somewhat dented when the transition batters your framerate into the single digits.
On a more pleasantly surprised note, Nightingale can launch and run at 30fps (ish) on the Steam Deck . Which is nice! Games with a GTX 1060 among the minimum requirements can be a bit hit and miss in that regard. I’ll be putting together a separate, more detailed report on the Deck experience in the coming days, though remember that this is liable to change just as desktop performance is. In the same blog post that announced the FSR 3 removal, Inflexion claimed that although the Steam Deck is “considered an unofficial platform at this time,” more comprehensive support for the handheld is in the works.
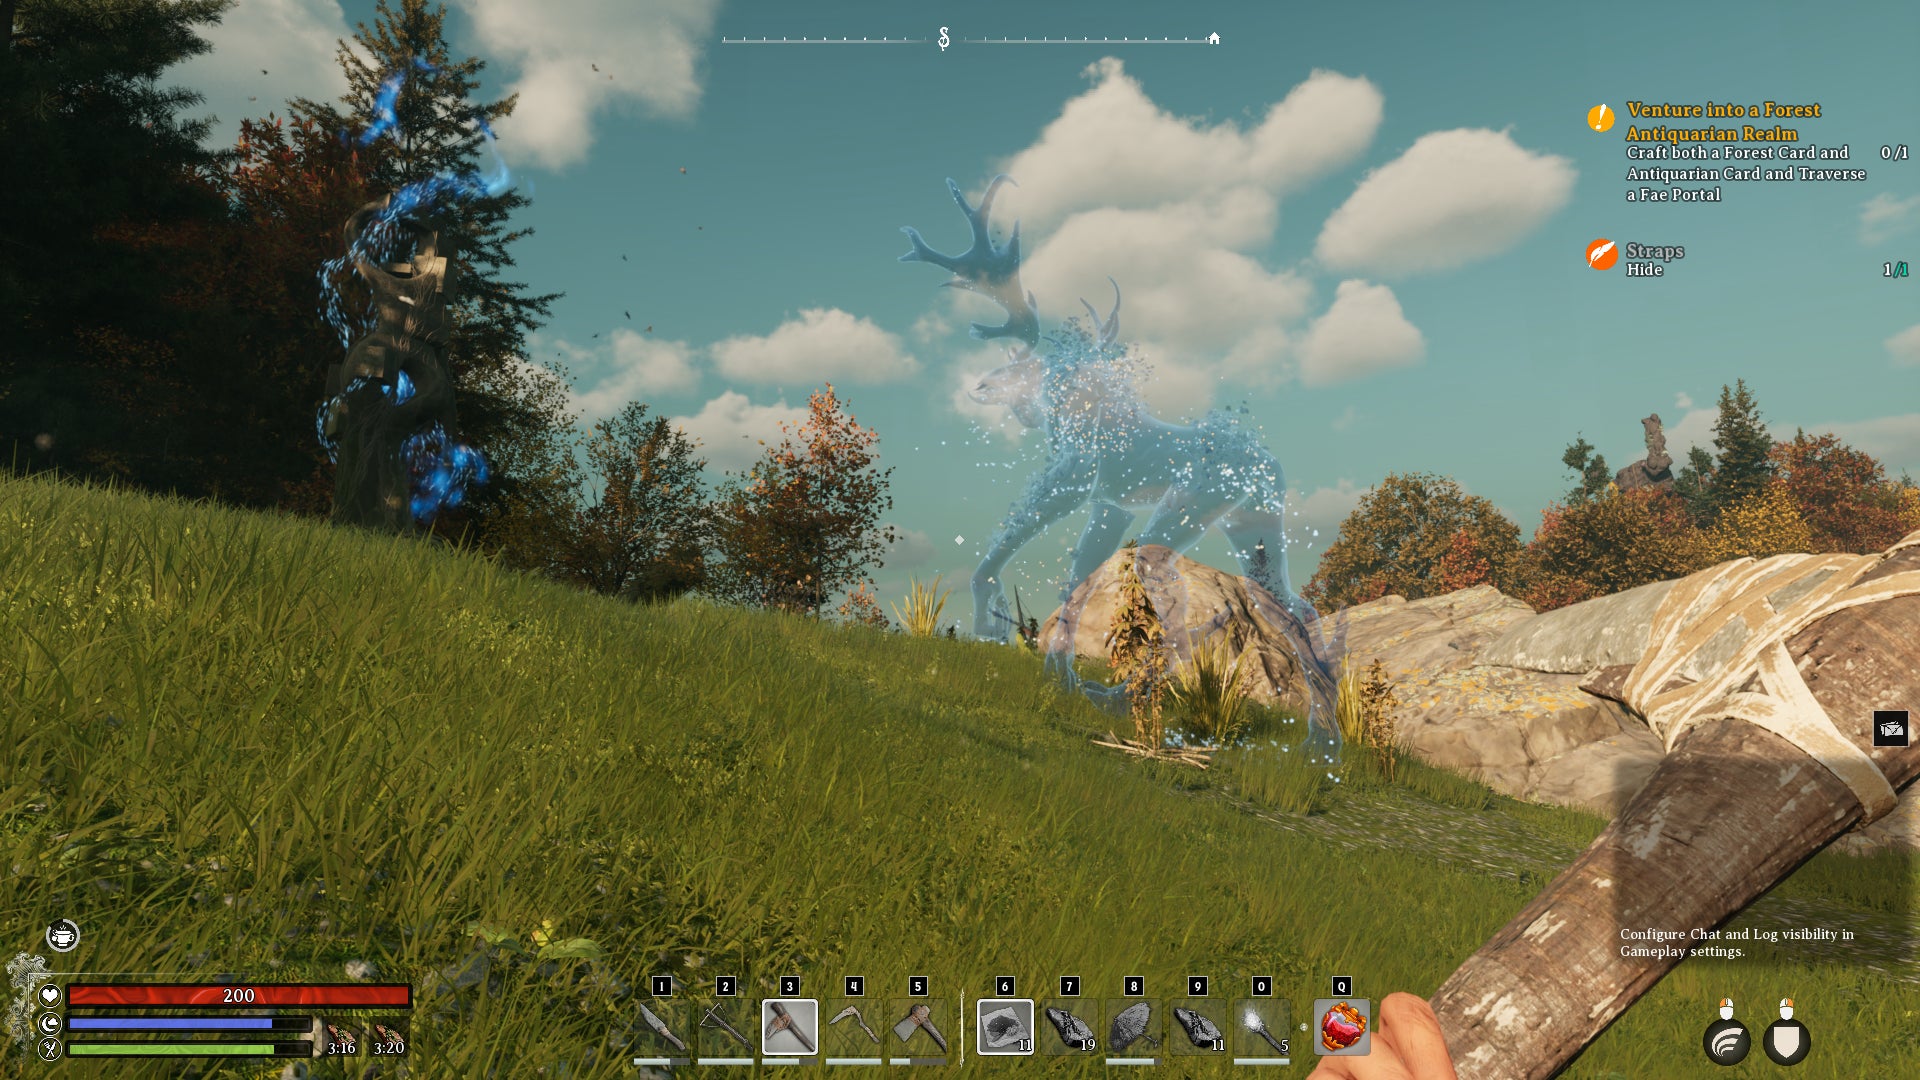
Image credit:Rock Paper Shotgun/Inflexion Games
Nightingale best settings (early access edition)
Tweaking Nightingale’s image settings won’t cure its stuttering ailments, but can reduce their impact. In any case, I wouldn’t recommend just slapping on the Ultra Quality preset unless you’ve got the meatiest of beefy PCs.
The RTX 4060, which is once again on settings experimentation duty, varied between 32fps on Ultra Quality to 73fps on Performance (on 1080p with TSR set to native AA). Thus, there are major performance improvements for the taking, even before getting to those important upscaling options.
Using that 32fps result as a starting point, here’s how each individual graphics setting affected average performance. By picking out the speediest results and leaving the do-nothing settings, we can find a combination that quickens Nightingale’s pulse without – ideally – slashing its visuals to shreds.
Motion blur: This doesn’t affect performance either way, so toggle it at your preference. I left it off.
Lumen – GI: Instead of conventional ray tracing, Nightingale uses Unreal’s Lumen tech to bounce light around. It also presents us with a tough choice. The Balanced setting is significantly better-performing than Quality or Ultra Quality, upping that 32fps average to 40fps – but it also looks much worse, losing much of Nightingale’s pleasant fantasy ambience in the process. If your GPU can at all afford it, Quality might be a better option, even with its relatively minor performance uptick to 34fps.
Anti-aliasing: There is a small gain to be had here, with Balanced AA raising performance to 35fps, though there’s a visible loss in sharpness. Not ideal at 1080p, where clarity is already at a premium.
Effects: This, on the other hand, is worth dropping. Specifically to Balanced, which still looks decent, and got my RTX 4060 up to 39fps. The Performance setting only increased that to 40fps, so stick to Balanced.
Foliage: Another performance-heavy setting, with Balanced getting average performance up to 37fps. Worth doing.
Post processing: Just a little upwards movement here, with Balanced producing 34fps. I couldn’t see a visual quality difference, though, so you might as well drop it.
Shading: Balanced still only averaged 32fps, so you can leave this one cranked up.
Shadows: Surprisingly, lowering shadows had little effect on the ol’ frames per second. I got 33fps on both Balanced and Performance, so sticking to Ultra Quality might actually be fine.
Textures: Lowering textures didn’t improve performance for me one jot. Leave them up.
View distance: Again, cutting this to Balanced produced the same 32fps that Ultra Quality did.
Enable Vertical Sync: Leave this off, unless your monitor lacks AMD FreeSync or Nvidia G-Sync support. Those will do the same job, minus the input lag.
Frame rate limit: Set this at zero to, ironically, remove the cap. Otherwise you can set it to increments of 30fps, up to 120fps.
Nvidia Reflex Low Latency: Not really a graphics setting, but hey. Activate this if your setup supports it – it cuts input lag at no cost.
Performance boost: At last, the upscalers, and for once DLSS gets a run for its money. Not so much on performance – its best-looking Quality mode got the RTX 4060 up to 48fps, compared to Ultra Quality TSR’s 40fps and Ultra Quality Intel XeSS’s 43fps. But in terms of recreating the look of native rendering, TSR is actually very, very competitive with Nvidia’s tech. In one specific way, it looks even better: DLSS can exacerbate that flashing foliage issue, at least in certain lighting conditions.
DLSS Frame Generation: Nonetheless, here’s a good reason to stick with DLSS if you can support it. DLSS 3’s AI-generated frames slot seamlessly into Nightingale’s regularly rendered ones, and bumped the aforementioned 48fps average up further to 78fps. That’s more than double the original 32fps, after just a couple of toggles. Shame only the RTX 40 series is compatible.
Image credit:Rock Paper Shotgun/Inflexion Games
Crunch time, then: do we cut Lumen in exchange for more frames, and is TSR or DLSS the choicest upscaler? After literally sleeping on it, the decisions have been made. I officially deem – except just for now because it’s early access – these to be the Nightingale’s best settings.
- Lumen – GI: Quality
- Effects: Balanced
- Foliage: Balanced
- Post-processing: Balanced
- Performance boost: Temporal Super Resolution on Quality
- Everything else: Ultra Quality preset equivalent
Yep, I’ve got for Quality-level Lumen lighting. Balanced probably is better for lower-end PCs but the visual cost is stark, almost looking like a different game. And although I’m usually a sucker for the blend of speed and quality that DLSS so often delivers, I have been struggling to get over that flickering effect. Hopefully it’s a fixable thing, but for now, TSR is arguably the way to go. I’d juist suggest whacking it on Quality, rather than Ultra Quality, for a more sizeable framerate buff.
Still on 1080p, these settings netted the RTX 4060 a 55fps average, which is close enough to double what the Ultra Quality preset managed. Alternatively, if you’re more willing than I am to endure flashing trees, DLSS still has its uses. With its upscaling on Quality mode, the RTX 4060 reached 59fps, racing all the way to 90fps with frame generation on top of that. Oh, for want of less flickery leaves.


Nightingale
PC
Rock Paper Shotgun is better when you sign in
Sign in and join us on our journey to discover strange and compelling PC games.

All 75 Arc Raiders Blueprints and where to get them
These areas have the highest chance of giving you Blueprints

Image credit:Rock Paper Shotgun/Embark Studios

Looking for more Arc Raiders Blueprints? It’s a special day when you find a Blueprint, as they’re among the most valuable items in Arc Raiders. If you find a Blueprint that you haven’t already found, then you must make sure you hold onto it at all costs, because Blueprints are the key to one of the most important and powerful systems of meta-progression in the game.
This guide aims to be the very best guide on Blueprints you can find, starting with a primer on what exactly they are and how they work in Arc Raiders, before delving into exactly where to get Blueprints and the very best farming spots for you to take in your search.
We’ll also go over how to get Blueprints from other unlikely activities, such as destroying Surveyors and completing specific quests. And you’ll also find the full list of all 75 Blueprints in Arc Raiders on this page (including the newest Blueprints added with the Cold Snap update , such as the Deadline Blueprint and Firework Box Blueprint), giving you all the information you need to expand your own crafting repertoire.
In this guide:
- What are Blueprints in Arc Raiders?
- Full Blueprint list: All crafting recipes
- Where to find Blueprints in Arc Raiders Blueprints obtained from quests Blueprints obtained from Trials Best Blueprint farming locations

What are Blueprints in Arc Raiders?
Blueprints in Arc Raiders are special items which, if you manage to extract with them, you can expend to permanently unlock a new crafting recipe in your Workshop. If you manage to extract from a raid with an Anvil Blueprint, for example, you can unlock the ability to craft your very own Anvil Pistol, as many times as you like (as long as you have the crafting materials).
To use a Blueprint, simply open your Inventory while in the lobby, then right-click on the Blueprint and click “Learn And Consume” . This will permanently unlock the recipe for that item in your Workshop. As of the Stella Montis update, there are allegedly 75 different Blueprints to unlock - although only 68 are confirmed to be in the game so far. You can see all the Blueprints you’ve found and unlocked by going to the Workshop menu, and hitting “R” to bring up the Blueprint screen.
It’s possible to find duplicates of past Blueprints you’ve already unlocked. If you find these, then you can either sell them, or - if you like to play with friends - you can take it into a match and gift it to your friend so they can unlock that recipe for themselves. Another option is to keep hold of them until the time comes to donate them to the Expedition.
Full Blueprint list: All crafting recipes
Below is the full list of all the Blueprints that are currently available to find in Arc Raiders, and the crafting recipe required for each item:
| Blueprint | Type | Recipe | Crafted At |
|---|---|---|---|
| Bettina | Weapon | 3x Advanced Mechanical Components 3x Heavy Gun Parts 3x Canister | Gunsmith 3 |
| Blue Light Stick | Quick Use | 3x Chemicals | Utility Station 1 |
| Aphelion | Weapon | 3x Magnetic Accelerator 3x Complex Gun Parts 1x Matriarch Reactor | Gunsmith 3 |
| Combat Mk. 3 (Flanking) | Augment | 2x Advanced Electrical Components 3x Processor | Gear Bench 3 |
| Combat Mk. 3 (Aggressive) | Augment | 2x Advanced Electrical Components 3x Processor | Gear Bench 3 |
| Complex Gun Parts | Material | 2x Light Gun Parts 2x Medium Gun Parts 2x Heavy Gun Parts | Refiner 3 |
| Fireworks Box | Quick Use | 1x Explosive Compound 3x Pop Trigger | Explosives Station 2 |
| Gas Mine | Mine | 4x Chemicals 2x Rubber Parts | Explosives Station 1 |
| Green Light Stick | Quick Use | 3x Chemicals | Utility Station 1 |
| Pulse Mine | Mine | 1x Crude Explosives 1x Wires | Explosives Station 1 |
| Seeker Grenade | Grenade | 1x Crude Explosives 2x ARC Alloy | Explosives Station 1 |
| Looting Mk. 3 (Survivor) | Augment | 2x Advanced Electrical Components 3x Processor | Gear Bench 3 |
| Angled Grip II | Mod | 2x Mechanical Components 3x Duct Tape | Gunsmith 2 |
| Angled Grip III | Mod | 2x Mod Components 5x Duct Tape | Gunsmith 3 |
| Hullcracker | Weapon | 1x Magnetic Accelerator 3x Heavy Gun Parts 1x Exodus Modules | Gunsmith 3 |
| Launcher Ammo | Ammo | 5x Metal Parts 1x Crude Explosives | Workbench 1 |
| Anvil | Weapon | 5x Mechanical Components 5x Simple Gun Parts | Gunsmith 2 |
| Anvil Splitter | Mod | 2x Mod Components 3x Processor | Gunsmith 3 |
| ??? | ??? | ??? | ??? |
| Barricade Kit | Quick Use | 1x Mechanical Components | Utility Station 2 |
| Blaze Grenade | Grenade | 1x Explosive Compound 2x Oil | Explosives Station 3 |
| Bobcat | Weapon | 3x Advanced Mechanical Components 3x Light Gun Parts | Gunsmith 3 |
| Osprey | Weapon | 2x Advanced Mechanical Components 3x Medium Gun Parts 7x Wires | Gunsmith 3 |
| Burletta | Weapon | 3x Mechanical Components 3x Simple Gun Parts | Gunsmith 1 |
| Compensator II | Mod | 2x Mechanical Components 4x Wires | Gunsmith 2 |
| Compensator III | Mod | 2x Mod Components 8x Wires | Gunsmith 3 |
| Defibrillator | Quick Use | 9x Plastic Parts 1x Moss | Medical Lab 2 |
| ??? | ??? | ??? | ??? |
| Equalizer | Weapon | 3x Magnetic Accelerator 3x Complex Gun Parts 1x Queen Reactor | Gunsmith 3 |
| Extended Barrel | Mod | 2x Mod Components 8x Wires | Gunsmith 3 |
| Extended Light Mag II | Mod | 2x Mechanical Components 3x Steel Spring | Gunsmith 2 |
| Extended Light Mag III | Mod | 2x Mod Components 5x Steel Spring | Gunsmith 3 |
| Extended Medium Mag II | Mod | 2x Mechanical Components 3x Steel Spring | Gunsmith 2 |
| Extended Medium Mag III | Mod | 2x Mod Components 5x Steel Spring | Gunsmith 3 |
| Extended Shotgun Mag II | Mod | 2x Mechanical Components 3x Steel Spring | Gunsmith 2 |
| Extended Shotgun Mag III | Mod | 2x Mod Components 5x Steel Spring | Gunsmith 3 |
| Remote Raider Flare | Quick Use | 2x Chemicals 4x Rubber Parts | Utility Station 1 |
| Heavy Gun Parts | Material | 4x Simple Gun Parts | Refiner 2 |
| Venator | Weapon | 2x Advanced Mechanical Components 3x Medium Gun Parts 5x Magnet | Gunsmith 3 |
| Il Toro | Weapon | 5x Mechanical Components 6x Simple Gun Parts | Gunsmith 1 |
| Jolt Mine | Mine | 1x Electrical Components 1x Battery | Explosives Station 2 |
| Explosive Mine | Mine | 1x Explosive Compound 1x Sensors | Explosives Station 3 |
| Jupiter | Weapon | 3x Magnetic Accelerator 3x Complex Gun Parts 1x Queen Reactor | Gunsmith 3 |
| Light Gun Parts | Material | 4x Simple Gun Parts | Refiner 2 |
| Lightweight Stock | Mod | 2x Mod Components 5x Duct Tape | Gunsmith 3 |
| Lure Grenade | Grenade | 1x Speaker Component 1x Electrical Components | Utility Station 2 |
| Medium Gun Parts | Material | 4x Simple Gun Parts | Refiner 2 |
| Torrente | Weapon | 2x Advanced Mechanical Components 3x Medium Gun Parts 6x Steel Spring | Gunsmith 3 |
| Muzzle Brake II | Mod | 2x Mechanical Components 4x Wires | Gunsmith 2 |
| Muzzle Brake III | Mod | 2x Mod Components 8x Wires | Gunsmith 3 |
| Padded Stock | Mod | 2x Mod Components 5x Duct Tape | Gunsmith 3 |
| Shotgun Choke II | Mod | 2x Mechanical Components 4x Wires | Gunsmith 2 |
| Shotgun Choke III | Mod | 2x Mod Components 8x Wires | Gunsmith 3 |
| Shotgun Silencer | Mod | 2x Mod Components 8x Wires | Gunsmith 3 |
| Showstopper | Grenade | 1x Advanced Electrical Components 1x Voltage Converter | Explosives Station 3 |
| Silencer I | Mod | 2x Mechanical Components 4x Wires | Gunsmith 2 |
| Silencer II | Mod | 2x Mod Components 8x Wires | Gunsmith 3 |
| Snap Hook | Quick Use | 2x Power Rod 3x Rope 1x Exodus Modules | Utility Station 3 |
| Stable Stock II | Mod | 2x Mechanical Components 3x Duct Tape | Gunsmith 2 |
| Stable Stock III | Mod | 2x Mod Components 5x Duct Tape | Gunsmith 3 |
| Tagging Grenade | Grenade | 1x Electrical Components 1x Sensors | Utility Station 3 |
| Tempest | Weapon | 3x Advanced Mechanical Components 3x Medium Gun Parts 3x Canister | Gunsmith 3 |
| Trigger Nade | Grenade | 2x Crude Explosives 1x Processor | Explosives Station 2 |
| Vertical Grip II | Mod | 2x Mechanical Components 3x Duct Tape | Gunsmith 2 |
| Vertical Grip III | Mod | 2x Mod Components 5x Duct Tape | Gunsmith 3 |
| Vita Shot | Quick Use | 2x Antiseptic 1x Syringe | Medical Lab 3 |
| Vita Spray | Quick Use | 3x Antiseptic 1x Canister | Medical Lab 3 |
| Vulcano | Weapon | 1x Magnetic Accelerator 3x Heavy Gun Parts 1x Exodus Modules | Gunsmith 3 |
| Wolfpack | Grenade | 2x Explosive Compound 2x Sensors | Explosives Station 3 |
| Red Light Stick | Quick Use | 3x Chemicals | Utility Station 1 |
| Smoke Grenade | Grenade | 14x Chemicals 1x Canister | Utility Station 2 |
| Deadline | Mine | 3x Explosive Compound 2x ARC Circuitry | Explosives Station 3 |
| Trailblazer | Grenade | 1x Explosive Compound 1x Synthesized Fuel | Explosives Station 3 |
| Tactical Mk. 3 (Defensive) | Augment | 2x Advanced Electrical Components 3x Processor | Gear Bench 3 |
| Tactical Mk. 3 (Healing) | Augment | 2x Advanced Electrical Components 3x Processor | Gear Bench 3 |
| Yellow Light Stick | Quick Use | 3x Chemicals | Utility Station 1 |
Note: The missing Blueprints in this list likely have not actually been added to the game at the time of writing, because none of the playerbase has managed to find any of them. As they are added to the game, I will update this page with the most relevant information so you know exactly how to get all 75 Arc Raiders Blueprints.
Where to find Blueprints in Arc Raiders
Below is a list of all containers, modifiers, and events which maximise your chances of finding Blueprints:
- Certain quests reward you with specific Blueprints .
- Completing Trials has a high chance of offering Blueprints as rewards.
- Surveyors have a decent chance of dropping Blueprints on death.
- High loot value areas tend to have a greater chance of spawning Blueprints.
- Night Raids and Storms may increase rare Blueprint spawn chances in containers.
- Containers with higher numbers of items may have a higher tendency to spawn Blueprints. As a result, Blue Gate (which has many “large” containers containing multiple items) may give you a higher chance of spawning Blueprints.
- Raider containers (Raider Caches, Weapon Boxes, Medical Bags, Grenade Tubes) have increased Blueprint drop rates. As a result, the Uncovered Caches event gives you a high chance of finding Blueprints.
- Security Lockers have a higher than average chance of containing Blueprints.
- Certain Blueprints only seem to spawn under specific circumstances: Tempest Blueprint only spawns during Night Raid events. Vulcano Blueprint only spawns during Hidden Bunker events. Jupiter and Equaliser Blueprints only spawn during Harvester events.

Raider Caches, Weapon Boxes, and other raider-oriented container types have a good chance of offering Blueprints. |Image credit:Rock Paper Shotgun/Embark Studios
Blueprints have a very low chance of spawning in any container in Arc Raiders, around 1-2% on average. However, there is a higher chance of finding Blueprints in particular container types. Specifically, you can find more Blueprints in Raider containers and security lockers.
Beyond this, if you’re looking for Blueprints you should focus on regions of the map which are marked as having particularly high-value loot. Areas such as the Control Tower in Dam Battlegrounds, the Arrival and Departure Buildings in Spaceport, and Pilgrim’s Peak in Blue Gate all have a better-than-average chance of spawning Blueprints somewhere amongst all their containers. Night Raids and Electromagnetic Storm events also increase the drop chances of certain Blueprints .
In addition to these containers, you can often loot Blueprints from destroyed Surveyors - the largest of the rolling ball ARC. Surveyors are more commonly found on the later maps - Spaceport and Blue Gate - and if one spawns in your match, you’ll likely see it by the blue laser beam that it casts into the sky while “surveying”.
Surveyors are quite well-armoured and will very speedily run away from you once it notices you, but if you can take one down then make sure you loot all its parts for a chance of obtaining certain unusual Blueprints.
Blueprints obtained from quests
One way in which you can get Blueprints is by completing certain quests for the vendors in Speranza. Some quests will reward you with a specific item Blueprint upon completion, so as long as you work through all the quests in Arc Raiders, you are guaranteed those Blueprints.
Here is the full list of all Blueprints you can get from quest rewards:
- Trigger Nade Blueprint: Rewarded after completing “Sparks Fly”.
- Lure Grenade Blueprint: Rewarded after completing “Greasing Her Palms”.
- Burletta Blueprint: Rewarded after completing “Industrial Espionage”.
- Hullcracker Blueprint (and Launcher Ammo Blueprint): Rewarded after completing “The Major’s Footlocker”.
Alas, that’s only 4 Blueprints out of a total of 75 to unlock, so for the vast majority you will need to find them yourself during a raid. If you’re intent on farming Blueprints, then it’s best to equip yourself with cheap gear in case you lose it, but don’t use a free loadout because then you won’t get a safe pocket to stash any new Blueprint you find. No pain in Arc Raiders is sharper than failing to extract with a new Blueprint you’ve been after for a dozen hours already.

One of the best ways to get Blueprints is by hitting three stars on all five Trials every week. |Image credit:Rock Paper Shotgun/Embark Studios
Blueprints obtained from Trials
One of the very best ways to get Blueprints is as rewards for completing Trials in Arc Raiders. Trials are unlocked from Level 15 onwards, and allow you to earn rewards by focusing on certain tasks over the course of several raids. For example, one Trial might task you with dealing damage to Hornets, while another might challenge you to loot Supply Drops.
Trials refresh on a weekly basis, with a new week bringing five new Trials. Each Trial can offer up to three rewards after passing certain score milestones, and it’s possible to receive very high level loot from these reward crates - including Blueprints. So if you want to unlock as many Blueprints as possible, you should make a point of completing as many Trials as possible each week.
Best Blueprint farming locations
The very best way to get Blueprints is to frequent specific areas of the maps which combine high-tier loot pools with the right types of containers to search. Here are my recommendations for where to find Blueprints on every map, so you can always keep the search going for new crafting recipes to unlock.

Image credit:Rock Paper Shotgun/Embark Studios
Dam Battlegrounds
The best places to farm Blueprints on Dam Battlegrounds are the Control Tower, Power Generation Complex, Ruby Residence, and Pale Apartments . The first two regions, despite only being marked on the map as mid-tier loot, contain a phenomenal number of containers to loot. The Control Tower can also contain a couple of high-tier Security Lockers - though of course, you’ll need to have unlocked the Security Breach skill at the end of the Survival tree.
There’s also a lot of reporting amongst the playerbase that the Residential areas in the top-left of the map - Pale Apartments and Ruby Residence - give you a comparatively strong chance of finding Blueprints. Considering their size, there’s a high density of containers to loot in both locations, and they also have the benefit of being fairly out of the way. So you’re more likely to have all the containers to yourself.
Buried City
The best Blueprint farming locations on Buried City are the Santa Maria Houses, Grandioso Apartments, Town Hall, and the various buildings of the New District . Grandioso Apartments has a lower number of containers than the rest, but a high chance of spawning weapon cases - which have good Blueprint drop rates. The others are high-tier loot areas, with plenty of lootable containers - including Security Lockers.
Spaceport
The best places to find Blueprints on Spaceport are the Arrival and Departure Buildings, as well as Control Tower A6 and the Launch Towers . All these areas are labelled as high-value loot regions, and many of them are also very handily connected to one another by the Spaceport wall, which you can use to quickly run from one area to the next. At the tops of most of these buildings you’ll find at least one Security Locker, so this is an excellent farming route for players looking to find Blueprints.
The downside to looting Blueprints on Spaceport is that all these areas are hotly contested, particularly in Duos and Squads. You’ll need to be very focused and fast in order to complete the full farming route.

Image credit:Rock Paper Shotgun/Embark Studios
Blue Gate
Blue Gate tends to have a good chance of dropping Blueprints, potentially because it generally has a high number of containers which can hold lots of items; so there’s a higher chance of a Blueprint spawning in each container. In my experience, the best Blueprint farming spots on Blue Gate are Pilgrim’s Peak, Raider’s Refuge, the Ancient Fort, and the Underground Complex beneath the Warehouse .
All of these areas contain a wealth of containers to loot. Raider’s Refuge has less to loot, but the majority of the containers in and around the Refuge are raider containers, which have a high chance of containing Blueprints - particularly during major events.
Stella Montis
On the whole, Stella Montis seems to have a very low drop rate for Blueprints (though a high chance of dropping other high-tier loot). If you do want to try farming Blueprints on this map, the best places to find Blueprints in Stella Montis are Medical Research, Assembly Workshop, and the Business Center . These areas have the highest density of containers to loot on the map.
In addition to this, the Western Tunnel has a few different Security Lockers to loot, so while there’s very little to loot elsewhere in this area of the map, it’s worth hitting those Security Lockers if you spawn there at the start of a match.
That wraps up this primer on how to get all the Blueprints in Arc Raiders as quickly as possible. With the Expedition system constantly resetting a large number of players’ Blueprints, it’s more important than ever to have the most up-to-date information on where to find all these Blueprints.
While you’re here, be sure to check out our Arc Raiders best guns tier list , as well as our primers on the best skills to unlock and all the different Field Depot locations on every map.


ARC Raiders
PS5 , Xbox Series X/S , PC
Rock Paper Shotgun is better when you sign in
Sign in and join us on our journey to discover strange and compelling PC games.
