How to be the worst wizard in Dragon’s Dogma 2 - Third Impact
Our Dragon’s Dogma 2 preview diary concludes with a prison break and an endless Golem brawl
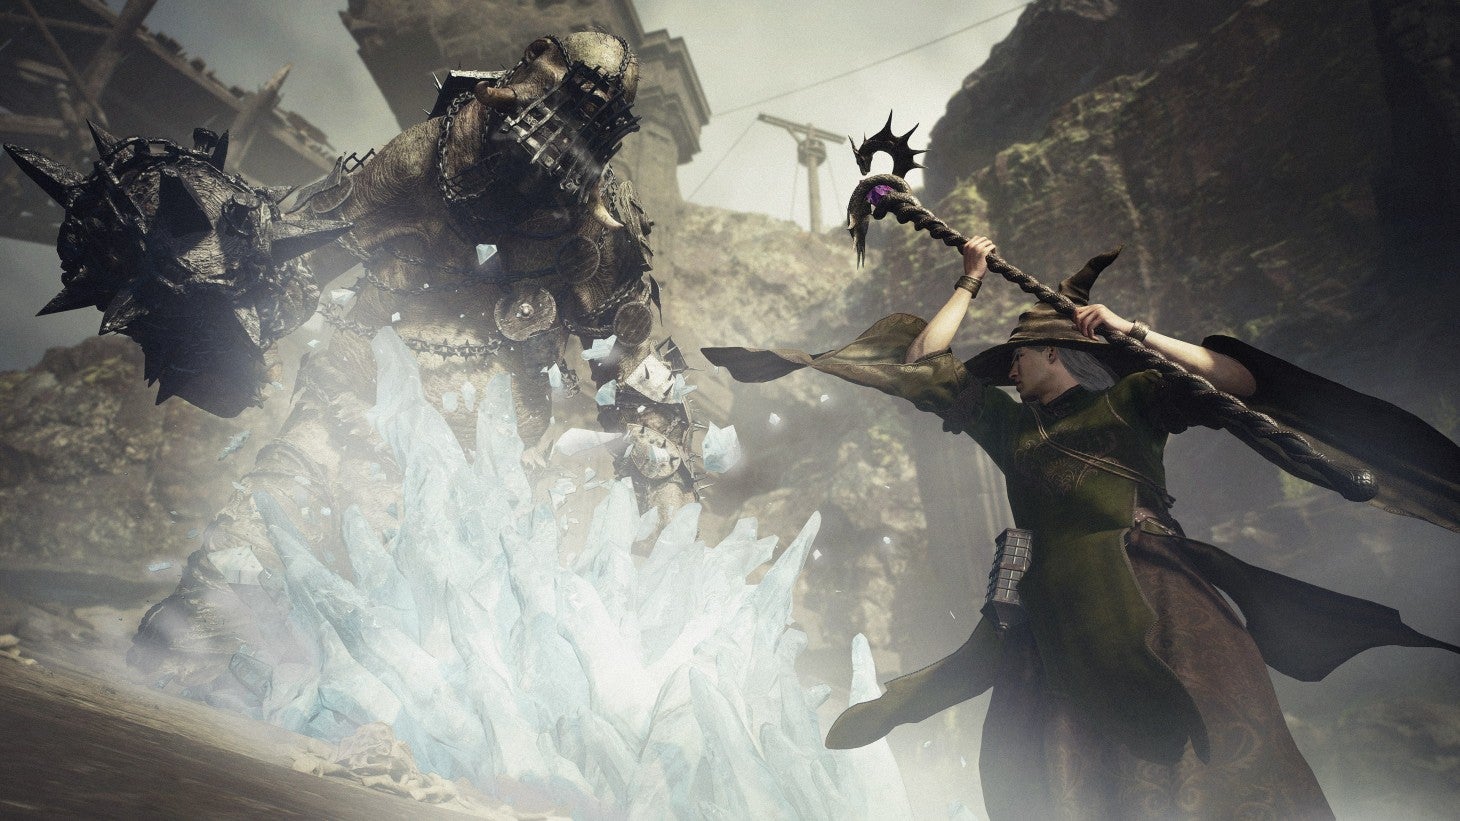
Image credit:Capcom

Welcome to the third and final part of my Dragon’s Dogma 2 hands-on diary, in which I heroically try to make headway in Capcom’s outsized fantasy RPG with a party of pure magic-users. I am Dragonkin Skywalker - telekinetic Mystic Spearhand, oxcart patron and an extremely bad thief. Joining me on the adventure are three AI-controlled pawns - the diabolical fury that is Donald Duck, the levitating liability that is Galadriel, Queen of the Woods, and the class act that is celebrity stage magician David Blaine, all of whom I have given new and stupid names plucked from my vast knowledge of wizardry across different entertainment fields.
As with Parts 1 and 2, I wasn’t allowed to capture my own screenshots for this hands-on diary, so instead of footage of my character wearing a sack, please accept a collection of snaps from official Capcom B-roll. |Image credit:Capcom/Rock Paper Shotgun
The important thing to do in these situations is to calmly assess your options and form a plan. Immersive-simming Dragon’s Dogma 2 got me into prison; now, immersive-simming will get me out. In the cell there are some boxes and barrels plus a straw bed. At one end, there is an iron door (closed). At the other, there is a cliff edge with a nice view of a desert sky and a less nice view of a rocky river, about 200 metres below. Contents of my inventory: zilch. Magic at my disposal: nada. I weigh these considerations sagely, then pick up a box and lob it at the door, which doesn’t budge. Underneath the box, I find a letter from a prisoner which makes arch mention of something called a Lambent Flame, but has little to say about things like secret tunnels or rope ladders. Messages from long-departed convicts in videogames are supposed to be a source of both lore and jail-breaking tips. The local criminal element have been slacking off.
I stack some barrels and boxes by the door, mostly out of petulance, then go for a second look out at the cliff. Hey, there’s a small ledge right beneath my cell! Can I climb down to freedom? I gaze hopefully at my PR demo handlers. They rumble uncertainly and glance at each other, like courtiers trying to work out how to tell an elderly and bad-tempered king that he’s riding his horse backwards. My character Dragonkin Skywalker seems equally unconvinced, stumbling backwards from the edge when I get too close. I sadistically nudge him over, and yep, that lower ledge can’t be walked on after all.
Still, I can always just fall into the river, surely? Dragonkin Skywalker has been tumbling through the air for approximately 1.5 seconds when I remember that the deeper waters of Dragon’s Dogma 2 are home to something called the Brine - a spectral aquatic menace that insta-kills player and pawn alike, and absolutely not a developer’s excuse for neglecting to give characters the ability to swim. I splash down in the river, the Brine promptly wraps me in hoops of red energy and lo, I respawn in my cell.
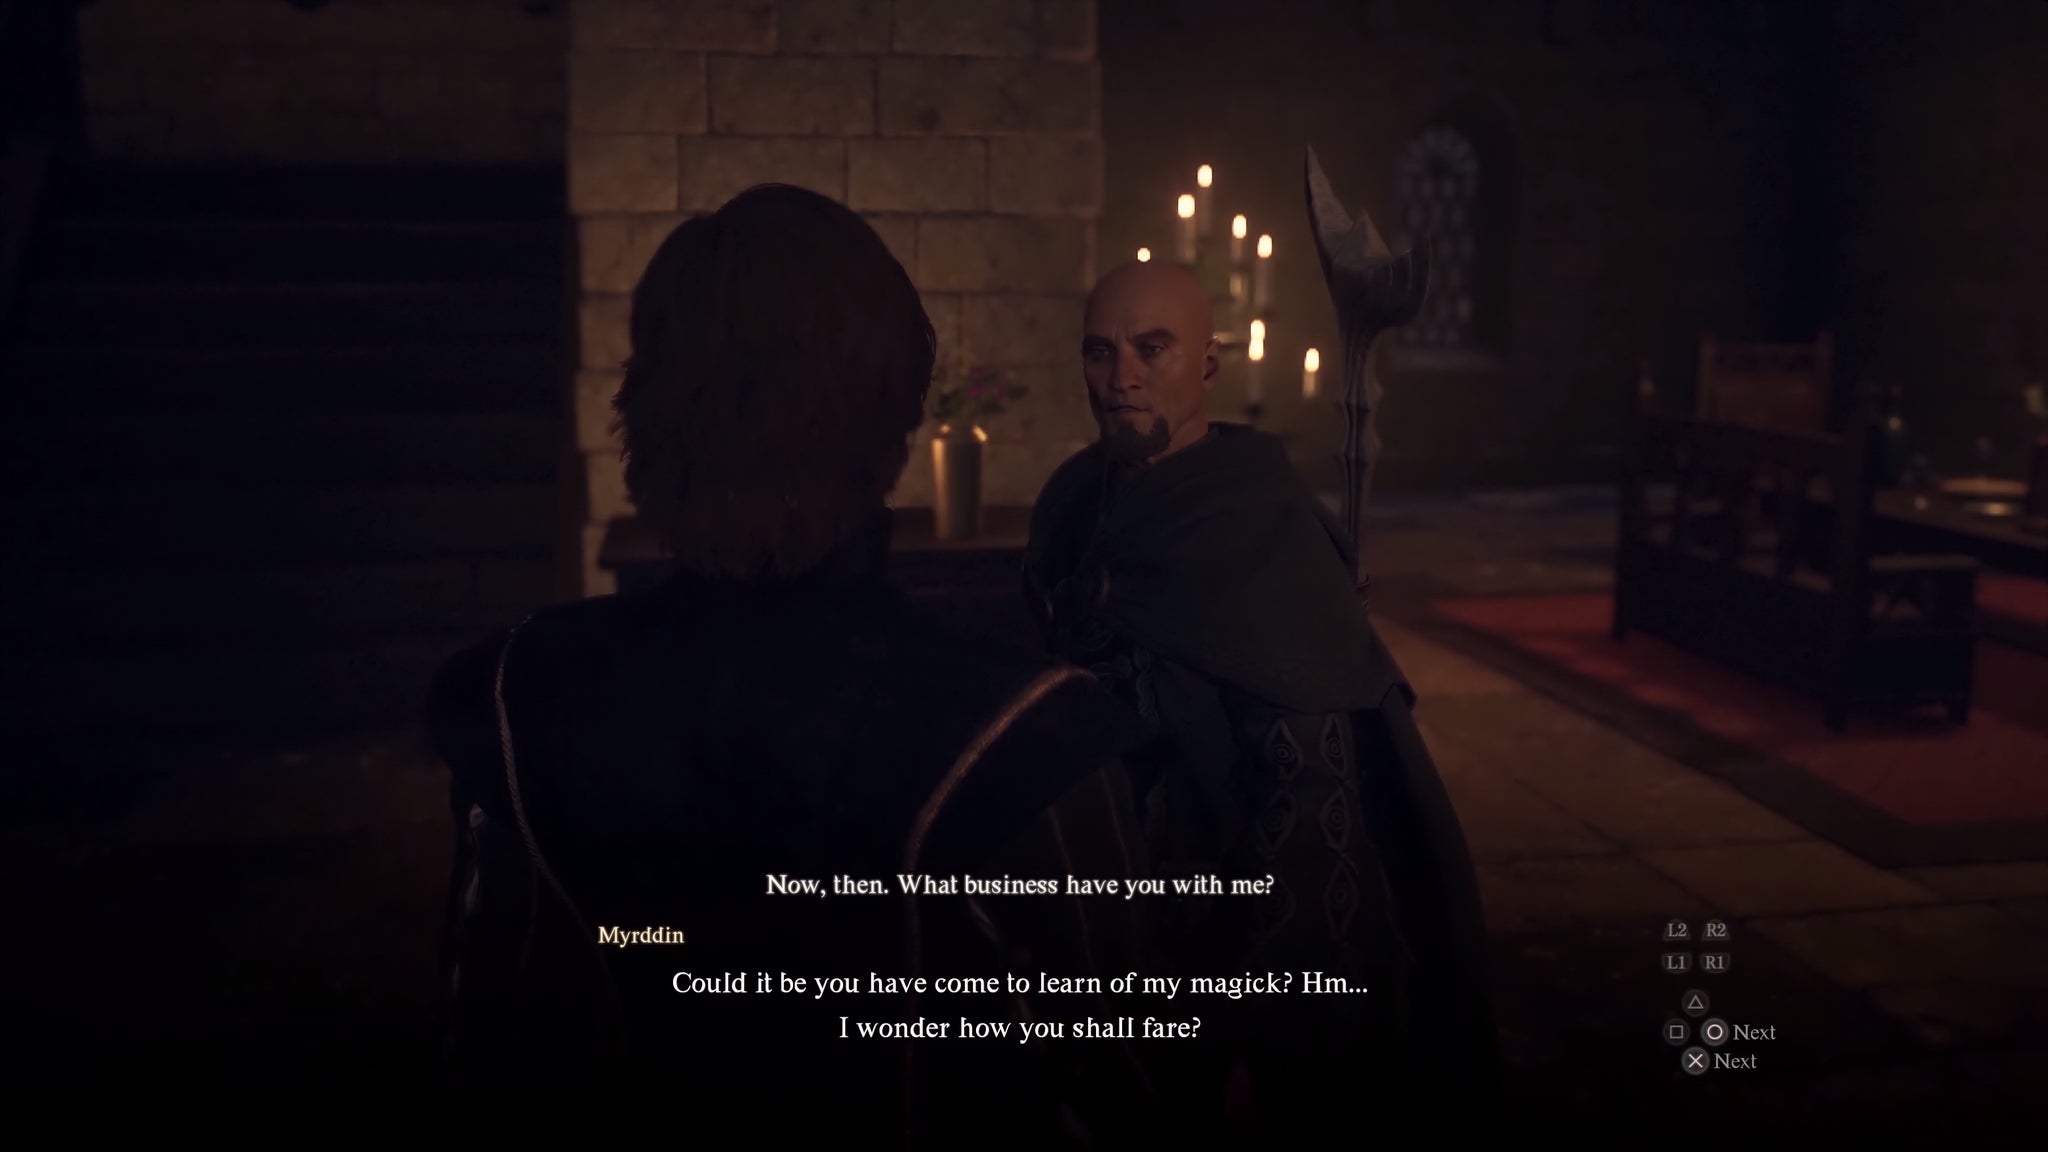
Image credit:Capcom/Rock Paper Shotgun
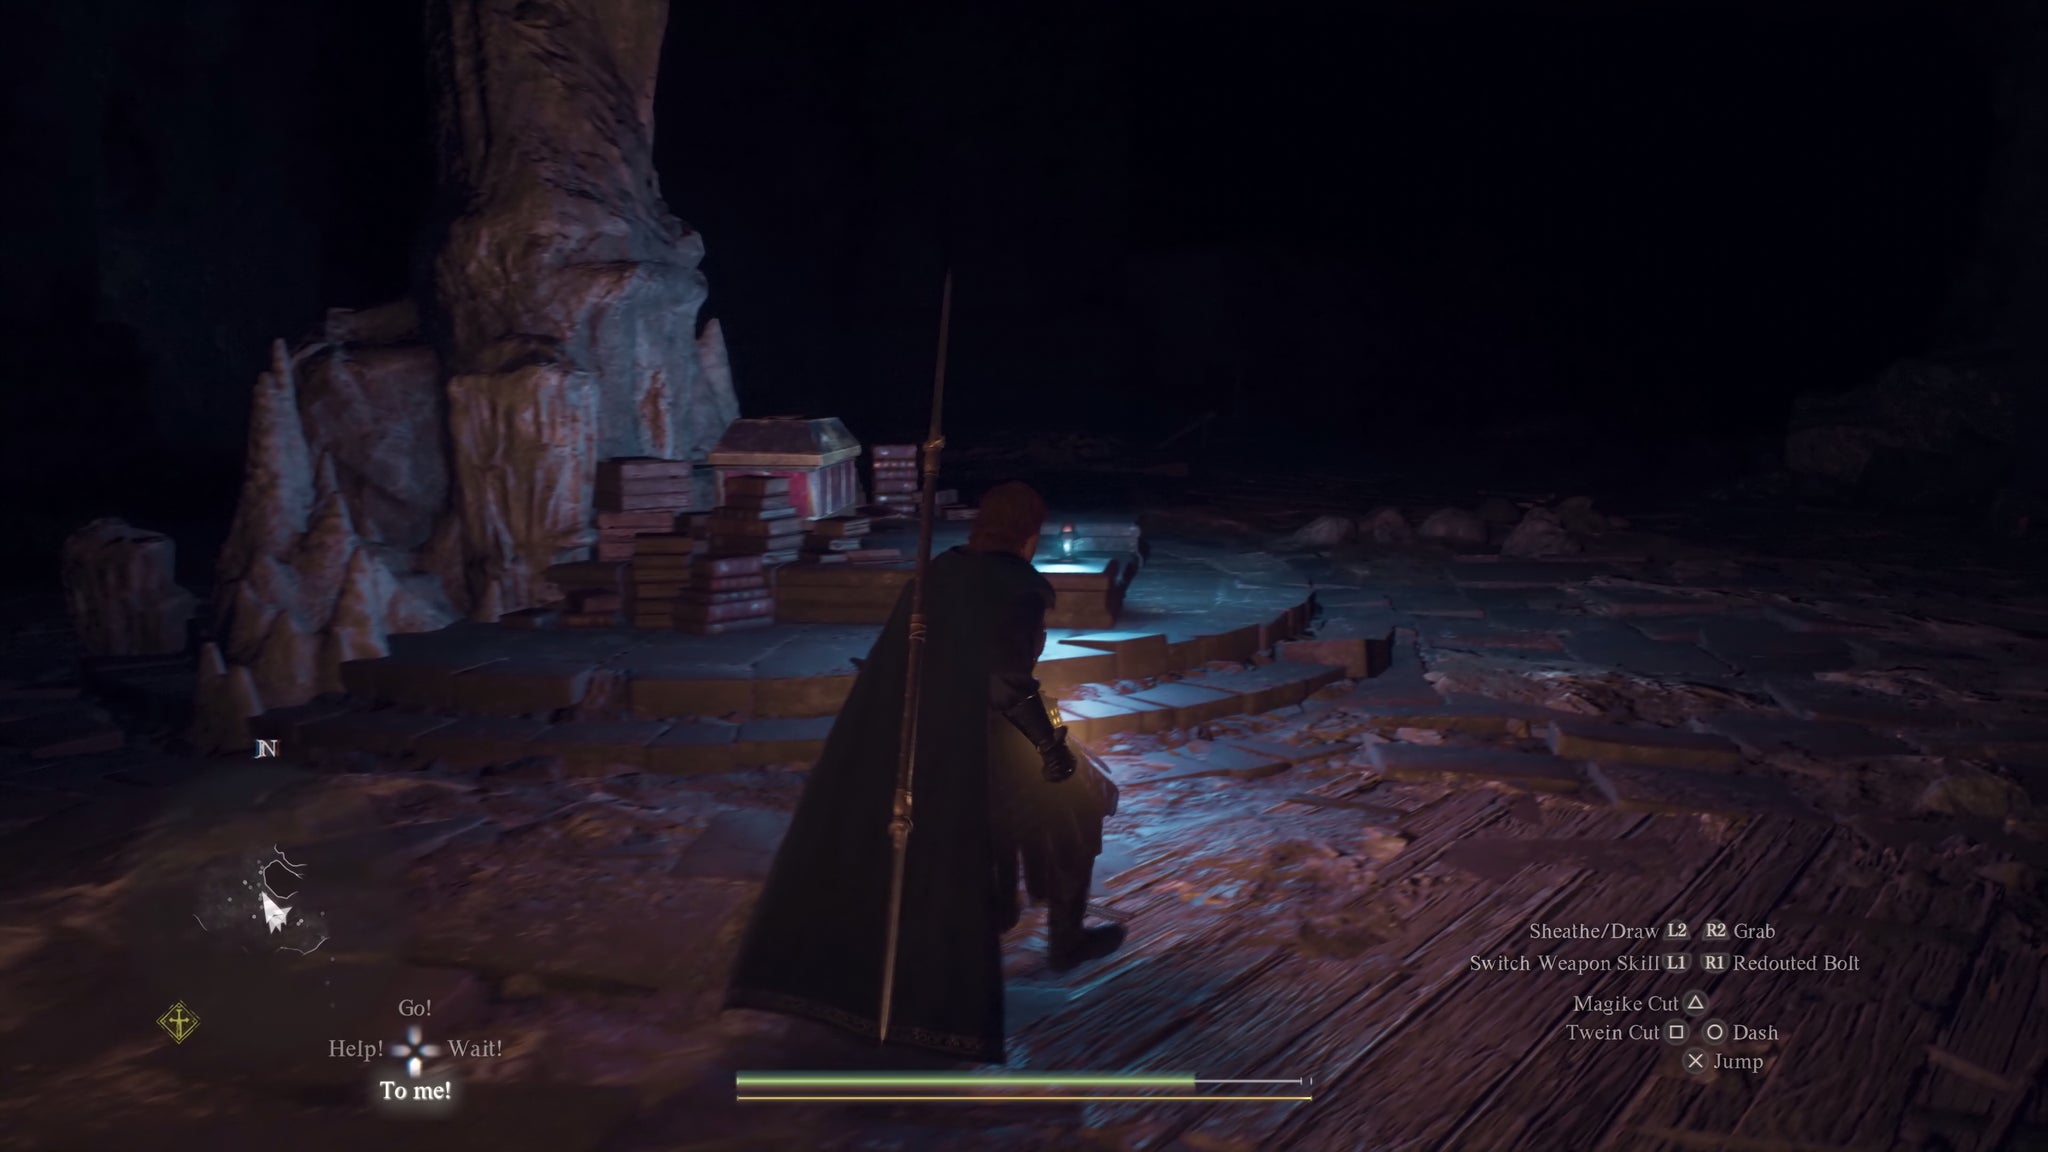
Right. It’s time to get serious. I am a professional. I’m not going to spend the last 45 minutes of a preview session in jail. Not again. I throw all the boxes in the room at the door. One of them glitches right through it and smashes against the wall outside. Hey, there’s a key beneath that box! That long-departed convict had my back after all.
I’m easing open the door when a jailer appears, roused by all the noise of smashing/glitching crates. “Lost your way, have you?” he says benignly. I seize him violently by the waist, drag him back into the cell and throw him off the cliff, then run screaming down the corridor, colliding with shelves and tables in my panic and oh hell, what’s this, what’s going on? Why has the screen gone all flickery? Bats! I’m being eaten alive by bats!
I thrash my limbs wildly and succeed in punching and kicking a dozen bats to death, then carry on screaming down the corridor and oh hell, icons everywhere! My entire inventory has reappeared! The prisons in Dragon’s Dogma 2 might not be welcoming but they are certainly efficient - I thought I might have to go break into the guardroom and retrieve my gear from a locker. It’s a timely development: according to the HUD I’m no longer in the jail but some kind of “forgotten magic laboratory”. Nothing good ever happens in those.
Having re-equipped my spear, armour and assorted effects, I proceed tentatively through the tunnel network, scooping up a few consumables as I go, and eventually find myself in a huge circular chamber with what appears to be a dragon skeleton at the bottom. The facility is home to a sinister population of men and women in robes. One man asks me if I’ve gotten lost, but nobody sics the guards on me or conjures any verboten magics. This is one of the more peaceful occult hideaways, it seems. I discover a hall with a dragon statue in it, and a bedroom with exquisitely carved wooden doors and some really nice carpets. Perhaps they’re keeping all the chained sorcerous abominations in the other dormitory?
A spiral ramp leads me up past several women repeating the same line about “feeling like I’ve forgotten something” - the magic, presumably? - and hey, I can see daylight! I exit the tunnels into a “Flamebearer” temple chamber with dangling drapes, ornamental water fixtures and torches. As if remembering that arcane labs are supposed to be accursed and dangerous places, the music spikes. I linger, hoping for some drama, but the ominous orchestral refrain soon dies away. “This sort of quiet means that all is well,” remarks a woman from the other end of the temple. I regard her waspishly. On the whole, I think Dragon’s Dogma 2 scores a 5/10 on the immersive sim scale, with points both deducted and added for thwarting expectations for sorcerous dungeons. But anyway: the key thing is that I am a free man, and apparently, I am in Battahl - the region of the game that is supposed to be the focus of this hands-on session. I’ve got 30 minutes left. Finally, the games journalism can begin in earnest.
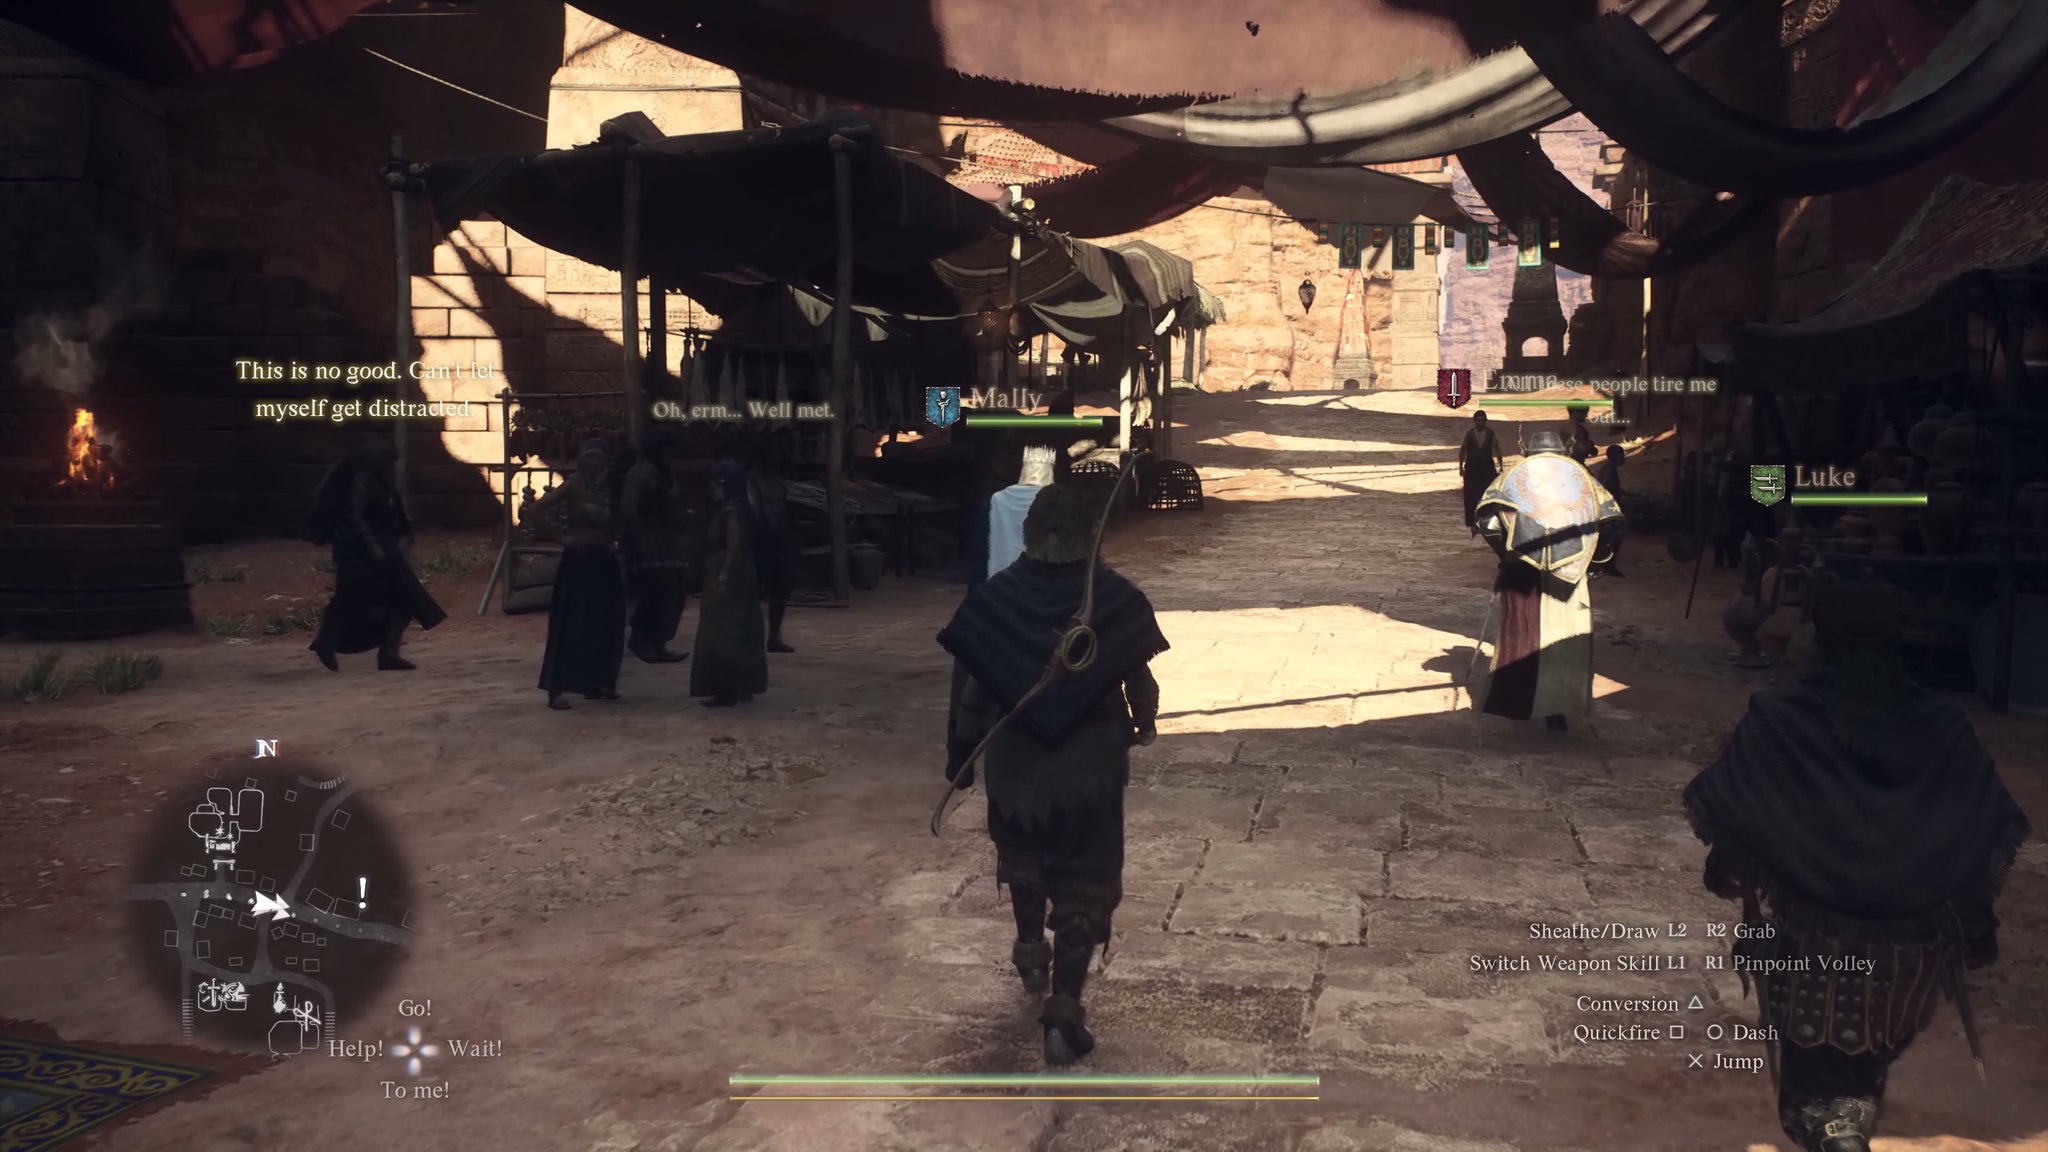
Image credit:Capcom/Rock Paper Shotgun
Battahl is a desert realm of banded canyons, shady tent cities and baking stone outcrops linked by rope elevators. Here there be griffons! Here also there be my pawns, who join my party inconspicuously as I’m running up a hill. What exactly have you been doing, pray tell, while I’ve been rotting in prison? Given our performance thus far, I guess I should be thankful they’ve come back at all. Oh hang on, we are missing one David Blaine. I guess he got murdered by the Beastren back at Checkpoint Rest Town? Fortunately, the path leads us to a bustling marketplace, where I’m able to hire a replacement mage from the crowd. One tall cat-faced spellcaster with an exquisite aristocratic accent wins my heart by offering to carry all my surplus inventory. Now, the question of the name. Do I know of any magic celebrity cats? The only celebrity cat I can think of is Jonesy from Alien, who is not a wizard as far as I know. Do I have time to think of an alternative? No. Jonesy it is, then.
Now a complete party, we spy a griffon swooping over the cliffs at the far end of the market and promptly give chase. Our pursuit of the griffon is rudely interrupted by a story NPC of some description - a spectral figure called the “Pathfinder”, who locks us into a cutscene and starts blathering about the chains of slavery and something called a Rockmouse Burrow. “Methinks it is where you will find that which you seek,” he simpers. I was just seeking that griffon actually, and thanks to you and your plot-bothering, Mr Pathfinder, it has fled the scene. But look, I can see the griffon in the distance there, soaring over an outcrop. And look here, there’s a rope elevator that leads directly to that outcrop!
We hasten to the elevator and leap aboard. If this were a Far Cry game, the elevator would travel at supersonic speeds and launch us straight into a plunging machete execution, but this is Dragon’s Dogma 2, a game that regards fast travel as a form of world-building , so the elevator travels at more-or-less the speed of a collapsing flan. I’m cranking the elevator handle busily when it occurs to me that I’m the gallant leader of this here expedition. I imperiously order Donald Duck to take over. Then, we are mobbed by harpies. The ensuing mid-air brawl puts me heavily in mind of Capcom’s Lost Planet 3 , with its many shootouts aboard massive moving vehicles, and fills me with a nostalgia that dissipates only when we reach the rocky outcrop and discover the griffon has flown away again, which fills me with a powerful vexation I promptly vent on some nearby bandits.
The bandits are a stubborn bunch, ambushing us as we alight and rudely interrupting our chants and arcane gestures with big bloody swords to the face, but their silly little shields are no match for my wildly imprecise telekinesis. Still, my pawns are sobered by the experience, with Jonesy - who, err, seems to have a West Country accent all of a sudden - remarking that he’s ashamed of being caught unawares. Donald Duck commiserates, commenting that “this is what befalls one who lets down their guard”. He probably should have kept that line in reserve, because seconds afterwards we wander into some Crumbling Ruins and are set upon by a Golem.

Image credit:Capcom/Rock Paper Shotgun
To recap, I started this hands-on diary partly to test the viability of a wizards-only Dragon’s Dogma 2 party. Thus far, I’ve found it reasonably easygoing. Yes, I’ve had some help from the occasional wandering mercenary, but in fairness, I’ve also been getting to grips with a new class - if I were a proficient Spearhand with a couple dozen hours of Dragon’s Dogma 2 under his enchanted belt, I dare say it would be plain-sailing. That was my verdict before fighting the Golem, anyway. A Golem, in case you didn’t take that course in Ambulant Geology, is a giant humanoid entity made out of rocks. The thing about rocks, I soon learn, is that they are very spell-resistant. Fireballs and lightning bolts be damned - what we need here is an extremely large hammer and somebody with the muscles to keep swinging it while the mages lurk in the bushes, casting buffs and heals.
Ever the pack of idiot nerds, my pawns immediately gallop into close range and start loudly charging up spells. Donald Duck gets stamped on and KO’d before he’s even loosed a single thunderbolt. I drag him away to a corner and revive him, then take a flying leap onto the Golem’s back and try to land some spearblows on the crackling weakpoints at its knees and elbows. “I hope you weren’t expecting mercy,” snickers Jonesy, summoning a mystic flame that wafts over the Golem like a cloud of air freshener. The Golem punches him in the face. Things carry on in this vein for, oh, about ten minutes, during which we manage to chip away exactly one of the Golem’s three health bars. The PRs look grave. “This is supposed to be an easy fight,” they say. “Why did you get rid of your Warrior?” they add, regarding me with the strained sympathy you extend to a toddler that has just insisted on eating a fistful of wasabi paste.
The fight drags on for so long that day turns into night. My pawns are looking decidedly worn and torn, or rather, rocked and pebbled. Their spangly robes and wizardly tiaras aren’t much use against boulders. More importantly, I only have five minutes left, and that Golem isn’t going anywhere fast. It’s time to make a break for the undergrowth in the hopes of discovering something novel and exciting and climactic - a capstone for this hands-on series but you know, not the Golem kind of stone.
Trusting my pawns to follow (no, I wasn’t abandoning them to their fate), I scramble up the nearest cliffside. The Golem bellows its contempt, but doesn’t pursue us. I look down the hillside beyond. Who goes there? Why, it’s some kind of spectral wizard, drifting through a canyon without a care in the world. I’ve got three minutes to spare. What better way to spend them than by battling a fellow master of the eldritch arts?
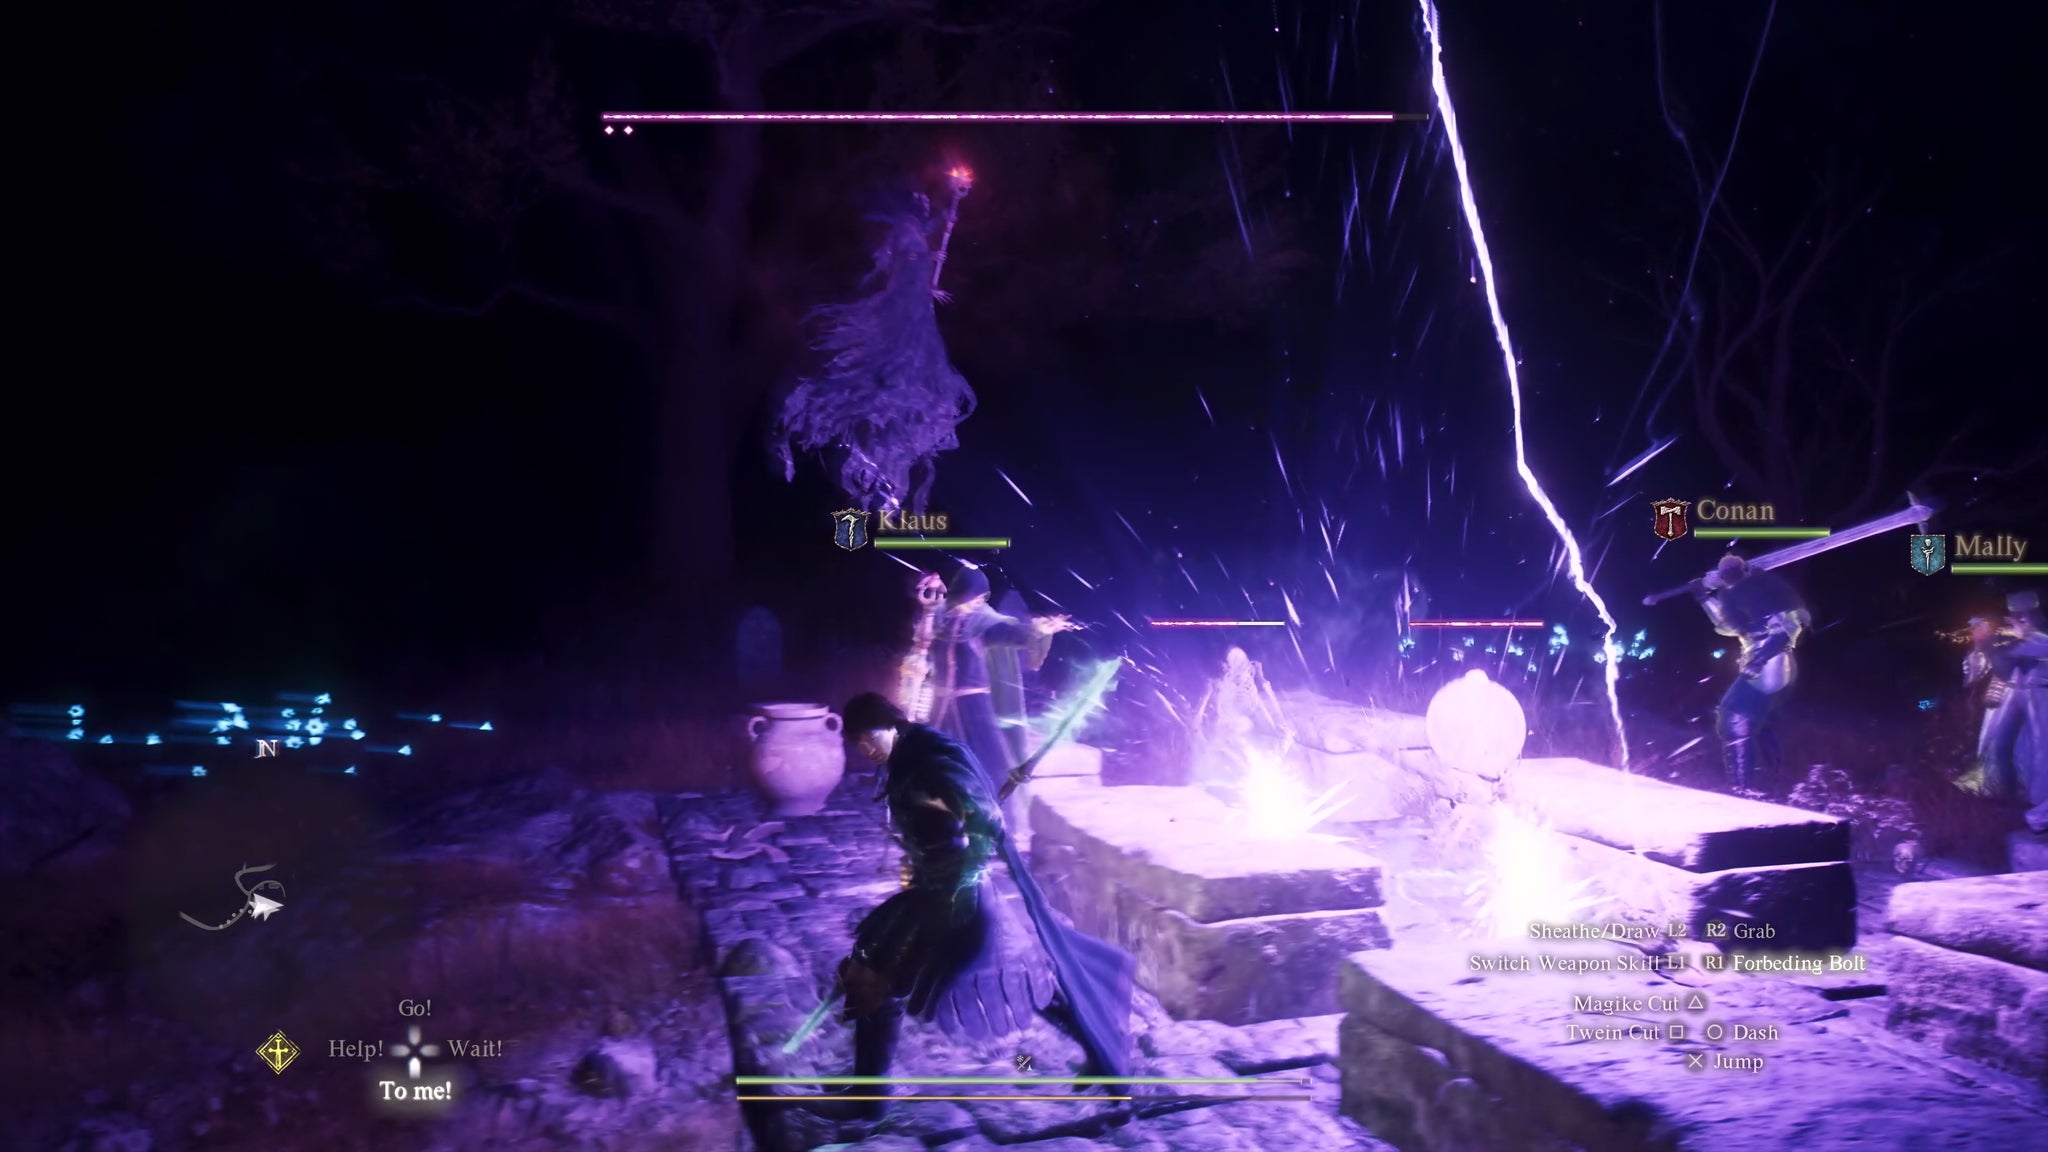
Image credit:Capcom/Rock Paper Shotgun
I teleport-stab the wraith, and oh heck, it’s got three health bars too. It’s also got a lot of skeleton friends. The enemy spellcaster surrounds itself with homing projectiles while bony figures armed with rusty axes and swords spring from the sand and treat my bedraggled mage party to its greatest kicking to date. Donald Duck gets KO’d again. Jonesy rushes to revive him and gets KO’d too. “Is anyone else available?” he mournfully enquires. I try to intervene and am deluged in lichfire, forcing me to self-revive with a Wakestone. Galadriel, at least, has escaped the carnage, but only because she’s doing her usual Elf-helicopter routine while dispensing solid but deeply irritating advice about the importance of smashing shields. The wraith, meanwhile, enchants the weapons of all the skeletons we’re fighting, just for kicks - and it’s at this point that another vile force of darkness arrives. Will the goblins unite with their fellow mortals against the necromantic Powers? Well, what do you think?
I drag out the skirmish by scooping up dead pawns and running off in search of sheltered nooks in which to revive them, but it’s amply clear that this hands-on is over. Woe unto Dragonkin Skywalker, bane of Battahl jail. Woe unto Donald Duck, Ogre incinerator and punchbag for Golems. Woe unto Galadriel, a flying nuisance to the end, and woe unto Jonesy, whom we hardly knew. Woe, I guess, unto David Blaine, though for all I know he escaped the guards back at Checkpoint Rest Town and is even now cooling his heels in a pub somewhere. I think it’s safe to say that you shouldn’t play Dragon’s Dogma 2 with a party consisting exclusively of magic-users. Still, I take a little, feeble consolation in the knowledge that we managed to meet our doom at the hands of a fellow spellcaster. A dead one, yes. It still counts.
Dragon’s Dogma 2
PS5 , Xbox Series X/S , PC
Rock Paper Shotgun is better when you sign in
Sign in and join us on our journey to discover strange and compelling PC games.

All 75 Arc Raiders Blueprints and where to get them
These areas have the highest chance of giving you Blueprints

Image credit:Rock Paper Shotgun/Embark Studios

Looking for more Arc Raiders Blueprints? It’s a special day when you find a Blueprint, as they’re among the most valuable items in Arc Raiders. If you find a Blueprint that you haven’t already found, then you must make sure you hold onto it at all costs, because Blueprints are the key to one of the most important and powerful systems of meta-progression in the game.
This guide aims to be the very best guide on Blueprints you can find, starting with a primer on what exactly they are and how they work in Arc Raiders, before delving into exactly where to get Blueprints and the very best farming spots for you to take in your search.
We’ll also go over how to get Blueprints from other unlikely activities, such as destroying Surveyors and completing specific quests. And you’ll also find the full list of all 75 Blueprints in Arc Raiders on this page (including the newest Blueprints added with the Cold Snap update , such as the Deadline Blueprint and Firework Box Blueprint), giving you all the information you need to expand your own crafting repertoire.
In this guide:
- What are Blueprints in Arc Raiders?
- Full Blueprint list: All crafting recipes
- Where to find Blueprints in Arc Raiders Blueprints obtained from quests Blueprints obtained from Trials Best Blueprint farming locations

What are Blueprints in Arc Raiders?
Blueprints in Arc Raiders are special items which, if you manage to extract with them, you can expend to permanently unlock a new crafting recipe in your Workshop. If you manage to extract from a raid with an Anvil Blueprint, for example, you can unlock the ability to craft your very own Anvil Pistol, as many times as you like (as long as you have the crafting materials).
To use a Blueprint, simply open your Inventory while in the lobby, then right-click on the Blueprint and click “Learn And Consume” . This will permanently unlock the recipe for that item in your Workshop. As of the Stella Montis update, there are allegedly 75 different Blueprints to unlock - although only 68 are confirmed to be in the game so far. You can see all the Blueprints you’ve found and unlocked by going to the Workshop menu, and hitting “R” to bring up the Blueprint screen.
It’s possible to find duplicates of past Blueprints you’ve already unlocked. If you find these, then you can either sell them, or - if you like to play with friends - you can take it into a match and gift it to your friend so they can unlock that recipe for themselves. Another option is to keep hold of them until the time comes to donate them to the Expedition.
Full Blueprint list: All crafting recipes
Below is the full list of all the Blueprints that are currently available to find in Arc Raiders, and the crafting recipe required for each item:
| Blueprint | Type | Recipe | Crafted At |
|---|---|---|---|
| Bettina | Weapon | 3x Advanced Mechanical Components 3x Heavy Gun Parts 3x Canister | Gunsmith 3 |
| Blue Light Stick | Quick Use | 3x Chemicals | Utility Station 1 |
| Aphelion | Weapon | 3x Magnetic Accelerator 3x Complex Gun Parts 1x Matriarch Reactor | Gunsmith 3 |
| Combat Mk. 3 (Flanking) | Augment | 2x Advanced Electrical Components 3x Processor | Gear Bench 3 |
| Combat Mk. 3 (Aggressive) | Augment | 2x Advanced Electrical Components 3x Processor | Gear Bench 3 |
| Complex Gun Parts | Material | 2x Light Gun Parts 2x Medium Gun Parts 2x Heavy Gun Parts | Refiner 3 |
| Fireworks Box | Quick Use | 1x Explosive Compound 3x Pop Trigger | Explosives Station 2 |
| Gas Mine | Mine | 4x Chemicals 2x Rubber Parts | Explosives Station 1 |
| Green Light Stick | Quick Use | 3x Chemicals | Utility Station 1 |
| Pulse Mine | Mine | 1x Crude Explosives 1x Wires | Explosives Station 1 |
| Seeker Grenade | Grenade | 1x Crude Explosives 2x ARC Alloy | Explosives Station 1 |
| Looting Mk. 3 (Survivor) | Augment | 2x Advanced Electrical Components 3x Processor | Gear Bench 3 |
| Angled Grip II | Mod | 2x Mechanical Components 3x Duct Tape | Gunsmith 2 |
| Angled Grip III | Mod | 2x Mod Components 5x Duct Tape | Gunsmith 3 |
| Hullcracker | Weapon | 1x Magnetic Accelerator 3x Heavy Gun Parts 1x Exodus Modules | Gunsmith 3 |
| Launcher Ammo | Ammo | 5x Metal Parts 1x Crude Explosives | Workbench 1 |
| Anvil | Weapon | 5x Mechanical Components 5x Simple Gun Parts | Gunsmith 2 |
| Anvil Splitter | Mod | 2x Mod Components 3x Processor | Gunsmith 3 |
| ??? | ??? | ??? | ??? |
| Barricade Kit | Quick Use | 1x Mechanical Components | Utility Station 2 |
| Blaze Grenade | Grenade | 1x Explosive Compound 2x Oil | Explosives Station 3 |
| Bobcat | Weapon | 3x Advanced Mechanical Components 3x Light Gun Parts | Gunsmith 3 |
| Osprey | Weapon | 2x Advanced Mechanical Components 3x Medium Gun Parts 7x Wires | Gunsmith 3 |
| Burletta | Weapon | 3x Mechanical Components 3x Simple Gun Parts | Gunsmith 1 |
| Compensator II | Mod | 2x Mechanical Components 4x Wires | Gunsmith 2 |
| Compensator III | Mod | 2x Mod Components 8x Wires | Gunsmith 3 |
| Defibrillator | Quick Use | 9x Plastic Parts 1x Moss | Medical Lab 2 |
| ??? | ??? | ??? | ??? |
| Equalizer | Weapon | 3x Magnetic Accelerator 3x Complex Gun Parts 1x Queen Reactor | Gunsmith 3 |
| Extended Barrel | Mod | 2x Mod Components 8x Wires | Gunsmith 3 |
| Extended Light Mag II | Mod | 2x Mechanical Components 3x Steel Spring | Gunsmith 2 |
| Extended Light Mag III | Mod | 2x Mod Components 5x Steel Spring | Gunsmith 3 |
| Extended Medium Mag II | Mod | 2x Mechanical Components 3x Steel Spring | Gunsmith 2 |
| Extended Medium Mag III | Mod | 2x Mod Components 5x Steel Spring | Gunsmith 3 |
| Extended Shotgun Mag II | Mod | 2x Mechanical Components 3x Steel Spring | Gunsmith 2 |
| Extended Shotgun Mag III | Mod | 2x Mod Components 5x Steel Spring | Gunsmith 3 |
| Remote Raider Flare | Quick Use | 2x Chemicals 4x Rubber Parts | Utility Station 1 |
| Heavy Gun Parts | Material | 4x Simple Gun Parts | Refiner 2 |
| Venator | Weapon | 2x Advanced Mechanical Components 3x Medium Gun Parts 5x Magnet | Gunsmith 3 |
| Il Toro | Weapon | 5x Mechanical Components 6x Simple Gun Parts | Gunsmith 1 |
| Jolt Mine | Mine | 1x Electrical Components 1x Battery | Explosives Station 2 |
| Explosive Mine | Mine | 1x Explosive Compound 1x Sensors | Explosives Station 3 |
| Jupiter | Weapon | 3x Magnetic Accelerator 3x Complex Gun Parts 1x Queen Reactor | Gunsmith 3 |
| Light Gun Parts | Material | 4x Simple Gun Parts | Refiner 2 |
| Lightweight Stock | Mod | 2x Mod Components 5x Duct Tape | Gunsmith 3 |
| Lure Grenade | Grenade | 1x Speaker Component 1x Electrical Components | Utility Station 2 |
| Medium Gun Parts | Material | 4x Simple Gun Parts | Refiner 2 |
| Torrente | Weapon | 2x Advanced Mechanical Components 3x Medium Gun Parts 6x Steel Spring | Gunsmith 3 |
| Muzzle Brake II | Mod | 2x Mechanical Components 4x Wires | Gunsmith 2 |
| Muzzle Brake III | Mod | 2x Mod Components 8x Wires | Gunsmith 3 |
| Padded Stock | Mod | 2x Mod Components 5x Duct Tape | Gunsmith 3 |
| Shotgun Choke II | Mod | 2x Mechanical Components 4x Wires | Gunsmith 2 |
| Shotgun Choke III | Mod | 2x Mod Components 8x Wires | Gunsmith 3 |
| Shotgun Silencer | Mod | 2x Mod Components 8x Wires | Gunsmith 3 |
| Showstopper | Grenade | 1x Advanced Electrical Components 1x Voltage Converter | Explosives Station 3 |
| Silencer I | Mod | 2x Mechanical Components 4x Wires | Gunsmith 2 |
| Silencer II | Mod | 2x Mod Components 8x Wires | Gunsmith 3 |
| Snap Hook | Quick Use | 2x Power Rod 3x Rope 1x Exodus Modules | Utility Station 3 |
| Stable Stock II | Mod | 2x Mechanical Components 3x Duct Tape | Gunsmith 2 |
| Stable Stock III | Mod | 2x Mod Components 5x Duct Tape | Gunsmith 3 |
| Tagging Grenade | Grenade | 1x Electrical Components 1x Sensors | Utility Station 3 |
| Tempest | Weapon | 3x Advanced Mechanical Components 3x Medium Gun Parts 3x Canister | Gunsmith 3 |
| Trigger Nade | Grenade | 2x Crude Explosives 1x Processor | Explosives Station 2 |
| Vertical Grip II | Mod | 2x Mechanical Components 3x Duct Tape | Gunsmith 2 |
| Vertical Grip III | Mod | 2x Mod Components 5x Duct Tape | Gunsmith 3 |
| Vita Shot | Quick Use | 2x Antiseptic 1x Syringe | Medical Lab 3 |
| Vita Spray | Quick Use | 3x Antiseptic 1x Canister | Medical Lab 3 |
| Vulcano | Weapon | 1x Magnetic Accelerator 3x Heavy Gun Parts 1x Exodus Modules | Gunsmith 3 |
| Wolfpack | Grenade | 2x Explosive Compound 2x Sensors | Explosives Station 3 |
| Red Light Stick | Quick Use | 3x Chemicals | Utility Station 1 |
| Smoke Grenade | Grenade | 14x Chemicals 1x Canister | Utility Station 2 |
| Deadline | Mine | 3x Explosive Compound 2x ARC Circuitry | Explosives Station 3 |
| Trailblazer | Grenade | 1x Explosive Compound 1x Synthesized Fuel | Explosives Station 3 |
| Tactical Mk. 3 (Defensive) | Augment | 2x Advanced Electrical Components 3x Processor | Gear Bench 3 |
| Tactical Mk. 3 (Healing) | Augment | 2x Advanced Electrical Components 3x Processor | Gear Bench 3 |
| Yellow Light Stick | Quick Use | 3x Chemicals | Utility Station 1 |
Note: The missing Blueprints in this list likely have not actually been added to the game at the time of writing, because none of the playerbase has managed to find any of them. As they are added to the game, I will update this page with the most relevant information so you know exactly how to get all 75 Arc Raiders Blueprints.
Where to find Blueprints in Arc Raiders
Below is a list of all containers, modifiers, and events which maximise your chances of finding Blueprints:
- Certain quests reward you with specific Blueprints .
- Completing Trials has a high chance of offering Blueprints as rewards.
- Surveyors have a decent chance of dropping Blueprints on death.
- High loot value areas tend to have a greater chance of spawning Blueprints.
- Night Raids and Storms may increase rare Blueprint spawn chances in containers.
- Containers with higher numbers of items may have a higher tendency to spawn Blueprints. As a result, Blue Gate (which has many “large” containers containing multiple items) may give you a higher chance of spawning Blueprints.
- Raider containers (Raider Caches, Weapon Boxes, Medical Bags, Grenade Tubes) have increased Blueprint drop rates. As a result, the Uncovered Caches event gives you a high chance of finding Blueprints.
- Security Lockers have a higher than average chance of containing Blueprints.
- Certain Blueprints only seem to spawn under specific circumstances: Tempest Blueprint only spawns during Night Raid events. Vulcano Blueprint only spawns during Hidden Bunker events. Jupiter and Equaliser Blueprints only spawn during Harvester events.

Raider Caches, Weapon Boxes, and other raider-oriented container types have a good chance of offering Blueprints. |Image credit:Rock Paper Shotgun/Embark Studios
Blueprints have a very low chance of spawning in any container in Arc Raiders, around 1-2% on average. However, there is a higher chance of finding Blueprints in particular container types. Specifically, you can find more Blueprints in Raider containers and security lockers.
Beyond this, if you’re looking for Blueprints you should focus on regions of the map which are marked as having particularly high-value loot. Areas such as the Control Tower in Dam Battlegrounds, the Arrival and Departure Buildings in Spaceport, and Pilgrim’s Peak in Blue Gate all have a better-than-average chance of spawning Blueprints somewhere amongst all their containers. Night Raids and Electromagnetic Storm events also increase the drop chances of certain Blueprints .
In addition to these containers, you can often loot Blueprints from destroyed Surveyors - the largest of the rolling ball ARC. Surveyors are more commonly found on the later maps - Spaceport and Blue Gate - and if one spawns in your match, you’ll likely see it by the blue laser beam that it casts into the sky while “surveying”.
Surveyors are quite well-armoured and will very speedily run away from you once it notices you, but if you can take one down then make sure you loot all its parts for a chance of obtaining certain unusual Blueprints.
Blueprints obtained from quests
One way in which you can get Blueprints is by completing certain quests for the vendors in Speranza. Some quests will reward you with a specific item Blueprint upon completion, so as long as you work through all the quests in Arc Raiders, you are guaranteed those Blueprints.
Here is the full list of all Blueprints you can get from quest rewards:
- Trigger Nade Blueprint: Rewarded after completing “Sparks Fly”.
- Lure Grenade Blueprint: Rewarded after completing “Greasing Her Palms”.
- Burletta Blueprint: Rewarded after completing “Industrial Espionage”.
- Hullcracker Blueprint (and Launcher Ammo Blueprint): Rewarded after completing “The Major’s Footlocker”.
Alas, that’s only 4 Blueprints out of a total of 75 to unlock, so for the vast majority you will need to find them yourself during a raid. If you’re intent on farming Blueprints, then it’s best to equip yourself with cheap gear in case you lose it, but don’t use a free loadout because then you won’t get a safe pocket to stash any new Blueprint you find. No pain in Arc Raiders is sharper than failing to extract with a new Blueprint you’ve been after for a dozen hours already.

One of the best ways to get Blueprints is by hitting three stars on all five Trials every week. |Image credit:Rock Paper Shotgun/Embark Studios
Blueprints obtained from Trials
One of the very best ways to get Blueprints is as rewards for completing Trials in Arc Raiders. Trials are unlocked from Level 15 onwards, and allow you to earn rewards by focusing on certain tasks over the course of several raids. For example, one Trial might task you with dealing damage to Hornets, while another might challenge you to loot Supply Drops.
Trials refresh on a weekly basis, with a new week bringing five new Trials. Each Trial can offer up to three rewards after passing certain score milestones, and it’s possible to receive very high level loot from these reward crates - including Blueprints. So if you want to unlock as many Blueprints as possible, you should make a point of completing as many Trials as possible each week.
Best Blueprint farming locations
The very best way to get Blueprints is to frequent specific areas of the maps which combine high-tier loot pools with the right types of containers to search. Here are my recommendations for where to find Blueprints on every map, so you can always keep the search going for new crafting recipes to unlock.

Image credit:Rock Paper Shotgun/Embark Studios
Dam Battlegrounds
The best places to farm Blueprints on Dam Battlegrounds are the Control Tower, Power Generation Complex, Ruby Residence, and Pale Apartments . The first two regions, despite only being marked on the map as mid-tier loot, contain a phenomenal number of containers to loot. The Control Tower can also contain a couple of high-tier Security Lockers - though of course, you’ll need to have unlocked the Security Breach skill at the end of the Survival tree.
There’s also a lot of reporting amongst the playerbase that the Residential areas in the top-left of the map - Pale Apartments and Ruby Residence - give you a comparatively strong chance of finding Blueprints. Considering their size, there’s a high density of containers to loot in both locations, and they also have the benefit of being fairly out of the way. So you’re more likely to have all the containers to yourself.
Buried City
The best Blueprint farming locations on Buried City are the Santa Maria Houses, Grandioso Apartments, Town Hall, and the various buildings of the New District . Grandioso Apartments has a lower number of containers than the rest, but a high chance of spawning weapon cases - which have good Blueprint drop rates. The others are high-tier loot areas, with plenty of lootable containers - including Security Lockers.
Spaceport
The best places to find Blueprints on Spaceport are the Arrival and Departure Buildings, as well as Control Tower A6 and the Launch Towers . All these areas are labelled as high-value loot regions, and many of them are also very handily connected to one another by the Spaceport wall, which you can use to quickly run from one area to the next. At the tops of most of these buildings you’ll find at least one Security Locker, so this is an excellent farming route for players looking to find Blueprints.
The downside to looting Blueprints on Spaceport is that all these areas are hotly contested, particularly in Duos and Squads. You’ll need to be very focused and fast in order to complete the full farming route.

Image credit:Rock Paper Shotgun/Embark Studios
Blue Gate
Blue Gate tends to have a good chance of dropping Blueprints, potentially because it generally has a high number of containers which can hold lots of items; so there’s a higher chance of a Blueprint spawning in each container. In my experience, the best Blueprint farming spots on Blue Gate are Pilgrim’s Peak, Raider’s Refuge, the Ancient Fort, and the Underground Complex beneath the Warehouse .
All of these areas contain a wealth of containers to loot. Raider’s Refuge has less to loot, but the majority of the containers in and around the Refuge are raider containers, which have a high chance of containing Blueprints - particularly during major events.
Stella Montis
On the whole, Stella Montis seems to have a very low drop rate for Blueprints (though a high chance of dropping other high-tier loot). If you do want to try farming Blueprints on this map, the best places to find Blueprints in Stella Montis are Medical Research, Assembly Workshop, and the Business Center . These areas have the highest density of containers to loot on the map.
In addition to this, the Western Tunnel has a few different Security Lockers to loot, so while there’s very little to loot elsewhere in this area of the map, it’s worth hitting those Security Lockers if you spawn there at the start of a match.
That wraps up this primer on how to get all the Blueprints in Arc Raiders as quickly as possible. With the Expedition system constantly resetting a large number of players’ Blueprints, it’s more important than ever to have the most up-to-date information on where to find all these Blueprints.
While you’re here, be sure to check out our Arc Raiders best guns tier list , as well as our primers on the best skills to unlock and all the different Field Depot locations on every map.

ARC Raiders
PS5 , Xbox Series X/S , PC
Rock Paper Shotgun is better when you sign in
Sign in and join us on our journey to discover strange and compelling PC games.
