Honkai: Star Rail publishers sue player for $150,000 over streaming a character before release
How much is that per minute?
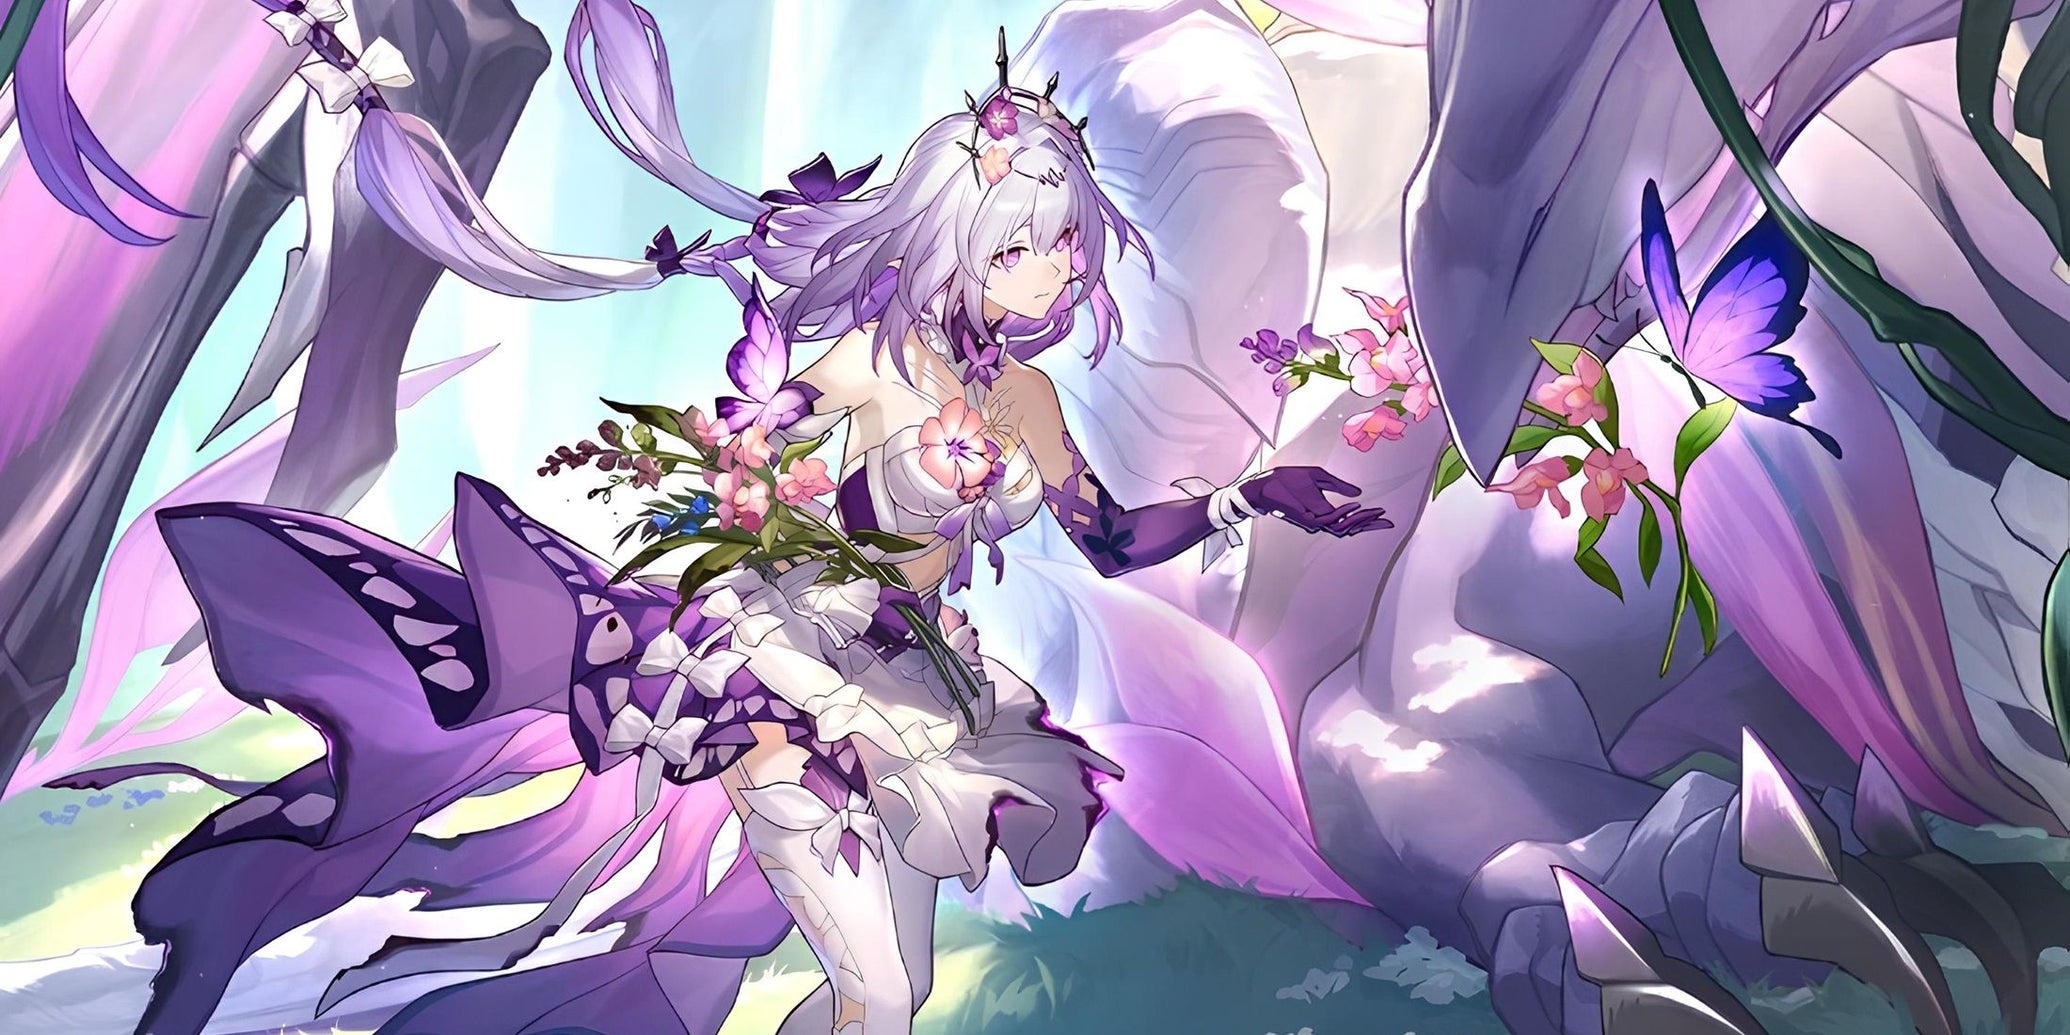
Image credit:HoYoverse

Genshin Impact and Zenless Zone Zero publishers HoYoverse are suing a player for $150,000 over a pre-release stream of a new Honkai: Star Rail character.
According to HoYoverse’s copyright claim, Lopez has “unfairly or unlawfully obtained a game update before its release date”, but the suit appears more vexed by Lopez sharing footage of the character, than how he obtained the game build in question.
They argue that a leak such as this “dampens the excitement and anticipation that many players feel when they obtain the update legitimately upon its official release.” It’s worth noting that Castorice had already been revealed as an upcoming addition to the game - during last December’s Game Awards, no less .
Honkai: Star Rail is a live service gacha game, with around 70 characters at the time of writing. Jason Coles thought it was good fun back in April 2023. I can see how the publisher of a game which thrives on the lure of randomly served or microtransacted anime fancy-dans might be extra prickly about having the goods screened ahead of schedule. On the other hand, I’m not particularly keen on billion-dollar publishers suing Discord streamers into the scorched earth over footage of a character we already know about.

Honkai: Star Rail
Android , iOS , PS5 , PC
Rock Paper Shotgun is better when you sign in
Sign in and join us on our journey to discover strange and compelling PC games.

All 75 Arc Raiders Blueprints and where to get them
These areas have the highest chance of giving you Blueprints

Image credit:Rock Paper Shotgun/Embark Studios

Looking for more Arc Raiders Blueprints? It’s a special day when you find a Blueprint, as they’re among the most valuable items in Arc Raiders. If you find a Blueprint that you haven’t already found, then you must make sure you hold onto it at all costs, because Blueprints are the key to one of the most important and powerful systems of meta-progression in the game.
This guide aims to be the very best guide on Blueprints you can find, starting with a primer on what exactly they are and how they work in Arc Raiders, before delving into exactly where to get Blueprints and the very best farming spots for you to take in your search.
We’ll also go over how to get Blueprints from other unlikely activities, such as destroying Surveyors and completing specific quests. And you’ll also find the full list of all 75 Blueprints in Arc Raiders on this page (including the newest Blueprints added with the Cold Snap update , such as the Deadline Blueprint and Firework Box Blueprint), giving you all the information you need to expand your own crafting repertoire.
In this guide:
- What are Blueprints in Arc Raiders?
- Full Blueprint list: All crafting recipes
- Where to find Blueprints in Arc Raiders Blueprints obtained from quests Blueprints obtained from Trials Best Blueprint farming locations

What are Blueprints in Arc Raiders?
Blueprints in Arc Raiders are special items which, if you manage to extract with them, you can expend to permanently unlock a new crafting recipe in your Workshop. If you manage to extract from a raid with an Anvil Blueprint, for example, you can unlock the ability to craft your very own Anvil Pistol, as many times as you like (as long as you have the crafting materials).
To use a Blueprint, simply open your Inventory while in the lobby, then right-click on the Blueprint and click “Learn And Consume” . This will permanently unlock the recipe for that item in your Workshop. As of the Stella Montis update, there are allegedly 75 different Blueprints to unlock - although only 68 are confirmed to be in the game so far. You can see all the Blueprints you’ve found and unlocked by going to the Workshop menu, and hitting “R” to bring up the Blueprint screen.
It’s possible to find duplicates of past Blueprints you’ve already unlocked. If you find these, then you can either sell them, or - if you like to play with friends - you can take it into a match and gift it to your friend so they can unlock that recipe for themselves. Another option is to keep hold of them until the time comes to donate them to the Expedition.
Full Blueprint list: All crafting recipes
Below is the full list of all the Blueprints that are currently available to find in Arc Raiders, and the crafting recipe required for each item:
| Blueprint | Type | Recipe | Crafted At |
|---|---|---|---|
| Bettina | Weapon | 3x Advanced Mechanical Components 3x Heavy Gun Parts 3x Canister | Gunsmith 3 |
| Blue Light Stick | Quick Use | 3x Chemicals | Utility Station 1 |
| Aphelion | Weapon | 3x Magnetic Accelerator 3x Complex Gun Parts 1x Matriarch Reactor | Gunsmith 3 |
| Combat Mk. 3 (Flanking) | Augment | 2x Advanced Electrical Components 3x Processor | Gear Bench 3 |
| Combat Mk. 3 (Aggressive) | Augment | 2x Advanced Electrical Components 3x Processor | Gear Bench 3 |
| Complex Gun Parts | Material | 2x Light Gun Parts 2x Medium Gun Parts 2x Heavy Gun Parts | Refiner 3 |
| Fireworks Box | Quick Use | 1x Explosive Compound 3x Pop Trigger | Explosives Station 2 |
| Gas Mine | Mine | 4x Chemicals 2x Rubber Parts | Explosives Station 1 |
| Green Light Stick | Quick Use | 3x Chemicals | Utility Station 1 |
| Pulse Mine | Mine | 1x Crude Explosives 1x Wires | Explosives Station 1 |
| Seeker Grenade | Grenade | 1x Crude Explosives 2x ARC Alloy | Explosives Station 1 |
| Looting Mk. 3 (Survivor) | Augment | 2x Advanced Electrical Components 3x Processor | Gear Bench 3 |
| Angled Grip II | Mod | 2x Mechanical Components 3x Duct Tape | Gunsmith 2 |
| Angled Grip III | Mod | 2x Mod Components 5x Duct Tape | Gunsmith 3 |
| Hullcracker | Weapon | 1x Magnetic Accelerator 3x Heavy Gun Parts 1x Exodus Modules | Gunsmith 3 |
| Launcher Ammo | Ammo | 5x Metal Parts 1x Crude Explosives | Workbench 1 |
| Anvil | Weapon | 5x Mechanical Components 5x Simple Gun Parts | Gunsmith 2 |
| Anvil Splitter | Mod | 2x Mod Components 3x Processor | Gunsmith 3 |
| ??? | ??? | ??? | ??? |
| Barricade Kit | Quick Use | 1x Mechanical Components | Utility Station 2 |
| Blaze Grenade | Grenade | 1x Explosive Compound 2x Oil | Explosives Station 3 |
| Bobcat | Weapon | 3x Advanced Mechanical Components 3x Light Gun Parts | Gunsmith 3 |
| Osprey | Weapon | 2x Advanced Mechanical Components 3x Medium Gun Parts 7x Wires | Gunsmith 3 |
| Burletta | Weapon | 3x Mechanical Components 3x Simple Gun Parts | Gunsmith 1 |
| Compensator II | Mod | 2x Mechanical Components 4x Wires | Gunsmith 2 |
| Compensator III | Mod | 2x Mod Components 8x Wires | Gunsmith 3 |
| Defibrillator | Quick Use | 9x Plastic Parts 1x Moss | Medical Lab 2 |
| ??? | ??? | ??? | ??? |
| Equalizer | Weapon | 3x Magnetic Accelerator 3x Complex Gun Parts 1x Queen Reactor | Gunsmith 3 |
| Extended Barrel | Mod | 2x Mod Components 8x Wires | Gunsmith 3 |
| Extended Light Mag II | Mod | 2x Mechanical Components 3x Steel Spring | Gunsmith 2 |
| Extended Light Mag III | Mod | 2x Mod Components 5x Steel Spring | Gunsmith 3 |
| Extended Medium Mag II | Mod | 2x Mechanical Components 3x Steel Spring | Gunsmith 2 |
| Extended Medium Mag III | Mod | 2x Mod Components 5x Steel Spring | Gunsmith 3 |
| Extended Shotgun Mag II | Mod | 2x Mechanical Components 3x Steel Spring | Gunsmith 2 |
| Extended Shotgun Mag III | Mod | 2x Mod Components 5x Steel Spring | Gunsmith 3 |
| Remote Raider Flare | Quick Use | 2x Chemicals 4x Rubber Parts | Utility Station 1 |
| Heavy Gun Parts | Material | 4x Simple Gun Parts | Refiner 2 |
| Venator | Weapon | 2x Advanced Mechanical Components 3x Medium Gun Parts 5x Magnet | Gunsmith 3 |
| Il Toro | Weapon | 5x Mechanical Components 6x Simple Gun Parts | Gunsmith 1 |
| Jolt Mine | Mine | 1x Electrical Components 1x Battery | Explosives Station 2 |
| Explosive Mine | Mine | 1x Explosive Compound 1x Sensors | Explosives Station 3 |
| Jupiter | Weapon | 3x Magnetic Accelerator 3x Complex Gun Parts 1x Queen Reactor | Gunsmith 3 |
| Light Gun Parts | Material | 4x Simple Gun Parts | Refiner 2 |
| Lightweight Stock | Mod | 2x Mod Components 5x Duct Tape | Gunsmith 3 |
| Lure Grenade | Grenade | 1x Speaker Component 1x Electrical Components | Utility Station 2 |
| Medium Gun Parts | Material | 4x Simple Gun Parts | Refiner 2 |
| Torrente | Weapon | 2x Advanced Mechanical Components 3x Medium Gun Parts 6x Steel Spring | Gunsmith 3 |
| Muzzle Brake II | Mod | 2x Mechanical Components 4x Wires | Gunsmith 2 |
| Muzzle Brake III | Mod | 2x Mod Components 8x Wires | Gunsmith 3 |
| Padded Stock | Mod | 2x Mod Components 5x Duct Tape | Gunsmith 3 |
| Shotgun Choke II | Mod | 2x Mechanical Components 4x Wires | Gunsmith 2 |
| Shotgun Choke III | Mod | 2x Mod Components 8x Wires | Gunsmith 3 |
| Shotgun Silencer | Mod | 2x Mod Components 8x Wires | Gunsmith 3 |
| Showstopper | Grenade | 1x Advanced Electrical Components 1x Voltage Converter | Explosives Station 3 |
| Silencer I | Mod | 2x Mechanical Components 4x Wires | Gunsmith 2 |
| Silencer II | Mod | 2x Mod Components 8x Wires | Gunsmith 3 |
| Snap Hook | Quick Use | 2x Power Rod 3x Rope 1x Exodus Modules | Utility Station 3 |
| Stable Stock II | Mod | 2x Mechanical Components 3x Duct Tape | Gunsmith 2 |
| Stable Stock III | Mod | 2x Mod Components 5x Duct Tape | Gunsmith 3 |
| Tagging Grenade | Grenade | 1x Electrical Components 1x Sensors | Utility Station 3 |
| Tempest | Weapon | 3x Advanced Mechanical Components 3x Medium Gun Parts 3x Canister | Gunsmith 3 |
| Trigger Nade | Grenade | 2x Crude Explosives 1x Processor | Explosives Station 2 |
| Vertical Grip II | Mod | 2x Mechanical Components 3x Duct Tape | Gunsmith 2 |
| Vertical Grip III | Mod | 2x Mod Components 5x Duct Tape | Gunsmith 3 |
| Vita Shot | Quick Use | 2x Antiseptic 1x Syringe | Medical Lab 3 |
| Vita Spray | Quick Use | 3x Antiseptic 1x Canister | Medical Lab 3 |
| Vulcano | Weapon | 1x Magnetic Accelerator 3x Heavy Gun Parts 1x Exodus Modules | Gunsmith 3 |
| Wolfpack | Grenade | 2x Explosive Compound 2x Sensors | Explosives Station 3 |
| Red Light Stick | Quick Use | 3x Chemicals | Utility Station 1 |
| Smoke Grenade | Grenade | 14x Chemicals 1x Canister | Utility Station 2 |
| Deadline | Mine | 3x Explosive Compound 2x ARC Circuitry | Explosives Station 3 |
| Trailblazer | Grenade | 1x Explosive Compound 1x Synthesized Fuel | Explosives Station 3 |
| Tactical Mk. 3 (Defensive) | Augment | 2x Advanced Electrical Components 3x Processor | Gear Bench 3 |
| Tactical Mk. 3 (Healing) | Augment | 2x Advanced Electrical Components 3x Processor | Gear Bench 3 |
| Yellow Light Stick | Quick Use | 3x Chemicals | Utility Station 1 |
Note: The missing Blueprints in this list likely have not actually been added to the game at the time of writing, because none of the playerbase has managed to find any of them. As they are added to the game, I will update this page with the most relevant information so you know exactly how to get all 75 Arc Raiders Blueprints.
Where to find Blueprints in Arc Raiders
Below is a list of all containers, modifiers, and events which maximise your chances of finding Blueprints:
- Certain quests reward you with specific Blueprints .
- Completing Trials has a high chance of offering Blueprints as rewards.
- Surveyors have a decent chance of dropping Blueprints on death.
- High loot value areas tend to have a greater chance of spawning Blueprints.
- Night Raids and Storms may increase rare Blueprint spawn chances in containers.
- Containers with higher numbers of items may have a higher tendency to spawn Blueprints. As a result, Blue Gate (which has many “large” containers containing multiple items) may give you a higher chance of spawning Blueprints.
- Raider containers (Raider Caches, Weapon Boxes, Medical Bags, Grenade Tubes) have increased Blueprint drop rates. As a result, the Uncovered Caches event gives you a high chance of finding Blueprints.
- Security Lockers have a higher than average chance of containing Blueprints.
- Certain Blueprints only seem to spawn under specific circumstances: Tempest Blueprint only spawns during Night Raid events. Vulcano Blueprint only spawns during Hidden Bunker events. Jupiter and Equaliser Blueprints only spawn during Harvester events.

Raider Caches, Weapon Boxes, and other raider-oriented container types have a good chance of offering Blueprints. |Image credit:Rock Paper Shotgun/Embark Studios
Blueprints have a very low chance of spawning in any container in Arc Raiders, around 1-2% on average. However, there is a higher chance of finding Blueprints in particular container types. Specifically, you can find more Blueprints in Raider containers and security lockers.
Beyond this, if you’re looking for Blueprints you should focus on regions of the map which are marked as having particularly high-value loot. Areas such as the Control Tower in Dam Battlegrounds, the Arrival and Departure Buildings in Spaceport, and Pilgrim’s Peak in Blue Gate all have a better-than-average chance of spawning Blueprints somewhere amongst all their containers. Night Raids and Electromagnetic Storm events also increase the drop chances of certain Blueprints .
In addition to these containers, you can often loot Blueprints from destroyed Surveyors - the largest of the rolling ball ARC. Surveyors are more commonly found on the later maps - Spaceport and Blue Gate - and if one spawns in your match, you’ll likely see it by the blue laser beam that it casts into the sky while “surveying”.
Surveyors are quite well-armoured and will very speedily run away from you once it notices you, but if you can take one down then make sure you loot all its parts for a chance of obtaining certain unusual Blueprints.
Blueprints obtained from quests
One way in which you can get Blueprints is by completing certain quests for the vendors in Speranza. Some quests will reward you with a specific item Blueprint upon completion, so as long as you work through all the quests in Arc Raiders, you are guaranteed those Blueprints.
Here is the full list of all Blueprints you can get from quest rewards:
- Trigger Nade Blueprint: Rewarded after completing “Sparks Fly”.
- Lure Grenade Blueprint: Rewarded after completing “Greasing Her Palms”.
- Burletta Blueprint: Rewarded after completing “Industrial Espionage”.
- Hullcracker Blueprint (and Launcher Ammo Blueprint): Rewarded after completing “The Major’s Footlocker”.
Alas, that’s only 4 Blueprints out of a total of 75 to unlock, so for the vast majority you will need to find them yourself during a raid. If you’re intent on farming Blueprints, then it’s best to equip yourself with cheap gear in case you lose it, but don’t use a free loadout because then you won’t get a safe pocket to stash any new Blueprint you find. No pain in Arc Raiders is sharper than failing to extract with a new Blueprint you’ve been after for a dozen hours already.

One of the best ways to get Blueprints is by hitting three stars on all five Trials every week. |Image credit:Rock Paper Shotgun/Embark Studios
Blueprints obtained from Trials
One of the very best ways to get Blueprints is as rewards for completing Trials in Arc Raiders. Trials are unlocked from Level 15 onwards, and allow you to earn rewards by focusing on certain tasks over the course of several raids. For example, one Trial might task you with dealing damage to Hornets, while another might challenge you to loot Supply Drops.
Trials refresh on a weekly basis, with a new week bringing five new Trials. Each Trial can offer up to three rewards after passing certain score milestones, and it’s possible to receive very high level loot from these reward crates - including Blueprints. So if you want to unlock as many Blueprints as possible, you should make a point of completing as many Trials as possible each week.
Best Blueprint farming locations
The very best way to get Blueprints is to frequent specific areas of the maps which combine high-tier loot pools with the right types of containers to search. Here are my recommendations for where to find Blueprints on every map, so you can always keep the search going for new crafting recipes to unlock.

Image credit:Rock Paper Shotgun/Embark Studios
Dam Battlegrounds
The best places to farm Blueprints on Dam Battlegrounds are the Control Tower, Power Generation Complex, Ruby Residence, and Pale Apartments . The first two regions, despite only being marked on the map as mid-tier loot, contain a phenomenal number of containers to loot. The Control Tower can also contain a couple of high-tier Security Lockers - though of course, you’ll need to have unlocked the Security Breach skill at the end of the Survival tree.
There’s also a lot of reporting amongst the playerbase that the Residential areas in the top-left of the map - Pale Apartments and Ruby Residence - give you a comparatively strong chance of finding Blueprints. Considering their size, there’s a high density of containers to loot in both locations, and they also have the benefit of being fairly out of the way. So you’re more likely to have all the containers to yourself.
Buried City
The best Blueprint farming locations on Buried City are the Santa Maria Houses, Grandioso Apartments, Town Hall, and the various buildings of the New District . Grandioso Apartments has a lower number of containers than the rest, but a high chance of spawning weapon cases - which have good Blueprint drop rates. The others are high-tier loot areas, with plenty of lootable containers - including Security Lockers.
Spaceport
The best places to find Blueprints on Spaceport are the Arrival and Departure Buildings, as well as Control Tower A6 and the Launch Towers . All these areas are labelled as high-value loot regions, and many of them are also very handily connected to one another by the Spaceport wall, which you can use to quickly run from one area to the next. At the tops of most of these buildings you’ll find at least one Security Locker, so this is an excellent farming route for players looking to find Blueprints.
The downside to looting Blueprints on Spaceport is that all these areas are hotly contested, particularly in Duos and Squads. You’ll need to be very focused and fast in order to complete the full farming route.

Image credit:Rock Paper Shotgun/Embark Studios
Blue Gate
Blue Gate tends to have a good chance of dropping Blueprints, potentially because it generally has a high number of containers which can hold lots of items; so there’s a higher chance of a Blueprint spawning in each container. In my experience, the best Blueprint farming spots on Blue Gate are Pilgrim’s Peak, Raider’s Refuge, the Ancient Fort, and the Underground Complex beneath the Warehouse .
All of these areas contain a wealth of containers to loot. Raider’s Refuge has less to loot, but the majority of the containers in and around the Refuge are raider containers, which have a high chance of containing Blueprints - particularly during major events.
Stella Montis
On the whole, Stella Montis seems to have a very low drop rate for Blueprints (though a high chance of dropping other high-tier loot). If you do want to try farming Blueprints on this map, the best places to find Blueprints in Stella Montis are Medical Research, Assembly Workshop, and the Business Center . These areas have the highest density of containers to loot on the map.
In addition to this, the Western Tunnel has a few different Security Lockers to loot, so while there’s very little to loot elsewhere in this area of the map, it’s worth hitting those Security Lockers if you spawn there at the start of a match.
That wraps up this primer on how to get all the Blueprints in Arc Raiders as quickly as possible. With the Expedition system constantly resetting a large number of players’ Blueprints, it’s more important than ever to have the most up-to-date information on where to find all these Blueprints.
While you’re here, be sure to check out our Arc Raiders best guns tier list , as well as our primers on the best skills to unlock and all the different Field Depot locations on every map.


ARC Raiders
PS5 , Xbox Series X/S , PC
Rock Paper Shotgun is better when you sign in
Sign in and join us on our journey to discover strange and compelling PC games.

Next Honkai Star Rail Banner schedule: Featured characters in Version 1.2 and beyond
Learn all about the 1.2 and 1.3 Banners, including Kafka, Blade, and Imbibitor Lunae!
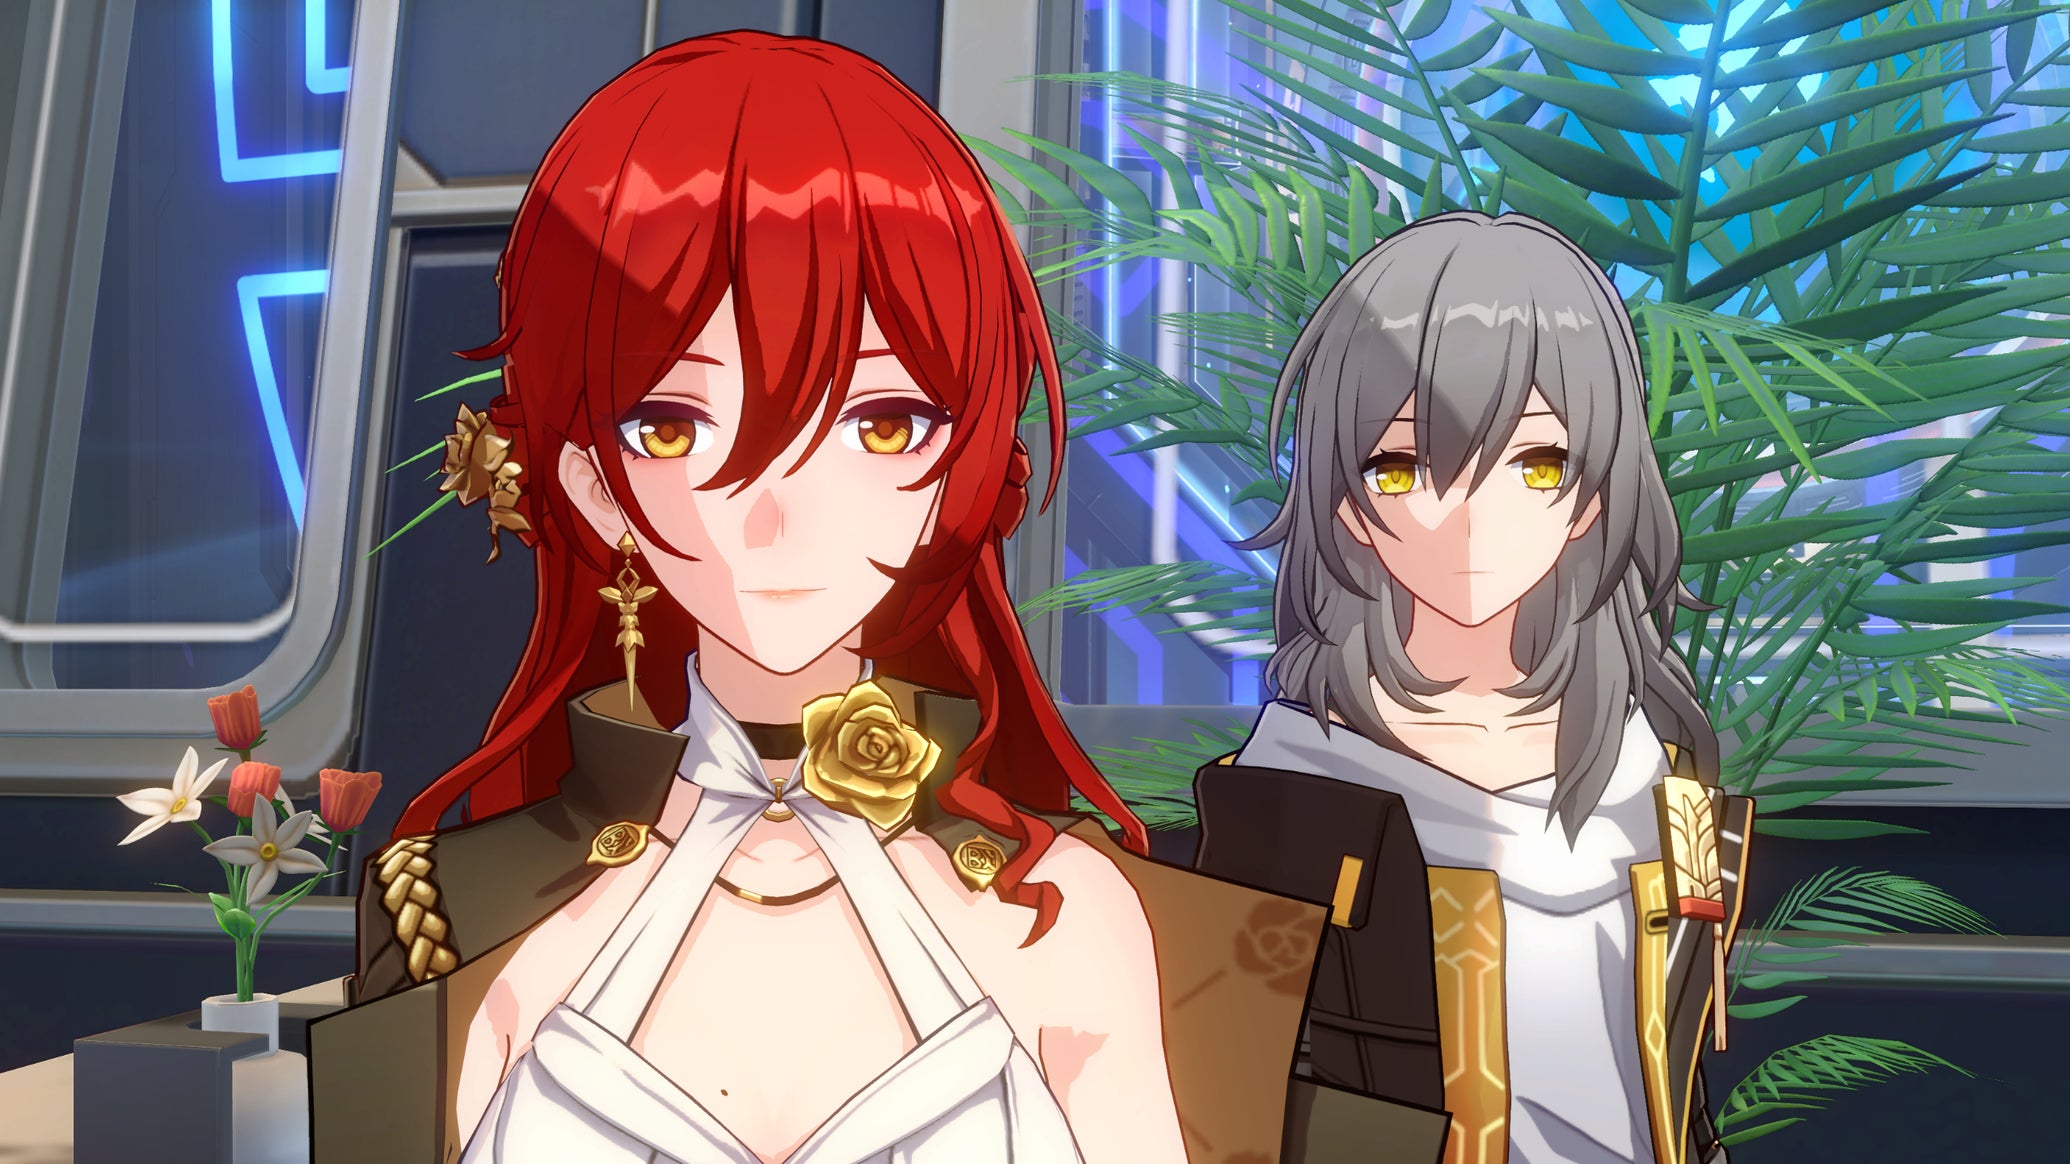
Image credit:Rock Paper Shotgun/HoYoverse

Looking for details on the next Honkai: Star Rail Banner? Warp Banners are the key to expanding your character and weapon collection in Honkai: Star Rail . Banners act like loot boxes in some ways: you can spend your Star Pass currency to “Warp” for exclusive characters and high-end Light Cone weapons .
Head to the Warp screen in Honkai: Star Rail and you’ll see a selection of Banners that you can use to “Warp” in new characters and items. The really important one is the limited-time Character Event Warp Banner. Every 3 weeks, a new Character Event Banner appears to replace the old one, bringing with it a different selection of 5-Star and 4-Star characters that you can obtain. Some of these characters can only be obtained through these Character Event Banners, so if you want them, you’ll need to Warp them in before the current Banner disappears and the next Banner arrives!
In this guide:
- Next Honkai Star Rail Banner schedule Honkai Star Rail 1.2 Banner details Honkai Star Rail 1.3 Banner details
- Next Banner Light Cones
- Current Honkai Star Rail Banner
- Current Banner Light Cones
- Honkai Star Rail Standard Banner (Stellar Warp)
- Honkai Star Rail Departure Warp Banner
- All Honkai Star Rail Banners list
Rebecca chatted to Liam about how Honkai: Star Rail stacks up against Genshin Impact.Watch on YouTube
Next Honkai Star Rail Banner schedule
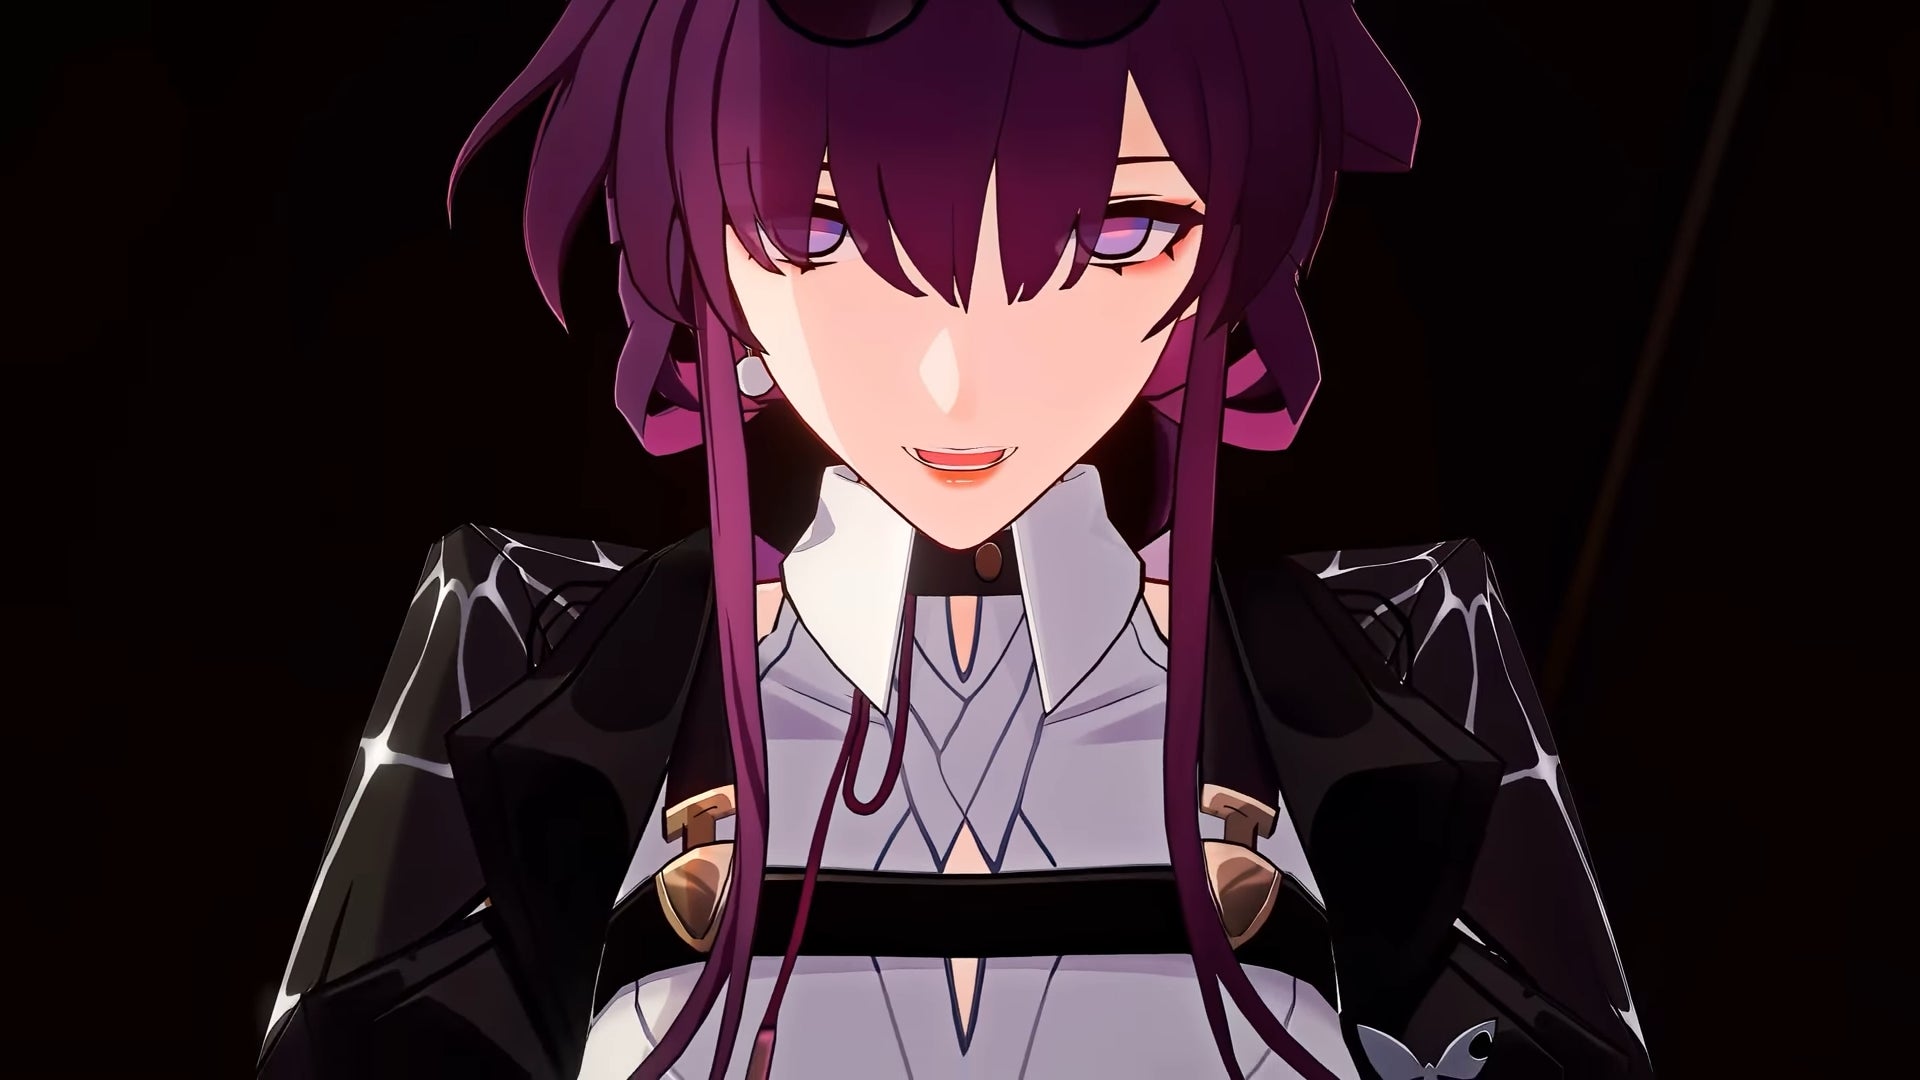
Image credit:Rock Paper Shotgun/HoYoverse
Honkai Star Rail 1.2 Banner details
Honkai: Star Rail Version 1.2 was released on July 19th, 2023, with Phase 1 featuring the banner debut of new 5-Star character Blade , as well as drop rate boosts for Arlan, Sushang, and Natasha .
Phase 2, live since August 9th , introduces two new characters — 5-Star Kafka and 4-Star Luka — as part of the former’s debut Character Event Warp: Nessun Dorma . The other featured 4-Star characters are Sampo and Serval .
1.2 Banner new characters:
| Character | Rarity | Element | Path |
|---|---|---|---|
| Blade | 5-Star | Physical | Destruction |
| Kafka | 5-Star | Lightning | Nihility |
| Luka | 4-Star | Physical | Nihility |

Image credit:HoYoverse
Honkai Star Rail 1.3 Banner details
No official release date has been given for Honkai: Star Rail 1.3, but given the usual six-week schedule we can expect it to release around August 30th 2023 . The leaked information and rumours for Honkai Star Rail’s 1.3 Banner are similarly unconfirmed, but we have an idea of who we can expect to Warp thanks to a recent Banner schedule leak on the HonkaiStarRail_leaks subreddit.
According to this leak, the featured characters for the 1.3 Banner will be Fu Xuan and Imbibitor Lunae - also known as Dan Heng IL, or Dragon Dan Heng. Imbibitor Lunae’s existence was later officially confirmed on the Honkai Star Rail twitter . Exciting stuff! Here are the details we have so far on these upcoming characters.
1.3 Banner characters:
| Character | Rarity | Element | Path |
|---|---|---|---|
| Fu Xuan | 5-Star | Quantum | Preservation |
| Imbibitor Lunae | 5-Star | Imaginary | Destruction |
Next Banner Light Cones
While new character Banners arrive every 3 weeks, the Brilliant Fixation Light Cone Banner is permanent. However, whenever a new character Banner arrives, the pool of possible Light Cones that you can Warp in the Brilliant Fixation Banner will update to reflect the currently featured characters. And whenever a new character is introduced with a Banner, a new 5-star Light Cone is almost always added to the Brilliant Fixation pool.
It’s important to fit the right Light Cone with the right character. All Light Cones in Honkai: Star Rail have a special Light Cone ability which only works if you pair it with a character of the same Path. Put a Harmony Light Cone on a Destruction character, for example, and they won’t be able to benefit from that Light Cone’s special ability. They will, however, still gain the basic stat bonuses of having that Light Cone equipped.
Thanks to recent (albeit unconfirmed) leaks, we now know several of the Light Cones coming with the next Honkai: Star Rail Banners:
| Light Cone | Banner | Character | Path | Ability | Source |
|---|---|---|---|---|---|
| The Unreachable Star | 1.2 | Blade | Destruction | Increases Max HP and Crit Rate by X%. When wearer takes damage or uses their own HP for an attack, increases DMG of next attack by X%. | Link |
| Patience Is All You Need | 1.2 | Kafka | Nihility | Increases the wearer’s Break Effect by X%. Each time the wearer casts an attack, increases speed by X, up to X stacks. Additionally, target enemies have a 100% chance of sustaining damage over time. | Link |
| Light Brighter Than The Sun | 1.3 | Imbibitor Lunae | Destruction | Increase Crit Rate of the wearer by X%. When the wearer casts a Basic ATK, they will gain 1 stack of [Dragon’s Chant], which lasts for X turns. Each stack of [Dragon’s Chant] will increase the wearer’s ATK by X%, and energy regeneration by X%. [Dragon’s Chant] can only be stacked up to a maximum of X times. | Link |
| Already Closed Both Eyes | 1.3 | Fu Xuan | Preservation | Increases Max HP and increases Max HP of allies. The increase value is equal to X% of wearer’s Max HP. When entering battle, restore HP equal to X% of lost HP to all allies, and increase effect hit resistance of all allies by X% for X turns. | Link |
We hope to hear more soon with the 1.2 livestream on July 8th, but until then, this is all the information we have to go on. We’ll keep this page updated as more details arrive!
Current Honkai Star Rail Banner: Nessun Dorma

Image credit:HoYoverse
The current Honkai: Star Rail Banner features new 5-star character Kafka , a Lightning/Nihility character exclusive to the Nissun Dorma banner. She’s joined by new 4-star Luka, as well as Sampo and Serval .
Unlike Kafka, these 4-star characters won’t be exclusive to this Banner, although Luka is temporarily exclusive until the next version update. In the meantime, however, they all receive a drop-rate boost: any time you pull a 4-star item or character from this Banner, there’s a 50% chance that it will be one of the featured trio.
The current Honkai: Star Rail Banner is the Phase 2 Banner for Version 1.2, and will end on Tuesday August 29th . It will be replaced by the Phase 1 Banner for Version 1.3, which is expected to launch the following day.
See below for full details on the characters with increased drop rates on the current character event Banner:
| Character | Rarity | Element | Path |
|---|---|---|---|
| Kafka | 5-Star | Lightning | Nihility |
| Luka | 4-Star | Physical | Nihility |
| Sampo | 4-Star | Wind | Nihility |
| Serval | 4-Star | Lightning | Erudition |
Current Banner Light Cones
As with the current Character Event Warp Banner, the current Brilliant Fixation Banner will finish on Tuesday August 29th . The currently featured Light Cones in this Banner are as follows:
| Light Cone | Signature Character | Path | Ability |
|---|---|---|---|
| Patience Is All You Need | Kafka | Nihility | Increases DMG dealt by the wearer by 24%. After every attack unleashed by the wearer, the wearer’s SPD increases by 4.8%, stacking up to 3 times. If the wearer hits an enemy target that is not affected by Erode, there is a 100% base chance to inflict Erode on the target. Enemies afflicted with Erode are also considered to be Shocked and will receive Lightning DoT at the start of each turn equal to 60% of the wearer’s ATK, lasting for 1 turn. |
| Resolution Shines As Pearls of Sweat | Luka | Nihility | When the wearer hits an enemy and if the hit enemy is not already Ensnared, then there is a 60% base chance to Ensnare the hit enemy. Ensnared enemies’ DEF decreases by 12% for 1 turn(s). |
| Eyes of the Prey | Sampo | Nihility | Increases the wearer’s Effect Hit Rate by 20% and increases DoT by 24%. |
| The Birth of the Self | Herta | Erudition | Increases DMG dealt by the wearer’s follow-up attacks by 24%. If the current HP of the target enemy is below 50% of Max HP, increases DMG dealt by follow-up attacks by an extra 24%. |
Honkai Star Rail Standard Banner: Stellar Warp

Image credit:Rock Paper Shotgun/HoYoverse
Stellar Warp is the Standard Banner in Honkai: Star Rail. Unlike the other Banners which are replaced every three weeks or so, the Standard Banner is permanent and always available for your Warps.
Every 10 Warps with the Standard Banner gives you a guaranteed 4-star or 5-star character or Light Cone; and every 90 Warps gives you a guaranteed 5-star character or Light Cone.
Here are all the characters you can get from the Standard Banner:
| Character | Rarity | Element | Path |
|---|---|---|---|
| Bailu | 5-Star | Lightning | Abundance |
| Bronya | 5-Star | Wind | Harmony |
| Clara | 5-Star | Physical | Destruction |
| Gepard | 5-Star | Ice | Preservation |
| Himeko | 5-Star | Fire | Erudition |
| Welt | 5-Star | Imaginary | Nihility |
| Yanqing | 5-Star | Ice | Hunt |
| Arlan | 4-Star | Lightning | Destruction |
| Asta | 4-Star | Fire | Harmony |
| Dan Heng | 4-Star | Wind | Hunt |
| Herta | 4-Star | Ice | Erudition |
| Hook | 4-Star | Fire | Destruction |
| March 7th | 4-Star | Ice | Preservation |
| Natasha | 4-Star | Physical | Abundance |
| Pela | 4-Star | Ice | Nihility |
| Qingque | 4-Star | Quantum | Erudition |
| Sampo | 4-Star | Wind | Nihility |
| Serval | 4-Star | Lightning | Erudition |
| Sushang | 4-Star | Physical | Hunt |
| Tingyun | 4-Star | Lightning | Harmony |
| Yukong | 4-Star | Imaginary | Harmony |
Honkai Star Rail Departure Warp Banner
The final Banner worth talking about in Honkai: Star Rail is the Departure Warp Banner , which is only available to new players and disappears after you’ve made 50 Warps on it.
What’s special about the Departure Warp Banner is that you get a 20% discount on the cost of a set of 10 Warps, and you’re guaranteed a 5-star character somewhere in those 50 total Warps for that Banner.
The characters you can pull from the Departure Warp Banner are exactly the same as you can get from the Standard Banner, so you can view them using the table above.
All Honkai Star Rail Banners list
To help you keep track of when your desired character or Light Cone last appeared in the gacha, here is the full list of all past and current event Banners featured in Honkai: Star Rail:
| Banner | 5-Stars | 4-Stars | Version | Start Date | End Date |
|---|---|---|---|---|---|
| Nessun Dorma | Kafka | Luka, Sampo, Serval | 1.2 (2) | August 9th, 2023 | August 29th, 2023 |
| A Lost Soul | Blade | Arlan, Natasha, Sushang | 1.2 (1) | July 19th, 2023 | August 9th, 2023 |
| Laic Pursuit | Luocha | Pela, Qingque, Yukong | 1.1 (2) | June 28th, 2023 | July 18th, 2023 |
| Contract Zero | Silver Wolf | Asta, Dan Heng, Serval | 1.1 (1) | June 7th, 2023 | June 28th, 2023 |
| Swirl Of Heavenly Spear | Jing Yuan | March 7th, Sushang, Tingyun | 1.0 (2) | May 17th, 2023 | June 6th, 2023 |
| Butterfly On Swordtip | Seele | Hook, Natasha, Pela | 1.0 (1) | April 26th, 2023 | May 17th, 2023 |
Knowing what’s going on in Honkai: Star Rail’s gacha is all well and good, but knowing how to manage your currencies is equally important. Check out our Honkai: Star Rail currencies guide to help you learn your Stellar Jades from your Oneiric Shards. Happy Warping!


Honkai: Star Rail
Android , iOS , PS5 , PC
Rock Paper Shotgun is better when you sign in
Sign in and join us on our journey to discover strange and compelling PC games.
