Hollow Knight Silksong walkthrough: Part 7 (Hunter’s March)
Prepare for some serious Pogo-ing through Hunter’s March
<img loading=“lazy” src=“https://assetsio.gnwcdn.com/hollow-knight-silksong-walkthrough-7-header.jpg?width=690&quality=85&format=jpg&dpr=3&auto=webp" onerror=“this.onerror=null;this.src=‘https://blogger.googleusercontent.com/img/a/AVvXsEhe7F7TRXHtjiKvHb5vS7DmnxvpHiDyoYyYvm1nHB3Qp2_w3BnM6A2eq4v7FYxCC9bfZt3a9vIMtAYEKUiaDQbHMg-ViyGmRIj39MLp0bGFfgfYw1Dc9q_H-T0wiTm3l0Uq42dETrN9eC8aGJ9_IORZsxST1AcLR7np1koOfcc7tnHa4S8Mwz_xD9d0=s16000';" alt=“Hornet in Hollow Knight: Silksong attacks downwards in midair to “pogo” off some red plant bulbs in the Hunter’s March region. - 1”>
Image credit:Rock Paper Shotgun/Team Cherry

Stuck finding your way through Hunter’s March in Hollow Knight: Silksong? Of all the parts I’ve written so far for this Hollow Knight: Silksong walkthrough, I think Hunter’s March deserves one the most. This area is extremely unwelcoming, filled with spikes and dangerous ant enemies. And if you haven’t yet got the hang of Pogo-ing off enemies and surfaces, now’s probably the time to really commit to learning that skill.
In Part 7 of our Silksong walkthrough , I’ll show you the safest, most optimal route through Hunter’s March, beginning with the powerful ant guardian in the Marrow, and culminating in one of the hardest fights yet deep inside the Chapel Of The Beast. Let’s get started!
Want the walkthrough for a different area of the game? Check out our Hollow Knight: Silksong walkthrough hub!
Hunter’s March walkthrough steps:
- Take the Bellway to the Marrow.
- Defeat the Skarrgard (the giant ant).
- Pogo your way up to the captive Flea.
- Head East to reach the gauntlet with Shakra.
- Reach the next Bench and disarm its trap.
- Meet Gilly by the dancer statue.
- Find Mottled Scarr in the secret passage.
- Unlock the shortcut to Deep Docks.
- Enter the Chapel Of The Beast.
- Defeat the Savage Beastfly.
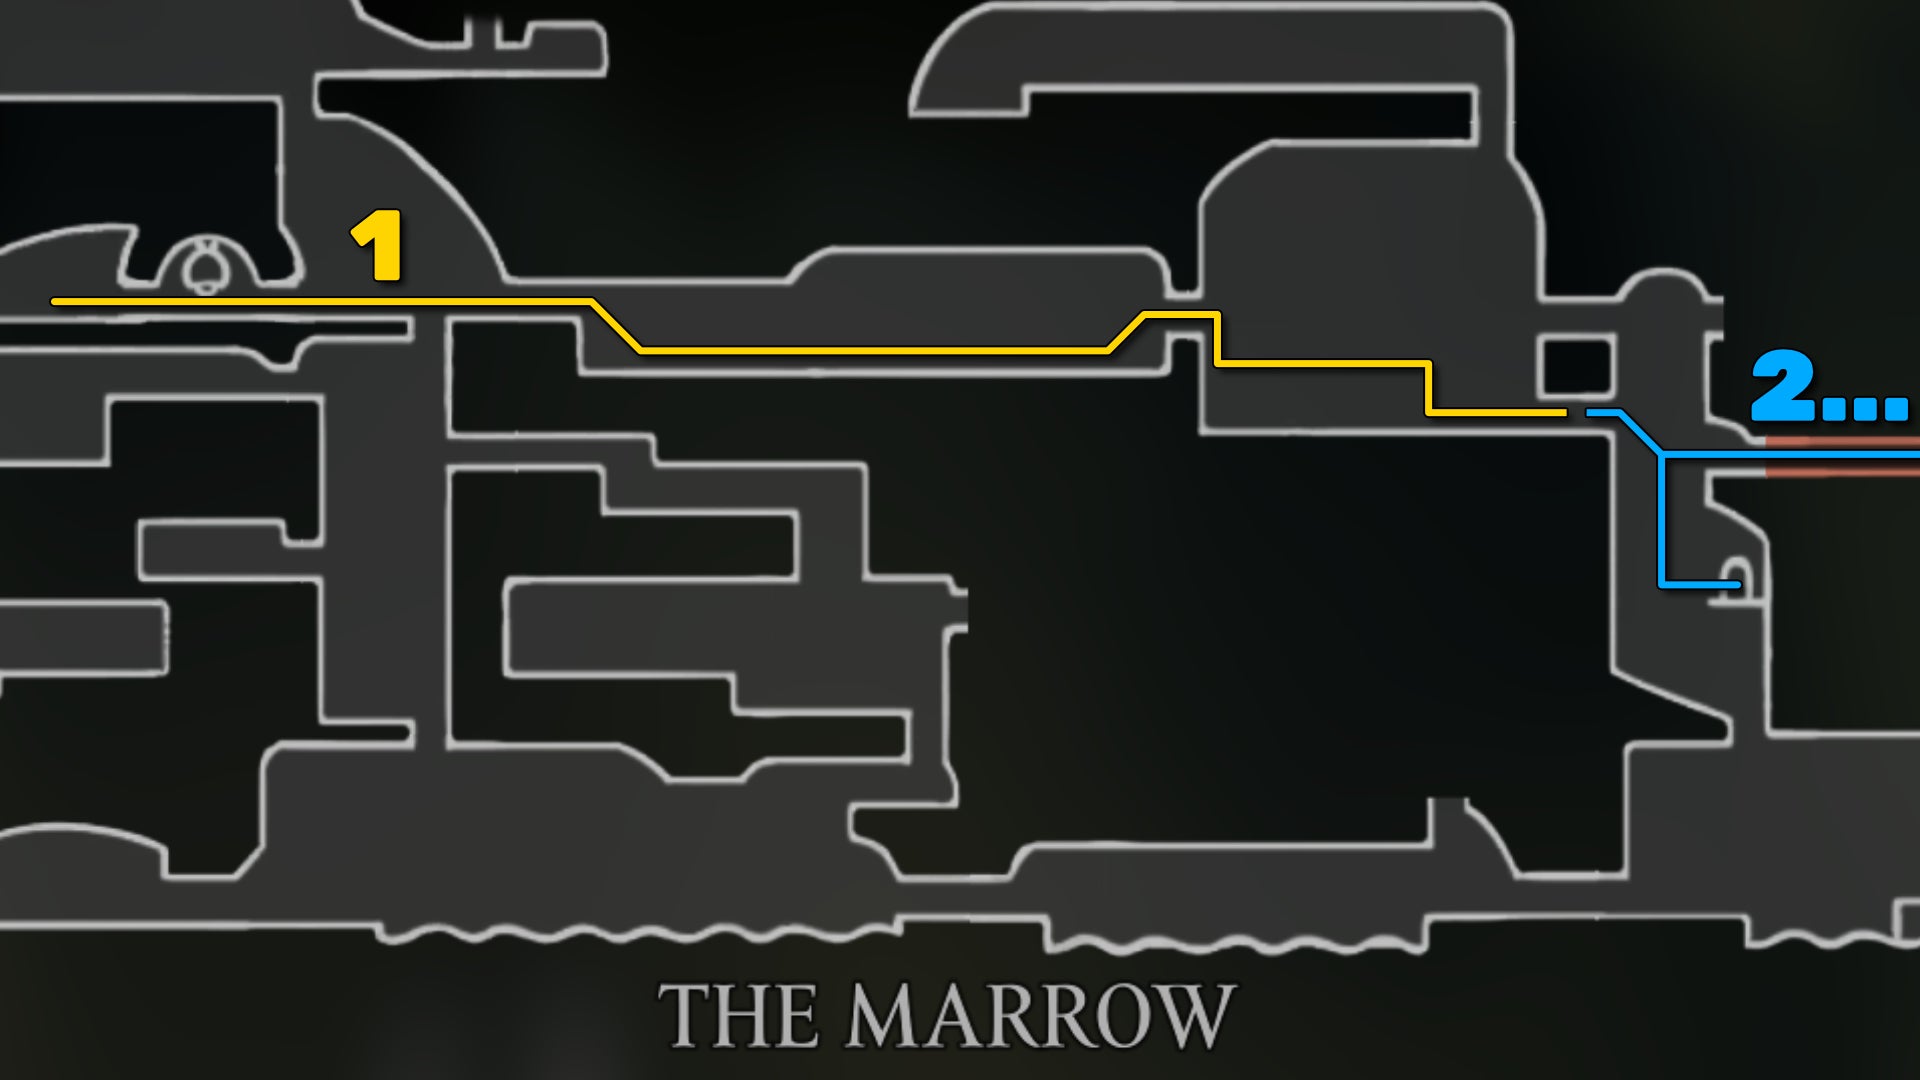
Image credit:Rock Paper Shotgun/Team Cherry
1. Take the Bellway to the Marrow.
Picking up exactly where we left off, we’ve just entered the region of Greymoor but don’t actually want to be here yet. So drop down almost all the way to the bottom of the shaft, and use the Bellway to fast travel to the Marrow.

Image credit:Rock Paper Shotgun/Team Cherry
From there, head all the way to the right until you reach the Marrow’s own rather shorter shaft with the stepladder running down it.
2. Defeat the Skarrgard (the giant ant).
Drop to the ground level where the stepladder ends. On your right is the path that takes you into Hunter’s March, a region governed by powerful ant enemies. But before heading there, drop down the hole and enter the prison (where you freed Grindle), and rest at the Bench there. This gives you an easy and quick path back to Hunter’s March.


When you’re ready, head down that passage to the right and you’ll come face to face with a large ant warrior known as a Skarrgard. This guy is very aggressive, hits for double damage, and will absolutely tear you apart if you’re unprepared. I’ve included a quick “how to beat” video from our friends at IGN just below.

The secret to beating the Skarrgard is to keep close to him, and either dodge backwards if he swings, or dodge beneath him when he leaps. Attack often but carefully, as there are plenty of opportunities to punish his attacks. He doesn’t actually have much Health, so it shouldn’t take long provided you’ve followed our walkthrough and gained both the Swift Step ability and the Wanderer Crest (the faster attacks make this fight easier).
Once the giant ant is slain, collect the couple of Shell Shard caches in the upper area just beyond the Skarrgard’s arena, and then press onward to enter Hunter’s March.
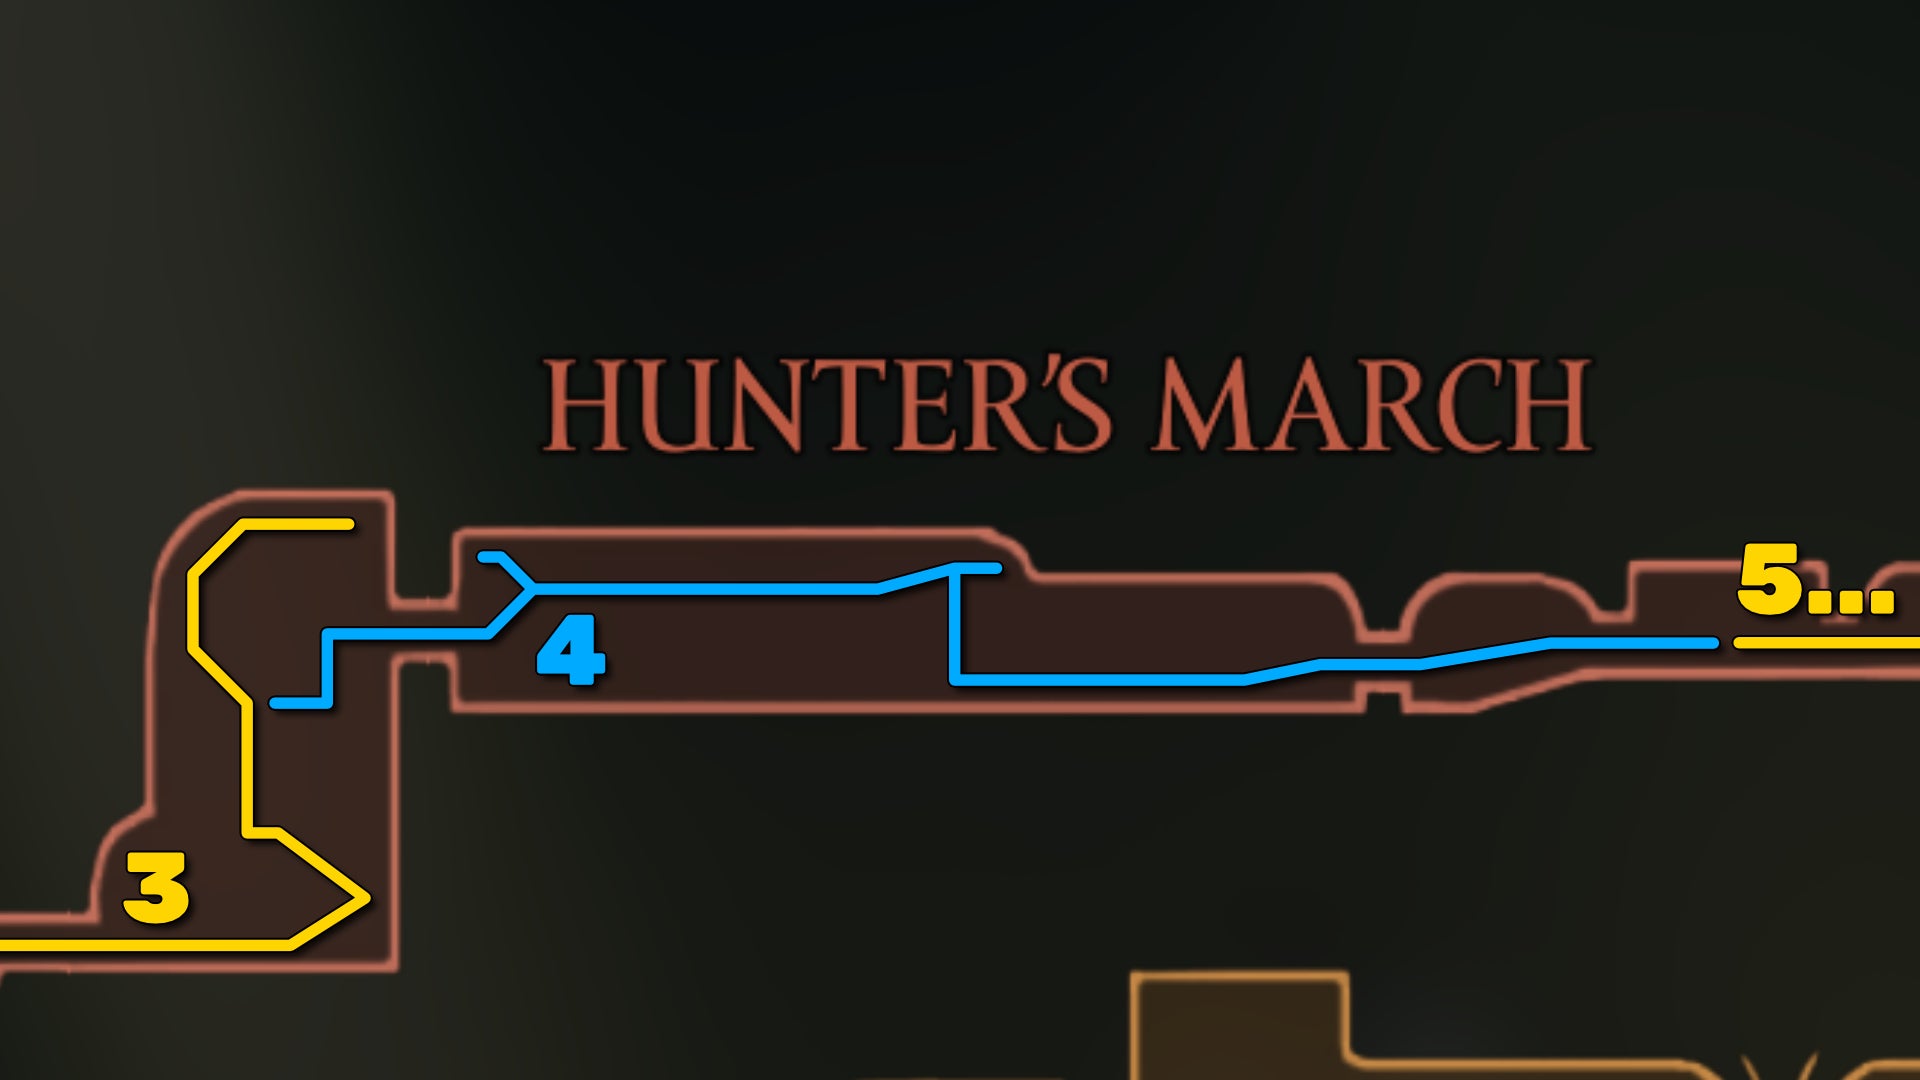
Image credit:Rock Paper Shotgun/Team Cherry
3. Pogo your way up to the captive Flea.
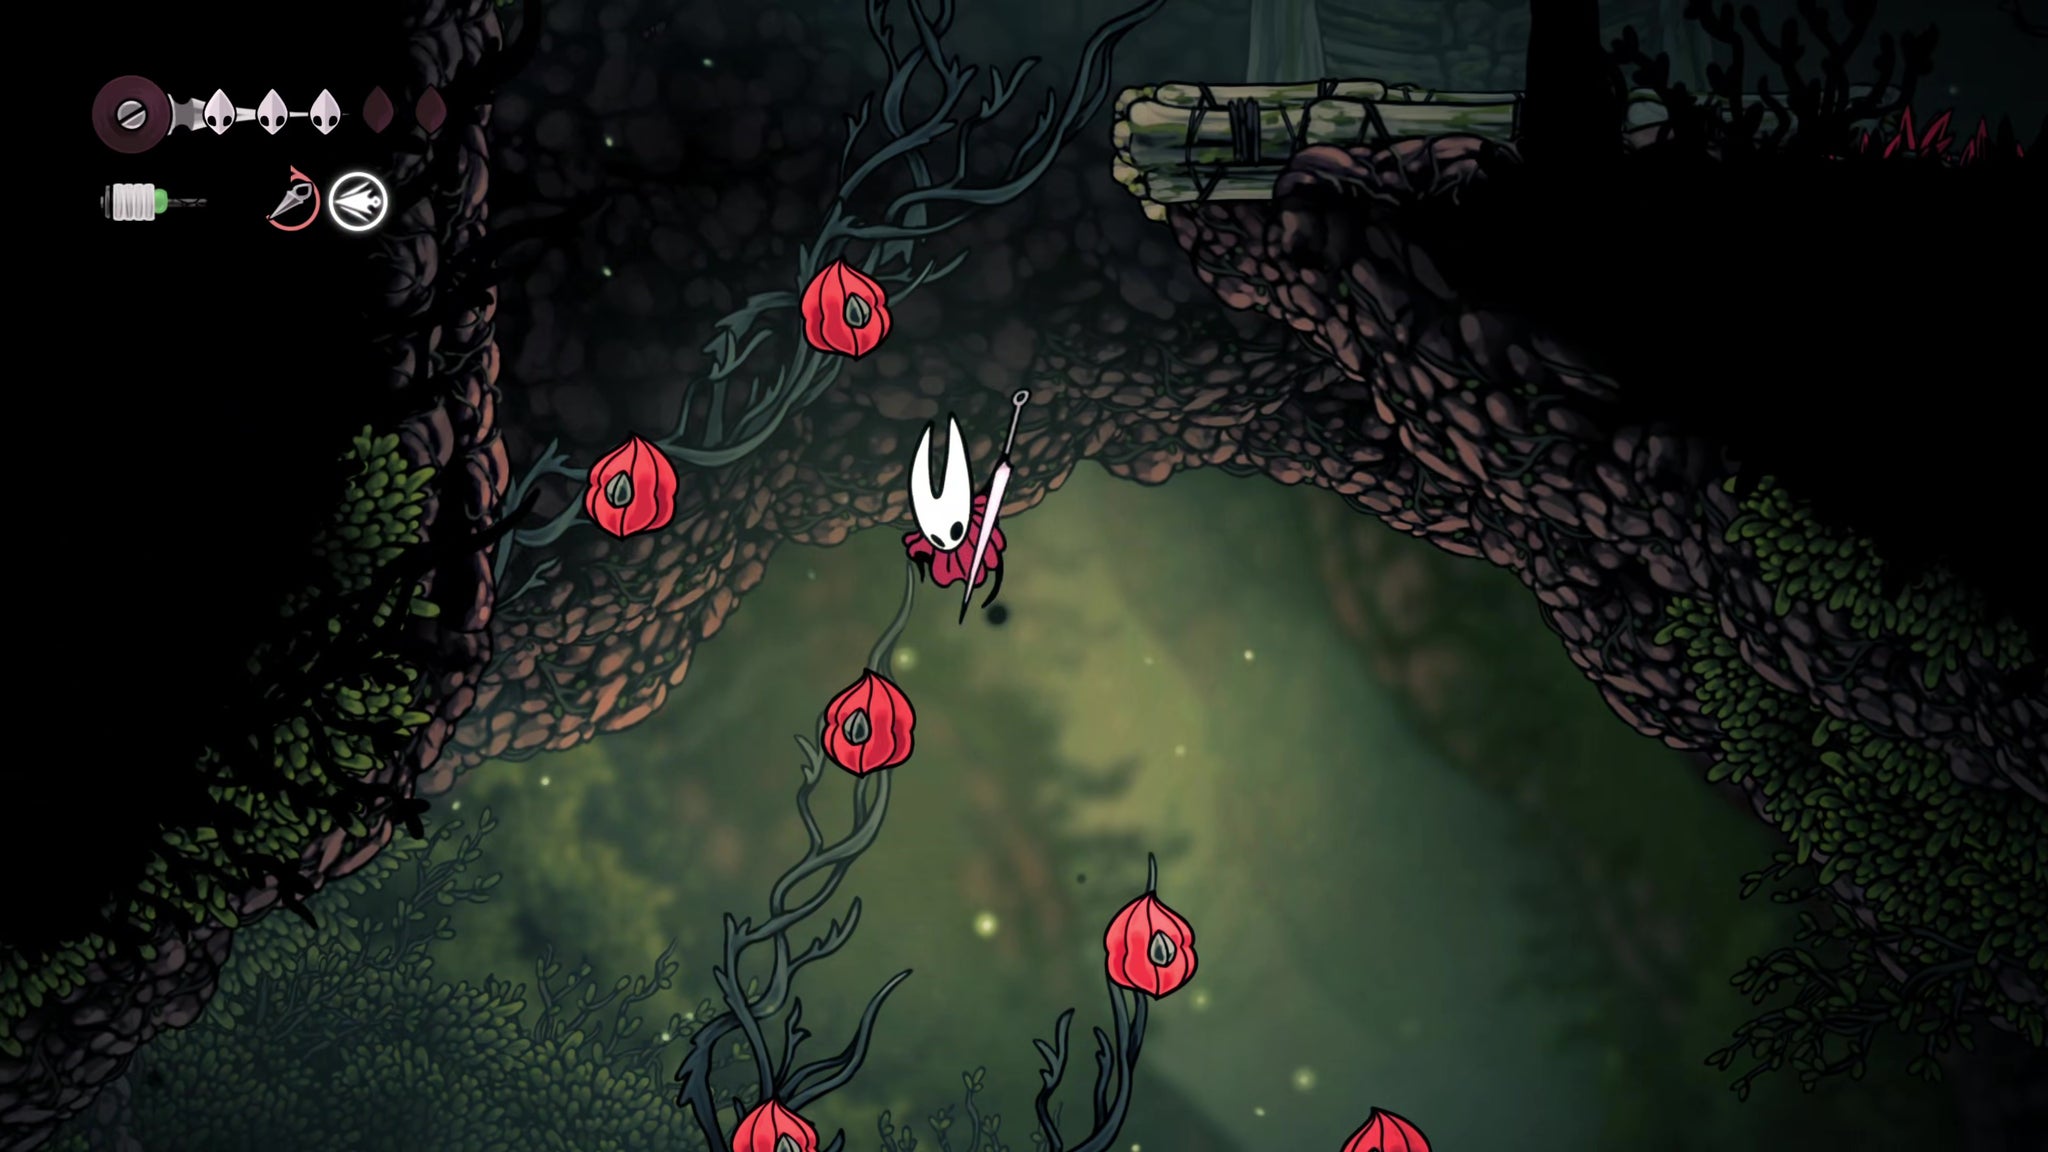
Image credit:Rock Paper Shotgun/Team Cherry
Follow the path and Pogo up all the red plants until you arrive at a vertical fork in the road. Take the left-side path upwards, evading the flying ants as you go.
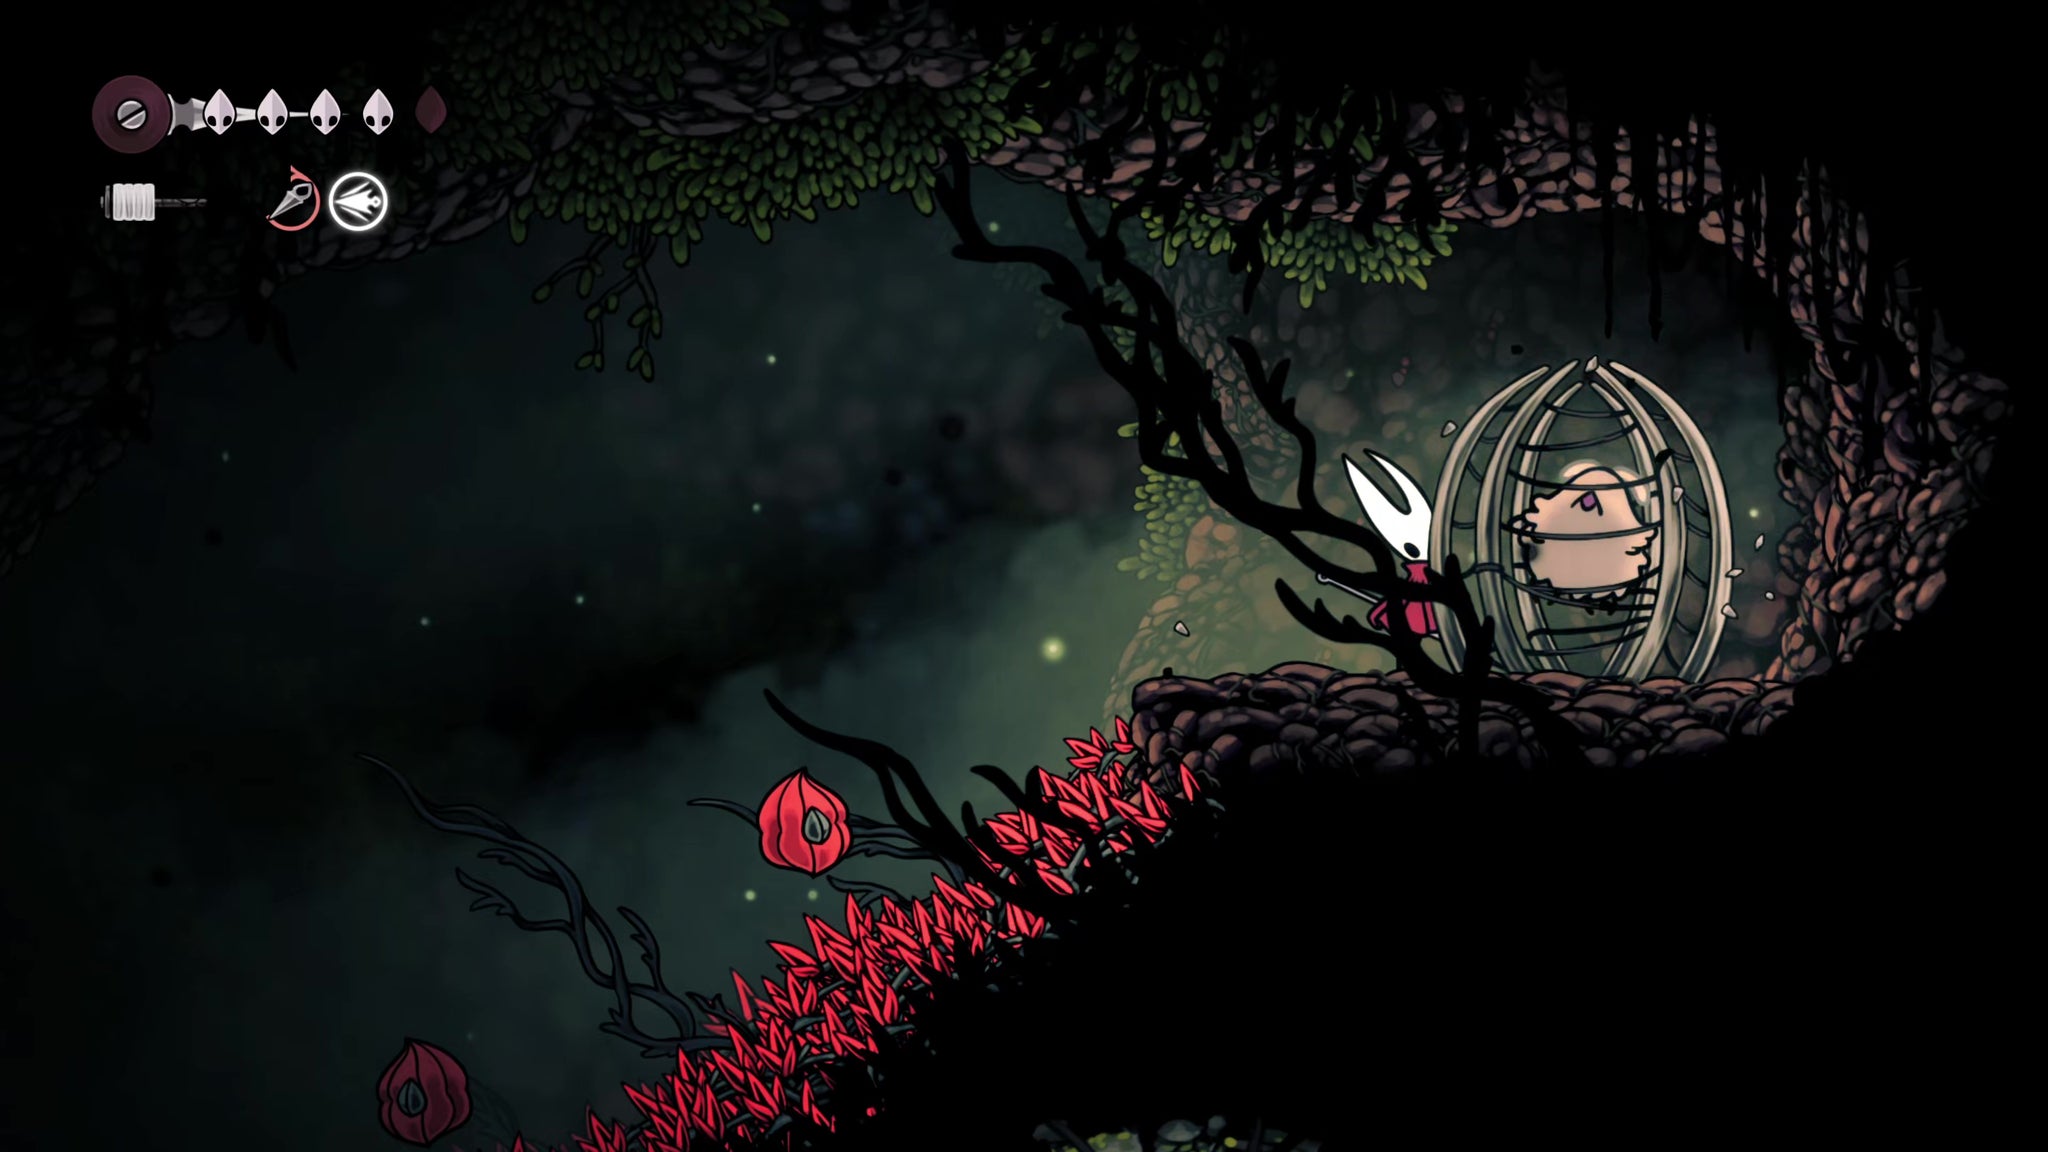
Image credit:Rock Paper Shotgun/Team Cherry
At the top, just past the spikes, you’ll find a Flea held captive inside a cage. Break the cage to release it and send it back to its caravan. After that, carefully descend and take the right-hand path upwards off-screen.
4. Head East to reach the gauntlet with Shakra.
In the next room, Pogo upwards to reach the high left-hand ledge, where you’ll find a couple of Rosary strings guarded by one patrolling ant. Then head along to the right, killing or bypassing the soldier ant in front of you. Pogo to the high ledge, and attack the rope to dislodge a Rosary Necklace.
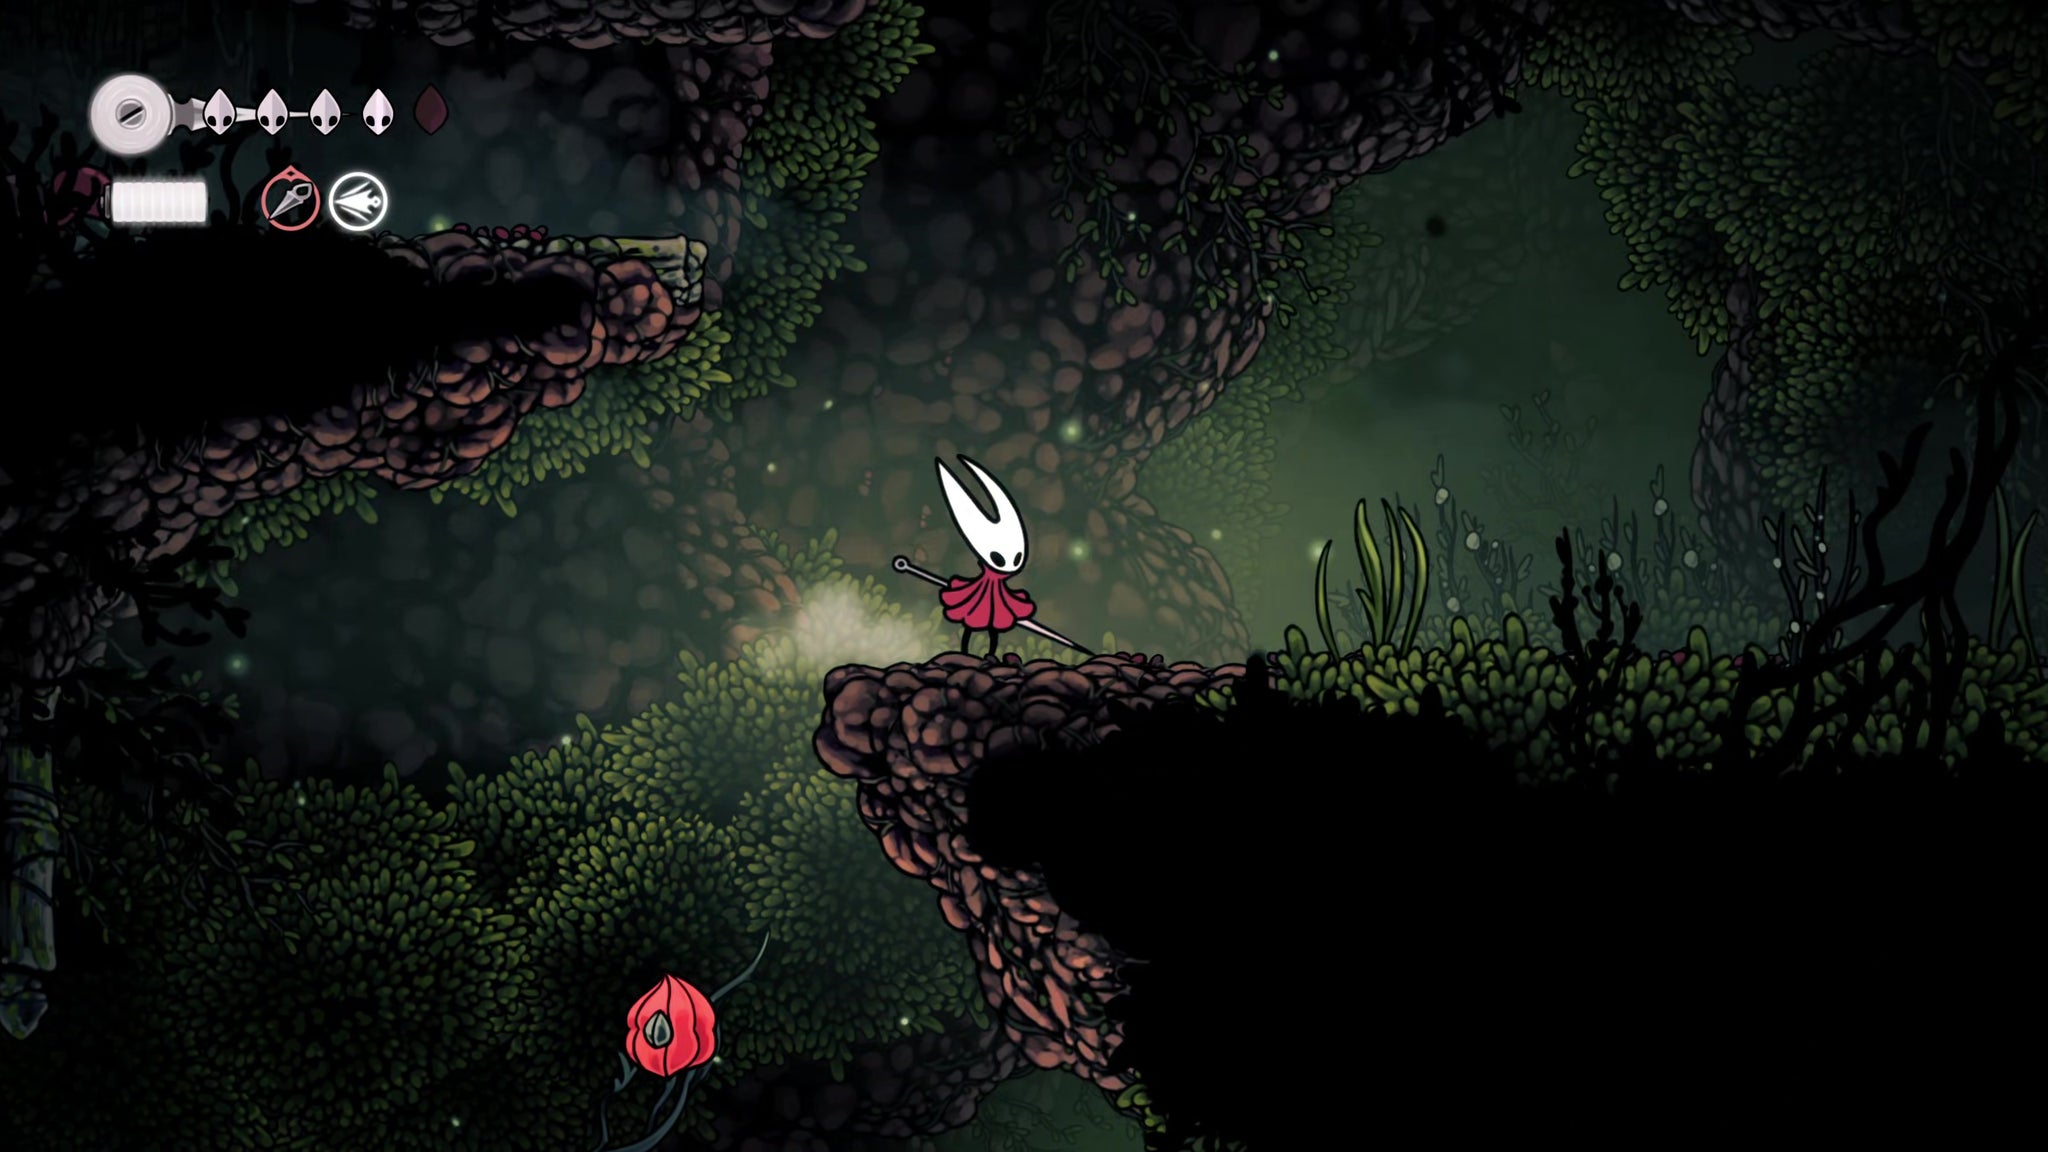
Image credit:Rock Paper Shotgun/Team Cherry
Make your way further right (either path is fine but brings different obstacles), and enter the next room. Pogo over the spikes, and you’ll enter another gauntlet arena where successive waves of ant enemies attack you. But this one’s a little different; after the first wave, Shakra the map-maker joins you.
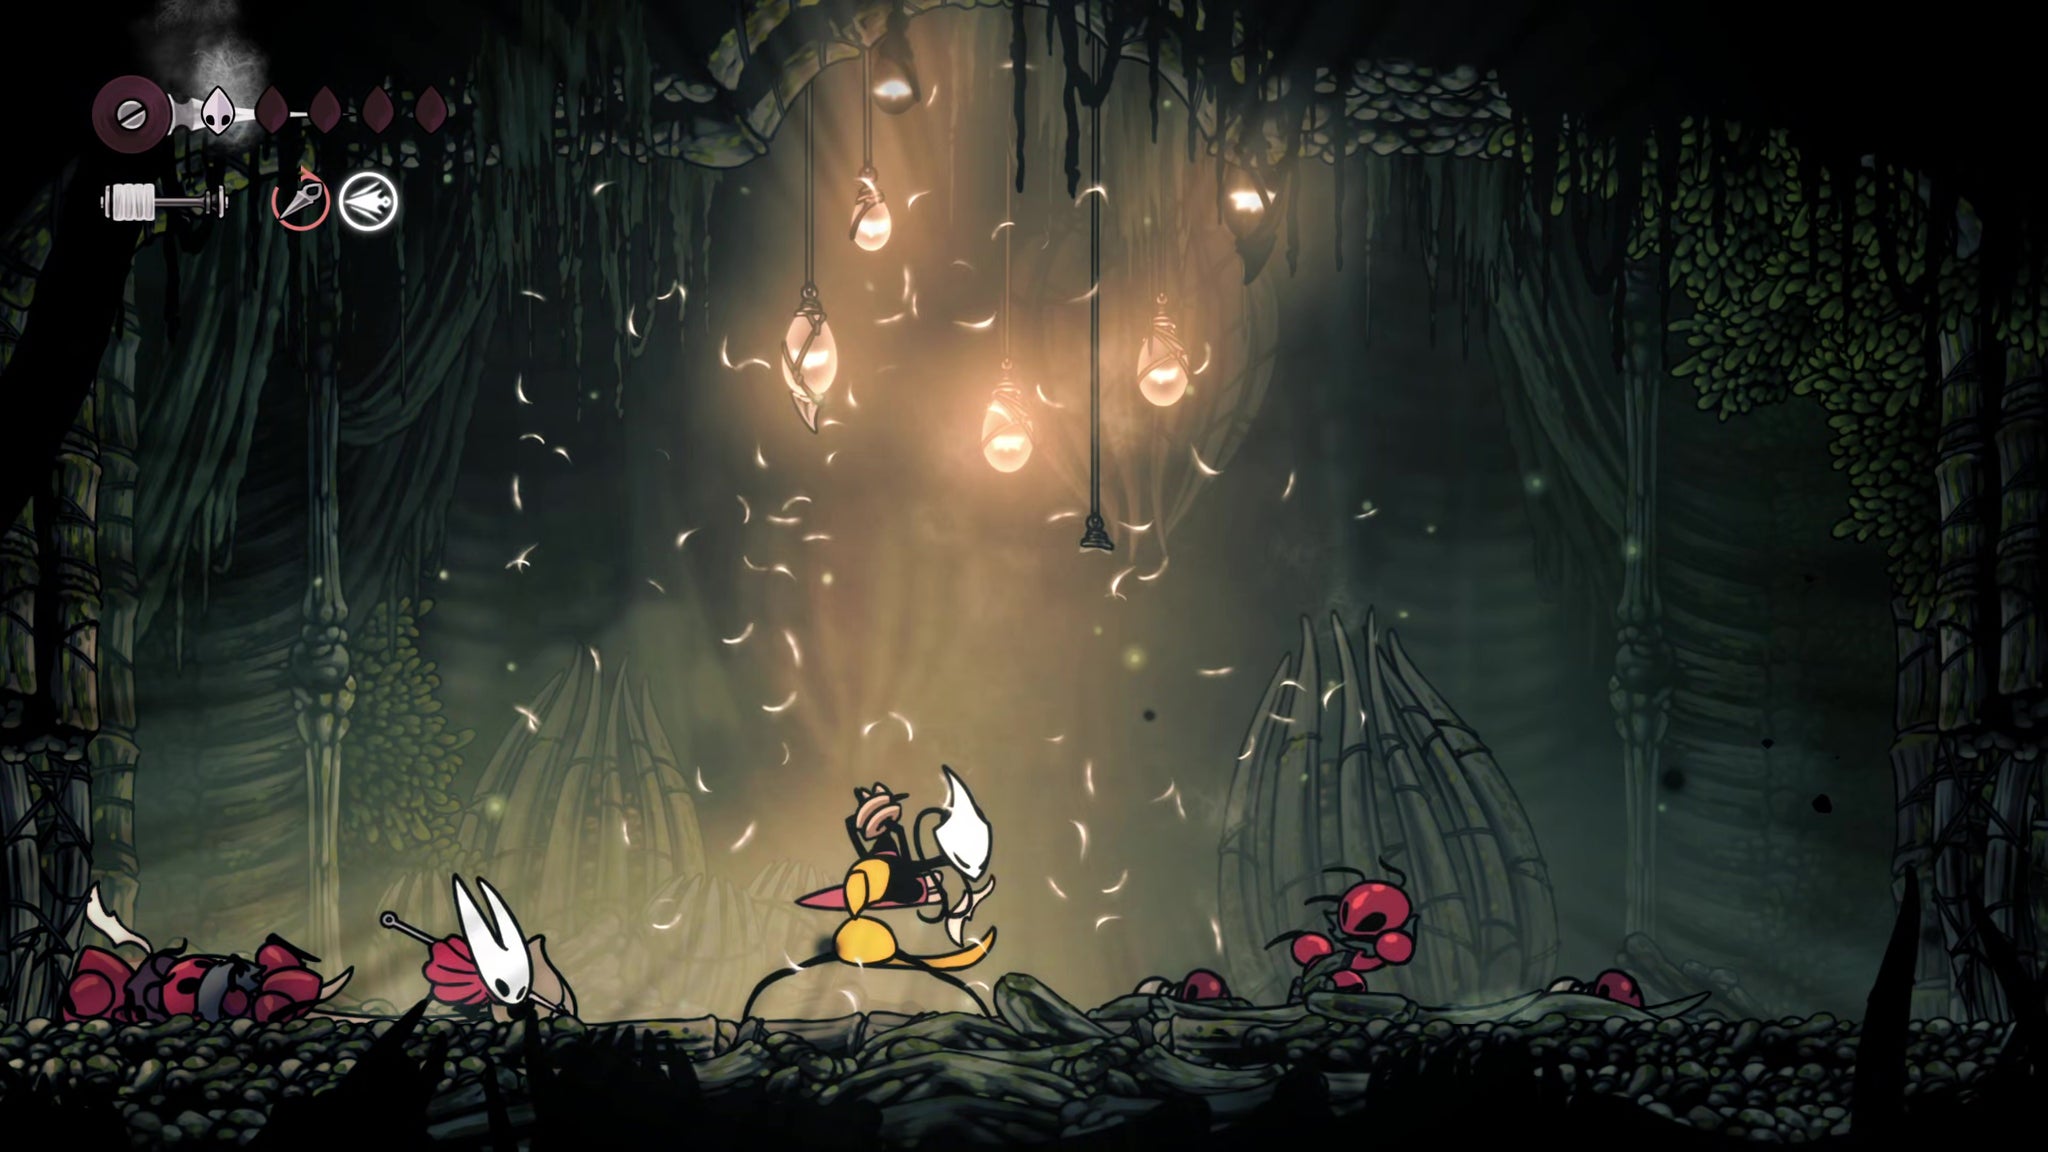
Image credit:Rock Paper Shotgun/Team Cherry
Survive the gauntlet - you can let her do most of the work and just concentrate on dodging. When the fighting is over, speak with Shakra and purchase the Hunter’s March map for 70 Rosaries.
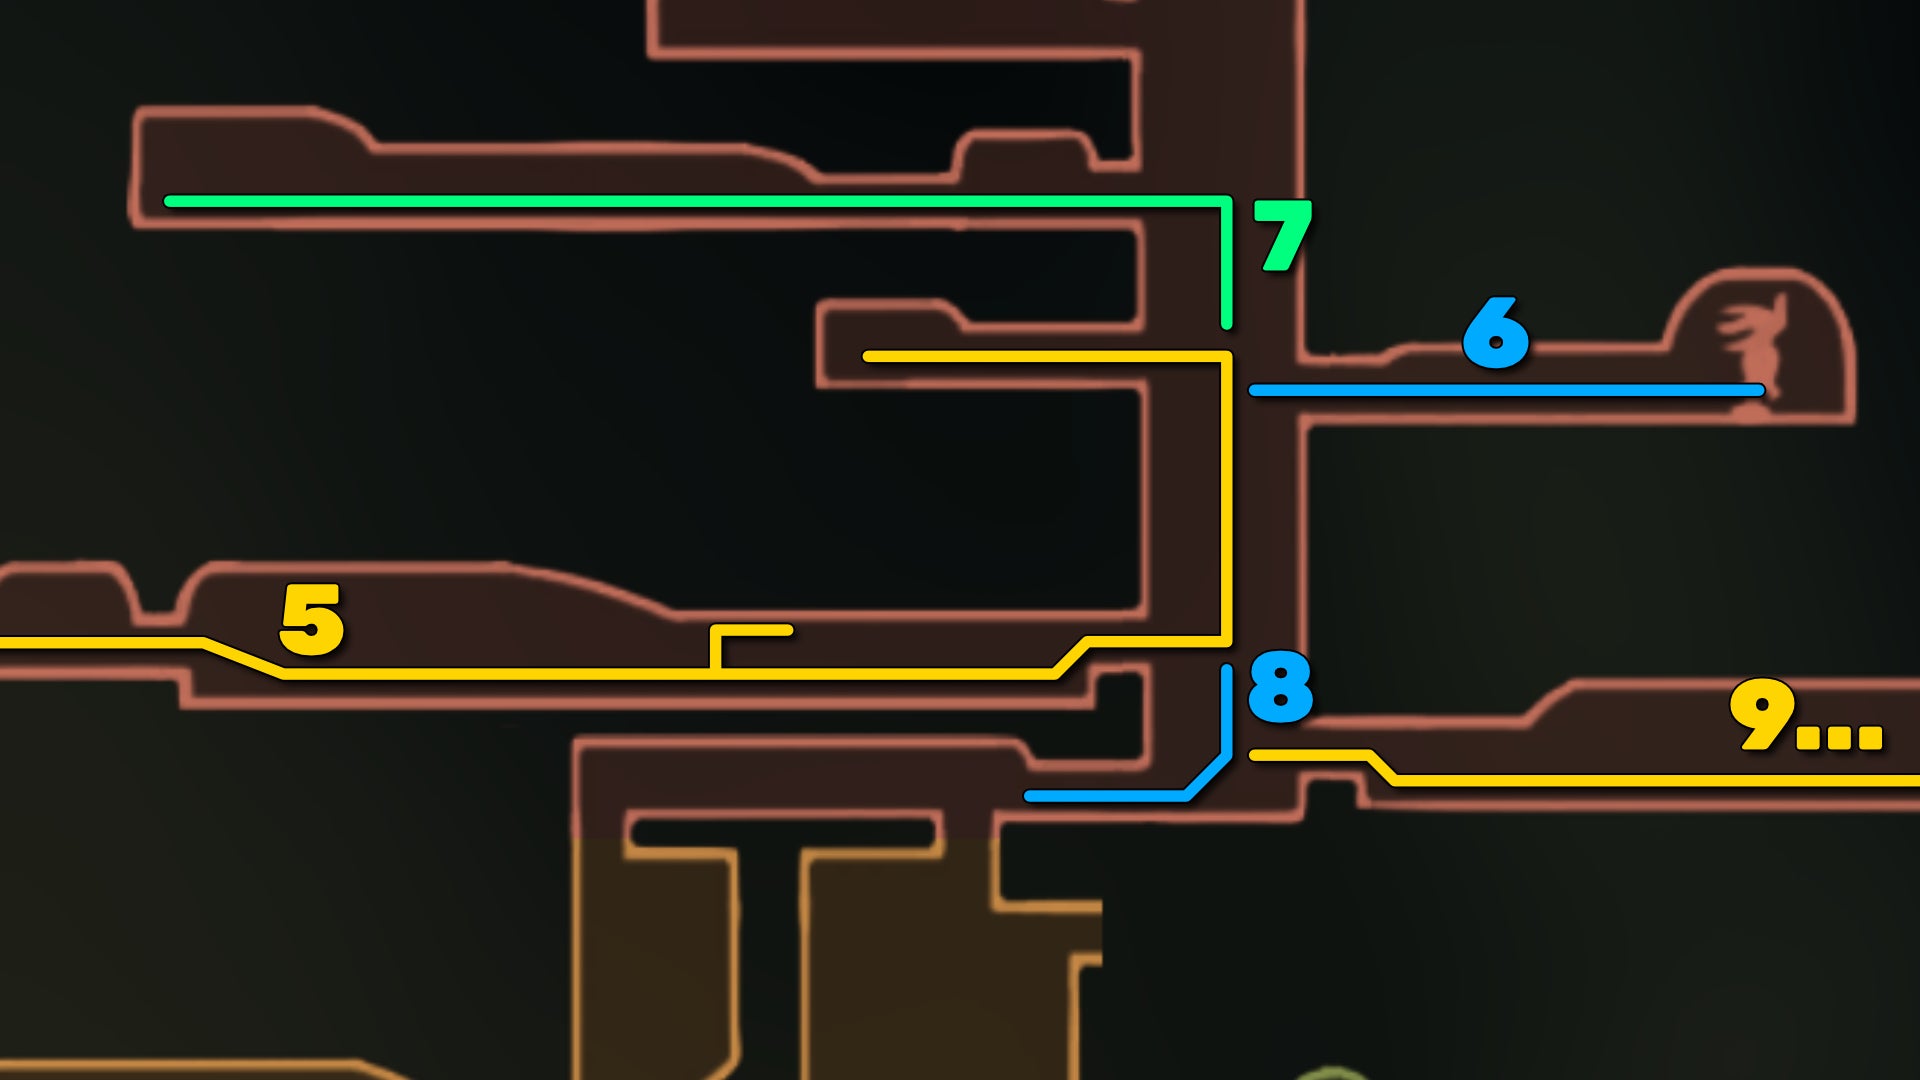
Image credit:Rock Paper Shotgun/Team Cherry
5. Reach the next Bench and disarm its trap.
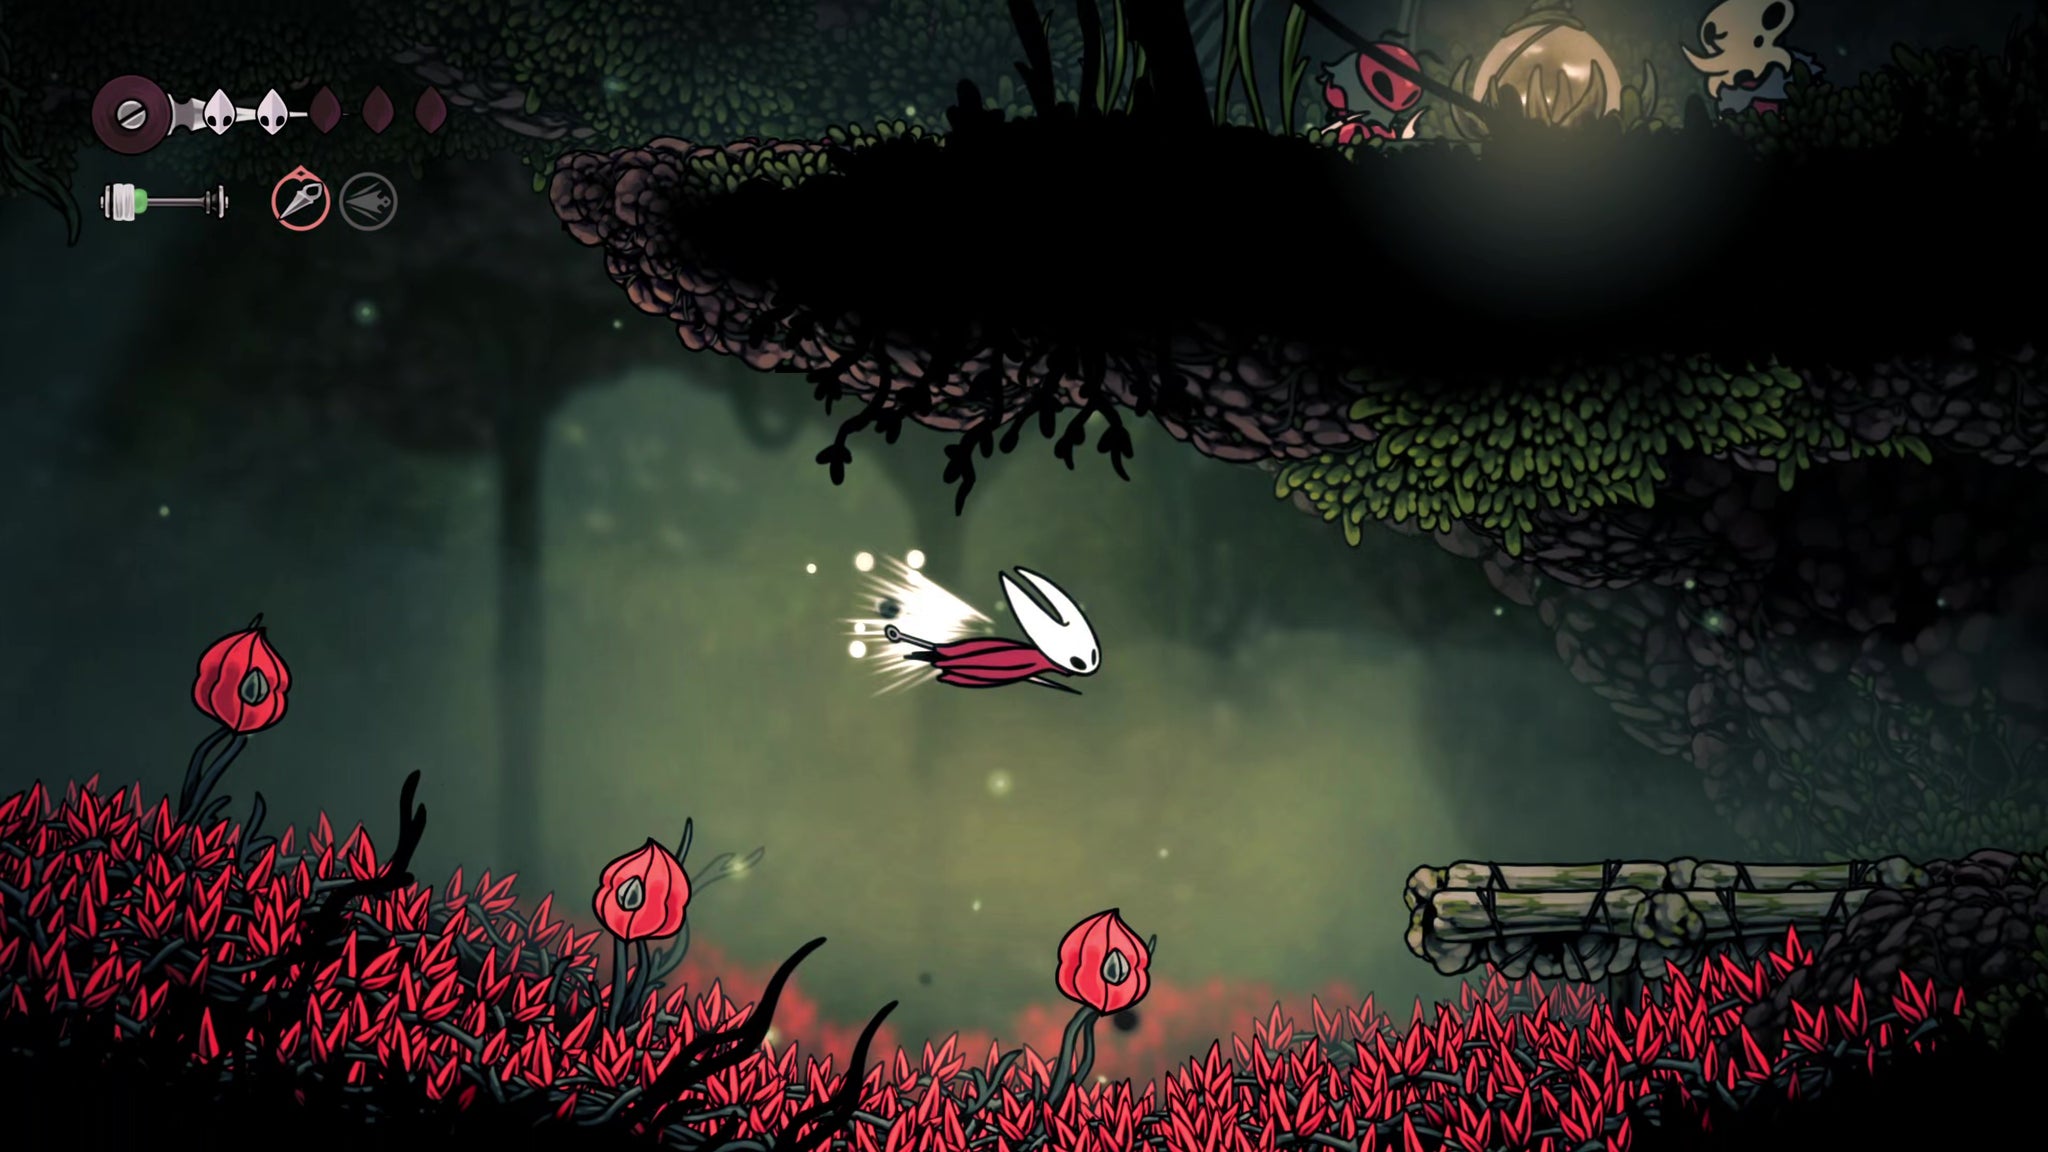
Image credit:Rock Paper Shotgun/Team Cherry
After speaking with Shakra, progress to the right and you’ll enter yet another spike-filled Pogo-heavy area. Attack the webs above for some free Silk, then take either the upper path for fighting, or the lower path for Pogo-ing.
When the paths converge, look up and you’ll see a trail of red plants leading to an upper section. Climb up there, and be aware that an ant will spawn behind you as you reach the end. Kill the ant, and attack the ropes for some Shell Shards.
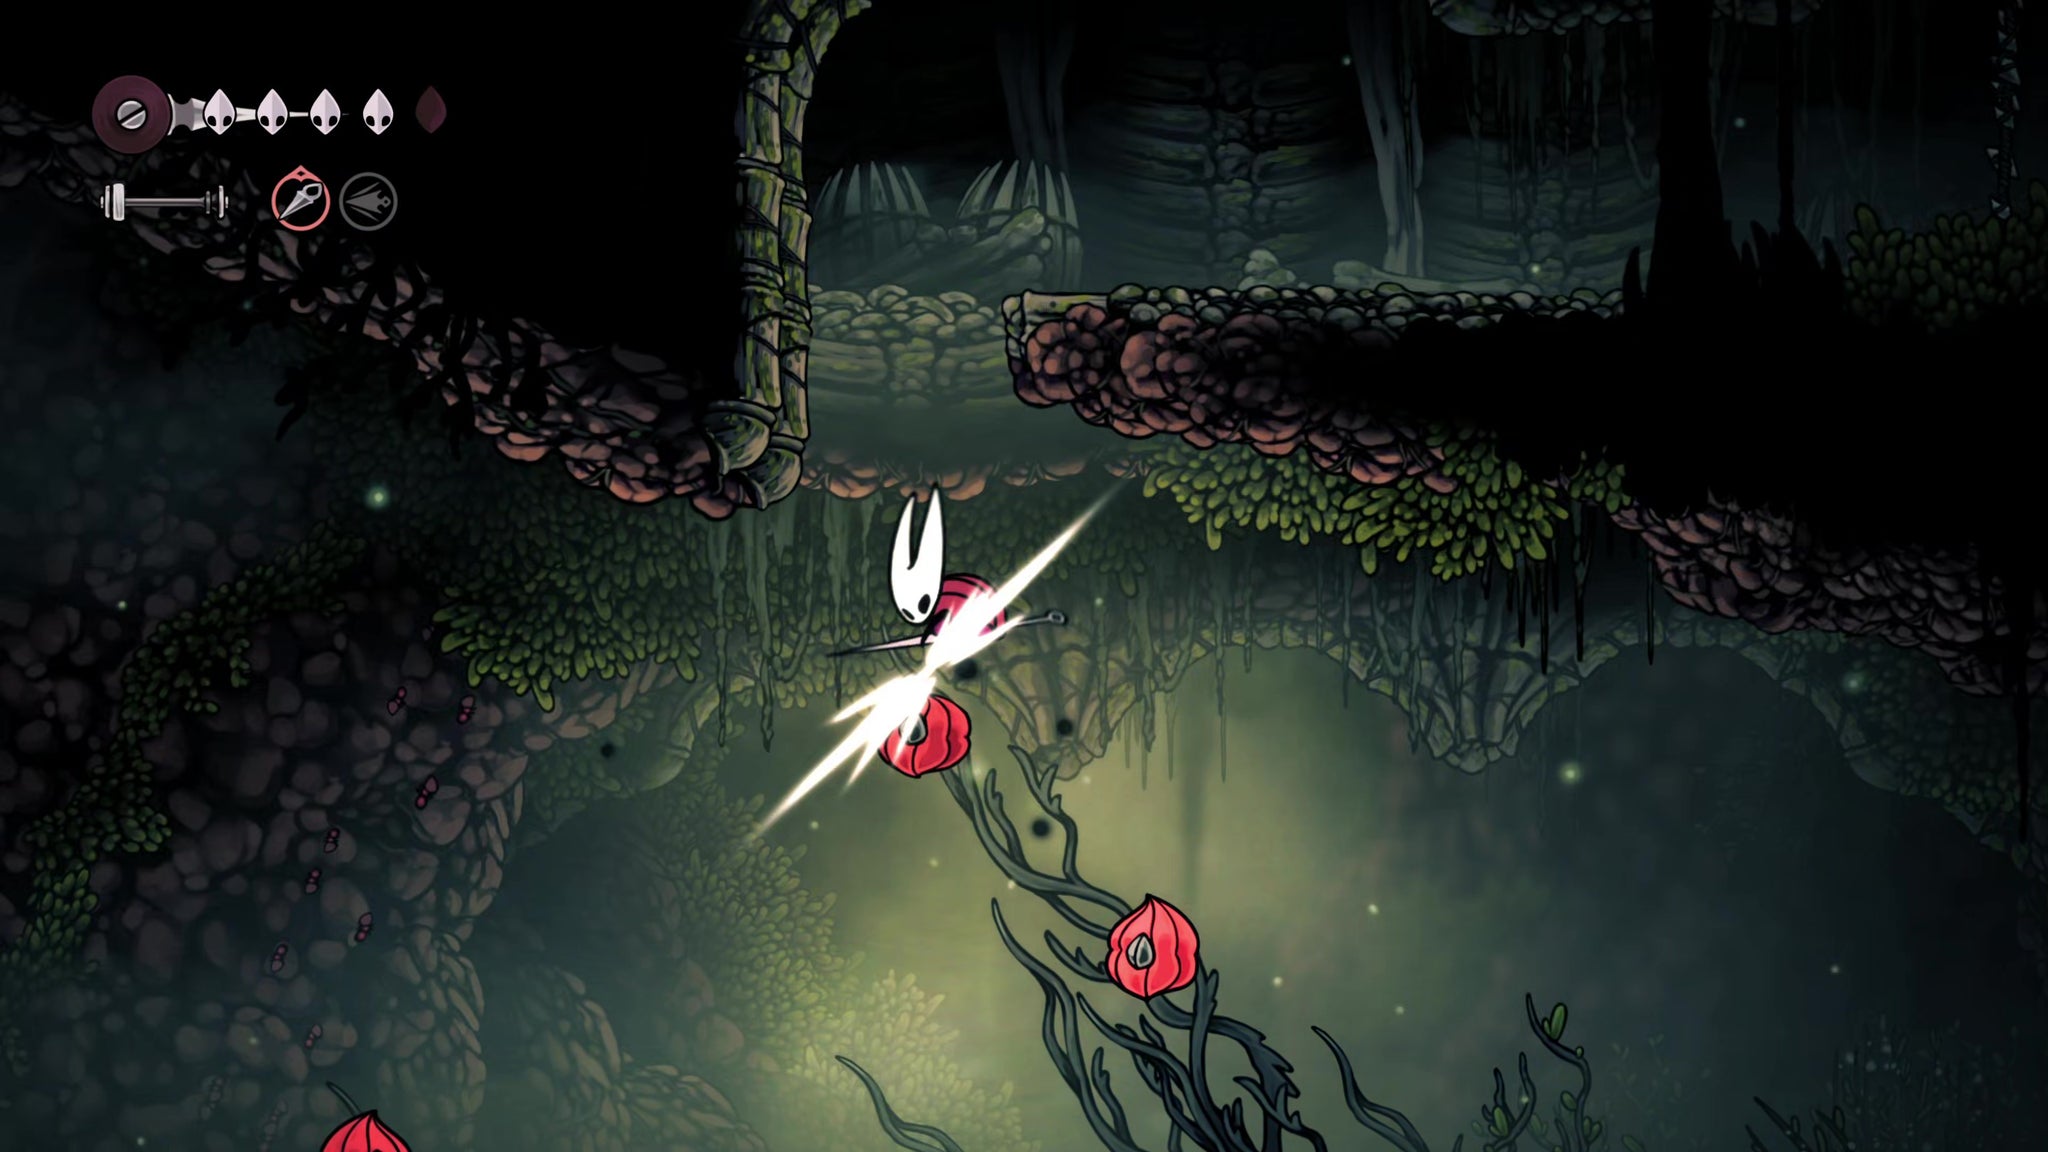
Keep an eye out for those dastardly pressure plate traps… |Image credit:Rock Paper Shotgun/Team Cherry
Then drop back down and continue to the right. There are three pressure plates on the ground across this stretch, so be sure to jump over them as you go, or you’ll be hit by swinging bone axes. Make your way over the spikes at the end of the room and exit off-screen.
The next room is a vertical shaft with an air current. Ride the air current upwards until you reach the first exit on your left, about halfway up the shaft.
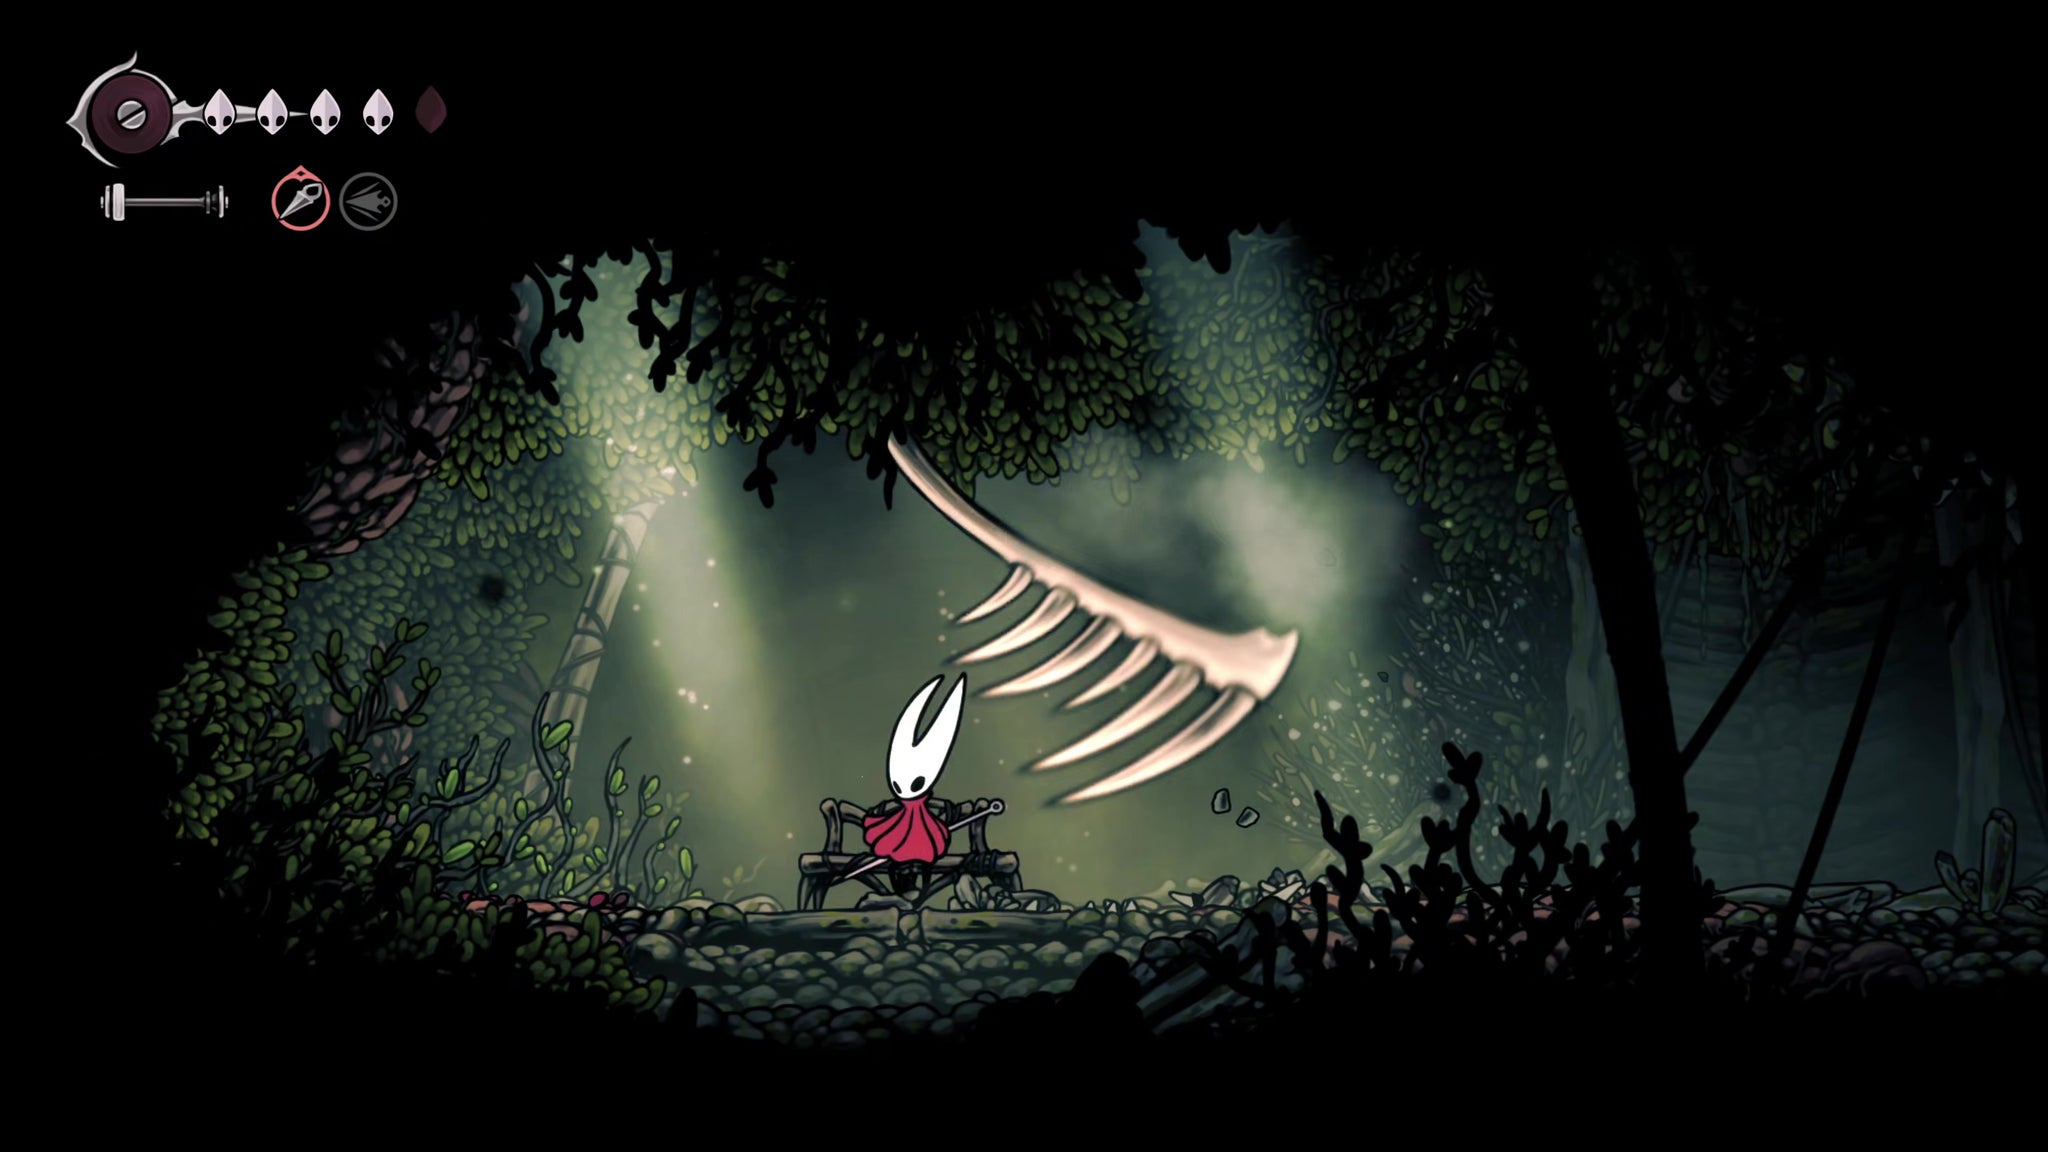
DO NOT rest at the Bench yet - it’s trapped! |Image credit:Rock Paper Shotgun/Team Cherry
Inside you’ll find a Bench, but DON’T rest at it yet. The Bench is trapped; resting now will cause a swinging axe to hit you rather than healing you.

Image credit:Rock Paper Shotgun/Team Cherry
Instead, head through the left-hand wall to find a miniature hidden area with a lever to disarm the trap. Now you can rest at the Bench.
6. Meet Gilly by the dancer statue.
Head back out into the previous room with the wind current, and enter the room opposite you on the right-hand side. Inside here you’ll find a statue of a dancing figure, and right next to it is a slightly shuffling plant.

Image credit:Rock Paper Shotgun/Team Cherry
Attack the plant to reveal a new NPC - Gilly. You can exchange some words with her about the statue and the region at large, after which you should head back out into the previous room.
7. Find Mottled Scarr in the secret passage.
Ride the air current even higher, and enter the next door on your left. This appears to be a small room filled with some strings of Shell Shards, which you’re free to collect. But there’s much more to this room than meets the eye.


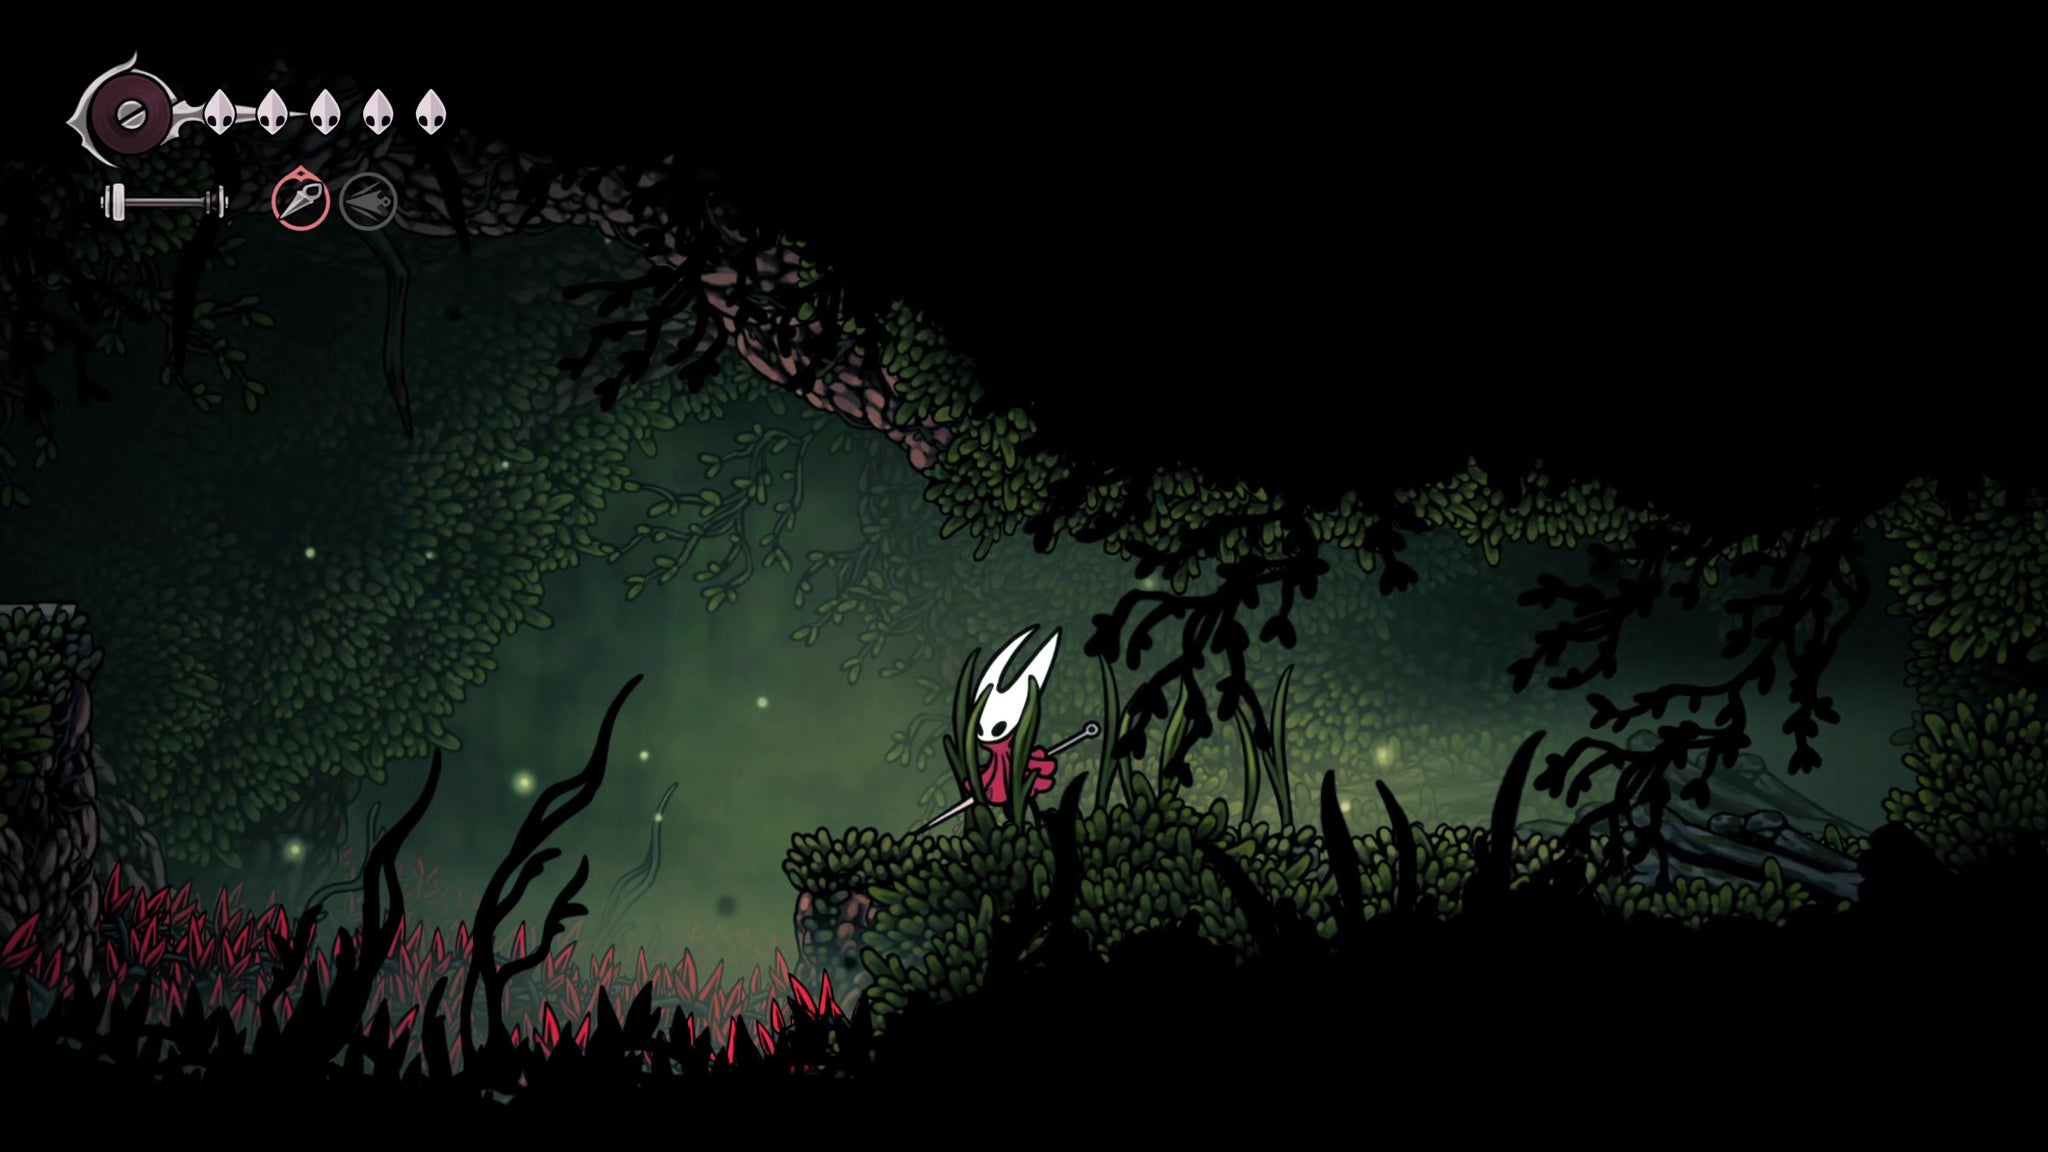
Head to the left-hand wall where all the shrubbery is, and jump into it. This will reveal a well-hidden secret passage filled with a number of parkouring elements and pressure plate traps.
Make your way to the end - whenever you see a jump that looks quite large, hold dash to do a running jump instead, and follow up with another dash in midair. At the very end of this secret area, you’ll find a peculiar NPC - the ant-man known as Mottled Scarr.
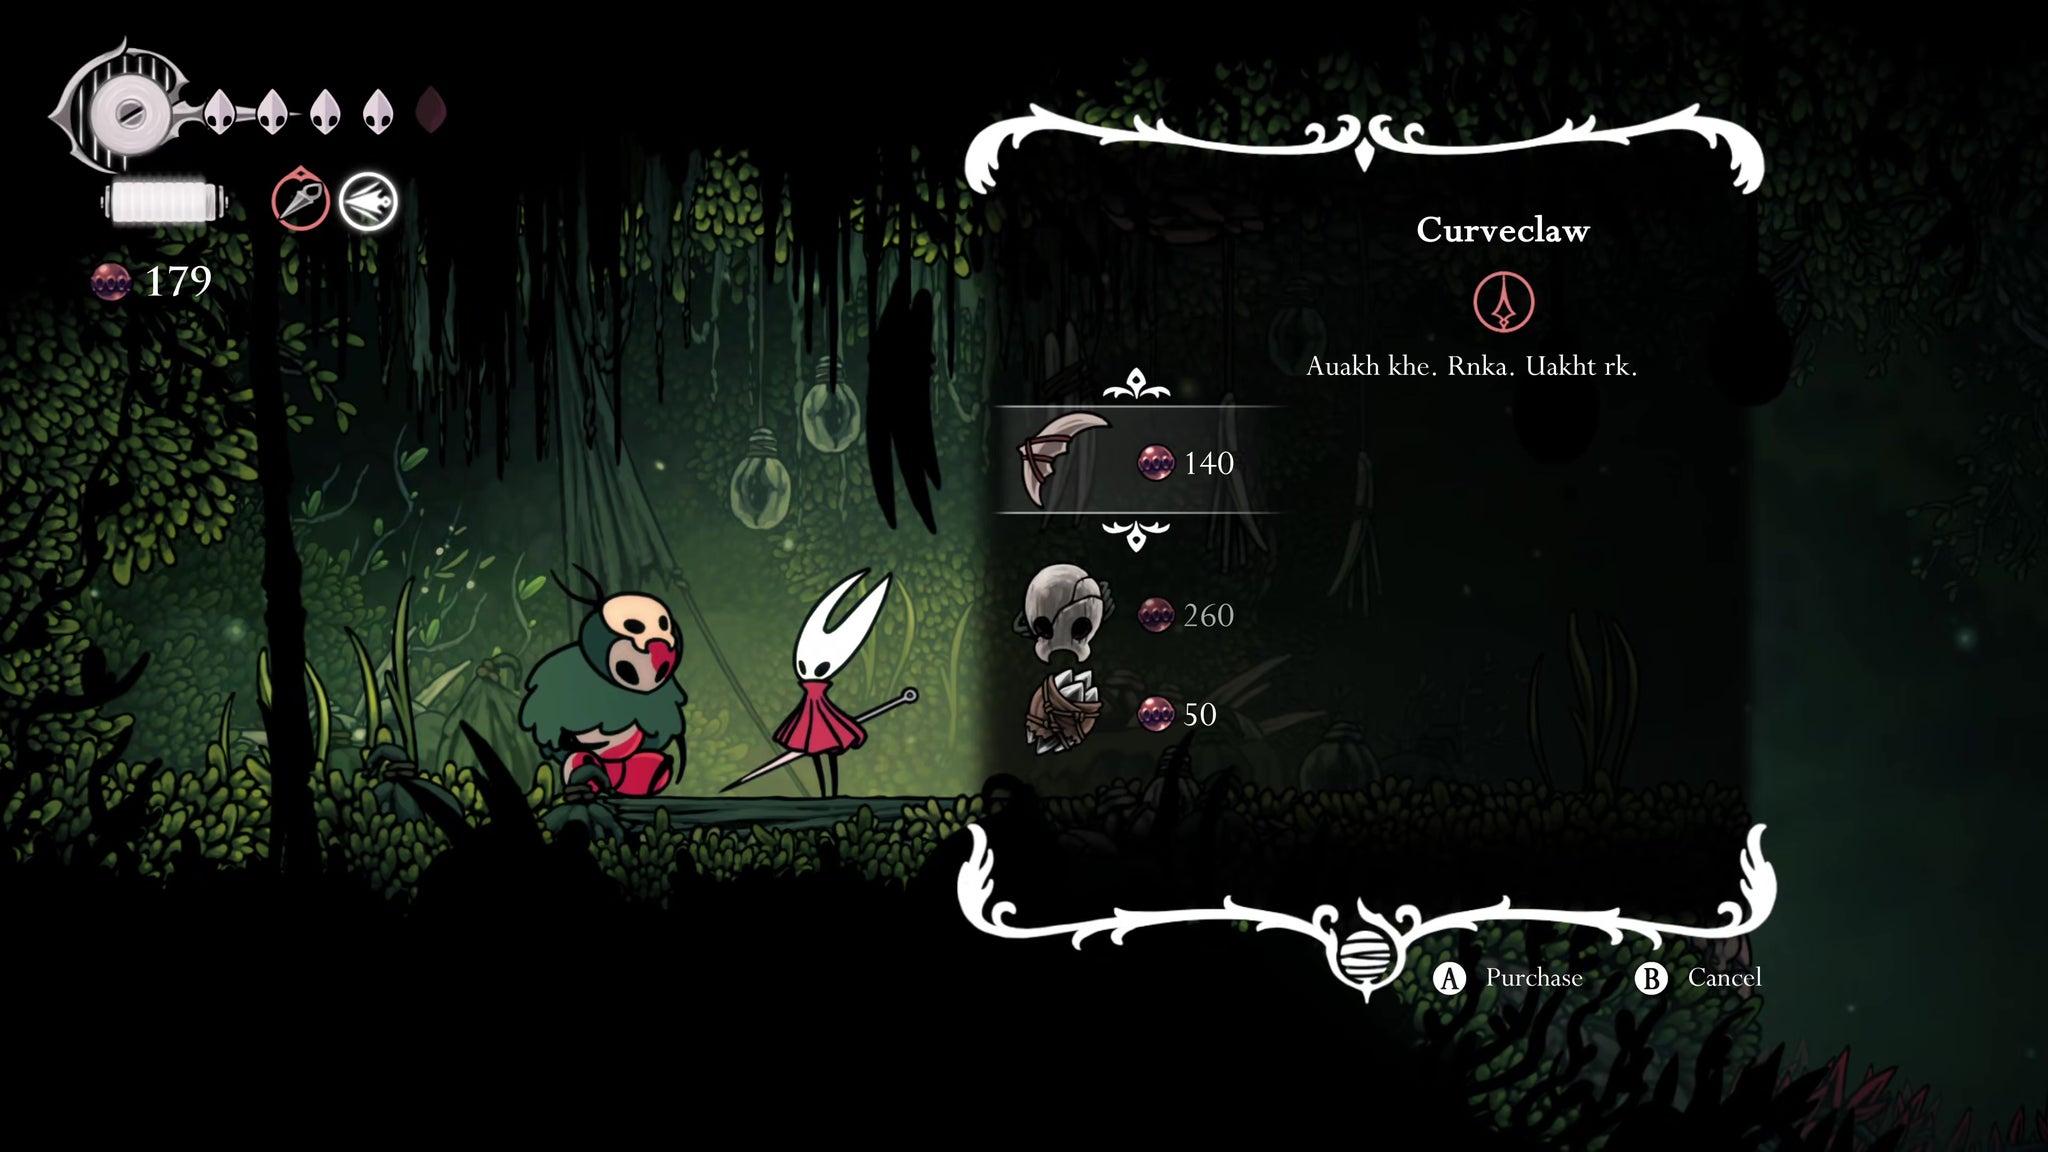
Image credit:Rock Paper Shotgun/Team Cherry
Speak with him, and though you can’t understand each other’s language, he’ll allow you to purchase some obscure items from his shop. The Curveclaw is a boomerang-esque ranged attack tool which is good against flying enemies, while the Fractured Mask is a tool that protects you from death for one hit (per rest).
It’s not too likely you’ll have enough Rosaries at this stage for either purchase, but if you can, buy the Fractured Mask and equip it as soon as possible.
8. Unlock the shortcut to Deep Docks.
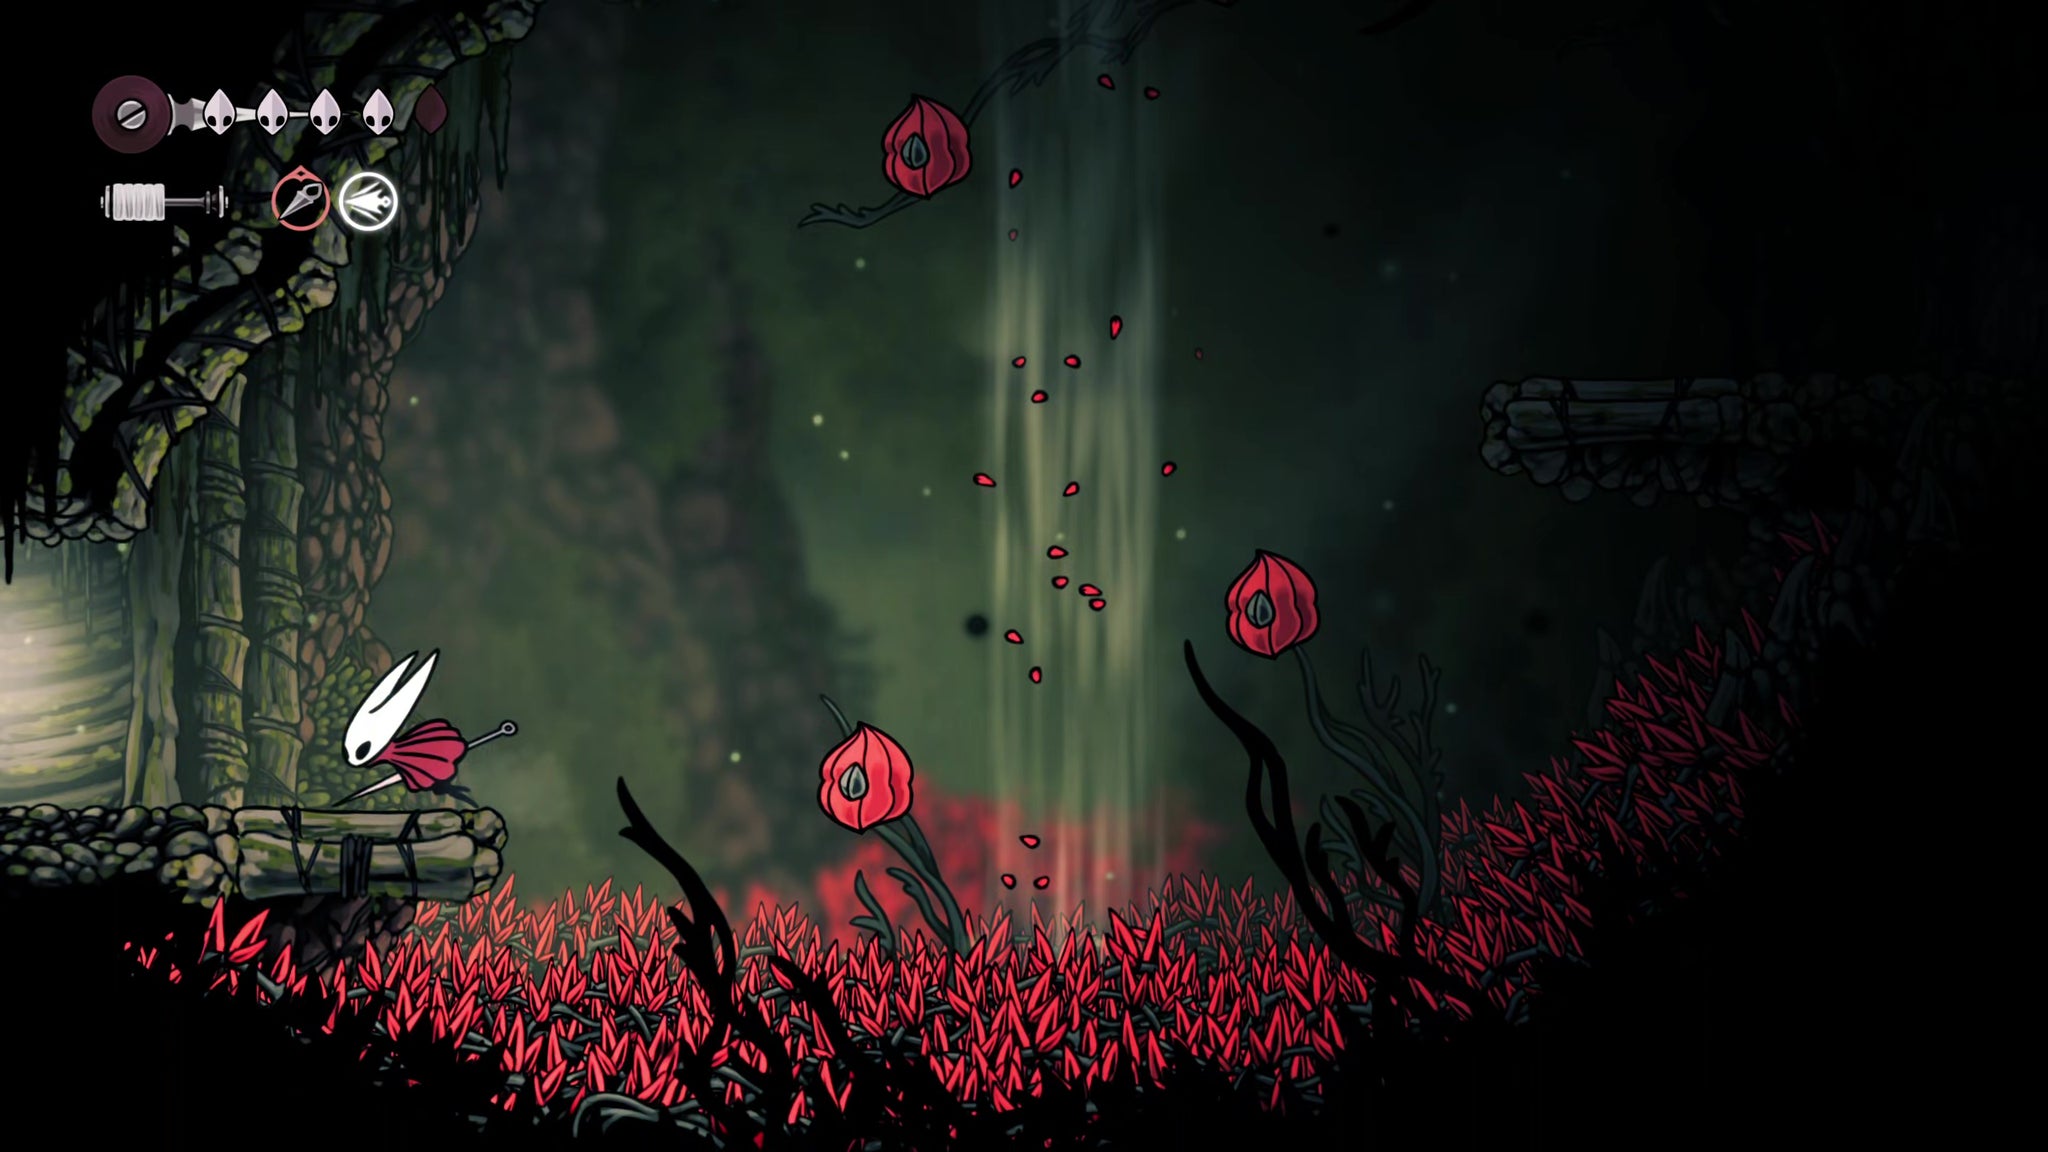
Image credit:Rock Paper Shotgun/Team Cherry
Exit back the way you came, and drop to the very bottom of the vertical shaft, using the air current to slow your descent before you reach the spikes at the bottom. There are two exits - one to the left, and one to the right. Take the left exit.
Here you can attack a lever to open a handy shortcut back into the top of Deep Docks. We’ve still got stuff to do in Hunter’s March though, so turn back around and take the right-hand exit this time.
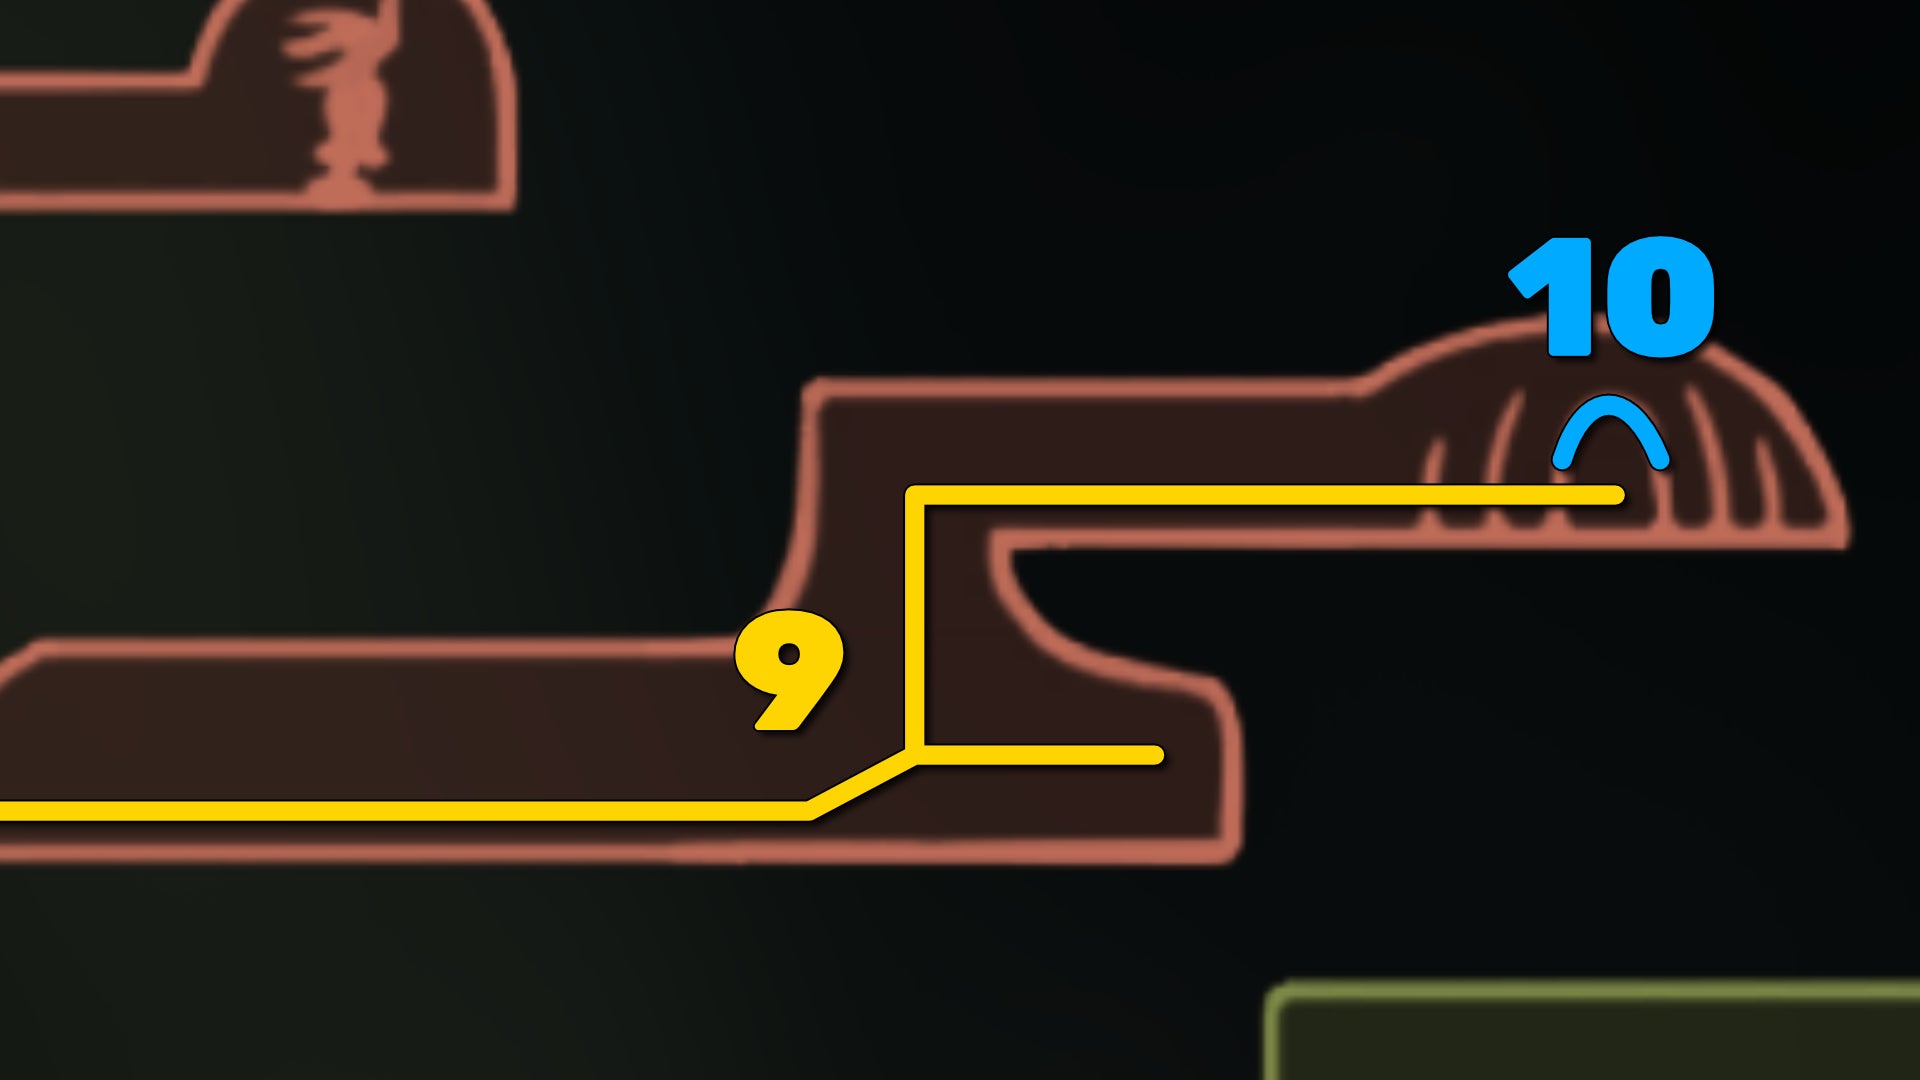
Image credit:Rock Paper Shotgun/Team Cherry
9. Enter the Chapel Of The Beast.
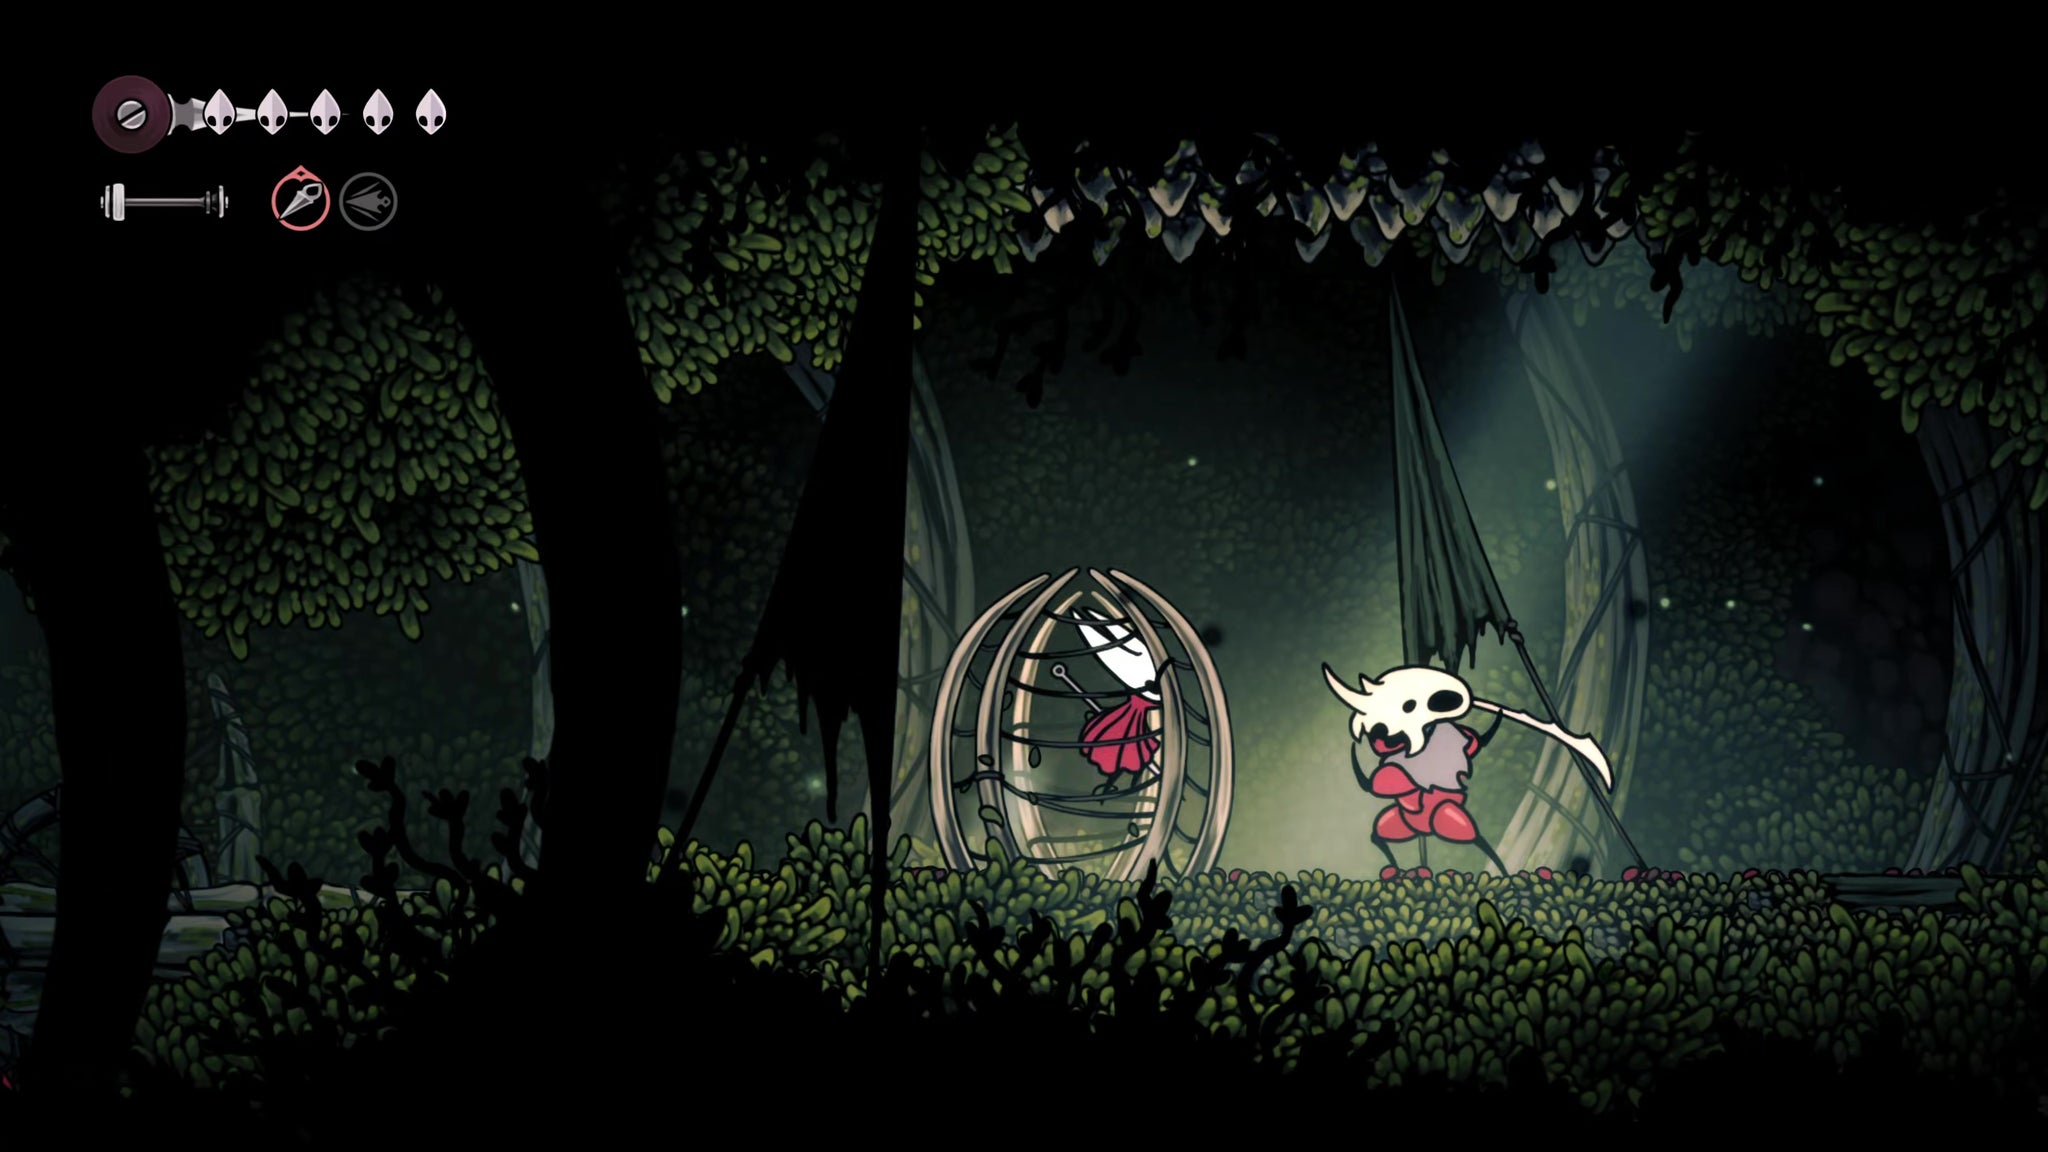
Pogo over the spikes in the next room, and then look out for the pressure plate on the grass. It’ll ensnare you in a cage ready for the soldier ant ahead to get the drop on you. Defeat the ant, and press forward.
We do these experiments so you don’t have to. |Image credit:Rock Paper Shotgun/Team Cherry
Head past the air current, and you’ll find a small ledge on the right-hand side of the room, where a Pilgrim enemy’s corpse lies inside a hanging cage. Attack the cage to destroy it, and loot the body for a Memory Locket.
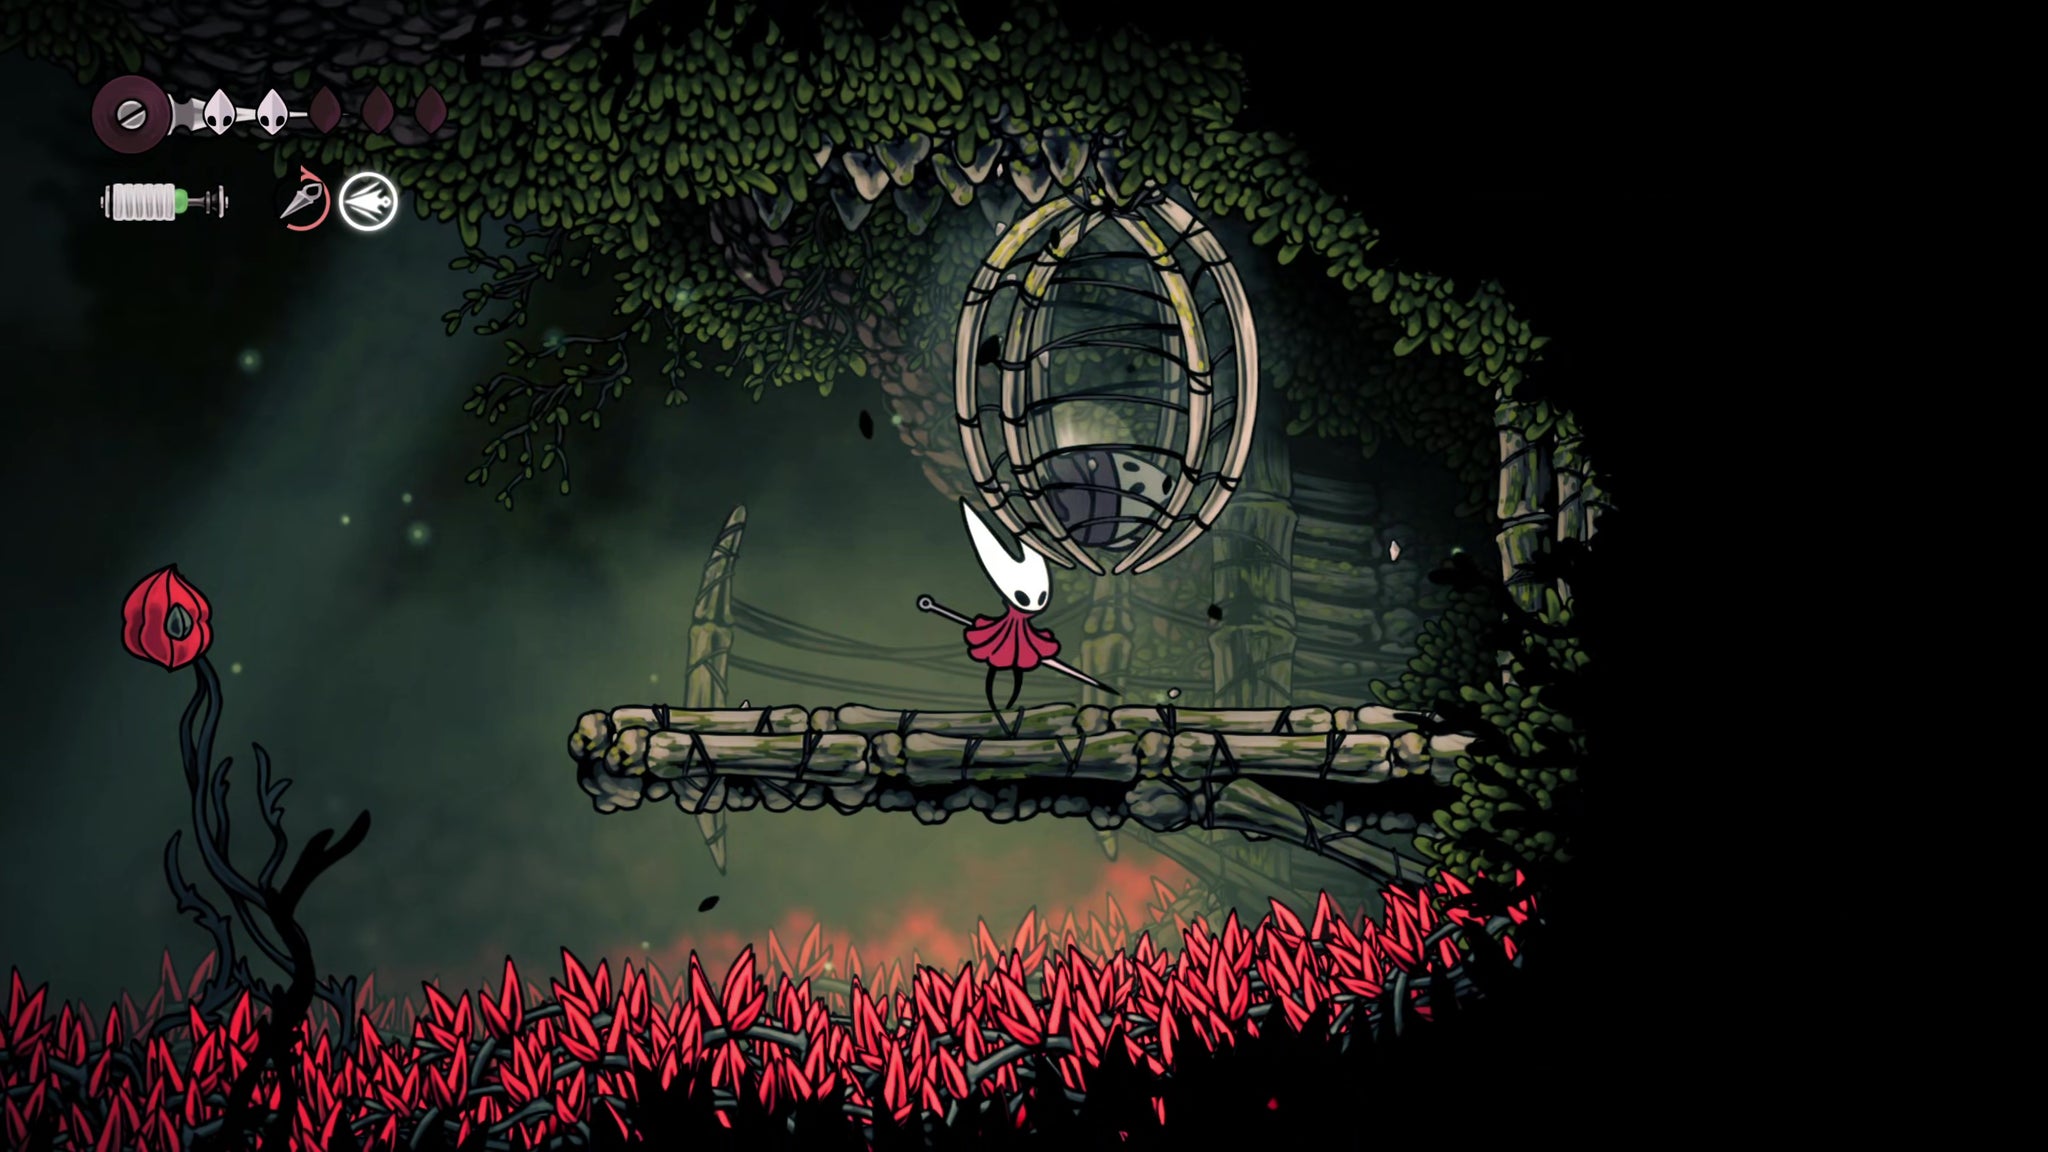
Image credit:Rock Paper Shotgun/Team Cherry
Now, turn around and ride the air current upwards to the higher ledge. Follow this path to its very end, and you’ll find the entrance to a new building. This is the Chapel Of The Beast - and if you recall the reward you got from the last Chapel you visited, you should be quite excited.
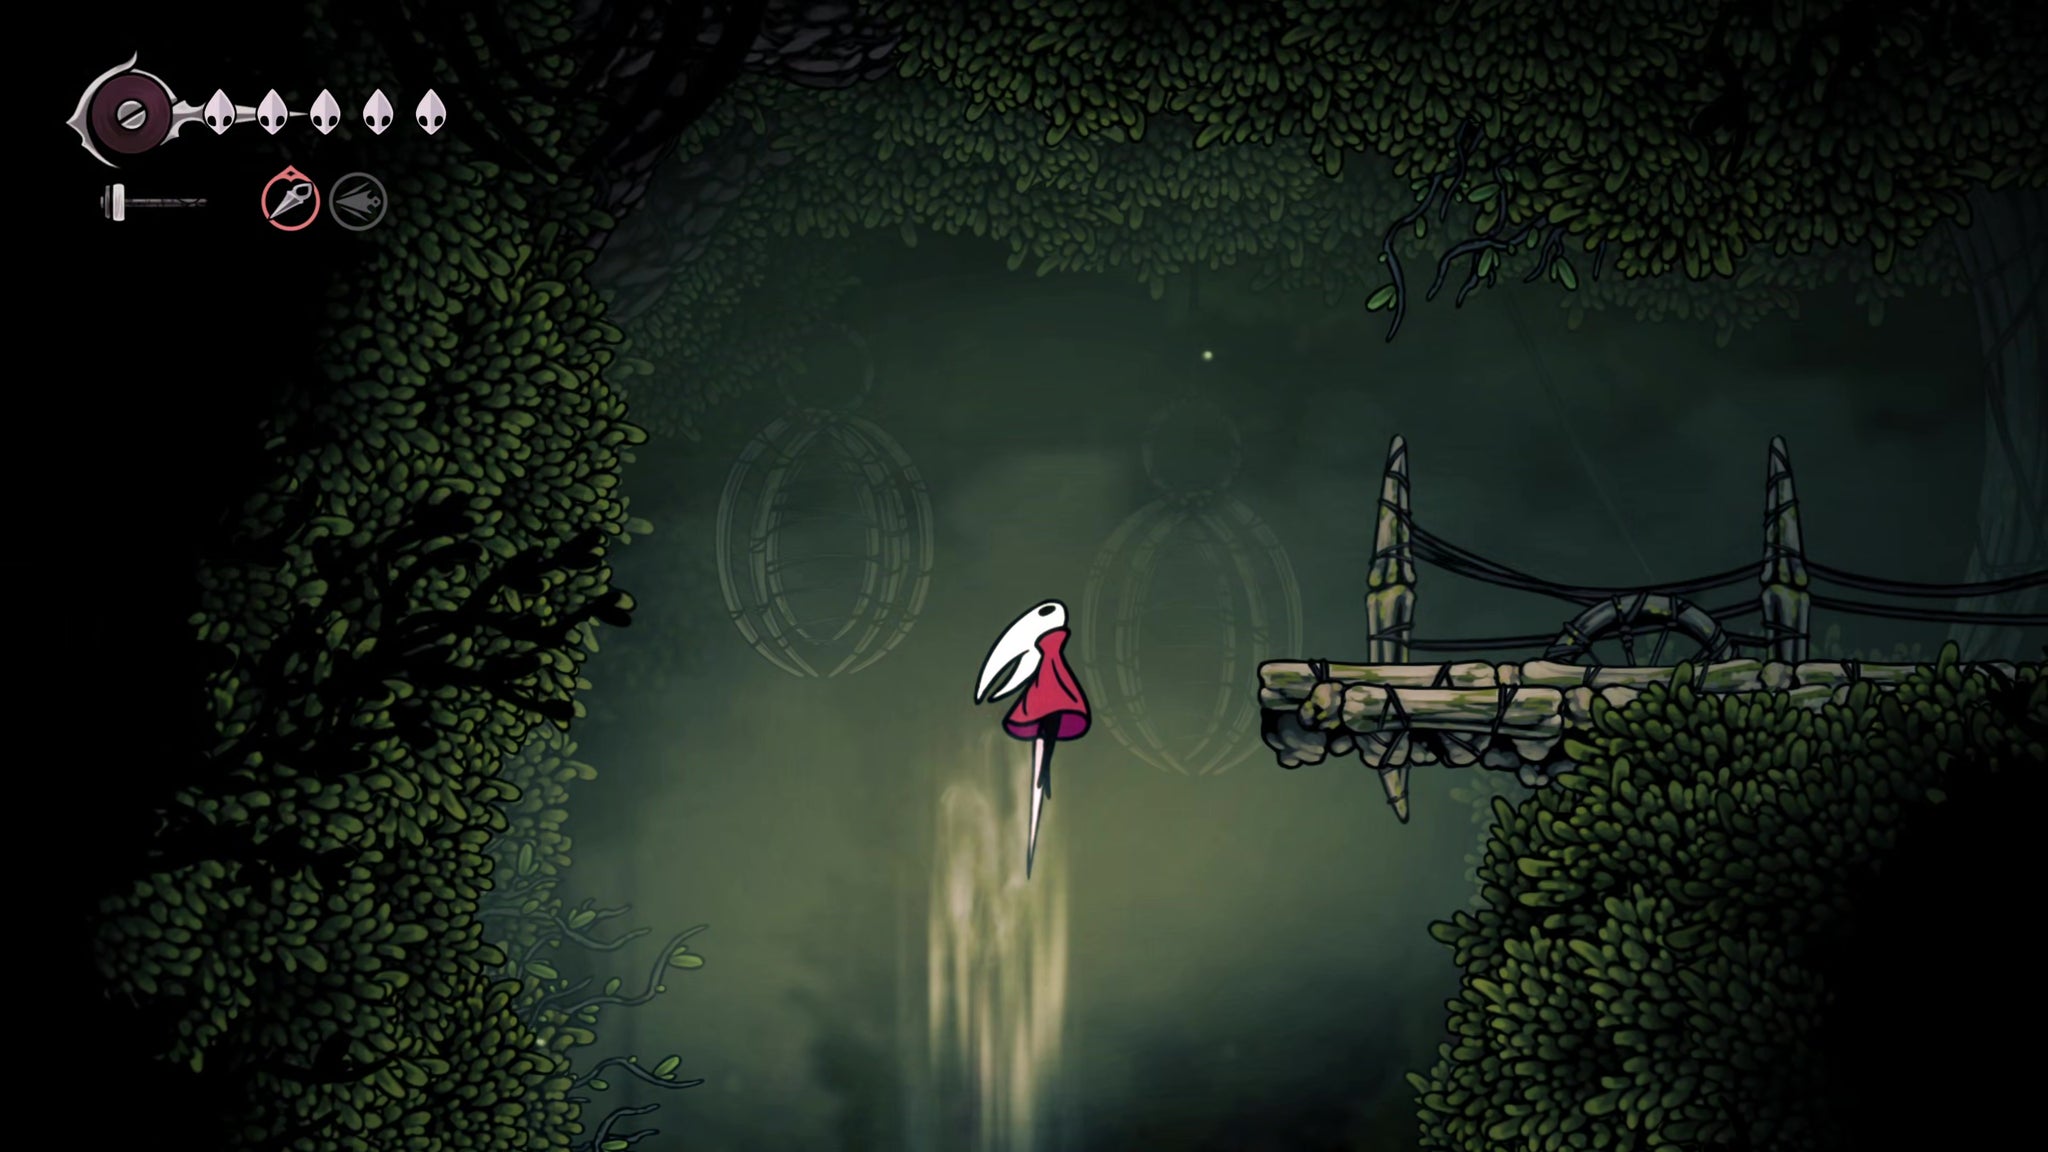
Image credit:Rock Paper Shotgun/Team Cherry
10. Defeat the Savage Beastfly.
Inside the Chapel, ride the air current upwards and head right (and try to ignore the intimidating pounding noises). The whole Chapel is basically a parkour challenge, but there’s very little to explain here - just follow the air currents and red plants all the way up, around, and down.
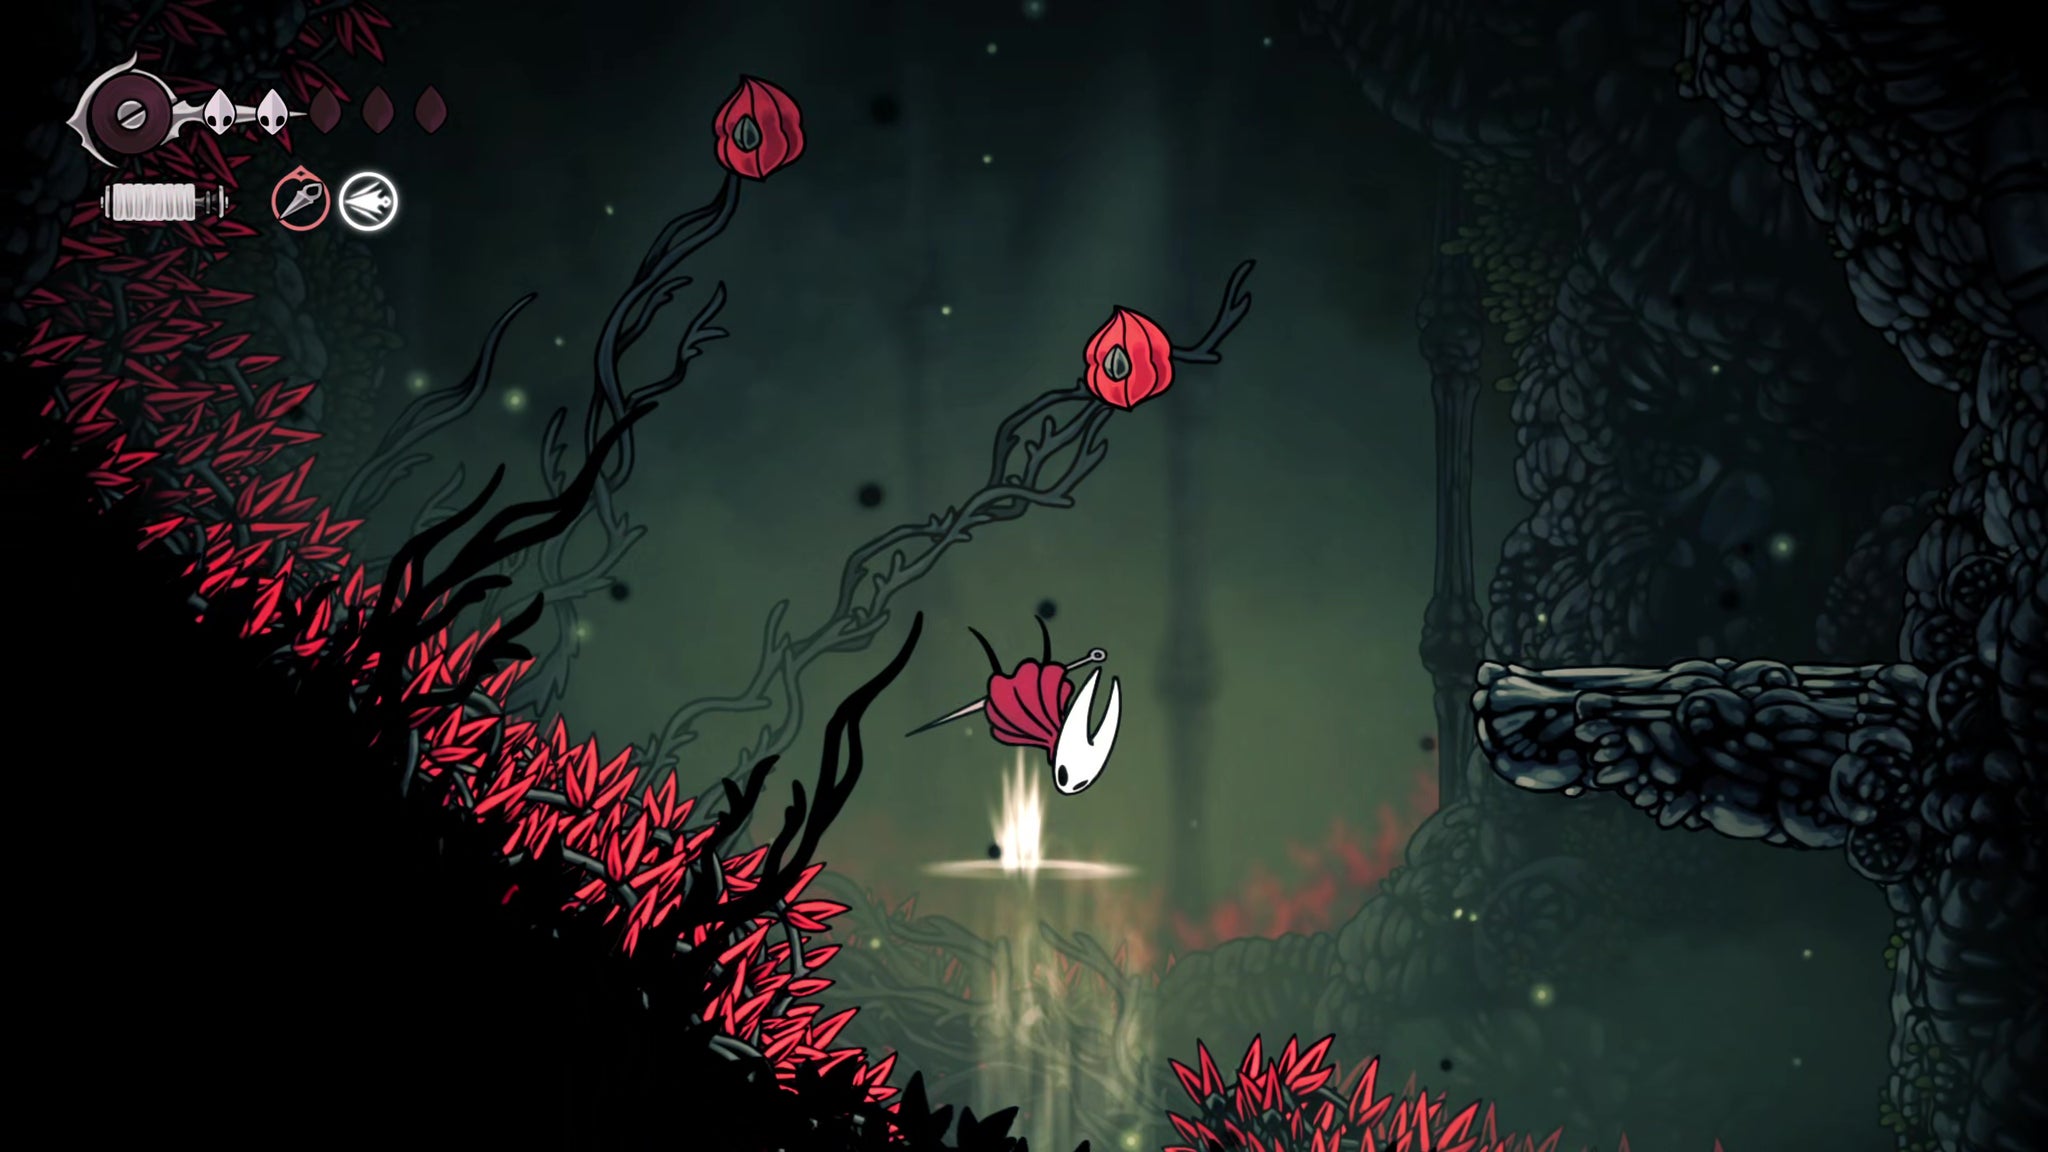
Image credit:Rock Paper Shotgun/Team Cherry
After floating down between the two walls of spikes, jump quickly off the ground below, because it’s about to crumble into spikes. Defeat the enemies just beyond, and press on until you glide down between another couple of spike walls. When you land, flick the lever on your right to open up a shortcut, so you never have to go through that parkour section again.
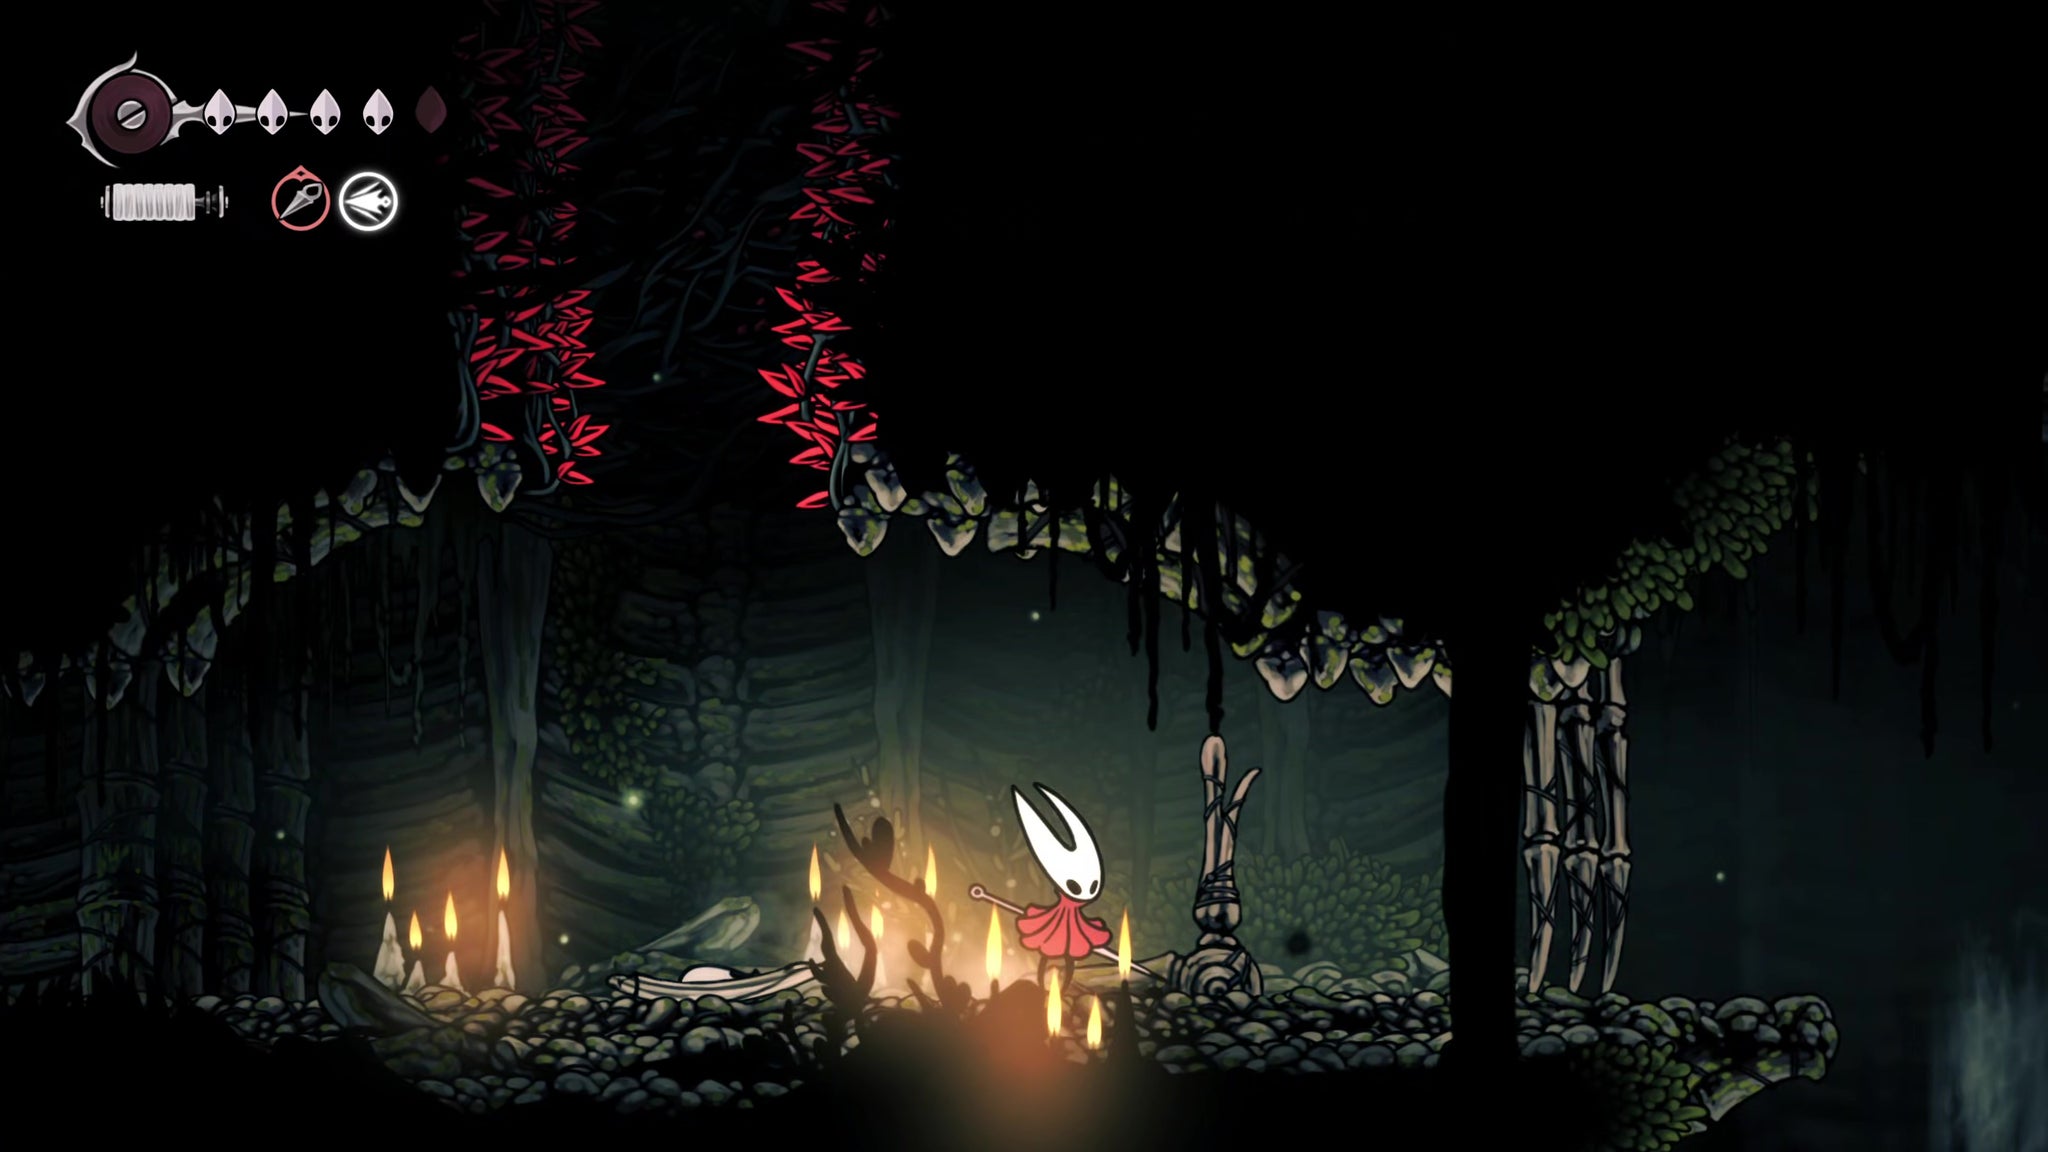
Image credit:Rock Paper Shotgun/Team Cherry
Now, head left. It’s time to face one of the toughest bosses in the early-game of Hollow Knight: Silksong.
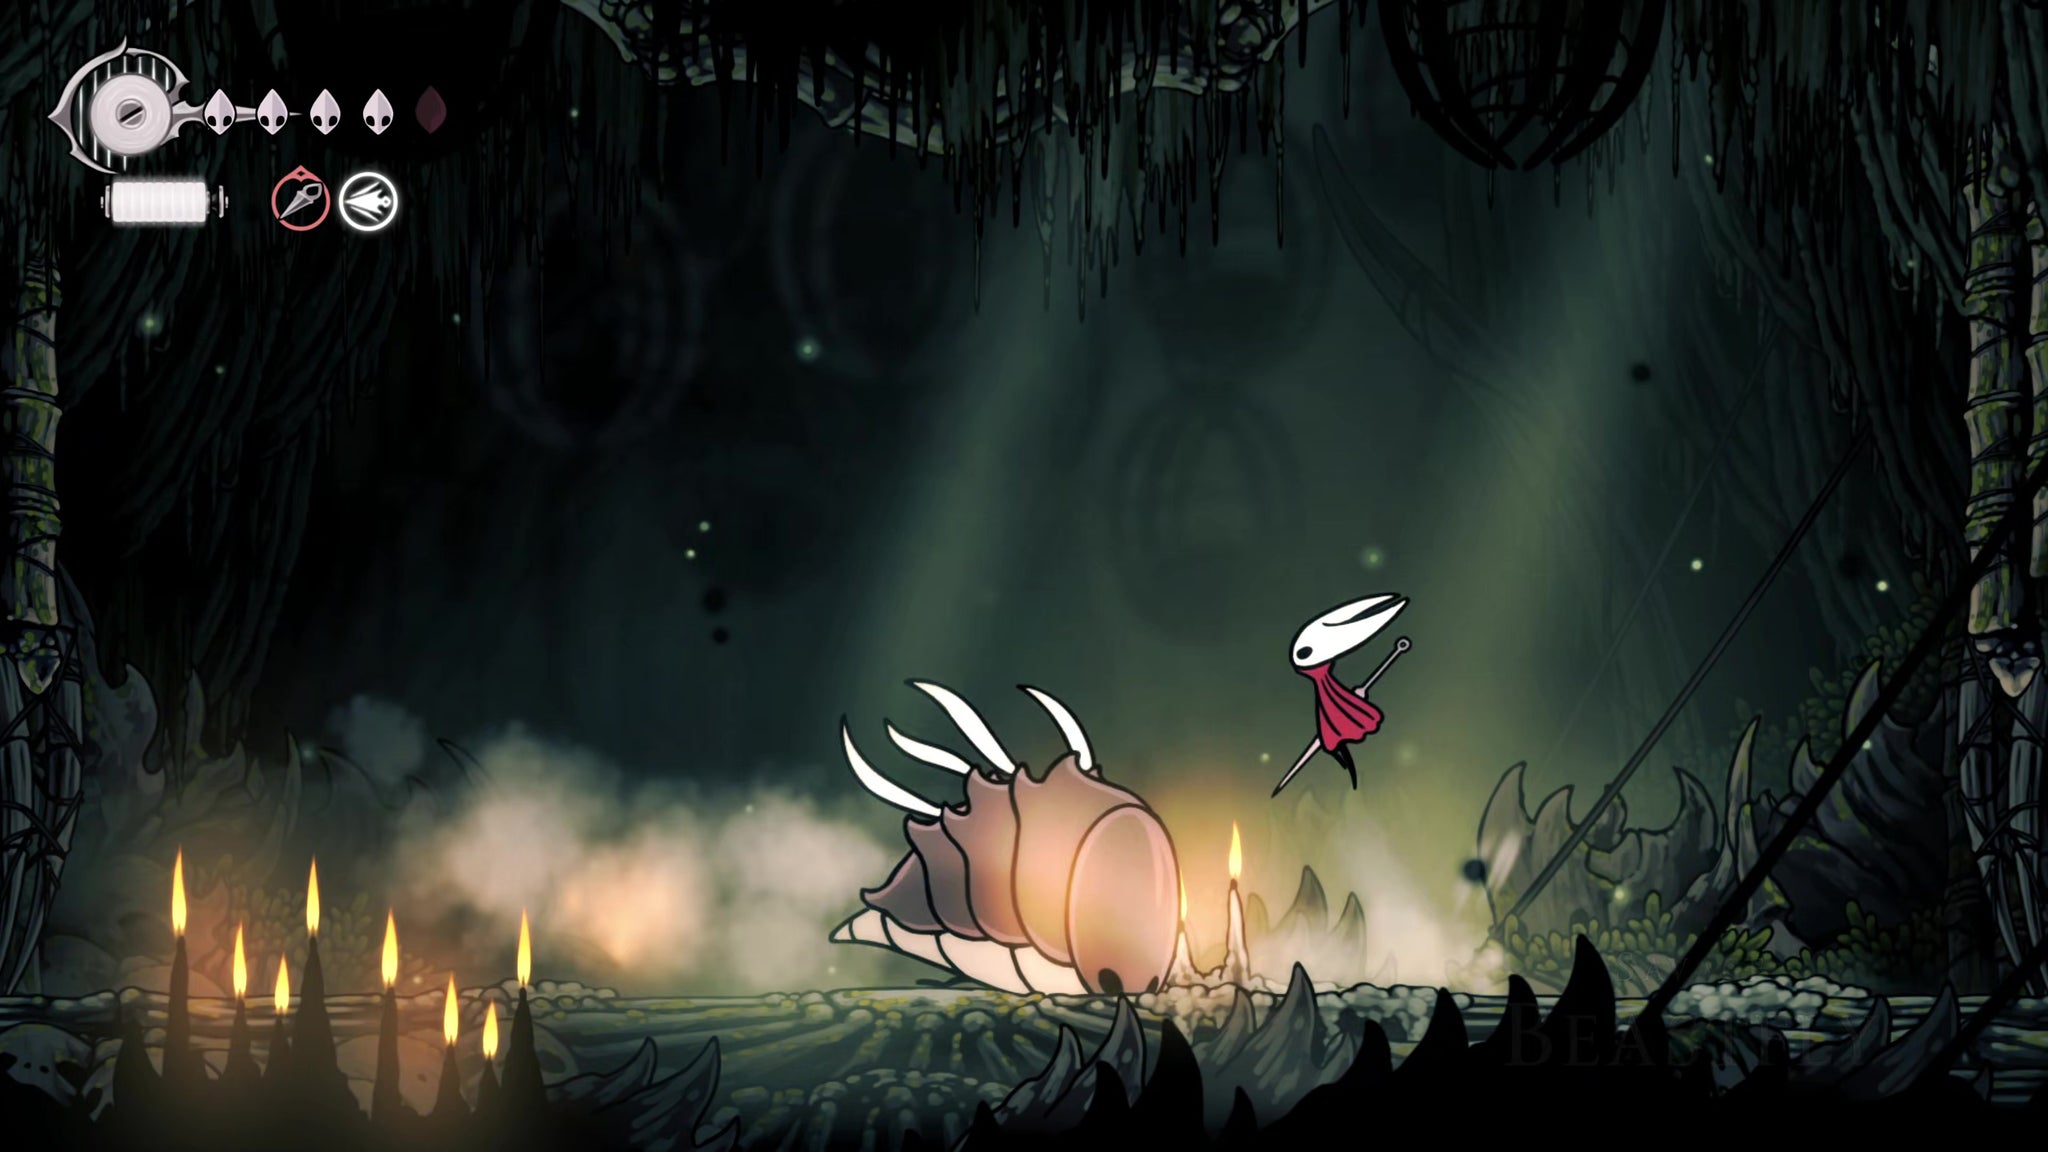
Image credit:Rock Paper Shotgun/Team Cherry
This is the Savage Beastfly, and it’s the final test of Hunter’s March at this stage. All its attacks deal double damage to you, and its charges - both horizontal and vertical - are aggressive combos that keep you on the move.
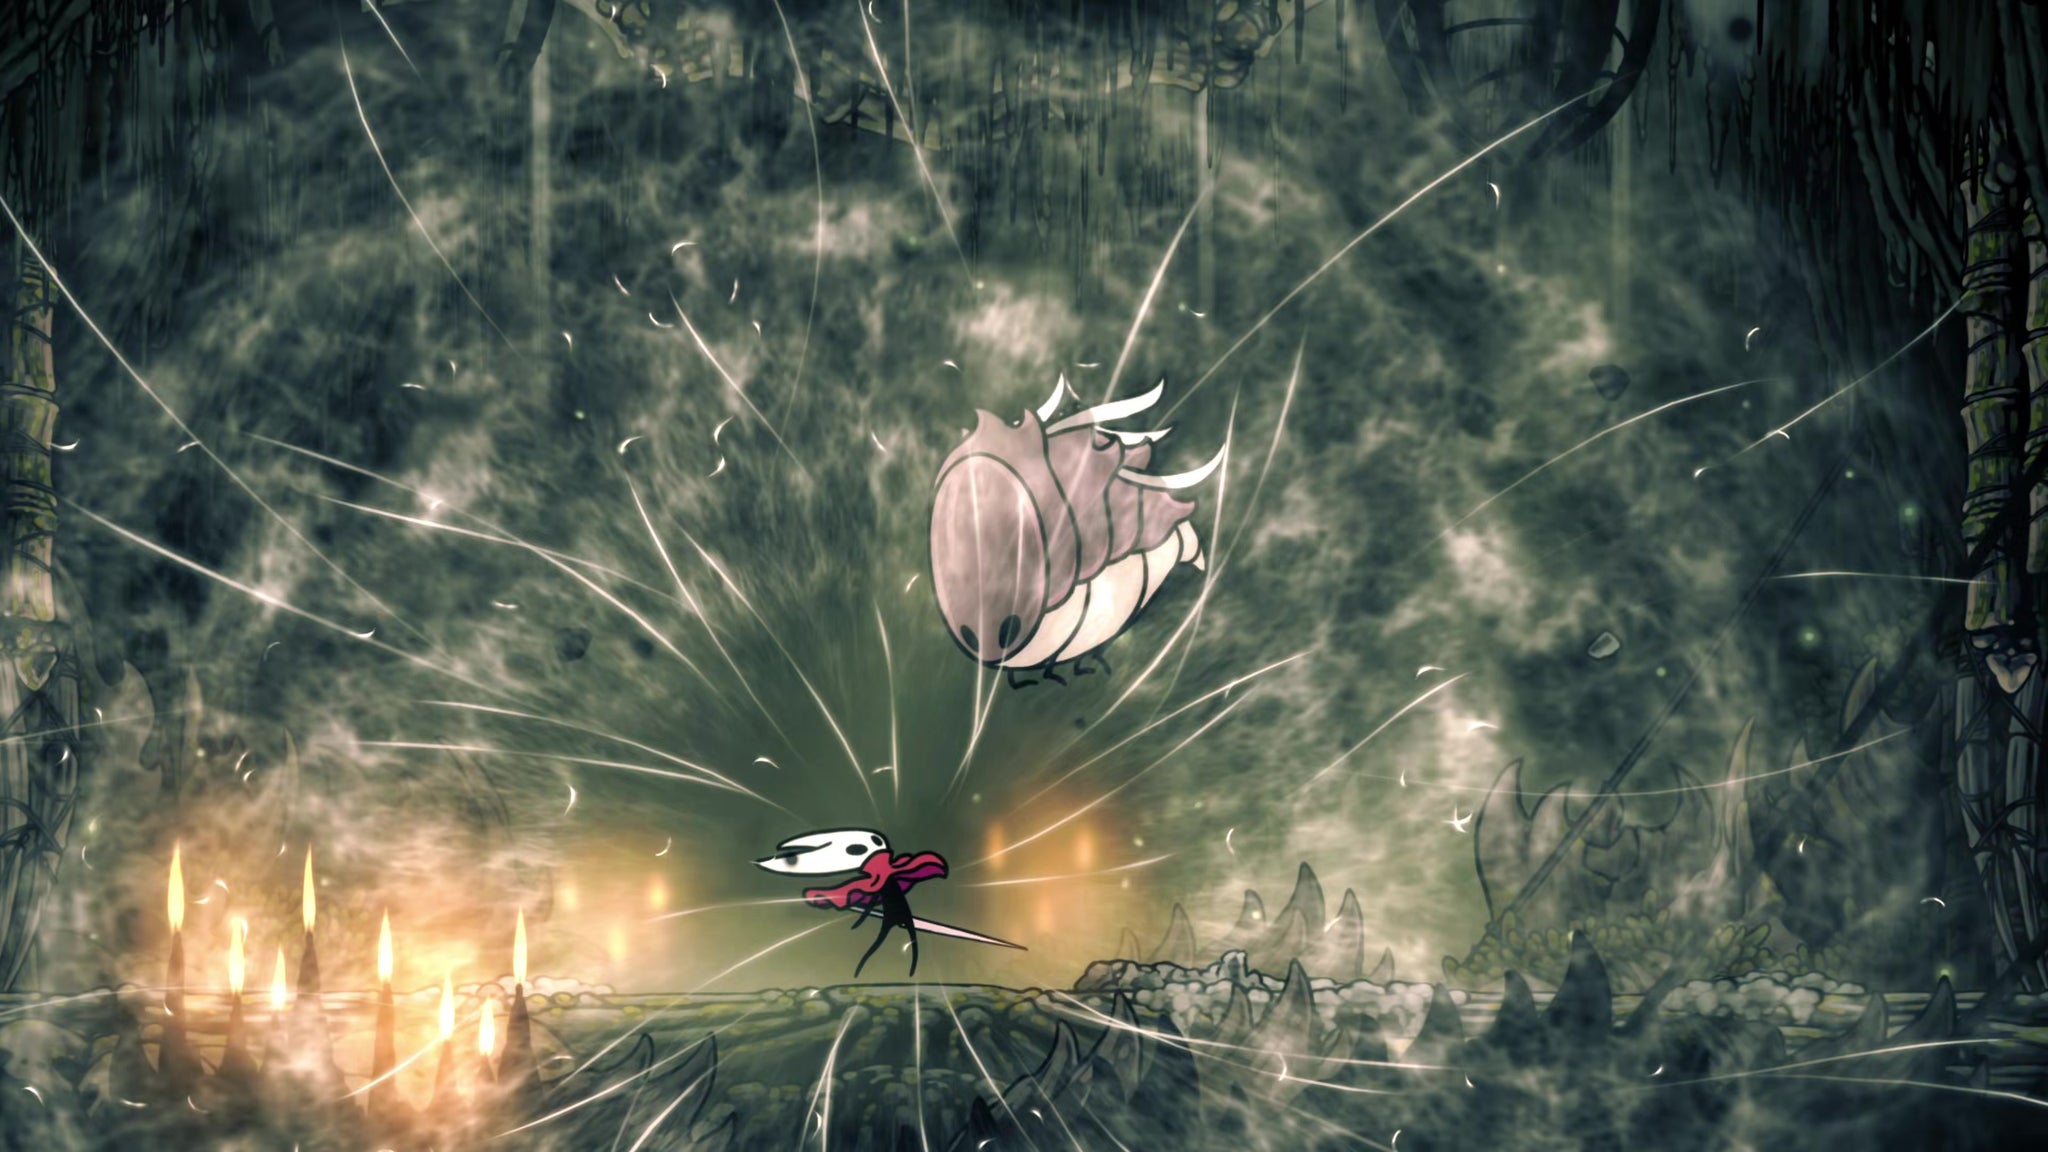
Image credit:Rock Paper Shotgun/Team Cherry
Again, I highly recommend using the Wanderer Crest for its quick attacks. You need to keep up the pressure - every time you dodge an attack in the middle of one of its combos, try to only just dodge it, so you’re close enough to do a single retaliatory strike. Each time it finishes a horizontal combo by slamming into the wall, make sure you’re near the wall as it starts the charge so you’re close enough to get three strikes after your jump in as it recovers.

Image credit:Rock Paper Shotgun/Team Cherry
The worst part of this fight is its second phase, because the Savage Beastfly starts to call in reinforcements. The best strategy here is to bait the Beastfly into doing its floor slam attack on whatever enemy it spawns, because that will instantly kill the minion.
Take your time, and don’t give up. It’s a tough fight, but you can do it.
Once the Savage Beastfly is finally slain, head to the left and claim your reward: the Beast Crest. This crest gives Hornet a powerful swiping slash attack, and turns her Bind into a temporarily lifesteal attack ability.
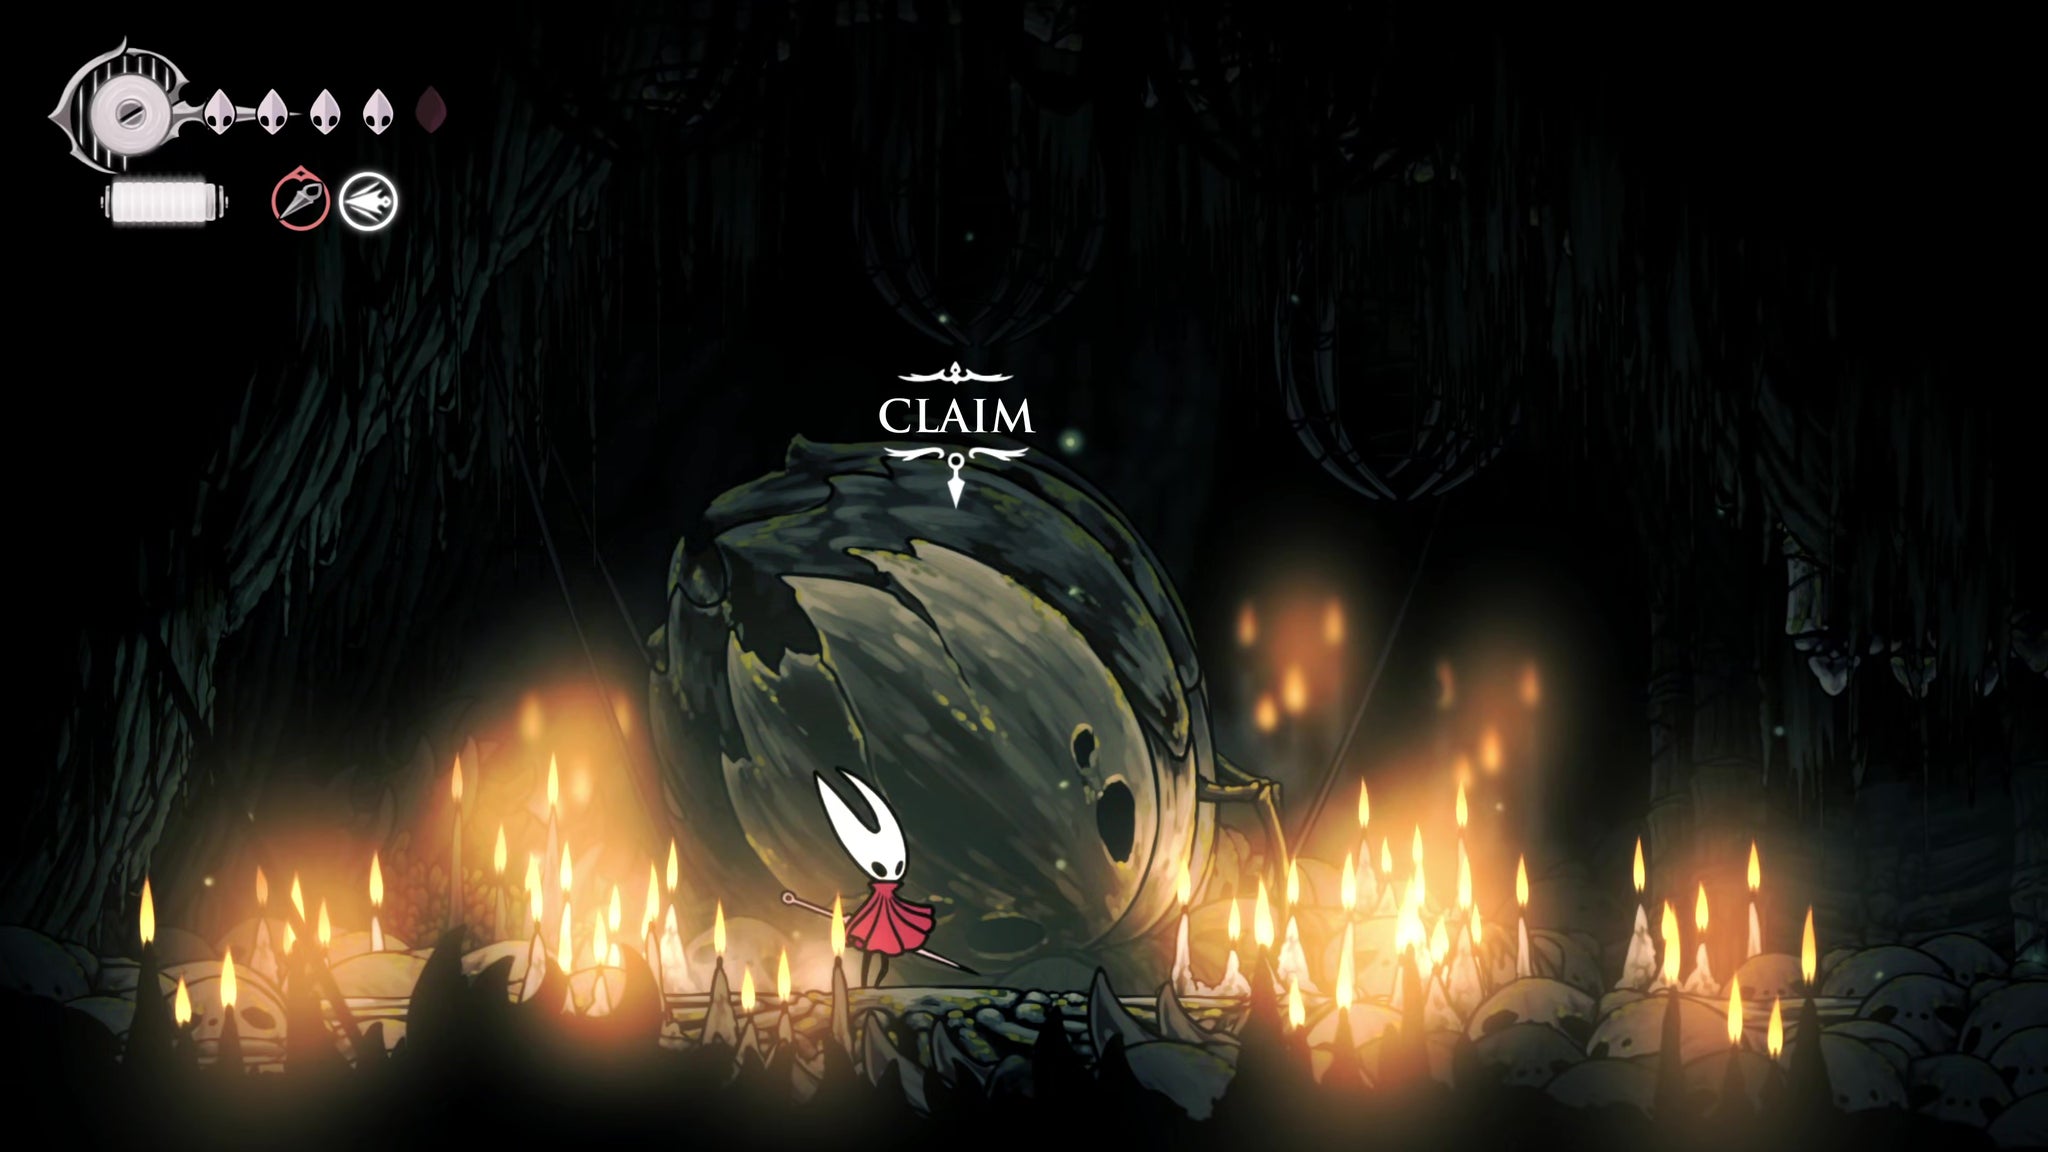
Image credit:Rock Paper Shotgun/Team Cherry
I will advise, however, that you spend a moment getting used to Hornet’s new rolling midair downward attack, as it’s very different from before. The Crest is auto-equipped, so you’ll need to exit back the way you came and Pogo off the red plants with this new attack, so a bit of practice beforehand wouldn’t go amiss.
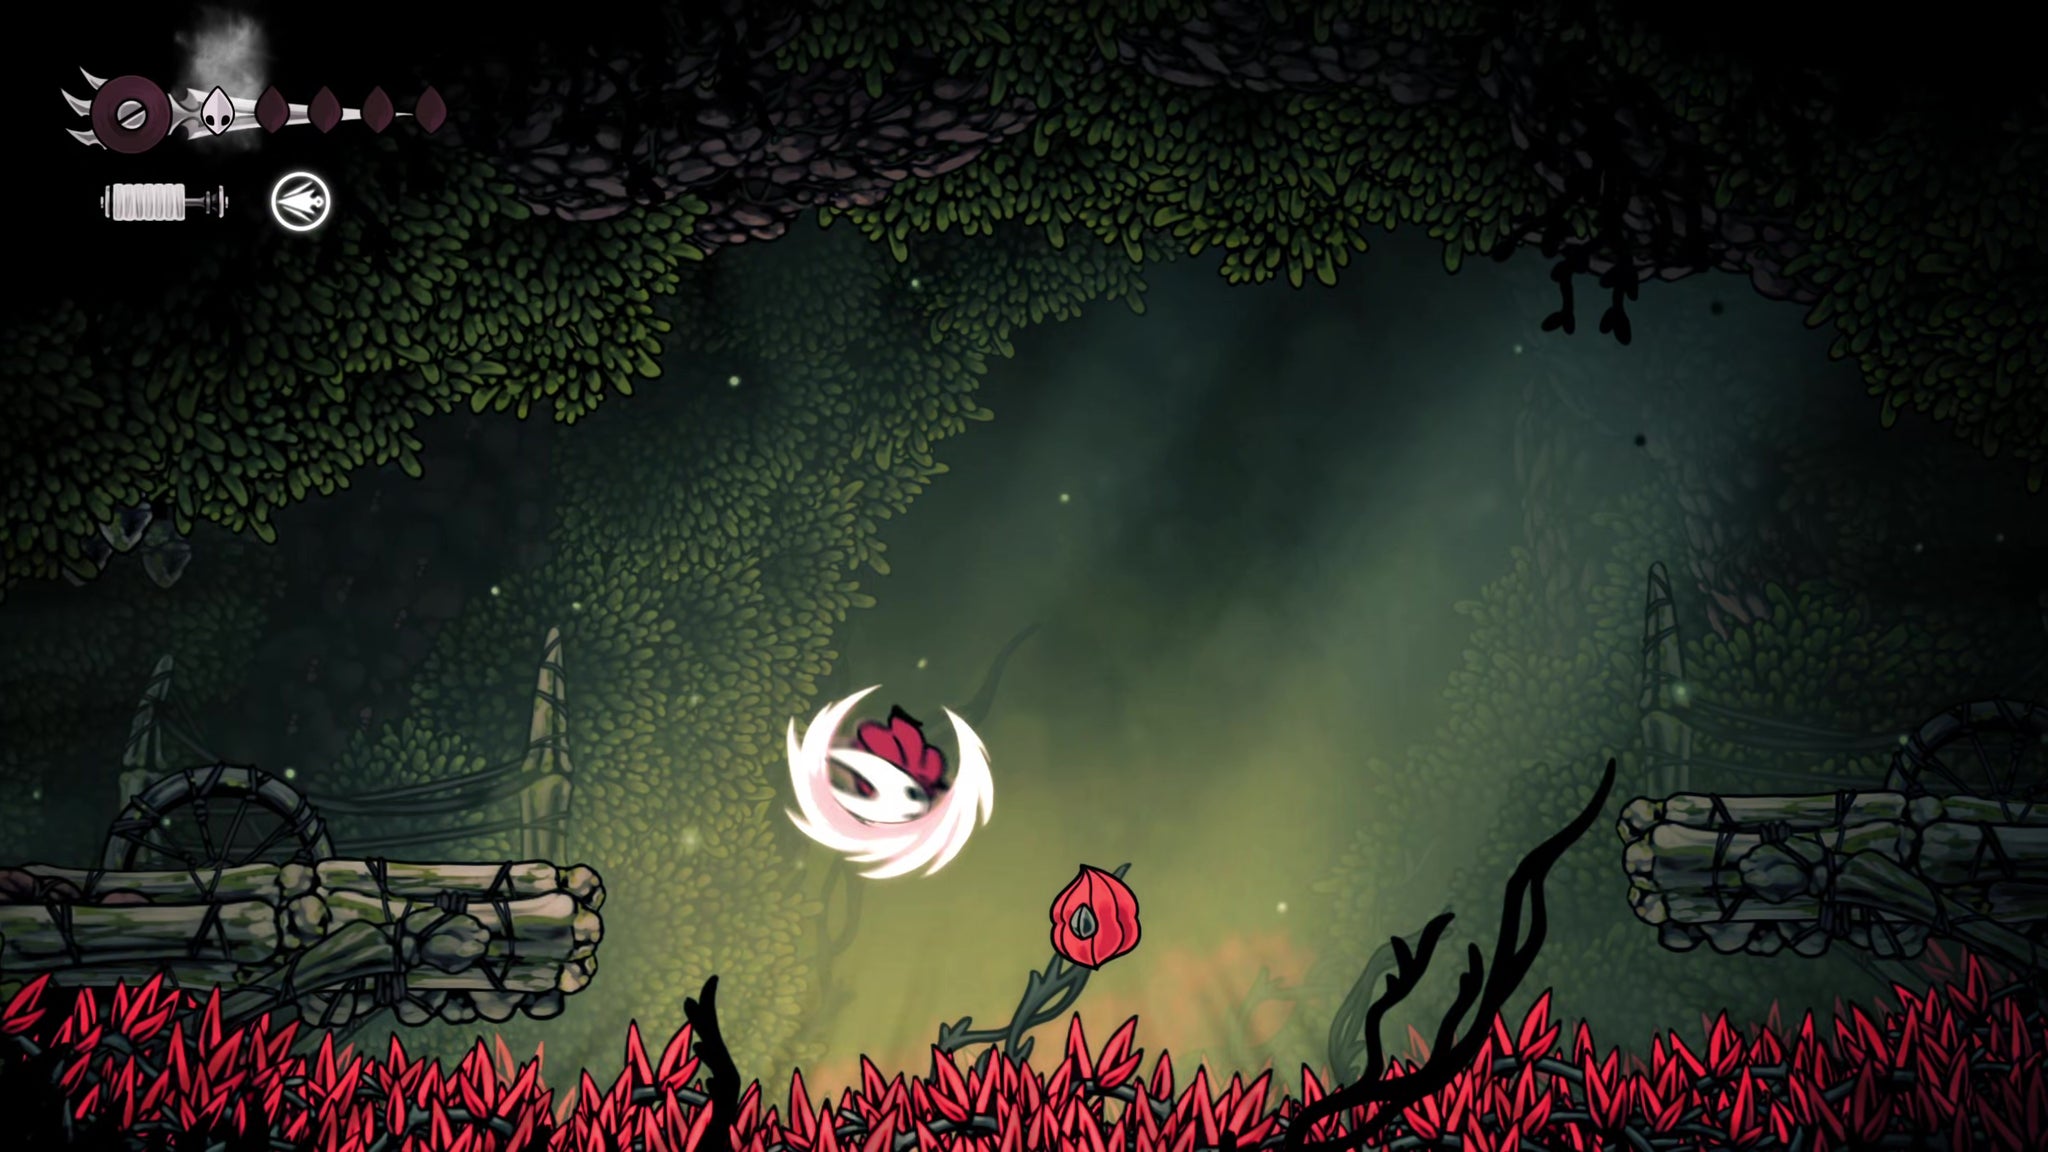
Image credit:Rock Paper Shotgun/Team Cherry
That’s everything there is to do for now in Hunter’s March! Next stop… Well, you can find out by heading over to Part 8 of our Silksong walkthrough !


Hollow Knight: Silksong
PC , Nintendo Switch
Rock Paper Shotgun is better when you sign in
Sign in and join us on our journey to discover strange and compelling PC games.

All 75 Arc Raiders Blueprints and where to get them
These areas have the highest chance of giving you Blueprints

Image credit:Rock Paper Shotgun/Embark Studios

Looking for more Arc Raiders Blueprints? It’s a special day when you find a Blueprint, as they’re among the most valuable items in Arc Raiders. If you find a Blueprint that you haven’t already found, then you must make sure you hold onto it at all costs, because Blueprints are the key to one of the most important and powerful systems of meta-progression in the game.
This guide aims to be the very best guide on Blueprints you can find, starting with a primer on what exactly they are and how they work in Arc Raiders, before delving into exactly where to get Blueprints and the very best farming spots for you to take in your search.
We’ll also go over how to get Blueprints from other unlikely activities, such as destroying Surveyors and completing specific quests. And you’ll also find the full list of all 75 Blueprints in Arc Raiders on this page (including the newest Blueprints added with the Cold Snap update , such as the Deadline Blueprint and Firework Box Blueprint), giving you all the information you need to expand your own crafting repertoire.
In this guide:
- What are Blueprints in Arc Raiders?
- Full Blueprint list: All crafting recipes
- Where to find Blueprints in Arc Raiders Blueprints obtained from quests Blueprints obtained from Trials Best Blueprint farming locations

What are Blueprints in Arc Raiders?
Blueprints in Arc Raiders are special items which, if you manage to extract with them, you can expend to permanently unlock a new crafting recipe in your Workshop. If you manage to extract from a raid with an Anvil Blueprint, for example, you can unlock the ability to craft your very own Anvil Pistol, as many times as you like (as long as you have the crafting materials).
To use a Blueprint, simply open your Inventory while in the lobby, then right-click on the Blueprint and click “Learn And Consume” . This will permanently unlock the recipe for that item in your Workshop. As of the Stella Montis update, there are allegedly 75 different Blueprints to unlock - although only 68 are confirmed to be in the game so far. You can see all the Blueprints you’ve found and unlocked by going to the Workshop menu, and hitting “R” to bring up the Blueprint screen.
It’s possible to find duplicates of past Blueprints you’ve already unlocked. If you find these, then you can either sell them, or - if you like to play with friends - you can take it into a match and gift it to your friend so they can unlock that recipe for themselves. Another option is to keep hold of them until the time comes to donate them to the Expedition.
Full Blueprint list: All crafting recipes
Below is the full list of all the Blueprints that are currently available to find in Arc Raiders, and the crafting recipe required for each item:
| Blueprint | Type | Recipe | Crafted At |
|---|---|---|---|
| Bettina | Weapon | 3x Advanced Mechanical Components 3x Heavy Gun Parts 3x Canister | Gunsmith 3 |
| Blue Light Stick | Quick Use | 3x Chemicals | Utility Station 1 |
| Aphelion | Weapon | 3x Magnetic Accelerator 3x Complex Gun Parts 1x Matriarch Reactor | Gunsmith 3 |
| Combat Mk. 3 (Flanking) | Augment | 2x Advanced Electrical Components 3x Processor | Gear Bench 3 |
| Combat Mk. 3 (Aggressive) | Augment | 2x Advanced Electrical Components 3x Processor | Gear Bench 3 |
| Complex Gun Parts | Material | 2x Light Gun Parts 2x Medium Gun Parts 2x Heavy Gun Parts | Refiner 3 |
| Fireworks Box | Quick Use | 1x Explosive Compound 3x Pop Trigger | Explosives Station 2 |
| Gas Mine | Mine | 4x Chemicals 2x Rubber Parts | Explosives Station 1 |
| Green Light Stick | Quick Use | 3x Chemicals | Utility Station 1 |
| Pulse Mine | Mine | 1x Crude Explosives 1x Wires | Explosives Station 1 |
| Seeker Grenade | Grenade | 1x Crude Explosives 2x ARC Alloy | Explosives Station 1 |
| Looting Mk. 3 (Survivor) | Augment | 2x Advanced Electrical Components 3x Processor | Gear Bench 3 |
| Angled Grip II | Mod | 2x Mechanical Components 3x Duct Tape | Gunsmith 2 |
| Angled Grip III | Mod | 2x Mod Components 5x Duct Tape | Gunsmith 3 |
| Hullcracker | Weapon | 1x Magnetic Accelerator 3x Heavy Gun Parts 1x Exodus Modules | Gunsmith 3 |
| Launcher Ammo | Ammo | 5x Metal Parts 1x Crude Explosives | Workbench 1 |
| Anvil | Weapon | 5x Mechanical Components 5x Simple Gun Parts | Gunsmith 2 |
| Anvil Splitter | Mod | 2x Mod Components 3x Processor | Gunsmith 3 |
| ??? | ??? | ??? | ??? |
| Barricade Kit | Quick Use | 1x Mechanical Components | Utility Station 2 |
| Blaze Grenade | Grenade | 1x Explosive Compound 2x Oil | Explosives Station 3 |
| Bobcat | Weapon | 3x Advanced Mechanical Components 3x Light Gun Parts | Gunsmith 3 |
| Osprey | Weapon | 2x Advanced Mechanical Components 3x Medium Gun Parts 7x Wires | Gunsmith 3 |
| Burletta | Weapon | 3x Mechanical Components 3x Simple Gun Parts | Gunsmith 1 |
| Compensator II | Mod | 2x Mechanical Components 4x Wires | Gunsmith 2 |
| Compensator III | Mod | 2x Mod Components 8x Wires | Gunsmith 3 |
| Defibrillator | Quick Use | 9x Plastic Parts 1x Moss | Medical Lab 2 |
| ??? | ??? | ??? | ??? |
| Equalizer | Weapon | 3x Magnetic Accelerator 3x Complex Gun Parts 1x Queen Reactor | Gunsmith 3 |
| Extended Barrel | Mod | 2x Mod Components 8x Wires | Gunsmith 3 |
| Extended Light Mag II | Mod | 2x Mechanical Components 3x Steel Spring | Gunsmith 2 |
| Extended Light Mag III | Mod | 2x Mod Components 5x Steel Spring | Gunsmith 3 |
| Extended Medium Mag II | Mod | 2x Mechanical Components 3x Steel Spring | Gunsmith 2 |
| Extended Medium Mag III | Mod | 2x Mod Components 5x Steel Spring | Gunsmith 3 |
| Extended Shotgun Mag II | Mod | 2x Mechanical Components 3x Steel Spring | Gunsmith 2 |
| Extended Shotgun Mag III | Mod | 2x Mod Components 5x Steel Spring | Gunsmith 3 |
| Remote Raider Flare | Quick Use | 2x Chemicals 4x Rubber Parts | Utility Station 1 |
| Heavy Gun Parts | Material | 4x Simple Gun Parts | Refiner 2 |
| Venator | Weapon | 2x Advanced Mechanical Components 3x Medium Gun Parts 5x Magnet | Gunsmith 3 |
| Il Toro | Weapon | 5x Mechanical Components 6x Simple Gun Parts | Gunsmith 1 |
| Jolt Mine | Mine | 1x Electrical Components 1x Battery | Explosives Station 2 |
| Explosive Mine | Mine | 1x Explosive Compound 1x Sensors | Explosives Station 3 |
| Jupiter | Weapon | 3x Magnetic Accelerator 3x Complex Gun Parts 1x Queen Reactor | Gunsmith 3 |
| Light Gun Parts | Material | 4x Simple Gun Parts | Refiner 2 |
| Lightweight Stock | Mod | 2x Mod Components 5x Duct Tape | Gunsmith 3 |
| Lure Grenade | Grenade | 1x Speaker Component 1x Electrical Components | Utility Station 2 |
| Medium Gun Parts | Material | 4x Simple Gun Parts | Refiner 2 |
| Torrente | Weapon | 2x Advanced Mechanical Components 3x Medium Gun Parts 6x Steel Spring | Gunsmith 3 |
| Muzzle Brake II | Mod | 2x Mechanical Components 4x Wires | Gunsmith 2 |
| Muzzle Brake III | Mod | 2x Mod Components 8x Wires | Gunsmith 3 |
| Padded Stock | Mod | 2x Mod Components 5x Duct Tape | Gunsmith 3 |
| Shotgun Choke II | Mod | 2x Mechanical Components 4x Wires | Gunsmith 2 |
| Shotgun Choke III | Mod | 2x Mod Components 8x Wires | Gunsmith 3 |
| Shotgun Silencer | Mod | 2x Mod Components 8x Wires | Gunsmith 3 |
| Showstopper | Grenade | 1x Advanced Electrical Components 1x Voltage Converter | Explosives Station 3 |
| Silencer I | Mod | 2x Mechanical Components 4x Wires | Gunsmith 2 |
| Silencer II | Mod | 2x Mod Components 8x Wires | Gunsmith 3 |
| Snap Hook | Quick Use | 2x Power Rod 3x Rope 1x Exodus Modules | Utility Station 3 |
| Stable Stock II | Mod | 2x Mechanical Components 3x Duct Tape | Gunsmith 2 |
| Stable Stock III | Mod | 2x Mod Components 5x Duct Tape | Gunsmith 3 |
| Tagging Grenade | Grenade | 1x Electrical Components 1x Sensors | Utility Station 3 |
| Tempest | Weapon | 3x Advanced Mechanical Components 3x Medium Gun Parts 3x Canister | Gunsmith 3 |
| Trigger Nade | Grenade | 2x Crude Explosives 1x Processor | Explosives Station 2 |
| Vertical Grip II | Mod | 2x Mechanical Components 3x Duct Tape | Gunsmith 2 |
| Vertical Grip III | Mod | 2x Mod Components 5x Duct Tape | Gunsmith 3 |
| Vita Shot | Quick Use | 2x Antiseptic 1x Syringe | Medical Lab 3 |
| Vita Spray | Quick Use | 3x Antiseptic 1x Canister | Medical Lab 3 |
| Vulcano | Weapon | 1x Magnetic Accelerator 3x Heavy Gun Parts 1x Exodus Modules | Gunsmith 3 |
| Wolfpack | Grenade | 2x Explosive Compound 2x Sensors | Explosives Station 3 |
| Red Light Stick | Quick Use | 3x Chemicals | Utility Station 1 |
| Smoke Grenade | Grenade | 14x Chemicals 1x Canister | Utility Station 2 |
| Deadline | Mine | 3x Explosive Compound 2x ARC Circuitry | Explosives Station 3 |
| Trailblazer | Grenade | 1x Explosive Compound 1x Synthesized Fuel | Explosives Station 3 |
| Tactical Mk. 3 (Defensive) | Augment | 2x Advanced Electrical Components 3x Processor | Gear Bench 3 |
| Tactical Mk. 3 (Healing) | Augment | 2x Advanced Electrical Components 3x Processor | Gear Bench 3 |
| Yellow Light Stick | Quick Use | 3x Chemicals | Utility Station 1 |
Note: The missing Blueprints in this list likely have not actually been added to the game at the time of writing, because none of the playerbase has managed to find any of them. As they are added to the game, I will update this page with the most relevant information so you know exactly how to get all 75 Arc Raiders Blueprints.
Where to find Blueprints in Arc Raiders
Below is a list of all containers, modifiers, and events which maximise your chances of finding Blueprints:
- Certain quests reward you with specific Blueprints .
- Completing Trials has a high chance of offering Blueprints as rewards.
- Surveyors have a decent chance of dropping Blueprints on death.
- High loot value areas tend to have a greater chance of spawning Blueprints.
- Night Raids and Storms may increase rare Blueprint spawn chances in containers.
- Containers with higher numbers of items may have a higher tendency to spawn Blueprints. As a result, Blue Gate (which has many “large” containers containing multiple items) may give you a higher chance of spawning Blueprints.
- Raider containers (Raider Caches, Weapon Boxes, Medical Bags, Grenade Tubes) have increased Blueprint drop rates. As a result, the Uncovered Caches event gives you a high chance of finding Blueprints.
- Security Lockers have a higher than average chance of containing Blueprints.
- Certain Blueprints only seem to spawn under specific circumstances: Tempest Blueprint only spawns during Night Raid events. Vulcano Blueprint only spawns during Hidden Bunker events. Jupiter and Equaliser Blueprints only spawn during Harvester events.

Raider Caches, Weapon Boxes, and other raider-oriented container types have a good chance of offering Blueprints. |Image credit:Rock Paper Shotgun/Embark Studios
Blueprints have a very low chance of spawning in any container in Arc Raiders, around 1-2% on average. However, there is a higher chance of finding Blueprints in particular container types. Specifically, you can find more Blueprints in Raider containers and security lockers.
Beyond this, if you’re looking for Blueprints you should focus on regions of the map which are marked as having particularly high-value loot. Areas such as the Control Tower in Dam Battlegrounds, the Arrival and Departure Buildings in Spaceport, and Pilgrim’s Peak in Blue Gate all have a better-than-average chance of spawning Blueprints somewhere amongst all their containers. Night Raids and Electromagnetic Storm events also increase the drop chances of certain Blueprints .
In addition to these containers, you can often loot Blueprints from destroyed Surveyors - the largest of the rolling ball ARC. Surveyors are more commonly found on the later maps - Spaceport and Blue Gate - and if one spawns in your match, you’ll likely see it by the blue laser beam that it casts into the sky while “surveying”.
Surveyors are quite well-armoured and will very speedily run away from you once it notices you, but if you can take one down then make sure you loot all its parts for a chance of obtaining certain unusual Blueprints.
Blueprints obtained from quests
One way in which you can get Blueprints is by completing certain quests for the vendors in Speranza. Some quests will reward you with a specific item Blueprint upon completion, so as long as you work through all the quests in Arc Raiders, you are guaranteed those Blueprints.
Here is the full list of all Blueprints you can get from quest rewards:
- Trigger Nade Blueprint: Rewarded after completing “Sparks Fly”.
- Lure Grenade Blueprint: Rewarded after completing “Greasing Her Palms”.
- Burletta Blueprint: Rewarded after completing “Industrial Espionage”.
- Hullcracker Blueprint (and Launcher Ammo Blueprint): Rewarded after completing “The Major’s Footlocker”.
Alas, that’s only 4 Blueprints out of a total of 75 to unlock, so for the vast majority you will need to find them yourself during a raid. If you’re intent on farming Blueprints, then it’s best to equip yourself with cheap gear in case you lose it, but don’t use a free loadout because then you won’t get a safe pocket to stash any new Blueprint you find. No pain in Arc Raiders is sharper than failing to extract with a new Blueprint you’ve been after for a dozen hours already.

One of the best ways to get Blueprints is by hitting three stars on all five Trials every week. |Image credit:Rock Paper Shotgun/Embark Studios
Blueprints obtained from Trials
One of the very best ways to get Blueprints is as rewards for completing Trials in Arc Raiders. Trials are unlocked from Level 15 onwards, and allow you to earn rewards by focusing on certain tasks over the course of several raids. For example, one Trial might task you with dealing damage to Hornets, while another might challenge you to loot Supply Drops.
Trials refresh on a weekly basis, with a new week bringing five new Trials. Each Trial can offer up to three rewards after passing certain score milestones, and it’s possible to receive very high level loot from these reward crates - including Blueprints. So if you want to unlock as many Blueprints as possible, you should make a point of completing as many Trials as possible each week.
Best Blueprint farming locations
The very best way to get Blueprints is to frequent specific areas of the maps which combine high-tier loot pools with the right types of containers to search. Here are my recommendations for where to find Blueprints on every map, so you can always keep the search going for new crafting recipes to unlock.

Image credit:Rock Paper Shotgun/Embark Studios
Dam Battlegrounds
The best places to farm Blueprints on Dam Battlegrounds are the Control Tower, Power Generation Complex, Ruby Residence, and Pale Apartments . The first two regions, despite only being marked on the map as mid-tier loot, contain a phenomenal number of containers to loot. The Control Tower can also contain a couple of high-tier Security Lockers - though of course, you’ll need to have unlocked the Security Breach skill at the end of the Survival tree.
There’s also a lot of reporting amongst the playerbase that the Residential areas in the top-left of the map - Pale Apartments and Ruby Residence - give you a comparatively strong chance of finding Blueprints. Considering their size, there’s a high density of containers to loot in both locations, and they also have the benefit of being fairly out of the way. So you’re more likely to have all the containers to yourself.
Buried City
The best Blueprint farming locations on Buried City are the Santa Maria Houses, Grandioso Apartments, Town Hall, and the various buildings of the New District . Grandioso Apartments has a lower number of containers than the rest, but a high chance of spawning weapon cases - which have good Blueprint drop rates. The others are high-tier loot areas, with plenty of lootable containers - including Security Lockers.
Spaceport
The best places to find Blueprints on Spaceport are the Arrival and Departure Buildings, as well as Control Tower A6 and the Launch Towers . All these areas are labelled as high-value loot regions, and many of them are also very handily connected to one another by the Spaceport wall, which you can use to quickly run from one area to the next. At the tops of most of these buildings you’ll find at least one Security Locker, so this is an excellent farming route for players looking to find Blueprints.
The downside to looting Blueprints on Spaceport is that all these areas are hotly contested, particularly in Duos and Squads. You’ll need to be very focused and fast in order to complete the full farming route.

Image credit:Rock Paper Shotgun/Embark Studios
Blue Gate
Blue Gate tends to have a good chance of dropping Blueprints, potentially because it generally has a high number of containers which can hold lots of items; so there’s a higher chance of a Blueprint spawning in each container. In my experience, the best Blueprint farming spots on Blue Gate are Pilgrim’s Peak, Raider’s Refuge, the Ancient Fort, and the Underground Complex beneath the Warehouse .
All of these areas contain a wealth of containers to loot. Raider’s Refuge has less to loot, but the majority of the containers in and around the Refuge are raider containers, which have a high chance of containing Blueprints - particularly during major events.
Stella Montis
On the whole, Stella Montis seems to have a very low drop rate for Blueprints (though a high chance of dropping other high-tier loot). If you do want to try farming Blueprints on this map, the best places to find Blueprints in Stella Montis are Medical Research, Assembly Workshop, and the Business Center . These areas have the highest density of containers to loot on the map.
In addition to this, the Western Tunnel has a few different Security Lockers to loot, so while there’s very little to loot elsewhere in this area of the map, it’s worth hitting those Security Lockers if you spawn there at the start of a match.
That wraps up this primer on how to get all the Blueprints in Arc Raiders as quickly as possible. With the Expedition system constantly resetting a large number of players’ Blueprints, it’s more important than ever to have the most up-to-date information on where to find all these Blueprints.
While you’re here, be sure to check out our Arc Raiders best guns tier list , as well as our primers on the best skills to unlock and all the different Field Depot locations on every map.


ARC Raiders
PS5 , Xbox Series X/S , PC
Rock Paper Shotgun is better when you sign in
Sign in and join us on our journey to discover strange and compelling PC games.
