Hollow Knight Silksong walkthrough: Part 37 (Verdania)
How to access the beautiful region of Lost Verdania
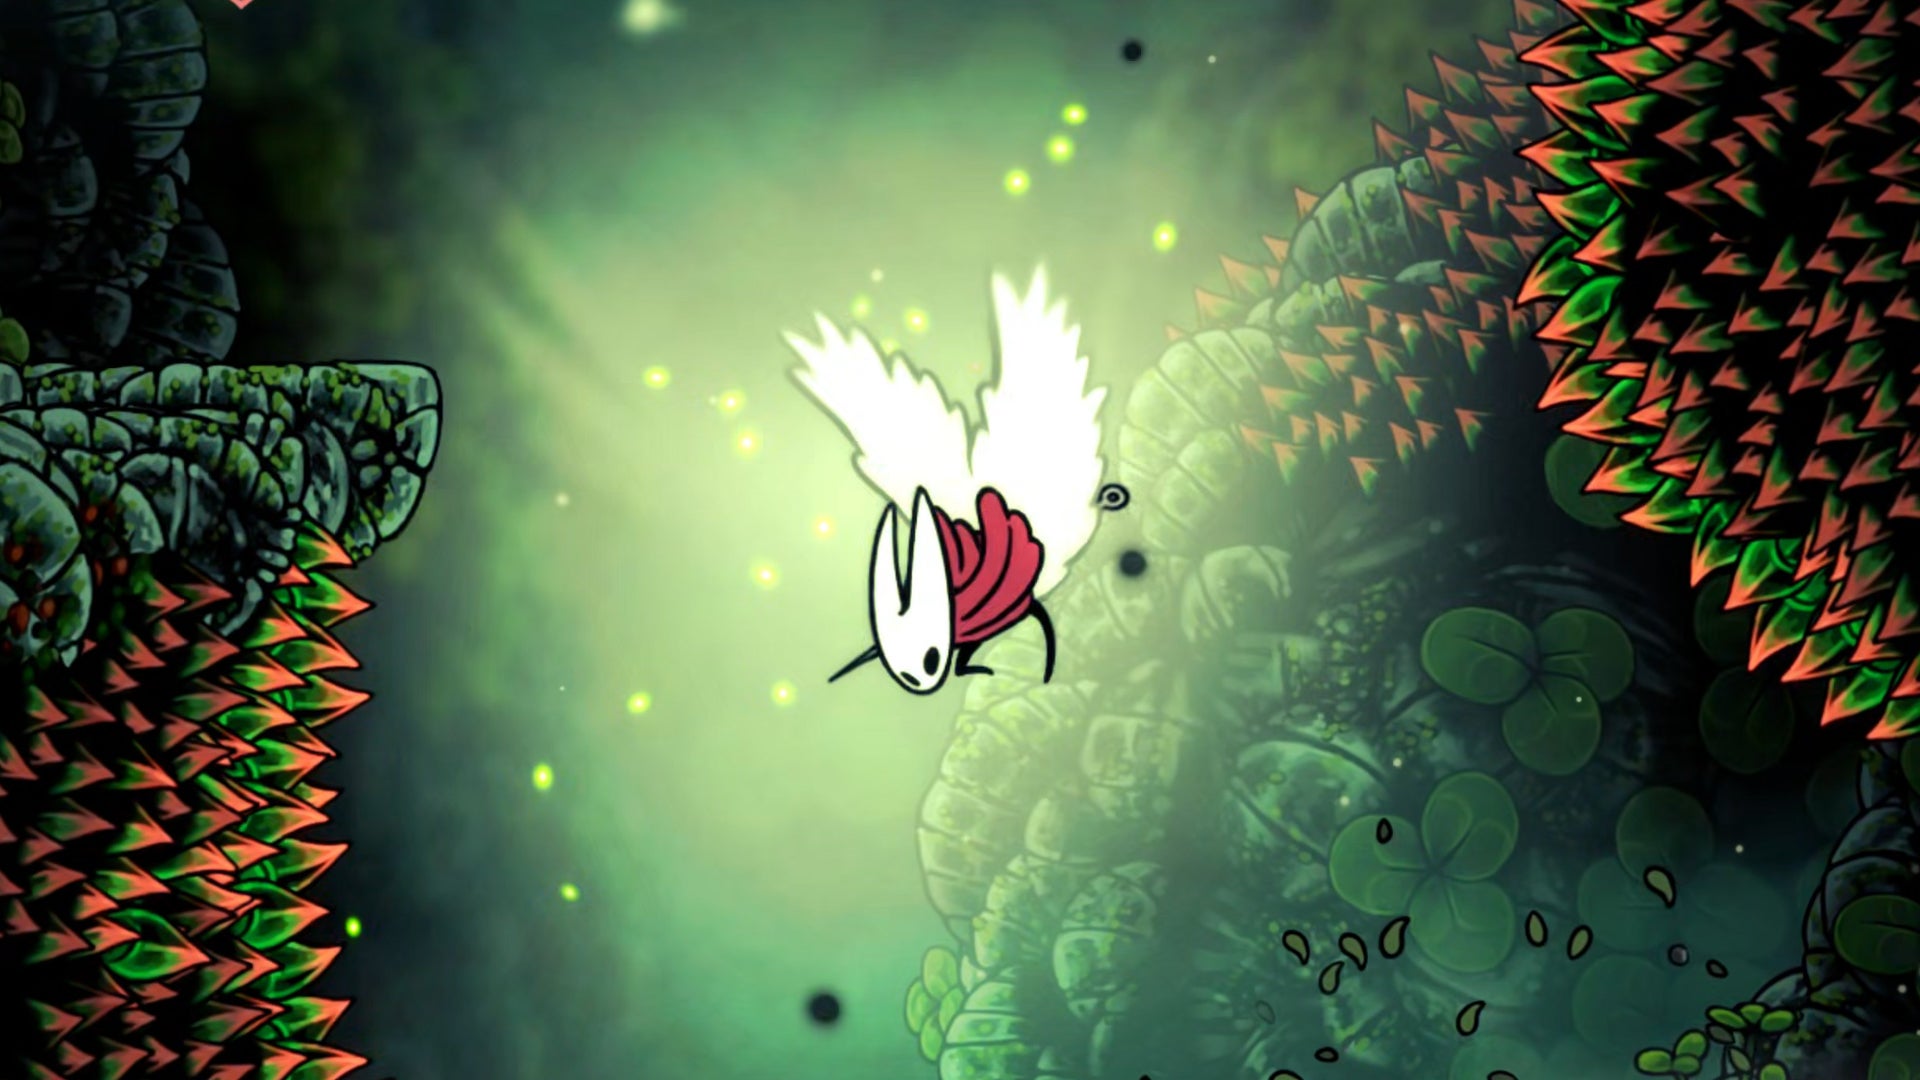
Image credit:Rock Paper Shotgun/Team Cherry

Looking for Lost Verdania in Hollow Knight: Silksong? At this stage of our walkthrough, there is only one area of the map left to discover: the beautiful lost land of Verdania. It’s very tucked away, with barely a hint to its existence unless you stumble across it by accident - but it’s packed with some of the most memorable and poignant moments in Silksong.
In Part 37 of our Silksong walkthrough , I’ll show you how to access Verdania and use Elegy Of The Deep to peer back in time to reach Lost Verdania. You can then follow along step-by-step below to find everything of value in the region, and reach the beautiful and familiar final boss of Verdania.
Want the walkthrough for a different area of the game? Check out our Hollow Knight: Silksong walkthrough hub!
Verdania walkthrough steps:
- Meet Seth in Greymoor.
- Speak with the Grince Prince at the Verdania entrance.
- Use Elegy Of The Deep to enter Lost Verdania.
- Unlock the Sacred Shrine and first Statue Essence.
- Win the arena battle to reach the central shaft.
- Obtain the lower-left Statue Essence.
- Collect the remaining Essences.
- Defeat the Palestag.
- Enter the Green Prince’s home.
- Defeat the Clover Dancers for the Conjoined Heart.
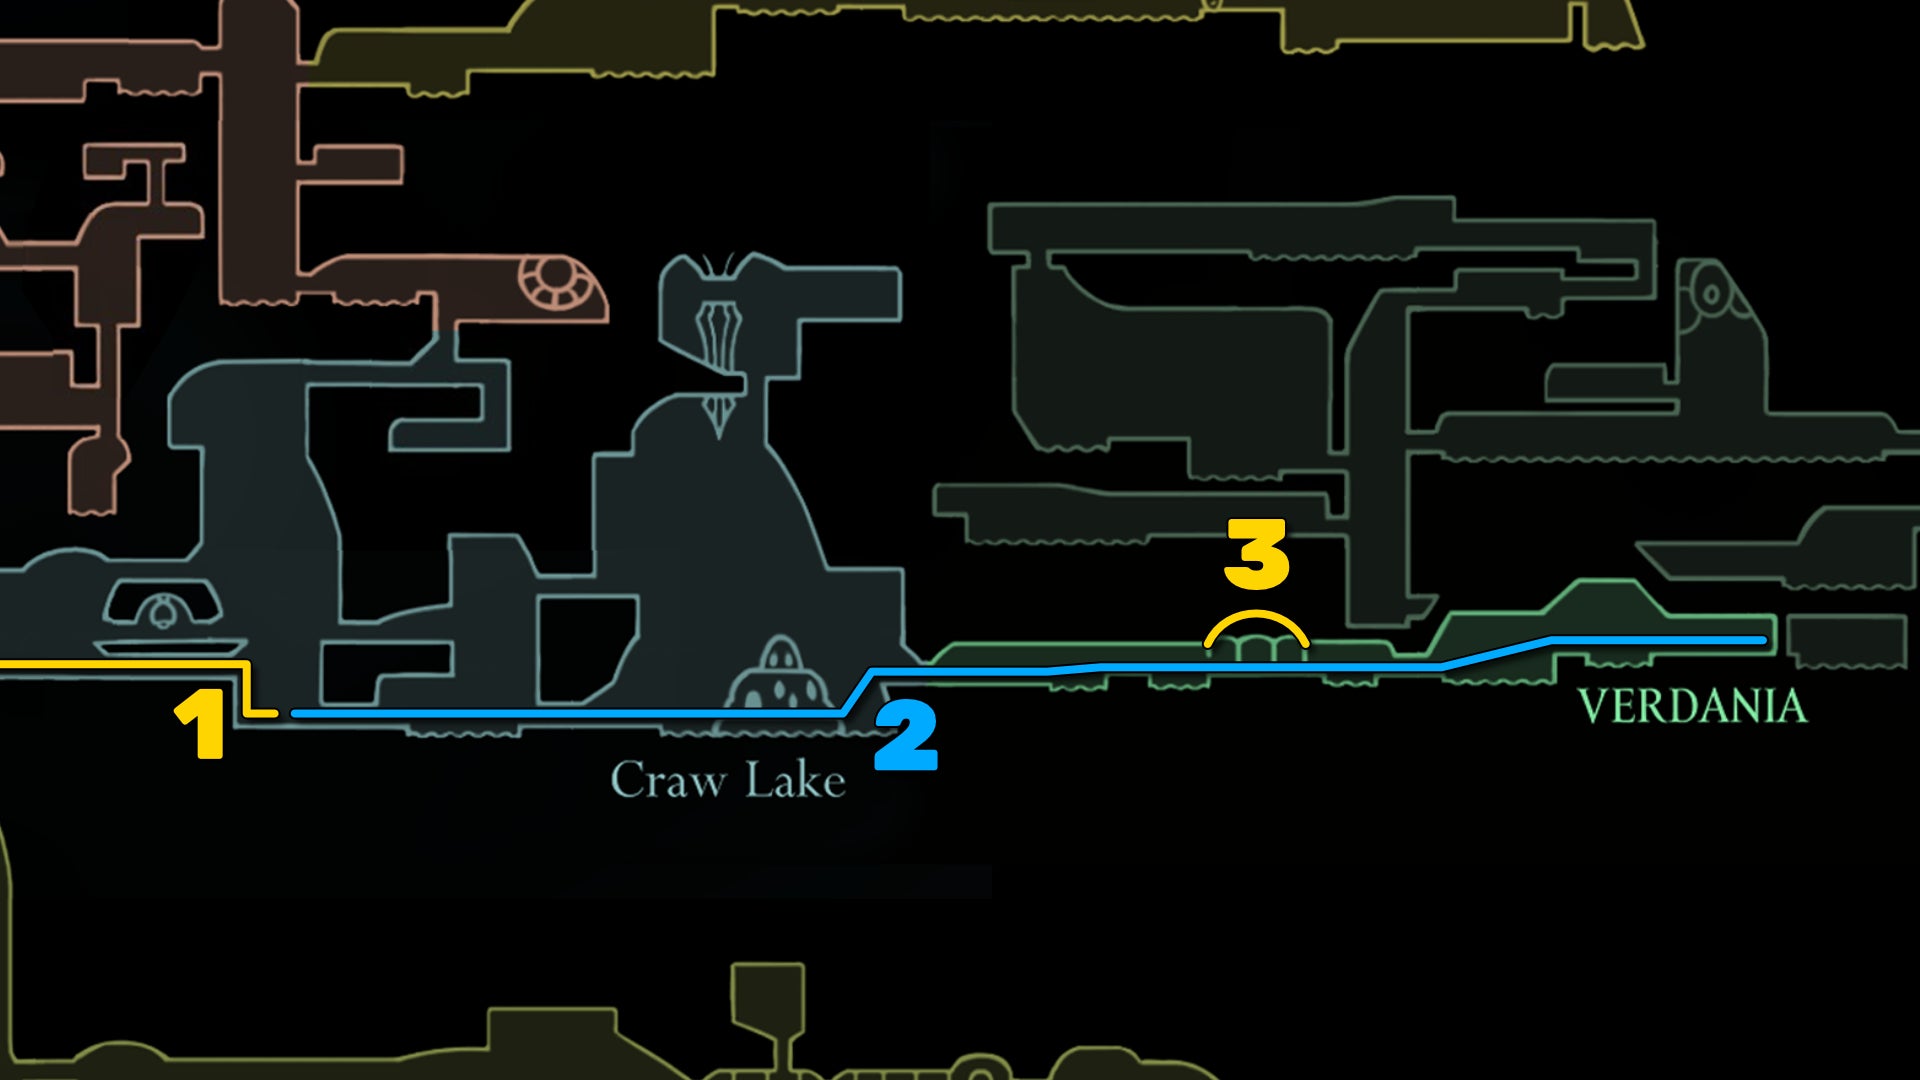
Image credit:Rock Paper Shotgun/Team Cherry
1. Meet Seth in Greymoor.
This step isn’t related to Verdania, but it’s on the way, so we might as well sort it out now. With the Old Hearts mission sorted, you’ll start to see Shrine Guardian Seth cropping up in random places if you know where to look, and the first place is in Greymoor.
Funnily enough, the fastest way to get to East Greymoor is via the Far Fields Bellway. Just head there and ride the air currents all the way up to enter Greymoor, then start heading east. In the room past the nearby Bench, you’ll find Seth sitting on a rock exactly where you once found Shakra and purchased the Greymoor map from her.
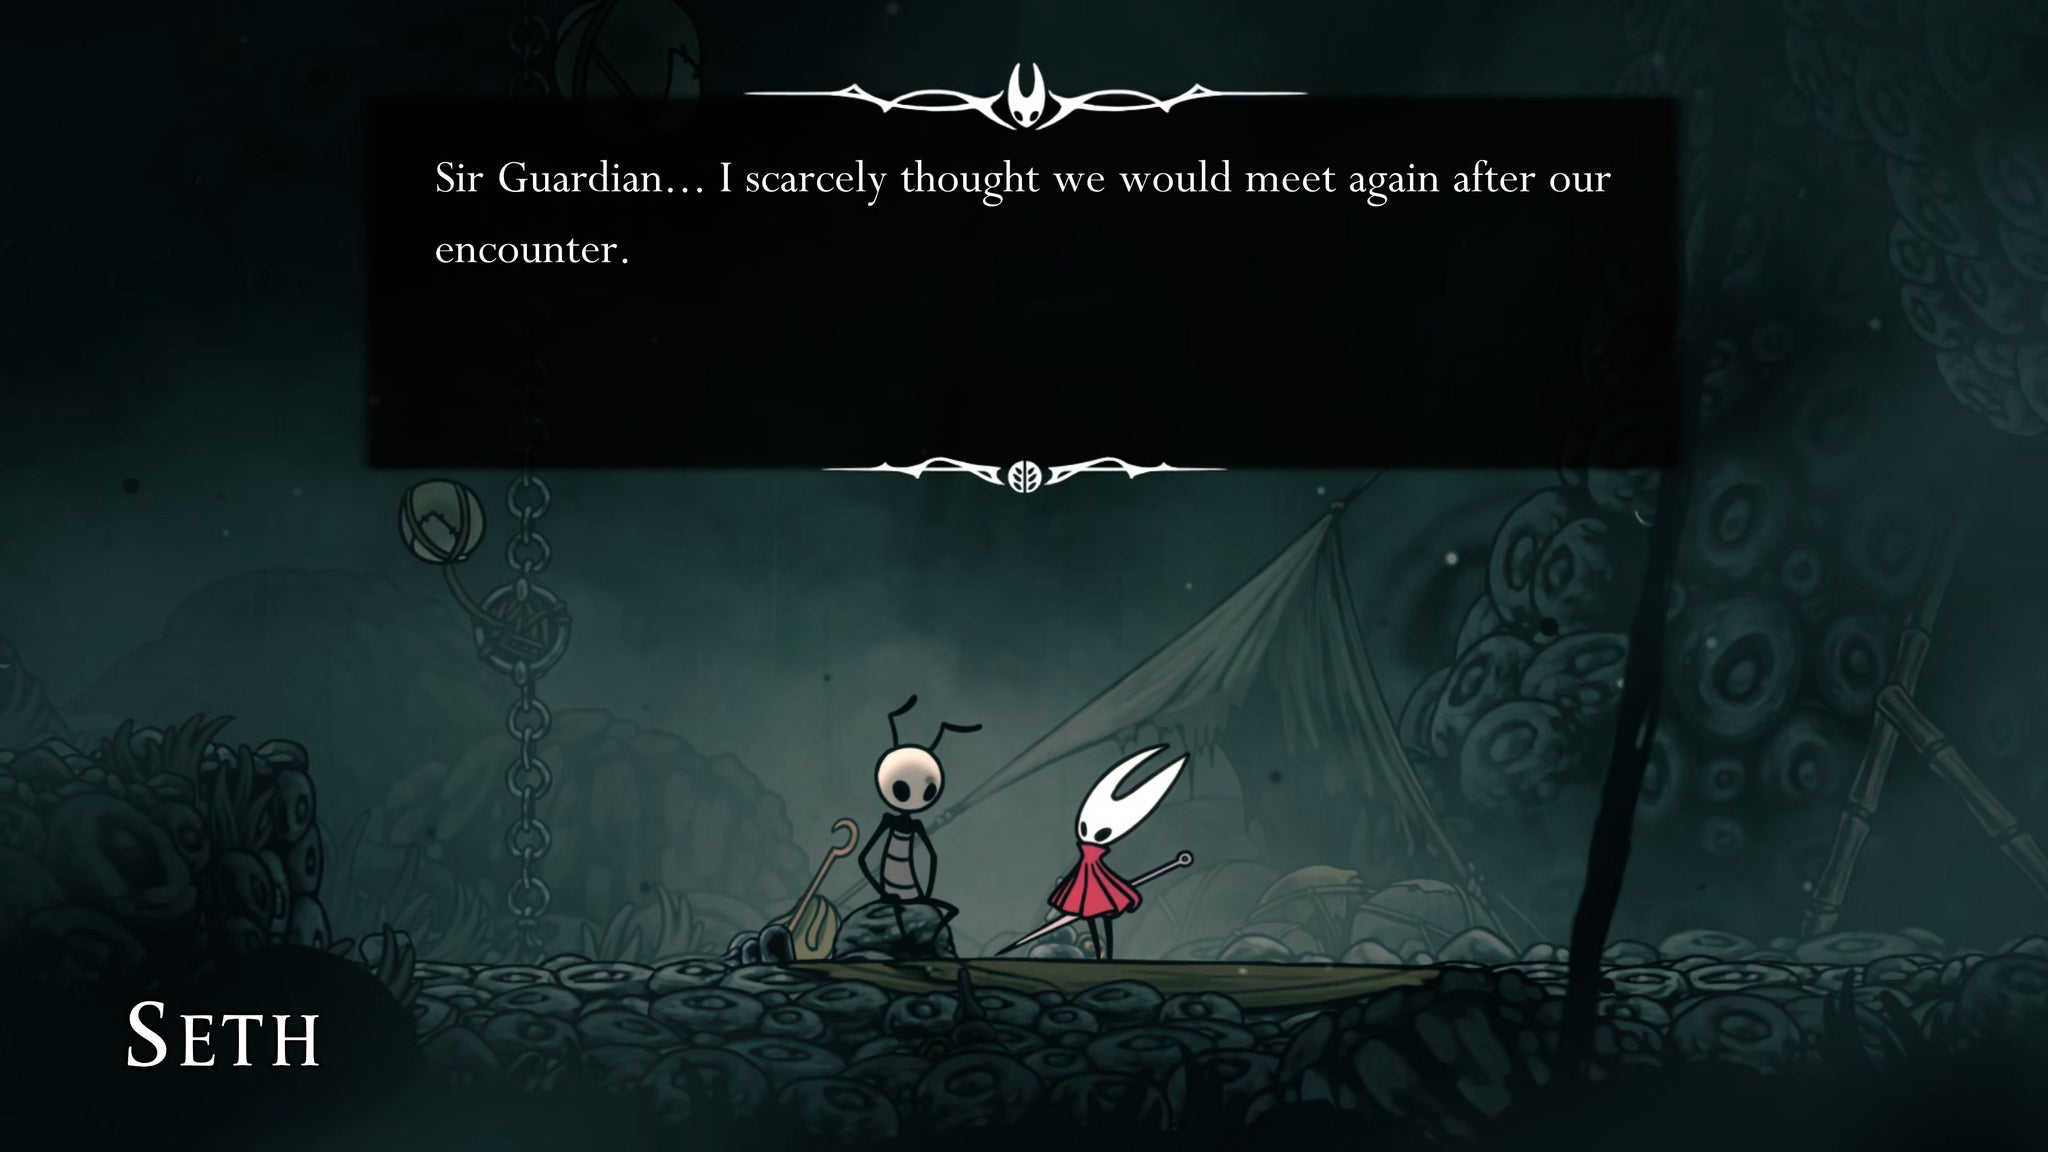
Image credit:Rock Paper Shotgun/Team Cherry
Speak with Seth, and it’ll become apparent that he remembers nothing of his former life as Shrine Guardian for some reason. He seems lovely though, and intent on exploring the world. So leave him to it, and continue on to the east.
2. Speak with the Grince Prince at the Verdania entrance.
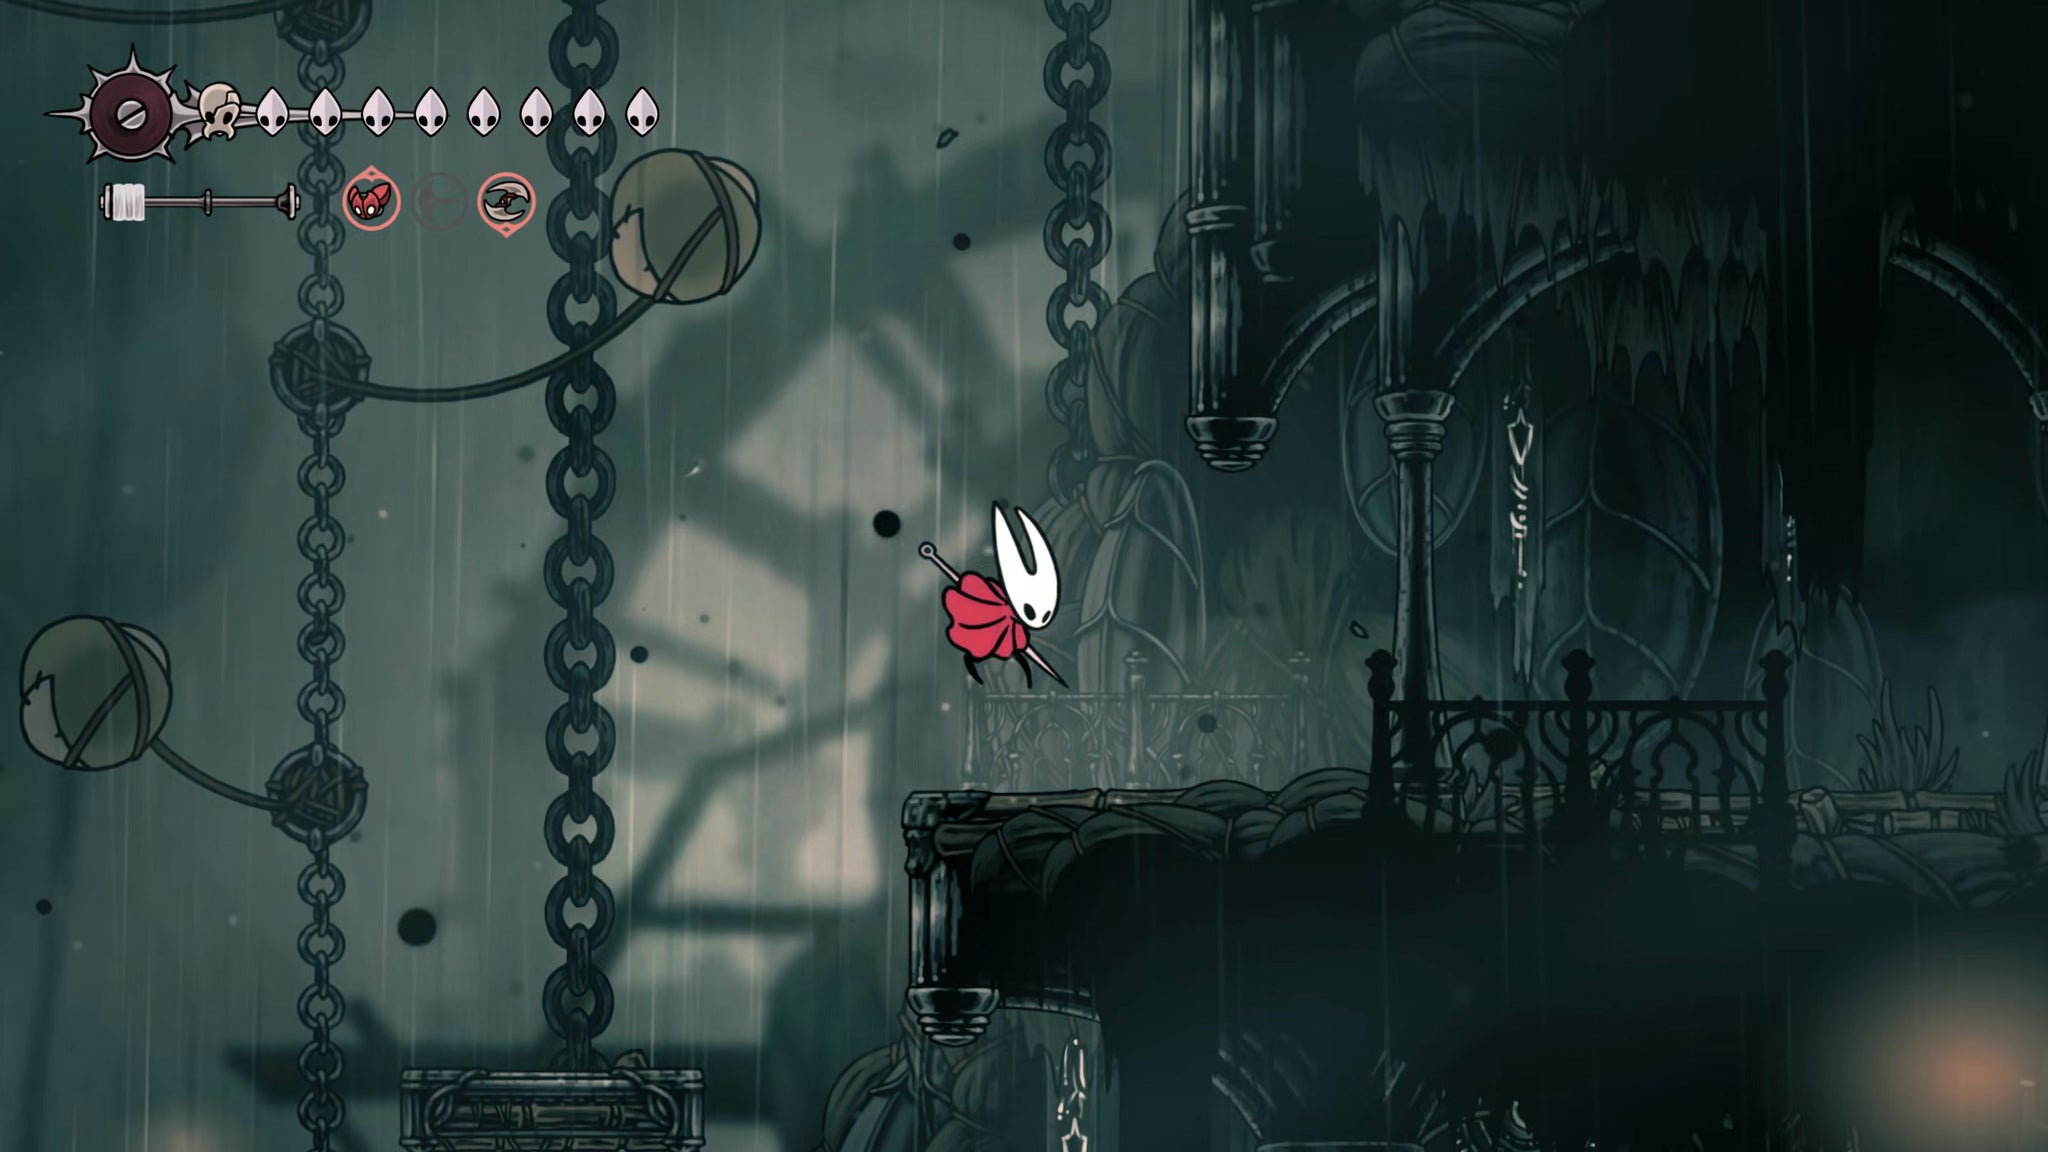
Image credit:Rock Paper Shotgun/Team Cherry
Head east into Craw Lake, and on the right-hand side of the lake you should see a new pathway a little way up through the right-hand wall. Pogo off the balloons nearby to reach this ledge and exit to the right.
Surprise: you’re already in Verdania. Wasn’t that easy? Continue heading right past the spike pits, and you’ll find the Green Prince, standing over one of the Cogwork Dancer corpses.
Speak with the Green Prince to learn about Verdania from its very own former royalty, and then permit him his silence for the moment.
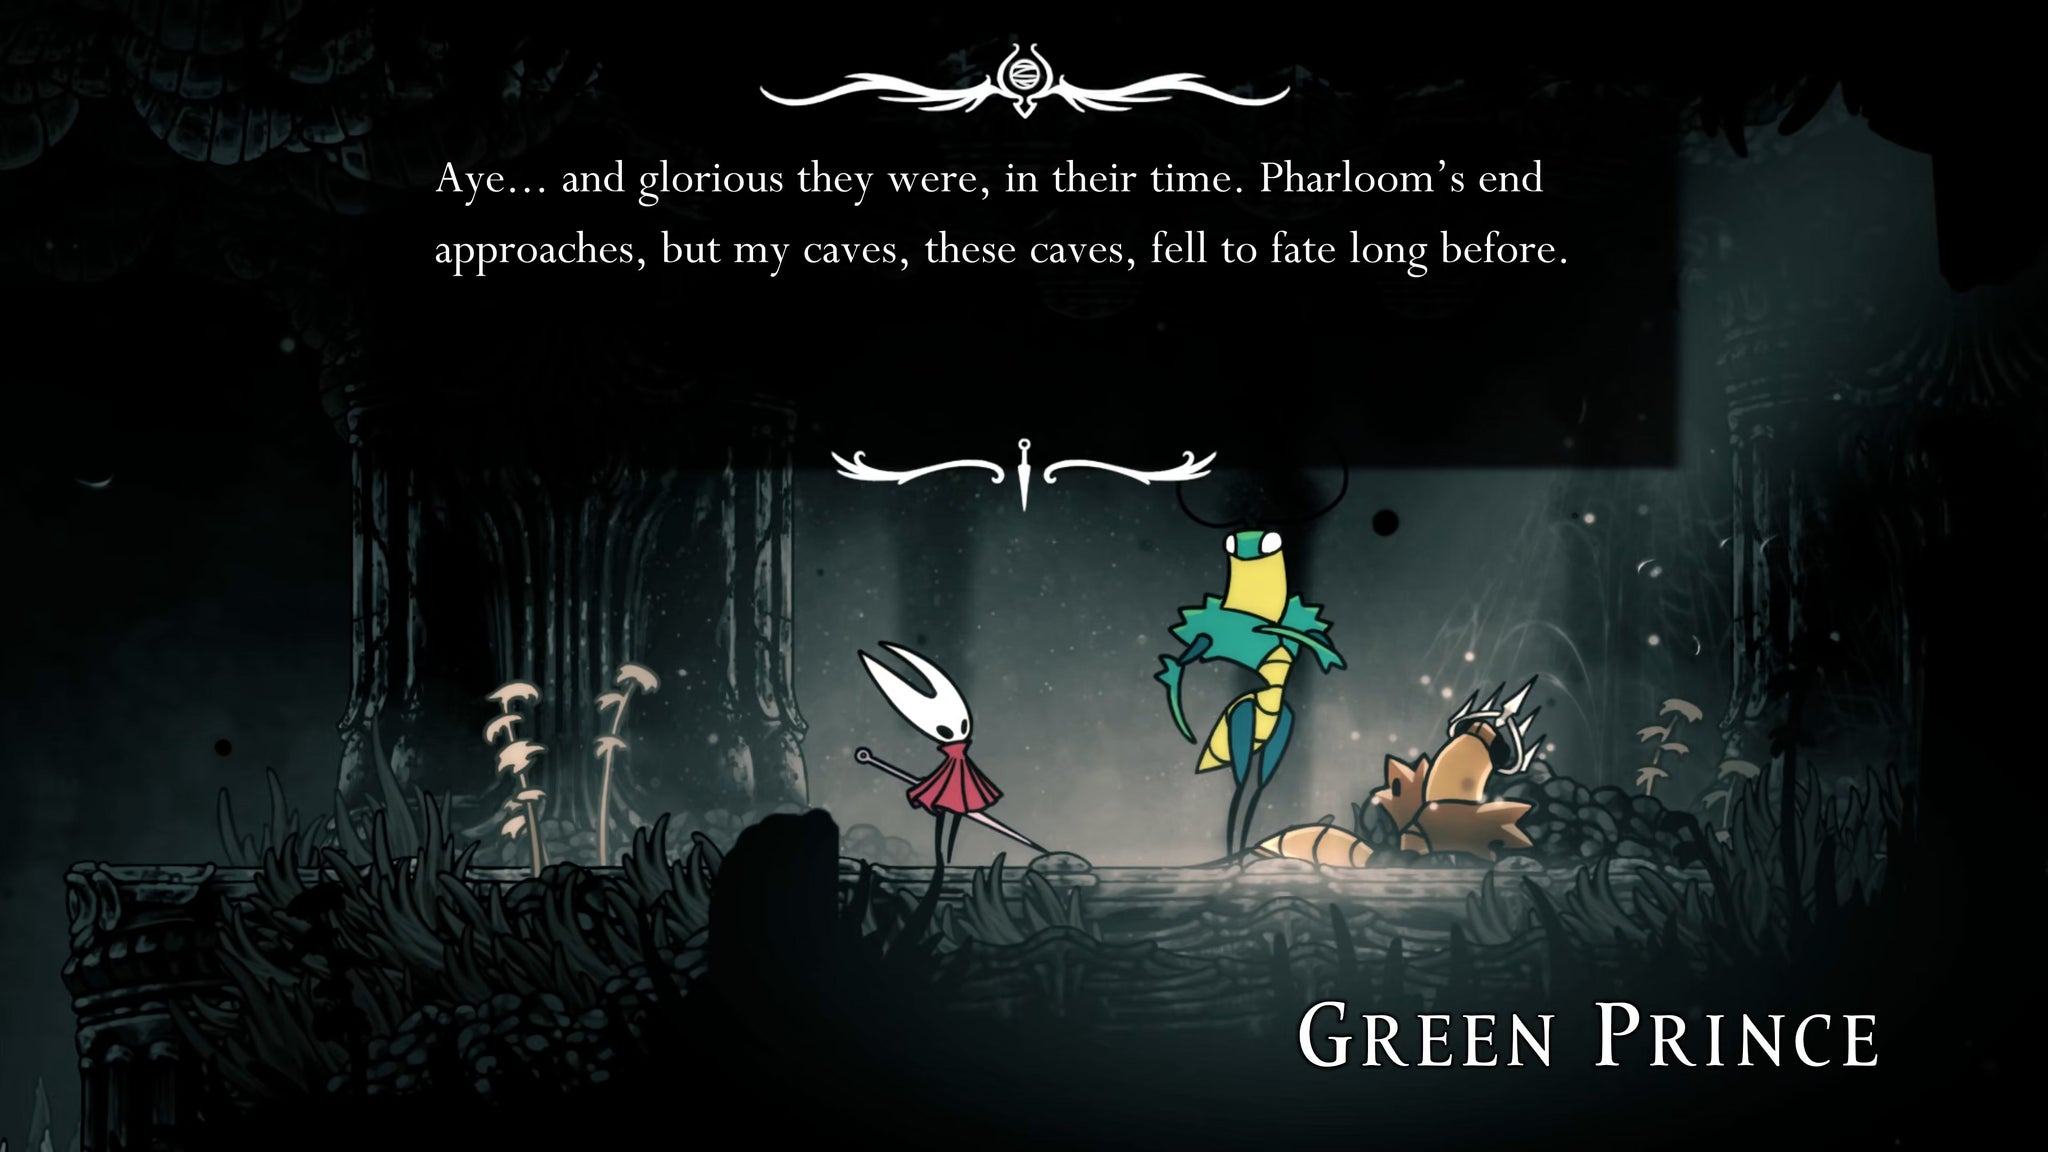
Image credit:Rock Paper Shotgun/Team Cherry
Head past the Green Prince, and on the right-hand side you’ll find a divot in the stone wall. Jump up into it, and attack the wall to the right. This is in fact a hidden breakable wall (as in, the breakable part is hidden behind the rock wall in the foreground), but a breakable wall it is still.
Head through it once it’s broken, and make your way through the next room of spikes and Pharlids, minding the falling boulder as you climb the wall halfway through. At the end of the path you’ll find a Bench, and a map of Verdania.
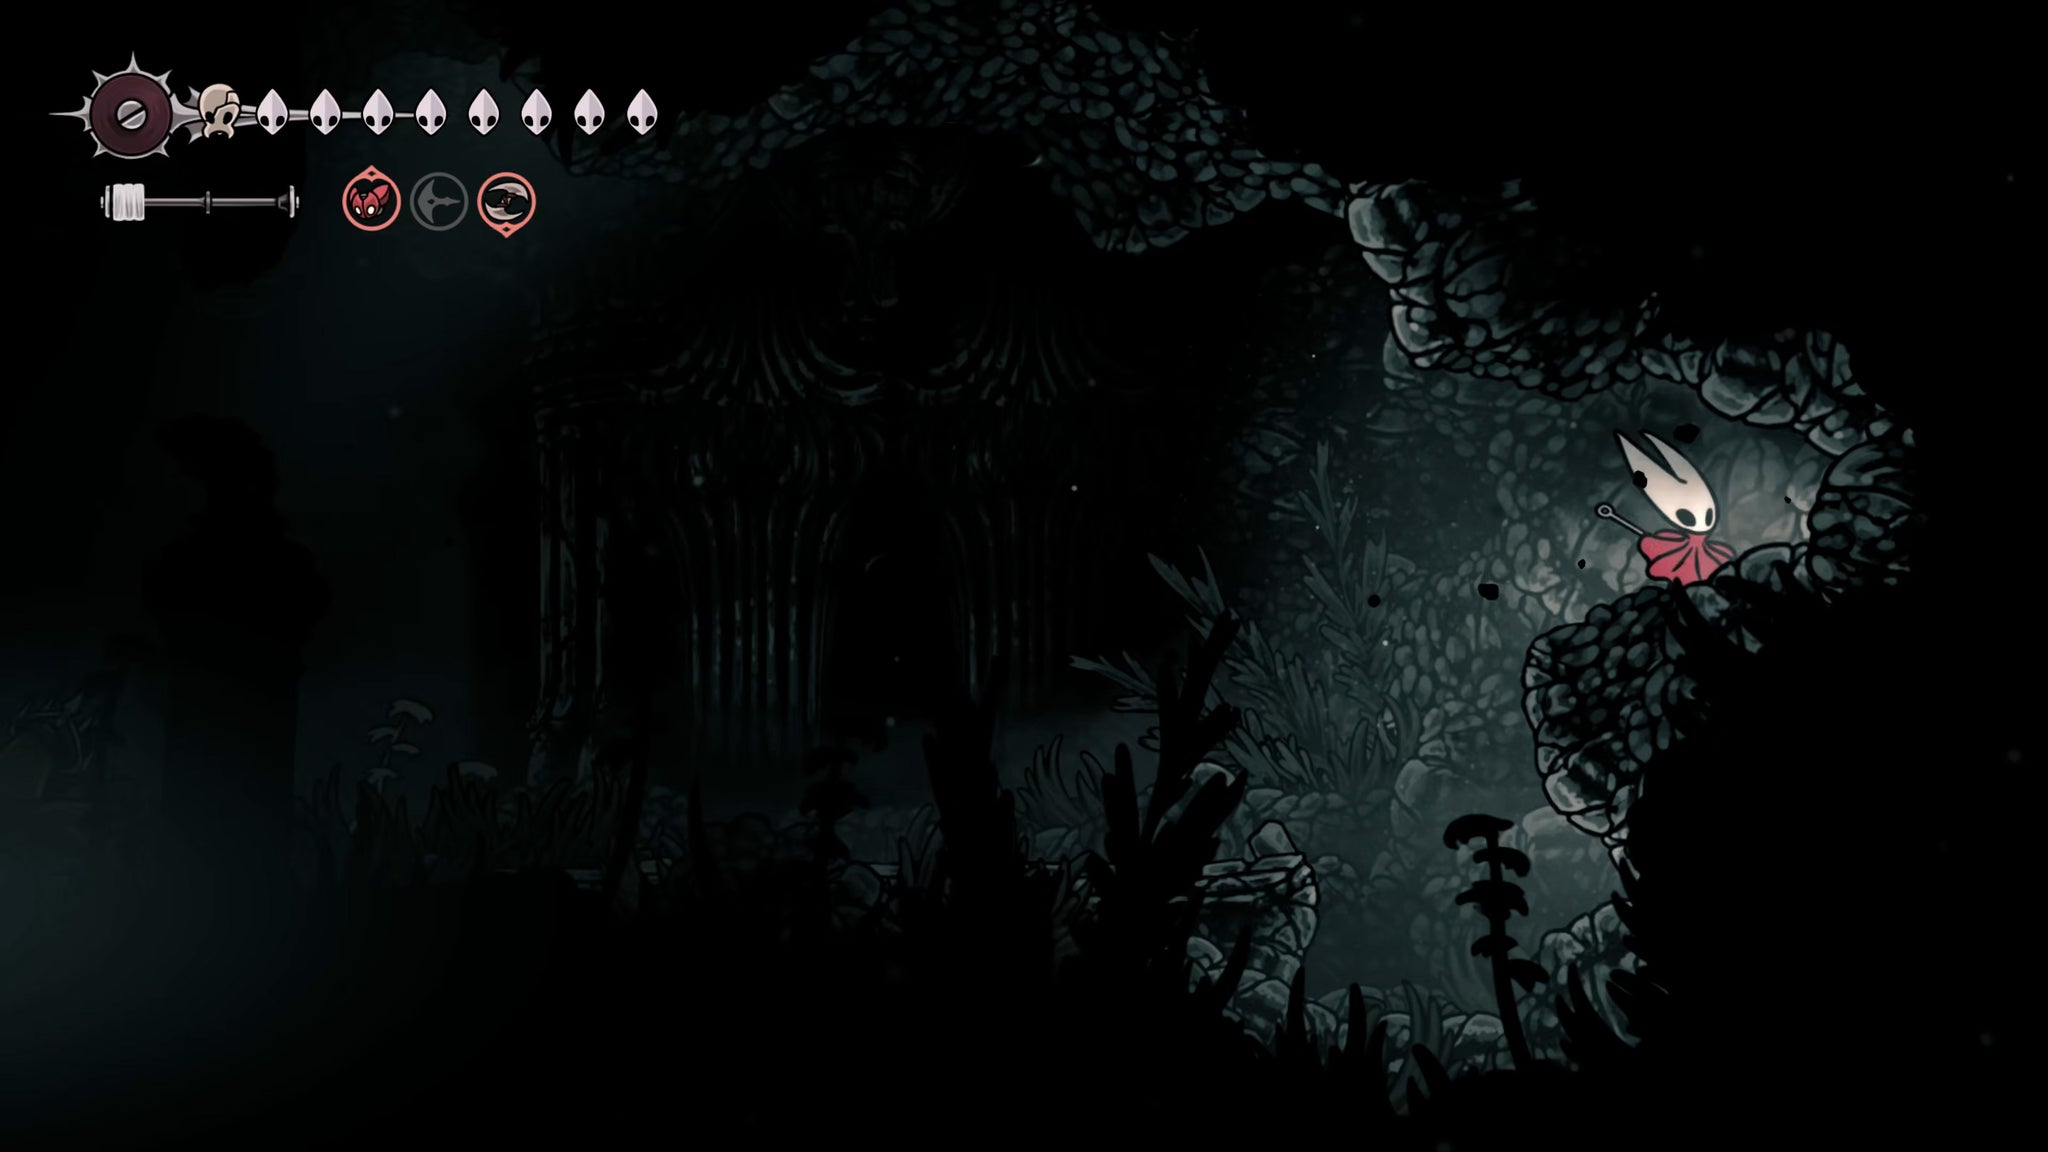
Image credit:Rock Paper Shotgun/Team Cherry
The map doesn’t show much - it seems Verdania nowadays is a very small place, and you’ve already explored it all. Well, prepare yourself - it’s time now to visit Lost Verdania instead.
3. Use Elegy Of The Deep to enter Lost Verdania.
Head back to the Green Prince, and use Elegy Of The Deep (play your Needolin while holding downwards). The Green Prince will begin to sing, and Hornet will fall unconscious, just as she did the previous times she used Elegy Of The Deep during the Old Hearts quest.
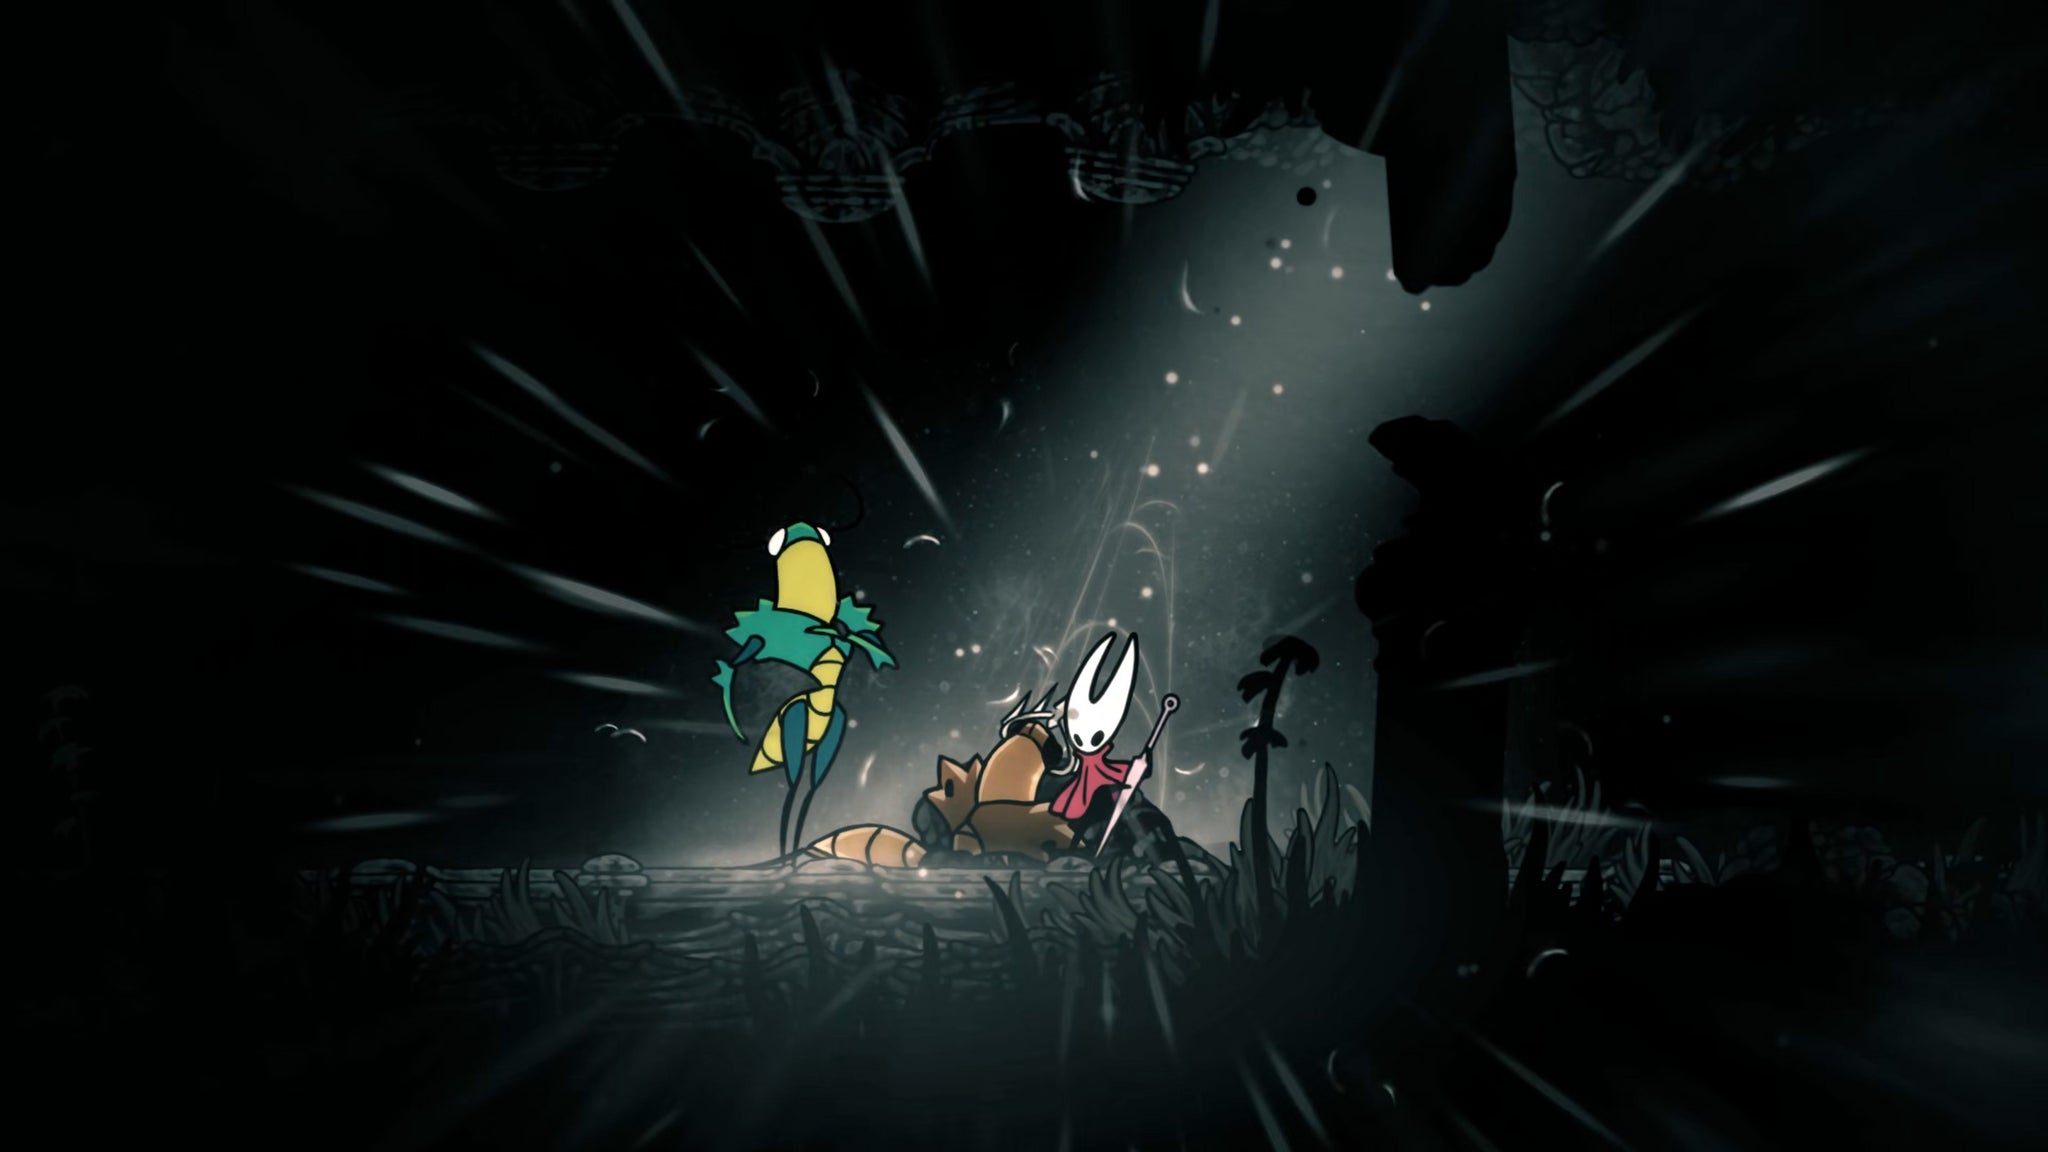
Image credit:Rock Paper Shotgun/Team Cherry
When Hornet awakens, she’s back at the entrance to Verdania. Walk to the right, and you’ll quickly discover a far more lively and vibrant Verdania than the one you just left. This is the true region to discover.
Cross the lake and you’ll find the Green Prince there again. Speak with him if you like, and then exit to the right to properly begin your exploration of Lost Verdania.
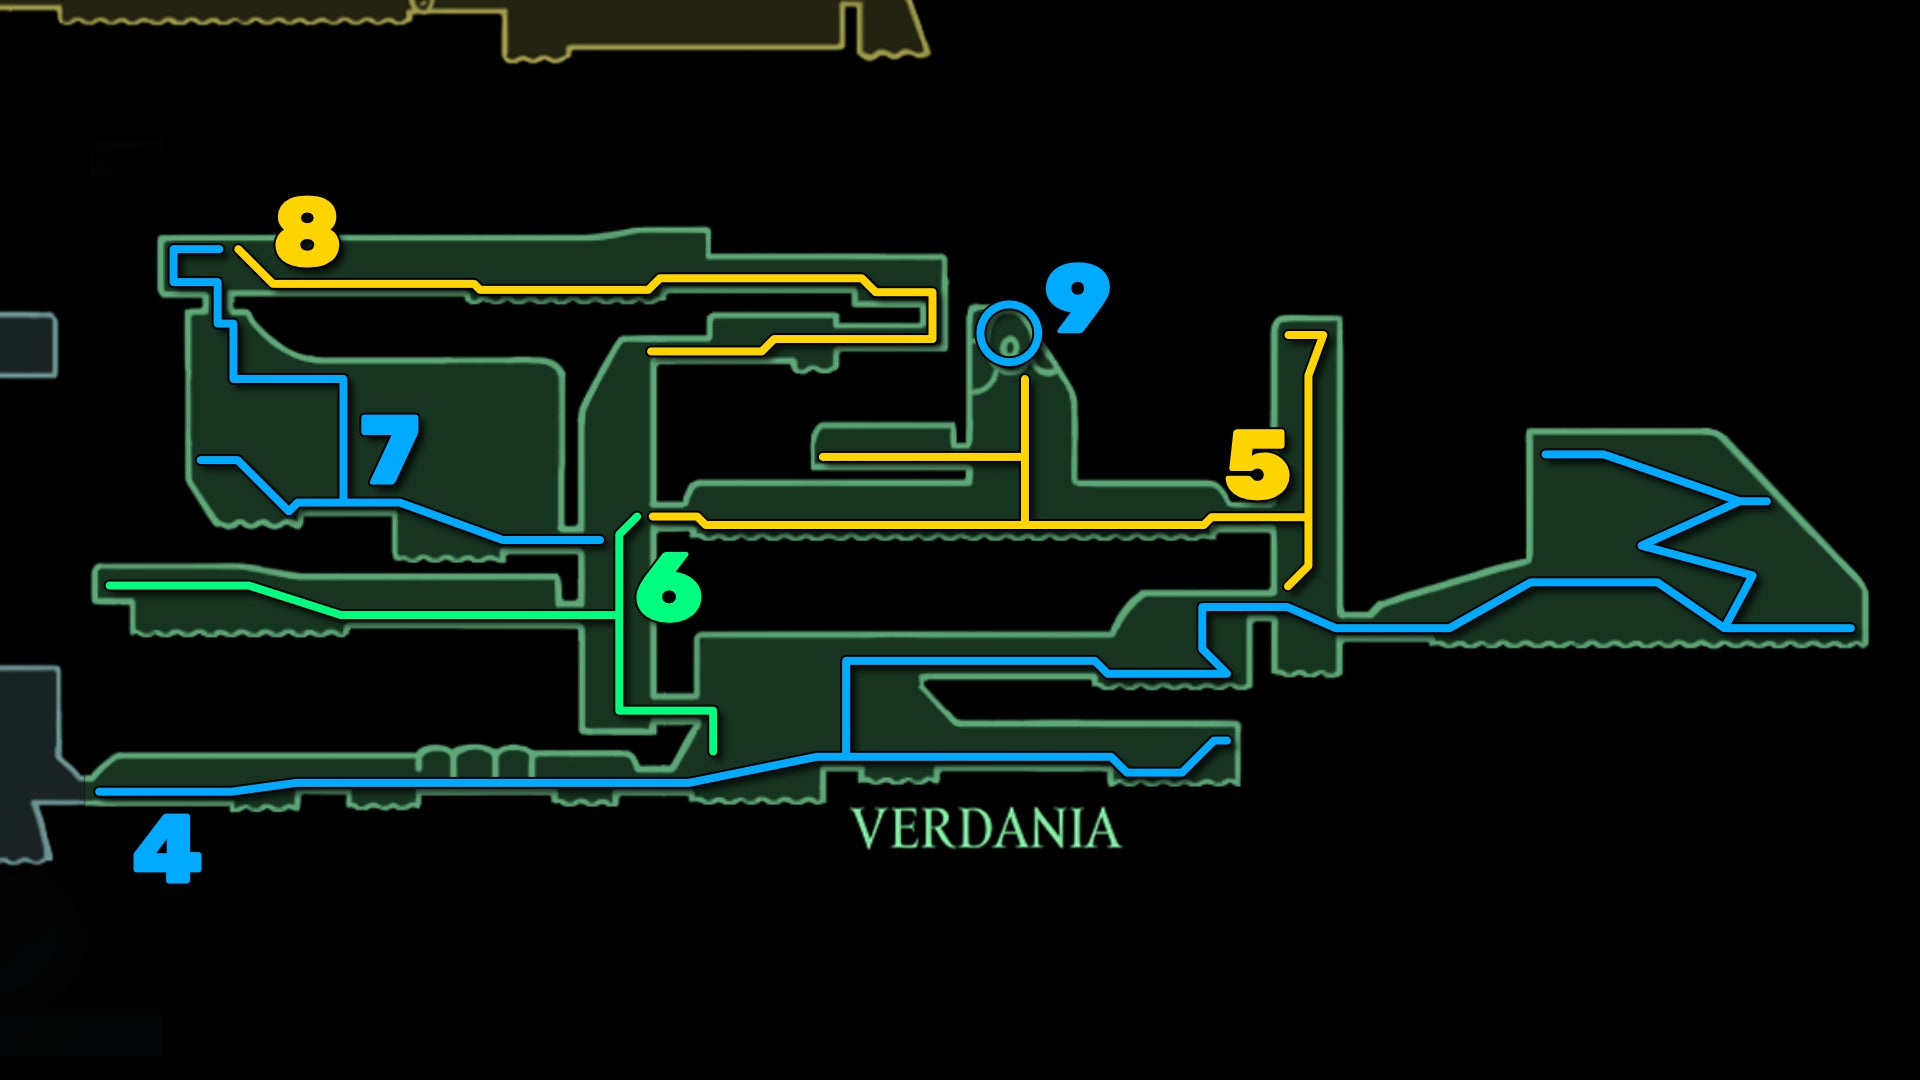
Image credit:Rock Paper Shotgun/Team Cherry
4. Unlock the Sacred Shrine and first Statue Essence.
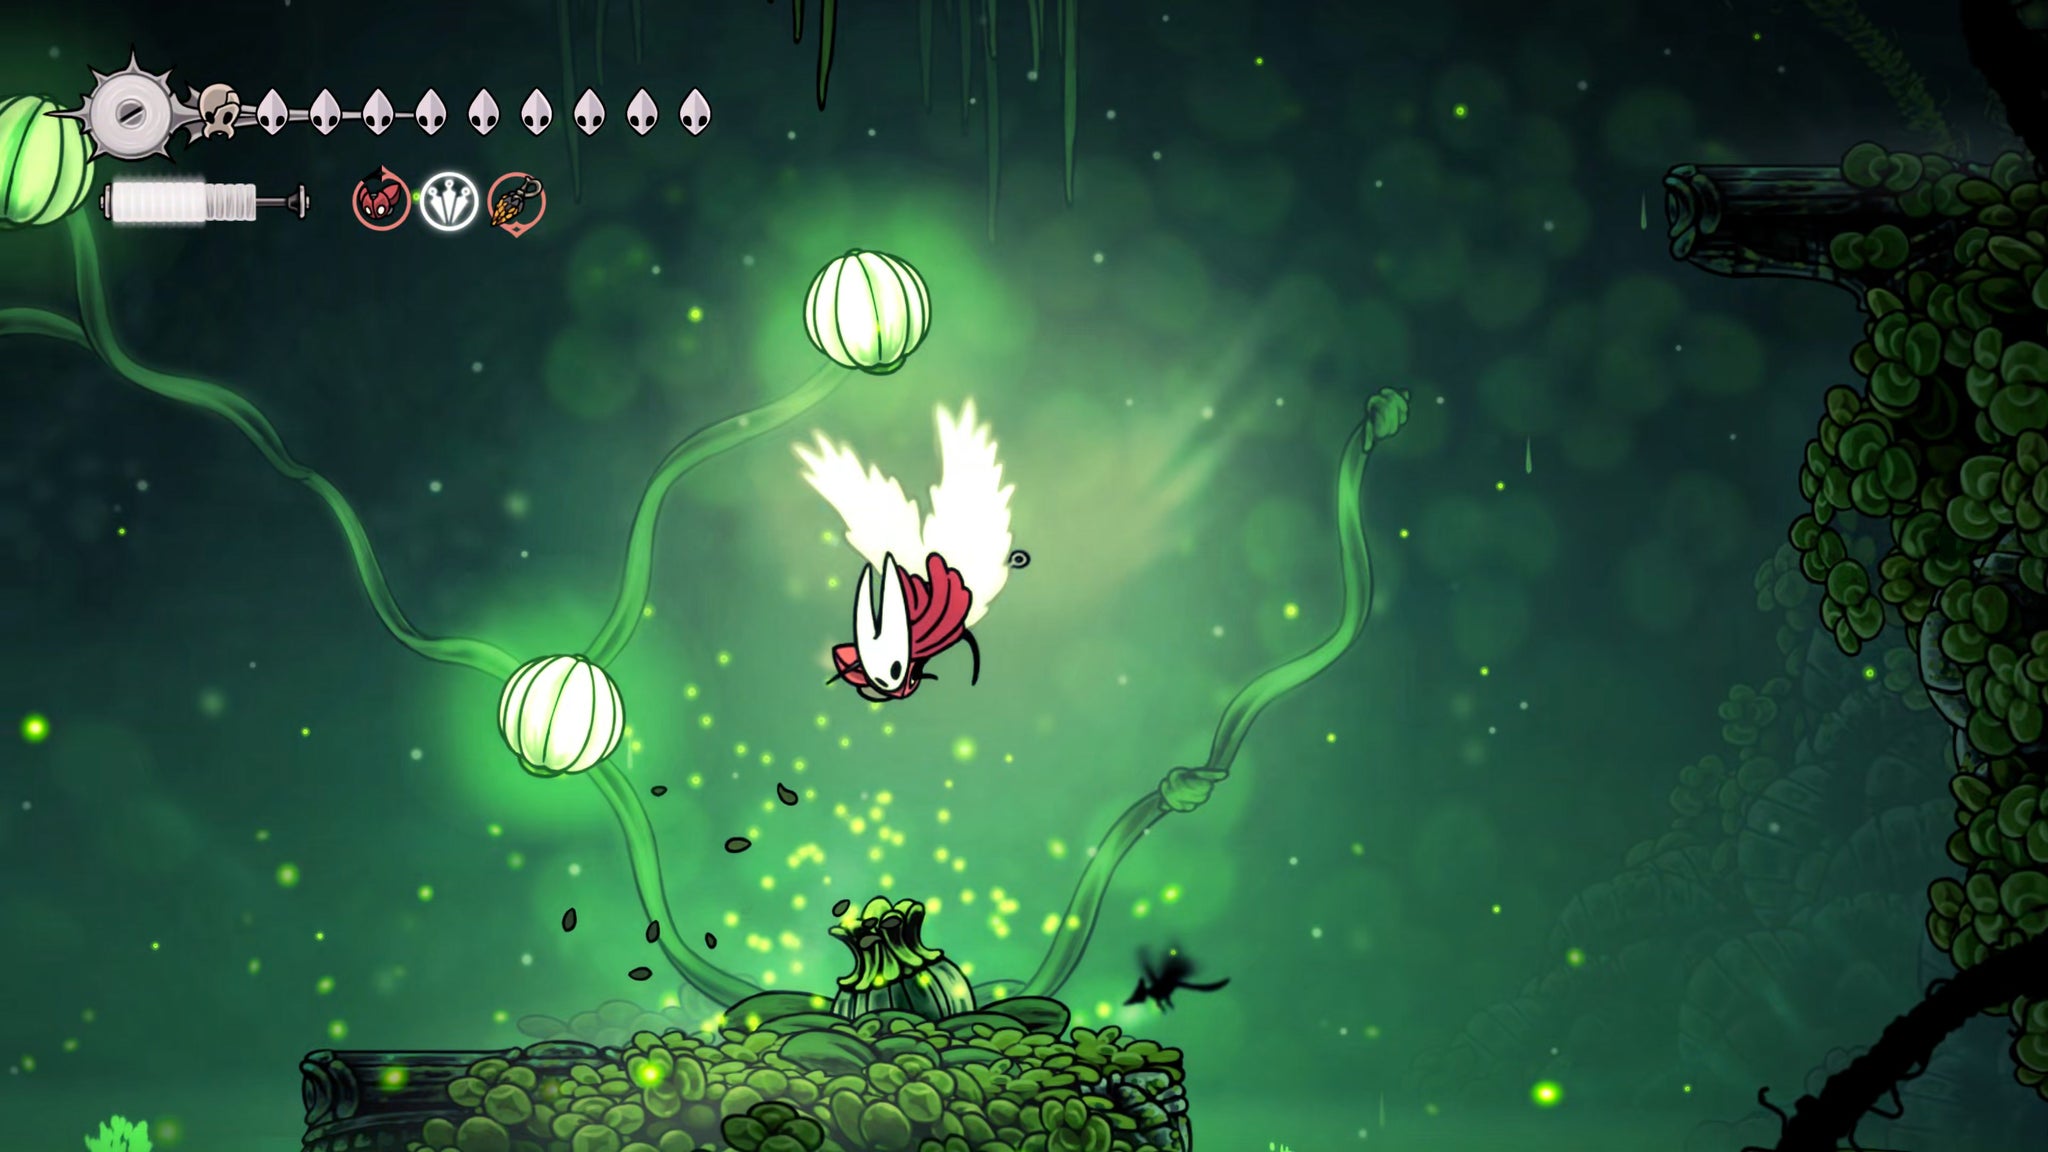
Image credit:Rock Paper Shotgun/Team Cherry
Lost Verdania has a similar traversal mechanic to the Sands Of Karak - hit the glowing plant on the floor to generate temporary Pogo points along specific routes. Use this to reach the upper ledge to your right, and then drop down and keep heading right past the next glowing plant for now.
A few steps further along the path, you’ll see a strange statue in the ground. Attack it to break it - it will spawn a path of glowing white essence orbs which you must “collect” in order as quickly as possible. If you collect them all in order before the time limit, then you’ve essentially “solved” that statue.
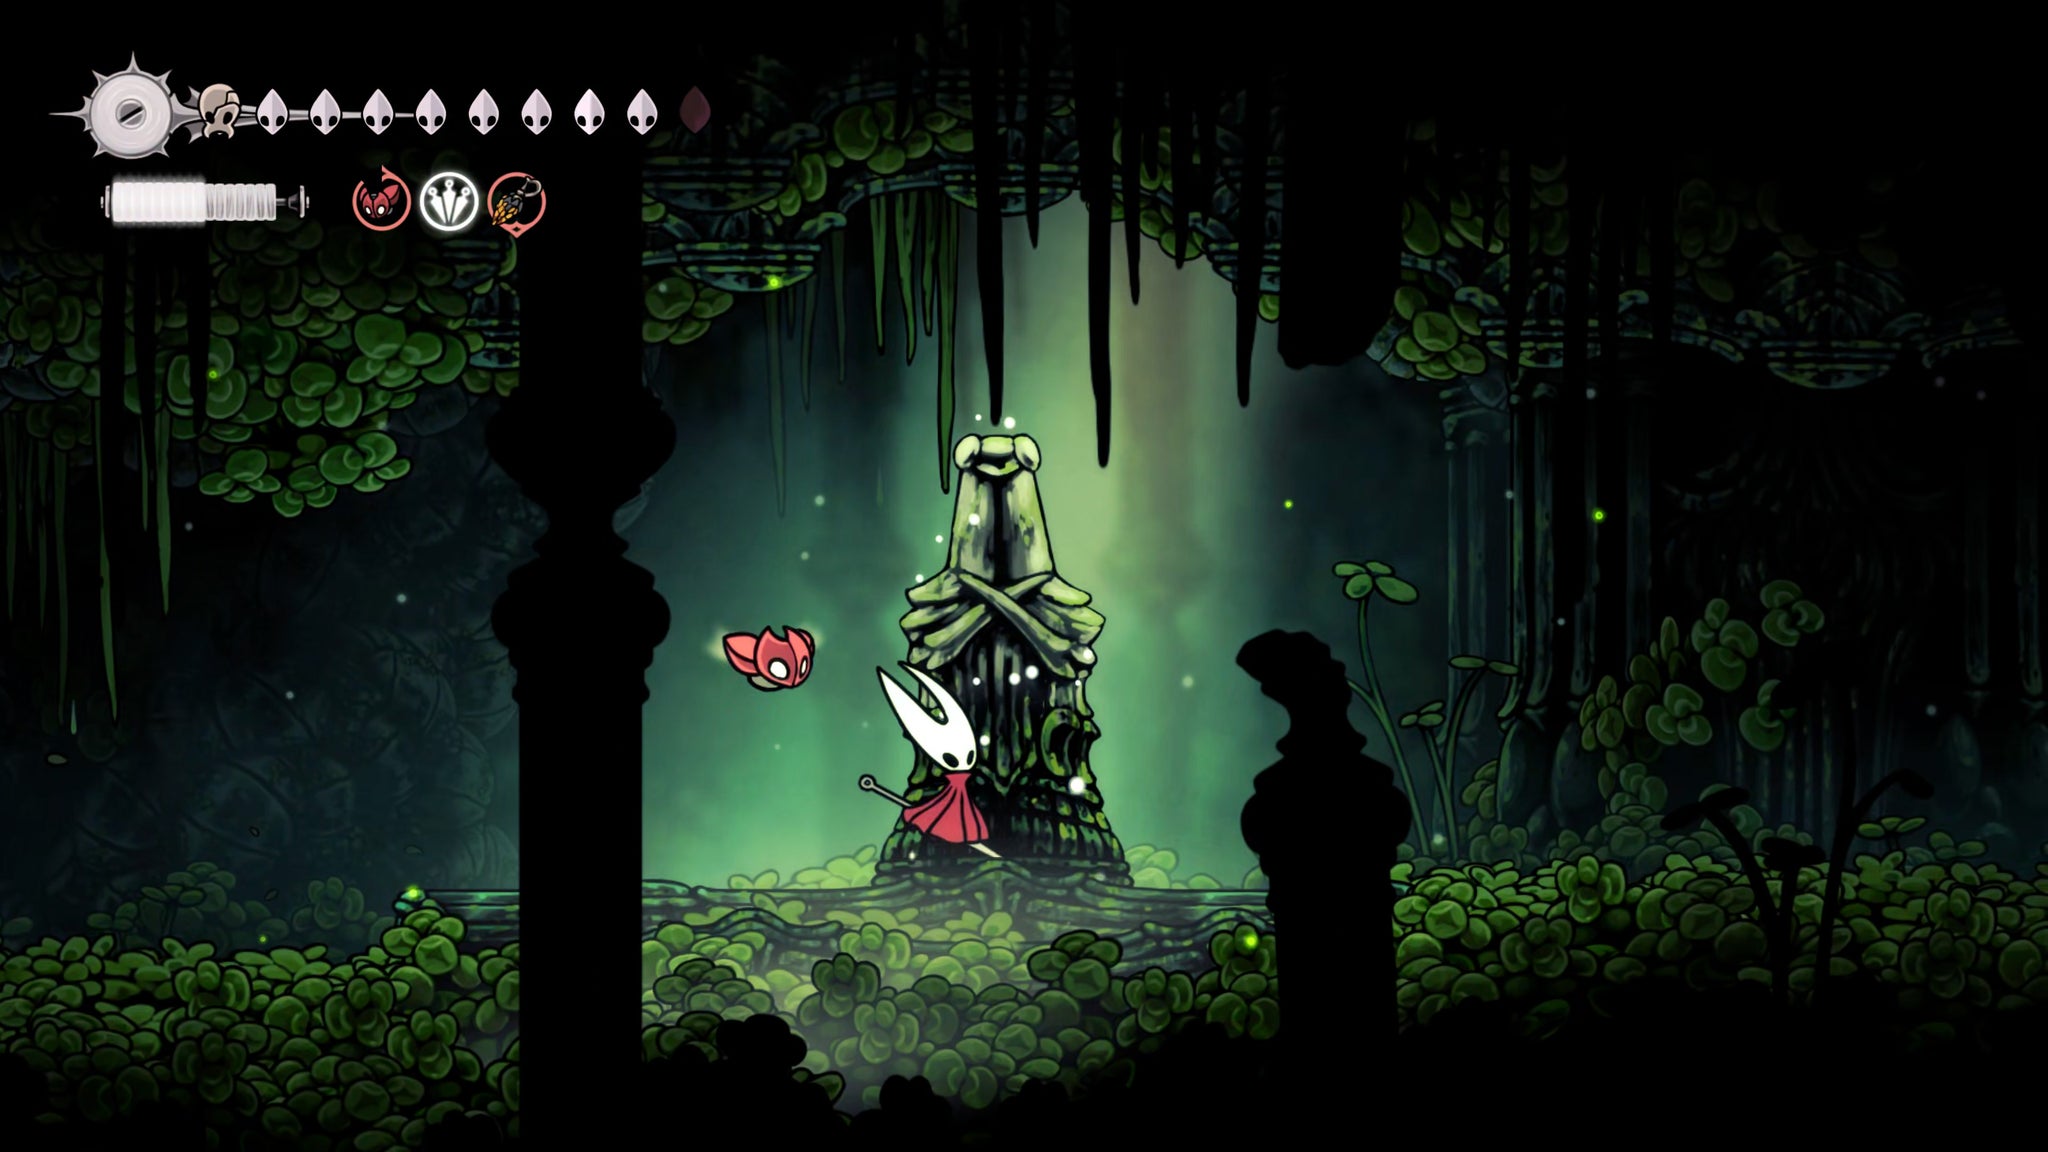
Image credit:Rock Paper Shotgun/Team Cherry
This is important, because you have to solve all of these “essence” puzzles dotted about Lost Verdania in order to reach the region’s final boss. Not all of them are statues, so keep an eye out for anything that looks odd. I’ll point you towards them as we continue.
Head back to the second glowing plant and use its nodes to bounce upwards, beyond the spikes, to the right-hand ledge at the top. Along this path you’ll find a new enemy - a fast, teleporting enemy called an Escalion. Defeat it for the Hunter’s Journal entry.
Then hop into the lake beyond, and be warned - one of the lilypads is actually a creature called a Nuphar. Stand on the lilypad and it’ll try to bite you, but you have enough time to dodge out of the way. This creature, too, you can kill to receive its Hunter’s Journal entry.
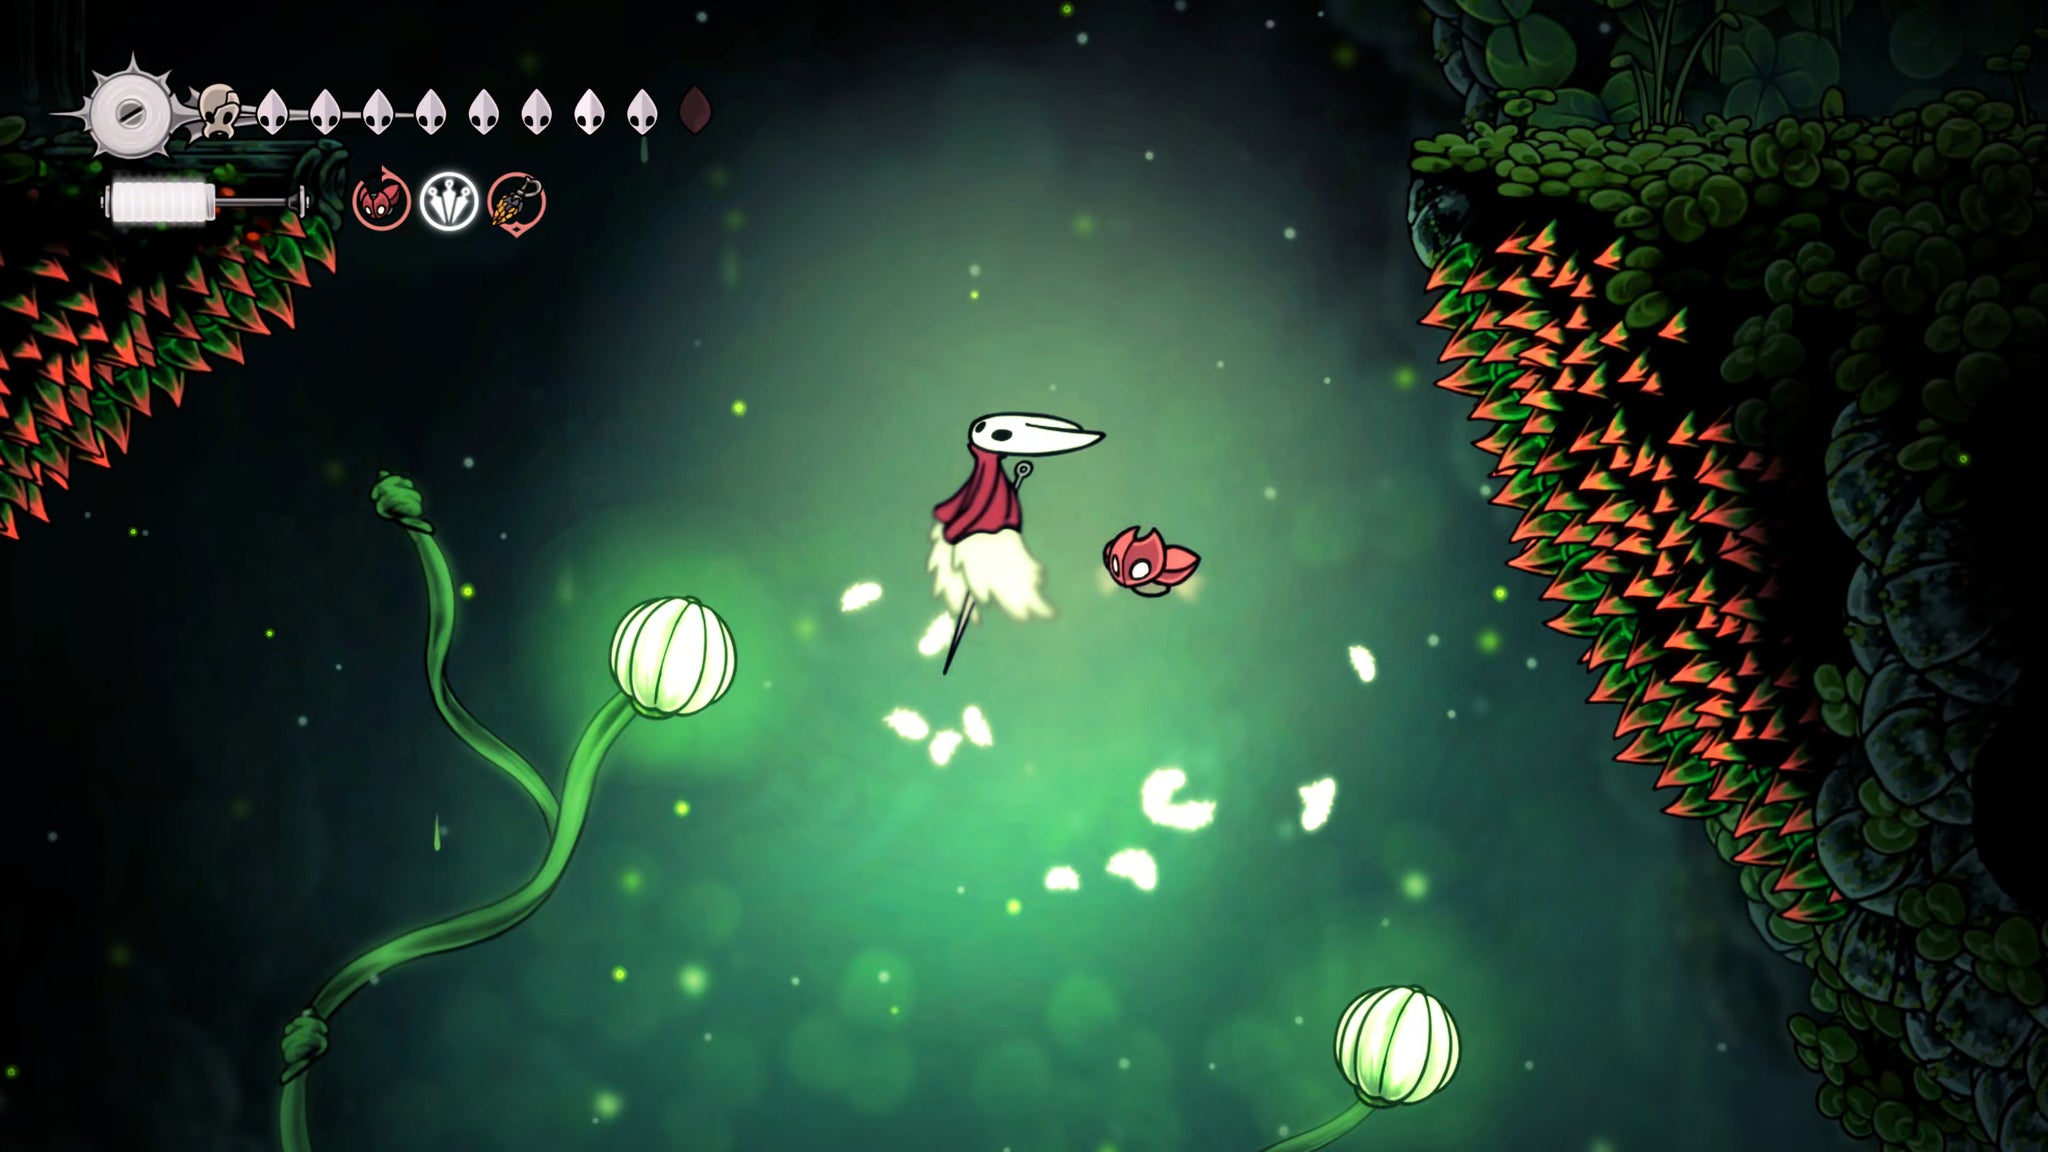
Image credit:Rock Paper Shotgun/Team Cherry
Next, use the plant on the right-hand side to ascend higher and exit via the top-right doorway to enter a vertical shaft. You can explore lower down for a couple of Silk-supplying green bulbs, but then head through the lower-right exit into the large room beyond.
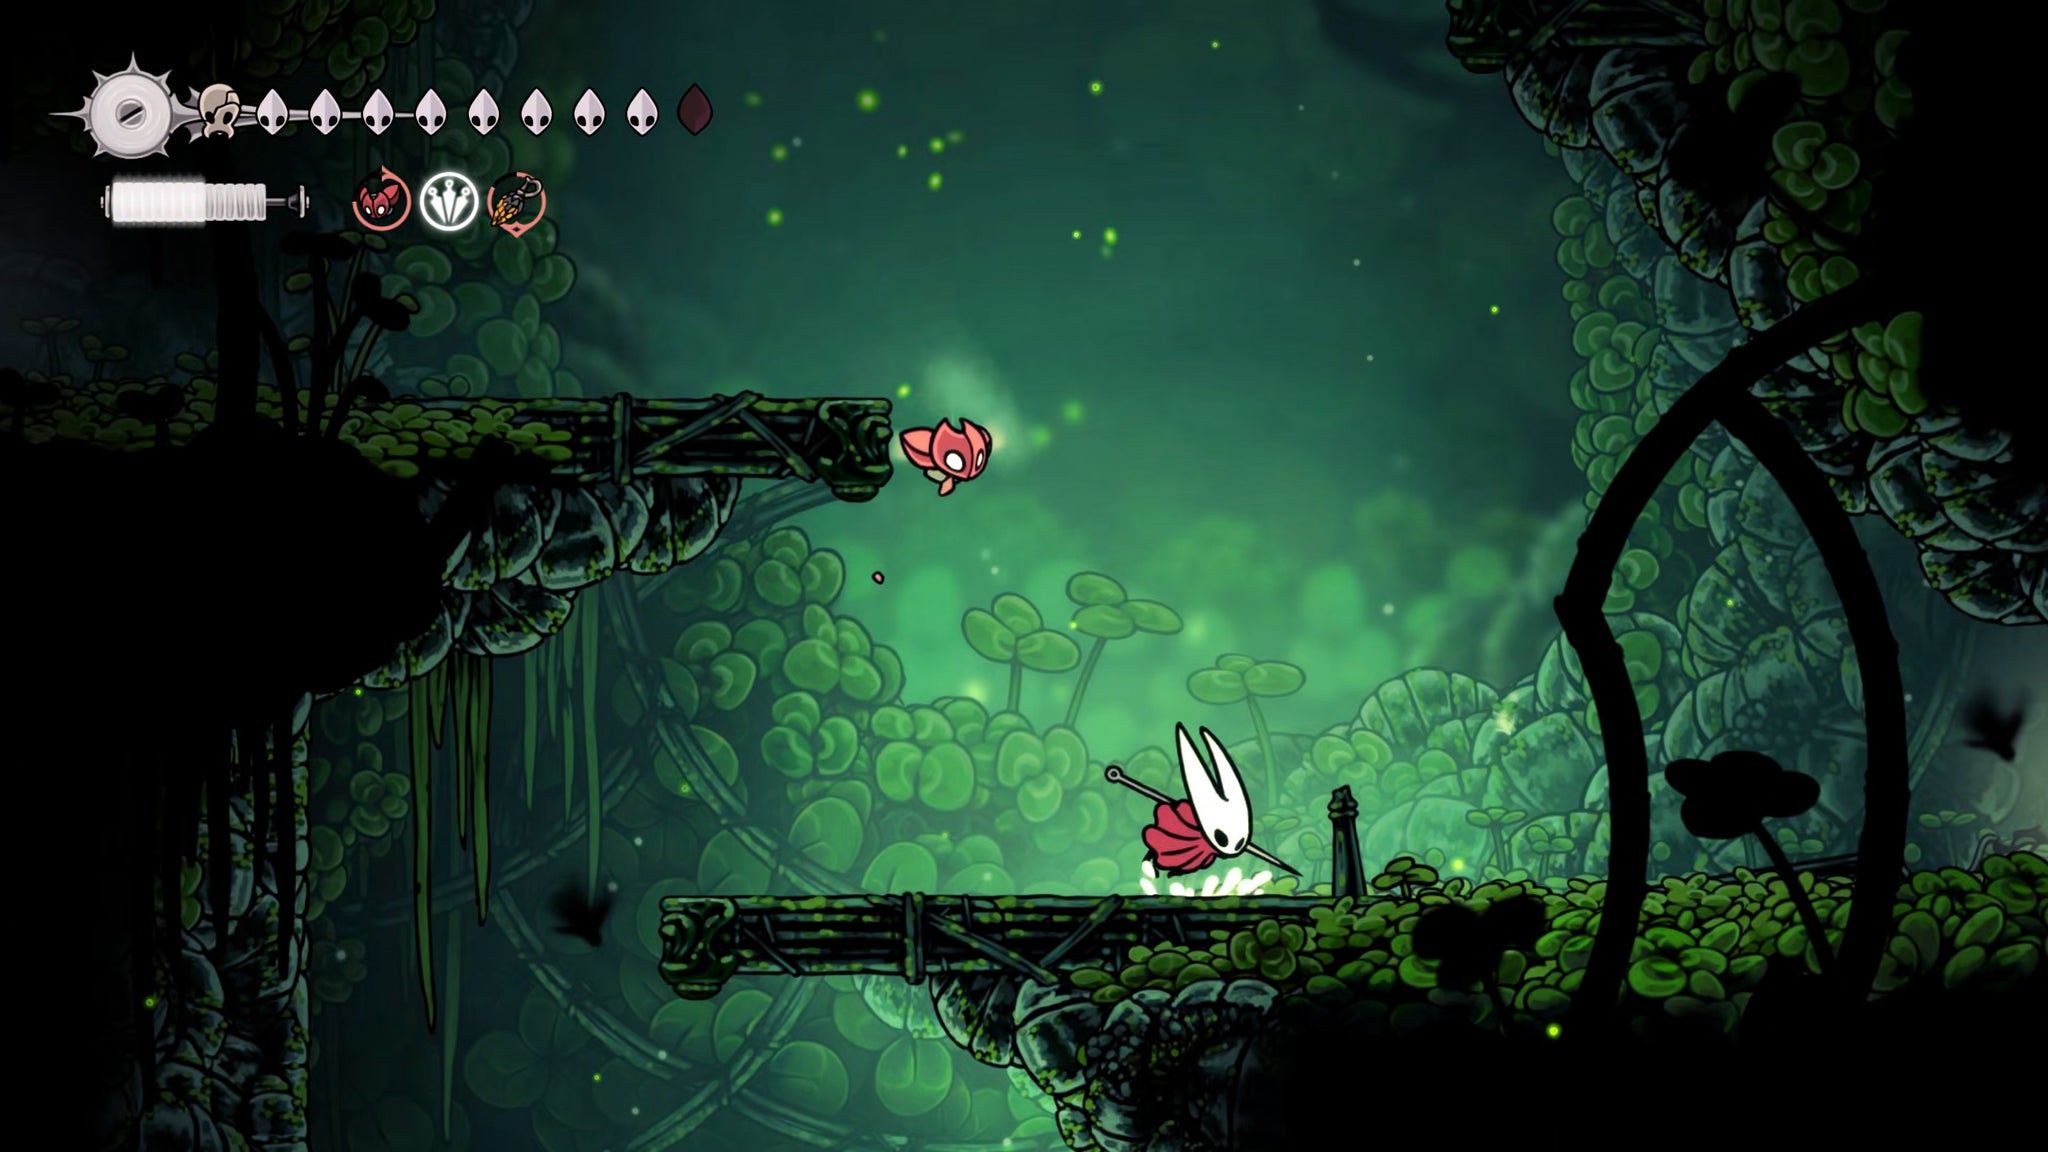
Image credit:Rock Paper Shotgun/Team Cherry
Sitting on the edge of the pond is the Green Prince again, so speak with him if you like, and then continue across the pond. Climb up to the higher ledge near the ceiling and then clawline across the spikes to your right to reach the other side. Here, guarded by a large (but relatively unthreatening) flying bug, you’ll be able to inspect an old shrine in the ground. This shrine tells you to make “three fonts weep” - which means you need to activate three fountains hidden in this giant room.
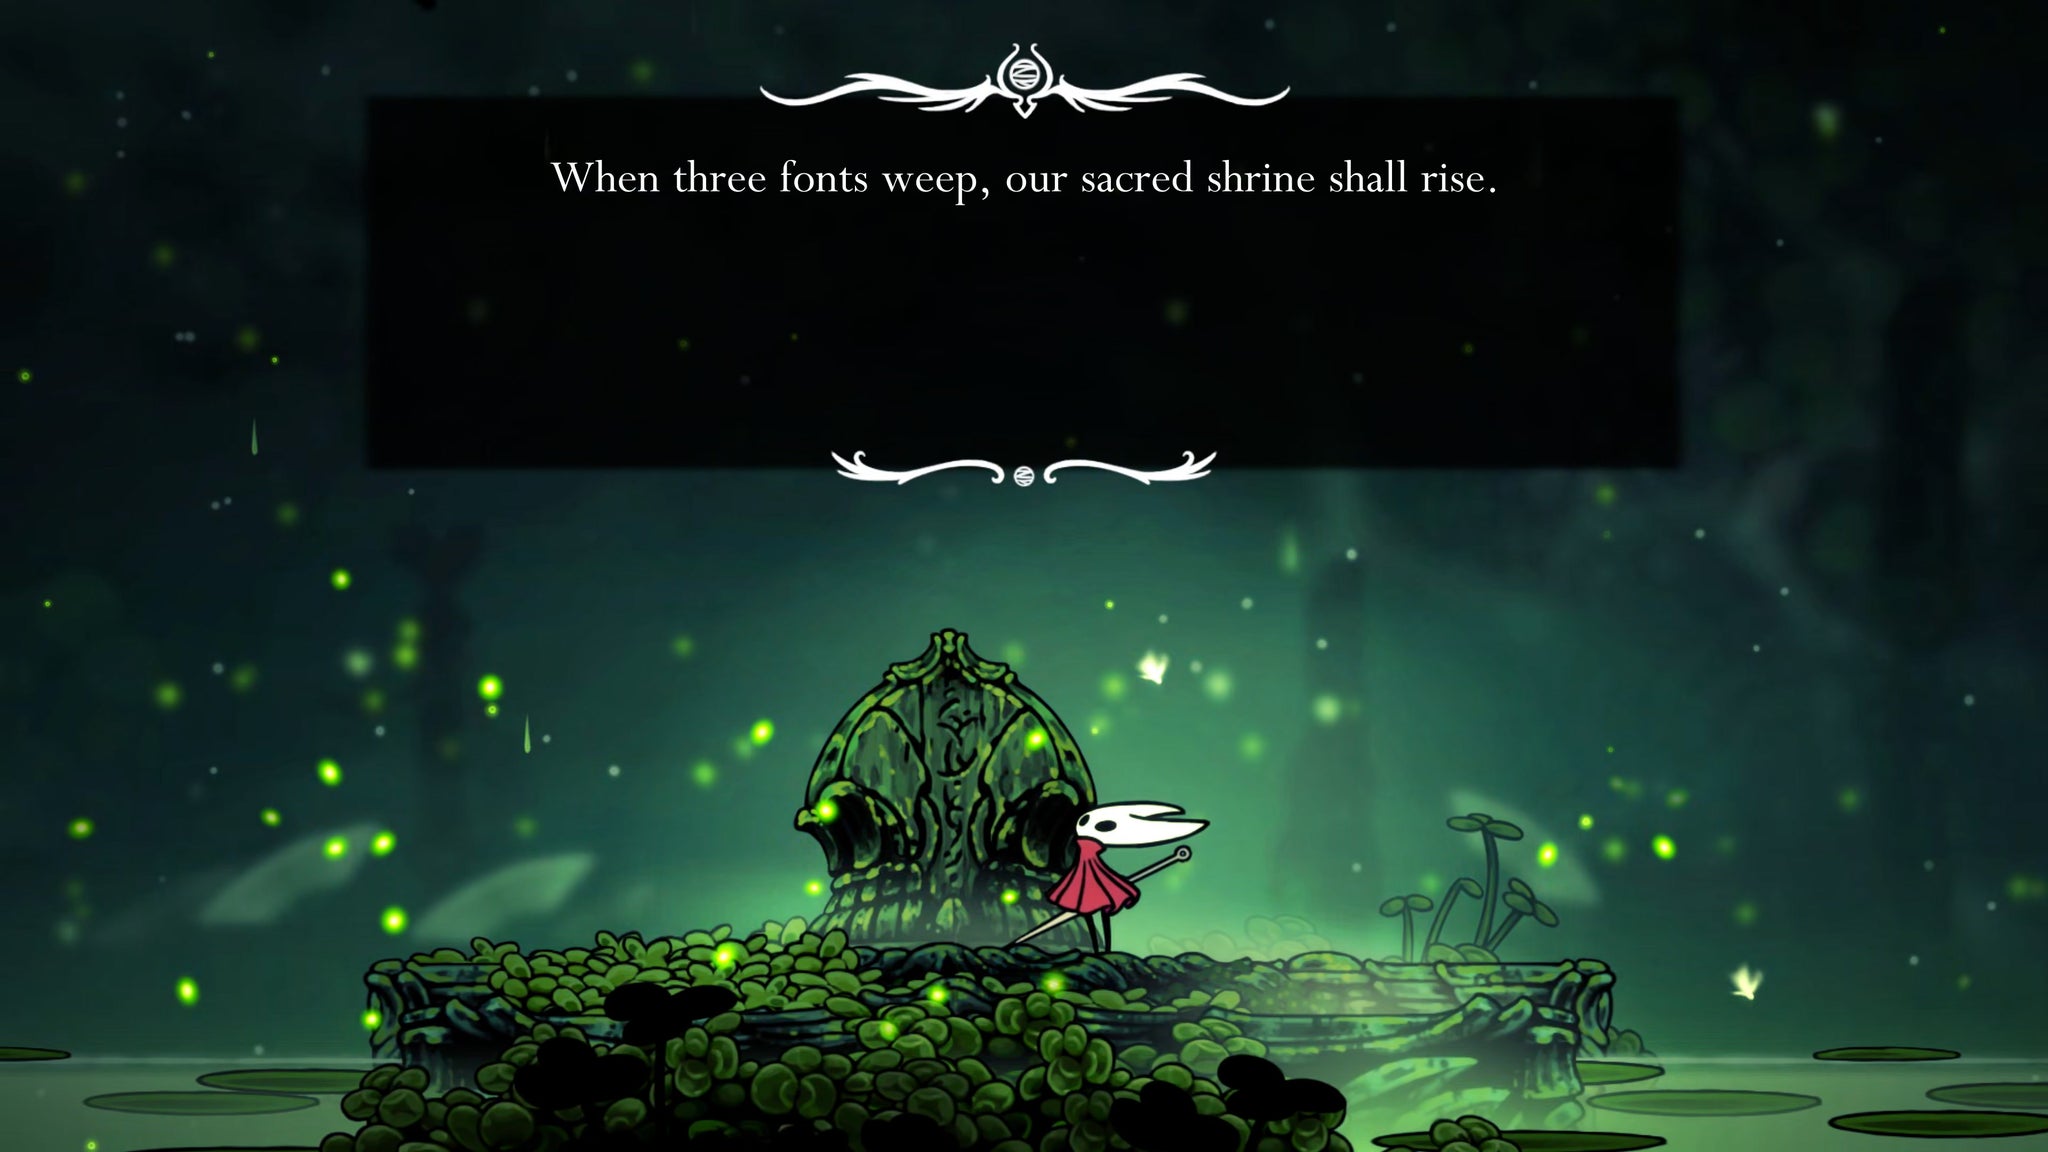
Image credit:Rock Paper Shotgun/Team Cherry
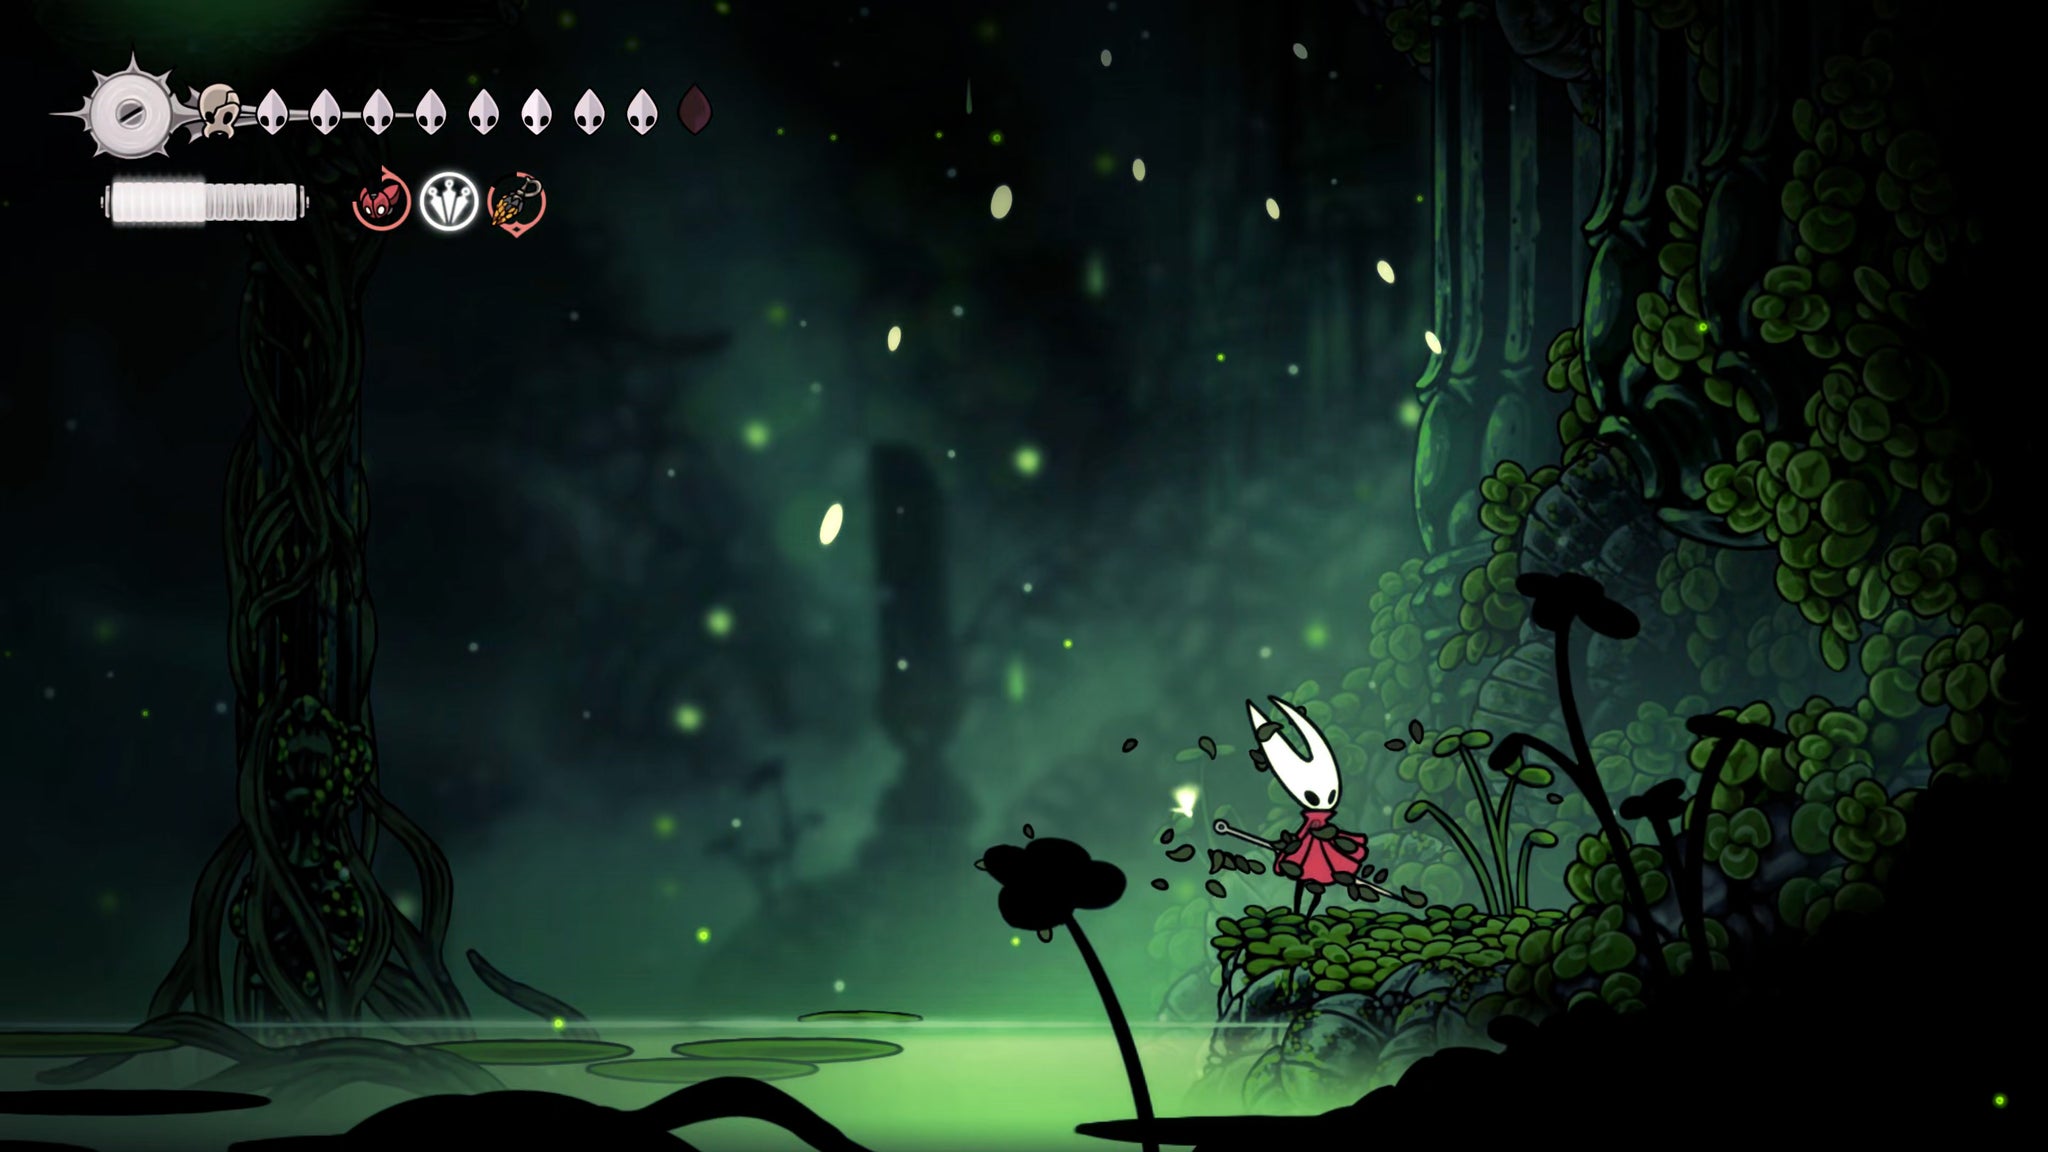
Image credit:Rock Paper Shotgun/Team Cherry
To find the first fountain, just swim across to the right and enter the hidden room through the wall at ground level. Stand on the pressure plate to activate the fountain.
Next up, climb the wall just above that hidden passageway entrance, and jump onto the upper-left ledge with the glowing plant. This is the first of three plants in the room, and their paths form a zig-zag up the room. The second fountain is on the right as you reach the end of the second plant’s path. The third fountain is on the left, as you reach the end of the third plant’s path.


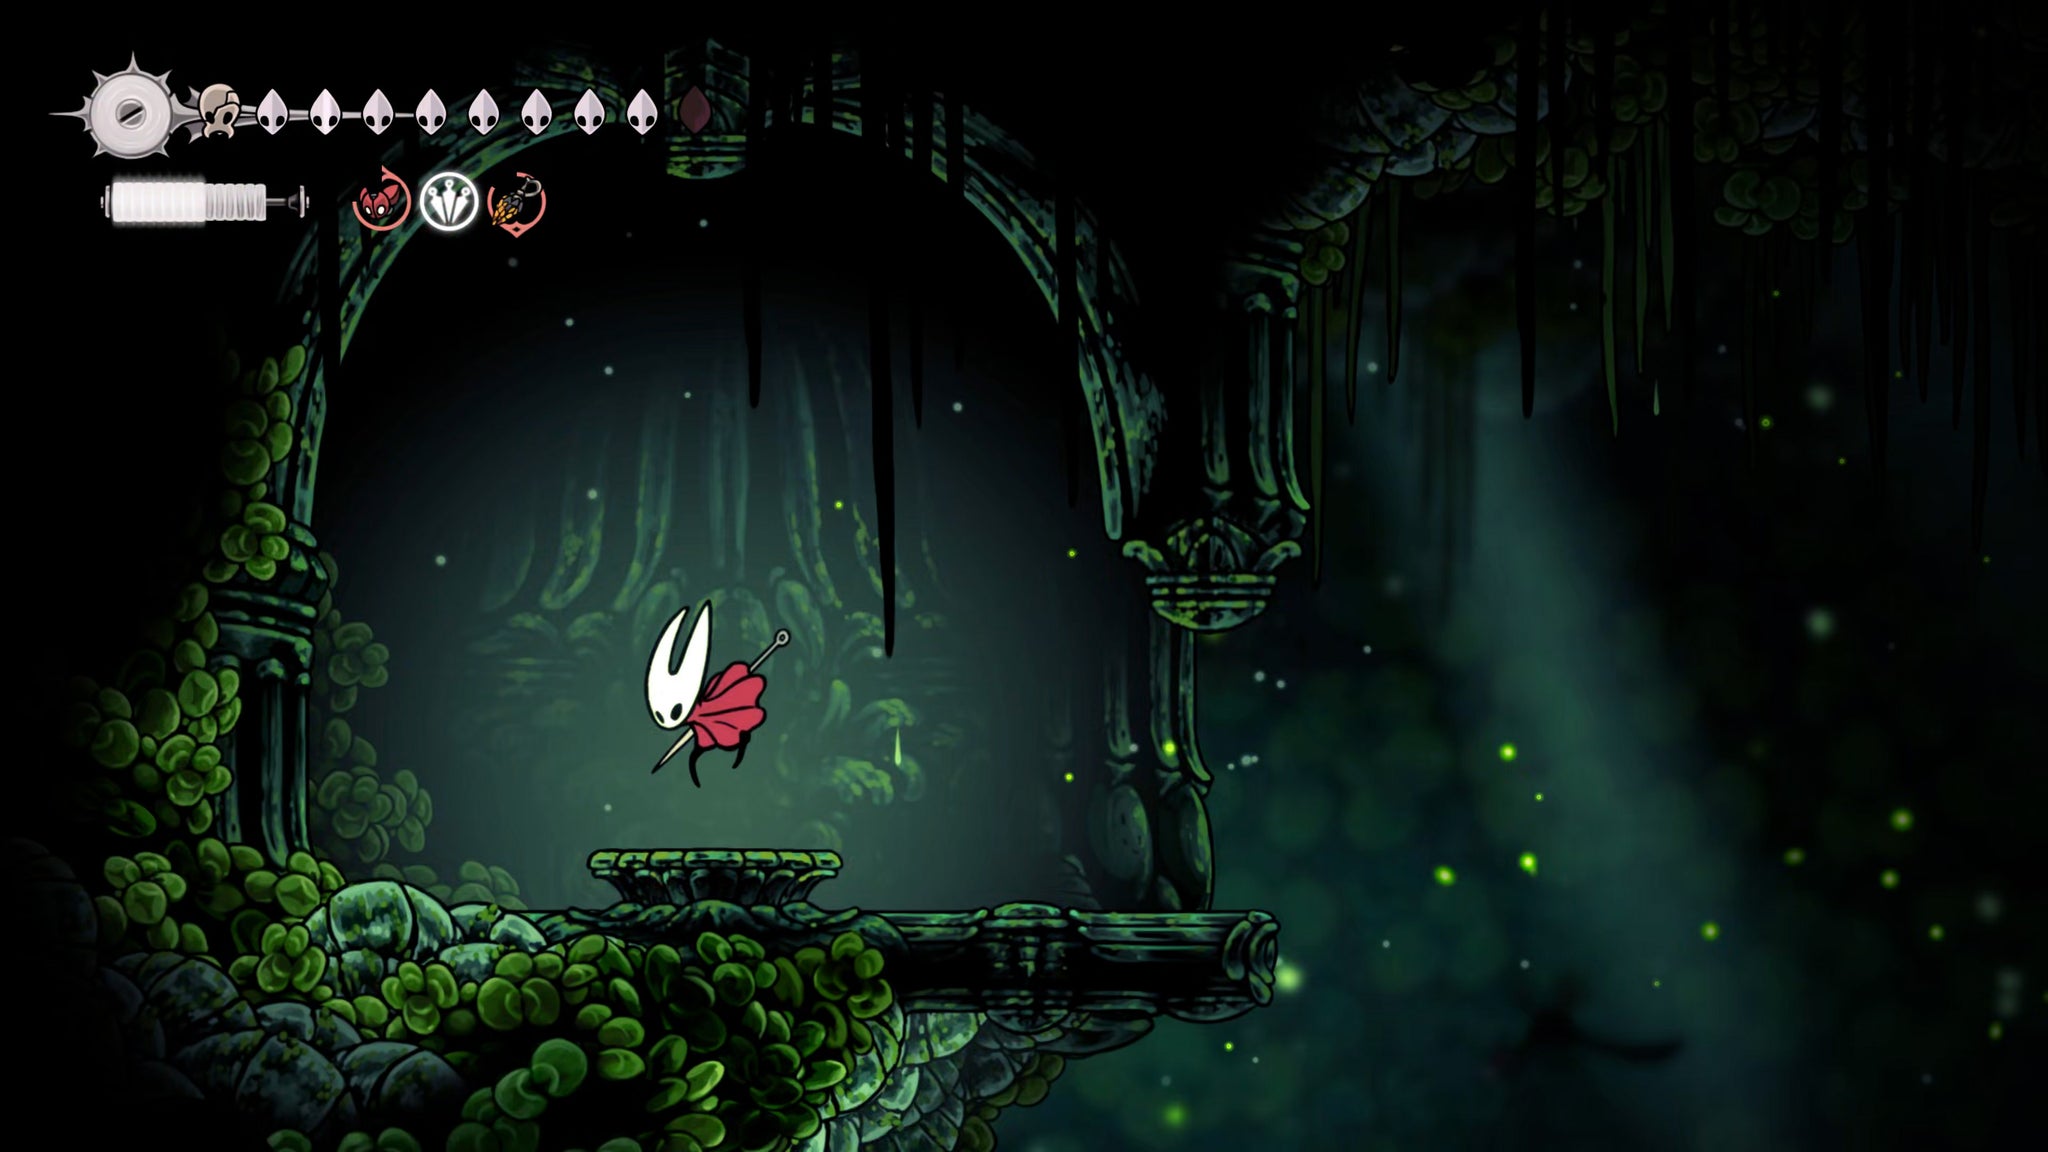
After activating all three fountains, drop back down to the shrine and press down on the large pressure plate to open the Sacred Shrine properly. Inspect it once it’s fully risen from the ground, and then play your Needolin when prompted to generate another path of essences just like the statues from before. They’re all right next to you in an arc, so just collect them to complete the puzzle.
5. Win the arena battle to reach the central shaft.
Head back to the vertical shaft on the left, and climb up it to the very top, using the plant and orbs along the way. At the top is another statue; break it and collect the essence as it heads back down the shaft.
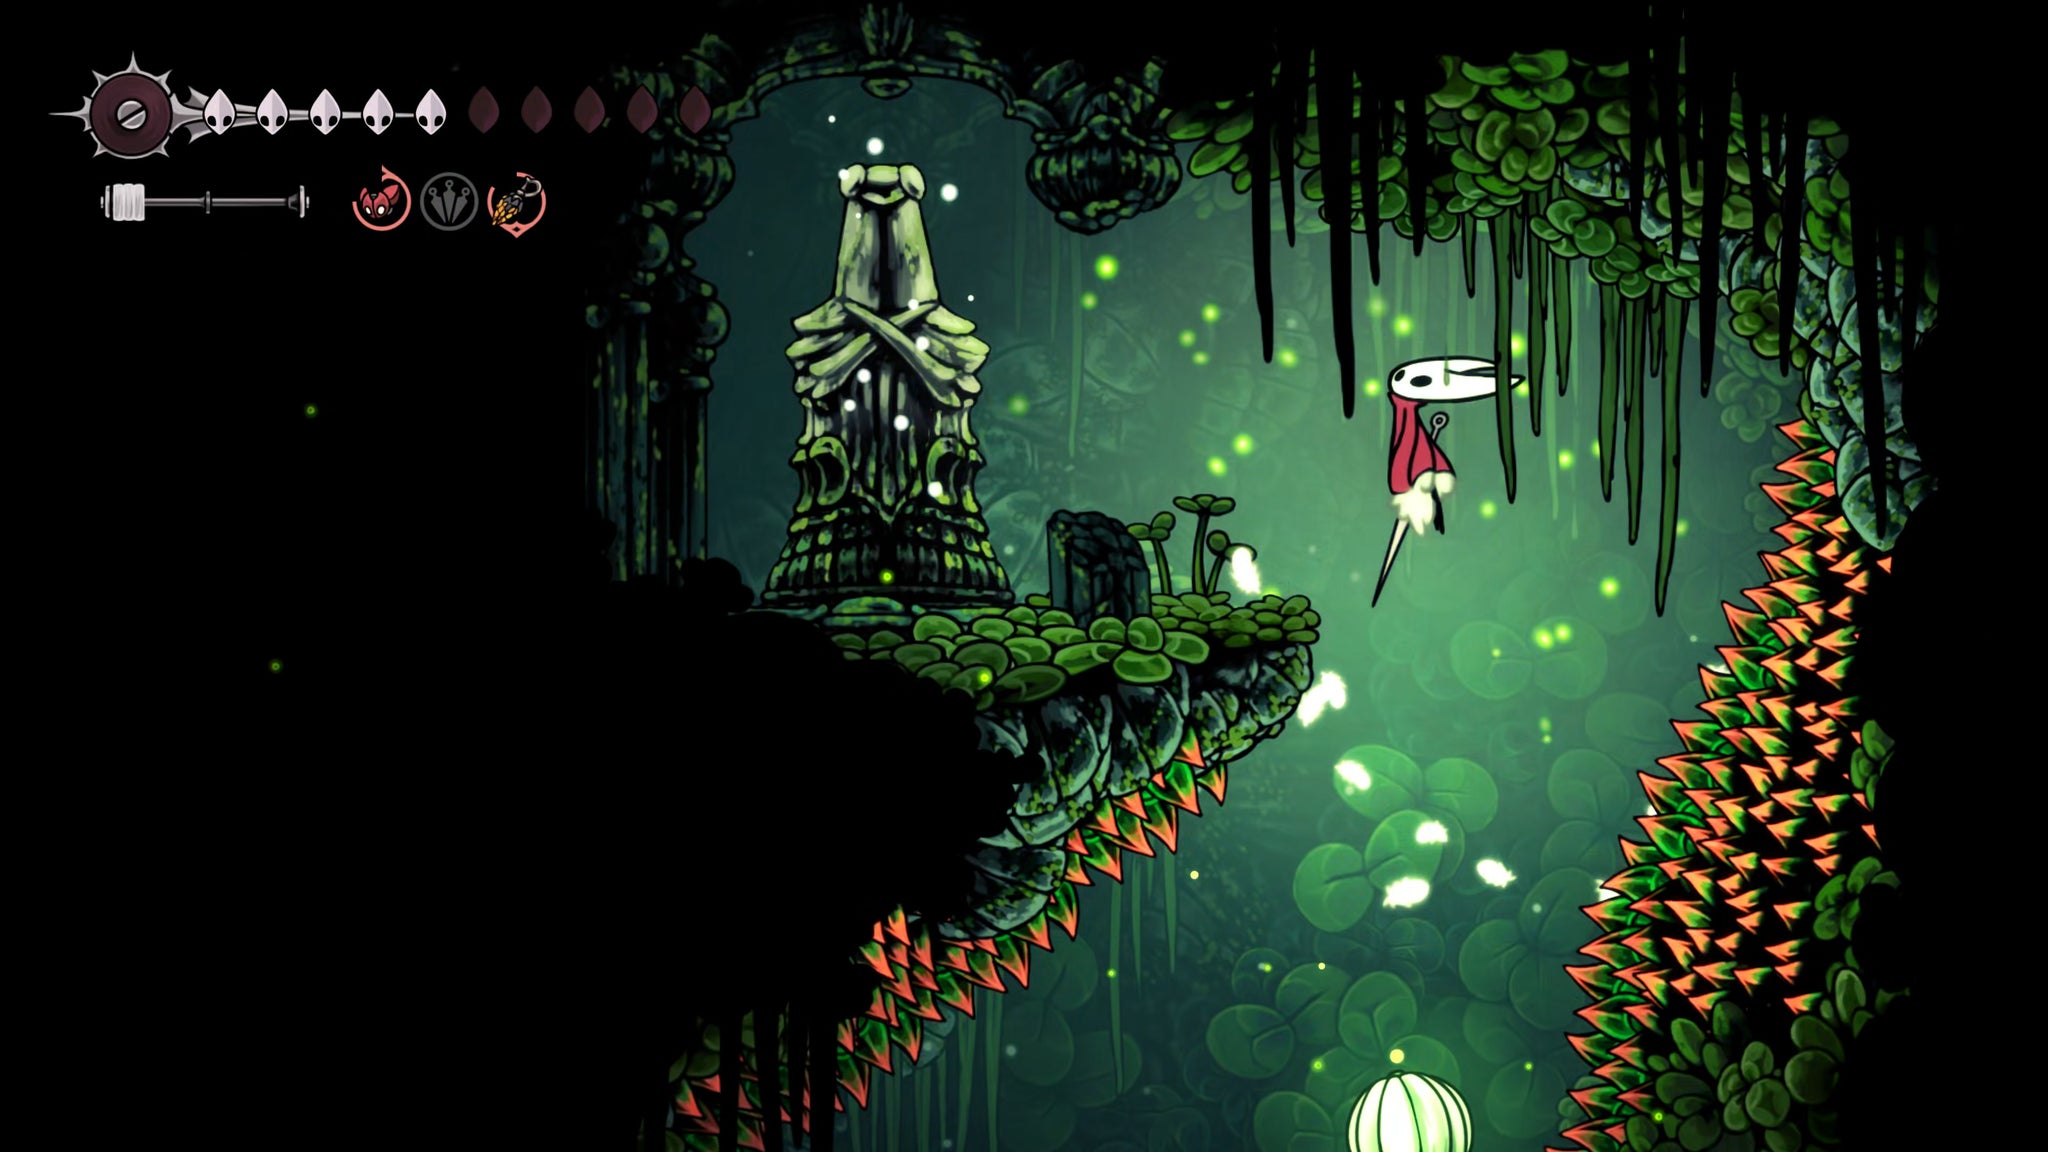
Image credit:Rock Paper Shotgun/Team Cherry
With that done, drop down to the left-hand exit about halfway up the shaft. Kill the enemies along your way until you reach the central ledge with the plant, and then use the plant’s orbs to climb as high as possible. You’ll see that the landscape starts to wither away into Silk as you climb. At the top, you can speak with the Green Prince again for some lore.
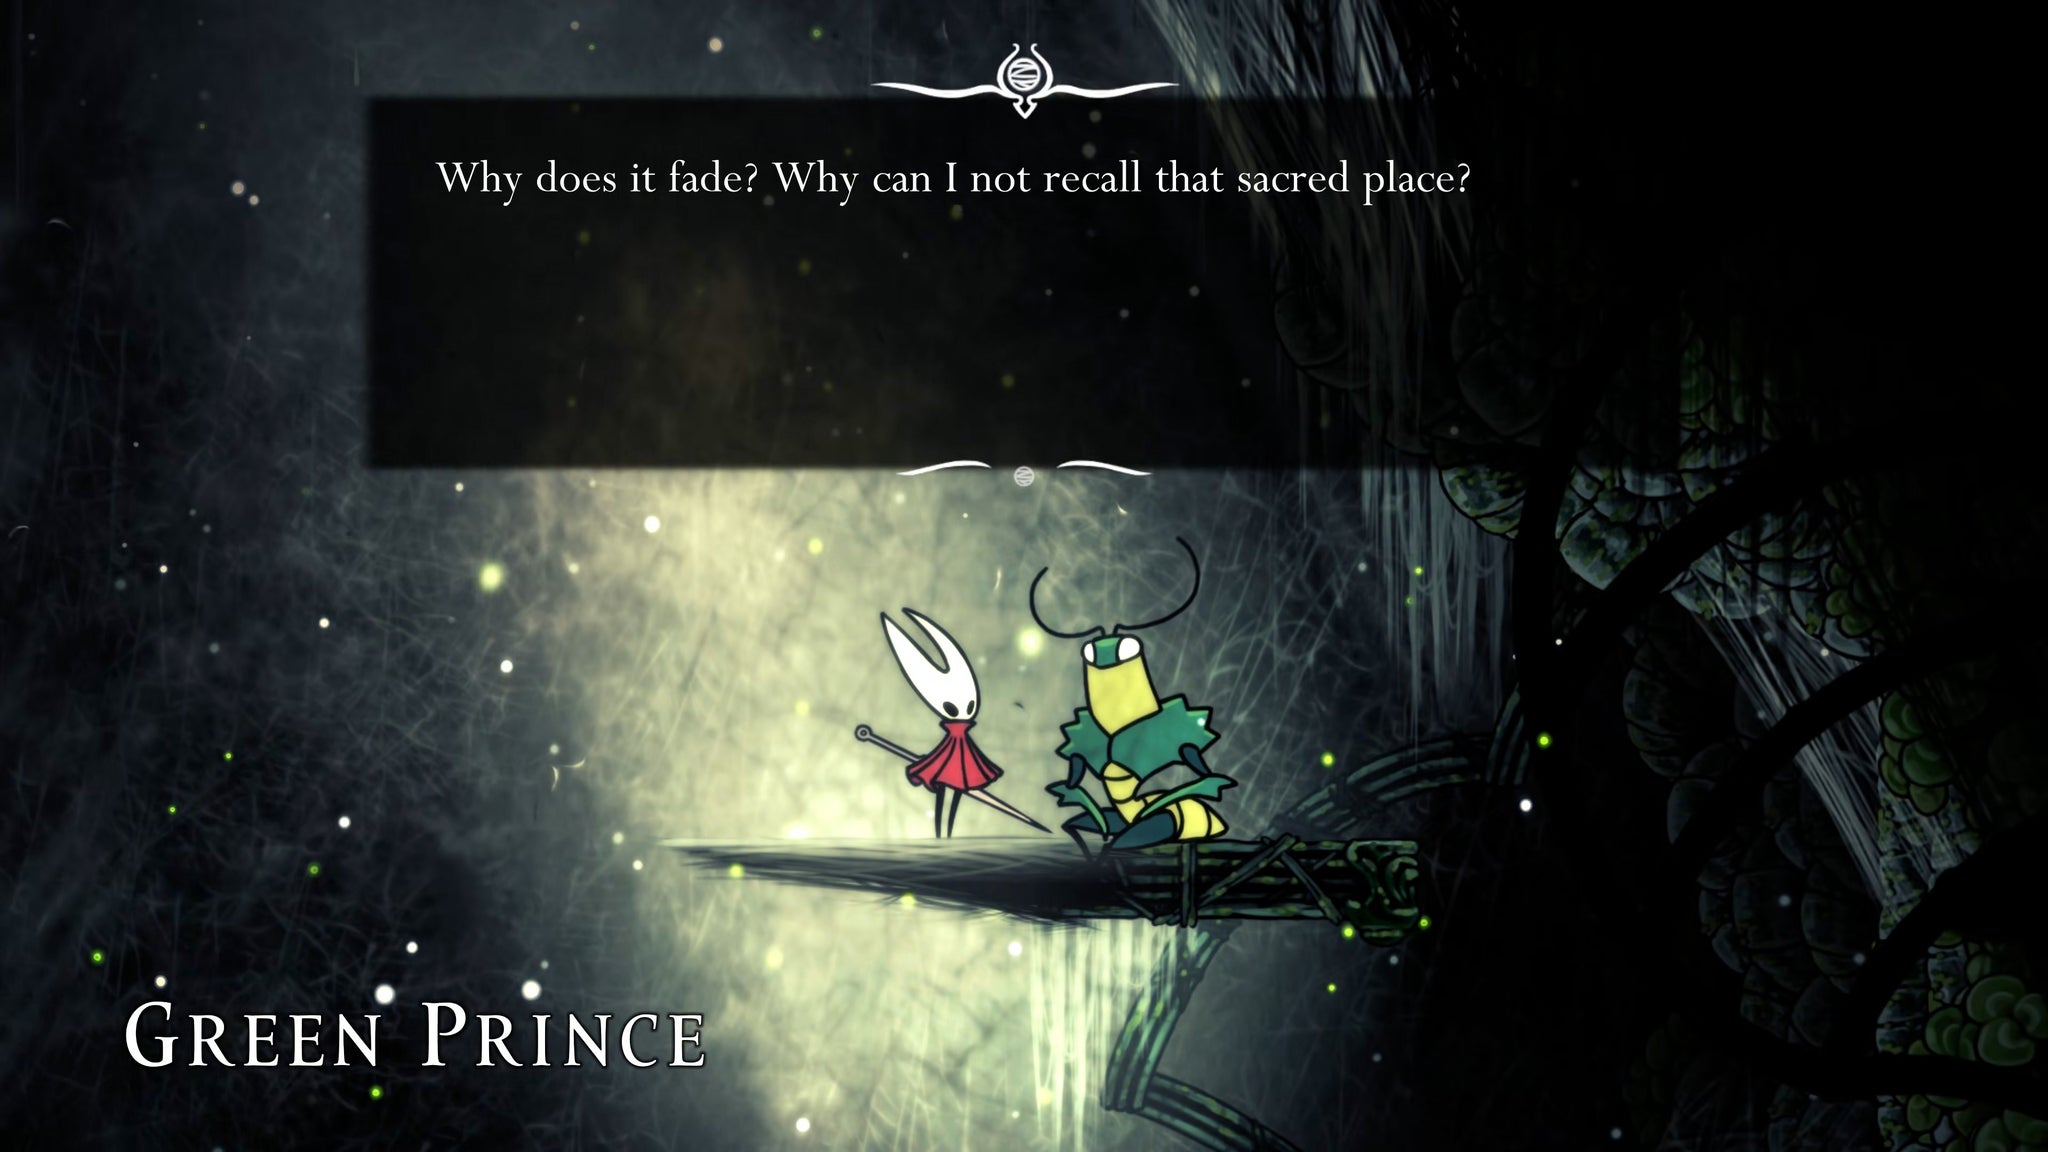
Image credit:Rock Paper Shotgun/Team Cherry
This area is the Green Prince’s home, but he can’t recall it yet - hence the Silk-y environment around him. Completing the essence puzzles around Verdania is what allows him to remember.
Drop back down to the left-hand doorway into a house. Inside is a small darkened corridor guarded by three flying Kindanir. Kill them, and then attack the glowing flower at the end of the corridor to generate more essence to collect. The path winds back on itself, first going low, and then going high.
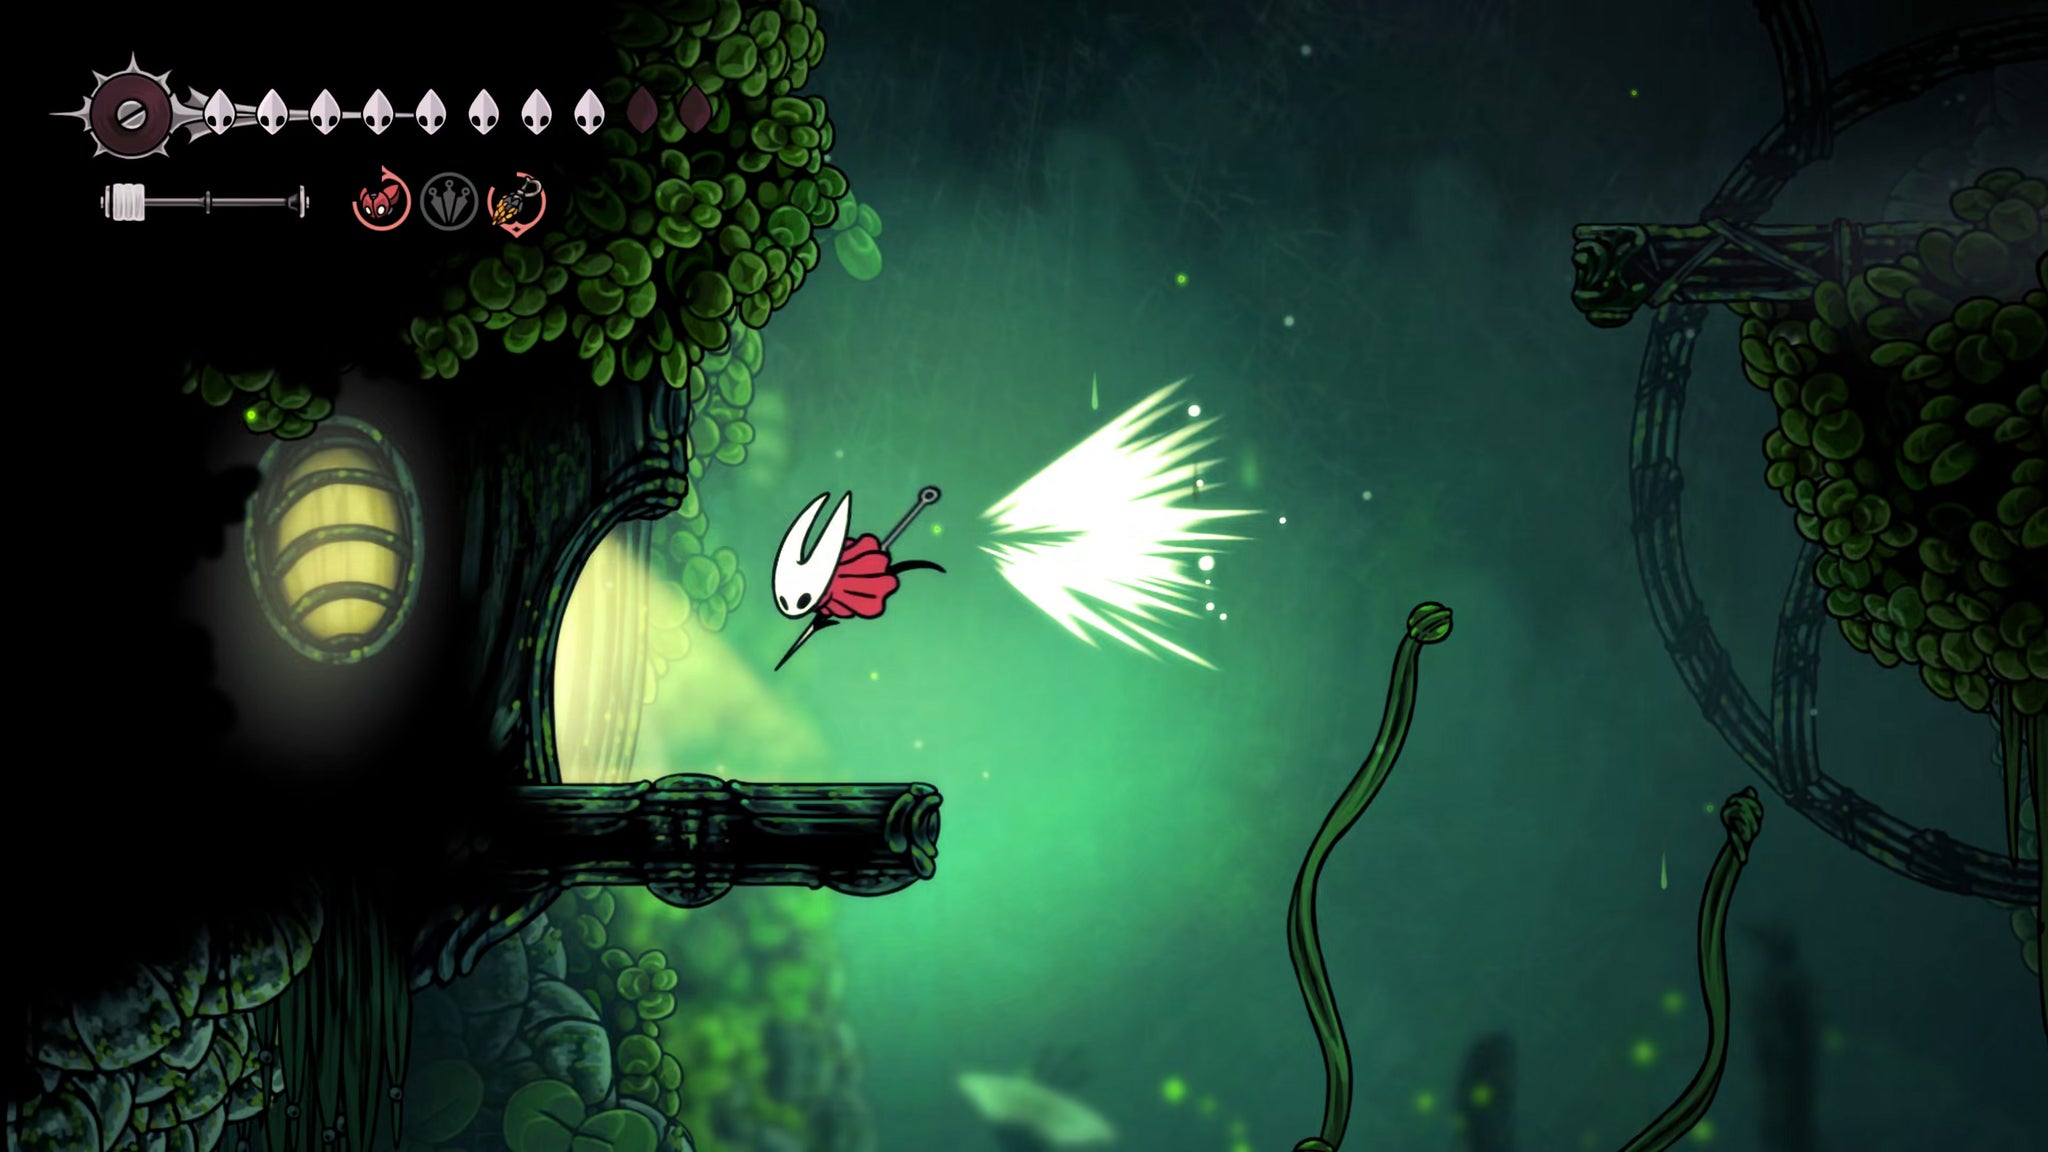
Image credit:Rock Paper Shotgun/Team Cherry
With that done, exit the home and drop back down to ground (or pond) level. Head across the lilypads to the left (one of them is another Nuphar so be wary), and you’ll reach an arena gauntlet where you must square off against a number of Lost Verdania’s enemies.
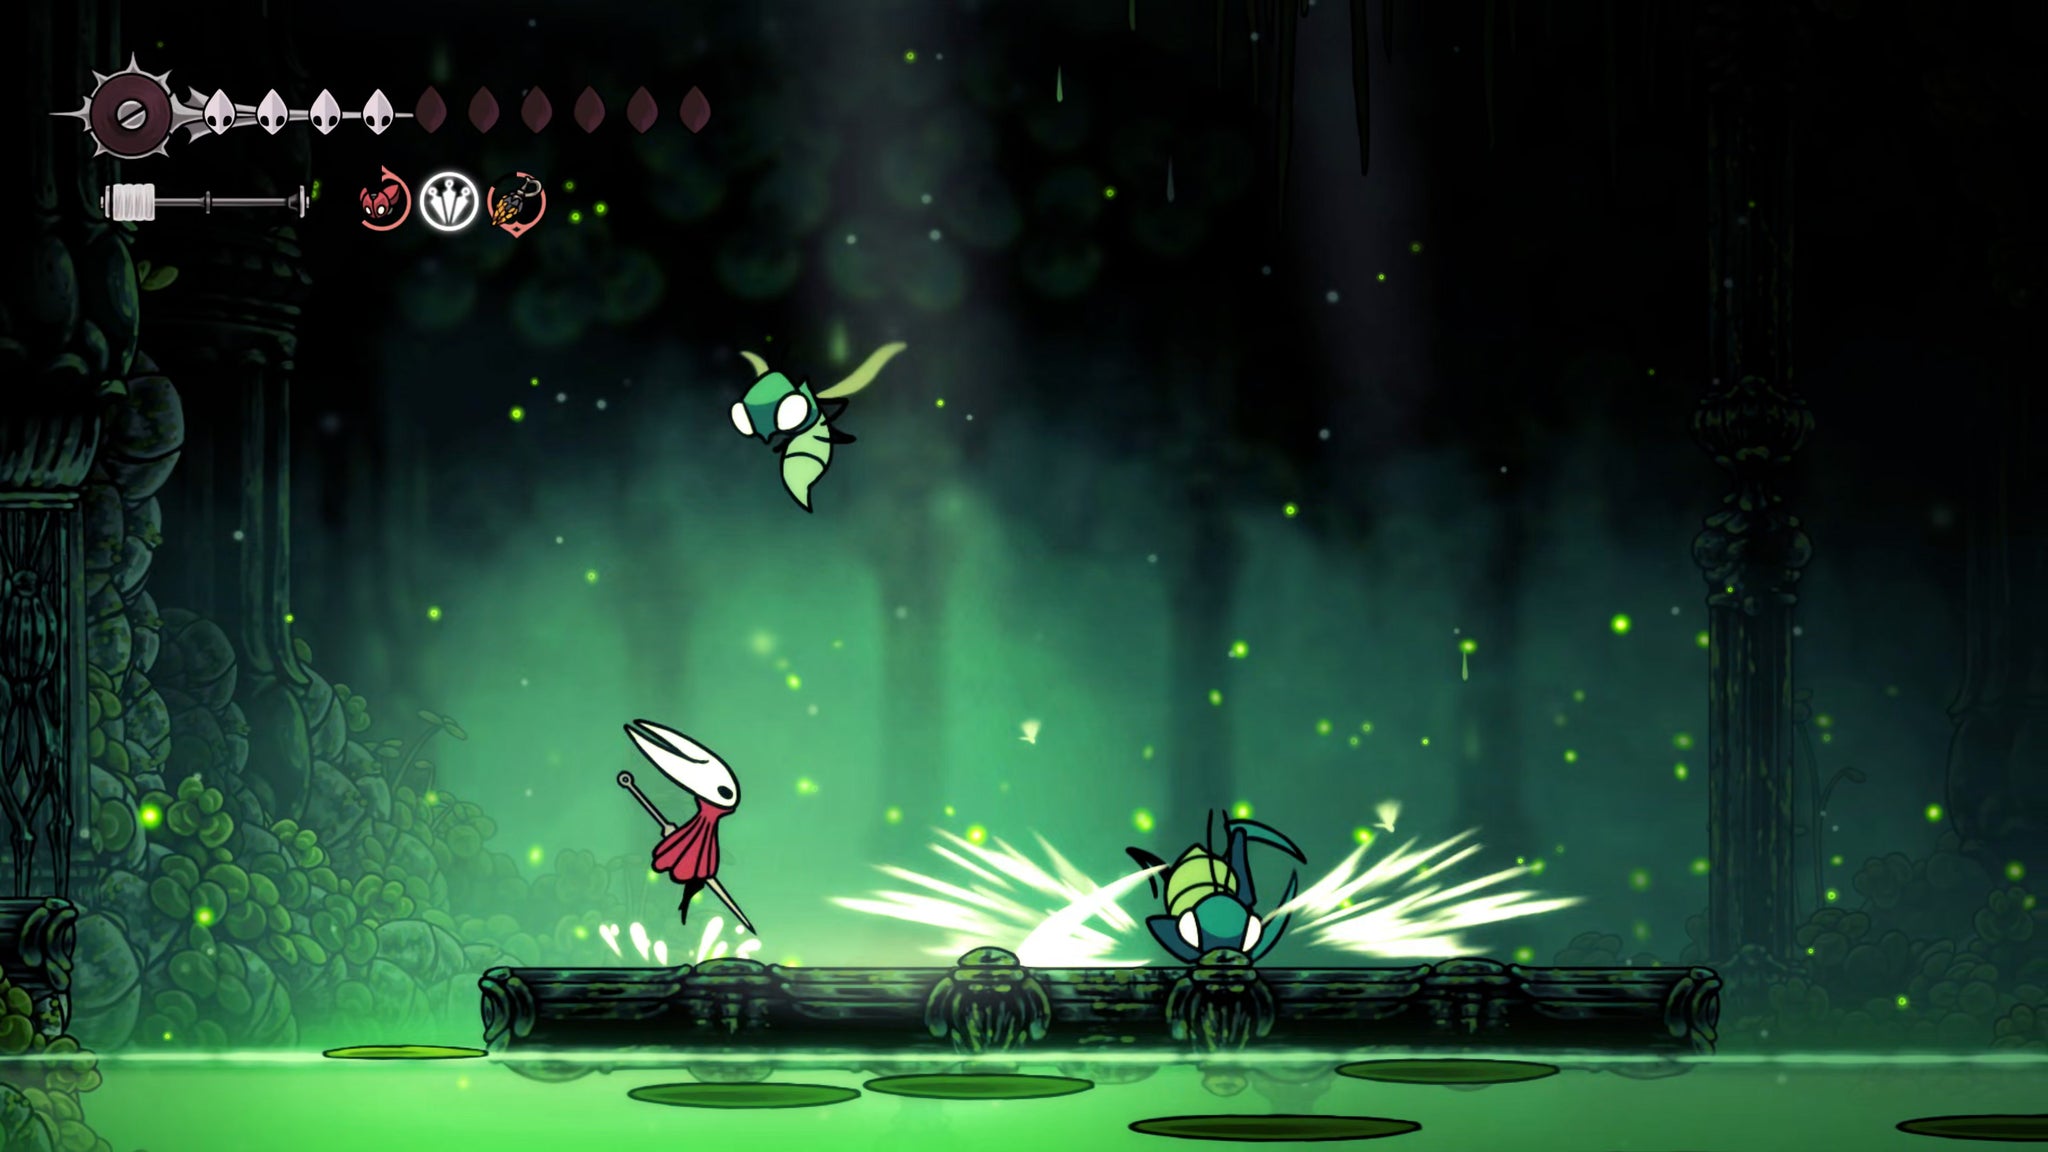
Image credit:Rock Paper Shotgun/Team Cherry
There are just three phases to this arena fight, and you’ve already met all these enemies, so it’s quite a tame fight, all things considered. Once the battle is won, exit to the left and press down on the pressure plate to unlock the gate into another vertical shaft, which leads you to everywhere else of importance in Verdania.
6. Obtain the lower-left Statue Essence.
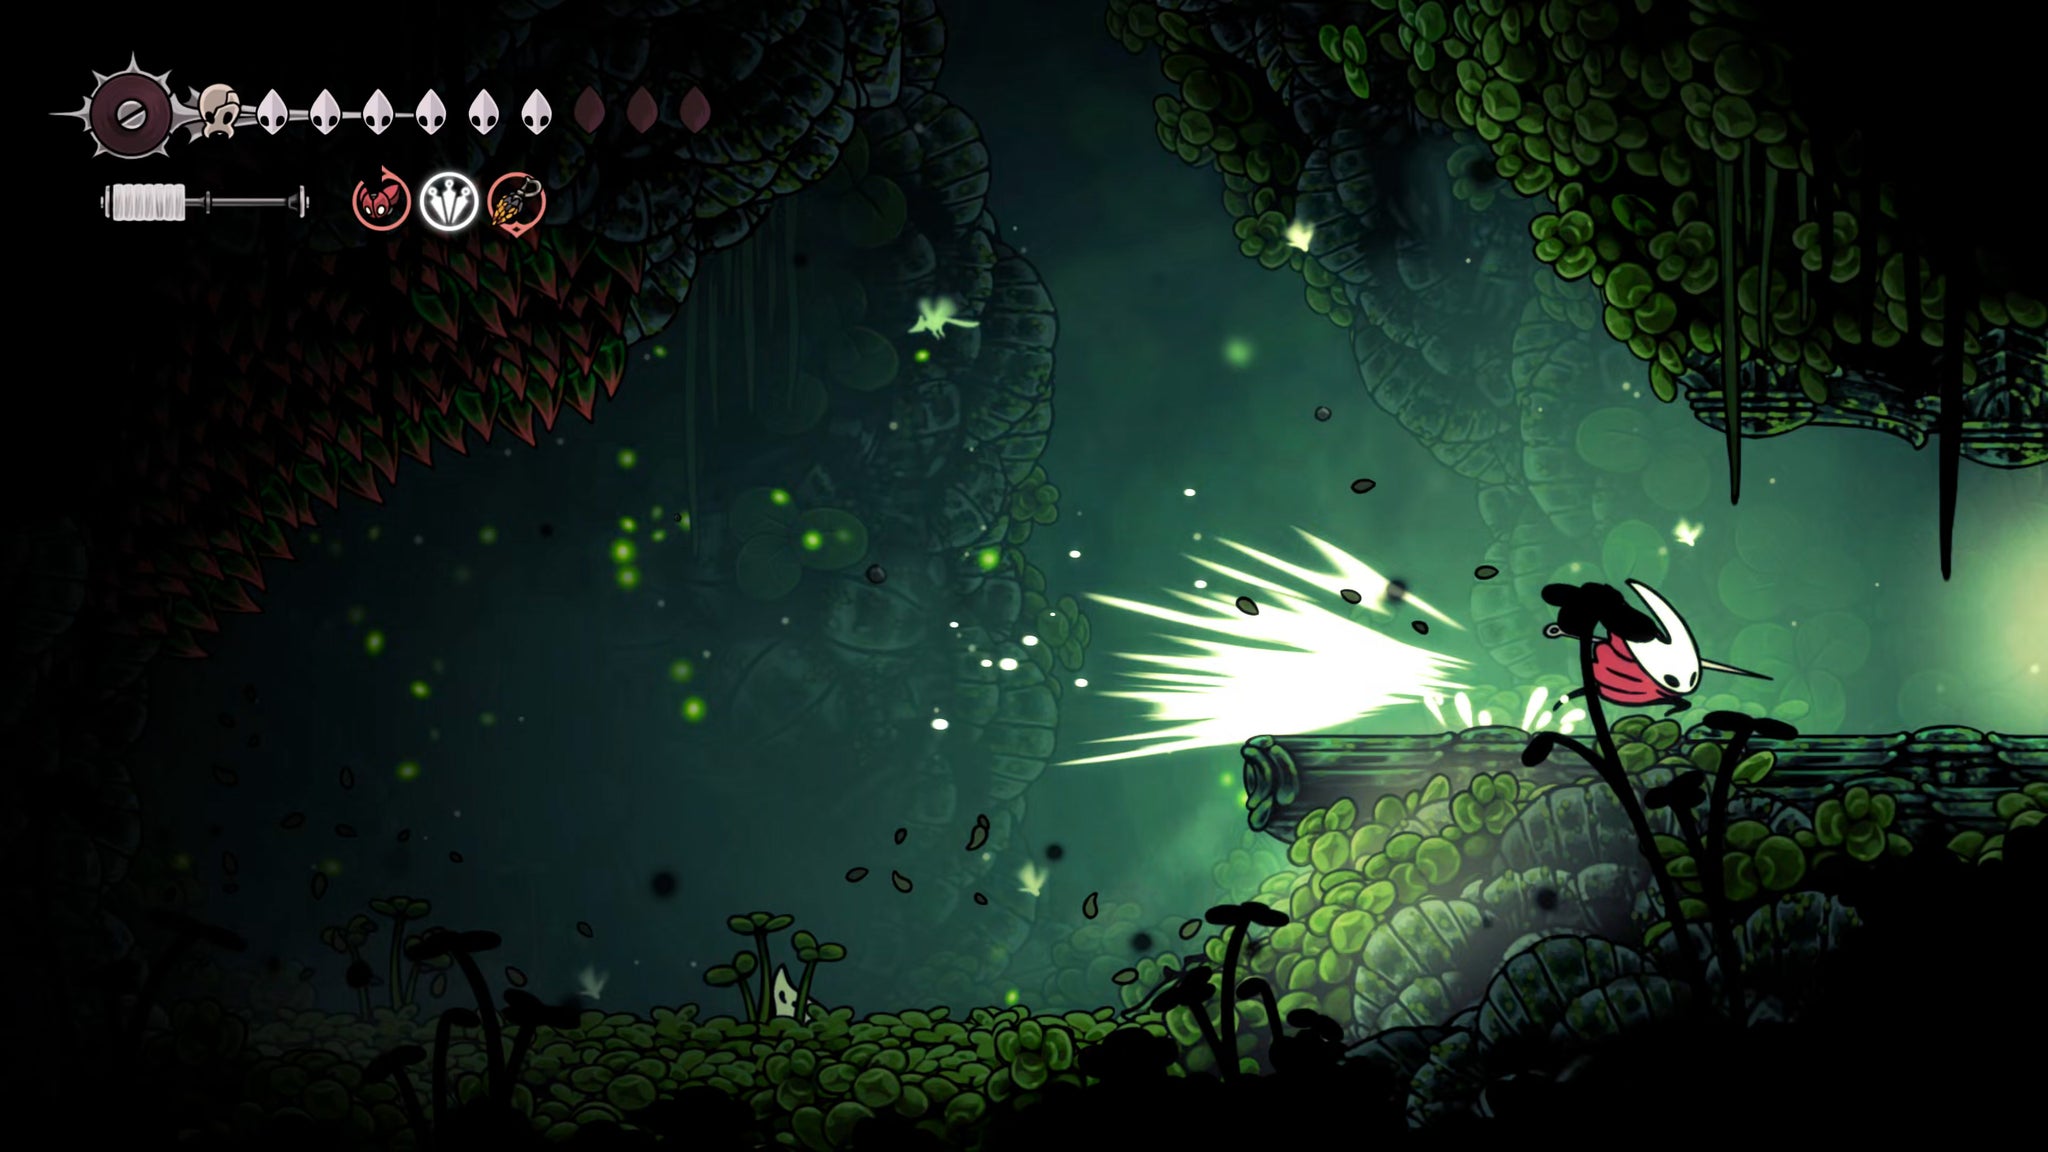
Image credit:Rock Paper Shotgun/Team Cherry
From this new shaft, first drop to the very bottom, past all the spikes, and take the right-hand exit. In front of you, at the bottom of a tunnel upwards, you’ll see some bright green vines on the ground. Cut through them to unlock a shortcut up here from near the very start of Lost Verdania. There are enemies above you, but you needn’t go there (unless you’re inquisitive to a fault, like me).
Now head back into the shaft, and climb up to the nearest exit on your left - don’t forget your Silk Soar for fast vertical travel.
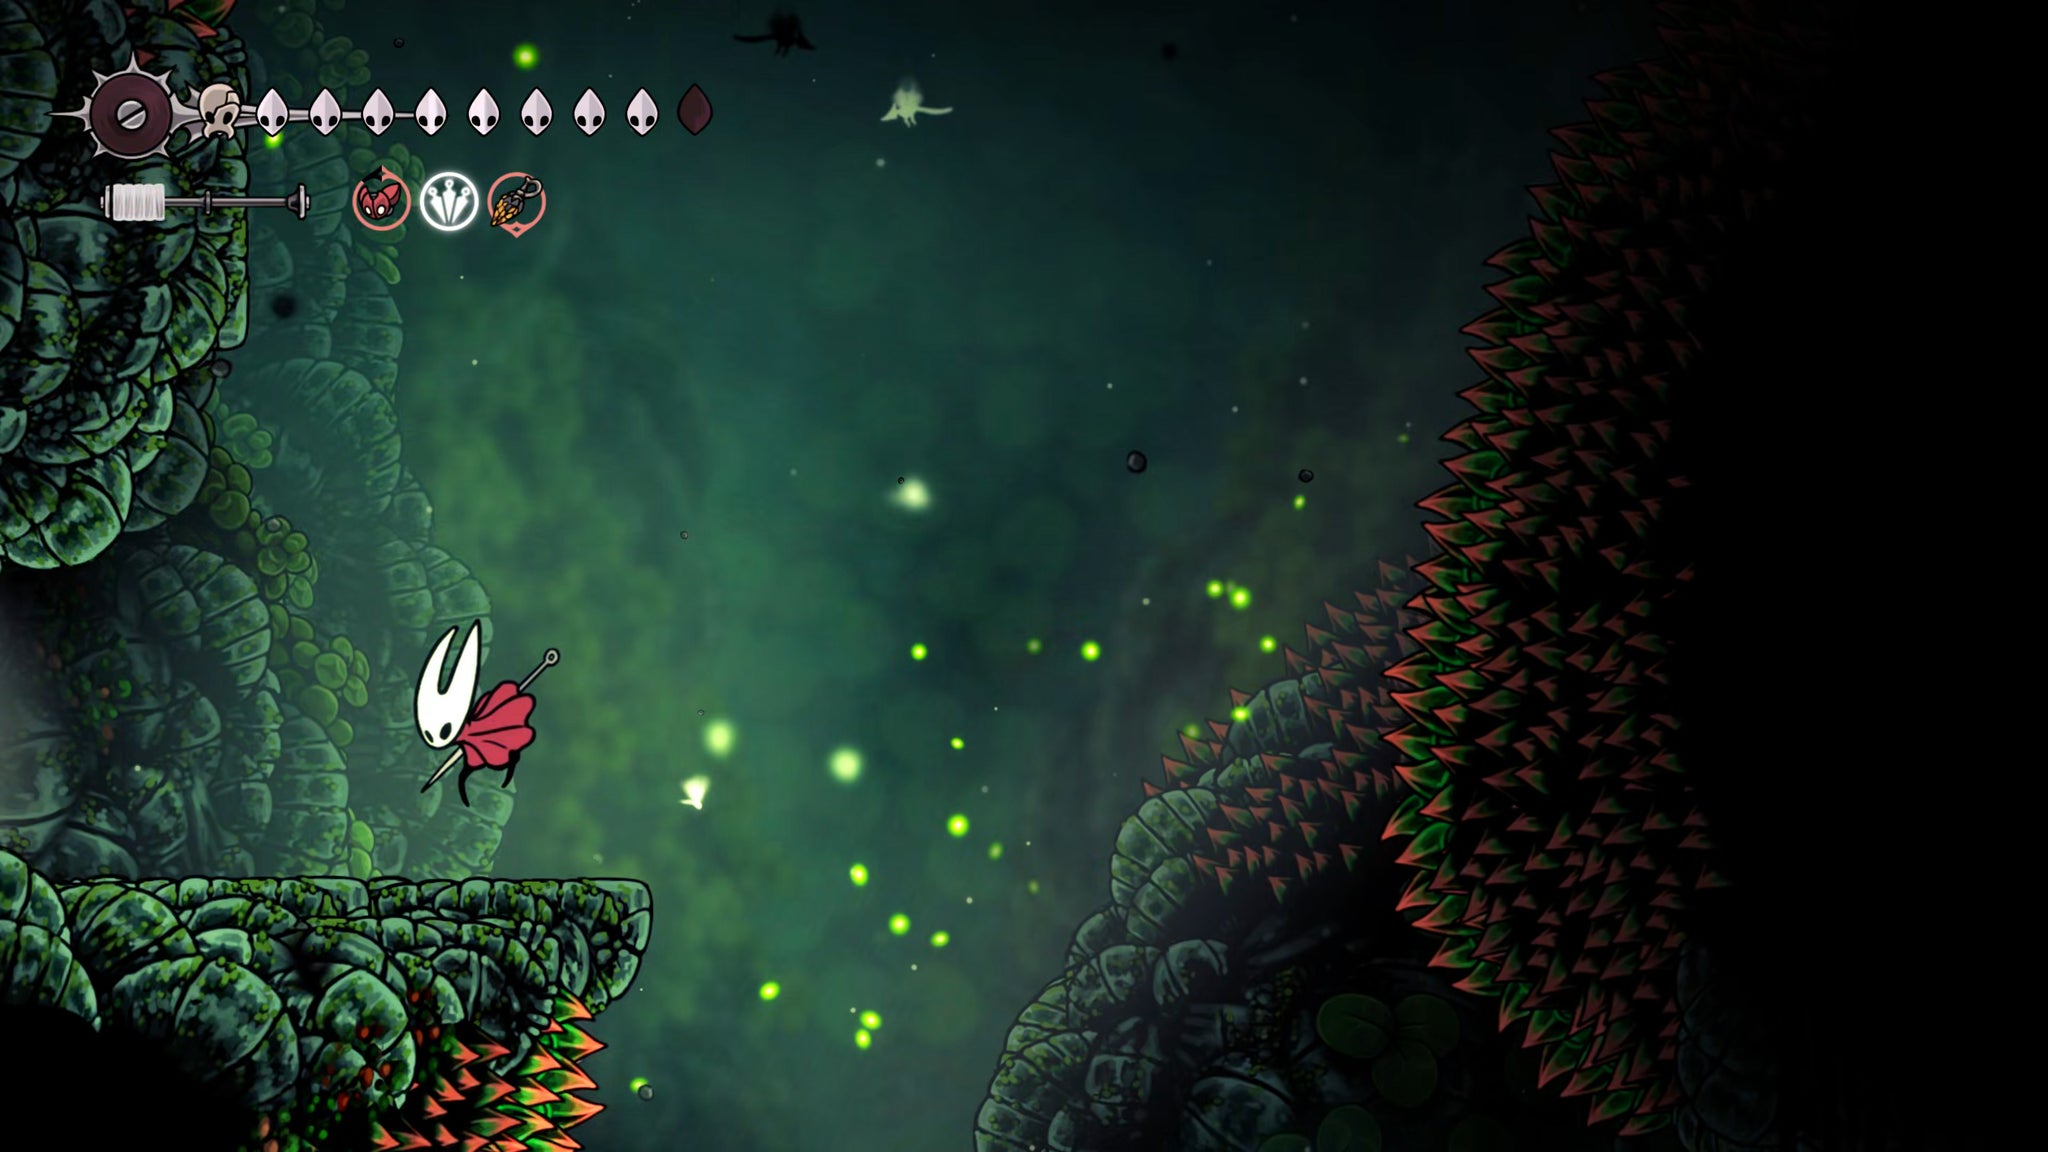
Image credit:Rock Paper Shotgun/Team Cherry
This next room is a corridor, along which you’ll find two fast-moving enemies. It’s best to deal with them one at a time, rather than rushing ahead and attracting both, because these enemies can’t easily be outpaced - they’ll just teleport to catch up with you.
Once they’re dead, head to the upper ledge at the end of the room and break the statue there so you can collect its essence.
7. Collect the remaining Essences.
Head back into the shaft and climb up to the next left-hand exit. Inside are some new enemies called Cloverstags, which basically just jump around on set paths and otherwise don’t react to you at all.
Head over to the left-hand side of the room, staying at ground level, and then walk through the grassy wall at the end to reach a hidden section of the room. Use the plant orbs to another statue, and collect its essence. Then return to the main part of the room.
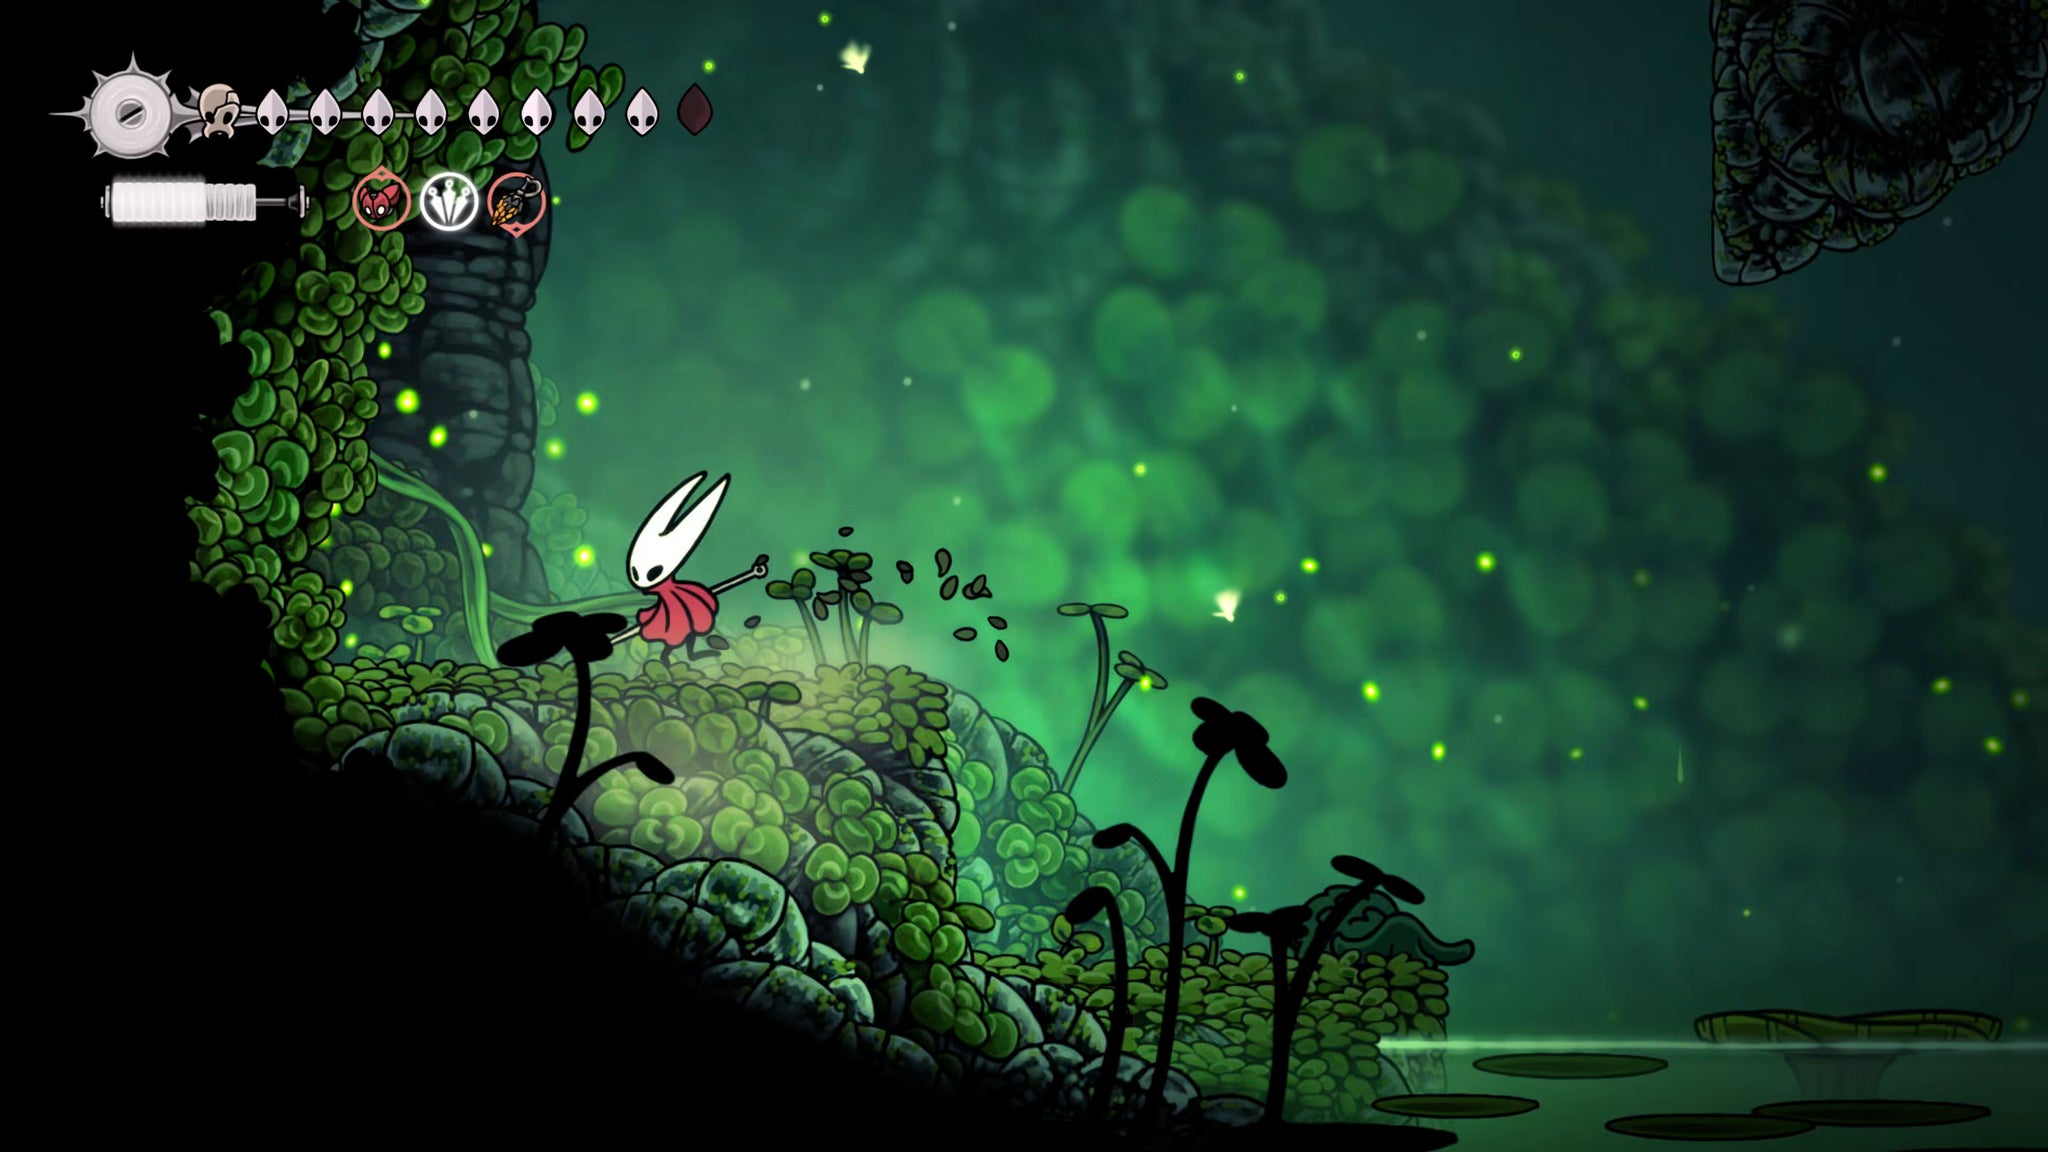
Image credit:Rock Paper Shotgun/Team Cherry
Now use the ledges in the centre of the room to climb up to the very top-left, where you’ll find a ceiling exit upwards. You’ll need to use Silk Soar to reach the topmost ledge below this exit.
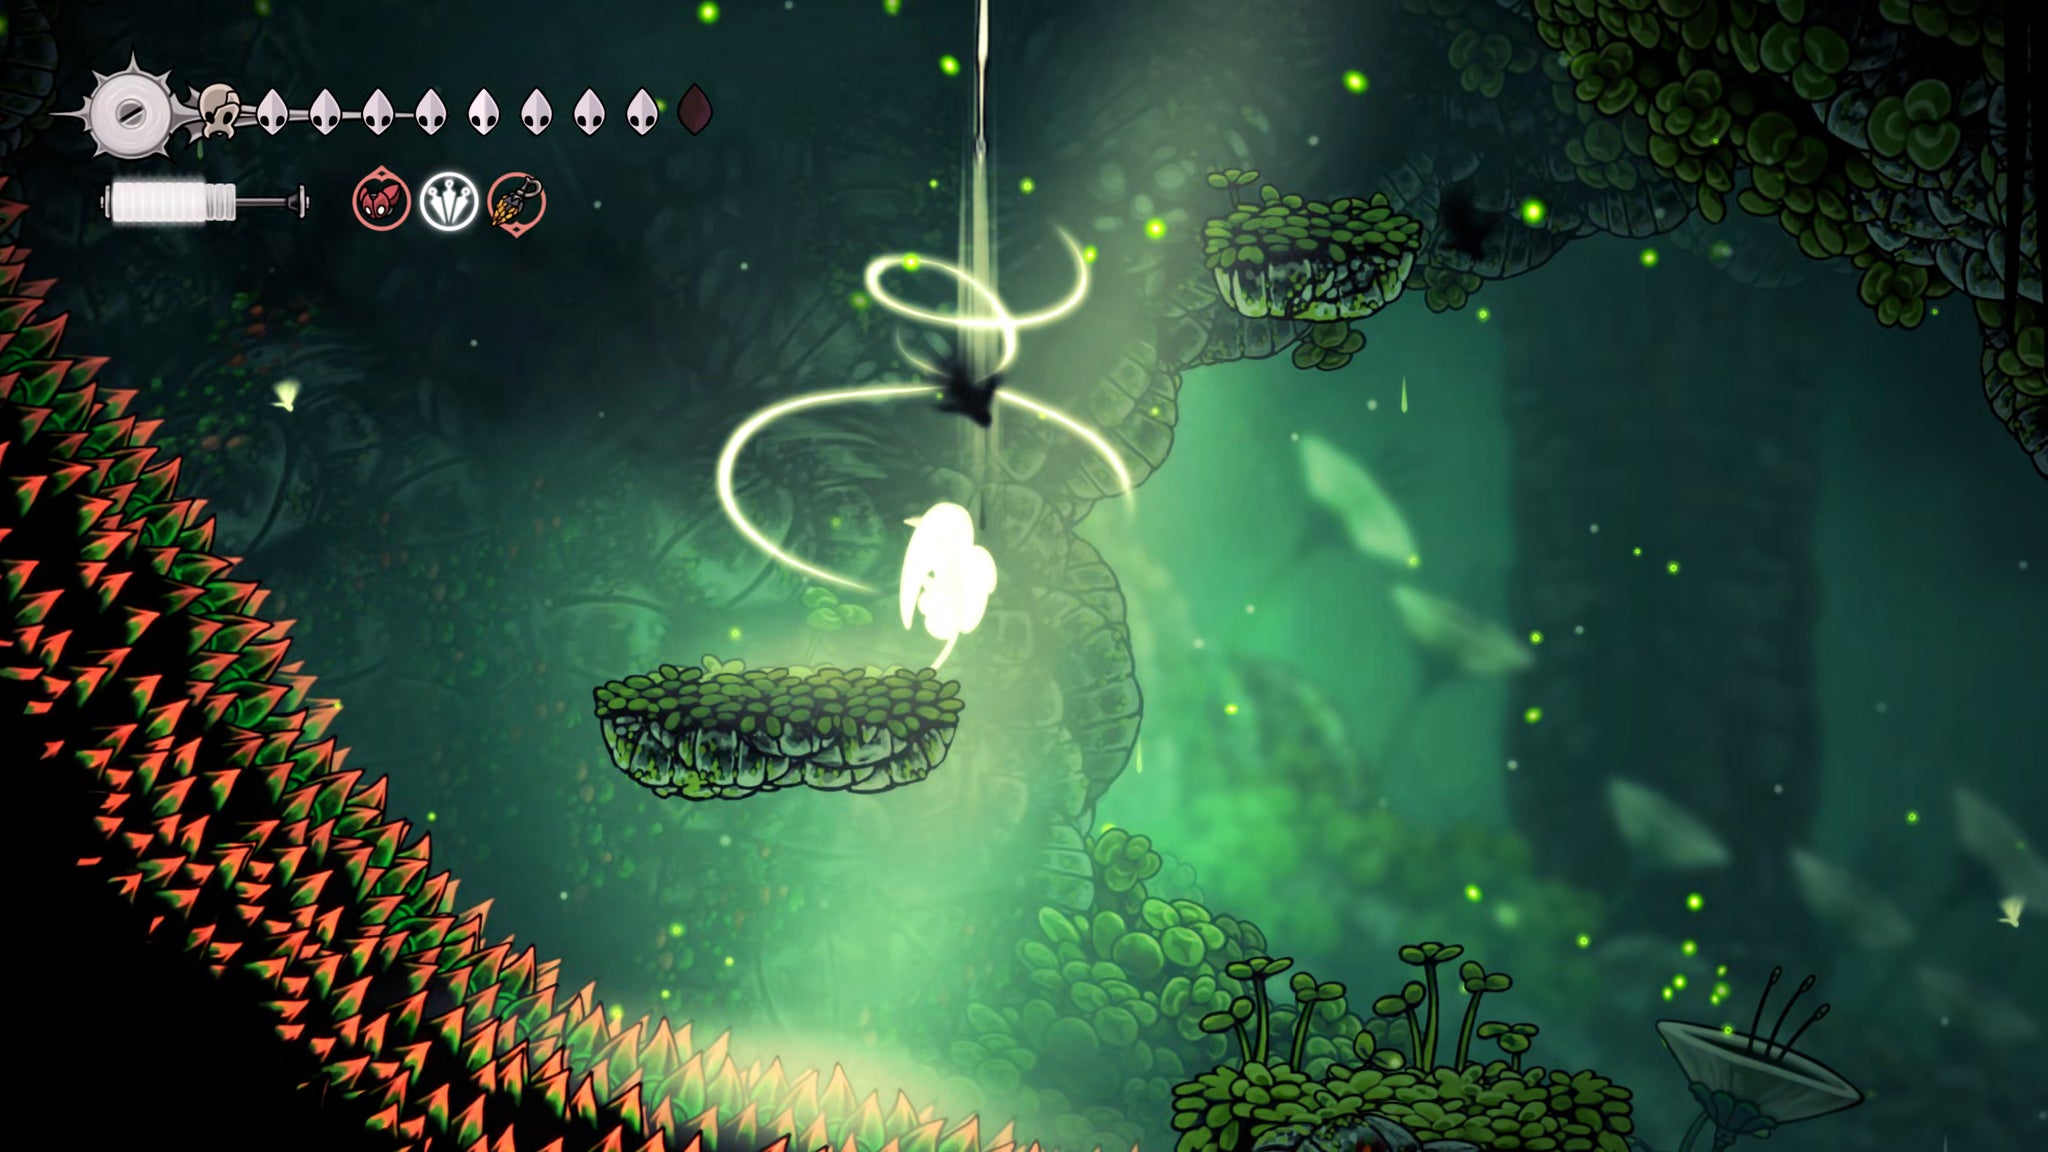
Image credit:Rock Paper Shotgun/Team Cherry
In the new room, use the wall to your left to climb up to the platform above you, and attack the glowing plant here. This will generate yet another path of essence to collect. Once you’ve done that, you can speak with Green Prince on the ledge to your right, if you wish.
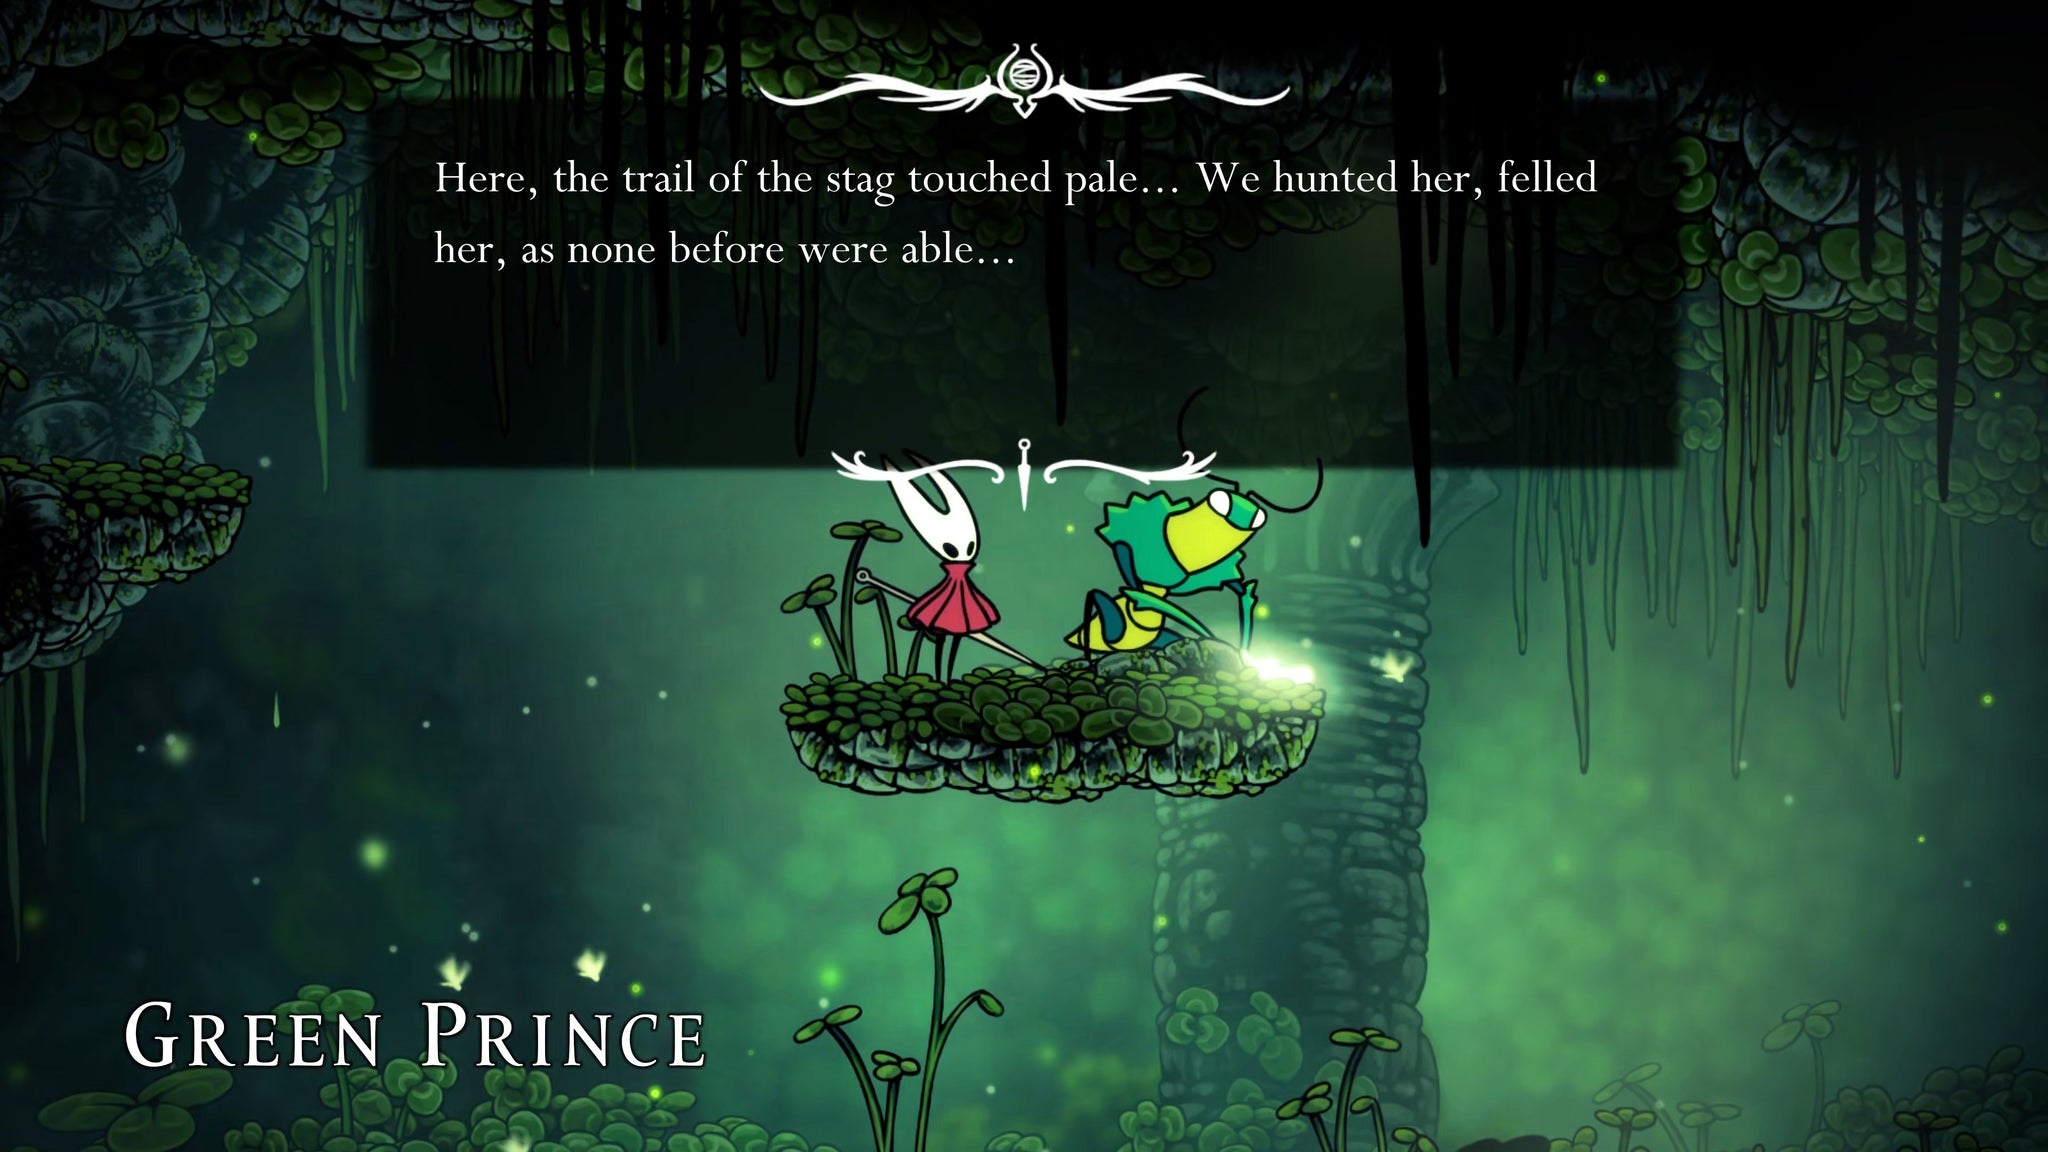
Image credit:Rock Paper Shotgun/Team Cherry
8. Defeat the Palestag.
As the Green Prince implies, you’re currently on the trail of a creature known as the Palestag - that’s what those glowing marks on the ground are about. Continue on to the right of this corridor, and once you’re past the pond section you’ll catch a glimpse of the majestic glowing creature before it vanishes at your approach.
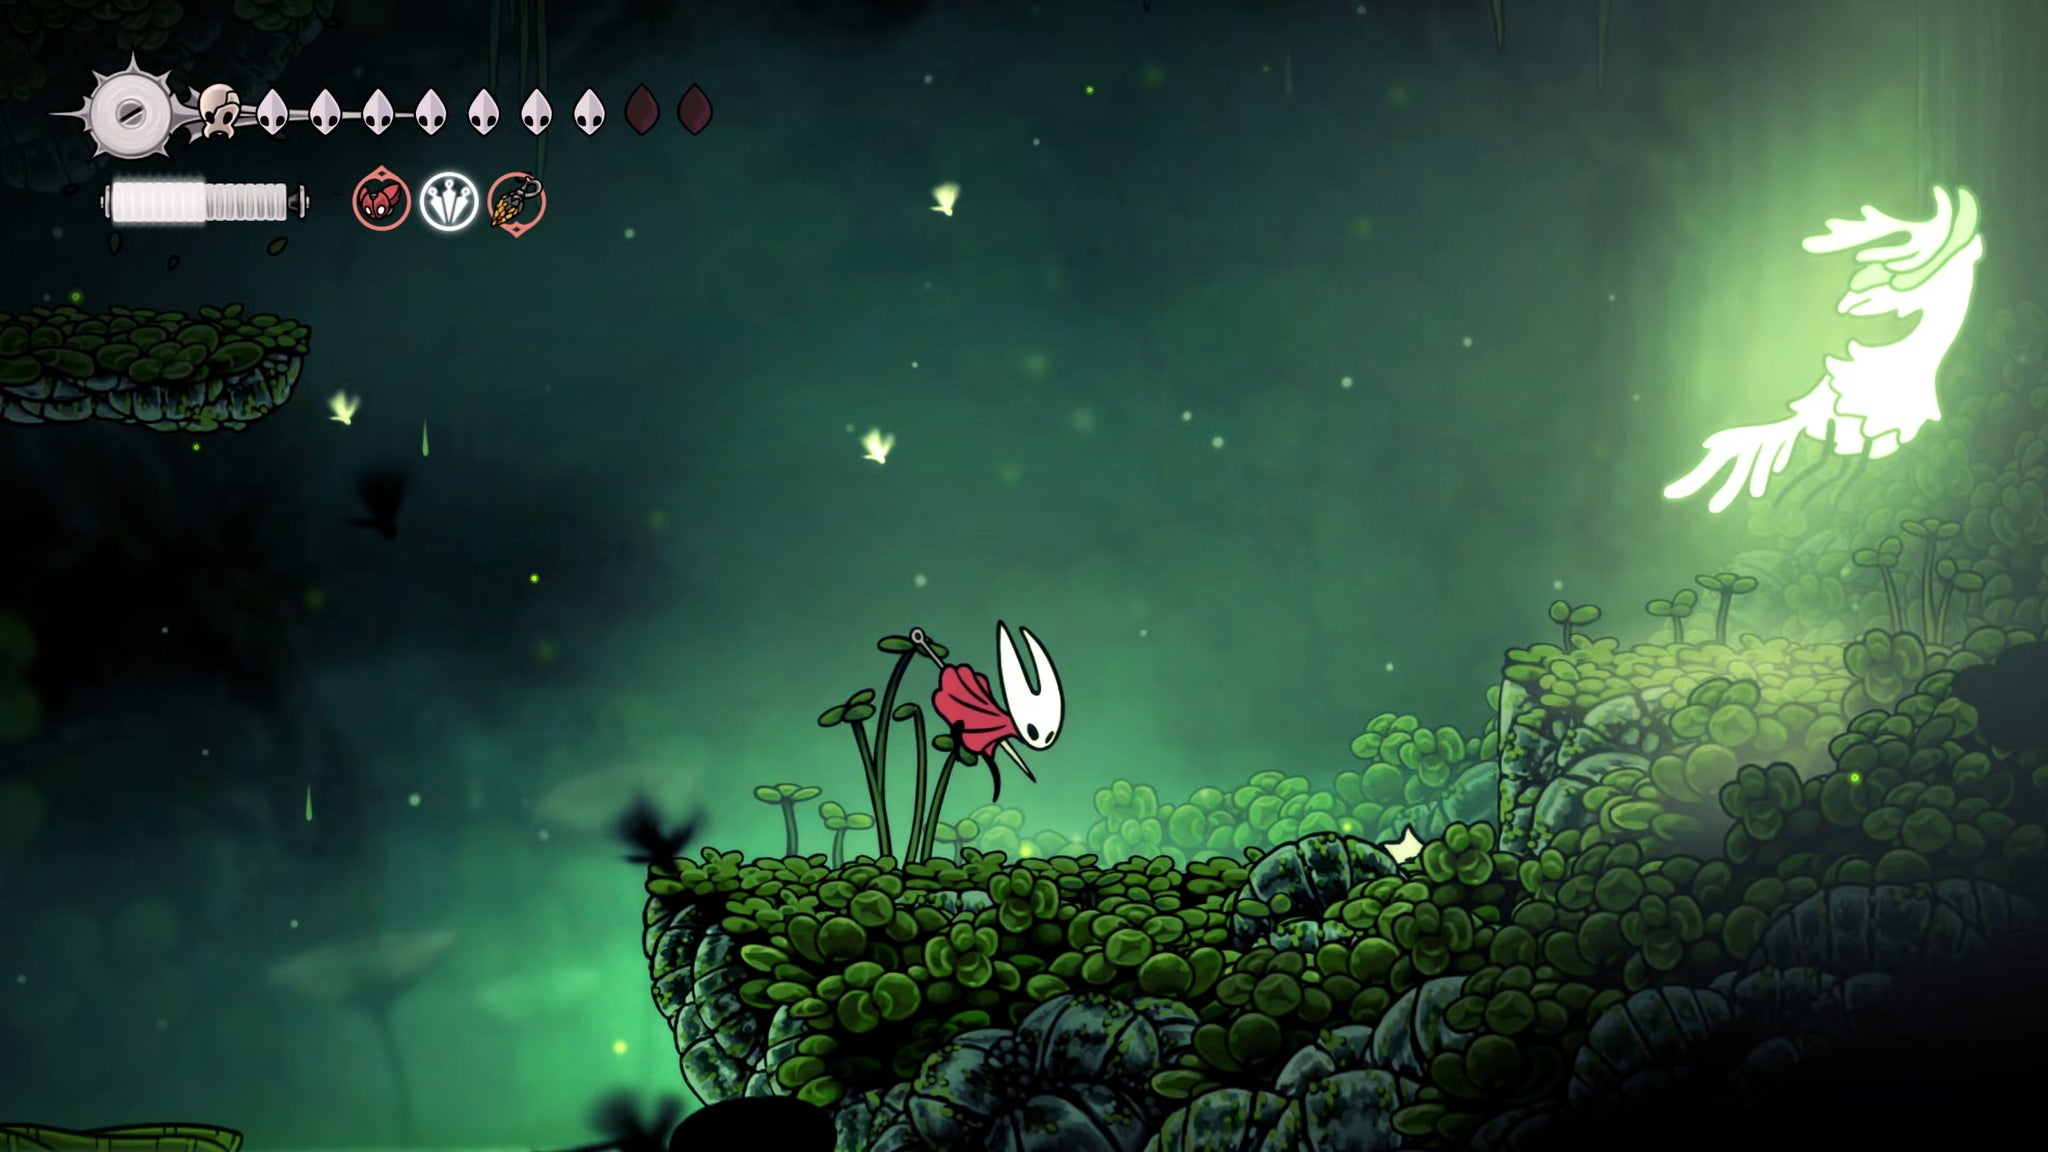
Image credit:Rock Paper Shotgun/Team Cherry
Continue along the path, and it will soon drop downward into the room below. From here, you can head left directly into the arena where you’ll fight the Palestag.
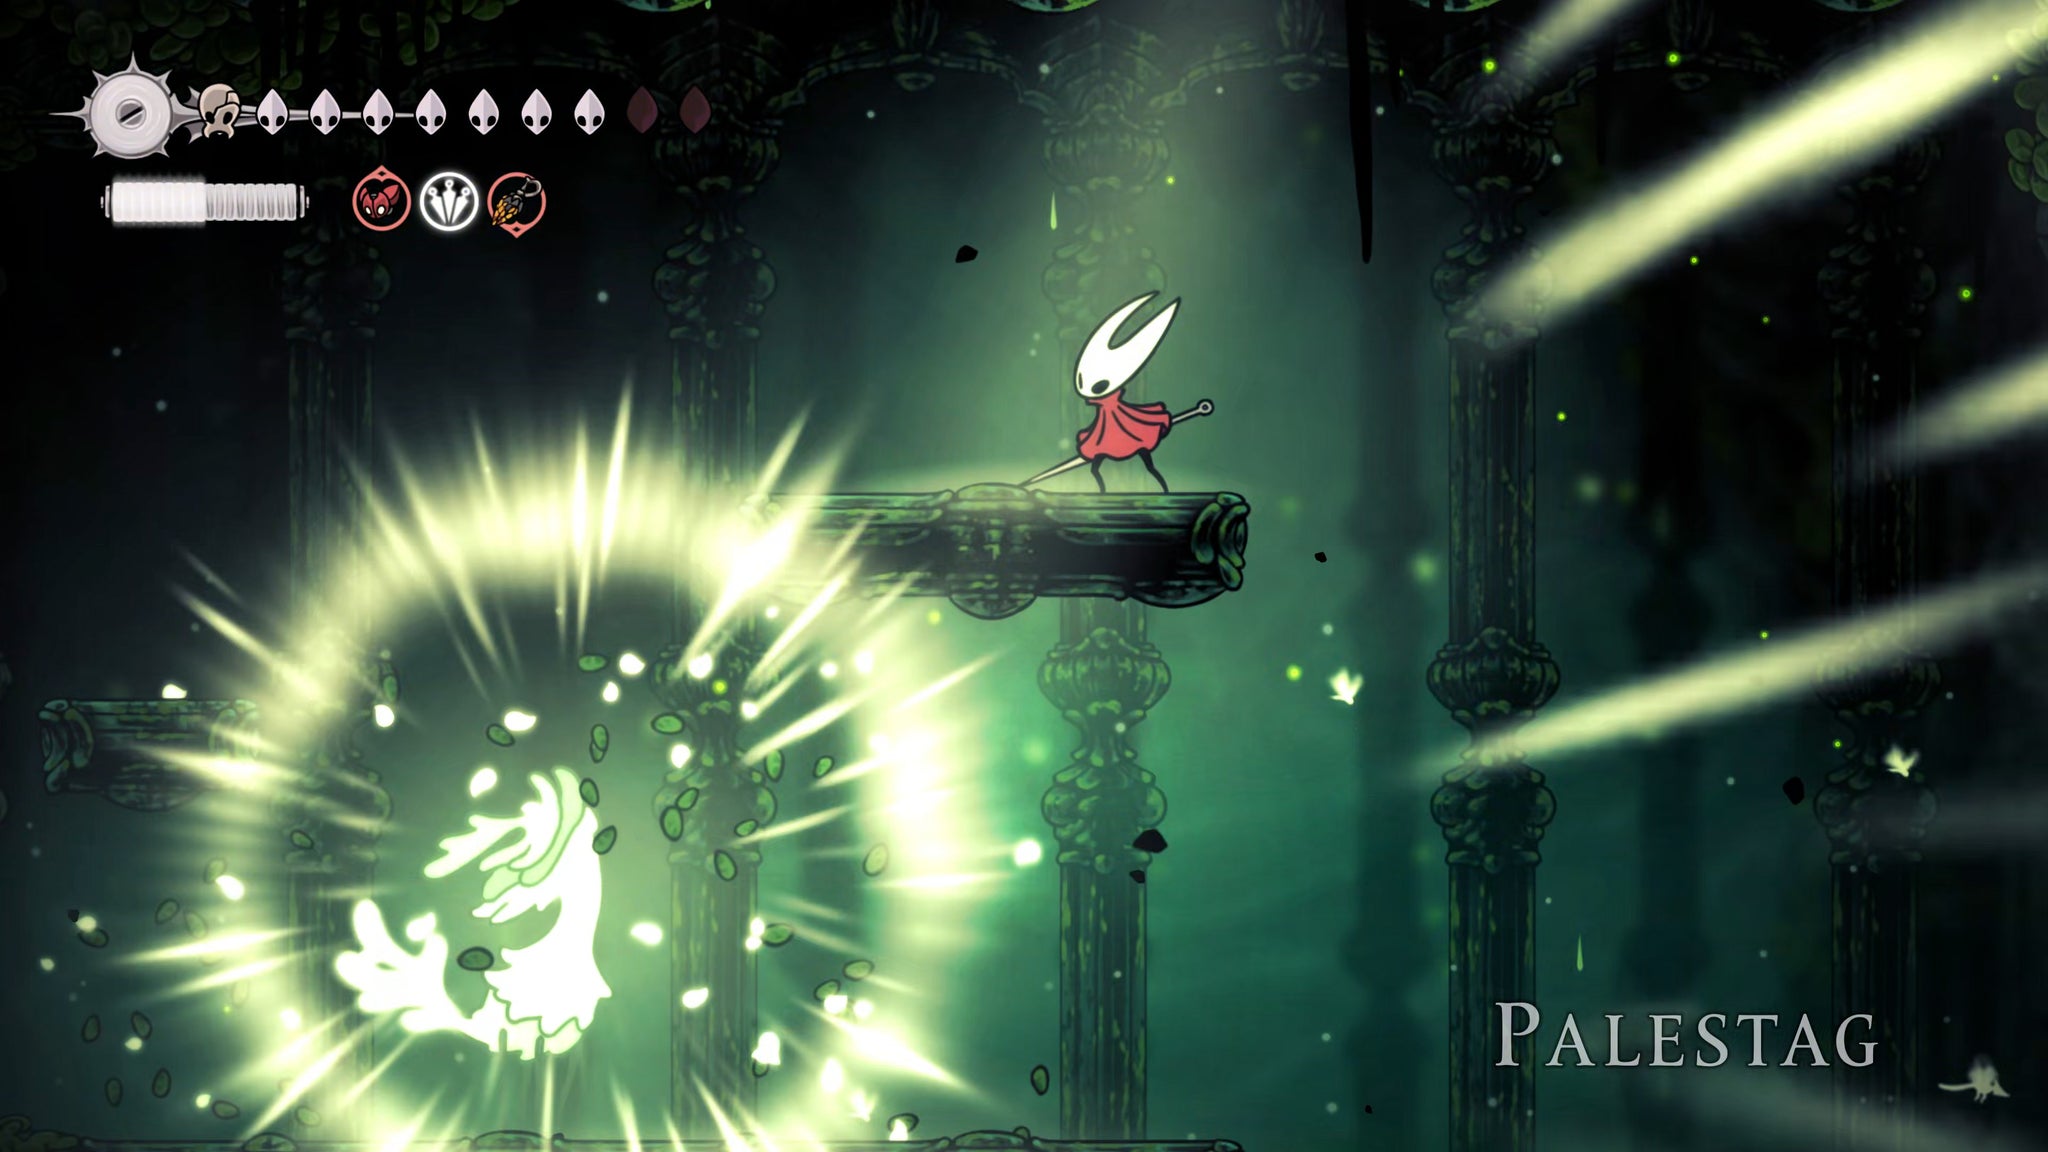
Image credit:Rock Paper Shotgun/Team Cherry
Defeating the Palestag is the final step of unlocking the Green Prince’s home, so it must be done - sad though it is to end such a beautiful creature. It isn’t half annoying though, as it attacks only by conjuring endless spinning projectiles of light at random heights to assault you. It also teleports away as you get close, so if you’re reliant on melee attacks you’ll only manage a single hit or two at most before you have to chase it to the other side of the arena again.
This is an extremely simple fight, really. There’s only the one phase, although the Palestag will ramp up its rate of attacks as its health depletes. It can get mighty difficult to avoid every projectile in this arena, and you can’t hide behind the ledges because the projectiles will go right through them.
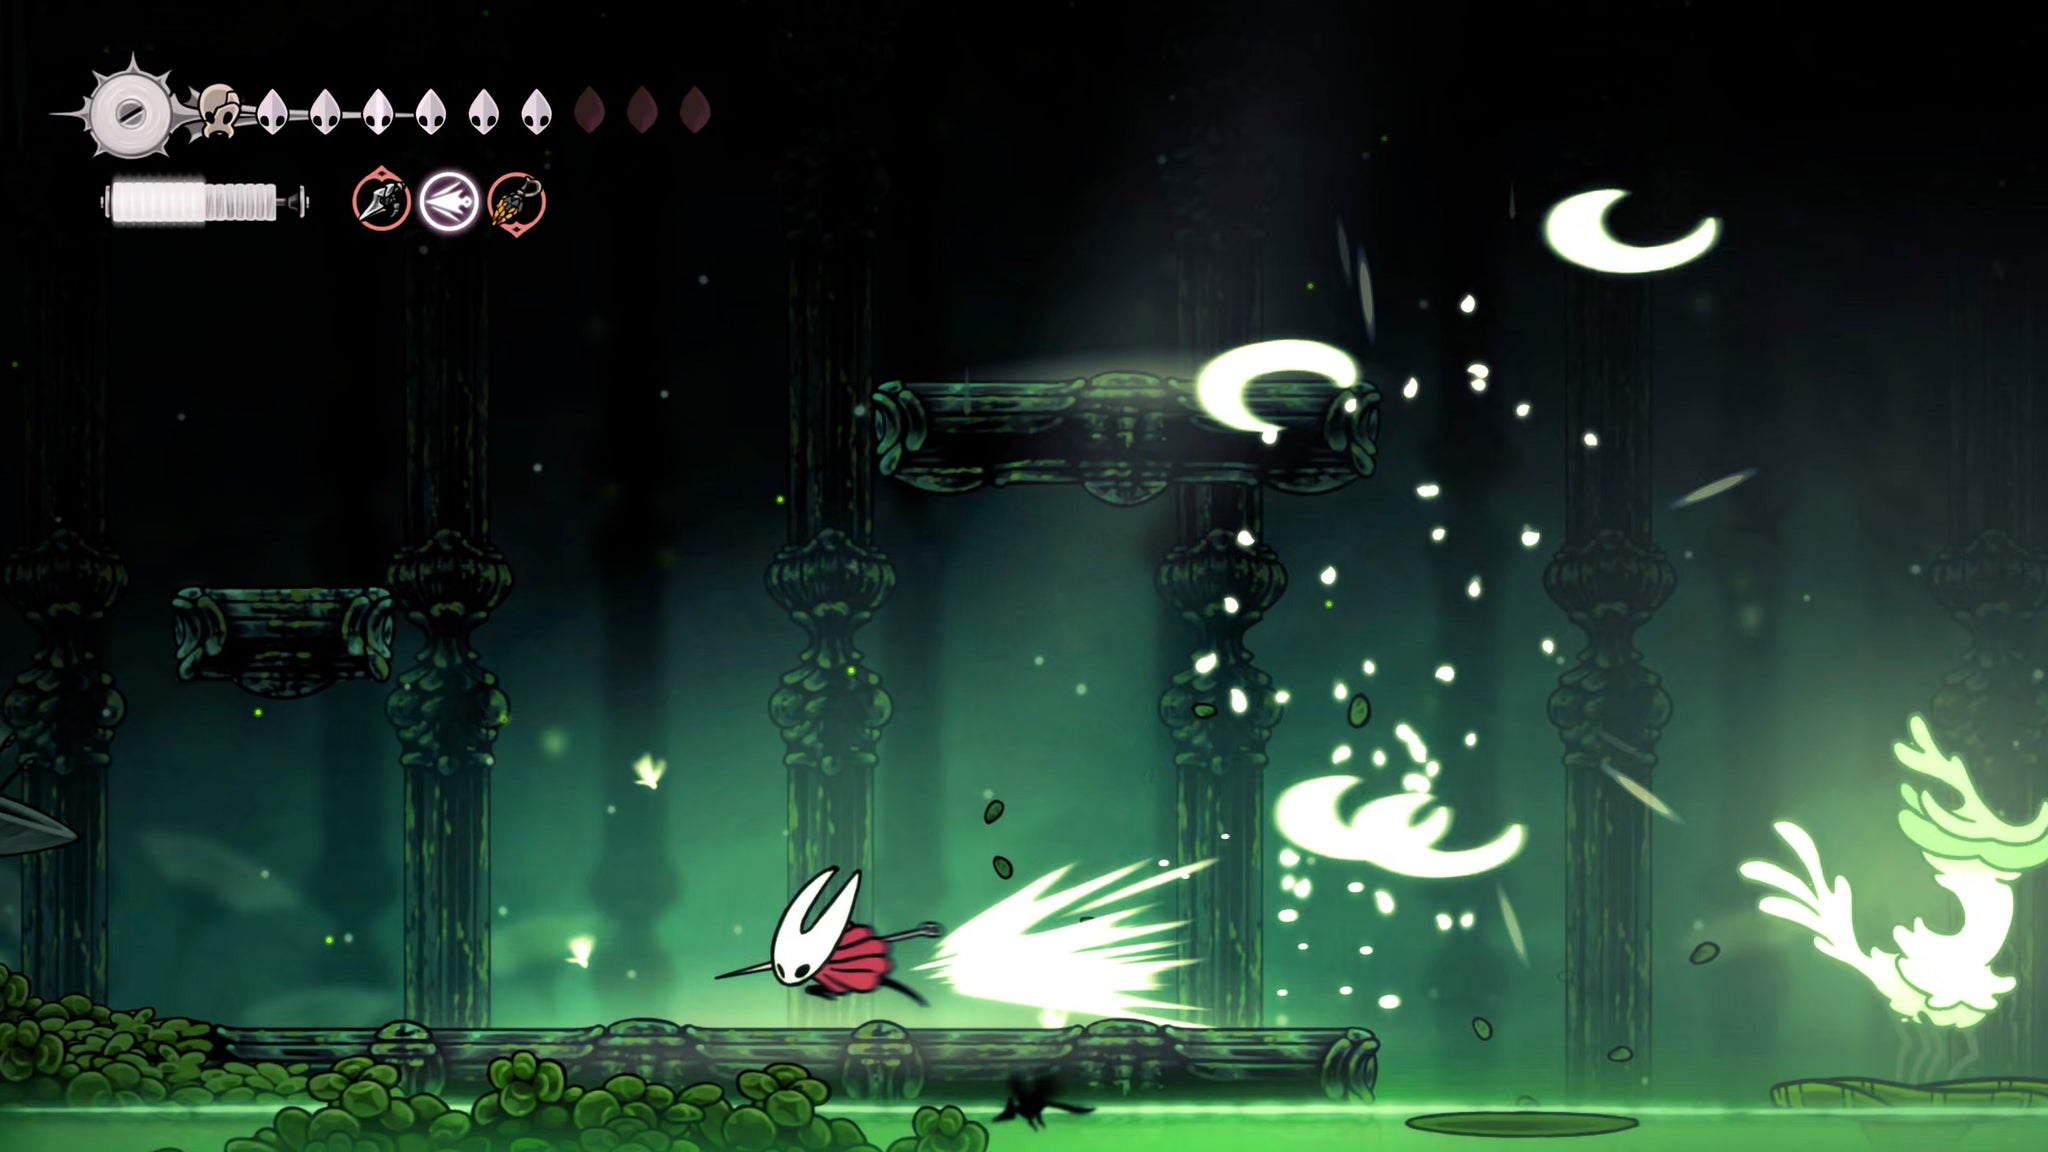
Image credit:Rock Paper Shotgun/Team Cherry
The best strategy against the Palestag is to equip yourself with powerful ranged attacks and burst it down quickly. I used my old reliable Silkspear imbued with electricity from the Volt Filament tool; and I also used my long-ranged Silkshot attack tool. With ranged weapons like these, you’ll quickly realise that the Palestag doesn’t have that much health to speak of.
Once it dies, it will leave behind a trail of essence to collect - the last of Verdania’s remaining essence, thankfully. Collect it all, and then exit via the left-hand path and drop down from the top of the vertical shaft to reach familiar territory once more.
9. Enter the Green Prince’s home.
Descend the shaft until you reach the right-hand exit halfway up, and then head east until you’re at the base of the Green Prince’s home once more. Climb up to the top and you’ll find the Green Prince has disappeared, and so too has the Silk background. Instead there’s a gleaming tree home to enter.
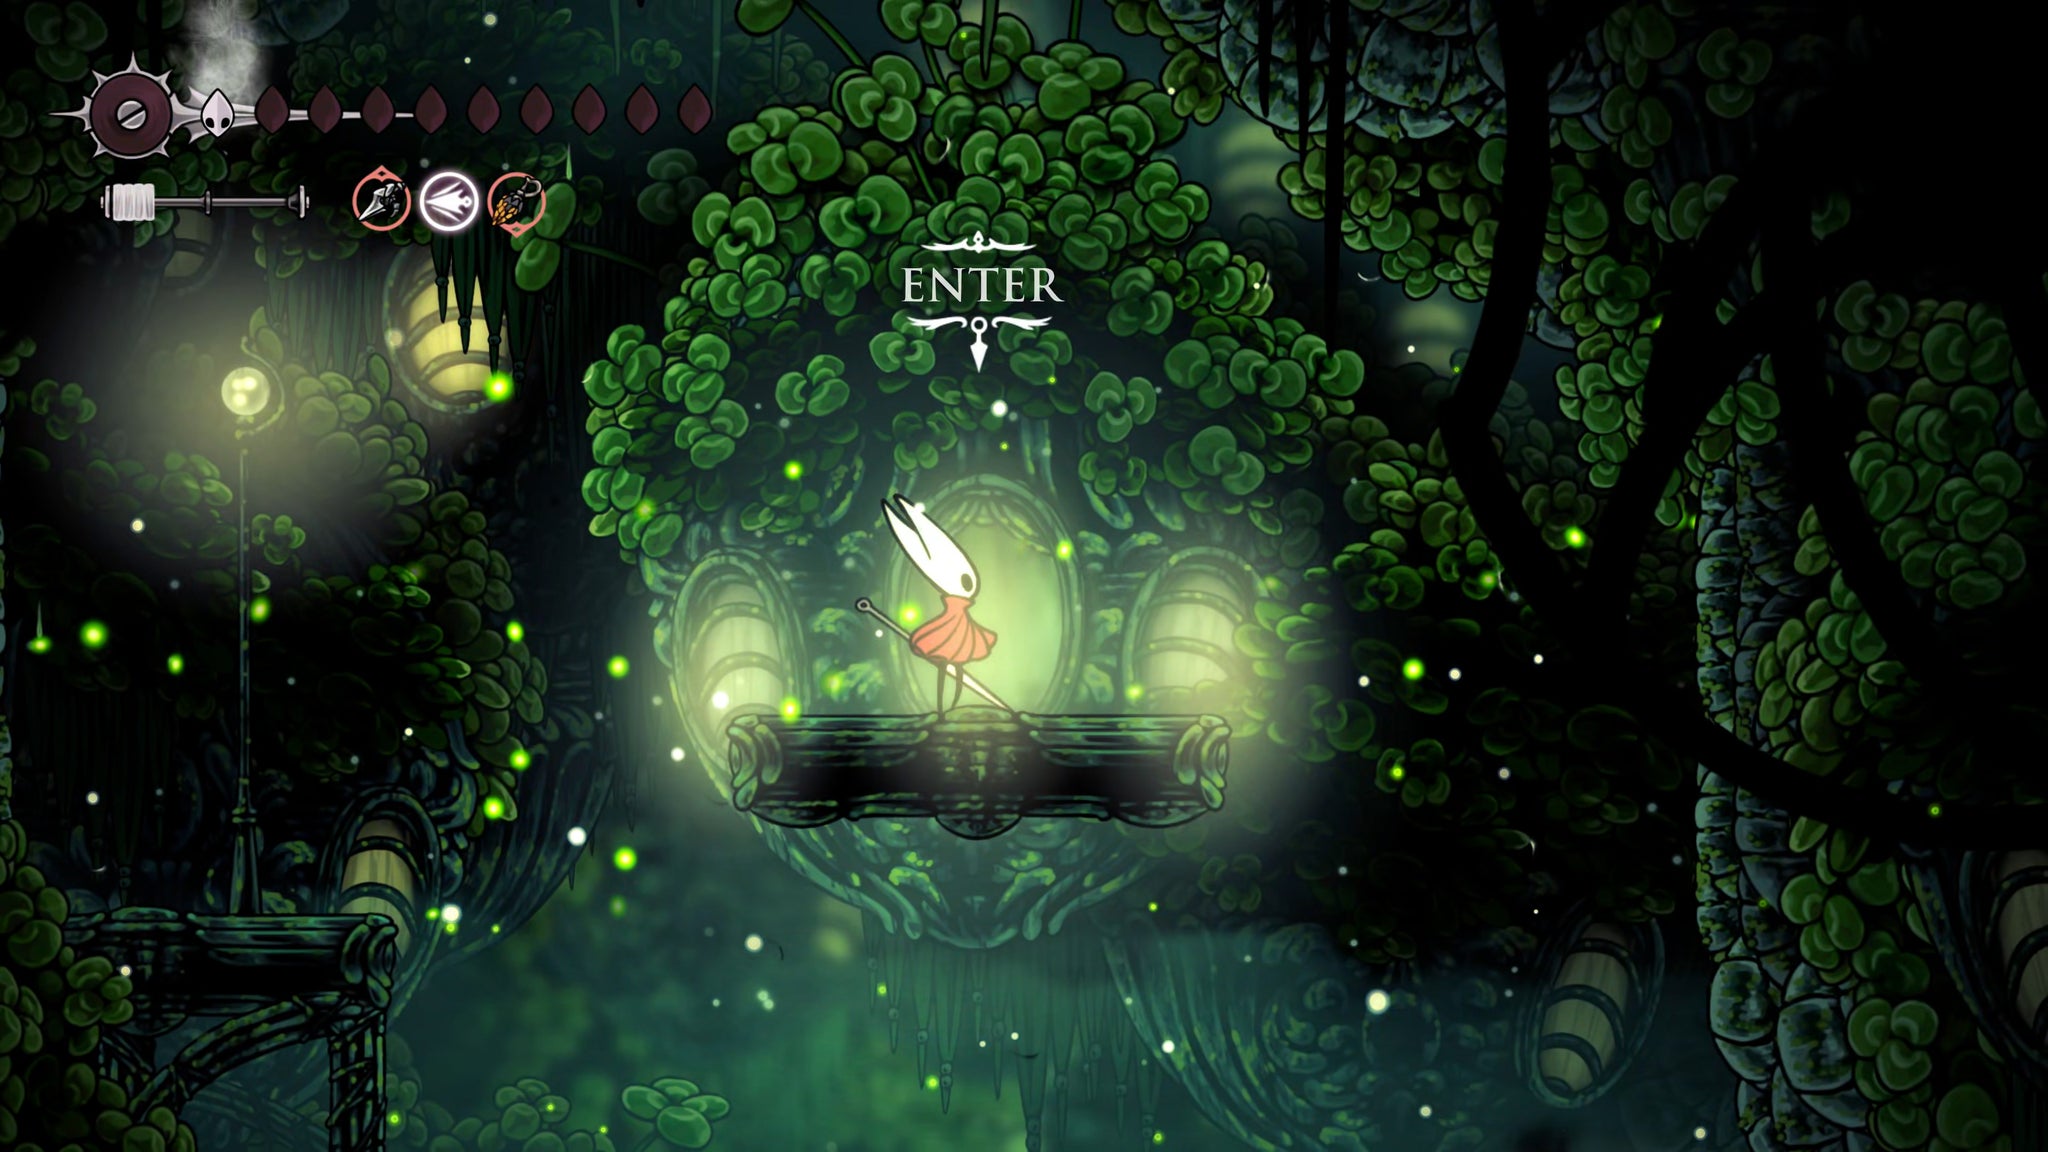
Image credit:Rock Paper Shotgun/Team Cherry
Once you’re inside, head right until you reach a narrow shaft, then climb up it and head left. The other areas aren’t worth exploring, but you can anyway if you want to.
Waiting for you at the top of his home is the Green Prince himself. He becomes angered at your “intrusion” into his thoughts, memories, and grief - and can you blame him, really? Thus begins the final test of Verdania - your fight against the Clover Dancers.
10. Defeat the Clover Dancers for the Conjoined Heart.
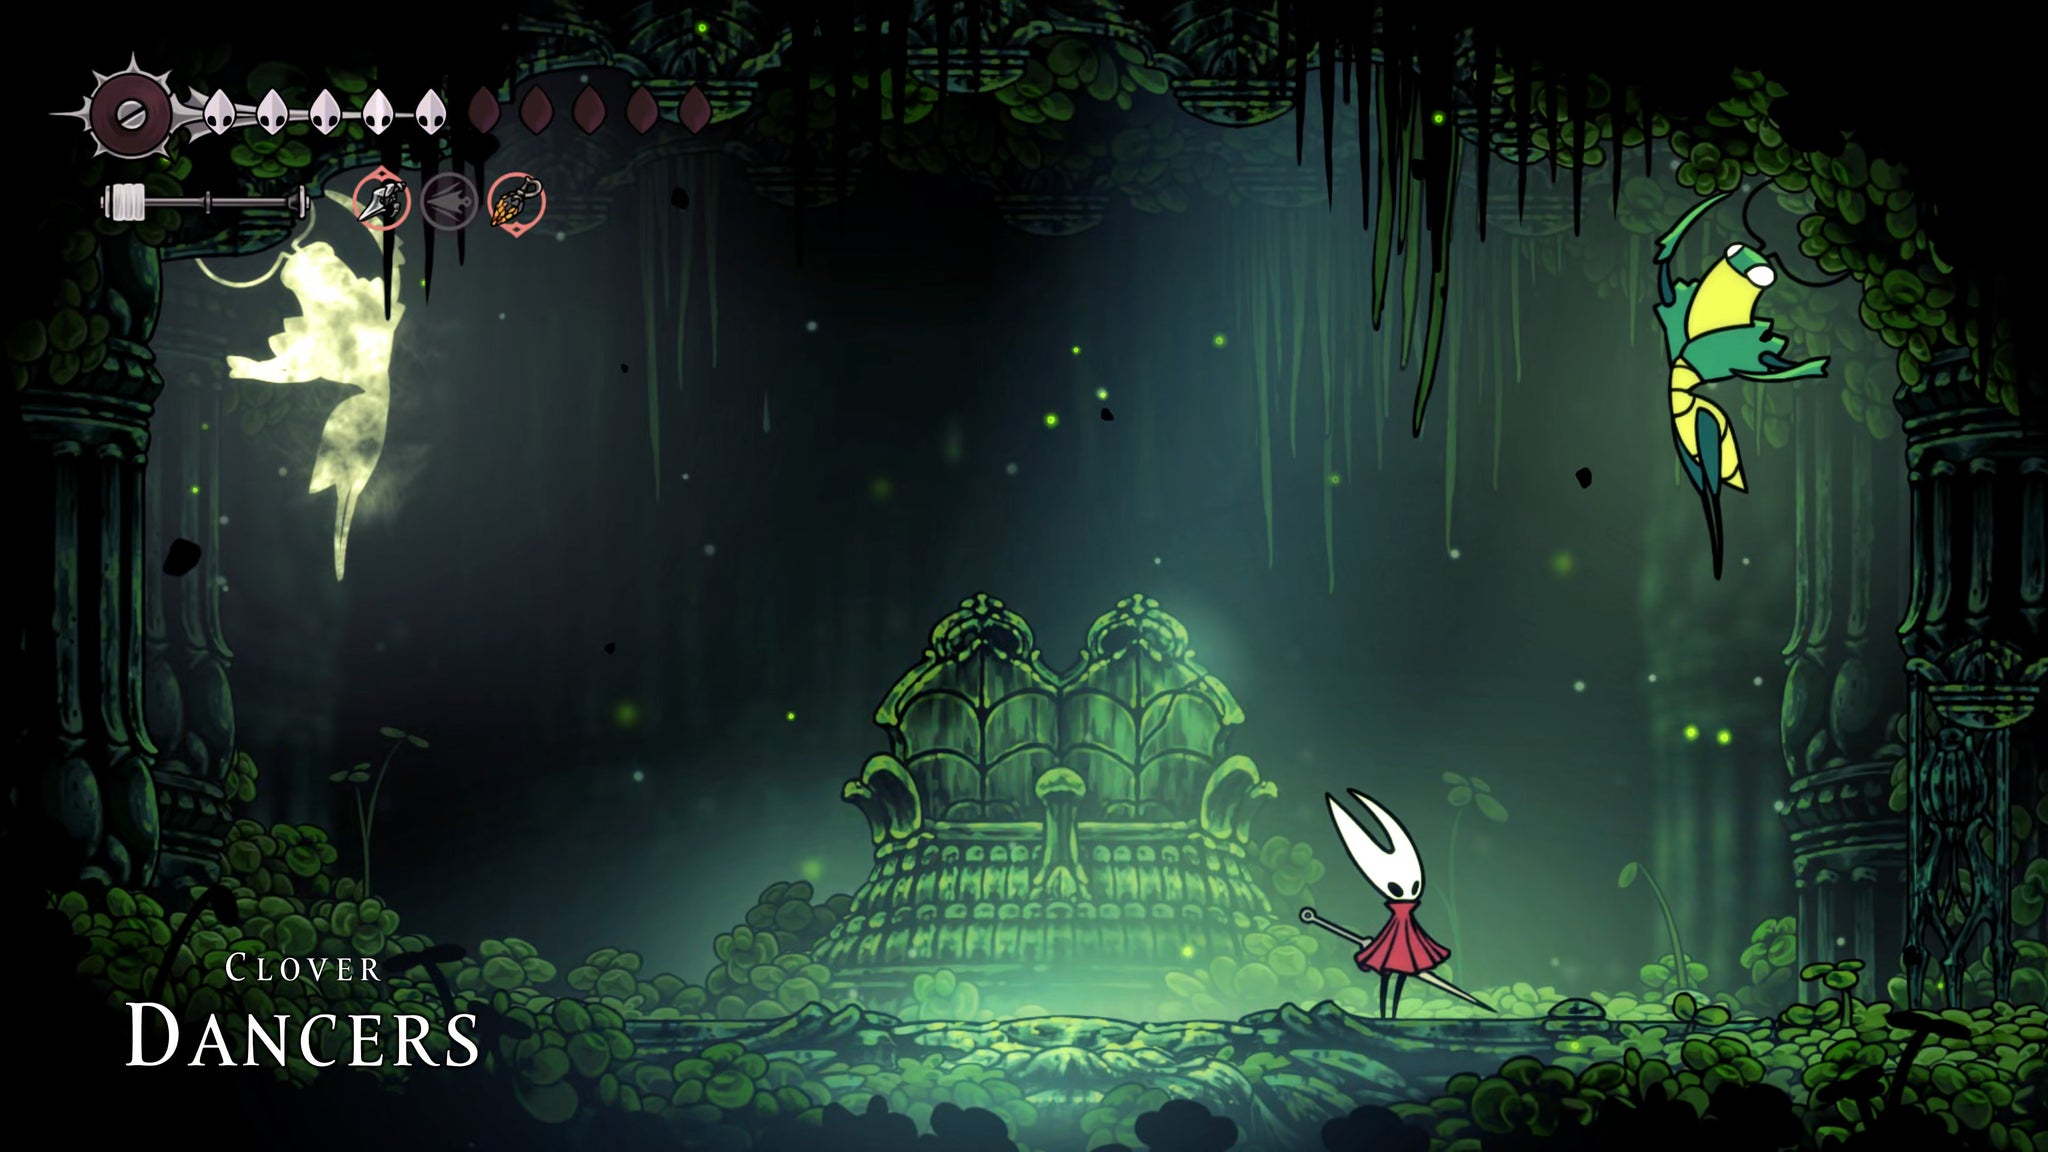
Image credit:Rock Paper Shotgun/Team Cherry
The Clover Dancers are modelled very closely to the Cogwork Dancers fight - or in fact, vice versa. So this fight should be very familiar to you.
The downside is that there are two key differences which make the Clover Dancers fight a fair bit harder. First: one of the Dancers is incorporeal. Only the Green Prince can be harmed, so you just have to evade the other Dancer.
Secondly, when the Dancers come together in the centre of the arena, they will generate a spinning vortex which can move either clockwise or counterclockwise. You can’t dodge through the vortex to avoid it, so you have to run along with its rotational movement, using clawline if need be to quickly get over the Dancers to the other side of the arena.
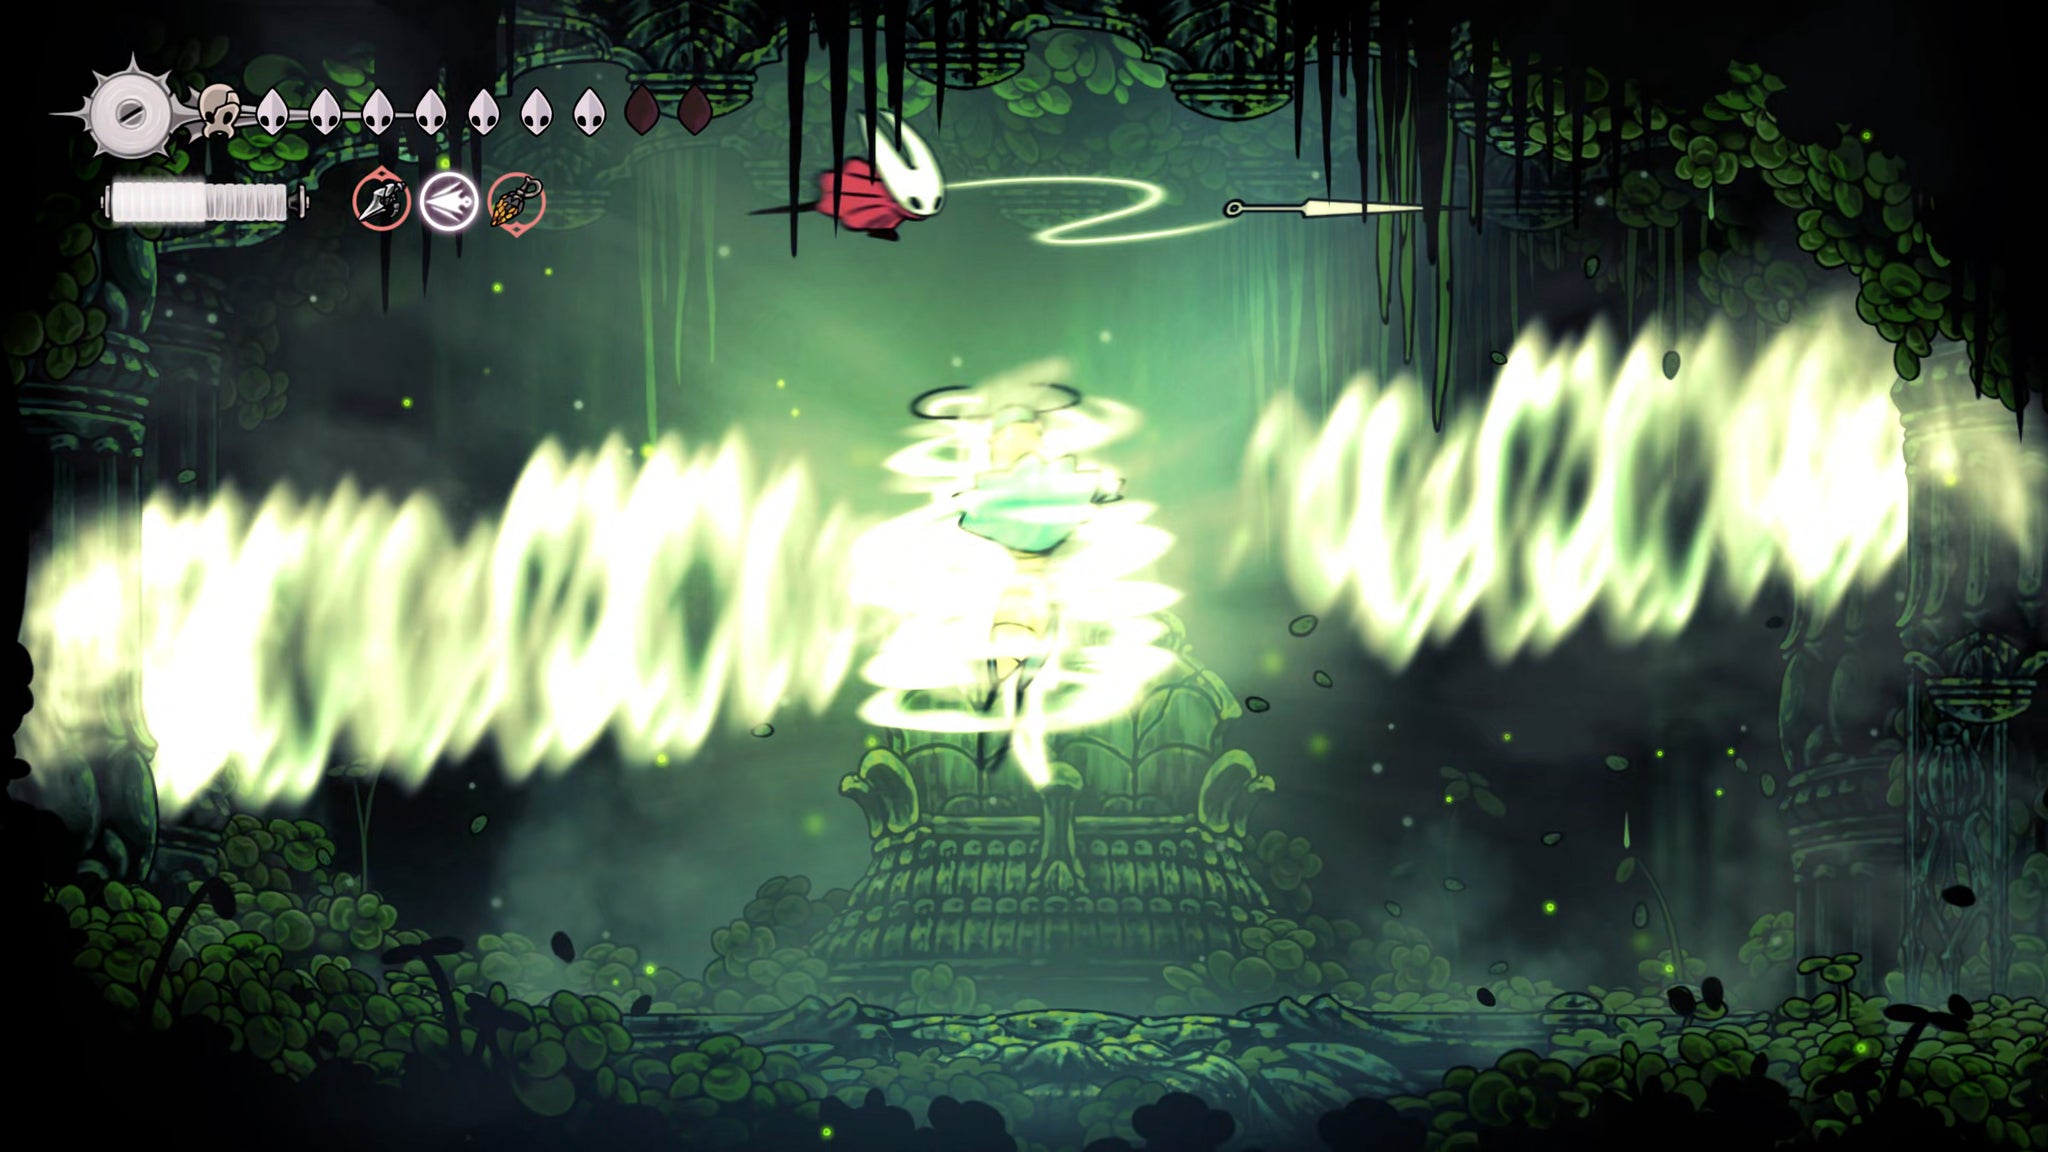
Image credit:Rock Paper Shotgun/Team Cherry
There are only two phases to the Clover Dancers fight, which makes it considerably easier than it may have been. In the first phase, the Dancers move in unison; in the second phase, they move out of step with each other.
Remember to give the Dancers a wide berth if they land on the floor, because they’ll lash out in either direction while landing and hit you if you’re nearby. Just focus on hounding the Green Prince wherever he goes. Because their movements are highly telegraphed, this is a great fight to use the Flintslate to augment your damage, because you will know ahead of time when might be a good moment to get several hits in.
As late-game bosses go, the Clover Dancers aren’t that bad really. A bit of perseverance and you’ll defeat them once and for all.
Image credit:Rock Paper Shotgun/Team Cherry
As a poignant reward for your efforts, once the fight ends you’ll reawaken in Verdania, and before you the Green Prince is dead, huddled close with the Cogwork Dancer corpse. At their feet, you can take the Conjoined Heart as a memento to place inside your Bellhome in Bellhart.
Fun fact - the Conjoined Heart could actually have been used as one of the three Hearts needed for the Old Hearts quest. If you do this, then whichever Old Heart you leave out of the quest would become the memento to place in your Bellhome. I did it this way around because it feels neater. The Green Prince deserved his own story and chapter.
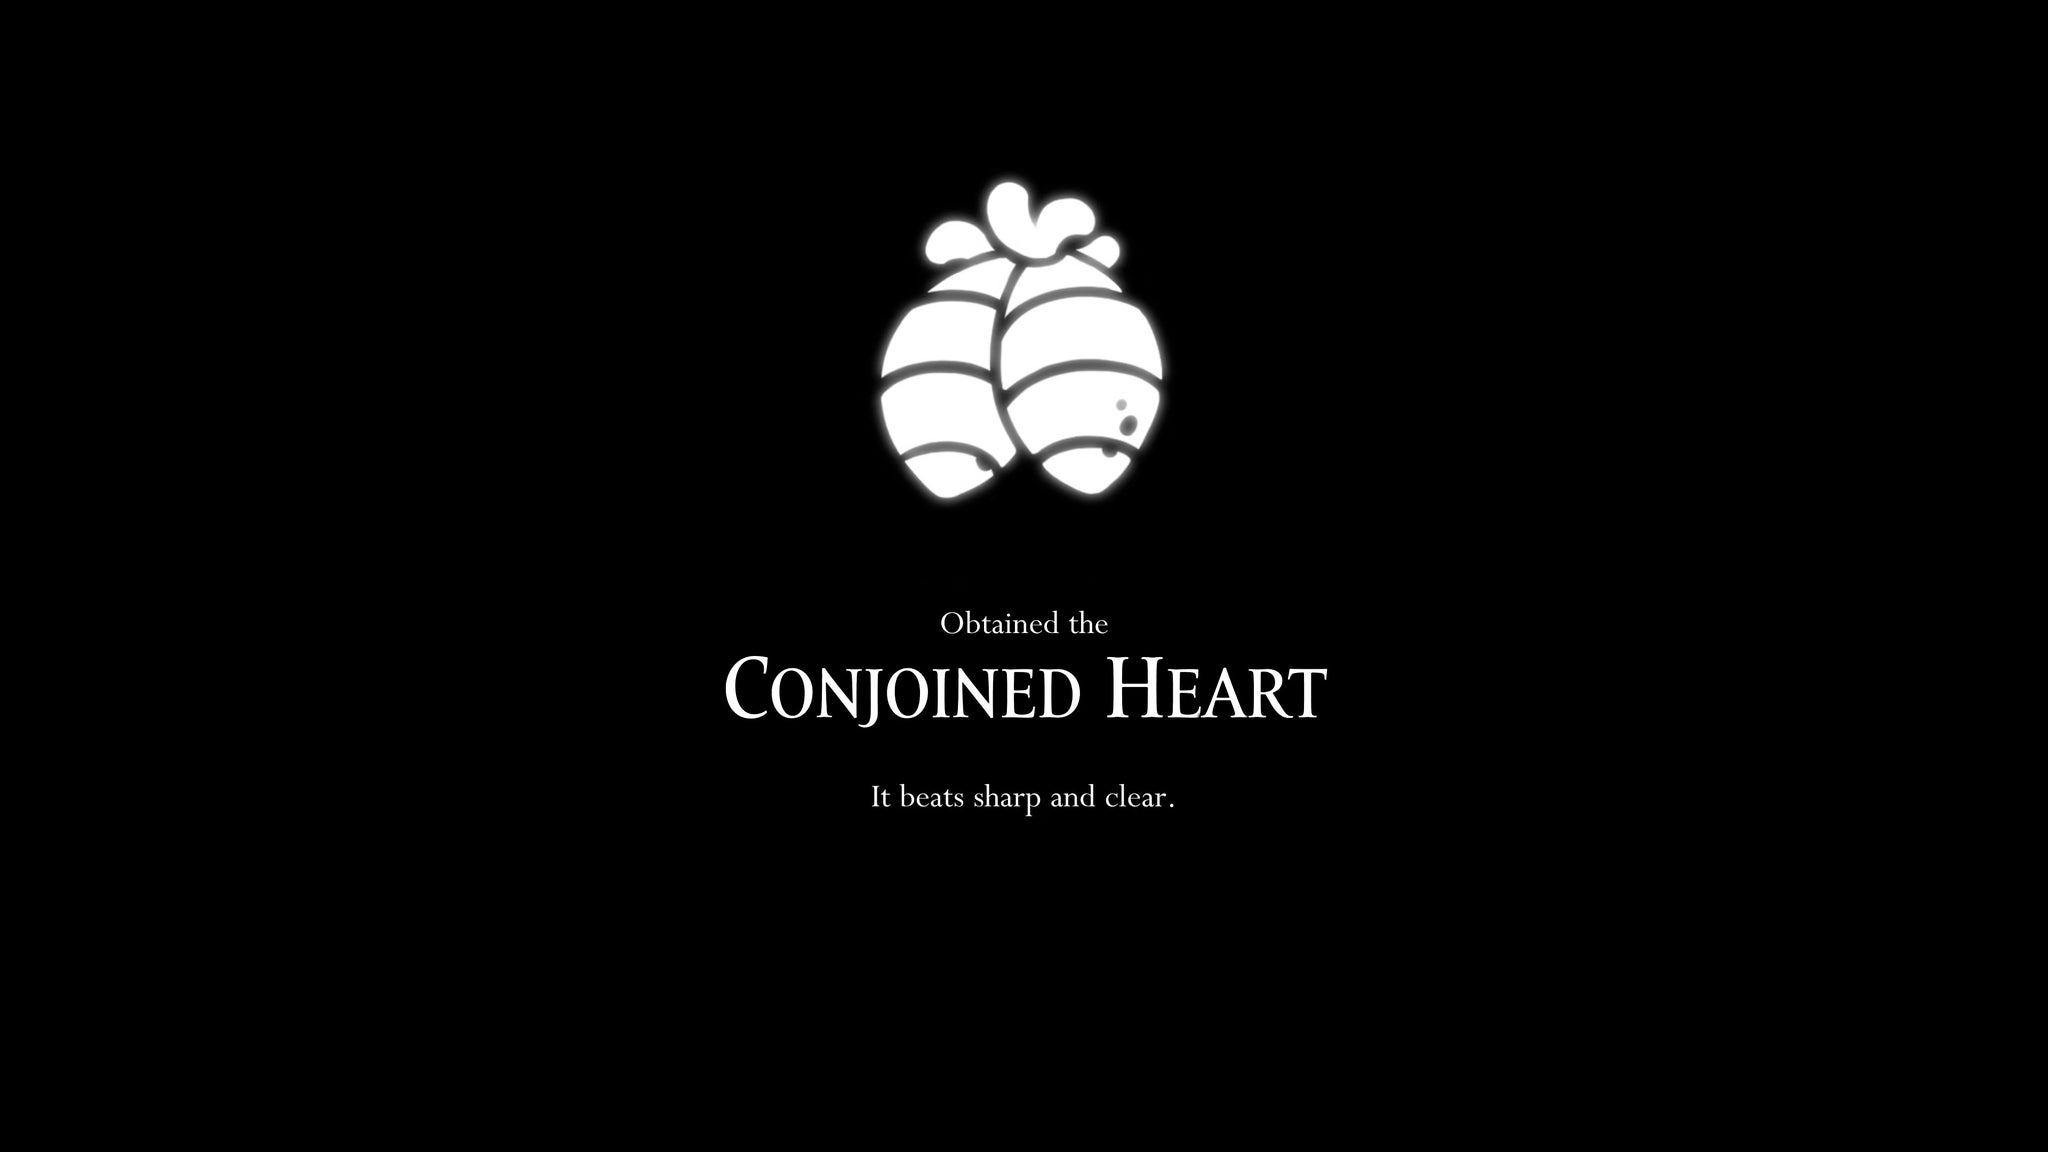
Image credit:Rock Paper Shotgun/Team Cherry
That brings our journey through Lost Verdania to an end. We’re nearly at the Act 3 finish line, so it’s now time to do a final wrap-up of various remaining quests and boss battles before we take the fight back down into The Abyss. Join us in Part 38 of our Silksong walkthrough to keep following along!


Hollow Knight: Silksong
PC , Nintendo Switch
Rock Paper Shotgun is better when you sign in
Sign in and join us on our journey to discover strange and compelling PC games.

All 75 Arc Raiders Blueprints and where to get them
These areas have the highest chance of giving you Blueprints

Image credit:Rock Paper Shotgun/Embark Studios

Looking for more Arc Raiders Blueprints? It’s a special day when you find a Blueprint, as they’re among the most valuable items in Arc Raiders. If you find a Blueprint that you haven’t already found, then you must make sure you hold onto it at all costs, because Blueprints are the key to one of the most important and powerful systems of meta-progression in the game.
This guide aims to be the very best guide on Blueprints you can find, starting with a primer on what exactly they are and how they work in Arc Raiders, before delving into exactly where to get Blueprints and the very best farming spots for you to take in your search.
We’ll also go over how to get Blueprints from other unlikely activities, such as destroying Surveyors and completing specific quests. And you’ll also find the full list of all 75 Blueprints in Arc Raiders on this page (including the newest Blueprints added with the Cold Snap update , such as the Deadline Blueprint and Firework Box Blueprint), giving you all the information you need to expand your own crafting repertoire.
In this guide:
- What are Blueprints in Arc Raiders?
- Full Blueprint list: All crafting recipes
- Where to find Blueprints in Arc Raiders Blueprints obtained from quests Blueprints obtained from Trials Best Blueprint farming locations

What are Blueprints in Arc Raiders?
Blueprints in Arc Raiders are special items which, if you manage to extract with them, you can expend to permanently unlock a new crafting recipe in your Workshop. If you manage to extract from a raid with an Anvil Blueprint, for example, you can unlock the ability to craft your very own Anvil Pistol, as many times as you like (as long as you have the crafting materials).
To use a Blueprint, simply open your Inventory while in the lobby, then right-click on the Blueprint and click “Learn And Consume” . This will permanently unlock the recipe for that item in your Workshop. As of the Stella Montis update, there are allegedly 75 different Blueprints to unlock - although only 68 are confirmed to be in the game so far. You can see all the Blueprints you’ve found and unlocked by going to the Workshop menu, and hitting “R” to bring up the Blueprint screen.
It’s possible to find duplicates of past Blueprints you’ve already unlocked. If you find these, then you can either sell them, or - if you like to play with friends - you can take it into a match and gift it to your friend so they can unlock that recipe for themselves. Another option is to keep hold of them until the time comes to donate them to the Expedition.
Full Blueprint list: All crafting recipes
Below is the full list of all the Blueprints that are currently available to find in Arc Raiders, and the crafting recipe required for each item:
| Blueprint | Type | Recipe | Crafted At |
|---|---|---|---|
| Bettina | Weapon | 3x Advanced Mechanical Components 3x Heavy Gun Parts 3x Canister | Gunsmith 3 |
| Blue Light Stick | Quick Use | 3x Chemicals | Utility Station 1 |
| Aphelion | Weapon | 3x Magnetic Accelerator 3x Complex Gun Parts 1x Matriarch Reactor | Gunsmith 3 |
| Combat Mk. 3 (Flanking) | Augment | 2x Advanced Electrical Components 3x Processor | Gear Bench 3 |
| Combat Mk. 3 (Aggressive) | Augment | 2x Advanced Electrical Components 3x Processor | Gear Bench 3 |
| Complex Gun Parts | Material | 2x Light Gun Parts 2x Medium Gun Parts 2x Heavy Gun Parts | Refiner 3 |
| Fireworks Box | Quick Use | 1x Explosive Compound 3x Pop Trigger | Explosives Station 2 |
| Gas Mine | Mine | 4x Chemicals 2x Rubber Parts | Explosives Station 1 |
| Green Light Stick | Quick Use | 3x Chemicals | Utility Station 1 |
| Pulse Mine | Mine | 1x Crude Explosives 1x Wires | Explosives Station 1 |
| Seeker Grenade | Grenade | 1x Crude Explosives 2x ARC Alloy | Explosives Station 1 |
| Looting Mk. 3 (Survivor) | Augment | 2x Advanced Electrical Components 3x Processor | Gear Bench 3 |
| Angled Grip II | Mod | 2x Mechanical Components 3x Duct Tape | Gunsmith 2 |
| Angled Grip III | Mod | 2x Mod Components 5x Duct Tape | Gunsmith 3 |
| Hullcracker | Weapon | 1x Magnetic Accelerator 3x Heavy Gun Parts 1x Exodus Modules | Gunsmith 3 |
| Launcher Ammo | Ammo | 5x Metal Parts 1x Crude Explosives | Workbench 1 |
| Anvil | Weapon | 5x Mechanical Components 5x Simple Gun Parts | Gunsmith 2 |
| Anvil Splitter | Mod | 2x Mod Components 3x Processor | Gunsmith 3 |
| ??? | ??? | ??? | ??? |
| Barricade Kit | Quick Use | 1x Mechanical Components | Utility Station 2 |
| Blaze Grenade | Grenade | 1x Explosive Compound 2x Oil | Explosives Station 3 |
| Bobcat | Weapon | 3x Advanced Mechanical Components 3x Light Gun Parts | Gunsmith 3 |
| Osprey | Weapon | 2x Advanced Mechanical Components 3x Medium Gun Parts 7x Wires | Gunsmith 3 |
| Burletta | Weapon | 3x Mechanical Components 3x Simple Gun Parts | Gunsmith 1 |
| Compensator II | Mod | 2x Mechanical Components 4x Wires | Gunsmith 2 |
| Compensator III | Mod | 2x Mod Components 8x Wires | Gunsmith 3 |
| Defibrillator | Quick Use | 9x Plastic Parts 1x Moss | Medical Lab 2 |
| ??? | ??? | ??? | ??? |
| Equalizer | Weapon | 3x Magnetic Accelerator 3x Complex Gun Parts 1x Queen Reactor | Gunsmith 3 |
| Extended Barrel | Mod | 2x Mod Components 8x Wires | Gunsmith 3 |
| Extended Light Mag II | Mod | 2x Mechanical Components 3x Steel Spring | Gunsmith 2 |
| Extended Light Mag III | Mod | 2x Mod Components 5x Steel Spring | Gunsmith 3 |
| Extended Medium Mag II | Mod | 2x Mechanical Components 3x Steel Spring | Gunsmith 2 |
| Extended Medium Mag III | Mod | 2x Mod Components 5x Steel Spring | Gunsmith 3 |
| Extended Shotgun Mag II | Mod | 2x Mechanical Components 3x Steel Spring | Gunsmith 2 |
| Extended Shotgun Mag III | Mod | 2x Mod Components 5x Steel Spring | Gunsmith 3 |
| Remote Raider Flare | Quick Use | 2x Chemicals 4x Rubber Parts | Utility Station 1 |
| Heavy Gun Parts | Material | 4x Simple Gun Parts | Refiner 2 |
| Venator | Weapon | 2x Advanced Mechanical Components 3x Medium Gun Parts 5x Magnet | Gunsmith 3 |
| Il Toro | Weapon | 5x Mechanical Components 6x Simple Gun Parts | Gunsmith 1 |
| Jolt Mine | Mine | 1x Electrical Components 1x Battery | Explosives Station 2 |
| Explosive Mine | Mine | 1x Explosive Compound 1x Sensors | Explosives Station 3 |
| Jupiter | Weapon | 3x Magnetic Accelerator 3x Complex Gun Parts 1x Queen Reactor | Gunsmith 3 |
| Light Gun Parts | Material | 4x Simple Gun Parts | Refiner 2 |
| Lightweight Stock | Mod | 2x Mod Components 5x Duct Tape | Gunsmith 3 |
| Lure Grenade | Grenade | 1x Speaker Component 1x Electrical Components | Utility Station 2 |
| Medium Gun Parts | Material | 4x Simple Gun Parts | Refiner 2 |
| Torrente | Weapon | 2x Advanced Mechanical Components 3x Medium Gun Parts 6x Steel Spring | Gunsmith 3 |
| Muzzle Brake II | Mod | 2x Mechanical Components 4x Wires | Gunsmith 2 |
| Muzzle Brake III | Mod | 2x Mod Components 8x Wires | Gunsmith 3 |
| Padded Stock | Mod | 2x Mod Components 5x Duct Tape | Gunsmith 3 |
| Shotgun Choke II | Mod | 2x Mechanical Components 4x Wires | Gunsmith 2 |
| Shotgun Choke III | Mod | 2x Mod Components 8x Wires | Gunsmith 3 |
| Shotgun Silencer | Mod | 2x Mod Components 8x Wires | Gunsmith 3 |
| Showstopper | Grenade | 1x Advanced Electrical Components 1x Voltage Converter | Explosives Station 3 |
| Silencer I | Mod | 2x Mechanical Components 4x Wires | Gunsmith 2 |
| Silencer II | Mod | 2x Mod Components 8x Wires | Gunsmith 3 |
| Snap Hook | Quick Use | 2x Power Rod 3x Rope 1x Exodus Modules | Utility Station 3 |
| Stable Stock II | Mod | 2x Mechanical Components 3x Duct Tape | Gunsmith 2 |
| Stable Stock III | Mod | 2x Mod Components 5x Duct Tape | Gunsmith 3 |
| Tagging Grenade | Grenade | 1x Electrical Components 1x Sensors | Utility Station 3 |
| Tempest | Weapon | 3x Advanced Mechanical Components 3x Medium Gun Parts 3x Canister | Gunsmith 3 |
| Trigger Nade | Grenade | 2x Crude Explosives 1x Processor | Explosives Station 2 |
| Vertical Grip II | Mod | 2x Mechanical Components 3x Duct Tape | Gunsmith 2 |
| Vertical Grip III | Mod | 2x Mod Components 5x Duct Tape | Gunsmith 3 |
| Vita Shot | Quick Use | 2x Antiseptic 1x Syringe | Medical Lab 3 |
| Vita Spray | Quick Use | 3x Antiseptic 1x Canister | Medical Lab 3 |
| Vulcano | Weapon | 1x Magnetic Accelerator 3x Heavy Gun Parts 1x Exodus Modules | Gunsmith 3 |
| Wolfpack | Grenade | 2x Explosive Compound 2x Sensors | Explosives Station 3 |
| Red Light Stick | Quick Use | 3x Chemicals | Utility Station 1 |
| Smoke Grenade | Grenade | 14x Chemicals 1x Canister | Utility Station 2 |
| Deadline | Mine | 3x Explosive Compound 2x ARC Circuitry | Explosives Station 3 |
| Trailblazer | Grenade | 1x Explosive Compound 1x Synthesized Fuel | Explosives Station 3 |
| Tactical Mk. 3 (Defensive) | Augment | 2x Advanced Electrical Components 3x Processor | Gear Bench 3 |
| Tactical Mk. 3 (Healing) | Augment | 2x Advanced Electrical Components 3x Processor | Gear Bench 3 |
| Yellow Light Stick | Quick Use | 3x Chemicals | Utility Station 1 |
Note: The missing Blueprints in this list likely have not actually been added to the game at the time of writing, because none of the playerbase has managed to find any of them. As they are added to the game, I will update this page with the most relevant information so you know exactly how to get all 75 Arc Raiders Blueprints.
Where to find Blueprints in Arc Raiders
Below is a list of all containers, modifiers, and events which maximise your chances of finding Blueprints:
- Certain quests reward you with specific Blueprints .
- Completing Trials has a high chance of offering Blueprints as rewards.
- Surveyors have a decent chance of dropping Blueprints on death.
- High loot value areas tend to have a greater chance of spawning Blueprints.
- Night Raids and Storms may increase rare Blueprint spawn chances in containers.
- Containers with higher numbers of items may have a higher tendency to spawn Blueprints. As a result, Blue Gate (which has many “large” containers containing multiple items) may give you a higher chance of spawning Blueprints.
- Raider containers (Raider Caches, Weapon Boxes, Medical Bags, Grenade Tubes) have increased Blueprint drop rates. As a result, the Uncovered Caches event gives you a high chance of finding Blueprints.
- Security Lockers have a higher than average chance of containing Blueprints.
- Certain Blueprints only seem to spawn under specific circumstances: Tempest Blueprint only spawns during Night Raid events. Vulcano Blueprint only spawns during Hidden Bunker events. Jupiter and Equaliser Blueprints only spawn during Harvester events.

Raider Caches, Weapon Boxes, and other raider-oriented container types have a good chance of offering Blueprints. |Image credit:Rock Paper Shotgun/Embark Studios
Blueprints have a very low chance of spawning in any container in Arc Raiders, around 1-2% on average. However, there is a higher chance of finding Blueprints in particular container types. Specifically, you can find more Blueprints in Raider containers and security lockers.
Beyond this, if you’re looking for Blueprints you should focus on regions of the map which are marked as having particularly high-value loot. Areas such as the Control Tower in Dam Battlegrounds, the Arrival and Departure Buildings in Spaceport, and Pilgrim’s Peak in Blue Gate all have a better-than-average chance of spawning Blueprints somewhere amongst all their containers. Night Raids and Electromagnetic Storm events also increase the drop chances of certain Blueprints .
In addition to these containers, you can often loot Blueprints from destroyed Surveyors - the largest of the rolling ball ARC. Surveyors are more commonly found on the later maps - Spaceport and Blue Gate - and if one spawns in your match, you’ll likely see it by the blue laser beam that it casts into the sky while “surveying”.
Surveyors are quite well-armoured and will very speedily run away from you once it notices you, but if you can take one down then make sure you loot all its parts for a chance of obtaining certain unusual Blueprints.
Blueprints obtained from quests
One way in which you can get Blueprints is by completing certain quests for the vendors in Speranza. Some quests will reward you with a specific item Blueprint upon completion, so as long as you work through all the quests in Arc Raiders, you are guaranteed those Blueprints.
Here is the full list of all Blueprints you can get from quest rewards:
- Trigger Nade Blueprint: Rewarded after completing “Sparks Fly”.
- Lure Grenade Blueprint: Rewarded after completing “Greasing Her Palms”.
- Burletta Blueprint: Rewarded after completing “Industrial Espionage”.
- Hullcracker Blueprint (and Launcher Ammo Blueprint): Rewarded after completing “The Major’s Footlocker”.
Alas, that’s only 4 Blueprints out of a total of 75 to unlock, so for the vast majority you will need to find them yourself during a raid. If you’re intent on farming Blueprints, then it’s best to equip yourself with cheap gear in case you lose it, but don’t use a free loadout because then you won’t get a safe pocket to stash any new Blueprint you find. No pain in Arc Raiders is sharper than failing to extract with a new Blueprint you’ve been after for a dozen hours already.

One of the best ways to get Blueprints is by hitting three stars on all five Trials every week. |Image credit:Rock Paper Shotgun/Embark Studios
Blueprints obtained from Trials
One of the very best ways to get Blueprints is as rewards for completing Trials in Arc Raiders. Trials are unlocked from Level 15 onwards, and allow you to earn rewards by focusing on certain tasks over the course of several raids. For example, one Trial might task you with dealing damage to Hornets, while another might challenge you to loot Supply Drops.
Trials refresh on a weekly basis, with a new week bringing five new Trials. Each Trial can offer up to three rewards after passing certain score milestones, and it’s possible to receive very high level loot from these reward crates - including Blueprints. So if you want to unlock as many Blueprints as possible, you should make a point of completing as many Trials as possible each week.
Best Blueprint farming locations
The very best way to get Blueprints is to frequent specific areas of the maps which combine high-tier loot pools with the right types of containers to search. Here are my recommendations for where to find Blueprints on every map, so you can always keep the search going for new crafting recipes to unlock.

Image credit:Rock Paper Shotgun/Embark Studios
Dam Battlegrounds
The best places to farm Blueprints on Dam Battlegrounds are the Control Tower, Power Generation Complex, Ruby Residence, and Pale Apartments . The first two regions, despite only being marked on the map as mid-tier loot, contain a phenomenal number of containers to loot. The Control Tower can also contain a couple of high-tier Security Lockers - though of course, you’ll need to have unlocked the Security Breach skill at the end of the Survival tree.
There’s also a lot of reporting amongst the playerbase that the Residential areas in the top-left of the map - Pale Apartments and Ruby Residence - give you a comparatively strong chance of finding Blueprints. Considering their size, there’s a high density of containers to loot in both locations, and they also have the benefit of being fairly out of the way. So you’re more likely to have all the containers to yourself.
Buried City
The best Blueprint farming locations on Buried City are the Santa Maria Houses, Grandioso Apartments, Town Hall, and the various buildings of the New District . Grandioso Apartments has a lower number of containers than the rest, but a high chance of spawning weapon cases - which have good Blueprint drop rates. The others are high-tier loot areas, with plenty of lootable containers - including Security Lockers.
Spaceport
The best places to find Blueprints on Spaceport are the Arrival and Departure Buildings, as well as Control Tower A6 and the Launch Towers . All these areas are labelled as high-value loot regions, and many of them are also very handily connected to one another by the Spaceport wall, which you can use to quickly run from one area to the next. At the tops of most of these buildings you’ll find at least one Security Locker, so this is an excellent farming route for players looking to find Blueprints.
The downside to looting Blueprints on Spaceport is that all these areas are hotly contested, particularly in Duos and Squads. You’ll need to be very focused and fast in order to complete the full farming route.

Image credit:Rock Paper Shotgun/Embark Studios
Blue Gate
Blue Gate tends to have a good chance of dropping Blueprints, potentially because it generally has a high number of containers which can hold lots of items; so there’s a higher chance of a Blueprint spawning in each container. In my experience, the best Blueprint farming spots on Blue Gate are Pilgrim’s Peak, Raider’s Refuge, the Ancient Fort, and the Underground Complex beneath the Warehouse .
All of these areas contain a wealth of containers to loot. Raider’s Refuge has less to loot, but the majority of the containers in and around the Refuge are raider containers, which have a high chance of containing Blueprints - particularly during major events.
Stella Montis
On the whole, Stella Montis seems to have a very low drop rate for Blueprints (though a high chance of dropping other high-tier loot). If you do want to try farming Blueprints on this map, the best places to find Blueprints in Stella Montis are Medical Research, Assembly Workshop, and the Business Center . These areas have the highest density of containers to loot on the map.
In addition to this, the Western Tunnel has a few different Security Lockers to loot, so while there’s very little to loot elsewhere in this area of the map, it’s worth hitting those Security Lockers if you spawn there at the start of a match.
That wraps up this primer on how to get all the Blueprints in Arc Raiders as quickly as possible. With the Expedition system constantly resetting a large number of players’ Blueprints, it’s more important than ever to have the most up-to-date information on where to find all these Blueprints.
While you’re here, be sure to check out our Arc Raiders best guns tier list , as well as our primers on the best skills to unlock and all the different Field Depot locations on every map.


ARC Raiders
PS5 , Xbox Series X/S , PC
Rock Paper Shotgun is better when you sign in
Sign in and join us on our journey to discover strange and compelling PC games.
