Hollow Knight Silksong walkthrough: Part 36 (The Old Hearts)
Here’s how to wrest control of all 3 Old Hearts to save Pharloom
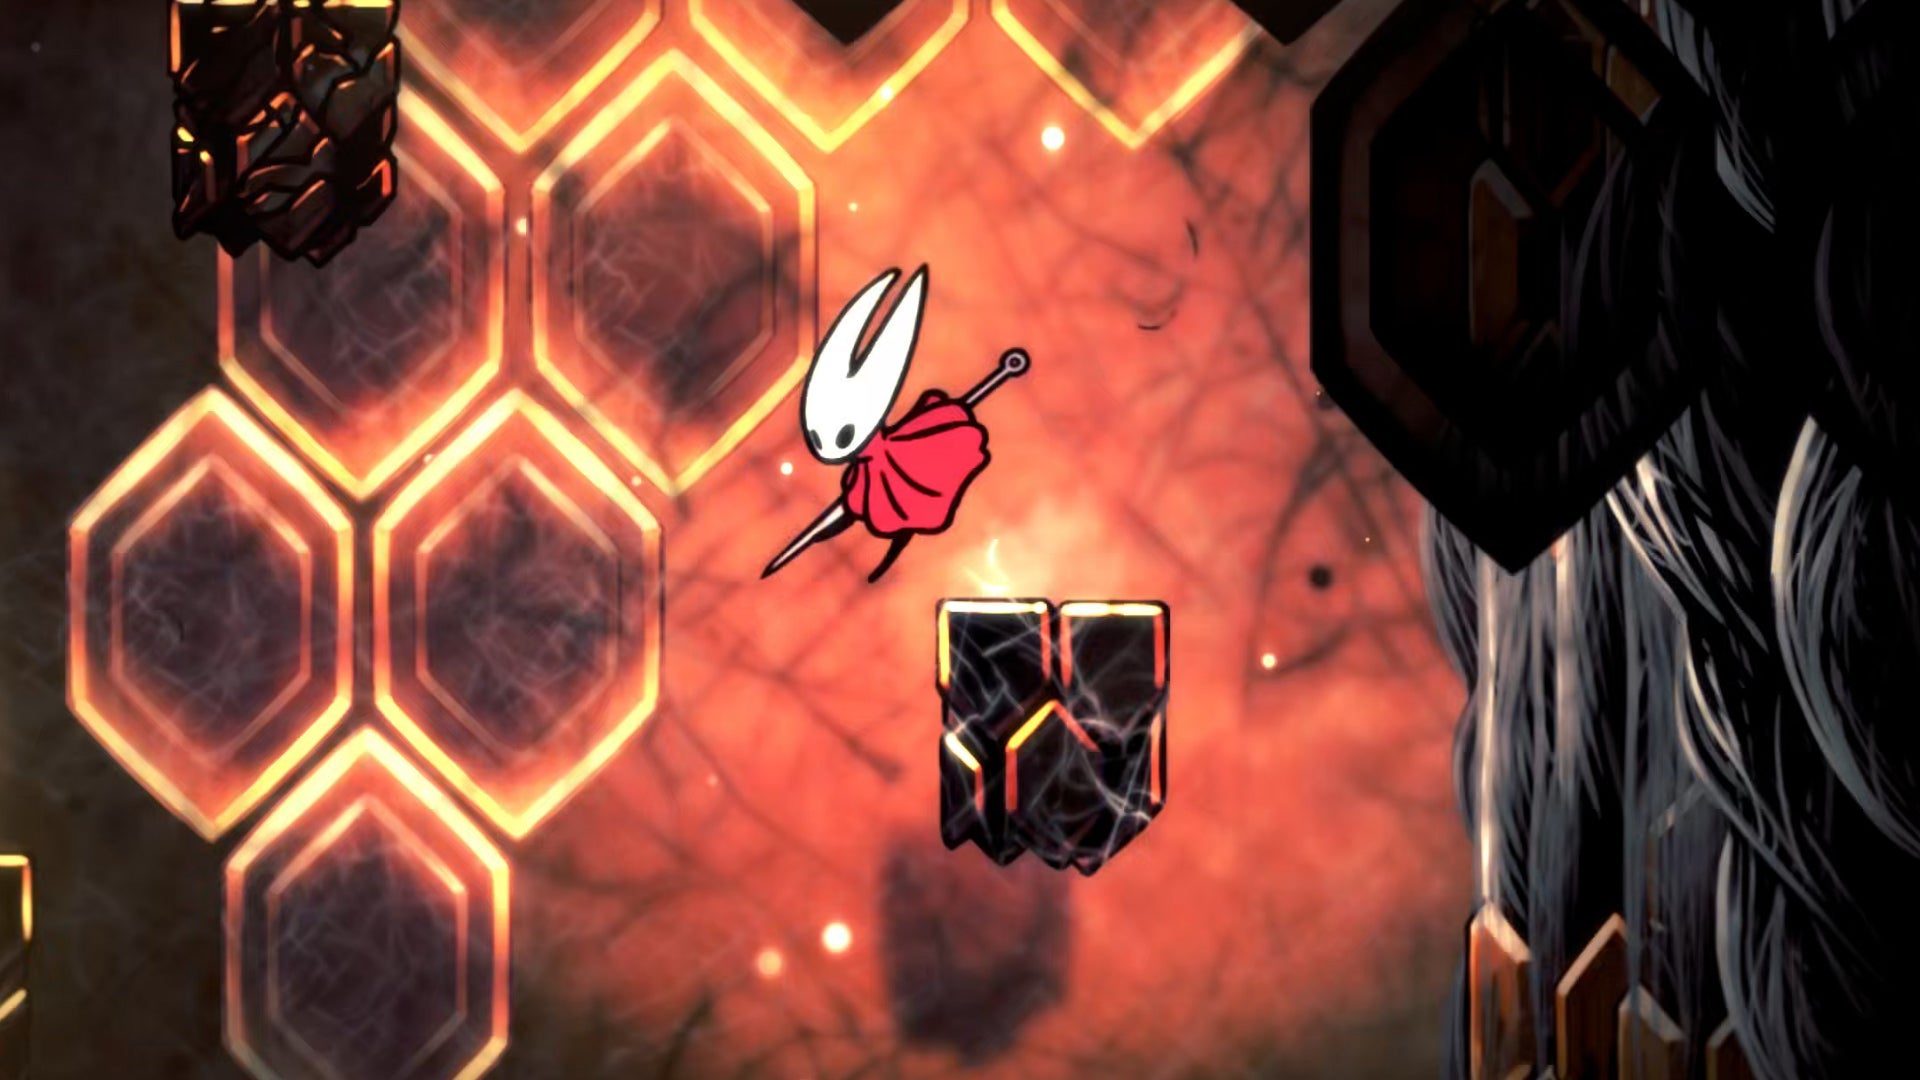
Image credit:Rock Paper Shotgun/Team Cherry

Need help beating one (or all) of the Old Hearts bosses in Hollow Knight: Silksong? Having returned from The Abyss, it’s now time to speak with the Snail Shamans again and figure out the next steps. But these next steps won’t be easy, it turns out. In fact, they’re considerably harder than the trip Hornet just took through the Abyss.
In Part 36 of our Hollow Knight: Silksong walkthrough , I’ll explain exactly where to go and what to do in order to complete The Old Hearts objective. I’ll guide you to the locations of all three Hearts, and help you to win each punishing boss fight using an assortment of practical tips and strategies.
Want the walkthrough for a different area of the game? Check out our Hollow Knight: Silksong walkthrough hub!
The Old Hearts walkthrough steps:
- Receive Elegy Of The Deep from the Snail Shamans.
- Obtain the Shaman Crest in the Ruined Chapel.
- Unlock the path to the Heart Of The Woods.
- Defeat Shrine Guardian Seth.
- Defeat Nyleth for the Pollen Heart.
- Reach the top of the Coral Tower.
- Defeat Crust King Khann for the Encrusted Heart.
- Use the secret passage inside Hunter’s March.
- Reach the Bench at the end of Far Fields.
- Obtain the Memory Locket.
- Defeat Skarrsinger Karmelita for the Hunter’s Heart.
- Enter the Red Memory to obtain the Everbloom.
1. Receive Elegy Of The Deep from the Snail Shamans.
Now that you’ve safely returned from The Abyss, you should immediately make your way back to the nearby Deep Docks Bellway, and fast travel to Bone Bottom. From there, head left and down into the top of Moss Grotto to pay the Snail Shamans another visit in their Ruined Chapel.
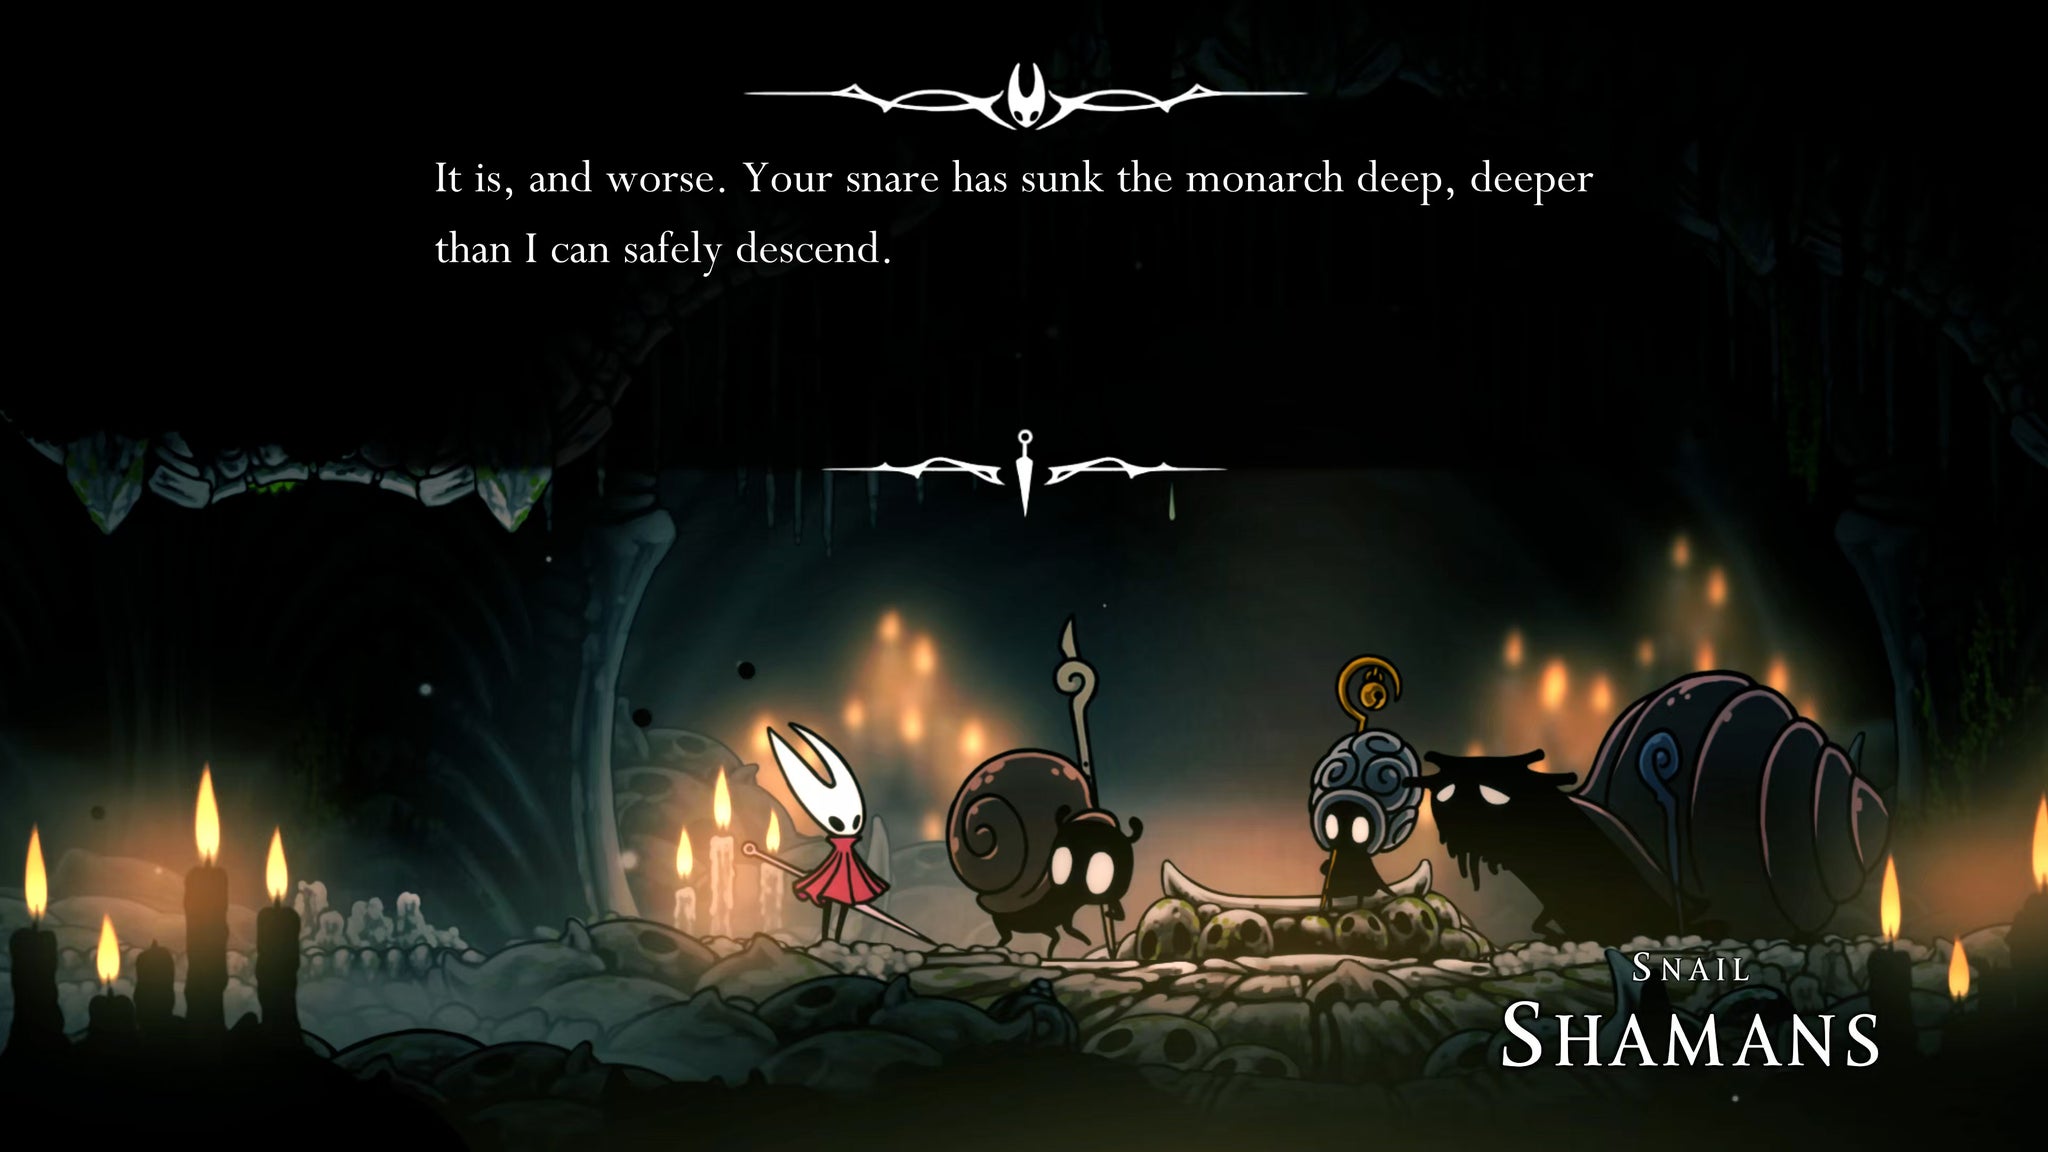
Image credit:Rock Paper Shotgun/Team Cherry
You’ll then receive another gift from the Snail Shamans - a new ability, called Elegy Of The Deep. This allows you to play your Needolin and hold downwards while you do so, in order to slip into the memories of an applicable entity. This is what will allow you to reach into the past of these three old creatures, and take their Hearts from them while they are at their most powerful.
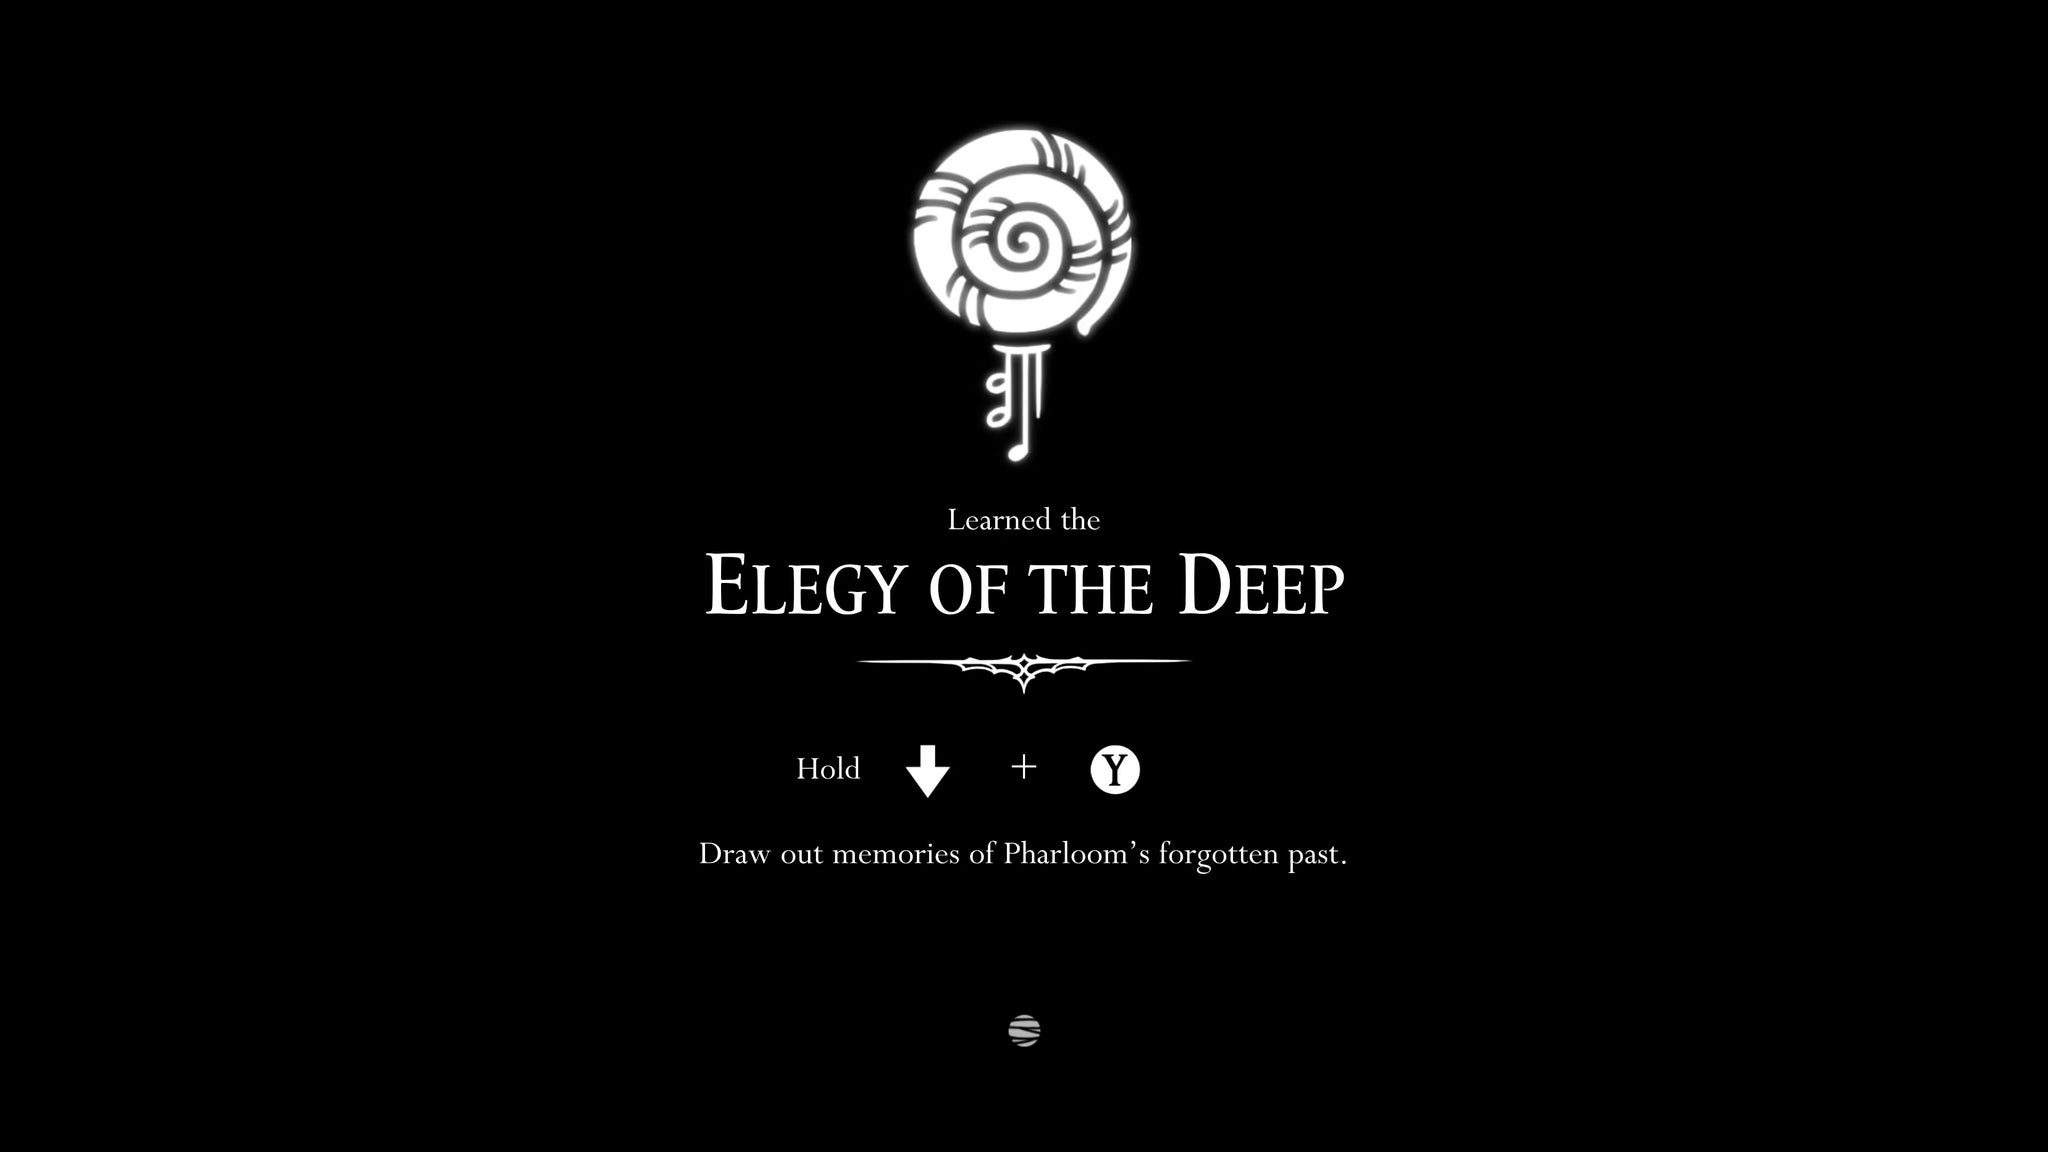
Image credit:Rock Paper Shotgun/Team Cherry
2. Obtain the Shaman Crest in the Ruined Chapel.
Before you leave the Ruined Chapel, head to the right of the Snail Shamans, into the tiny extra area with the lore tablet. Stand below where the ceiling slopes upwards to its highest point, and Silk Soar upwards to reach a hidden area.
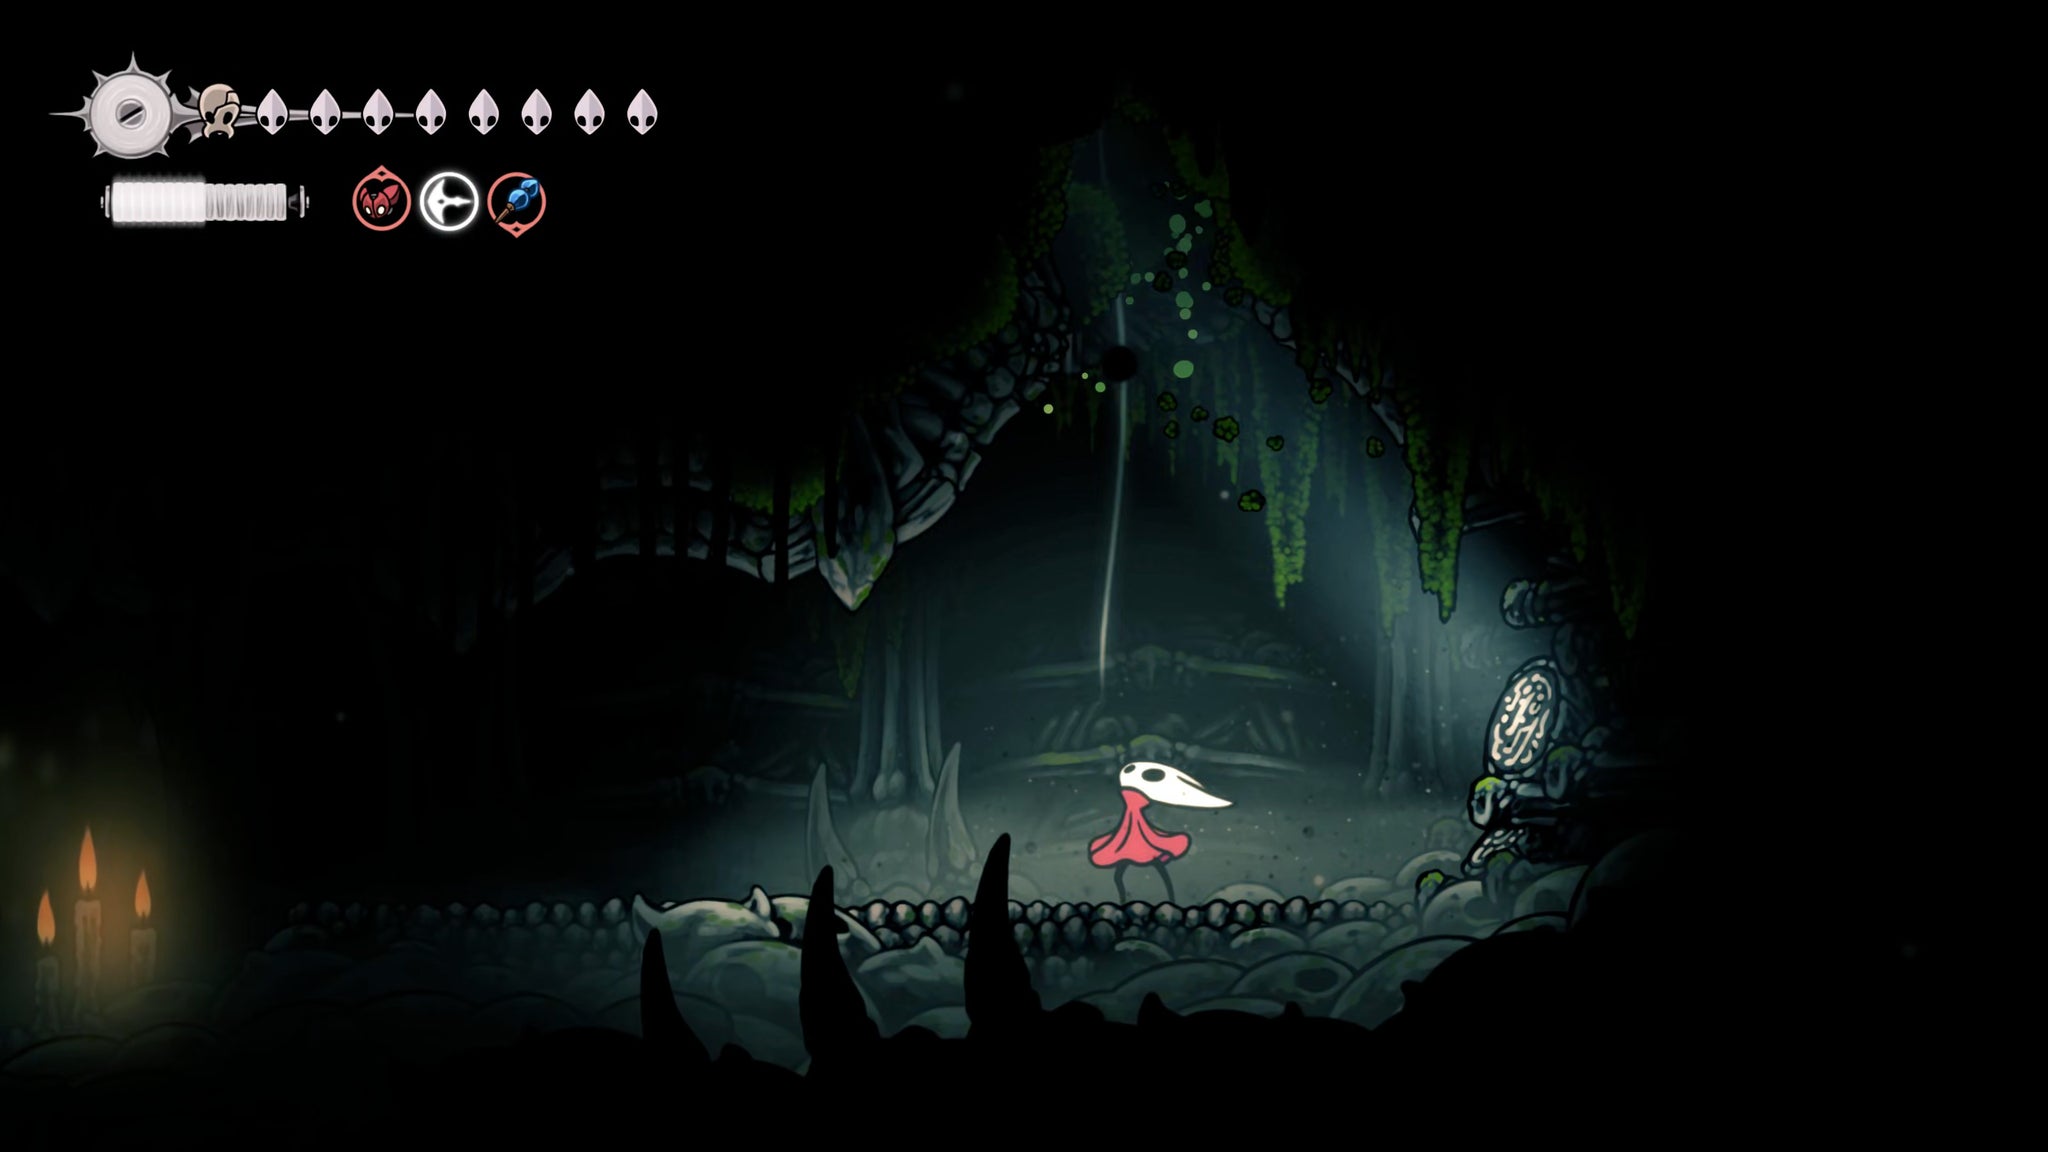
Image credit:Rock Paper Shotgun/Team Cherry
Follow the path until you reach a large breakable wall on your left. Drop down, and you’ll find another lore tablet on your left, and another breakable wall on your right. Keep breaking through the walls and then drop down the pit with all the hanging shells. At the bottom, you’ll be able to claim the final Crest in Silksong: the Shaman Crest.
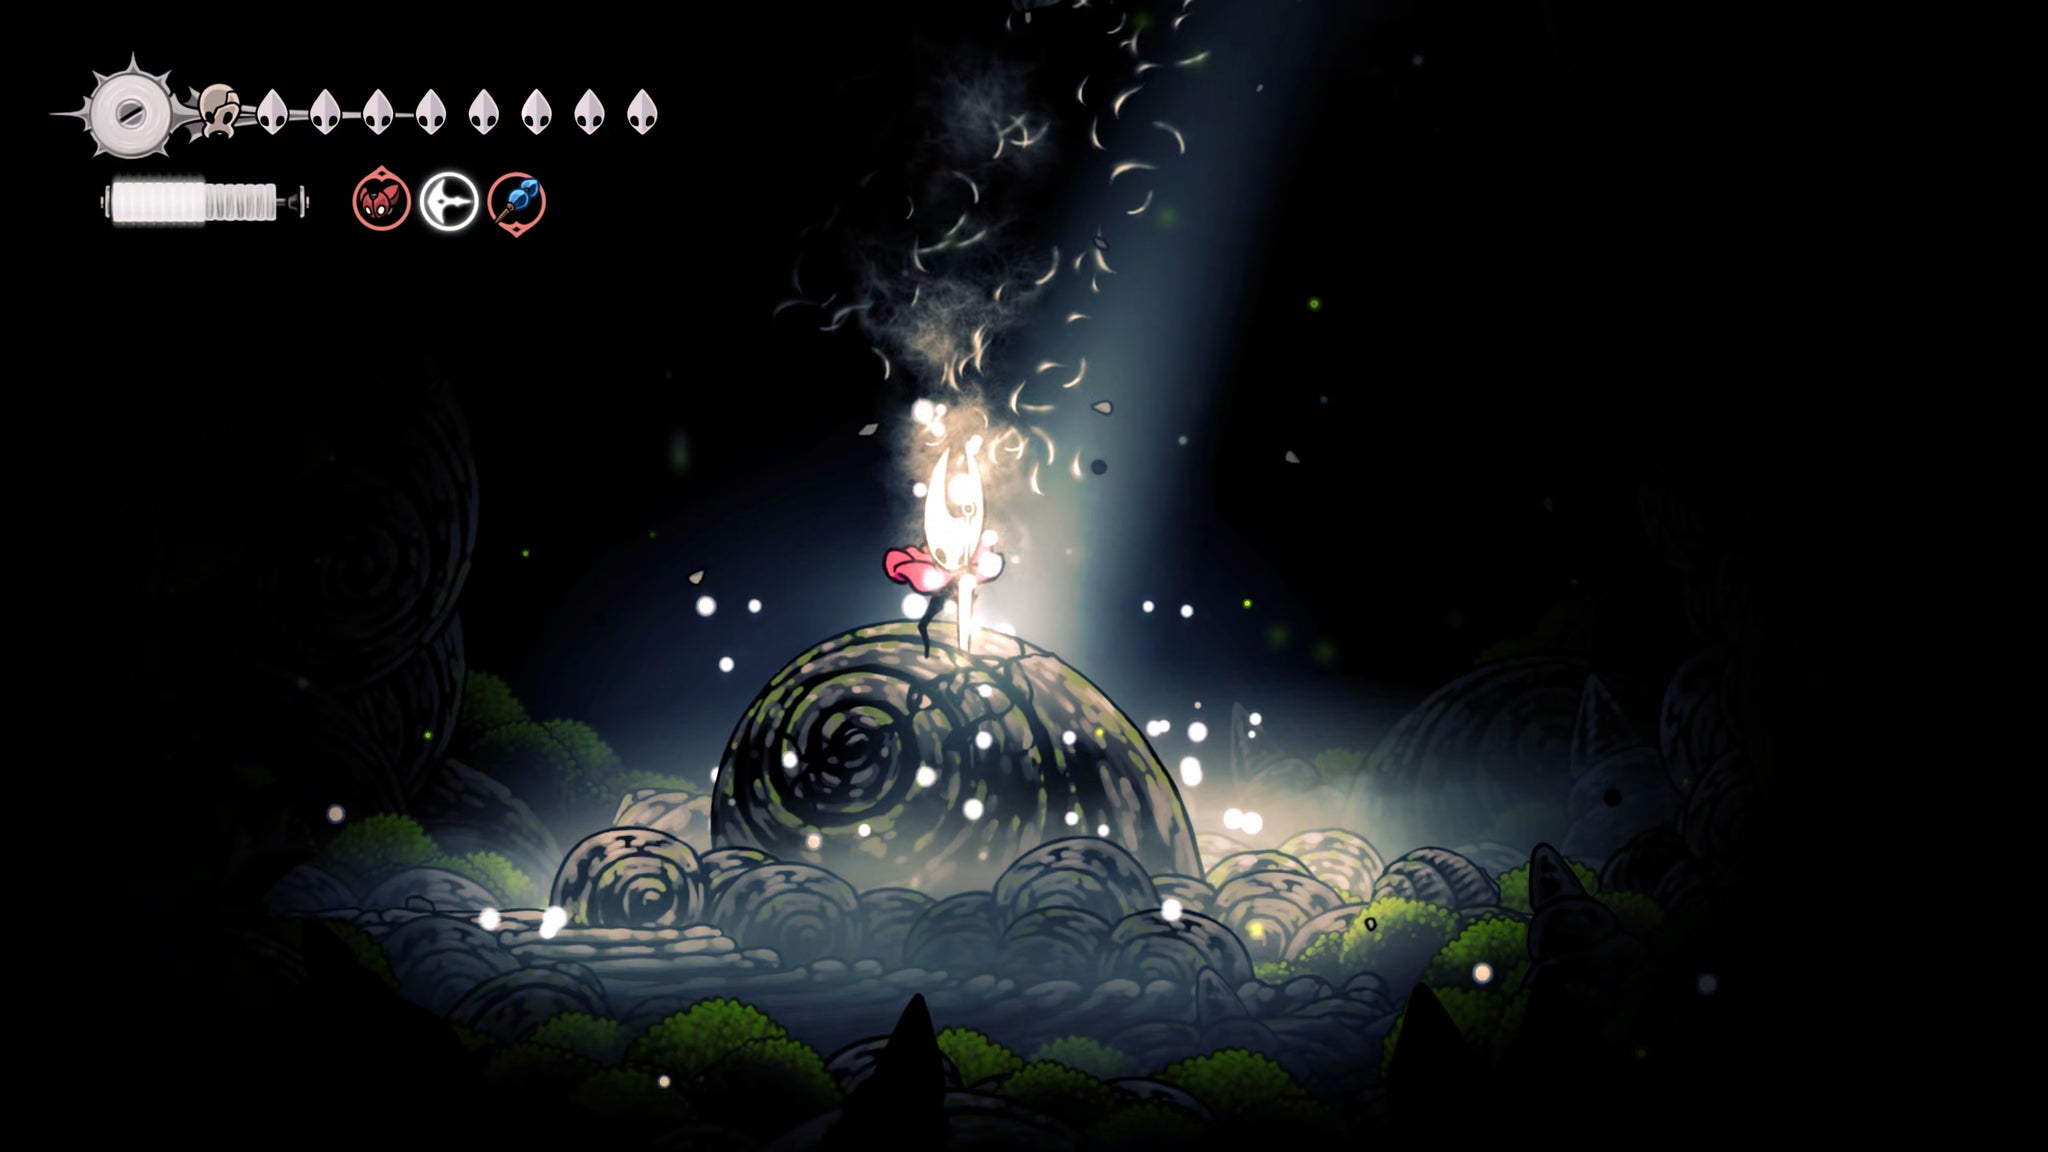
Image credit:Rock Paper Shotgun/Team Cherry
The Shaman Crest is special for two reasons: first, it gives all your attacks extra range, which can be very useful in certain fights (as well as certain Flea minigames). Second: it prioritises Silk skills over tools. In fact, it doesn’t give you any red tools slots, but instead allows you to equip up to three Silk skills at once. Indeed, it’s the only Crest that allows you to equip more than one.
I still prefer the Reaper Crest for most use cases, but there’s no denying the Shaman Crest has a certain appeal. Pick whichever suits you!
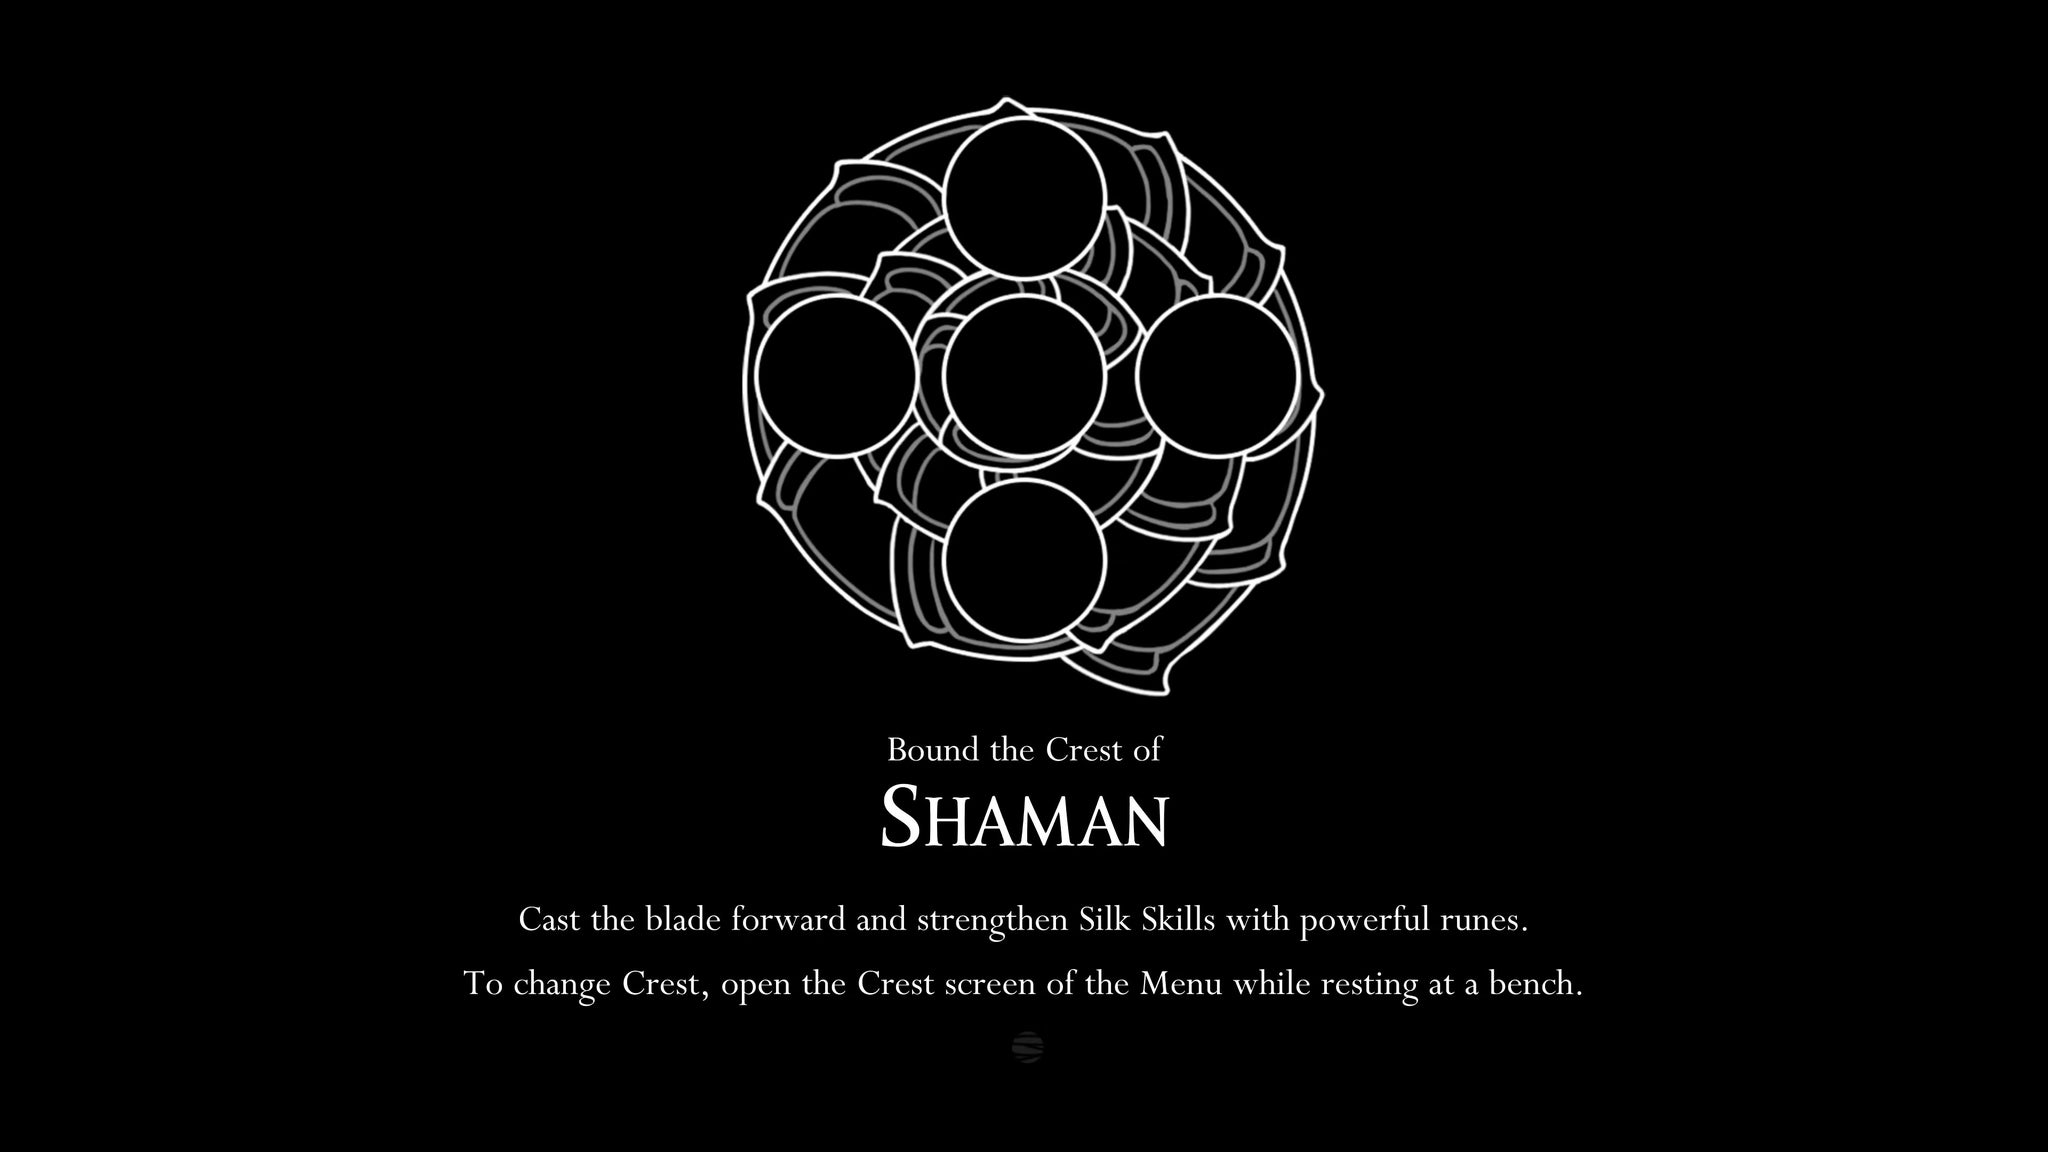
Image credit:Rock Paper Shotgun/Team Cherry
Once you return the way you came with the help of Silk Soar, you can speak with the Snail Shamans again for a bit of extra dialogue about the Shaman Crest.
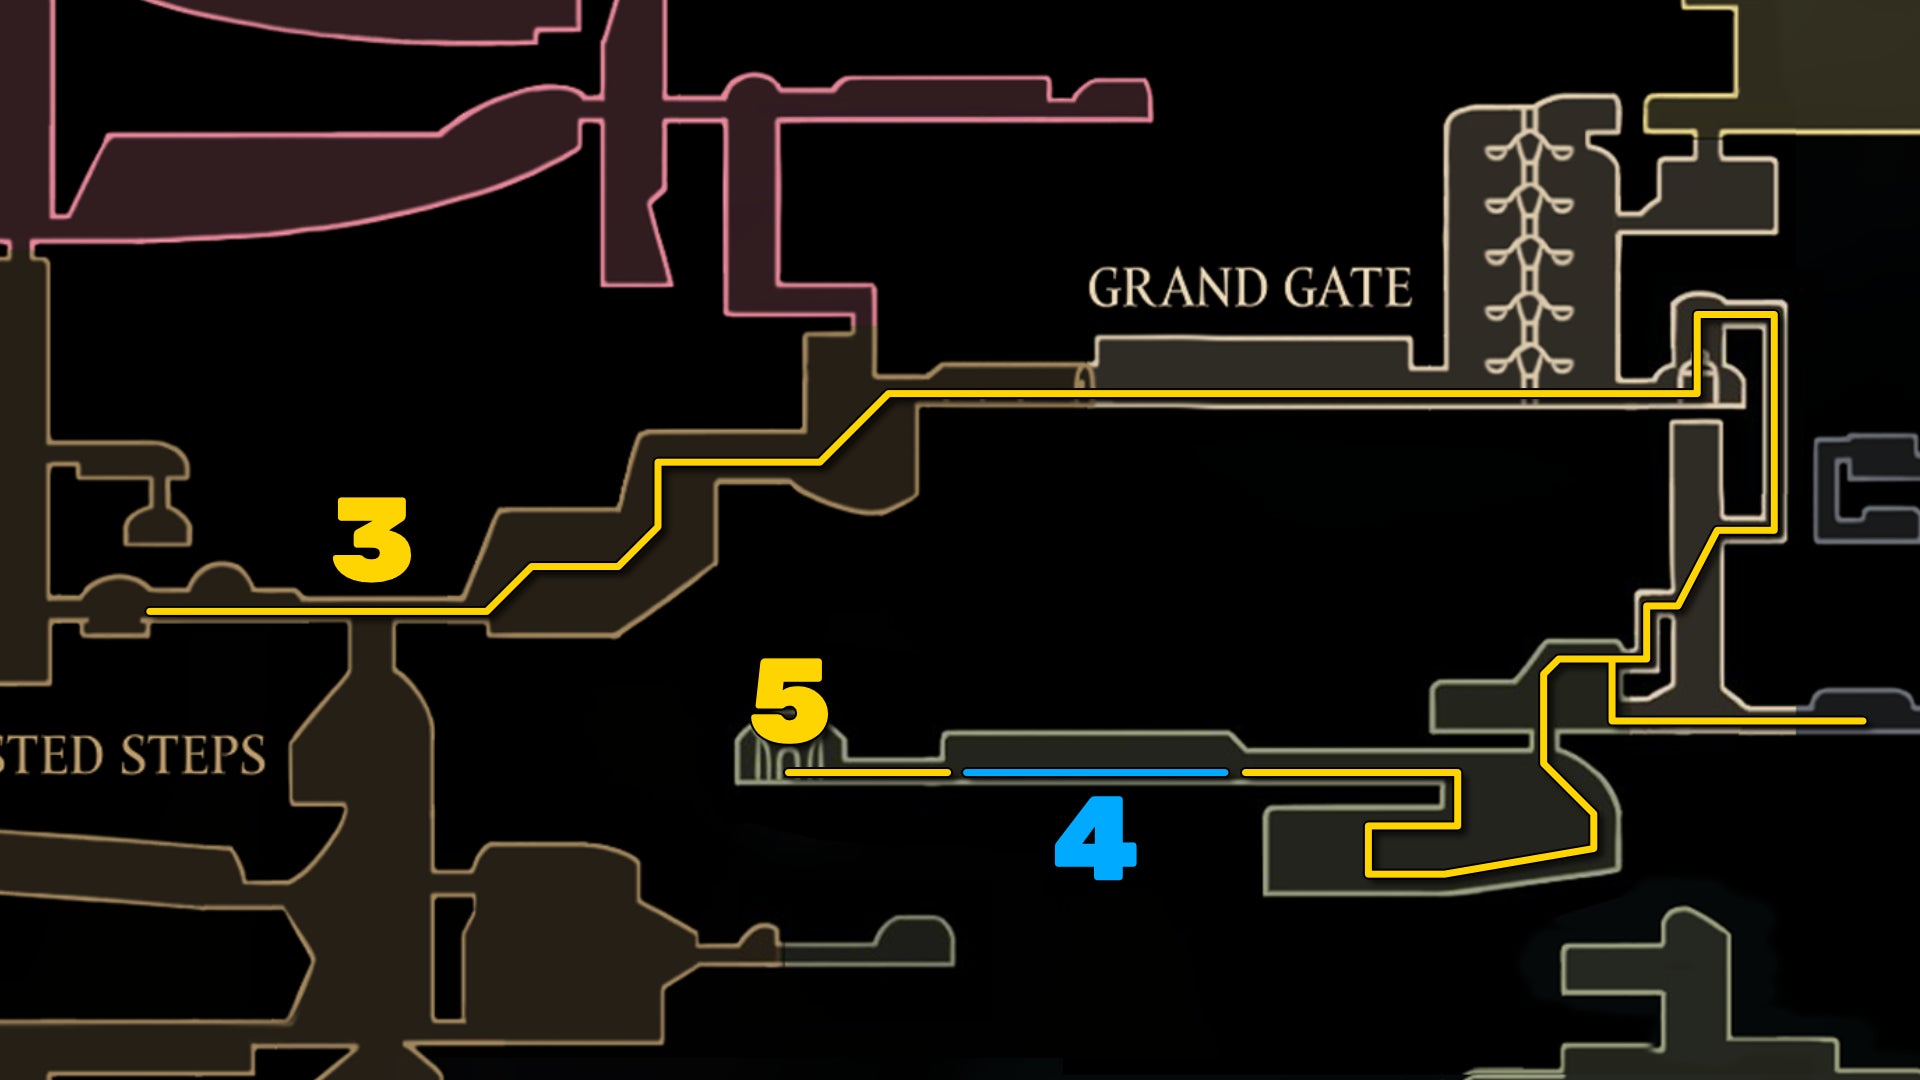
Image credit:Rock Paper Shotgun/Team Cherry
3. Unlock the path to the Heart Of The Woods.
Exit the Ruined Chapel and take the Bone Bottom Bellway up to the Blasted Steps. From here, make your way across that Blasted Steps runback you ought to remember like the back of your hand, and past the Last Judge arena into the Grand Gate.
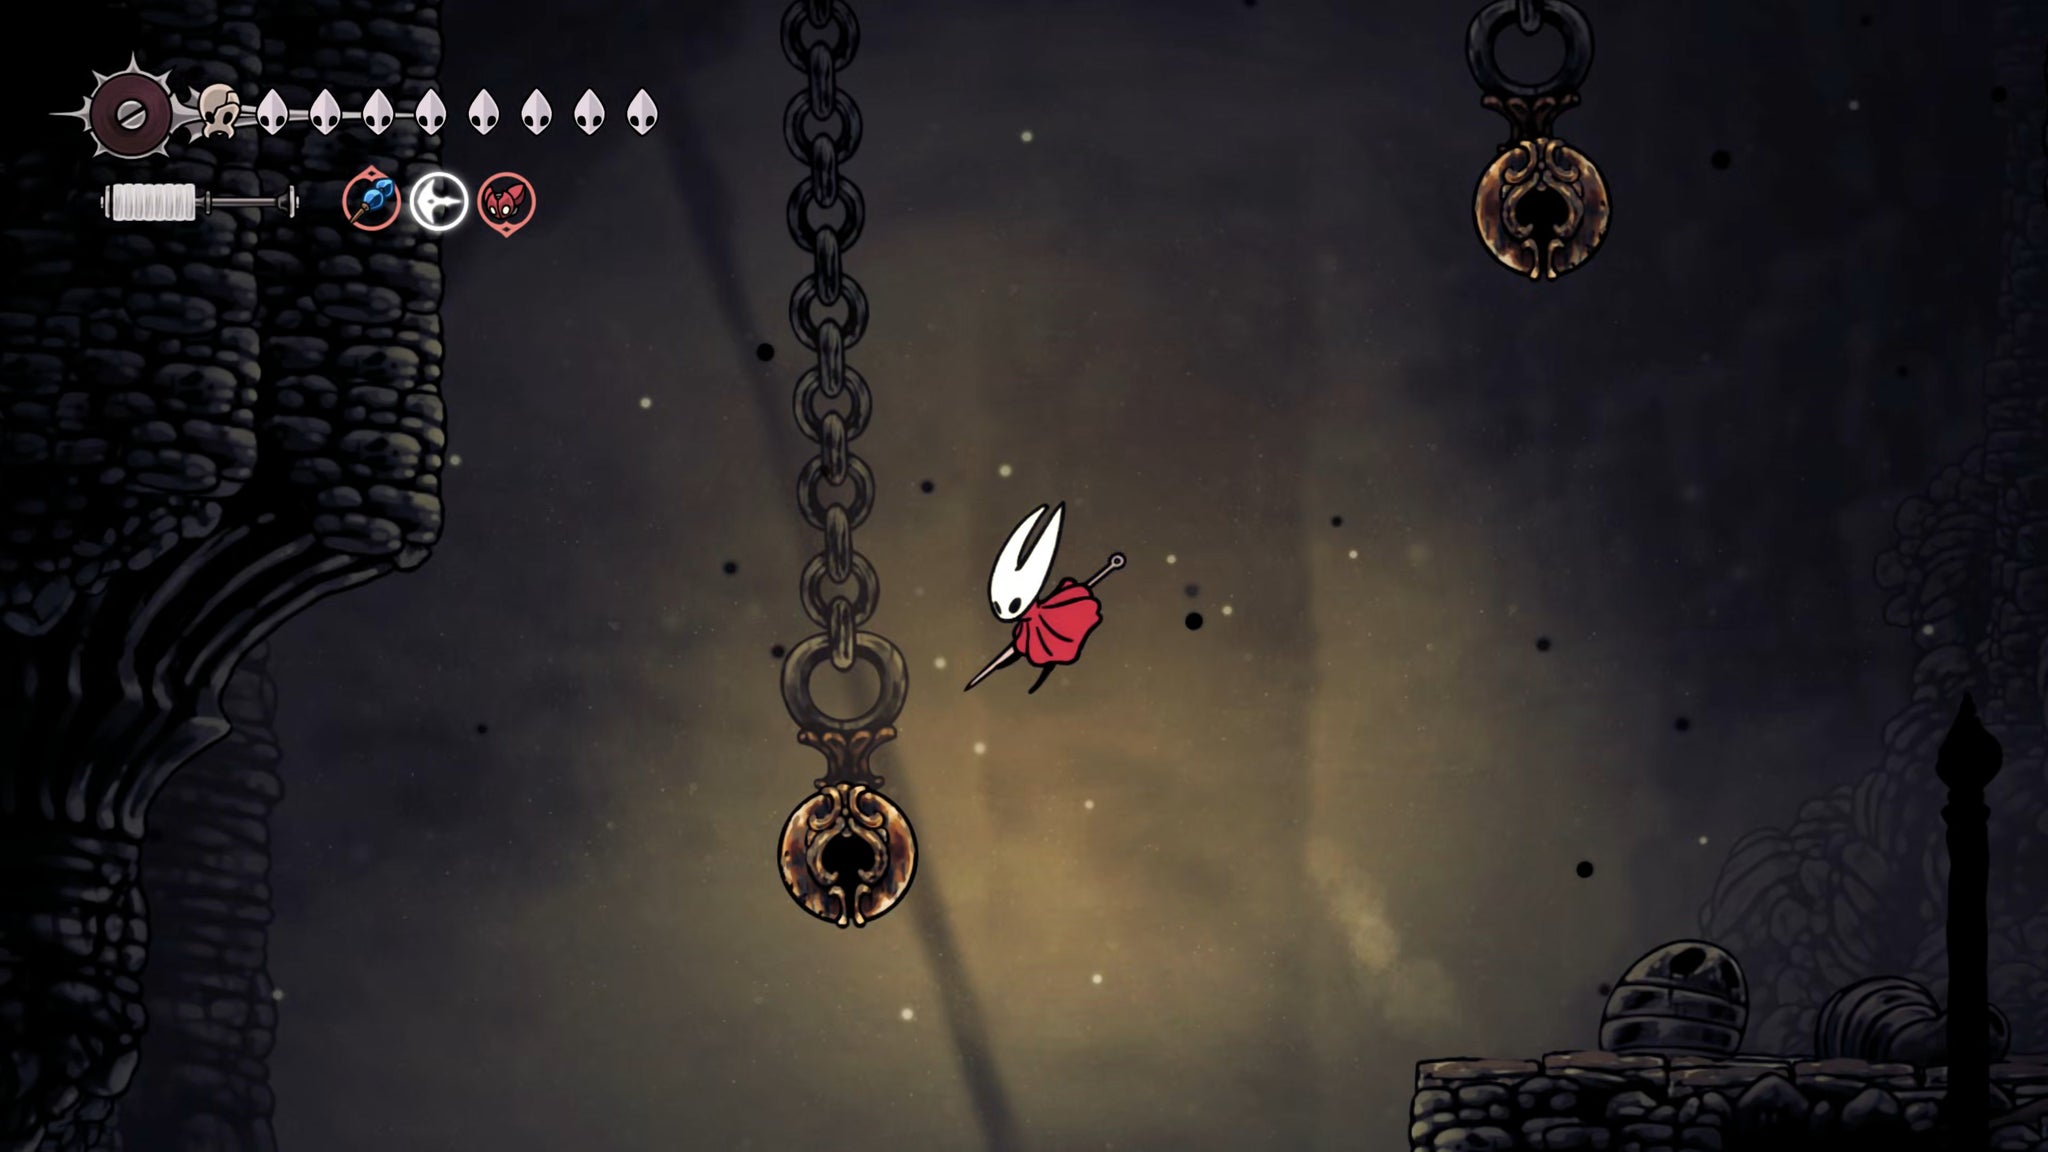
Image credit:Rock Paper Shotgun/Team Cherry
Head through the rooms of the Grand Gate until you reach the point where the large elevator once was. Stand in the centre of the floor, and Silk Soar upwards to reach a higher ledge (inhabited by a single solitary Drapefly). Drop down the shaft to your right, and keep going all the way to the bottom. Here you can hit a lever on the wall to open a path into the main elevator shaft.
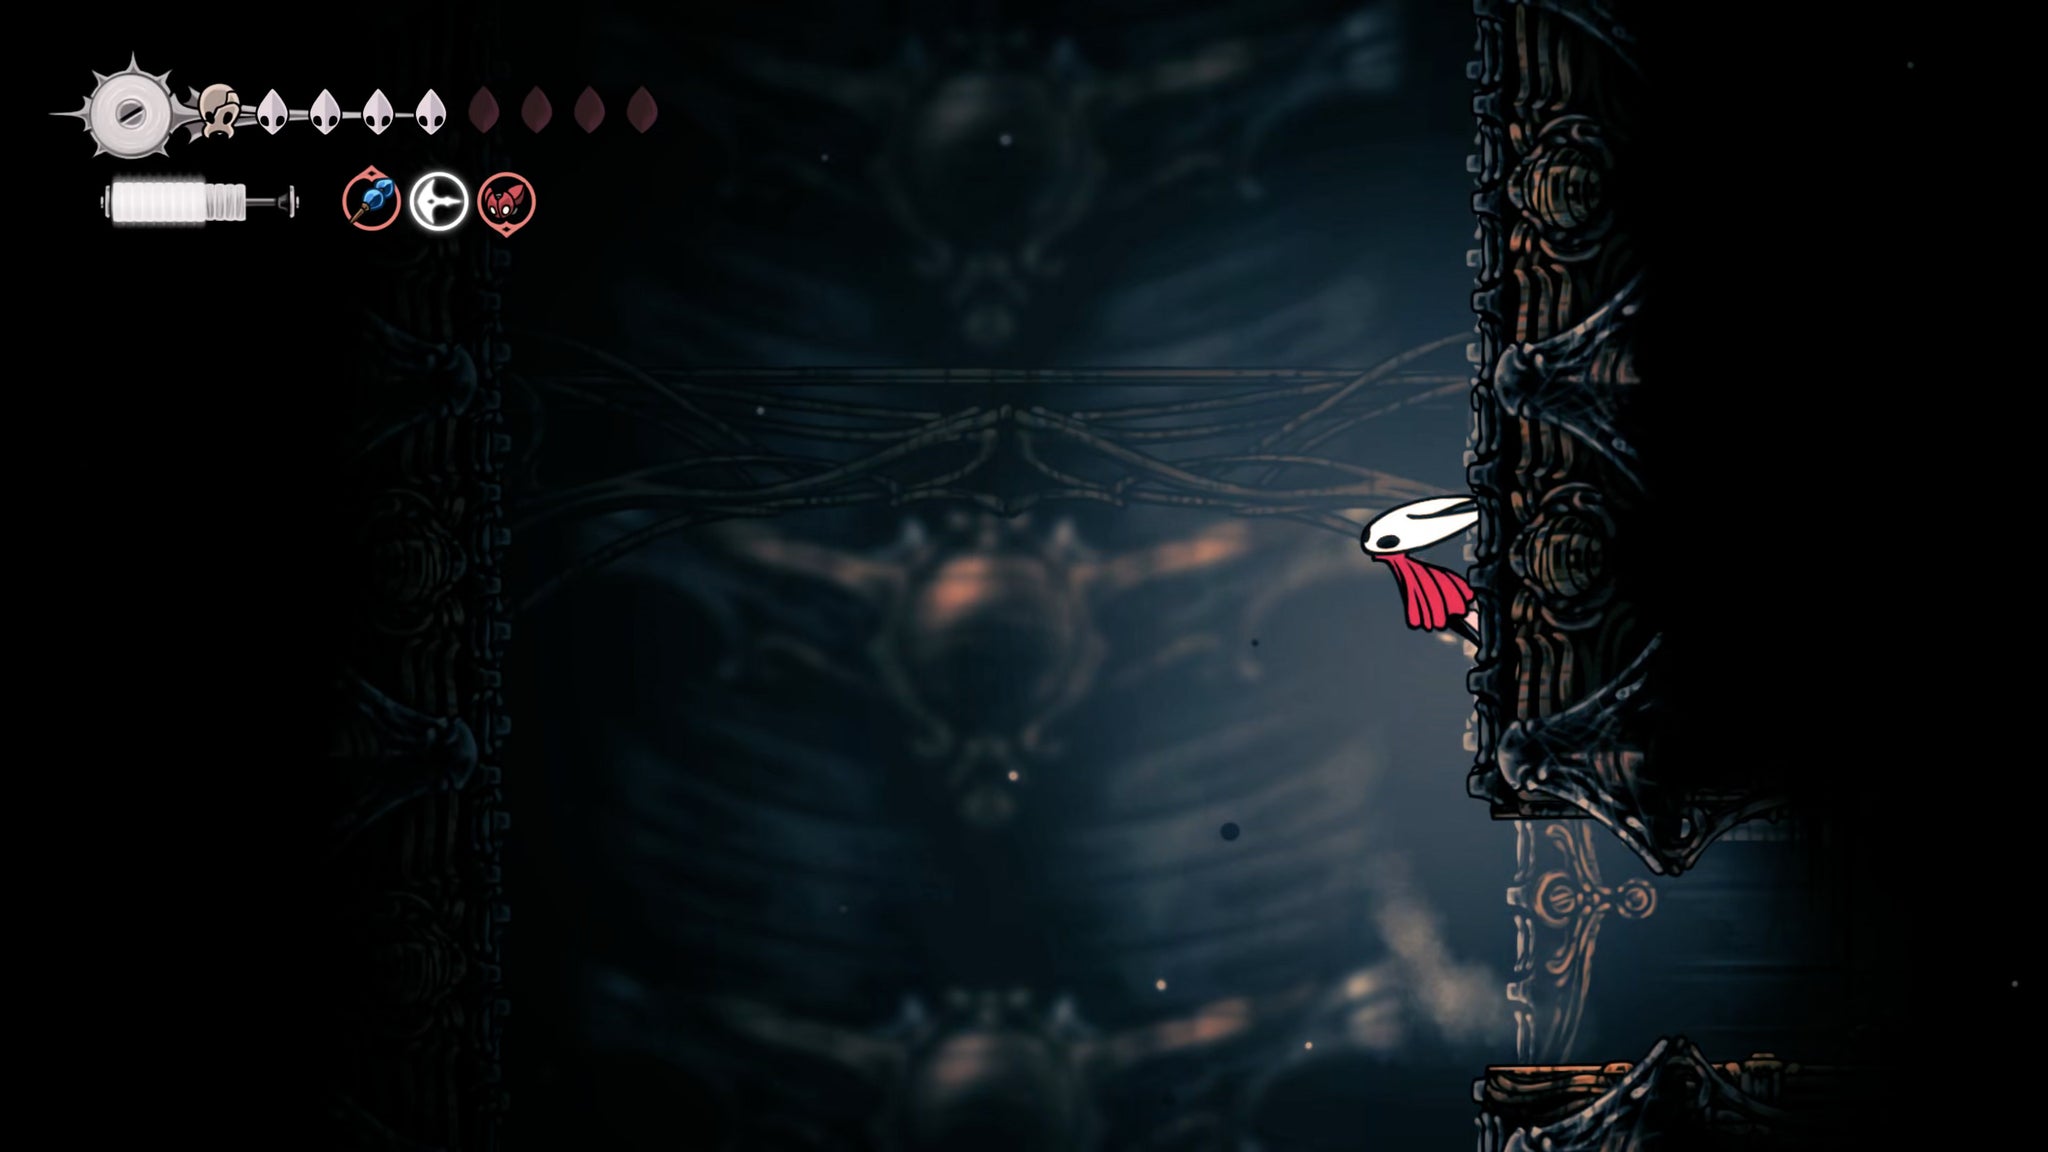
Image credit:Rock Paper Shotgun/Team Cherry
Jump across to the opposite wall, and slide down it until you reach a section of warped breakable wall. Break it open, and follow the path past the vines into an unexplored little section of the Underworks.
Once you hit ground level, the first thing to do is hack away the vines to your right to open a shortcut to the main part of the Underworks, and pay 15 Rosaries to rest at the Bench a little further along. It’s worth it.
Then go back into the new room and Silk Soar up between the big stone blocks above you. Stand on top of the left-hand block and jump-attack upwards at the chain holding it, to make the block fall. It’ll crash down and open a path to a lower section.
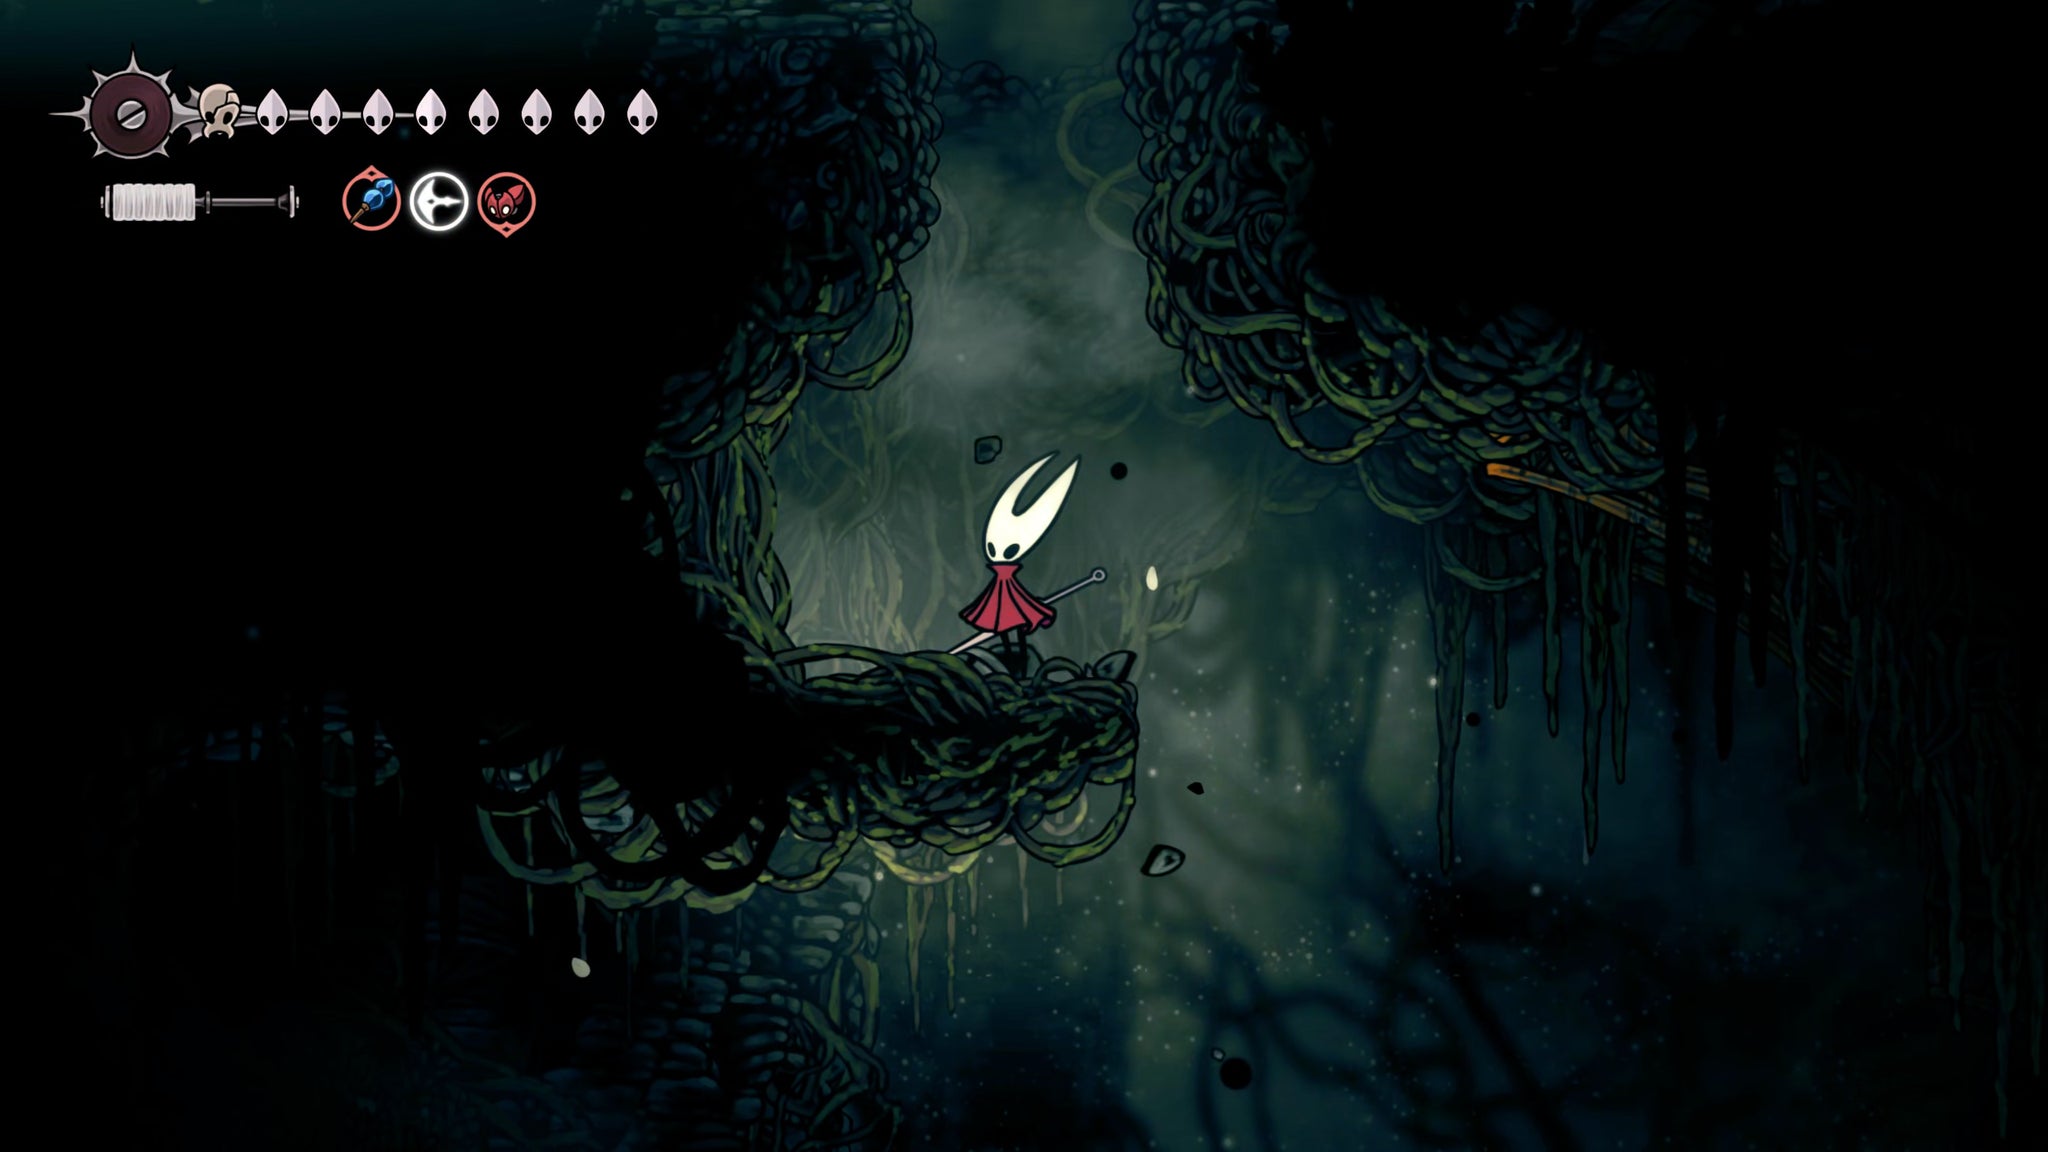
Image credit:Rock Paper Shotgun/Team Cherry
In this lower section, there’s a ledge just below you on the left which you can’t open yet, so you’ll have to go the long way around. Drop down and float past the spikes, clawline-ing and Pogo-ing your way along and upwards at the first opportunity. You can keep going left instead of up to reach some Shell Shards, but it’s not essential.
At the top of this path is a dead end of vines. Attack the ceiling above you to open up a path to the other sides of those impassable vines. From this side, you can attack and break the vines to open up that simpler path going forward.


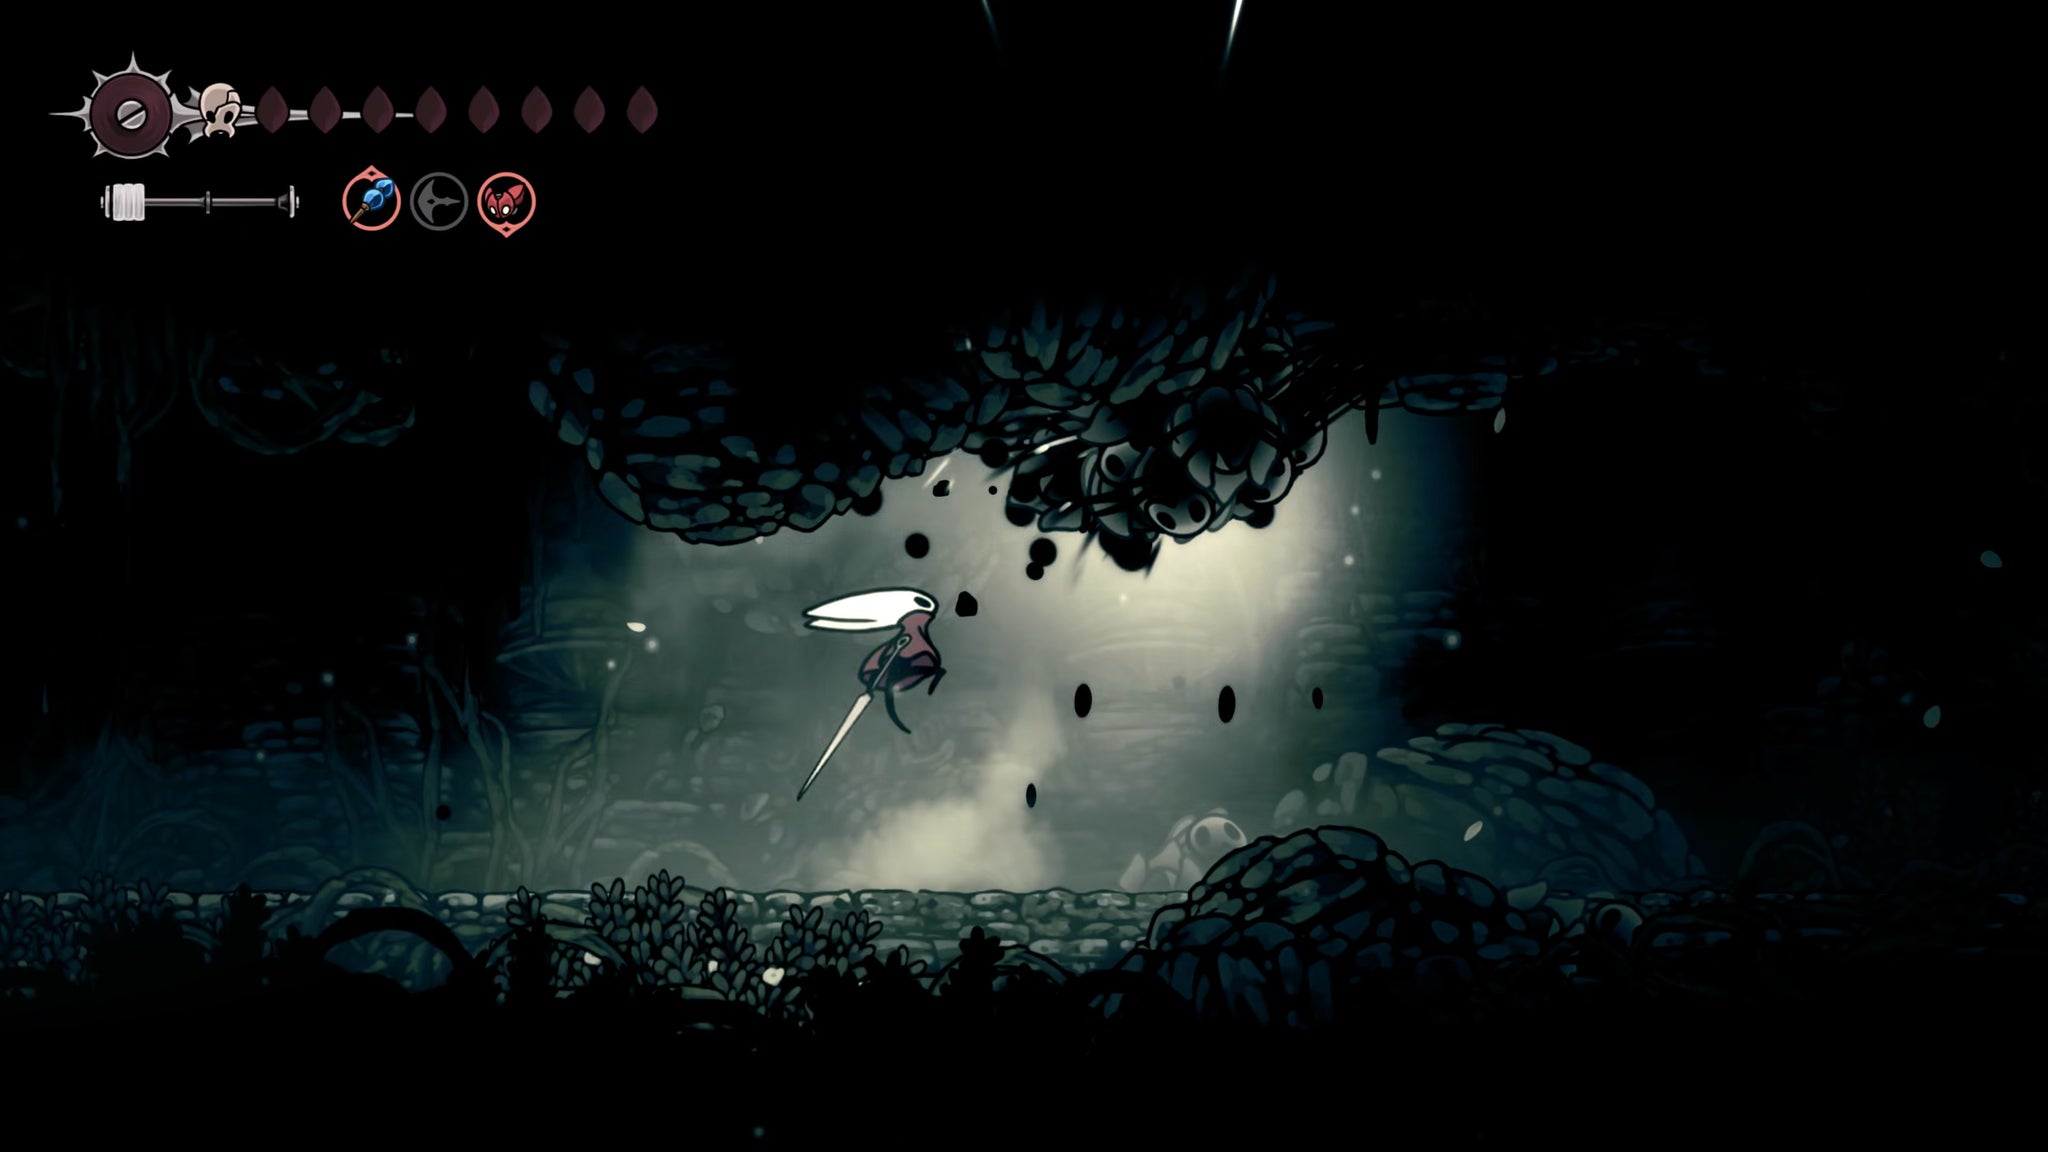
Now head to the left. A little way beyond, you’ll find a Void Mass on the ceiling. This nasty thing will periodically fire lots of Void projectiles at you and try to drag you in with tendrils if you’re close. It doesn’t respawn, so it’s worth killing it now so you don’t have to keep bypassing it each time (spoilers: you’re about to face a boss, so this is your runback).
Once the Void Mass is dead, exit to the left, and walk along the path until you meet a new character: Shrine Guardian Seth.
4. Defeat Shrine Guardian Seth.
Approach Seth, and he’ll tell you to halt - that he’s charged with protecting the shrine beyond, and that none may pass. Sadly, you must use force to bypass him. When you’re ready, challenge Seth to begin the fight.
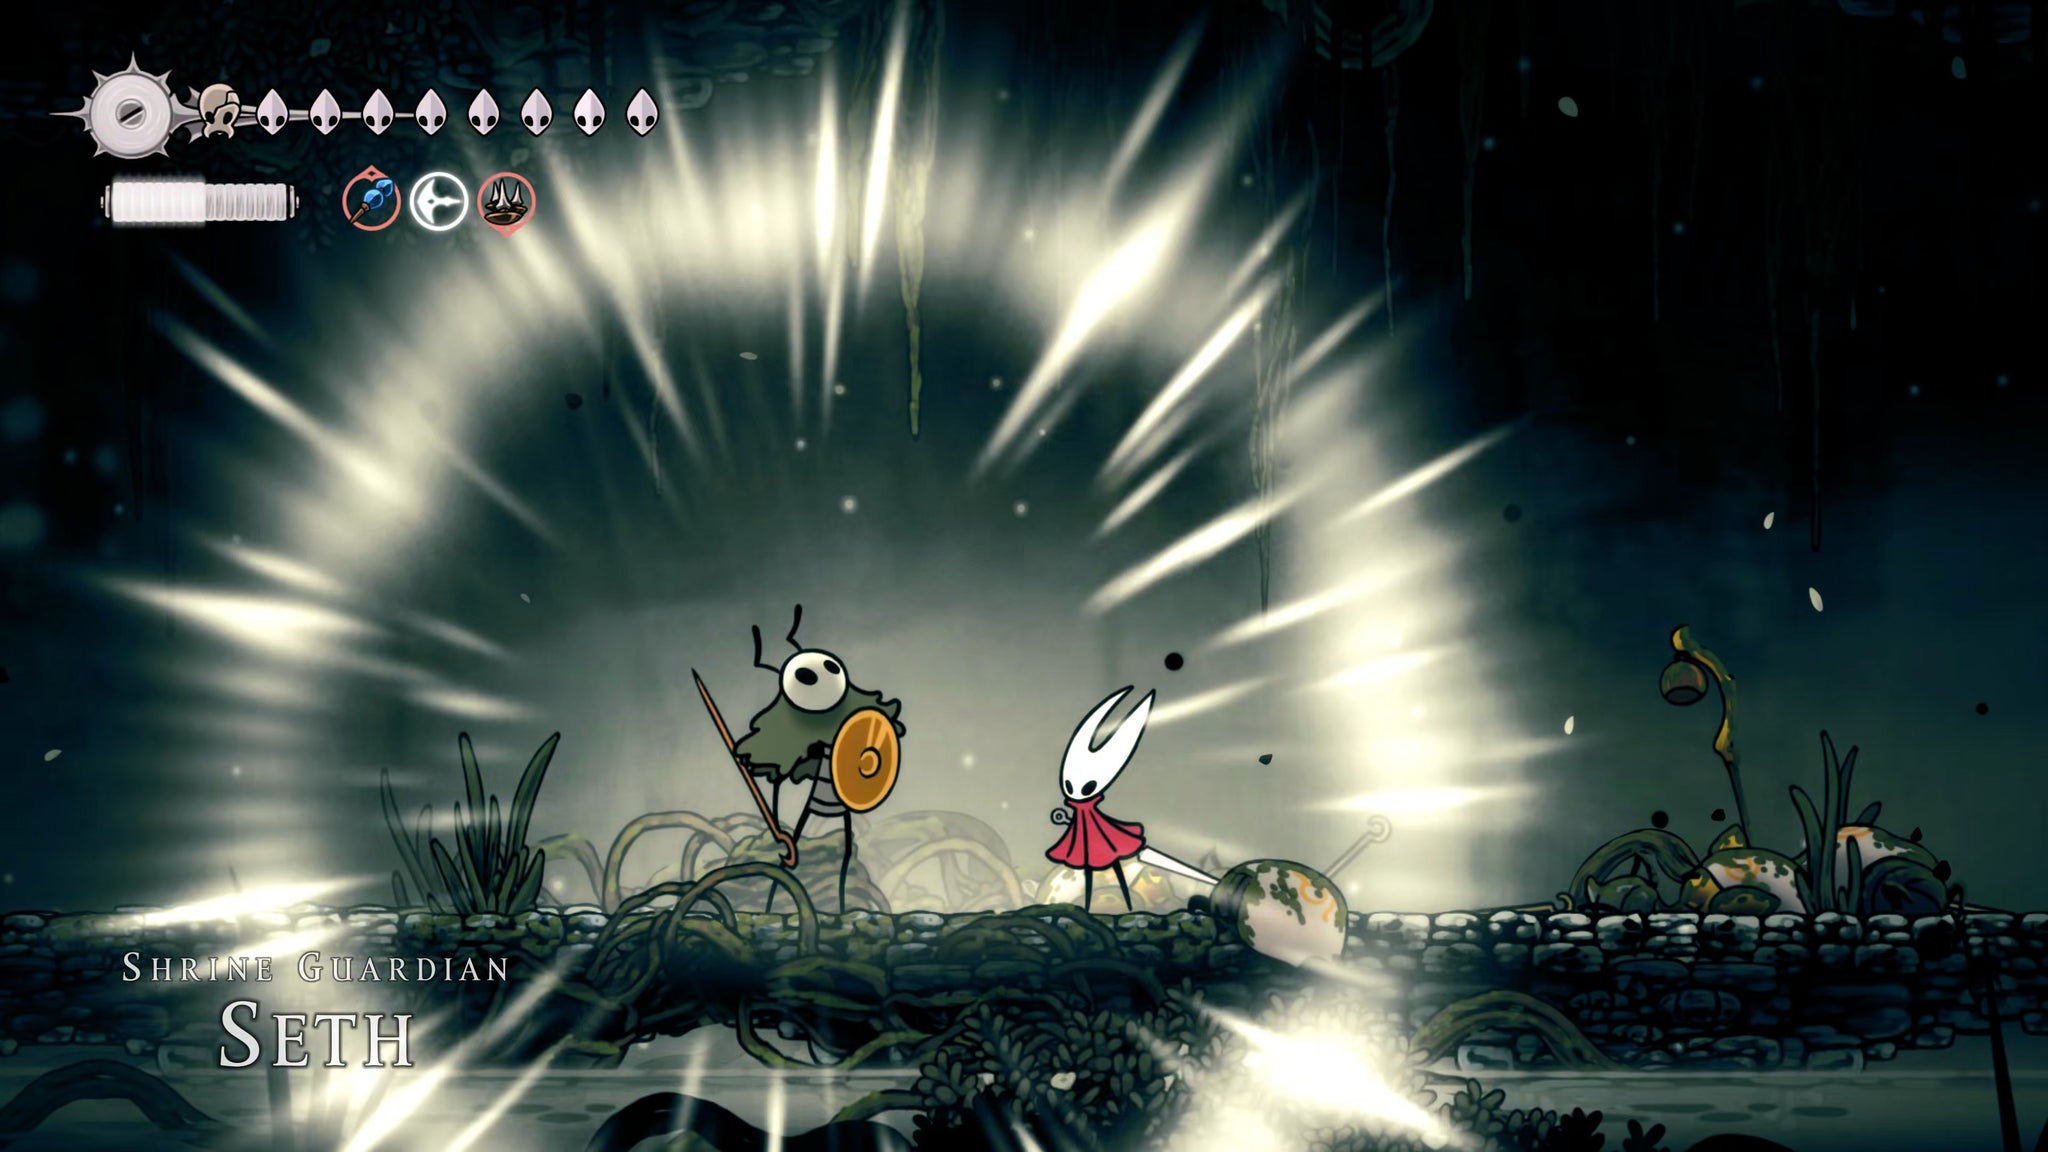
Image credit:Rock Paper Shotgun/Team Cherry
Shrine Guardian Seth is a quick and stylish combatant, wielding a longpin and a shield. The greatest challenge here is in managing his teleports through the air, and his shield throw attacks. The shield bounces in a way that makes aerial combat dangerous for Hornet; I found that I took by far the most damage in the air versus on the ground. It’s best to quell the urge to jump over his shield throw, and instead just dash along the ground away from it.
In Seth’s second phase, marked by him standing on the spot and yelling, he’ll immediately begin with a new attack: three area-of-effect ground slams from above, followed by a charge along the ground. This charge is more or less the only time it’s entirely safe to jump over him and Pogo off his head for extra damage. You can of course Pogo off him at other times, but the risk is greater.
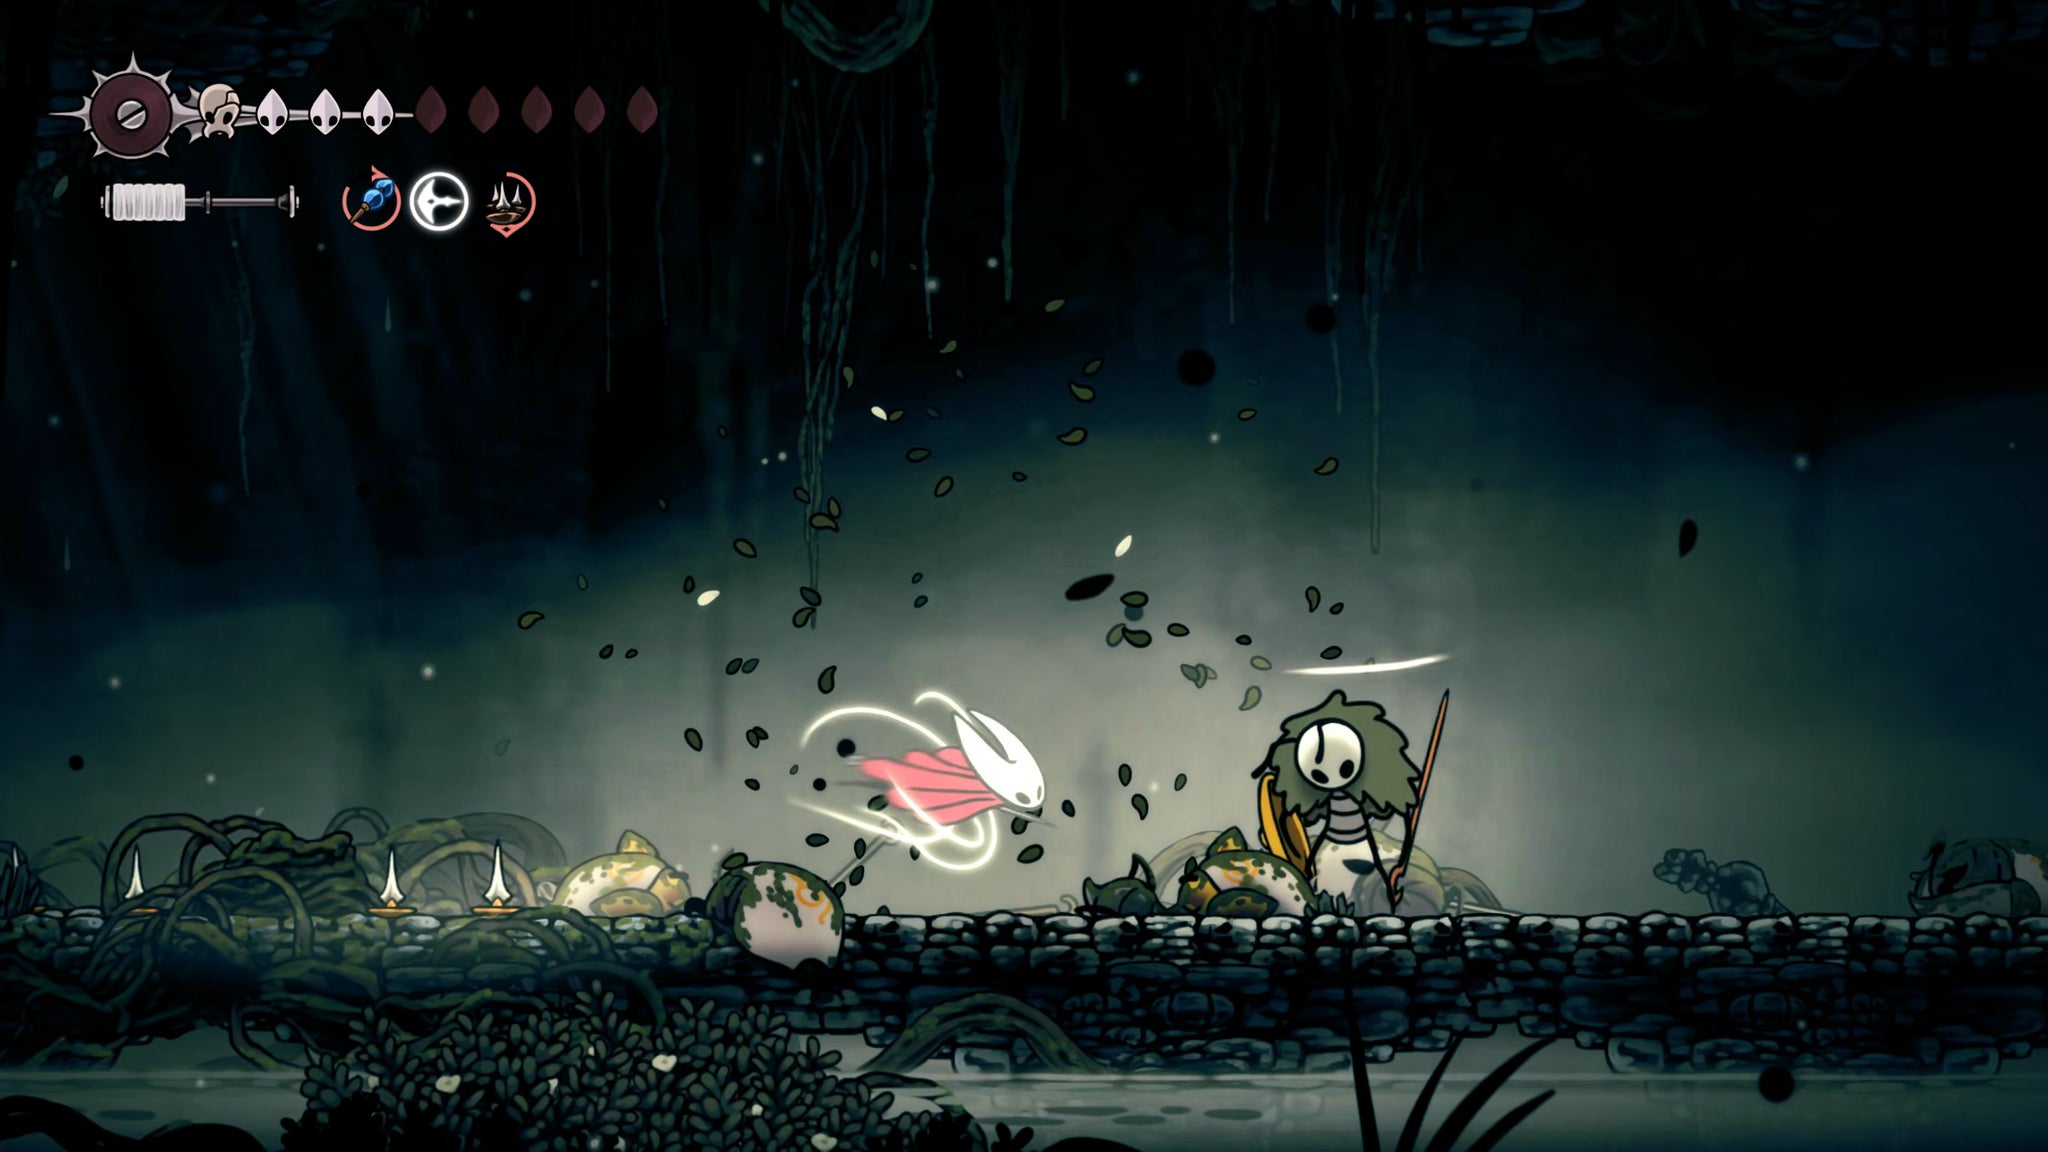
Image credit:Rock Paper Shotgun/Team Cherry
Thankfully, Seth does like to think about his next attack quite a lot. After his attack finishes, it’s likely you’ll get a second and a half of time to recover, whether that means distancing yourself from him or healing up, or both.
Keep at it, and you’ll beat him just fine. He’s tough but not insurmountable. On the final blow, he’ll fall into the water and drift away, leaving you free to continue to the left to enter the shrine via the doorway beyond.
5. Defeat Nyleth for the Pollen Heart.
Inside the shrine, continue heading left along the corridor. Partway along you’ll see a plaque on the wall which you can read for some lore. Keep heading beyond that, and you’ll reach a beautiful fountain at the end of the path. Stand in front of it, and use Elegy Of The Deep by playing your Needolin while holding downwards. Hornet will fall unconscious and reawaken in a vision of the past.
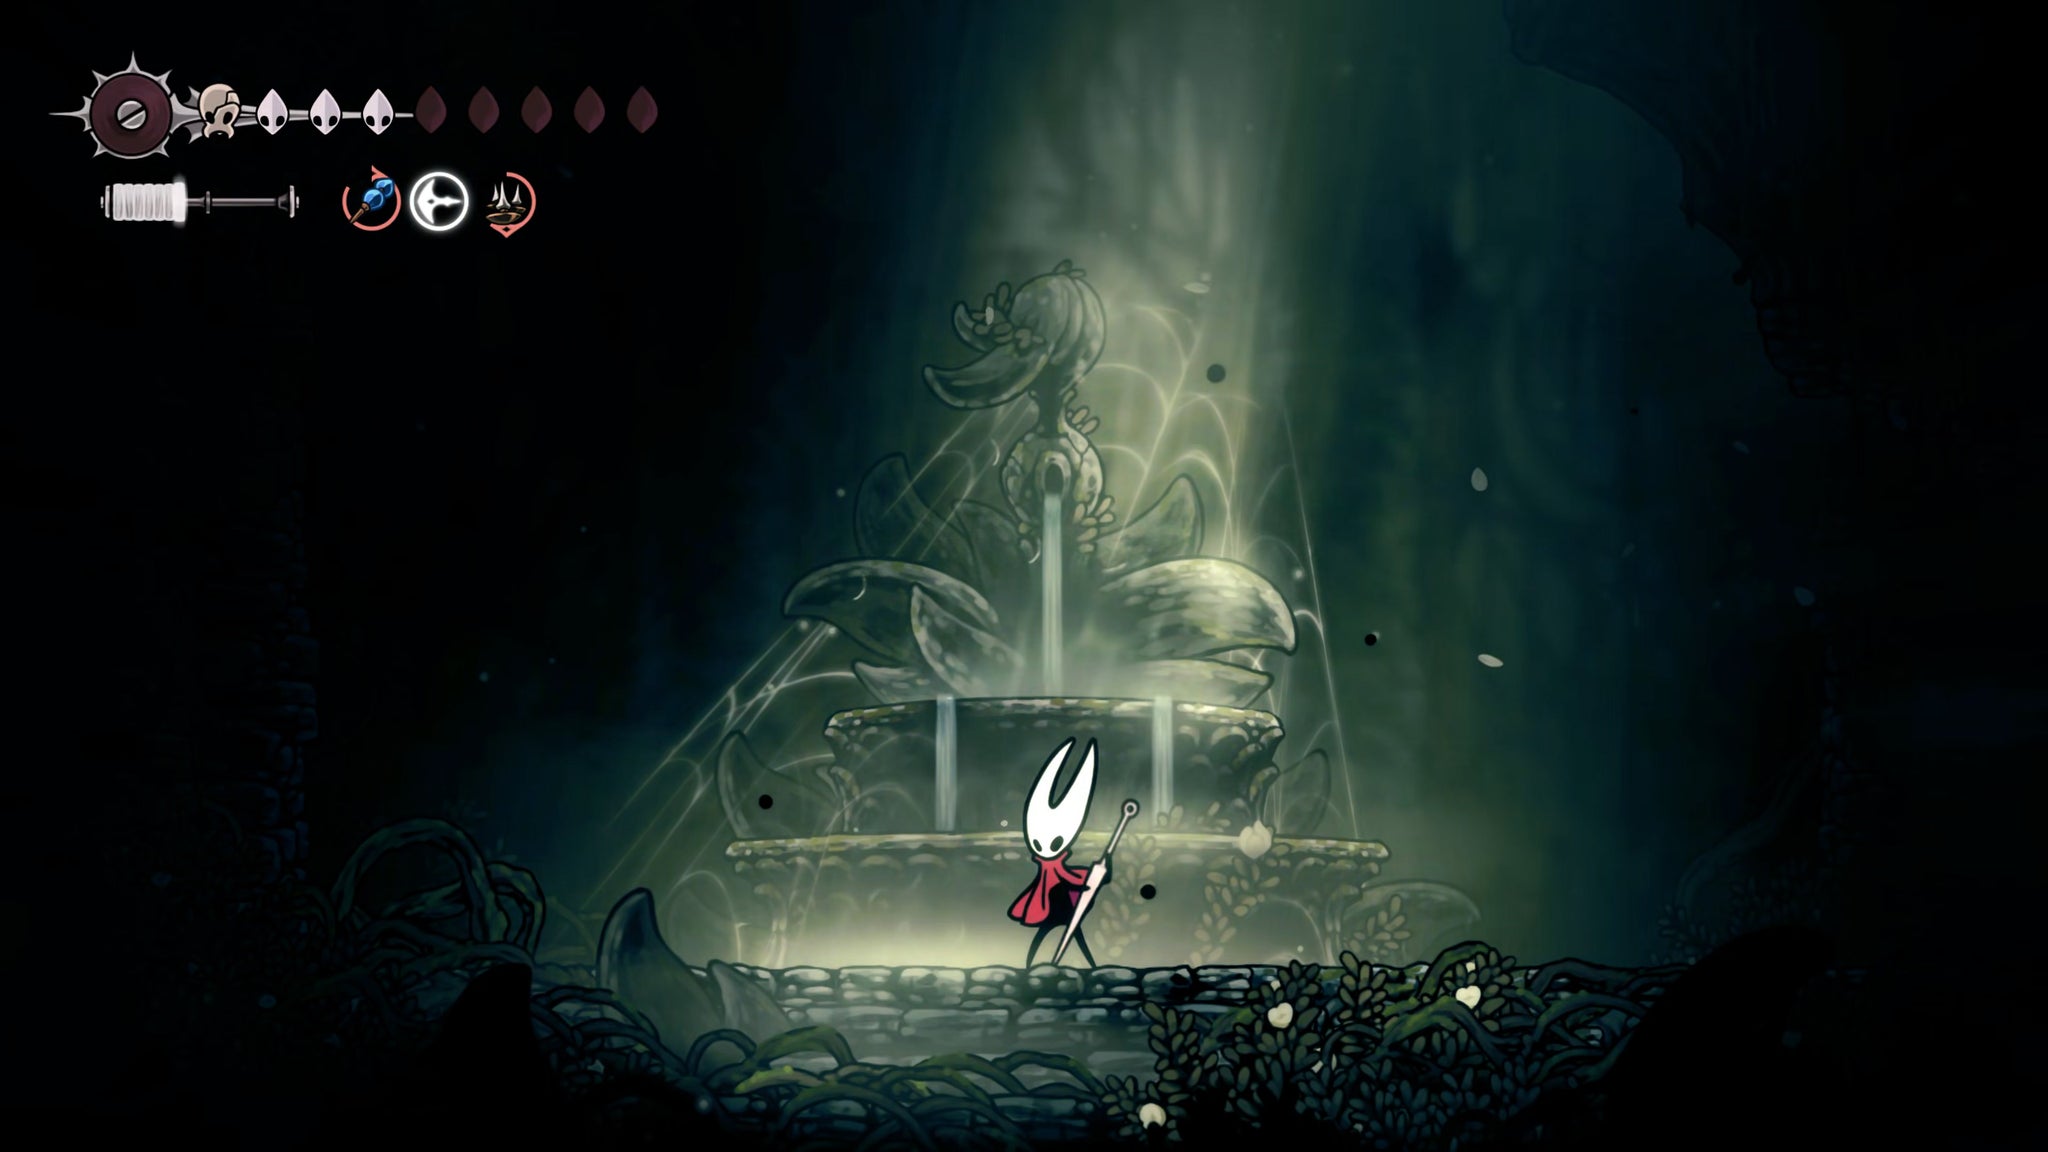
Image credit:Rock Paper Shotgun/Team Cherry
Run to the left inside the vision, and drop down the hole in the floor. At the bottom, you’ll find a giant white flower, which - at your approach - screams a horrific scream and begins your boss fight with Nyleth.
Nyleth is the first of the three bosses you’ll defeat to obtain the Old Hearts, and probably the easiest of the three, but that’s not saying a huge amount. This fight is tricky because of the arena, which is mostly spiked thorns; and because Nyleth only ever stays on the walls, where it’s harder to hit her.
There’s only a small number of attacks to learn, but a couple can give you a very hard time - particularly the large area-of-effect attack which takes up most of the screen and is only easy to avoid if you were in a good position for it to begin with. You have to either be very patient or commit to sacrificing at least some of your health in this fight, thanks to that area-of-effect blast.
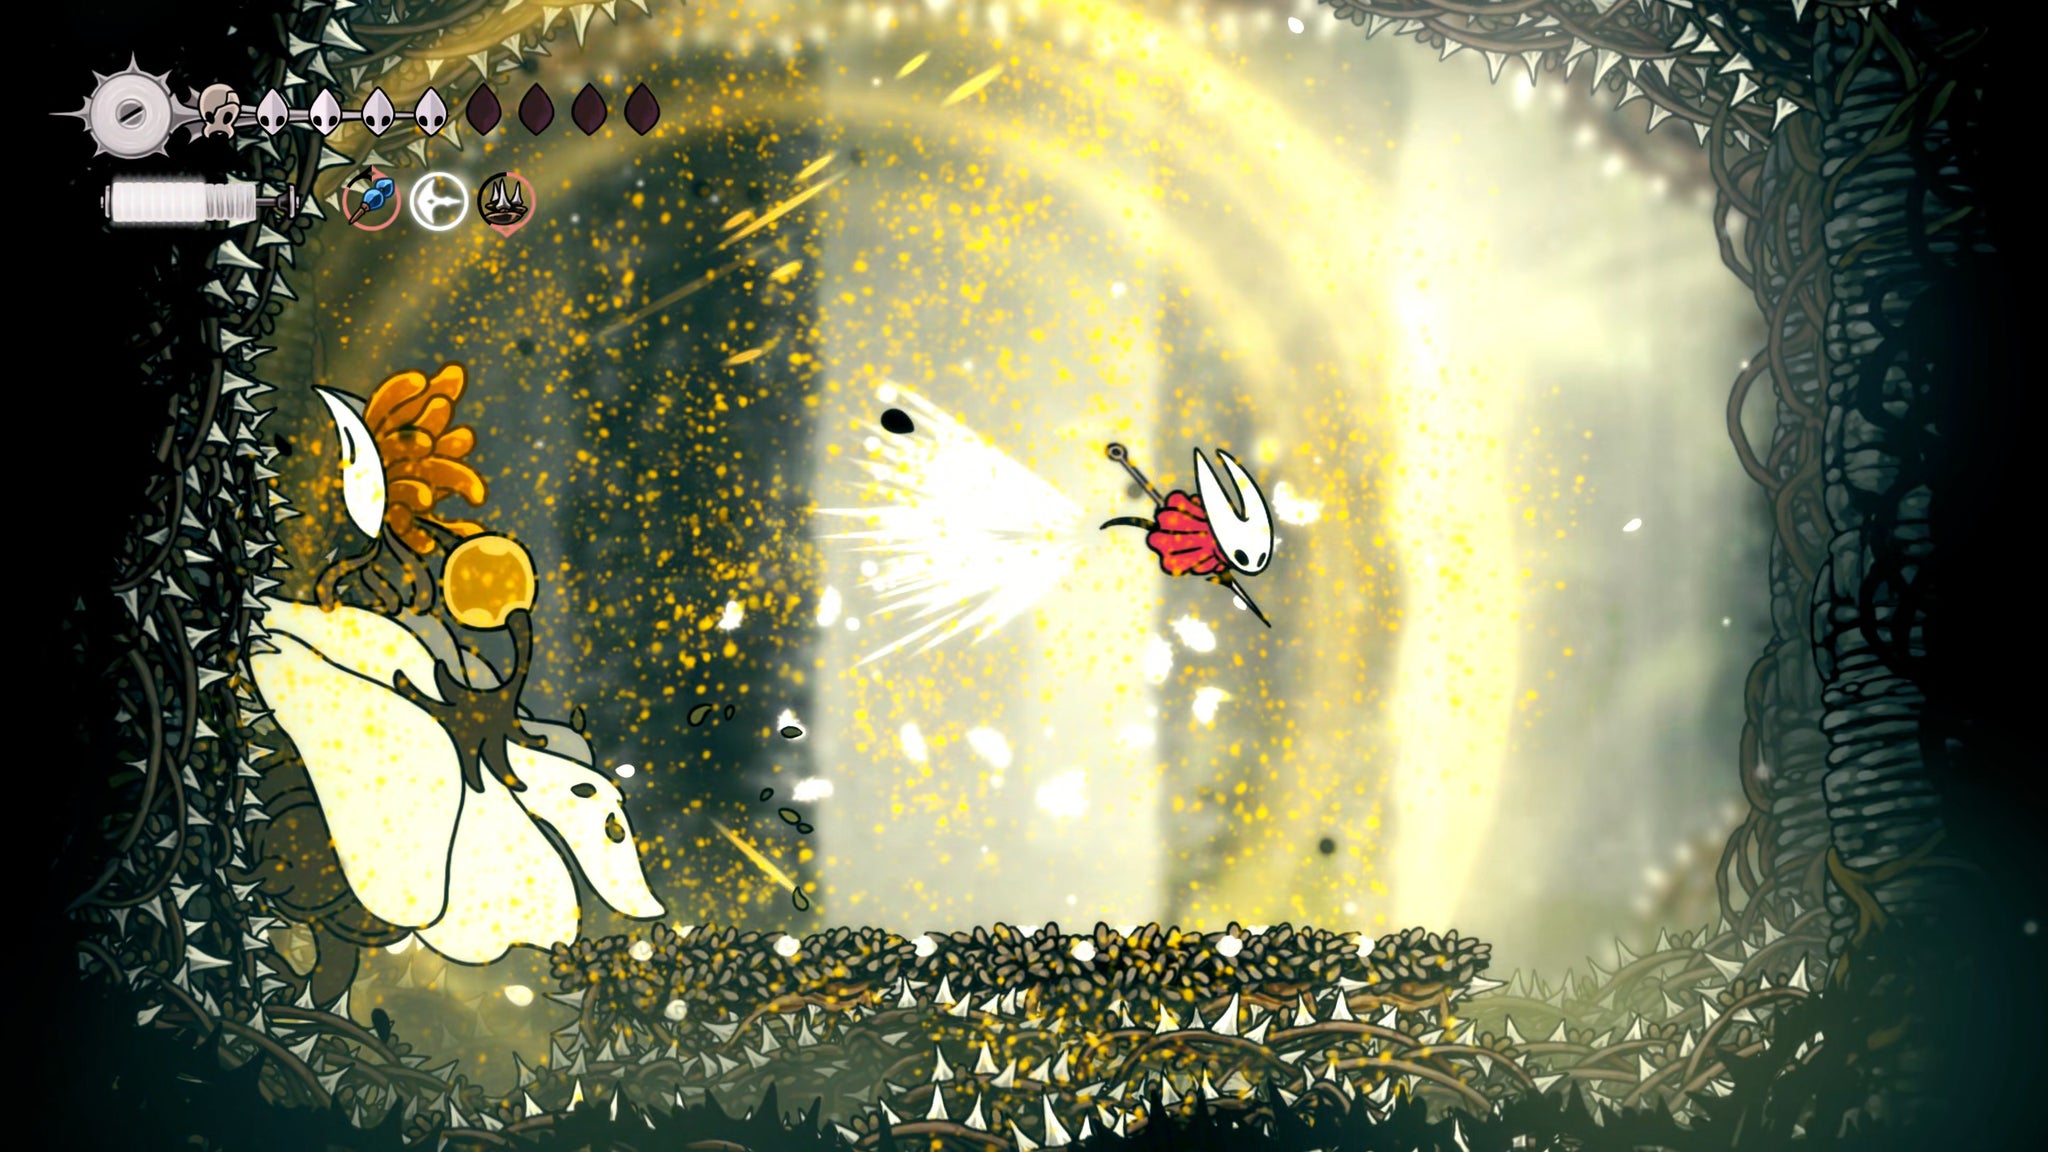
Image credit:Rock Paper Shotgun/Team Cherry
The other problem attack is Nyleth’s charge from one wall to the other - and bear in mind as well that whichever wall Nyleth is touching will immediately be overgrown with vines, preventing you from wall-climbing up there for some easy Pogo attacks. The charge happens quickly and without too much warning; you just have to watch carefully for when Nyleth lowers her head right down, because that’s when you need to double-jump over her head.
Deal enough damage to Nyleth and you’ll trigger her second phase, where the floor gives away entirely. After this you must win the fight entirely by wall-climbing and Pogo-ing off Nyleth. It’s a tough ask, but it’s made easier by having the right tools. The Ascendant’s Grip allows you to hang onto the wall indefinitely, which certainly helps to make your movements more deliberate and less erratic. I’d also highly encourage you to use the Silkshot in this fight, to deal plenty of damage to Nyleth from across the arena.
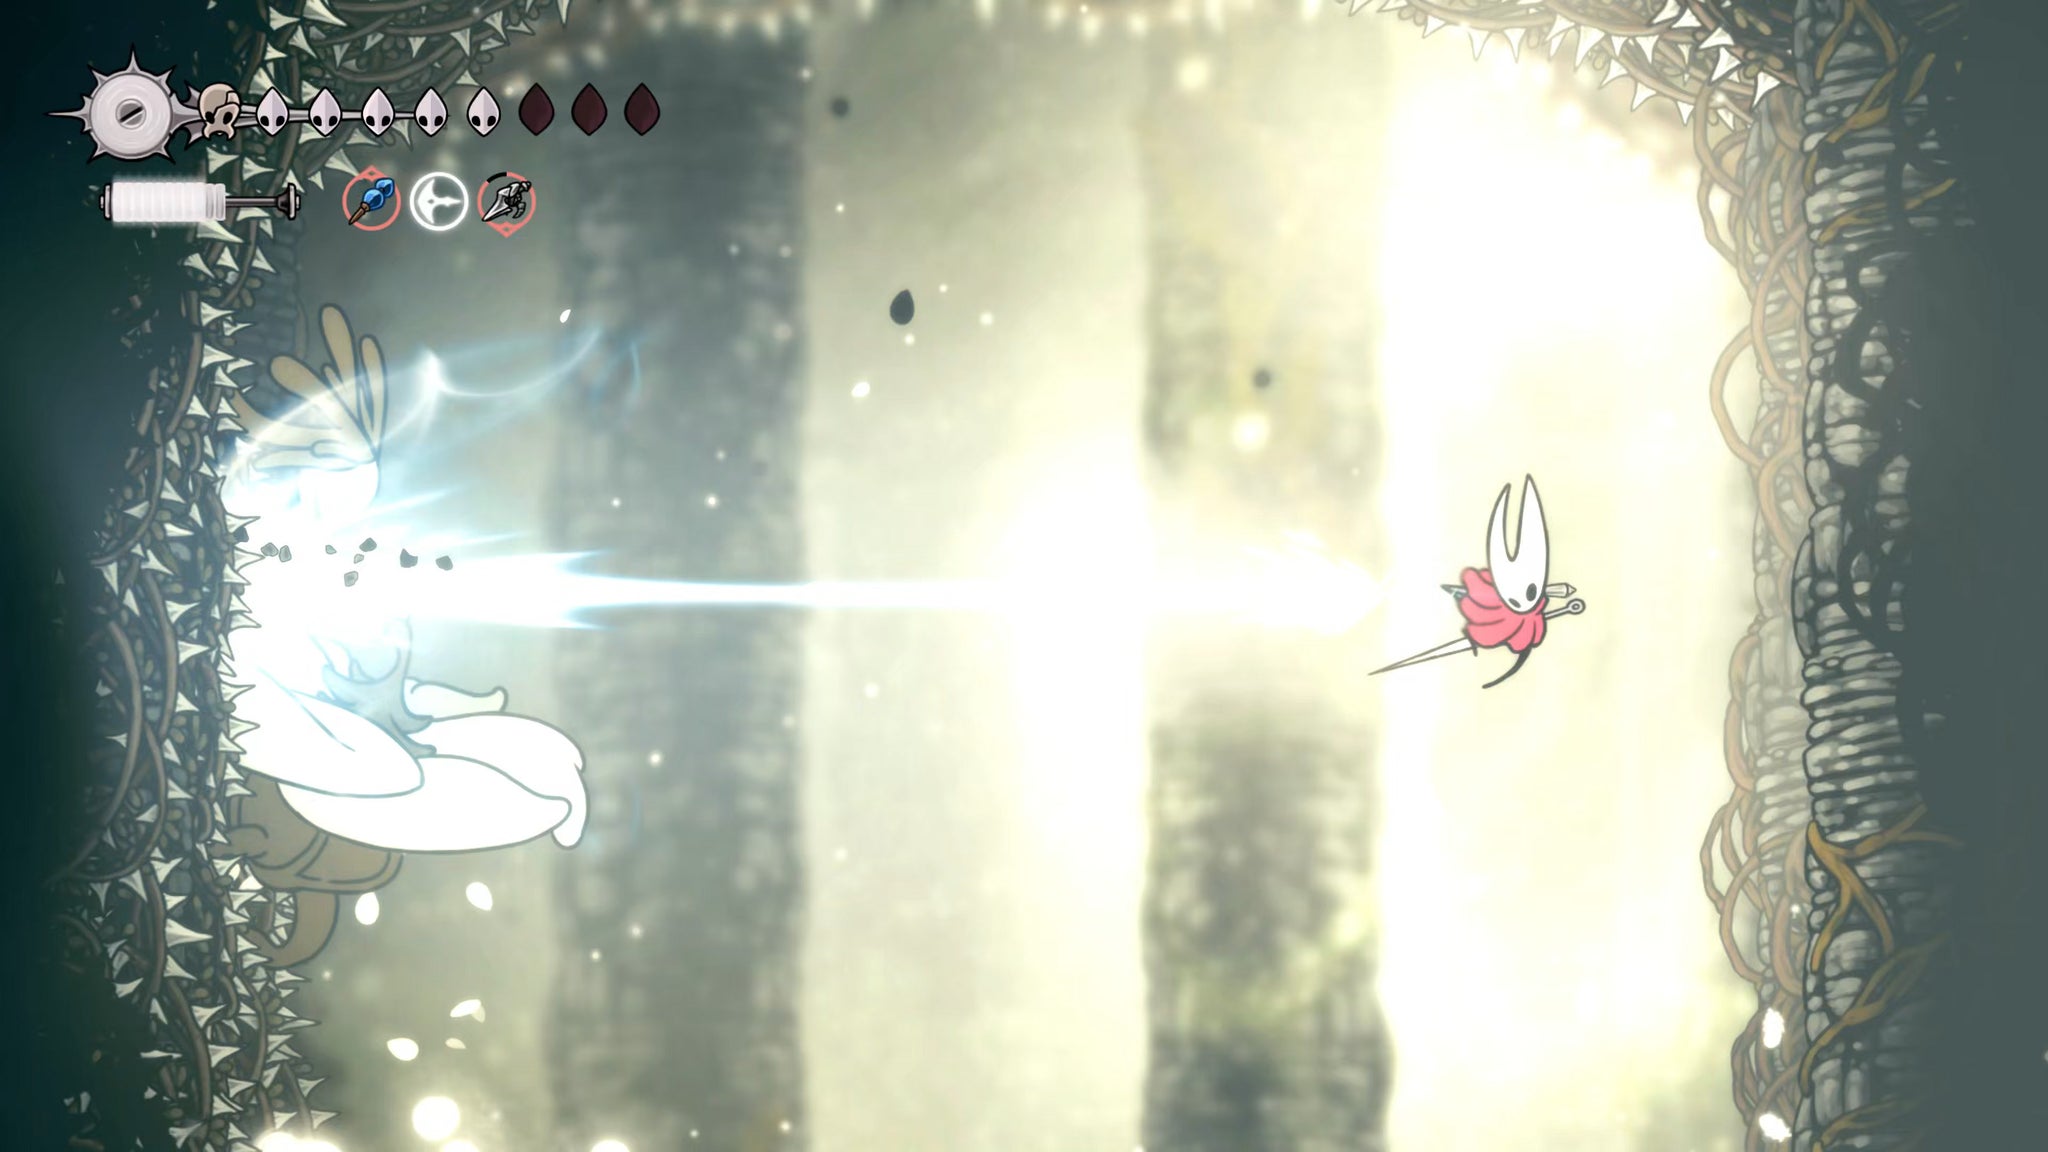
Image credit:Rock Paper Shotgun/Team Cherry
It’s finicky, but the boss herself isn’t too bad. Eventually you’ll defeat her second phase, and with that you’ll finish her for good, and obtain the Pollen Heart - the first of the Old Hearts you need for your mission.
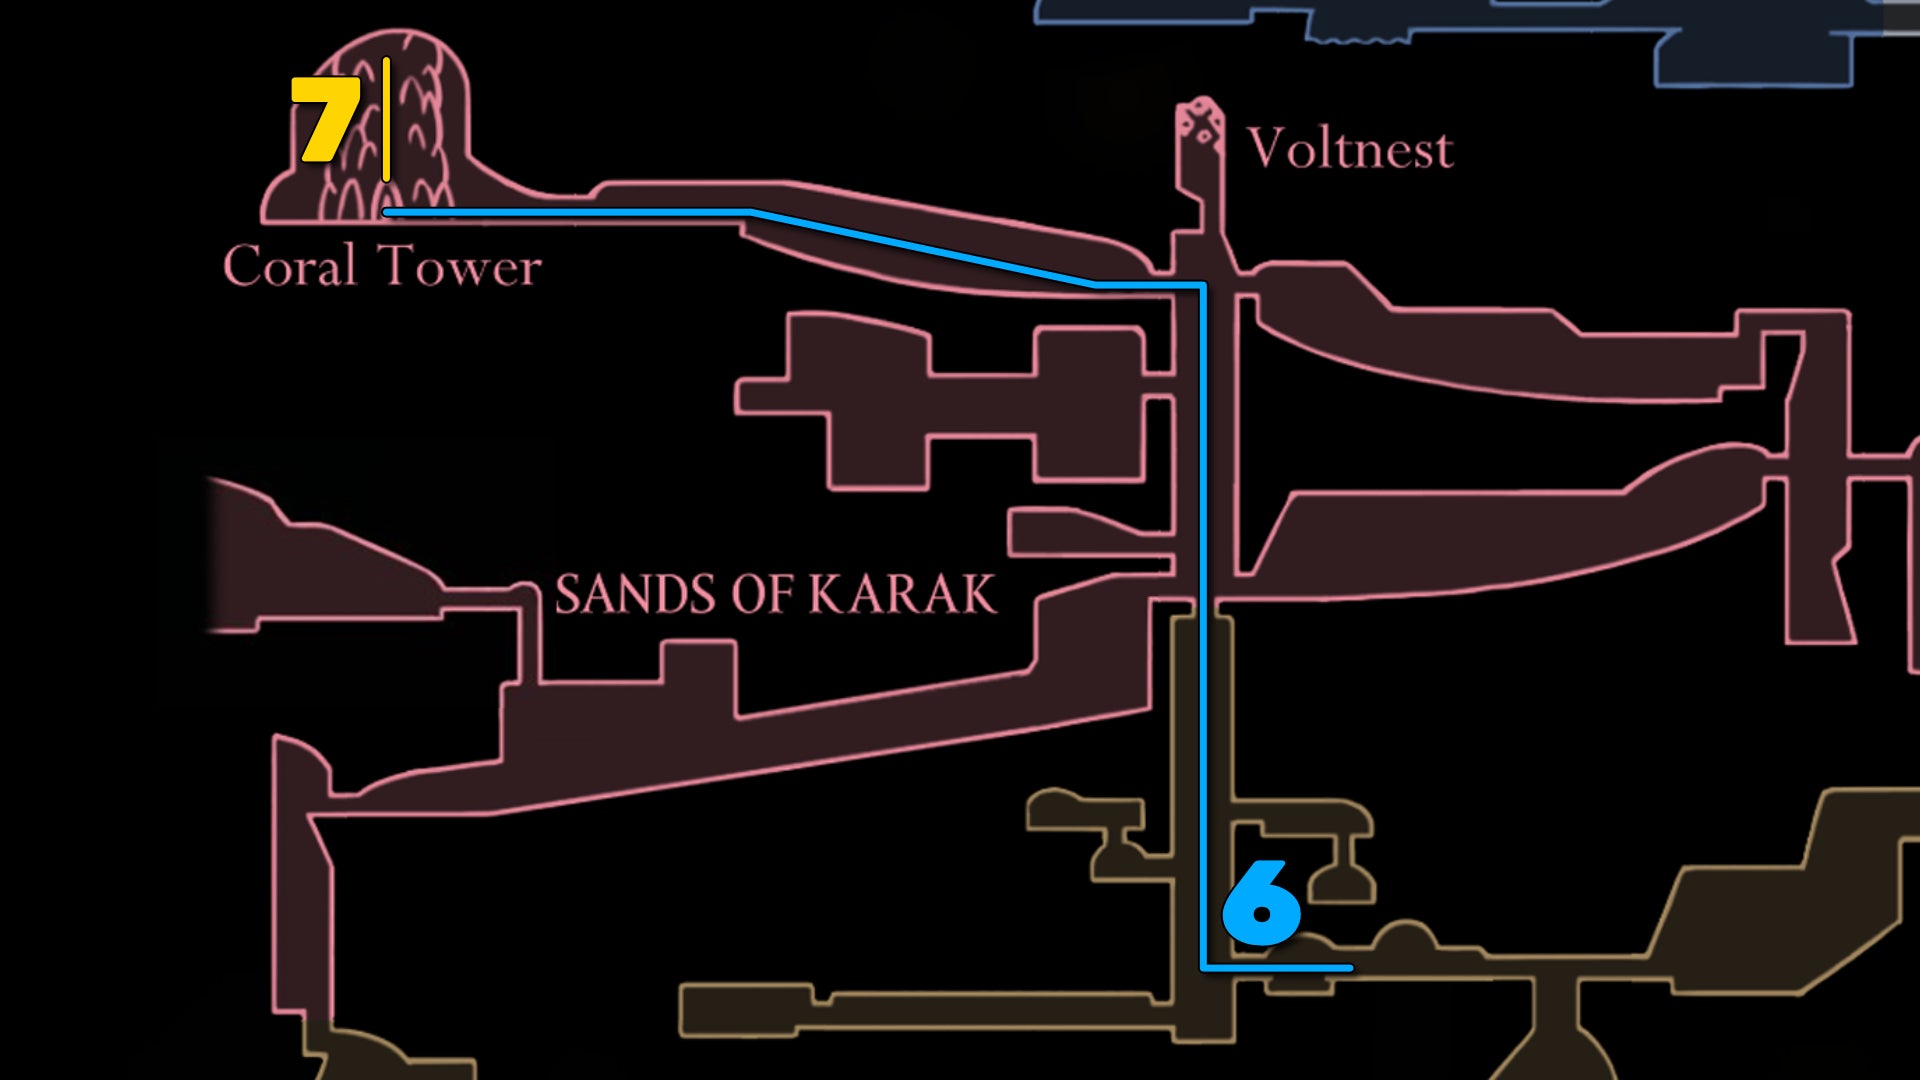
Image credit:Rock Paper Shotgun/Team Cherry
6. Reach the top of the Coral Tower.
Exit the shrine and Beastling Call your way back to the Blasted Steps Bellway. The next Old Heart, it turns out, isn’t far away at all. It’s up in the Coral Tower at the top of the Sands Of Karak, right above you.
Exit the Bellway to the left and climb up into the Sands Of Karak, all the way to the top of the shaft. From there, just head left through the obstacle course and you’ll reach the Coral Tower very quickly.
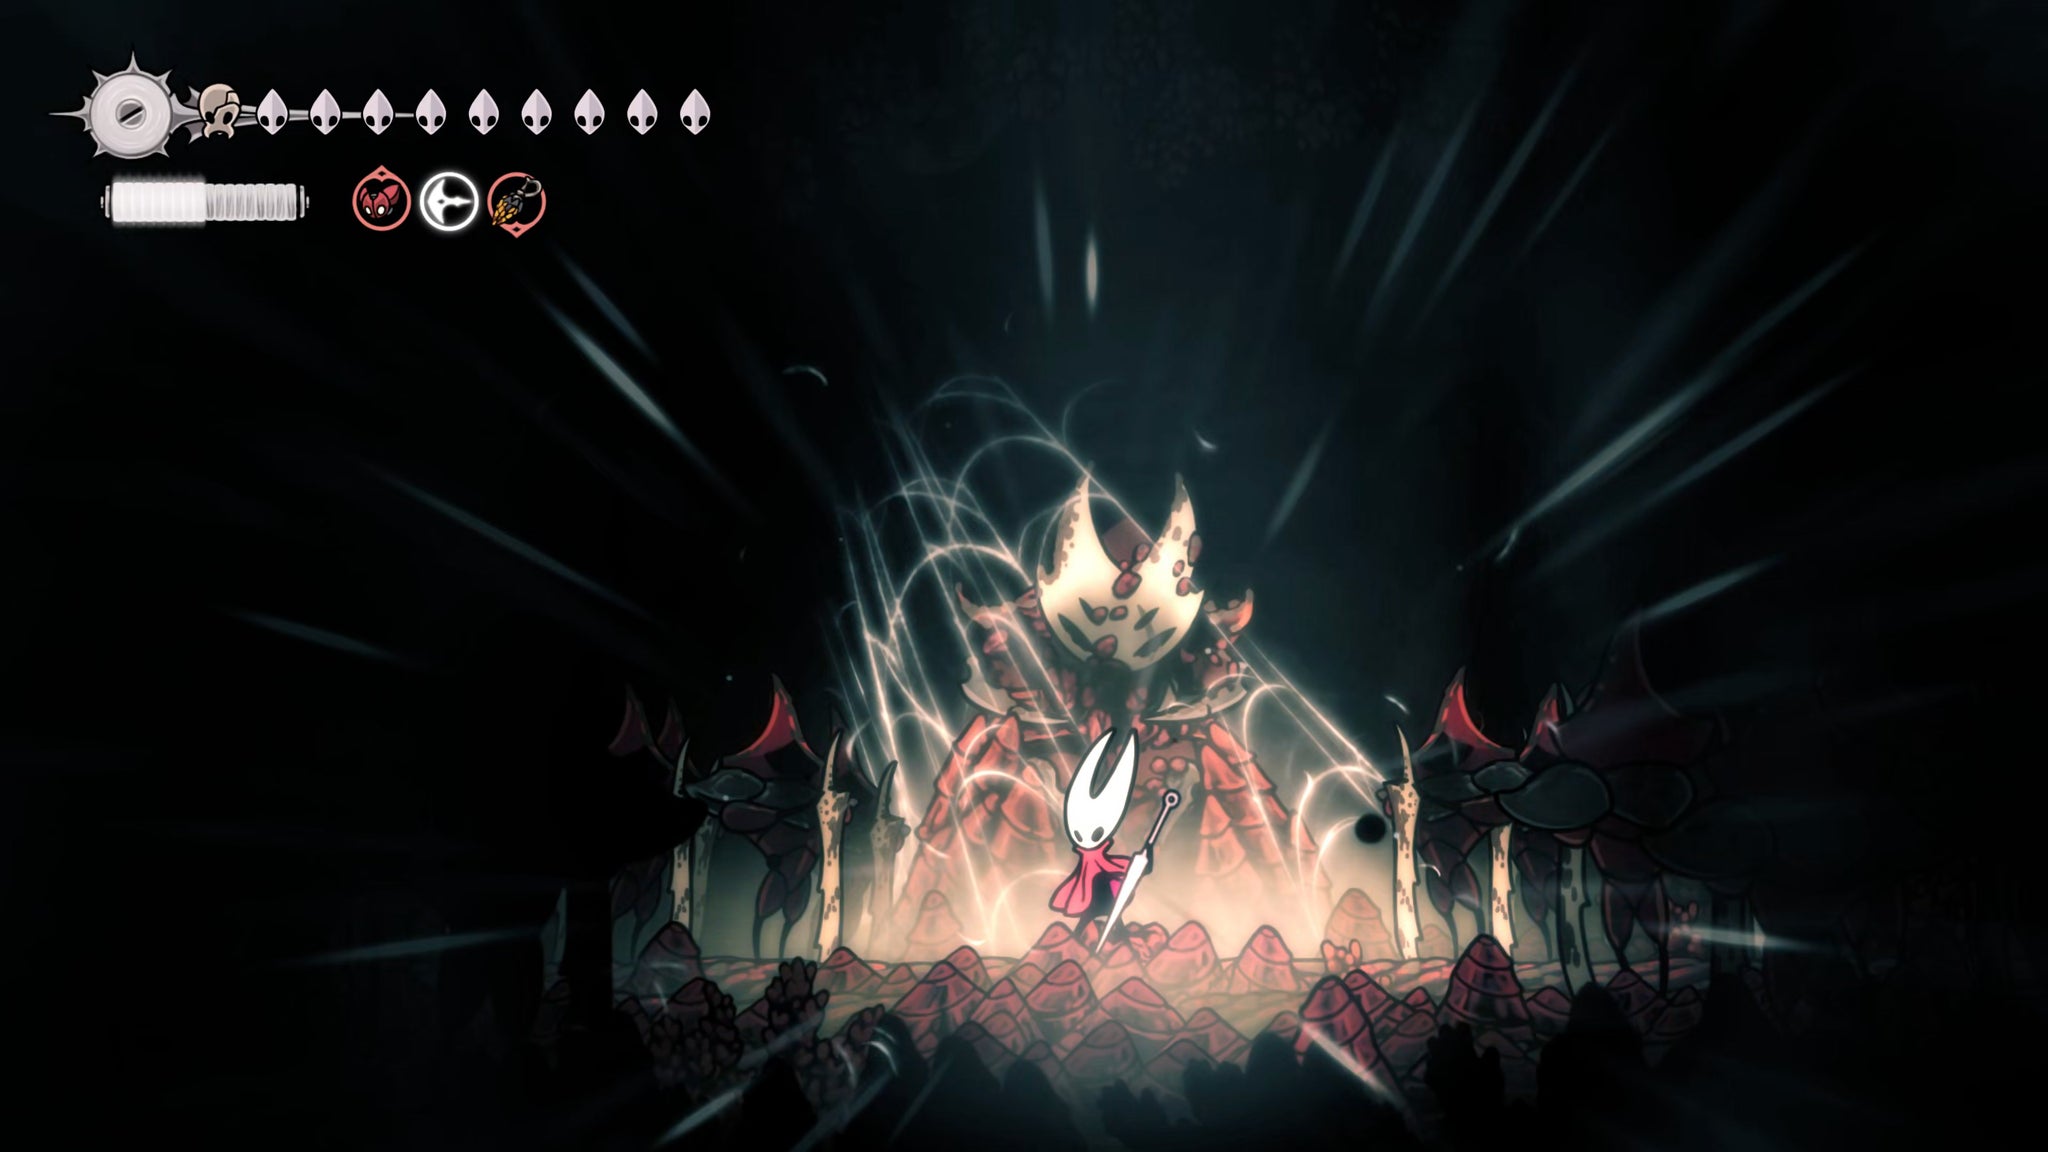
Image credit:Rock Paper Shotgun/Team Cherry
Enter the Coral Tower, and head to the very end of the path, where you can rest on the Bench there in the hidden extra room. Then stand in front of the large statue and use Elegy Of The Deep once more to enter a memory of how the Coral Tower used to be.
Upon awakening in the dream, immediately Silk Soar straight upwards into the tower above.
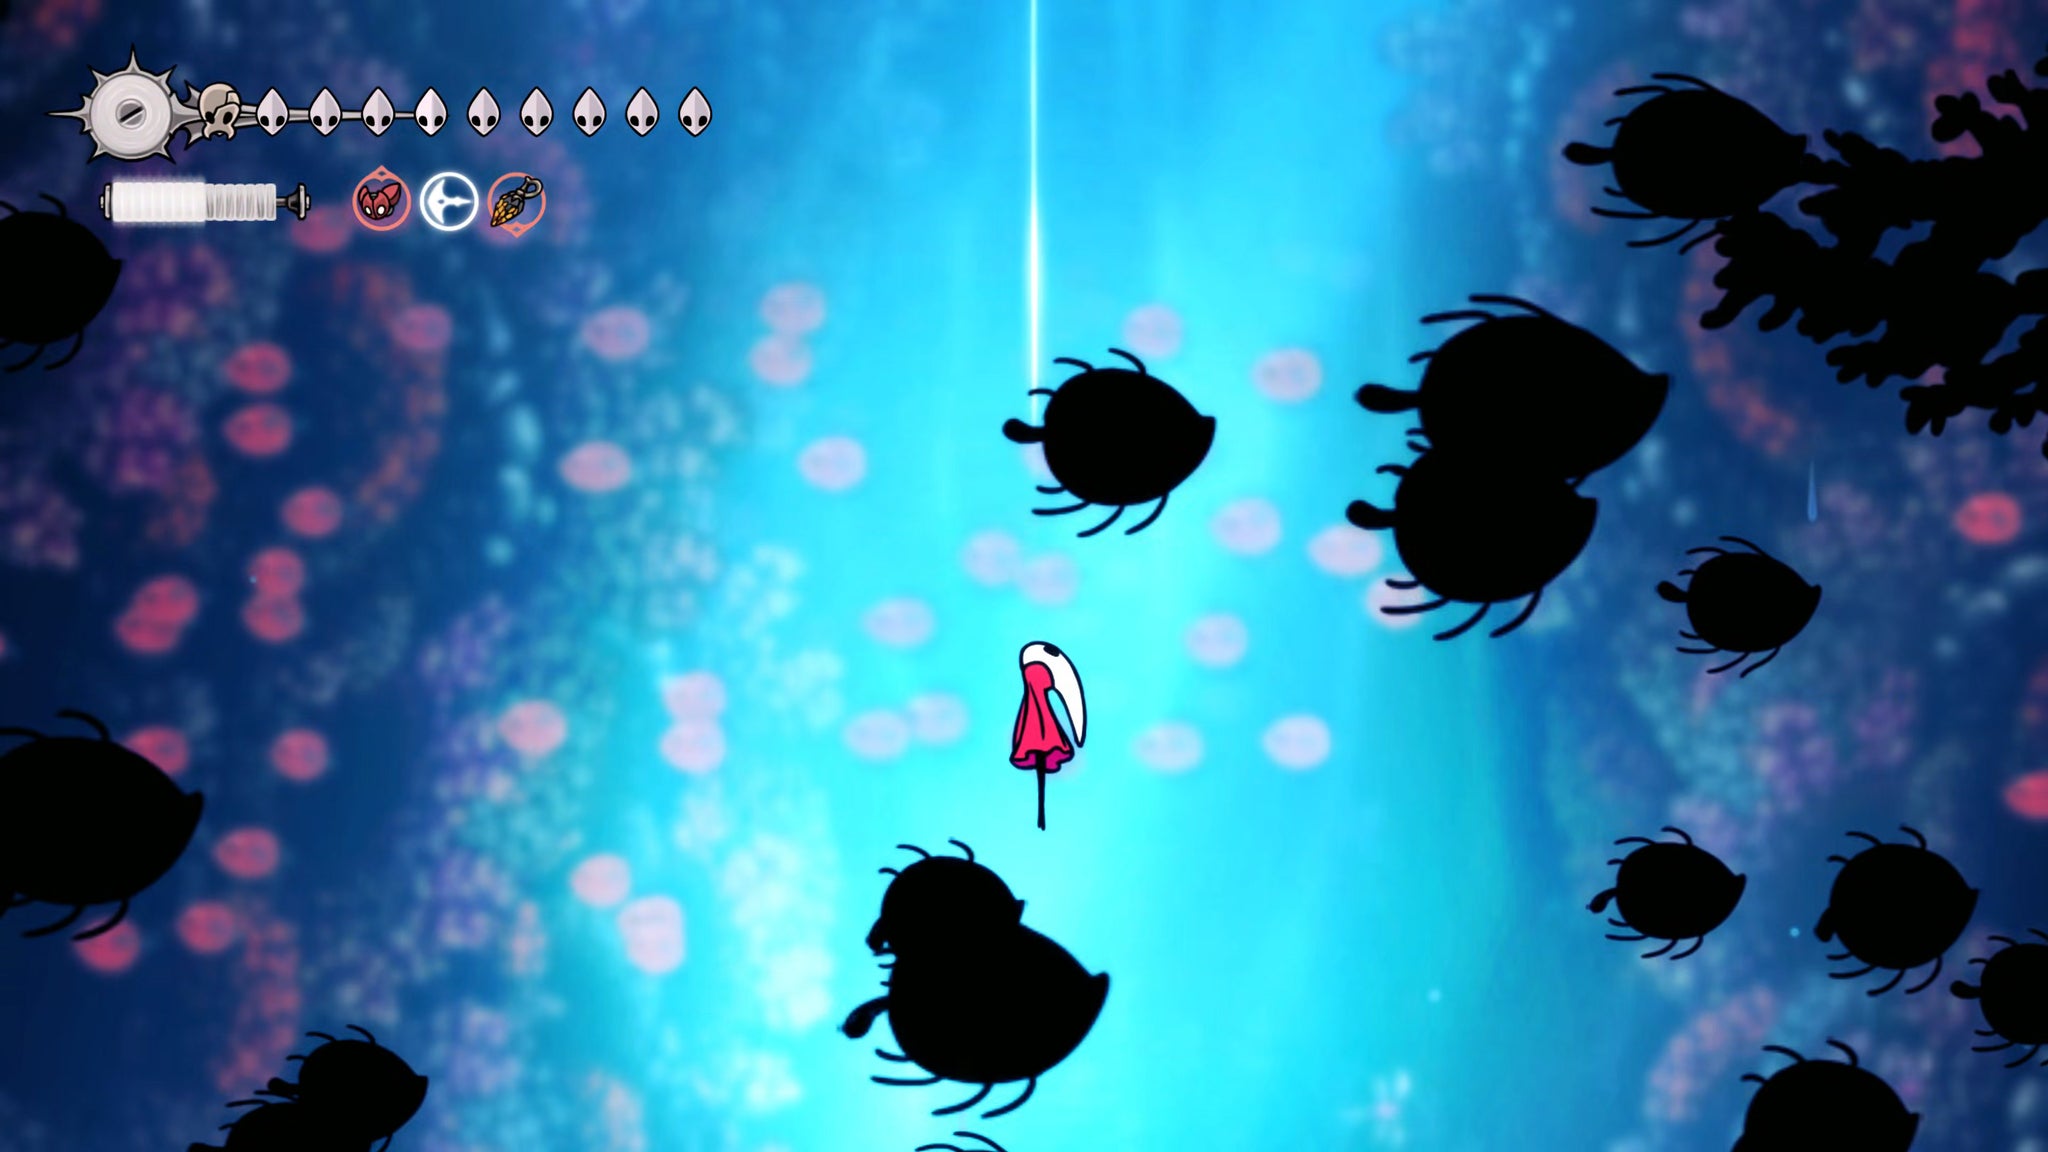
Image credit:Rock Paper Shotgun/Team Cherry
Beautiful, isn’t it? Don’t worry, you’ll grow to hate it soon enough - there are several arena fights along the way, and if you die to one, you’ll have to start over.
There are quite a few unique creatures in this place, so if you’re interested in filling out your Hunter’s Journal make sure you kill them all. There’s a Crustcrawler on the right, to get you started. After that, the main path moves left and then upwards via another Silk Soar.
This path leads you into the first of several Coral Tower arenas, in which you’re introduced to a series of entirely new enemies in quick succession. All the enemies in the Coral Tower are spawned inside giant stalactites coming down from the ground, and these stalactites can hit you, so be wary. Having said that, they can also hit (and one-shot) most enemies, so over time you can learn to position your opponents in order to make your life a bit easier.

Image credit:Rock Paper Shotgun/Team Cherry
The first arena is 6 waves in length, but there are no really difficult enemies. Prioritise the flyers, as they’re most likely to make life difficult for you. Once the arena is complete, follow the path upwards, and you’ll find a second, harder arena.
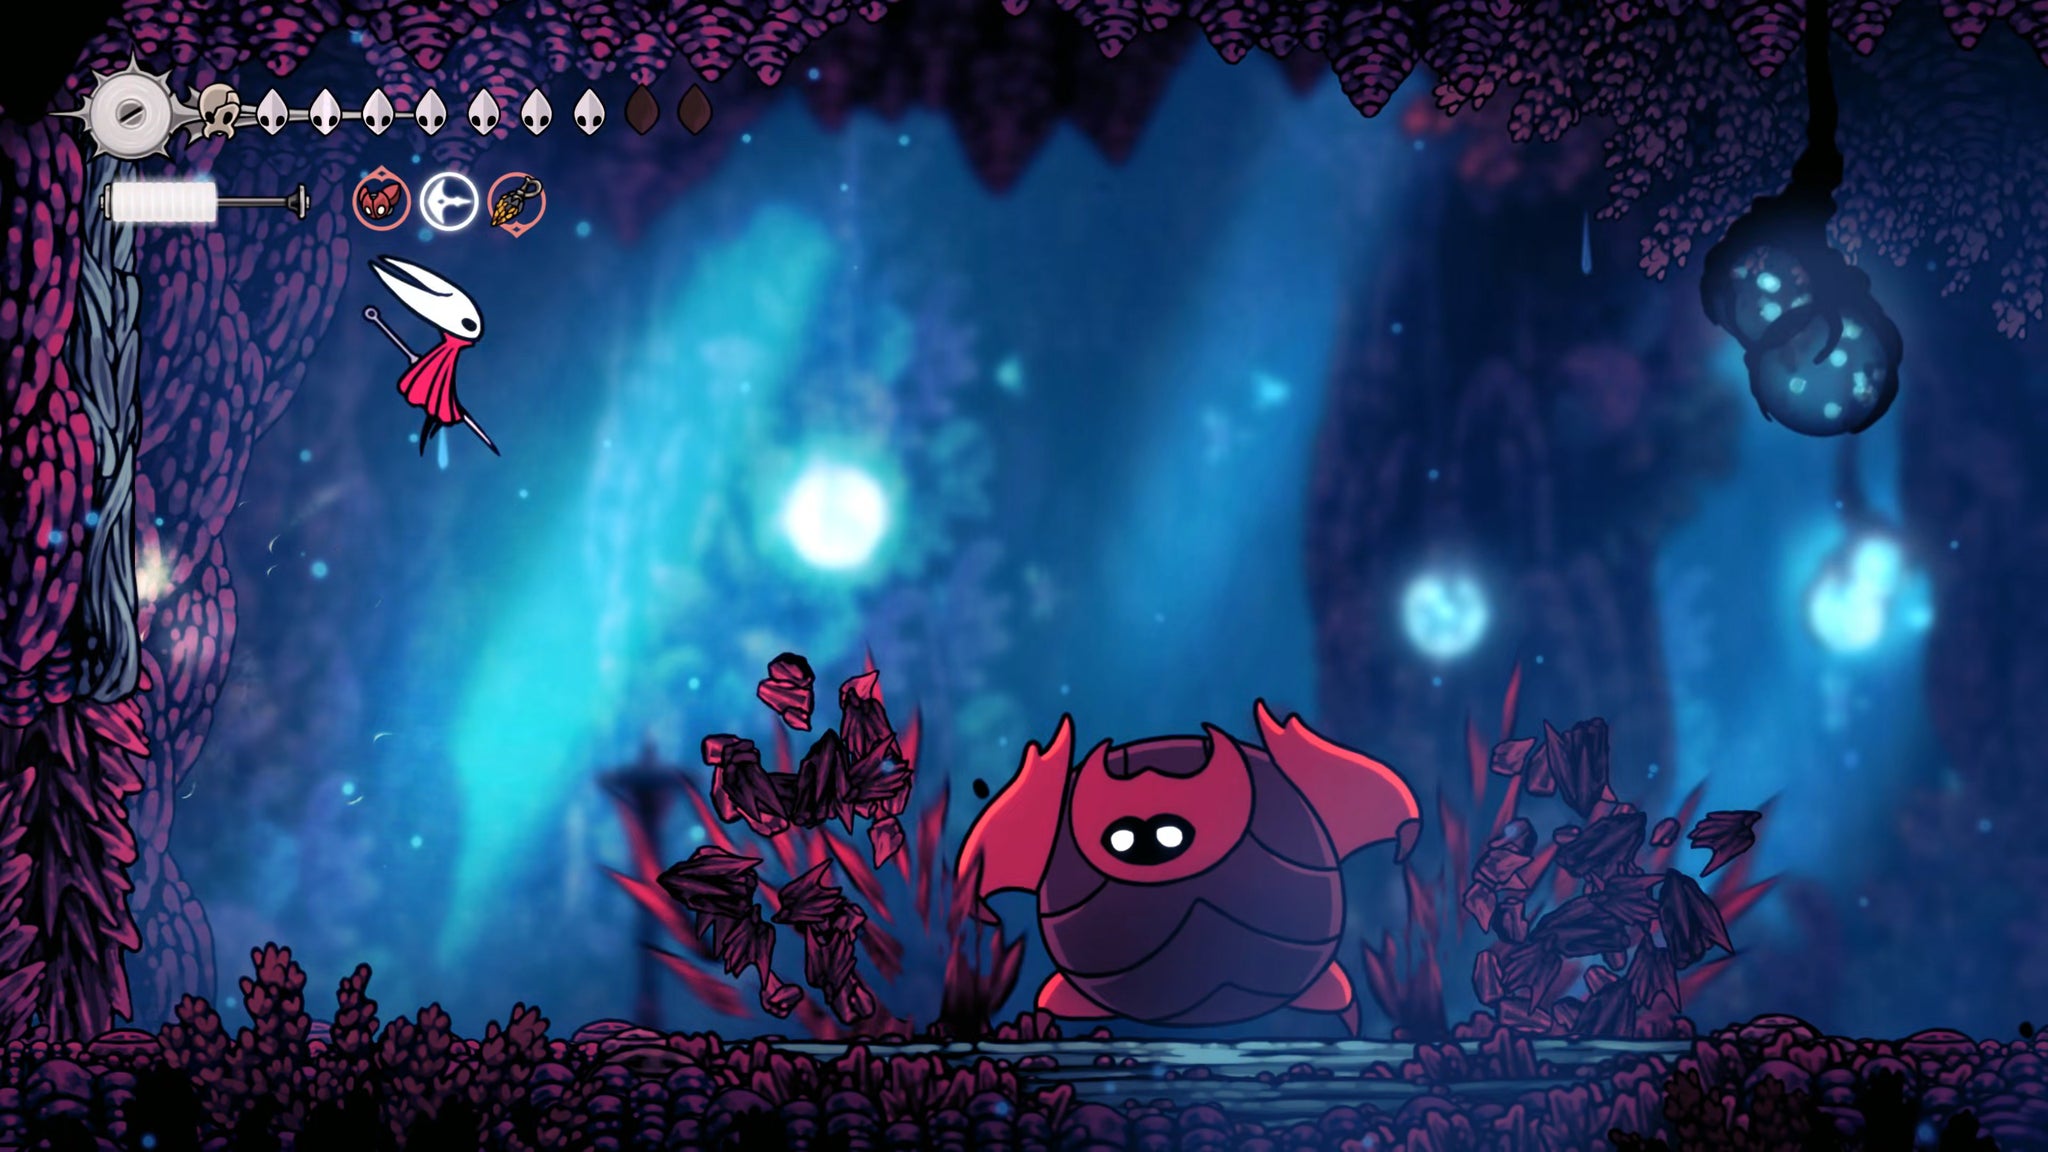
Image credit:Rock Paper Shotgun/Team Cherry
This second arena is something like 10 waves long, and features a couple of curveballs. After the third wave, spikes start to appear in the floor, limiting your mobility. And on the 6th and final waves, a large enemy is introduced, called a Karak Gor. These charging bugs summon spikes around and in front of them with each attack, so you have to defeat them carefully and patiently. The final wave has two of these at once, and it’s easy to panic under such pressure - but Pogo-ing is very powerful against them.
Continue following the path along and upwards, and you’ll reach a third arena, the hardest so far. It’s much like the second, but with more spikes appearing on the walls and the floor to make it even harder to dodge everything. There’s also a new enemy, an orange bubble-generating flyer called a Corrcrust Karaka. I like to burst this one down with my Silk abilities as quickly as possible, because the longer it lives, the more likely you are to take damage from its bubbles.
Towards the end of this fight the entire floor will be covered with spikes, forcing you to use the walls and Pogo attacks to stay airborne. This is the hardest part, so you should use Silk skills and tools to burst down the flying enemies that appear as quickly as possible.
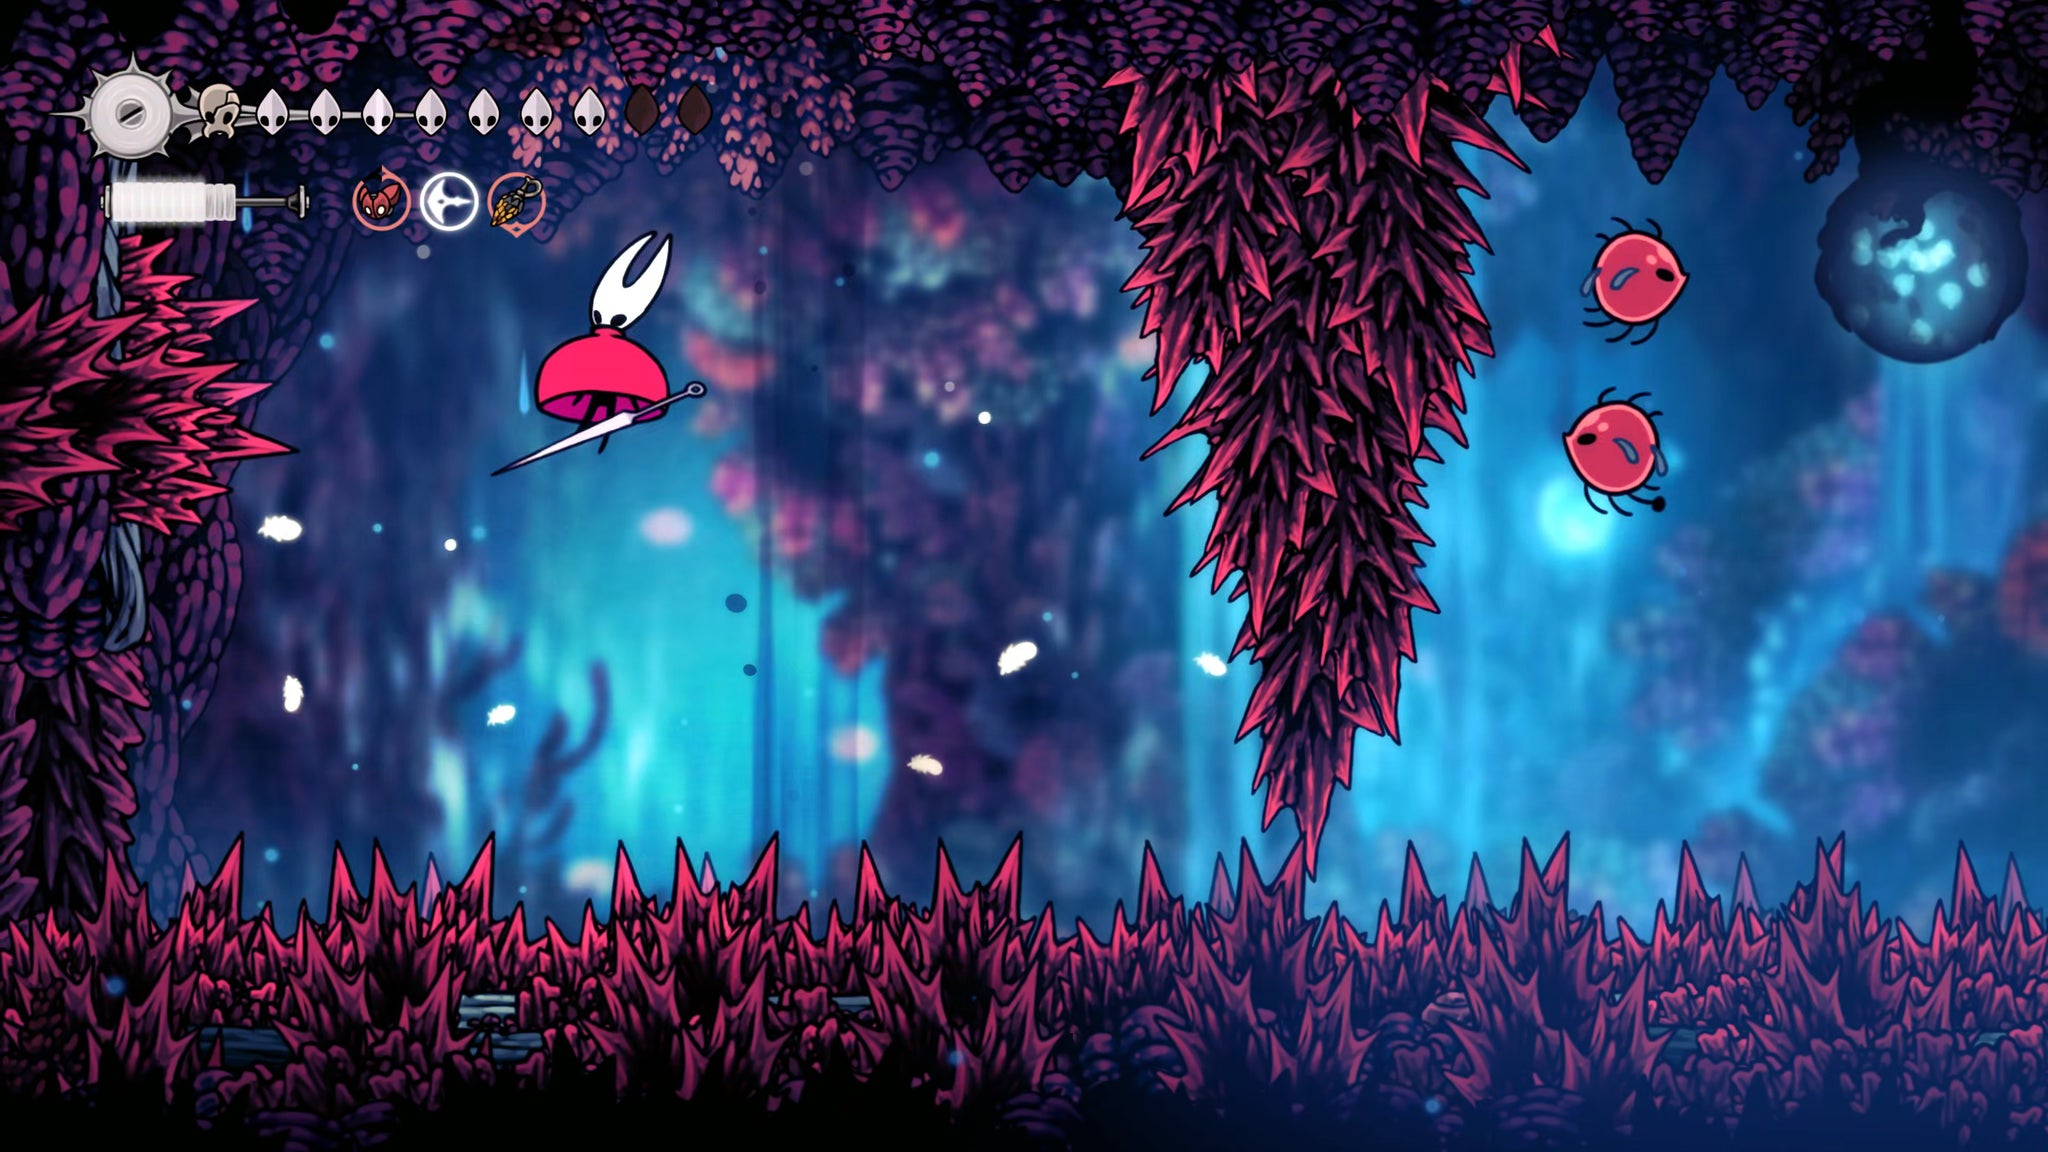
Image credit:Rock Paper Shotgun/Team Cherry
Once you’re at last past this third arena, head out to the left and climb upwards. At the top, just above this shaft, there’s a stalactite. Attack it to bring it down, cutting open a shortcut that takes you past the first three arenas for the next time you need to come through (thank goodness for that).
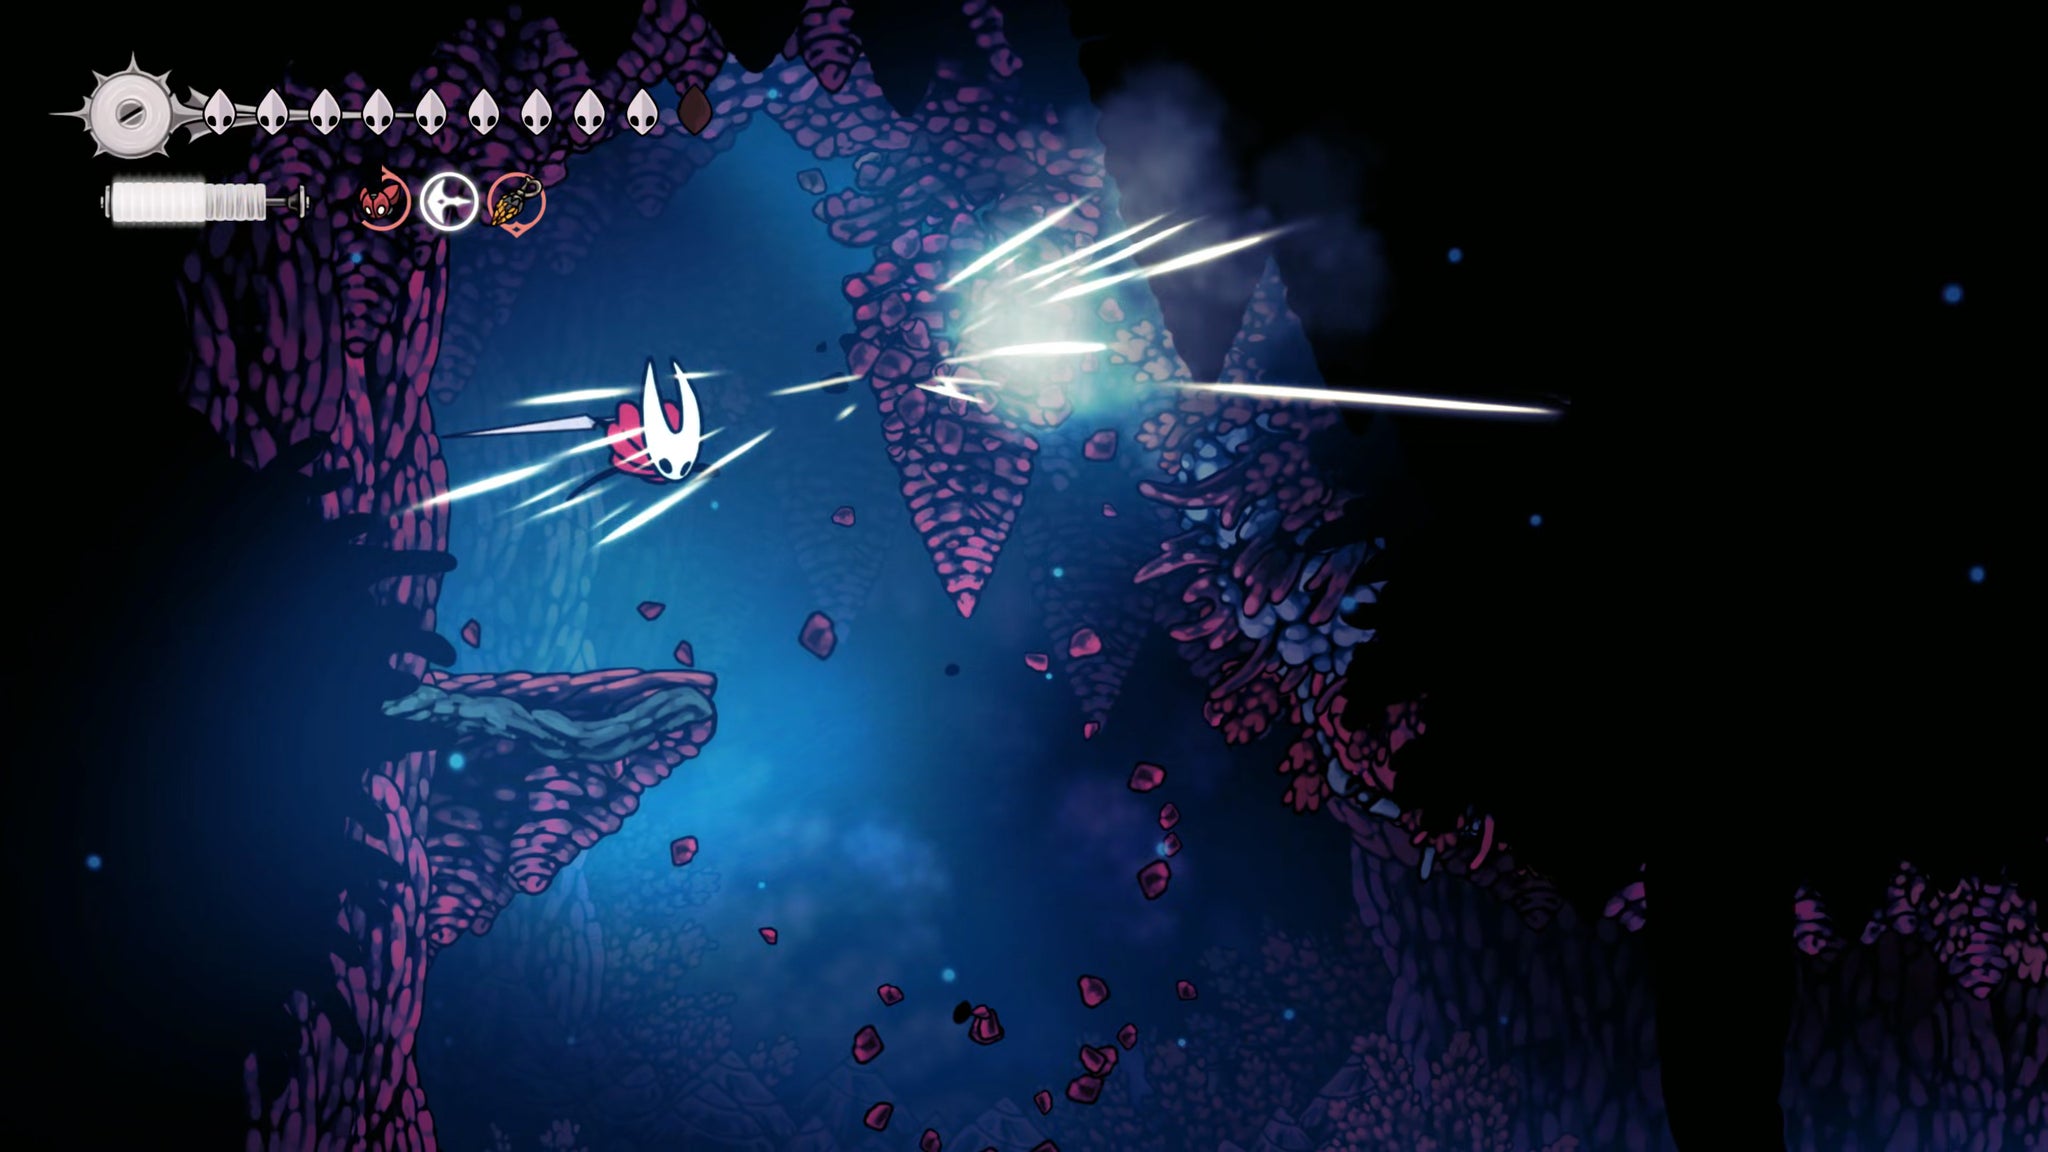
Image credit:Rock Paper Shotgun/Team Cherry
Now head to the right of the stalactite for the final test of the Coral Tower.
7. Defeat Crust King Khann for the Encrusted Heart.
The fight with Crust King Khann begins with another arena gauntlet of smaller enemies, because of course it does. This time you’re standing on three platforms above the spikes on the floor, and periodically a stalactite will come along and break one or more of them, forcing you to reposition.
The enemies are all ones you’ve seen before by this point, so just take your time and try to kill them efficiently and safely.
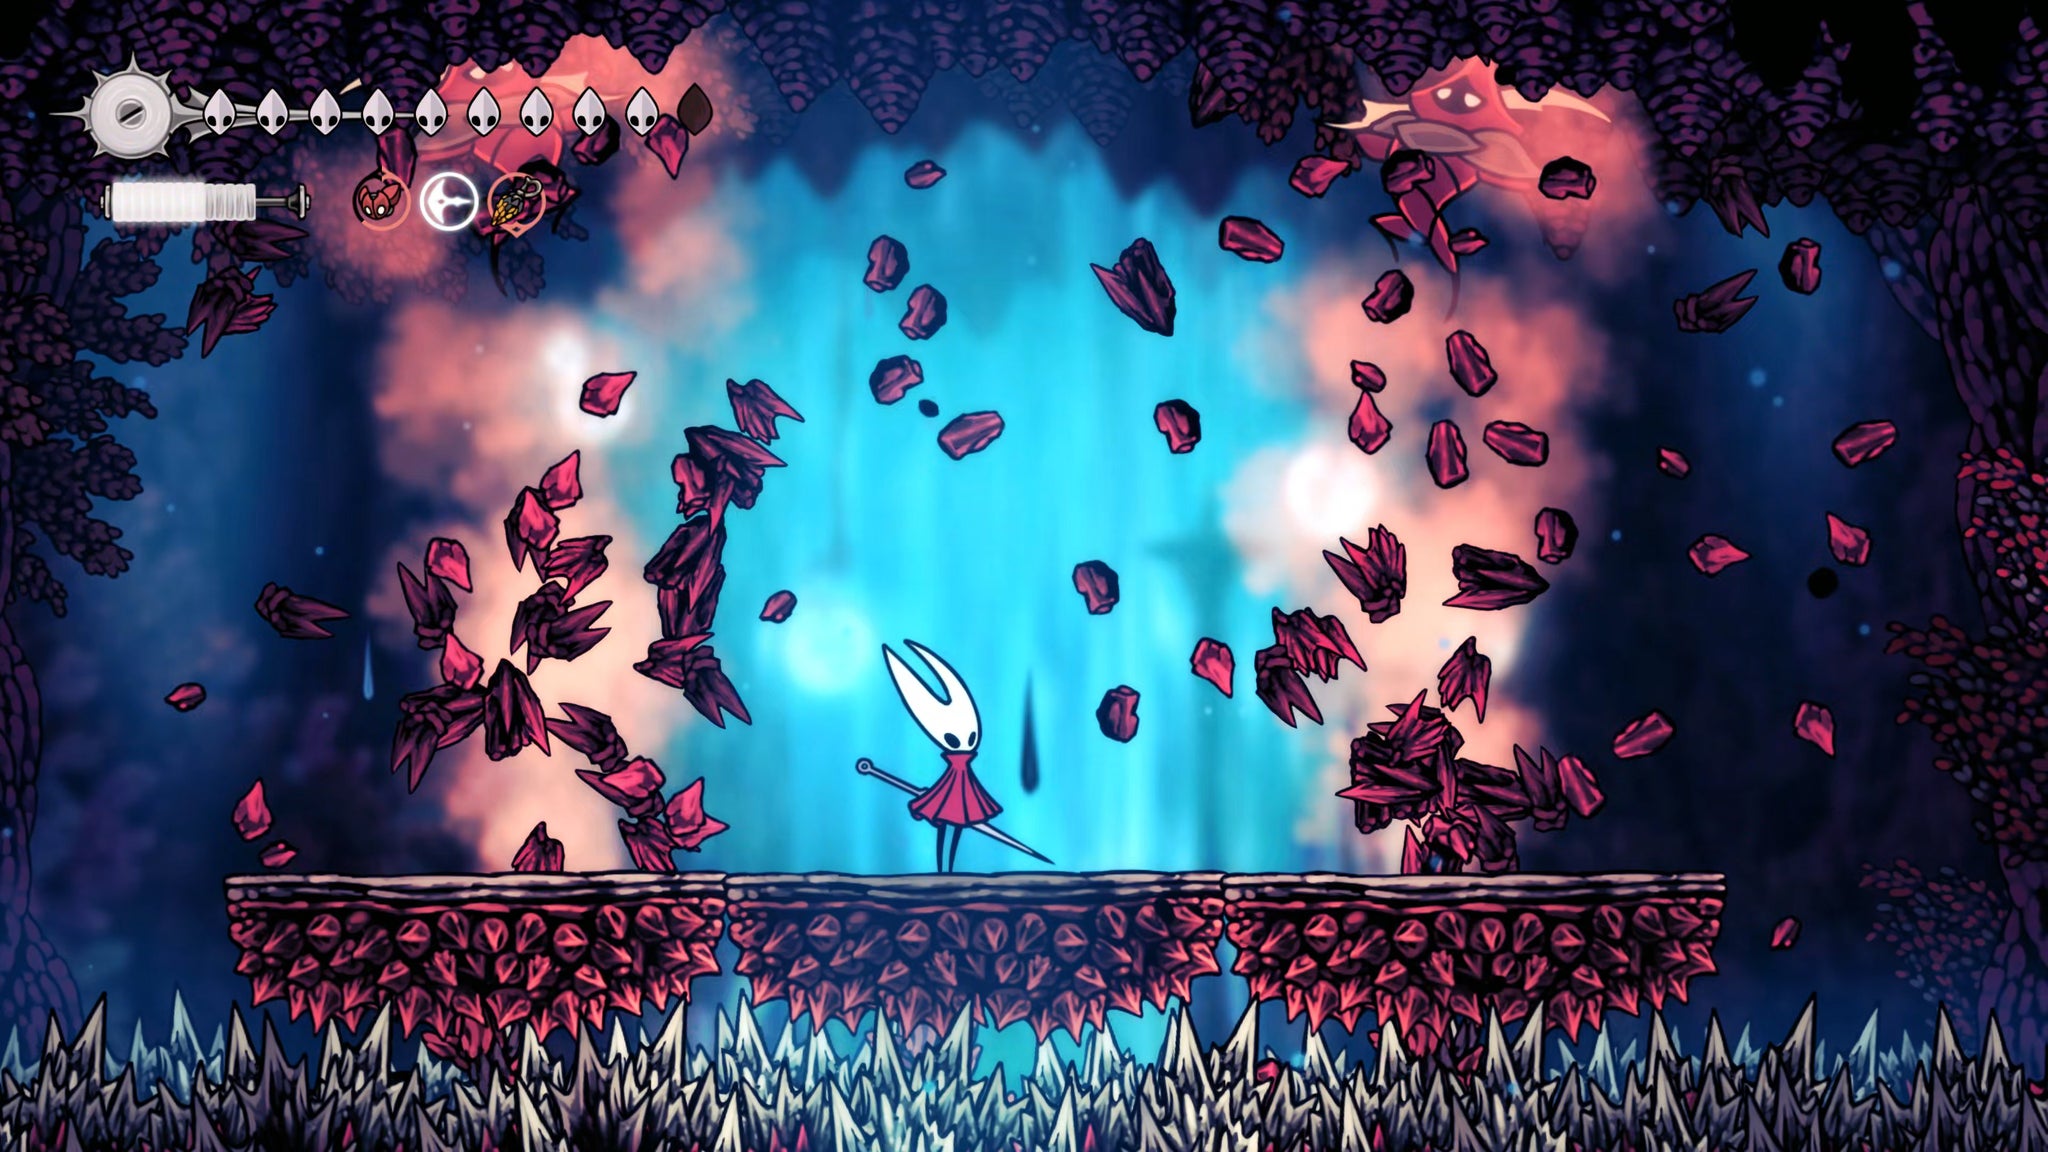
Image credit:Rock Paper Shotgun/Team Cherry
This fight is actually easier than the previous one, I’ve found, because there are gaps on the edges of the platforms where you can easily knock enemies into the spikes for a quick death.
At the end of the fight, the ceiling will break open in the centre, and stalactites will approach from every angle. You need to immediately Silk Soar up through the ceiling to avoid being hit - and at the top, you’ll finally meet the boss, Crust King Khann.
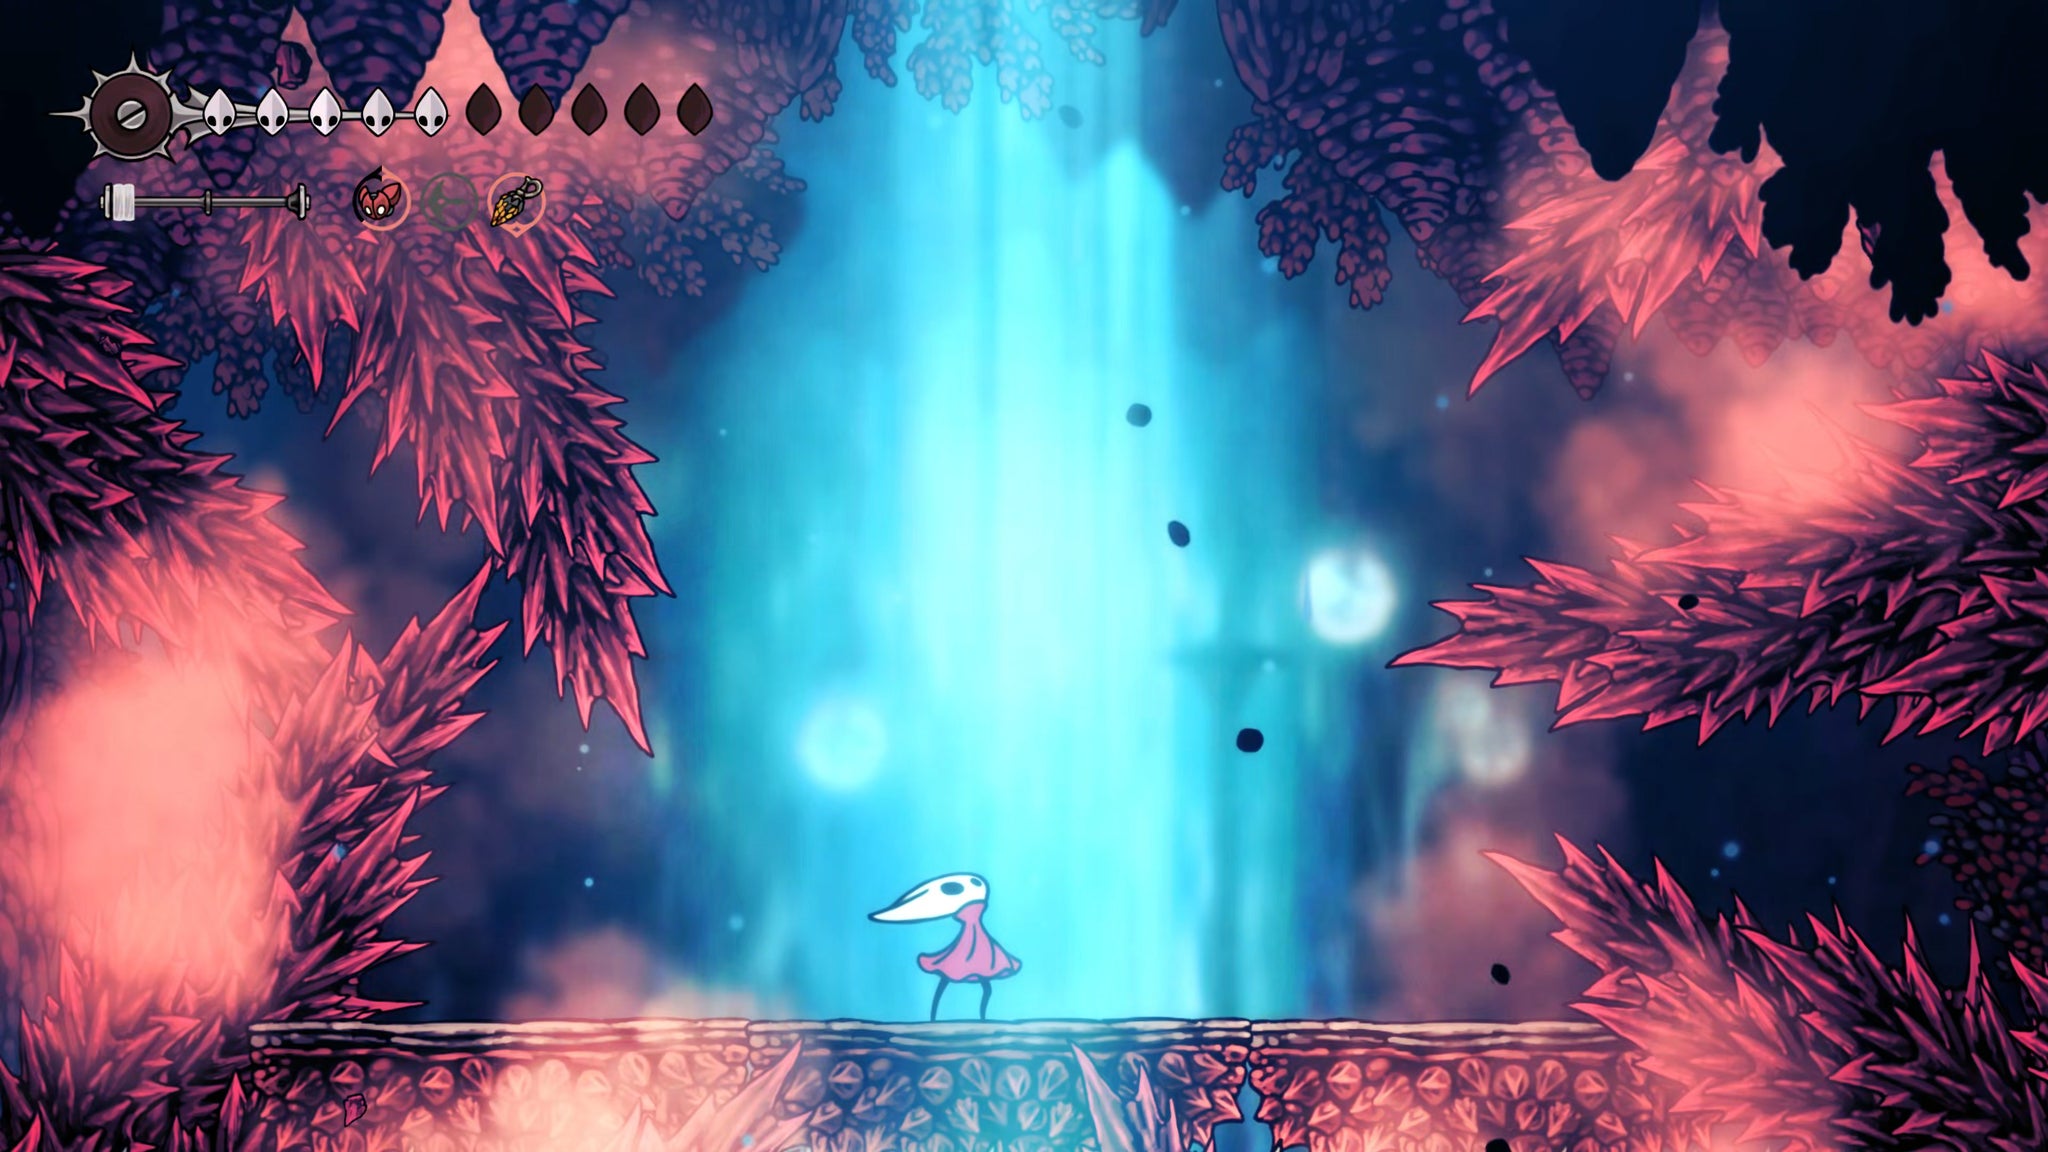
Image credit:Rock Paper Shotgun/Team Cherry
Crust King Khann really isn’t that tricky on his own - and nor should he be, for all the effort it took to get to him! He attacks almost exclusively by summoning stalactites and stalagmites, all of which are telegraphed very clearly ahead of time.
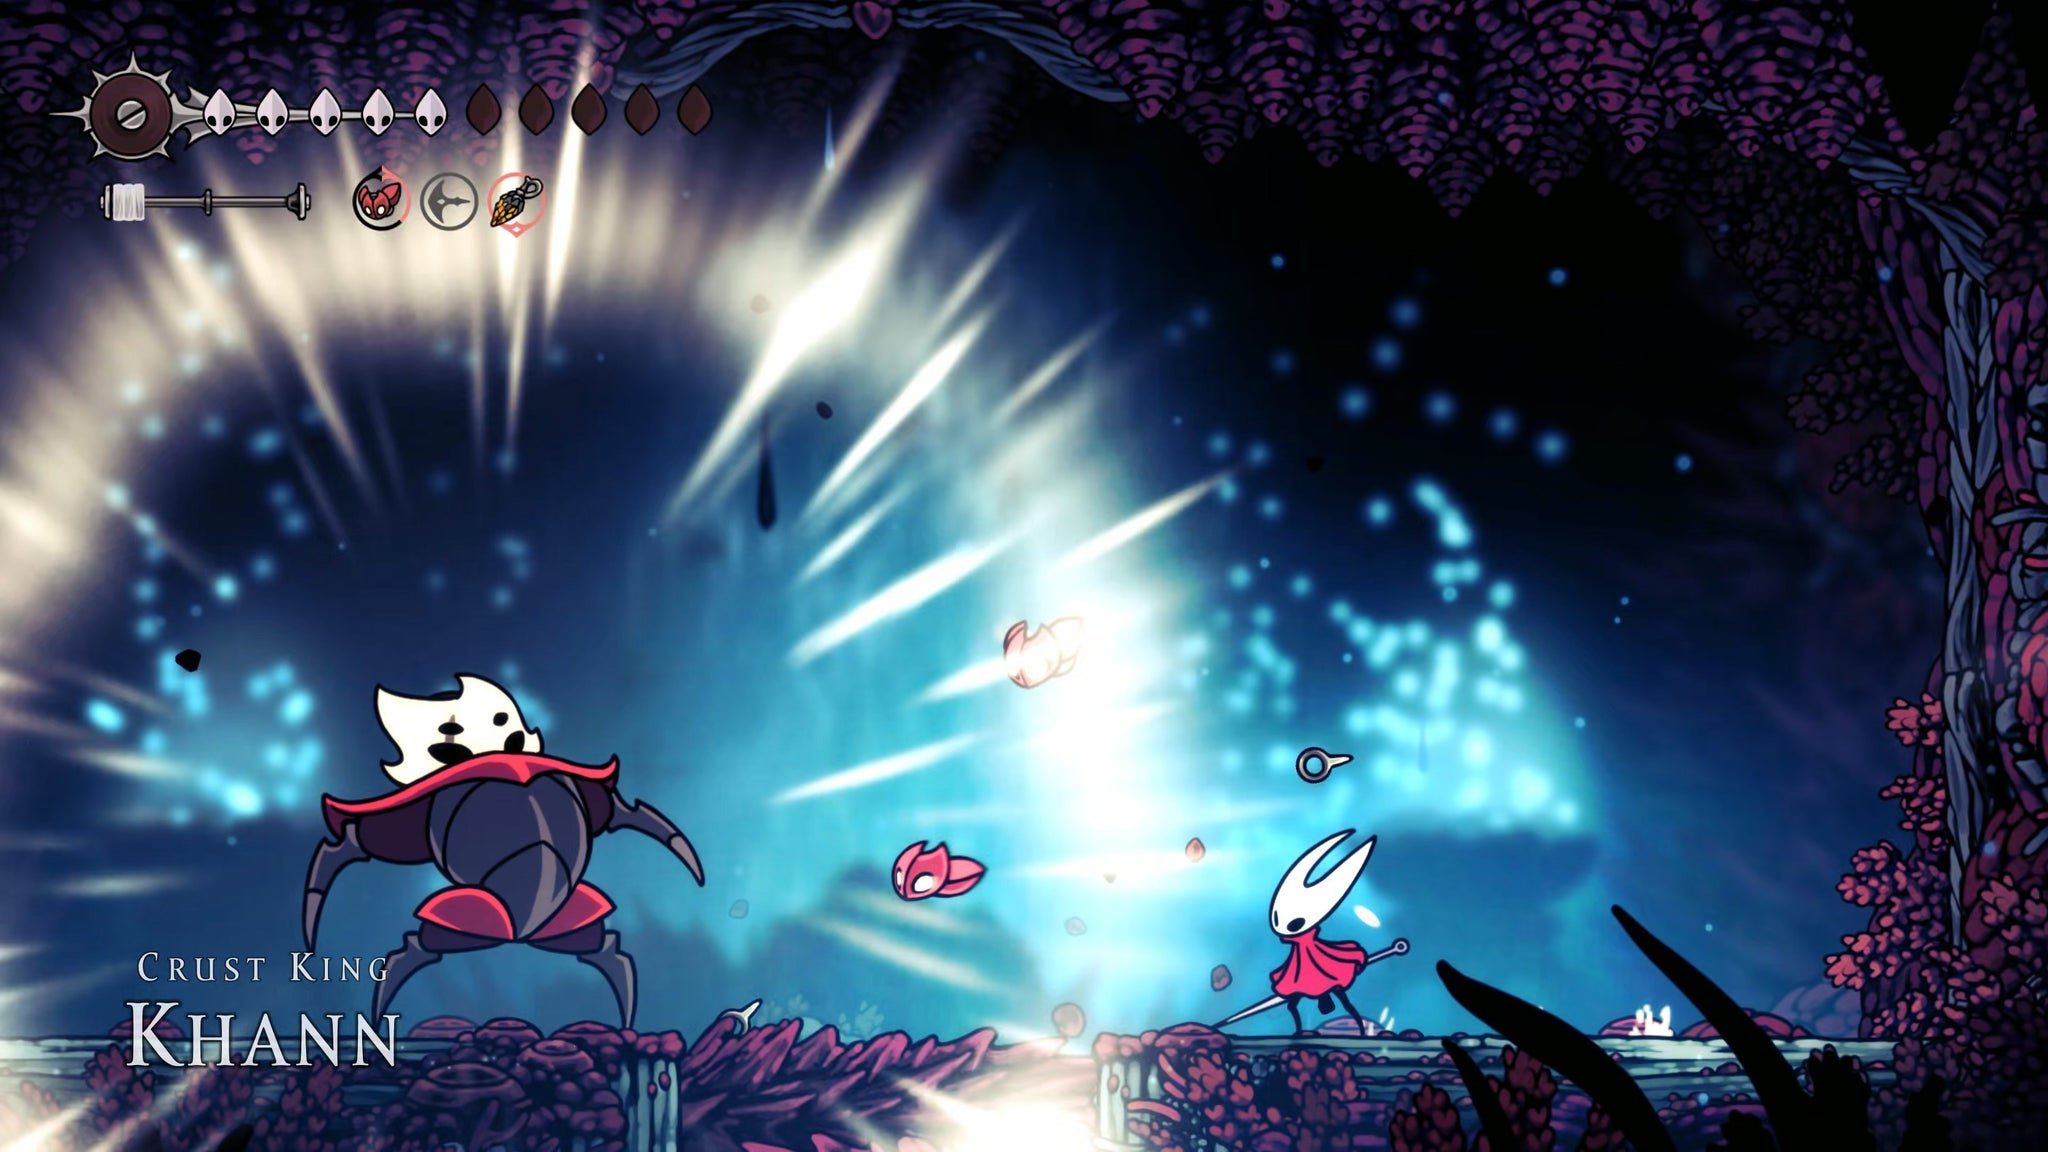
Image credit:Rock Paper Shotgun/Team Cherry
Things of course get more intense over time, with the quantity and speed of the spikes increasing. But still, your goal remains the same - pile on as much pressure onto the King as possible, follow him everywhere, and don’t give him a moment to recover. He has a big hitbox and it’s easy to farm Silk from him enough to out-heal any damage you receive from the spikes.

Image credit:Rock Paper Shotgun/Team Cherry
There are no extra phases to worry about, just a steady increasing of speed. Eventually you’ll land the killing blow, and obtain from him the Encrusted Heart.
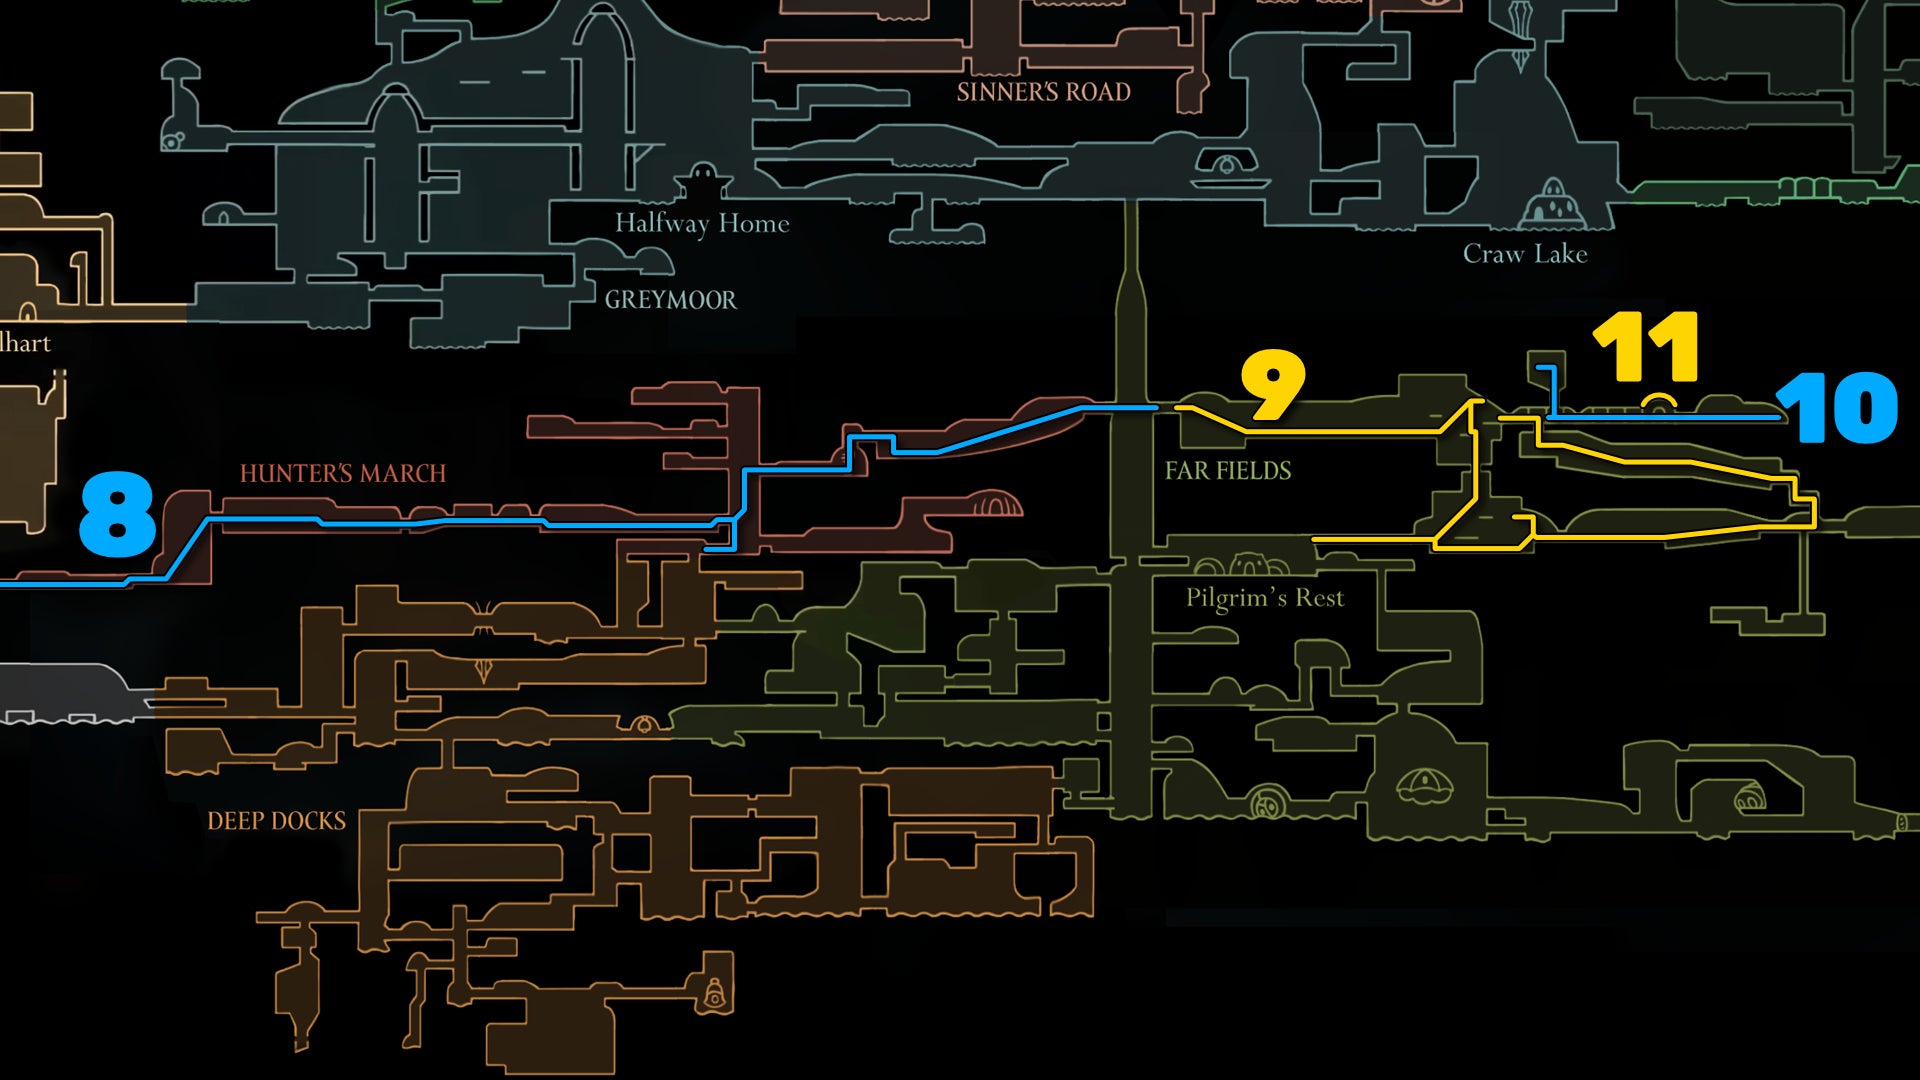
Image credit:Rock Paper Shotgun/Team Cherry
8. Use the secret passage inside Hunter’s March.
Now it’s time to find the final of the three Old Hearts, which resides in a high-up section of Far Fields. But to get there, you need to go through Hunter’s March. You also need to take the Marrow route into Hunter’s March, because if you take the Deep Docks route upwards into Hunter’s March you’ll find it’s blocked off, just like the First Shrine Ventrica was. You’ll need to approach it from the other side to open that shortcut again.
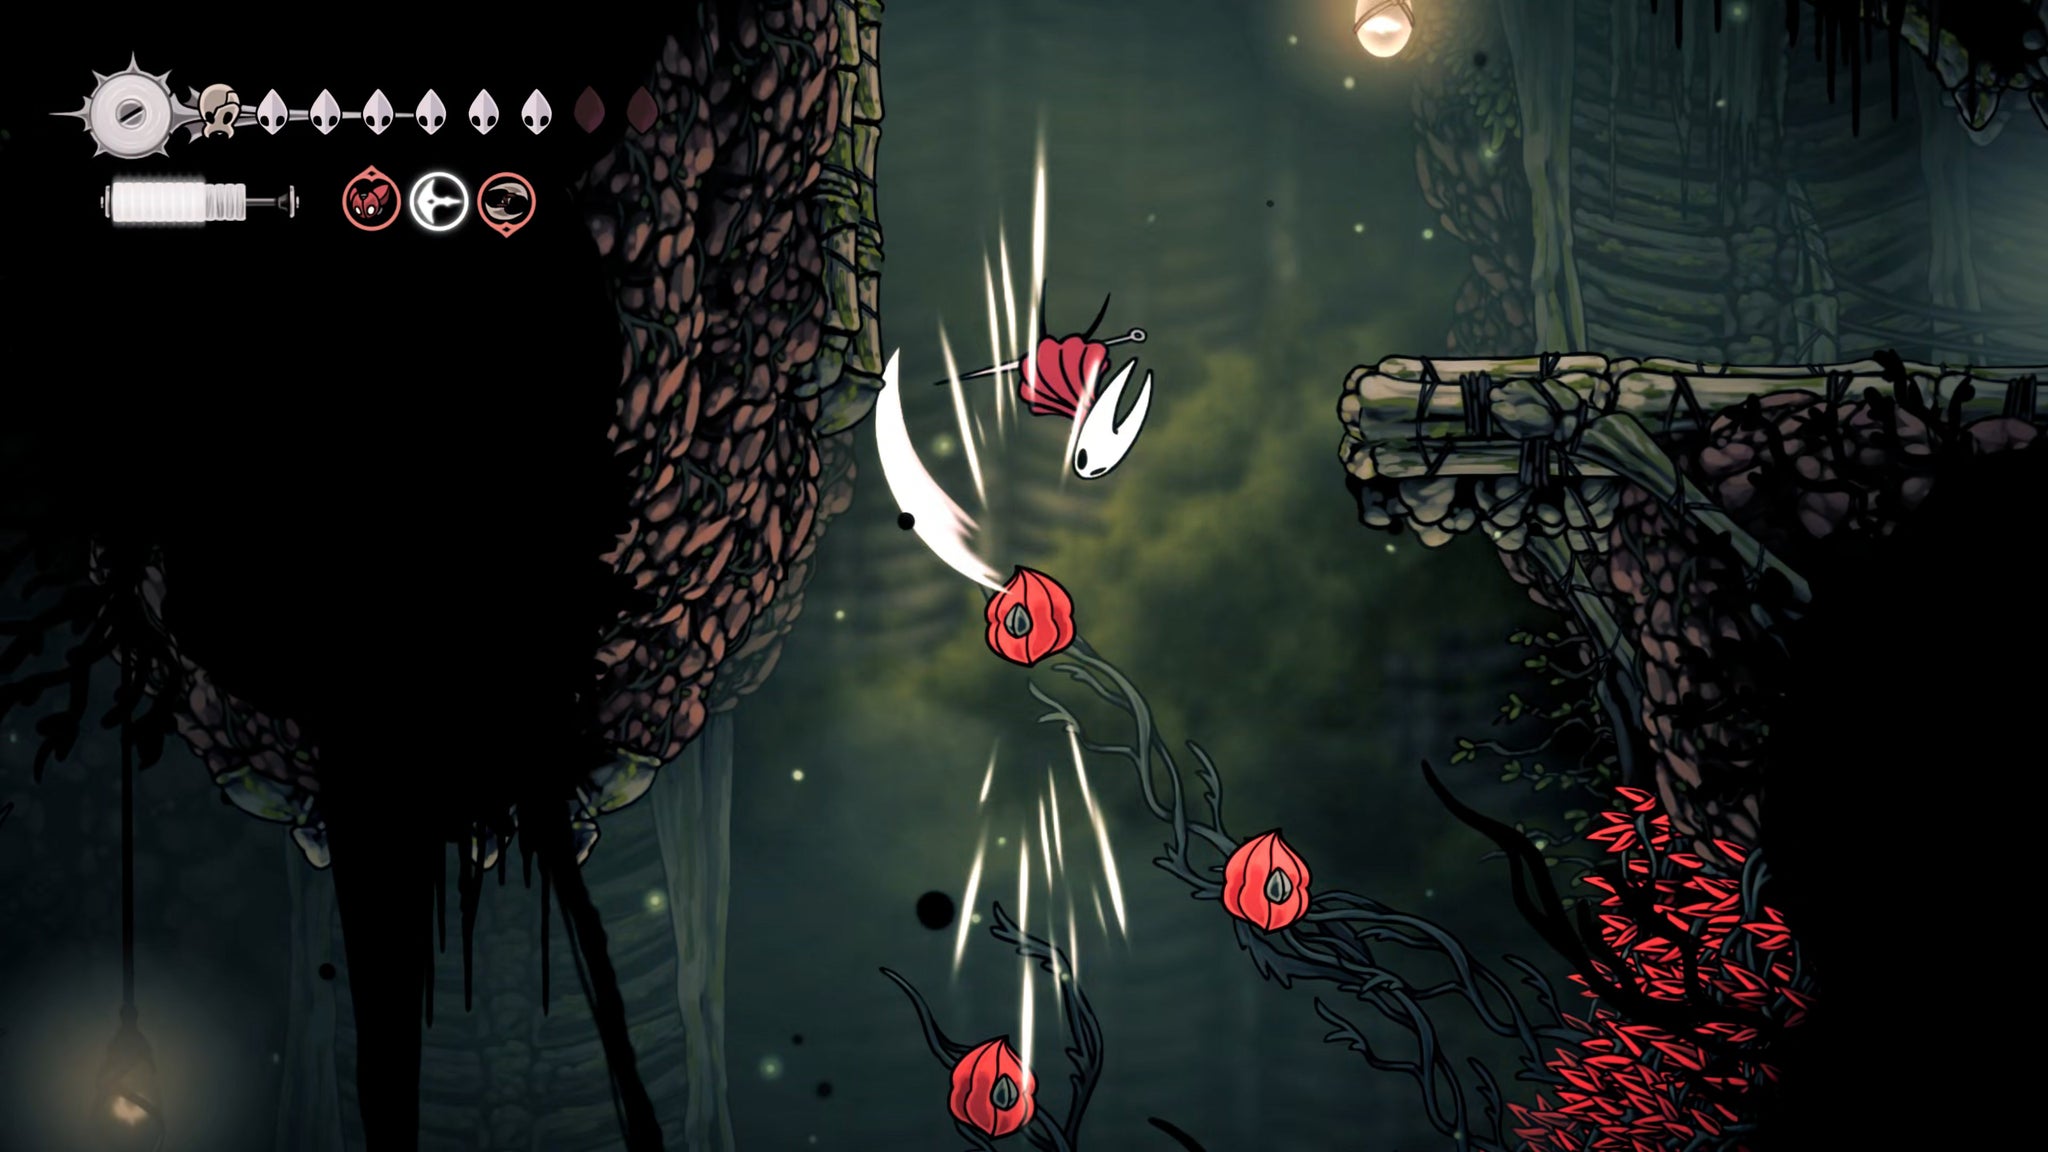
Image credit:Rock Paper Shotgun/Team Cherry
So, fast travel to The Marrow and make your way east to the Hunter’s March entrance, where you killed that first Skarrgard so long ago. From there, you quite simply need to head east, killing or avoiding any enemies in your way.
Once you reach the arena fight where Shakra once helped you, you’ll be plunged into another Act 3-specific gauntlet against Void-variant ant enemies. It consists of three waves of the regular enemies (but Void-soaked) - no Skarrgards, thankfully.
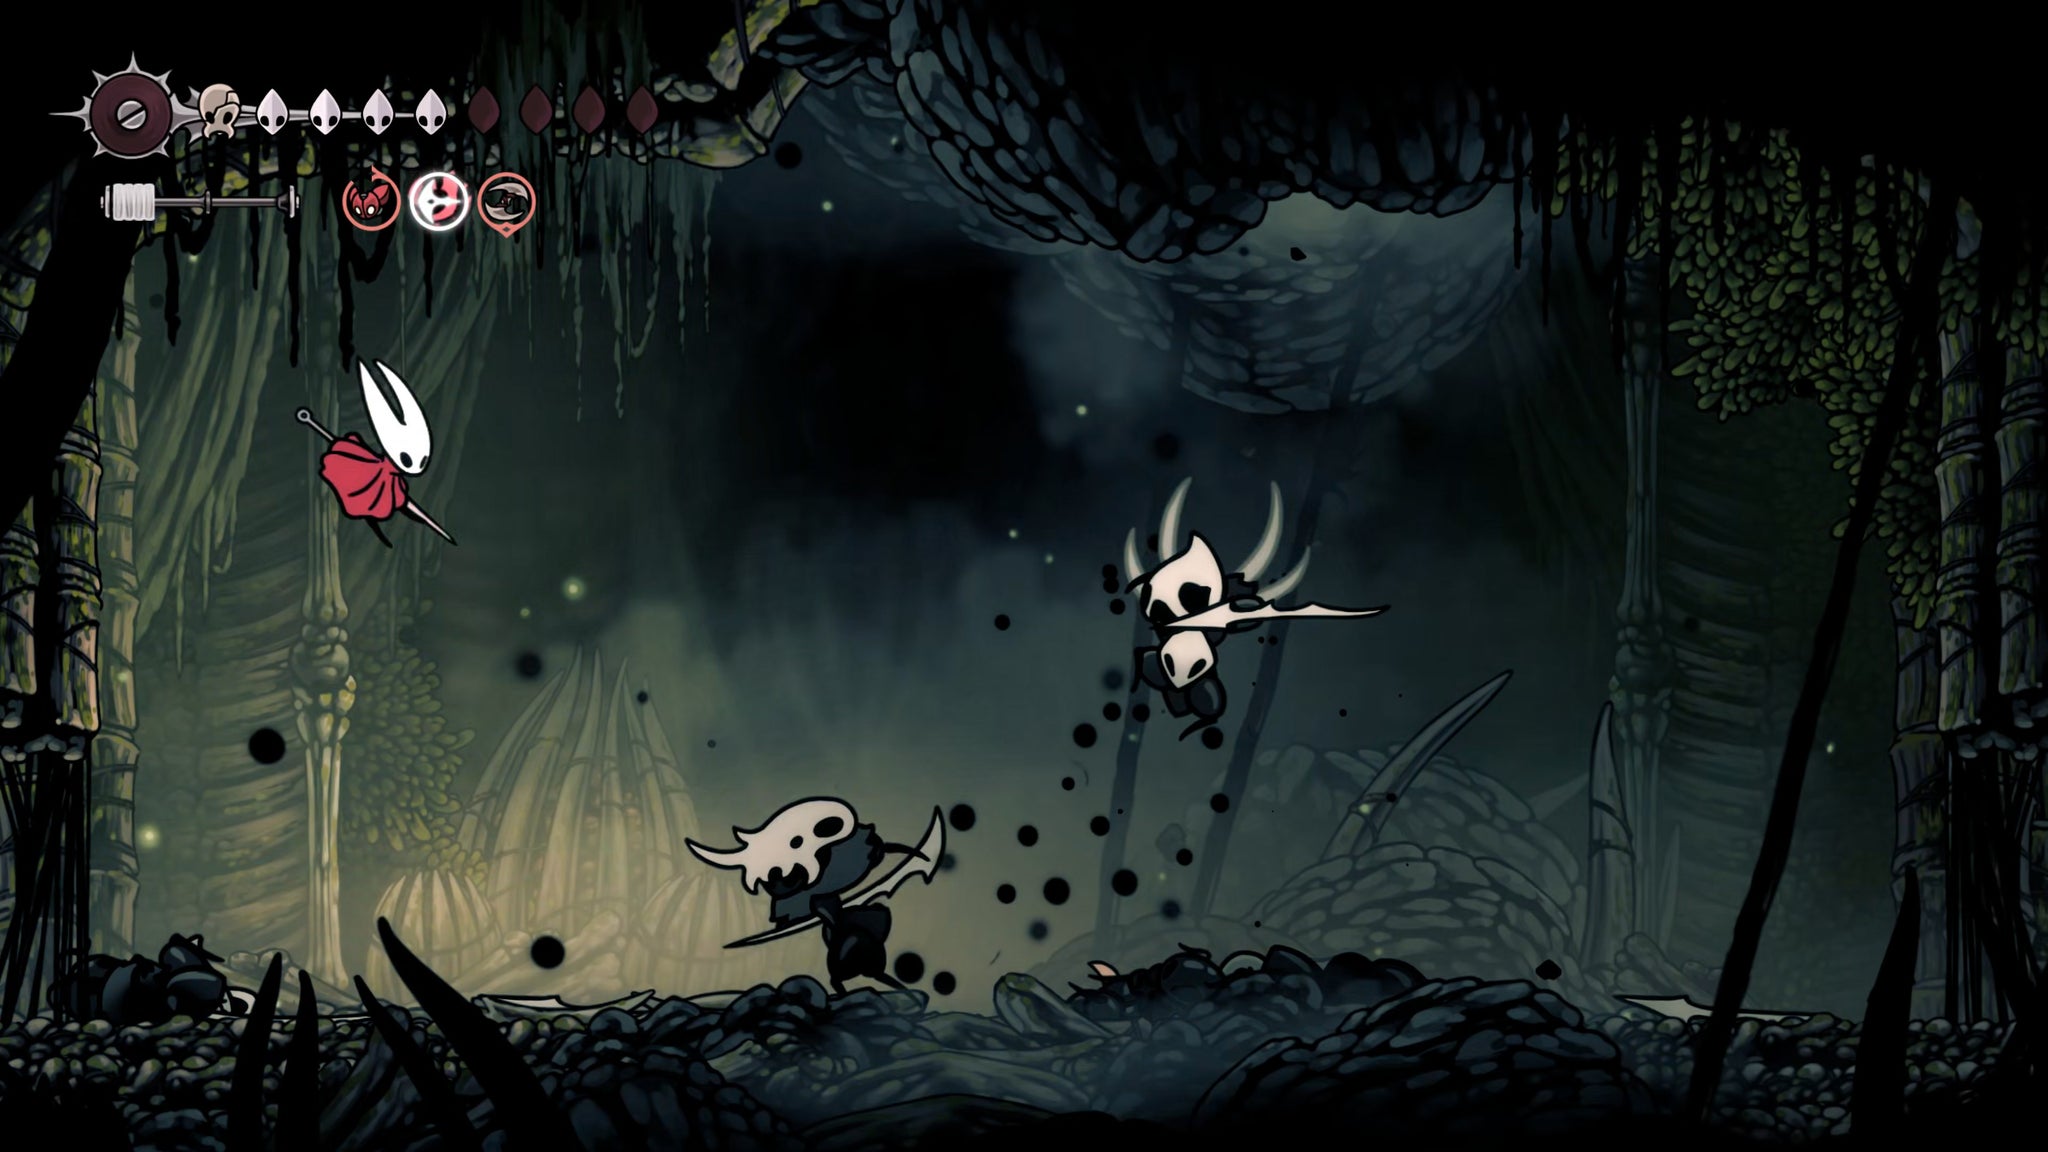
Image credit:Rock Paper Shotgun/Team Cherry
After defeating all the enemies, continue east through the next corridor until you reach the main shaft of Hunter’s March. Before you do anything else, drop down to the bottom-left exit and break the wall to unlock that blocked shortcut again. Then climb up to the Bench to the left of the shaft, and rest there before continuing.
After resting, cross over to the right-hand side entrance in the shaft, where you first met Gilly by the large ant statue. Stand right in front of the statue and Silk Soar upwards to reach a secret passageway.
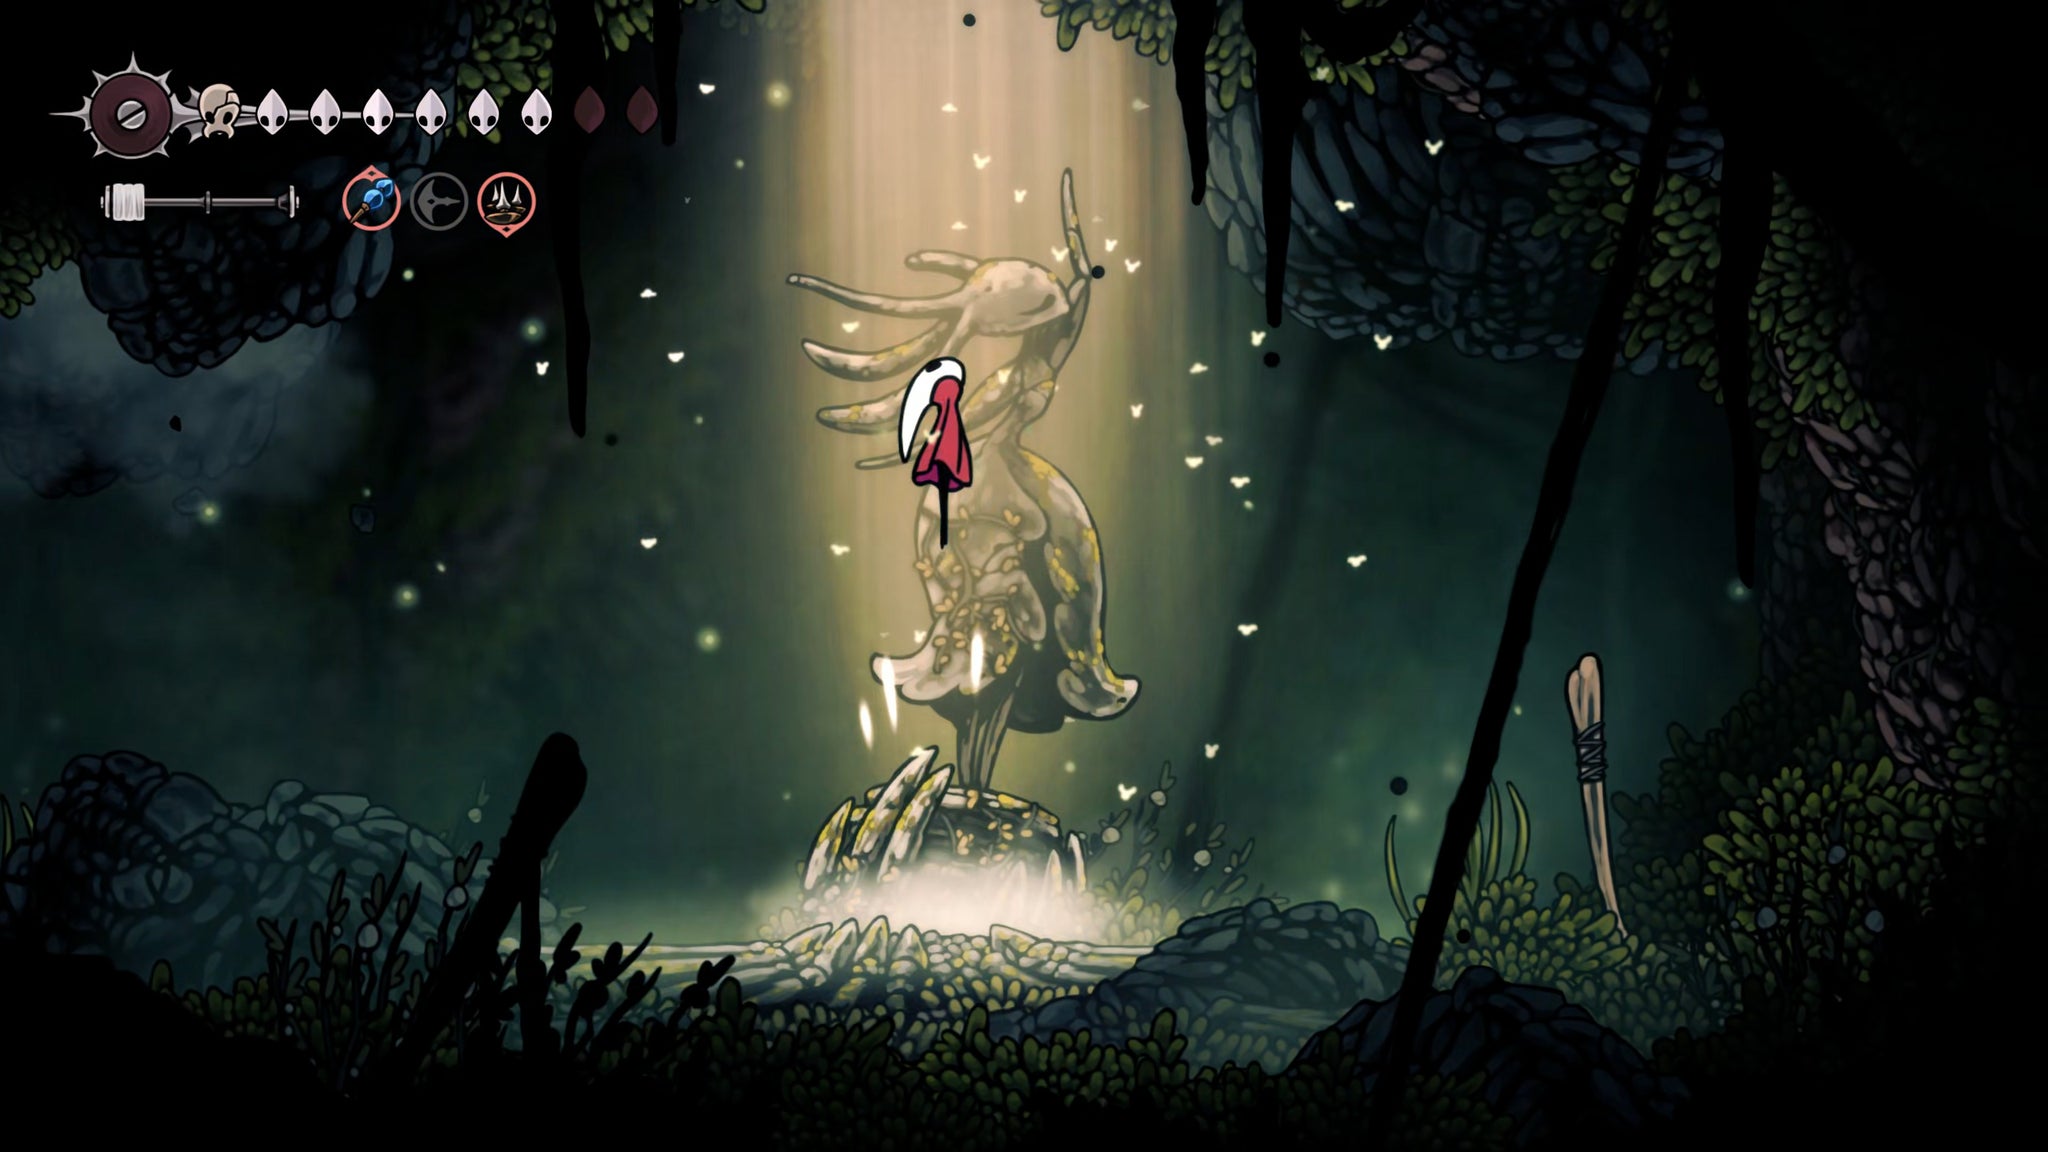
Image credit:Rock Paper Shotgun/Team Cherry
Following this path takes you to another corridor which slopes upwards and to the right. Here you’ll find a fun new environmental mechanic - clawline hooks which are attached to long poles in the ground, and which bend as you hang onto them. This limits the amount of time you can spend hanging on a single hook, but it also allows you to jump off at any height, which makes parkouring along the corridor easier.
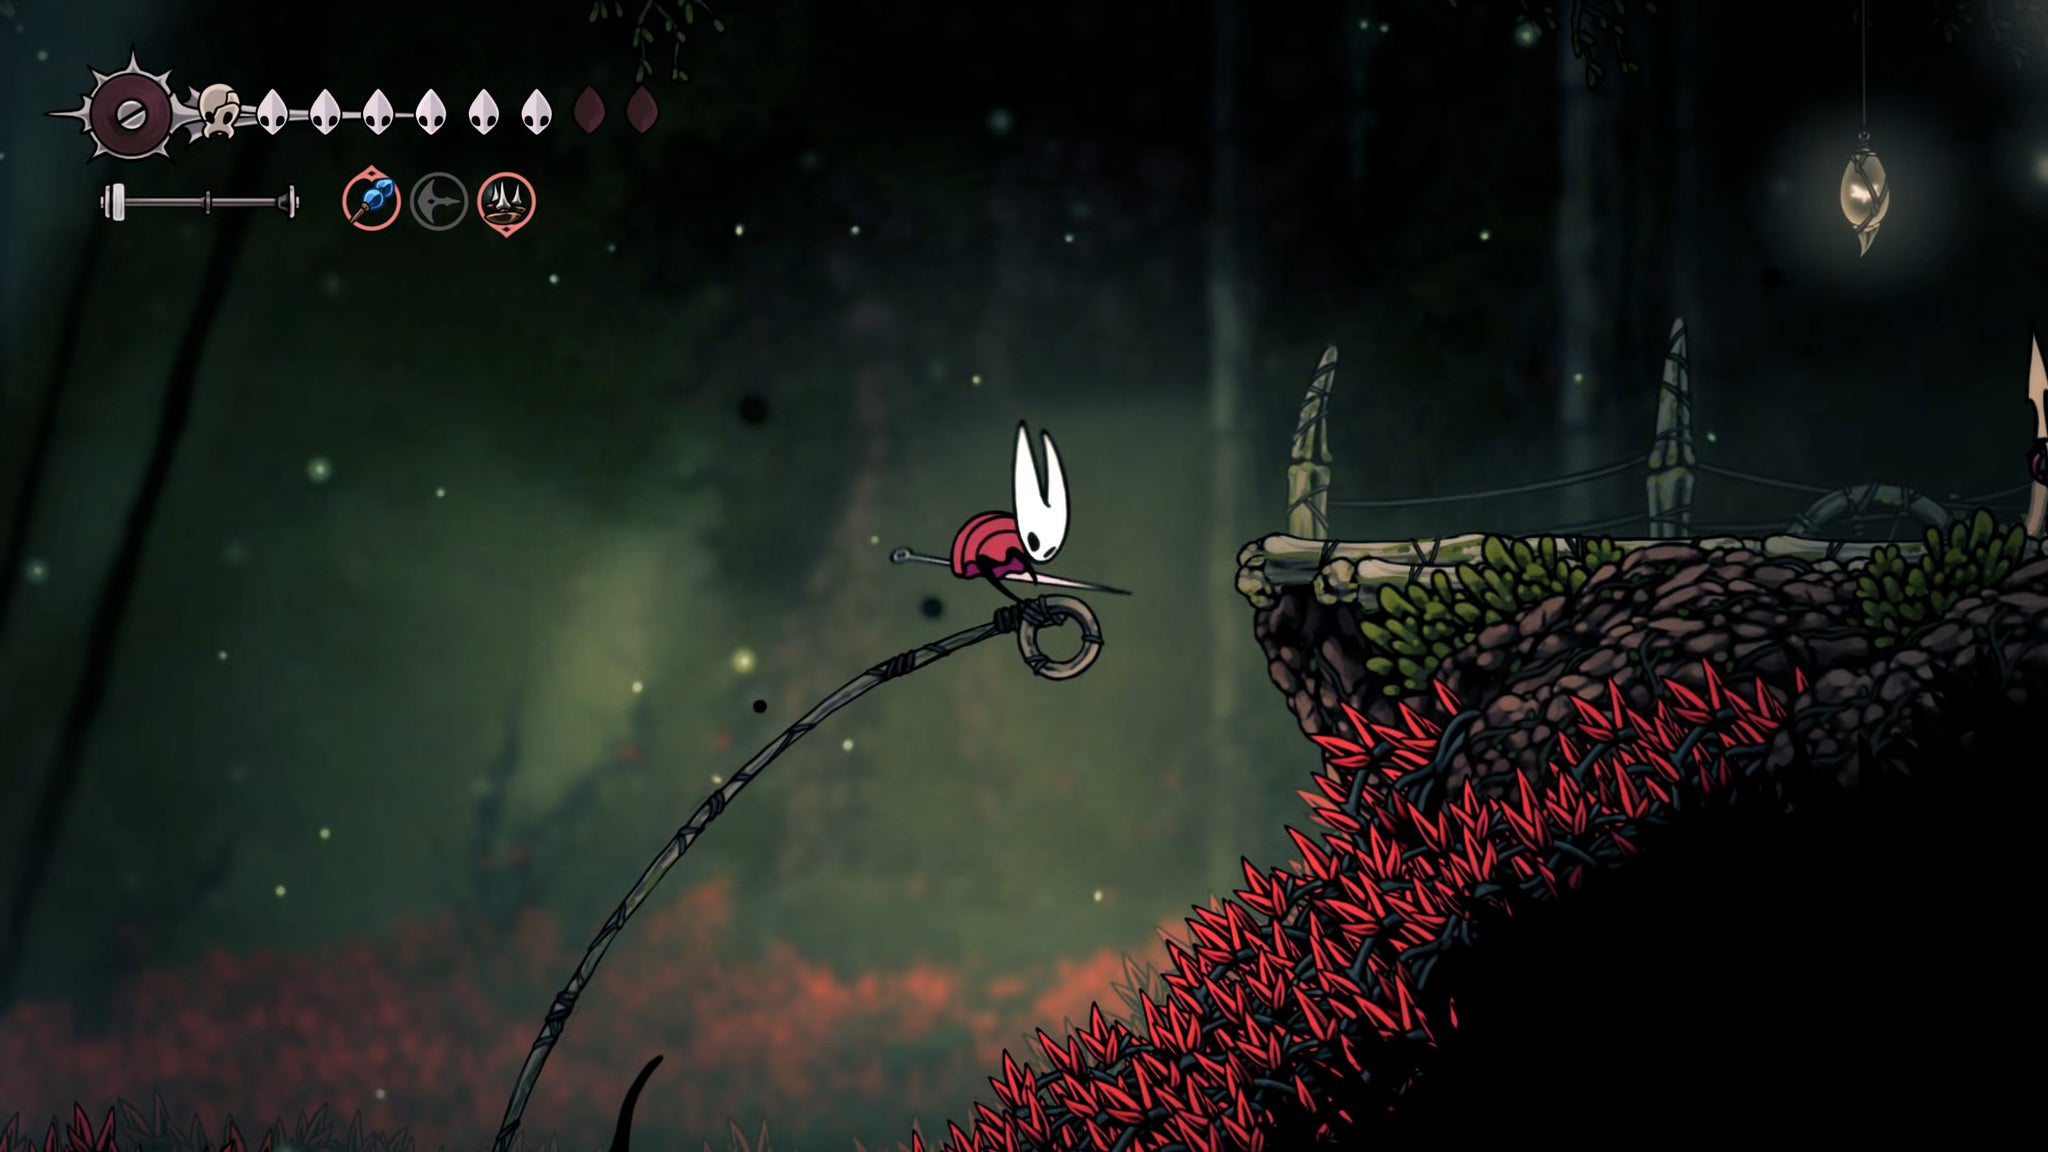
Image credit:Rock Paper Shotgun/Team Cherry
Once you reach the next room, hit the lever right in front of you to open the way forward. As it turns out, you’re now near the top of the gigantic central shaft of Far Fields, and flicking this lever is what enables you to reach the hitherto undiscovered part of the region where the final Old Heart resides.
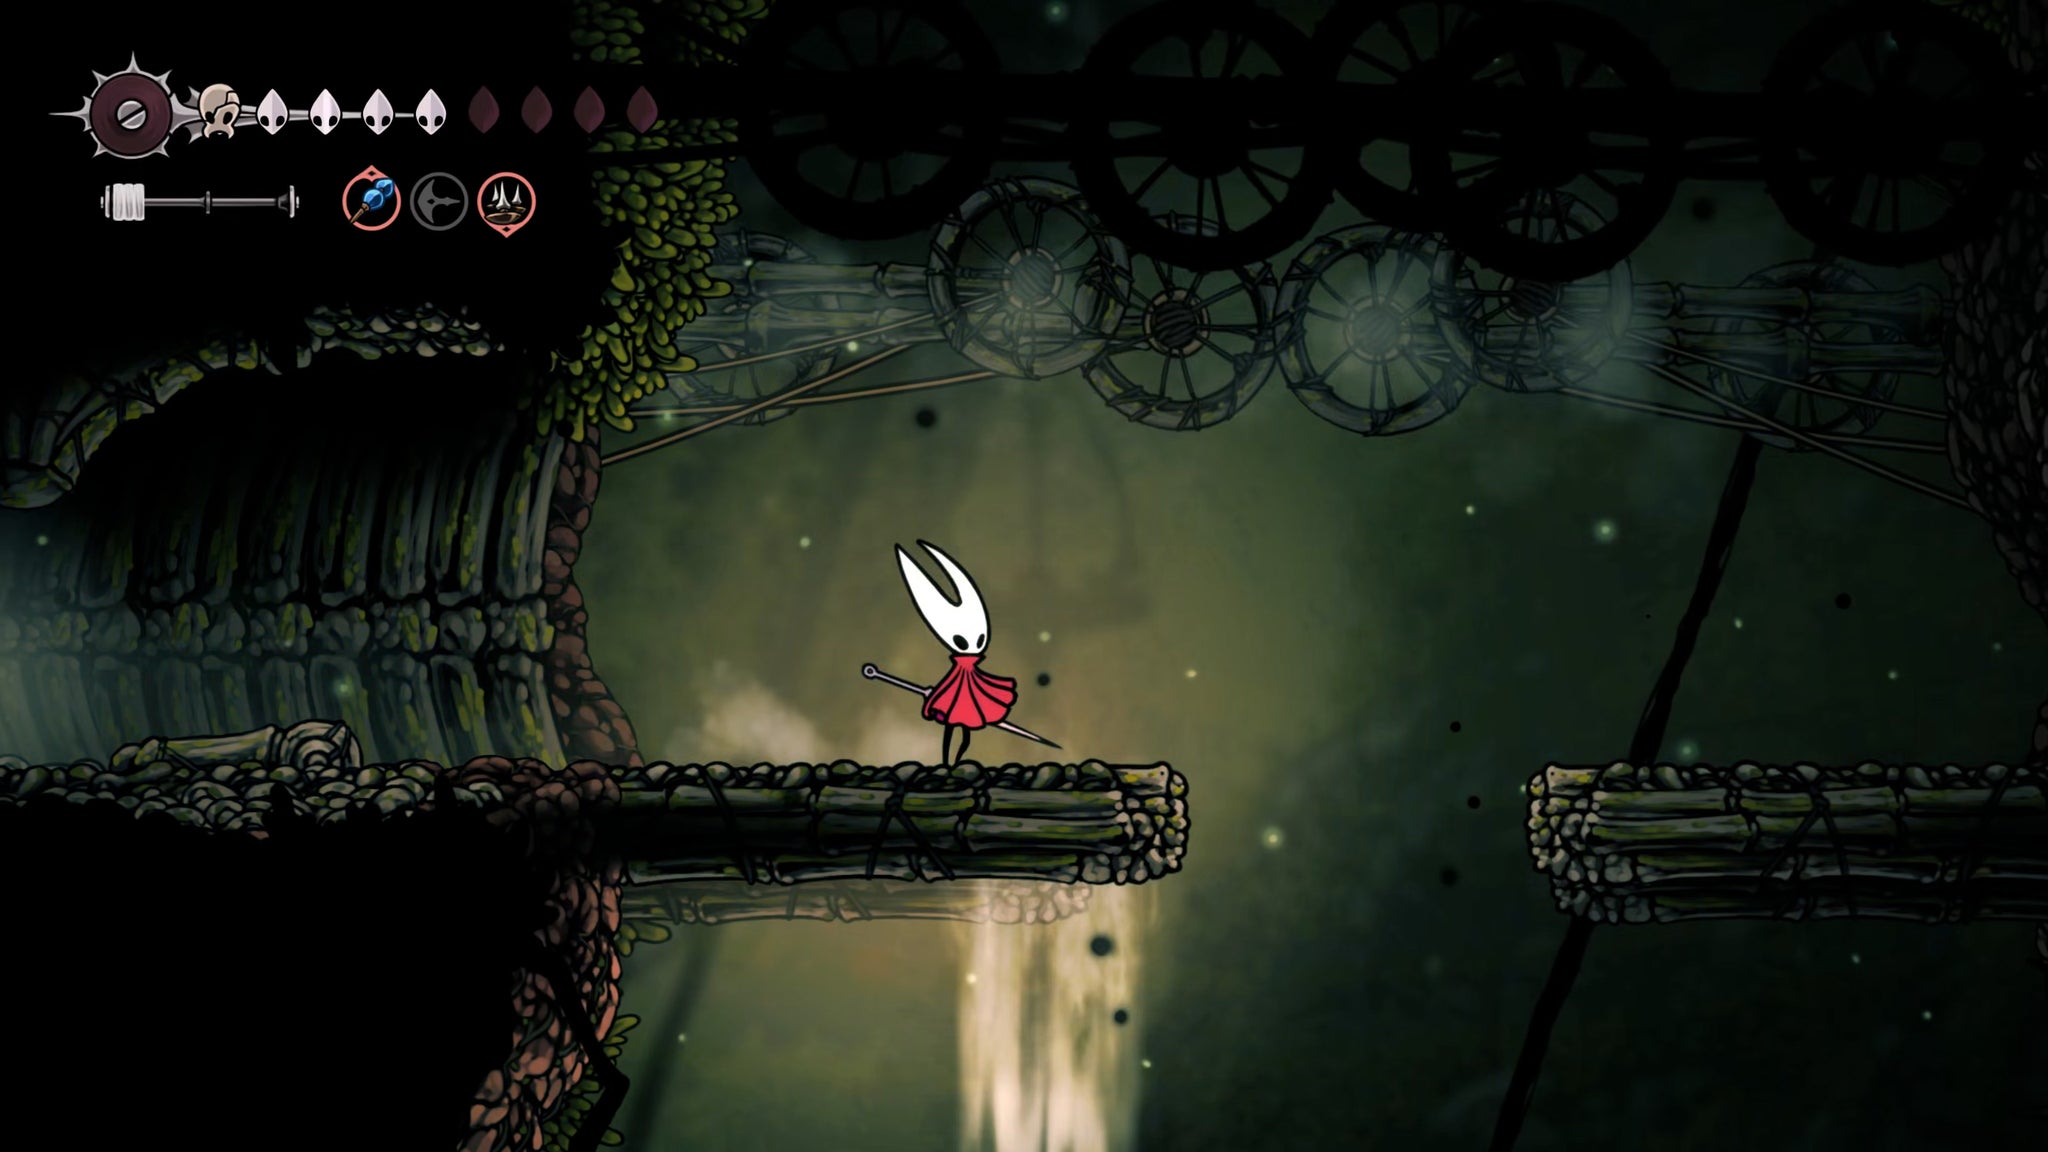
Image credit:Rock Paper Shotgun/Team Cherry
9. Reach the Bench at the end of Far Fields.
Head into the new part of Far Fields, and cross the first room - a long, wide corridor. Along the ground you’ll find some of those horse-like Hardbone Hoppers from other parts of Far Fields, as well as new, larger and more aggressive variant - the Hardbone Elder. They’re not too tough, but it’s good to take this fight patiently to avoid damage. Or avoid it altogether and keep running!

Image credit:Rock Paper Shotgun/Team Cherry
Ignore the clawline hooks throughout this room, they’re for later. Just head across to the other side. Once you find the small platforms above you, you can use them to reach an upper-right section with several Rosaries (and a Pale Rosary Necklace) on strings, guarded by a lone Skarr Stalker.
Once they’re collected, drop down the ledges to the bottom. On the left you’ll see a pit of red spikes and an explosive rock on the wall. Hitting this just opens up a Shell Shard cache. Once that’s done, head back to the right-hand side of the ground-level, and drop down the hole into the room below.
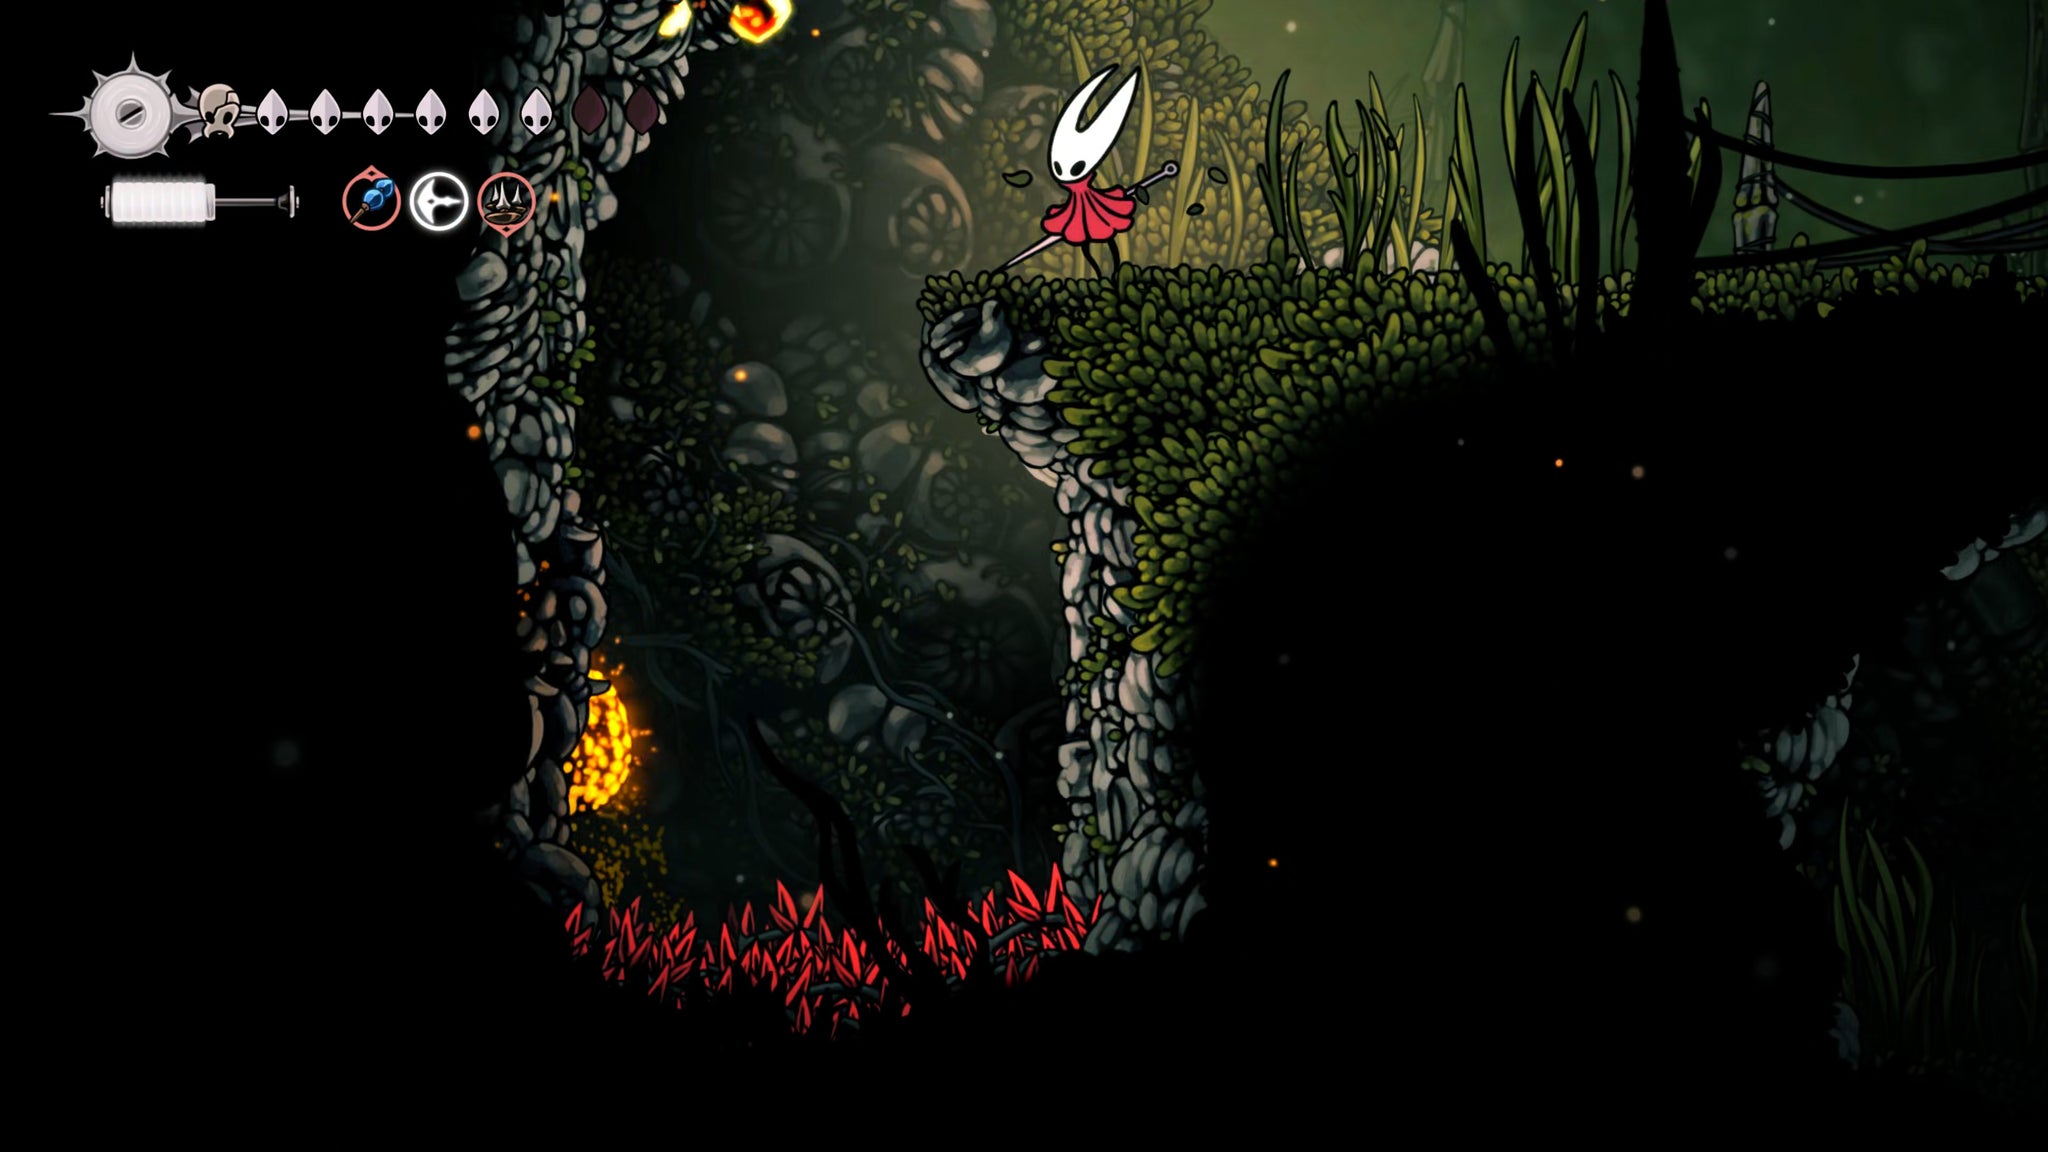
Image credit:Rock Paper Shotgun/Team Cherry
The room below is filled with small platforms. Descend them to reach ground-level and kill the Hardbones there. You can then follow the left-hand path, hitting the explosive rock at the end in order to unlock a handy shortcut back to the Pilgrim’s Rest settlement in Far Fields.
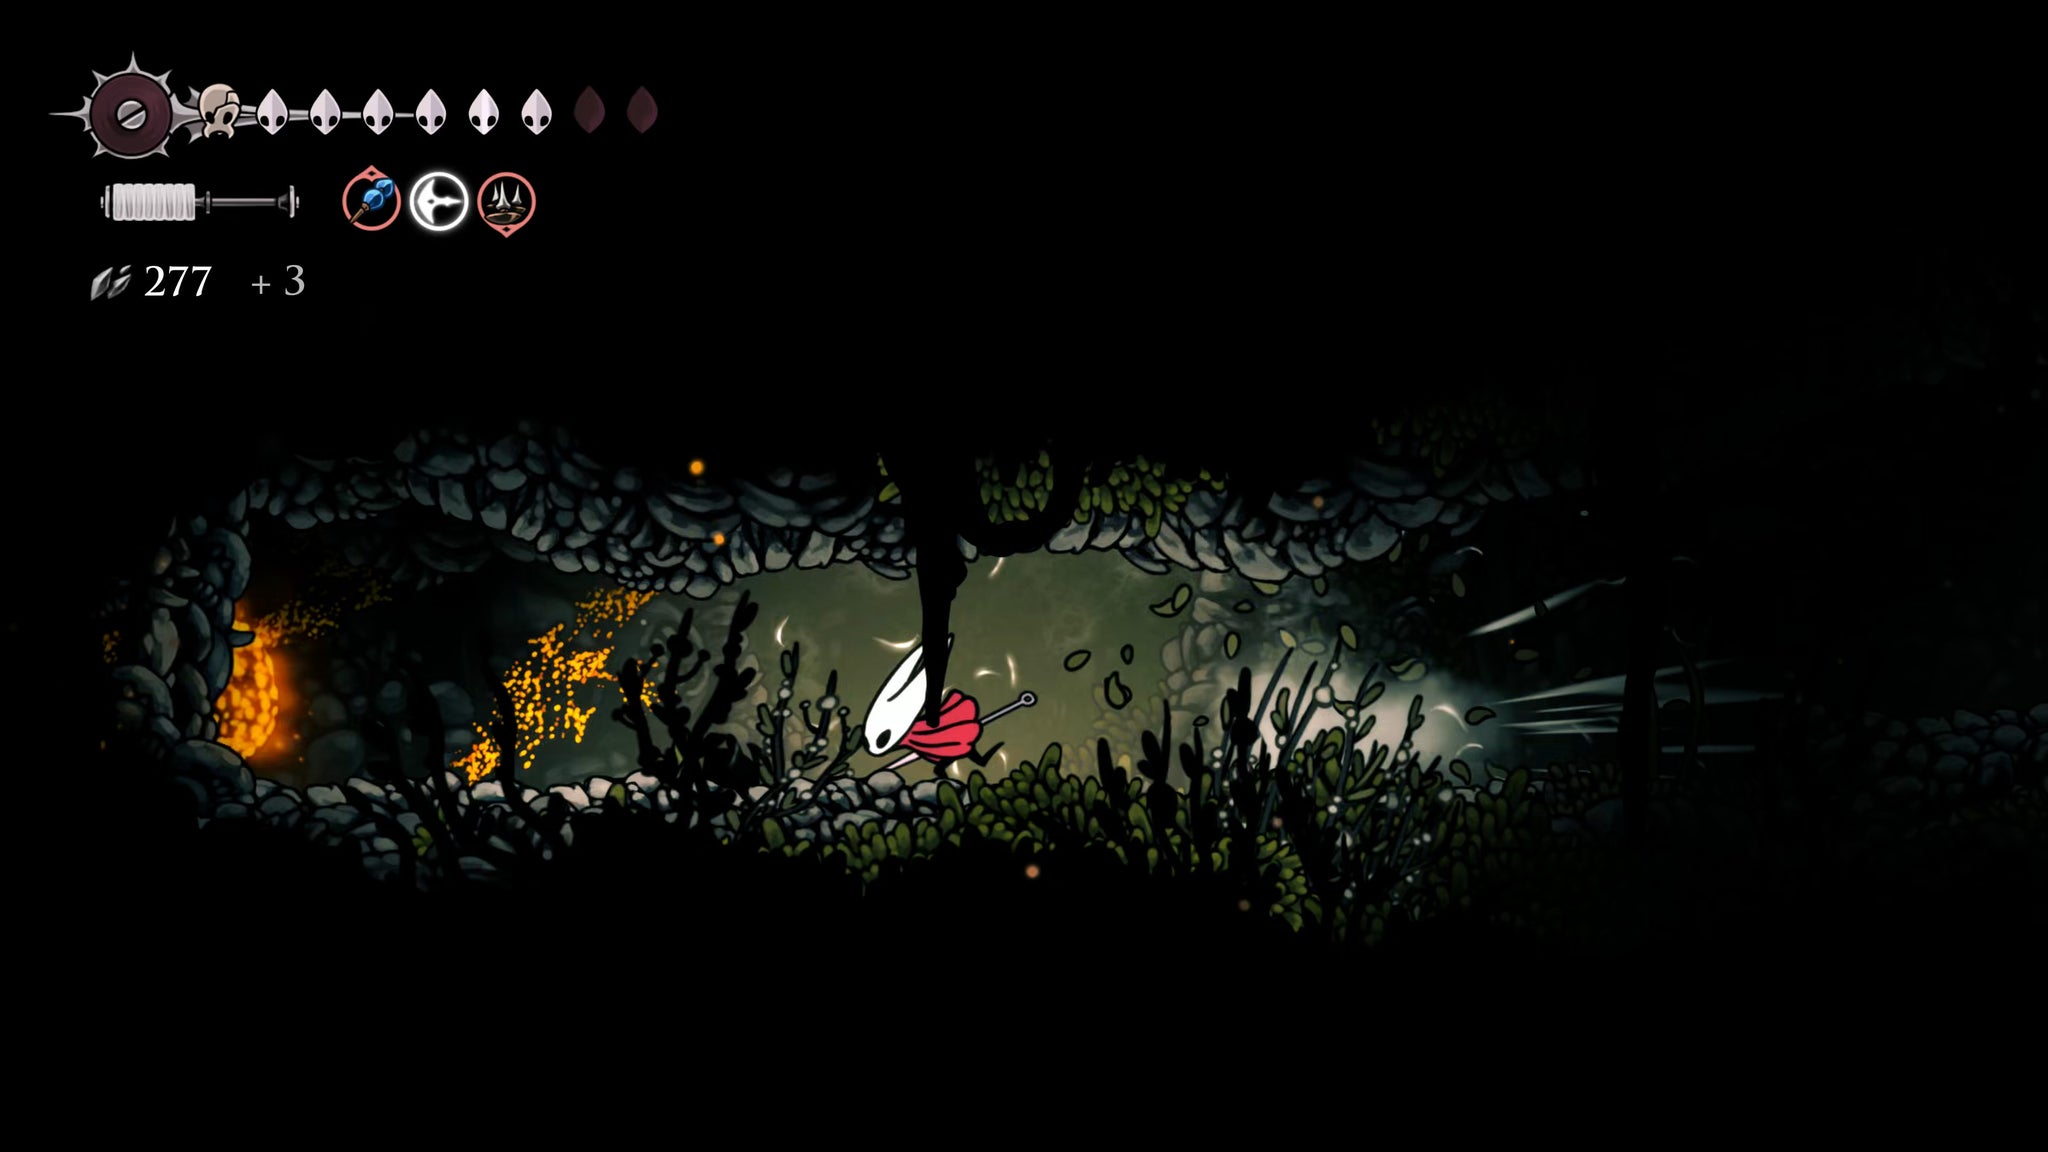
Image credit:Rock Paper Shotgun/Team Cherry
Once you’ve unlocked that shortcut, turn around and head to the right instead. Climb up the bottom ledges while heading right, and you’ll be able to reach a grassy upper platform, right below the ceiling. Climb up the right-hand wall of that ceiling section, and you’ll reach another series of Rosary strings to collect - as well as a lever unlocking a shortcut for later.
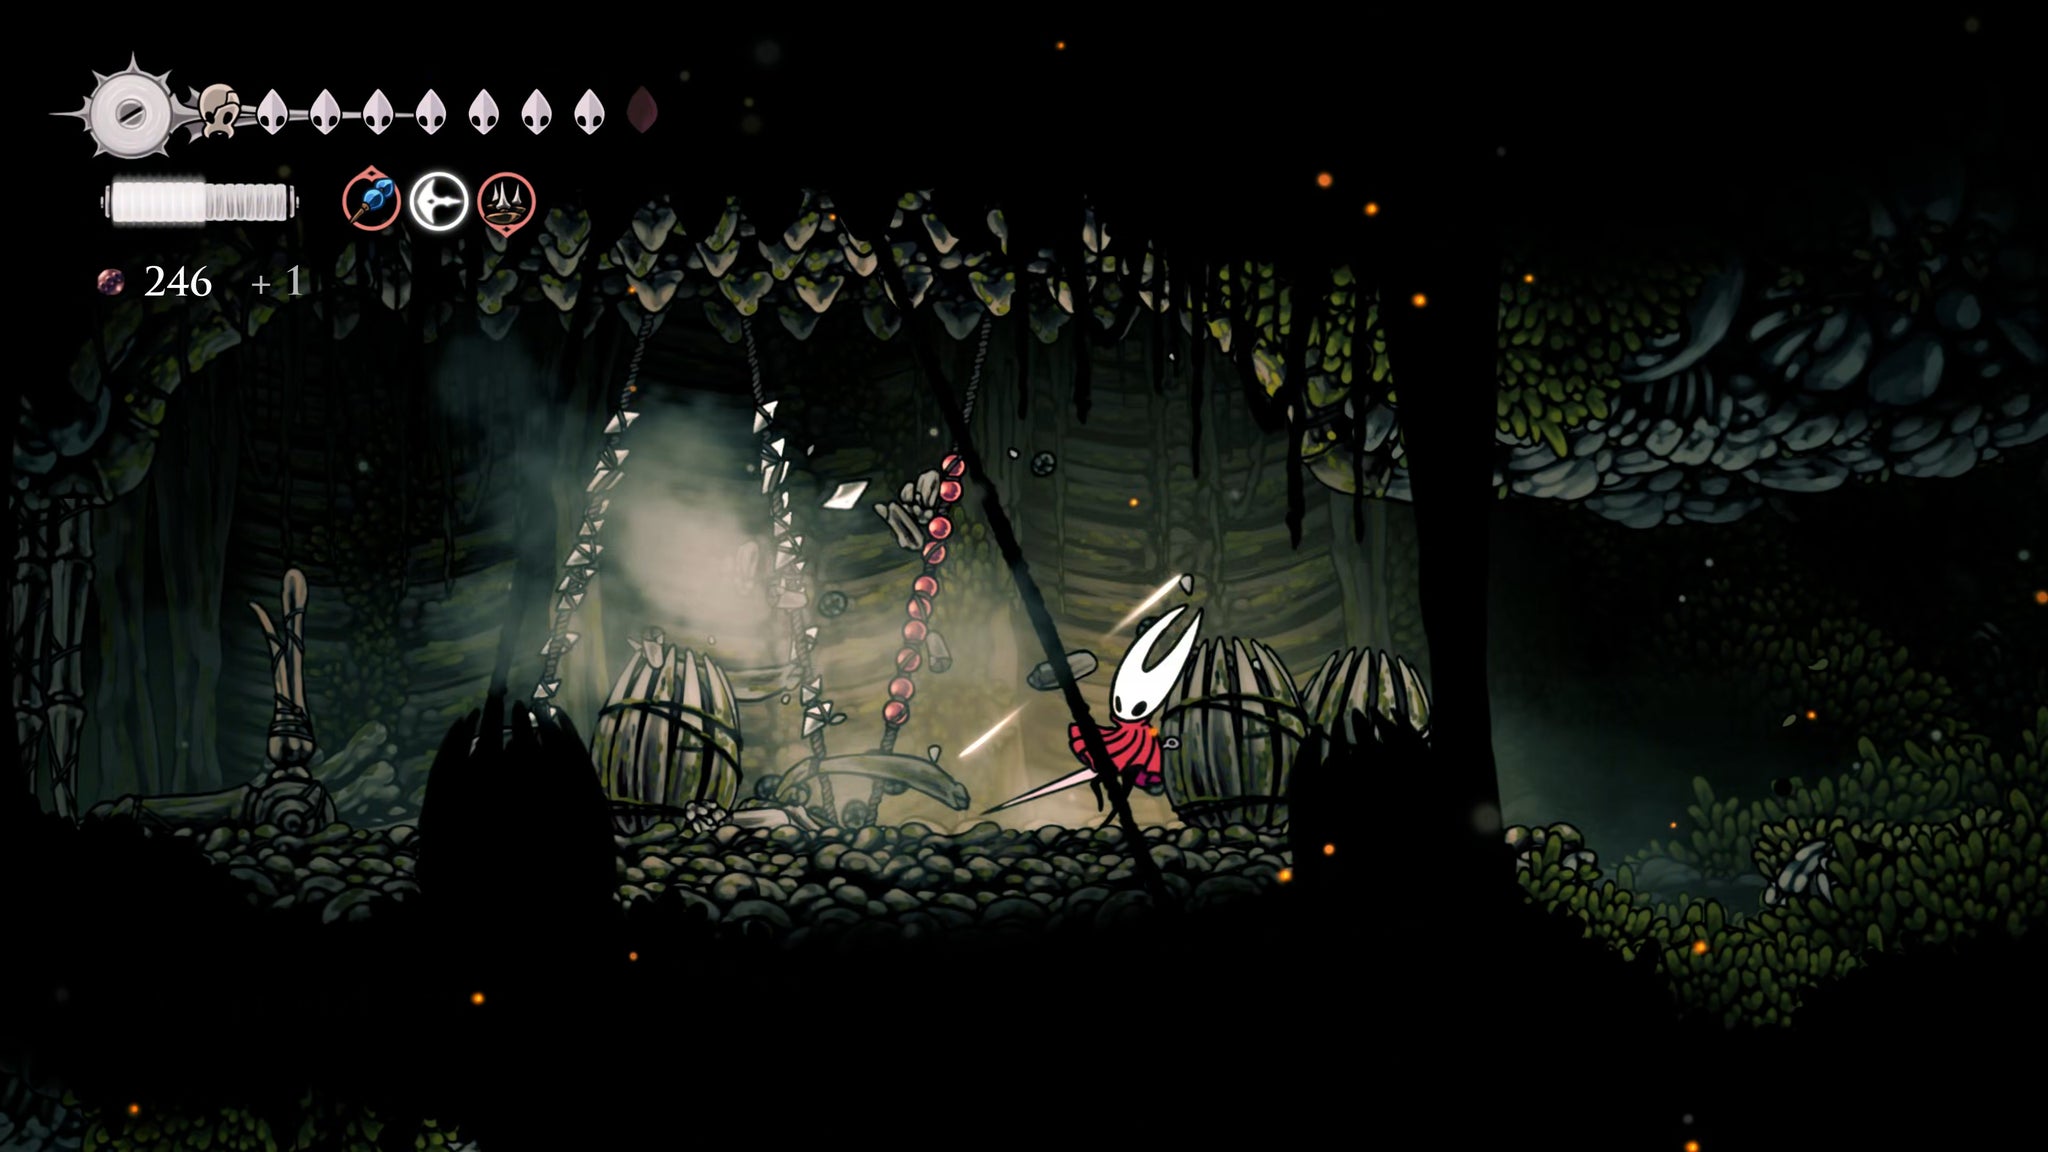
Image credit:Rock Paper Shotgun/Team Cherry
Head to the right of those Rosary strings, and attack the bush on the ground to find Gilly once more! Exhaust her dialogue, and then drop back down to ground level and head out the right-hand exit.
Make your way across the next corridor using the clawline hooks, and once you’re past them you’ll see a path heading upwards through the ceiling. There’s also a path to the right which leads to the home of Sprintmaster Swift, but we’ll get to him at a later time. Feel free to have a look now though, if you like.
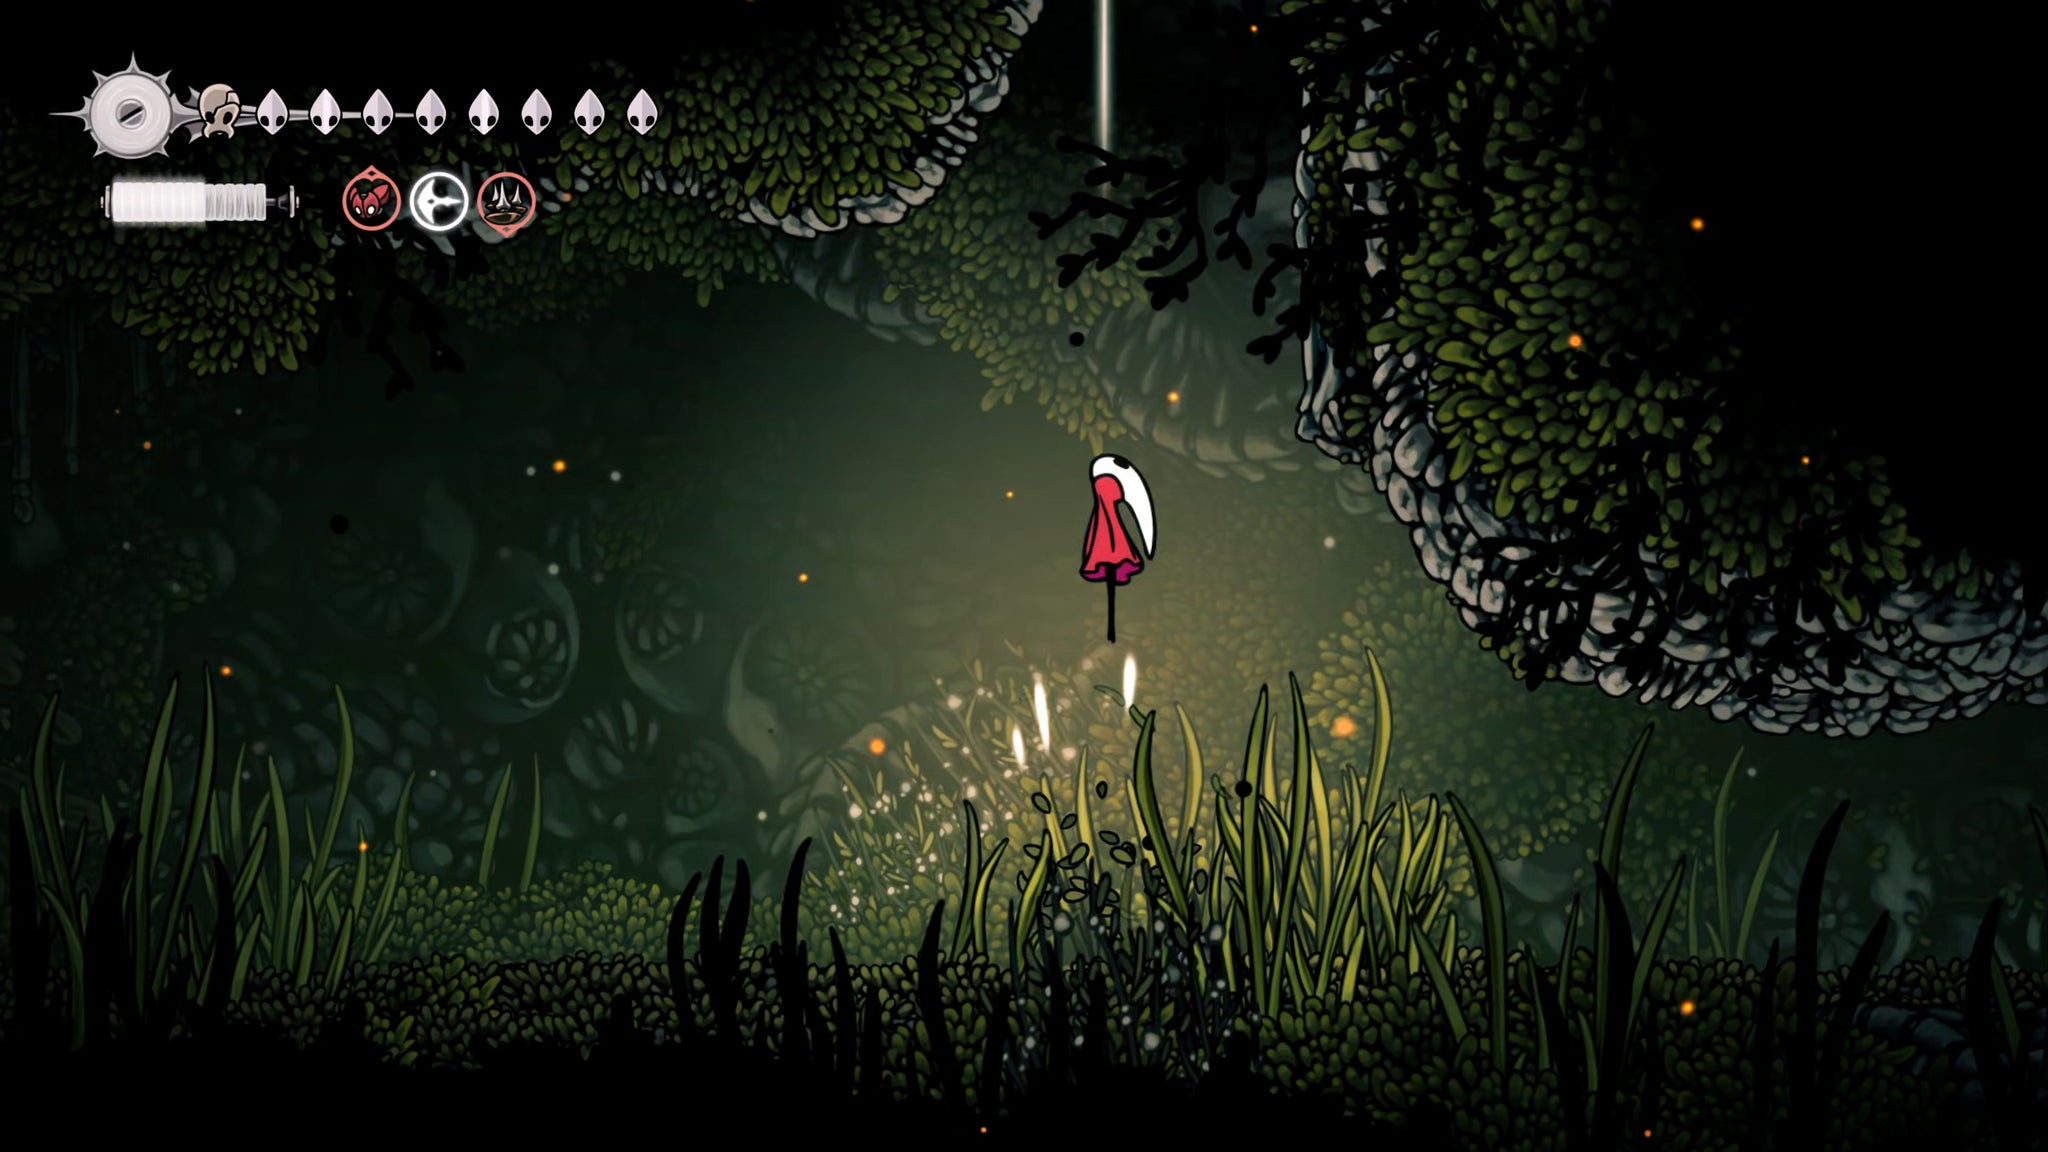
Image credit:Rock Paper Shotgun/Team Cherry
For the purposes of this walkthrough, take the upward route, and climb up into the next room. Make your way across the spikes, and past the Void Mass beyond (again, Void Masses don’t respawn, so you can kill it now to be done with it forever).
Continue along the corridor until you reach the end, and then climb upwards into the exit through the ceiling. Head left from here, and you can unlock an excellent shortcut leading back into the first room of this new section of Far Fields. At this point, you can also head further left into this corridor, and this time use the clawline hooks to reach the grassy ledge at the very top. The only reason for this is that Gilly will be there again, and you can exhaust her dialogue once more.
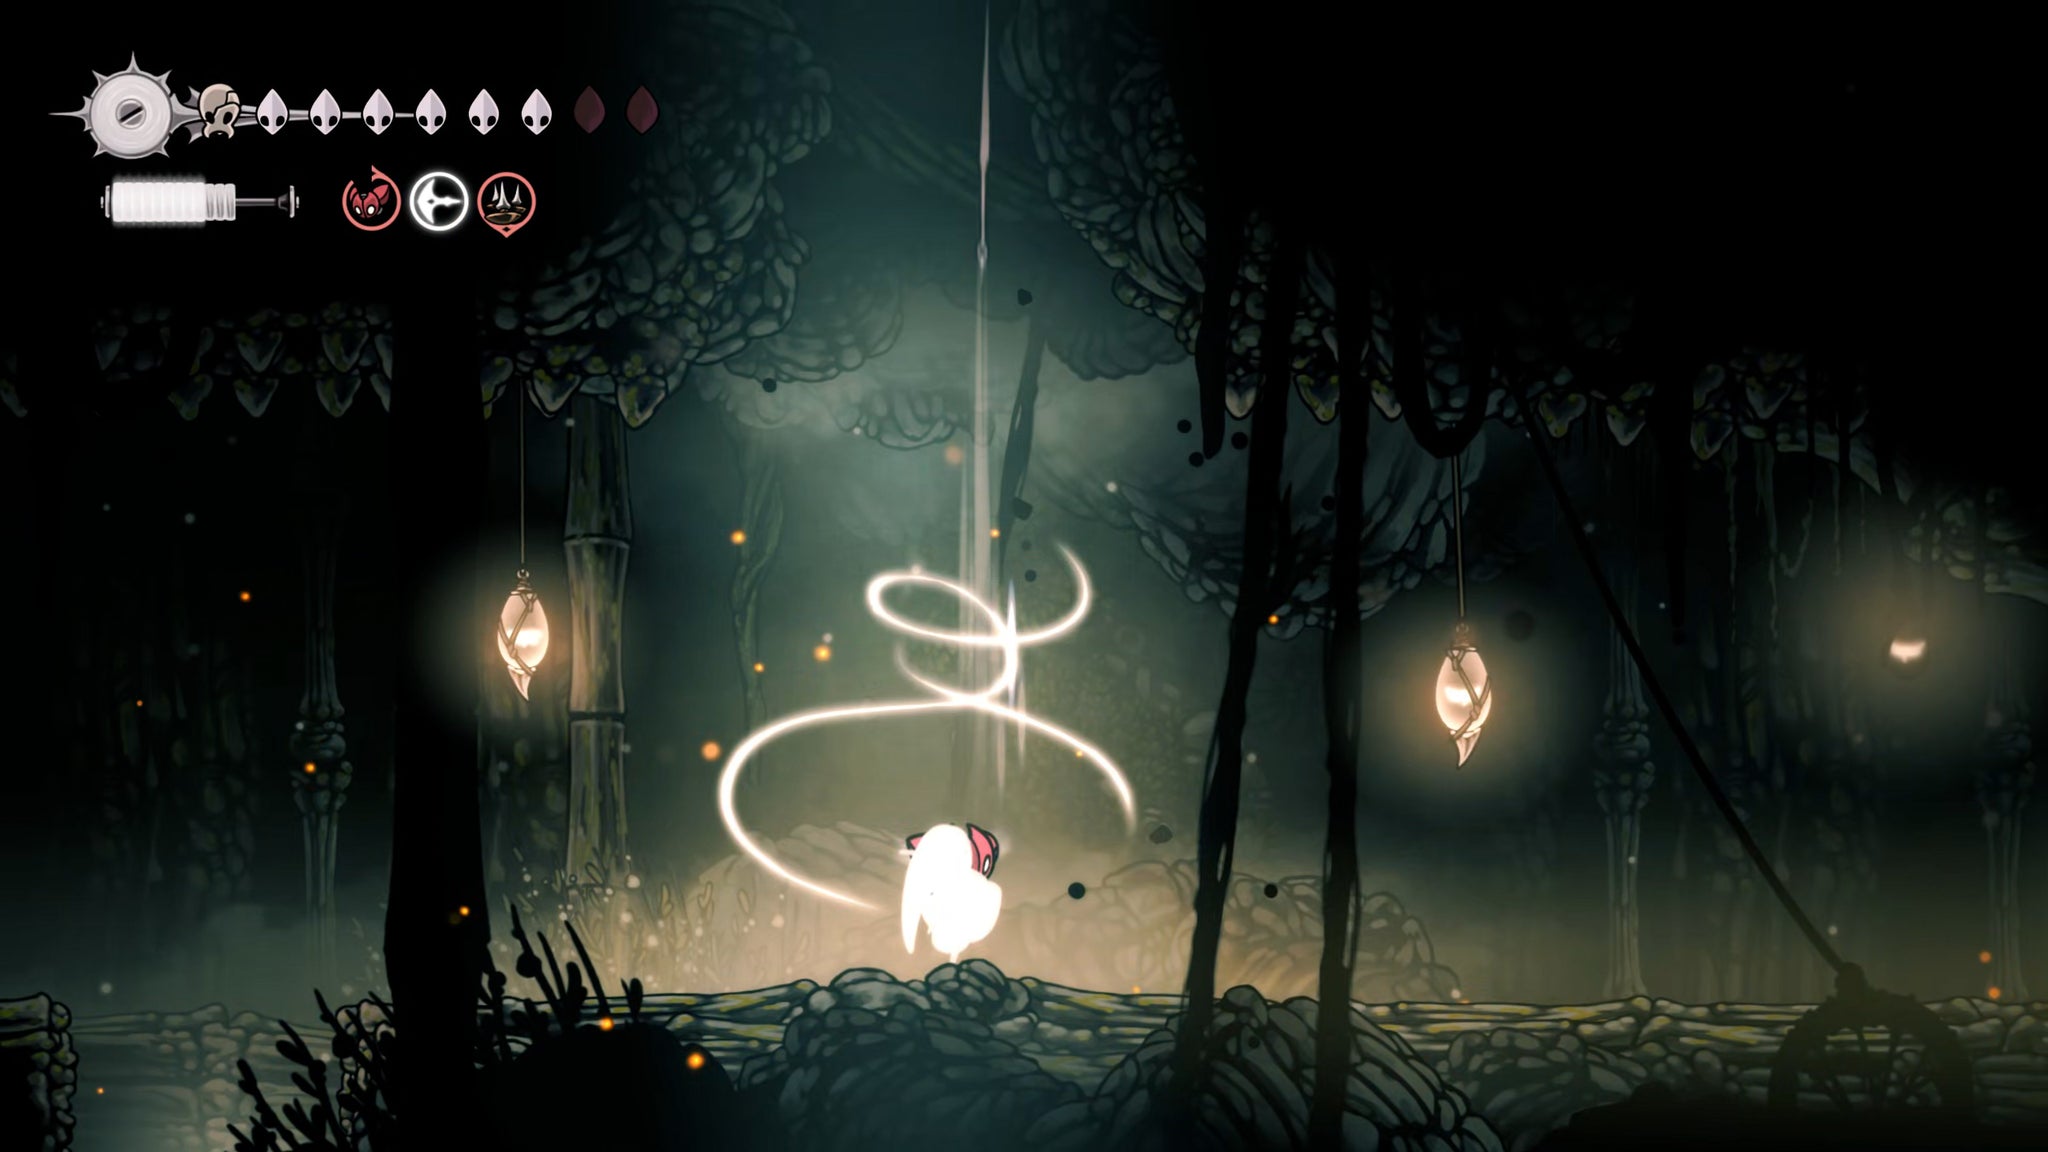
Image credit:Rock Paper Shotgun/Team Cherry
That done, head back to the end of the corridor, and jump over the hole that brought you up here. A short distance on, you’ll see a hole in the ceiling. Silk Soar up it, and drop onto the left-hand ledge to rest at the Bench here.
10. Obtain the Memory Locket.
After resting, drop back down to ground level, and head to the right. You’ll find a large spiky entrance to a structure, but don’t go through it quite yet. Instead, keep heading to the right, and jump at the right-hand wall to pass through it.
Head to the far side of this secret room, and you’ll come face to face with a Void-variant Skarrgard.
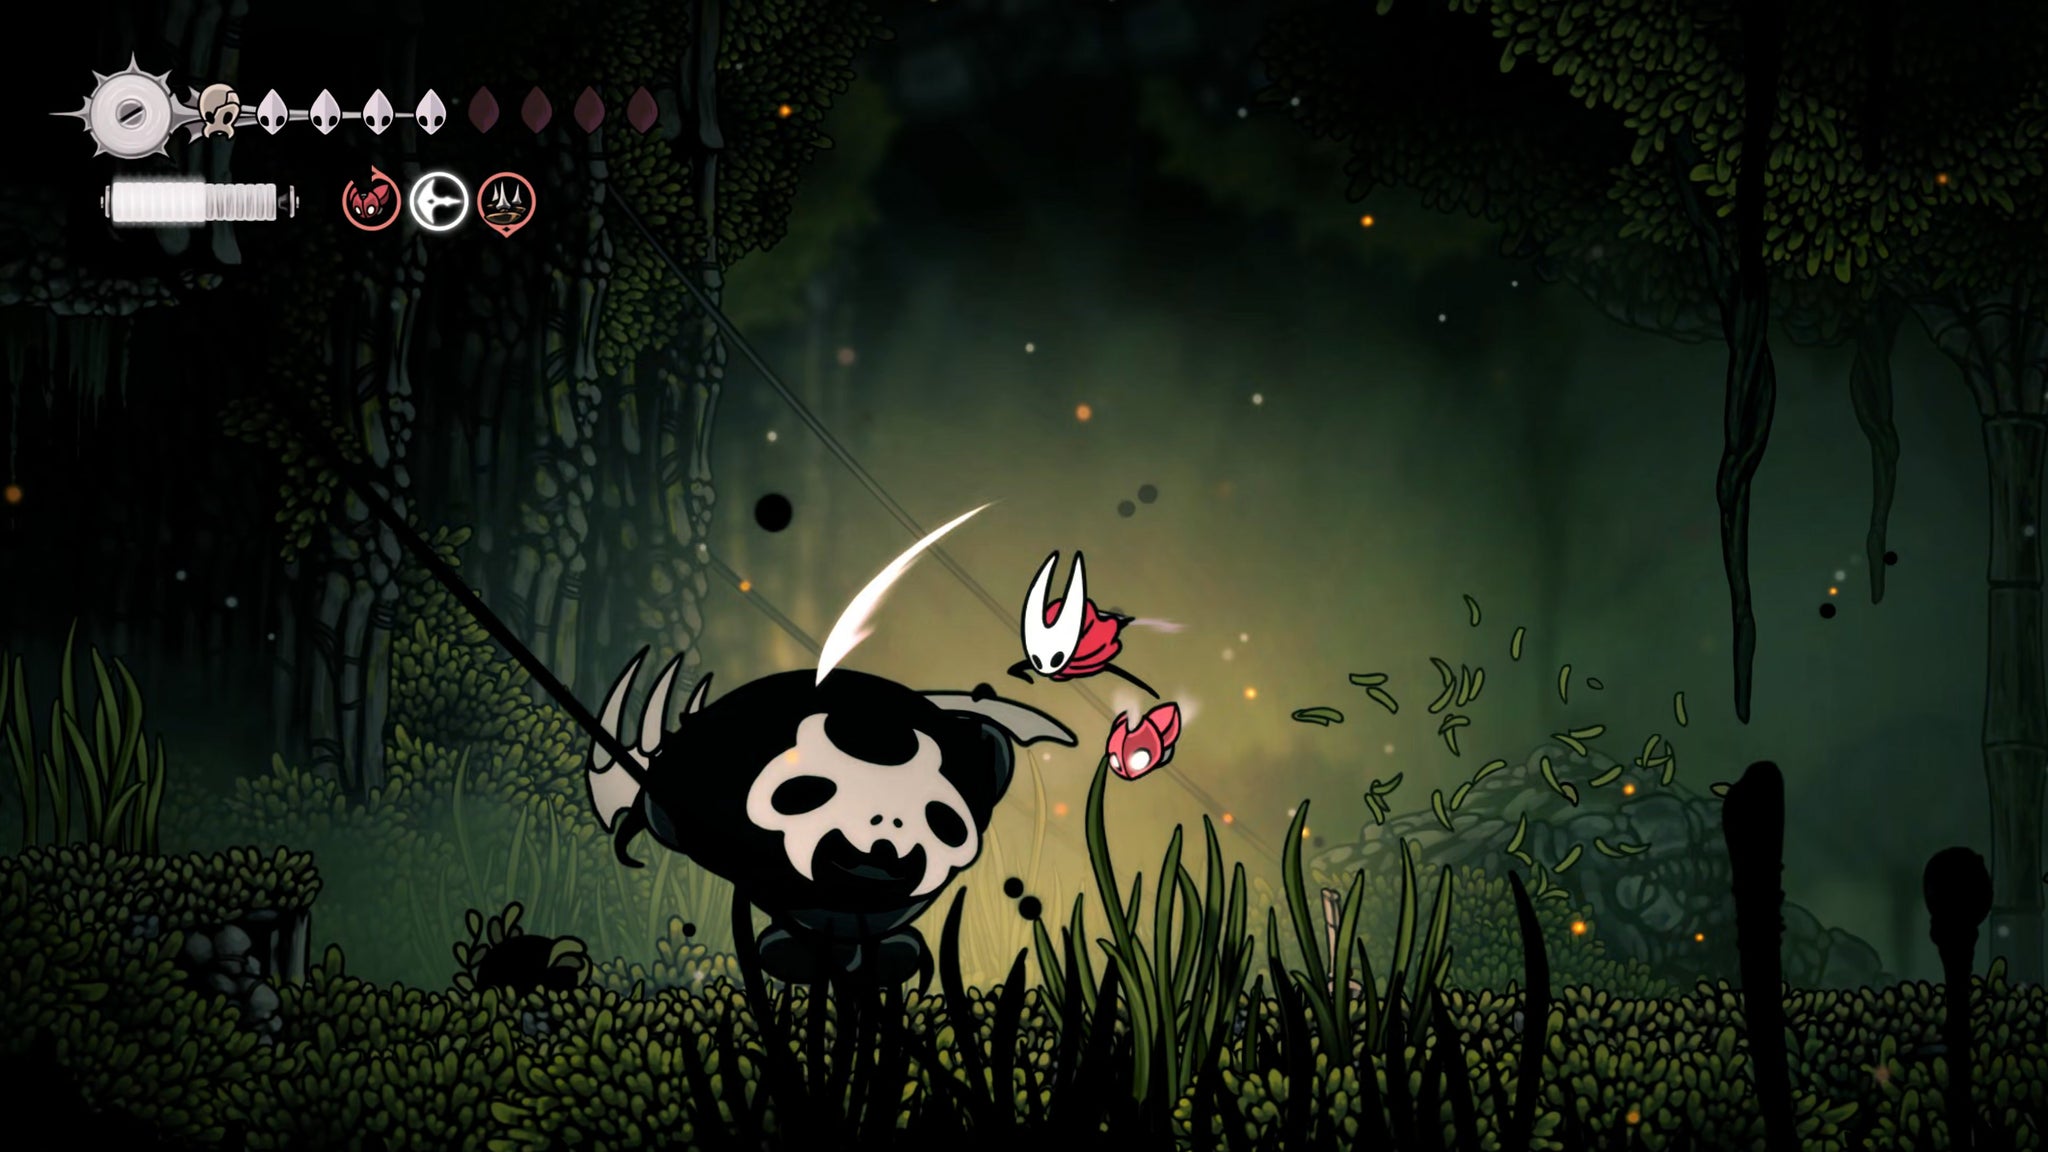
Image credit:Rock Paper Shotgun/Team Cherry
By this point in the game, Skarrgards shouldn’t pose too much of an issue to you as long as you give them the respect they deserve - particularly Void-powered ones like this one. Duck in, attack, and duck out. Rinse, repeat, and give any Void-specific attacks a wide berth.
Once the Skarrgard is slain, head to the far right end of the path and loot the Memory Locket on the floor.
11. Defeat Skarrsinger Karmelita for the Hunter’s Heart.
If you were damaged at all by the Skarrgard, head back to the nearby Bench to heal up, because now it’s time to face the big boss of this area. When you’re ready, head through the large spiky doorway you passed before. Inside is a small room where you can speak with an unnamed creature partially hidden behind curtains.

Image credit:Rock Paper Shotgun/Team Cherry
Exhaust her dialogue, and when you’re ready, use Elegy Of The Deep to enter the creature’s past.
After Hornet awakens, move to the right within the dream world, towards the source of singing. Climb up the ledges beyond and over the arena, before dropping down and entering via the other side. Stand in the centre of the arena, and challenge the boss - Skarrsinger Karmelita.
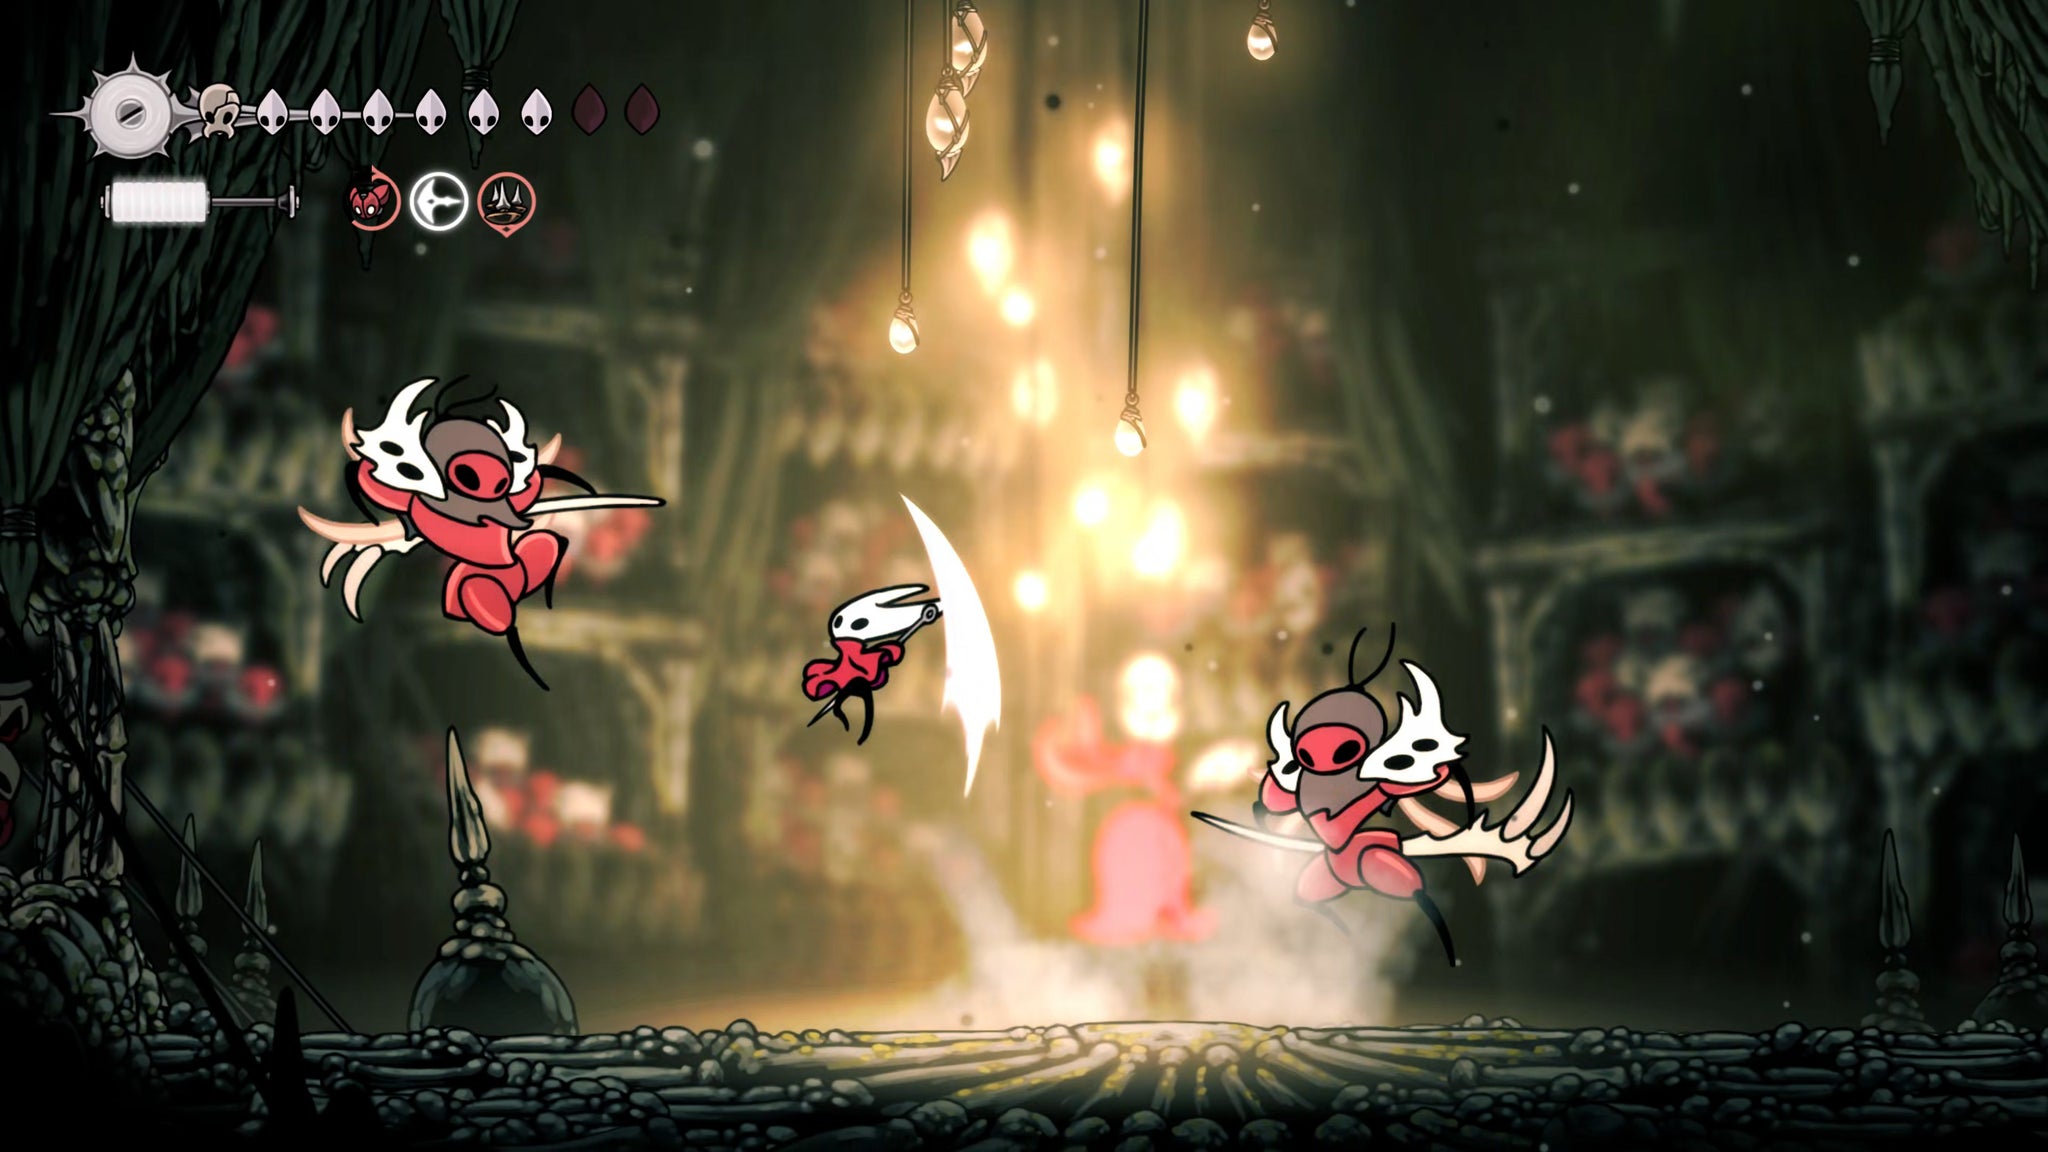
Image credit:Rock Paper Shotgun/Team Cherry
This is probably the second-toughest boss in Silksong, in my experience, so make sure you’re prepared for a physical and mental struggle. Ahead of the main fight, you’ll first have to defeat three waves of “regular” enemies. I put “regular” in quotes, because the third wave is actually against two entirely new ant enemies called Last Claws, which exist only in this specific memory. Last Claws are stronger than regular Skarr Stalkers and hit for double damage, but they’re not as dangerous as Skarrgards.
Once both Last Claws are defeated, the main event begins. Skarrsinger Karmelita appears, and goodness, is she powerful. Very enjoyable, too - this is also my favourite fight in the game, and for your sake I hope you agree, because it may take a while.
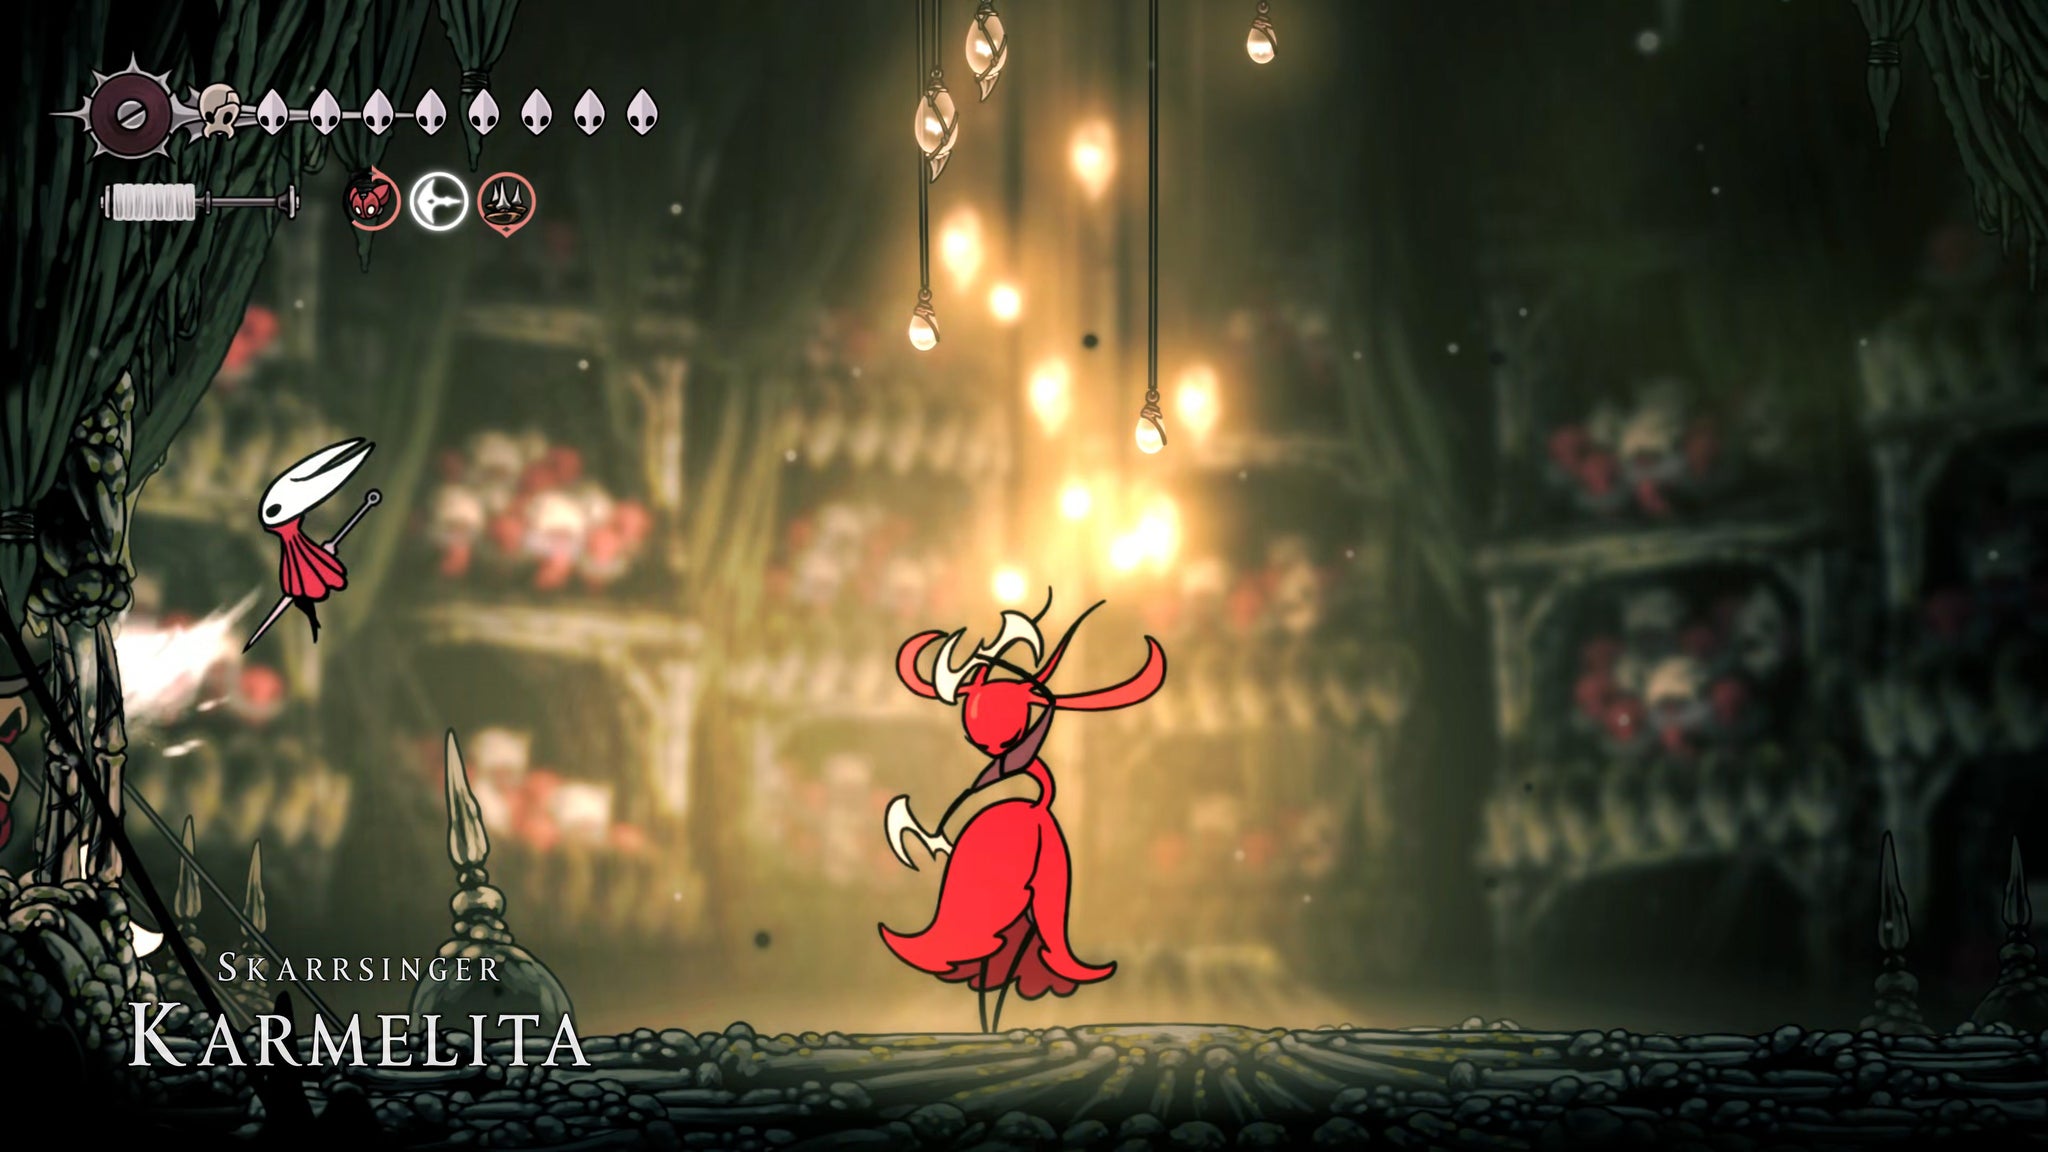
Image credit:Rock Paper Shotgun/Team Cherry
Karmelita has a couple of different types of melee attacks and combos, but what’s likely to catch you off-guard at first is her array of projectile attacks. Her throwing weapons curve in the air, which doesn’t sound too bad until there are multiple flying through the air and you have only a moment to avoid them.
The other attack that’s quite nasty is her somersault forward, which conjures a row of spikes in front of her once she lands. The further the spikes are from Karmelita, the higher they reach, so make sure you’re high in the air during this attack. In fact, this is one of the best moments to get some damage in by Pogo-ing off her head.
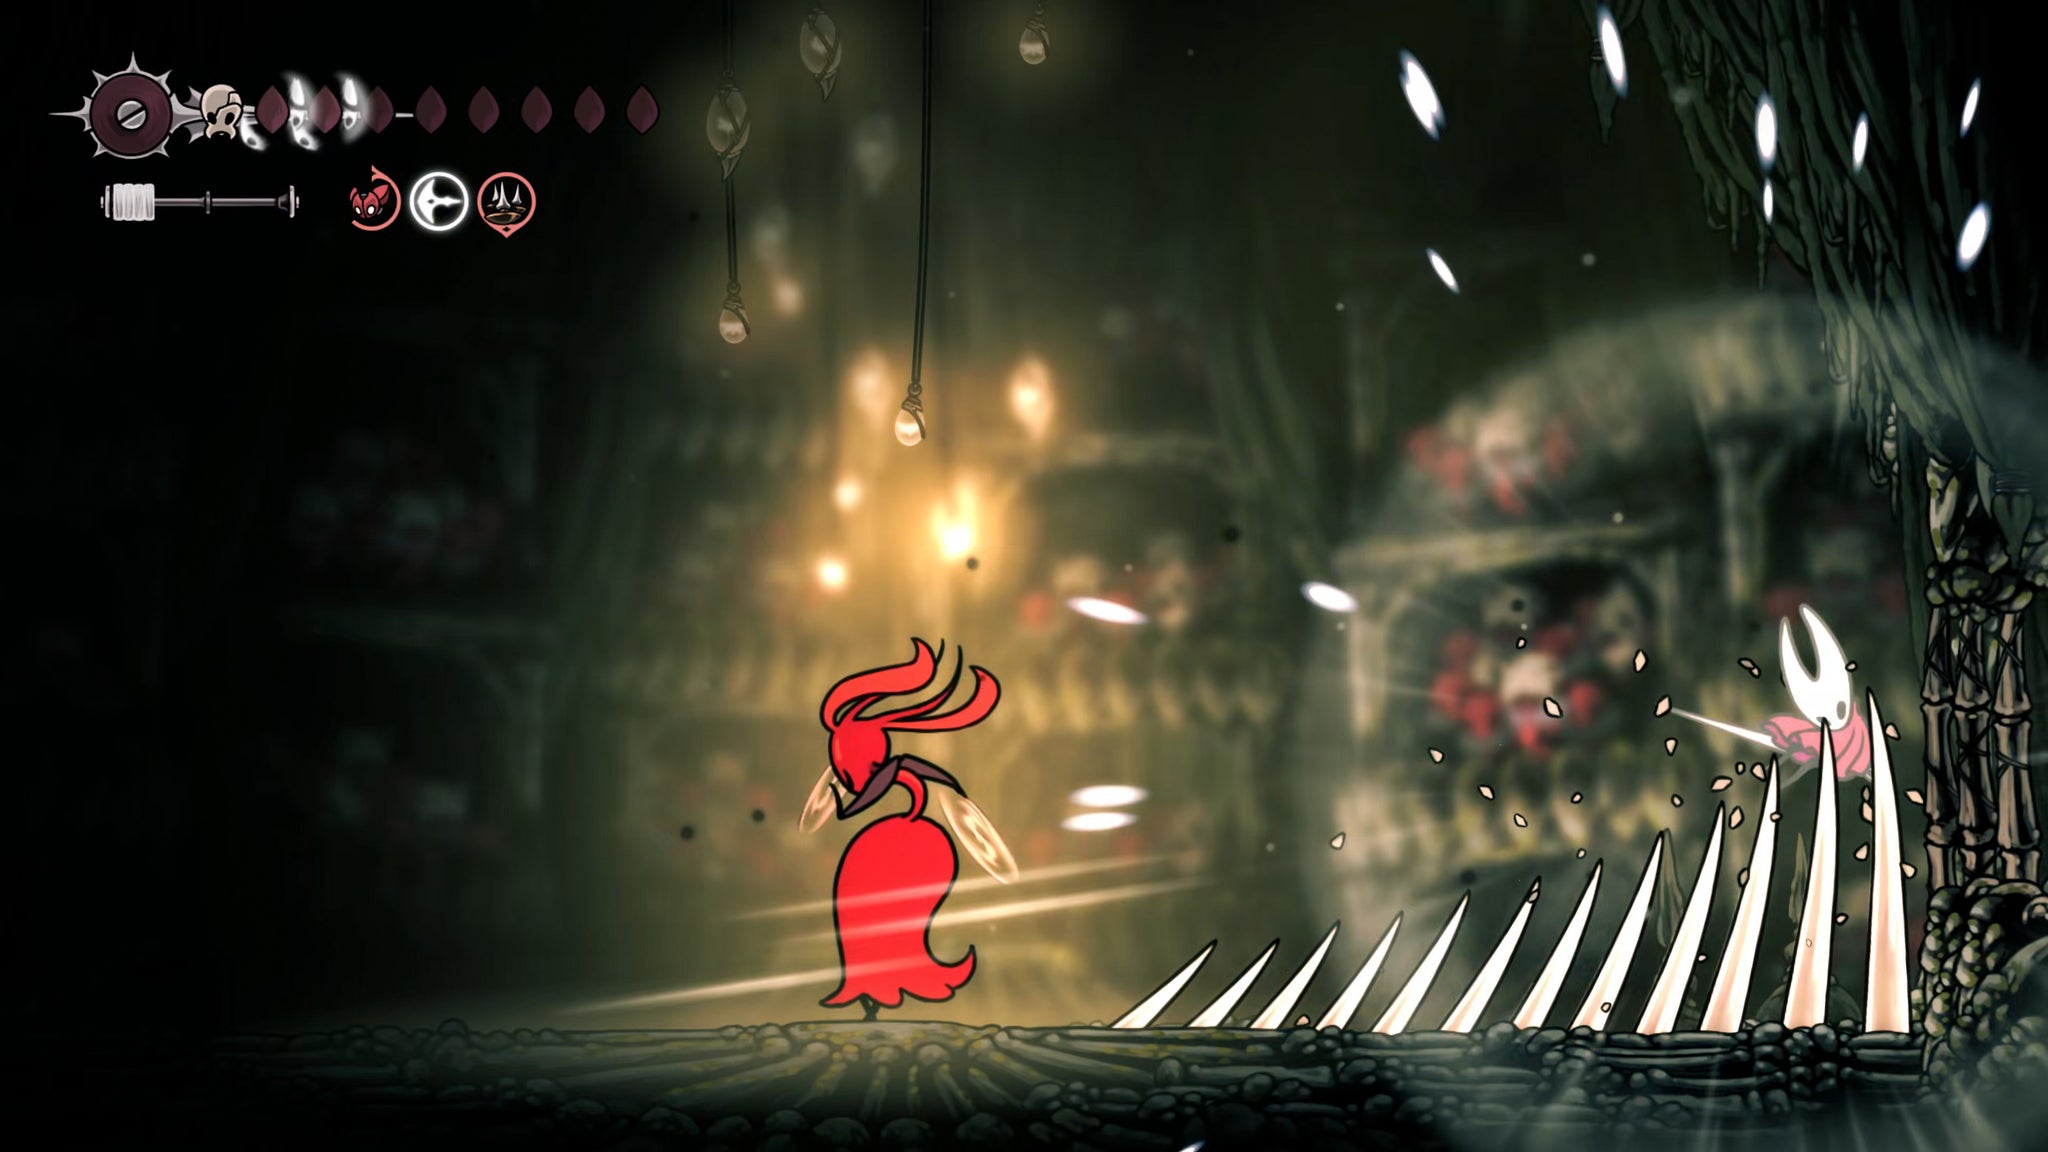
Image credit:Rock Paper Shotgun/Team Cherry
In Karmelita’s second phase, she’ll gain a couple of new attacks, including a sliding charge across the arena which summons spikes behind her. She’ll also double up her projectile attacks at times, which can catch you unawares the first couple of times. Bear in mind that if you jump off the wall and double-jump, you can reach so high - almost ceiling-level - that pretty much none of Karmelita’s attacks can hurt you. This is the safest place in the arena to heal.
Deal enough damage and Karmelita will reach her third phase, which is when things get pretty manic. She gains no new attacks, but her pace quickens considerably, and the onslaught of attacks can feel very overwhelming at times. My advice is to save all your tools until this final phase, and then let loose with all of them. They don’t cost you any Shell Shards in this dream-world you’re in, so really, go nuts. I used Tacks and Cogflies, because they require the least effort to apply damage.
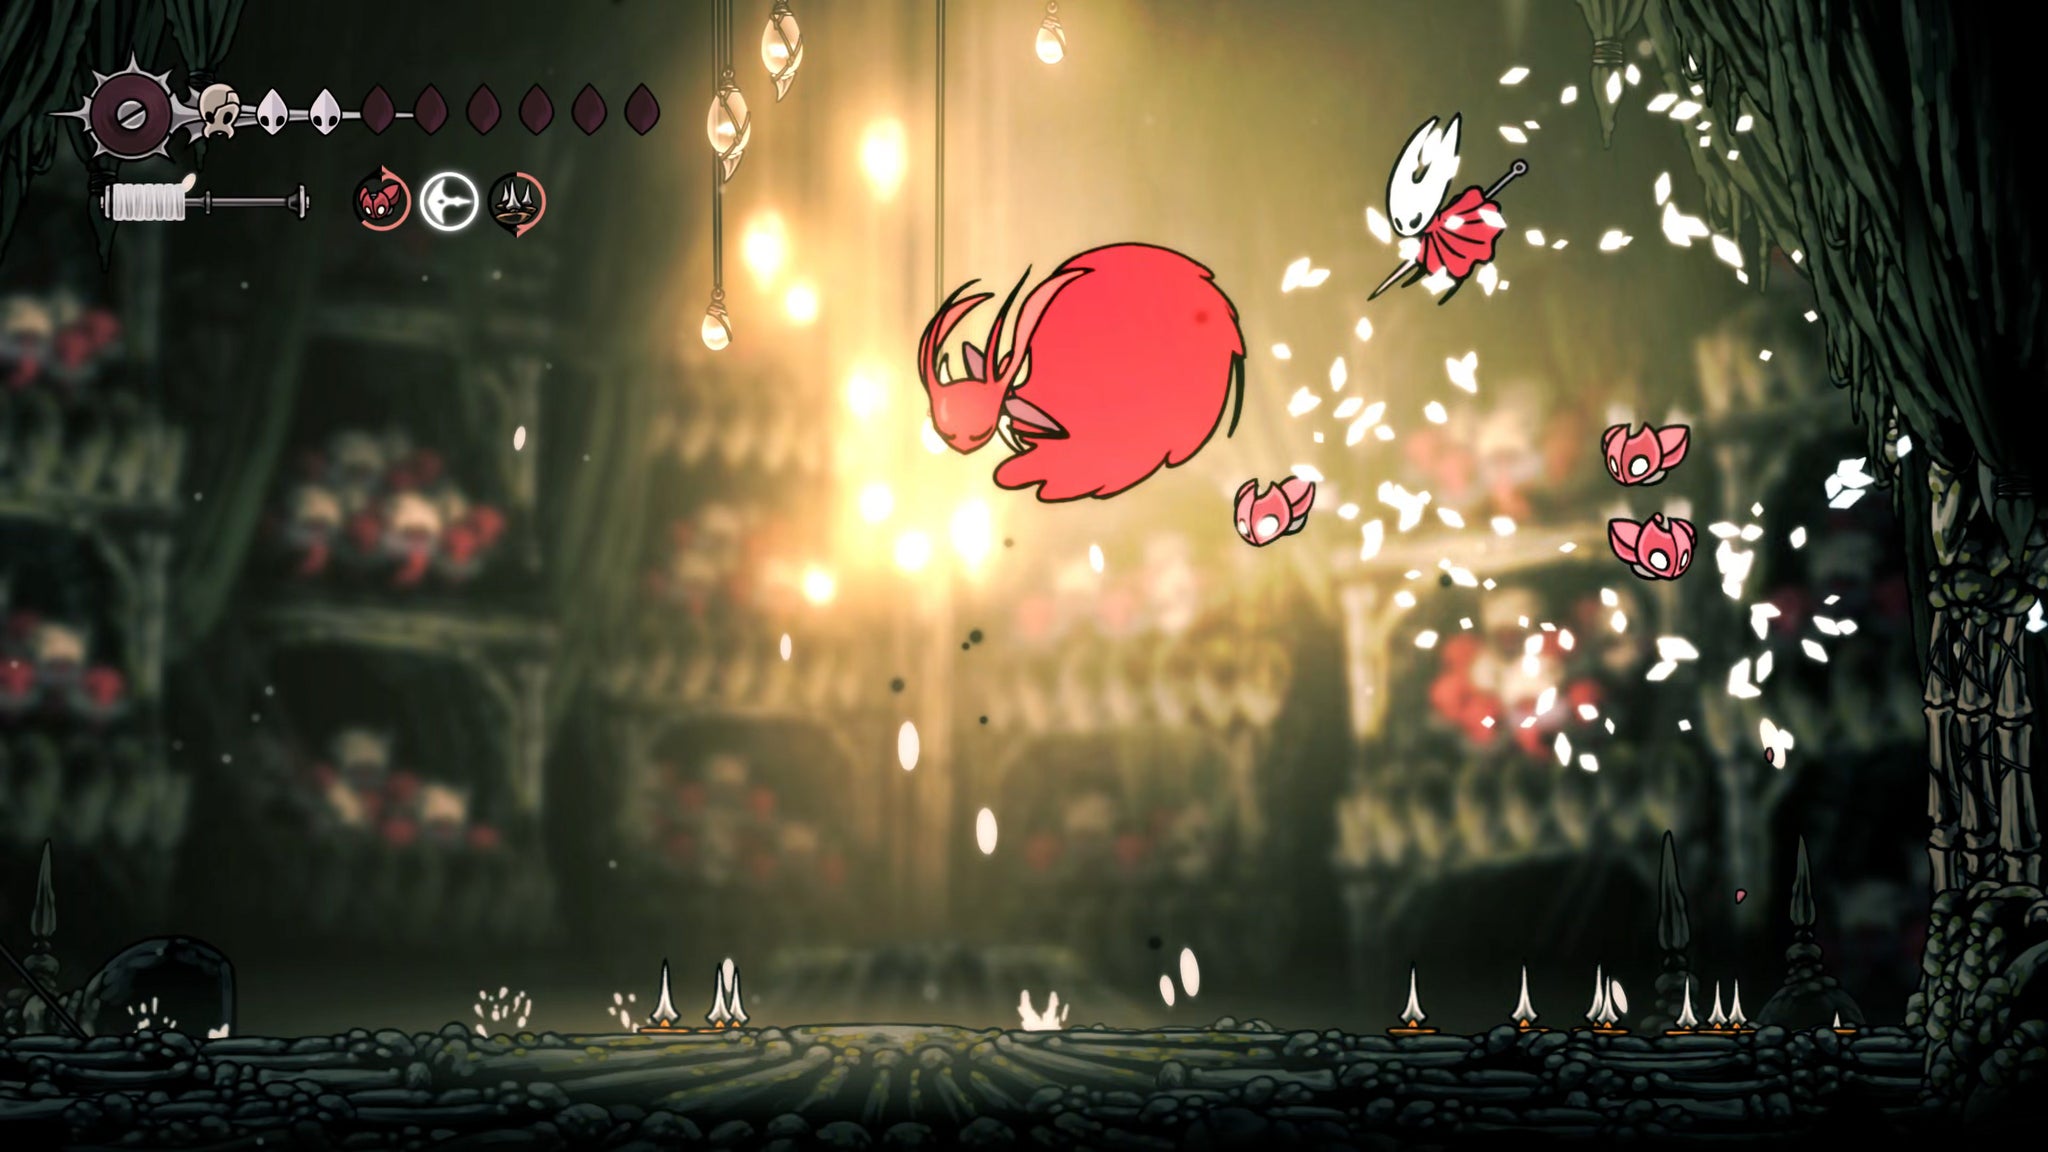
Image credit:Rock Paper Shotgun/Team Cherry
Take your time. That’s the most important thing. All of Karmelita’s attacks are well-telegraphed, despite the attacks themselves being quite nasty. More than anyone except Lace, Karmelita forces you into a dancing style of fight. Give it time, and it’ll click.
Eventually, you’ll deal the killing blow to Karmelita, and obtain the Hunter’s Heart. With that, you can use the Beastling Call to get back to the nearest Bellway - and give yourself a pat on the back while you’re at it.
12. Enter the Red Memory to obtain the Everbloom.
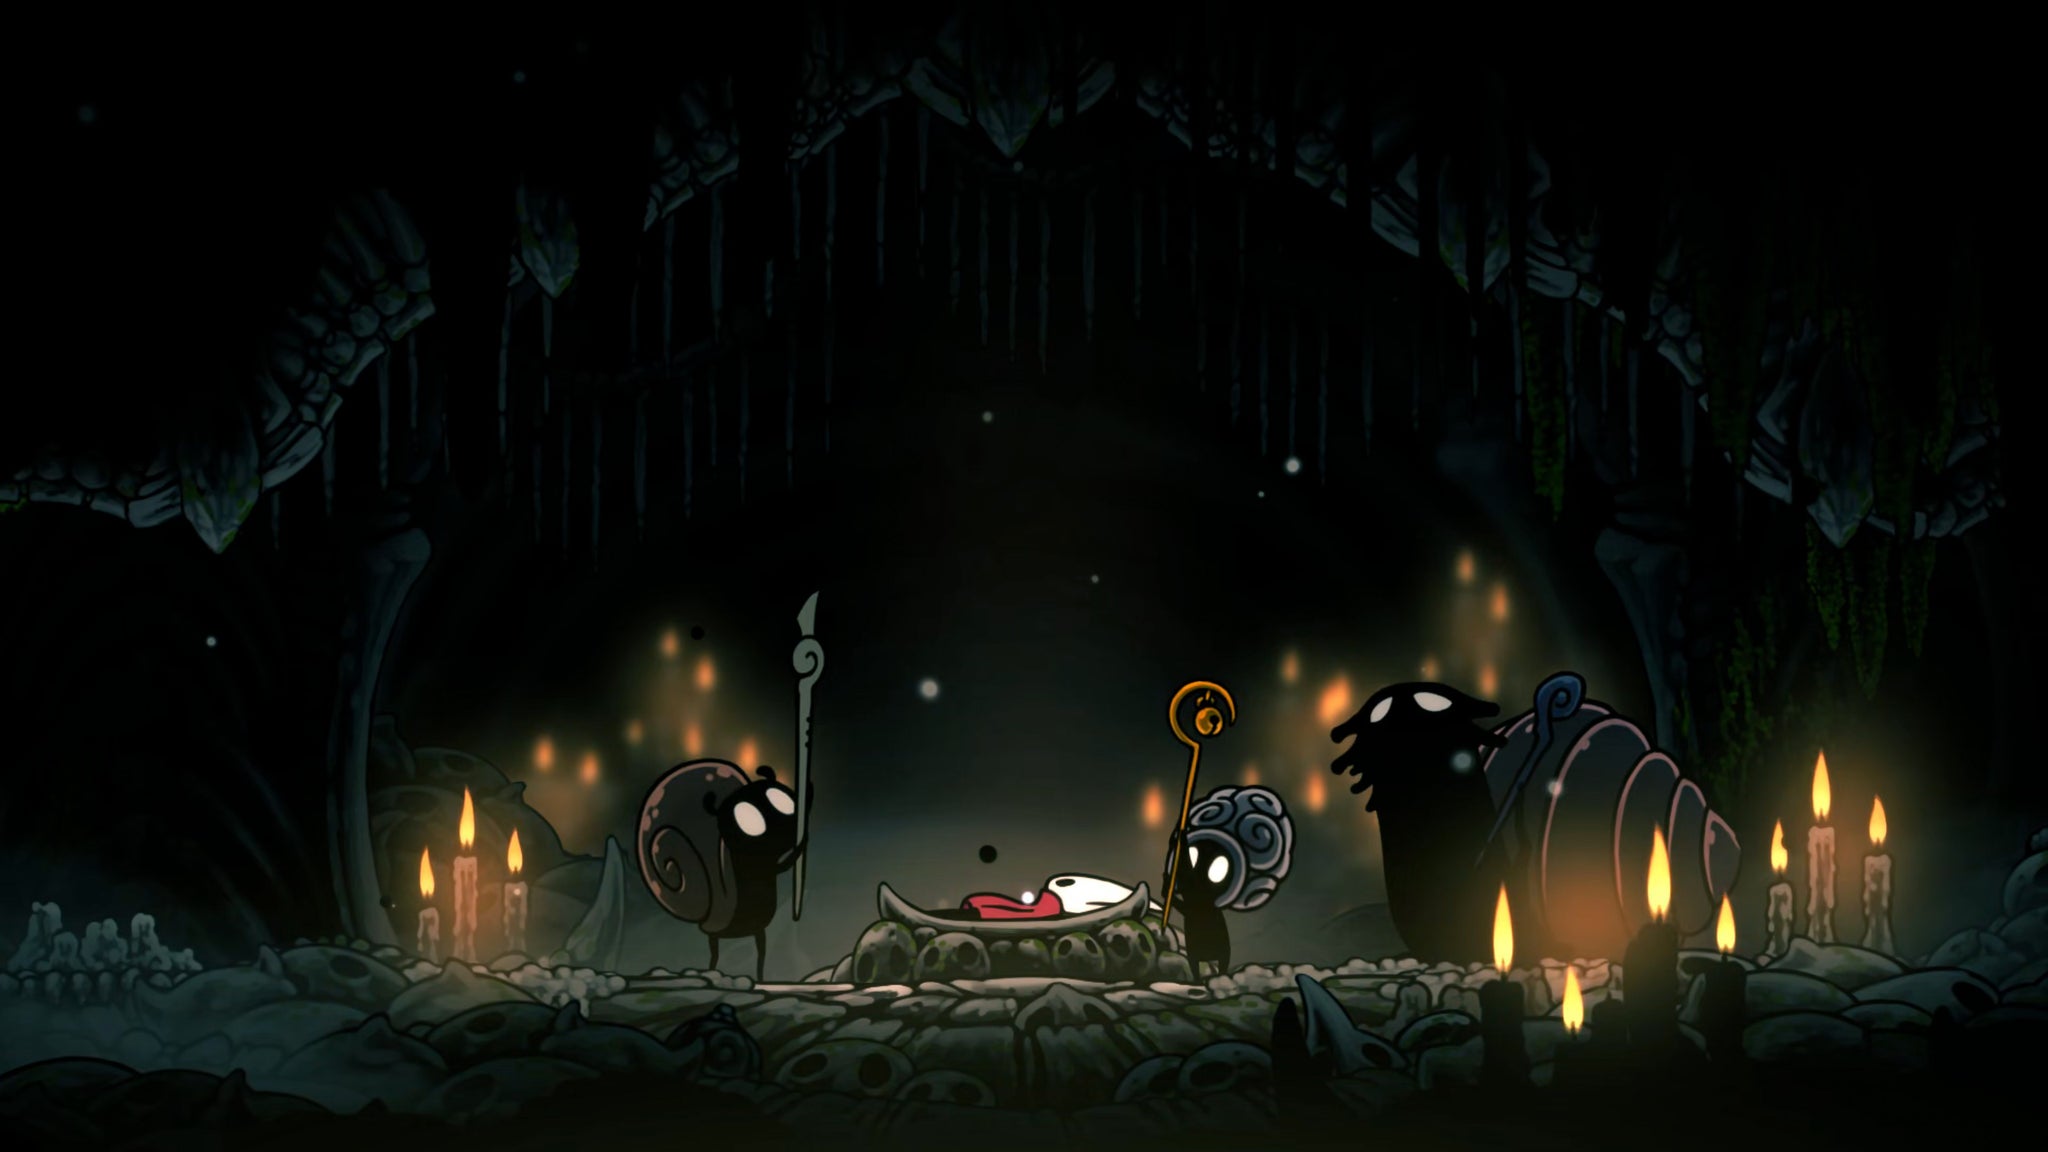
Image credit:Rock Paper Shotgun/Team Cherry
With three Old Hearts in your inventory, you can now return to Bone Bottom and speak with the Snail Shamans once more. They’ll tell you to lay on the dais (the Bench) to begin the process that was the point of all this Heart-gathering: to delve into Hornet’s own memories for the Void-repelling Everbloom flower.
Lay on the Bench to begin, and after a rather gruelling-looking cutscene, you’ll appear in the Red Memory - in Hornet’s own past.

Image credit:Rock Paper Shotgun/Team Cherry
The Red Memory is actually very straightforward. It’s a series of fairly linear parkour sections, and in between each one you can enter a doorway to trigger a memory cutscene. There are no collectibles in this area, so don’t bother looking around - just follow the main path by clawline-ing and Pogo-ing off all the silk orbs before you.
The one thing worth noting is that towards the end you’ll find a new creature type - a Wingmould. These creatures are just there for Pogo-ing really, but in case you’re confused - you can’t kill them to get their Hunter’s Journal entry. You’ll simply receive their entry automatically the moment you complete the Red Memory.
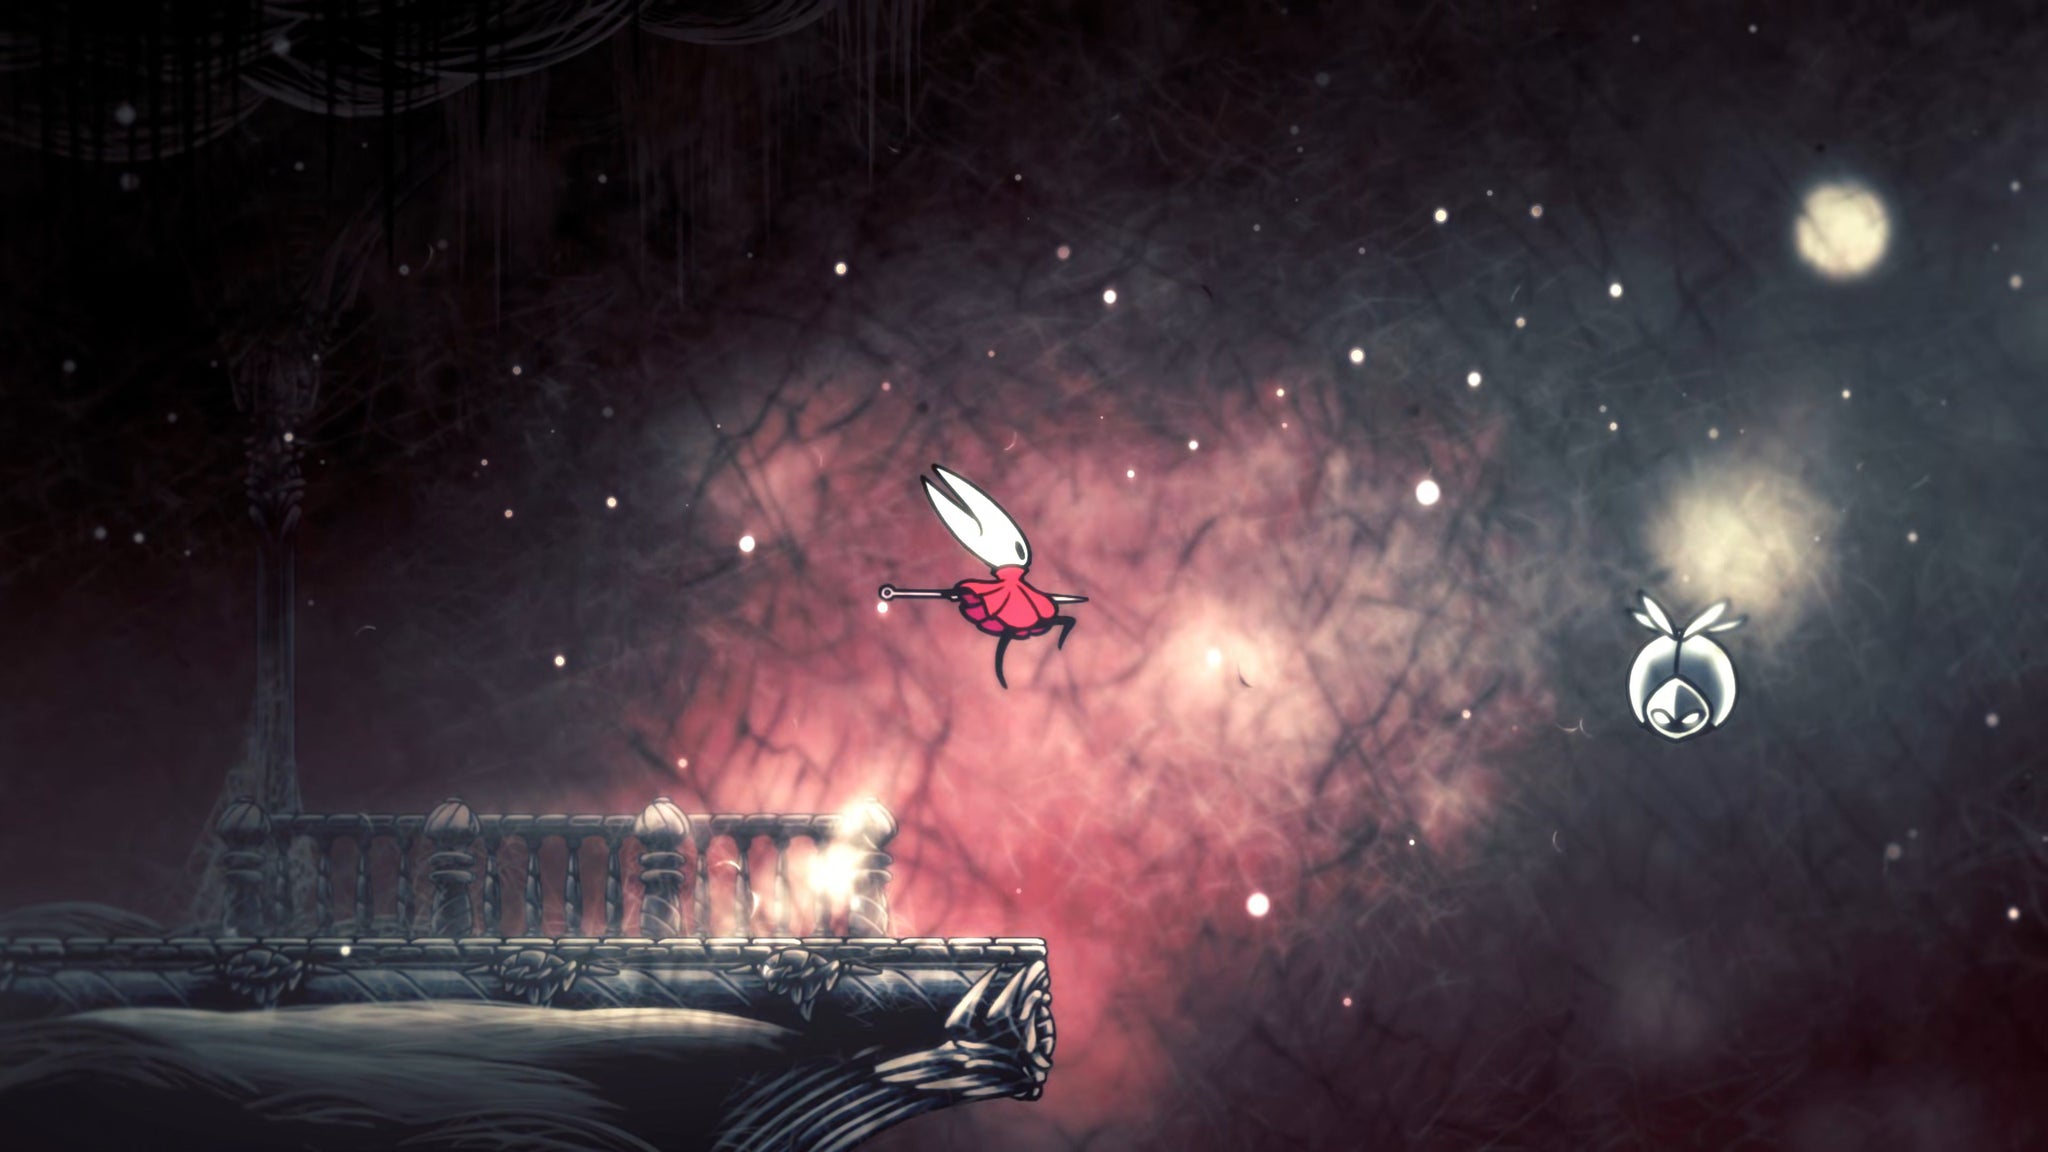
Image credit:Rock Paper Shotgun/Team Cherry
Before too long, you’ll reach the final memory, and Hornet will obtain the Everbloom, completing the Old Hearts quest at last. When you awaken from the Red Memory, you’ll see that you’re alone. The Snail Shamans are gone, and their shells are left behind. Did they perhaps die from the effort of casting that spell? It’s hard to tell. It’s left quite ambiguous, isn’t it?

Image credit:Rock Paper Shotgun/Team Cherry
With the Old Hearts taken and the Everbloom gained, Hornet can now descend into the Abyss again to fight the final boss - but there are a few more things to do first, including an entirely new region of the map! Join us in Part 37 of our Silksong walkthrough for a guide to exploring the forgotten kingdom of Verdania.


Hollow Knight: Silksong
PC , Nintendo Switch
Rock Paper Shotgun is better when you sign in
Sign in and join us on our journey to discover strange and compelling PC games.

All 75 Arc Raiders Blueprints and where to get them
These areas have the highest chance of giving you Blueprints

Image credit:Rock Paper Shotgun/Embark Studios

Looking for more Arc Raiders Blueprints? It’s a special day when you find a Blueprint, as they’re among the most valuable items in Arc Raiders. If you find a Blueprint that you haven’t already found, then you must make sure you hold onto it at all costs, because Blueprints are the key to one of the most important and powerful systems of meta-progression in the game.
This guide aims to be the very best guide on Blueprints you can find, starting with a primer on what exactly they are and how they work in Arc Raiders, before delving into exactly where to get Blueprints and the very best farming spots for you to take in your search.
We’ll also go over how to get Blueprints from other unlikely activities, such as destroying Surveyors and completing specific quests. And you’ll also find the full list of all 75 Blueprints in Arc Raiders on this page (including the newest Blueprints added with the Cold Snap update , such as the Deadline Blueprint and Firework Box Blueprint), giving you all the information you need to expand your own crafting repertoire.
In this guide:
- What are Blueprints in Arc Raiders?
- Full Blueprint list: All crafting recipes
- Where to find Blueprints in Arc Raiders Blueprints obtained from quests Blueprints obtained from Trials Best Blueprint farming locations

What are Blueprints in Arc Raiders?
Blueprints in Arc Raiders are special items which, if you manage to extract with them, you can expend to permanently unlock a new crafting recipe in your Workshop. If you manage to extract from a raid with an Anvil Blueprint, for example, you can unlock the ability to craft your very own Anvil Pistol, as many times as you like (as long as you have the crafting materials).
To use a Blueprint, simply open your Inventory while in the lobby, then right-click on the Blueprint and click “Learn And Consume” . This will permanently unlock the recipe for that item in your Workshop. As of the Stella Montis update, there are allegedly 75 different Blueprints to unlock - although only 68 are confirmed to be in the game so far. You can see all the Blueprints you’ve found and unlocked by going to the Workshop menu, and hitting “R” to bring up the Blueprint screen.
It’s possible to find duplicates of past Blueprints you’ve already unlocked. If you find these, then you can either sell them, or - if you like to play with friends - you can take it into a match and gift it to your friend so they can unlock that recipe for themselves. Another option is to keep hold of them until the time comes to donate them to the Expedition.
Full Blueprint list: All crafting recipes
Below is the full list of all the Blueprints that are currently available to find in Arc Raiders, and the crafting recipe required for each item:
| Blueprint | Type | Recipe | Crafted At |
|---|---|---|---|
| Bettina | Weapon | 3x Advanced Mechanical Components 3x Heavy Gun Parts 3x Canister | Gunsmith 3 |
| Blue Light Stick | Quick Use | 3x Chemicals | Utility Station 1 |
| Aphelion | Weapon | 3x Magnetic Accelerator 3x Complex Gun Parts 1x Matriarch Reactor | Gunsmith 3 |
| Combat Mk. 3 (Flanking) | Augment | 2x Advanced Electrical Components 3x Processor | Gear Bench 3 |
| Combat Mk. 3 (Aggressive) | Augment | 2x Advanced Electrical Components 3x Processor | Gear Bench 3 |
| Complex Gun Parts | Material | 2x Light Gun Parts 2x Medium Gun Parts 2x Heavy Gun Parts | Refiner 3 |
| Fireworks Box | Quick Use | 1x Explosive Compound 3x Pop Trigger | Explosives Station 2 |
| Gas Mine | Mine | 4x Chemicals 2x Rubber Parts | Explosives Station 1 |
| Green Light Stick | Quick Use | 3x Chemicals | Utility Station 1 |
| Pulse Mine | Mine | 1x Crude Explosives 1x Wires | Explosives Station 1 |
| Seeker Grenade | Grenade | 1x Crude Explosives 2x ARC Alloy | Explosives Station 1 |
| Looting Mk. 3 (Survivor) | Augment | 2x Advanced Electrical Components 3x Processor | Gear Bench 3 |
| Angled Grip II | Mod | 2x Mechanical Components 3x Duct Tape | Gunsmith 2 |
| Angled Grip III | Mod | 2x Mod Components 5x Duct Tape | Gunsmith 3 |
| Hullcracker | Weapon | 1x Magnetic Accelerator 3x Heavy Gun Parts 1x Exodus Modules | Gunsmith 3 |
| Launcher Ammo | Ammo | 5x Metal Parts 1x Crude Explosives | Workbench 1 |
| Anvil | Weapon | 5x Mechanical Components 5x Simple Gun Parts | Gunsmith 2 |
| Anvil Splitter | Mod | 2x Mod Components 3x Processor | Gunsmith 3 |
| ??? | ??? | ??? | ??? |
| Barricade Kit | Quick Use | 1x Mechanical Components | Utility Station 2 |
| Blaze Grenade | Grenade | 1x Explosive Compound 2x Oil | Explosives Station 3 |
| Bobcat | Weapon | 3x Advanced Mechanical Components 3x Light Gun Parts | Gunsmith 3 |
| Osprey | Weapon | 2x Advanced Mechanical Components 3x Medium Gun Parts 7x Wires | Gunsmith 3 |
| Burletta | Weapon | 3x Mechanical Components 3x Simple Gun Parts | Gunsmith 1 |
| Compensator II | Mod | 2x Mechanical Components 4x Wires | Gunsmith 2 |
| Compensator III | Mod | 2x Mod Components 8x Wires | Gunsmith 3 |
| Defibrillator | Quick Use | 9x Plastic Parts 1x Moss | Medical Lab 2 |
| ??? | ??? | ??? | ??? |
| Equalizer | Weapon | 3x Magnetic Accelerator 3x Complex Gun Parts 1x Queen Reactor | Gunsmith 3 |
| Extended Barrel | Mod | 2x Mod Components 8x Wires | Gunsmith 3 |
| Extended Light Mag II | Mod | 2x Mechanical Components 3x Steel Spring | Gunsmith 2 |
| Extended Light Mag III | Mod | 2x Mod Components 5x Steel Spring | Gunsmith 3 |
| Extended Medium Mag II | Mod | 2x Mechanical Components 3x Steel Spring | Gunsmith 2 |
| Extended Medium Mag III | Mod | 2x Mod Components 5x Steel Spring | Gunsmith 3 |
| Extended Shotgun Mag II | Mod | 2x Mechanical Components 3x Steel Spring | Gunsmith 2 |
| Extended Shotgun Mag III | Mod | 2x Mod Components 5x Steel Spring | Gunsmith 3 |
| Remote Raider Flare | Quick Use | 2x Chemicals 4x Rubber Parts | Utility Station 1 |
| Heavy Gun Parts | Material | 4x Simple Gun Parts | Refiner 2 |
| Venator | Weapon | 2x Advanced Mechanical Components 3x Medium Gun Parts 5x Magnet | Gunsmith 3 |
| Il Toro | Weapon | 5x Mechanical Components 6x Simple Gun Parts | Gunsmith 1 |
| Jolt Mine | Mine | 1x Electrical Components 1x Battery | Explosives Station 2 |
| Explosive Mine | Mine | 1x Explosive Compound 1x Sensors | Explosives Station 3 |
| Jupiter | Weapon | 3x Magnetic Accelerator 3x Complex Gun Parts 1x Queen Reactor | Gunsmith 3 |
| Light Gun Parts | Material | 4x Simple Gun Parts | Refiner 2 |
| Lightweight Stock | Mod | 2x Mod Components 5x Duct Tape | Gunsmith 3 |
| Lure Grenade | Grenade | 1x Speaker Component 1x Electrical Components | Utility Station 2 |
| Medium Gun Parts | Material | 4x Simple Gun Parts | Refiner 2 |
| Torrente | Weapon | 2x Advanced Mechanical Components 3x Medium Gun Parts 6x Steel Spring | Gunsmith 3 |
| Muzzle Brake II | Mod | 2x Mechanical Components 4x Wires | Gunsmith 2 |
| Muzzle Brake III | Mod | 2x Mod Components 8x Wires | Gunsmith 3 |
| Padded Stock | Mod | 2x Mod Components 5x Duct Tape | Gunsmith 3 |
| Shotgun Choke II | Mod | 2x Mechanical Components 4x Wires | Gunsmith 2 |
| Shotgun Choke III | Mod | 2x Mod Components 8x Wires | Gunsmith 3 |
| Shotgun Silencer | Mod | 2x Mod Components 8x Wires | Gunsmith 3 |
| Showstopper | Grenade | 1x Advanced Electrical Components 1x Voltage Converter | Explosives Station 3 |
| Silencer I | Mod | 2x Mechanical Components 4x Wires | Gunsmith 2 |
| Silencer II | Mod | 2x Mod Components 8x Wires | Gunsmith 3 |
| Snap Hook | Quick Use | 2x Power Rod 3x Rope 1x Exodus Modules | Utility Station 3 |
| Stable Stock II | Mod | 2x Mechanical Components 3x Duct Tape | Gunsmith 2 |
| Stable Stock III | Mod | 2x Mod Components 5x Duct Tape | Gunsmith 3 |
| Tagging Grenade | Grenade | 1x Electrical Components 1x Sensors | Utility Station 3 |
| Tempest | Weapon | 3x Advanced Mechanical Components 3x Medium Gun Parts 3x Canister | Gunsmith 3 |
| Trigger Nade | Grenade | 2x Crude Explosives 1x Processor | Explosives Station 2 |
| Vertical Grip II | Mod | 2x Mechanical Components 3x Duct Tape | Gunsmith 2 |
| Vertical Grip III | Mod | 2x Mod Components 5x Duct Tape | Gunsmith 3 |
| Vita Shot | Quick Use | 2x Antiseptic 1x Syringe | Medical Lab 3 |
| Vita Spray | Quick Use | 3x Antiseptic 1x Canister | Medical Lab 3 |
| Vulcano | Weapon | 1x Magnetic Accelerator 3x Heavy Gun Parts 1x Exodus Modules | Gunsmith 3 |
| Wolfpack | Grenade | 2x Explosive Compound 2x Sensors | Explosives Station 3 |
| Red Light Stick | Quick Use | 3x Chemicals | Utility Station 1 |
| Smoke Grenade | Grenade | 14x Chemicals 1x Canister | Utility Station 2 |
| Deadline | Mine | 3x Explosive Compound 2x ARC Circuitry | Explosives Station 3 |
| Trailblazer | Grenade | 1x Explosive Compound 1x Synthesized Fuel | Explosives Station 3 |
| Tactical Mk. 3 (Defensive) | Augment | 2x Advanced Electrical Components 3x Processor | Gear Bench 3 |
| Tactical Mk. 3 (Healing) | Augment | 2x Advanced Electrical Components 3x Processor | Gear Bench 3 |
| Yellow Light Stick | Quick Use | 3x Chemicals | Utility Station 1 |
Note: The missing Blueprints in this list likely have not actually been added to the game at the time of writing, because none of the playerbase has managed to find any of them. As they are added to the game, I will update this page with the most relevant information so you know exactly how to get all 75 Arc Raiders Blueprints.
Where to find Blueprints in Arc Raiders
Below is a list of all containers, modifiers, and events which maximise your chances of finding Blueprints:
- Certain quests reward you with specific Blueprints .
- Completing Trials has a high chance of offering Blueprints as rewards.
- Surveyors have a decent chance of dropping Blueprints on death.
- High loot value areas tend to have a greater chance of spawning Blueprints.
- Night Raids and Storms may increase rare Blueprint spawn chances in containers.
- Containers with higher numbers of items may have a higher tendency to spawn Blueprints. As a result, Blue Gate (which has many “large” containers containing multiple items) may give you a higher chance of spawning Blueprints.
- Raider containers (Raider Caches, Weapon Boxes, Medical Bags, Grenade Tubes) have increased Blueprint drop rates. As a result, the Uncovered Caches event gives you a high chance of finding Blueprints.
- Security Lockers have a higher than average chance of containing Blueprints.
- Certain Blueprints only seem to spawn under specific circumstances: Tempest Blueprint only spawns during Night Raid events. Vulcano Blueprint only spawns during Hidden Bunker events. Jupiter and Equaliser Blueprints only spawn during Harvester events.

Raider Caches, Weapon Boxes, and other raider-oriented container types have a good chance of offering Blueprints. |Image credit:Rock Paper Shotgun/Embark Studios
Blueprints have a very low chance of spawning in any container in Arc Raiders, around 1-2% on average. However, there is a higher chance of finding Blueprints in particular container types. Specifically, you can find more Blueprints in Raider containers and security lockers.
Beyond this, if you’re looking for Blueprints you should focus on regions of the map which are marked as having particularly high-value loot. Areas such as the Control Tower in Dam Battlegrounds, the Arrival and Departure Buildings in Spaceport, and Pilgrim’s Peak in Blue Gate all have a better-than-average chance of spawning Blueprints somewhere amongst all their containers. Night Raids and Electromagnetic Storm events also increase the drop chances of certain Blueprints .
In addition to these containers, you can often loot Blueprints from destroyed Surveyors - the largest of the rolling ball ARC. Surveyors are more commonly found on the later maps - Spaceport and Blue Gate - and if one spawns in your match, you’ll likely see it by the blue laser beam that it casts into the sky while “surveying”.
Surveyors are quite well-armoured and will very speedily run away from you once it notices you, but if you can take one down then make sure you loot all its parts for a chance of obtaining certain unusual Blueprints.
Blueprints obtained from quests
One way in which you can get Blueprints is by completing certain quests for the vendors in Speranza. Some quests will reward you with a specific item Blueprint upon completion, so as long as you work through all the quests in Arc Raiders, you are guaranteed those Blueprints.
Here is the full list of all Blueprints you can get from quest rewards:
- Trigger Nade Blueprint: Rewarded after completing “Sparks Fly”.
- Lure Grenade Blueprint: Rewarded after completing “Greasing Her Palms”.
- Burletta Blueprint: Rewarded after completing “Industrial Espionage”.
- Hullcracker Blueprint (and Launcher Ammo Blueprint): Rewarded after completing “The Major’s Footlocker”.
Alas, that’s only 4 Blueprints out of a total of 75 to unlock, so for the vast majority you will need to find them yourself during a raid. If you’re intent on farming Blueprints, then it’s best to equip yourself with cheap gear in case you lose it, but don’t use a free loadout because then you won’t get a safe pocket to stash any new Blueprint you find. No pain in Arc Raiders is sharper than failing to extract with a new Blueprint you’ve been after for a dozen hours already.

One of the best ways to get Blueprints is by hitting three stars on all five Trials every week. |Image credit:Rock Paper Shotgun/Embark Studios
Blueprints obtained from Trials
One of the very best ways to get Blueprints is as rewards for completing Trials in Arc Raiders. Trials are unlocked from Level 15 onwards, and allow you to earn rewards by focusing on certain tasks over the course of several raids. For example, one Trial might task you with dealing damage to Hornets, while another might challenge you to loot Supply Drops.
Trials refresh on a weekly basis, with a new week bringing five new Trials. Each Trial can offer up to three rewards after passing certain score milestones, and it’s possible to receive very high level loot from these reward crates - including Blueprints. So if you want to unlock as many Blueprints as possible, you should make a point of completing as many Trials as possible each week.
Best Blueprint farming locations
The very best way to get Blueprints is to frequent specific areas of the maps which combine high-tier loot pools with the right types of containers to search. Here are my recommendations for where to find Blueprints on every map, so you can always keep the search going for new crafting recipes to unlock.

Image credit:Rock Paper Shotgun/Embark Studios
Dam Battlegrounds
The best places to farm Blueprints on Dam Battlegrounds are the Control Tower, Power Generation Complex, Ruby Residence, and Pale Apartments . The first two regions, despite only being marked on the map as mid-tier loot, contain a phenomenal number of containers to loot. The Control Tower can also contain a couple of high-tier Security Lockers - though of course, you’ll need to have unlocked the Security Breach skill at the end of the Survival tree.
There’s also a lot of reporting amongst the playerbase that the Residential areas in the top-left of the map - Pale Apartments and Ruby Residence - give you a comparatively strong chance of finding Blueprints. Considering their size, there’s a high density of containers to loot in both locations, and they also have the benefit of being fairly out of the way. So you’re more likely to have all the containers to yourself.
Buried City
The best Blueprint farming locations on Buried City are the Santa Maria Houses, Grandioso Apartments, Town Hall, and the various buildings of the New District . Grandioso Apartments has a lower number of containers than the rest, but a high chance of spawning weapon cases - which have good Blueprint drop rates. The others are high-tier loot areas, with plenty of lootable containers - including Security Lockers.
Spaceport
The best places to find Blueprints on Spaceport are the Arrival and Departure Buildings, as well as Control Tower A6 and the Launch Towers . All these areas are labelled as high-value loot regions, and many of them are also very handily connected to one another by the Spaceport wall, which you can use to quickly run from one area to the next. At the tops of most of these buildings you’ll find at least one Security Locker, so this is an excellent farming route for players looking to find Blueprints.
The downside to looting Blueprints on Spaceport is that all these areas are hotly contested, particularly in Duos and Squads. You’ll need to be very focused and fast in order to complete the full farming route.

Image credit:Rock Paper Shotgun/Embark Studios
Blue Gate
Blue Gate tends to have a good chance of dropping Blueprints, potentially because it generally has a high number of containers which can hold lots of items; so there’s a higher chance of a Blueprint spawning in each container. In my experience, the best Blueprint farming spots on Blue Gate are Pilgrim’s Peak, Raider’s Refuge, the Ancient Fort, and the Underground Complex beneath the Warehouse .
All of these areas contain a wealth of containers to loot. Raider’s Refuge has less to loot, but the majority of the containers in and around the Refuge are raider containers, which have a high chance of containing Blueprints - particularly during major events.
Stella Montis
On the whole, Stella Montis seems to have a very low drop rate for Blueprints (though a high chance of dropping other high-tier loot). If you do want to try farming Blueprints on this map, the best places to find Blueprints in Stella Montis are Medical Research, Assembly Workshop, and the Business Center . These areas have the highest density of containers to loot on the map.
In addition to this, the Western Tunnel has a few different Security Lockers to loot, so while there’s very little to loot elsewhere in this area of the map, it’s worth hitting those Security Lockers if you spawn there at the start of a match.
That wraps up this primer on how to get all the Blueprints in Arc Raiders as quickly as possible. With the Expedition system constantly resetting a large number of players’ Blueprints, it’s more important than ever to have the most up-to-date information on where to find all these Blueprints.
While you’re here, be sure to check out our Arc Raiders best guns tier list , as well as our primers on the best skills to unlock and all the different Field Depot locations on every map.


ARC Raiders
PS5 , Xbox Series X/S , PC
Rock Paper Shotgun is better when you sign in
Sign in and join us on our journey to discover strange and compelling PC games.
