Hollow Knight Silksong walkthrough: Part 35 (The Abyss)
A step by step guide to navigating The Abyss beneath Pharloom

Image credit:Rock Paper Shotgun/Team Cherry

Stuck trying to explore (or escape) The Abyss in Hollow Knight: Silksong? Act 3 brings a startling wealth of content to Silksong, but only a couple of entirely new regions to explore - and The Abyss is one of them. After speaking with the Snail Shamans in the previous Part, it becomes clear that Hornet has to find a way to venture down into the source of the Void consuming Pharloom.
In Part 35 of our Silksong walkthrough, I’ll guide you through each of the steps you must take to descend into The Abyss, find the skills and items that you need there, and escape safely. By the end of this part, you’ll be exactly one movement ability richer, and you’ll be able to access a whole lot more of that new Act 3 content!
Want the walkthrough for a different area of the game? Check out our Hollow Knight: Silksong walkthrough hub!
The Abyss walkthrough steps:
- Speak with Forge Daughter and Ballow.
- Use the Diving Bell to reach The Abyss.
- Obtain the Arcane Egg.
- Reach The Abyss Map.
- Inspect the Void.
- Explore Weavenest Absolom for Farsight and Silk Soar.
- Escape The Abyss.
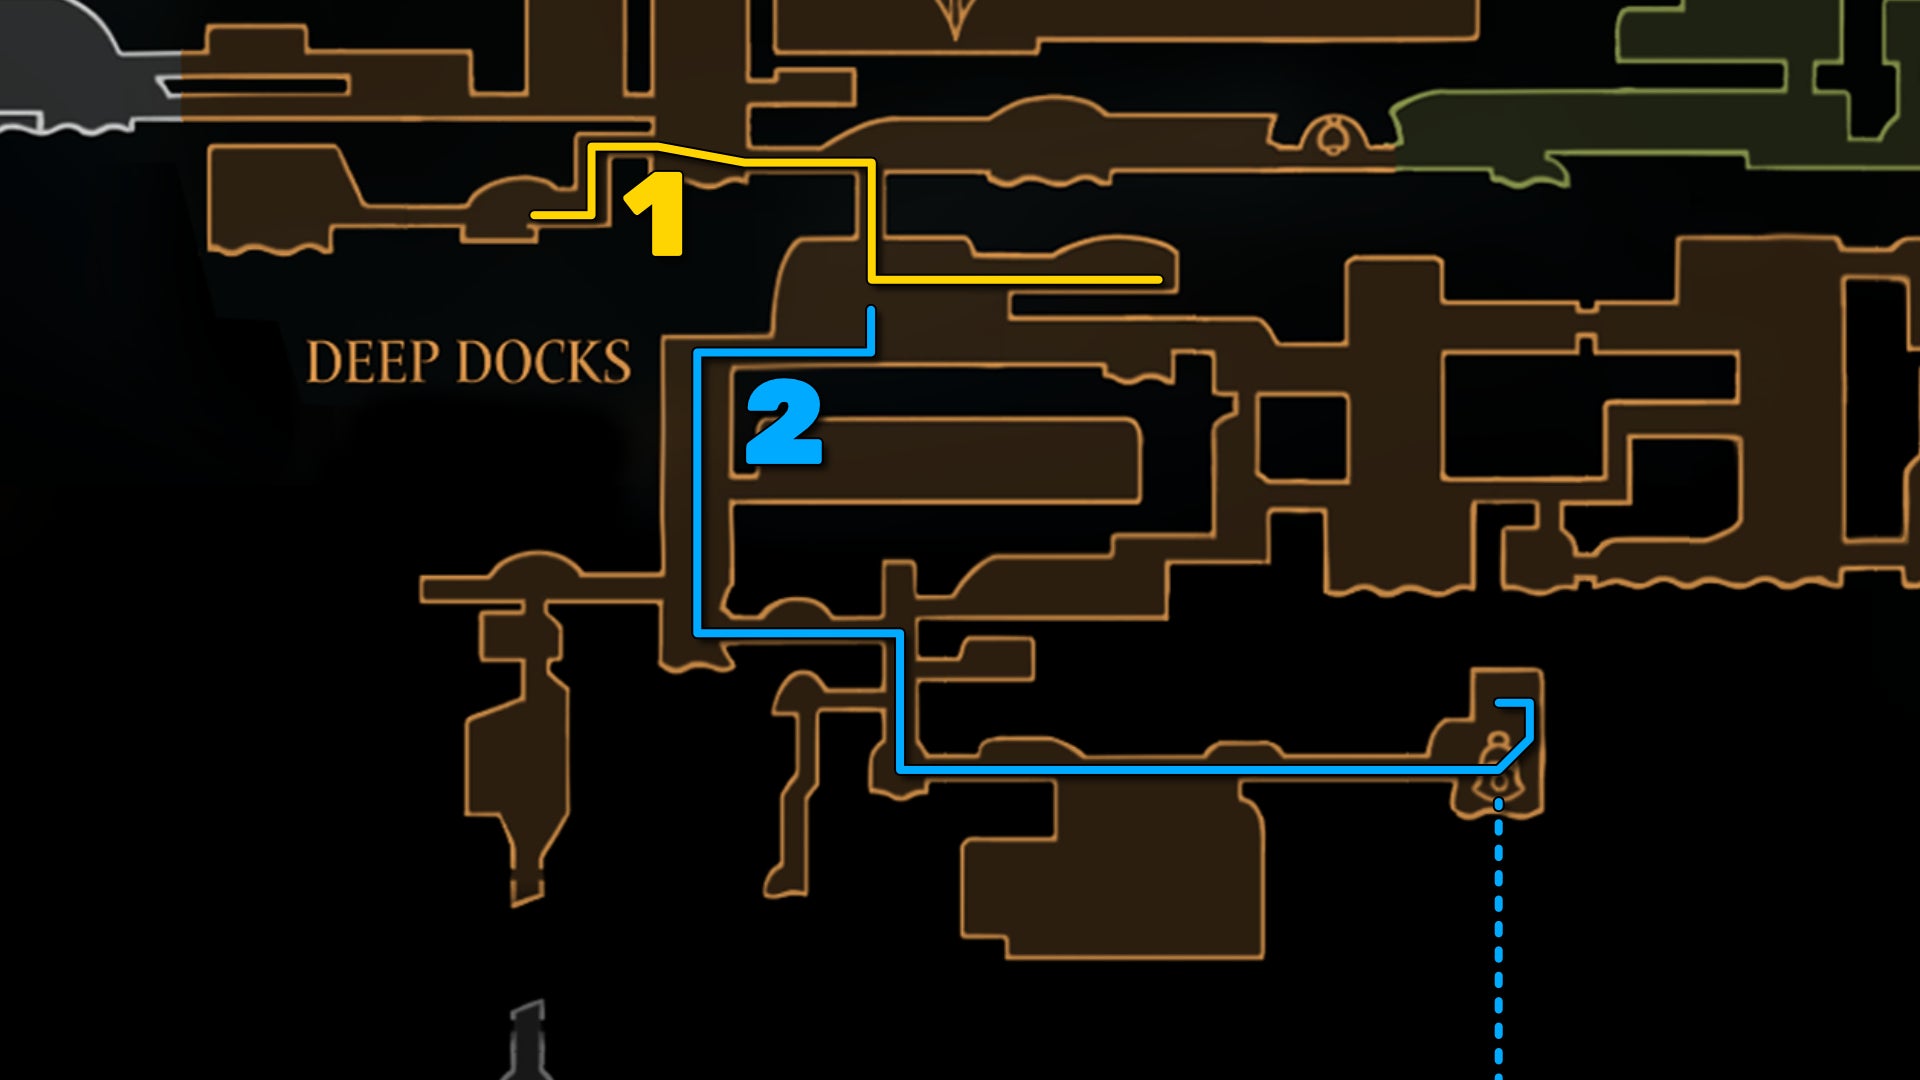
Image credit:Rock Paper Shotgun/Team Cherry
1. Speak with Forge Daughter and Ballow.
Where we left off, you’d just finished speaking with the Snail Shamans in the Ruined Chapel about your next steps. Now it’s time to figure out a safe way down into The Abyss, and for that you need to ask some old friends in Deep Docks for assistance.
Exit the Ruined Chapel and make your way back to Bone Bottom. Take the Bellway to Deep Docks, and then cross over to the right and head down the trapdoor in the floor to reach the Forge Daughter.
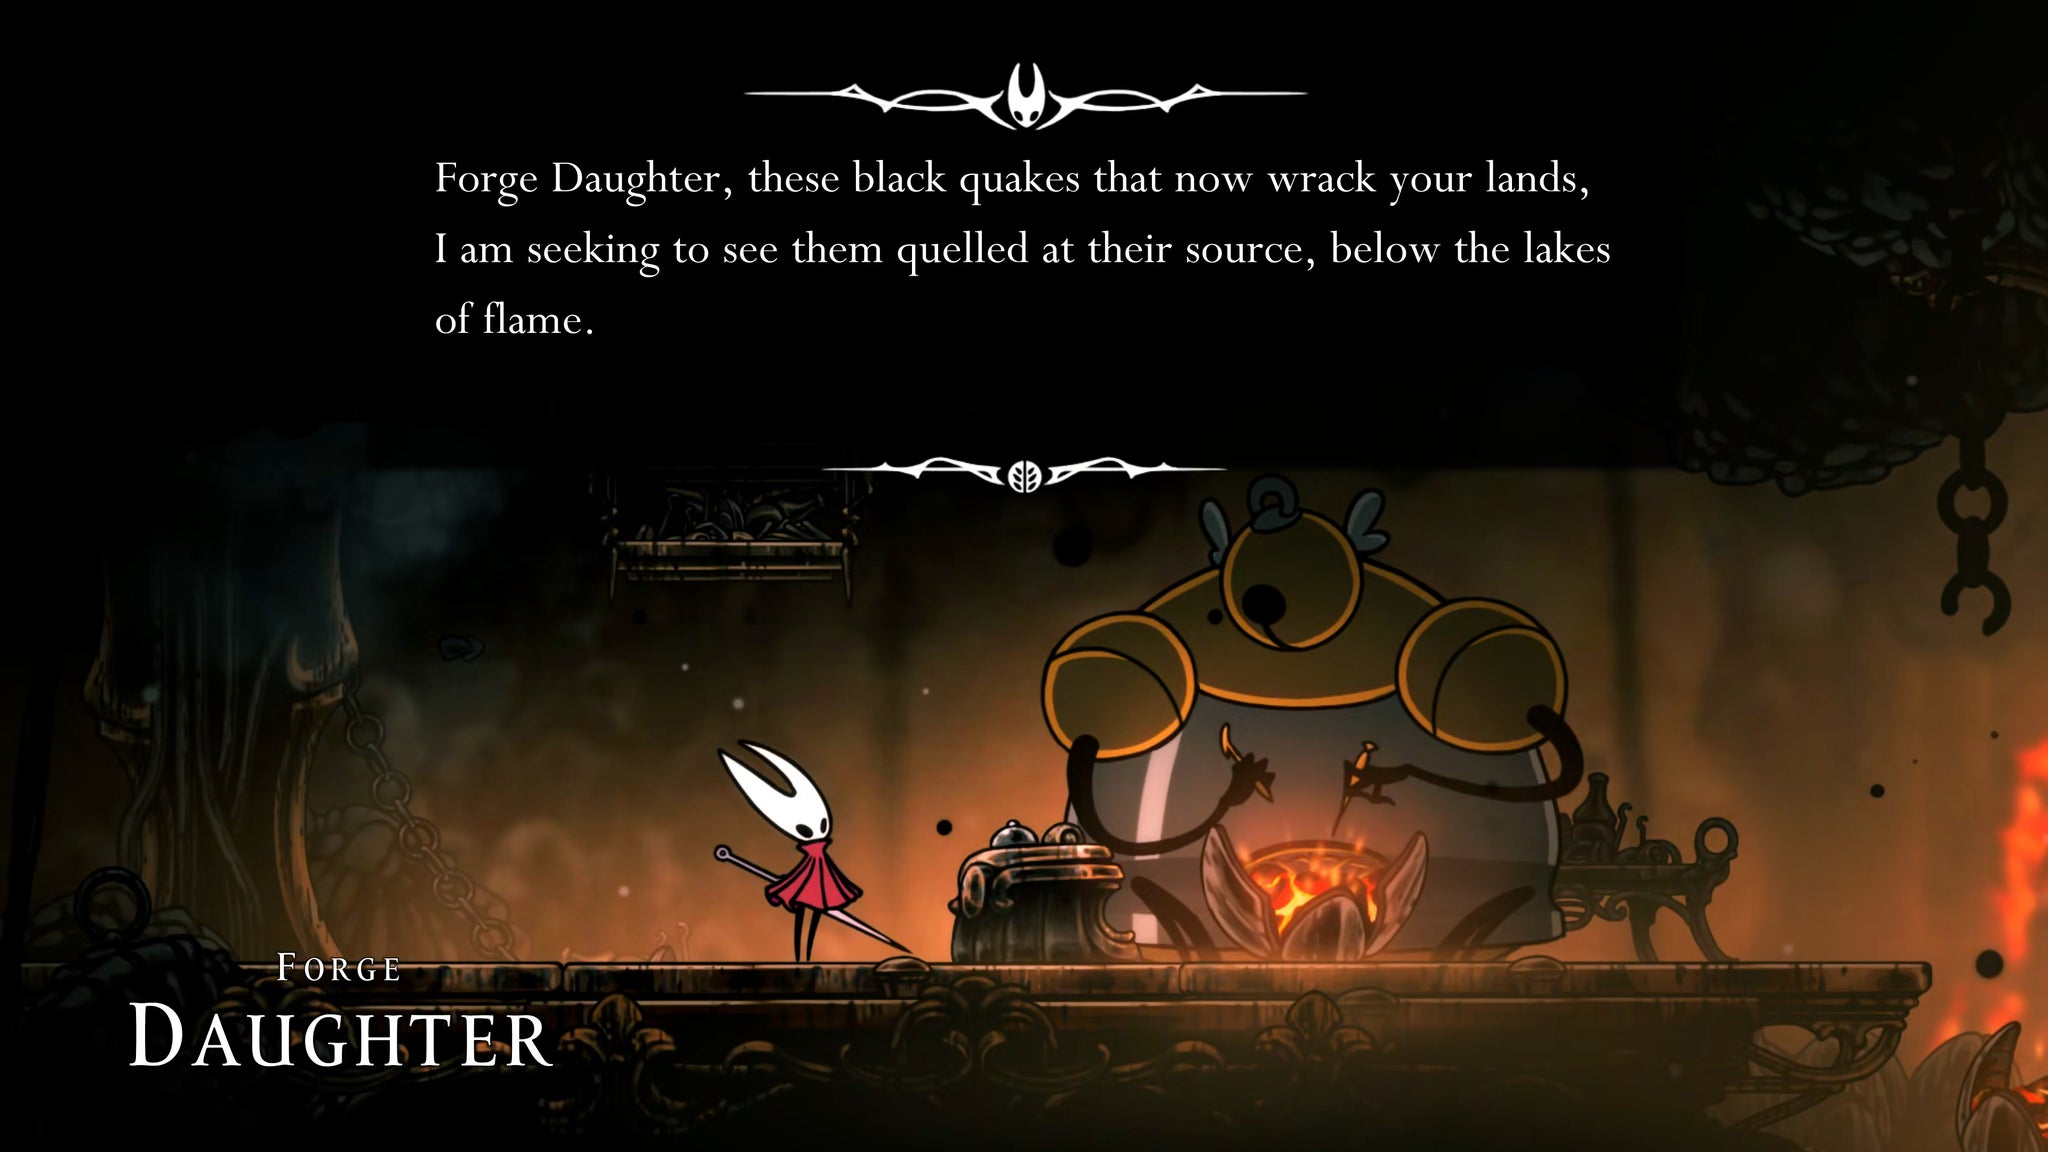
Image credit:Rock Paper Shotgun/Team Cherry
Speak with Forge Daughter and she’ll direct you to her helper, Ballow. You can then speak with Ballow and exhaust his dialogue to convince him of the need to help you get that old Diving Bell at the bottom of Deep Docks functional and ready.
2. Use the Diving Bell to reach The Abyss.
Ballow will then disappear and wait for you at the Diving Bell, so make your way down there by descending the shaft to the left of the Forge Daughter’s room. You can use the shortcut you previously opened to enter via the steam room with the Bench.
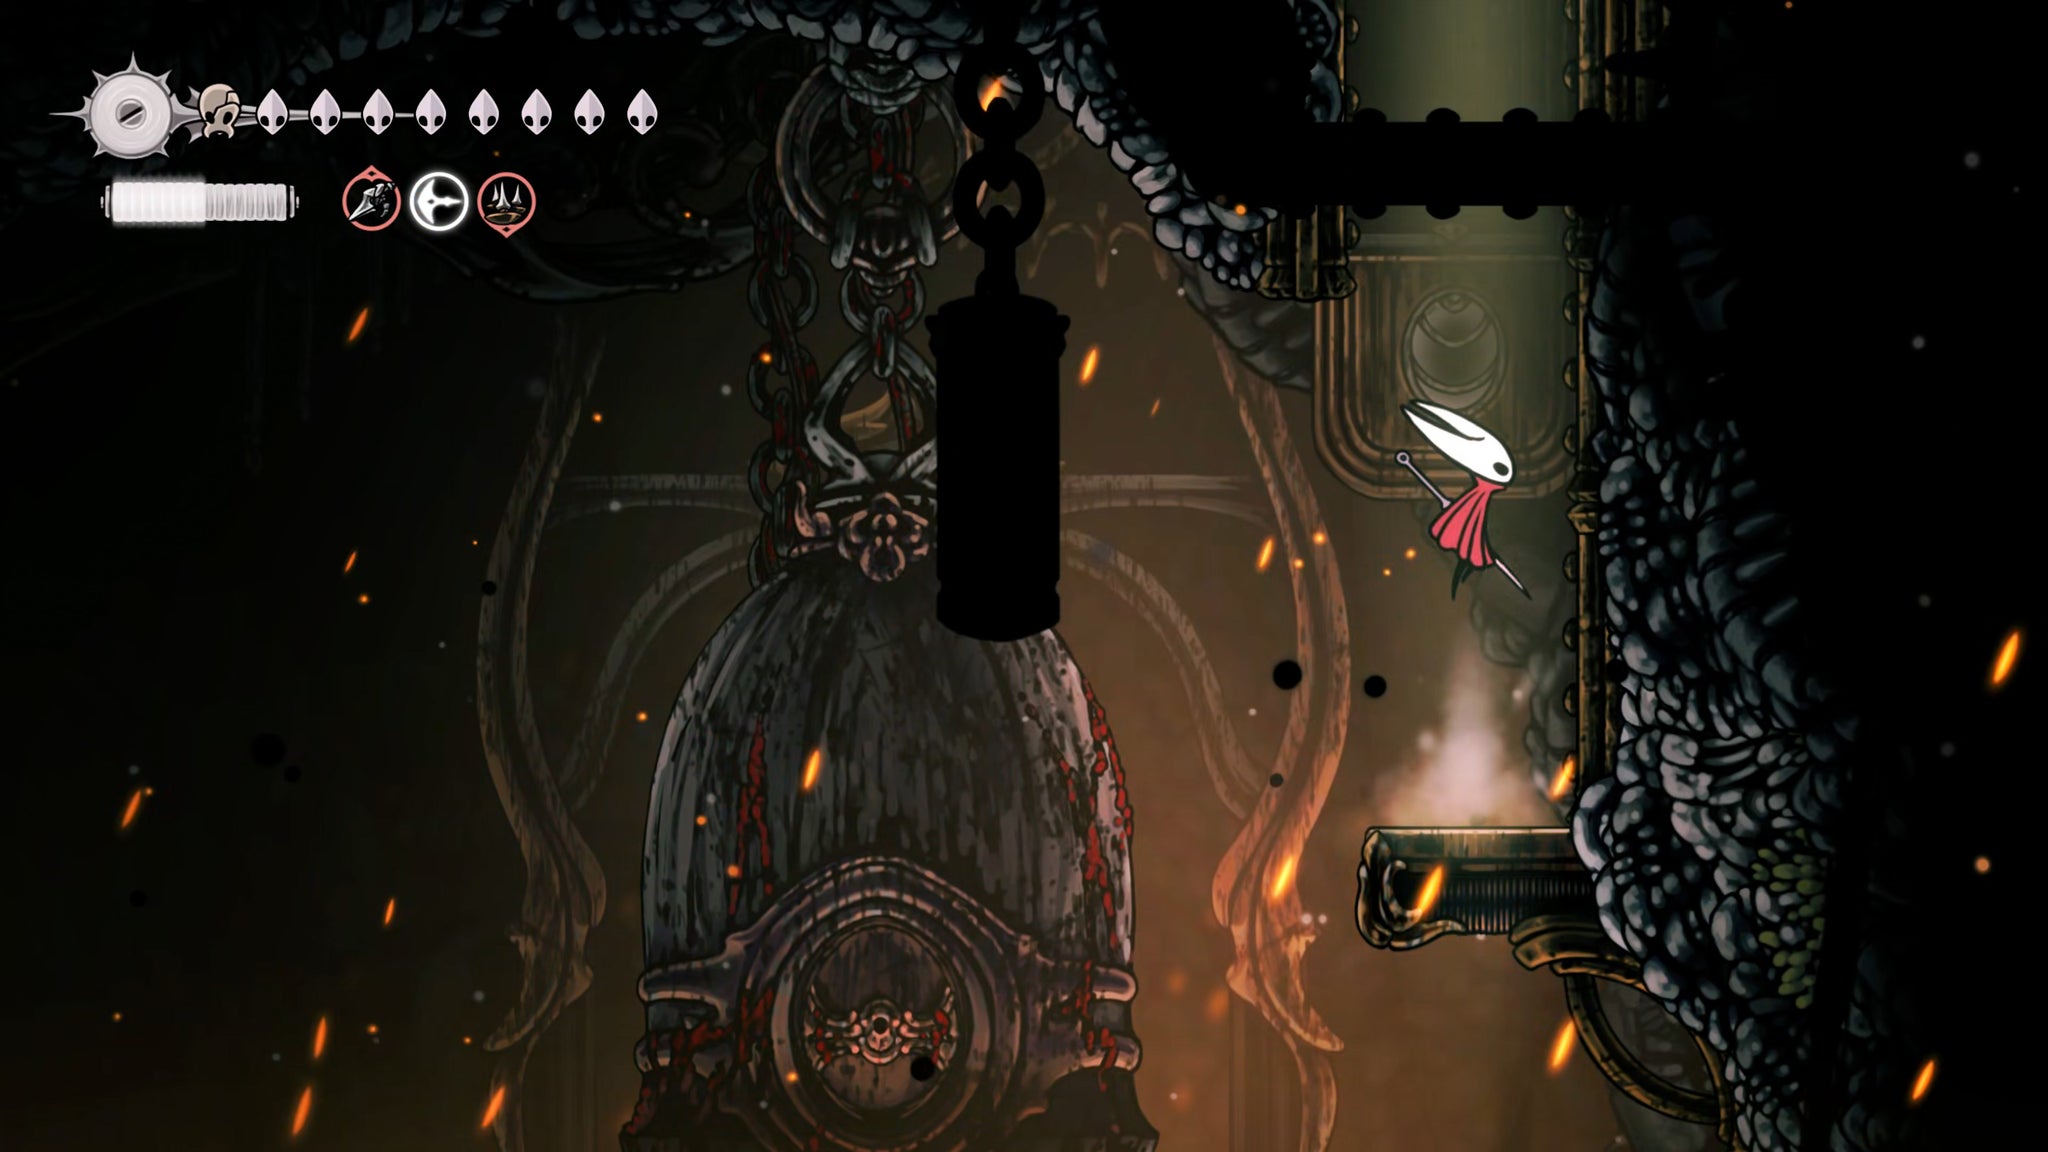
Image credit:Rock Paper Shotgun/Team Cherry
If you followed this walkthrough during your last visit to Deep Docks, you’ll already have found the Diving Bell, and unlocked another shortcut that allows you to bypass most of the awfulness it took to get you there. Take this shortcut directly across to the Diving Bell.
Once you’re at the Diving Bell, you’ll see that a trapdoor has opened up at the far right of the ceiling. Climb up it and you’ll find Ballow operating the controls of the Bell. Speak with him to receive the Diving Bell Key, and then drop back down and unlock the Diving Bell.



Step inside, and rest in the chair if needed (it acts as a Bench). Then interact with the speaker on the right to prime the Bell for travel. Sit in the chair, and enjoy the (rather perilous) ride.
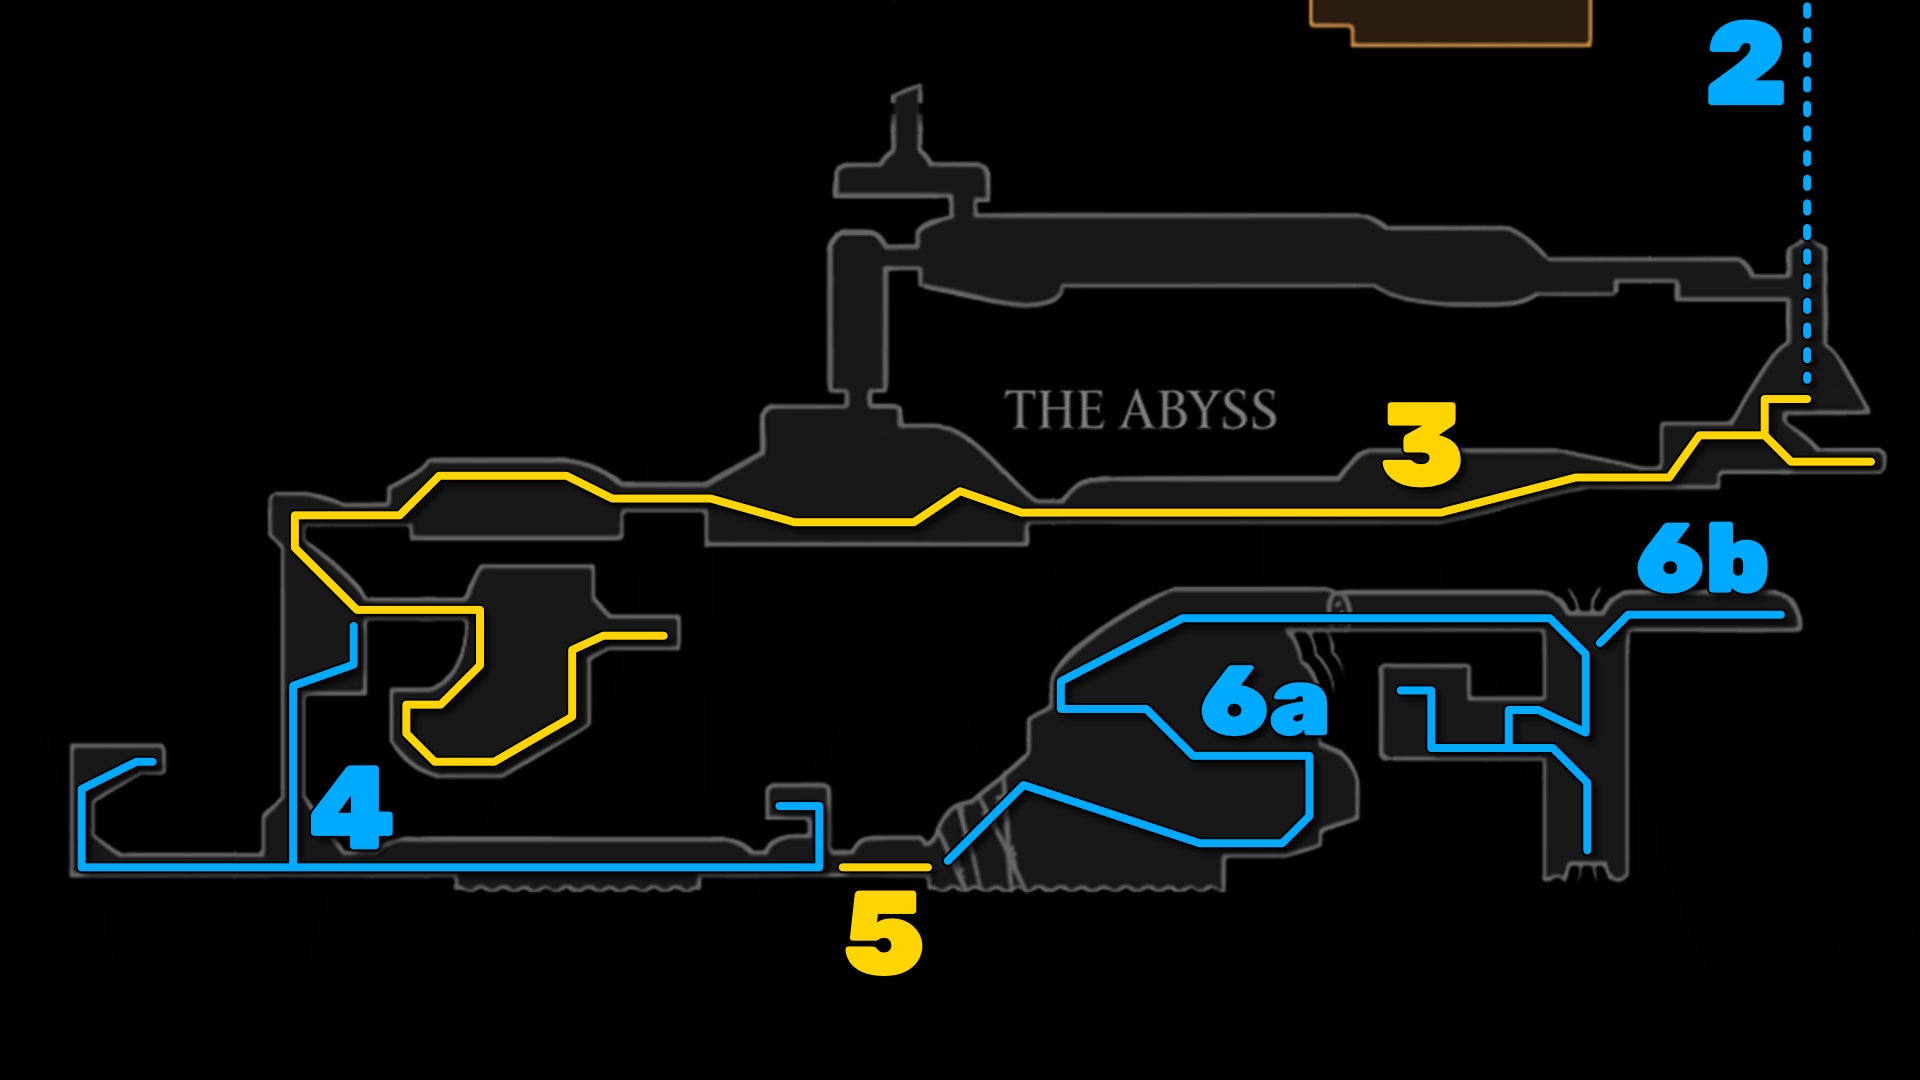
Image credit:Rock Paper Shotgun/Team Cherry
3. Obtain the Arcane Egg.
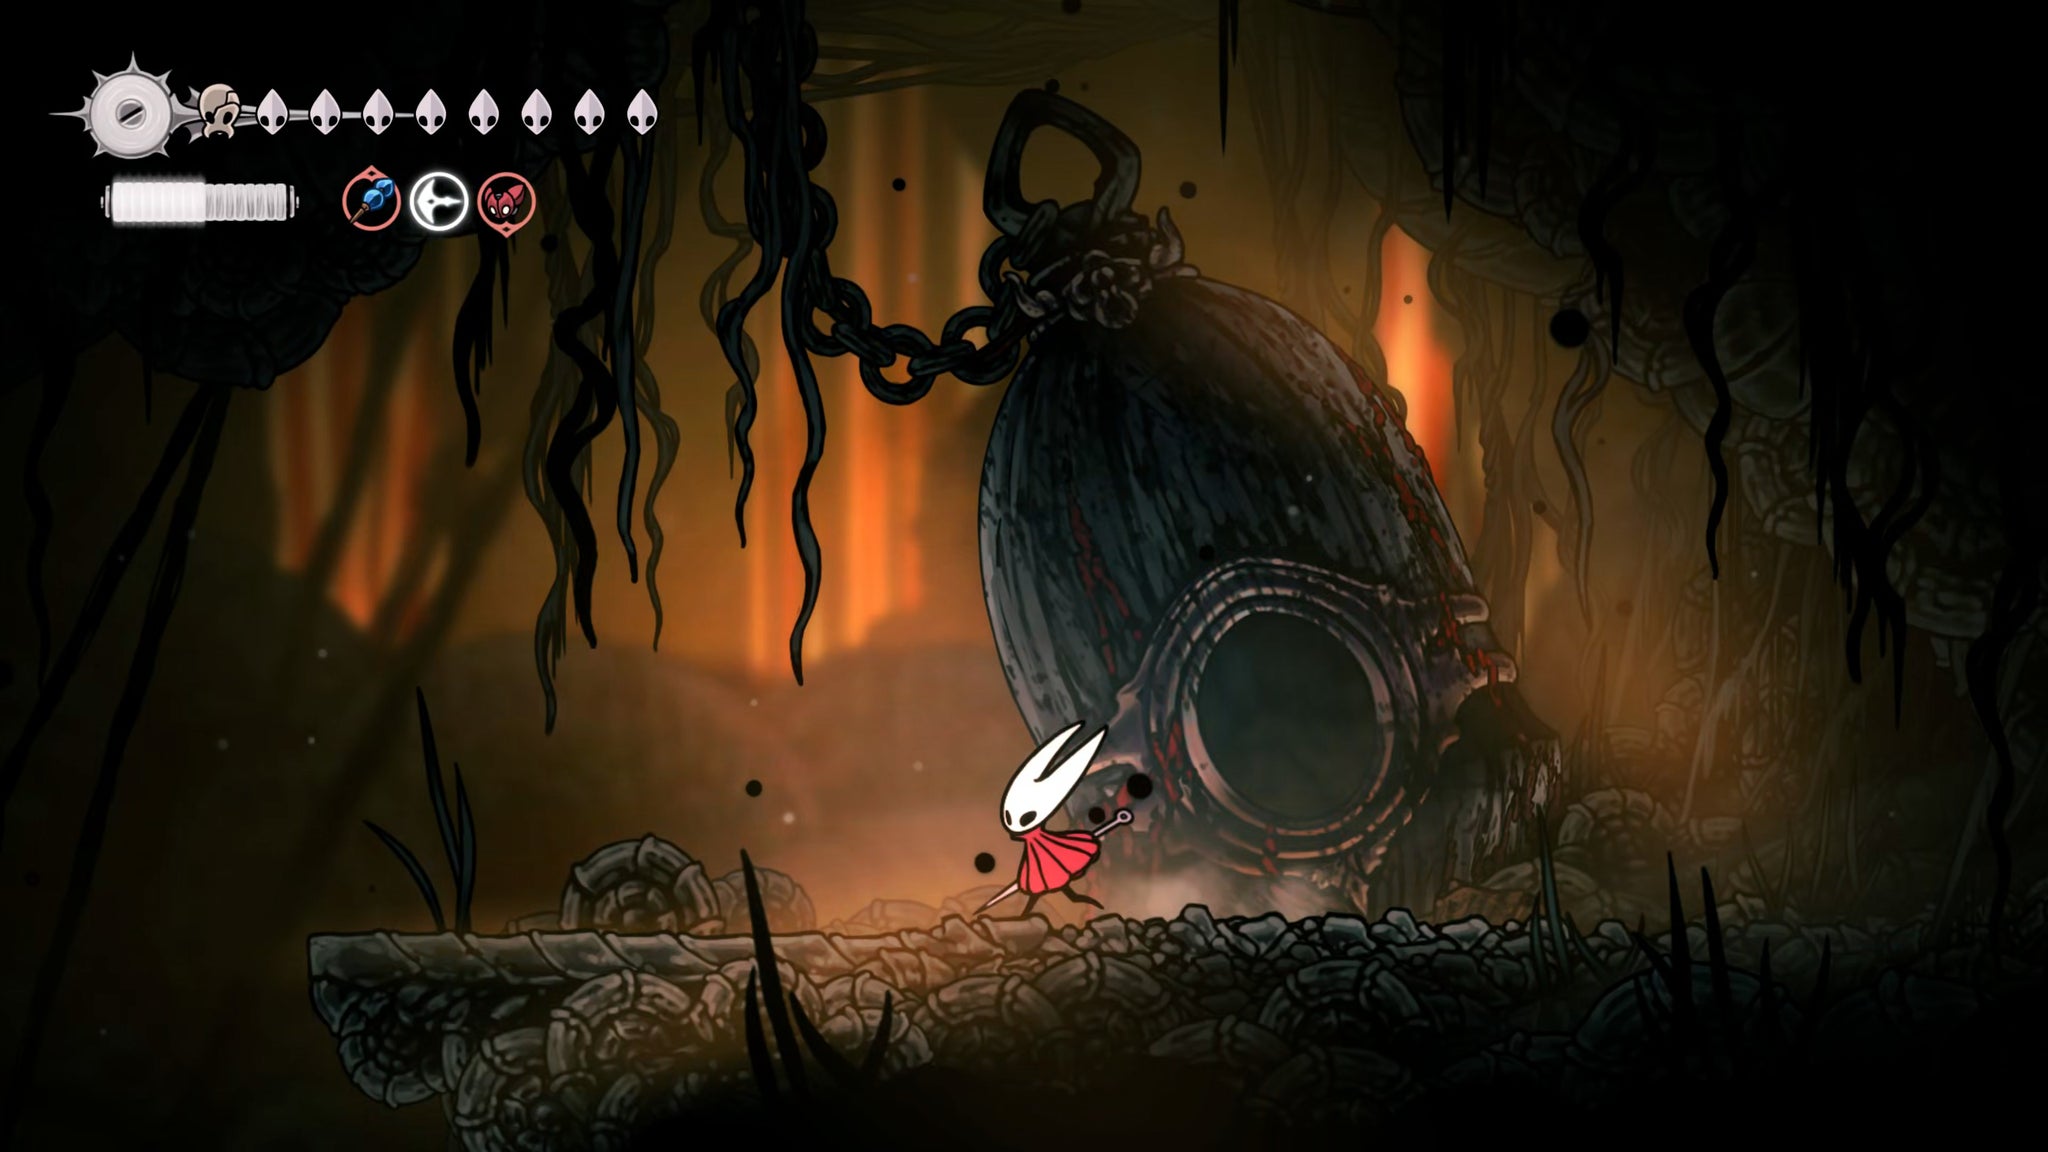
Image credit:Rock Paper Shotgun/Team Cherry
Well, the journey went about as well as you could hope for. The Diving Bell gets knackered during the drop, but you’re still alive. Break open the door of the Diving Bell and exit out into The Abyss. Dropping down to ground level, you can take the right-hand path for some Shell Shards (mind the spikes as you drop), but then double back and take the left-hand path to exit this starting room.
Next up is a fairly long corridor which gradually introduces you to progressively more awful Abyssal creatures. Hanging from the ceiling as you progress, you’ll find little flying conical creatures called Gloomsacs, which will charge at you and try to swallow you whole. If you’re swallowed, you can attack to release yourself and kill it, but you’ll obviously take damage from having your nutrients sucked a bit.
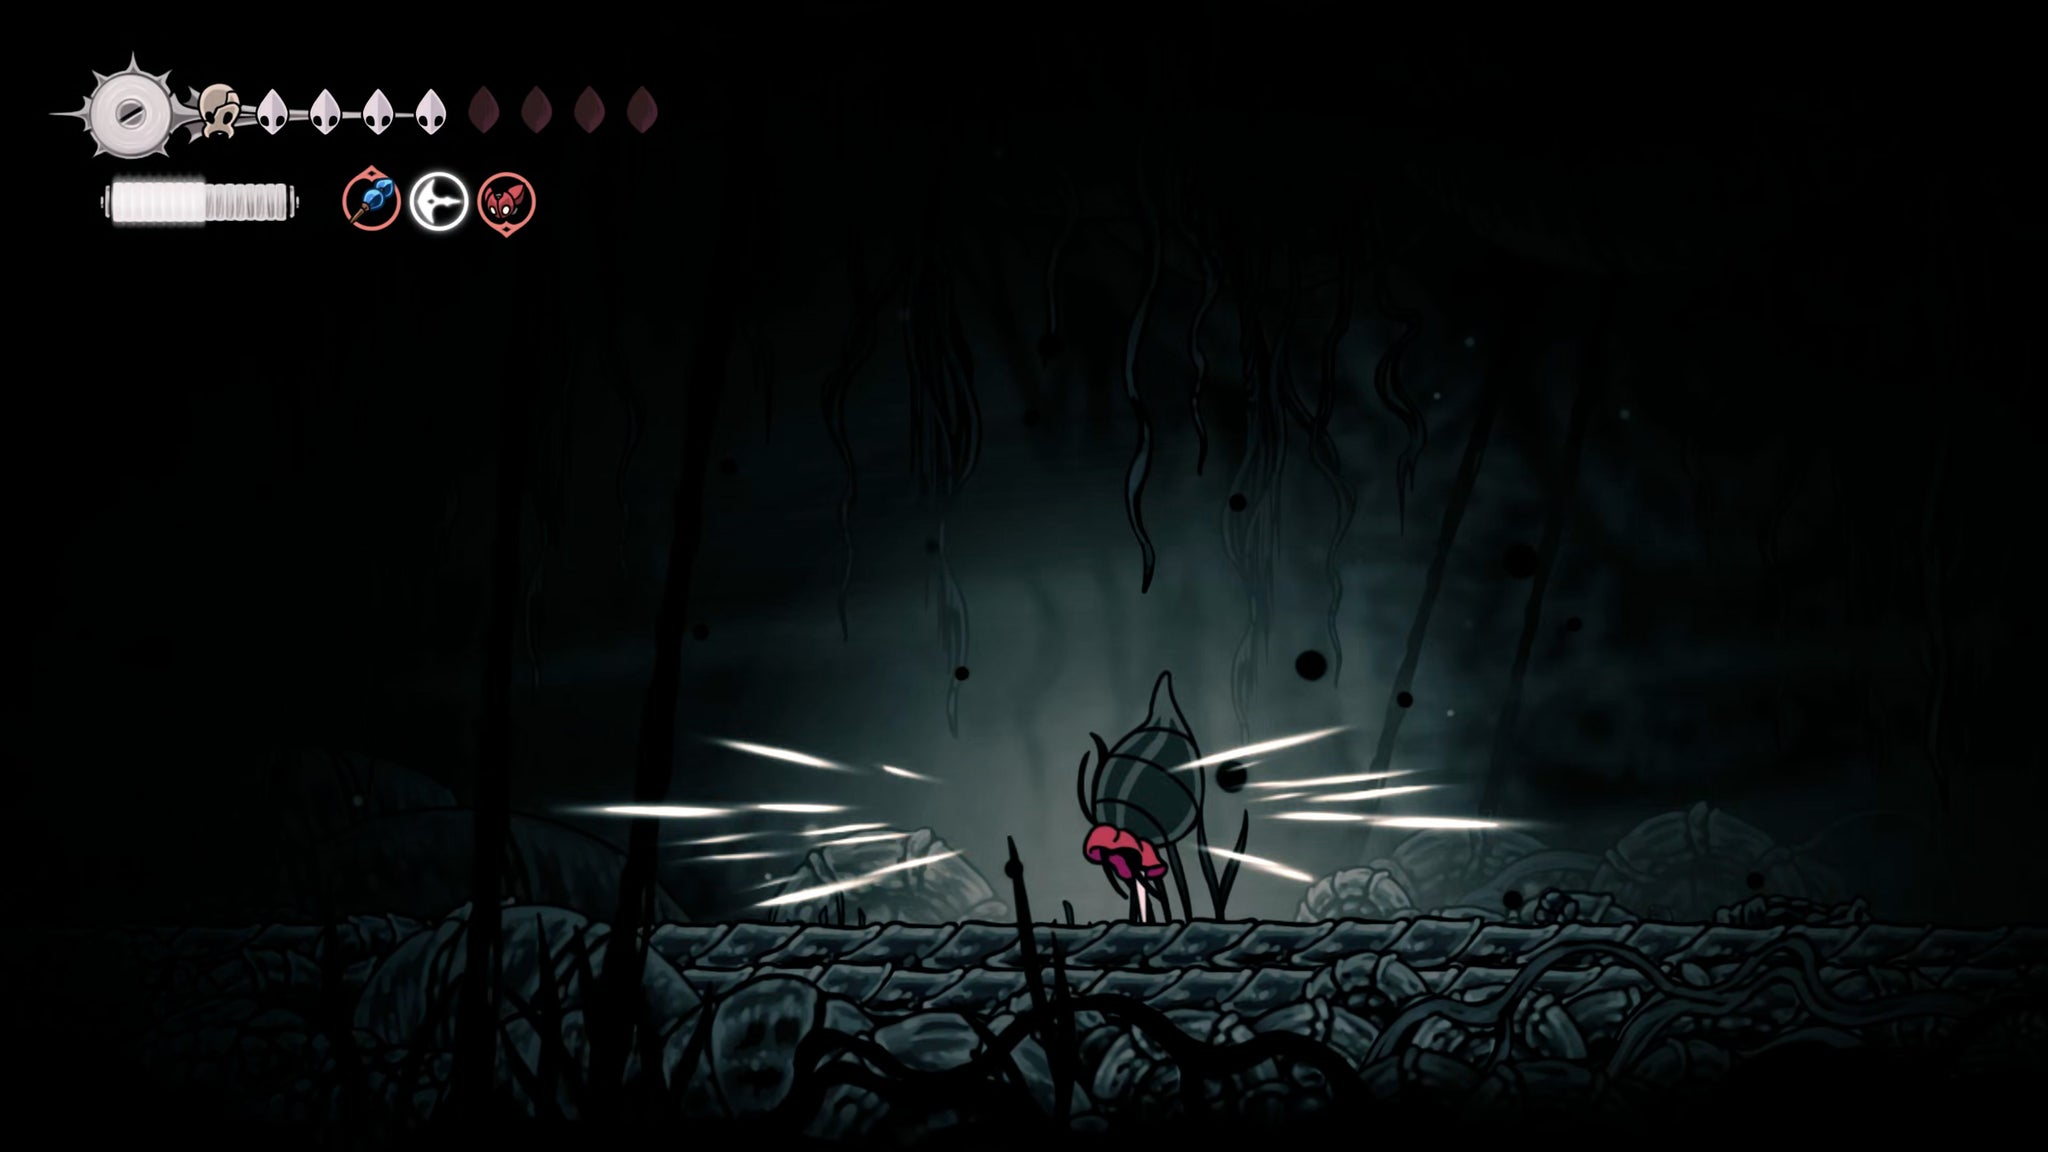
Image credit:Rock Paper Shotgun/Team Cherry
Head past the long platform with the two Gloomsacs overhead, and then jump over the spike pit beyond to reach the left-hand exit, using the black orbs to Pogo as needed (though you can also just clawline across).
In the next room, you can Pogo off the black orb to reach another long ledge, but this is patrolled by the largest creature of The Abyss - a Gargant Gloom. These charging tanks spit out tonnes of globules of nastiness at you, and also spawn Gloomsacs. It’s not a great time.
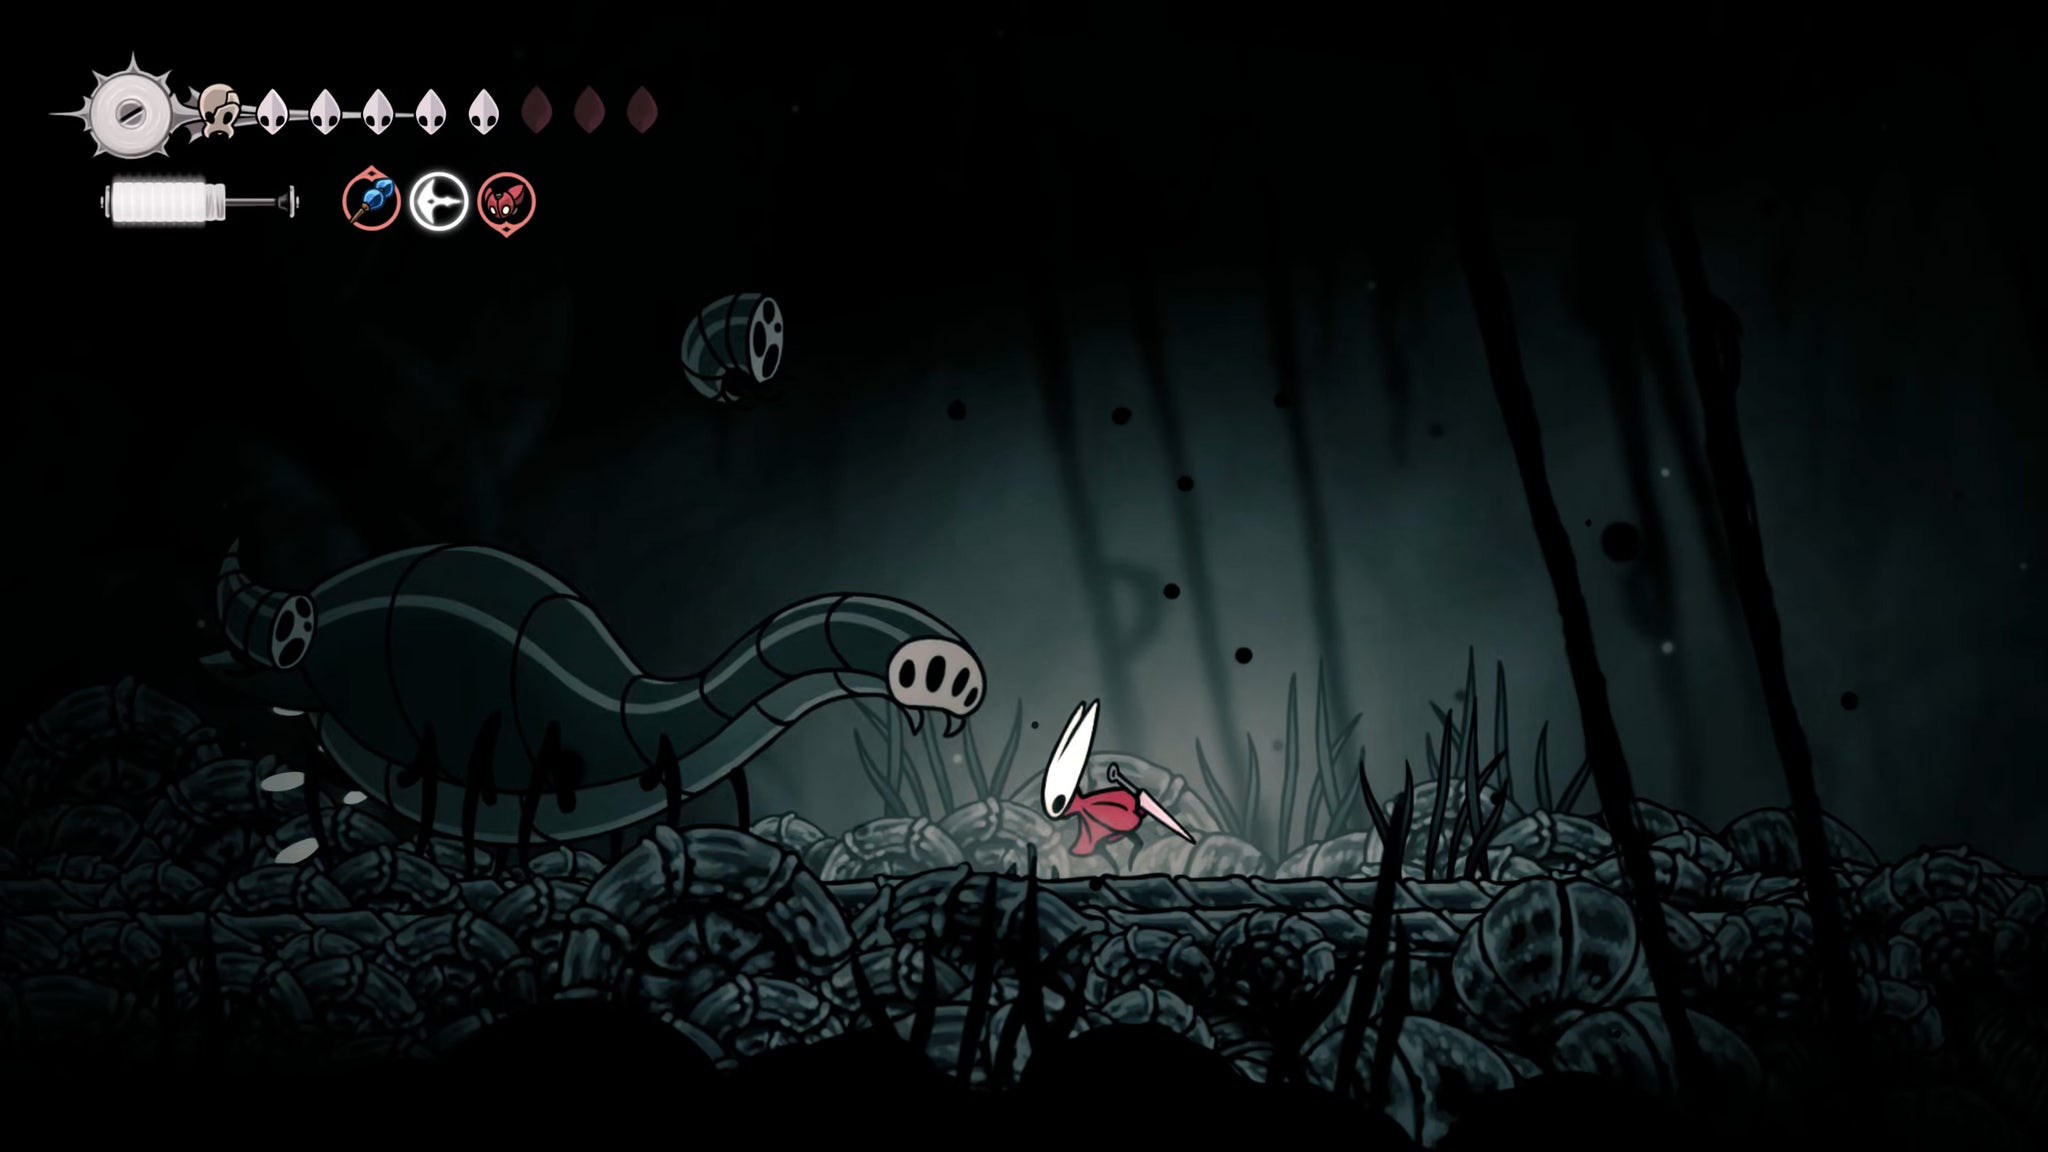
Image credit:Rock Paper Shotgun/Team Cherry
You can burst them down with Silk skills and tools, but there’s an easier way if you want to avoid it entirely - instead of bouncing onto the platform itself, just slide down its right-hand wall to reach a secret tunnel lower down, which takes you past the Gargant Gloom without trouble. Of course, you may wish to fight the Gargant Gloom at least once to gain its entry in your Hunter’s Journal, so the choice is yours!
Bounce across to the tunnel on your left, and from there you can use the next couple of black orbs to Pogo your way safely above another platform guarded by a second Gargant Gloom. Or fight it, it’s up to you. Either way, make your way to the far end of the room and exit.


In the next room, float down the hole beside the spikes, and when the path diverges, take the right-hand route to the nearby ledge. Head through this doorway into a large side room containing a parkour course brimming with abyssal spikes.
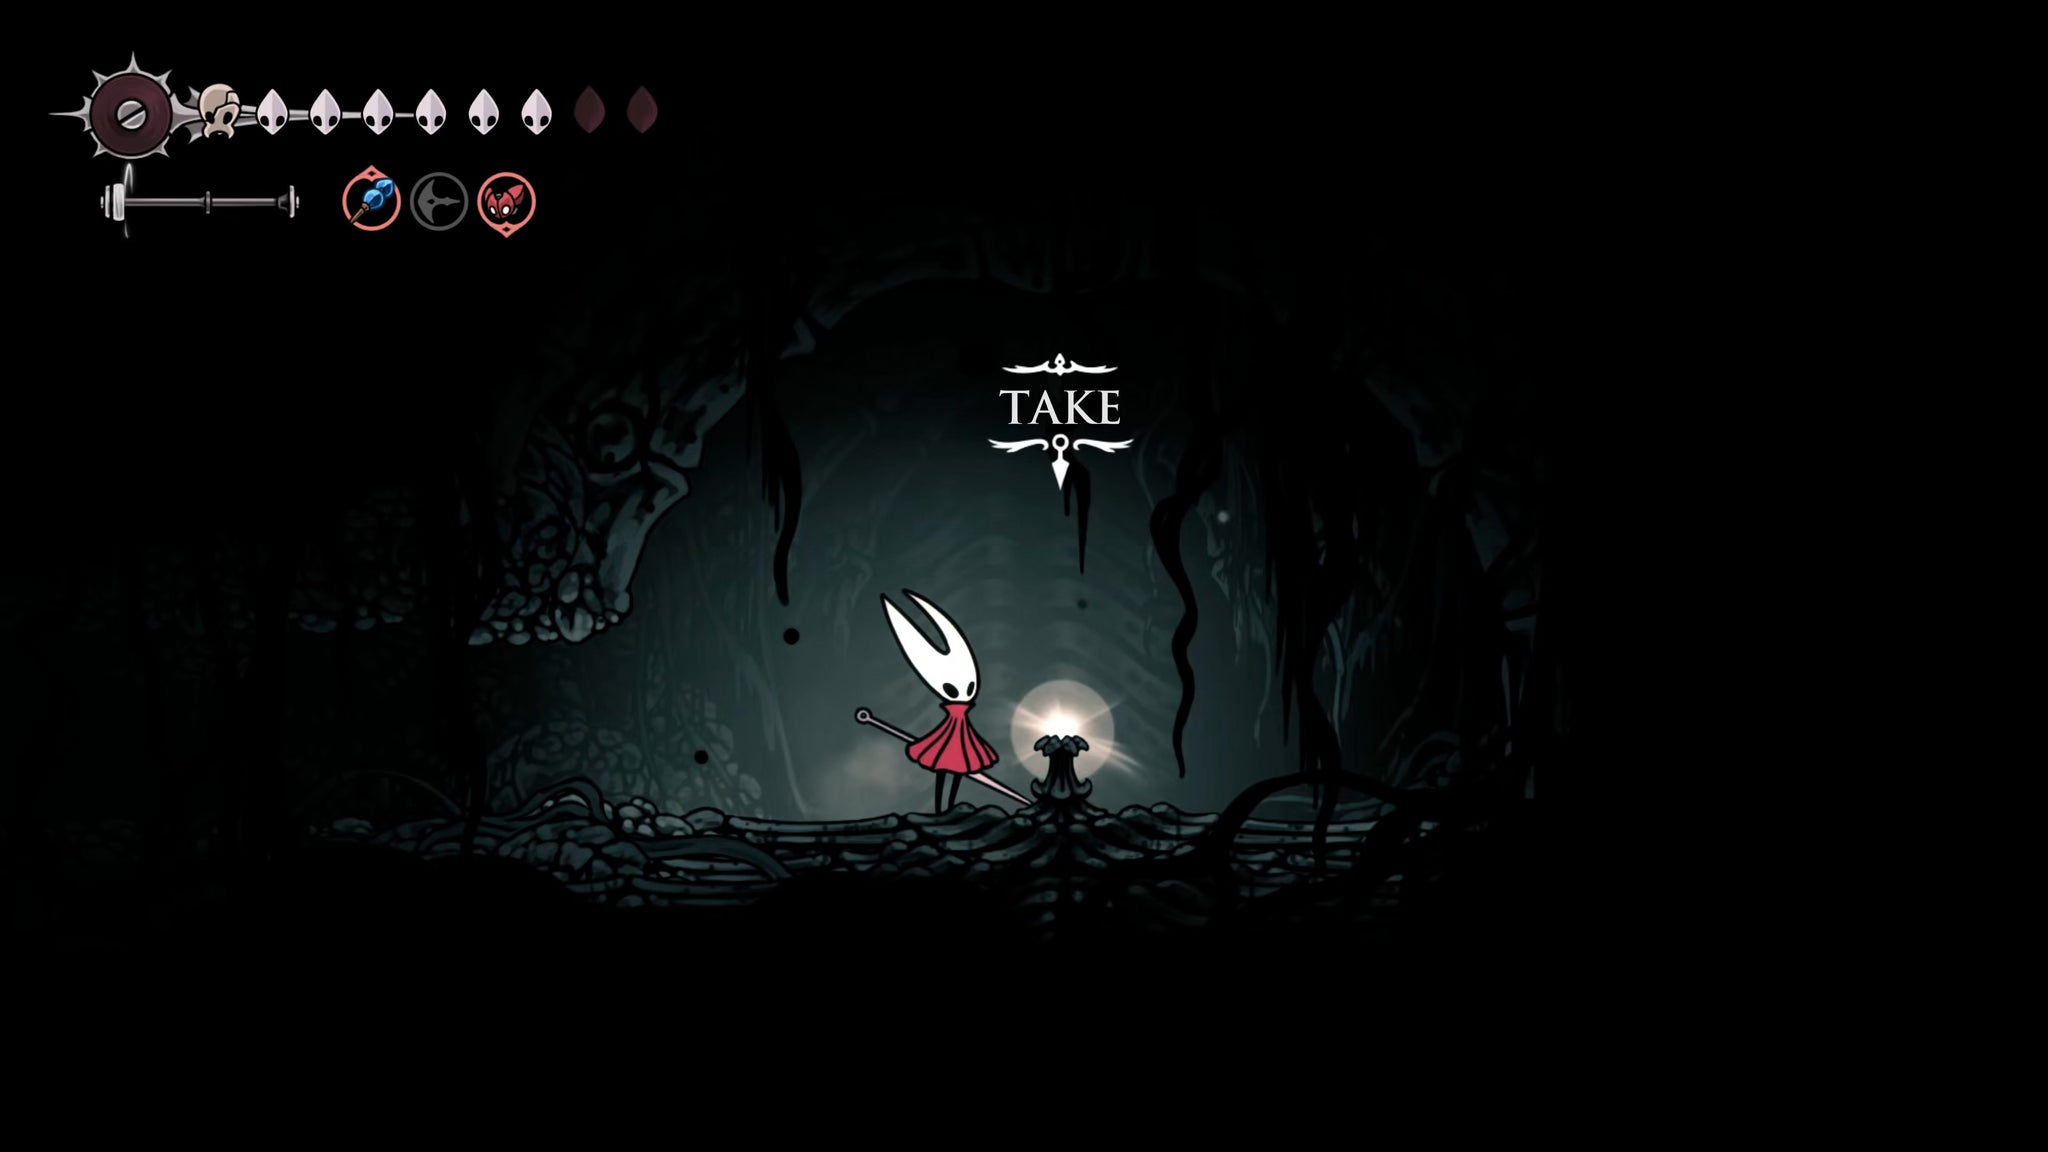
The parkour course is a bit tricky, but the way forward should always be fairly clear. The first half is all about drifting down between spikes and Pogo-ing off orbs to keep yourself aloft; the second half is about short, precise wall jumps. At the end of the path you’ll be rewarded with an Arcane Egg - the final Relic for Scrounge’s collection.
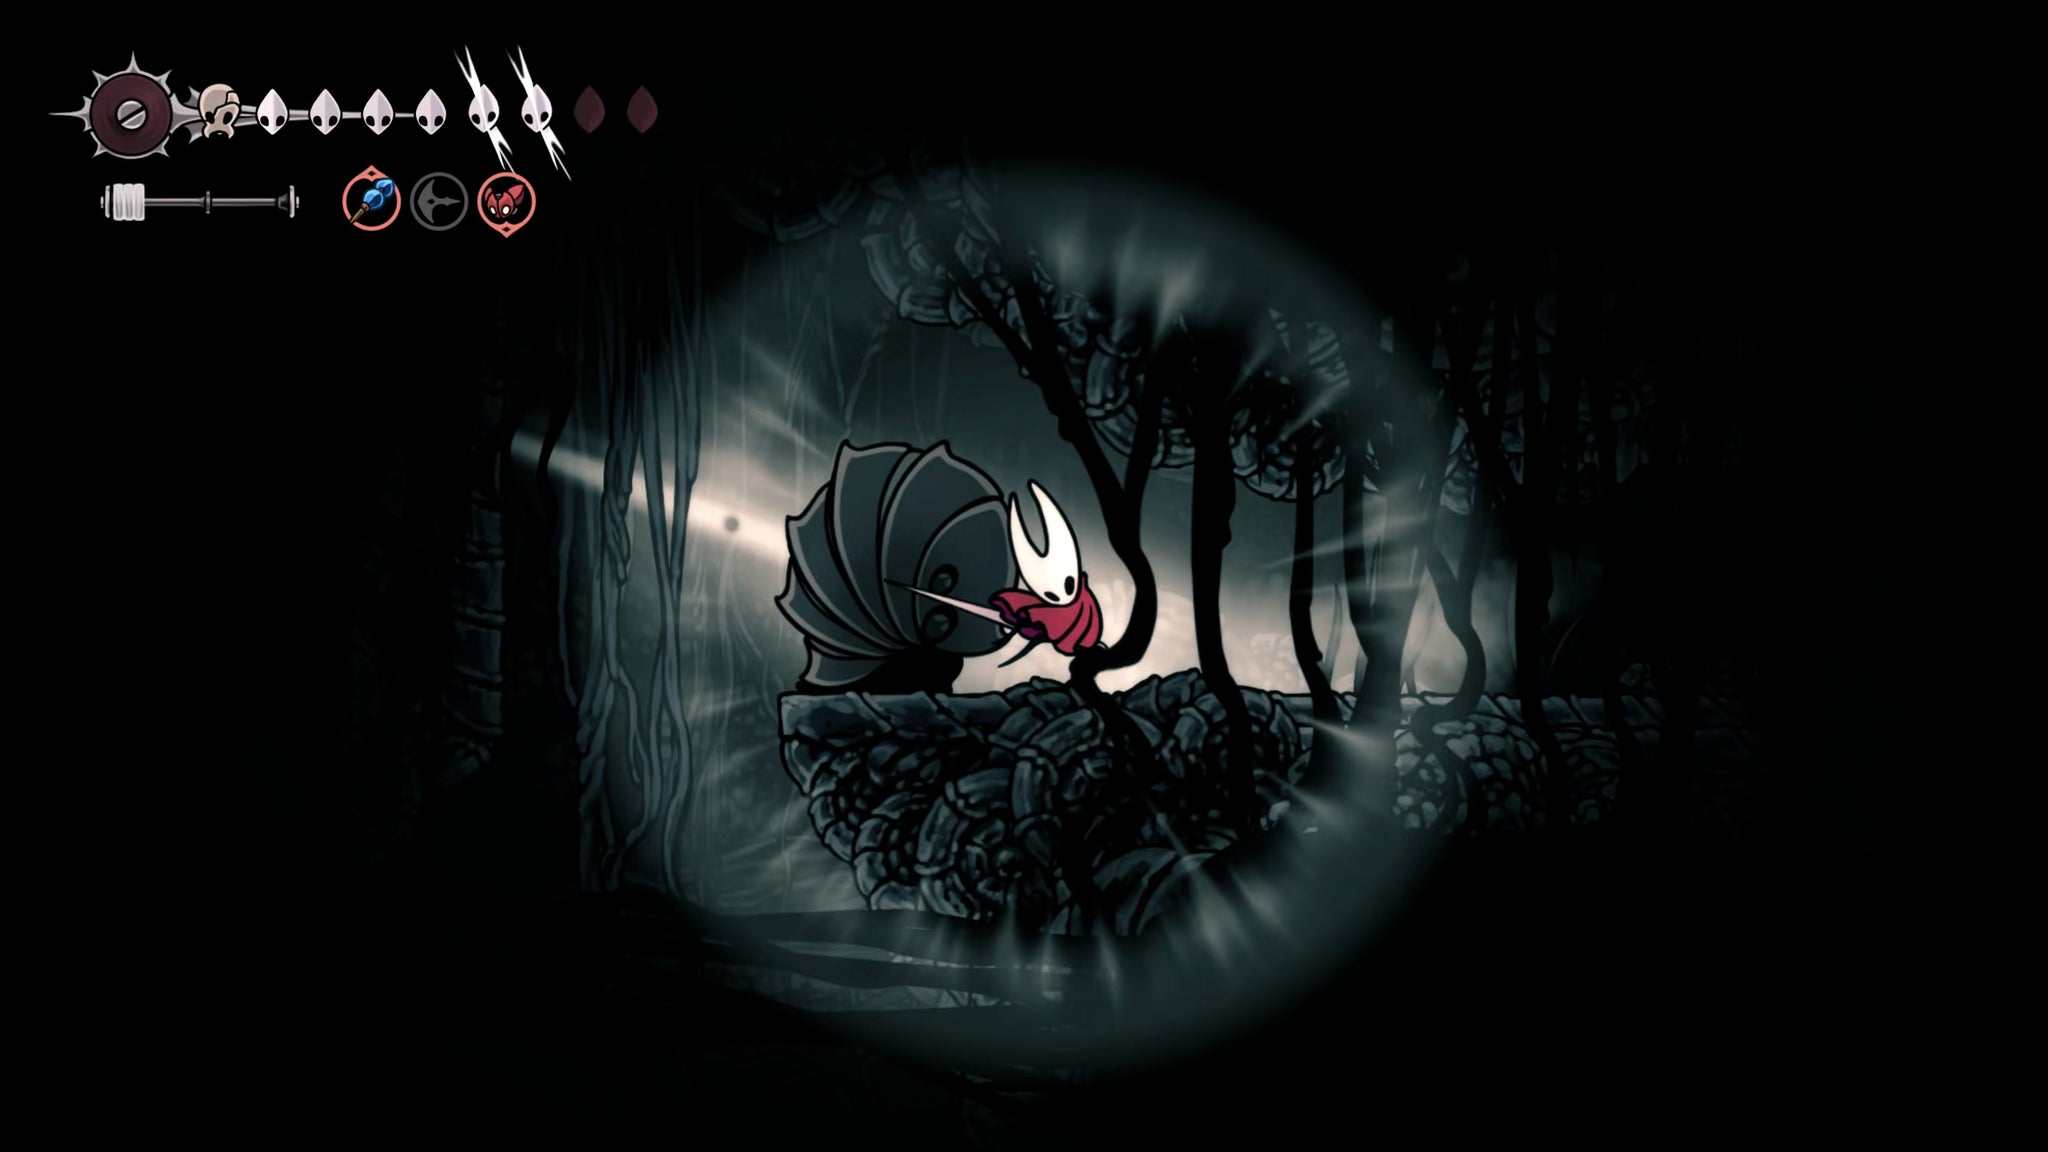
Image credit:Rock Paper Shotgun/Team Cherry
To easily exit out of the room, keep climbing higher from the final ledge, and follow this upper path for a way back past most of the spikes. Bear in mind though that in this upper path you’ll find a Shadow Charger - a big charging worm. Use Silk skills to kill it quickly and avoid damage, and then return back into the previous room.
4. Reach The Abyss Map.
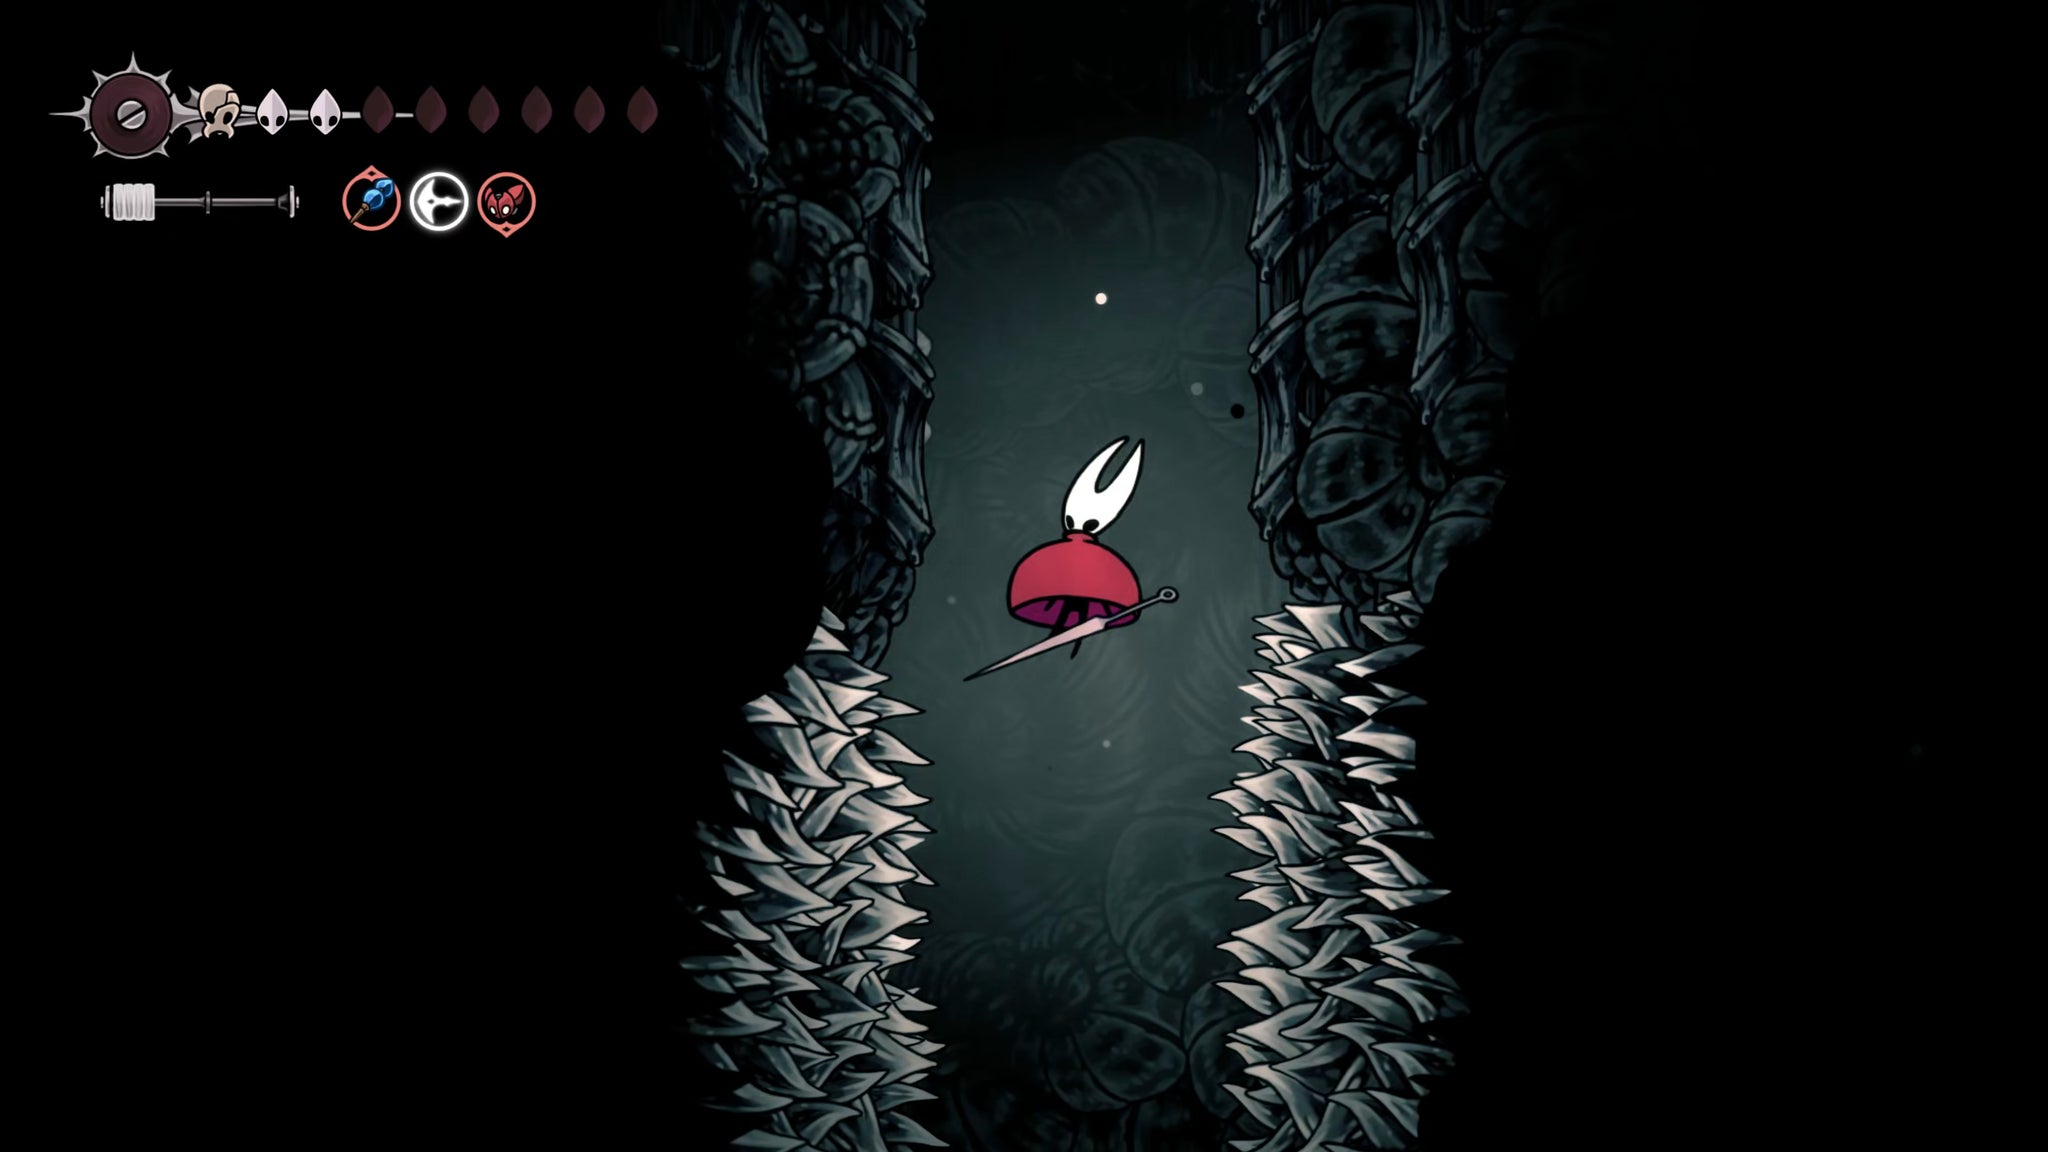
Image credit:Rock Paper Shotgun/Team Cherry
Back in the winding spiky shaft of death, float your way down past the spikes to the very bottom. Head left first, and you’ll find another tight tunnel guarded by a Shadow Charger. Kill it however suits you, and then climb up the wall at the far end of the tunnel to reach the top, where you can inspect some lore.

Image credit:Rock Paper Shotgun/Team Cherry
Then return to the previous room and head right. Jump over the gaps of horrifying void, and be prepared for every second platform to be snatched away by the void shortly after you land on it. Once you’re across, you’ll find in the next room a Bench to rest at.
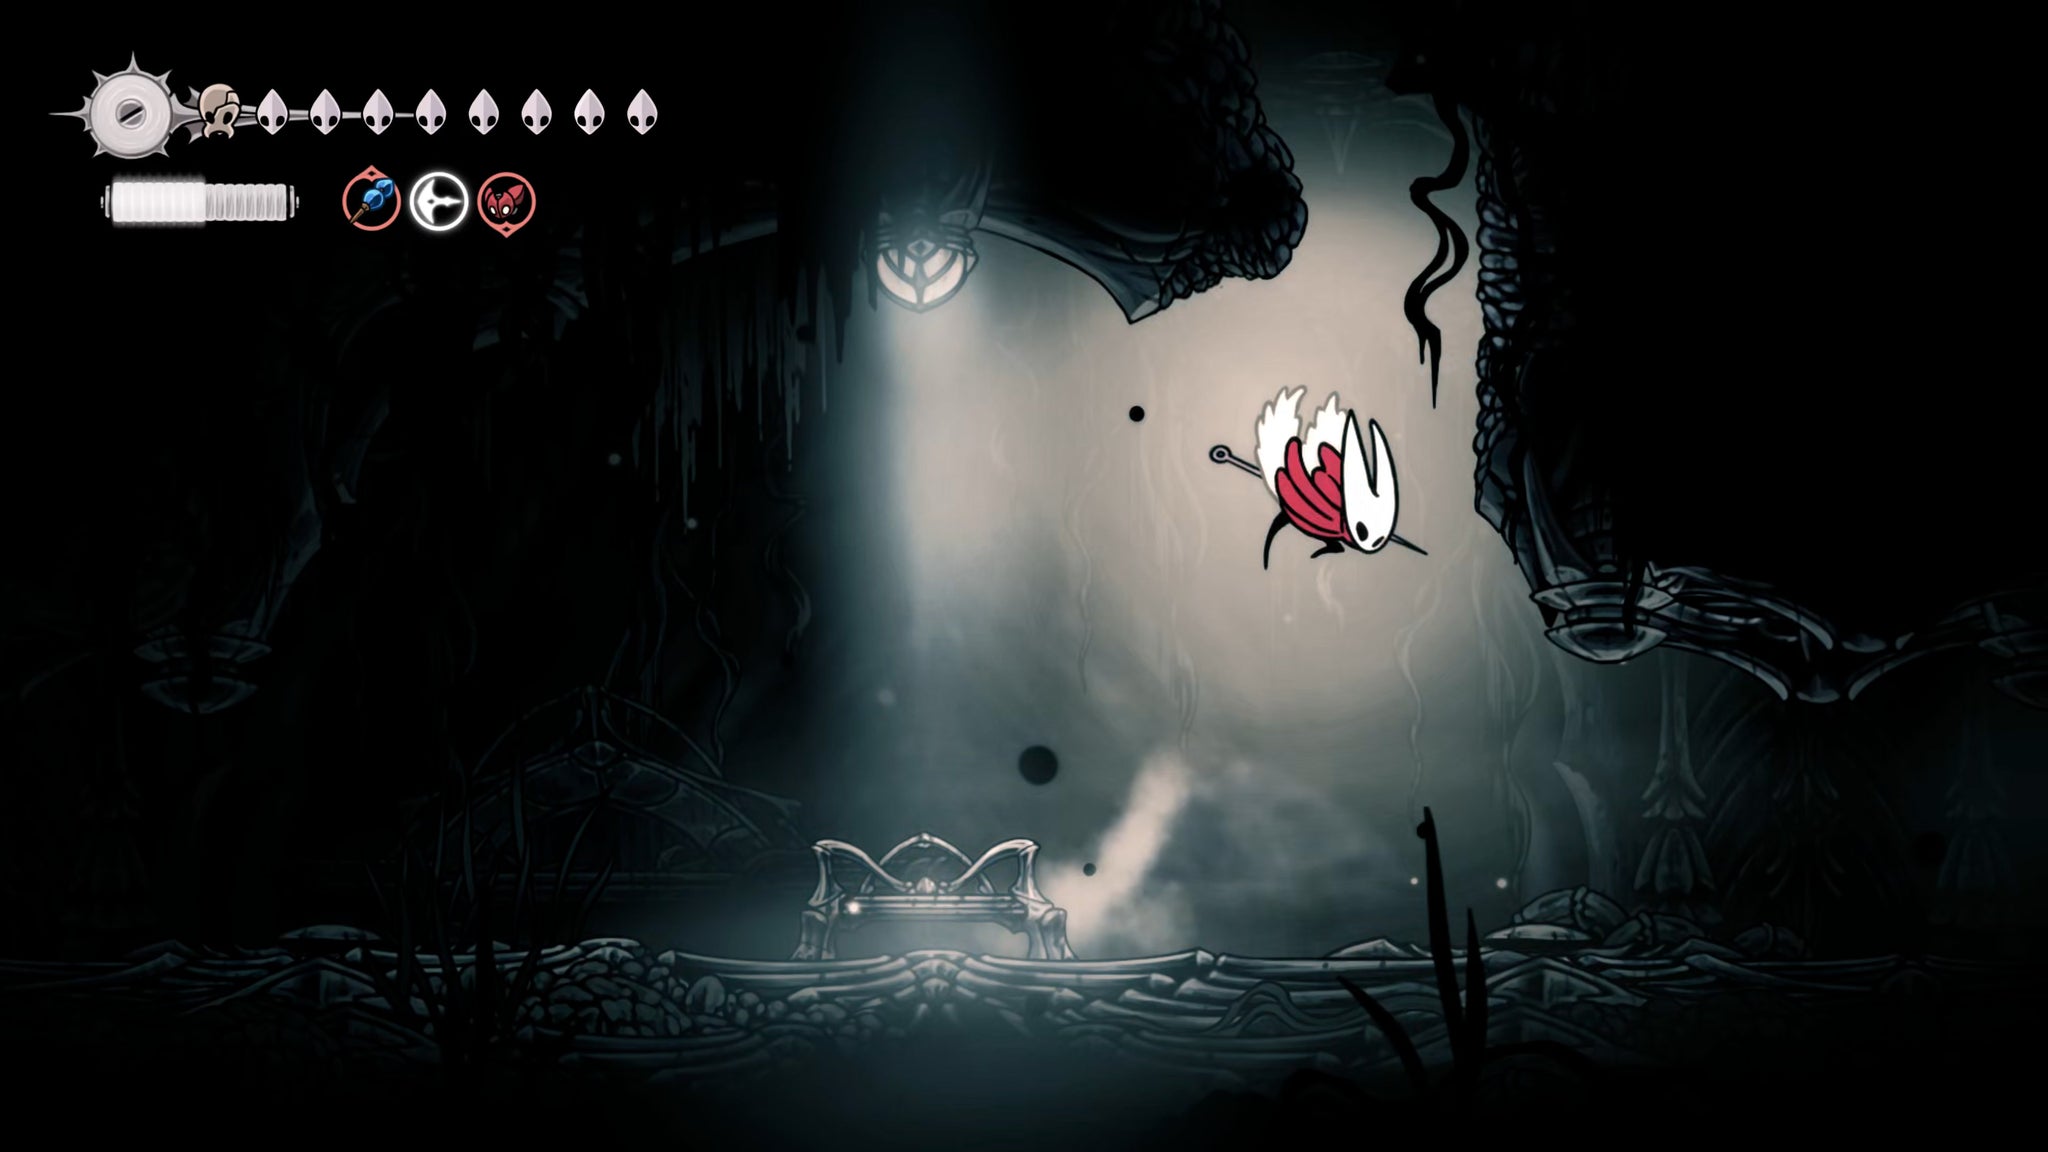
Image credit:Rock Paper Shotgun/Team Cherry
From the Bench, climb upwards via the right-hand wall, and you’ll find a large glowing rune. Inspect it, and you can take the map of The Abyss for free, and at last see how far you’ve come.
5. Inspect the Void.
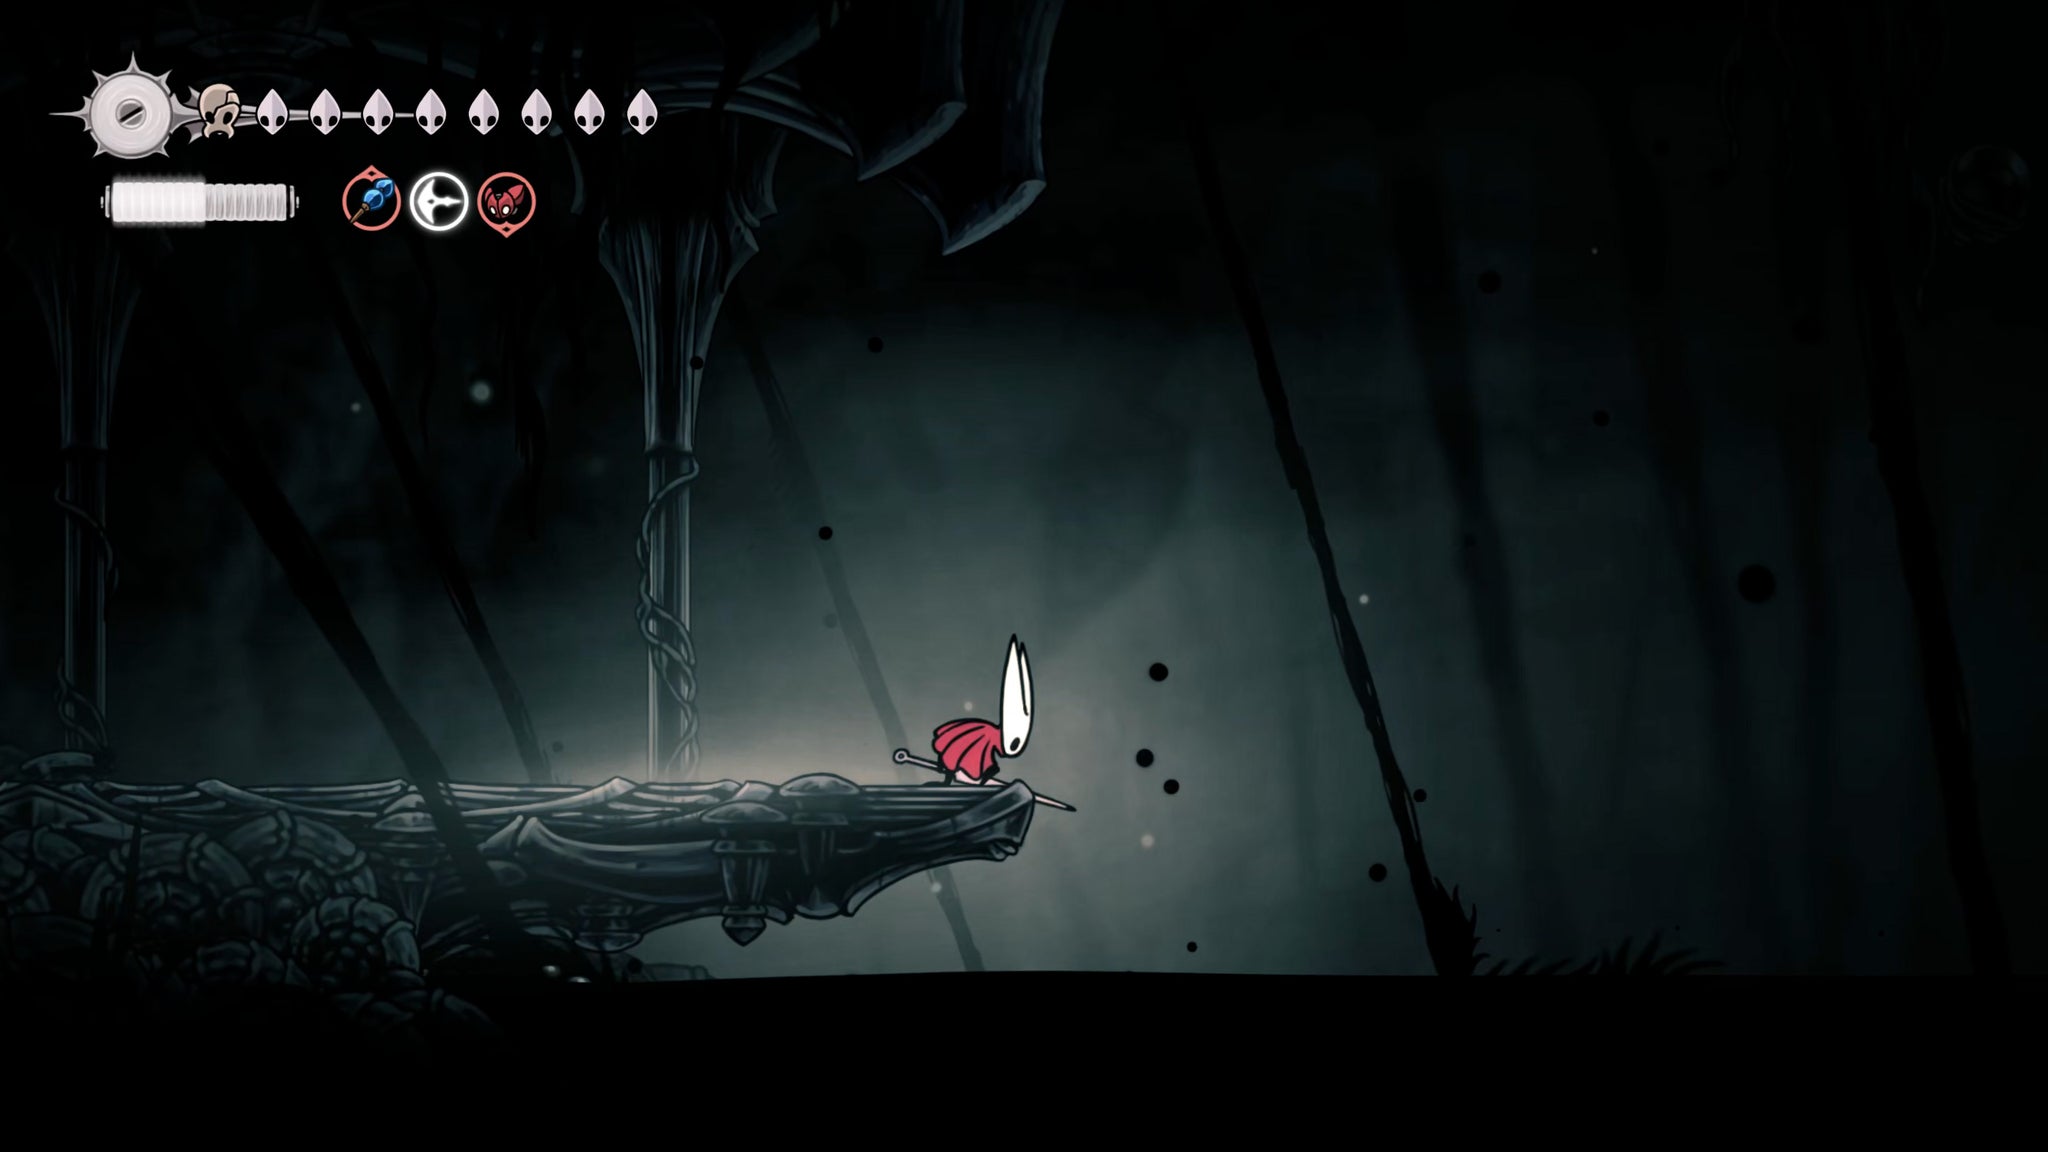
Image credit:Rock Paper Shotgun/Team Cherry
Drop back down to the Bench, and walk just a little further to the right to trigger a cutscene. Here, Hornet will inspect the sea of Void below, triggering a conversation between her and Lace - or perhaps just the spirit of Lace.
Through this conversation, it becomes clear that Hornet can’t currently penetrate deeper into the Void. Not without help! Instead she must return to Pharloom above, and seek out “the bloom that repels the dark”.
6. Explore Weavenest Absolom for Farsight and Silk Soar.
Once the conversation ends, take a running jump to the right, and bounce off the black orbs to the upper-right. Float as far right as you can to reach the next ledge, and from there make your way across and then upwards using the small ledges above.
On one of the upper ledges past the spikes, you’ll find another Shadow Charger to kill (or merely avoid). From here you’ll need to Pogo to the left, climb up the far-left wall, and then clawline over to the black orbs to the right. Do all of this, and you’ll reach the top-right corner, where the entrance to a Weavenest can be found.


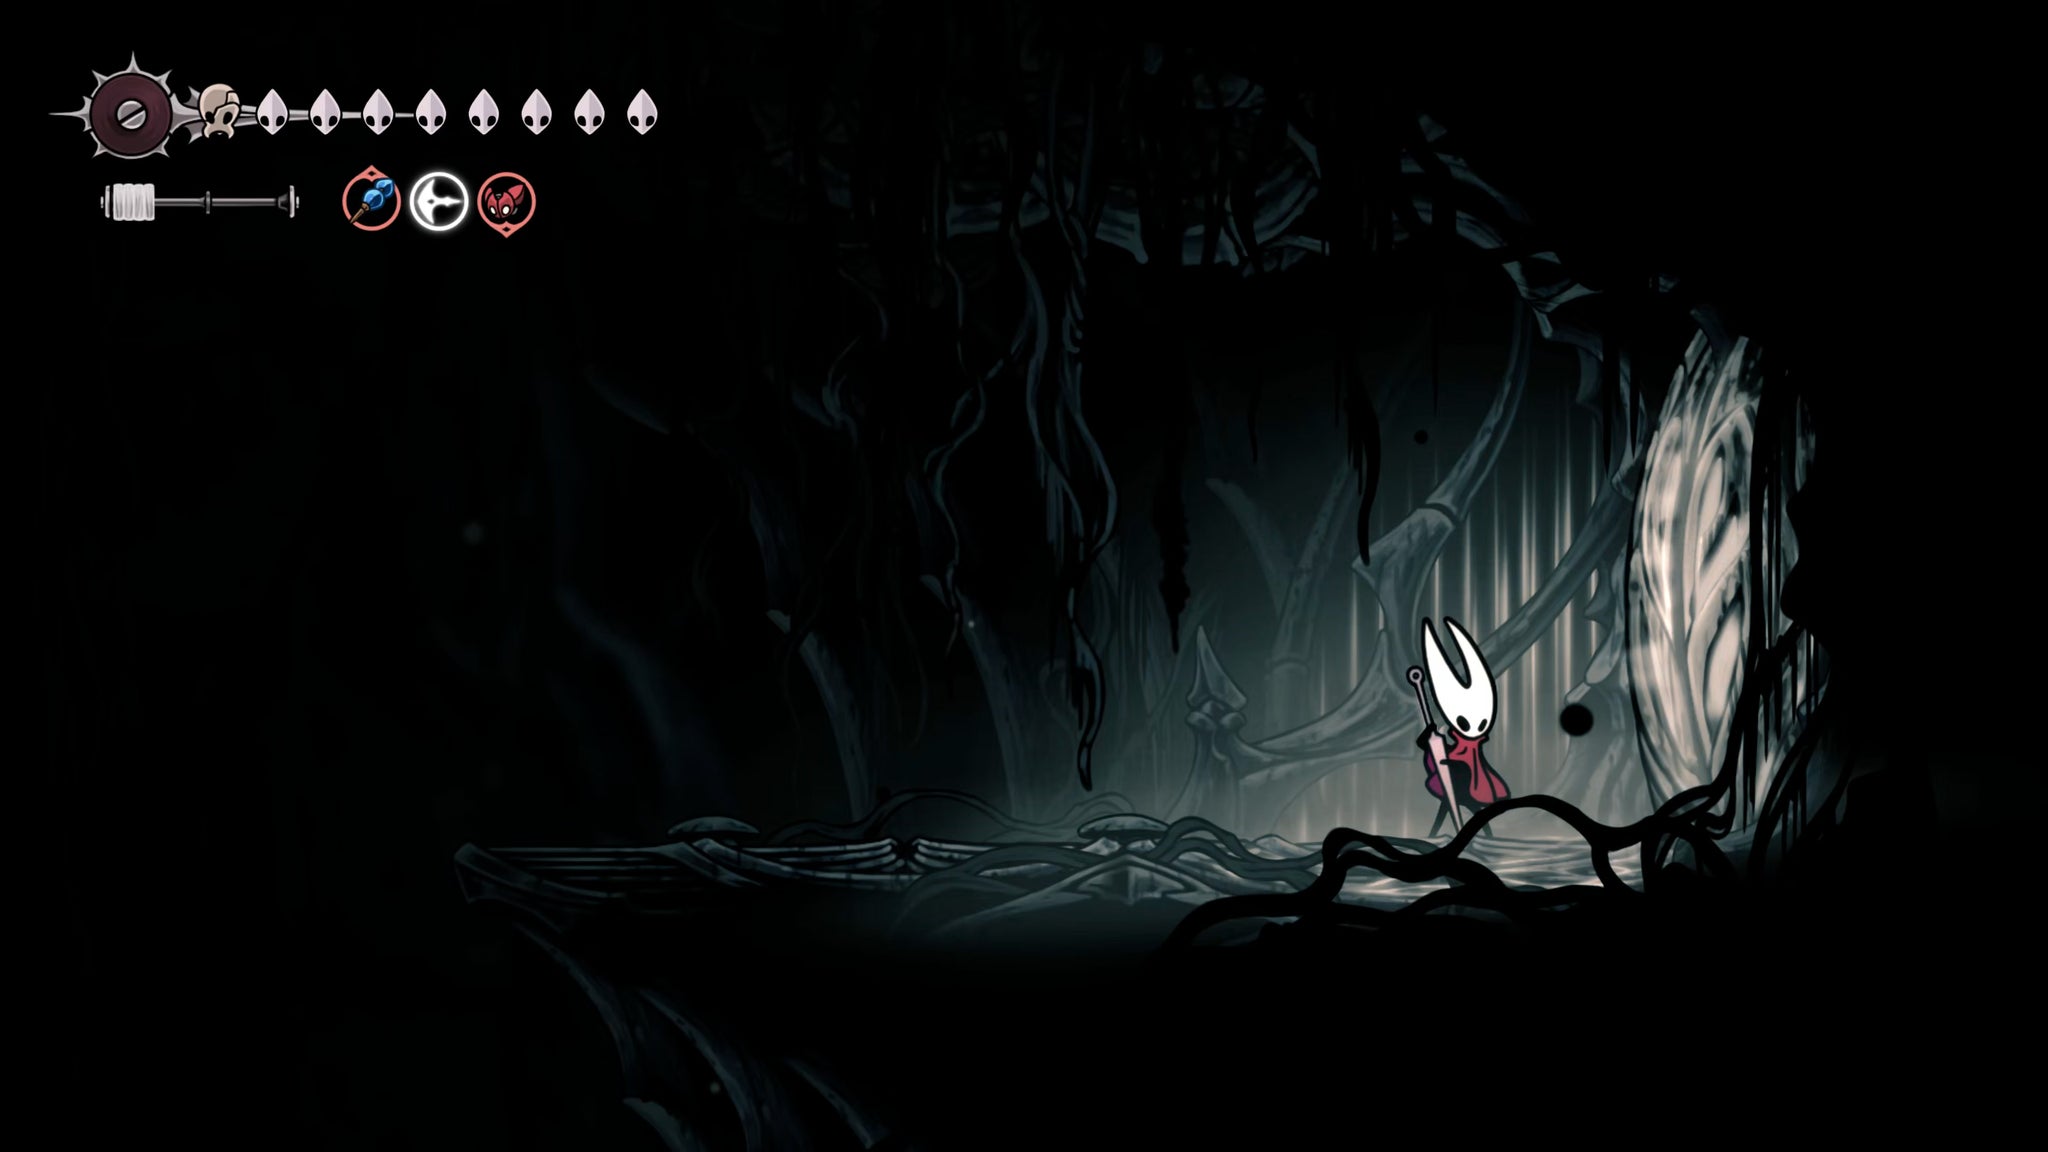
Play your Needolin to gain admittance into Weavenest Absolom. Head to the right over the spikes, and drop down the large pit. At the bottom, take the upper left-hand path, which will drop you further down into a small tunnel.
Head left and then upwards to find a table with a rune-scroll. You can inspect it to gain the Hunter’s Journal entry for the pervasive Void Tendrils suffocating Pharloom.
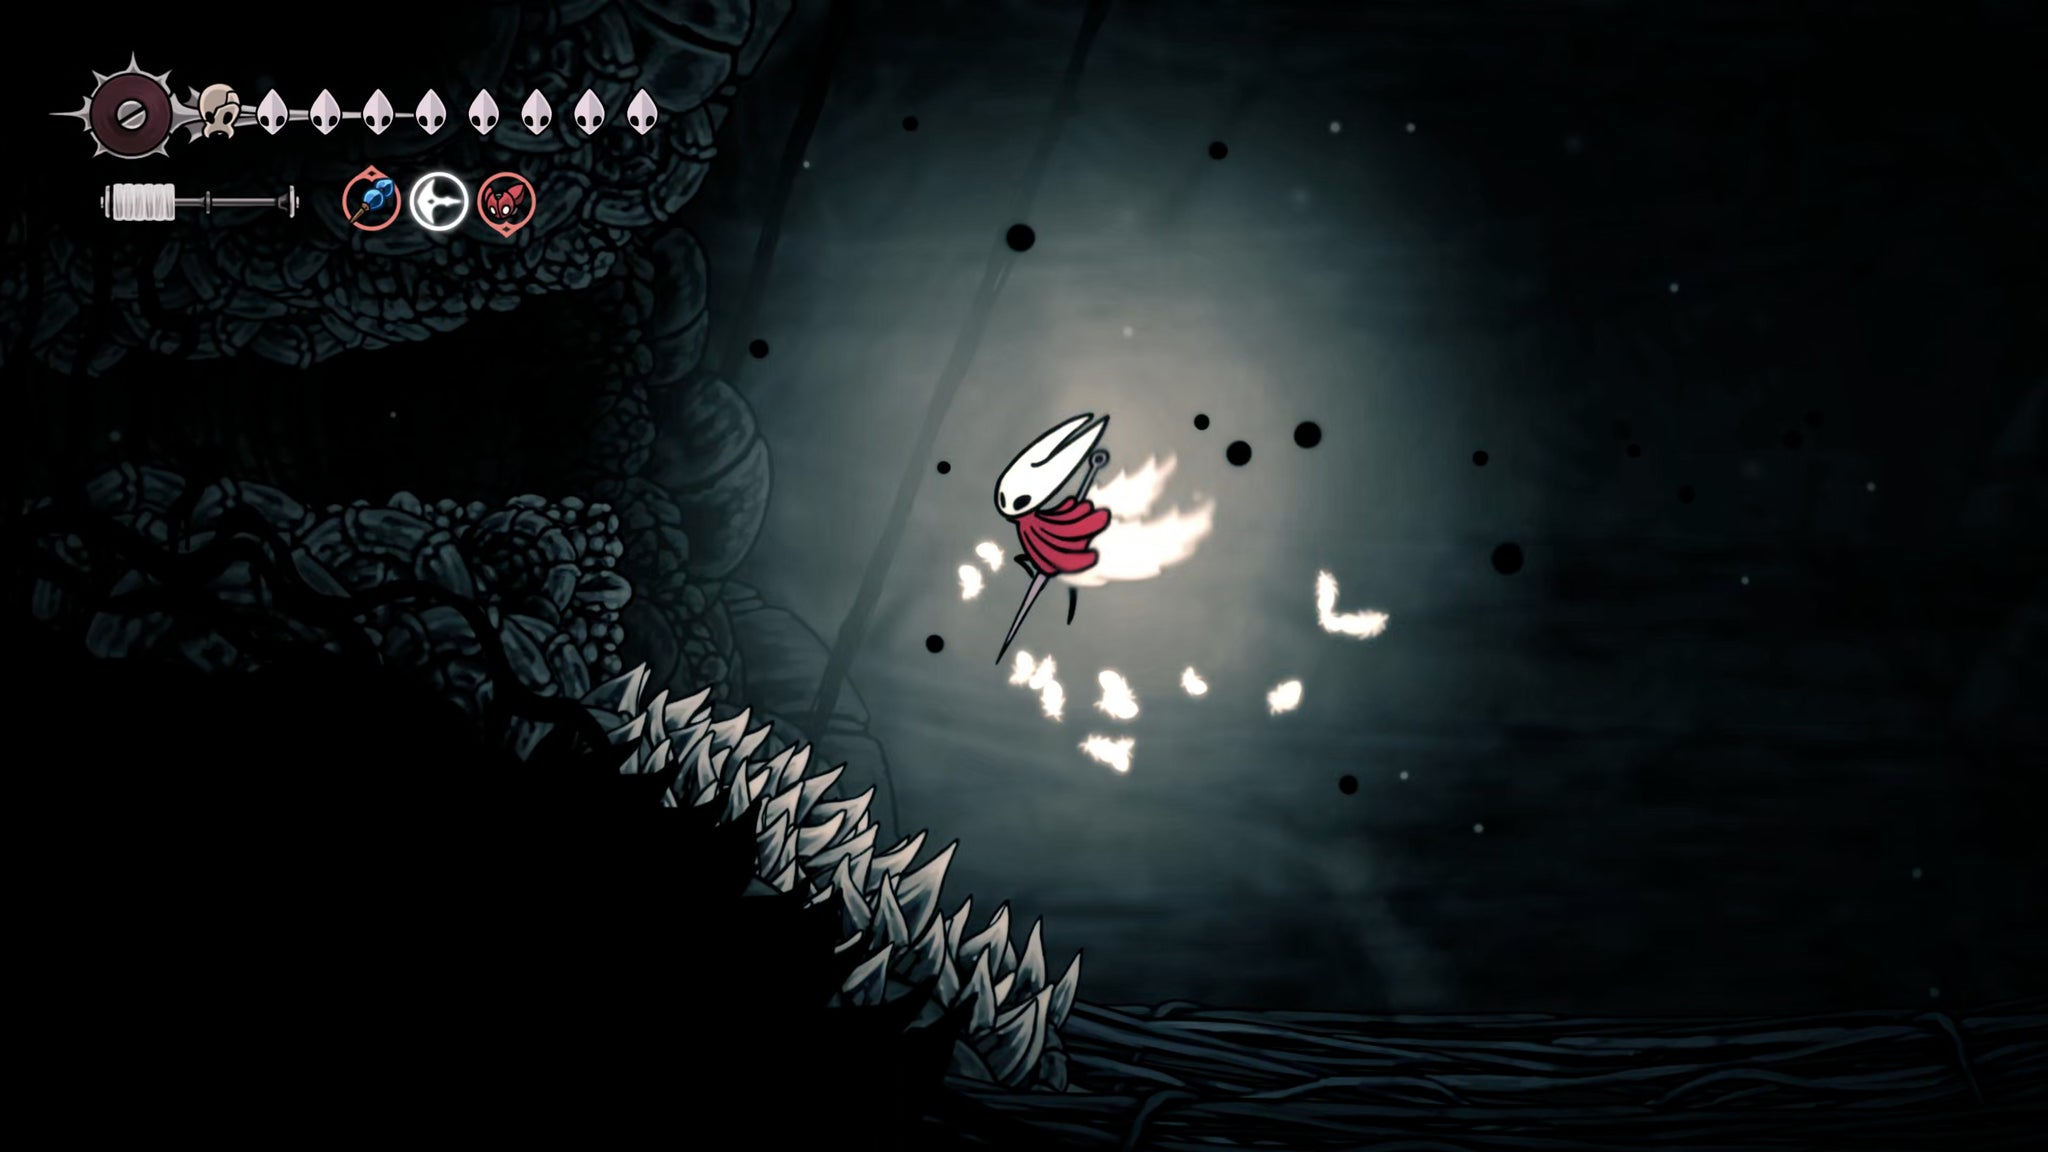
Image credit:Rock Paper Shotgun/Team Cherry
Then drop back down and head right (the left-hand drop leads only to spikes, so don’t bother). At the end of the right-hand path, drop all the way down to the bottom of the pit, and you’ll find a Weaver monument you can inspect to gain your final movement ability: Silk Soar.

Image credit:Rock Paper Shotgun/Team Cherry
You’ll need to use your new ability immediately to escape upwards: hold down and LT to Silk Soar up to the top of the pit, and then take the path to your left and Silk Soar up the narrow shaft to get above the thick vines that stopped you from going higher.
Then stand on the vines and Silk Soar again, and once you reach the ceiling, jump and float to the right to reach a pathway beyond the spikes. Follow this path to its end and loot the item on the ground for the Farsight item - a unique item which can be installed in your Bellhome to tell you your current completion percentage of the whole game.
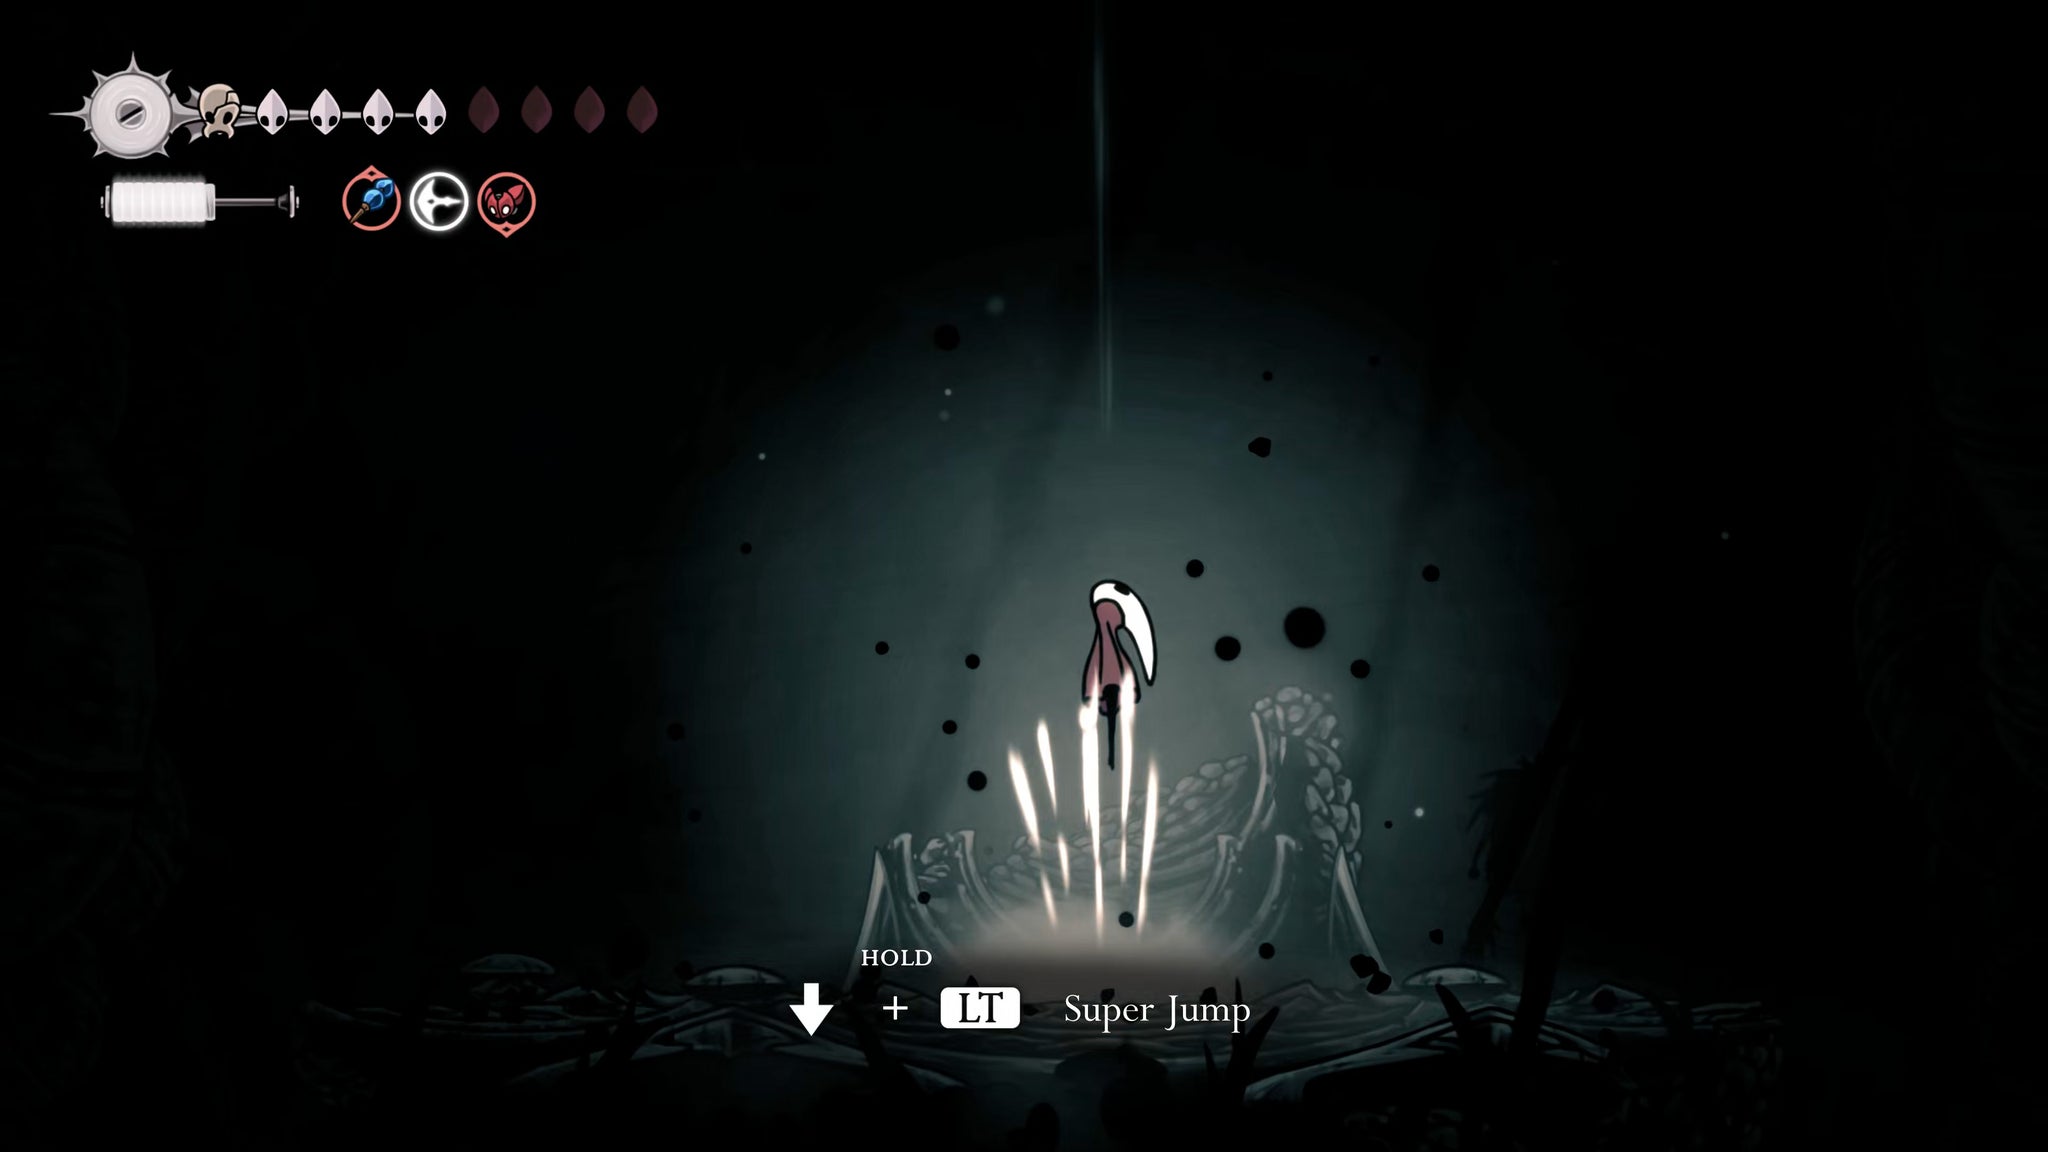
Image credit:Rock Paper Shotgun/Team Cherry
That done, you can head across to the left and play your Needolin at the door to exit Weavenest Absolom.
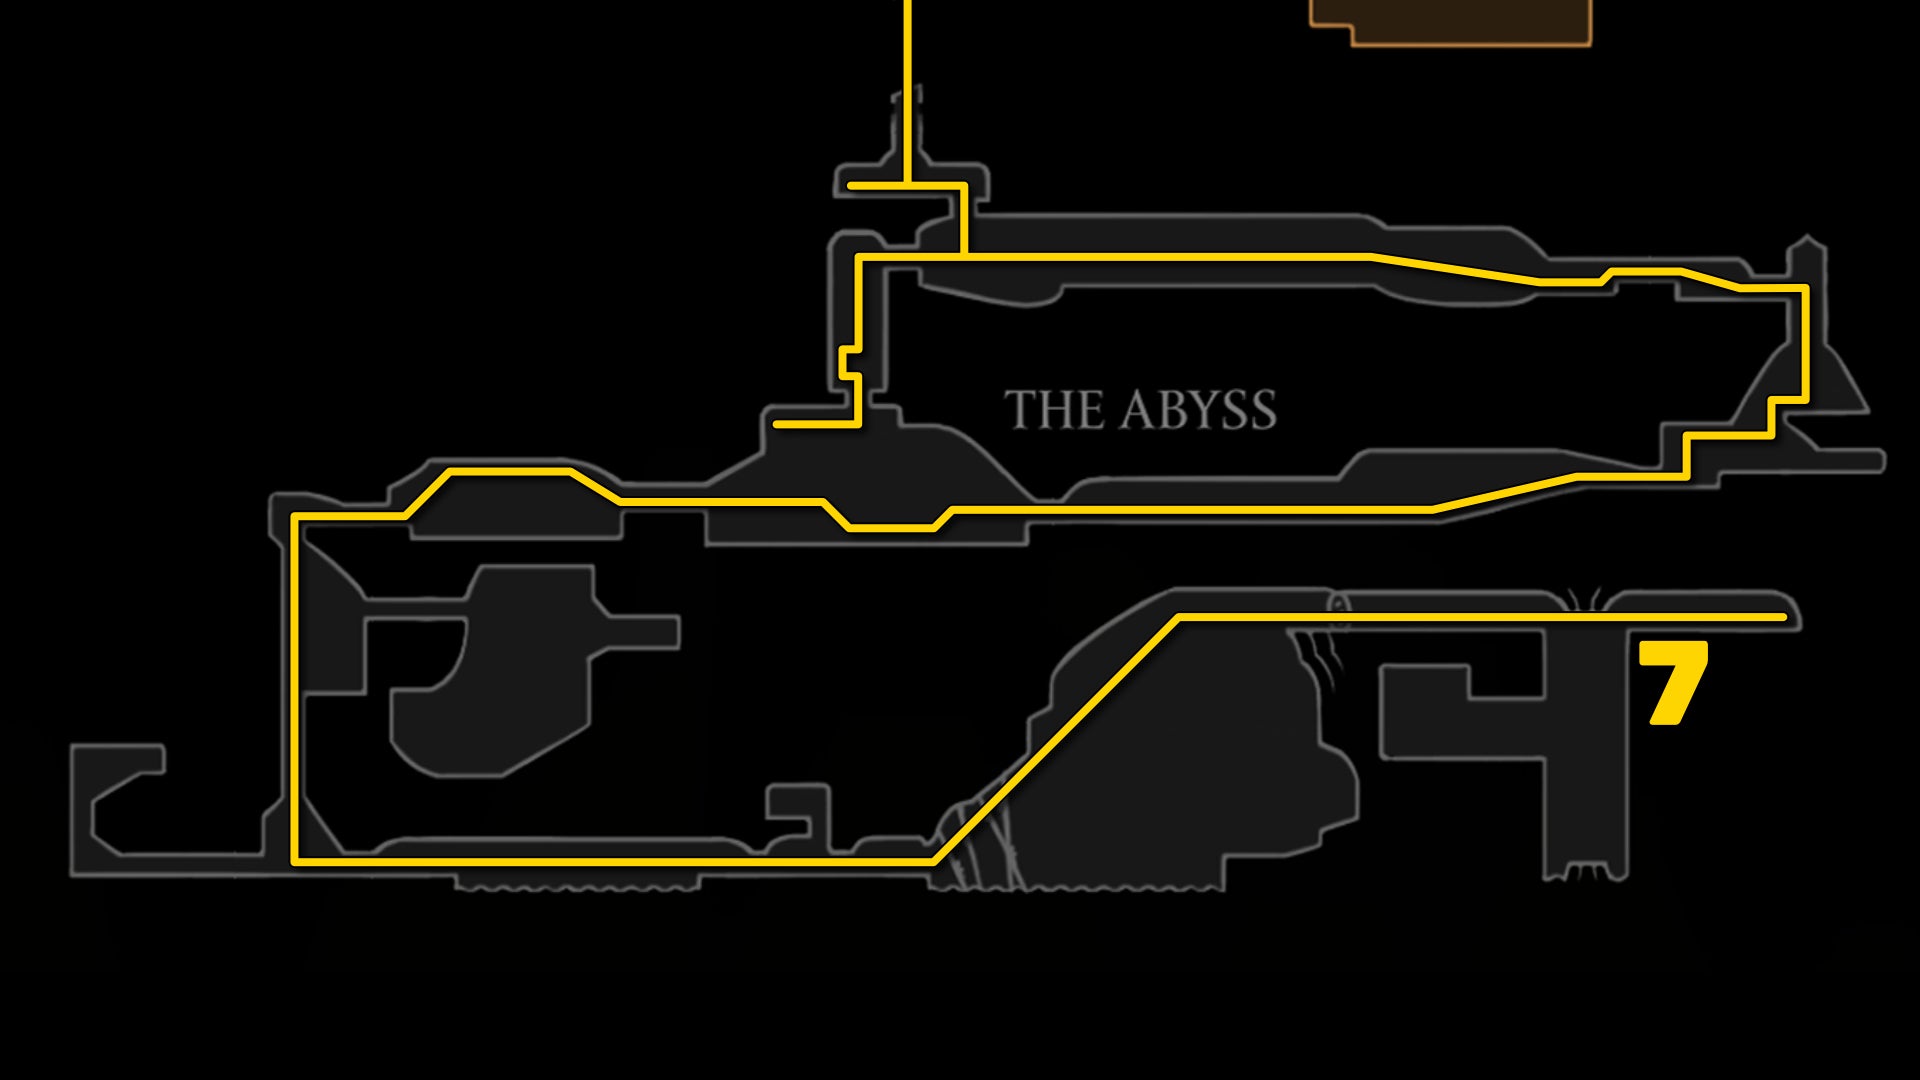
Image credit:Rock Paper Shotgun/Team Cherry
7. Escape The Abyss.
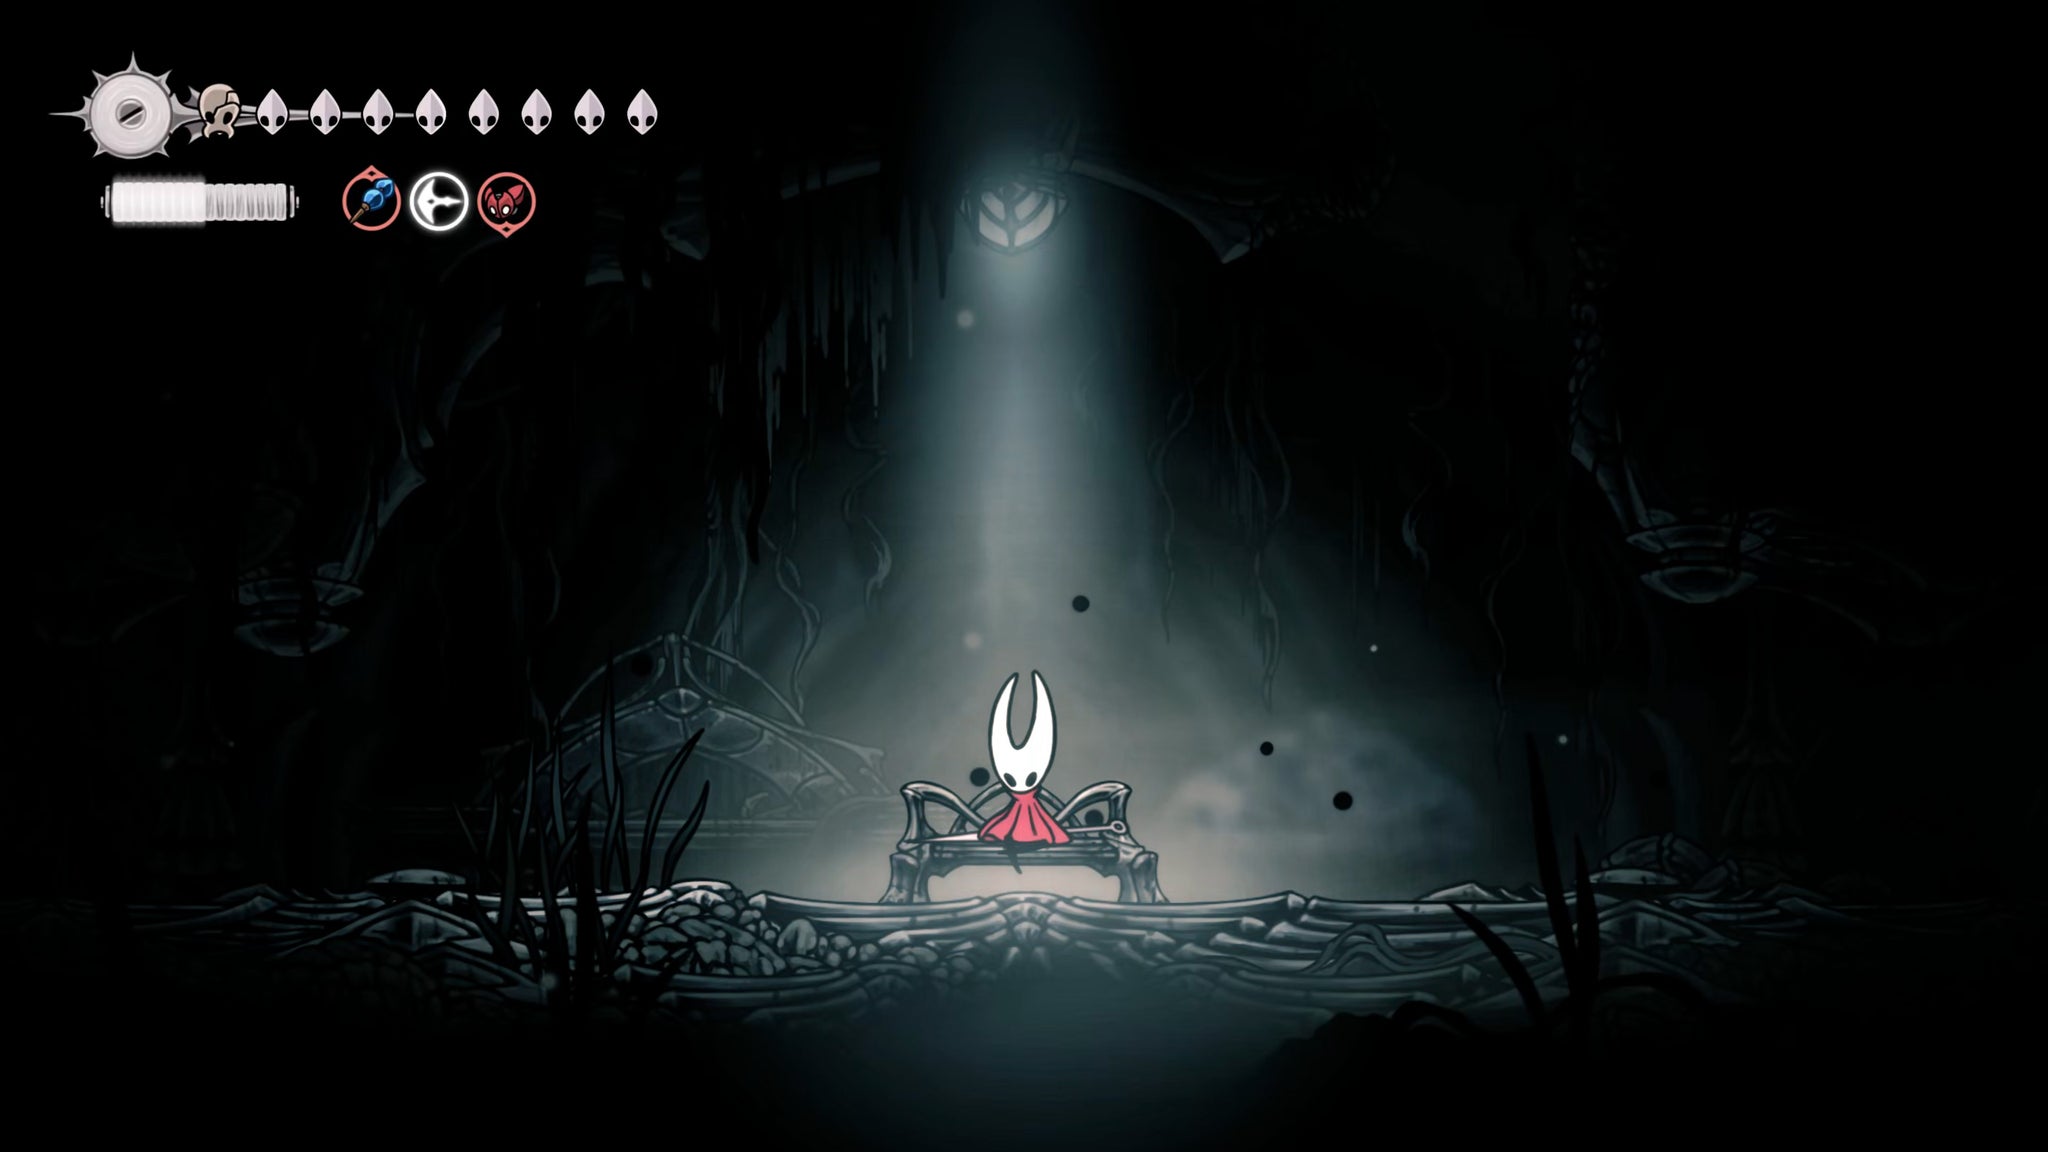
Image credit:Rock Paper Shotgun/Team Cherry
Now for the hard part: escaping The Abyss. It’s possible now, with your new Silk Soar ability - but that won’t make it easy.
Float over to the far left of the chasm to reach the Bench again, and rest at it if needed. Then head left, back to the bottom of the winding shaft of spikes you dropped down, and Silk Soar all the way to the top. Handy, eh?
Make your way back through the room with the Gargant Glooms (remember that low path to avoid the second one!), and then parkour your way back through the room beyond until you reach your starting point, where the Diving Bell landed. The Bell itself has gone now, but you’ll know you’re in the right place because the background will turn orange from the magma.
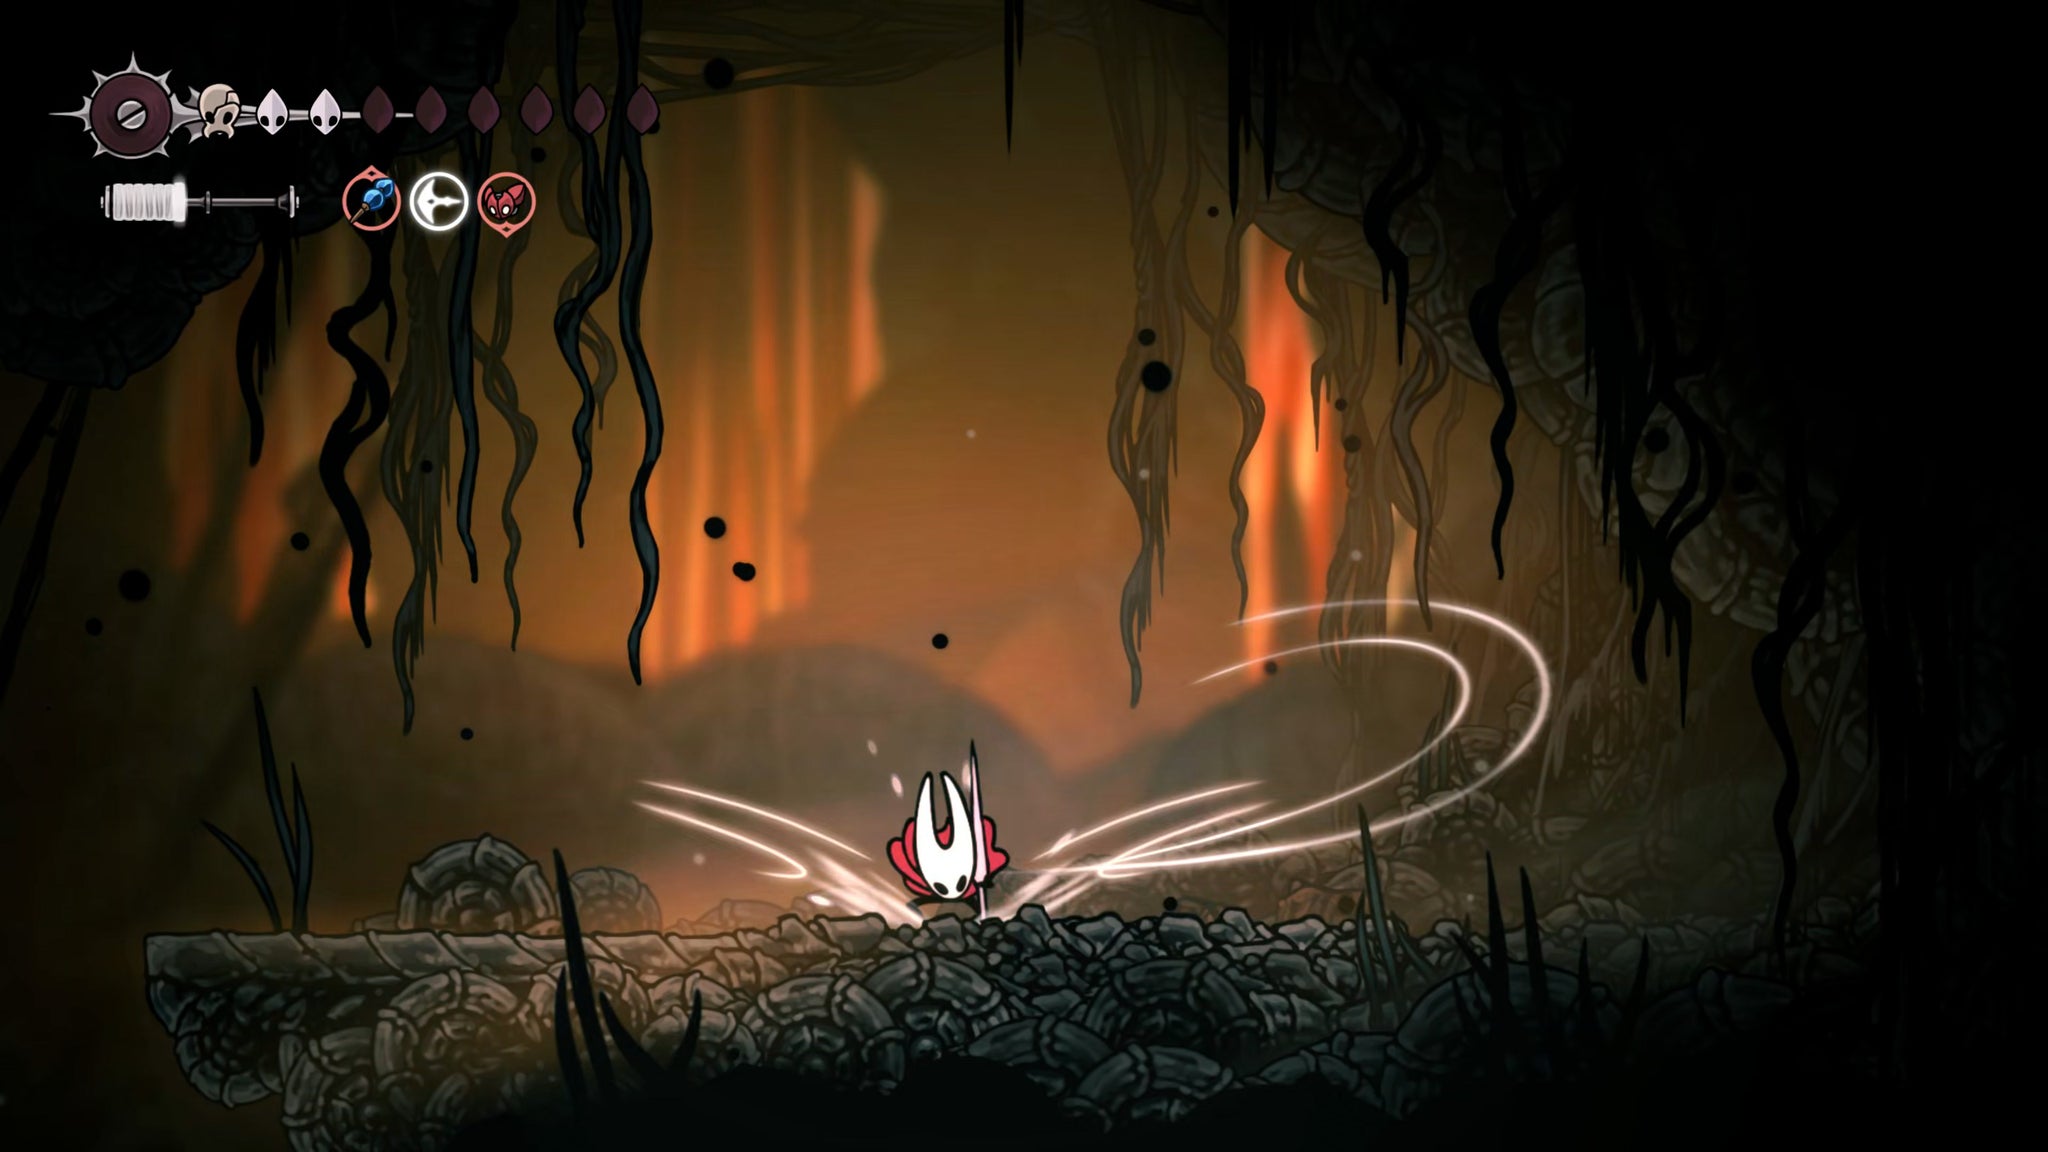
Image credit:Rock Paper Shotgun/Team Cherry
Silk Soar upwards from here to reach an upper ledge, and follow the path left through the breakable wall at the end of the room. Following this is an extended parkour section heading left, but once you reach the end ledge where the light shaft hits you from above, break the wall to your left and go through it.
Float down between the spikes in the next room and then float again down the left side to the lower ledge. Here you’ll find another breakable wall to destroy. With both these walls broken, you now have a shortcut down into the Gargant Gloom room from above.


Drop down below, just so you can take a look at the lore on your left which is otherwise inaccessible. Then head back up to where you broke that first wall, next to the light shaft. Stand directly below the light shaft and Silk Soar upwards. In the next room you’ll find a Bench on the left side to rest at, before you Silk Soar up through the centre of the room once more.
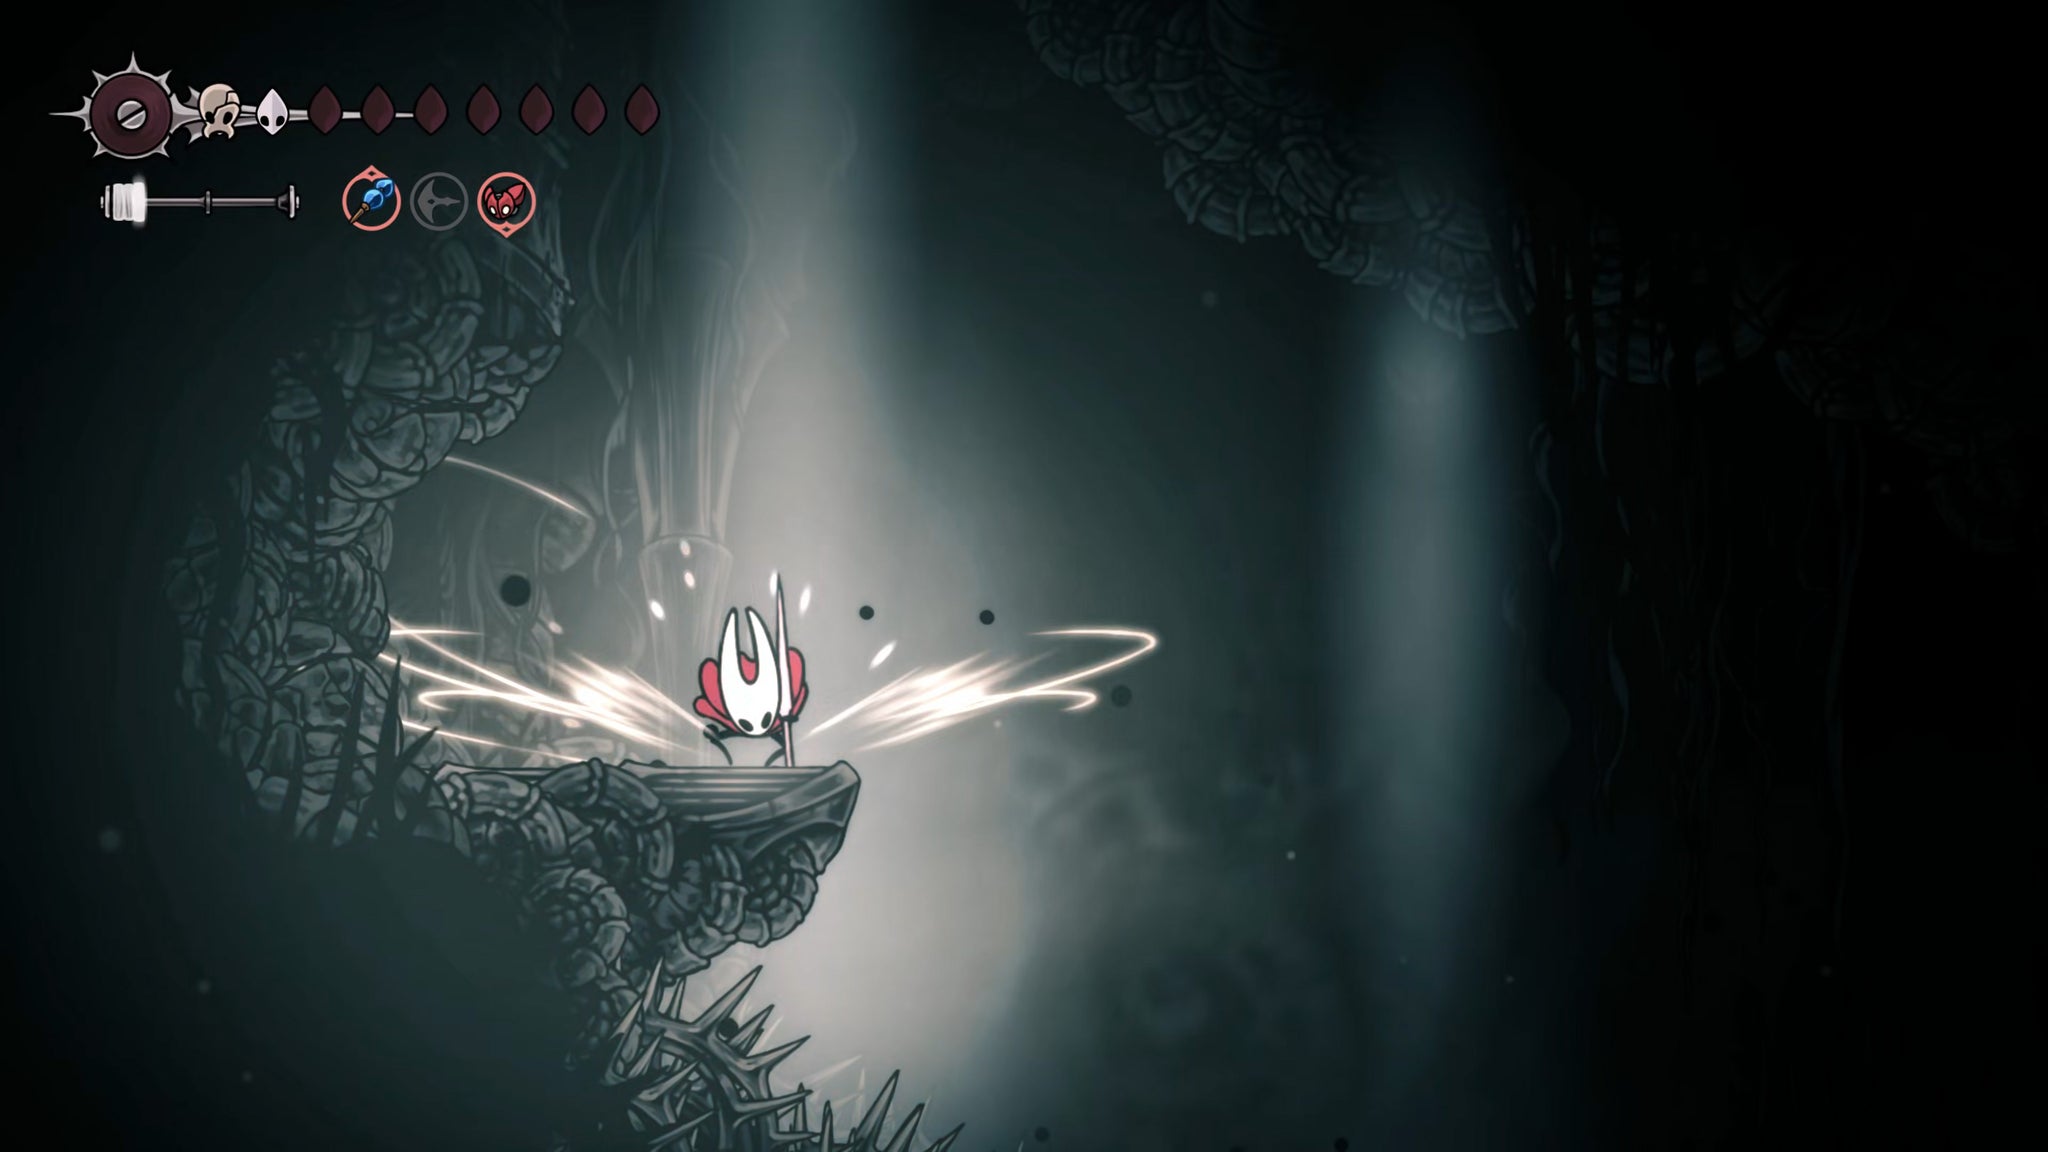
Image credit:Rock Paper Shotgun/Team Cherry
What follows, I’m afraid to say, is probably the second most challenging parkour section in Silksong (you haven’t found the hardest quite yet). I won’t spell out every single manoeuvre for you, but it lasts a while, and you’ll need to keep an eye out for exploding rocks in the walls, floors, and even in the spikes, because these generate air currents you need to soar higher.


Here’s an extra tip from Ollie…
It’s not strictly necessary in this section, but you can cancel out of a Silk Soar early just by jumping. This gives you a way to control the height you reach, rather than having to ascend all the way to the top.
It’s very tricky and requires a fair bit of endurance, this parkour section. Also, towards the end (just after you destroy the large boulder in the ceiling via the two explosive rocks), you get time pressure put on you by rapidly ascending lava. Turns out Skull Cavern back in the Far Fields was preparing you for this. Don’t be too frustrated if you die attempting this climb, it’s meant to be The Abyss’s equivalent of a tough boss fight.
At the very end you’ll need to Pogo off the tops of the Skullwings drifting in the air to get higher and escape the lava. You may also need to clawline directly to them at certain points, so prepare yourself for this. Once you’re at the top, stand on the source of the orange light on the floor, and Silk Soar upwards to escape The Abyss.
After that, you can Silk Soar again up the shaft to your left, and climb up to a final rest room (now in Deep Docks) containing a Bench to your left, and a lever on the ceiling. The lever unlocks a way upwards back into the main part of Deep Docks.


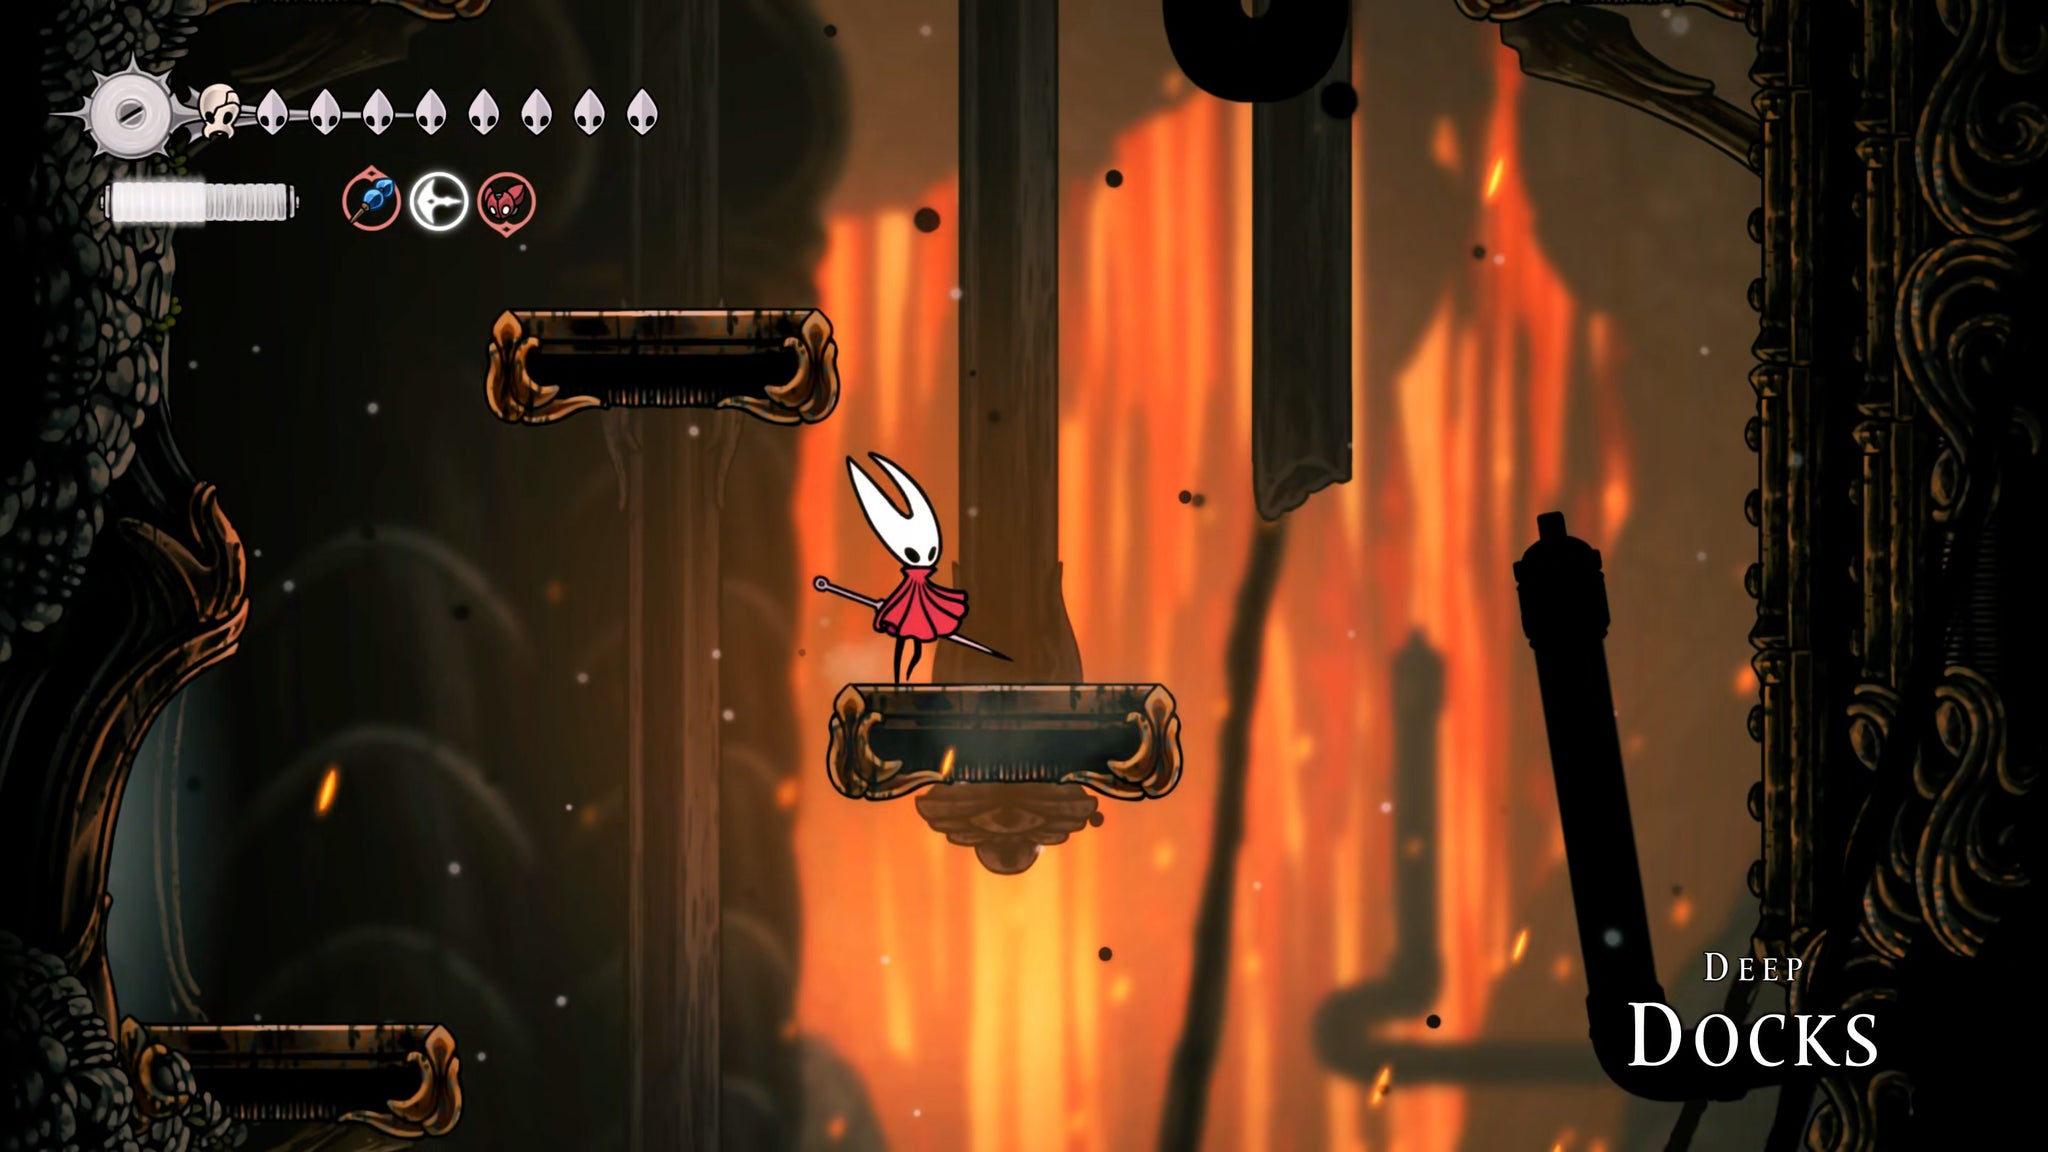
That concludes this section of our walkthrough on delving down into The Abyss, and escaping it using your new Silk Soar ability. Continue to follow along in Part 36 of our Silksong walkthrough , where we start to collect The Old Hearts we need for our next task.


Hollow Knight: Silksong
PC , Nintendo Switch
Rock Paper Shotgun is better when you sign in
Sign in and join us on our journey to discover strange and compelling PC games.

All 75 Arc Raiders Blueprints and where to get them
These areas have the highest chance of giving you Blueprints

Image credit:Rock Paper Shotgun/Embark Studios

Looking for more Arc Raiders Blueprints? It’s a special day when you find a Blueprint, as they’re among the most valuable items in Arc Raiders. If you find a Blueprint that you haven’t already found, then you must make sure you hold onto it at all costs, because Blueprints are the key to one of the most important and powerful systems of meta-progression in the game.
This guide aims to be the very best guide on Blueprints you can find, starting with a primer on what exactly they are and how they work in Arc Raiders, before delving into exactly where to get Blueprints and the very best farming spots for you to take in your search.
We’ll also go over how to get Blueprints from other unlikely activities, such as destroying Surveyors and completing specific quests. And you’ll also find the full list of all 75 Blueprints in Arc Raiders on this page (including the newest Blueprints added with the Cold Snap update , such as the Deadline Blueprint and Firework Box Blueprint), giving you all the information you need to expand your own crafting repertoire.
In this guide:
- What are Blueprints in Arc Raiders?
- Full Blueprint list: All crafting recipes
- Where to find Blueprints in Arc Raiders Blueprints obtained from quests Blueprints obtained from Trials Best Blueprint farming locations

What are Blueprints in Arc Raiders?
Blueprints in Arc Raiders are special items which, if you manage to extract with them, you can expend to permanently unlock a new crafting recipe in your Workshop. If you manage to extract from a raid with an Anvil Blueprint, for example, you can unlock the ability to craft your very own Anvil Pistol, as many times as you like (as long as you have the crafting materials).
To use a Blueprint, simply open your Inventory while in the lobby, then right-click on the Blueprint and click “Learn And Consume” . This will permanently unlock the recipe for that item in your Workshop. As of the Stella Montis update, there are allegedly 75 different Blueprints to unlock - although only 68 are confirmed to be in the game so far. You can see all the Blueprints you’ve found and unlocked by going to the Workshop menu, and hitting “R” to bring up the Blueprint screen.
It’s possible to find duplicates of past Blueprints you’ve already unlocked. If you find these, then you can either sell them, or - if you like to play with friends - you can take it into a match and gift it to your friend so they can unlock that recipe for themselves. Another option is to keep hold of them until the time comes to donate them to the Expedition.
Full Blueprint list: All crafting recipes
Below is the full list of all the Blueprints that are currently available to find in Arc Raiders, and the crafting recipe required for each item:
| Blueprint | Type | Recipe | Crafted At |
|---|---|---|---|
| Bettina | Weapon | 3x Advanced Mechanical Components 3x Heavy Gun Parts 3x Canister | Gunsmith 3 |
| Blue Light Stick | Quick Use | 3x Chemicals | Utility Station 1 |
| Aphelion | Weapon | 3x Magnetic Accelerator 3x Complex Gun Parts 1x Matriarch Reactor | Gunsmith 3 |
| Combat Mk. 3 (Flanking) | Augment | 2x Advanced Electrical Components 3x Processor | Gear Bench 3 |
| Combat Mk. 3 (Aggressive) | Augment | 2x Advanced Electrical Components 3x Processor | Gear Bench 3 |
| Complex Gun Parts | Material | 2x Light Gun Parts 2x Medium Gun Parts 2x Heavy Gun Parts | Refiner 3 |
| Fireworks Box | Quick Use | 1x Explosive Compound 3x Pop Trigger | Explosives Station 2 |
| Gas Mine | Mine | 4x Chemicals 2x Rubber Parts | Explosives Station 1 |
| Green Light Stick | Quick Use | 3x Chemicals | Utility Station 1 |
| Pulse Mine | Mine | 1x Crude Explosives 1x Wires | Explosives Station 1 |
| Seeker Grenade | Grenade | 1x Crude Explosives 2x ARC Alloy | Explosives Station 1 |
| Looting Mk. 3 (Survivor) | Augment | 2x Advanced Electrical Components 3x Processor | Gear Bench 3 |
| Angled Grip II | Mod | 2x Mechanical Components 3x Duct Tape | Gunsmith 2 |
| Angled Grip III | Mod | 2x Mod Components 5x Duct Tape | Gunsmith 3 |
| Hullcracker | Weapon | 1x Magnetic Accelerator 3x Heavy Gun Parts 1x Exodus Modules | Gunsmith 3 |
| Launcher Ammo | Ammo | 5x Metal Parts 1x Crude Explosives | Workbench 1 |
| Anvil | Weapon | 5x Mechanical Components 5x Simple Gun Parts | Gunsmith 2 |
| Anvil Splitter | Mod | 2x Mod Components 3x Processor | Gunsmith 3 |
| ??? | ??? | ??? | ??? |
| Barricade Kit | Quick Use | 1x Mechanical Components | Utility Station 2 |
| Blaze Grenade | Grenade | 1x Explosive Compound 2x Oil | Explosives Station 3 |
| Bobcat | Weapon | 3x Advanced Mechanical Components 3x Light Gun Parts | Gunsmith 3 |
| Osprey | Weapon | 2x Advanced Mechanical Components 3x Medium Gun Parts 7x Wires | Gunsmith 3 |
| Burletta | Weapon | 3x Mechanical Components 3x Simple Gun Parts | Gunsmith 1 |
| Compensator II | Mod | 2x Mechanical Components 4x Wires | Gunsmith 2 |
| Compensator III | Mod | 2x Mod Components 8x Wires | Gunsmith 3 |
| Defibrillator | Quick Use | 9x Plastic Parts 1x Moss | Medical Lab 2 |
| ??? | ??? | ??? | ??? |
| Equalizer | Weapon | 3x Magnetic Accelerator 3x Complex Gun Parts 1x Queen Reactor | Gunsmith 3 |
| Extended Barrel | Mod | 2x Mod Components 8x Wires | Gunsmith 3 |
| Extended Light Mag II | Mod | 2x Mechanical Components 3x Steel Spring | Gunsmith 2 |
| Extended Light Mag III | Mod | 2x Mod Components 5x Steel Spring | Gunsmith 3 |
| Extended Medium Mag II | Mod | 2x Mechanical Components 3x Steel Spring | Gunsmith 2 |
| Extended Medium Mag III | Mod | 2x Mod Components 5x Steel Spring | Gunsmith 3 |
| Extended Shotgun Mag II | Mod | 2x Mechanical Components 3x Steel Spring | Gunsmith 2 |
| Extended Shotgun Mag III | Mod | 2x Mod Components 5x Steel Spring | Gunsmith 3 |
| Remote Raider Flare | Quick Use | 2x Chemicals 4x Rubber Parts | Utility Station 1 |
| Heavy Gun Parts | Material | 4x Simple Gun Parts | Refiner 2 |
| Venator | Weapon | 2x Advanced Mechanical Components 3x Medium Gun Parts 5x Magnet | Gunsmith 3 |
| Il Toro | Weapon | 5x Mechanical Components 6x Simple Gun Parts | Gunsmith 1 |
| Jolt Mine | Mine | 1x Electrical Components 1x Battery | Explosives Station 2 |
| Explosive Mine | Mine | 1x Explosive Compound 1x Sensors | Explosives Station 3 |
| Jupiter | Weapon | 3x Magnetic Accelerator 3x Complex Gun Parts 1x Queen Reactor | Gunsmith 3 |
| Light Gun Parts | Material | 4x Simple Gun Parts | Refiner 2 |
| Lightweight Stock | Mod | 2x Mod Components 5x Duct Tape | Gunsmith 3 |
| Lure Grenade | Grenade | 1x Speaker Component 1x Electrical Components | Utility Station 2 |
| Medium Gun Parts | Material | 4x Simple Gun Parts | Refiner 2 |
| Torrente | Weapon | 2x Advanced Mechanical Components 3x Medium Gun Parts 6x Steel Spring | Gunsmith 3 |
| Muzzle Brake II | Mod | 2x Mechanical Components 4x Wires | Gunsmith 2 |
| Muzzle Brake III | Mod | 2x Mod Components 8x Wires | Gunsmith 3 |
| Padded Stock | Mod | 2x Mod Components 5x Duct Tape | Gunsmith 3 |
| Shotgun Choke II | Mod | 2x Mechanical Components 4x Wires | Gunsmith 2 |
| Shotgun Choke III | Mod | 2x Mod Components 8x Wires | Gunsmith 3 |
| Shotgun Silencer | Mod | 2x Mod Components 8x Wires | Gunsmith 3 |
| Showstopper | Grenade | 1x Advanced Electrical Components 1x Voltage Converter | Explosives Station 3 |
| Silencer I | Mod | 2x Mechanical Components 4x Wires | Gunsmith 2 |
| Silencer II | Mod | 2x Mod Components 8x Wires | Gunsmith 3 |
| Snap Hook | Quick Use | 2x Power Rod 3x Rope 1x Exodus Modules | Utility Station 3 |
| Stable Stock II | Mod | 2x Mechanical Components 3x Duct Tape | Gunsmith 2 |
| Stable Stock III | Mod | 2x Mod Components 5x Duct Tape | Gunsmith 3 |
| Tagging Grenade | Grenade | 1x Electrical Components 1x Sensors | Utility Station 3 |
| Tempest | Weapon | 3x Advanced Mechanical Components 3x Medium Gun Parts 3x Canister | Gunsmith 3 |
| Trigger Nade | Grenade | 2x Crude Explosives 1x Processor | Explosives Station 2 |
| Vertical Grip II | Mod | 2x Mechanical Components 3x Duct Tape | Gunsmith 2 |
| Vertical Grip III | Mod | 2x Mod Components 5x Duct Tape | Gunsmith 3 |
| Vita Shot | Quick Use | 2x Antiseptic 1x Syringe | Medical Lab 3 |
| Vita Spray | Quick Use | 3x Antiseptic 1x Canister | Medical Lab 3 |
| Vulcano | Weapon | 1x Magnetic Accelerator 3x Heavy Gun Parts 1x Exodus Modules | Gunsmith 3 |
| Wolfpack | Grenade | 2x Explosive Compound 2x Sensors | Explosives Station 3 |
| Red Light Stick | Quick Use | 3x Chemicals | Utility Station 1 |
| Smoke Grenade | Grenade | 14x Chemicals 1x Canister | Utility Station 2 |
| Deadline | Mine | 3x Explosive Compound 2x ARC Circuitry | Explosives Station 3 |
| Trailblazer | Grenade | 1x Explosive Compound 1x Synthesized Fuel | Explosives Station 3 |
| Tactical Mk. 3 (Defensive) | Augment | 2x Advanced Electrical Components 3x Processor | Gear Bench 3 |
| Tactical Mk. 3 (Healing) | Augment | 2x Advanced Electrical Components 3x Processor | Gear Bench 3 |
| Yellow Light Stick | Quick Use | 3x Chemicals | Utility Station 1 |
Note: The missing Blueprints in this list likely have not actually been added to the game at the time of writing, because none of the playerbase has managed to find any of them. As they are added to the game, I will update this page with the most relevant information so you know exactly how to get all 75 Arc Raiders Blueprints.
Where to find Blueprints in Arc Raiders
Below is a list of all containers, modifiers, and events which maximise your chances of finding Blueprints:
- Certain quests reward you with specific Blueprints .
- Completing Trials has a high chance of offering Blueprints as rewards.
- Surveyors have a decent chance of dropping Blueprints on death.
- High loot value areas tend to have a greater chance of spawning Blueprints.
- Night Raids and Storms may increase rare Blueprint spawn chances in containers.
- Containers with higher numbers of items may have a higher tendency to spawn Blueprints. As a result, Blue Gate (which has many “large” containers containing multiple items) may give you a higher chance of spawning Blueprints.
- Raider containers (Raider Caches, Weapon Boxes, Medical Bags, Grenade Tubes) have increased Blueprint drop rates. As a result, the Uncovered Caches event gives you a high chance of finding Blueprints.
- Security Lockers have a higher than average chance of containing Blueprints.
- Certain Blueprints only seem to spawn under specific circumstances: Tempest Blueprint only spawns during Night Raid events. Vulcano Blueprint only spawns during Hidden Bunker events. Jupiter and Equaliser Blueprints only spawn during Harvester events.

Raider Caches, Weapon Boxes, and other raider-oriented container types have a good chance of offering Blueprints. |Image credit:Rock Paper Shotgun/Embark Studios
Blueprints have a very low chance of spawning in any container in Arc Raiders, around 1-2% on average. However, there is a higher chance of finding Blueprints in particular container types. Specifically, you can find more Blueprints in Raider containers and security lockers.
Beyond this, if you’re looking for Blueprints you should focus on regions of the map which are marked as having particularly high-value loot. Areas such as the Control Tower in Dam Battlegrounds, the Arrival and Departure Buildings in Spaceport, and Pilgrim’s Peak in Blue Gate all have a better-than-average chance of spawning Blueprints somewhere amongst all their containers. Night Raids and Electromagnetic Storm events also increase the drop chances of certain Blueprints .
In addition to these containers, you can often loot Blueprints from destroyed Surveyors - the largest of the rolling ball ARC. Surveyors are more commonly found on the later maps - Spaceport and Blue Gate - and if one spawns in your match, you’ll likely see it by the blue laser beam that it casts into the sky while “surveying”.
Surveyors are quite well-armoured and will very speedily run away from you once it notices you, but if you can take one down then make sure you loot all its parts for a chance of obtaining certain unusual Blueprints.
Blueprints obtained from quests
One way in which you can get Blueprints is by completing certain quests for the vendors in Speranza. Some quests will reward you with a specific item Blueprint upon completion, so as long as you work through all the quests in Arc Raiders, you are guaranteed those Blueprints.
Here is the full list of all Blueprints you can get from quest rewards:
- Trigger Nade Blueprint: Rewarded after completing “Sparks Fly”.
- Lure Grenade Blueprint: Rewarded after completing “Greasing Her Palms”.
- Burletta Blueprint: Rewarded after completing “Industrial Espionage”.
- Hullcracker Blueprint (and Launcher Ammo Blueprint): Rewarded after completing “The Major’s Footlocker”.
Alas, that’s only 4 Blueprints out of a total of 75 to unlock, so for the vast majority you will need to find them yourself during a raid. If you’re intent on farming Blueprints, then it’s best to equip yourself with cheap gear in case you lose it, but don’t use a free loadout because then you won’t get a safe pocket to stash any new Blueprint you find. No pain in Arc Raiders is sharper than failing to extract with a new Blueprint you’ve been after for a dozen hours already.

One of the best ways to get Blueprints is by hitting three stars on all five Trials every week. |Image credit:Rock Paper Shotgun/Embark Studios
Blueprints obtained from Trials
One of the very best ways to get Blueprints is as rewards for completing Trials in Arc Raiders. Trials are unlocked from Level 15 onwards, and allow you to earn rewards by focusing on certain tasks over the course of several raids. For example, one Trial might task you with dealing damage to Hornets, while another might challenge you to loot Supply Drops.
Trials refresh on a weekly basis, with a new week bringing five new Trials. Each Trial can offer up to three rewards after passing certain score milestones, and it’s possible to receive very high level loot from these reward crates - including Blueprints. So if you want to unlock as many Blueprints as possible, you should make a point of completing as many Trials as possible each week.
Best Blueprint farming locations
The very best way to get Blueprints is to frequent specific areas of the maps which combine high-tier loot pools with the right types of containers to search. Here are my recommendations for where to find Blueprints on every map, so you can always keep the search going for new crafting recipes to unlock.

Image credit:Rock Paper Shotgun/Embark Studios
Dam Battlegrounds
The best places to farm Blueprints on Dam Battlegrounds are the Control Tower, Power Generation Complex, Ruby Residence, and Pale Apartments . The first two regions, despite only being marked on the map as mid-tier loot, contain a phenomenal number of containers to loot. The Control Tower can also contain a couple of high-tier Security Lockers - though of course, you’ll need to have unlocked the Security Breach skill at the end of the Survival tree.
There’s also a lot of reporting amongst the playerbase that the Residential areas in the top-left of the map - Pale Apartments and Ruby Residence - give you a comparatively strong chance of finding Blueprints. Considering their size, there’s a high density of containers to loot in both locations, and they also have the benefit of being fairly out of the way. So you’re more likely to have all the containers to yourself.
Buried City
The best Blueprint farming locations on Buried City are the Santa Maria Houses, Grandioso Apartments, Town Hall, and the various buildings of the New District . Grandioso Apartments has a lower number of containers than the rest, but a high chance of spawning weapon cases - which have good Blueprint drop rates. The others are high-tier loot areas, with plenty of lootable containers - including Security Lockers.
Spaceport
The best places to find Blueprints on Spaceport are the Arrival and Departure Buildings, as well as Control Tower A6 and the Launch Towers . All these areas are labelled as high-value loot regions, and many of them are also very handily connected to one another by the Spaceport wall, which you can use to quickly run from one area to the next. At the tops of most of these buildings you’ll find at least one Security Locker, so this is an excellent farming route for players looking to find Blueprints.
The downside to looting Blueprints on Spaceport is that all these areas are hotly contested, particularly in Duos and Squads. You’ll need to be very focused and fast in order to complete the full farming route.

Image credit:Rock Paper Shotgun/Embark Studios
Blue Gate
Blue Gate tends to have a good chance of dropping Blueprints, potentially because it generally has a high number of containers which can hold lots of items; so there’s a higher chance of a Blueprint spawning in each container. In my experience, the best Blueprint farming spots on Blue Gate are Pilgrim’s Peak, Raider’s Refuge, the Ancient Fort, and the Underground Complex beneath the Warehouse .
All of these areas contain a wealth of containers to loot. Raider’s Refuge has less to loot, but the majority of the containers in and around the Refuge are raider containers, which have a high chance of containing Blueprints - particularly during major events.
Stella Montis
On the whole, Stella Montis seems to have a very low drop rate for Blueprints (though a high chance of dropping other high-tier loot). If you do want to try farming Blueprints on this map, the best places to find Blueprints in Stella Montis are Medical Research, Assembly Workshop, and the Business Center . These areas have the highest density of containers to loot on the map.
In addition to this, the Western Tunnel has a few different Security Lockers to loot, so while there’s very little to loot elsewhere in this area of the map, it’s worth hitting those Security Lockers if you spawn there at the start of a match.
That wraps up this primer on how to get all the Blueprints in Arc Raiders as quickly as possible. With the Expedition system constantly resetting a large number of players’ Blueprints, it’s more important than ever to have the most up-to-date information on where to find all these Blueprints.
While you’re here, be sure to check out our Arc Raiders best guns tier list , as well as our primers on the best skills to unlock and all the different Field Depot locations on every map.


ARC Raiders
PS5 , Xbox Series X/S , PC
Rock Paper Shotgun is better when you sign in
Sign in and join us on our journey to discover strange and compelling PC games.
