Hollow Knight Silksong walkthrough: Part 33 (The Cradle)
Two more bosses, and Act 2 is finished

Image credit:Rock Paper Shotgun/Team Cherry

How do you defeat the final bosses of Act 2 in Hollow Knight: Silksong? Just two boss fights now stand between you and the end credits of Hollow Knight: Silksong - but don’t worry, there’s a whole extra hidden Act 3 to experience afterwards, as long as you do some prep work between the two bosses.
In Part 33 of our Silksong walkthrough , I’ll explain what awaits you at the top of Pharloom once you play the Threefold Melody, and how to defeat your final adversaries. Just as importantly, I’ll explain what you need to do in order to unlock Act 3 before you face the final boss.
Want the walkthrough for a different area of the game? Check out our Hollow Knight: Silksong walkthrough hub!
The Cradle walkthrough steps:
- Play the Threefold Melody in the Cogwork Dancers arena.
- Defeat Lace.
- Reach the Terminus Ventrica Station.
- Speak with the Caretaker.
- Complete the Silk And Soul Wish.
- Speak with the Caretaker in the Cradle.
- Defeat Grand Mother Silk.
- After the end credits, load your save file.
1. Play the Threefold Melody in the Cogwork Dancers arena.
I highly suggest that before you play the Threefold Melody, you go to the Bench just underneath the Cogwork Dancers arena (through the doorway on your left), and rest there. This will give you the shortest possible runback if you die during the boss fight that awaits you at the top of the elevator.
Once you’re rested and have equipped all your favourite boss-fighting tools, stand in the centre of the Dancers’ arena and listen once more to the Threefold Melody request. When prompted, play your Needolin to unlock the elevator.
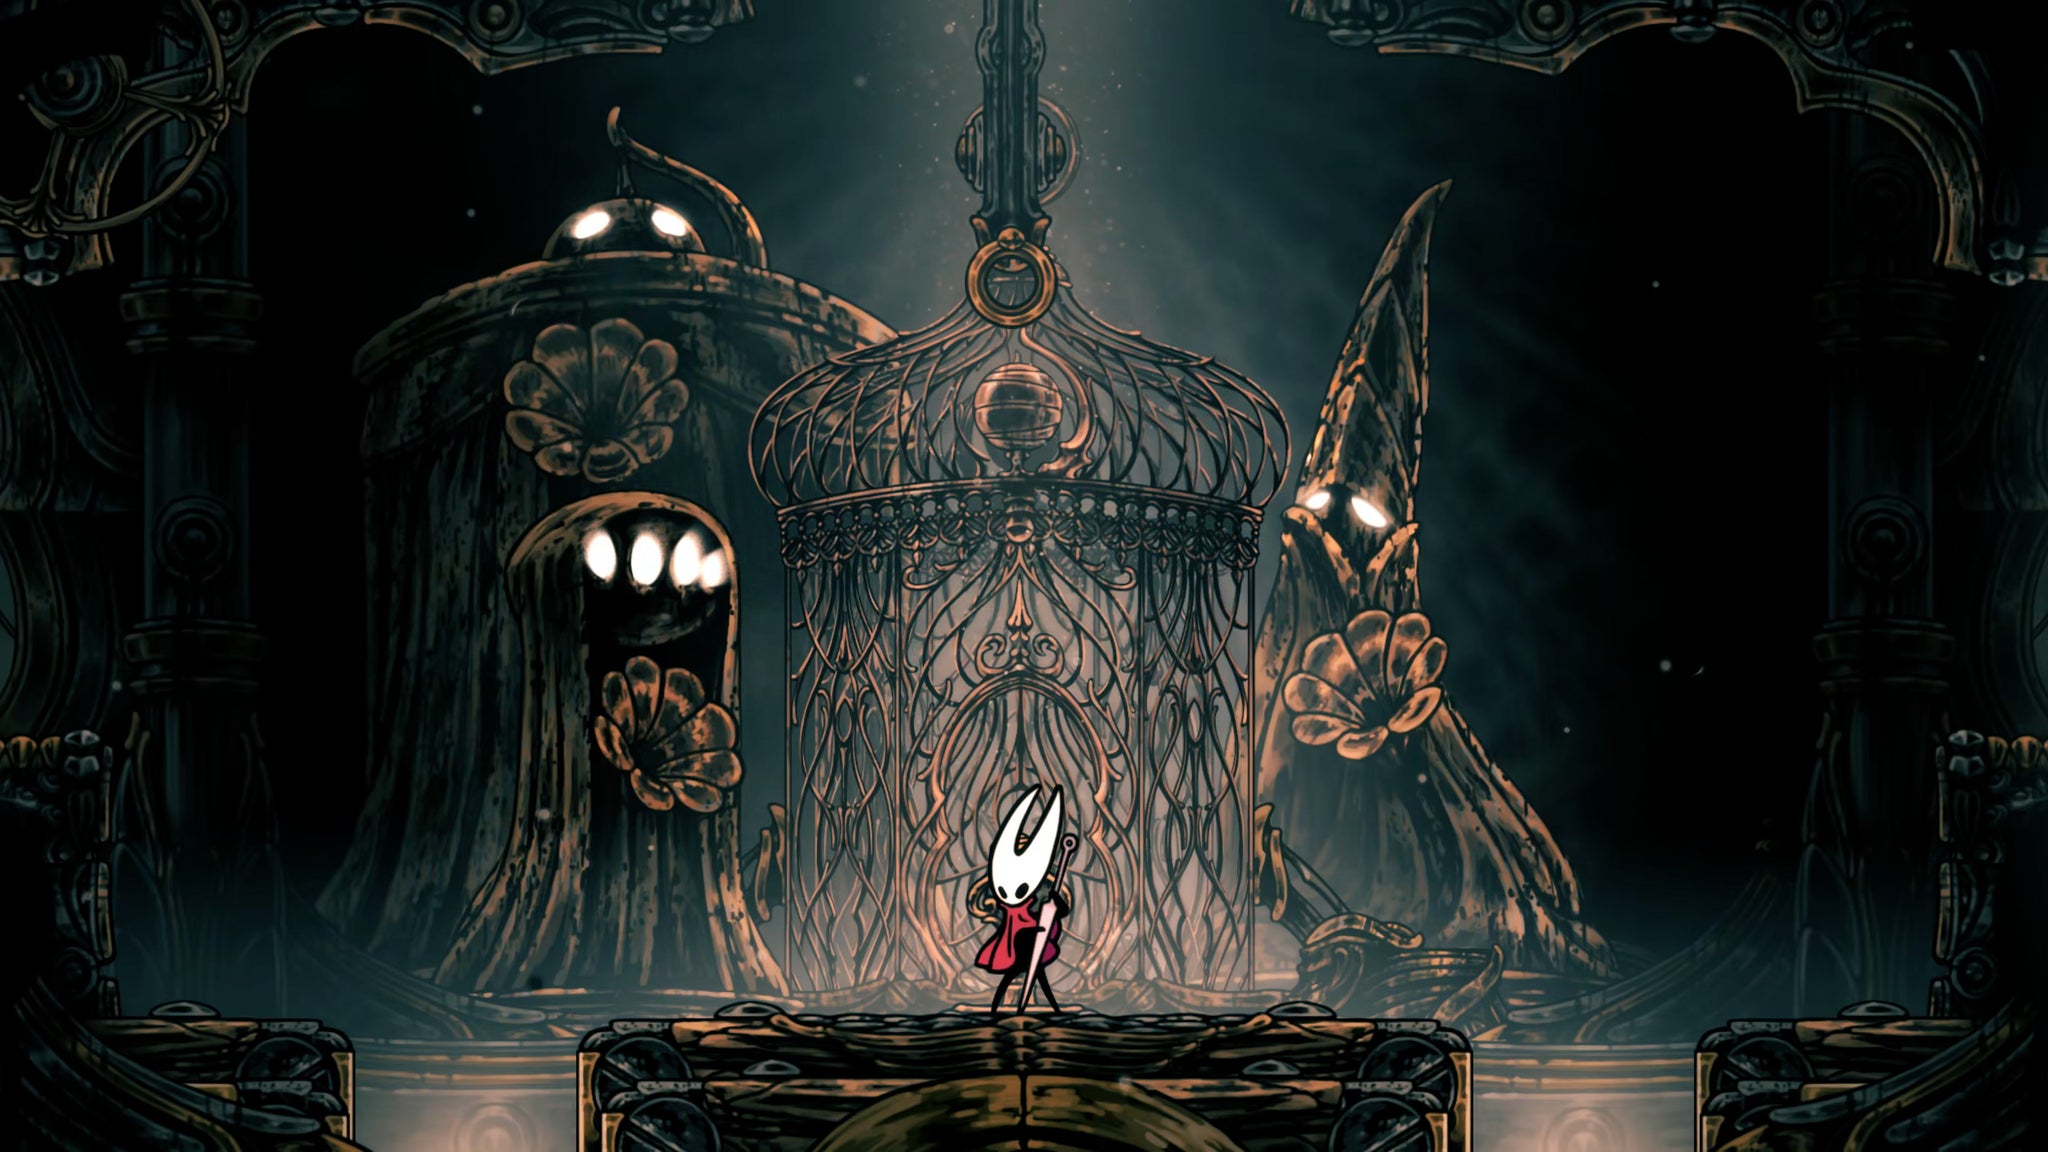
Image credit:Rock Paper Shotgun/Team Cherry
Breathe deep, step in, and ascend to The Cradle.
2. Defeat Lace.

Image credit:Rock Paper Shotgun/Team Cherry
Awaiting you at the top is a beautiful landscape of white flowers, and asleep in the flowers is Lace. A brief cutscene plays the first time you ascend, where Hornet and Lace meet each other once more, and then the boss fight immediately begins.

Image credit:Rock Paper Shotgun/Team Cherry
Both sides of this arena are cut off by steam, which obviously damages you if you fall in it. Add to this Lace’s fast charging attacks and the ways in which she cleaves the space between you during her attacks, and this boss fight becomes a lengthy test of positioning and situational awareness.
To start with, Lace is as you might remember her from the Deep Docks fight. Her combos are fast and distance-closing, and she can very quickly follow up one of her attacks with a deflect, punishing you for attempting to punish her .
Lace’s new trick is that she has a specific aerial counterattack to your Pogo attacks, where she’ll teleport into the air and attack diagonally downwards at you. It’s surprising at first, but I found that this actually was quite easy to predict and avoid.

Image credit:Rock Paper Shotgun/Team Cherry
The Sharpdart and the Flintblade are both great here for large amounts of burst damage on Lace in a short space of time. Otherwise, it’s just a matter of trying to keep pace with her myriad attacks. In her second phase, she’ll start to restrict your space even further by leaving area-of-effect explosions behind her as she dashes through the air; and in phase 3, she’ll employ Phantom’s old trick of slashing wildly inside a predefined circle of light.
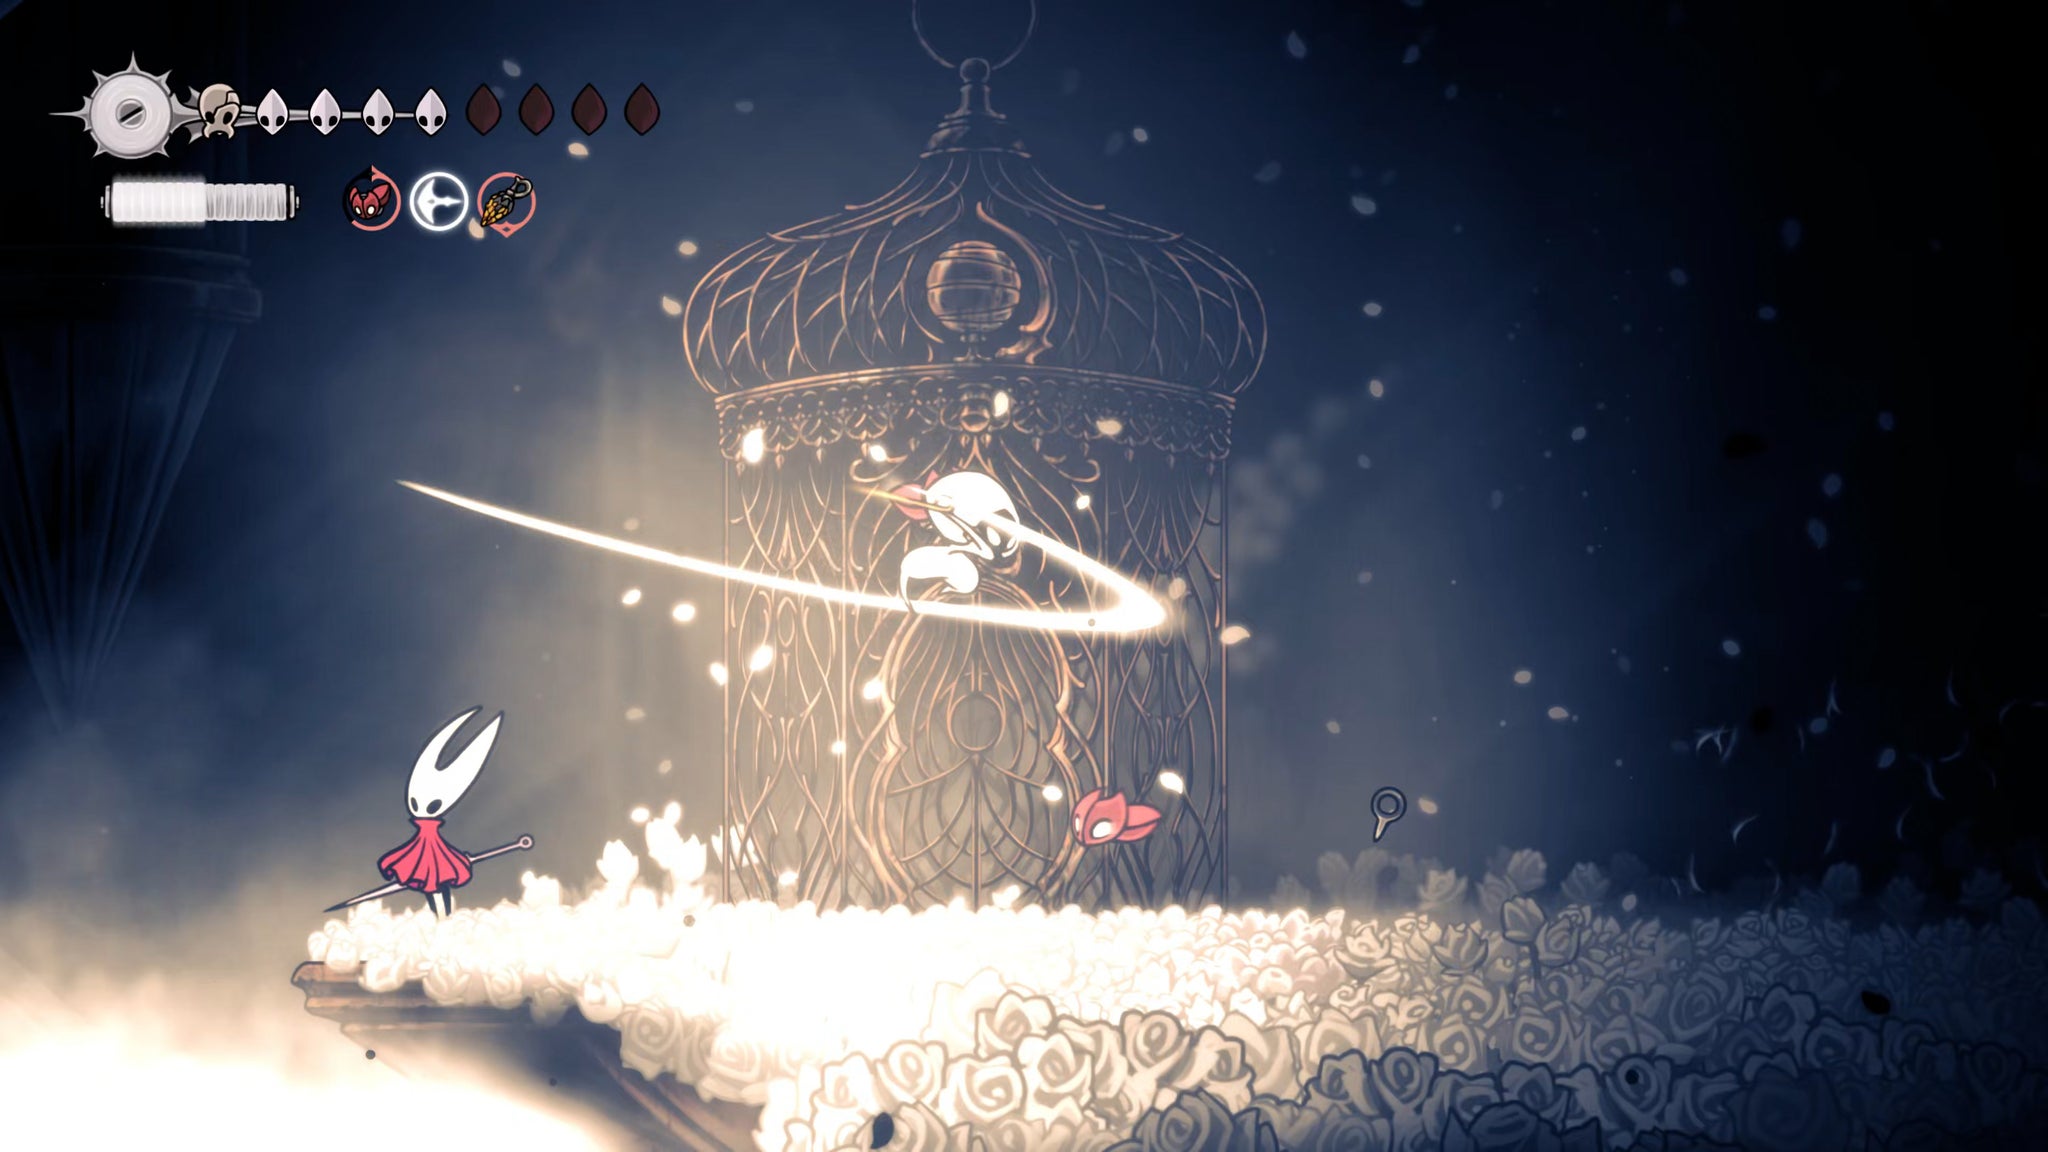
Image credit:Rock Paper Shotgun/Team Cherry
Of these two extra attacks, the first is most dangerous. It’s harder to see coming, and it essentially grounds you and forces you to play it very confident, tucking yourself just under the bubbles of light to avoid Lace’s downward charge, and staying near to her in order to punish her afterwards.
It’s a tough fight, of course - as is to be expected. In fact, I find it by far the tougher of the two fights you’ll face in The Cradle. But keep at it, learn her attack patterns inside and out, and focus on high amounts of burst damage while keeping yourself distant and safe. You’ll beat her soon enough.
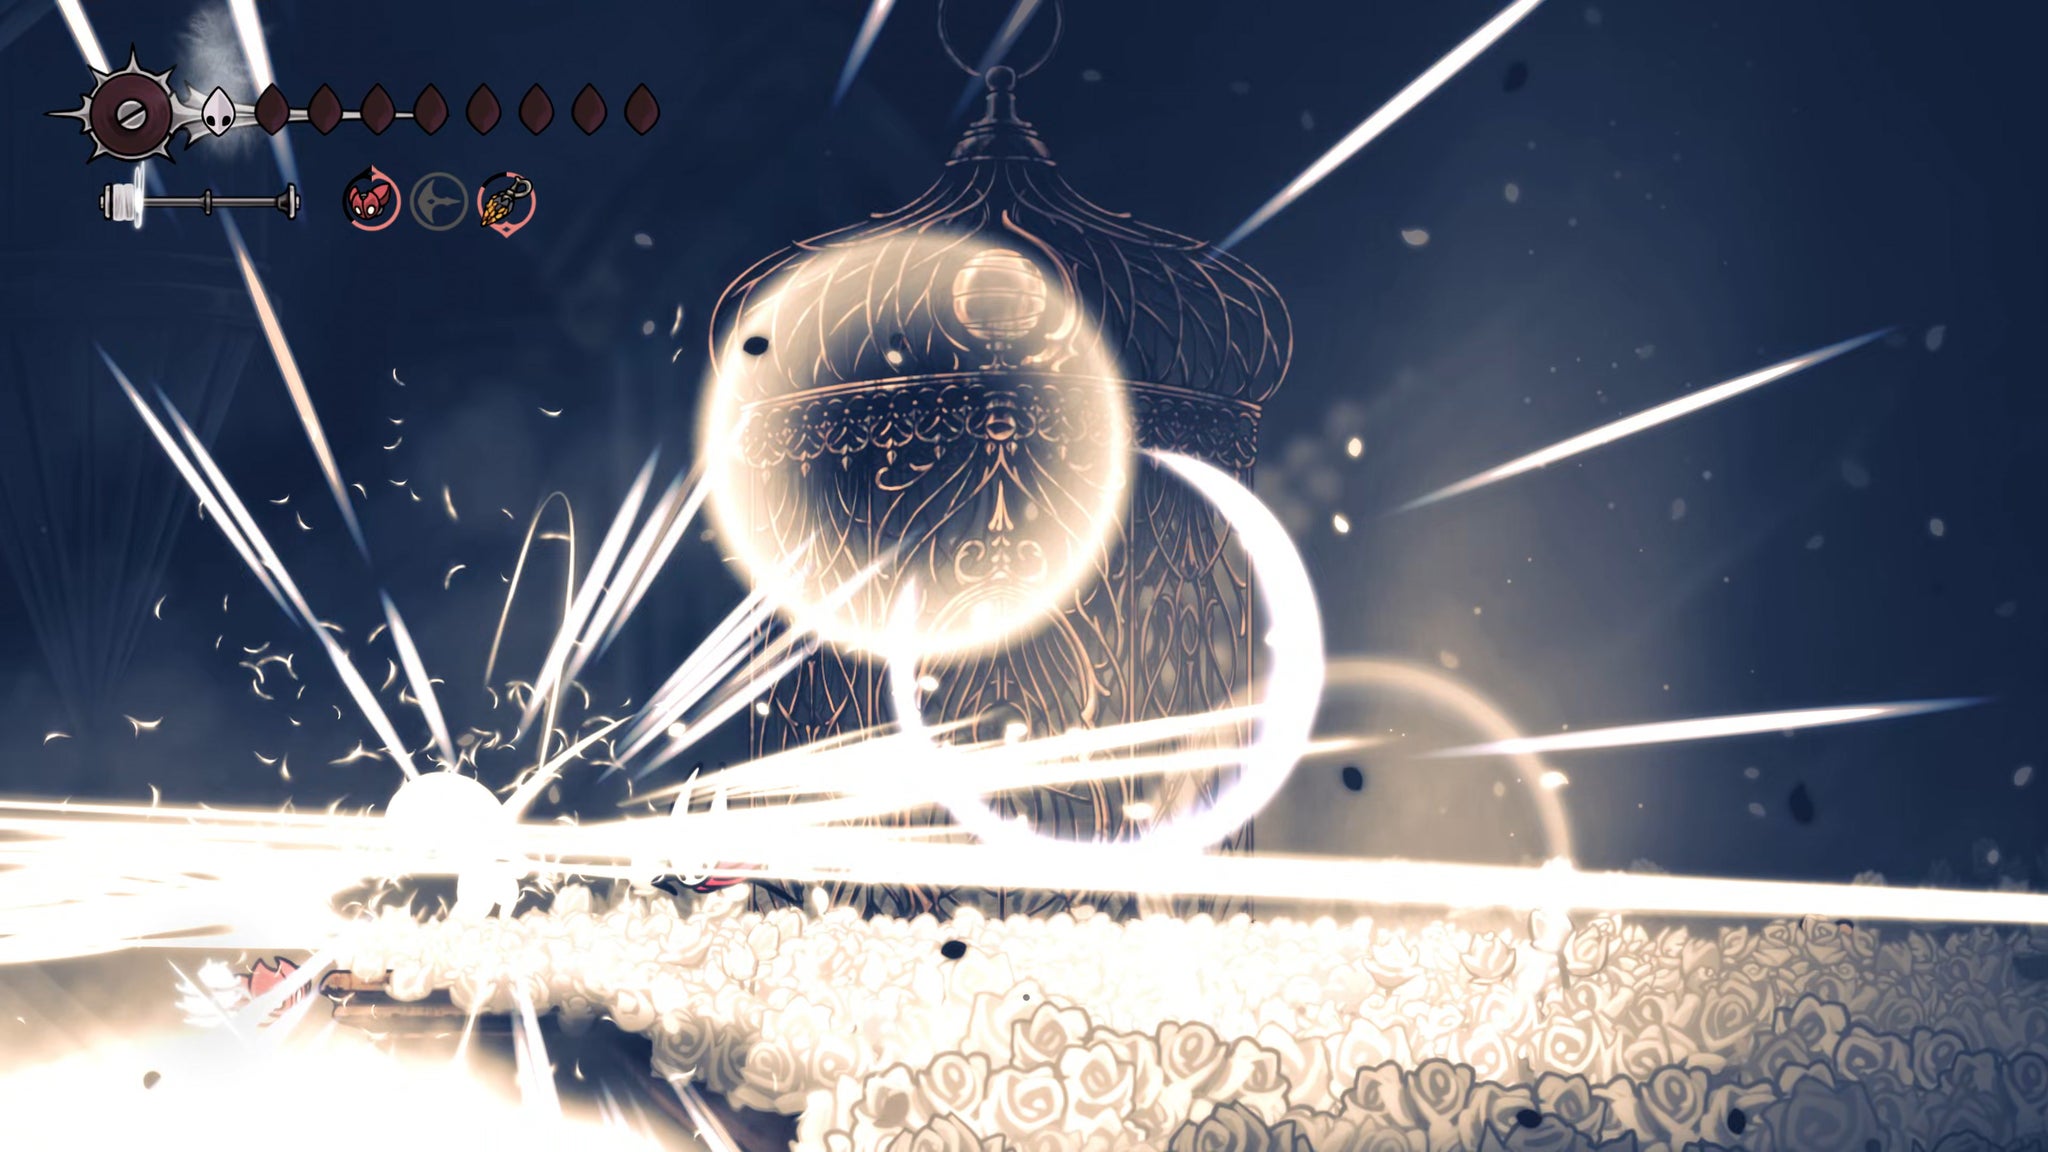
Image credit:Rock Paper Shotgun/Team Cherry
After the fight, speak with Lace for some final illuminating dialogue about Lace’s nature, before she falls at last. After that, you can collect the final of the three Silk Hearts in Silksong to increase your Silk regeneration rate - after completing another strange dream-world parkour puzzle, of course.
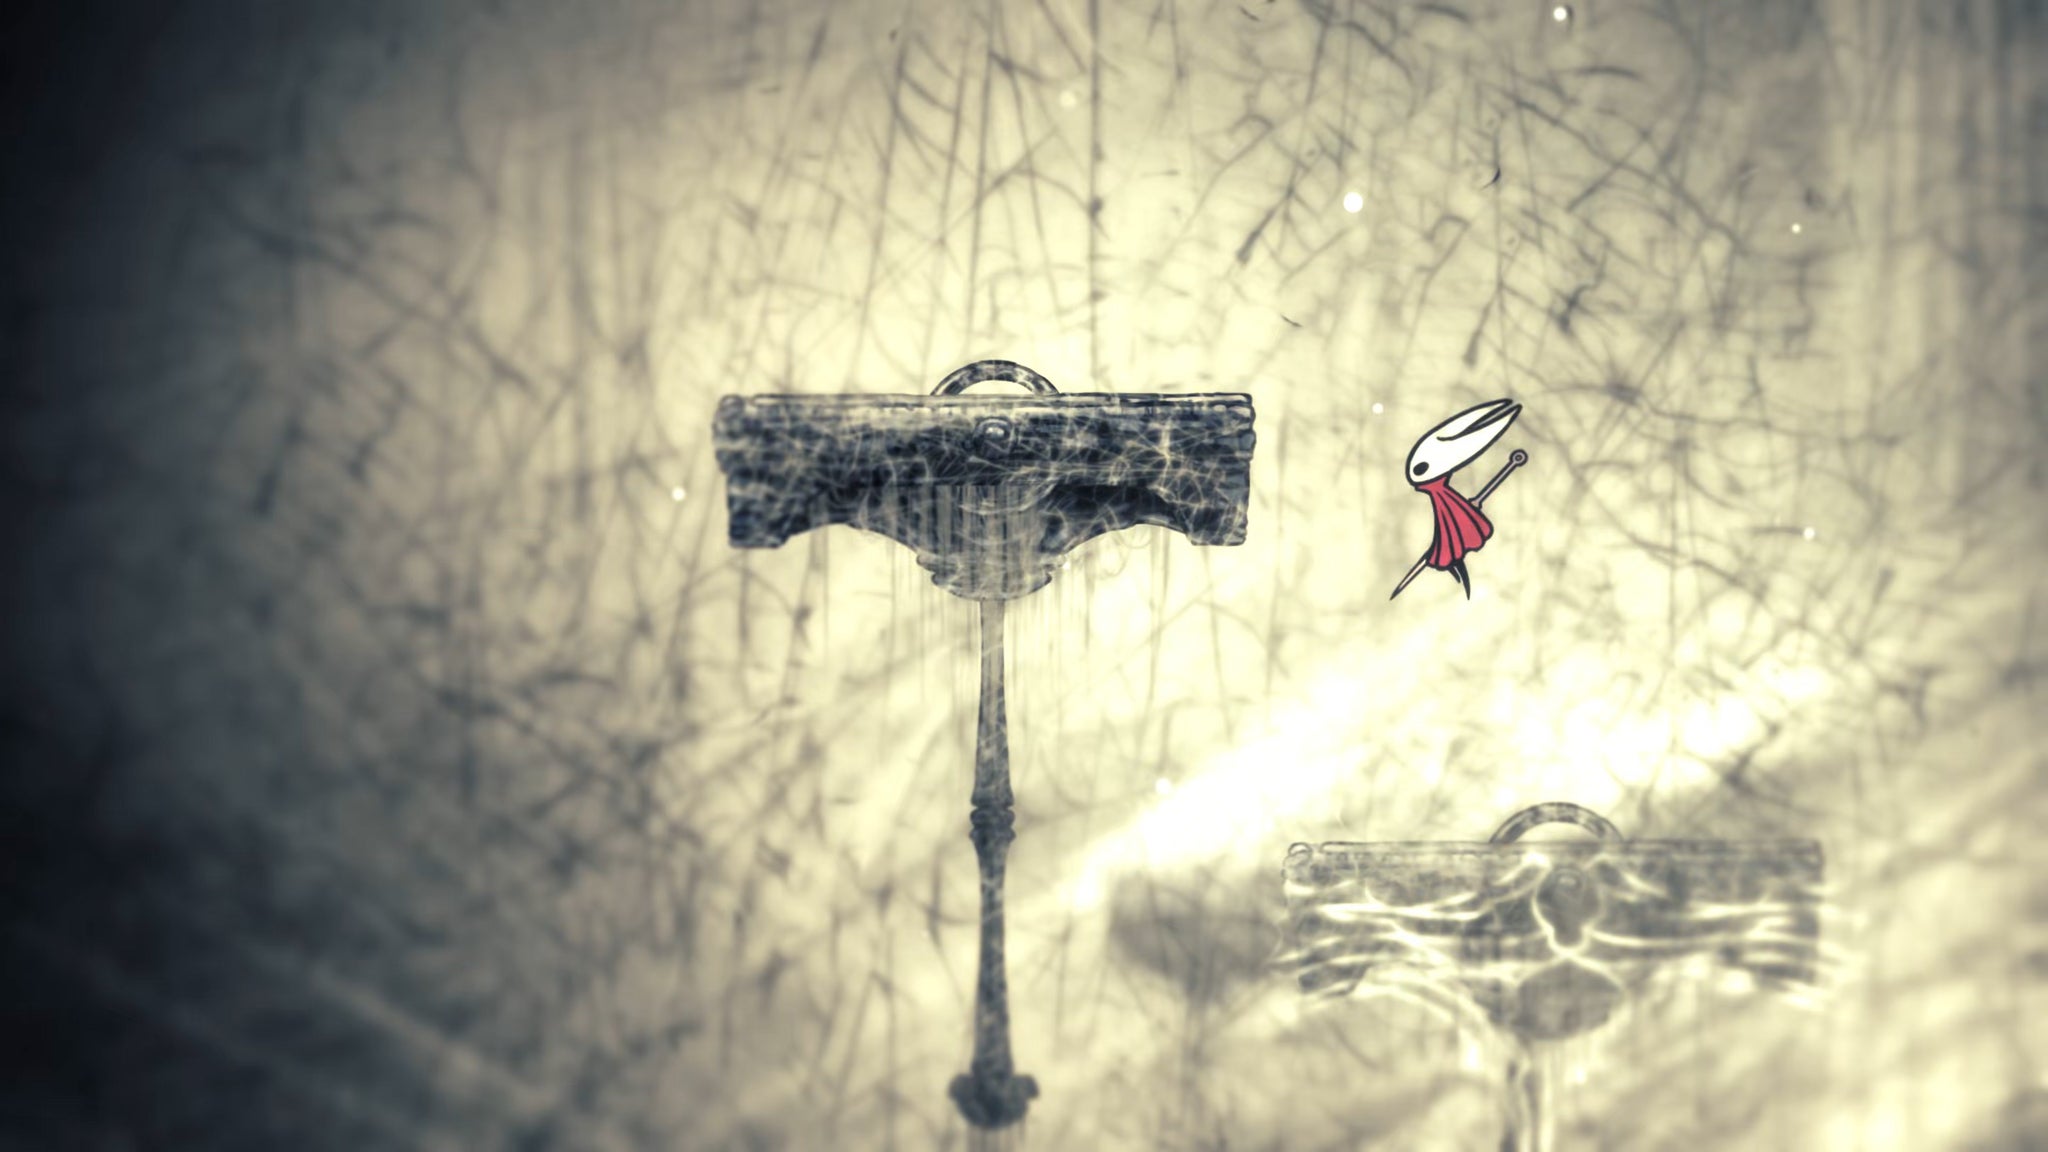
Image credit:Rock Paper Shotgun/Team Cherry
3. Reach the Terminus Ventrica Station.
After you awaken from the dream-world, head out the new exit to your right, into the shaft beyond. Climb up to the first exit on your right and pull the lever to enter the Terminus Ventrica Station! Yep, it was up here all along, and you don’t even need to pay to unlock it. Rest at the Bench to the right.
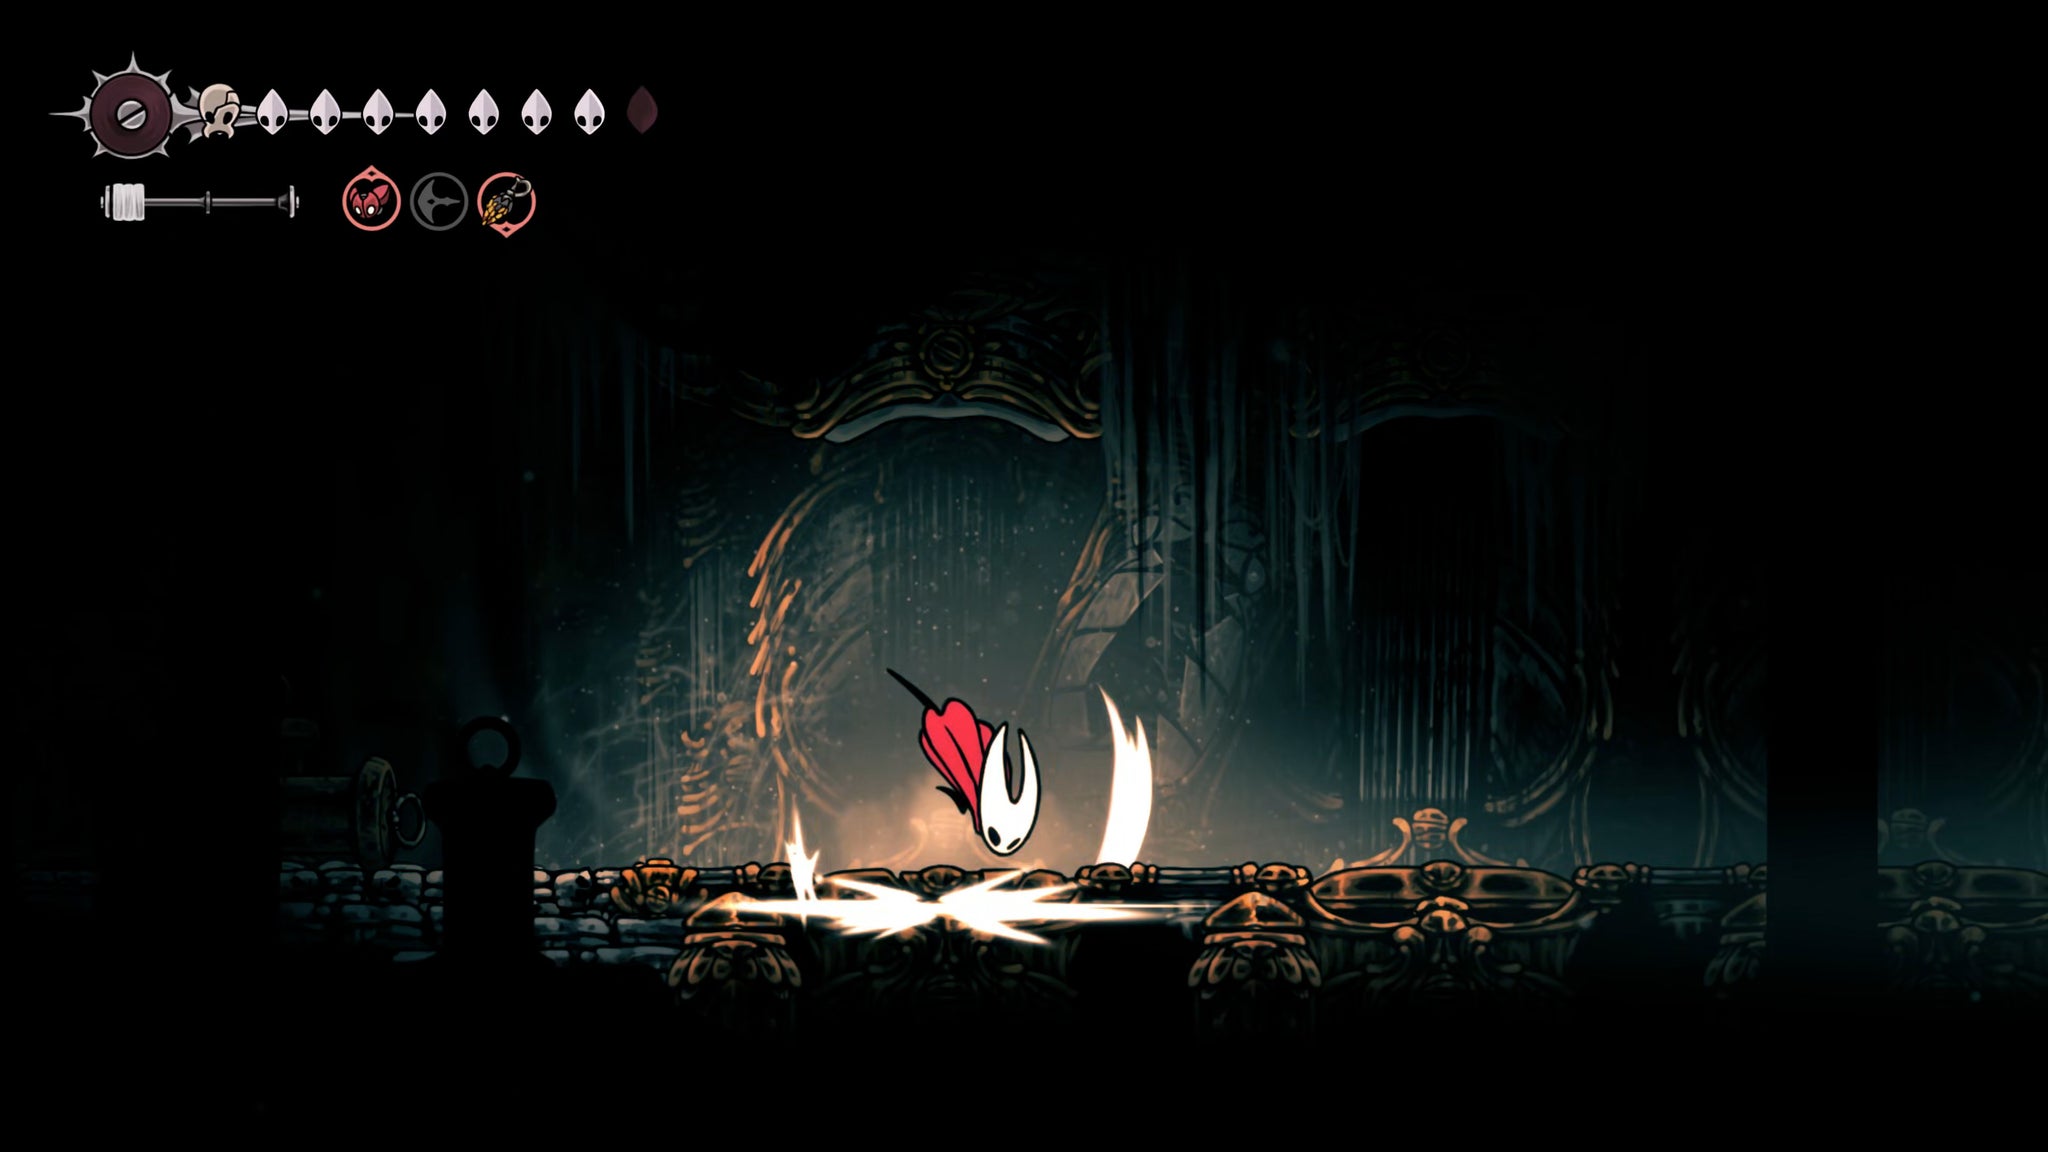
Image credit:Rock Paper Shotgun/Team Cherry
While you’re here, go to the left-most of the strange little pressure plates in front of the unused Ventricas, and do a few jump-and-downward-attacks on it until it breaks. Follow the path to the left (mind out, there’s a steam vent immediately after the lever), and it’ll take you to a Silkeater - not that you really need them for the final fight, because you’ll always be able to collect your Silk ahead of the fight.
Head back to the shaft to the left of the Ventrica Station, and climb up to its top exit. Head through the next room, and climb up to the upper-left ledge, where you can pay 70 Rosaries for the map of The Cradle.
Aside from this, there’s a room lower down filled with lore, and some breakable walls above on the right-hand side which lead back to the Ventrica shaft. Take your time exploring these, but don’t ascend to the very top of The Cradle just yet.
4. Speak with the Caretaker.
When you’re ready, fast travel from the Terminus to the First Shrine, and speak with the Caretaker in Songclave. Some interesting and very important dialogue here will lead to the offer of a new quest: Silk And Soul. This quest must be completed in order to reach Act 3, so give it your entire focus for now.
We’ll go over everything briefly below, but for full details on this alternate path, check out our detailed guide on how to unlock Act 3 in Silksong .
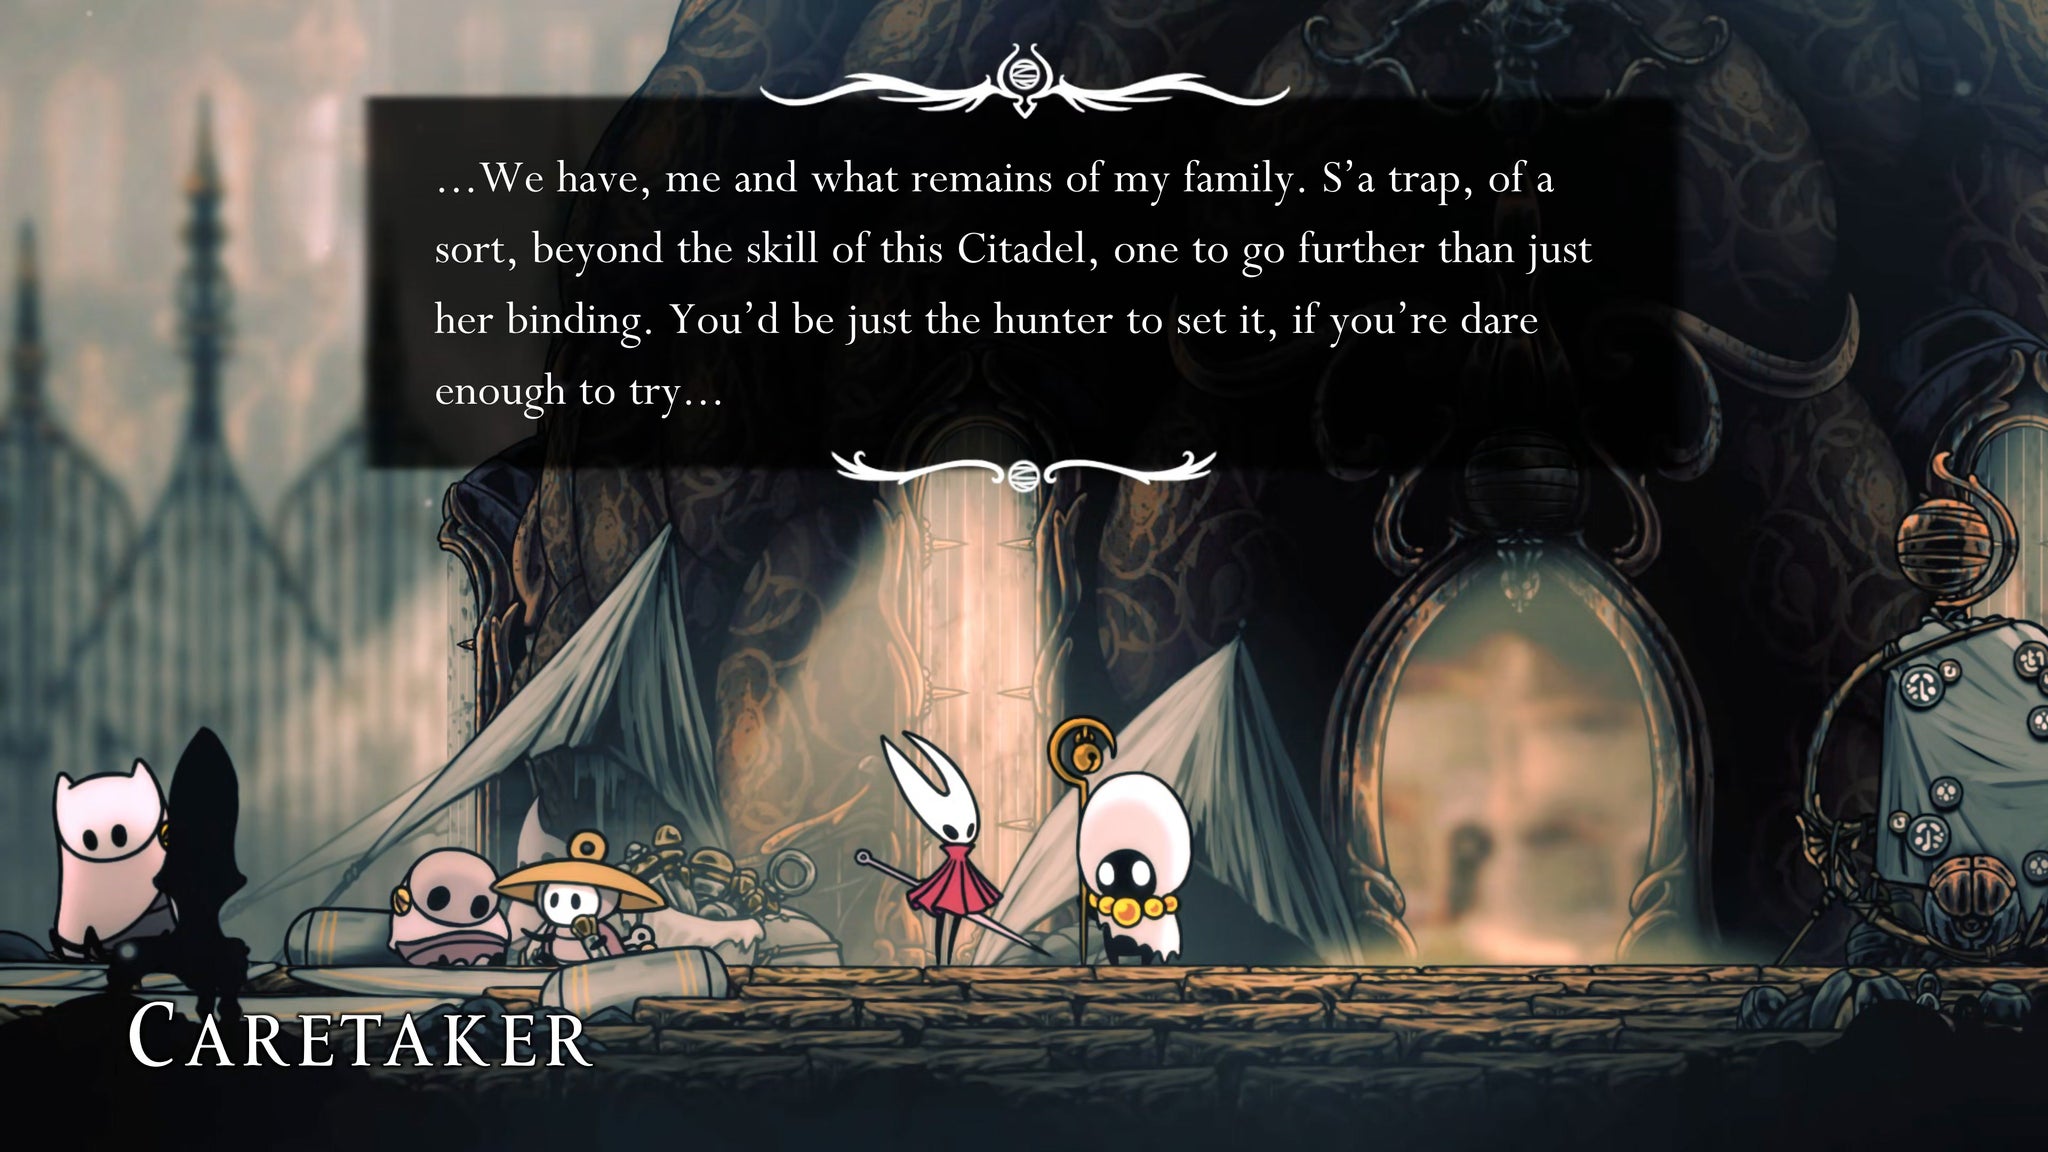
Image credit:Rock Paper Shotgun/Team Cherry
5. Complete the Silk And Soul Wish.
There are several parts to the Silk And Soul Wish, but thankfully you’ve already done a number of them if you’ve followed this walkthrough. You need to collect three Souls - the Maiden’s Soul, the Hermit’s Soul, and the Seeker’s Soul - and you also need to have acquired the Snare Setter from Weavenest Atla. Our walkthrough has already covered the obtaining of the Snare Setter, and the Seeker’s Soul (defeating Groal The Great in Bilewater).
So, for the remaining two souls, you simply need to speak with the other members of the Caretaker’s secretive family:
- The Bell Hermit in the Bellveins below Bellhart.
- The Chapel Maid at the top of Moss Grotto.

Image credit:Rock Paper Shotgun/Team Cherry
Speak with them both and they will both give you their souls so that you and the Caretaker can trap the monarch of Pharloom, rather than simply destroying her and having Hornet (unhappily) take her place.
Once you have the Souls you need, head back to Songclave and speak with the Caretaker once more. He’ll go up to The Cradle to set the trap.
6. Speak with the Caretaker in the Cradle.
Head back up to The Cradle, and ascend to near the top. This actually involves a bit of slightly tricky platforming, where you must use your Clawline to pass over the spike-covered platforms to continue ascending.
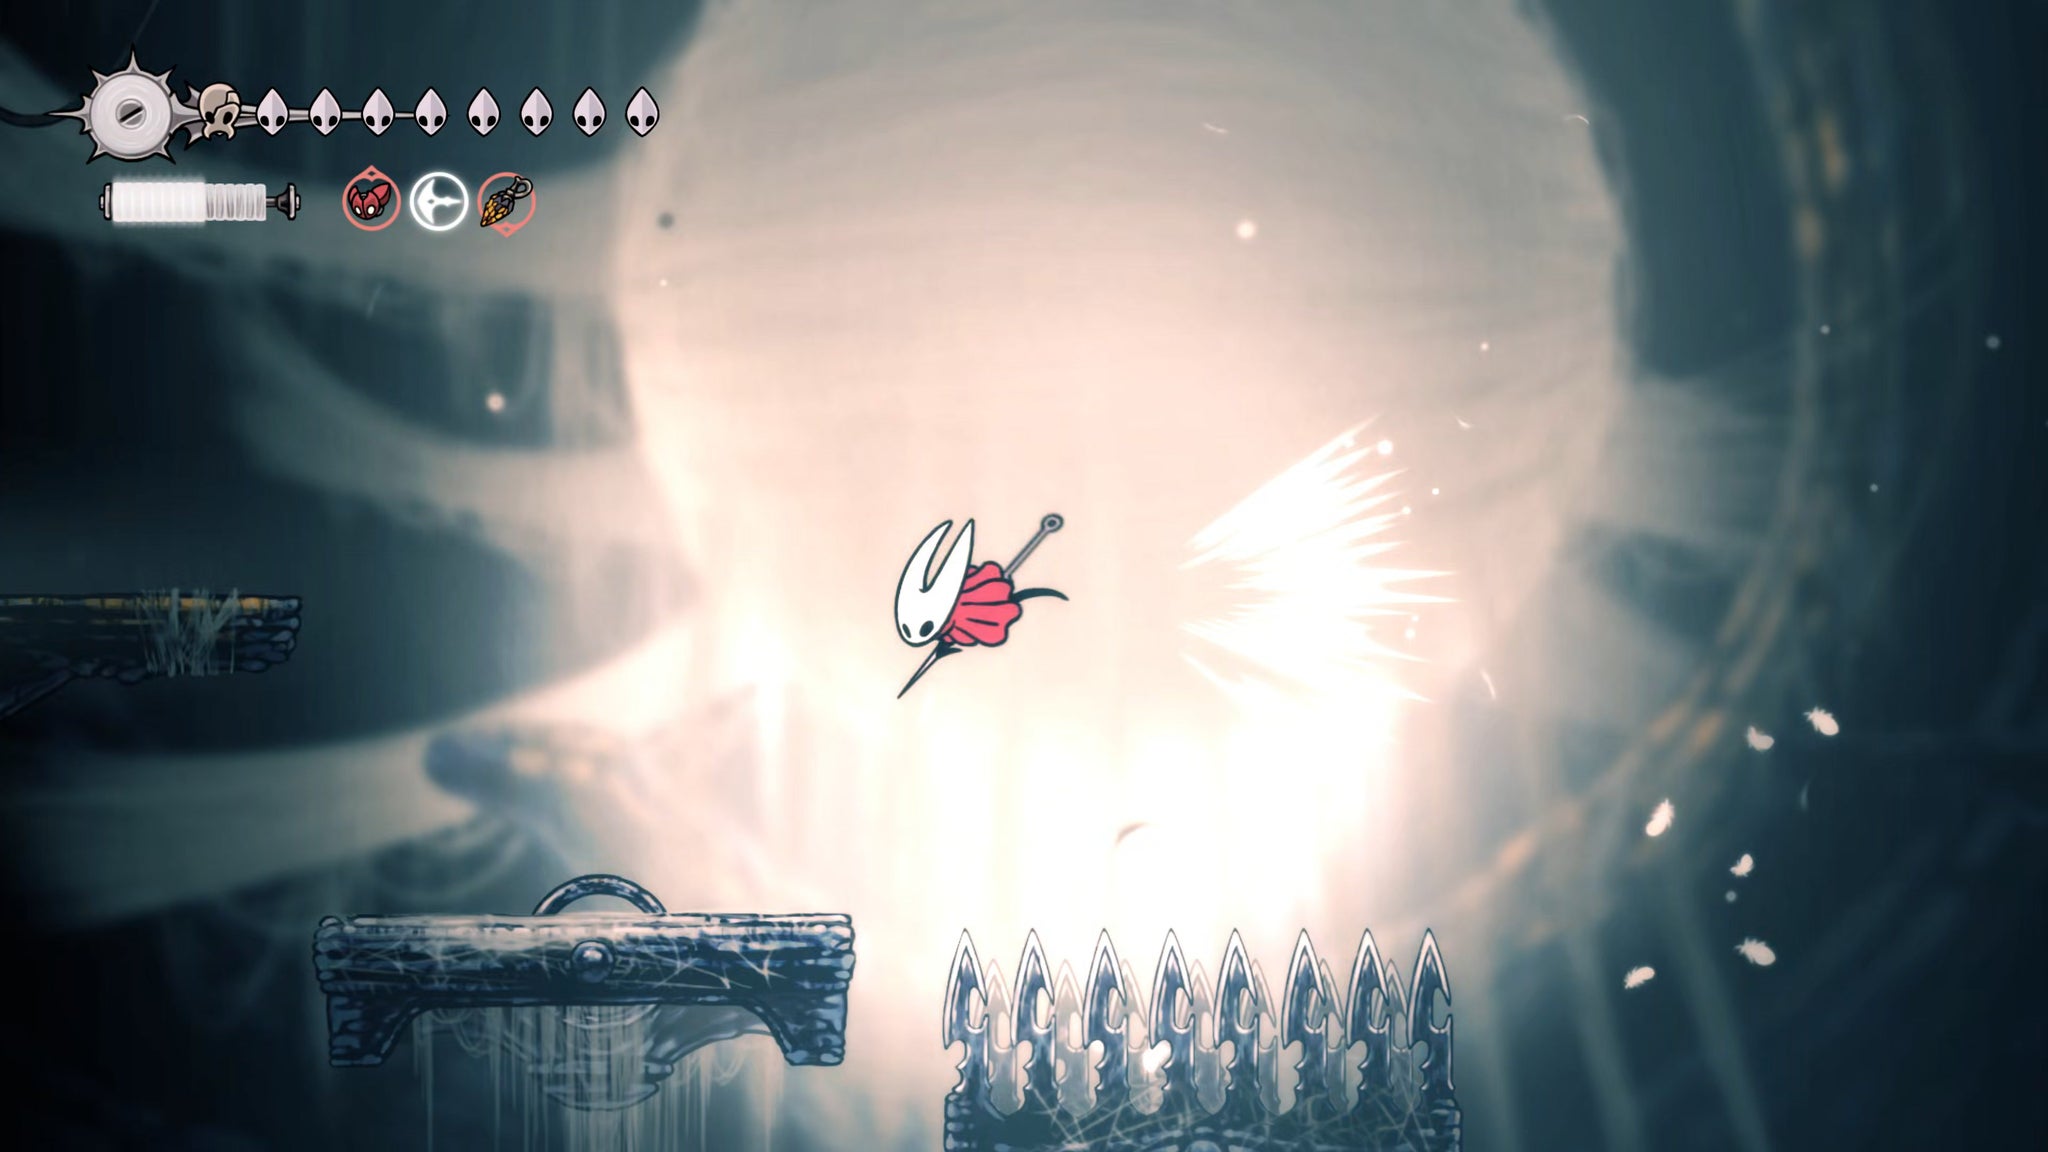
Image credit:Rock Paper Shotgun/Team Cherry
Near the top, you’ll find the Caretaker. Speak with him one more time, and he’ll tell you the trap is laid, and to activate it at the right moment by playing your Needolin. Don’t worry, the moment is clear as crystal, you’ll be prompted to either Bind or use your Needolin once the final boss is defeated to choose your ending (Needolin unlocks Act 3, Bind doesn’t!).
Now head up past the Caretaker, to the very top platform. Stand in the centre, and a prompt will appear to challenge the pale monarch who has spun their web all this time at the top of Pharloom. Do so, and prepare for the final boss fight of Act 2.
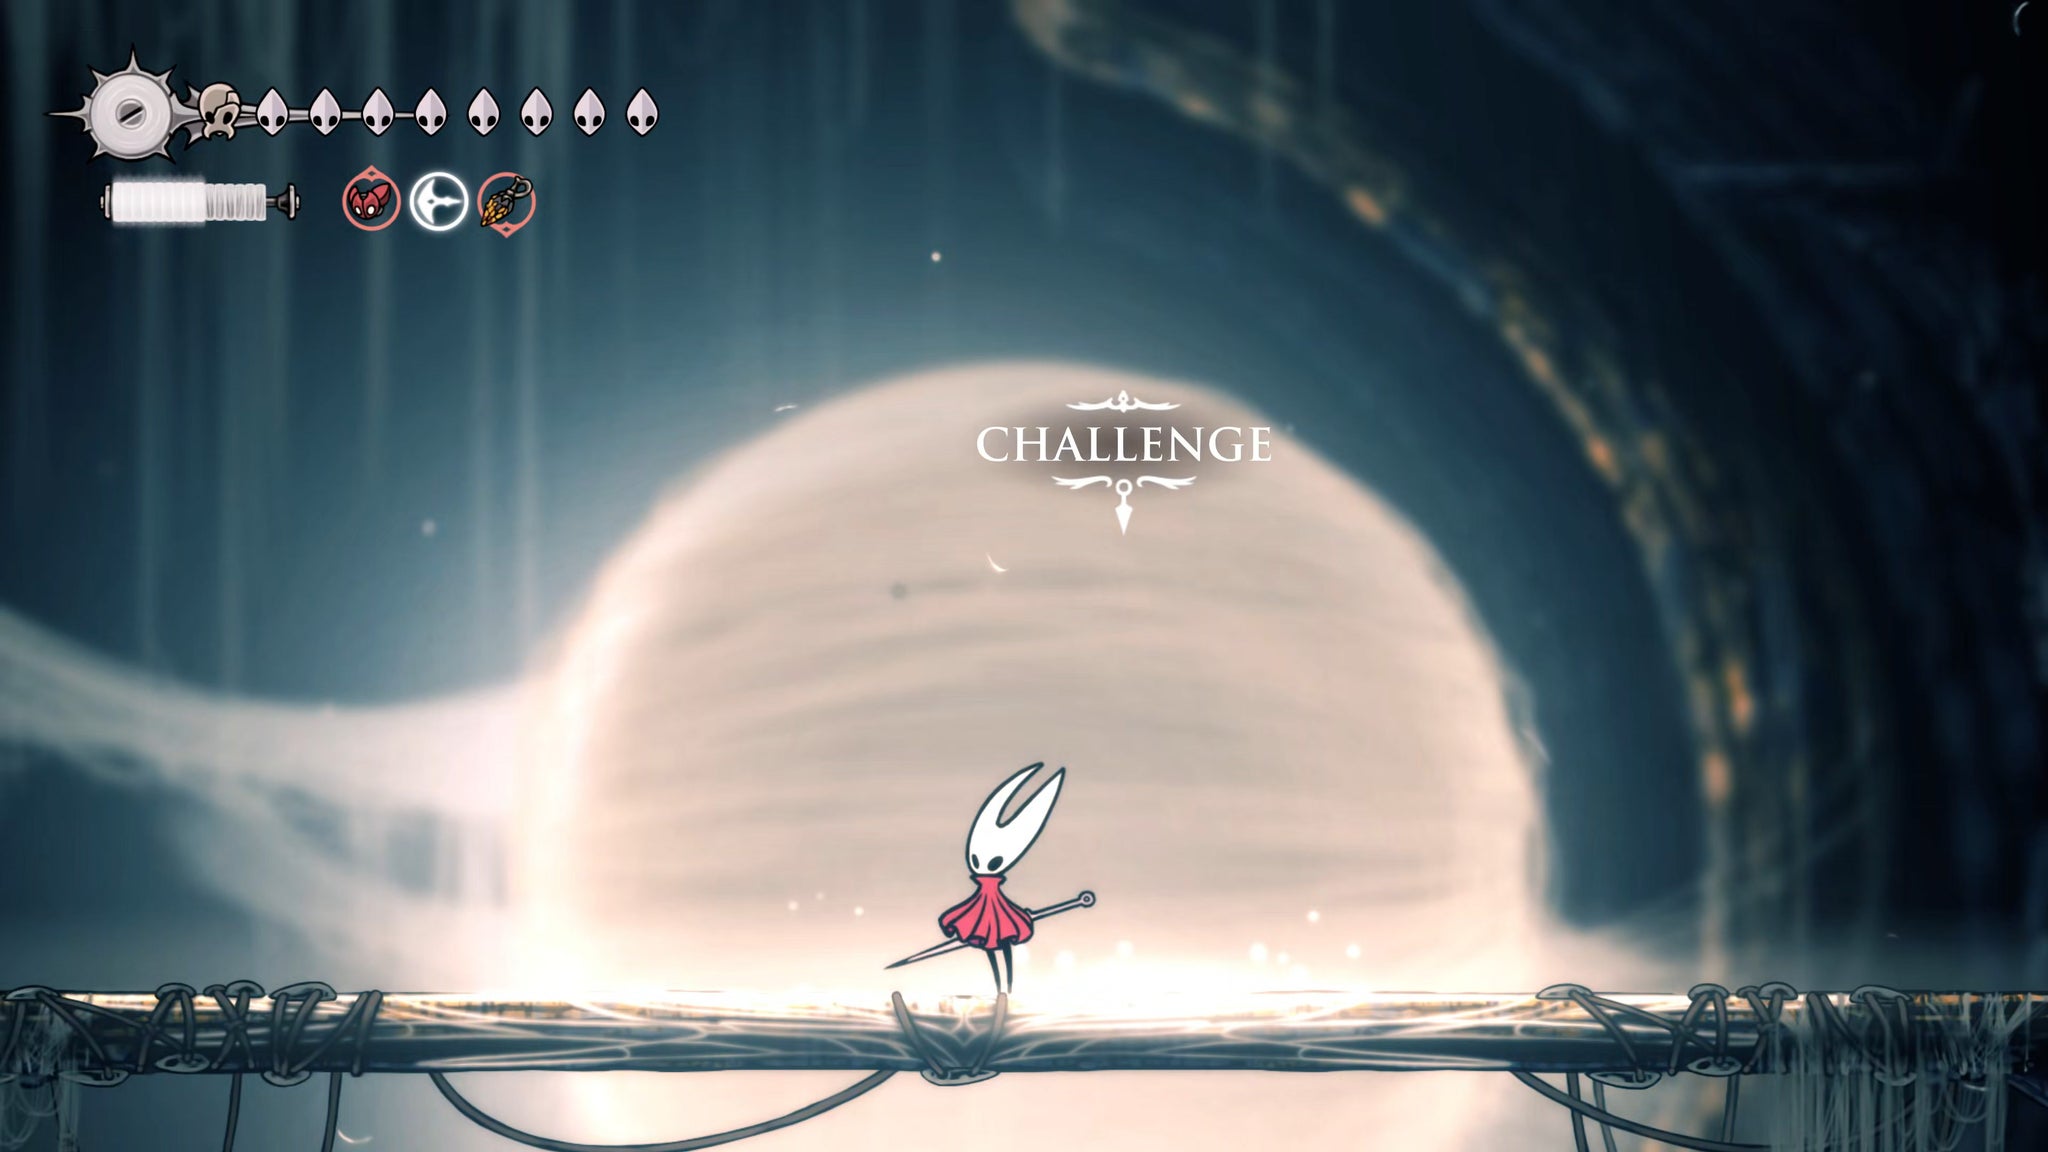
Image credit:Rock Paper Shotgun/Team Cherry
7. Defeat Grand Mother Silk.
The monarch’s name is Grand Mother Silk, and she is quite a sight to behold. The Grand Mother attacks mainly with her long needles, slicing up the arena both vertically and horizontally (and later, both at once). She can also create a web of silk across the arena where you must stand in the spaces between them to avoid a nasty 3 Masks of damage , but this is easy enough to avoid most of the time.

Image credit:Rock Paper Shotgun/Team Cherry
The thing that might trip you up at first is her claw attacks, which go from one side of the arena to the other. It’s not exactly clear what she’s doing or what you must do to dodge her when she does this, but all you need to do is jump - the actual claw attack is right along the ground, so you can easily jump over it. It’s immediately followed up by more needles dropping from the sky, so make sure you position yourself between them.
Grand Mother Silk has a number of phases, and quite a bit of health. In the second phase she starts to double up her arena-wide web attacks so there are two in quick succession, and she starts to let needles fly both horizontally and vertically at once. Still, in the first couple of phases, she’s not actually that hard, and there are plenty of opportunities to repeatedly hit her between her attacks.
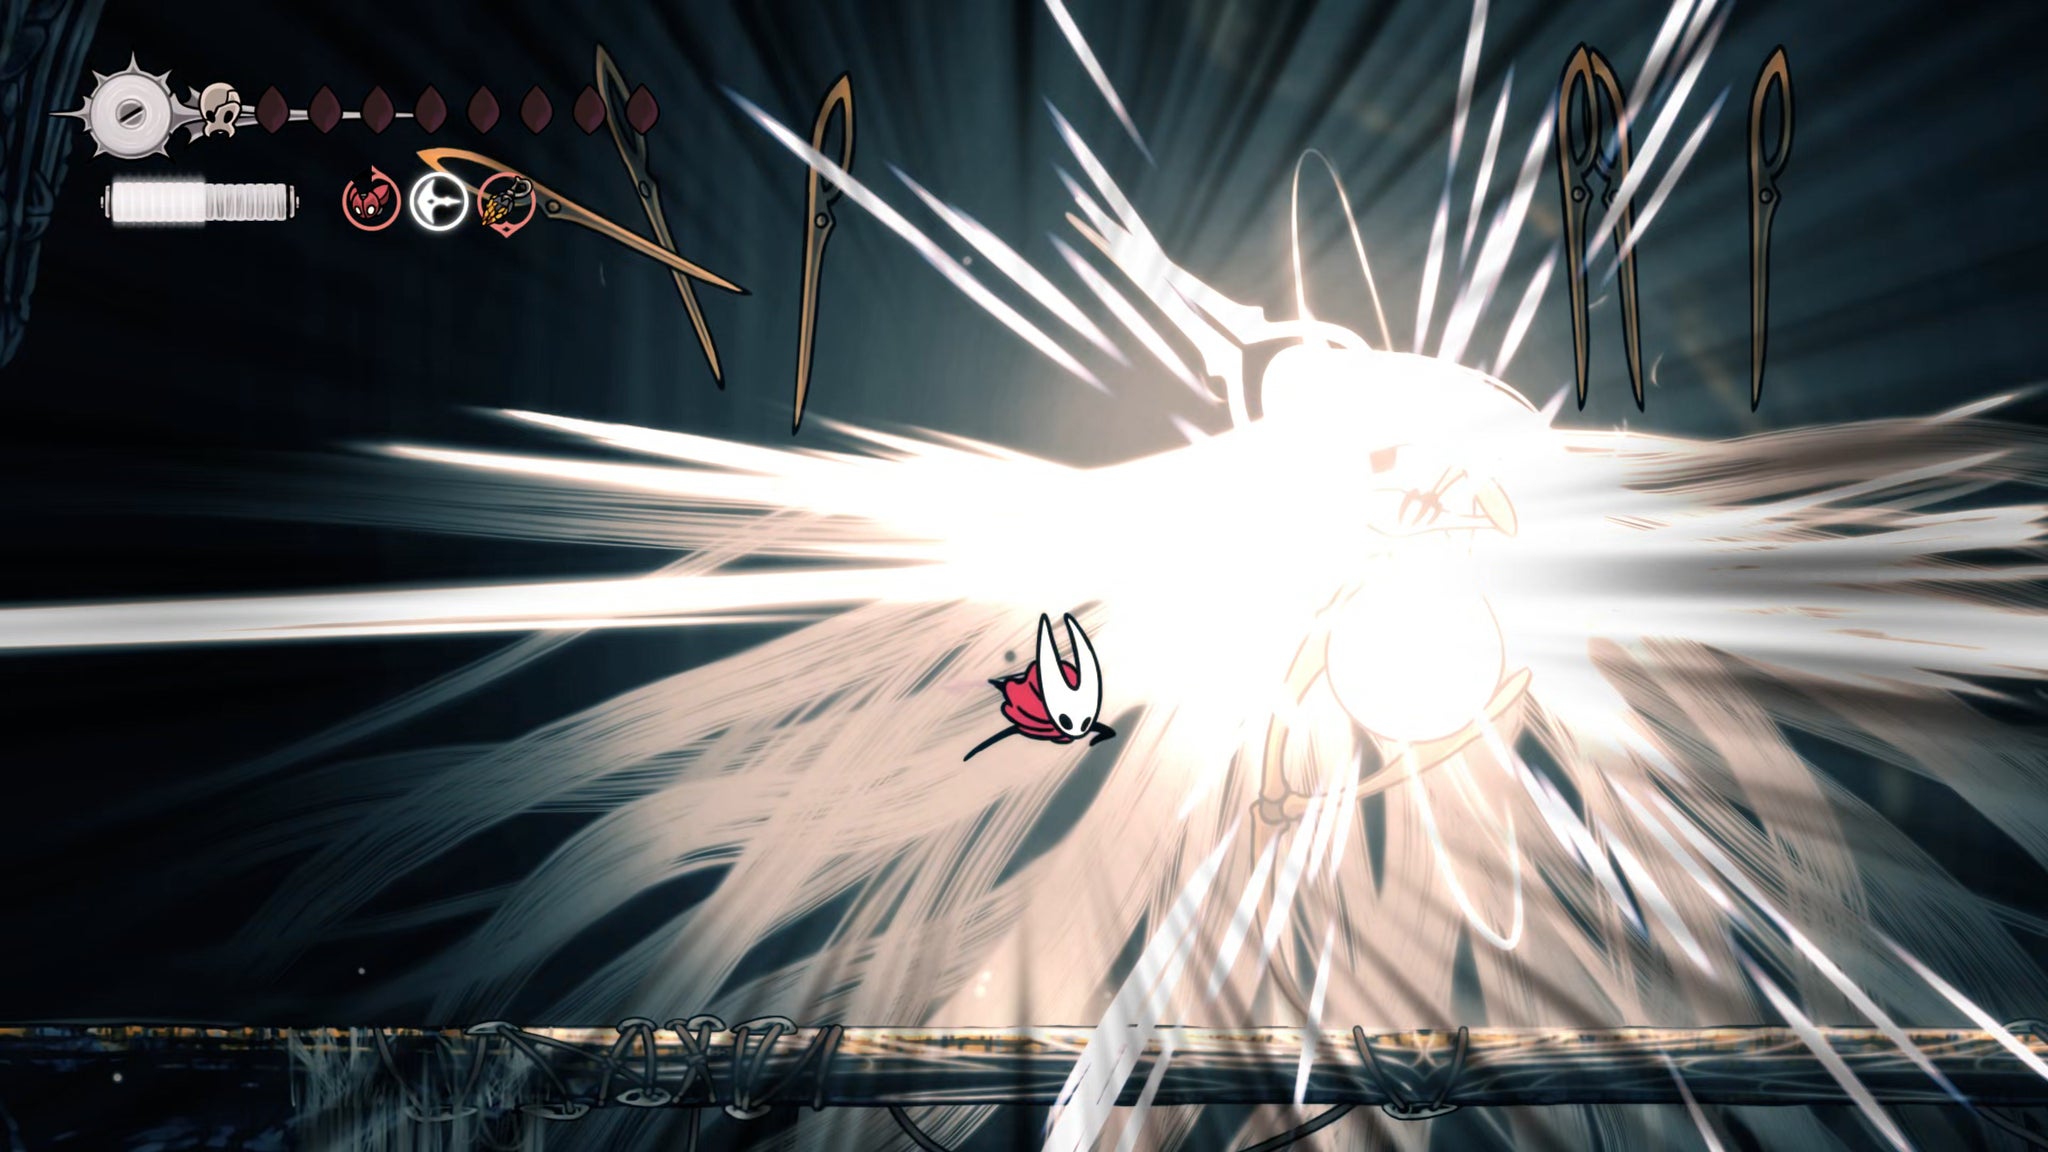
Image credit:Rock Paper Shotgun/Team Cherry
At the end of her second phase she’ll disappear for a moment, and rocks will start to fall from the ceiling that you’ll need to avoid. When the Grand Mother returns, she’ll start to augment her regular attacks with more of these falling rocks, limiting the amount of space you have for dodging.
It’s never very difficult to attack the Grand Mother - her hitbox is large, and she doesn’t dodge much. So you need to keep up the pressure as much as possible in between her attacks. Again, Sharpdart and Flintslate are phenomenal for high burst damage on the Grand Mother, and she doesn’t really have an answer to it.
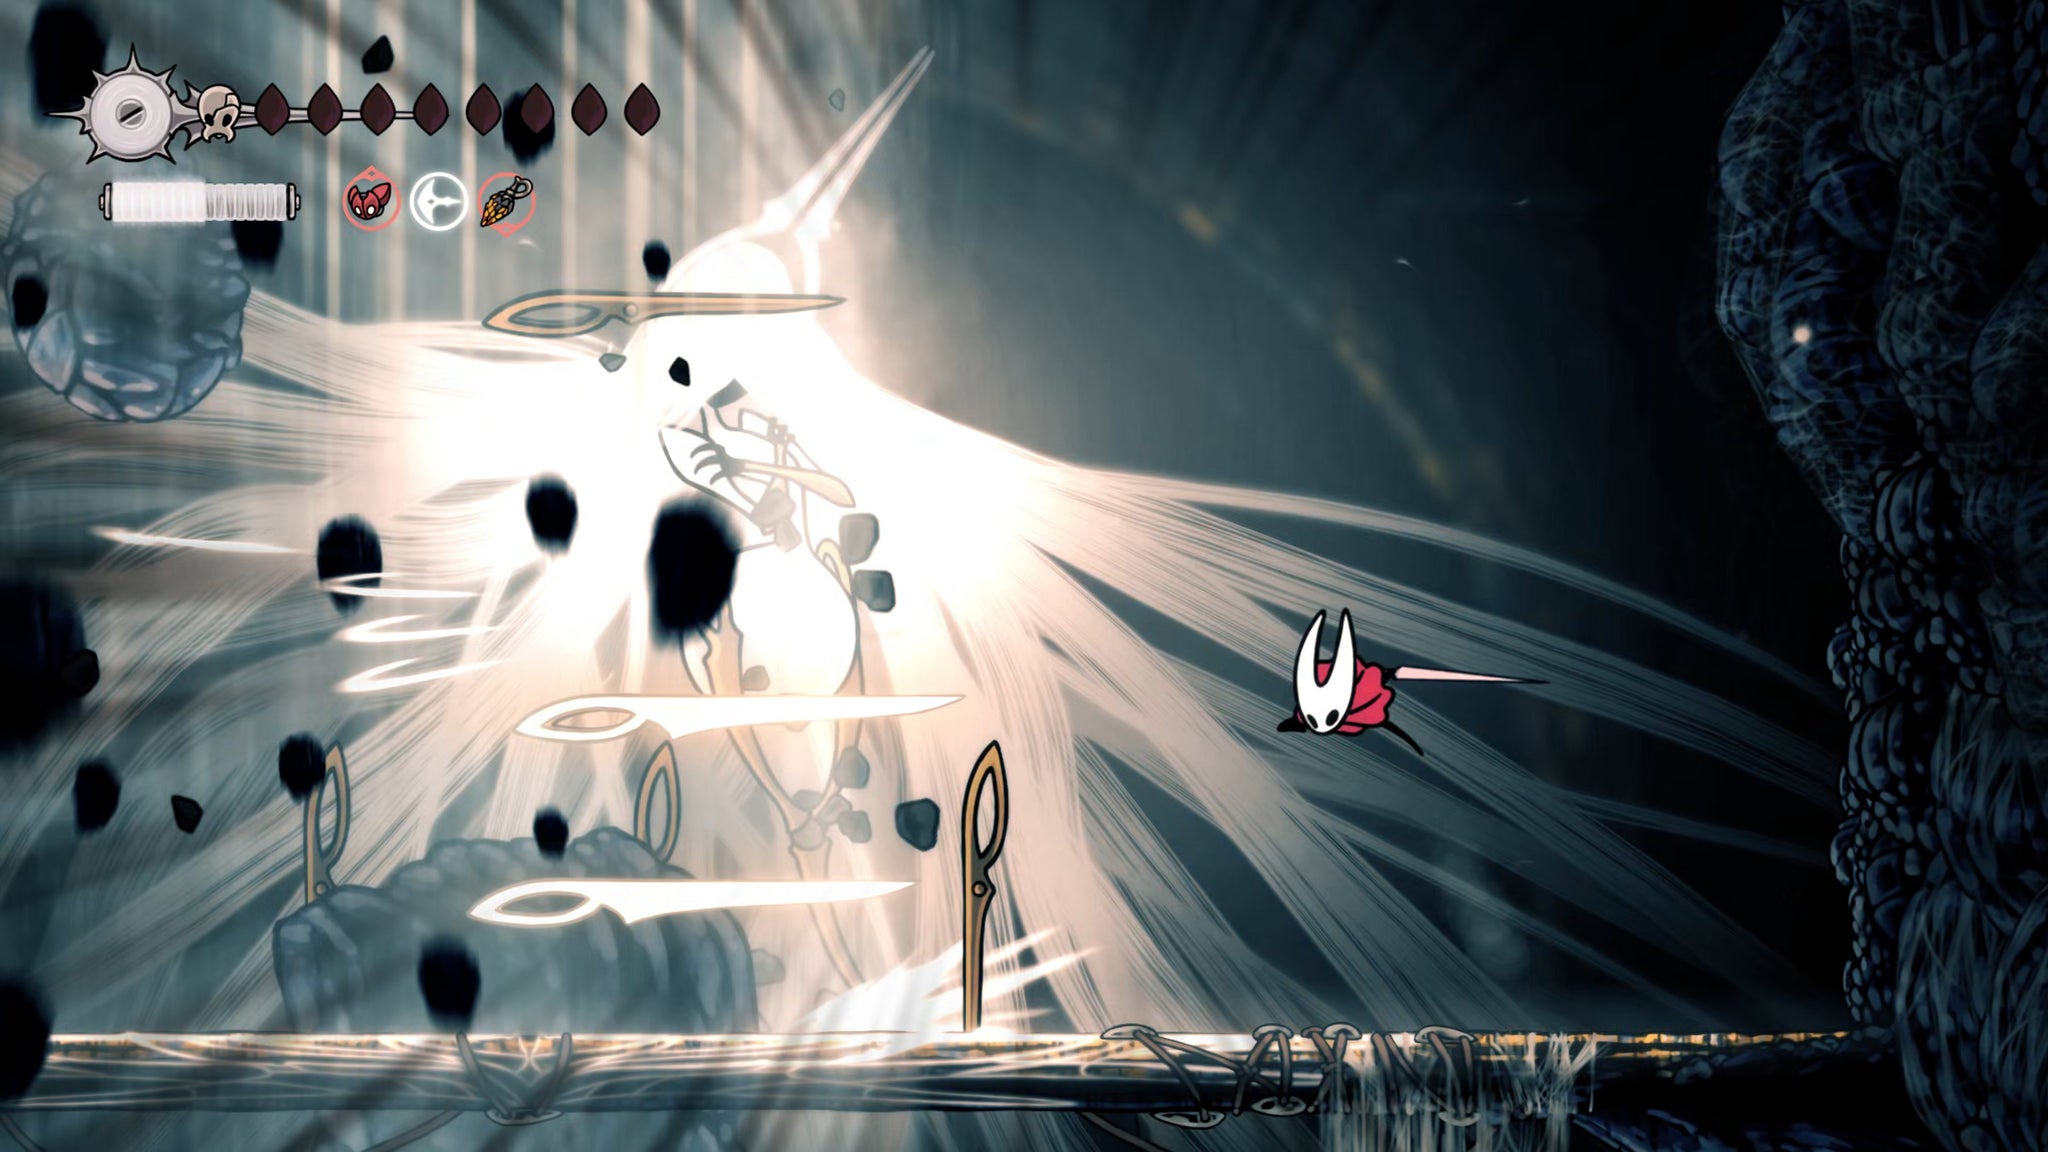
Image credit:Rock Paper Shotgun/Team Cherry
Things become considerably more difficult when she starts to summon sections of spikes on the ground, limiting your space even further. You can Pogo up off these spikes, but it still requires a deft touch to avoid damage in these moments. Expect to take lots of chip damage while you’re learning. I find equipping the Multibinder with the Injector Band works wonders at keeping you in the fight for longer.
There’s not much more to say, but keep at it, and you’ll beat her - probably without it even coming close to your most hardest boss fight in the game.
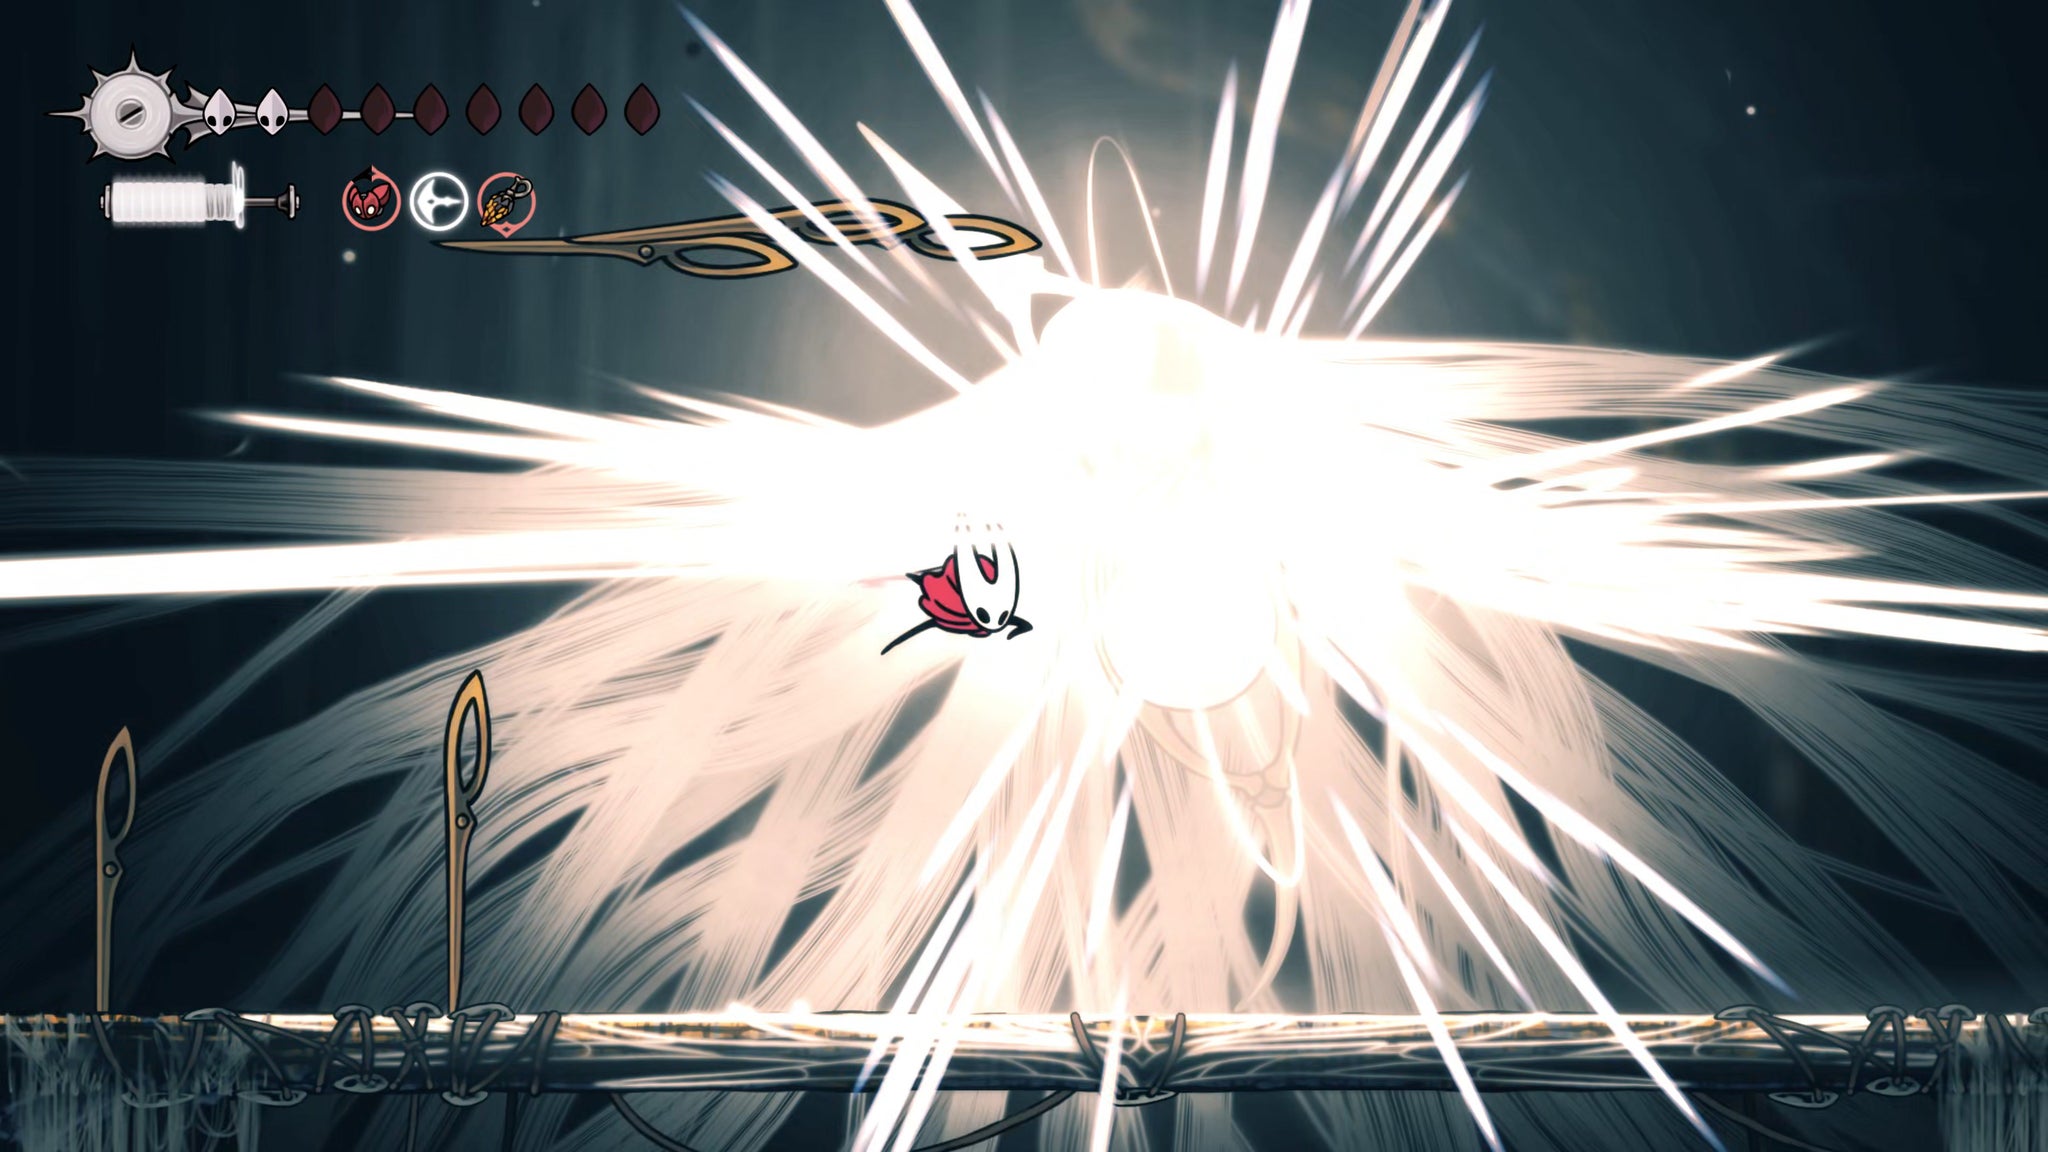
Image credit:Rock Paper Shotgun/Team Cherry

Here’s an extra tip from Ollie…
If you didn’t take the required steps to unlock Act 3, don’t worry. After you beat and Bind Grand Mother Silk and the end credits roll, you can reload the game and it’ll wind back to just before the boss fight, allowing you to take the “Snared Silk” path instead.
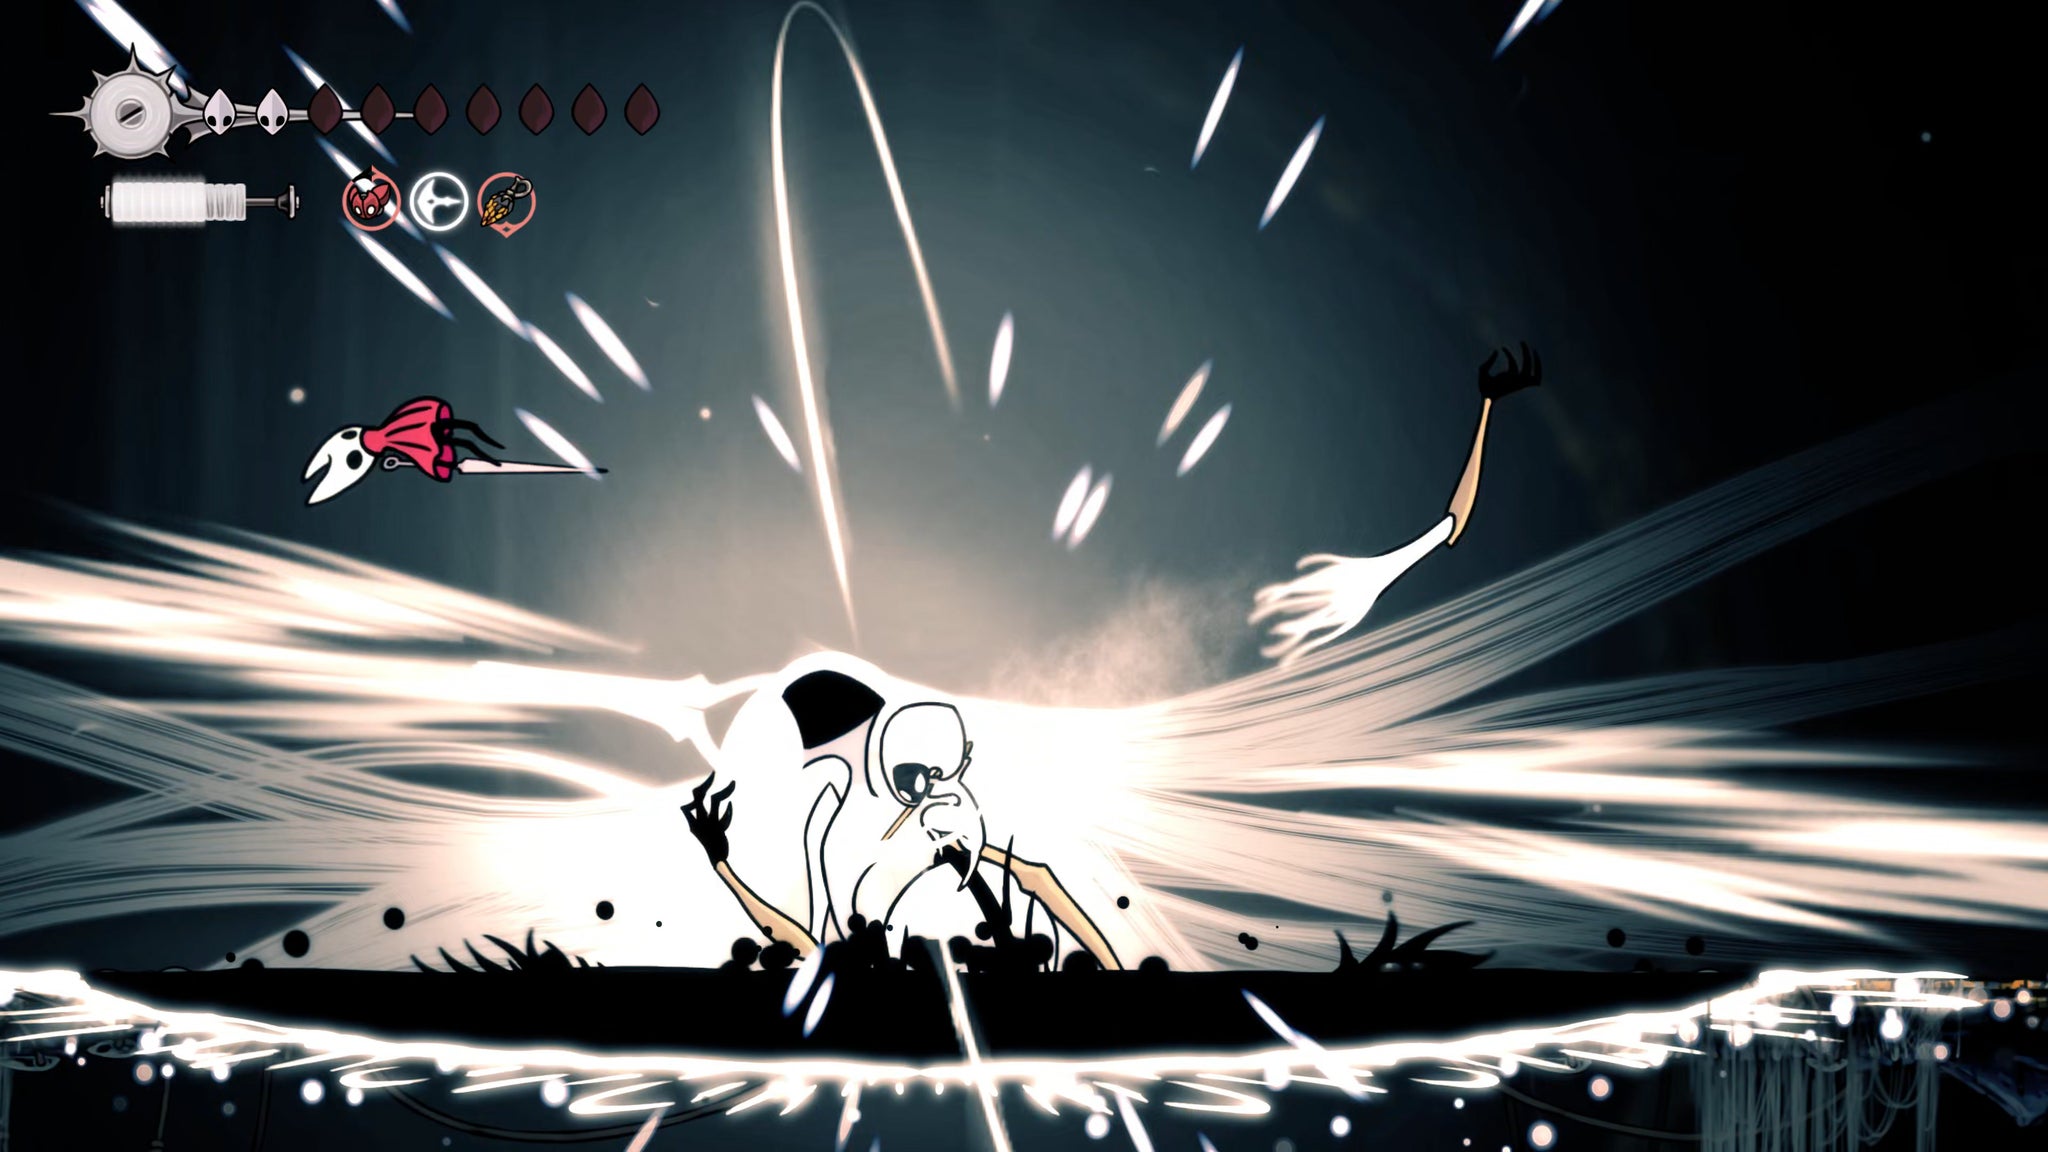
Once the Grand Mother goes down and Hornet is ramming her needle into the creature’s face, now is the time. You will have two prompts at the bottom of the screen - one to Bind, and the other to play your Needolin.
Play the Needolin. This prompts what’s known as the “Snared Silk” ending to Hollow Knight: Silksong. This is the ending which allows you to reload your save after the end credits, and begin Act 3 of the game.
In this moment, the Caretaker’s trap is sprung, and the Grand Mother is pulled downwards by strands of black void. In her last moments she grabs Hornet, and it looks like both will be pulled down into the abyss together - but at the last second, Lace reappears, and severs the Grand Mother’s hand that was clutching Hornet, taking her place.


8. After the end credits, load your save file.
After a cutscene where it appears the world is falling apart, the end credits to Silksong will play. Congratulations! You’ve come very far, and done very much - but the game isn’t over yet.

Image credit:Rock Paper Shotgun/Team Cherry
Once you’re past the end credits, a game completion screen will show, and you’ll unlock Steel Soul mode for your next playthrough. After that, you’ll be brought back to the main menu.
From here, click Start Game, and you’ll see that your save file has an odd look about it, all covered in black strands of void. Select that save file several times, and the strands will break, allowing you to head back into Pharloom and begin Act 3 of Silksong.
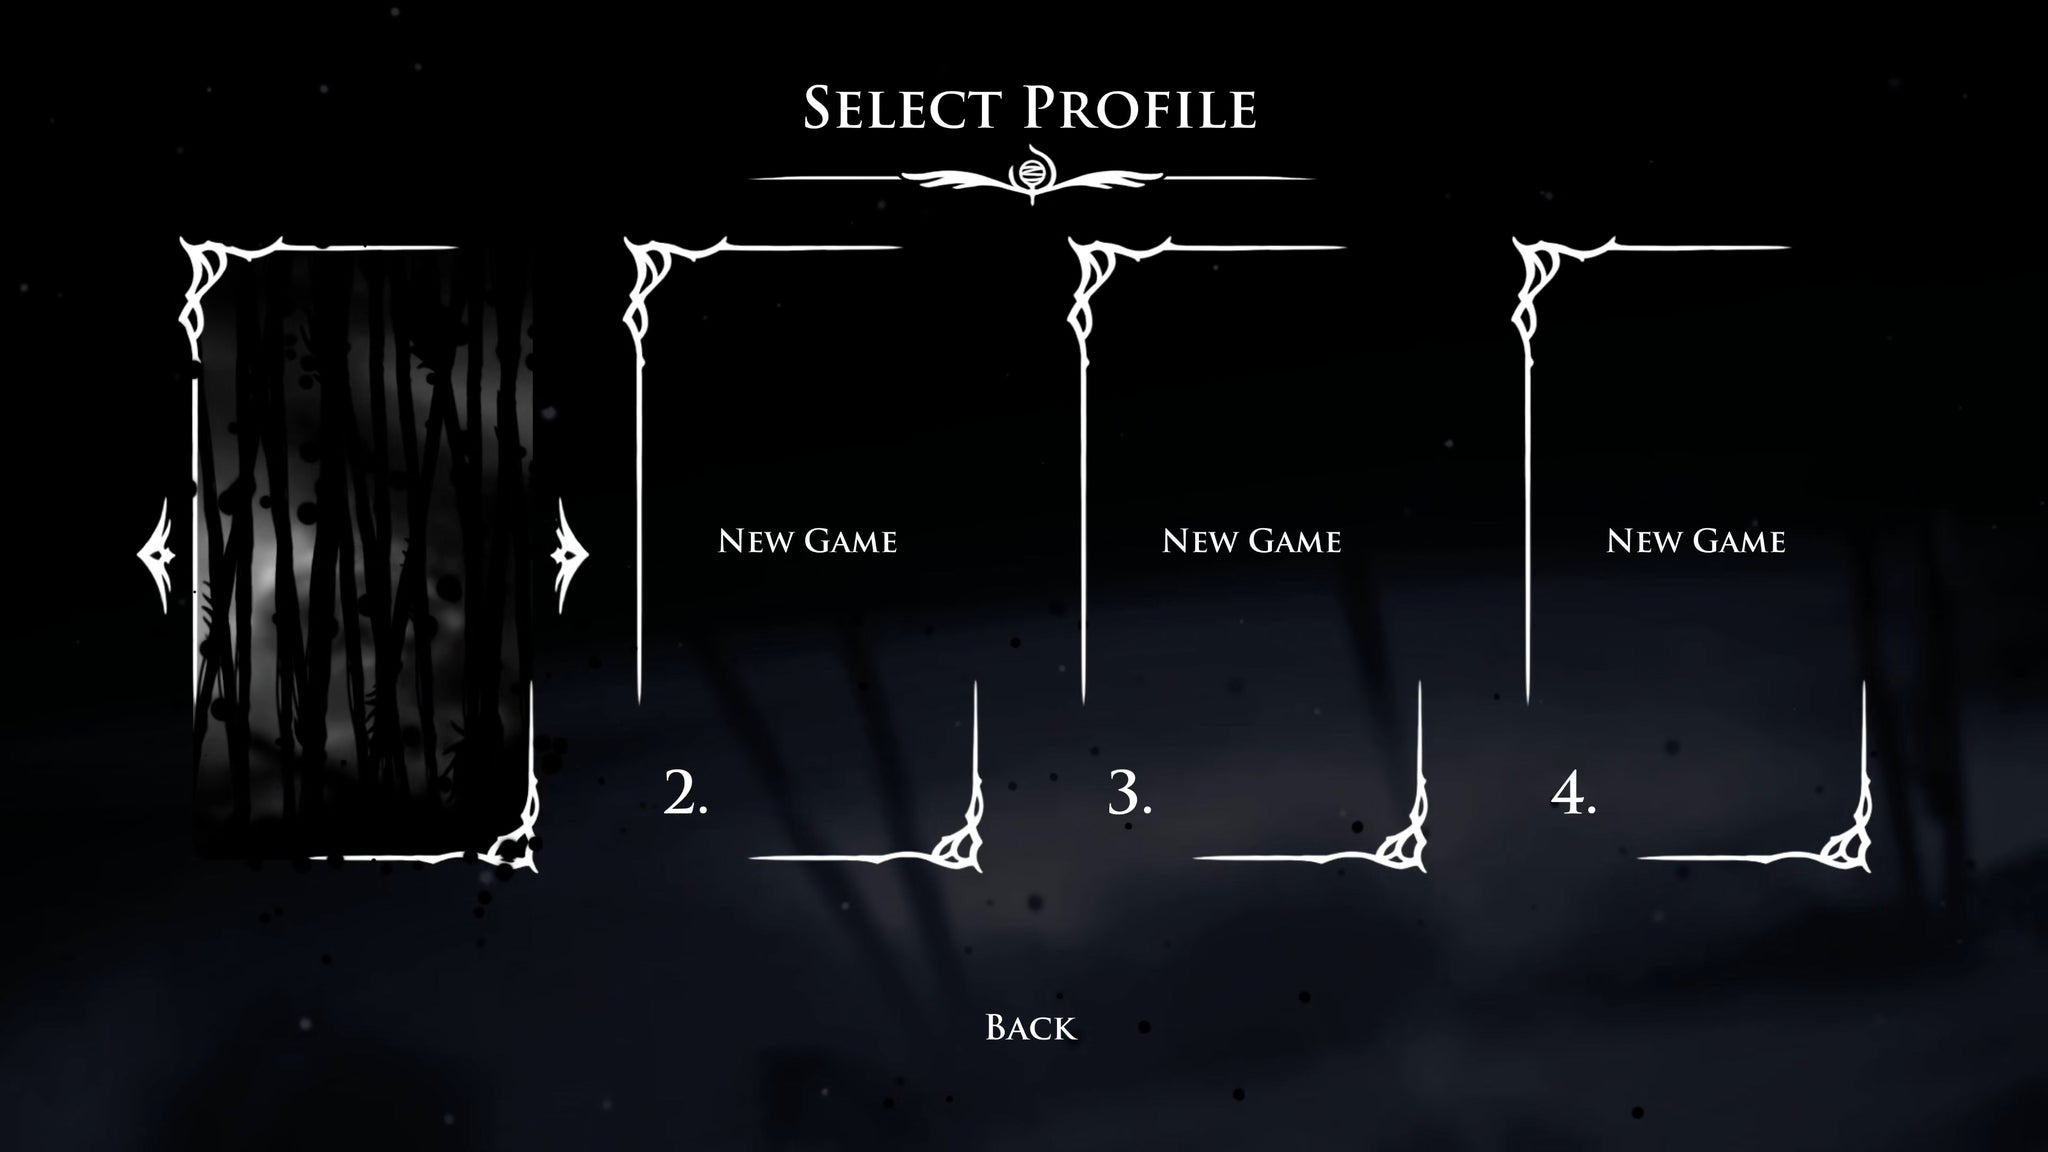
Ominous… |Image credit:Rock Paper Shotgun/Team Cherry
That’s all for Act 2, and well done for beating Lace and snaring Grand Mother Silk. Unfortunately, the Caretaker’s trap appears to have unleashed perhaps an even greater evil upon Pharloom, and it’s up to us to get to the bottom of it. Join us in Part 34 of our Silksong walkthrough for guidance on where to go next.


Hollow Knight: Silksong
PC , Nintendo Switch
Rock Paper Shotgun is better when you sign in
Sign in and join us on our journey to discover strange and compelling PC games.

All 75 Arc Raiders Blueprints and where to get them
These areas have the highest chance of giving you Blueprints

Image credit:Rock Paper Shotgun/Embark Studios

Looking for more Arc Raiders Blueprints? It’s a special day when you find a Blueprint, as they’re among the most valuable items in Arc Raiders. If you find a Blueprint that you haven’t already found, then you must make sure you hold onto it at all costs, because Blueprints are the key to one of the most important and powerful systems of meta-progression in the game.
This guide aims to be the very best guide on Blueprints you can find, starting with a primer on what exactly they are and how they work in Arc Raiders, before delving into exactly where to get Blueprints and the very best farming spots for you to take in your search.
We’ll also go over how to get Blueprints from other unlikely activities, such as destroying Surveyors and completing specific quests. And you’ll also find the full list of all 75 Blueprints in Arc Raiders on this page (including the newest Blueprints added with the Cold Snap update , such as the Deadline Blueprint and Firework Box Blueprint), giving you all the information you need to expand your own crafting repertoire.
In this guide:
- What are Blueprints in Arc Raiders?
- Full Blueprint list: All crafting recipes
- Where to find Blueprints in Arc Raiders Blueprints obtained from quests Blueprints obtained from Trials Best Blueprint farming locations

What are Blueprints in Arc Raiders?
Blueprints in Arc Raiders are special items which, if you manage to extract with them, you can expend to permanently unlock a new crafting recipe in your Workshop. If you manage to extract from a raid with an Anvil Blueprint, for example, you can unlock the ability to craft your very own Anvil Pistol, as many times as you like (as long as you have the crafting materials).
To use a Blueprint, simply open your Inventory while in the lobby, then right-click on the Blueprint and click “Learn And Consume” . This will permanently unlock the recipe for that item in your Workshop. As of the Stella Montis update, there are allegedly 75 different Blueprints to unlock - although only 68 are confirmed to be in the game so far. You can see all the Blueprints you’ve found and unlocked by going to the Workshop menu, and hitting “R” to bring up the Blueprint screen.
It’s possible to find duplicates of past Blueprints you’ve already unlocked. If you find these, then you can either sell them, or - if you like to play with friends - you can take it into a match and gift it to your friend so they can unlock that recipe for themselves. Another option is to keep hold of them until the time comes to donate them to the Expedition.
Full Blueprint list: All crafting recipes
Below is the full list of all the Blueprints that are currently available to find in Arc Raiders, and the crafting recipe required for each item:
| Blueprint | Type | Recipe | Crafted At |
|---|---|---|---|
| Bettina | Weapon | 3x Advanced Mechanical Components 3x Heavy Gun Parts 3x Canister | Gunsmith 3 |
| Blue Light Stick | Quick Use | 3x Chemicals | Utility Station 1 |
| Aphelion | Weapon | 3x Magnetic Accelerator 3x Complex Gun Parts 1x Matriarch Reactor | Gunsmith 3 |
| Combat Mk. 3 (Flanking) | Augment | 2x Advanced Electrical Components 3x Processor | Gear Bench 3 |
| Combat Mk. 3 (Aggressive) | Augment | 2x Advanced Electrical Components 3x Processor | Gear Bench 3 |
| Complex Gun Parts | Material | 2x Light Gun Parts 2x Medium Gun Parts 2x Heavy Gun Parts | Refiner 3 |
| Fireworks Box | Quick Use | 1x Explosive Compound 3x Pop Trigger | Explosives Station 2 |
| Gas Mine | Mine | 4x Chemicals 2x Rubber Parts | Explosives Station 1 |
| Green Light Stick | Quick Use | 3x Chemicals | Utility Station 1 |
| Pulse Mine | Mine | 1x Crude Explosives 1x Wires | Explosives Station 1 |
| Seeker Grenade | Grenade | 1x Crude Explosives 2x ARC Alloy | Explosives Station 1 |
| Looting Mk. 3 (Survivor) | Augment | 2x Advanced Electrical Components 3x Processor | Gear Bench 3 |
| Angled Grip II | Mod | 2x Mechanical Components 3x Duct Tape | Gunsmith 2 |
| Angled Grip III | Mod | 2x Mod Components 5x Duct Tape | Gunsmith 3 |
| Hullcracker | Weapon | 1x Magnetic Accelerator 3x Heavy Gun Parts 1x Exodus Modules | Gunsmith 3 |
| Launcher Ammo | Ammo | 5x Metal Parts 1x Crude Explosives | Workbench 1 |
| Anvil | Weapon | 5x Mechanical Components 5x Simple Gun Parts | Gunsmith 2 |
| Anvil Splitter | Mod | 2x Mod Components 3x Processor | Gunsmith 3 |
| ??? | ??? | ??? | ??? |
| Barricade Kit | Quick Use | 1x Mechanical Components | Utility Station 2 |
| Blaze Grenade | Grenade | 1x Explosive Compound 2x Oil | Explosives Station 3 |
| Bobcat | Weapon | 3x Advanced Mechanical Components 3x Light Gun Parts | Gunsmith 3 |
| Osprey | Weapon | 2x Advanced Mechanical Components 3x Medium Gun Parts 7x Wires | Gunsmith 3 |
| Burletta | Weapon | 3x Mechanical Components 3x Simple Gun Parts | Gunsmith 1 |
| Compensator II | Mod | 2x Mechanical Components 4x Wires | Gunsmith 2 |
| Compensator III | Mod | 2x Mod Components 8x Wires | Gunsmith 3 |
| Defibrillator | Quick Use | 9x Plastic Parts 1x Moss | Medical Lab 2 |
| ??? | ??? | ??? | ??? |
| Equalizer | Weapon | 3x Magnetic Accelerator 3x Complex Gun Parts 1x Queen Reactor | Gunsmith 3 |
| Extended Barrel | Mod | 2x Mod Components 8x Wires | Gunsmith 3 |
| Extended Light Mag II | Mod | 2x Mechanical Components 3x Steel Spring | Gunsmith 2 |
| Extended Light Mag III | Mod | 2x Mod Components 5x Steel Spring | Gunsmith 3 |
| Extended Medium Mag II | Mod | 2x Mechanical Components 3x Steel Spring | Gunsmith 2 |
| Extended Medium Mag III | Mod | 2x Mod Components 5x Steel Spring | Gunsmith 3 |
| Extended Shotgun Mag II | Mod | 2x Mechanical Components 3x Steel Spring | Gunsmith 2 |
| Extended Shotgun Mag III | Mod | 2x Mod Components 5x Steel Spring | Gunsmith 3 |
| Remote Raider Flare | Quick Use | 2x Chemicals 4x Rubber Parts | Utility Station 1 |
| Heavy Gun Parts | Material | 4x Simple Gun Parts | Refiner 2 |
| Venator | Weapon | 2x Advanced Mechanical Components 3x Medium Gun Parts 5x Magnet | Gunsmith 3 |
| Il Toro | Weapon | 5x Mechanical Components 6x Simple Gun Parts | Gunsmith 1 |
| Jolt Mine | Mine | 1x Electrical Components 1x Battery | Explosives Station 2 |
| Explosive Mine | Mine | 1x Explosive Compound 1x Sensors | Explosives Station 3 |
| Jupiter | Weapon | 3x Magnetic Accelerator 3x Complex Gun Parts 1x Queen Reactor | Gunsmith 3 |
| Light Gun Parts | Material | 4x Simple Gun Parts | Refiner 2 |
| Lightweight Stock | Mod | 2x Mod Components 5x Duct Tape | Gunsmith 3 |
| Lure Grenade | Grenade | 1x Speaker Component 1x Electrical Components | Utility Station 2 |
| Medium Gun Parts | Material | 4x Simple Gun Parts | Refiner 2 |
| Torrente | Weapon | 2x Advanced Mechanical Components 3x Medium Gun Parts 6x Steel Spring | Gunsmith 3 |
| Muzzle Brake II | Mod | 2x Mechanical Components 4x Wires | Gunsmith 2 |
| Muzzle Brake III | Mod | 2x Mod Components 8x Wires | Gunsmith 3 |
| Padded Stock | Mod | 2x Mod Components 5x Duct Tape | Gunsmith 3 |
| Shotgun Choke II | Mod | 2x Mechanical Components 4x Wires | Gunsmith 2 |
| Shotgun Choke III | Mod | 2x Mod Components 8x Wires | Gunsmith 3 |
| Shotgun Silencer | Mod | 2x Mod Components 8x Wires | Gunsmith 3 |
| Showstopper | Grenade | 1x Advanced Electrical Components 1x Voltage Converter | Explosives Station 3 |
| Silencer I | Mod | 2x Mechanical Components 4x Wires | Gunsmith 2 |
| Silencer II | Mod | 2x Mod Components 8x Wires | Gunsmith 3 |
| Snap Hook | Quick Use | 2x Power Rod 3x Rope 1x Exodus Modules | Utility Station 3 |
| Stable Stock II | Mod | 2x Mechanical Components 3x Duct Tape | Gunsmith 2 |
| Stable Stock III | Mod | 2x Mod Components 5x Duct Tape | Gunsmith 3 |
| Tagging Grenade | Grenade | 1x Electrical Components 1x Sensors | Utility Station 3 |
| Tempest | Weapon | 3x Advanced Mechanical Components 3x Medium Gun Parts 3x Canister | Gunsmith 3 |
| Trigger Nade | Grenade | 2x Crude Explosives 1x Processor | Explosives Station 2 |
| Vertical Grip II | Mod | 2x Mechanical Components 3x Duct Tape | Gunsmith 2 |
| Vertical Grip III | Mod | 2x Mod Components 5x Duct Tape | Gunsmith 3 |
| Vita Shot | Quick Use | 2x Antiseptic 1x Syringe | Medical Lab 3 |
| Vita Spray | Quick Use | 3x Antiseptic 1x Canister | Medical Lab 3 |
| Vulcano | Weapon | 1x Magnetic Accelerator 3x Heavy Gun Parts 1x Exodus Modules | Gunsmith 3 |
| Wolfpack | Grenade | 2x Explosive Compound 2x Sensors | Explosives Station 3 |
| Red Light Stick | Quick Use | 3x Chemicals | Utility Station 1 |
| Smoke Grenade | Grenade | 14x Chemicals 1x Canister | Utility Station 2 |
| Deadline | Mine | 3x Explosive Compound 2x ARC Circuitry | Explosives Station 3 |
| Trailblazer | Grenade | 1x Explosive Compound 1x Synthesized Fuel | Explosives Station 3 |
| Tactical Mk. 3 (Defensive) | Augment | 2x Advanced Electrical Components 3x Processor | Gear Bench 3 |
| Tactical Mk. 3 (Healing) | Augment | 2x Advanced Electrical Components 3x Processor | Gear Bench 3 |
| Yellow Light Stick | Quick Use | 3x Chemicals | Utility Station 1 |
Note: The missing Blueprints in this list likely have not actually been added to the game at the time of writing, because none of the playerbase has managed to find any of them. As they are added to the game, I will update this page with the most relevant information so you know exactly how to get all 75 Arc Raiders Blueprints.
Where to find Blueprints in Arc Raiders
Below is a list of all containers, modifiers, and events which maximise your chances of finding Blueprints:
- Certain quests reward you with specific Blueprints .
- Completing Trials has a high chance of offering Blueprints as rewards.
- Surveyors have a decent chance of dropping Blueprints on death.
- High loot value areas tend to have a greater chance of spawning Blueprints.
- Night Raids and Storms may increase rare Blueprint spawn chances in containers.
- Containers with higher numbers of items may have a higher tendency to spawn Blueprints. As a result, Blue Gate (which has many “large” containers containing multiple items) may give you a higher chance of spawning Blueprints.
- Raider containers (Raider Caches, Weapon Boxes, Medical Bags, Grenade Tubes) have increased Blueprint drop rates. As a result, the Uncovered Caches event gives you a high chance of finding Blueprints.
- Security Lockers have a higher than average chance of containing Blueprints.
- Certain Blueprints only seem to spawn under specific circumstances: Tempest Blueprint only spawns during Night Raid events. Vulcano Blueprint only spawns during Hidden Bunker events. Jupiter and Equaliser Blueprints only spawn during Harvester events.

Raider Caches, Weapon Boxes, and other raider-oriented container types have a good chance of offering Blueprints. |Image credit:Rock Paper Shotgun/Embark Studios
Blueprints have a very low chance of spawning in any container in Arc Raiders, around 1-2% on average. However, there is a higher chance of finding Blueprints in particular container types. Specifically, you can find more Blueprints in Raider containers and security lockers.
Beyond this, if you’re looking for Blueprints you should focus on regions of the map which are marked as having particularly high-value loot. Areas such as the Control Tower in Dam Battlegrounds, the Arrival and Departure Buildings in Spaceport, and Pilgrim’s Peak in Blue Gate all have a better-than-average chance of spawning Blueprints somewhere amongst all their containers. Night Raids and Electromagnetic Storm events also increase the drop chances of certain Blueprints .
In addition to these containers, you can often loot Blueprints from destroyed Surveyors - the largest of the rolling ball ARC. Surveyors are more commonly found on the later maps - Spaceport and Blue Gate - and if one spawns in your match, you’ll likely see it by the blue laser beam that it casts into the sky while “surveying”.
Surveyors are quite well-armoured and will very speedily run away from you once it notices you, but if you can take one down then make sure you loot all its parts for a chance of obtaining certain unusual Blueprints.
Blueprints obtained from quests
One way in which you can get Blueprints is by completing certain quests for the vendors in Speranza. Some quests will reward you with a specific item Blueprint upon completion, so as long as you work through all the quests in Arc Raiders, you are guaranteed those Blueprints.
Here is the full list of all Blueprints you can get from quest rewards:
- Trigger Nade Blueprint: Rewarded after completing “Sparks Fly”.
- Lure Grenade Blueprint: Rewarded after completing “Greasing Her Palms”.
- Burletta Blueprint: Rewarded after completing “Industrial Espionage”.
- Hullcracker Blueprint (and Launcher Ammo Blueprint): Rewarded after completing “The Major’s Footlocker”.
Alas, that’s only 4 Blueprints out of a total of 75 to unlock, so for the vast majority you will need to find them yourself during a raid. If you’re intent on farming Blueprints, then it’s best to equip yourself with cheap gear in case you lose it, but don’t use a free loadout because then you won’t get a safe pocket to stash any new Blueprint you find. No pain in Arc Raiders is sharper than failing to extract with a new Blueprint you’ve been after for a dozen hours already.

One of the best ways to get Blueprints is by hitting three stars on all five Trials every week. |Image credit:Rock Paper Shotgun/Embark Studios
Blueprints obtained from Trials
One of the very best ways to get Blueprints is as rewards for completing Trials in Arc Raiders. Trials are unlocked from Level 15 onwards, and allow you to earn rewards by focusing on certain tasks over the course of several raids. For example, one Trial might task you with dealing damage to Hornets, while another might challenge you to loot Supply Drops.
Trials refresh on a weekly basis, with a new week bringing five new Trials. Each Trial can offer up to three rewards after passing certain score milestones, and it’s possible to receive very high level loot from these reward crates - including Blueprints. So if you want to unlock as many Blueprints as possible, you should make a point of completing as many Trials as possible each week.
Best Blueprint farming locations
The very best way to get Blueprints is to frequent specific areas of the maps which combine high-tier loot pools with the right types of containers to search. Here are my recommendations for where to find Blueprints on every map, so you can always keep the search going for new crafting recipes to unlock.

Image credit:Rock Paper Shotgun/Embark Studios
Dam Battlegrounds
The best places to farm Blueprints on Dam Battlegrounds are the Control Tower, Power Generation Complex, Ruby Residence, and Pale Apartments . The first two regions, despite only being marked on the map as mid-tier loot, contain a phenomenal number of containers to loot. The Control Tower can also contain a couple of high-tier Security Lockers - though of course, you’ll need to have unlocked the Security Breach skill at the end of the Survival tree.
There’s also a lot of reporting amongst the playerbase that the Residential areas in the top-left of the map - Pale Apartments and Ruby Residence - give you a comparatively strong chance of finding Blueprints. Considering their size, there’s a high density of containers to loot in both locations, and they also have the benefit of being fairly out of the way. So you’re more likely to have all the containers to yourself.
Buried City
The best Blueprint farming locations on Buried City are the Santa Maria Houses, Grandioso Apartments, Town Hall, and the various buildings of the New District . Grandioso Apartments has a lower number of containers than the rest, but a high chance of spawning weapon cases - which have good Blueprint drop rates. The others are high-tier loot areas, with plenty of lootable containers - including Security Lockers.
Spaceport
The best places to find Blueprints on Spaceport are the Arrival and Departure Buildings, as well as Control Tower A6 and the Launch Towers . All these areas are labelled as high-value loot regions, and many of them are also very handily connected to one another by the Spaceport wall, which you can use to quickly run from one area to the next. At the tops of most of these buildings you’ll find at least one Security Locker, so this is an excellent farming route for players looking to find Blueprints.
The downside to looting Blueprints on Spaceport is that all these areas are hotly contested, particularly in Duos and Squads. You’ll need to be very focused and fast in order to complete the full farming route.

Image credit:Rock Paper Shotgun/Embark Studios
Blue Gate
Blue Gate tends to have a good chance of dropping Blueprints, potentially because it generally has a high number of containers which can hold lots of items; so there’s a higher chance of a Blueprint spawning in each container. In my experience, the best Blueprint farming spots on Blue Gate are Pilgrim’s Peak, Raider’s Refuge, the Ancient Fort, and the Underground Complex beneath the Warehouse .
All of these areas contain a wealth of containers to loot. Raider’s Refuge has less to loot, but the majority of the containers in and around the Refuge are raider containers, which have a high chance of containing Blueprints - particularly during major events.
Stella Montis
On the whole, Stella Montis seems to have a very low drop rate for Blueprints (though a high chance of dropping other high-tier loot). If you do want to try farming Blueprints on this map, the best places to find Blueprints in Stella Montis are Medical Research, Assembly Workshop, and the Business Center . These areas have the highest density of containers to loot on the map.
In addition to this, the Western Tunnel has a few different Security Lockers to loot, so while there’s very little to loot elsewhere in this area of the map, it’s worth hitting those Security Lockers if you spawn there at the start of a match.
That wraps up this primer on how to get all the Blueprints in Arc Raiders as quickly as possible. With the Expedition system constantly resetting a large number of players’ Blueprints, it’s more important than ever to have the most up-to-date information on where to find all these Blueprints.
While you’re here, be sure to check out our Arc Raiders best guns tier list , as well as our primers on the best skills to unlock and all the different Field Depot locations on every map.


ARC Raiders
PS5 , Xbox Series X/S , PC
Rock Paper Shotgun is better when you sign in
Sign in and join us on our journey to discover strange and compelling PC games.
