Hollow Knight Silksong walkthrough: Part 29 (High Halls)
How to reach the High Halls and obtain the Conductor’s Melody

Image credit:Rock Paper Shotgun/Team Cherry

How do you reach the High Halls in Hollow Knight: Silksong? If you’ve been following along so far with our comprehensive Hollow Knight: Silksong walkthrough, then you have actually had the ability to reach the High Halls for ages. All you need to reach the High Halls is the Clawline harpoon ability, which you can get way back in the Underworks at the beginning of Act 2. And here we are, near the very end of Act 2!
But there’s a reason why we’ve left the High Halls so late on, despite the comparatively short time we’ll spend exploring it. In Part 29 of our Silksong walkthrough , I’ll show you how to reach the High Halls, and every step along the ideal progression path through its shining, spike-filled corridors. Along the way I’ll show you every interesting tool and collectible on offer, and then explain how you can conquer the challenging final arena fight in order to obtain the final part of the Threefold Melody.
Want the walkthrough for a different area of the game? Check out our Hollow Knight: Silksong walkthrough hub!
High Halls walkthrough steps:
- Complete Shakra’s Last Wish, and duel Garmond.
- Head into High Halls via Choral Chambers.
- Collect the Spool Fragment atop the tower.
- Construct the Cogfly tool.
- Obtain the Psalm Cylinder.
- Disable all Clawmaiden spawns.
- Rest at the Bench and buy the High Halls map.
- Obtain the Rosary Cannon.
- Complete the High Halls gauntlet.
- Obtain the Conductor’s Melody from Ballador.
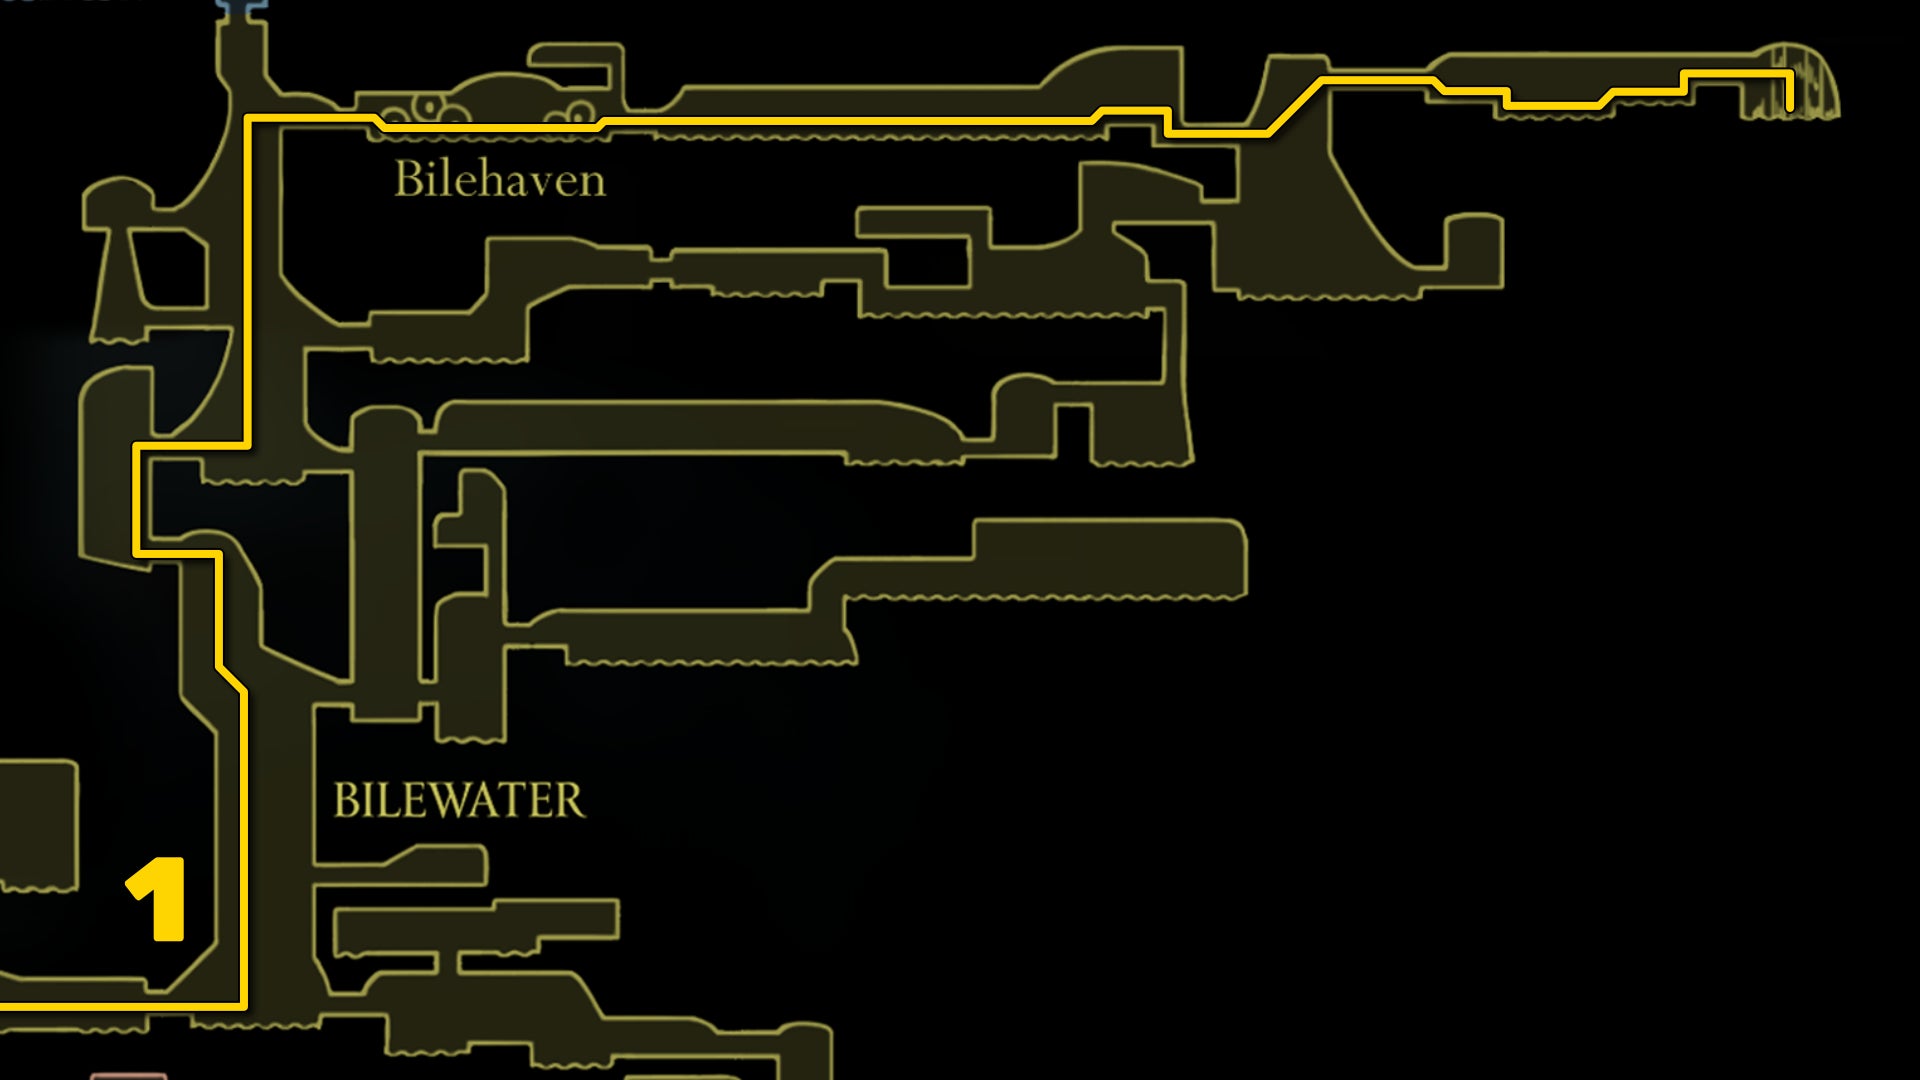
Image credit:Rock Paper Shotgun/Team Cherry
1. Complete Shakra’s Last Wish and duel Garmond.
This step is entirely optional, but I recommend before setting foot in the High Halls you visit the nearest Wishwall and accept Shakra’s Last Wish quest. This quest will appear on every Wishwall the moment you meet Shakra in every region in which she appears - and if you’ve followed along with this walkthrough, you’ll already have done that as of your last meeting at the Sands Of Karak.
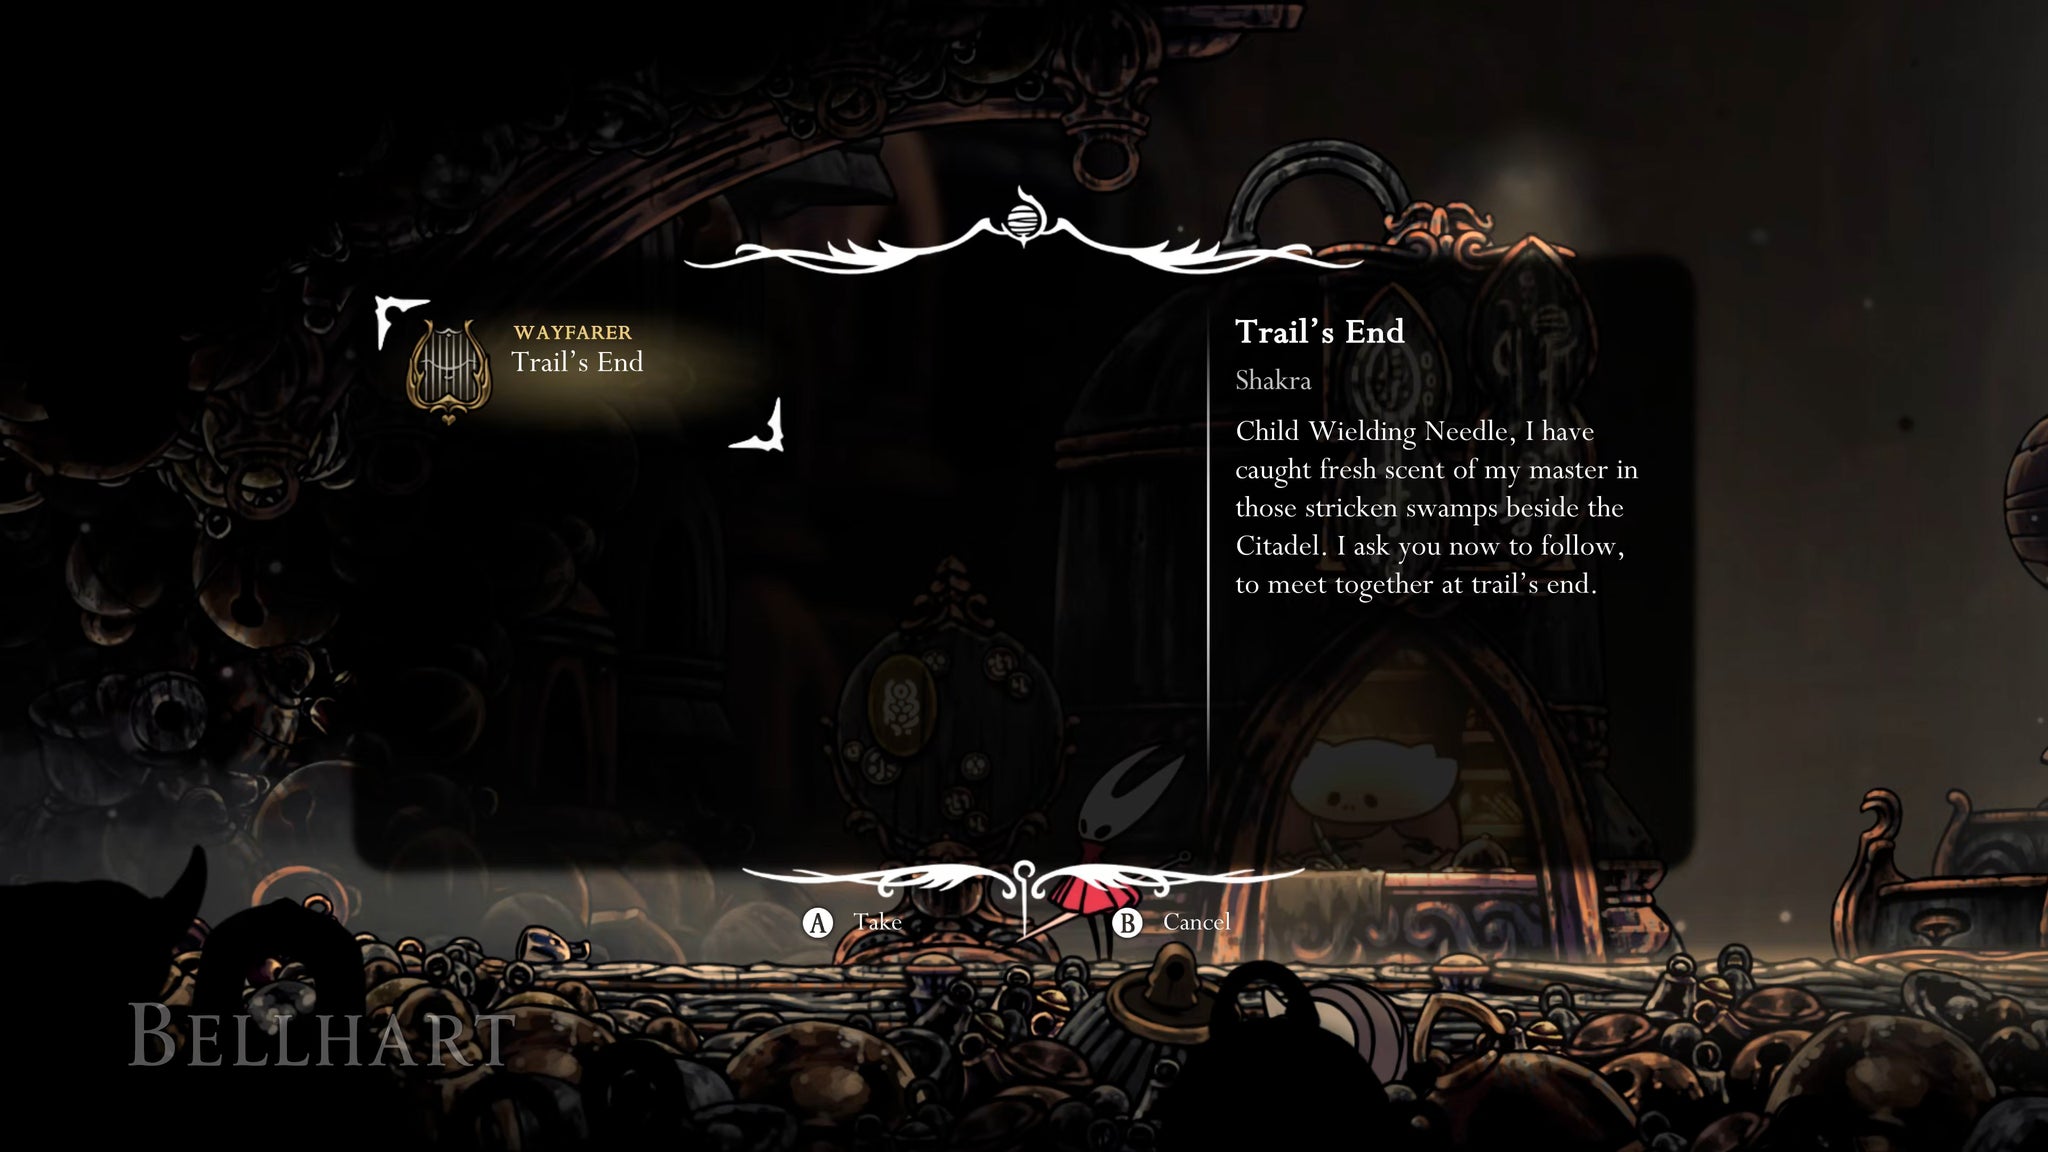
Image credit:Rock Paper Shotgun/Team Cherry
Sadly this quest requires you to dip back into Bilewater. The good news is the quest is extremely short. Head to the Bilewater Bellway, and make your way straight upwards until you reach Bilehaven; then head all the way east, following any trails that Shakra has left behind on the way if you need further guidance.
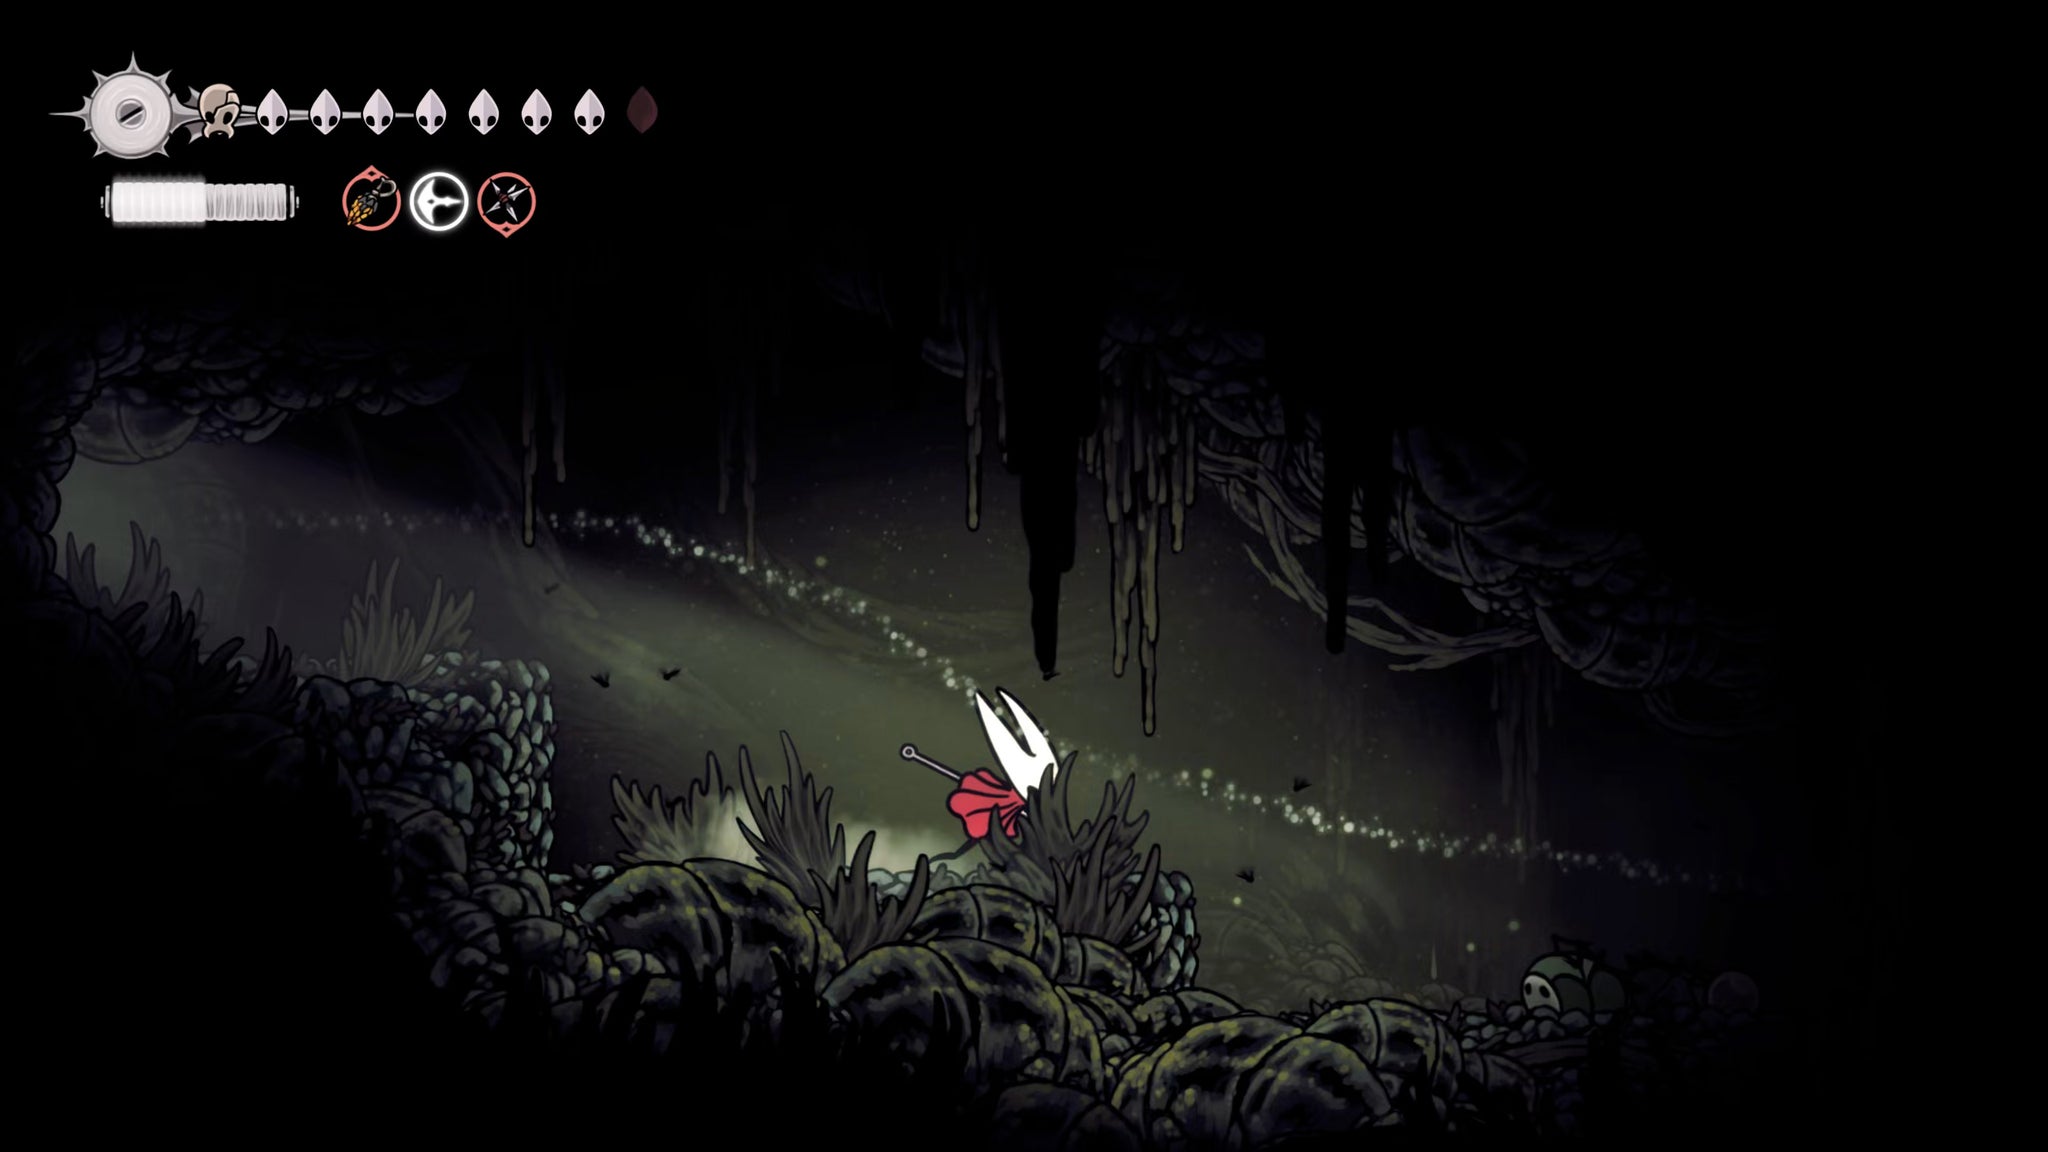
Image credit:Rock Paper Shotgun/Team Cherry
Once you reach the larger room at the end of the corridor, you’ll see a new path has opened up, at the top-right corner. Follow the path into a far more tranquil area, where you can find Shakra and her mentor which she has been searching for all this time.
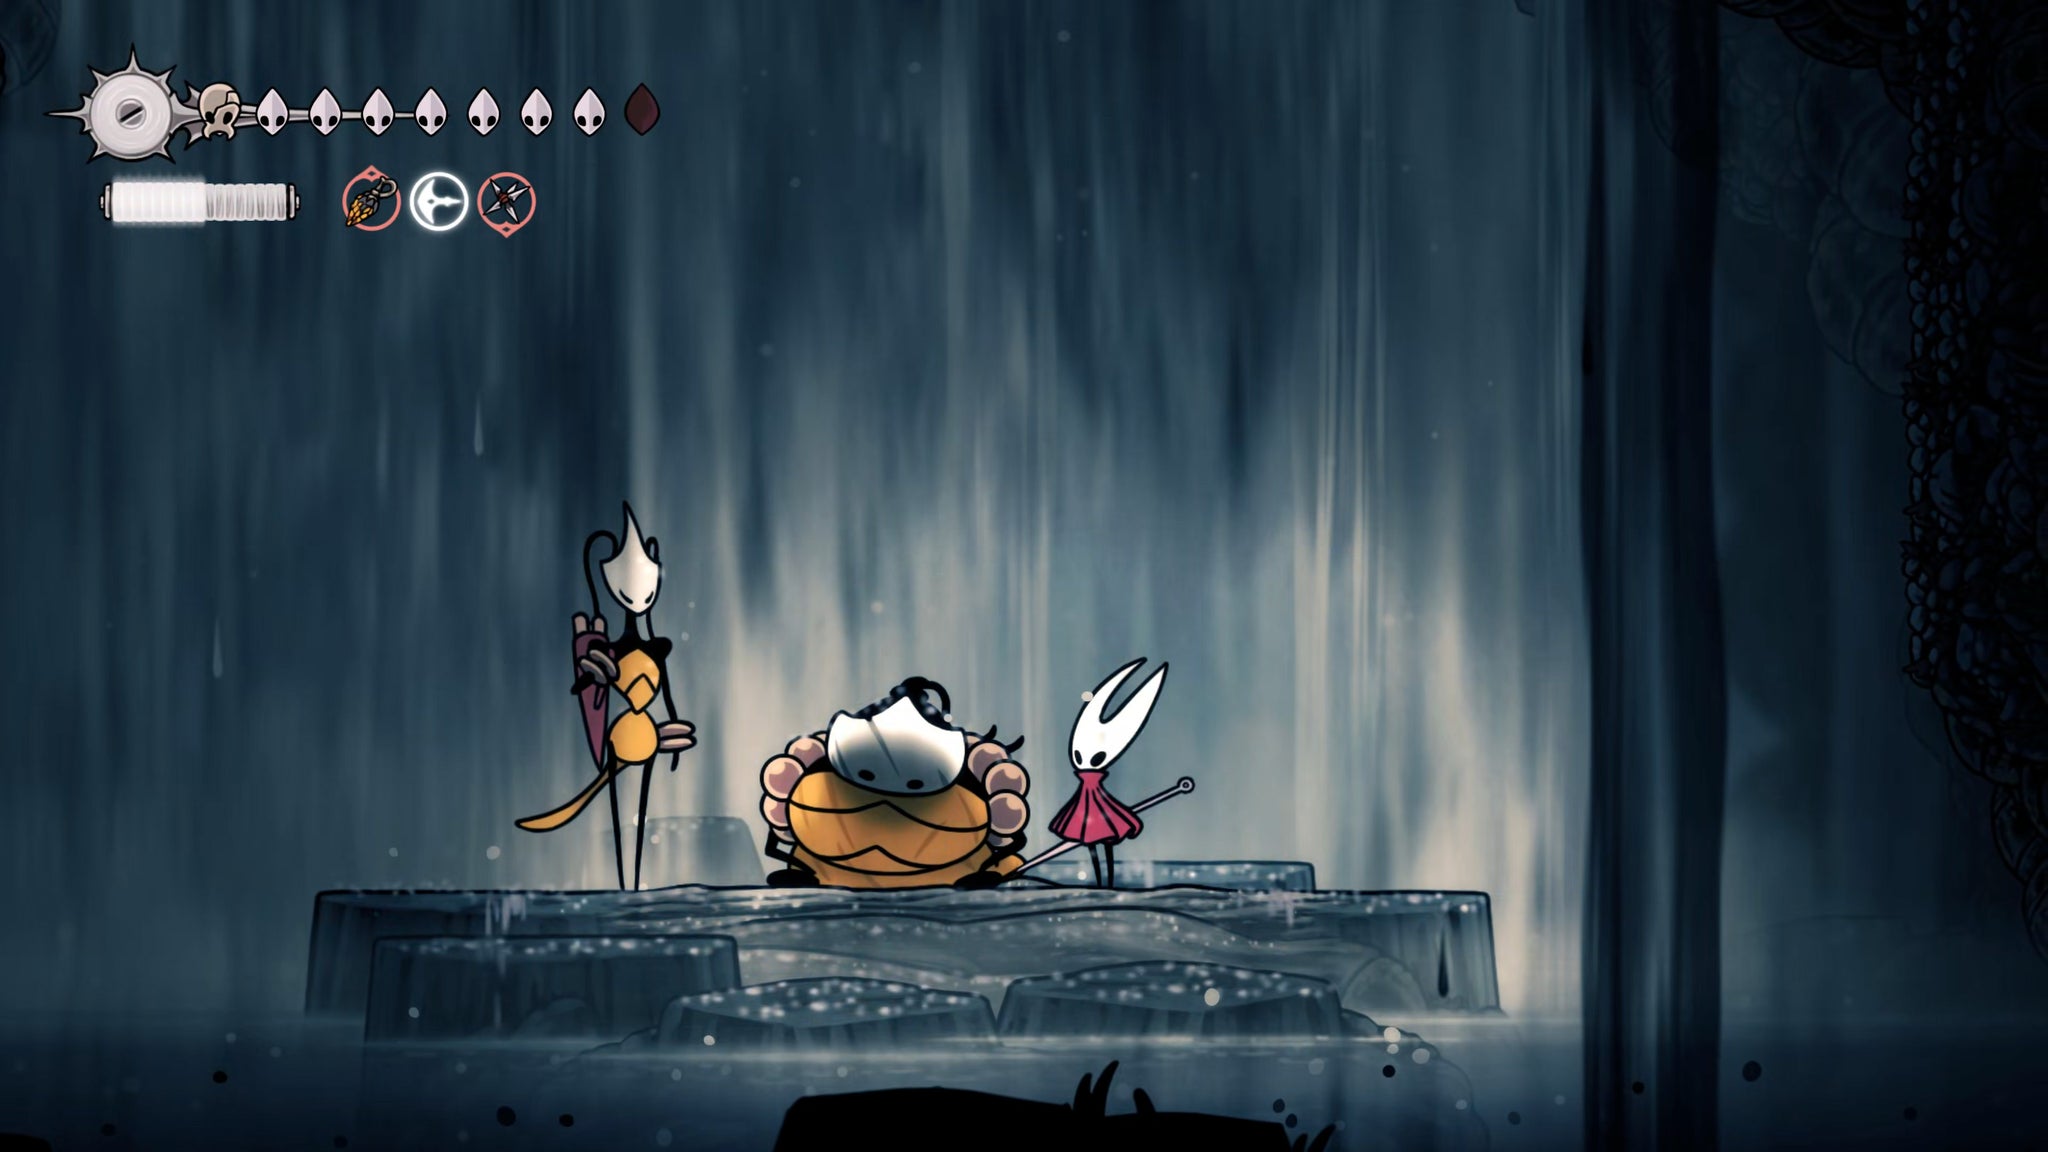
Image credit:Rock Paper Shotgun/Team Cherry
Exhaust Shakra’s dialogue, and play your Needolin as she sings to complete her quest and receive her reward - Shakra’s own Throwing Ring. It’s a fun and useful weapon-tool, but it’s not the reason we completed this quest ahead of the High Halls. It’s because now Shakra will come to our aid during the final test of the High Halls. We’ll get to that later.
At this point I also encourage you to focus on finding Garmond and Zaza at the various places they spawn within the Choral Chambers. The reason for this is that you can possibly get locked out of duelling Garmond if you complete the High Halls beforehand. Here are all the locations where you can find Garmond and Zaza fighting enemies within the Choral Chambers:
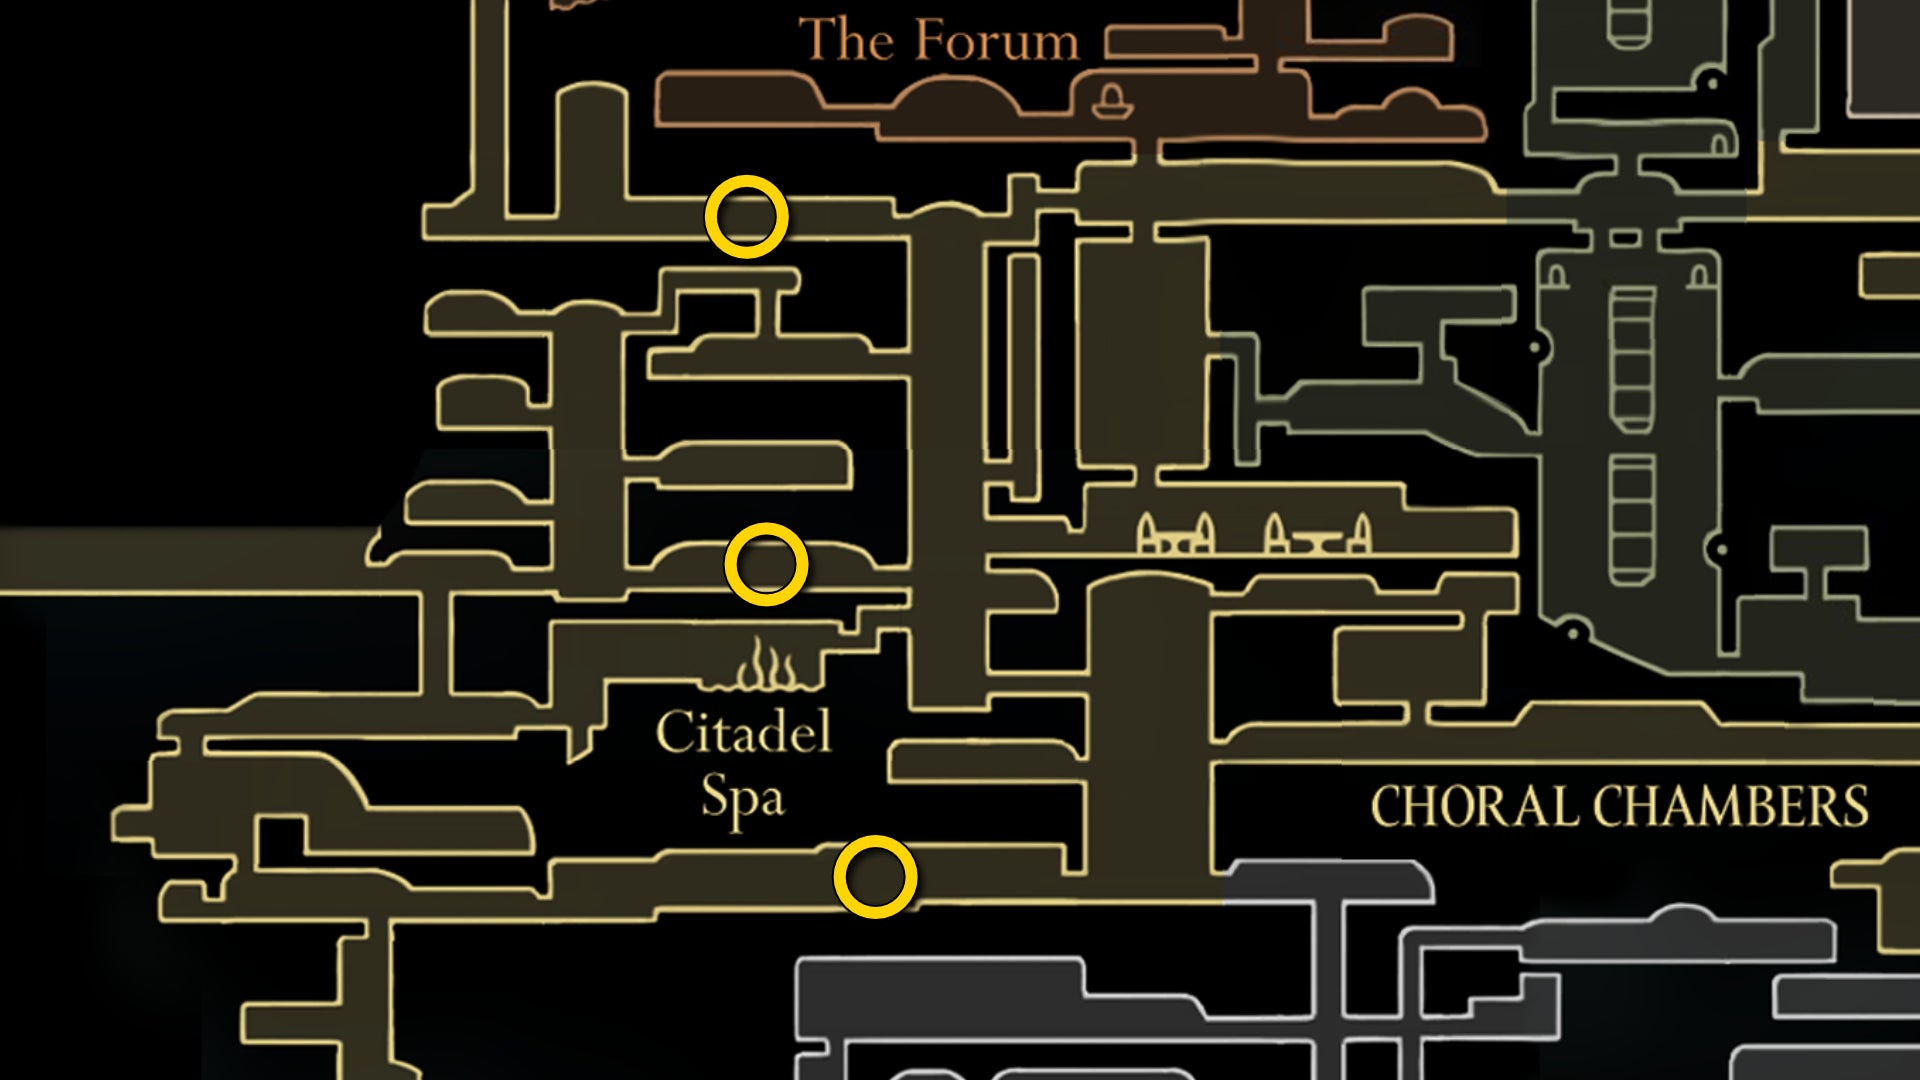
Image credit:Rock Paper Shotgun/Team Cherry
Once you find and speak with him in all of these locations, head to the area to the east of Songclave (accessible via the passage just below and to the right in the Whispering Vaults). There you should find Garmond and Zaza helping you to fight the enemies there once again.
Once the enemies are cleared, you can speak with Garmond and challenge him to a friendly duel. He’s not too challenging at all - his attacks are slow, telegraphed, and easy to dodge. And it’s also quite easy to push him down into the spikes for extra damage.
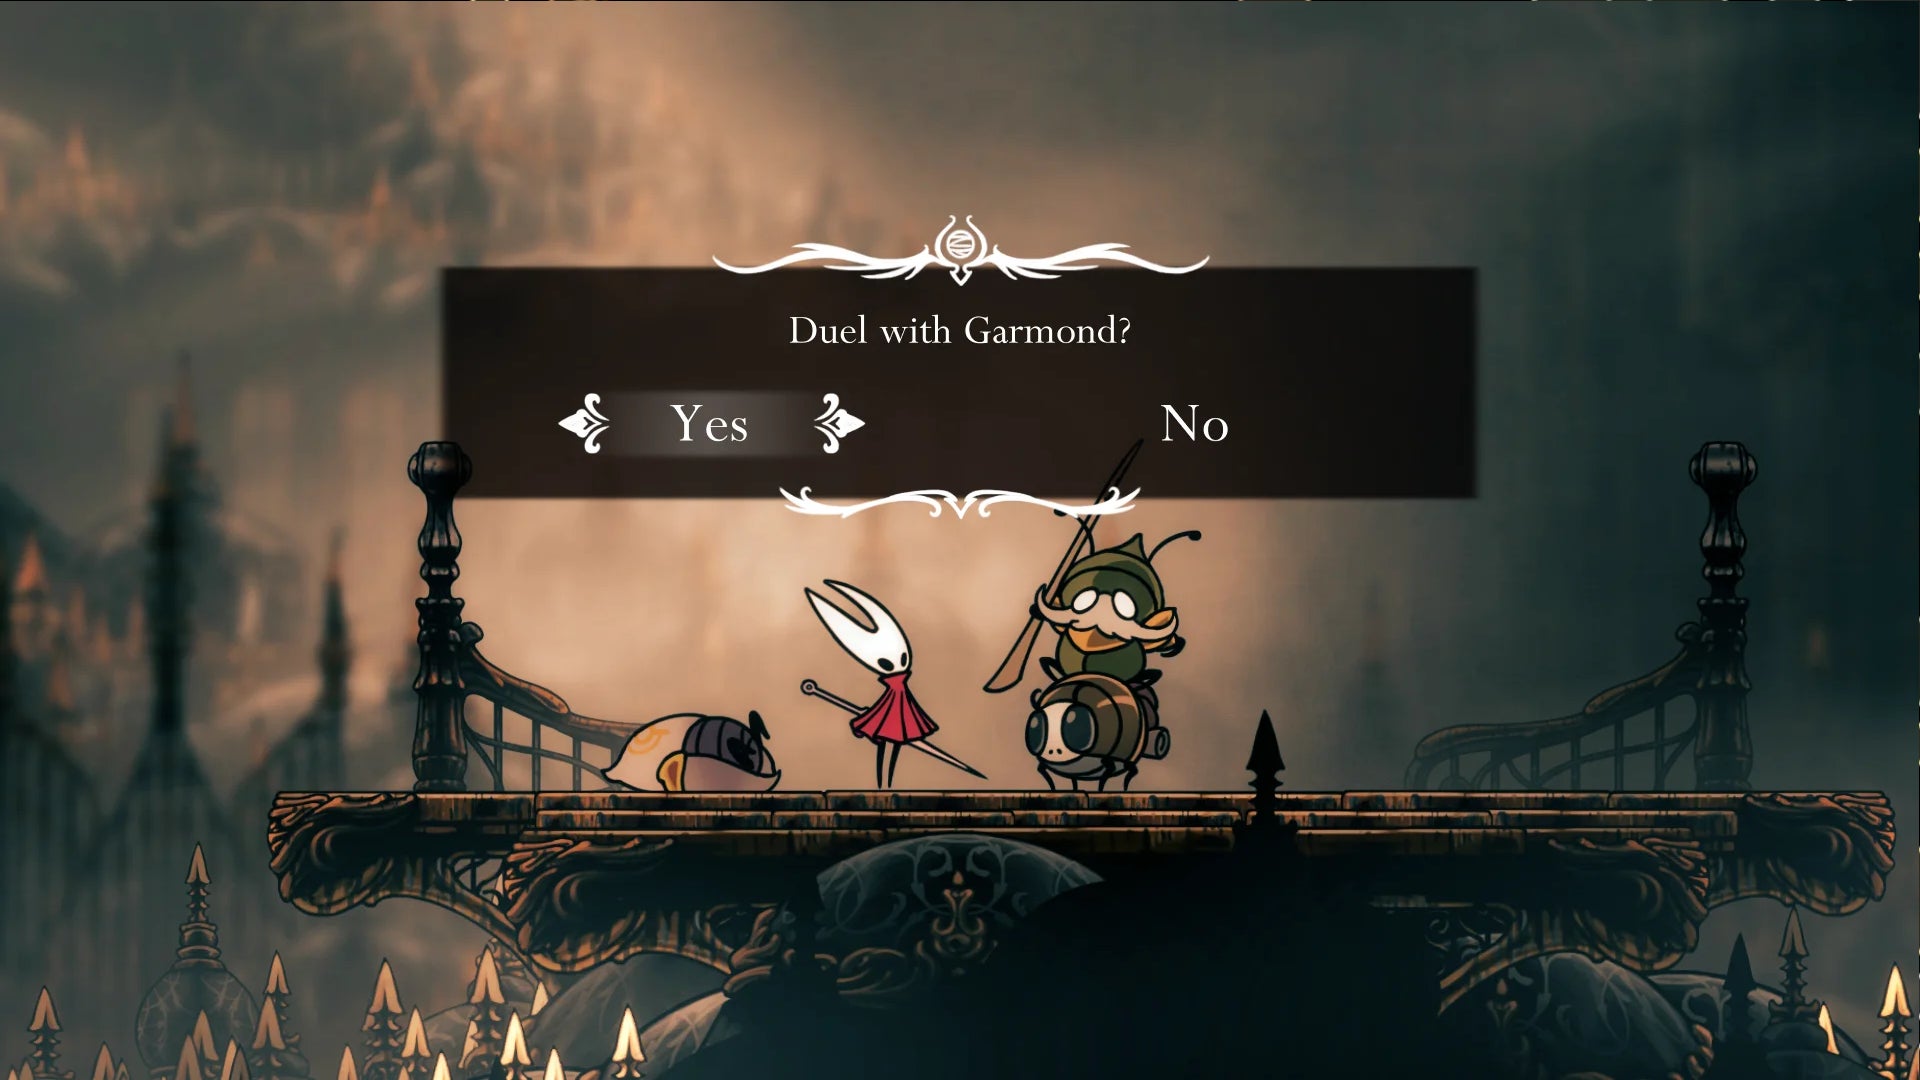
Image credit:Rock Paper Shotgun/Team Cherry
Regardless, if you don’t want to miss the opportunity to duel Garmond and Zaza and unlock their entry in your Hunter’s Journal, it’s best to do this now.
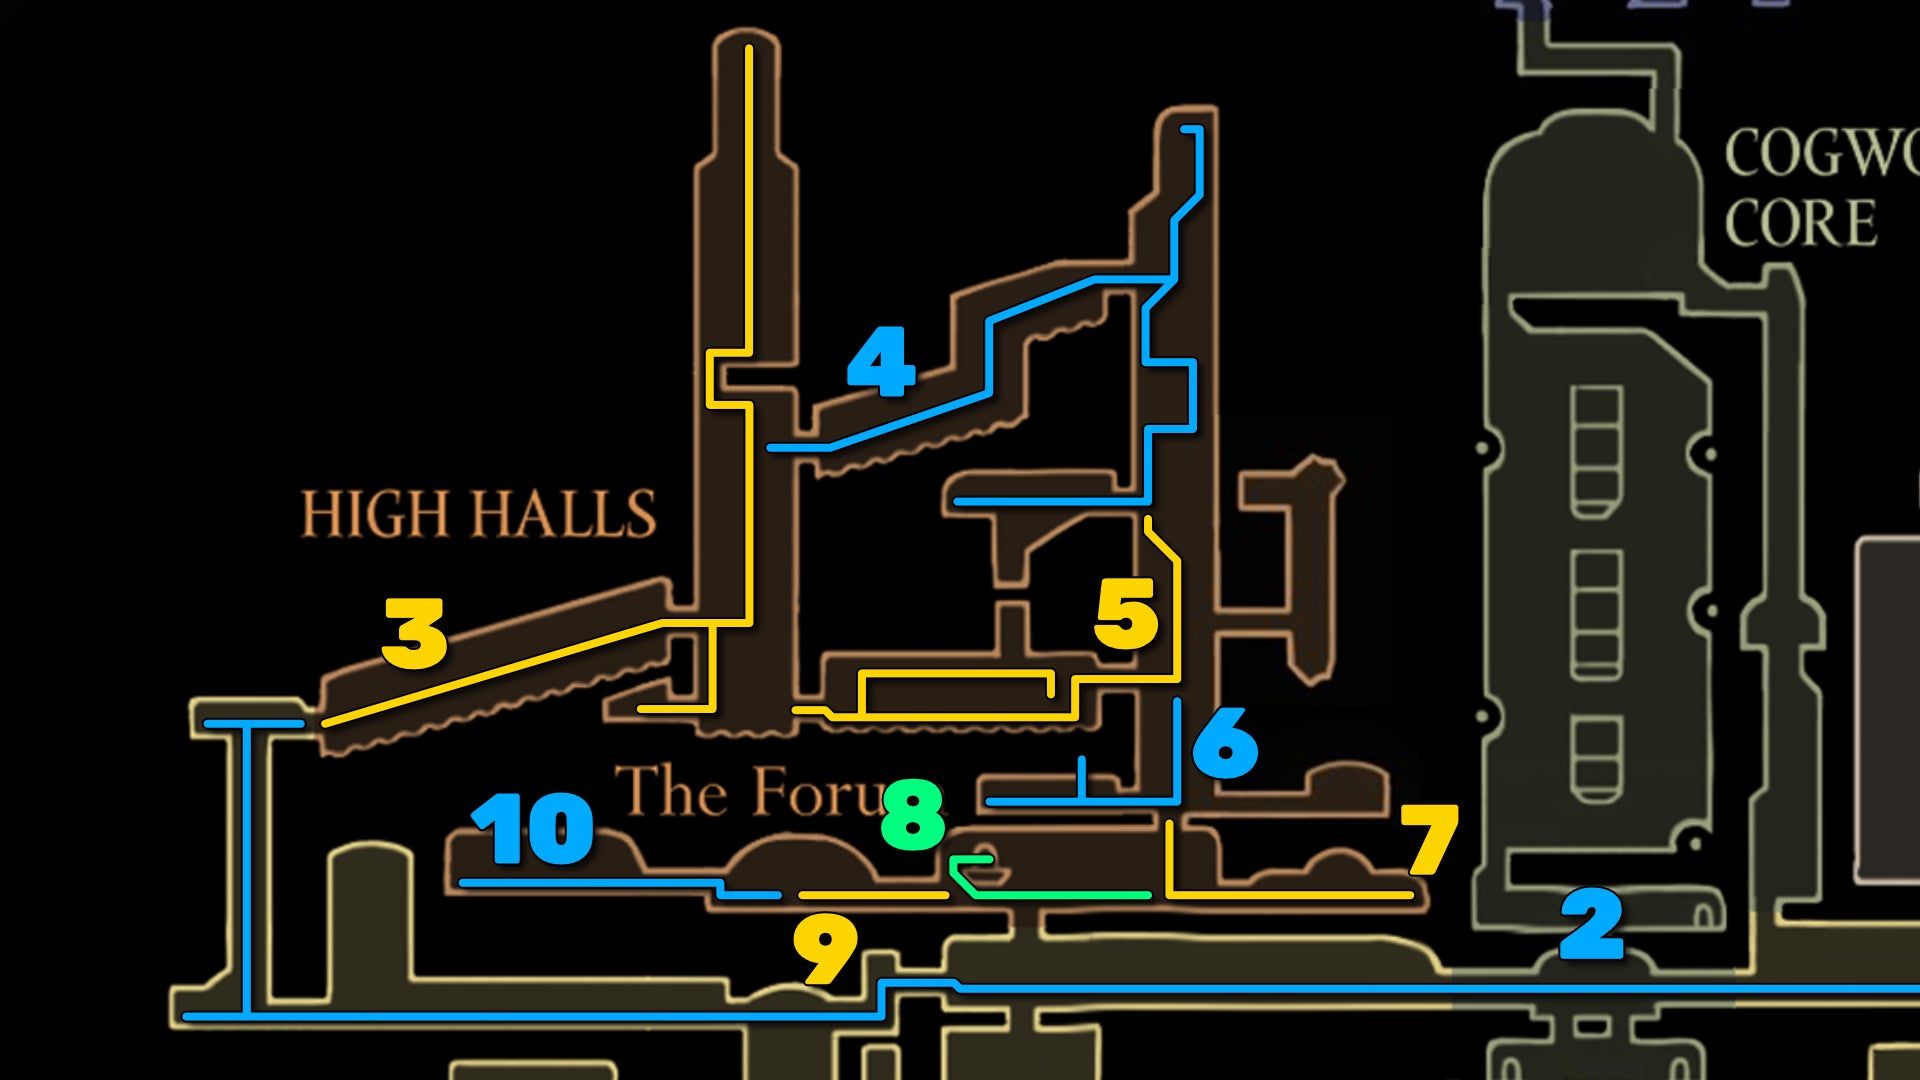
Image credit:Rock Paper Shotgun/Team Cherry
2. Head into High Halls via Choral Chambers.

Image credit:Rock Paper Shotgun/Team Cherry
Fast Travel now to the First Shrine Ventrica, and make your way across the long corridors to the west, Pogo-ing over the Grand Reed enemies (we don’t have time for them!). Just past the Cogwork Dancers arena, you may find the Green Prince (who you freed from his cell in Sinner’s Road), crouched over the remains of one of the Dancers. Feel free to speak with him for some interesting lore if he’s there, but it’s entirely optional.
Continue on until you reach the very far west side, and rest at the Bench there. Then backtrack just slightly - just above you is a clawline hook. Hook onto it, and then follow the mini jumping/clawline-ing puzzle to reach the top. A couple of the hooks are on runways, so you just need to hang onto them, and they’ll pull you upwards to the top, allowing you to reach the next one.
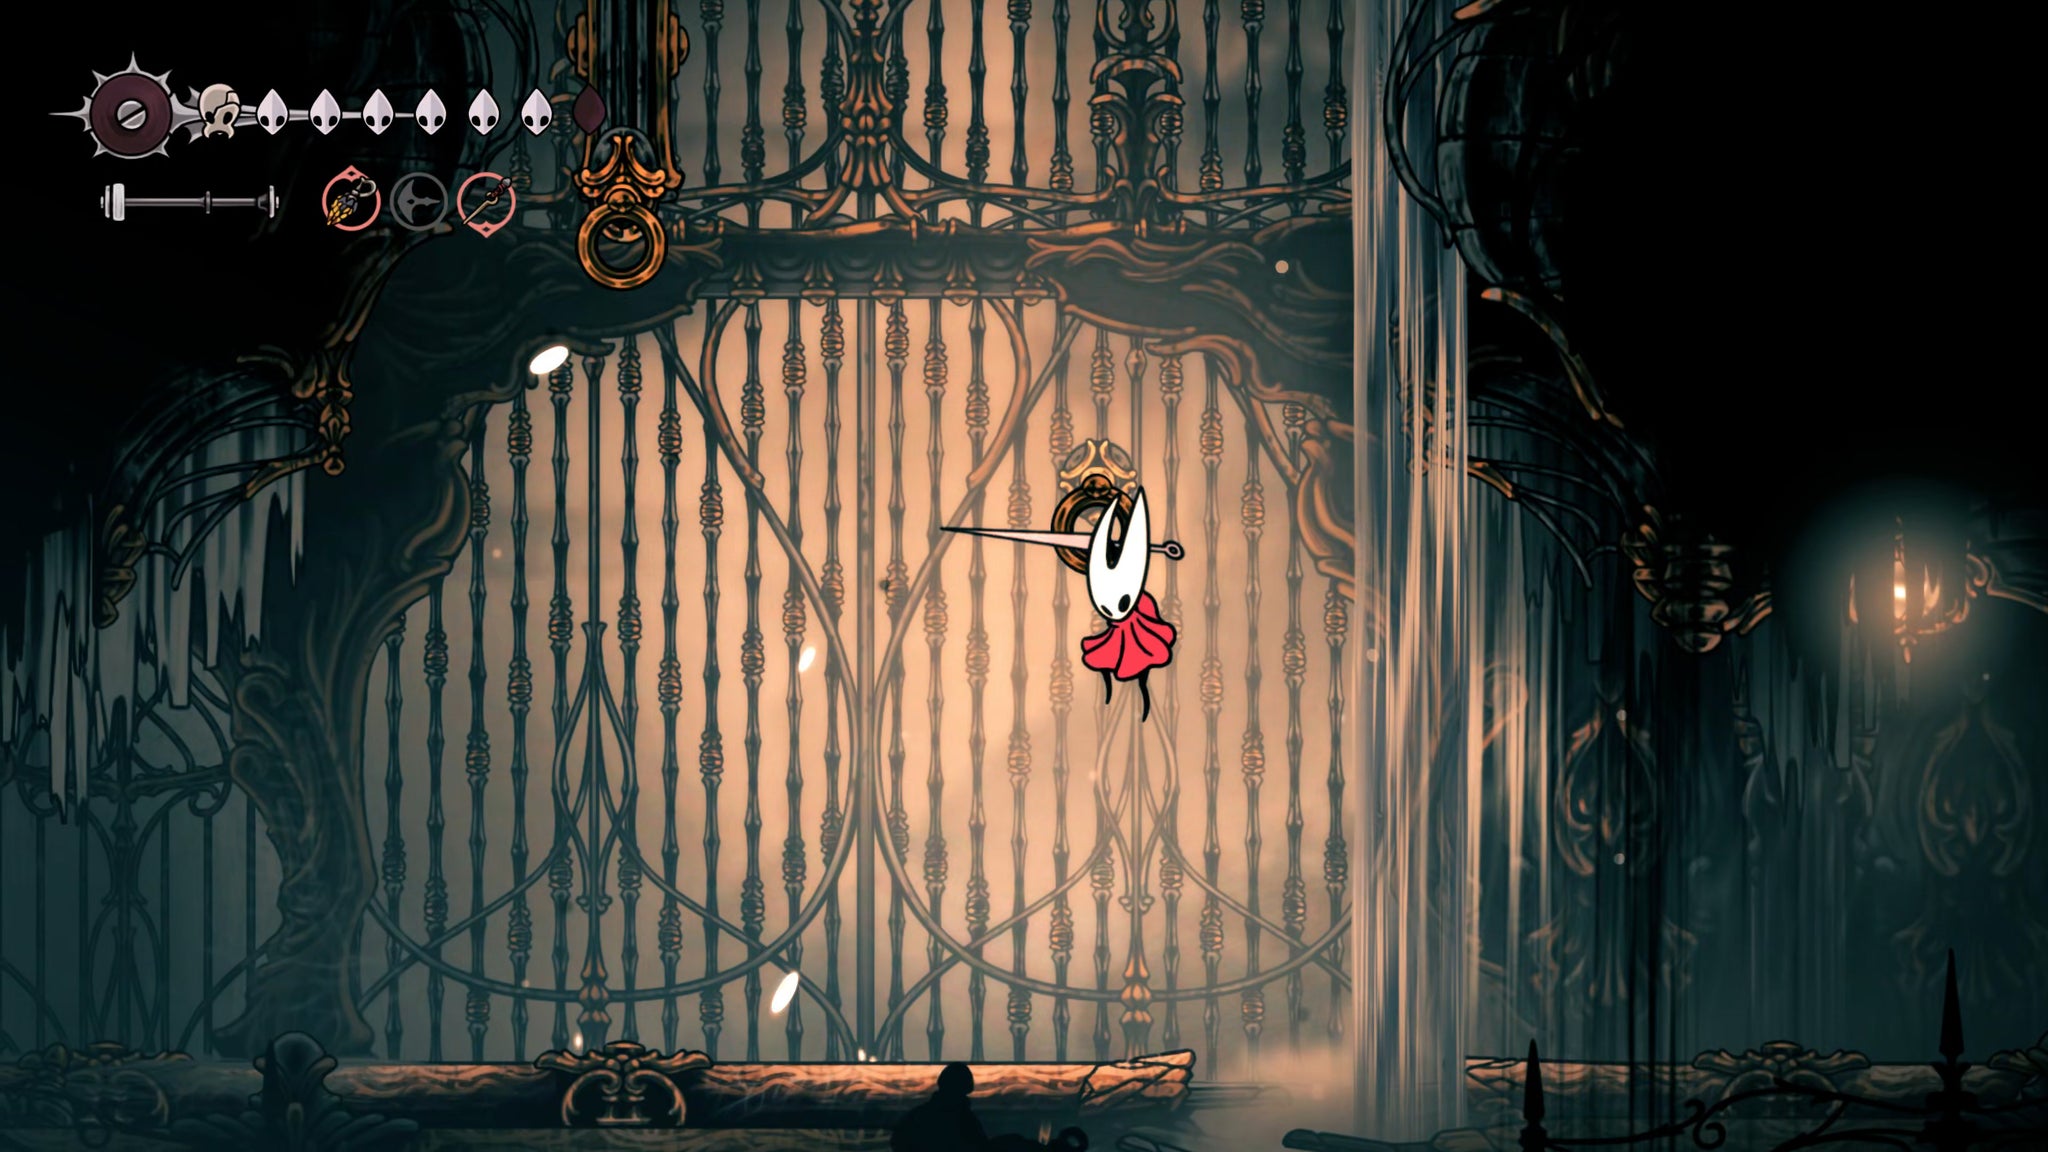
Image credit:Rock Paper Shotgun/Team Cherry
At the top, you’ll find a spool of Silk to destroy on the left if needed, and the entrance to the High Halls on your right.
3. Collect the Spool Fragment atop the tower.
The first room of The High Halls is a simple slanted corridor where you must jump and fight your way to the top-right. Along the way you’ll meet a couple of new High Halls enemies - Maestros - which can summon Cogflies around themselves. Ignore the Cogflies as much as possible, and just focus on killing the Maestro quickly.
Keep going until you reach the next room, which is a long shaft. You can drop to ground level first and investigate the tiny room to your left for some Shell Shards, but after that, make your way up the shaft by latching onto the spinning wheel at the attached clawline hook points. Further above you’ll have to kill another new enemy - a Minister.



There’s an exit on your right near the top, but ignore it for the moment, and jump further upwards to the exit in the ceiling above. Here you’ll find another shaft to climb using more wheels with clawline hook points. The difficulty about this section is that a couple more Ministers will attack you while you’re on the wheels. It’s best to get their attention and bring them down to ground level in order to take them out; otherwise, you can just Pogo off their heads or make use of your Silk attacks to kill them as quickly as possible.
At the very top, you’ll find a Spool Fragment to collect. Once it’s collected, drop back down into the previous shaft, and take the exit on your right.
4. Construct the Cogfly tool.
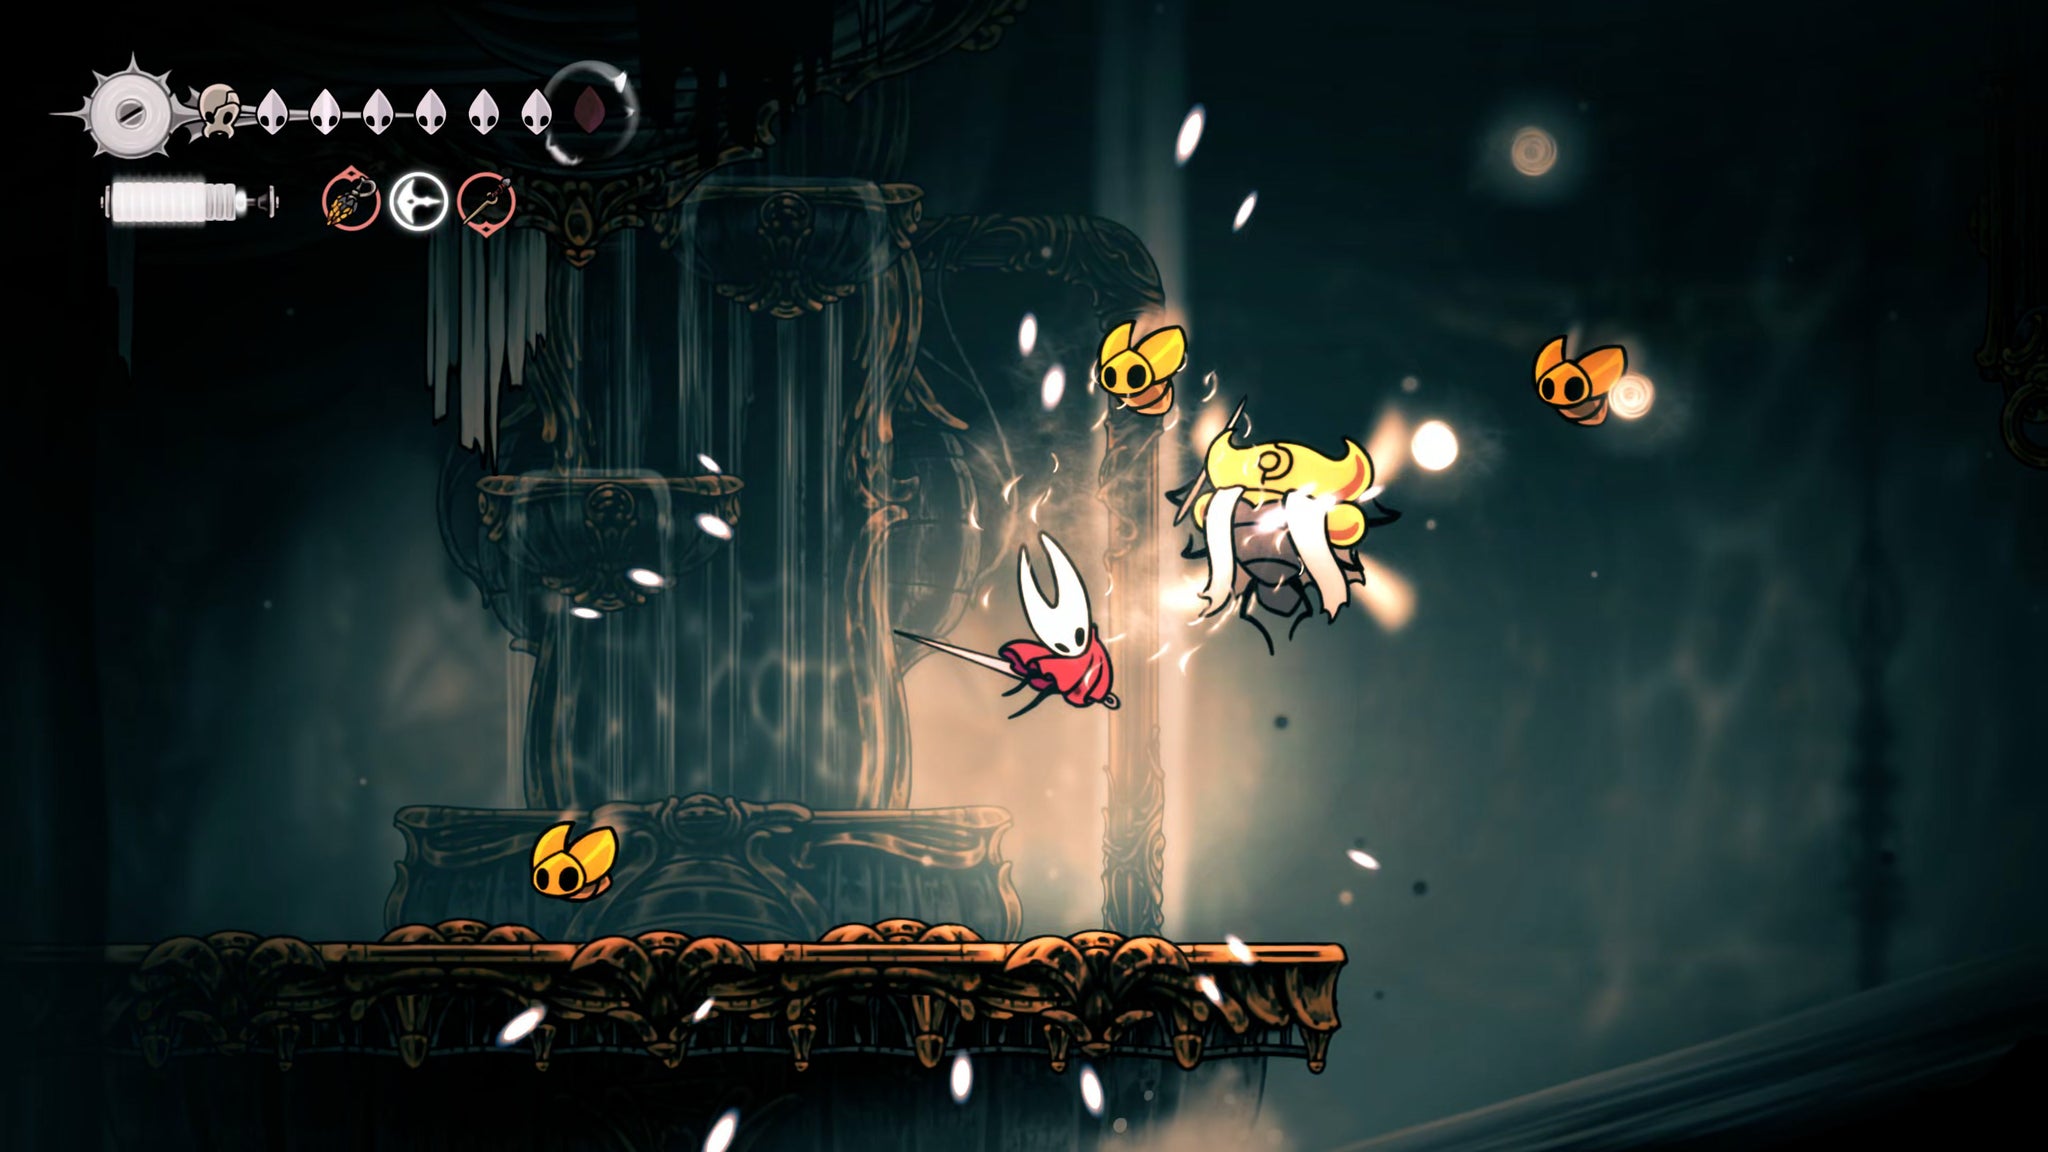
Image credit:Rock Paper Shotgun/Team Cherry
The next room in the High Halls is another slanted corridor, much like the first room. You’ll find more Maestros and Ministers to fight as you make your way to the upper-right exit. When the game throws two Ministers towards you at once, be careful - together, they’re pretty strong. Consider jumping ahead to the larger platform and killing them there, where you have more room to manoeuvre.
Once you reach the next room, ride the wheel above you to the top, where you’ll find a chest full of Rosaries to collect. Then drop down to below the wheel again, and glide further down along the very left-hand side beside the spikes. Latch onto the clawline hook, and hang there for a moment - it’ll unlock a passage below you through the spikes.



Continue gliding further down through the obstacle course of spikes, using more clawline hooks to open up the path as you go. Once you reach the bottom, kill the Minister there and then take the left-hand exit.
This room contains nothing of importance except at the very left-hand side, where you can interact with the table there to construct the Cogfly tool.
This is one of the most useful tools in Silksong in my estimation - it’s an autonomous little Cogfly companion that you can throw into the air to permanently reside until it’s killed. It’ll seek out nearby enemies and bump into them repeatedly. It doesn’t deal much damage, but it’s very handy particularly against flying enemies.
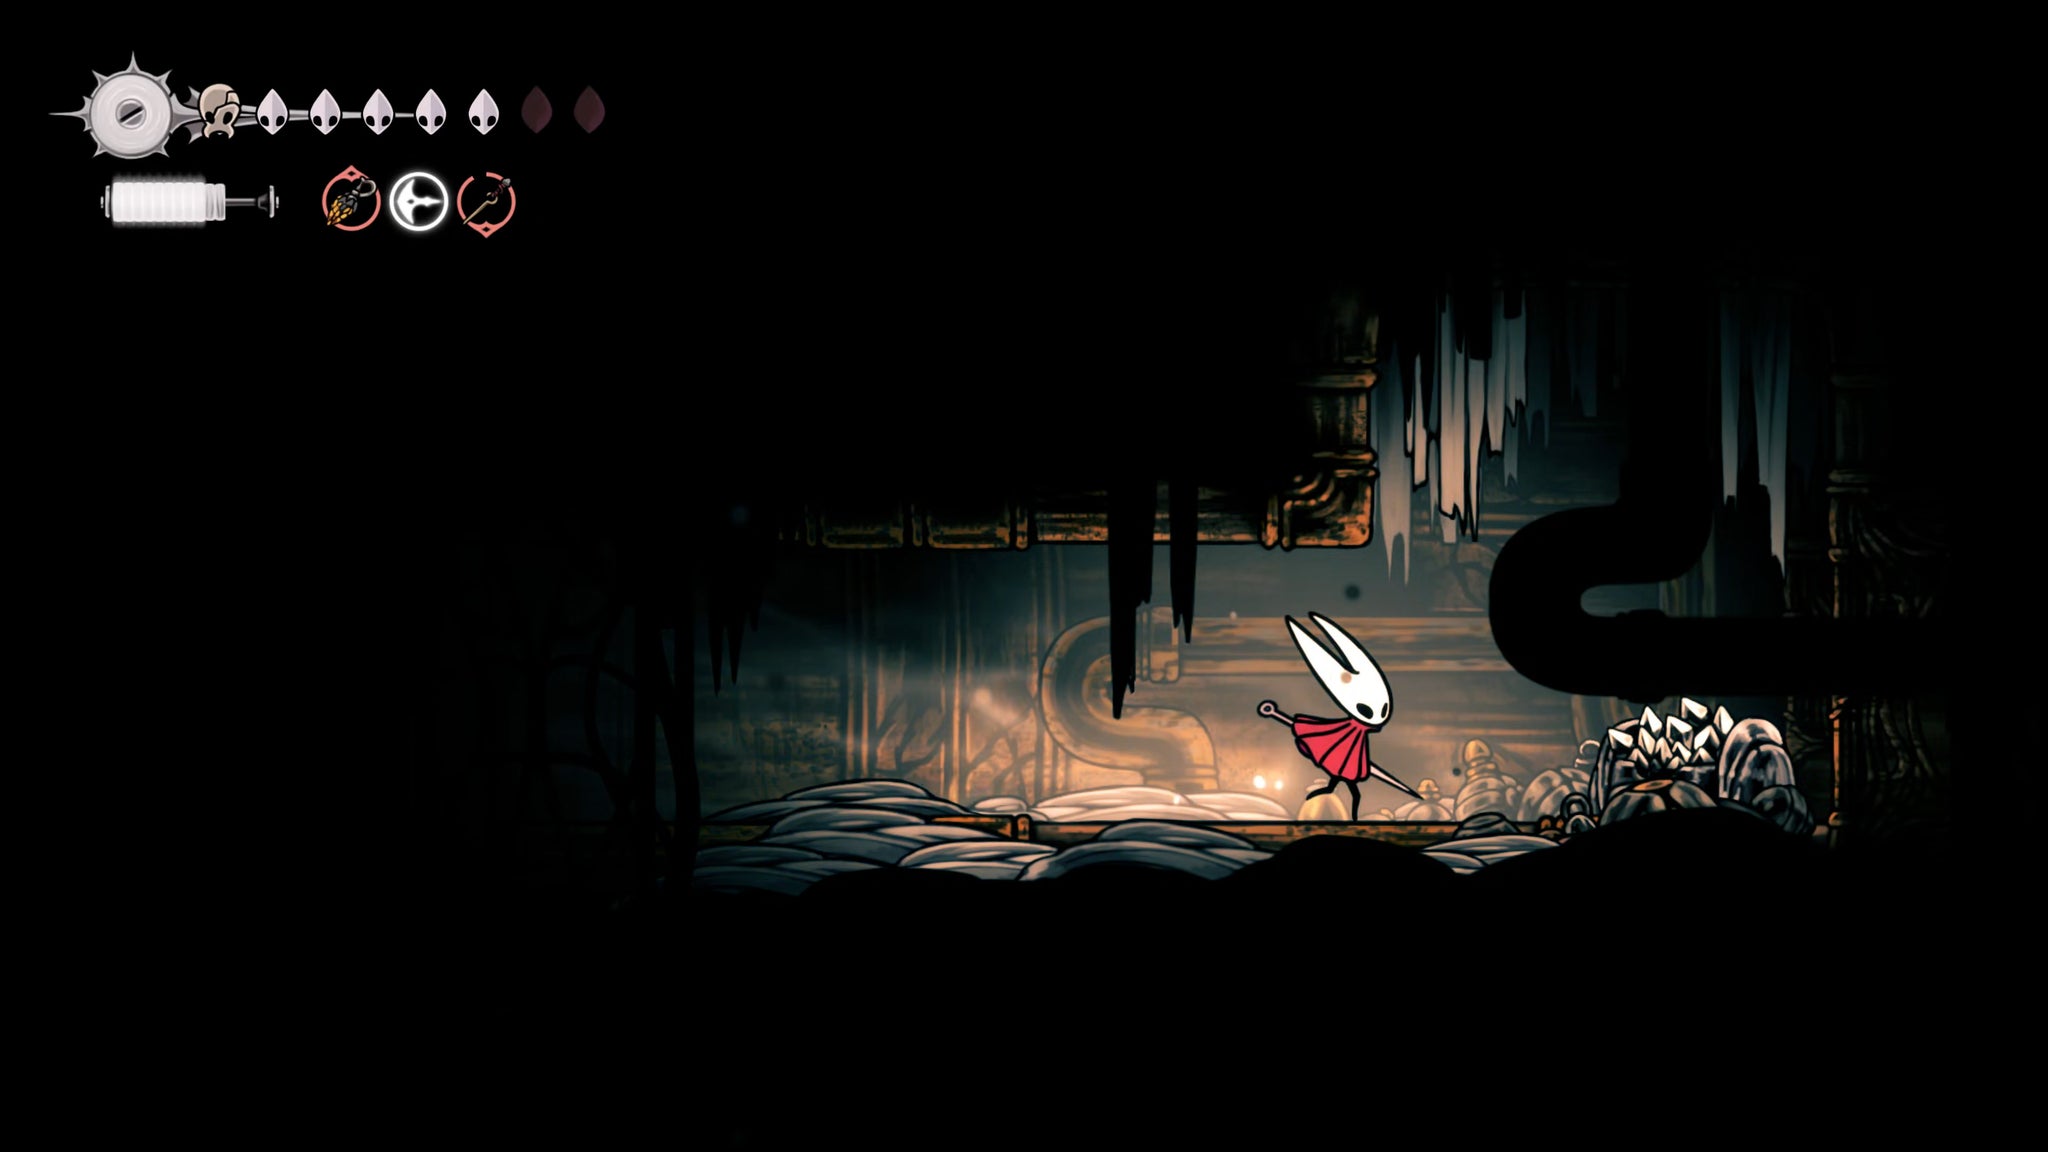
Image credit:Rock Paper Shotgun/Team Cherry
As an aside, you can also drop down the hole in the floor of the Cogfly room. At the bottom you can swim to the right, through the waterfall, to reveal a tiny little compartment with some Shell Shards (and a Giant Drapemite). Once that’s done, make your way back up and exit the room again.
5. Obtain the Psalm Cylinder.
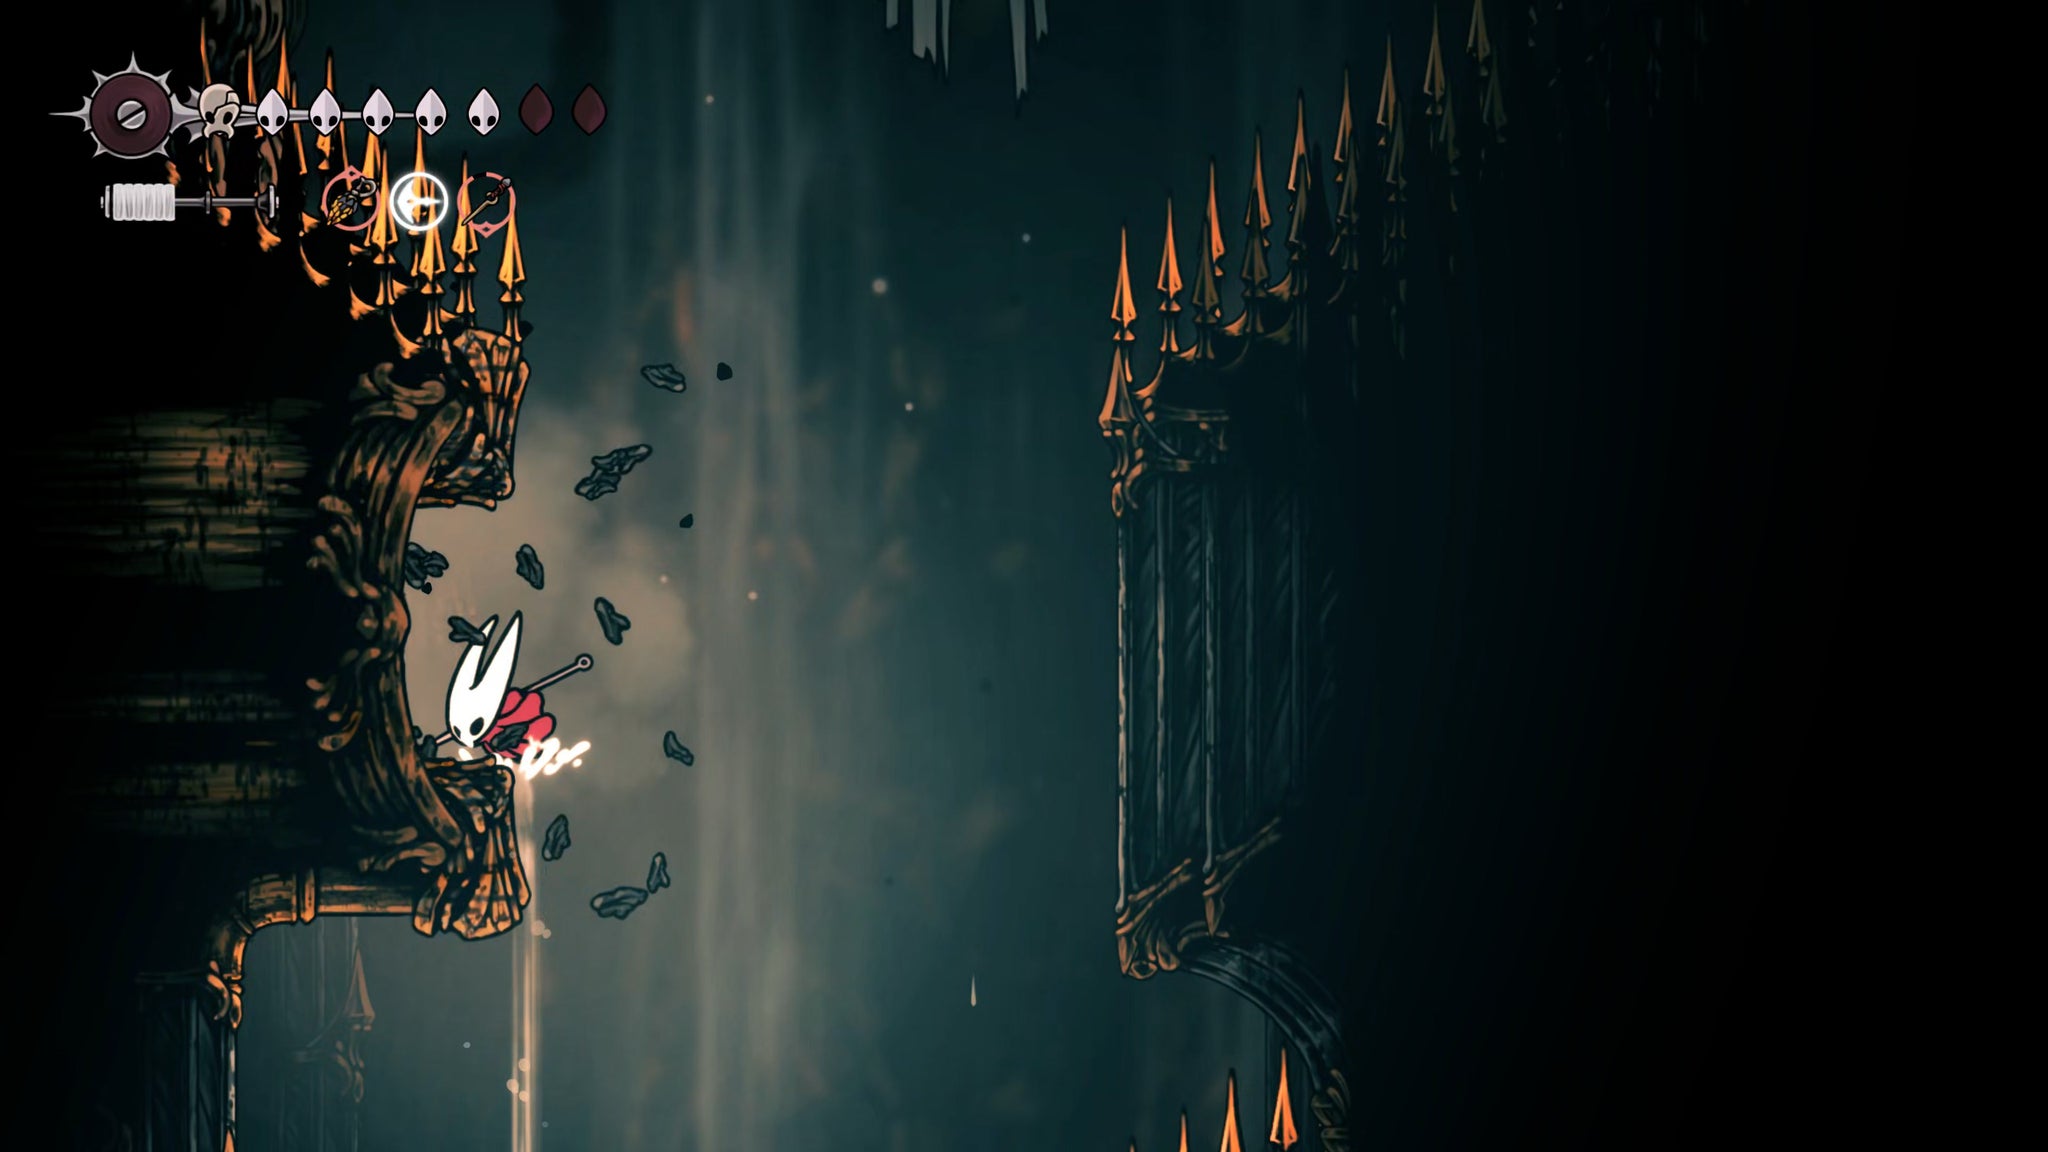
Image credit:Rock Paper Shotgun/Team Cherry
Drop down to the ledge below, and then glide past the spikes even lower. Partway down, you’ll see a conspicuous area of breakable wall sticking out from the left. Cling onto the wall and break it open to enter this left-hand room.
Inside is a fairly simple criss-cross of waterway tunnels. Drop to the bottom and head all the way to the left-hand side, where you can break open the wall for a shortcut back to the large shaft earlier in the High Halls. But rather than going through the shortcut, climb upwards just before you reach the exit, and you can then follow the path back to the right.
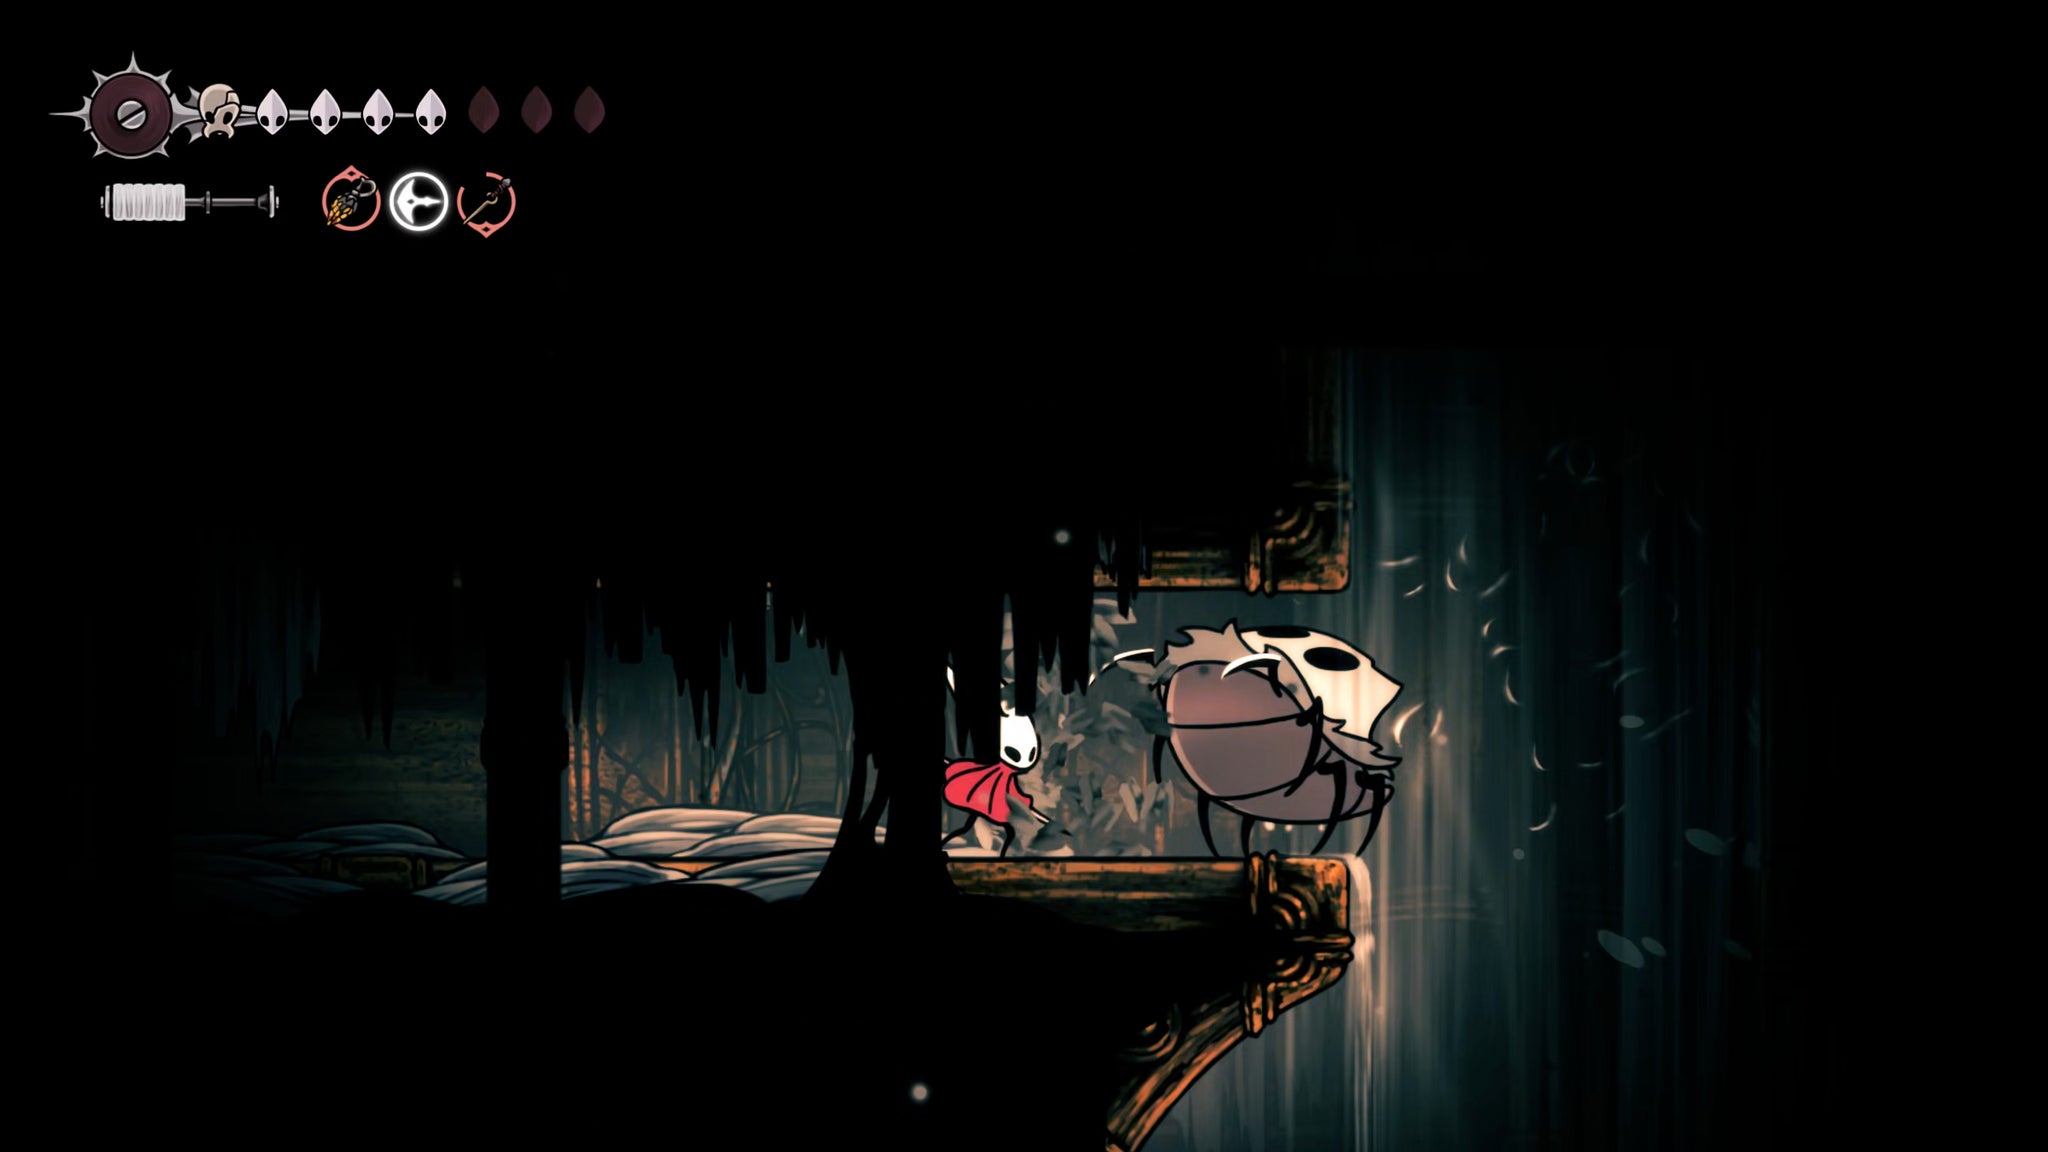
Image credit:Rock Paper Shotgun/Team Cherry
At the end of the path is an item on the floor that you can loot for a Psalm Cylinder. Remember to hand this in to Vaultkeeper Cardinius in the Whispering Vaults at some point! In the meantime, you can now drop down the nearest hole and exit back through the right-hand exit you used to enter this room.
6. Disable all Clawmaiden spawns.


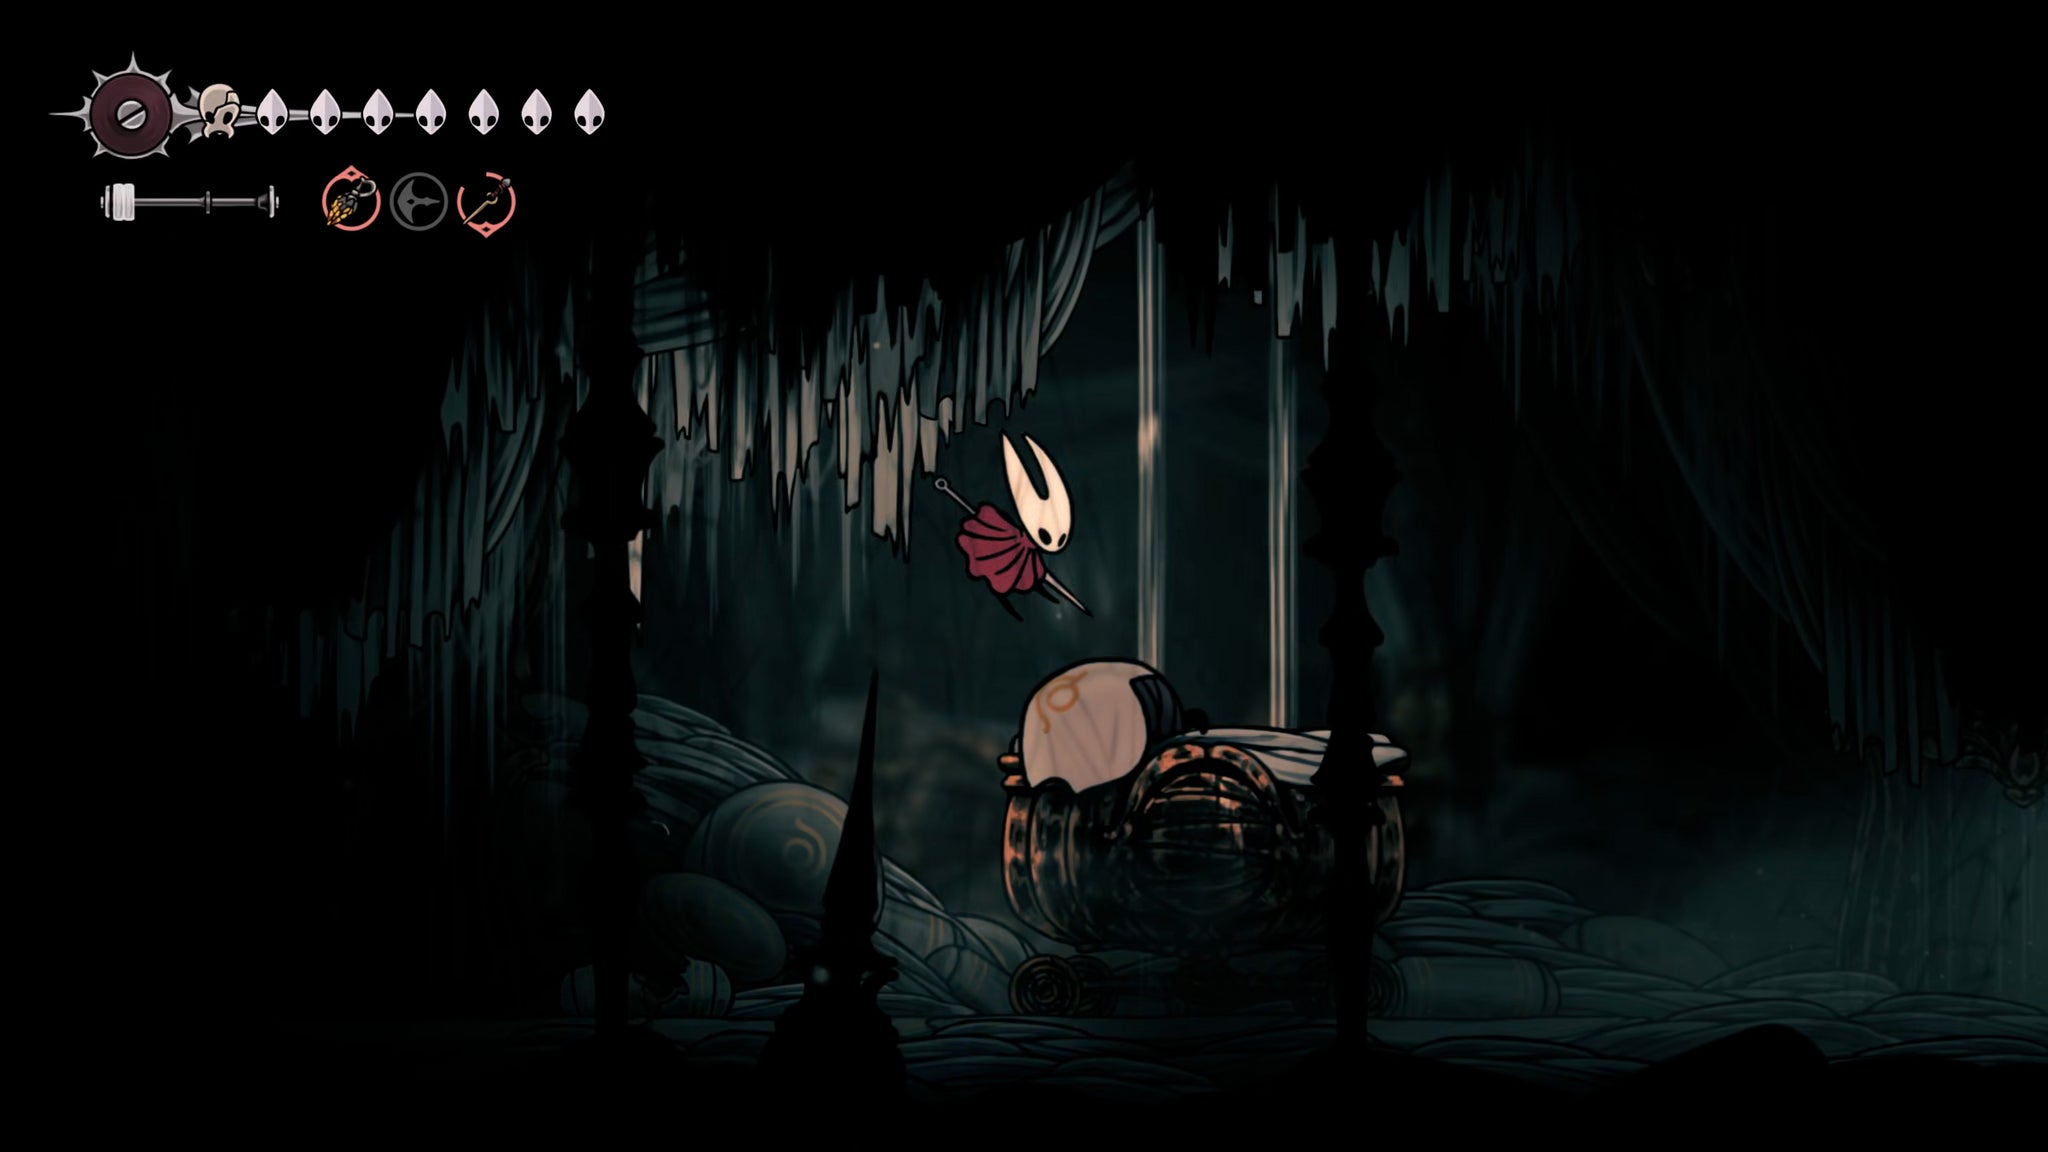
Continue to navigate the spikes on your way downwards, until you reach solid ground at last. There are two exits here - one to the left, and one below. Take the left-hand path first.
At the end of this dark room is a large cart. Hop onto it to loot the Frayed Rosary String atop it. Then, jump back down and attack the cart once (from the right-hand side) to get it to bounce off the wall slightly. Doing this will open up enough of a gap for you to sidle into the left-hand side of the cart.
Now, from the left side, keep attacking the cart to move it along to the right. Line the cart up directly underneath the two water leaks coming from the ceiling on the right-hand side of the room. Then climb onto the cart, and double-jump upwards between the leaks to reach a secret room above.
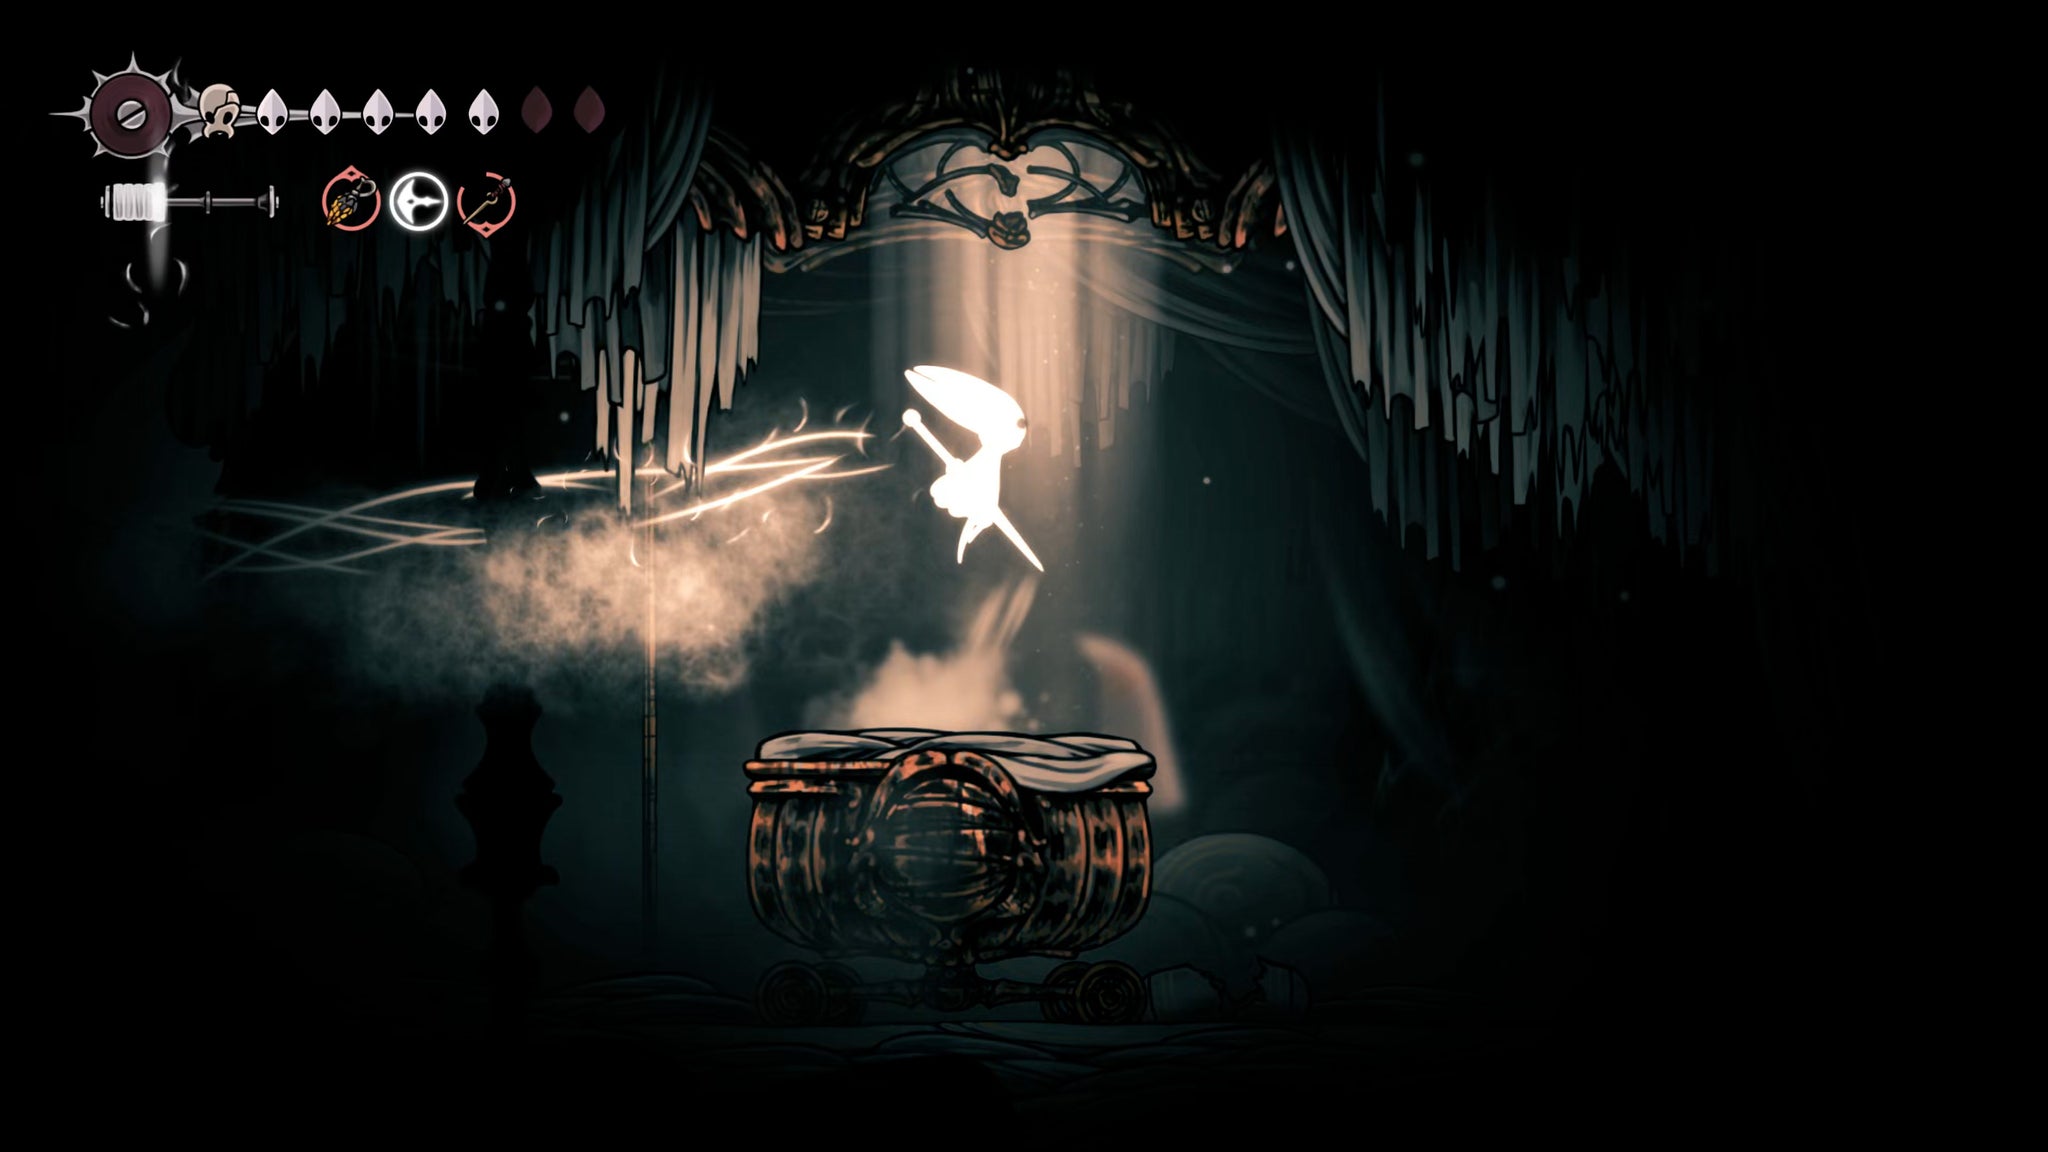
Image credit:Rock Paper Shotgun/Team Cherry
This next room is filled with Clawmaidens, nasty Citadel Silk creations which sap your Silk repeatedly in order to charge up large ranged needle attacks. What you need to do is completely ignore them (apart from avoiding their needle attacks), as you push another cart towards the end of the corridor.
Near the end of the corridor there’s a section of breakable ceiling. Line up the cart under the ceiling, break it open, and jump upwards to the ledge above. At the end of this upper path past some circular saws, you’ll find a large clump of silk threads. Attack the threads to destroy them - doing so will permanently disable all Clawmaiden spawns, not just in this room but in the whole of the Citadel. What a wonderful little secret room!
7. Rest at the Bench and buy the High Halls map.
Return back to the first room with the cart, and then exit back out to the right. Drop down the hole below, and then drop to ground-level in the next room.



Take the right-hand exit with the Ventrica sign, and you’ll at last be able to rest at the Bench there. Just beyond that, you can spend 80 Rosaries to unlock the High Halls Ventrica Station, and 70 Rosaries at the model of the Citadel to unlock the High Halls map.
8. Obtain the Rosary Cannon.
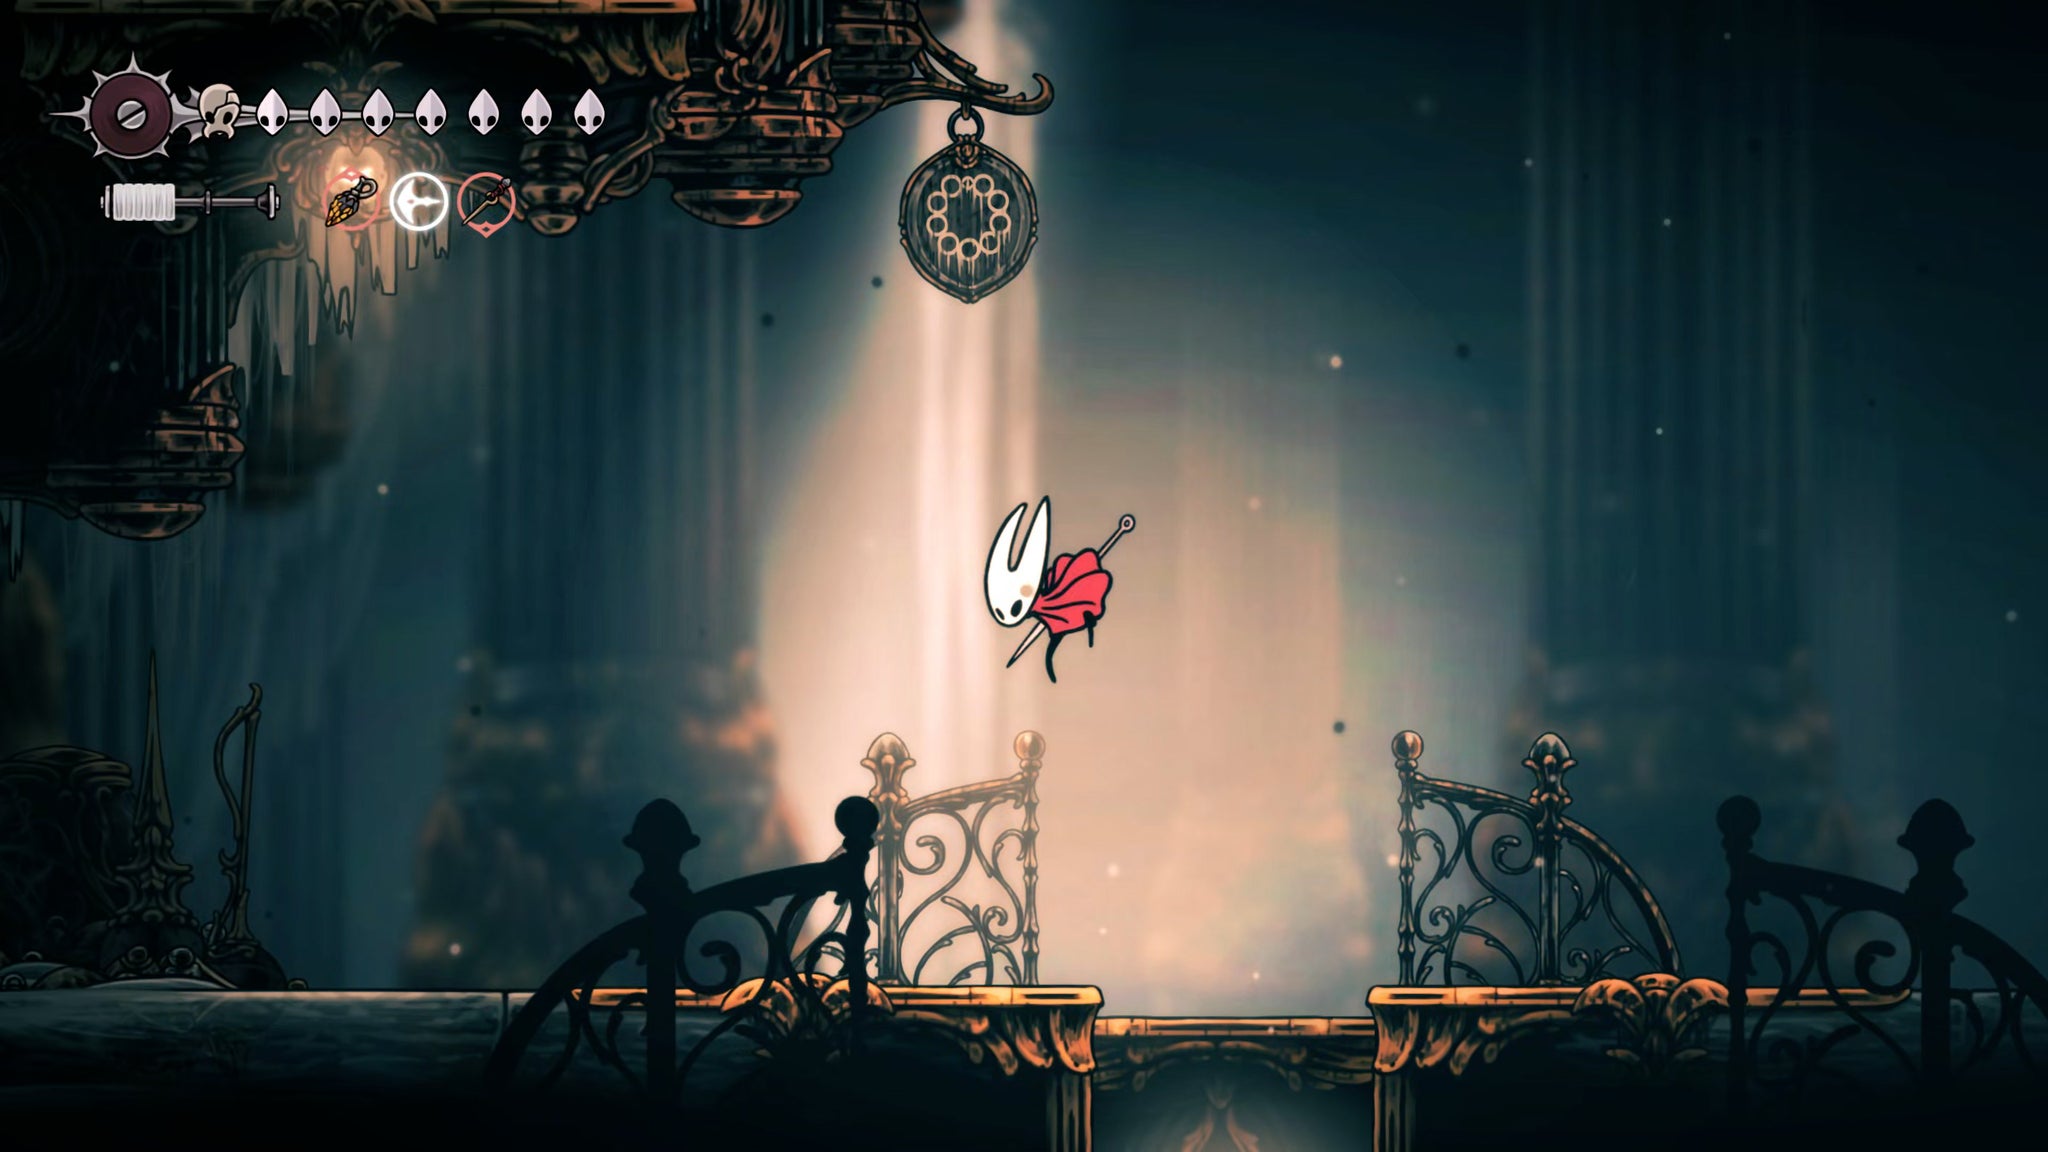
Image credit:Rock Paper Shotgun/Team Cherry
Exit out of the Ventrica room, and walk along the floor until you reach a lever. Hit the lever to open up a shortcut back down into the upper corridors of the Choral Chambers.
Then jump up to the ledges above you, and you’ll find an ornate locked door. Use your last Simple Key on it to open it up and enter.
Head along the interior of the room. Just past the Rosary Necklace crafter, you’ll find a section of breakable ceiling above you. Break it and jump up there, then follow the path past the circular saws. Just beyond the steam vents, a Giant Drapemite will attack you. After it’s dead, head to the left-hand side of the ledge and climb upwards into a room filled with Rosaries and chests (filled with more Rosaries).


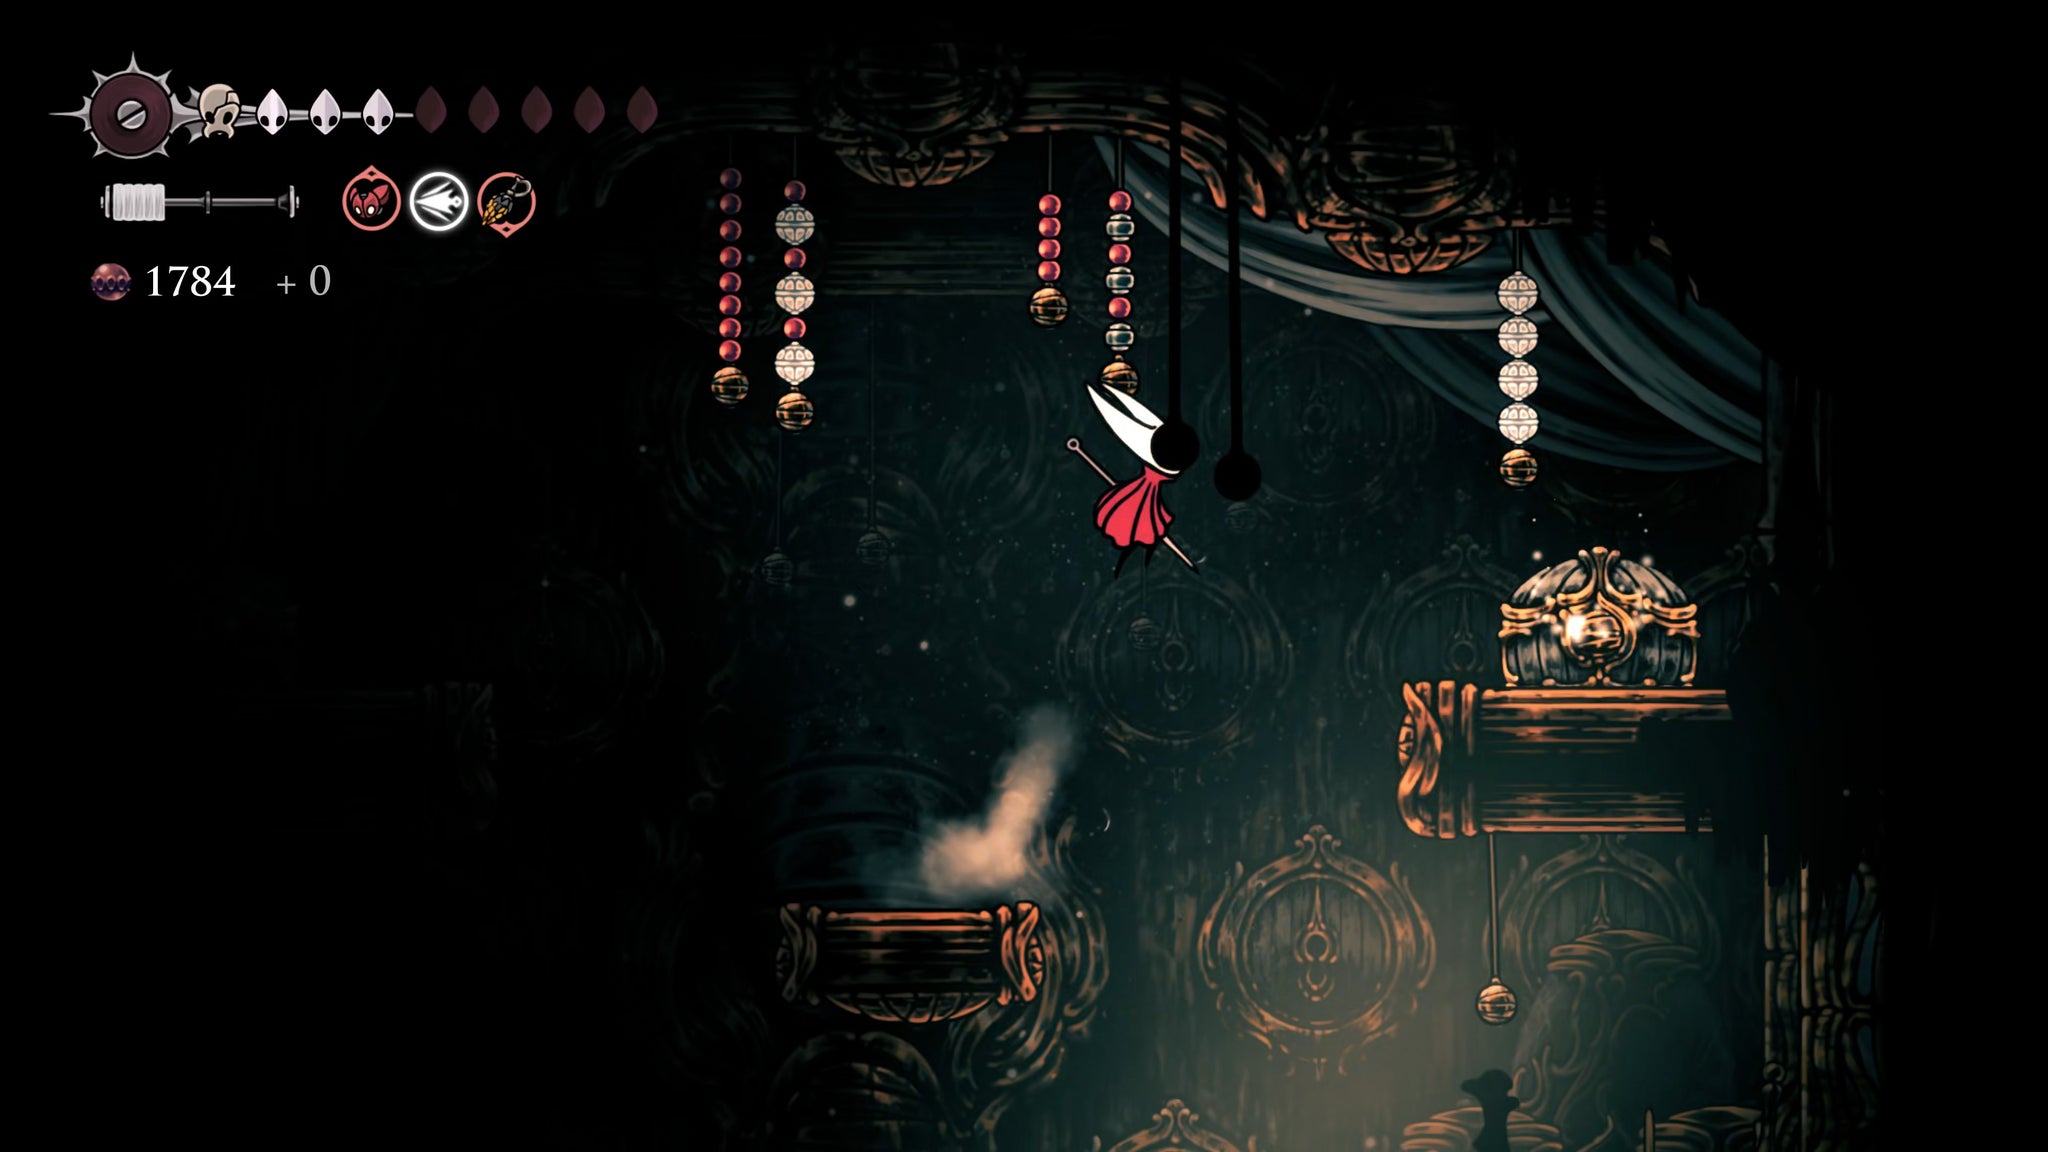
Once you’re done collecting all the Rosaries you could ask for, hit the lever on the left side to open a shortcut back out - but don’t take it yet. Instead, drop down the way you came in, and drop all the way this time (but veer to the left when you’re near the bottom to avoid the steam vents).
Break open the wall beside you, and just past the steam vents beyond, you’ll find a tiny room with a strange tubular contraption hanging from the ceiling. Attack it to break it, and collect the item to obtain the Rosary Cannon.

Image credit:Rock Paper Shotgun/Team Cherry
I’ll be honest, I’m not a fan of using up my Rosaries for attacks, but it’s undeniably fun. Regardless, you can now backtrack to the room with all the chests, and take the shortcut back out of this area into the main part of the High Halls.
9. Complete the High Halls gauntlet.
If you took any damage in the previous step, now’s a good time to rest at the Bench again, because you’re about to face the real test of the High Halls - an eleven-stage arena fight. Yes, you read that right. Eleven stages.
Thankfully, because you completed Shakra’s Last Wish quest ahead of time, she will turn up to help you during the second or third stage, making things much easier. The other thing we’ve got in our favour is that we destroyed the silk threads governing all the Clawmaiden spawns - so there won’t be any additional Clawmaidens showing up during this gauntlet.
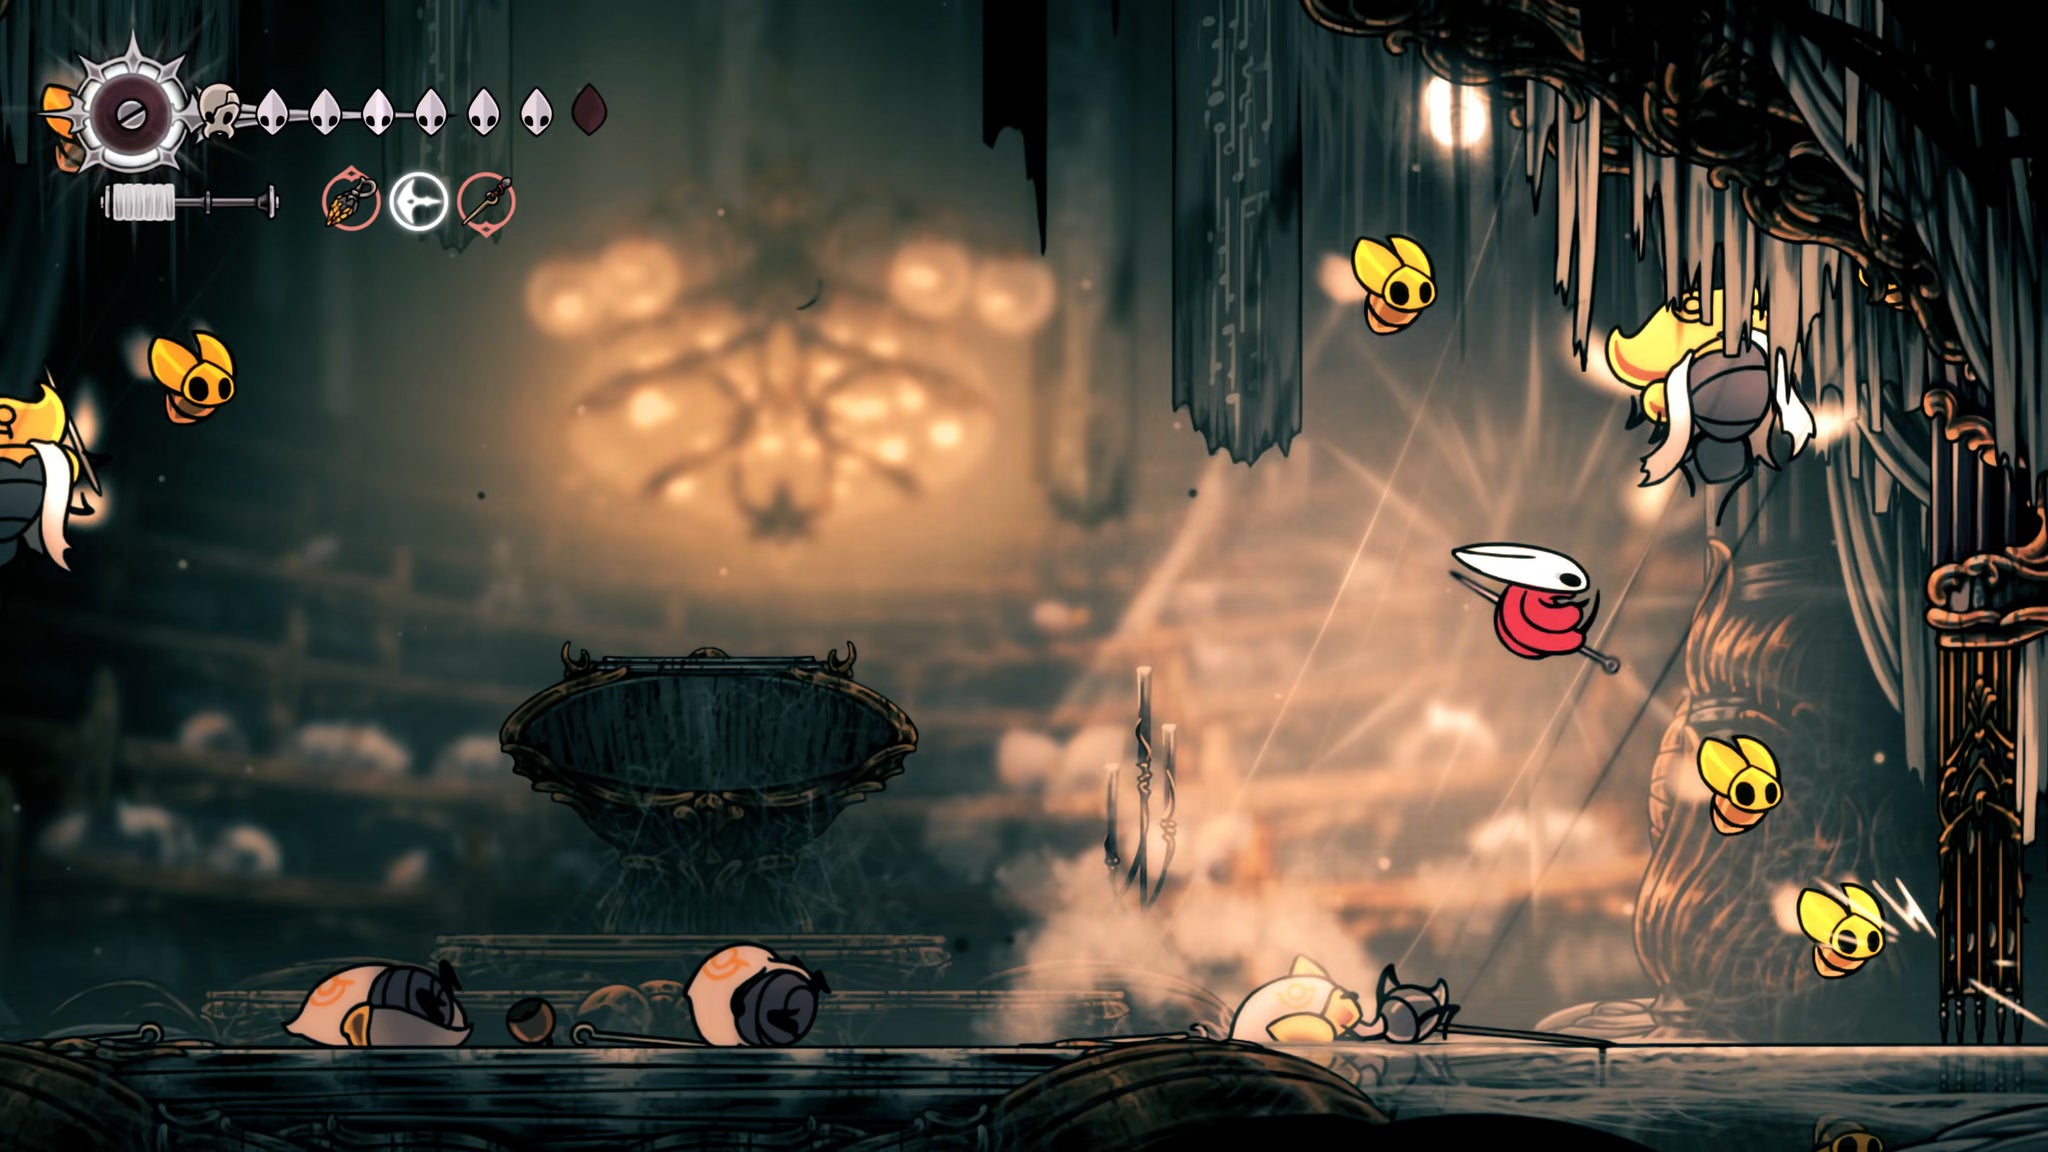
Image credit:Rock Paper Shotgun/Team Cherry
Otherwise, this is a fairly straightforward (albeit long and punishing) arena fight. The eleven stages are as follows:
- 1x Choristor, 1x Reed, 1x Envoy
- 2x Choristor
- 1x Choir Bellbearer, 1x Reed
- 2x Minister
- 2x Maestro
- 1x Choir Clapper
- 1x Choir Bellbearer, 2x Reed
- 2x Choir Bellbearer, 1x Choristor
- 1x Choir Bellbearer, 2x Minister
- 1x Maestro, 1x Reed
- 2x Choir Clapper
Taken in isolation, most of these phases are fairly easy. The Choral Chambers enemies - Choristors, Reeds, Envoys, Bellbearers - are simple to defeat by now. Maestros and Ministers up the ante a bit, but they’re also not terribly aggressive fighters, so I like to take my time during these phases and safely farm up Silk for healing.
The curveballs are the Choir Clappers - new and robust miniboss enemies which have a number of far-reaching area-of-effect attacks, and can slam their mace down with surprising quickness. Phase 6, where you’re just facing one Clapper on its own, is not too bad. You can dash in, attack, and dash out to avoid most of his attacks, and just jump over the line of AoE attacks as necessary.


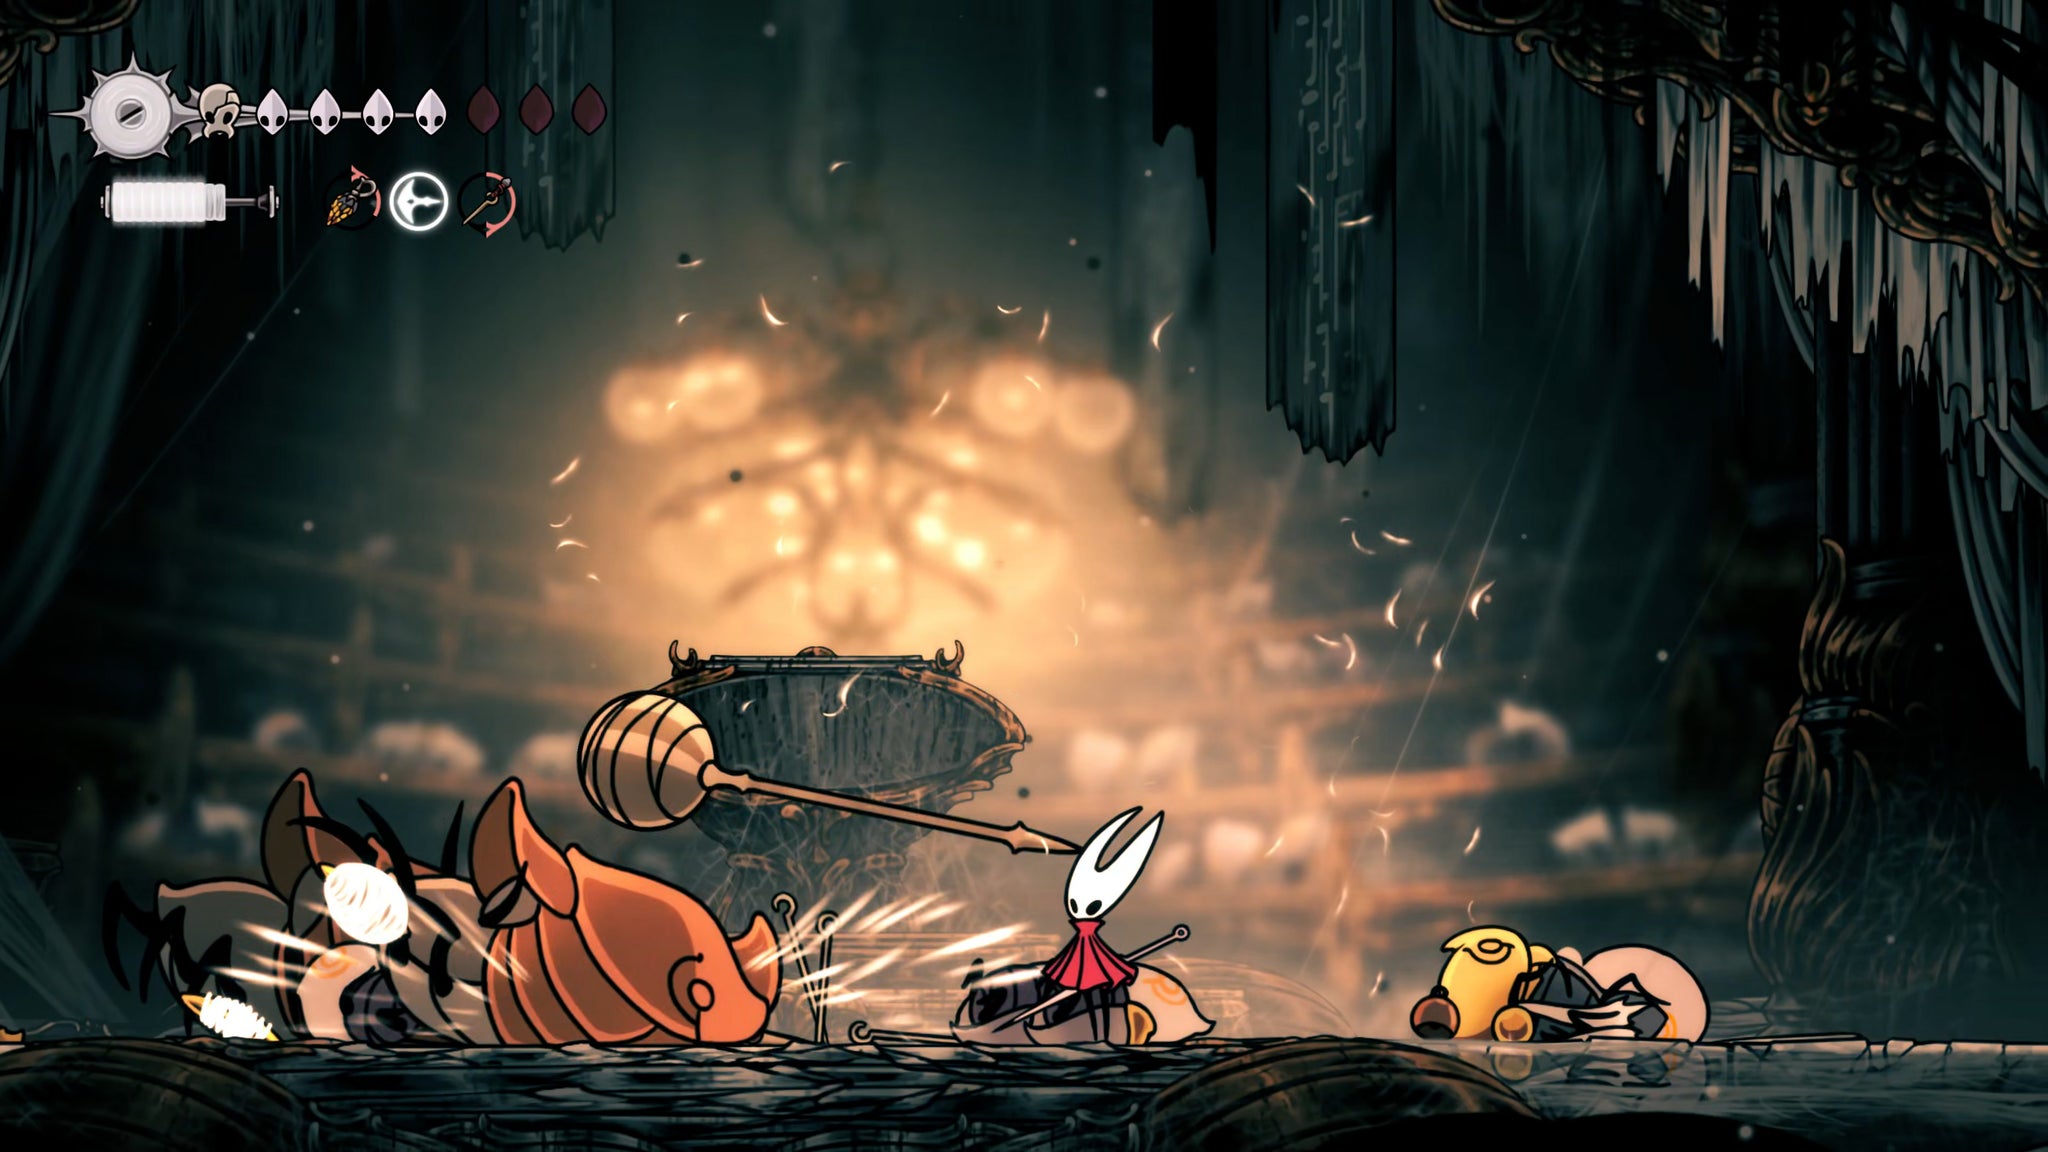
The final phase drops two Choir Clappers on your head, and that’s when things get really tough. There’s a cheese method where you can hang on the very top edge of one of the walls using the Ascendant’s Grip tool (which can be bought from Jubilana at Songclave) and they can’t reach you, allowing Shakra to just kill them over time.
But I don’t particularly like cheese strats, so I’m just gonna advise you to use your Flintslate and burst one of the Clappers down as quickly as possible to turn it into a one-on-one fight. Sharpdart is also handy here, as is littering the arena with Tacks. I believe in you!
10. Obtain the Conductor’s Melody from Ballador.
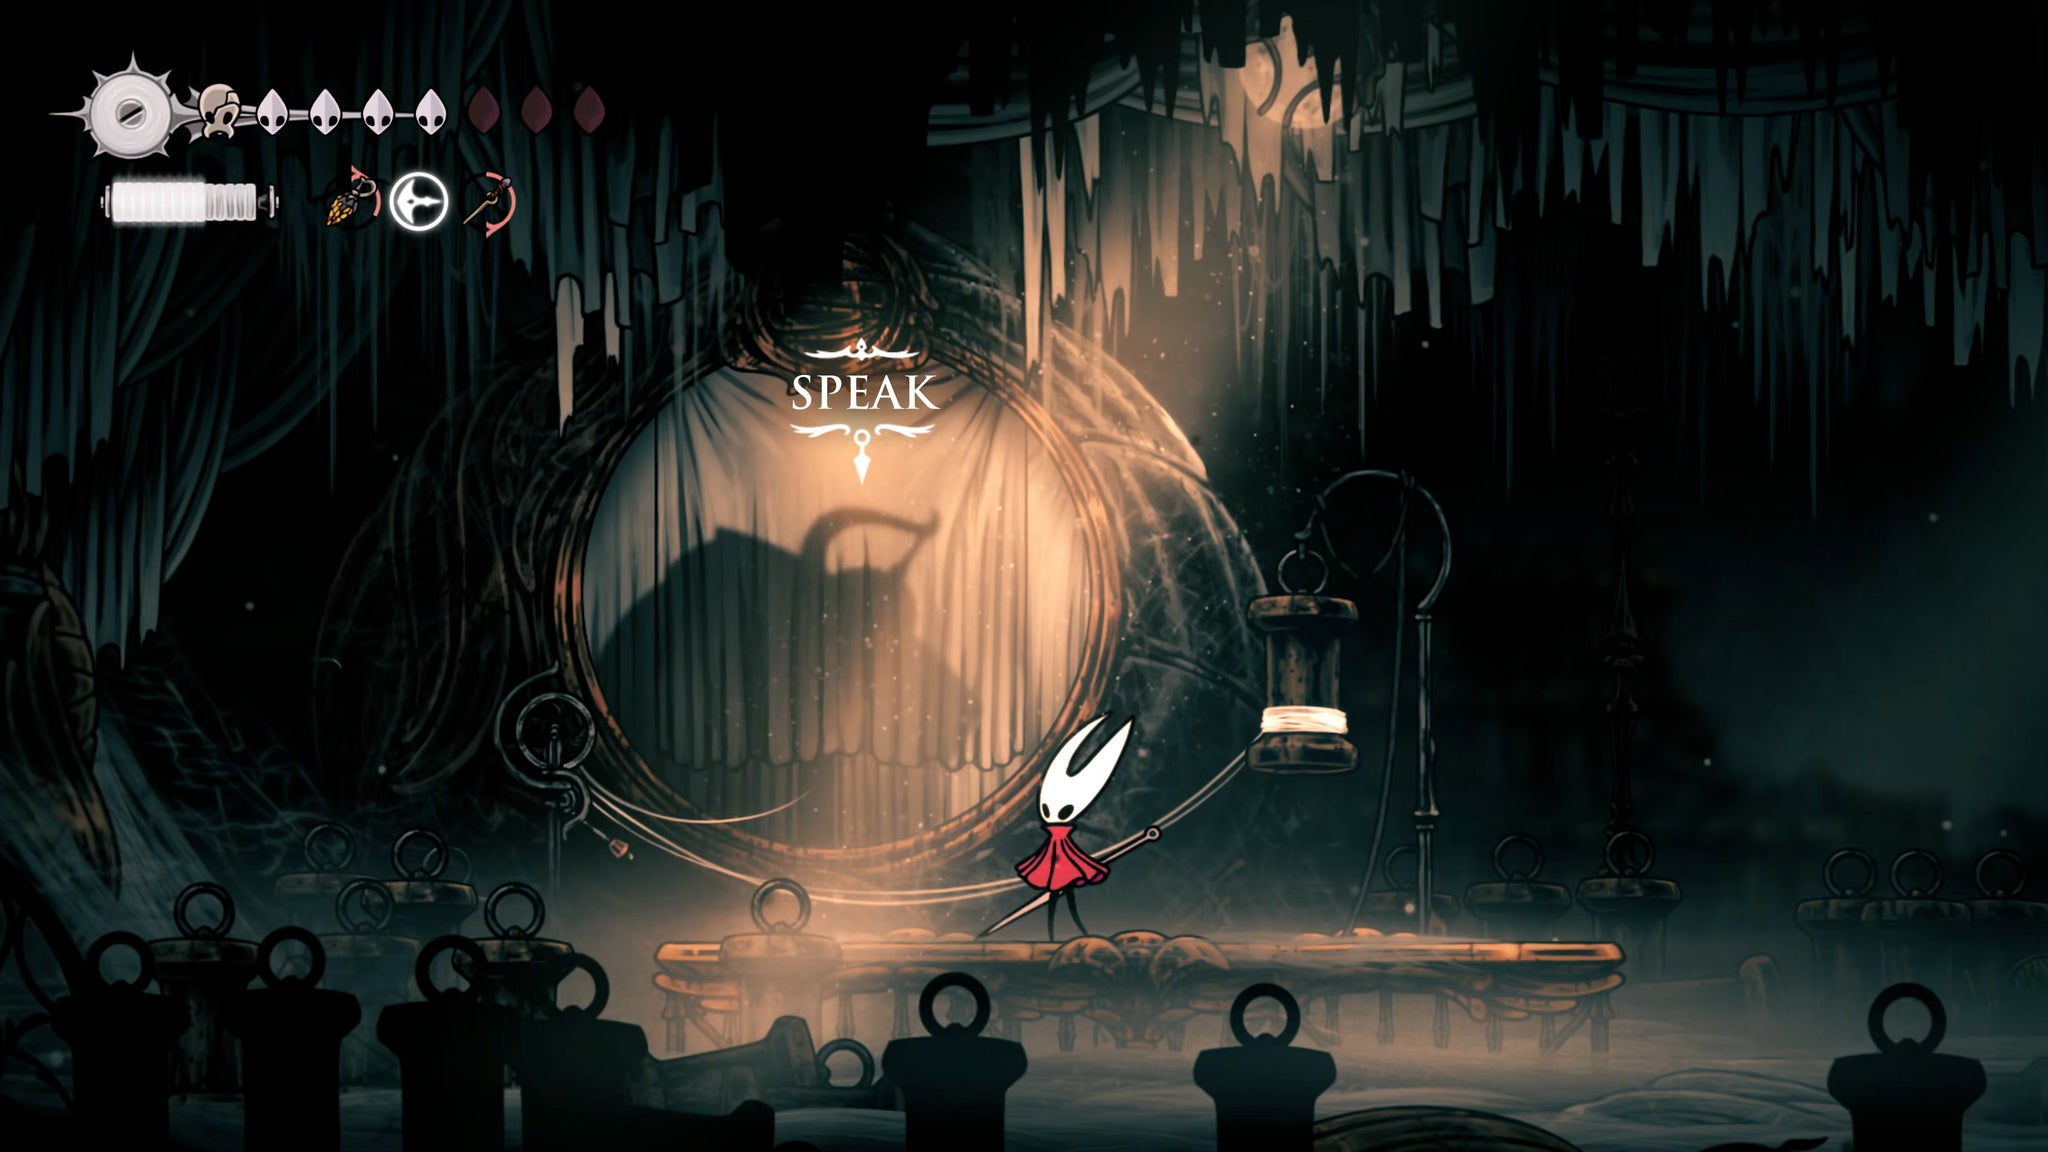
Image credit:Rock Paper Shotgun/Team Cherry
After the fight you can speak once more with Shakra if you like. After that, head to the left, and you’ll find one more room in High Halls to discover. This room is the home of Conductor Ballador, a mysterious and ailing figure behind the curtain at the end of the path. Speak with him, exhaust his dialogue, and then play your Needolin as prompted to obtain the Conductor’s Melody at last.

Image credit:Rock Paper Shotgun/Team Cherry
That’s everything there is to the High Halls, and now we have all three parts of the Threefold Melody! But hold your horses - there are just a couple more places to visit before we ascend to the Cradle at the top of Pharloom. Join us in Part 30 of our Silksong walkthrough as we ascend into the Memorium.


Hollow Knight: Silksong
PC , Nintendo Switch
Rock Paper Shotgun is better when you sign in
Sign in and join us on our journey to discover strange and compelling PC games.

All 75 Arc Raiders Blueprints and where to get them
These areas have the highest chance of giving you Blueprints

Image credit:Rock Paper Shotgun/Embark Studios

Looking for more Arc Raiders Blueprints? It’s a special day when you find a Blueprint, as they’re among the most valuable items in Arc Raiders. If you find a Blueprint that you haven’t already found, then you must make sure you hold onto it at all costs, because Blueprints are the key to one of the most important and powerful systems of meta-progression in the game.
This guide aims to be the very best guide on Blueprints you can find, starting with a primer on what exactly they are and how they work in Arc Raiders, before delving into exactly where to get Blueprints and the very best farming spots for you to take in your search.
We’ll also go over how to get Blueprints from other unlikely activities, such as destroying Surveyors and completing specific quests. And you’ll also find the full list of all 75 Blueprints in Arc Raiders on this page (including the newest Blueprints added with the Cold Snap update , such as the Deadline Blueprint and Firework Box Blueprint), giving you all the information you need to expand your own crafting repertoire.
In this guide:
- What are Blueprints in Arc Raiders?
- Full Blueprint list: All crafting recipes
- Where to find Blueprints in Arc Raiders Blueprints obtained from quests Blueprints obtained from Trials Best Blueprint farming locations

What are Blueprints in Arc Raiders?
Blueprints in Arc Raiders are special items which, if you manage to extract with them, you can expend to permanently unlock a new crafting recipe in your Workshop. If you manage to extract from a raid with an Anvil Blueprint, for example, you can unlock the ability to craft your very own Anvil Pistol, as many times as you like (as long as you have the crafting materials).
To use a Blueprint, simply open your Inventory while in the lobby, then right-click on the Blueprint and click “Learn And Consume” . This will permanently unlock the recipe for that item in your Workshop. As of the Stella Montis update, there are allegedly 75 different Blueprints to unlock - although only 68 are confirmed to be in the game so far. You can see all the Blueprints you’ve found and unlocked by going to the Workshop menu, and hitting “R” to bring up the Blueprint screen.
It’s possible to find duplicates of past Blueprints you’ve already unlocked. If you find these, then you can either sell them, or - if you like to play with friends - you can take it into a match and gift it to your friend so they can unlock that recipe for themselves. Another option is to keep hold of them until the time comes to donate them to the Expedition.
Full Blueprint list: All crafting recipes
Below is the full list of all the Blueprints that are currently available to find in Arc Raiders, and the crafting recipe required for each item:
| Blueprint | Type | Recipe | Crafted At |
|---|---|---|---|
| Bettina | Weapon | 3x Advanced Mechanical Components 3x Heavy Gun Parts 3x Canister | Gunsmith 3 |
| Blue Light Stick | Quick Use | 3x Chemicals | Utility Station 1 |
| Aphelion | Weapon | 3x Magnetic Accelerator 3x Complex Gun Parts 1x Matriarch Reactor | Gunsmith 3 |
| Combat Mk. 3 (Flanking) | Augment | 2x Advanced Electrical Components 3x Processor | Gear Bench 3 |
| Combat Mk. 3 (Aggressive) | Augment | 2x Advanced Electrical Components 3x Processor | Gear Bench 3 |
| Complex Gun Parts | Material | 2x Light Gun Parts 2x Medium Gun Parts 2x Heavy Gun Parts | Refiner 3 |
| Fireworks Box | Quick Use | 1x Explosive Compound 3x Pop Trigger | Explosives Station 2 |
| Gas Mine | Mine | 4x Chemicals 2x Rubber Parts | Explosives Station 1 |
| Green Light Stick | Quick Use | 3x Chemicals | Utility Station 1 |
| Pulse Mine | Mine | 1x Crude Explosives 1x Wires | Explosives Station 1 |
| Seeker Grenade | Grenade | 1x Crude Explosives 2x ARC Alloy | Explosives Station 1 |
| Looting Mk. 3 (Survivor) | Augment | 2x Advanced Electrical Components 3x Processor | Gear Bench 3 |
| Angled Grip II | Mod | 2x Mechanical Components 3x Duct Tape | Gunsmith 2 |
| Angled Grip III | Mod | 2x Mod Components 5x Duct Tape | Gunsmith 3 |
| Hullcracker | Weapon | 1x Magnetic Accelerator 3x Heavy Gun Parts 1x Exodus Modules | Gunsmith 3 |
| Launcher Ammo | Ammo | 5x Metal Parts 1x Crude Explosives | Workbench 1 |
| Anvil | Weapon | 5x Mechanical Components 5x Simple Gun Parts | Gunsmith 2 |
| Anvil Splitter | Mod | 2x Mod Components 3x Processor | Gunsmith 3 |
| ??? | ??? | ??? | ??? |
| Barricade Kit | Quick Use | 1x Mechanical Components | Utility Station 2 |
| Blaze Grenade | Grenade | 1x Explosive Compound 2x Oil | Explosives Station 3 |
| Bobcat | Weapon | 3x Advanced Mechanical Components 3x Light Gun Parts | Gunsmith 3 |
| Osprey | Weapon | 2x Advanced Mechanical Components 3x Medium Gun Parts 7x Wires | Gunsmith 3 |
| Burletta | Weapon | 3x Mechanical Components 3x Simple Gun Parts | Gunsmith 1 |
| Compensator II | Mod | 2x Mechanical Components 4x Wires | Gunsmith 2 |
| Compensator III | Mod | 2x Mod Components 8x Wires | Gunsmith 3 |
| Defibrillator | Quick Use | 9x Plastic Parts 1x Moss | Medical Lab 2 |
| ??? | ??? | ??? | ??? |
| Equalizer | Weapon | 3x Magnetic Accelerator 3x Complex Gun Parts 1x Queen Reactor | Gunsmith 3 |
| Extended Barrel | Mod | 2x Mod Components 8x Wires | Gunsmith 3 |
| Extended Light Mag II | Mod | 2x Mechanical Components 3x Steel Spring | Gunsmith 2 |
| Extended Light Mag III | Mod | 2x Mod Components 5x Steel Spring | Gunsmith 3 |
| Extended Medium Mag II | Mod | 2x Mechanical Components 3x Steel Spring | Gunsmith 2 |
| Extended Medium Mag III | Mod | 2x Mod Components 5x Steel Spring | Gunsmith 3 |
| Extended Shotgun Mag II | Mod | 2x Mechanical Components 3x Steel Spring | Gunsmith 2 |
| Extended Shotgun Mag III | Mod | 2x Mod Components 5x Steel Spring | Gunsmith 3 |
| Remote Raider Flare | Quick Use | 2x Chemicals 4x Rubber Parts | Utility Station 1 |
| Heavy Gun Parts | Material | 4x Simple Gun Parts | Refiner 2 |
| Venator | Weapon | 2x Advanced Mechanical Components 3x Medium Gun Parts 5x Magnet | Gunsmith 3 |
| Il Toro | Weapon | 5x Mechanical Components 6x Simple Gun Parts | Gunsmith 1 |
| Jolt Mine | Mine | 1x Electrical Components 1x Battery | Explosives Station 2 |
| Explosive Mine | Mine | 1x Explosive Compound 1x Sensors | Explosives Station 3 |
| Jupiter | Weapon | 3x Magnetic Accelerator 3x Complex Gun Parts 1x Queen Reactor | Gunsmith 3 |
| Light Gun Parts | Material | 4x Simple Gun Parts | Refiner 2 |
| Lightweight Stock | Mod | 2x Mod Components 5x Duct Tape | Gunsmith 3 |
| Lure Grenade | Grenade | 1x Speaker Component 1x Electrical Components | Utility Station 2 |
| Medium Gun Parts | Material | 4x Simple Gun Parts | Refiner 2 |
| Torrente | Weapon | 2x Advanced Mechanical Components 3x Medium Gun Parts 6x Steel Spring | Gunsmith 3 |
| Muzzle Brake II | Mod | 2x Mechanical Components 4x Wires | Gunsmith 2 |
| Muzzle Brake III | Mod | 2x Mod Components 8x Wires | Gunsmith 3 |
| Padded Stock | Mod | 2x Mod Components 5x Duct Tape | Gunsmith 3 |
| Shotgun Choke II | Mod | 2x Mechanical Components 4x Wires | Gunsmith 2 |
| Shotgun Choke III | Mod | 2x Mod Components 8x Wires | Gunsmith 3 |
| Shotgun Silencer | Mod | 2x Mod Components 8x Wires | Gunsmith 3 |
| Showstopper | Grenade | 1x Advanced Electrical Components 1x Voltage Converter | Explosives Station 3 |
| Silencer I | Mod | 2x Mechanical Components 4x Wires | Gunsmith 2 |
| Silencer II | Mod | 2x Mod Components 8x Wires | Gunsmith 3 |
| Snap Hook | Quick Use | 2x Power Rod 3x Rope 1x Exodus Modules | Utility Station 3 |
| Stable Stock II | Mod | 2x Mechanical Components 3x Duct Tape | Gunsmith 2 |
| Stable Stock III | Mod | 2x Mod Components 5x Duct Tape | Gunsmith 3 |
| Tagging Grenade | Grenade | 1x Electrical Components 1x Sensors | Utility Station 3 |
| Tempest | Weapon | 3x Advanced Mechanical Components 3x Medium Gun Parts 3x Canister | Gunsmith 3 |
| Trigger Nade | Grenade | 2x Crude Explosives 1x Processor | Explosives Station 2 |
| Vertical Grip II | Mod | 2x Mechanical Components 3x Duct Tape | Gunsmith 2 |
| Vertical Grip III | Mod | 2x Mod Components 5x Duct Tape | Gunsmith 3 |
| Vita Shot | Quick Use | 2x Antiseptic 1x Syringe | Medical Lab 3 |
| Vita Spray | Quick Use | 3x Antiseptic 1x Canister | Medical Lab 3 |
| Vulcano | Weapon | 1x Magnetic Accelerator 3x Heavy Gun Parts 1x Exodus Modules | Gunsmith 3 |
| Wolfpack | Grenade | 2x Explosive Compound 2x Sensors | Explosives Station 3 |
| Red Light Stick | Quick Use | 3x Chemicals | Utility Station 1 |
| Smoke Grenade | Grenade | 14x Chemicals 1x Canister | Utility Station 2 |
| Deadline | Mine | 3x Explosive Compound 2x ARC Circuitry | Explosives Station 3 |
| Trailblazer | Grenade | 1x Explosive Compound 1x Synthesized Fuel | Explosives Station 3 |
| Tactical Mk. 3 (Defensive) | Augment | 2x Advanced Electrical Components 3x Processor | Gear Bench 3 |
| Tactical Mk. 3 (Healing) | Augment | 2x Advanced Electrical Components 3x Processor | Gear Bench 3 |
| Yellow Light Stick | Quick Use | 3x Chemicals | Utility Station 1 |
Note: The missing Blueprints in this list likely have not actually been added to the game at the time of writing, because none of the playerbase has managed to find any of them. As they are added to the game, I will update this page with the most relevant information so you know exactly how to get all 75 Arc Raiders Blueprints.
Where to find Blueprints in Arc Raiders
Below is a list of all containers, modifiers, and events which maximise your chances of finding Blueprints:
- Certain quests reward you with specific Blueprints .
- Completing Trials has a high chance of offering Blueprints as rewards.
- Surveyors have a decent chance of dropping Blueprints on death.
- High loot value areas tend to have a greater chance of spawning Blueprints.
- Night Raids and Storms may increase rare Blueprint spawn chances in containers.
- Containers with higher numbers of items may have a higher tendency to spawn Blueprints. As a result, Blue Gate (which has many “large” containers containing multiple items) may give you a higher chance of spawning Blueprints.
- Raider containers (Raider Caches, Weapon Boxes, Medical Bags, Grenade Tubes) have increased Blueprint drop rates. As a result, the Uncovered Caches event gives you a high chance of finding Blueprints.
- Security Lockers have a higher than average chance of containing Blueprints.
- Certain Blueprints only seem to spawn under specific circumstances: Tempest Blueprint only spawns during Night Raid events. Vulcano Blueprint only spawns during Hidden Bunker events. Jupiter and Equaliser Blueprints only spawn during Harvester events.

Raider Caches, Weapon Boxes, and other raider-oriented container types have a good chance of offering Blueprints. |Image credit:Rock Paper Shotgun/Embark Studios
Blueprints have a very low chance of spawning in any container in Arc Raiders, around 1-2% on average. However, there is a higher chance of finding Blueprints in particular container types. Specifically, you can find more Blueprints in Raider containers and security lockers.
Beyond this, if you’re looking for Blueprints you should focus on regions of the map which are marked as having particularly high-value loot. Areas such as the Control Tower in Dam Battlegrounds, the Arrival and Departure Buildings in Spaceport, and Pilgrim’s Peak in Blue Gate all have a better-than-average chance of spawning Blueprints somewhere amongst all their containers. Night Raids and Electromagnetic Storm events also increase the drop chances of certain Blueprints .
In addition to these containers, you can often loot Blueprints from destroyed Surveyors - the largest of the rolling ball ARC. Surveyors are more commonly found on the later maps - Spaceport and Blue Gate - and if one spawns in your match, you’ll likely see it by the blue laser beam that it casts into the sky while “surveying”.
Surveyors are quite well-armoured and will very speedily run away from you once it notices you, but if you can take one down then make sure you loot all its parts for a chance of obtaining certain unusual Blueprints.
Blueprints obtained from quests
One way in which you can get Blueprints is by completing certain quests for the vendors in Speranza. Some quests will reward you with a specific item Blueprint upon completion, so as long as you work through all the quests in Arc Raiders, you are guaranteed those Blueprints.
Here is the full list of all Blueprints you can get from quest rewards:
- Trigger Nade Blueprint: Rewarded after completing “Sparks Fly”.
- Lure Grenade Blueprint: Rewarded after completing “Greasing Her Palms”.
- Burletta Blueprint: Rewarded after completing “Industrial Espionage”.
- Hullcracker Blueprint (and Launcher Ammo Blueprint): Rewarded after completing “The Major’s Footlocker”.
Alas, that’s only 4 Blueprints out of a total of 75 to unlock, so for the vast majority you will need to find them yourself during a raid. If you’re intent on farming Blueprints, then it’s best to equip yourself with cheap gear in case you lose it, but don’t use a free loadout because then you won’t get a safe pocket to stash any new Blueprint you find. No pain in Arc Raiders is sharper than failing to extract with a new Blueprint you’ve been after for a dozen hours already.

One of the best ways to get Blueprints is by hitting three stars on all five Trials every week. |Image credit:Rock Paper Shotgun/Embark Studios
Blueprints obtained from Trials
One of the very best ways to get Blueprints is as rewards for completing Trials in Arc Raiders. Trials are unlocked from Level 15 onwards, and allow you to earn rewards by focusing on certain tasks over the course of several raids. For example, one Trial might task you with dealing damage to Hornets, while another might challenge you to loot Supply Drops.
Trials refresh on a weekly basis, with a new week bringing five new Trials. Each Trial can offer up to three rewards after passing certain score milestones, and it’s possible to receive very high level loot from these reward crates - including Blueprints. So if you want to unlock as many Blueprints as possible, you should make a point of completing as many Trials as possible each week.
Best Blueprint farming locations
The very best way to get Blueprints is to frequent specific areas of the maps which combine high-tier loot pools with the right types of containers to search. Here are my recommendations for where to find Blueprints on every map, so you can always keep the search going for new crafting recipes to unlock.

Image credit:Rock Paper Shotgun/Embark Studios
Dam Battlegrounds
The best places to farm Blueprints on Dam Battlegrounds are the Control Tower, Power Generation Complex, Ruby Residence, and Pale Apartments . The first two regions, despite only being marked on the map as mid-tier loot, contain a phenomenal number of containers to loot. The Control Tower can also contain a couple of high-tier Security Lockers - though of course, you’ll need to have unlocked the Security Breach skill at the end of the Survival tree.
There’s also a lot of reporting amongst the playerbase that the Residential areas in the top-left of the map - Pale Apartments and Ruby Residence - give you a comparatively strong chance of finding Blueprints. Considering their size, there’s a high density of containers to loot in both locations, and they also have the benefit of being fairly out of the way. So you’re more likely to have all the containers to yourself.
Buried City
The best Blueprint farming locations on Buried City are the Santa Maria Houses, Grandioso Apartments, Town Hall, and the various buildings of the New District . Grandioso Apartments has a lower number of containers than the rest, but a high chance of spawning weapon cases - which have good Blueprint drop rates. The others are high-tier loot areas, with plenty of lootable containers - including Security Lockers.
Spaceport
The best places to find Blueprints on Spaceport are the Arrival and Departure Buildings, as well as Control Tower A6 and the Launch Towers . All these areas are labelled as high-value loot regions, and many of them are also very handily connected to one another by the Spaceport wall, which you can use to quickly run from one area to the next. At the tops of most of these buildings you’ll find at least one Security Locker, so this is an excellent farming route for players looking to find Blueprints.
The downside to looting Blueprints on Spaceport is that all these areas are hotly contested, particularly in Duos and Squads. You’ll need to be very focused and fast in order to complete the full farming route.

Image credit:Rock Paper Shotgun/Embark Studios
Blue Gate
Blue Gate tends to have a good chance of dropping Blueprints, potentially because it generally has a high number of containers which can hold lots of items; so there’s a higher chance of a Blueprint spawning in each container. In my experience, the best Blueprint farming spots on Blue Gate are Pilgrim’s Peak, Raider’s Refuge, the Ancient Fort, and the Underground Complex beneath the Warehouse .
All of these areas contain a wealth of containers to loot. Raider’s Refuge has less to loot, but the majority of the containers in and around the Refuge are raider containers, which have a high chance of containing Blueprints - particularly during major events.
Stella Montis
On the whole, Stella Montis seems to have a very low drop rate for Blueprints (though a high chance of dropping other high-tier loot). If you do want to try farming Blueprints on this map, the best places to find Blueprints in Stella Montis are Medical Research, Assembly Workshop, and the Business Center . These areas have the highest density of containers to loot on the map.
In addition to this, the Western Tunnel has a few different Security Lockers to loot, so while there’s very little to loot elsewhere in this area of the map, it’s worth hitting those Security Lockers if you spawn there at the start of a match.
That wraps up this primer on how to get all the Blueprints in Arc Raiders as quickly as possible. With the Expedition system constantly resetting a large number of players’ Blueprints, it’s more important than ever to have the most up-to-date information on where to find all these Blueprints.
While you’re here, be sure to check out our Arc Raiders best guns tier list , as well as our primers on the best skills to unlock and all the different Field Depot locations on every map.


ARC Raiders
PS5 , Xbox Series X/S , PC
Rock Paper Shotgun is better when you sign in
Sign in and join us on our journey to discover strange and compelling PC games.
