Hollow Knight Silksong walkthrough: Part 17 (Choral Chambers)
Plot the perfect path through the many corridors of the Choral Chambers
<img loading=“lazy” src=“https://assetsio.gnwcdn.com/hollow-knight-silksong-walkthrough-17-header.jpg?width=690&quality=85&format=jpg&dpr=3&auto=webp" onerror=“this.onerror=null;this.src=‘https://blogger.googleusercontent.com/img/a/AVvXsEhe7F7TRXHtjiKvHb5vS7DmnxvpHiDyoYyYvm1nHB3Qp2_w3BnM6A2eq4v7FYxCC9bfZt3a9vIMtAYEKUiaDQbHMg-ViyGmRIj39MLp0bGFfgfYw1Dc9q_H-T0wiTm3l0Uq42dETrN9eC8aGJ9_IORZsxST1AcLR7np1koOfcc7tnHa4S8Mwz_xD9d0=s16000';" alt=“Hornet in Hollow Knight: Silksong launches herself up towards an upper ledge by “pogo-ing” off the top of a hanging bronze circular bell in the Choral Chambers region of the map. - 1”>
Image credit:Rock Paper Shotgun/Team Cherry

Where should you go once you reach the Choral Chambers in Silksong? Act 2 only truly begins once you step foot inside the Choral Chambers of Pharloom’s Citadel. There’s a lot to explore in this sparkling region, and more than a few enemies to slaughter along the way.
In Part 17 of our ever-growing Hollow Knight: Silksong walkthrough, we’ll show you an excellent path through the Choral Chambers, which takes you to every single point of interest in the region in turn, so you can be sure you’ve unlocked everything in the Choral Chambers before moving onto the next several areas adjoining it. With various new NPCs to find, merchants to save, White Keys to find, and Fleas to rescue, there’s a lot to cover here - so let’s get stuck in.
Want the walkthrough for a different area of the game? Check out our Hollow Knight: Silksong walkthrough hub!
Choral Chambers walkthrough steps:
- Get the Silkeater in the first room.
- Activate the First Shrine.
- Speak with the Songclave residents.
- Find Jubilana.
- Rest at the nearby Bench.
- Reach the Grand Gate from the other side.
- Reach the Citadel Spa.
- Obtain the first Cogheart Piece.
- Rescue two nearby Fleas.
- Speak with Loyal Mergwin.
- Reach the top-left Bench.
- Defeat the Cogwork Dancers.

Image credit:Rock Paper Shotgun/Team Cherry
1. Get the Silkeater in the first room.


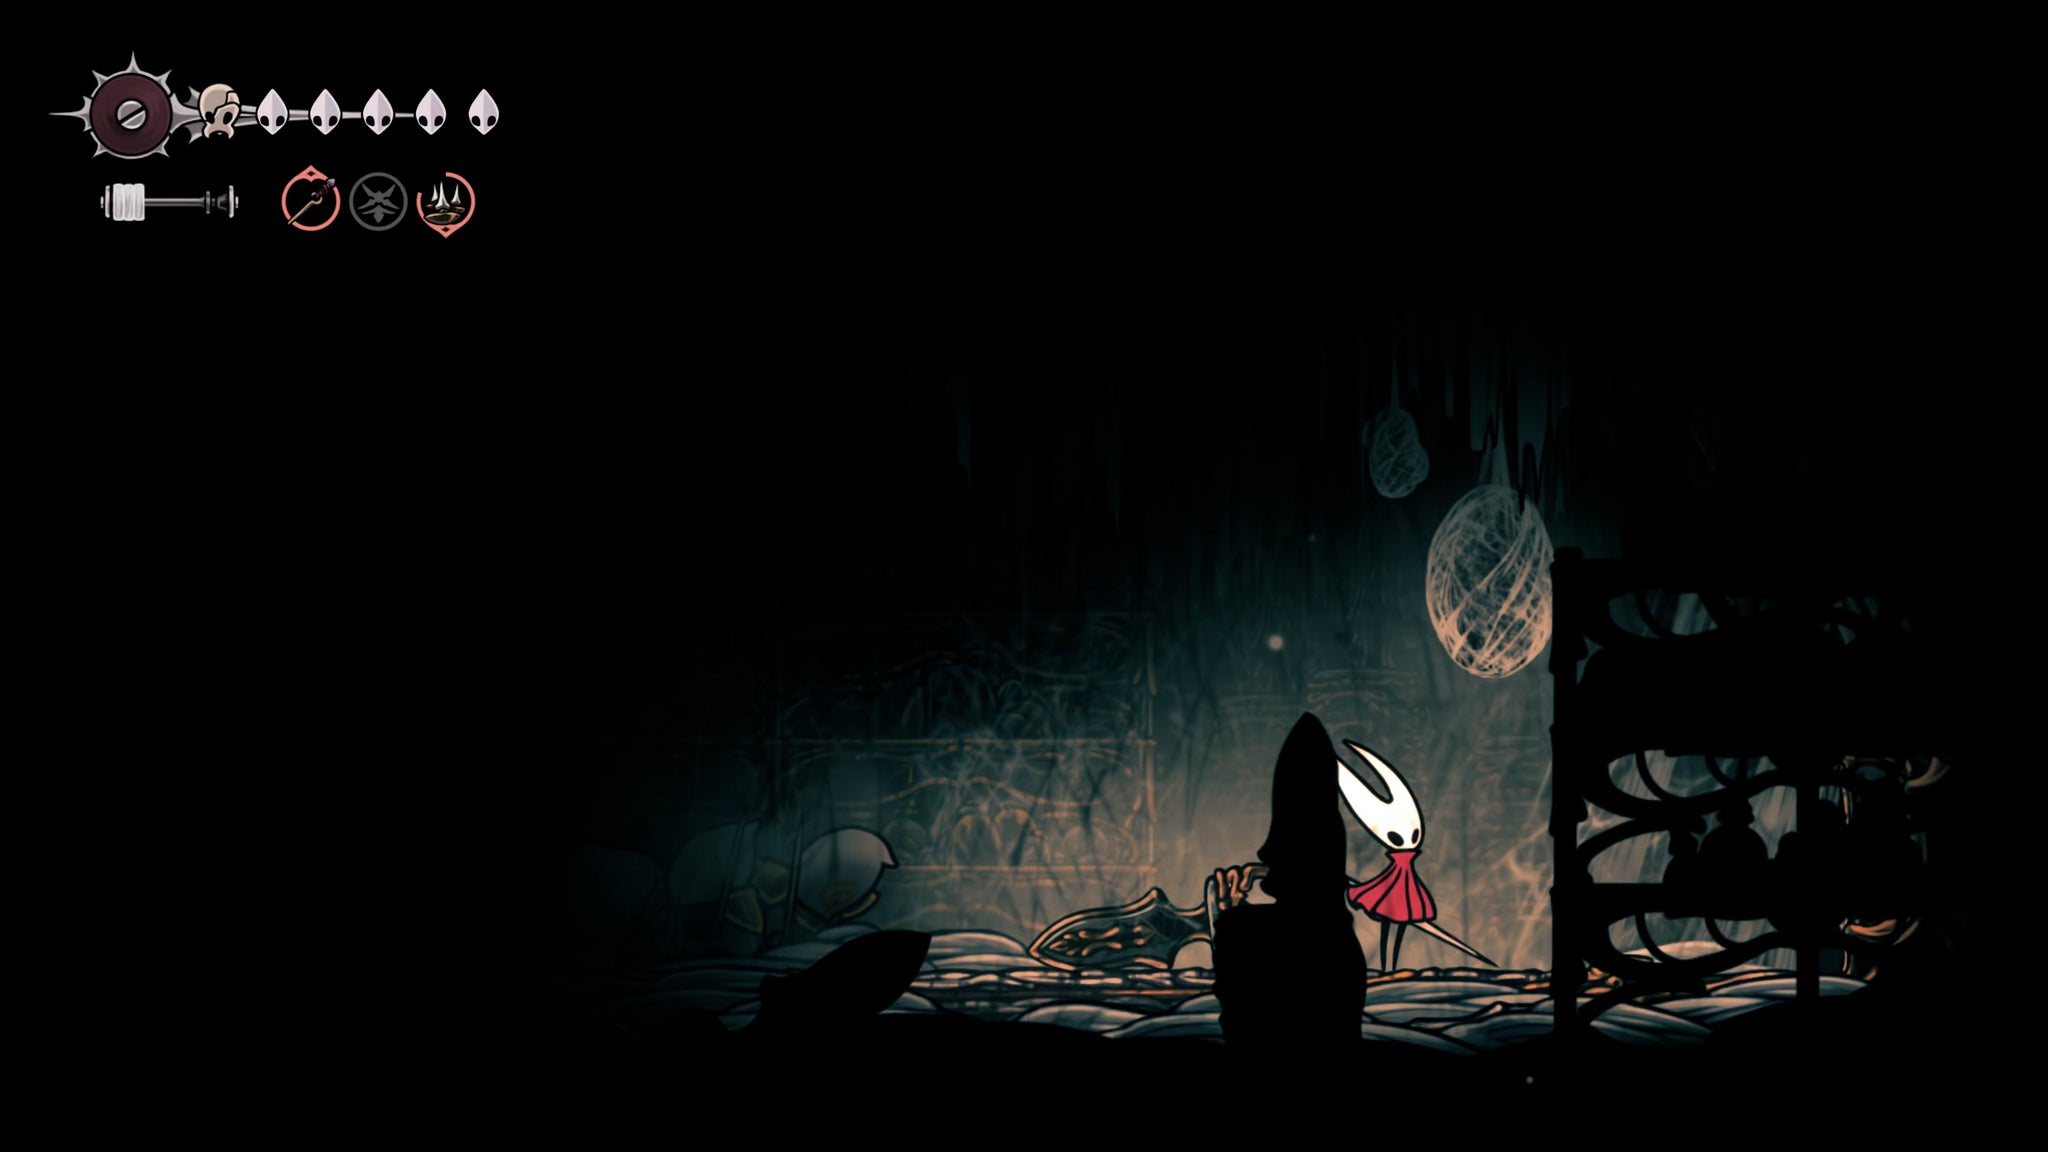
From the Grand Bellway, hop across to the other side of the Bell Beast’s pit and exit to the left. Climb up the far left wall, and then head through the left-hand doorway into a darkened side passage.
In this passage, drop down the hole lined with spikes, and hang a right at the bottom so you don’t land in the spikes (use your Cloak to float). At the end of this pathway is a Silkeater egg, but as you approach it, a Choristor will spawn behind you. Kill it, take the Silkeater, and return to the previous room.
2. Activate the First Shrine.
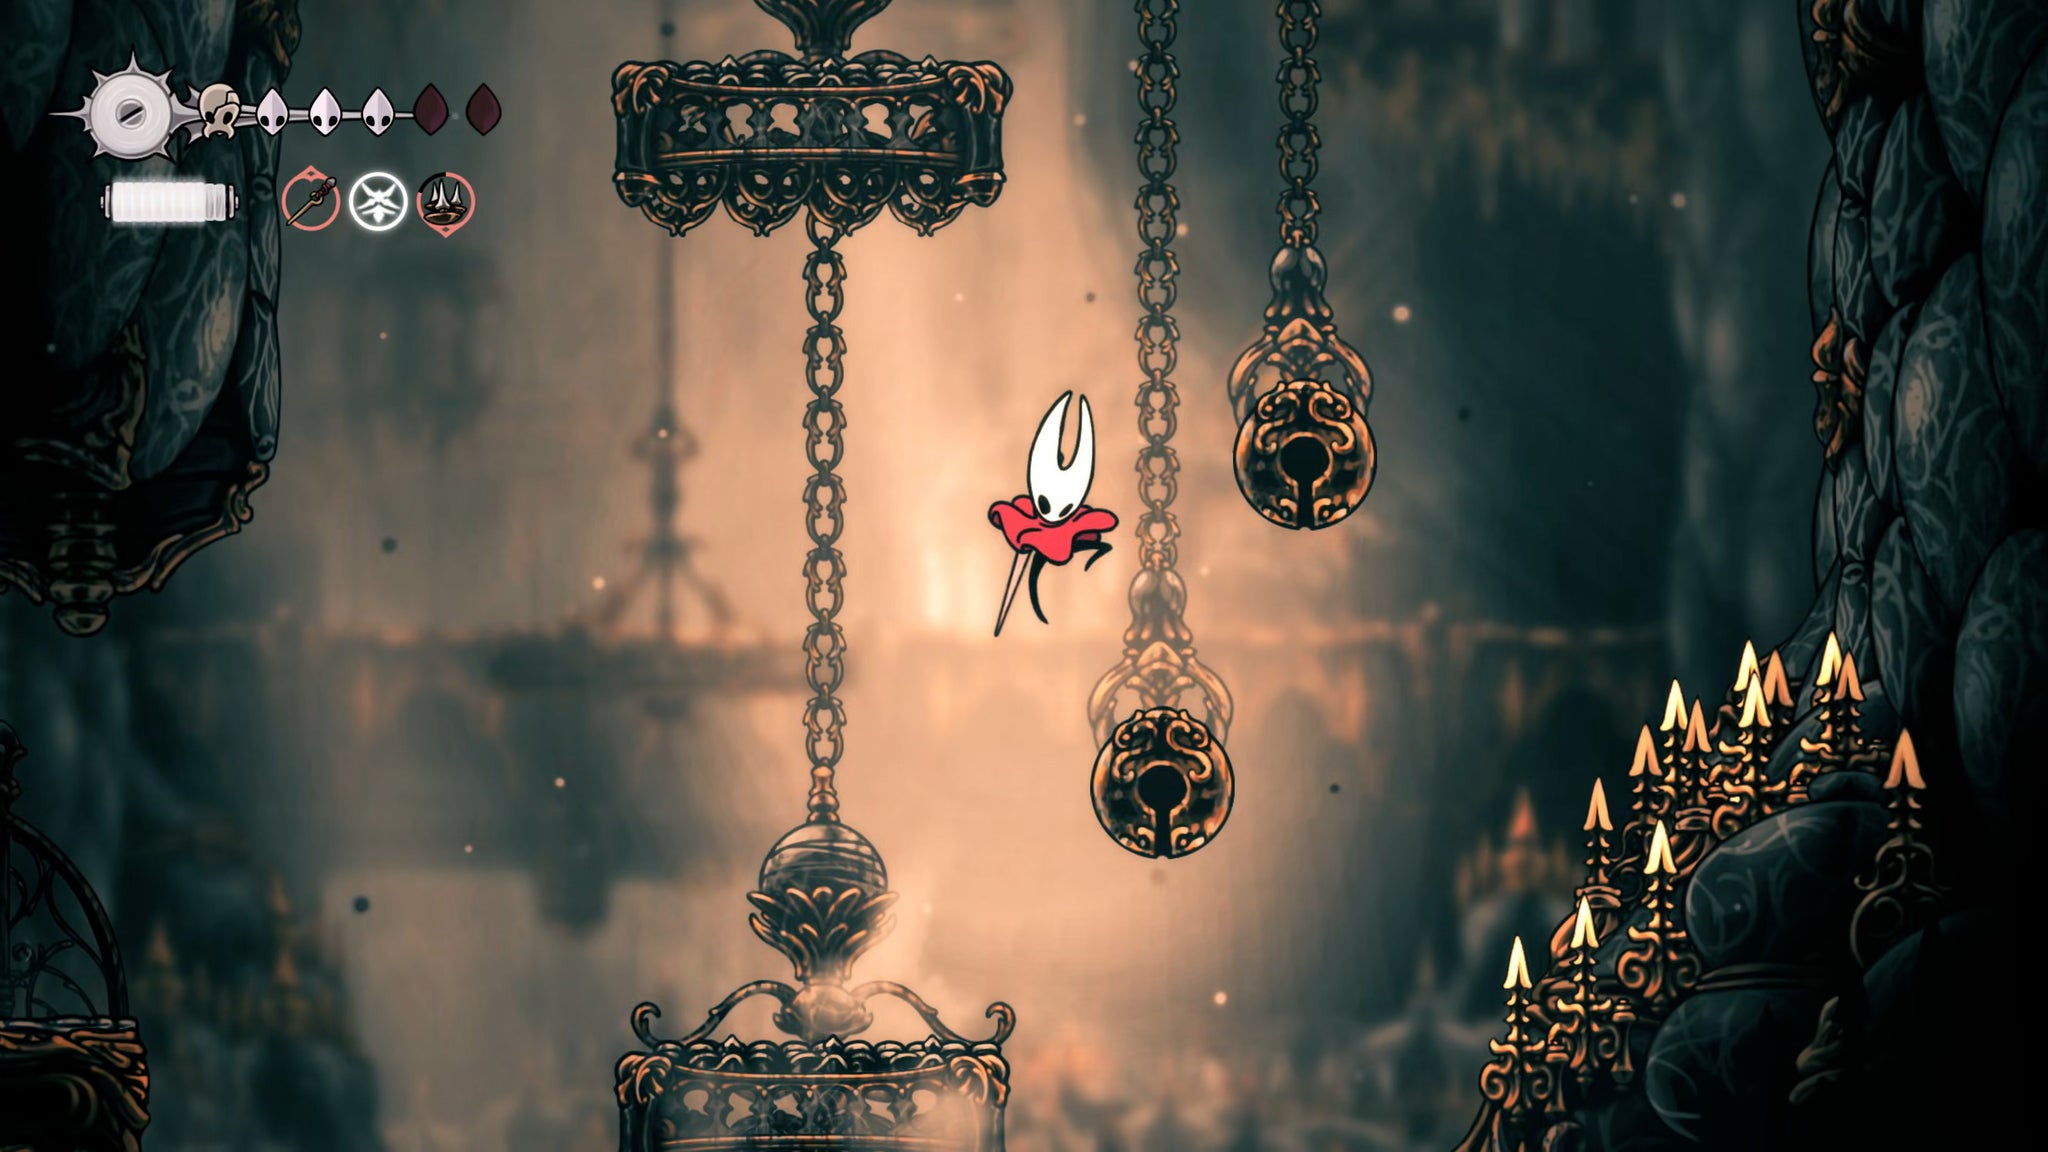
Image credit:Rock Paper Shotgun/Team Cherry
Next, you’ll need to ascend this entire vertical shaft that you’re in. So start climbing, and use the hanging bronze bells to Pogo yourself higher as needed. Along the way you’ll find various enemies brought to life by strands of silk. It’s best to take your time and defeat each one safely before continuing upwards.
Partway up on the right-hand side you’ll see a sign (three white masks) beside an exit. Head through it for a little tiny peek at The Stage, a boss fight arena we’ll come to later. There’s a scroll you can read here for some lore, but nothing else, so return to the shaft and keep climbing upwards.
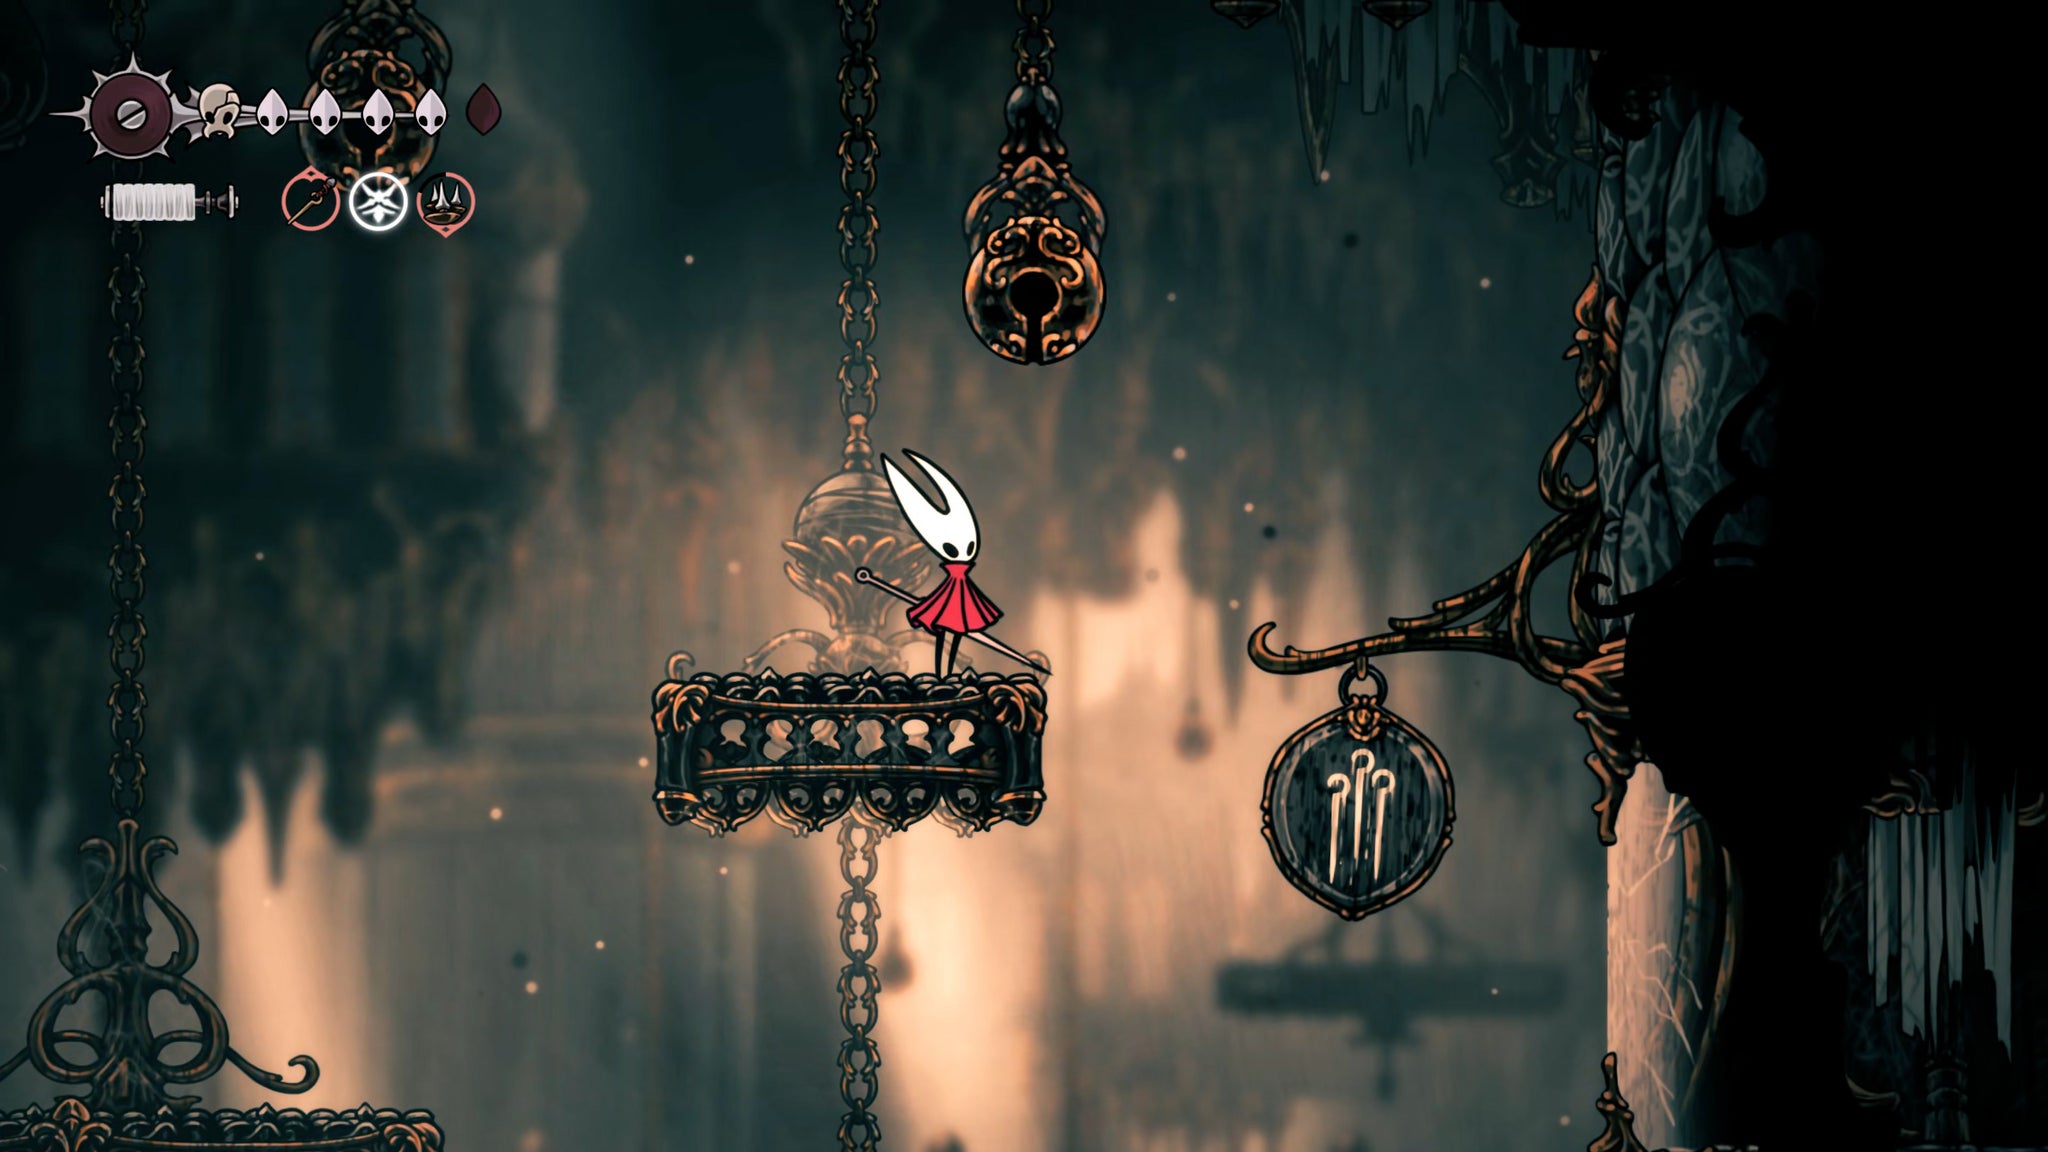
Image credit:Rock Paper Shotgun/Team Cherry
There’s another pathway on your left just above The Stage entrance, but ignore it for now, and climb up higher. Near the top of the shaft, you’ll find another sign depicting three pins. Break the glass here and head into the right-hand room if you like. There’s nothing to do here right now, but above you, you’ll see an item out of reach - this is the Pale Oil that you need to bring to Plinney in Bellhart to further improve your weapon’s damage. We’ll come back to this spot later from the other side.
Climb to the top of the shaft and exit upwards. The next room has a large rotating wheel with a path through it. Hit the silver lever to rotate it, allowing you to climb up through it to the top.
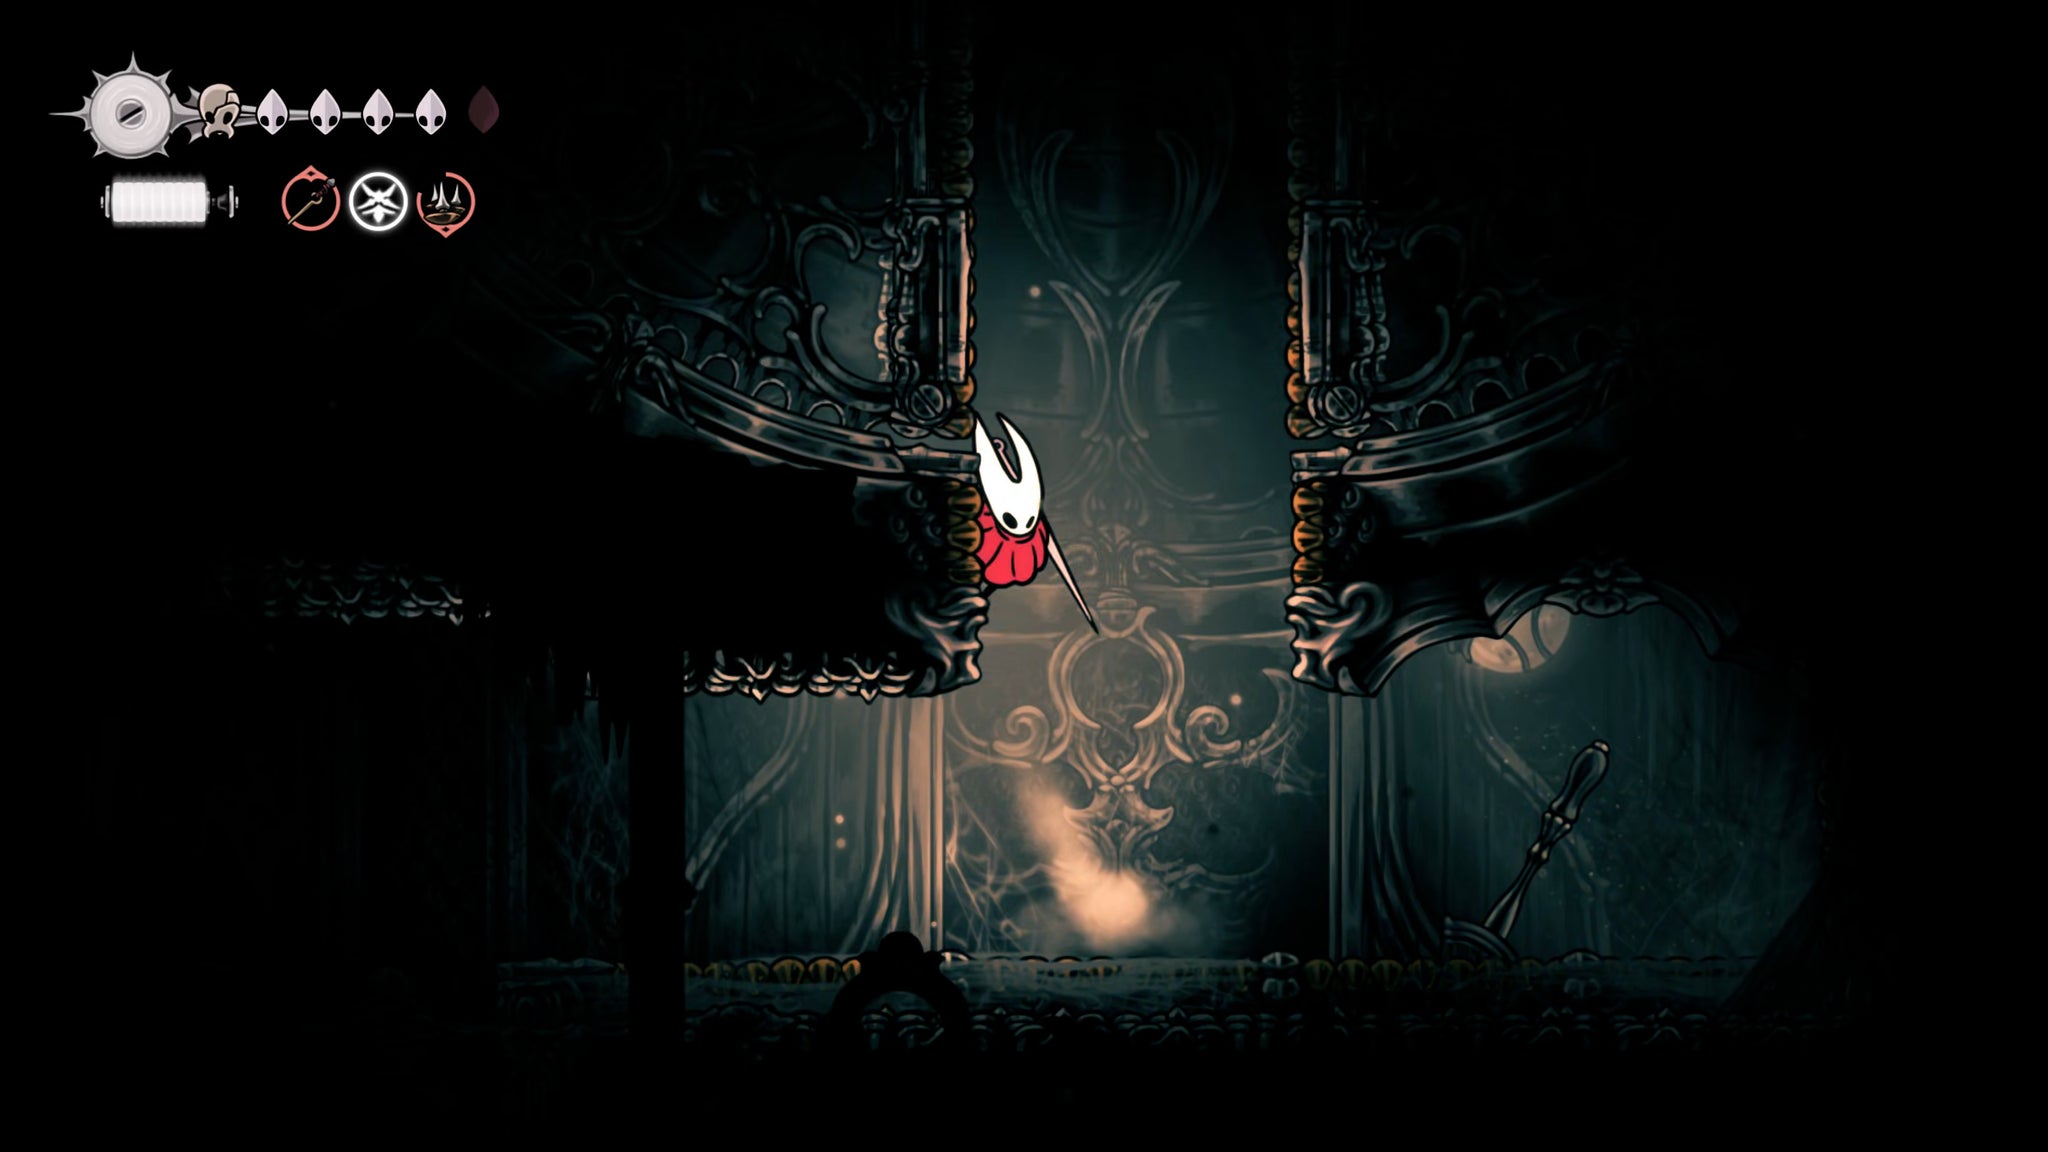
Image credit:Rock Paper Shotgun/Team Cherry
As you climb ever higher, there’s an exit on the left you can peek into. Here you’ll find a Silk Machine, which you can pay 40 Rosaries into for a bit of Silk. It’s not remotely worth it, so don’t bother. Return to the wheel room, and exit through the top-right doorway.
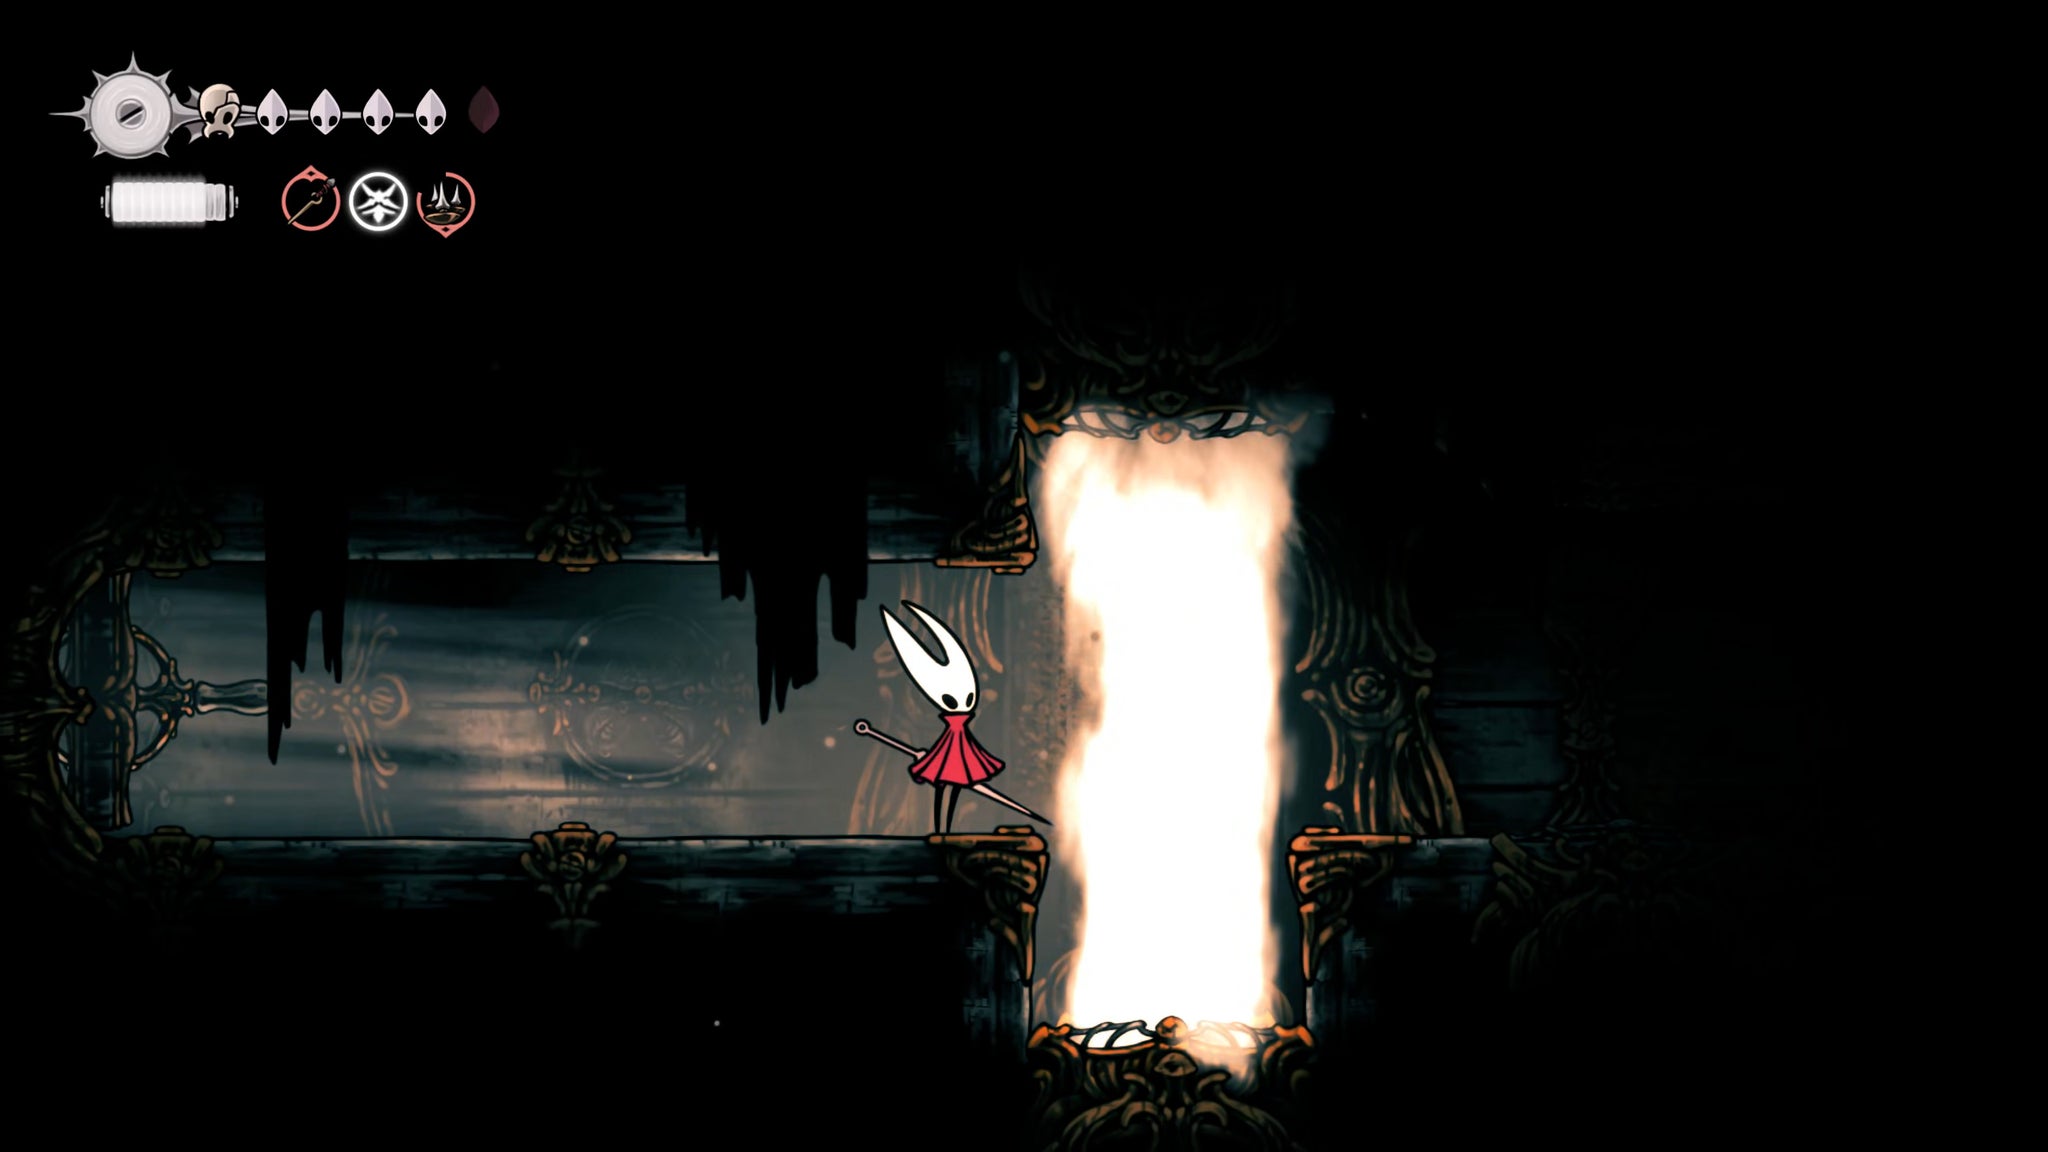
Image credit:Rock Paper Shotgun/Team Cherry
The next room is filled with little corridors where you must dodge between the various steam vents, like in the Exhaust Organ. Make your way through into the next room, and climb up the wall immediately above you. Use the ledge to reach the room higher up, and on the left side you’ll be able to pay 80 Rosaries to activate a new Ventrica Station (and an easy path back down to the Grand Bellway). Don’t use it right now though.
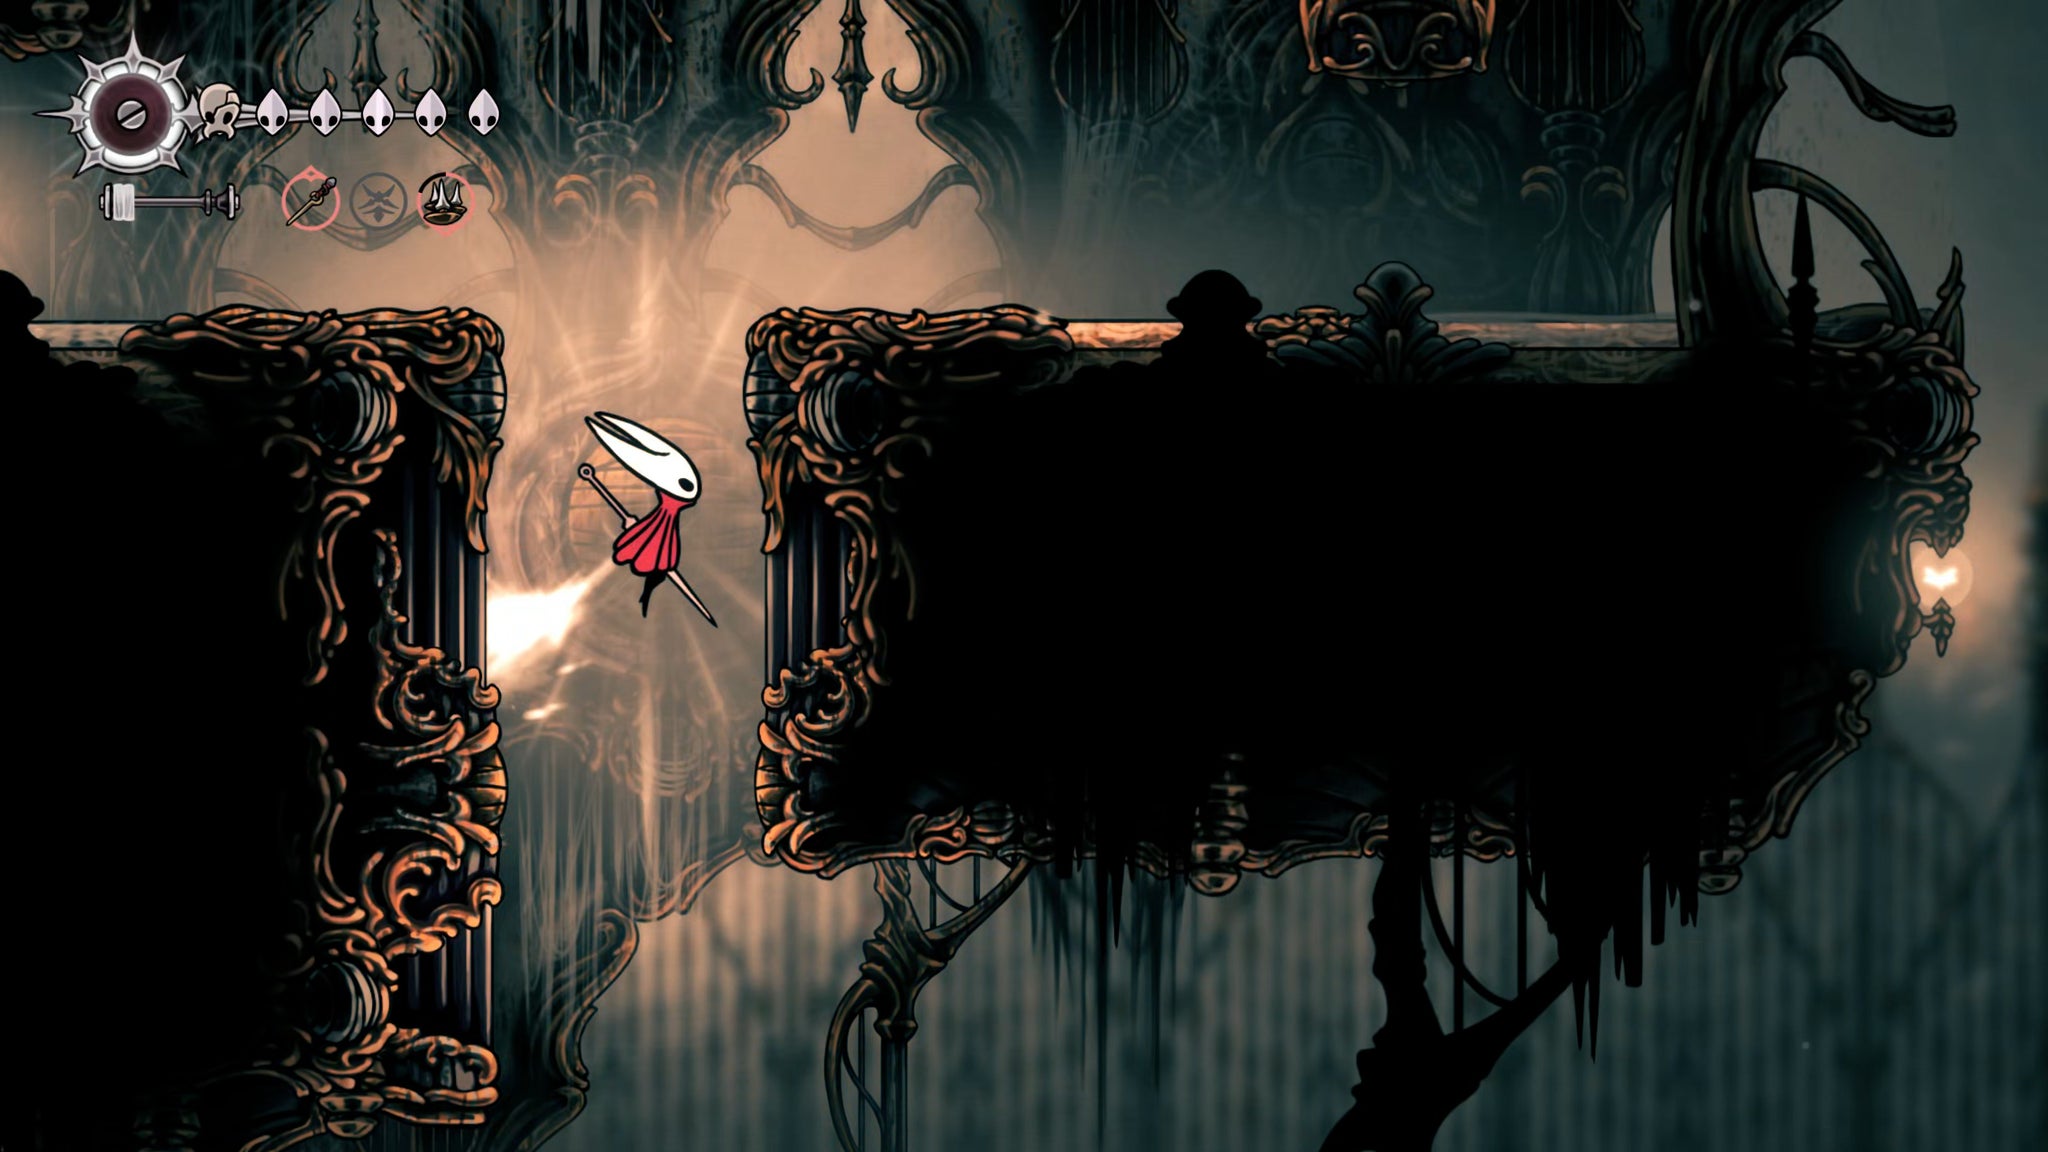
Image credit:Rock Paper Shotgun/Team Cherry
Drop back down to the bottom of the previous room, and head across to the right, past an ornate looking building with a tent outside it - the First Shrine. Go past the building at first; at the end of the pathway, you can pick up the White Key. This will grant you access to the Whiteward region below the Citadel, which we’ll cover in the next part of our walkthrough.
Now head back to the building and enter it. The grand bell inside is tied up with silk. Attack the silk to destroy it, and then flick the lever to sound the bell, unlocking a new Bench for you to rest at.

Image credit:Rock Paper Shotgun/Team Cherry
3. Speak with the Songclave residents.
Once you exit the building, you’ll be automatically brought into conversation with a new NPC - the Caretaker. He’ll explain that by ringing that bell, you’ve sounded the call for Pilgrims far and wide to reach this old settlement. Essentially, you’ve just unlocked a new village.

Image credit:Rock Paper Shotgun/Team Cherry
It doesn’t look like much for now, but all that you need to do is reload the area. Go to the Ventrica station you just unlocked, travel to the Grand Bellway, and then head straight back again. Now, when you approach the First Shrine, you’ll see that the settlement of Songclave has well and truly been rung into existence.
Spend some time speaking with the inhabitants here, and then check the new Wishwall and accept every quest. One of these quests - The Wandering Merchant - tasks us with finding the merchant Jubilana. She’ll be able to sell us some nice stuff once she’s rescued, so this quest is now our priority.

Image credit:Rock Paper Shotgun/Team Cherry
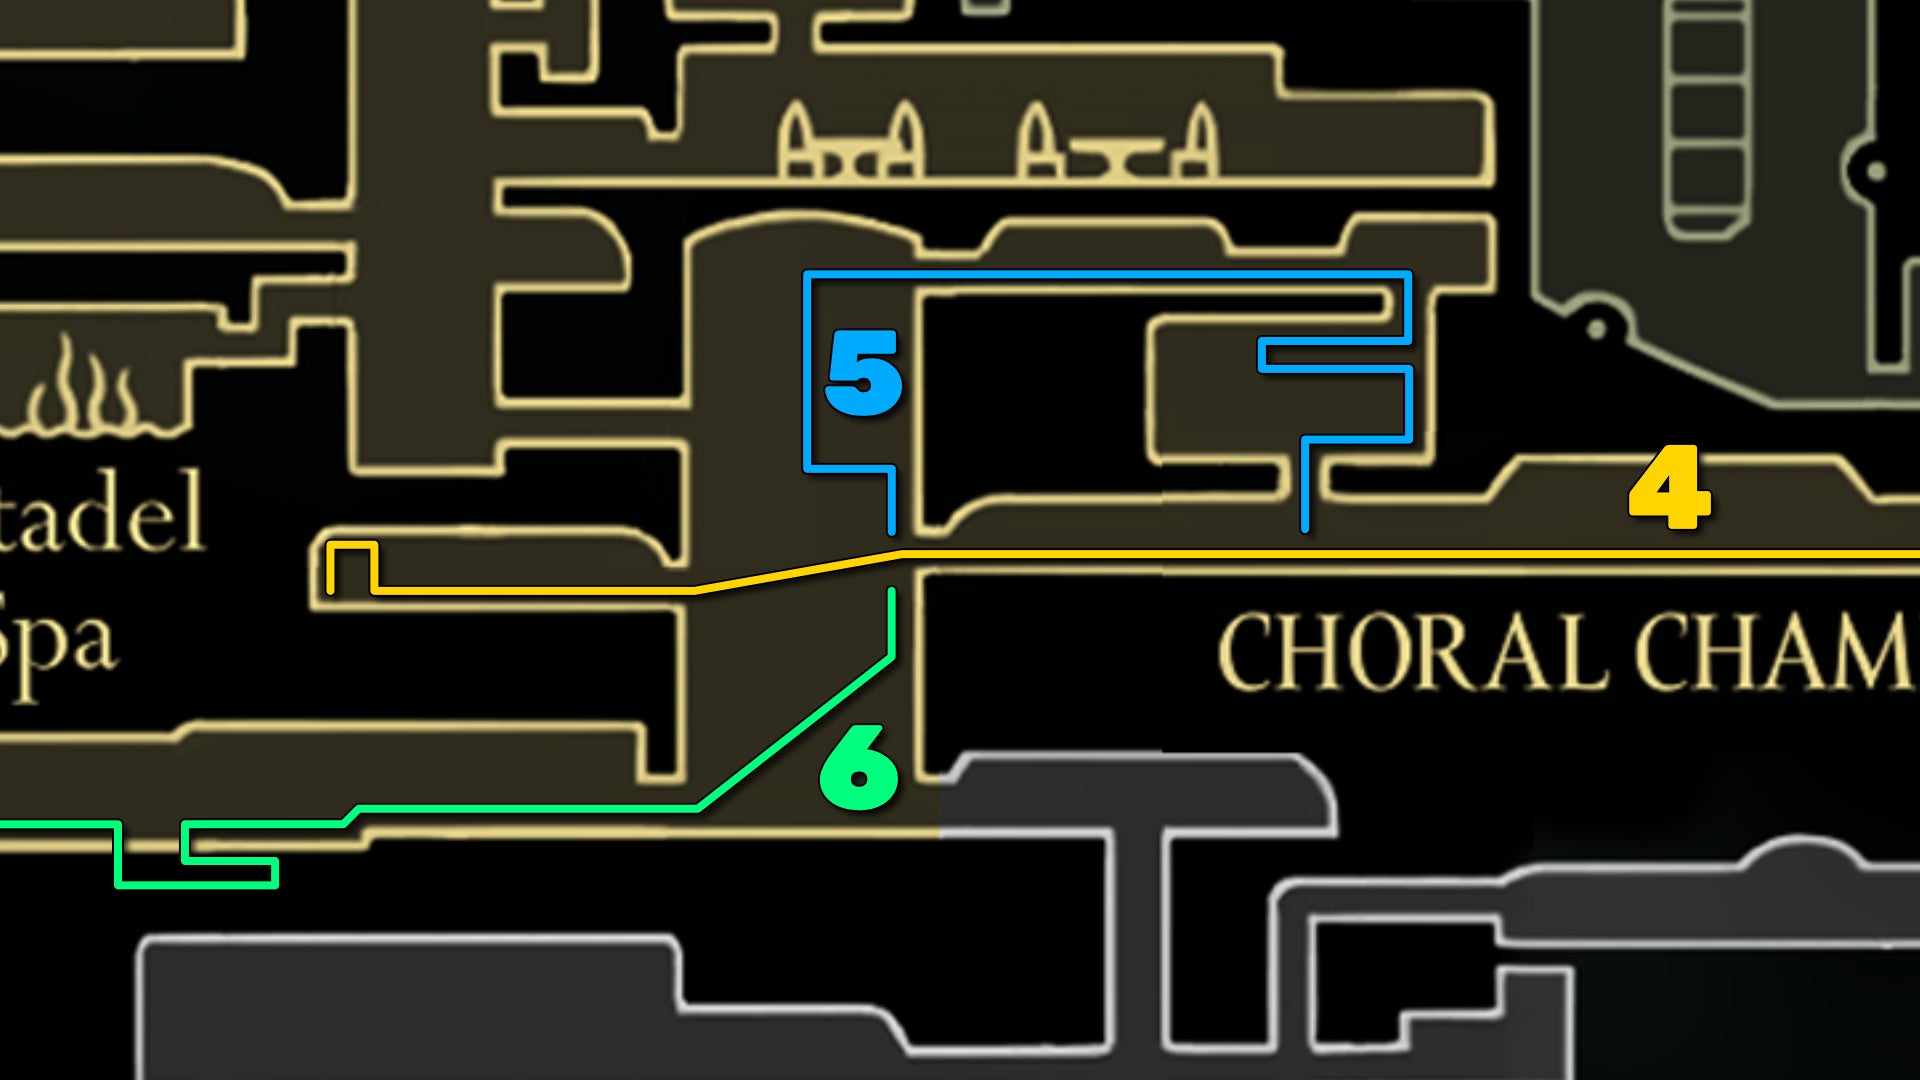
Image credit:Rock Paper Shotgun/Team Cherry
4. Find Jubilana.
Use the Ventrica Station to return to the Grand Bellway, then climb halfway up the main shaft again and take the exit on your left.
Next up is a long corridor of enemies. Now is a good time to get used to using your new Cross Stitch deflect skill. Kill all the enemies you encounter, and make your way to the next room.


You can attack the glass window in front of you to destroy it. Head over to the opposite exit on your left, and you’ll come into a small chamber, where a couple of enemies are accosting a hiding Pilgrim. Defeat the enemies, and the Pilgrim will reveal themselves as Jubilana - the merchant you’re searching for. Exhaust her dialogue to complete the quest.
Before you leave, you can climb the wall at the left end of the room, and jump across to reach a hole in the ceiling. Follow the path and it’ll take you to a Pilgrim corpse from which you can loot a Rosary Necklace.

Image credit:Rock Paper Shotgun/Team Cherry
5. Rest at the nearby Bench.
Head back out of the room you found Jubilana in, and jump back through the shattered glass window. This time, climb up the wall above, and then use the ledges in the main part of the room to ascend to the top-right exit. In here, you’ll find a free Bench to rest at.

Image credit:Rock Paper Shotgun/Team Cherry
The path to the right of the Bench continues on, so follow it and hit the three levers in succession to reach another section of dark cobwebbed tunnels. Drop down once, and then take the right-most hole for a shortcut back to the long corridor below.
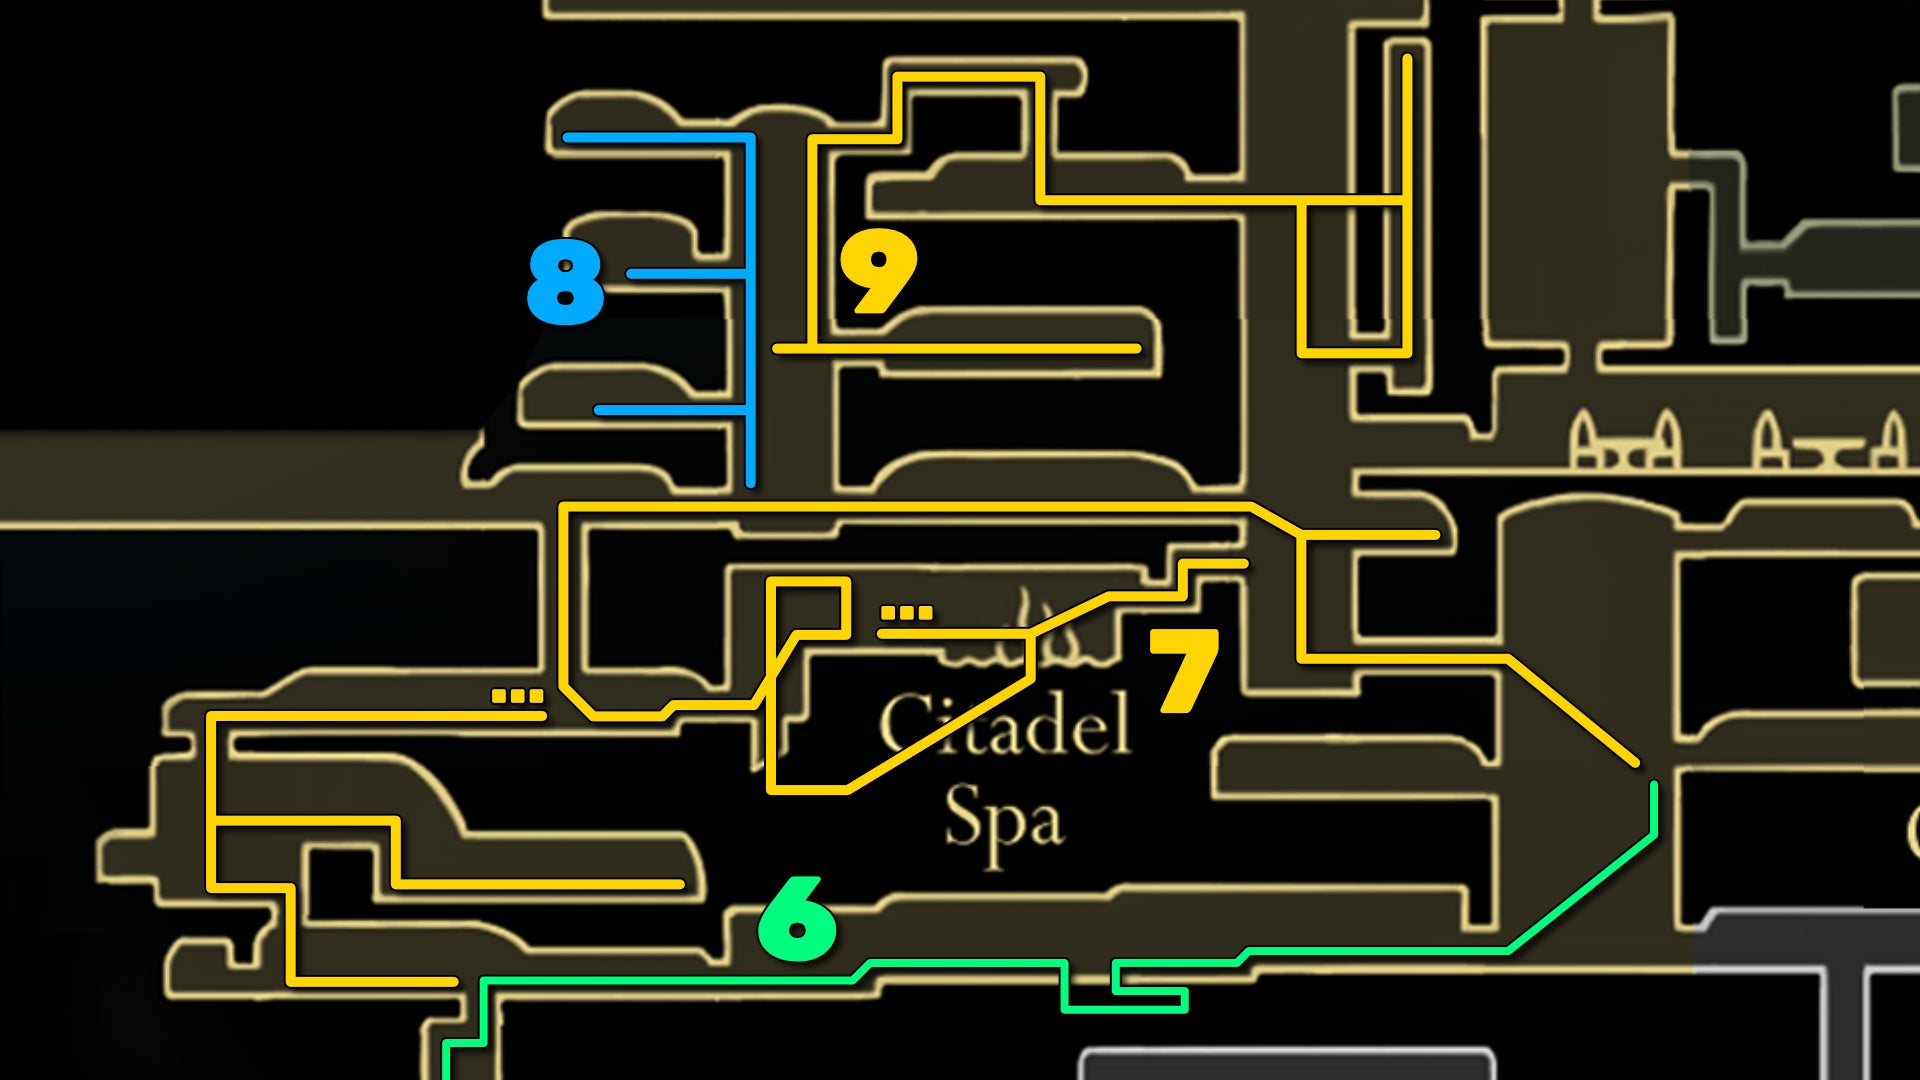
Image credit:Rock Paper Shotgun/Team Cherry
6. Reach the Grand Gate from the other side.

Image credit:Rock Paper Shotgun/Team Cherry
Head left once again into the tall stout room adjoining the Bench room and Jubilana’s hiding spot. This time, take the ground-level exit to your left. What follows is another corridor of enemies, but one in which you may find aid in the form of Garmond and Zaza - your friends from Greymoor. Finish the fight and speak with them if you like, for some brief congratulatory dialogue.
Flick the lever at the end of the path to drop into a lower segment of the corridor, and make your way around to the other side, where another lever will get you back up to the top. From here, head left through another patrolling group of enemies, and into the next room.

Image credit:Rock Paper Shotgun/Team Cherry
There’s a hole in the floor to your left, and beyond it is a locked gate leading to a Ventrica Station. We’ll get to this shortly; for now, drop down the hole.
As you descend, flick the lever on the left to reach a cache of Shell Shards; then keep heading downwards to ground level, and kill the enemies there. Then hit the lever on the ground to unlock the ability to go even lower, where you can find a signposted Bench in the right-hand room.


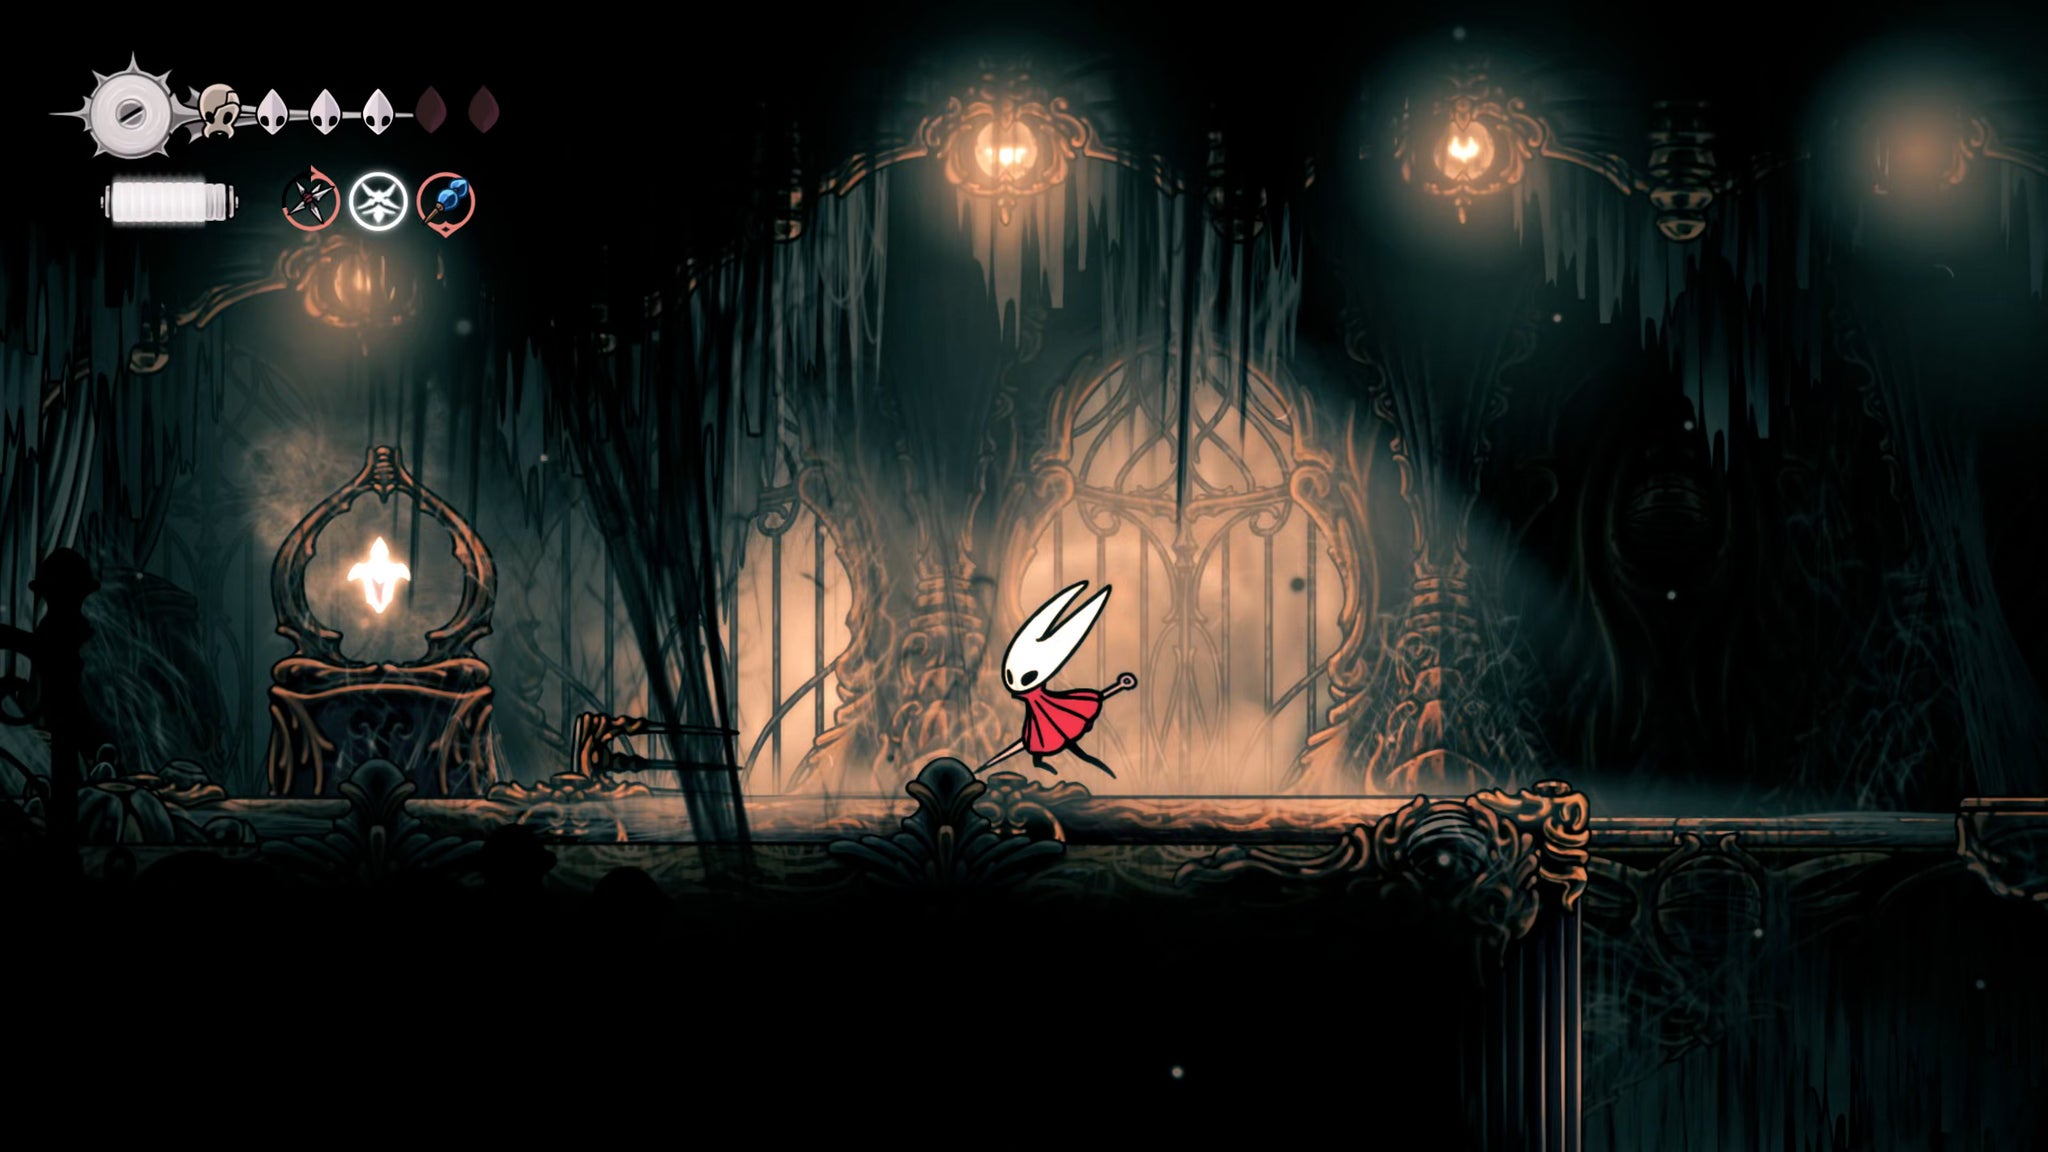
Once you’ve rested, go back into the main room on your left, and drop to the ground floor, where you’ll find a breakable bit of floor on the left-hand side. Drop down into it, and follow the short passage to arrive back in the Grand Gate - just beyond where you fought the Last Judge in the Blasted Steps.
Don’t drop to the bottom - instead, use the seesaw platforms in the room to reach the upper-left ledge, where you can obtain a Spool Fragment. Then go back the way you came. If you dropped to the floor, you’ll have to go back to the Blasted Steps Bellway and travel to the Grand Bellway, then retrace your steps.
7. Reach the Citadel Spa.

Image credit:Rock Paper Shotgun/Team Cherry
Return to the stout shaft adjoining Jubilana’s room, and climb to the top left-hand exit (above Jubilana’s room). In the next room, climb to the top-right ledge, where you’ll find some hanging Rosary Beads to pilfer; then jump up to the top-left exit.
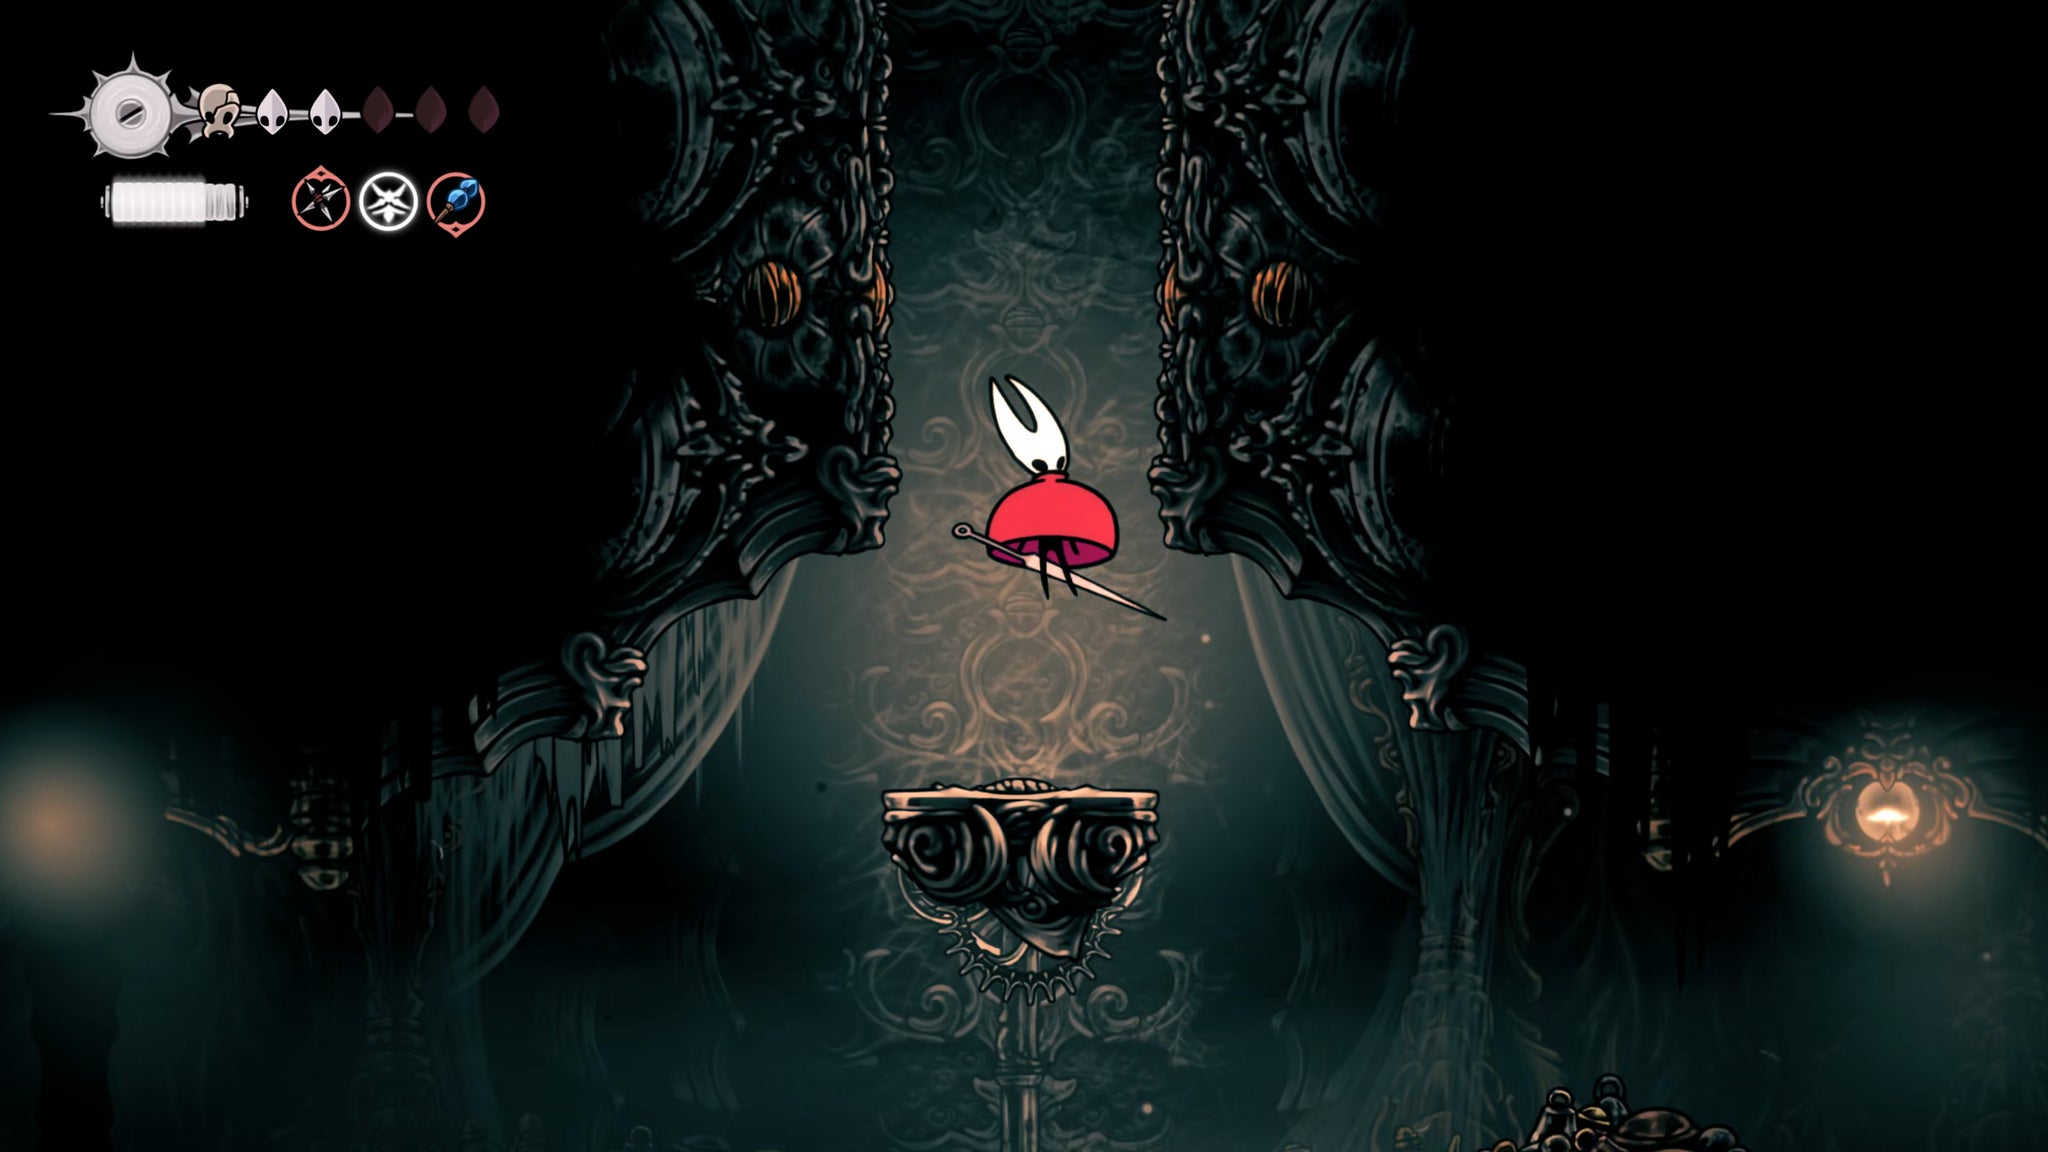
Image credit:Rock Paper Shotgun/Team Cherry
Kill the two Choristors in the corridor and cross it to the room beyond. Then drop down to the bottom-left exit (mind the spikes on the floor as you drop). Drop down the hole in the next room, and follow the path to the right to reach a Bench to rest at. Keep going past the Bench to enter the west portion of the Citadel Spa.
Climb to the top-left ledge with the shower, and break the wall on the left to reveal a chain, holding up a large block. Destroy the chain so that the block drops and creates a passage below for you to follow.

Image credit:Rock Paper Shotgun/Team Cherry
Drop down to the bottom and follow the tunnels (avoiding the steam vents) until you make your way up to the true Citadel Spa - a rare place of safety within the Citadel. Sherma is already here, paddling around, and you can speak with him while he’s here. Drop in the water if you like - it heals you and also replenishes your Silk, just like Kratt’s spa in the Flea Caravan.

Image credit:Rock Paper Shotgun/Team Cherry
Head out the right-hand exit just to unlock a shortcut back into the vertical shaft on the west of the Choral Chambers once more. But then double-back, and unlock the left-hand gate to reach the Bench by the Citadel Spa once again. Now head to the left, where you’ll be faced with an arena battle against four waves of Citadel enemies.

Image credit:Rock Paper Shotgun/Team Cherry
Once the gauntlet is complete, flick the lever on your left to descend lower, and fully explore the room - including following the path of enemies down to the Rosary Chest at the bottom. At the bottom-right corner of the main part of this room, there’s a hole you can drop into, which takes you to the Ventrica Station you saw earlier. Pay 80 Rosaries to unlock it, and then flick the lever to the right to open the easy path to it.
8. Obtain the first Cogheart Piece.
Backtrack to the Citadel Spa and exit into the vertical shaft to the right. Then jump up and take the left-hand exit one above your current location, to re-enter the same small corridor as before. Head through it to the next room again, but this time we’re going to peek into the three left-hand rooms above the ground-floor path which took you into the Citadel Spa.

Image credit:Rock Paper Shotgun/Team Cherry
So, climb up to the first upper left-hand doorway and head through it to find another useless Silk Machine. Then go to the next room above that. This room is more interesting - press the pressure plate in the middle, and the round bells on the wall will start to sound. This is a simple memory puzzle, with three stages. At each stage, simply strike the bells in the same order they rang. The order is:
- First Stage: 1-5-4-6
- Second Stage: 3-6-5-1-7
- Third Stage: 2-4-6-3-5-1
Once you’ve completed all three stages, a pedestal will rise from the ground, allowing you to collect a Cogheart Piece - an important item for a future questline.

Image credit:Rock Paper Shotgun/Team Cherry
Exit out of this room, and climb to the top-left room. In here, you’ll find Grindle once more, being assaulted by an enemy. Kill the enemy and exhaust Grindle’s dialogue if you like.
9. Rescue two nearby Fleas.
Now we’re going to explore the right-hand rooms. Drop down to the right-hand exit halfway up the shaft, first of all. In the room beyond is a platforming puzzle with periodically disappearing ledges atop a bed of spikes. The spanner in the works is the lone Choir Flyer enemy halfway along - I’d advise completely ignoring it until the way back.
At the end of the platforming segment you’ll find a Flea trapped in a cage. Slash the cage to free the Flea, and then return the way you came.
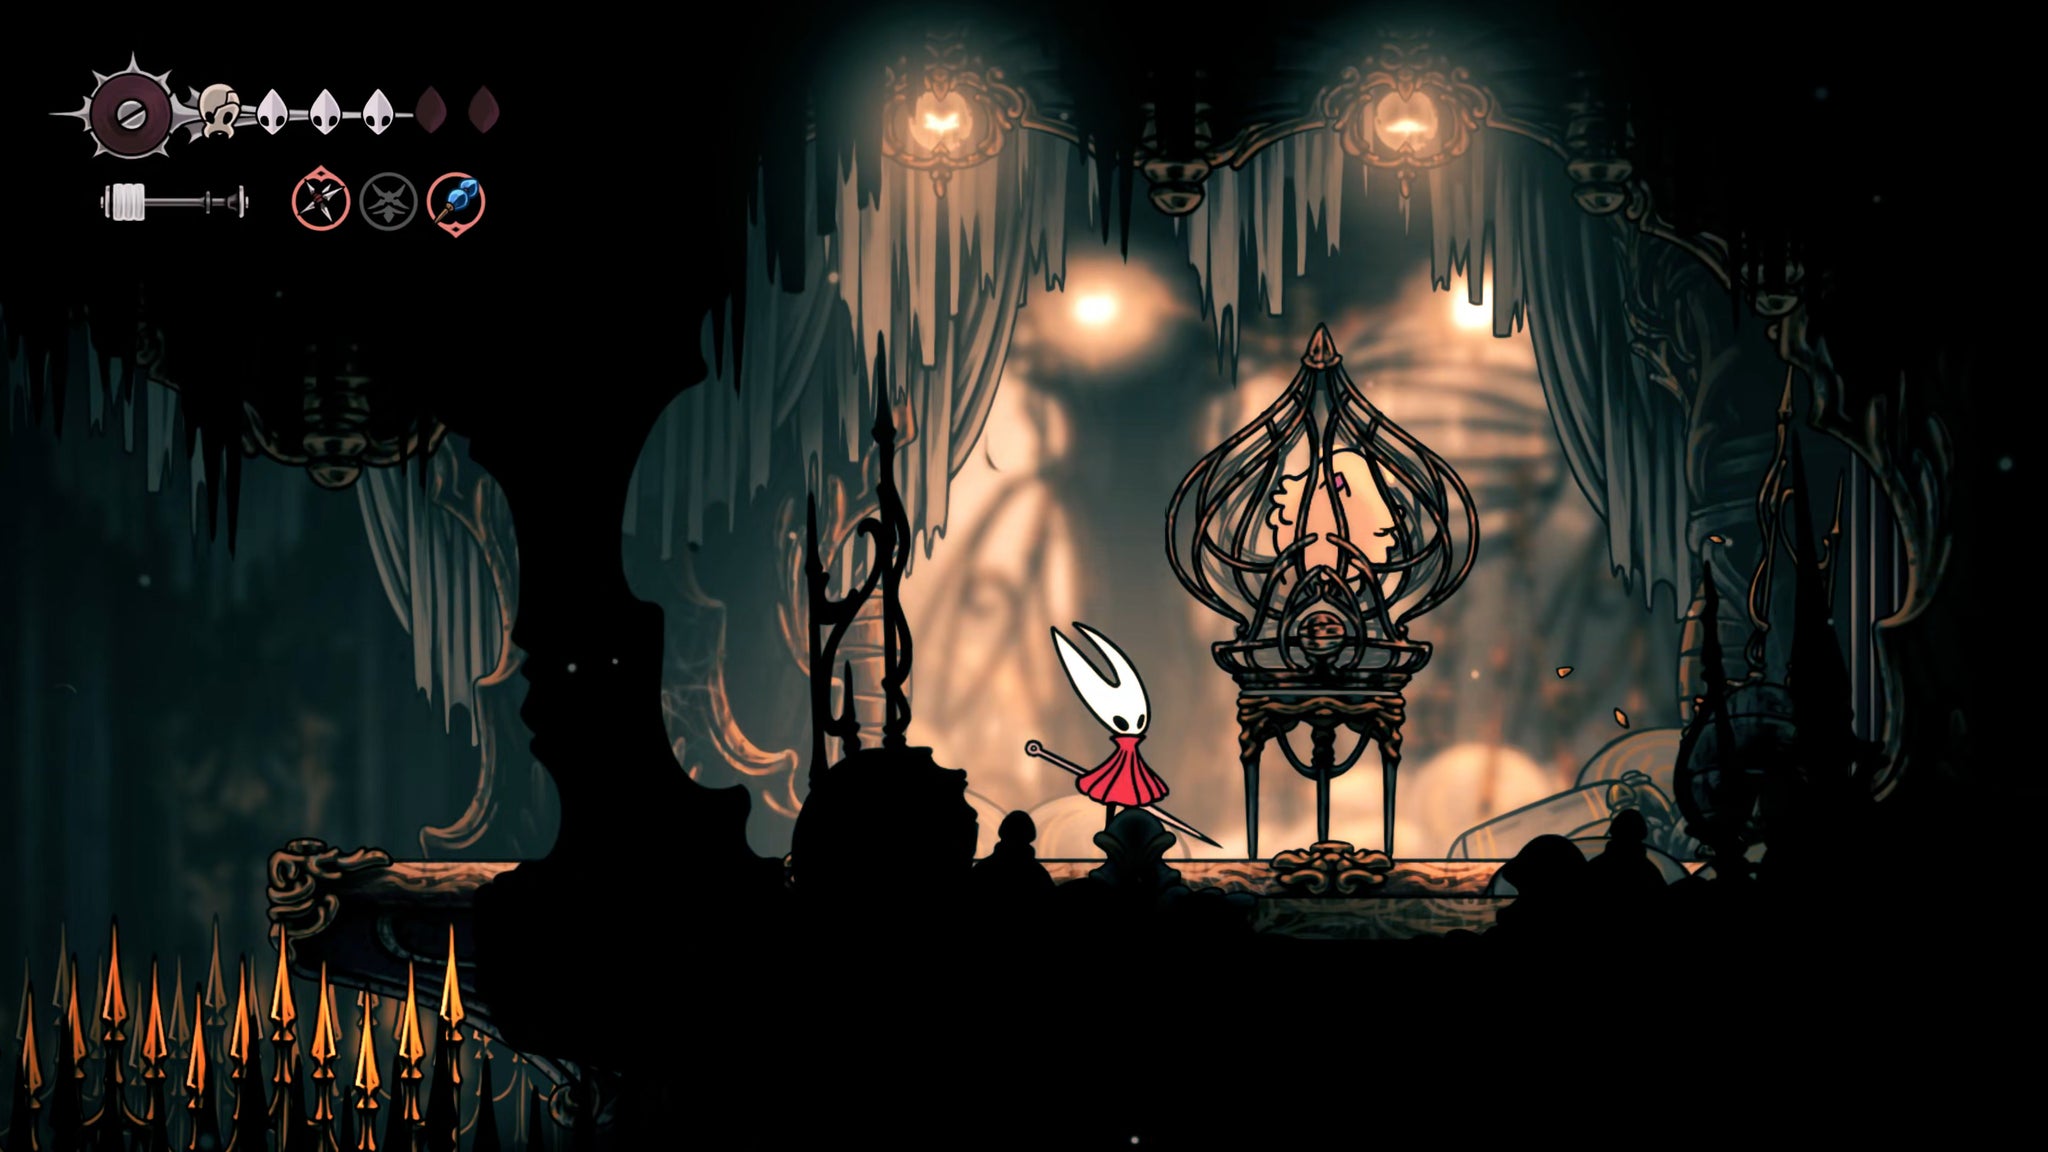
Image credit:Rock Paper Shotgun/Team Cherry
Now climb to the top-right exit of the shaft, and follow the simple path until you drop down into a new corridor. Kill the enemies that spawn, then head left for a Rosary Cache, and then right to escape out into the even larger shaft on this side of the Choral Chambers. This place sure loves its shafts.

Image credit:Rock Paper Shotgun/Team Cherry
Hop over to the right-hand side immediately opposite where you are, then break the wall in front of you. Don’t go through yet - instead, drop partway down the shaft and you’ll see another breakable wall above some spikes a little lower on the right. Break this open too and head through.


At the bottom of this room, attack the crank repeatedly to open an air vent. Then exit, and go back up to the first wall you broke. Head through, and ride the air current up to the very top, where you’ll find another Flea to rescue.
That done, head back out into the main shaft.
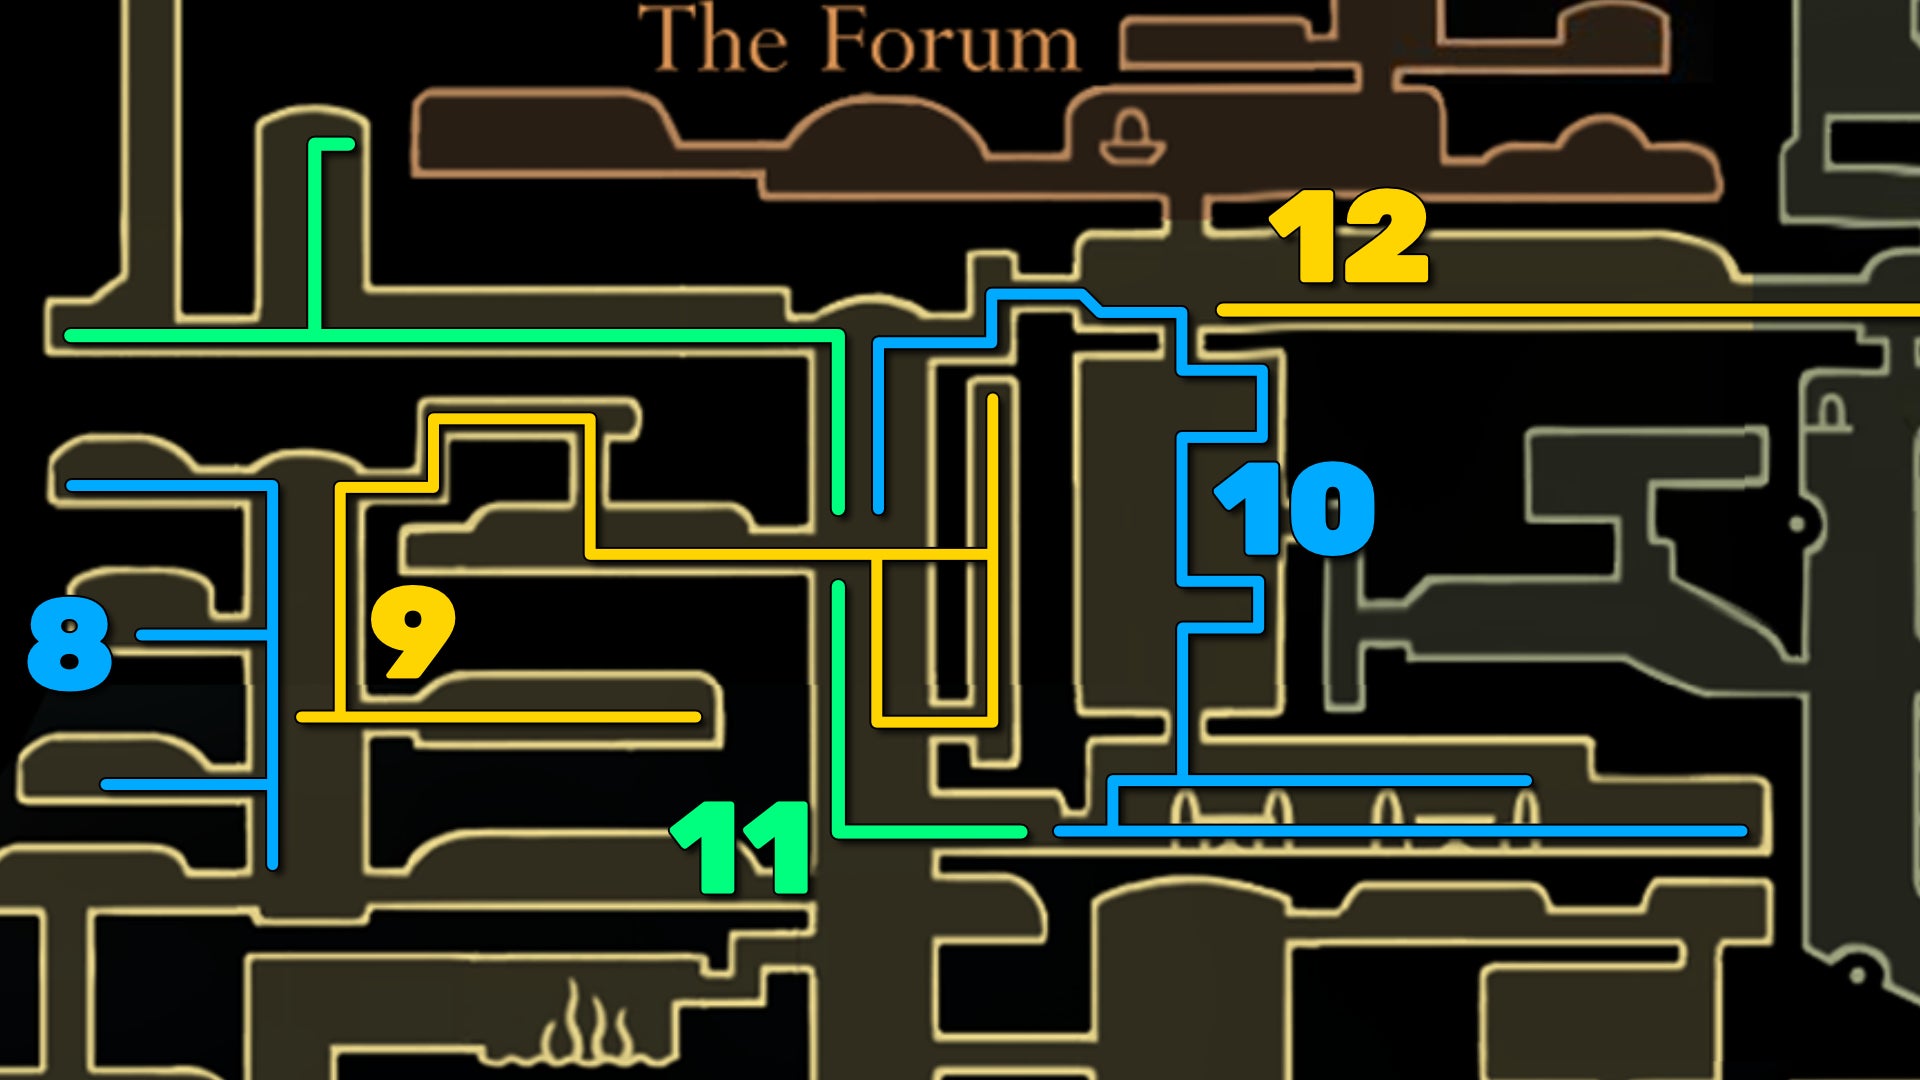
Image credit:Rock Paper Shotgun/Team Cherry
10. Speak with Loyal Mergwin.

Image credit:Rock Paper Shotgun/Team Cherry
Back in the main shaft, climb to the very top-right exit, and then drop down the hole in front of you in the next room. Drop down to ground level, past the locked gates, and kill the two enemies patrolling there. Break the wall on the right to open a tiny secret passage where you can loot a Rosary Necklace from a Pilgrim’s body; then back out of the secret passage and drop down the hole.

Image credit:Rock Paper Shotgun/Team Cherry
This next room looks to be a dining hall of some sort. Activate the lever on your left for a shortcut down back into the main shaft, but keep heading right instead of dropping down. There’s another lever that unlocks another path down to the same area; and then you’ll reach the end of the path, where an intriguing-looking item is held inside a glass container.

Image credit:Rock Paper Shotgun/Team Cherry
Attack the container once to rouse Loyal Mergwin, who was sleeping right next to it. You can then speak with Loyal Mergwin and accept his quest - Great Taste Of Pharloom. This quest will take you all across the map, so it’s not one to prioritise right now.
Once you’ve exhausted Mergwin’s dialogue, you can take the lower exit back out into the main shaft. You could also explore to the right of that lower section of the great hall, but it’s pretty rank in there.
11. Reach the top-left Bench.
Climb once again to the very top of the shaft, and take the left-hand exit this time. Defeat another patrolling band of holier-than-thou Pilgrims, and make your way to the room at the very end of the corridor, where you can rest at another of the Choral Chambers’ Benches.

Image credit:Rock Paper Shotgun/Team Cherry
On your way back you can investigate the disappearing ledges above you, which will take you to a Rosary Chest at the top.
12. Defeat the Cogwork Dancers.

Image credit:Rock Paper Shotgun/Team Cherry
Now comes the final test of the Choral Chambers. From that top-left Bench, exit back out into the main shaft and cross over to the top-right exit again. This time, jump over the hole that led down to Loyal Mergwin. Along the way, you’ll have to either fight or bypass two tall, formidable foes called Grand Reeds. They not too bad as long as you back off quickly after each attack, but seeing as you’re about to face a boss, I wouldn’t waste time - just jump and Pogo over them.
Exit into the next room, and drop into the arena in its centre to trigger the main boss fight of the Choral Chambers, and one of my favourite boss designs in all of Silksong: the Cogwork Dancers.

Image credit:Rock Paper Shotgun/Team Cherry
The Cogwork Dancers move simultaneously, and always plot their path ahead of time with a beam of light. Crucially, when either of them lands on the ground, they follow up immediately with an area-of-effect swipe attack - so don’t be right next to them when they land. Otherwise, this fight is quite simply about keeping track of both sets of movements at once.

Image credit:Rock Paper Shotgun/Team Cherry
The second phase is simply a repeat of the first, but at a higher tempo, so less margin for error with your dodges. The third phase is most challenging, because the Dancers start to alternate their movements at an even greater speed. Still, it’s all the same moveset, so it’s easy to learn at least.
My advice is to place plenty of Tacks on the ground, and also make use of your Cross Stitch countering skill to get out of danger when dodging or jumping won’t save you. It may take you a few attempts to get used to the strange clockwork movements, but I think that’s a good thing - a fight this splendid shouldn’t be over too quickly, don’t you think? Enjoy it!

Image credit:Rock Paper Shotgun/Team Cherry
After you finally slay one, the other will have a very forlorn (and unchallenging) final phase which makes you feel like a horrible person for a few more seconds. Slay the second Dancer, and the room will shift and shake, revealing an ornate elevator. Interact with it to progress Hornet’s main Silksong quest: you now need to find the three pieces of the Threefold Melody and perform them at this spot; after which, you can ride this elevator up into the Spire to face the final boss of Act 2.
That won’t be for a while yet, though. For now, you have gained entry down into the Cogwork Core at the centre of the Citadel - but we’re not going there yet (despite its excellent music). The Whiteward awaits us next!

Image credit:Rock Paper Shotgun/Team Cherry
Now that the expansive Choral Chambers have been tamed, there are many different directions we can delve next. But in this walkthrough, I like to prioritise getting new movement skills as quickly as possible - which is why you should join us in Part 18 of our Silksong walkthrough , where we delve into the Whiteward and beyond in search of the Clawline.


Hollow Knight: Silksong
PC , Nintendo Switch
Rock Paper Shotgun is better when you sign in
Sign in and join us on our journey to discover strange and compelling PC games.

All 75 Arc Raiders Blueprints and where to get them
These areas have the highest chance of giving you Blueprints

Image credit:Rock Paper Shotgun/Embark Studios

Looking for more Arc Raiders Blueprints? It’s a special day when you find a Blueprint, as they’re among the most valuable items in Arc Raiders. If you find a Blueprint that you haven’t already found, then you must make sure you hold onto it at all costs, because Blueprints are the key to one of the most important and powerful systems of meta-progression in the game.
This guide aims to be the very best guide on Blueprints you can find, starting with a primer on what exactly they are and how they work in Arc Raiders, before delving into exactly where to get Blueprints and the very best farming spots for you to take in your search.
We’ll also go over how to get Blueprints from other unlikely activities, such as destroying Surveyors and completing specific quests. And you’ll also find the full list of all 75 Blueprints in Arc Raiders on this page (including the newest Blueprints added with the Cold Snap update , such as the Deadline Blueprint and Firework Box Blueprint), giving you all the information you need to expand your own crafting repertoire.
In this guide:
- What are Blueprints in Arc Raiders?
- Full Blueprint list: All crafting recipes
- Where to find Blueprints in Arc Raiders Blueprints obtained from quests Blueprints obtained from Trials Best Blueprint farming locations

What are Blueprints in Arc Raiders?
Blueprints in Arc Raiders are special items which, if you manage to extract with them, you can expend to permanently unlock a new crafting recipe in your Workshop. If you manage to extract from a raid with an Anvil Blueprint, for example, you can unlock the ability to craft your very own Anvil Pistol, as many times as you like (as long as you have the crafting materials).
To use a Blueprint, simply open your Inventory while in the lobby, then right-click on the Blueprint and click “Learn And Consume” . This will permanently unlock the recipe for that item in your Workshop. As of the Stella Montis update, there are allegedly 75 different Blueprints to unlock - although only 68 are confirmed to be in the game so far. You can see all the Blueprints you’ve found and unlocked by going to the Workshop menu, and hitting “R” to bring up the Blueprint screen.
It’s possible to find duplicates of past Blueprints you’ve already unlocked. If you find these, then you can either sell them, or - if you like to play with friends - you can take it into a match and gift it to your friend so they can unlock that recipe for themselves. Another option is to keep hold of them until the time comes to donate them to the Expedition.
Full Blueprint list: All crafting recipes
Below is the full list of all the Blueprints that are currently available to find in Arc Raiders, and the crafting recipe required for each item:
| Blueprint | Type | Recipe | Crafted At |
|---|---|---|---|
| Bettina | Weapon | 3x Advanced Mechanical Components 3x Heavy Gun Parts 3x Canister | Gunsmith 3 |
| Blue Light Stick | Quick Use | 3x Chemicals | Utility Station 1 |
| Aphelion | Weapon | 3x Magnetic Accelerator 3x Complex Gun Parts 1x Matriarch Reactor | Gunsmith 3 |
| Combat Mk. 3 (Flanking) | Augment | 2x Advanced Electrical Components 3x Processor | Gear Bench 3 |
| Combat Mk. 3 (Aggressive) | Augment | 2x Advanced Electrical Components 3x Processor | Gear Bench 3 |
| Complex Gun Parts | Material | 2x Light Gun Parts 2x Medium Gun Parts 2x Heavy Gun Parts | Refiner 3 |
| Fireworks Box | Quick Use | 1x Explosive Compound 3x Pop Trigger | Explosives Station 2 |
| Gas Mine | Mine | 4x Chemicals 2x Rubber Parts | Explosives Station 1 |
| Green Light Stick | Quick Use | 3x Chemicals | Utility Station 1 |
| Pulse Mine | Mine | 1x Crude Explosives 1x Wires | Explosives Station 1 |
| Seeker Grenade | Grenade | 1x Crude Explosives 2x ARC Alloy | Explosives Station 1 |
| Looting Mk. 3 (Survivor) | Augment | 2x Advanced Electrical Components 3x Processor | Gear Bench 3 |
| Angled Grip II | Mod | 2x Mechanical Components 3x Duct Tape | Gunsmith 2 |
| Angled Grip III | Mod | 2x Mod Components 5x Duct Tape | Gunsmith 3 |
| Hullcracker | Weapon | 1x Magnetic Accelerator 3x Heavy Gun Parts 1x Exodus Modules | Gunsmith 3 |
| Launcher Ammo | Ammo | 5x Metal Parts 1x Crude Explosives | Workbench 1 |
| Anvil | Weapon | 5x Mechanical Components 5x Simple Gun Parts | Gunsmith 2 |
| Anvil Splitter | Mod | 2x Mod Components 3x Processor | Gunsmith 3 |
| ??? | ??? | ??? | ??? |
| Barricade Kit | Quick Use | 1x Mechanical Components | Utility Station 2 |
| Blaze Grenade | Grenade | 1x Explosive Compound 2x Oil | Explosives Station 3 |
| Bobcat | Weapon | 3x Advanced Mechanical Components 3x Light Gun Parts | Gunsmith 3 |
| Osprey | Weapon | 2x Advanced Mechanical Components 3x Medium Gun Parts 7x Wires | Gunsmith 3 |
| Burletta | Weapon | 3x Mechanical Components 3x Simple Gun Parts | Gunsmith 1 |
| Compensator II | Mod | 2x Mechanical Components 4x Wires | Gunsmith 2 |
| Compensator III | Mod | 2x Mod Components 8x Wires | Gunsmith 3 |
| Defibrillator | Quick Use | 9x Plastic Parts 1x Moss | Medical Lab 2 |
| ??? | ??? | ??? | ??? |
| Equalizer | Weapon | 3x Magnetic Accelerator 3x Complex Gun Parts 1x Queen Reactor | Gunsmith 3 |
| Extended Barrel | Mod | 2x Mod Components 8x Wires | Gunsmith 3 |
| Extended Light Mag II | Mod | 2x Mechanical Components 3x Steel Spring | Gunsmith 2 |
| Extended Light Mag III | Mod | 2x Mod Components 5x Steel Spring | Gunsmith 3 |
| Extended Medium Mag II | Mod | 2x Mechanical Components 3x Steel Spring | Gunsmith 2 |
| Extended Medium Mag III | Mod | 2x Mod Components 5x Steel Spring | Gunsmith 3 |
| Extended Shotgun Mag II | Mod | 2x Mechanical Components 3x Steel Spring | Gunsmith 2 |
| Extended Shotgun Mag III | Mod | 2x Mod Components 5x Steel Spring | Gunsmith 3 |
| Remote Raider Flare | Quick Use | 2x Chemicals 4x Rubber Parts | Utility Station 1 |
| Heavy Gun Parts | Material | 4x Simple Gun Parts | Refiner 2 |
| Venator | Weapon | 2x Advanced Mechanical Components 3x Medium Gun Parts 5x Magnet | Gunsmith 3 |
| Il Toro | Weapon | 5x Mechanical Components 6x Simple Gun Parts | Gunsmith 1 |
| Jolt Mine | Mine | 1x Electrical Components 1x Battery | Explosives Station 2 |
| Explosive Mine | Mine | 1x Explosive Compound 1x Sensors | Explosives Station 3 |
| Jupiter | Weapon | 3x Magnetic Accelerator 3x Complex Gun Parts 1x Queen Reactor | Gunsmith 3 |
| Light Gun Parts | Material | 4x Simple Gun Parts | Refiner 2 |
| Lightweight Stock | Mod | 2x Mod Components 5x Duct Tape | Gunsmith 3 |
| Lure Grenade | Grenade | 1x Speaker Component 1x Electrical Components | Utility Station 2 |
| Medium Gun Parts | Material | 4x Simple Gun Parts | Refiner 2 |
| Torrente | Weapon | 2x Advanced Mechanical Components 3x Medium Gun Parts 6x Steel Spring | Gunsmith 3 |
| Muzzle Brake II | Mod | 2x Mechanical Components 4x Wires | Gunsmith 2 |
| Muzzle Brake III | Mod | 2x Mod Components 8x Wires | Gunsmith 3 |
| Padded Stock | Mod | 2x Mod Components 5x Duct Tape | Gunsmith 3 |
| Shotgun Choke II | Mod | 2x Mechanical Components 4x Wires | Gunsmith 2 |
| Shotgun Choke III | Mod | 2x Mod Components 8x Wires | Gunsmith 3 |
| Shotgun Silencer | Mod | 2x Mod Components 8x Wires | Gunsmith 3 |
| Showstopper | Grenade | 1x Advanced Electrical Components 1x Voltage Converter | Explosives Station 3 |
| Silencer I | Mod | 2x Mechanical Components 4x Wires | Gunsmith 2 |
| Silencer II | Mod | 2x Mod Components 8x Wires | Gunsmith 3 |
| Snap Hook | Quick Use | 2x Power Rod 3x Rope 1x Exodus Modules | Utility Station 3 |
| Stable Stock II | Mod | 2x Mechanical Components 3x Duct Tape | Gunsmith 2 |
| Stable Stock III | Mod | 2x Mod Components 5x Duct Tape | Gunsmith 3 |
| Tagging Grenade | Grenade | 1x Electrical Components 1x Sensors | Utility Station 3 |
| Tempest | Weapon | 3x Advanced Mechanical Components 3x Medium Gun Parts 3x Canister | Gunsmith 3 |
| Trigger Nade | Grenade | 2x Crude Explosives 1x Processor | Explosives Station 2 |
| Vertical Grip II | Mod | 2x Mechanical Components 3x Duct Tape | Gunsmith 2 |
| Vertical Grip III | Mod | 2x Mod Components 5x Duct Tape | Gunsmith 3 |
| Vita Shot | Quick Use | 2x Antiseptic 1x Syringe | Medical Lab 3 |
| Vita Spray | Quick Use | 3x Antiseptic 1x Canister | Medical Lab 3 |
| Vulcano | Weapon | 1x Magnetic Accelerator 3x Heavy Gun Parts 1x Exodus Modules | Gunsmith 3 |
| Wolfpack | Grenade | 2x Explosive Compound 2x Sensors | Explosives Station 3 |
| Red Light Stick | Quick Use | 3x Chemicals | Utility Station 1 |
| Smoke Grenade | Grenade | 14x Chemicals 1x Canister | Utility Station 2 |
| Deadline | Mine | 3x Explosive Compound 2x ARC Circuitry | Explosives Station 3 |
| Trailblazer | Grenade | 1x Explosive Compound 1x Synthesized Fuel | Explosives Station 3 |
| Tactical Mk. 3 (Defensive) | Augment | 2x Advanced Electrical Components 3x Processor | Gear Bench 3 |
| Tactical Mk. 3 (Healing) | Augment | 2x Advanced Electrical Components 3x Processor | Gear Bench 3 |
| Yellow Light Stick | Quick Use | 3x Chemicals | Utility Station 1 |
Note: The missing Blueprints in this list likely have not actually been added to the game at the time of writing, because none of the playerbase has managed to find any of them. As they are added to the game, I will update this page with the most relevant information so you know exactly how to get all 75 Arc Raiders Blueprints.
Where to find Blueprints in Arc Raiders
Below is a list of all containers, modifiers, and events which maximise your chances of finding Blueprints:
- Certain quests reward you with specific Blueprints .
- Completing Trials has a high chance of offering Blueprints as rewards.
- Surveyors have a decent chance of dropping Blueprints on death.
- High loot value areas tend to have a greater chance of spawning Blueprints.
- Night Raids and Storms may increase rare Blueprint spawn chances in containers.
- Containers with higher numbers of items may have a higher tendency to spawn Blueprints. As a result, Blue Gate (which has many “large” containers containing multiple items) may give you a higher chance of spawning Blueprints.
- Raider containers (Raider Caches, Weapon Boxes, Medical Bags, Grenade Tubes) have increased Blueprint drop rates. As a result, the Uncovered Caches event gives you a high chance of finding Blueprints.
- Security Lockers have a higher than average chance of containing Blueprints.
- Certain Blueprints only seem to spawn under specific circumstances: Tempest Blueprint only spawns during Night Raid events. Vulcano Blueprint only spawns during Hidden Bunker events. Jupiter and Equaliser Blueprints only spawn during Harvester events.

Raider Caches, Weapon Boxes, and other raider-oriented container types have a good chance of offering Blueprints. |Image credit:Rock Paper Shotgun/Embark Studios
Blueprints have a very low chance of spawning in any container in Arc Raiders, around 1-2% on average. However, there is a higher chance of finding Blueprints in particular container types. Specifically, you can find more Blueprints in Raider containers and security lockers.
Beyond this, if you’re looking for Blueprints you should focus on regions of the map which are marked as having particularly high-value loot. Areas such as the Control Tower in Dam Battlegrounds, the Arrival and Departure Buildings in Spaceport, and Pilgrim’s Peak in Blue Gate all have a better-than-average chance of spawning Blueprints somewhere amongst all their containers. Night Raids and Electromagnetic Storm events also increase the drop chances of certain Blueprints .
In addition to these containers, you can often loot Blueprints from destroyed Surveyors - the largest of the rolling ball ARC. Surveyors are more commonly found on the later maps - Spaceport and Blue Gate - and if one spawns in your match, you’ll likely see it by the blue laser beam that it casts into the sky while “surveying”.
Surveyors are quite well-armoured and will very speedily run away from you once it notices you, but if you can take one down then make sure you loot all its parts for a chance of obtaining certain unusual Blueprints.
Blueprints obtained from quests
One way in which you can get Blueprints is by completing certain quests for the vendors in Speranza. Some quests will reward you with a specific item Blueprint upon completion, so as long as you work through all the quests in Arc Raiders, you are guaranteed those Blueprints.
Here is the full list of all Blueprints you can get from quest rewards:
- Trigger Nade Blueprint: Rewarded after completing “Sparks Fly”.
- Lure Grenade Blueprint: Rewarded after completing “Greasing Her Palms”.
- Burletta Blueprint: Rewarded after completing “Industrial Espionage”.
- Hullcracker Blueprint (and Launcher Ammo Blueprint): Rewarded after completing “The Major’s Footlocker”.
Alas, that’s only 4 Blueprints out of a total of 75 to unlock, so for the vast majority you will need to find them yourself during a raid. If you’re intent on farming Blueprints, then it’s best to equip yourself with cheap gear in case you lose it, but don’t use a free loadout because then you won’t get a safe pocket to stash any new Blueprint you find. No pain in Arc Raiders is sharper than failing to extract with a new Blueprint you’ve been after for a dozen hours already.

One of the best ways to get Blueprints is by hitting three stars on all five Trials every week. |Image credit:Rock Paper Shotgun/Embark Studios
Blueprints obtained from Trials
One of the very best ways to get Blueprints is as rewards for completing Trials in Arc Raiders. Trials are unlocked from Level 15 onwards, and allow you to earn rewards by focusing on certain tasks over the course of several raids. For example, one Trial might task you with dealing damage to Hornets, while another might challenge you to loot Supply Drops.
Trials refresh on a weekly basis, with a new week bringing five new Trials. Each Trial can offer up to three rewards after passing certain score milestones, and it’s possible to receive very high level loot from these reward crates - including Blueprints. So if you want to unlock as many Blueprints as possible, you should make a point of completing as many Trials as possible each week.
Best Blueprint farming locations
The very best way to get Blueprints is to frequent specific areas of the maps which combine high-tier loot pools with the right types of containers to search. Here are my recommendations for where to find Blueprints on every map, so you can always keep the search going for new crafting recipes to unlock.

Image credit:Rock Paper Shotgun/Embark Studios
Dam Battlegrounds
The best places to farm Blueprints on Dam Battlegrounds are the Control Tower, Power Generation Complex, Ruby Residence, and Pale Apartments . The first two regions, despite only being marked on the map as mid-tier loot, contain a phenomenal number of containers to loot. The Control Tower can also contain a couple of high-tier Security Lockers - though of course, you’ll need to have unlocked the Security Breach skill at the end of the Survival tree.
There’s also a lot of reporting amongst the playerbase that the Residential areas in the top-left of the map - Pale Apartments and Ruby Residence - give you a comparatively strong chance of finding Blueprints. Considering their size, there’s a high density of containers to loot in both locations, and they also have the benefit of being fairly out of the way. So you’re more likely to have all the containers to yourself.
Buried City
The best Blueprint farming locations on Buried City are the Santa Maria Houses, Grandioso Apartments, Town Hall, and the various buildings of the New District . Grandioso Apartments has a lower number of containers than the rest, but a high chance of spawning weapon cases - which have good Blueprint drop rates. The others are high-tier loot areas, with plenty of lootable containers - including Security Lockers.
Spaceport
The best places to find Blueprints on Spaceport are the Arrival and Departure Buildings, as well as Control Tower A6 and the Launch Towers . All these areas are labelled as high-value loot regions, and many of them are also very handily connected to one another by the Spaceport wall, which you can use to quickly run from one area to the next. At the tops of most of these buildings you’ll find at least one Security Locker, so this is an excellent farming route for players looking to find Blueprints.
The downside to looting Blueprints on Spaceport is that all these areas are hotly contested, particularly in Duos and Squads. You’ll need to be very focused and fast in order to complete the full farming route.

Image credit:Rock Paper Shotgun/Embark Studios
Blue Gate
Blue Gate tends to have a good chance of dropping Blueprints, potentially because it generally has a high number of containers which can hold lots of items; so there’s a higher chance of a Blueprint spawning in each container. In my experience, the best Blueprint farming spots on Blue Gate are Pilgrim’s Peak, Raider’s Refuge, the Ancient Fort, and the Underground Complex beneath the Warehouse .
All of these areas contain a wealth of containers to loot. Raider’s Refuge has less to loot, but the majority of the containers in and around the Refuge are raider containers, which have a high chance of containing Blueprints - particularly during major events.
Stella Montis
On the whole, Stella Montis seems to have a very low drop rate for Blueprints (though a high chance of dropping other high-tier loot). If you do want to try farming Blueprints on this map, the best places to find Blueprints in Stella Montis are Medical Research, Assembly Workshop, and the Business Center . These areas have the highest density of containers to loot on the map.
In addition to this, the Western Tunnel has a few different Security Lockers to loot, so while there’s very little to loot elsewhere in this area of the map, it’s worth hitting those Security Lockers if you spawn there at the start of a match.
That wraps up this primer on how to get all the Blueprints in Arc Raiders as quickly as possible. With the Expedition system constantly resetting a large number of players’ Blueprints, it’s more important than ever to have the most up-to-date information on where to find all these Blueprints.
While you’re here, be sure to check out our Arc Raiders best guns tier list , as well as our primers on the best skills to unlock and all the different Field Depot locations on every map.


ARC Raiders
PS5 , Xbox Series X/S , PC
Rock Paper Shotgun is better when you sign in
Sign in and join us on our journey to discover strange and compelling PC games.
