Hollow Knight Silksong walkthrough: Part 15 (Sinner’s Road)
Tackle Sinner’s Road piece by horrifying piece with our walkthrough

Image credit:Rock Paper Shotgun/Team Cherry

About to step foot into Sinner’s Road for the first time in Hollow Knight: Silksong? Sinner’s Road is a dangerous and foreboding place, almost as much as the Blasted Steps you visited previously (if you’ve been following along with our Silksong walkthrough). Sinner’s Road isn’t a terribly large region, but it’s exceptionally tricky to get a handy Bench you can rest at to make life easier there.
In Part 15 of our Silksong walkthrough , we’ll guide you along the optimal path we’ve found through the Sinner’s Road region, highlighting all the hidden areas, NPCs, and collectibles that you can discover on the way - including the two exits into brand new regions to the north!
Want the walkthrough for a different area of the game? Check out our Hollow Knight: Silksong walkthrough hub!
Sinner’s Road walkthrough steps:
- Enter Sinner’s Road from above the Halfway Home.
- Get used to fighting Muckroaches.
- Acquire the Barbed Bracelet.
- Meet Crull and Benjin.
- Get the Sinner’s Road map from Shakra.
- Fix the goddamn broken Bench.
- Reach the eastern shaft.
- Dip into Bilewater for the Ruined Tool.
- Rescue the trapped Flea.
- Find the path to Styx again.
- Kill the Roachkeeper for his Simple Key.
- Free the Green Prince.
- Exit into The Mist.
- Pass through The Mist.

Image credit:Rock Paper Shotgun/Team Cherry
1. Enter Sinner’s Road from above the Halfway Home.
Where we last left off, you just stepped past the Last Judge and into the Grand Gate at the beginning of Act 2. But now it’s time to double back, because we’re not finished with Act 1 regions quite yet.
Backtrack to the Blasted Steps Bellway, and fast travel to Greymoor. From there, head to the Halfway Home, and make your way up to the Sinner’s Road entrance that you discovered previously, right at the top-right corner of the room. From here we can start our region walkthrough properly.
2. Get used to fighting Muckroaches.

These pervasive, aggressive assholes are a nightmare in large numbers. |Image credit:Rock Paper Shotgun/Team Cherry
The first room of Sinner’s Road quickly introduces you to their nastiest inhabitants - Muckroaches. You’ve already encountered a couple of these if you took the secret passage to Styx back in Greymoor, but I advise you spend some time in this room really learning how to fight these creatures.
Beware - they don’t have much of a tell before leaping at you, and if they catch you in a leap, they deal two points of damage. Your best bet with Muckroaches is to back off fast after each hit, and try not to aggravate more than one Muckroach at a time. If you do, don’t be afraid to use your tools to make the fight more manageable.

Image credit:Rock Paper Shotgun/Team Cherry
Halfway along this long first room, you’ll find a cage at ground level with an item inside. Break the right-hand side of the cage to nab the item - a Frayed Rosary String. Then, when you’re ready, head on into the next room.
3. Acquire the Barbed Bracelet.
In the next room, you’ll see a lever on the floor. Don’t pull it yet - it’ll send you down into worm-infested waters. If you land in worm water, then it infects Hornet, preventing her from healing until you gain enough Silk to Bind. That first Bind will rid you of the infection, but won’t heal you. It’s nasty stuff.

Image credit:Rock Paper Shotgun/Team Cherry
Instead, head straight across to the right and into the room beyond. This corridor is much like the previous one - full of cages and Muckroaches - but this time the extra dangers are the new flying enemies, Roachfeeders. They’re not as annoying as Muckroaches themselves, but they have some nasty blade attacks to watch out for.
At the end of the path, you’ll see a dead end, and just below it, a cage with a way through it and down into a room below. Parkour to the bottom of this lower room, and you’ll find a new tool - the Barbed Bracelet. It’s a double-edged sword, this one; the Barbed Bracelet increases the damage of your Needle, but also increases your damage taken. I’d leave it off for now, if I were you.

Image credit:Rock Paper Shotgun/Team Cherry
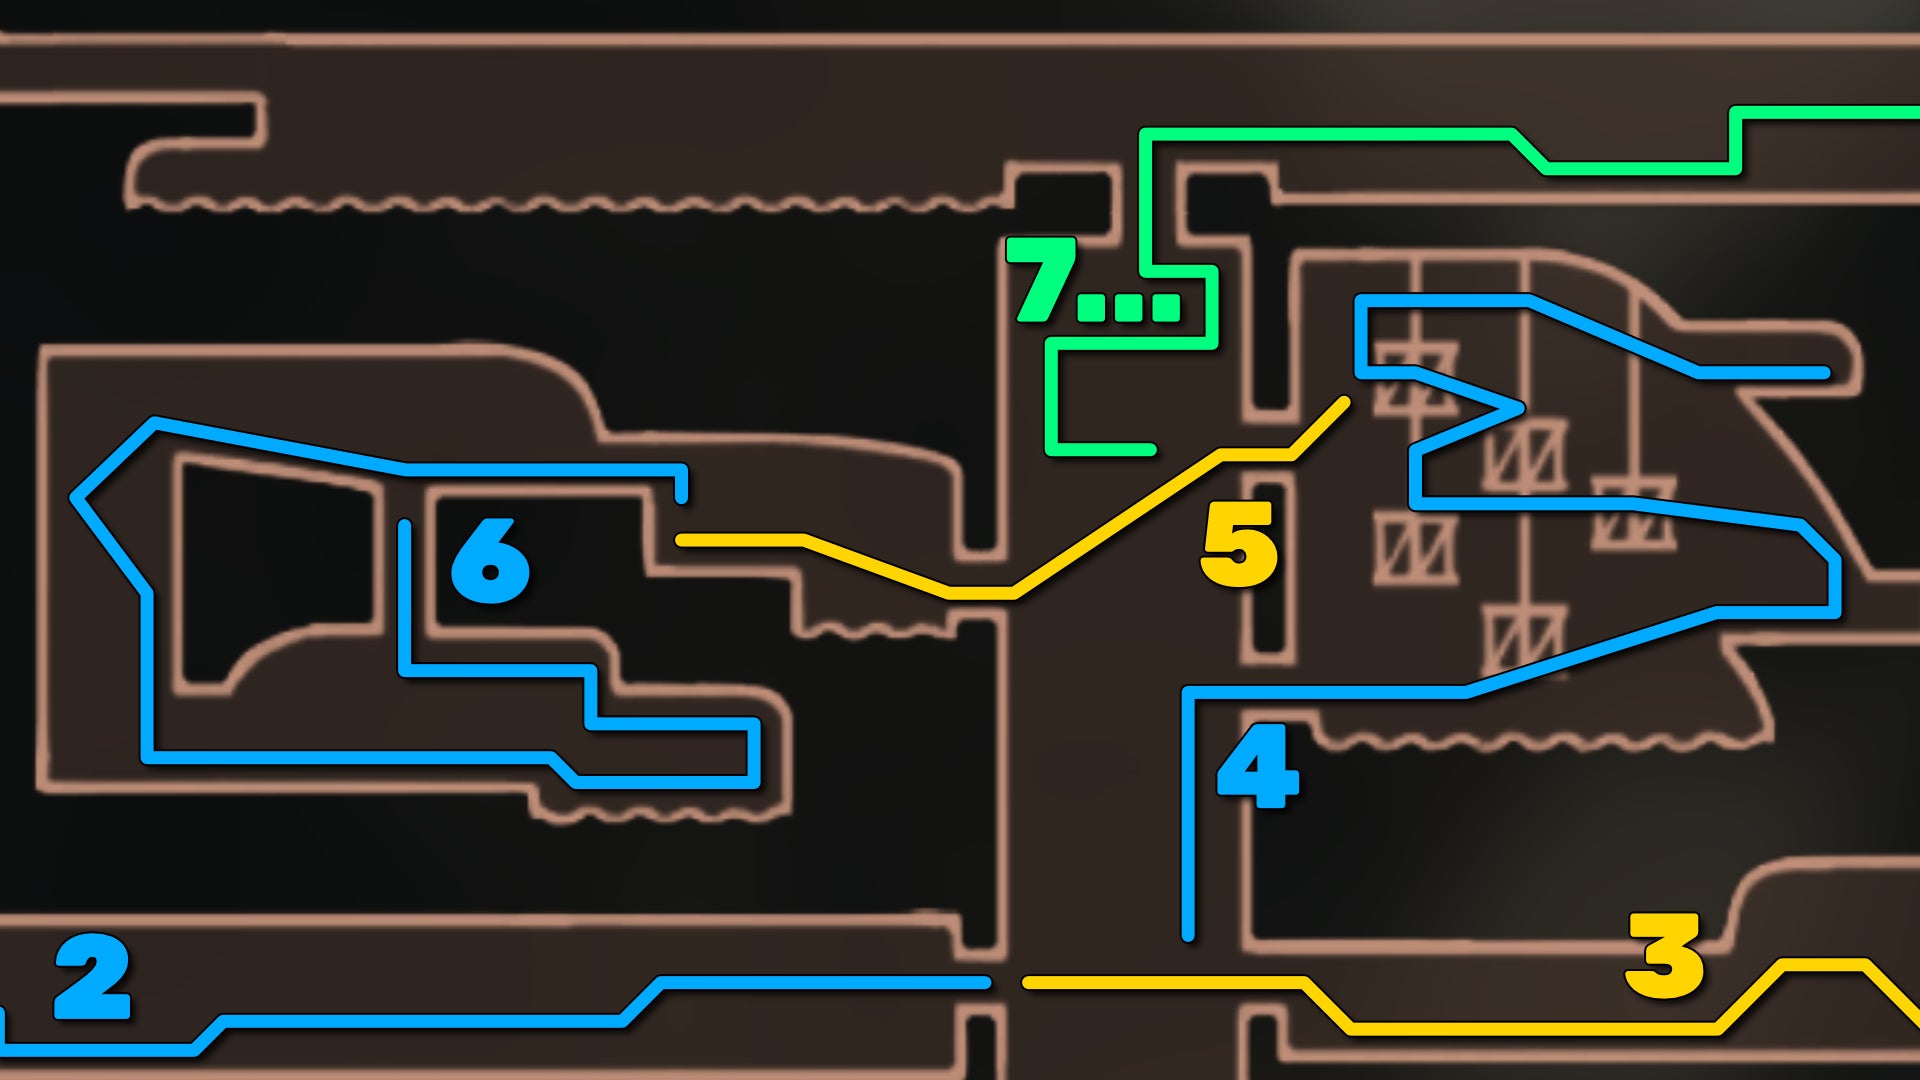
Image credit:Rock Paper Shotgun/Team Cherry
4. Meet Crull and Benjin.

We’ll get to this guy soon. |Image credit:Rock Paper Shotgun/Team Cherry
Backtrack to the room with the lever on the floor (still don’t pull it!), and climb up the cages on the right. You’ll see an unusual green NPC in a cage on your left as you go - ignore him for now, we’ll come back to him later.

Image credit:Rock Paper Shotgun/Team Cherry
At the top, take the exit on your right. Carefully dispatch the two enemies ahead, and try not to fall into the worm water. Then Pogo off the spiked wheels to the ledge beyond.
At the end of the path is a door you can’t unlock yet, so go back and use the cage hanging above you to climb upwards. Pogo off the next wheel to the ledge in the middle of the room. Be warned - the moment you get the attention of the Roachfeeder above, another enemy will appear from above and both will attack you at once.

Image credit:Rock Paper Shotgun/Team Cherry
Once they’re slain, continue Pogo-ing to the left, and deal with the wall-hugging Mite. Then climb that wall and Pogo back off the higher spiked wheels. You’ll reach another ledge with a Roachcatcher to kill, after which, do the same manoeuvre, climbing the wall on your left to reach the spiked wheels at the top of the room.
Pogo off all these wheels heading right, and then use your Drifter’s Cloak to float all the way to the ledge on the far right. On this ledge you’ll find a little hut you can go inside to meet a couple of new NPCs - Crull and Benjin.

Image credit:Rock Paper Shotgun/Team Cherry
Speak with them, and accept their quest to kill Muckroaches and loot their guts for a fine meal for the pair (yuck). It’s well worth doing this quest while you go through the rest of Sinner’s Road. Your reward are Tacks - an excellent weapon tool which is one of my favourites in all of Silksong.
5. Get the Sinner’s Road map from Shakra.

Image credit:Rock Paper Shotgun/Team Cherry
Exit out of Crull and Benjin’s hut, and jump back down to the ledge in the middle of the room. From there, climb back upwards again until you’re at the ledge where the Roachcatcher attacked you; but this time, drop down the hole to the left. You’ll find a locked gate leading west which you can open with the lever on the lower ledge.
In the next room, head across the cages diagonally downward in front of you, and you’ll find an exit to the left almost immediately. Head through it into the next room, where you’ll hear the comforting sound of Shakra’s singing.

Image credit:Rock Paper Shotgun/Team Cherry
This next room has a swinging pendulum spike wheel across worm water - you can either time your jump so that you Pogo off the same pendulum twice, or just Pogo off it once and float to the other side. There, you can speak with Shakra and purchase her map of Sinner’s Road for 90 Rosaries.
6. Fix the goddamn broken Bench.

Image credit:Rock Paper Shotgun/Team Cherry
Next to Shakra is, at long last, a Bench. Pay 60 Rosaries to open it. Unfortunately, the mechanism that lifts it is jammed by something. This is part of what makes Sinner’s Road such a pain in the arse - it takes a lot of effort to get yourself a working Bench.
You can speak with Shakra again if you like to get her opinion on the incessant new noise of the Bench mechanism. After that, climb the wall above her, and hit the wall at the top to reveal a secret passage.


What follows is a pretty tricky obstacle course which involves a lot of floating to avoid spikes, and jumping off walls at the right moment. Make your way to the very end, and drop into the worm water. Don’t worry, this time it’s fine to drop in, despite it infecting you.
Swim to the end, and attack the vines obstructing the Bench mechanism to fix it. Then you can climb up the wall above you and break the floor at the top for a shortcut back to the now-working Bench. Rest at last!
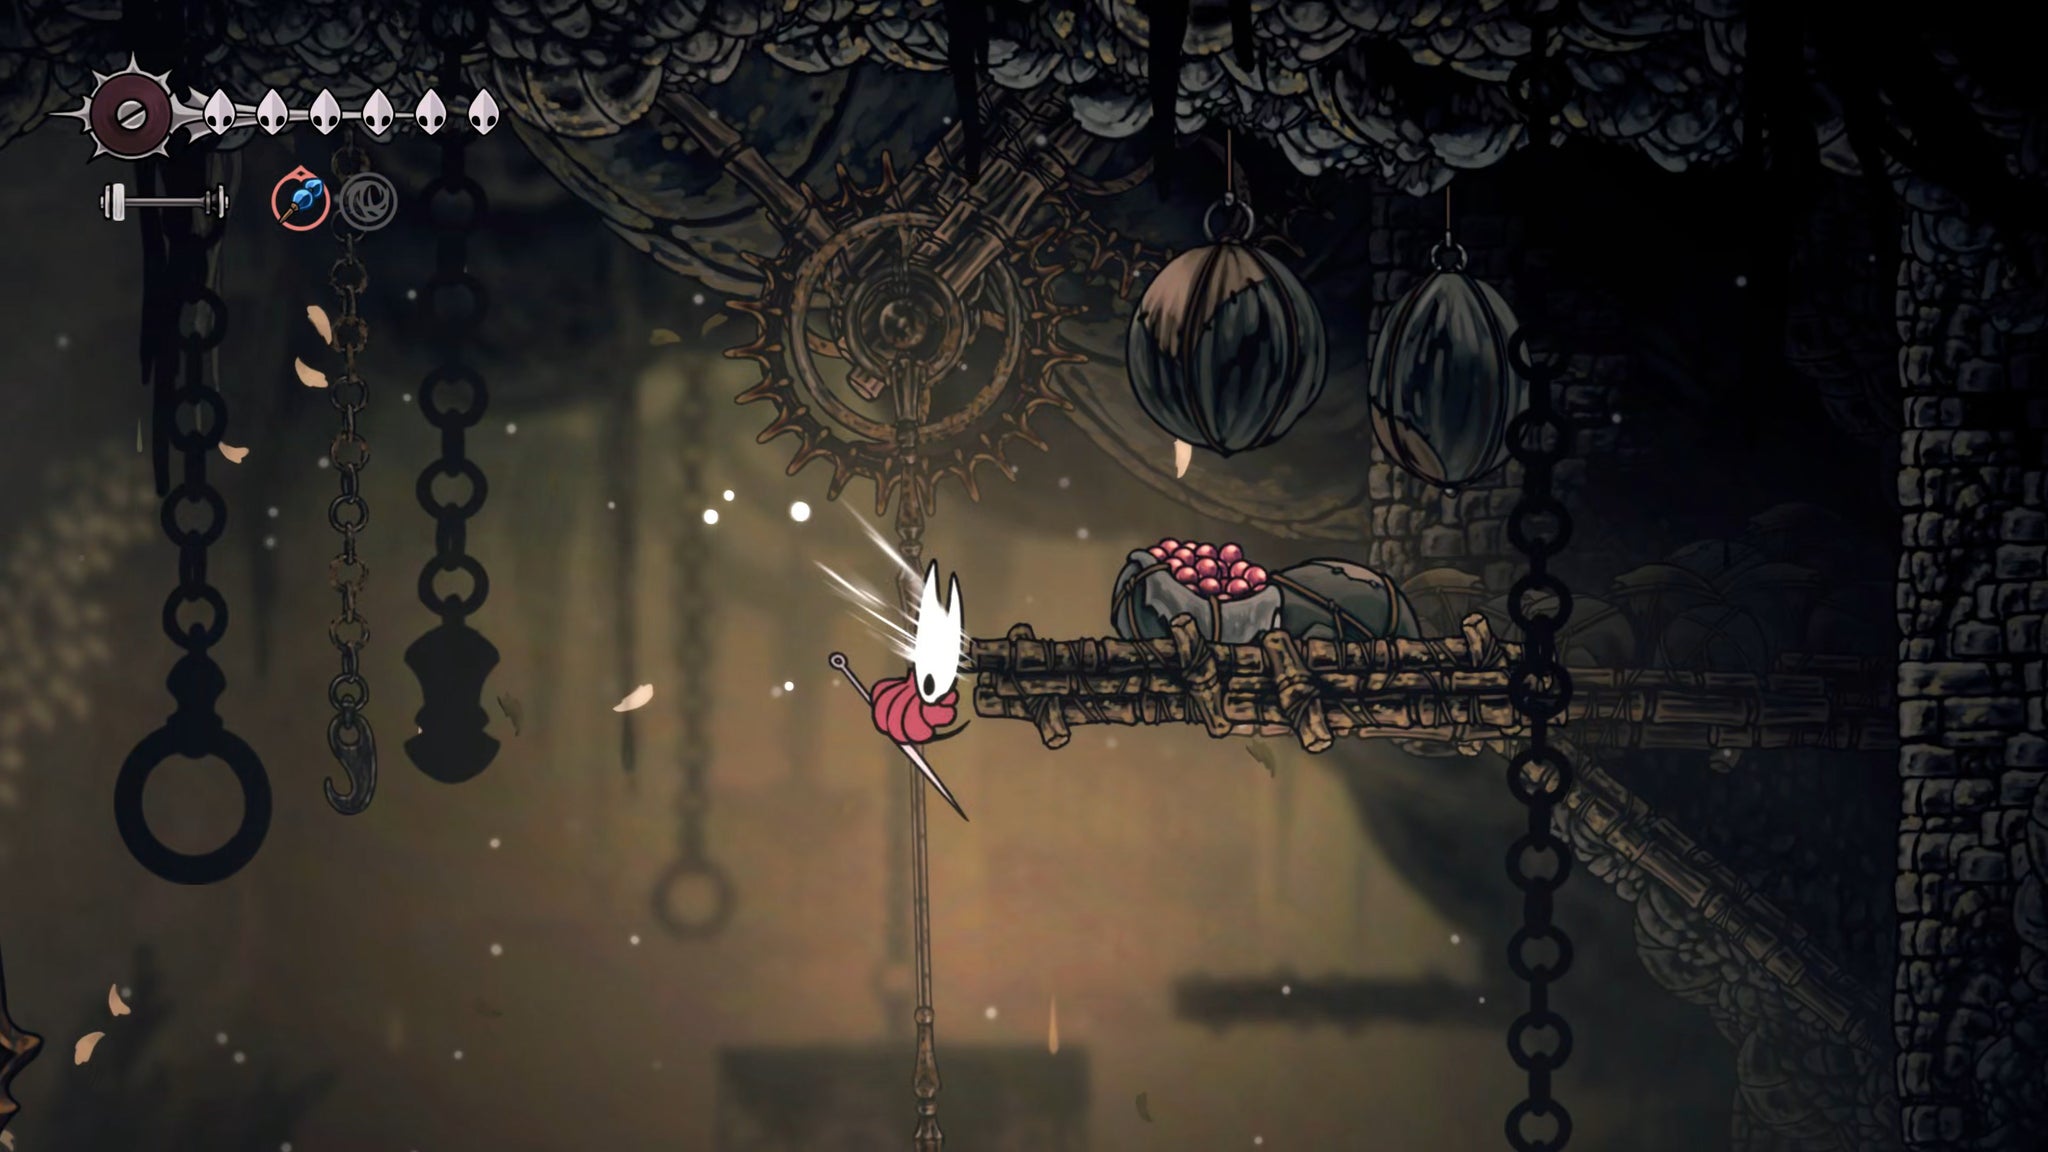
Image credit:Rock Paper Shotgun/Team Cherry
Now that the Bench is fixed, you can also Pogo off its bells to reach high into the air, and then float over to the upper-right ledge where you can gain some Rosaries for your trouble.

Image credit:Rock Paper Shotgun/Team Cherry
7. Reach the eastern shaft.

Image credit:Rock Paper Shotgun/Team Cherry
Once you’ve rested and cured your infested status, head back to the right into the shaft, and use the cages to climb upwards. A little higher up, you’ll have to dash through a narrow walkway between spikes. Drop down at this point, and you’ll be able to pull a lever which drops a cage lower down, allowing you an easy path from the ground level up to the Bench room.
That done, keep climbing all the way to the top. In the room above, flick either lever to get onto the proper ground level of this room, and then head to the right. You’ll be faced with another nasty Muckroach-infested corridor, along with a number of pendulums and a new, even greater threat - a big hulking Roachkeeper.

Image credit:Rock Paper Shotgun/Team Cherry
Choose to fight him or don’t; either way, you’ll need to stand on the right-hand edge of his platform, and Pogo your way over the pendulums to the right in order to reach the next platform - where another Roachkeeper is patrolling.
Again, fight or evade, it’s up to you. Just make your way to the end of the room, and flick the lever on the ceiling to open the gate. This leads you into another tall vertical shaft like the previous one.

Image credit:Rock Paper Shotgun/Team Cherry
8. Dip into Bilewater for the Ruined Tool.

Image credit:Rock Paper Shotgun/Team Cherry
Immediately in front of you is a pair of cages forming steps up to the right. Ascend the two cages, and then drop off the back of the second cage to reach the ledge with the Mite on it.
Once you’ve killed the Mite, look down and you’ll see a lower ledge with an item on it. Wall-jump off the cage to reach the item - a Shard Bundle - and then attack the wall to the right of the item to reveal a new passage.

Image credit:Rock Paper Shotgun/Team Cherry
This passageway is much more than it appears - it is in fact the path to a brand new region, called Bilewater. This place is even nastier than Sinner’s Road, if you can believe it. But we’re not staying long.
Make your way to the right, and then climb up the wall to the top and keep heading right. Along the way you’ll find several ropes which, when cut, will unleash a swinging pendulum trap of spikes from the ceiling. As long as you cut them with purpose, you have plenty of time to jump on the spot to avoid the pendulums, and dash out of the way.
You’ll also encounter nasty bloated flies called Swamp Squits, which will explode on death. Otherwise they’re more a nuisance than a danger.

Image credit:Rock Paper Shotgun/Team Cherry
Head into the next room, and then head along the worm-water level, past the crumbling platforms on the water. A Swamp Squit may attack you from above, but ignore it. Jump into the worm-water, and just swim straight along to the right to enter a secret passage. In this passage you’ll find another Weavenest door that opens to your Needolin.

Image credit:Rock Paper Shotgun/Team Cherry
Weavenest Murglin is extremely small. Once you’re inside, drop down the first hole you find into the worm-water below, and swim to the right-hand ledge. Follow the path up and around to the left, and loot the item on the table for a Ruined Tool. This tool can be repaired by the Forge Daughter or the Twelfth Architect later on, but we’re not going to do either of those things. We’re going to hold onto it until we can repair it ourselves into the best possible version. But all that comes later.

Image credit:Rock Paper Shotgun/Team Cherry
Head to the right of the table and attack the two lights above to “activate” the Weavenest. You can head down to the bottom of the next room for some lore, but otherwise you can now head to the left of the Ruined Tool table for a shortcut back out of Weavenest Murglin.
Now retrace your steps all the way back into Sinner’s Road! We’ll return to Bilewater much later.
9. Rescue the trapped Flea.

Image credit:Rock Paper Shotgun/Team Cherry
Drop immediately down from the broken wall to Bilewater to land on the cages below. You can collect the Rosaries here, and then drop further down the right-hand side to find a little passage off-screen between the lower cages.
Kill the Muckroaches in the next room, and you can pass to the opposite end and break open the cage to rescue the trapped Flea inside. Then backtrack out into the shaft again.
10. Find the path to Styx again.



Drop to the very bottom of the shaft, and hug the right-hand wall so that you don’t land in worm water. Head through the next room, which is empty of threats except spikes (and a caged Muckroach that can’t reach you). When you enter the cage just below the Muckroach, you’ll need to attack the other end of the cage to keep going forward.
At the end of the path, you’ll meet a familiar face - Styx! You’ve made it over to his location from the other direction this time. Take this opportunity to rest in the silken bed by his home, before backtracking into the shaft again.
11. Kill the Roachkeeper for his Simple Key.
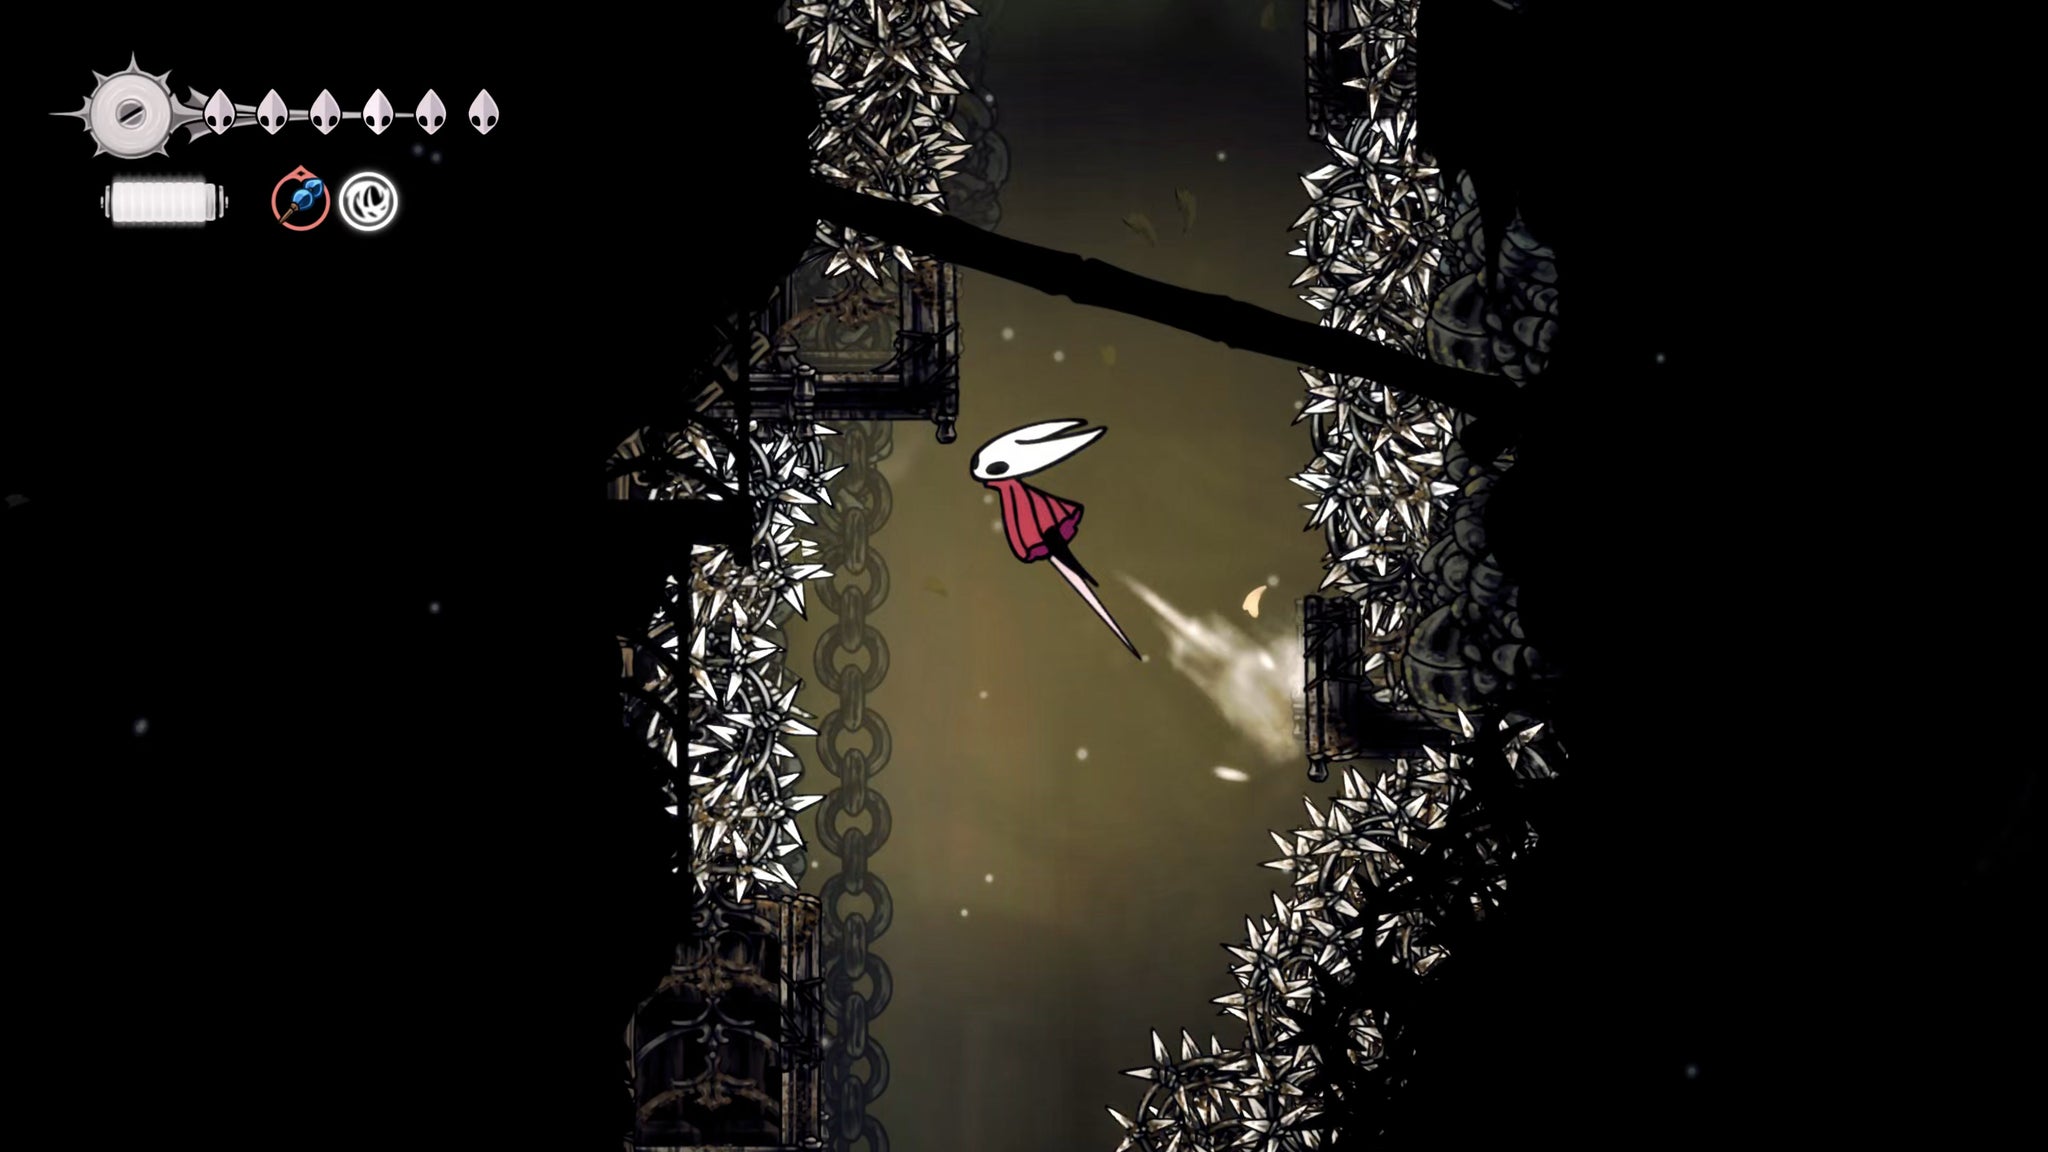
Image credit:Rock Paper Shotgun/Team Cherry
Back in the shaft, climb up all the way to the very top. Once you get to the upper section of the shaft, it becomes a nasty and precise little jumping puzzle to avoid sets of spikes on the walls. At the top, hit the lever to open the pathway up above, and kill the Roachkeeper that spawns on this level. When he dies, he’ll drop a Simple Key for you.

Image credit:Rock Paper Shotgun/Team Cherry
You can then drop down the left-hand passage for a quick way back down the shaft.

Image credit:Rock Paper Shotgun/Team Cherry
12. Free the Green Prince.
Jump down to the exit on the left, which is the way you entered the shaft in the first place. As you pass back this way again, you should be met with Garmond and Zaza, on their way up to the Citadel like you. You can exchange a few words with Garmond, but then head past them and retrace your steps back down to the previously broken Bench where you found Shakra.


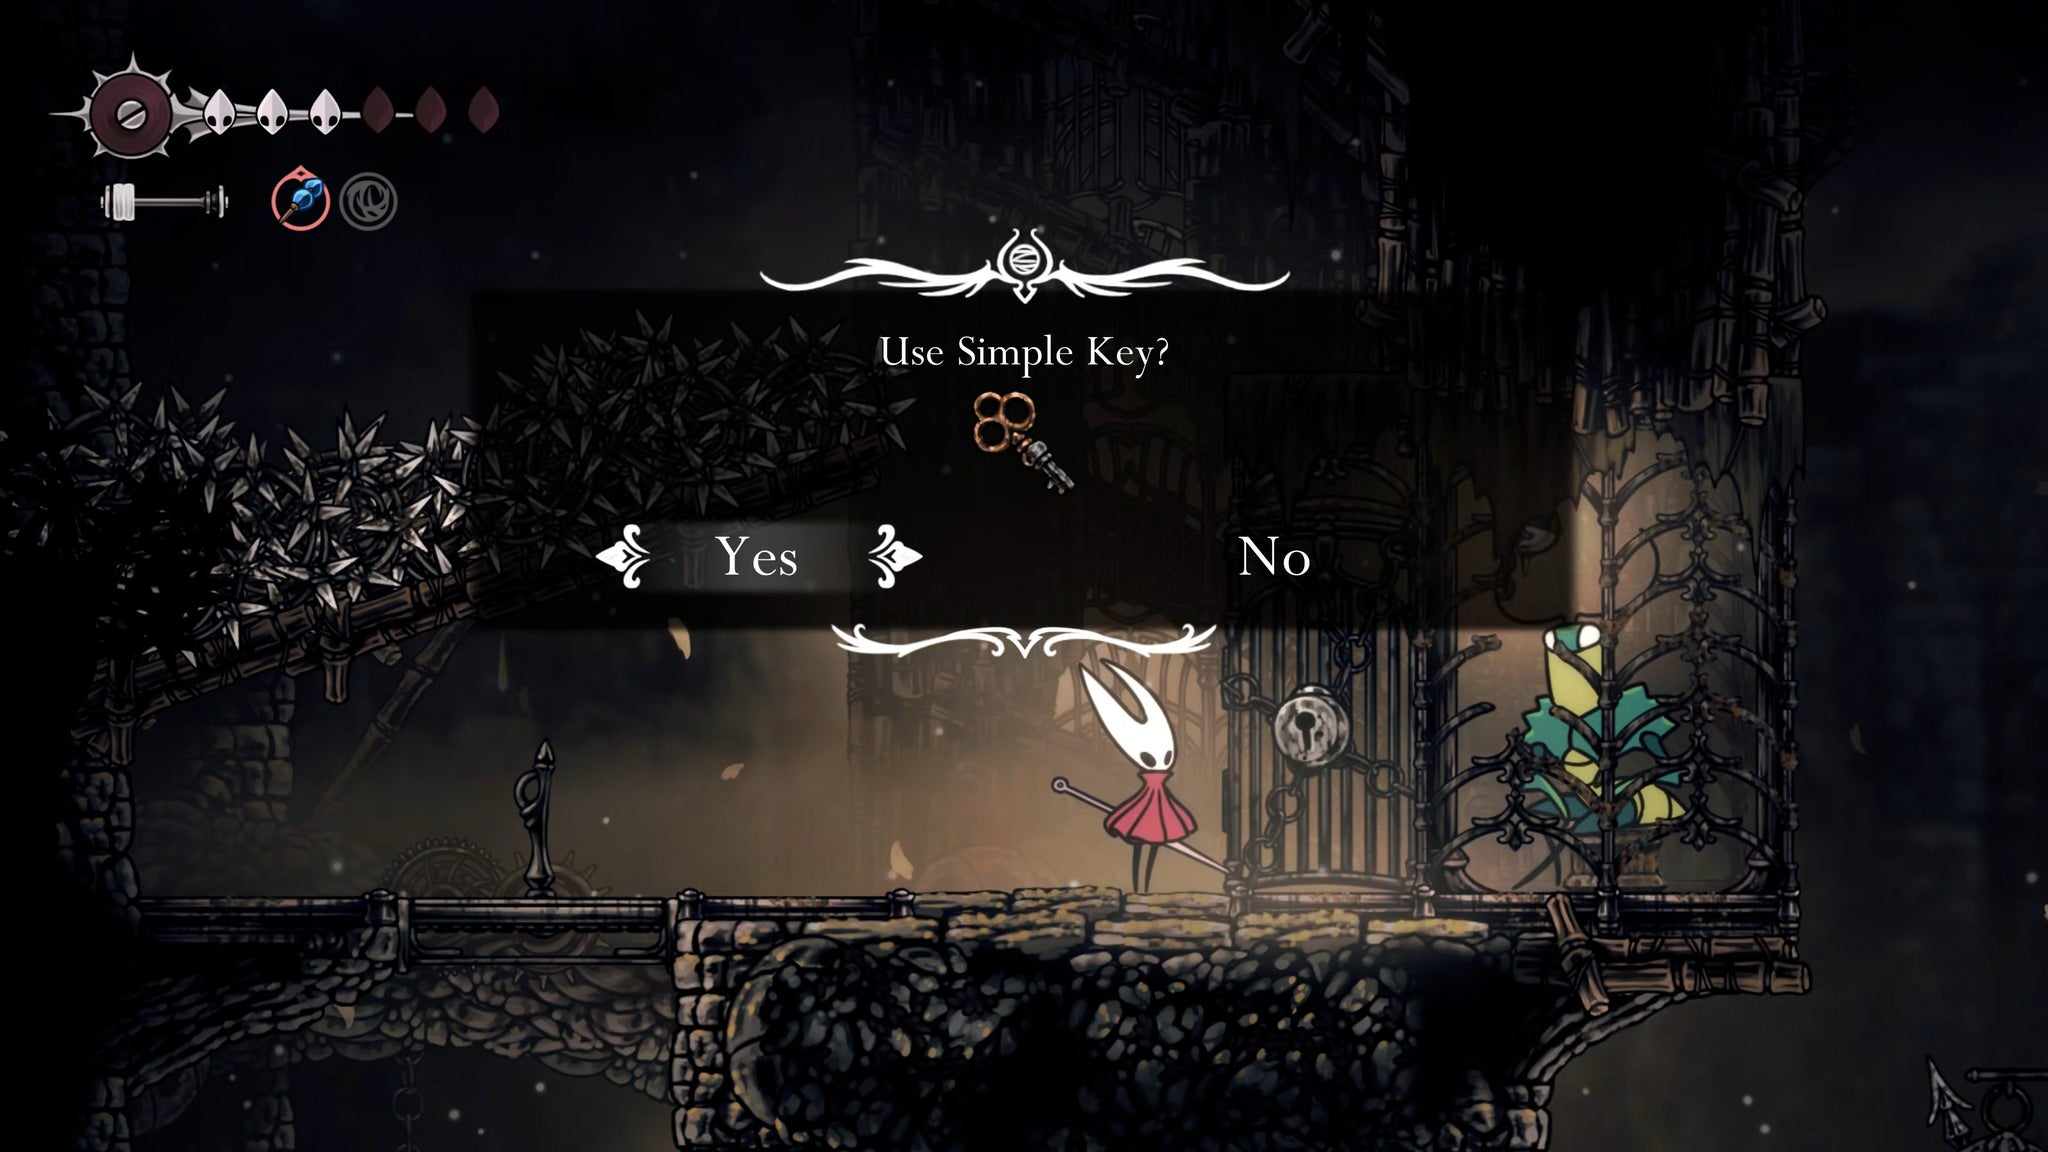
Then drop down to near the bottom of the connecting shaft, and once you reach the level patrolled by the Roachcatcher, drop down the left-hand side this time and float to avoid the spikes. At the bottom you’ll be able to speak properly with the green NPC, aptly named Green Prince.
Use the Simple Key to unlock his cell (despite his wishes), and exhaust his dialogue. This means nothing to you now, but it will come into play later in the walkthrough.
13. Exit into the Mist.
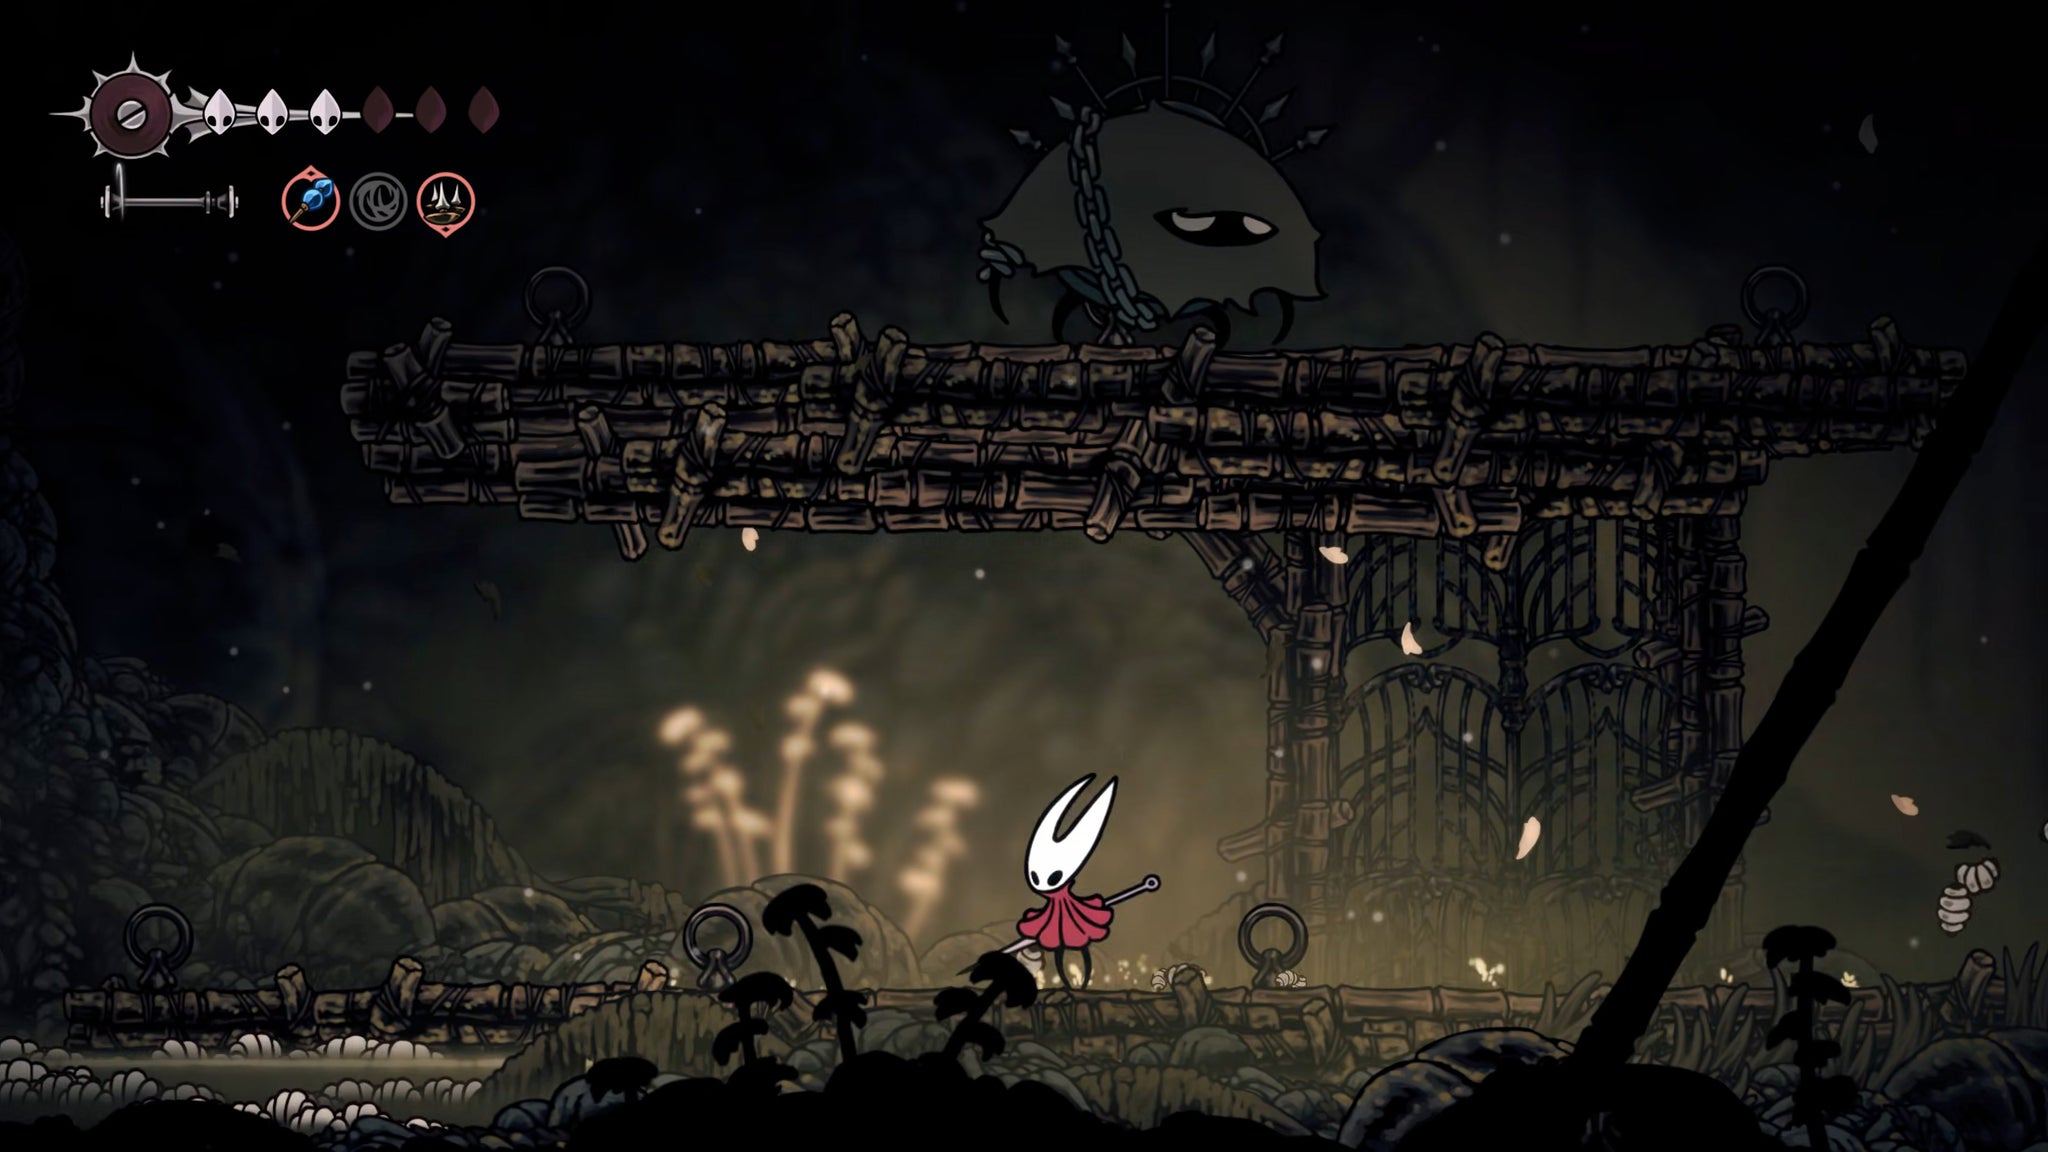
Image credit:Rock Paper Shotgun/Team Cherry
Now, work your way back to the top of the shaft again, and this time head the left, across the spiked pendulums. At the far end, you’ll find a wall you can climb so you can jump onto the higher ledge patrolled by another Roachkeeper. Kill or bypass it, and then work your way back over the upper-level ledges and pendulums to reach a chest filled with Rosaries.
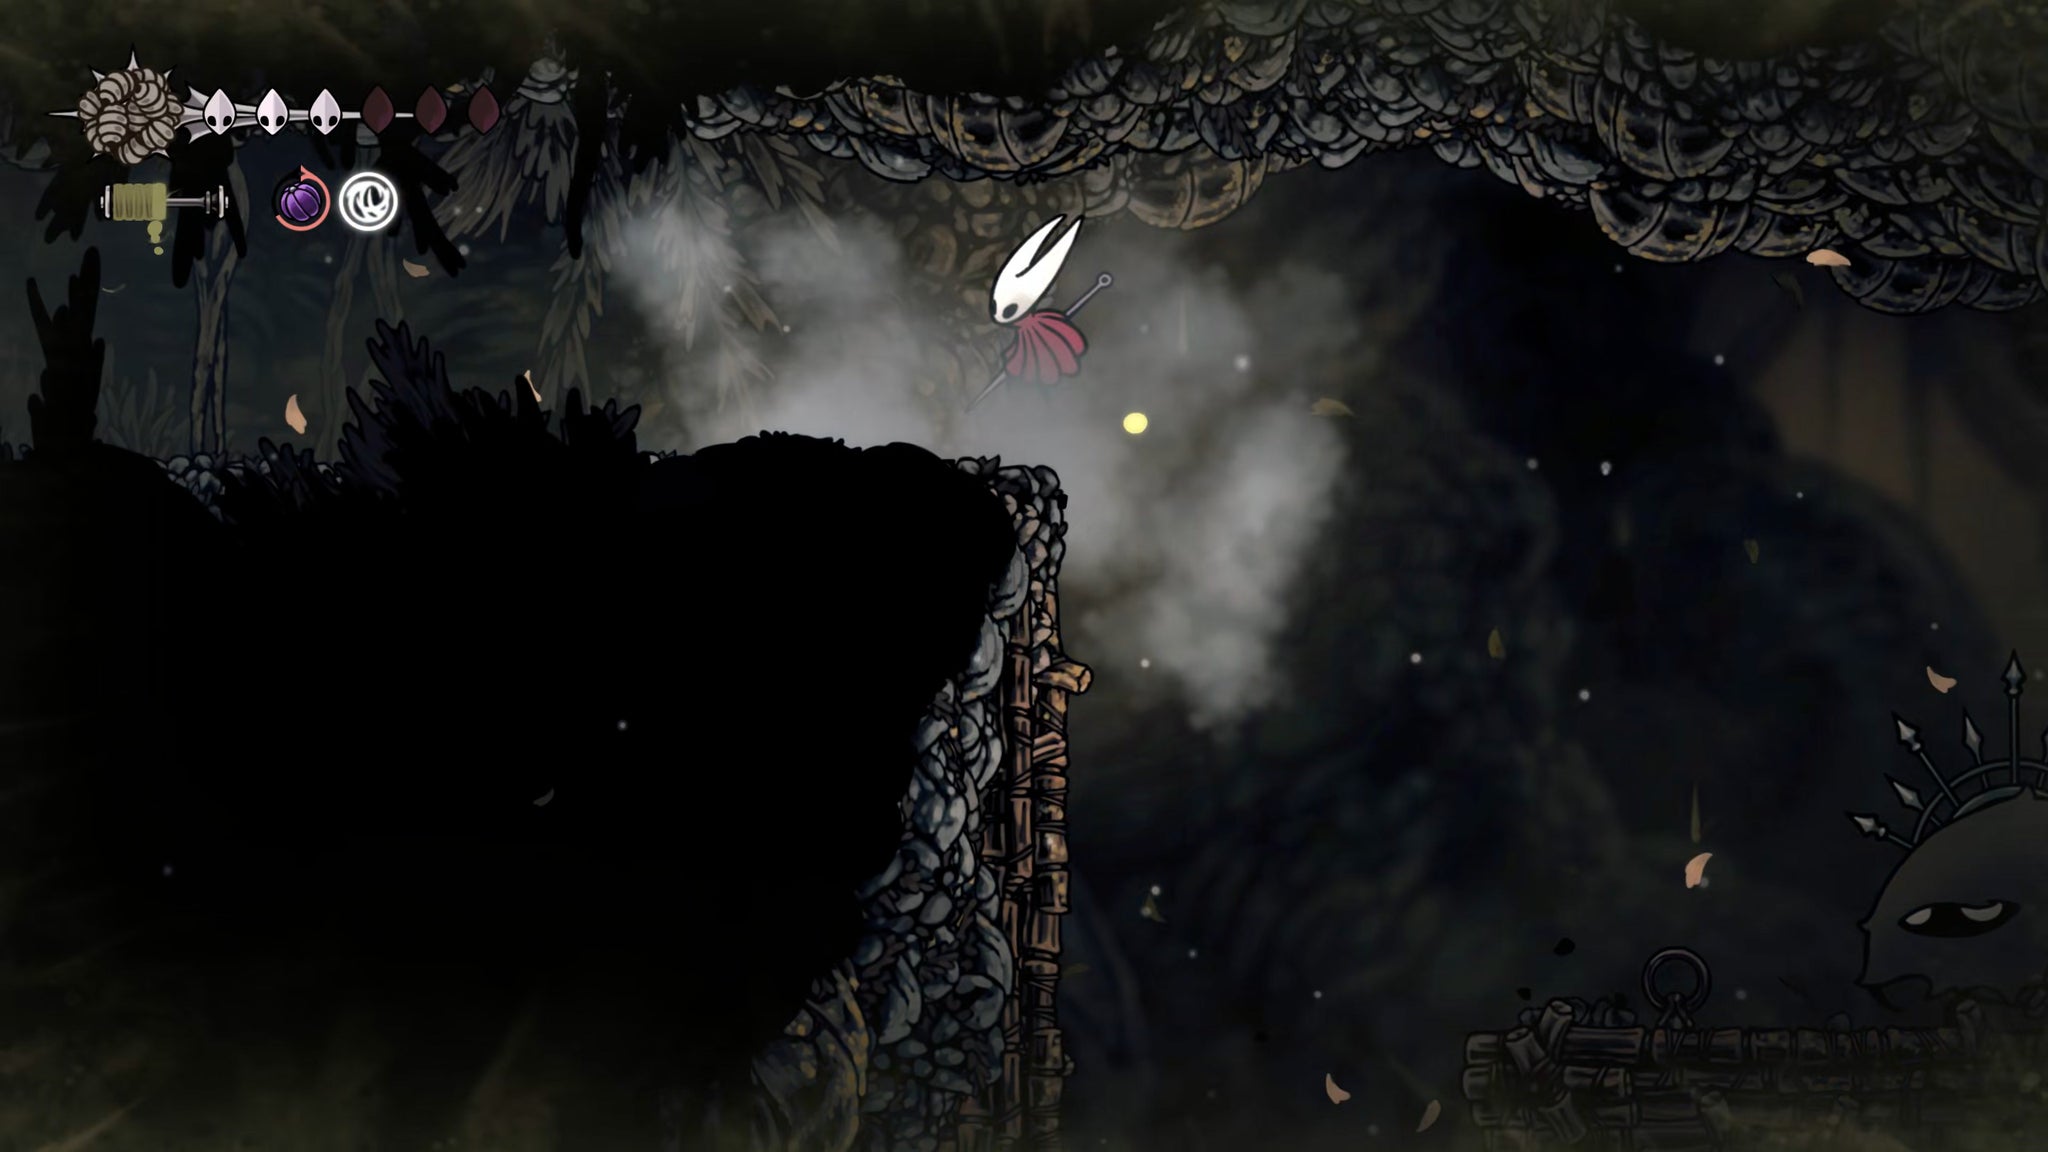
Image credit:Rock Paper Shotgun/Team Cherry
That’s all there is to do for now in Sinner’s Road, minus one step: head back to the left-hand side again, where the Roachkeeper was patrolling; climb up that wall on the left side; and attack the top part of the wall until it breaks.
Follow the path, and you’ll enter a temporary and unique region known as The Mist.
14. Pass through The Mist.
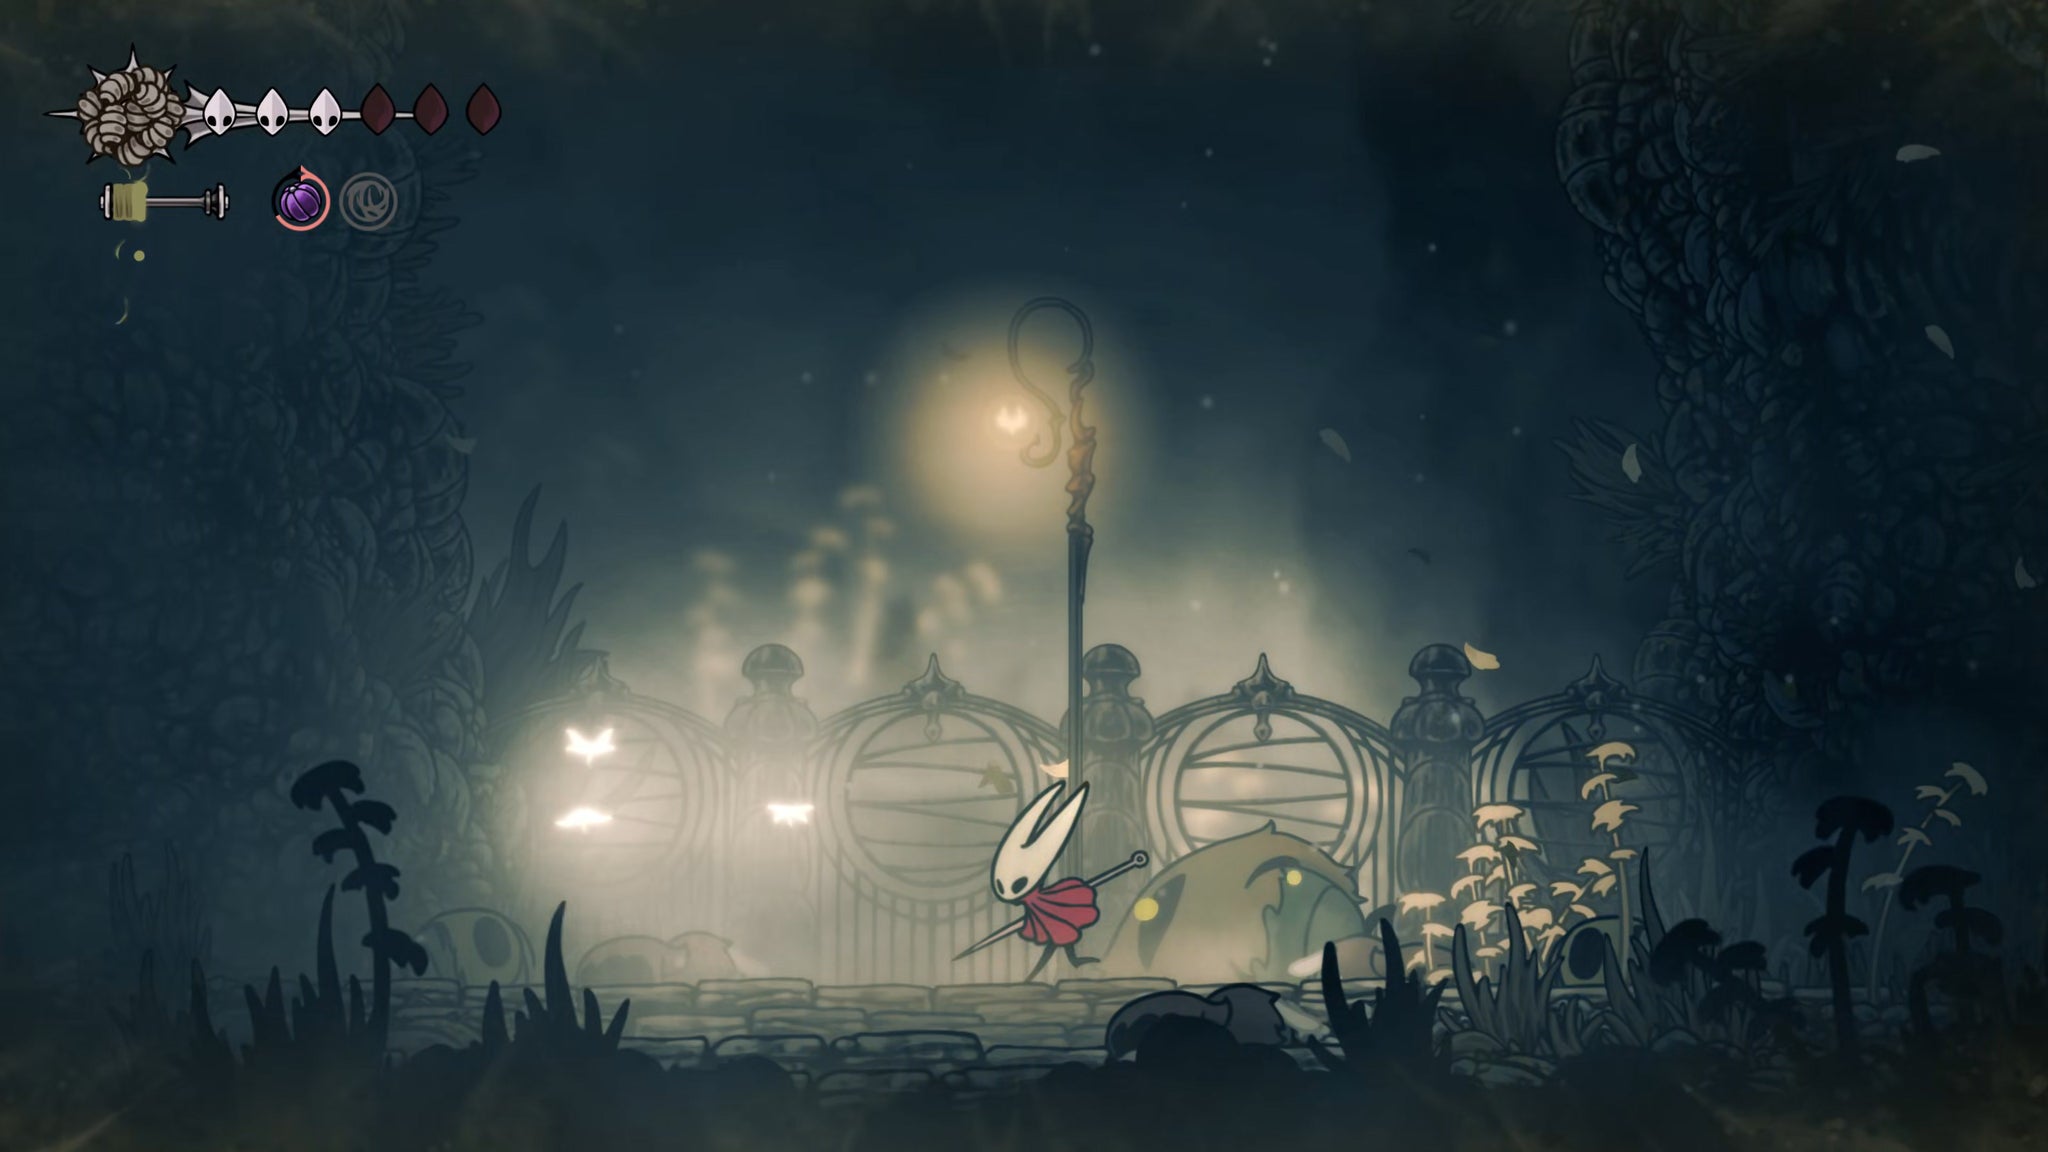
Image credit:Rock Paper Shotgun/Team Cherry
The Mist is a puzzle region. The rooms are randomised, and you need to find the correct exit out of each room. Taking the wrong exit at any point (or dropping off the bottom of any room) will send you back to the starting room.
To find out which exit is the correct one, explore until you find the little white moths, and play your Needolin near them. After a moment, they will fly to the correct exit, showing you the way forward through The Mist.
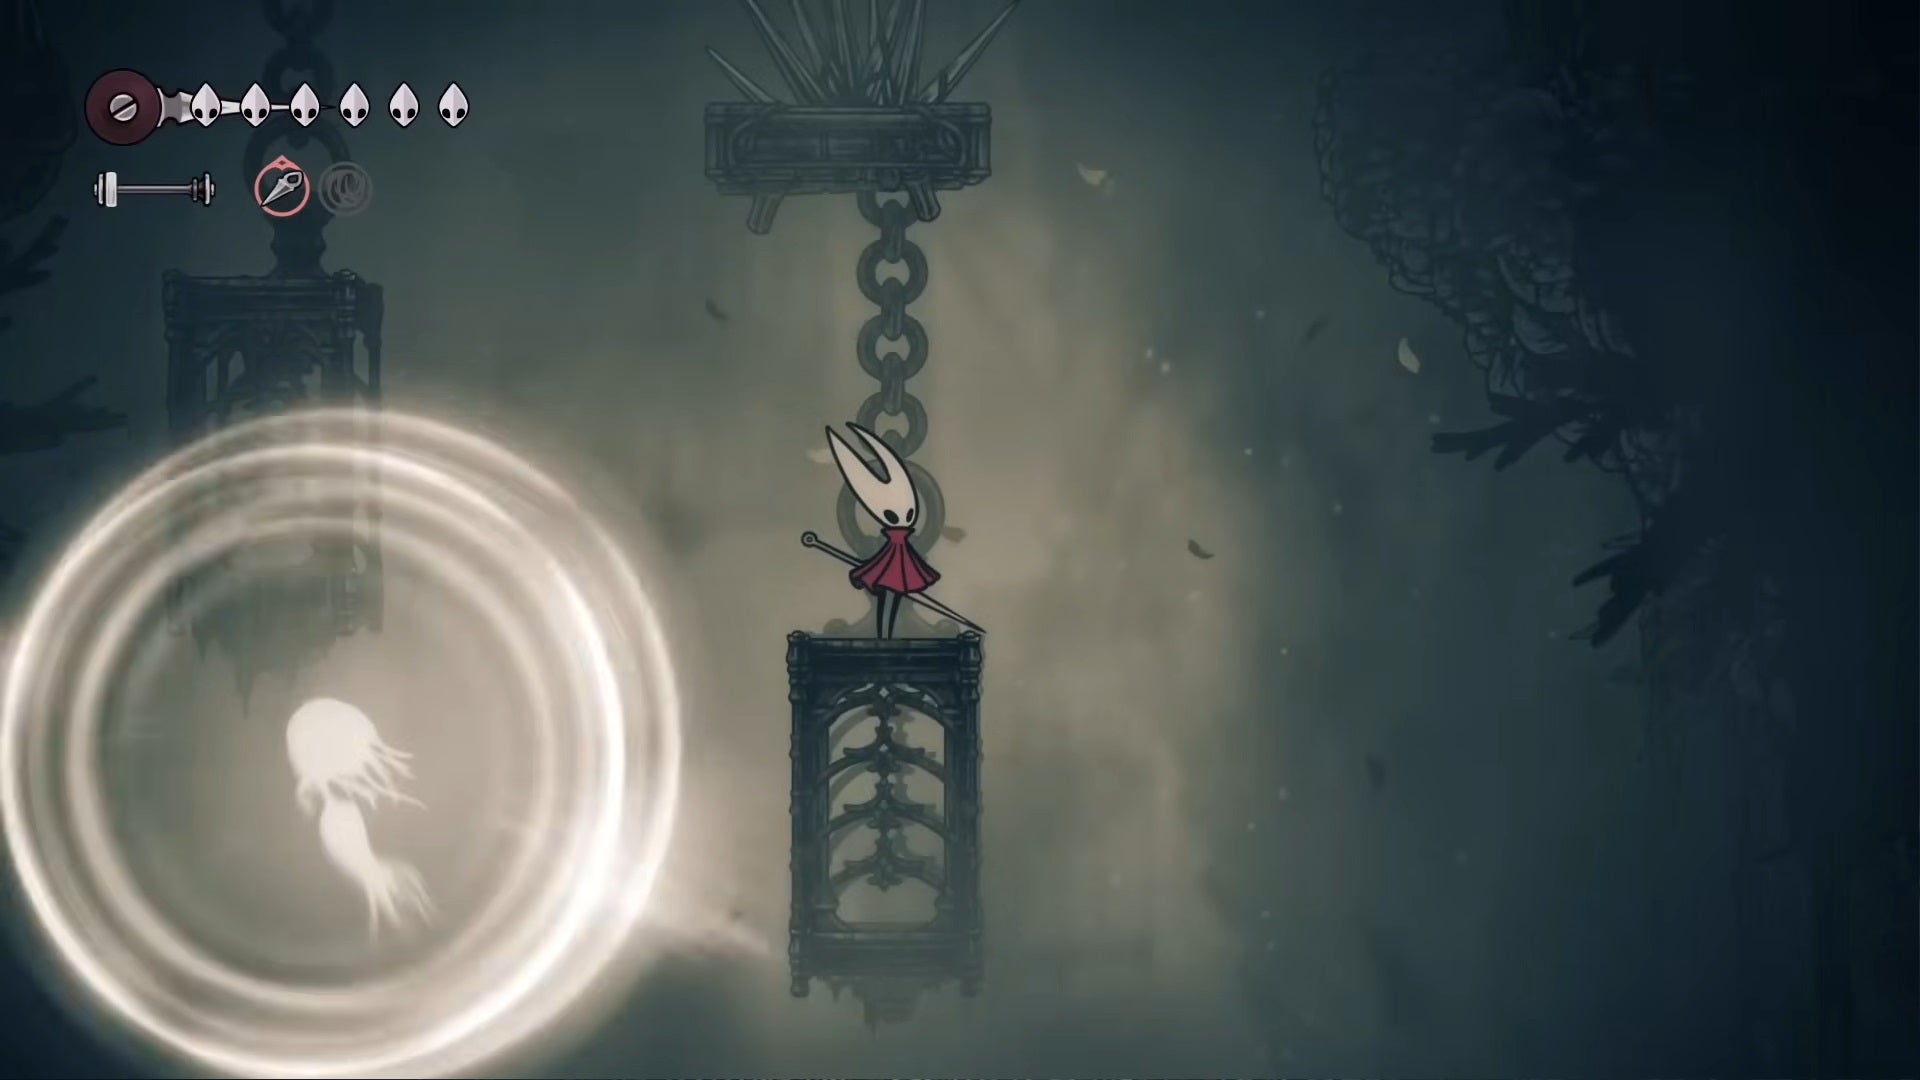
The Wraiths are very nasty, but they do take damage. The best defence is jumping on the spot! |Image credit:Rock Paper Shotgun/Team Cherry
Pass through the first three rooms of The Mist to get to the halfway point, marked by a simple corridor. Then, pass through three more rooms to reach the end. After that, you’ll arrive in another new region: the Exhaust Organ.
You’ll also find, if you double back at this point, that The Mist has disappeared. All that remains is a single large room of Sinner’s Road which looks vaguely similar in layout to the various Mist rooms. Spooky.
That’s everything there is to the tricky task of navigating Sinner’s Road (and the Mist that follows) in Silksong. Join us in Part 16 of our Silksong walkthrough to learn how to conquer the Exhaust Organ and its phenomenal main boss!


Hollow Knight: Silksong
PC , Nintendo Switch
Rock Paper Shotgun is better when you sign in
Sign in and join us on our journey to discover strange and compelling PC games.

All 75 Arc Raiders Blueprints and where to get them
These areas have the highest chance of giving you Blueprints

Image credit:Rock Paper Shotgun/Embark Studios

Looking for more Arc Raiders Blueprints? It’s a special day when you find a Blueprint, as they’re among the most valuable items in Arc Raiders. If you find a Blueprint that you haven’t already found, then you must make sure you hold onto it at all costs, because Blueprints are the key to one of the most important and powerful systems of meta-progression in the game.
This guide aims to be the very best guide on Blueprints you can find, starting with a primer on what exactly they are and how they work in Arc Raiders, before delving into exactly where to get Blueprints and the very best farming spots for you to take in your search.
We’ll also go over how to get Blueprints from other unlikely activities, such as destroying Surveyors and completing specific quests. And you’ll also find the full list of all 75 Blueprints in Arc Raiders on this page (including the newest Blueprints added with the Cold Snap update , such as the Deadline Blueprint and Firework Box Blueprint), giving you all the information you need to expand your own crafting repertoire.
In this guide:
- What are Blueprints in Arc Raiders?
- Full Blueprint list: All crafting recipes
- Where to find Blueprints in Arc Raiders Blueprints obtained from quests Blueprints obtained from Trials Best Blueprint farming locations

What are Blueprints in Arc Raiders?
Blueprints in Arc Raiders are special items which, if you manage to extract with them, you can expend to permanently unlock a new crafting recipe in your Workshop. If you manage to extract from a raid with an Anvil Blueprint, for example, you can unlock the ability to craft your very own Anvil Pistol, as many times as you like (as long as you have the crafting materials).
To use a Blueprint, simply open your Inventory while in the lobby, then right-click on the Blueprint and click “Learn And Consume” . This will permanently unlock the recipe for that item in your Workshop. As of the Stella Montis update, there are allegedly 75 different Blueprints to unlock - although only 68 are confirmed to be in the game so far. You can see all the Blueprints you’ve found and unlocked by going to the Workshop menu, and hitting “R” to bring up the Blueprint screen.
It’s possible to find duplicates of past Blueprints you’ve already unlocked. If you find these, then you can either sell them, or - if you like to play with friends - you can take it into a match and gift it to your friend so they can unlock that recipe for themselves. Another option is to keep hold of them until the time comes to donate them to the Expedition.
Full Blueprint list: All crafting recipes
Below is the full list of all the Blueprints that are currently available to find in Arc Raiders, and the crafting recipe required for each item:
| Blueprint | Type | Recipe | Crafted At |
|---|---|---|---|
| Bettina | Weapon | 3x Advanced Mechanical Components 3x Heavy Gun Parts 3x Canister | Gunsmith 3 |
| Blue Light Stick | Quick Use | 3x Chemicals | Utility Station 1 |
| Aphelion | Weapon | 3x Magnetic Accelerator 3x Complex Gun Parts 1x Matriarch Reactor | Gunsmith 3 |
| Combat Mk. 3 (Flanking) | Augment | 2x Advanced Electrical Components 3x Processor | Gear Bench 3 |
| Combat Mk. 3 (Aggressive) | Augment | 2x Advanced Electrical Components 3x Processor | Gear Bench 3 |
| Complex Gun Parts | Material | 2x Light Gun Parts 2x Medium Gun Parts 2x Heavy Gun Parts | Refiner 3 |
| Fireworks Box | Quick Use | 1x Explosive Compound 3x Pop Trigger | Explosives Station 2 |
| Gas Mine | Mine | 4x Chemicals 2x Rubber Parts | Explosives Station 1 |
| Green Light Stick | Quick Use | 3x Chemicals | Utility Station 1 |
| Pulse Mine | Mine | 1x Crude Explosives 1x Wires | Explosives Station 1 |
| Seeker Grenade | Grenade | 1x Crude Explosives 2x ARC Alloy | Explosives Station 1 |
| Looting Mk. 3 (Survivor) | Augment | 2x Advanced Electrical Components 3x Processor | Gear Bench 3 |
| Angled Grip II | Mod | 2x Mechanical Components 3x Duct Tape | Gunsmith 2 |
| Angled Grip III | Mod | 2x Mod Components 5x Duct Tape | Gunsmith 3 |
| Hullcracker | Weapon | 1x Magnetic Accelerator 3x Heavy Gun Parts 1x Exodus Modules | Gunsmith 3 |
| Launcher Ammo | Ammo | 5x Metal Parts 1x Crude Explosives | Workbench 1 |
| Anvil | Weapon | 5x Mechanical Components 5x Simple Gun Parts | Gunsmith 2 |
| Anvil Splitter | Mod | 2x Mod Components 3x Processor | Gunsmith 3 |
| ??? | ??? | ??? | ??? |
| Barricade Kit | Quick Use | 1x Mechanical Components | Utility Station 2 |
| Blaze Grenade | Grenade | 1x Explosive Compound 2x Oil | Explosives Station 3 |
| Bobcat | Weapon | 3x Advanced Mechanical Components 3x Light Gun Parts | Gunsmith 3 |
| Osprey | Weapon | 2x Advanced Mechanical Components 3x Medium Gun Parts 7x Wires | Gunsmith 3 |
| Burletta | Weapon | 3x Mechanical Components 3x Simple Gun Parts | Gunsmith 1 |
| Compensator II | Mod | 2x Mechanical Components 4x Wires | Gunsmith 2 |
| Compensator III | Mod | 2x Mod Components 8x Wires | Gunsmith 3 |
| Defibrillator | Quick Use | 9x Plastic Parts 1x Moss | Medical Lab 2 |
| ??? | ??? | ??? | ??? |
| Equalizer | Weapon | 3x Magnetic Accelerator 3x Complex Gun Parts 1x Queen Reactor | Gunsmith 3 |
| Extended Barrel | Mod | 2x Mod Components 8x Wires | Gunsmith 3 |
| Extended Light Mag II | Mod | 2x Mechanical Components 3x Steel Spring | Gunsmith 2 |
| Extended Light Mag III | Mod | 2x Mod Components 5x Steel Spring | Gunsmith 3 |
| Extended Medium Mag II | Mod | 2x Mechanical Components 3x Steel Spring | Gunsmith 2 |
| Extended Medium Mag III | Mod | 2x Mod Components 5x Steel Spring | Gunsmith 3 |
| Extended Shotgun Mag II | Mod | 2x Mechanical Components 3x Steel Spring | Gunsmith 2 |
| Extended Shotgun Mag III | Mod | 2x Mod Components 5x Steel Spring | Gunsmith 3 |
| Remote Raider Flare | Quick Use | 2x Chemicals 4x Rubber Parts | Utility Station 1 |
| Heavy Gun Parts | Material | 4x Simple Gun Parts | Refiner 2 |
| Venator | Weapon | 2x Advanced Mechanical Components 3x Medium Gun Parts 5x Magnet | Gunsmith 3 |
| Il Toro | Weapon | 5x Mechanical Components 6x Simple Gun Parts | Gunsmith 1 |
| Jolt Mine | Mine | 1x Electrical Components 1x Battery | Explosives Station 2 |
| Explosive Mine | Mine | 1x Explosive Compound 1x Sensors | Explosives Station 3 |
| Jupiter | Weapon | 3x Magnetic Accelerator 3x Complex Gun Parts 1x Queen Reactor | Gunsmith 3 |
| Light Gun Parts | Material | 4x Simple Gun Parts | Refiner 2 |
| Lightweight Stock | Mod | 2x Mod Components 5x Duct Tape | Gunsmith 3 |
| Lure Grenade | Grenade | 1x Speaker Component 1x Electrical Components | Utility Station 2 |
| Medium Gun Parts | Material | 4x Simple Gun Parts | Refiner 2 |
| Torrente | Weapon | 2x Advanced Mechanical Components 3x Medium Gun Parts 6x Steel Spring | Gunsmith 3 |
| Muzzle Brake II | Mod | 2x Mechanical Components 4x Wires | Gunsmith 2 |
| Muzzle Brake III | Mod | 2x Mod Components 8x Wires | Gunsmith 3 |
| Padded Stock | Mod | 2x Mod Components 5x Duct Tape | Gunsmith 3 |
| Shotgun Choke II | Mod | 2x Mechanical Components 4x Wires | Gunsmith 2 |
| Shotgun Choke III | Mod | 2x Mod Components 8x Wires | Gunsmith 3 |
| Shotgun Silencer | Mod | 2x Mod Components 8x Wires | Gunsmith 3 |
| Showstopper | Grenade | 1x Advanced Electrical Components 1x Voltage Converter | Explosives Station 3 |
| Silencer I | Mod | 2x Mechanical Components 4x Wires | Gunsmith 2 |
| Silencer II | Mod | 2x Mod Components 8x Wires | Gunsmith 3 |
| Snap Hook | Quick Use | 2x Power Rod 3x Rope 1x Exodus Modules | Utility Station 3 |
| Stable Stock II | Mod | 2x Mechanical Components 3x Duct Tape | Gunsmith 2 |
| Stable Stock III | Mod | 2x Mod Components 5x Duct Tape | Gunsmith 3 |
| Tagging Grenade | Grenade | 1x Electrical Components 1x Sensors | Utility Station 3 |
| Tempest | Weapon | 3x Advanced Mechanical Components 3x Medium Gun Parts 3x Canister | Gunsmith 3 |
| Trigger Nade | Grenade | 2x Crude Explosives 1x Processor | Explosives Station 2 |
| Vertical Grip II | Mod | 2x Mechanical Components 3x Duct Tape | Gunsmith 2 |
| Vertical Grip III | Mod | 2x Mod Components 5x Duct Tape | Gunsmith 3 |
| Vita Shot | Quick Use | 2x Antiseptic 1x Syringe | Medical Lab 3 |
| Vita Spray | Quick Use | 3x Antiseptic 1x Canister | Medical Lab 3 |
| Vulcano | Weapon | 1x Magnetic Accelerator 3x Heavy Gun Parts 1x Exodus Modules | Gunsmith 3 |
| Wolfpack | Grenade | 2x Explosive Compound 2x Sensors | Explosives Station 3 |
| Red Light Stick | Quick Use | 3x Chemicals | Utility Station 1 |
| Smoke Grenade | Grenade | 14x Chemicals 1x Canister | Utility Station 2 |
| Deadline | Mine | 3x Explosive Compound 2x ARC Circuitry | Explosives Station 3 |
| Trailblazer | Grenade | 1x Explosive Compound 1x Synthesized Fuel | Explosives Station 3 |
| Tactical Mk. 3 (Defensive) | Augment | 2x Advanced Electrical Components 3x Processor | Gear Bench 3 |
| Tactical Mk. 3 (Healing) | Augment | 2x Advanced Electrical Components 3x Processor | Gear Bench 3 |
| Yellow Light Stick | Quick Use | 3x Chemicals | Utility Station 1 |
Note: The missing Blueprints in this list likely have not actually been added to the game at the time of writing, because none of the playerbase has managed to find any of them. As they are added to the game, I will update this page with the most relevant information so you know exactly how to get all 75 Arc Raiders Blueprints.
Where to find Blueprints in Arc Raiders
Below is a list of all containers, modifiers, and events which maximise your chances of finding Blueprints:
- Certain quests reward you with specific Blueprints .
- Completing Trials has a high chance of offering Blueprints as rewards.
- Surveyors have a decent chance of dropping Blueprints on death.
- High loot value areas tend to have a greater chance of spawning Blueprints.
- Night Raids and Storms may increase rare Blueprint spawn chances in containers.
- Containers with higher numbers of items may have a higher tendency to spawn Blueprints. As a result, Blue Gate (which has many “large” containers containing multiple items) may give you a higher chance of spawning Blueprints.
- Raider containers (Raider Caches, Weapon Boxes, Medical Bags, Grenade Tubes) have increased Blueprint drop rates. As a result, the Uncovered Caches event gives you a high chance of finding Blueprints.
- Security Lockers have a higher than average chance of containing Blueprints.
- Certain Blueprints only seem to spawn under specific circumstances: Tempest Blueprint only spawns during Night Raid events. Vulcano Blueprint only spawns during Hidden Bunker events. Jupiter and Equaliser Blueprints only spawn during Harvester events.

Raider Caches, Weapon Boxes, and other raider-oriented container types have a good chance of offering Blueprints. |Image credit:Rock Paper Shotgun/Embark Studios
Blueprints have a very low chance of spawning in any container in Arc Raiders, around 1-2% on average. However, there is a higher chance of finding Blueprints in particular container types. Specifically, you can find more Blueprints in Raider containers and security lockers.
Beyond this, if you’re looking for Blueprints you should focus on regions of the map which are marked as having particularly high-value loot. Areas such as the Control Tower in Dam Battlegrounds, the Arrival and Departure Buildings in Spaceport, and Pilgrim’s Peak in Blue Gate all have a better-than-average chance of spawning Blueprints somewhere amongst all their containers. Night Raids and Electromagnetic Storm events also increase the drop chances of certain Blueprints .
In addition to these containers, you can often loot Blueprints from destroyed Surveyors - the largest of the rolling ball ARC. Surveyors are more commonly found on the later maps - Spaceport and Blue Gate - and if one spawns in your match, you’ll likely see it by the blue laser beam that it casts into the sky while “surveying”.
Surveyors are quite well-armoured and will very speedily run away from you once it notices you, but if you can take one down then make sure you loot all its parts for a chance of obtaining certain unusual Blueprints.
Blueprints obtained from quests
One way in which you can get Blueprints is by completing certain quests for the vendors in Speranza. Some quests will reward you with a specific item Blueprint upon completion, so as long as you work through all the quests in Arc Raiders, you are guaranteed those Blueprints.
Here is the full list of all Blueprints you can get from quest rewards:
- Trigger Nade Blueprint: Rewarded after completing “Sparks Fly”.
- Lure Grenade Blueprint: Rewarded after completing “Greasing Her Palms”.
- Burletta Blueprint: Rewarded after completing “Industrial Espionage”.
- Hullcracker Blueprint (and Launcher Ammo Blueprint): Rewarded after completing “The Major’s Footlocker”.
Alas, that’s only 4 Blueprints out of a total of 75 to unlock, so for the vast majority you will need to find them yourself during a raid. If you’re intent on farming Blueprints, then it’s best to equip yourself with cheap gear in case you lose it, but don’t use a free loadout because then you won’t get a safe pocket to stash any new Blueprint you find. No pain in Arc Raiders is sharper than failing to extract with a new Blueprint you’ve been after for a dozen hours already.

One of the best ways to get Blueprints is by hitting three stars on all five Trials every week. |Image credit:Rock Paper Shotgun/Embark Studios
Blueprints obtained from Trials
One of the very best ways to get Blueprints is as rewards for completing Trials in Arc Raiders. Trials are unlocked from Level 15 onwards, and allow you to earn rewards by focusing on certain tasks over the course of several raids. For example, one Trial might task you with dealing damage to Hornets, while another might challenge you to loot Supply Drops.
Trials refresh on a weekly basis, with a new week bringing five new Trials. Each Trial can offer up to three rewards after passing certain score milestones, and it’s possible to receive very high level loot from these reward crates - including Blueprints. So if you want to unlock as many Blueprints as possible, you should make a point of completing as many Trials as possible each week.
Best Blueprint farming locations
The very best way to get Blueprints is to frequent specific areas of the maps which combine high-tier loot pools with the right types of containers to search. Here are my recommendations for where to find Blueprints on every map, so you can always keep the search going for new crafting recipes to unlock.

Image credit:Rock Paper Shotgun/Embark Studios
Dam Battlegrounds
The best places to farm Blueprints on Dam Battlegrounds are the Control Tower, Power Generation Complex, Ruby Residence, and Pale Apartments . The first two regions, despite only being marked on the map as mid-tier loot, contain a phenomenal number of containers to loot. The Control Tower can also contain a couple of high-tier Security Lockers - though of course, you’ll need to have unlocked the Security Breach skill at the end of the Survival tree.
There’s also a lot of reporting amongst the playerbase that the Residential areas in the top-left of the map - Pale Apartments and Ruby Residence - give you a comparatively strong chance of finding Blueprints. Considering their size, there’s a high density of containers to loot in both locations, and they also have the benefit of being fairly out of the way. So you’re more likely to have all the containers to yourself.
Buried City
The best Blueprint farming locations on Buried City are the Santa Maria Houses, Grandioso Apartments, Town Hall, and the various buildings of the New District . Grandioso Apartments has a lower number of containers than the rest, but a high chance of spawning weapon cases - which have good Blueprint drop rates. The others are high-tier loot areas, with plenty of lootable containers - including Security Lockers.
Spaceport
The best places to find Blueprints on Spaceport are the Arrival and Departure Buildings, as well as Control Tower A6 and the Launch Towers . All these areas are labelled as high-value loot regions, and many of them are also very handily connected to one another by the Spaceport wall, which you can use to quickly run from one area to the next. At the tops of most of these buildings you’ll find at least one Security Locker, so this is an excellent farming route for players looking to find Blueprints.
The downside to looting Blueprints on Spaceport is that all these areas are hotly contested, particularly in Duos and Squads. You’ll need to be very focused and fast in order to complete the full farming route.

Image credit:Rock Paper Shotgun/Embark Studios
Blue Gate
Blue Gate tends to have a good chance of dropping Blueprints, potentially because it generally has a high number of containers which can hold lots of items; so there’s a higher chance of a Blueprint spawning in each container. In my experience, the best Blueprint farming spots on Blue Gate are Pilgrim’s Peak, Raider’s Refuge, the Ancient Fort, and the Underground Complex beneath the Warehouse .
All of these areas contain a wealth of containers to loot. Raider’s Refuge has less to loot, but the majority of the containers in and around the Refuge are raider containers, which have a high chance of containing Blueprints - particularly during major events.
Stella Montis
On the whole, Stella Montis seems to have a very low drop rate for Blueprints (though a high chance of dropping other high-tier loot). If you do want to try farming Blueprints on this map, the best places to find Blueprints in Stella Montis are Medical Research, Assembly Workshop, and the Business Center . These areas have the highest density of containers to loot on the map.
In addition to this, the Western Tunnel has a few different Security Lockers to loot, so while there’s very little to loot elsewhere in this area of the map, it’s worth hitting those Security Lockers if you spawn there at the start of a match.
That wraps up this primer on how to get all the Blueprints in Arc Raiders as quickly as possible. With the Expedition system constantly resetting a large number of players’ Blueprints, it’s more important than ever to have the most up-to-date information on where to find all these Blueprints.
While you’re here, be sure to check out our Arc Raiders best guns tier list , as well as our primers on the best skills to unlock and all the different Field Depot locations on every map.


ARC Raiders
PS5 , Xbox Series X/S , PC
Rock Paper Shotgun is better when you sign in
Sign in and join us on our journey to discover strange and compelling PC games.
