Hollow Knight Silksong walkthrough: Part 12 (Greymoor)
Find your way through the Craw-ridden bleakness of Greymoor with this region guide

Image credit:Rock Paper Shotgun/Team Cherry

Wondering where to go once you reach Greymoor in Hollow Knight: Silksong? To those of you who entered Greymoor and thought to yourself, my goodness, this is bleak - well, I’m afraid you wouldn’t be saying that if you’ve seen some of the later regions in the game. Still, there’s a lot to do in Greymoor, and its rainy rooms and incessant birds can get you down unless you have a strong progression path to follow.
In Part 12 of our Silksong walkthrough (the longest part so far), I’ll show you a great path through the expansive region of Greymoor, allowing you to find just about everything on offer, from the Halfway Home to the two (yes, two ) ways up into Sinner’s Road; and - most importantly - the Chapel Of The Reaper, where you can gain a powerful new Crest.
Want the walkthrough for a different area of the game? Check out our Hollow Knight: Silksong walkthrough hub!
Greymoor walkthrough steps:
- Enter Greymoor via Far Fields for Shakra’s map.
- Raise the balloons in Craw Lake.
- Rest at the Bench nearby.
- Gain the Thread Storm skill.
- Obtain the Threefold Pin.
- Rescue the trapped Flea.
- Obtain the hidden Bone Scroll.
- Explore above the Bench for the Spool Fragment.
- Discover Sinner’s Road and meet Styx.
- Meet Creig and Nuu at the Halfway Home.
- Complete the gauntlet to the west.
- Unlock the Greymoor Bellway.
- Meet Garmond and Zaza.
- Activate the Halfway Home elevator.
- Rescue Kratt.
- Discover the main Sinner’s Road entrance for later.
- Rescue another Flea atop the tower.
- Craft the Pimpillo tool.
- Enter the Chapel Of The Reaper.
- Complete the Gauntlet to claim the Reaper Crest.
- Visit the Flea Caravan again.
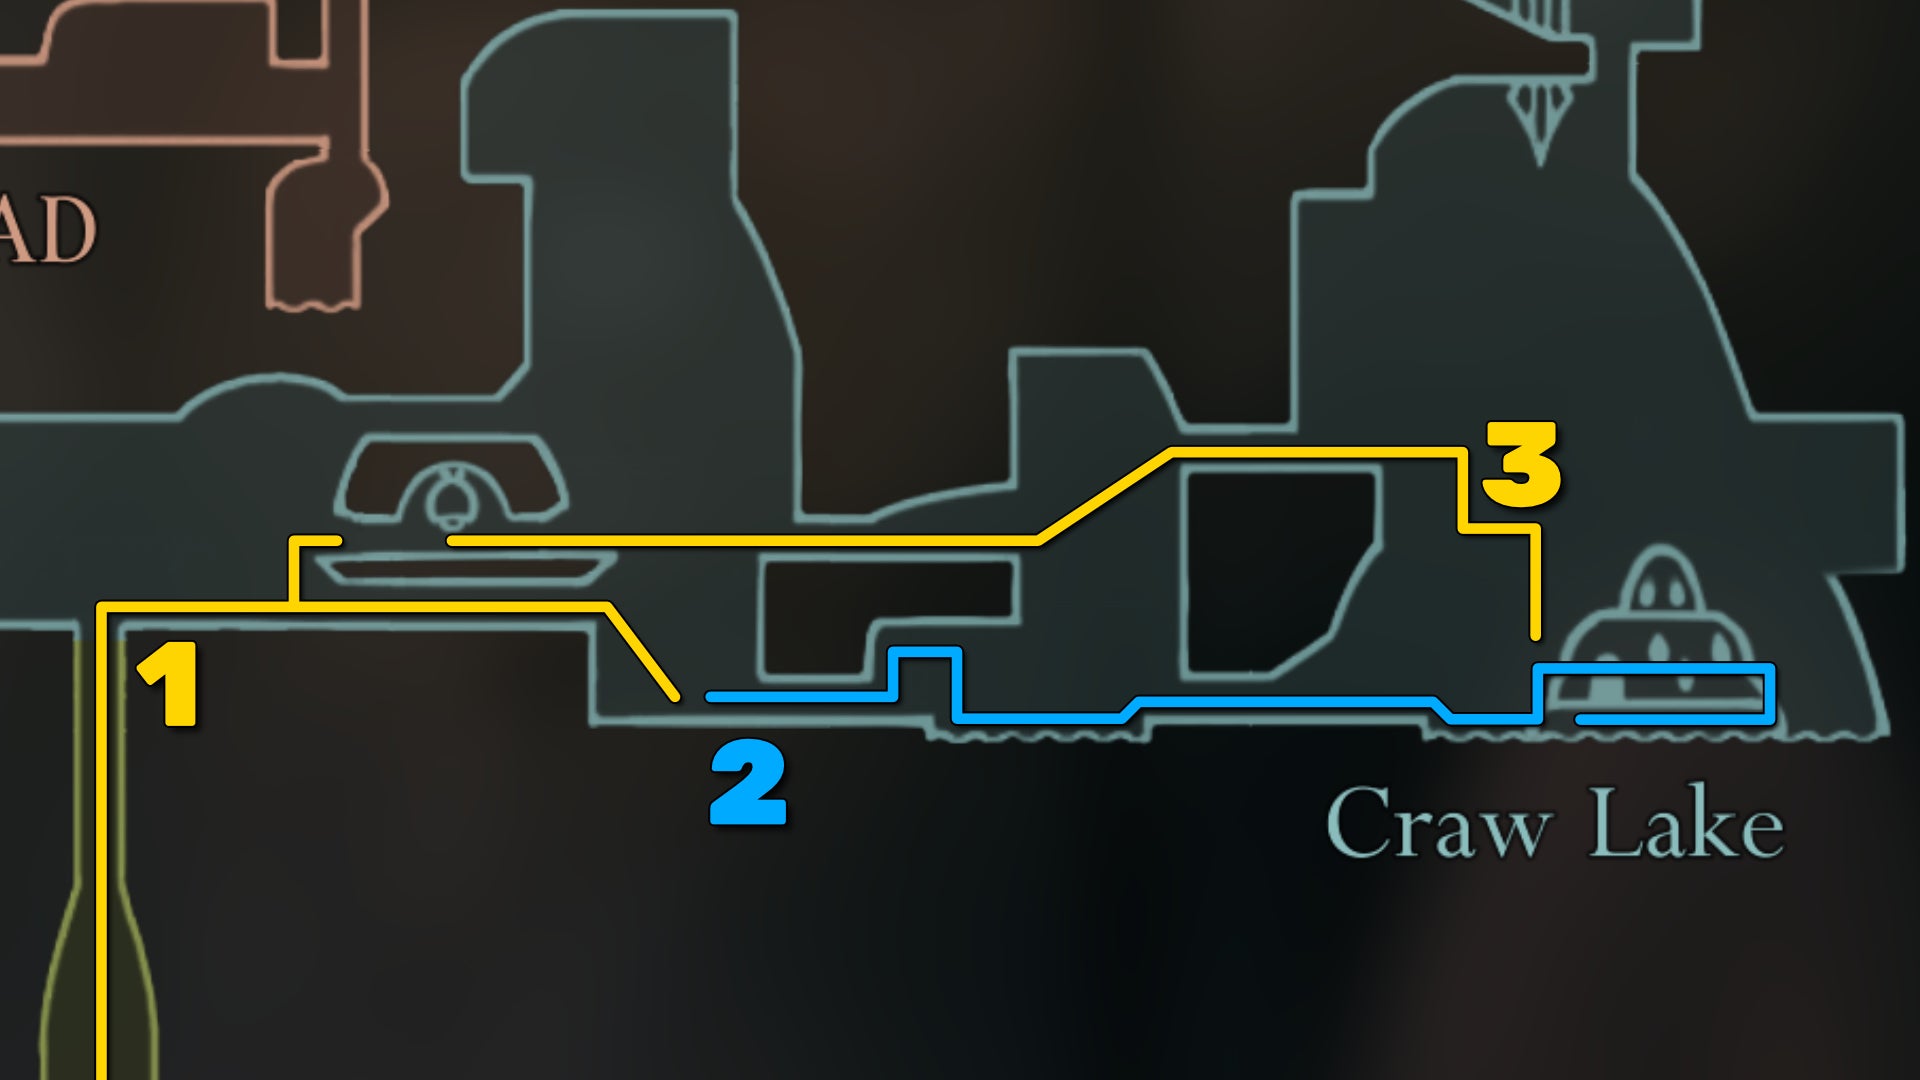
Image credit:Rock Paper Shotgun/Team Cherry
1. Enter Greymoor via Far Fields for Shakra’s map.
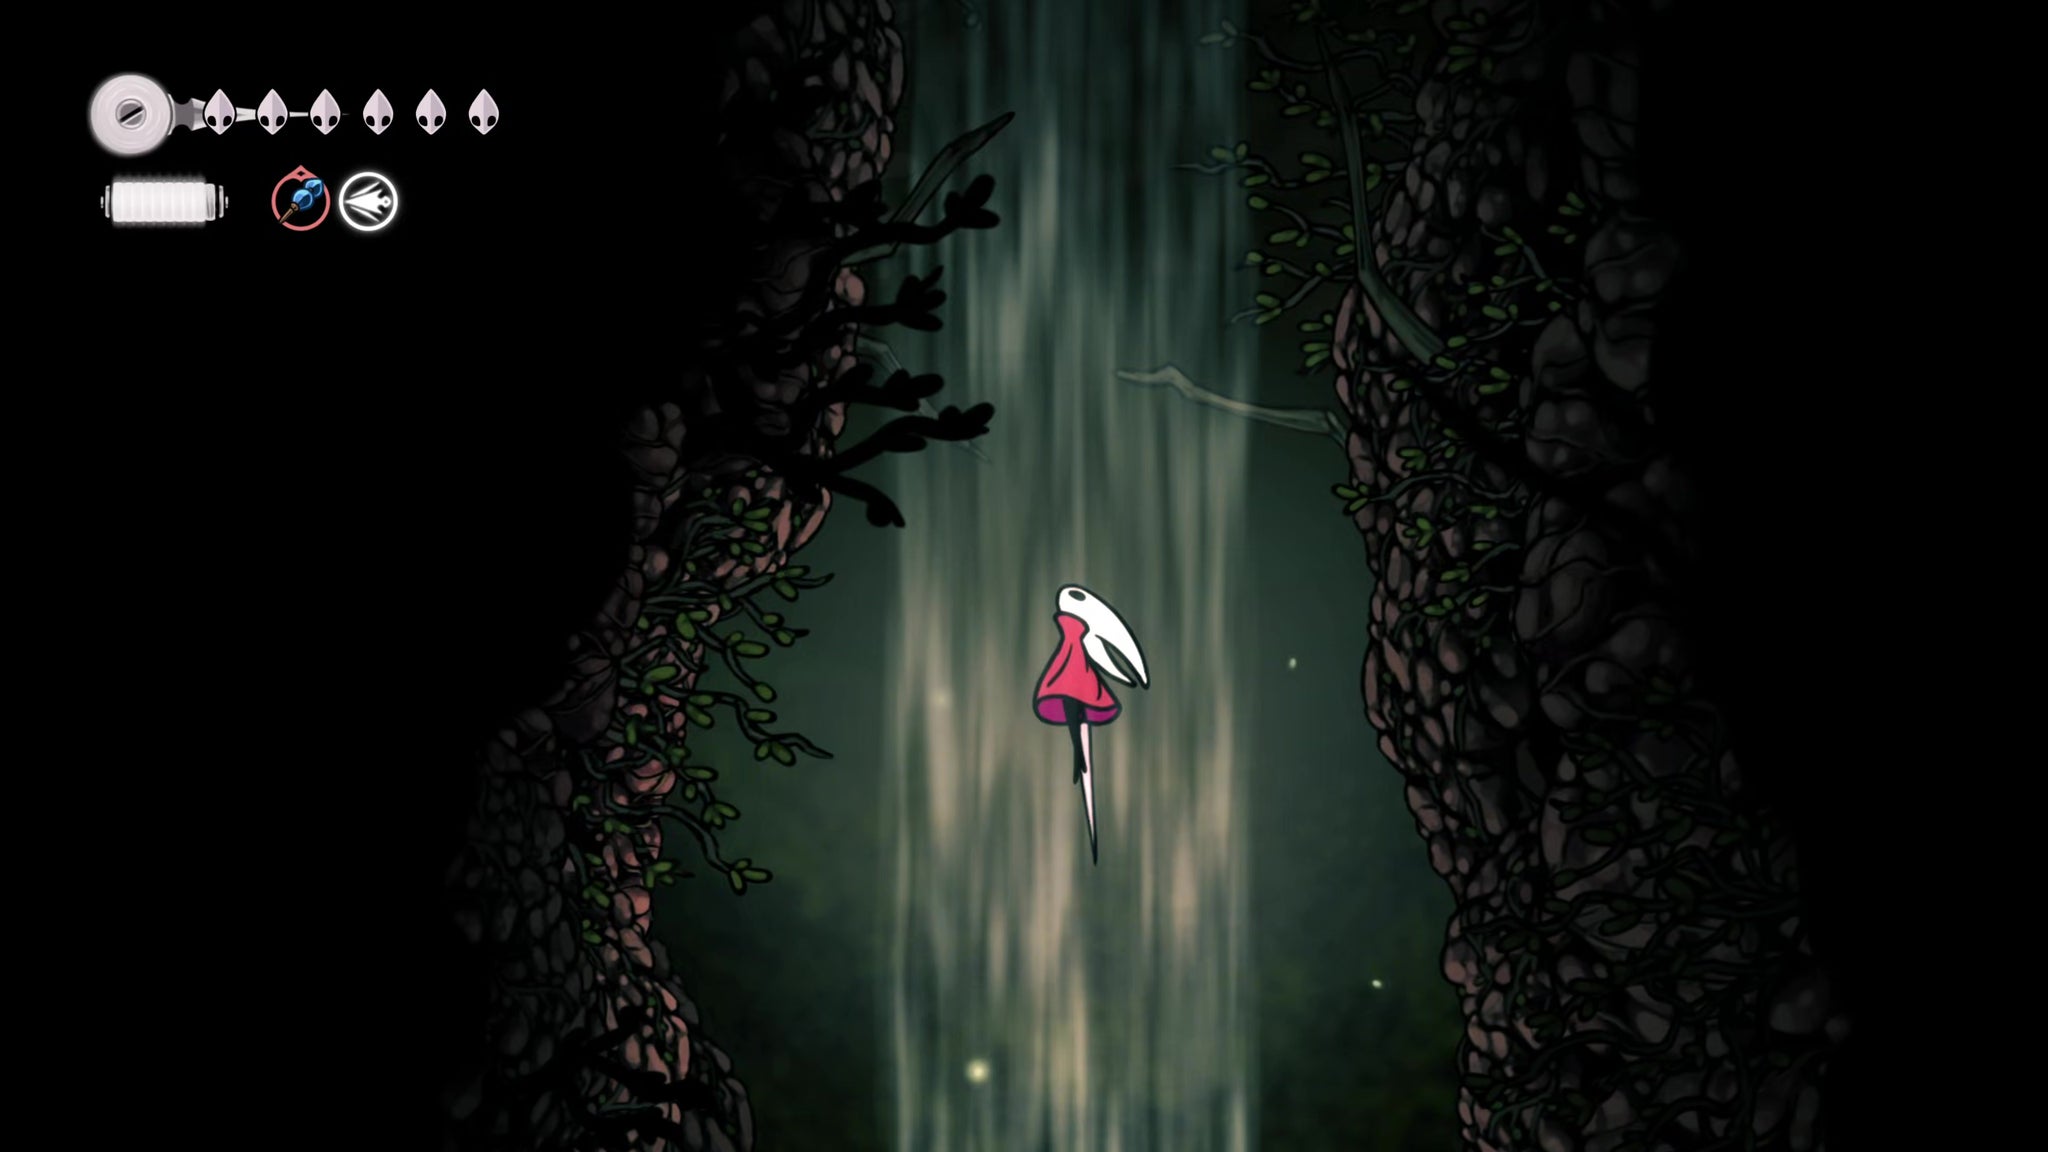
Image credit:Rock Paper Shotgun/Team Cherry
It’s always best to get the map of a region as early as possible, and the best way to do that for Greymoor is to enter via the Far Fields air current. Ride the Bellway to Far Fields, and exit into the main shaft; then ride it all the way to the top to enter the drab and dreary Greymoor.
From there, it’s a very simple trek to the right. As you go, you can climb the hanging boulder and flick the lever on the ledge above to lower the boulder a little bit, but that’s more just for people who haven’t yet got the Claw Grip skill (unlike us!). Drop down the steps in the next room to meet Shakra, and purchase her map for 70 Rosaries.
2. Raise the balloons in Craw Lake.
During your conversation, Shakra warns you that the right-hand path is harder than the left. But we don’t listen to such nonsense! We’ve got all the tools we need for the right-hand side, and it houses a delightful reward at the end of its path.
Exit right, and ride the air current to follow the path. You’ll encounter your first enemies here - pesky birds called Craws. Familiarise yourself with their sweeping dive attacks, as you’ll be facing them often.
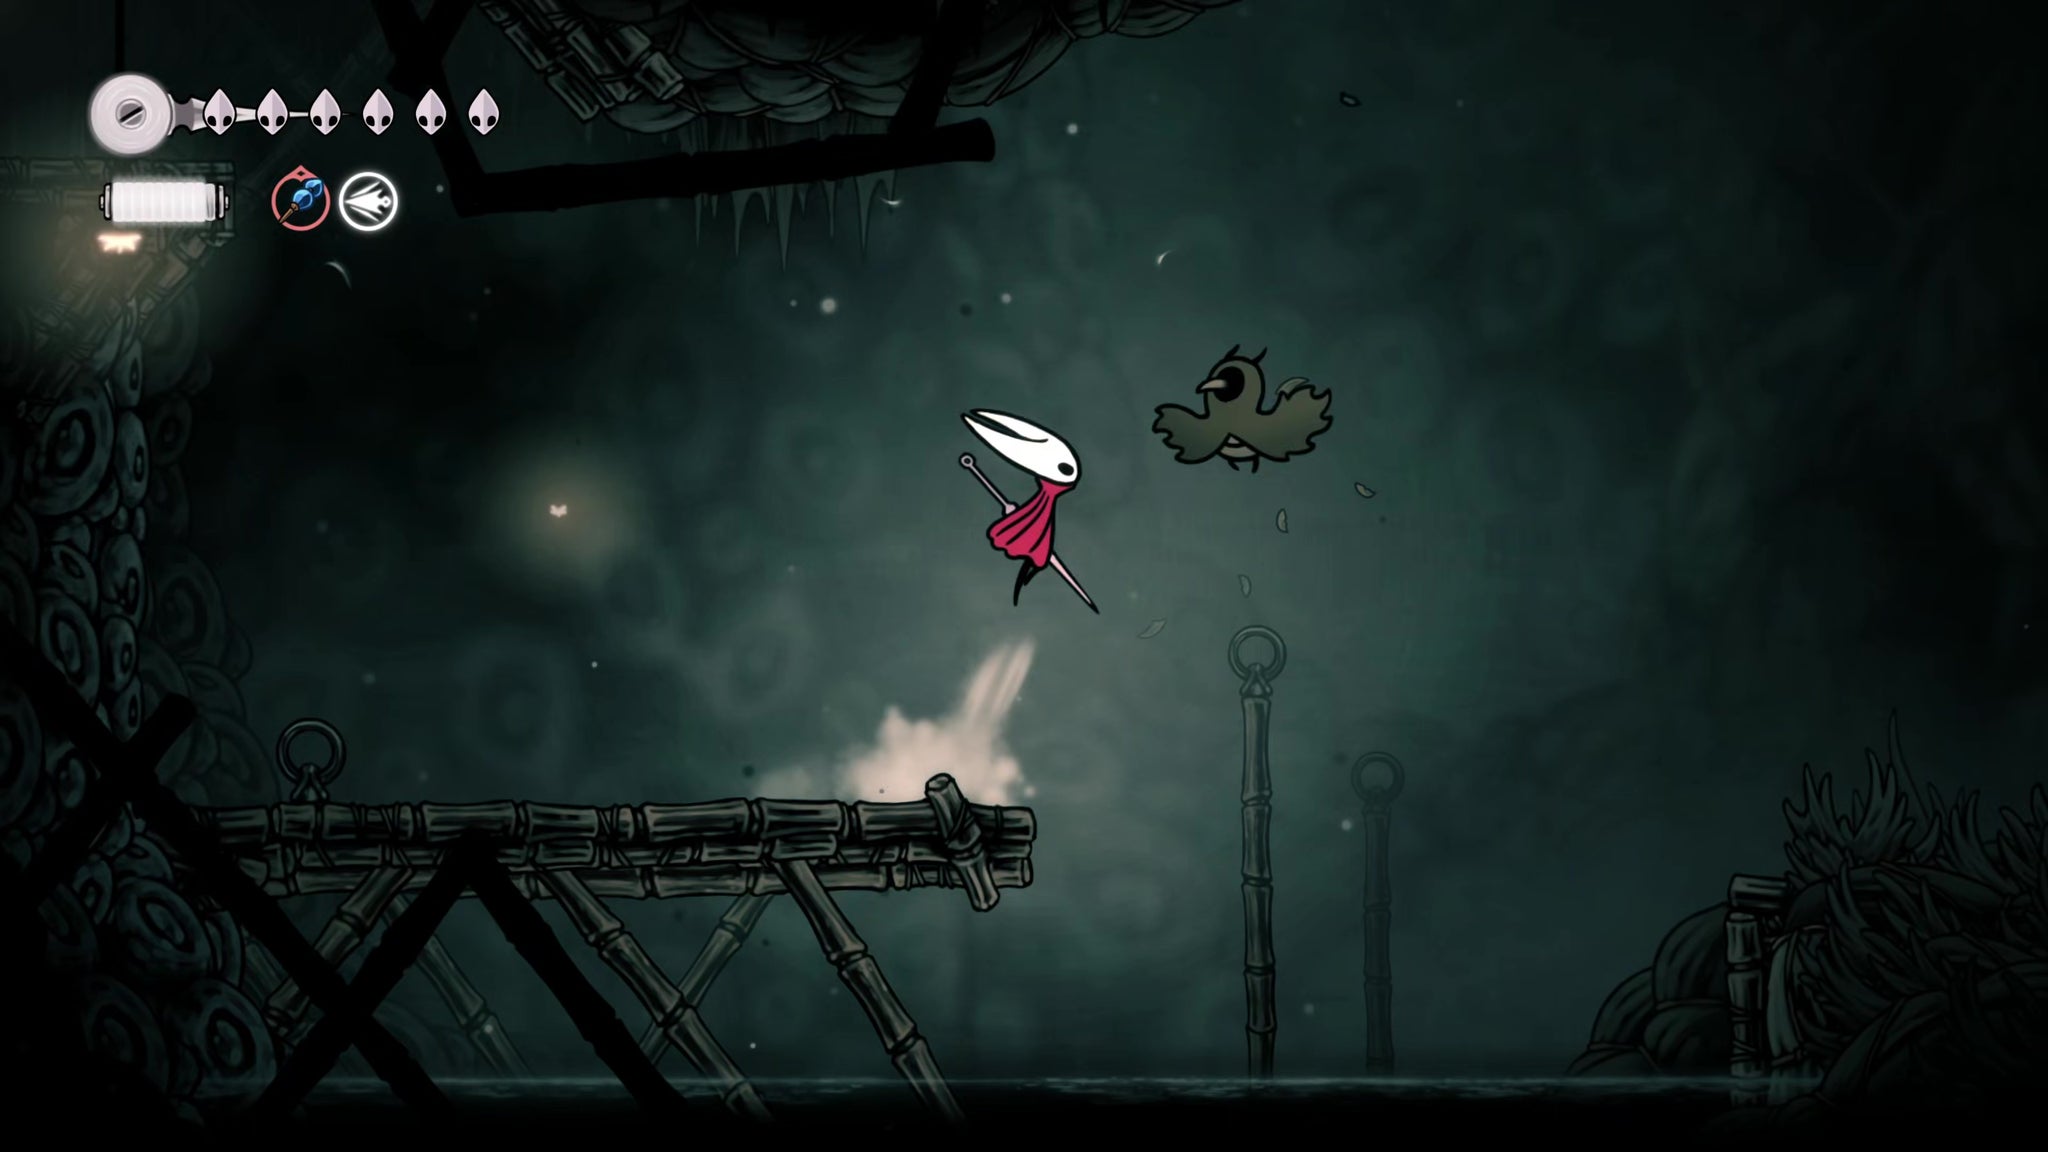
Image credit:Rock Paper Shotgun/Team Cherry
The room beyond is a very large one - this is Craw Lake, and as you can imagine, there’s a lot of birds nesting here. Swim over to the locked gate, jump above it, and kill the cane-wielding Tallcraw. Then you can drop down and open the gate from the other side.
After that, enter the building next to the gate. Drop to the bottom and kill the Mites on the ground. Then make your way up the right-hand ledges to face a gauntlet of Greymoor enemies. Watch out in particular for the Squatcraws, with their shotgun attack of three pin projectiles at once. Try to keep yourself directly beneath them to evade their attacks.
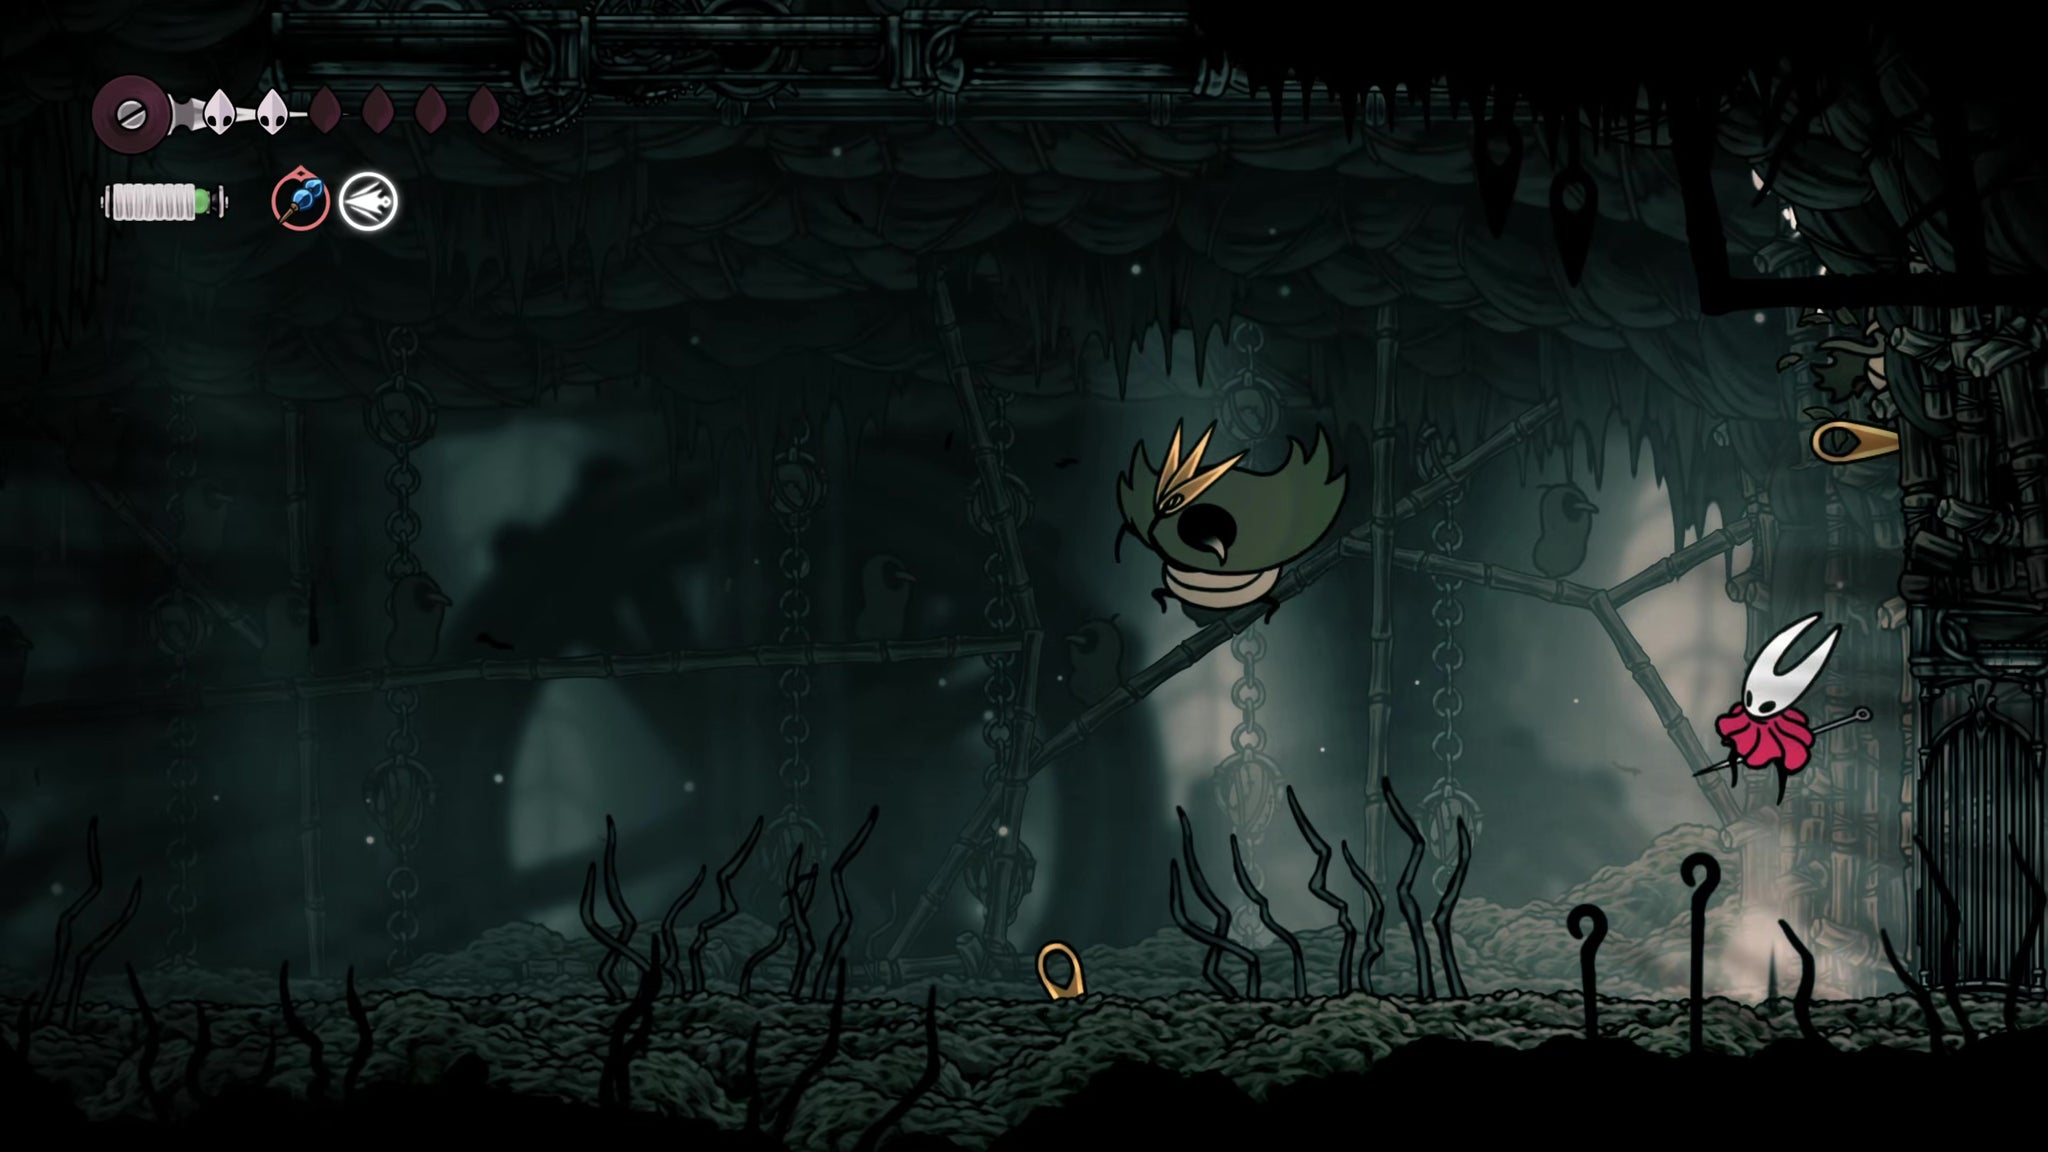
Image credit:Rock Paper Shotgun/Team Cherry
Once the gauntlet is complete, Pogo upwards off the balloon that appears in the arena, and hit the lever on the ceiling. This will raise a great many similar bouncy balloons, not just in this building but far above Craw Lake.
3. Rest at the Bench nearby.
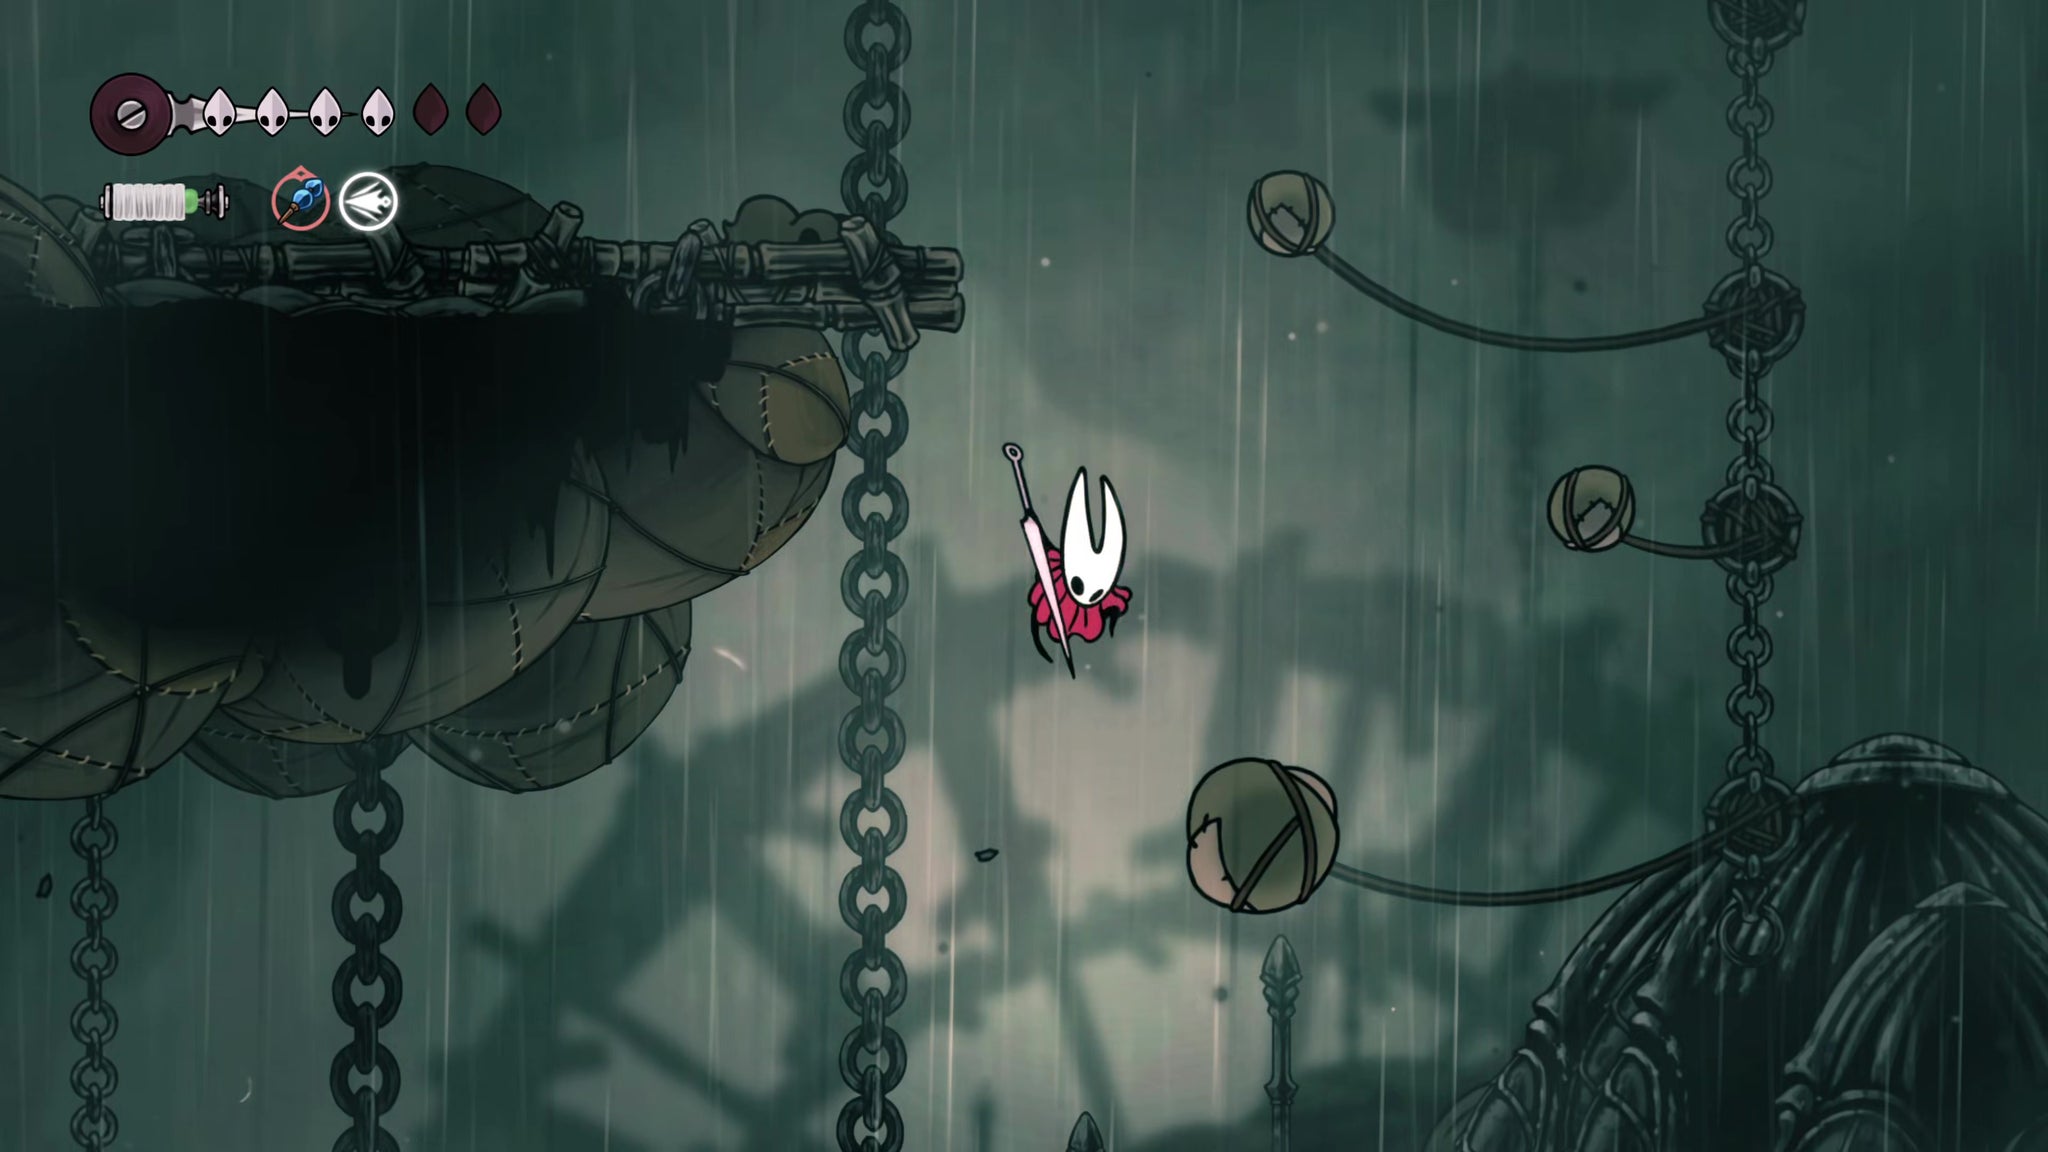
Image credit:Rock Paper Shotgun/Team Cherry
Exit out of the building, and use the balloons to your left to climb up beyond the building roof, to the ledge above. There’s an exit on the left-hand side with a sign pointing towards it.
In this next room, hit the lever to open the gate in front of you, and then follow the metal platforms down and to the left for another signposted exit. On the cliff edge beyond, hit the lever to drop a “stepladder” of balloons as a shortcut back to Shakra, but instead of going down it, jump across to the left-hand side. Here you can ring one of those large bells to summon a Bench you can rest at.
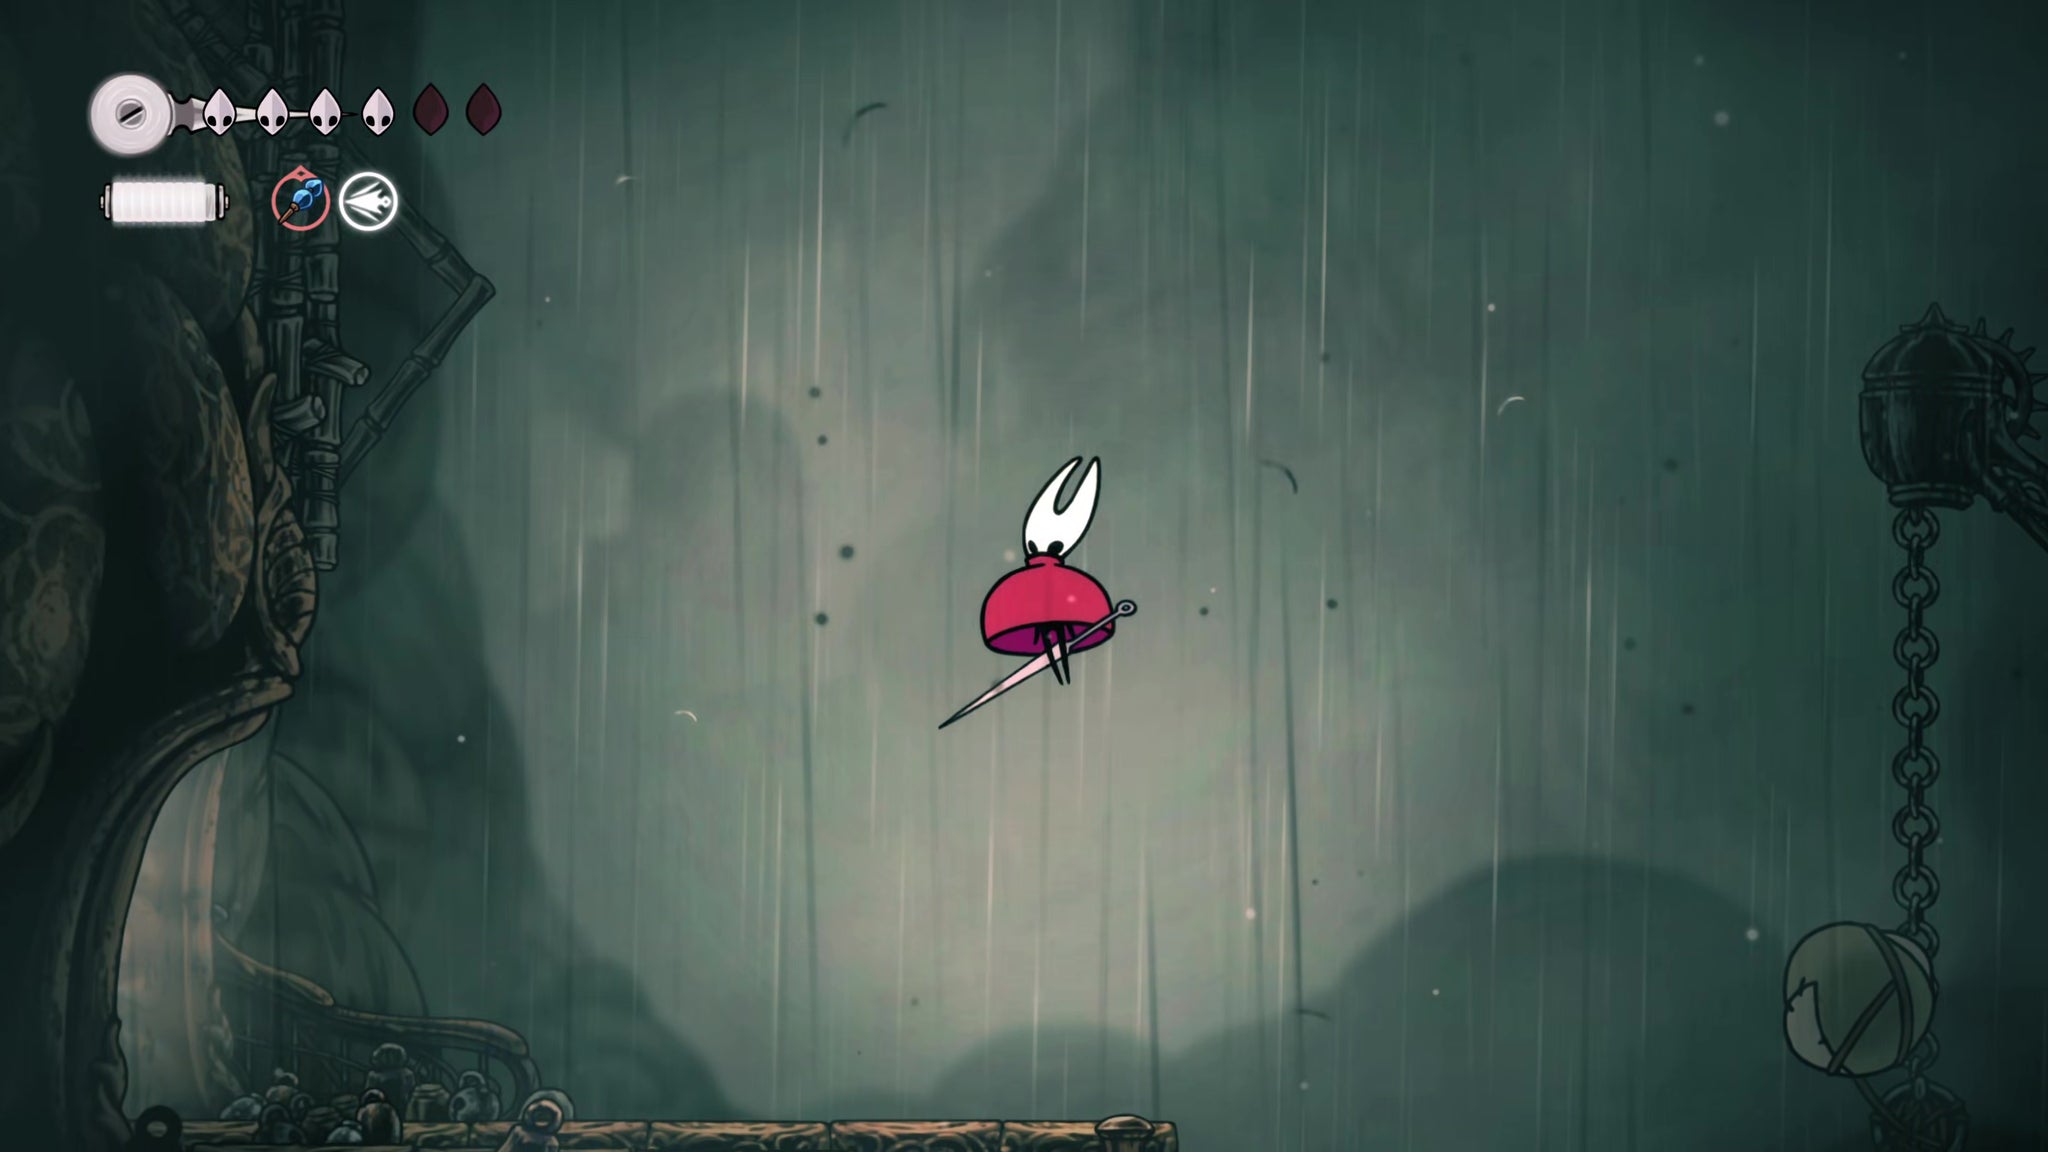
Image credit:Rock Paper Shotgun/Team Cherry
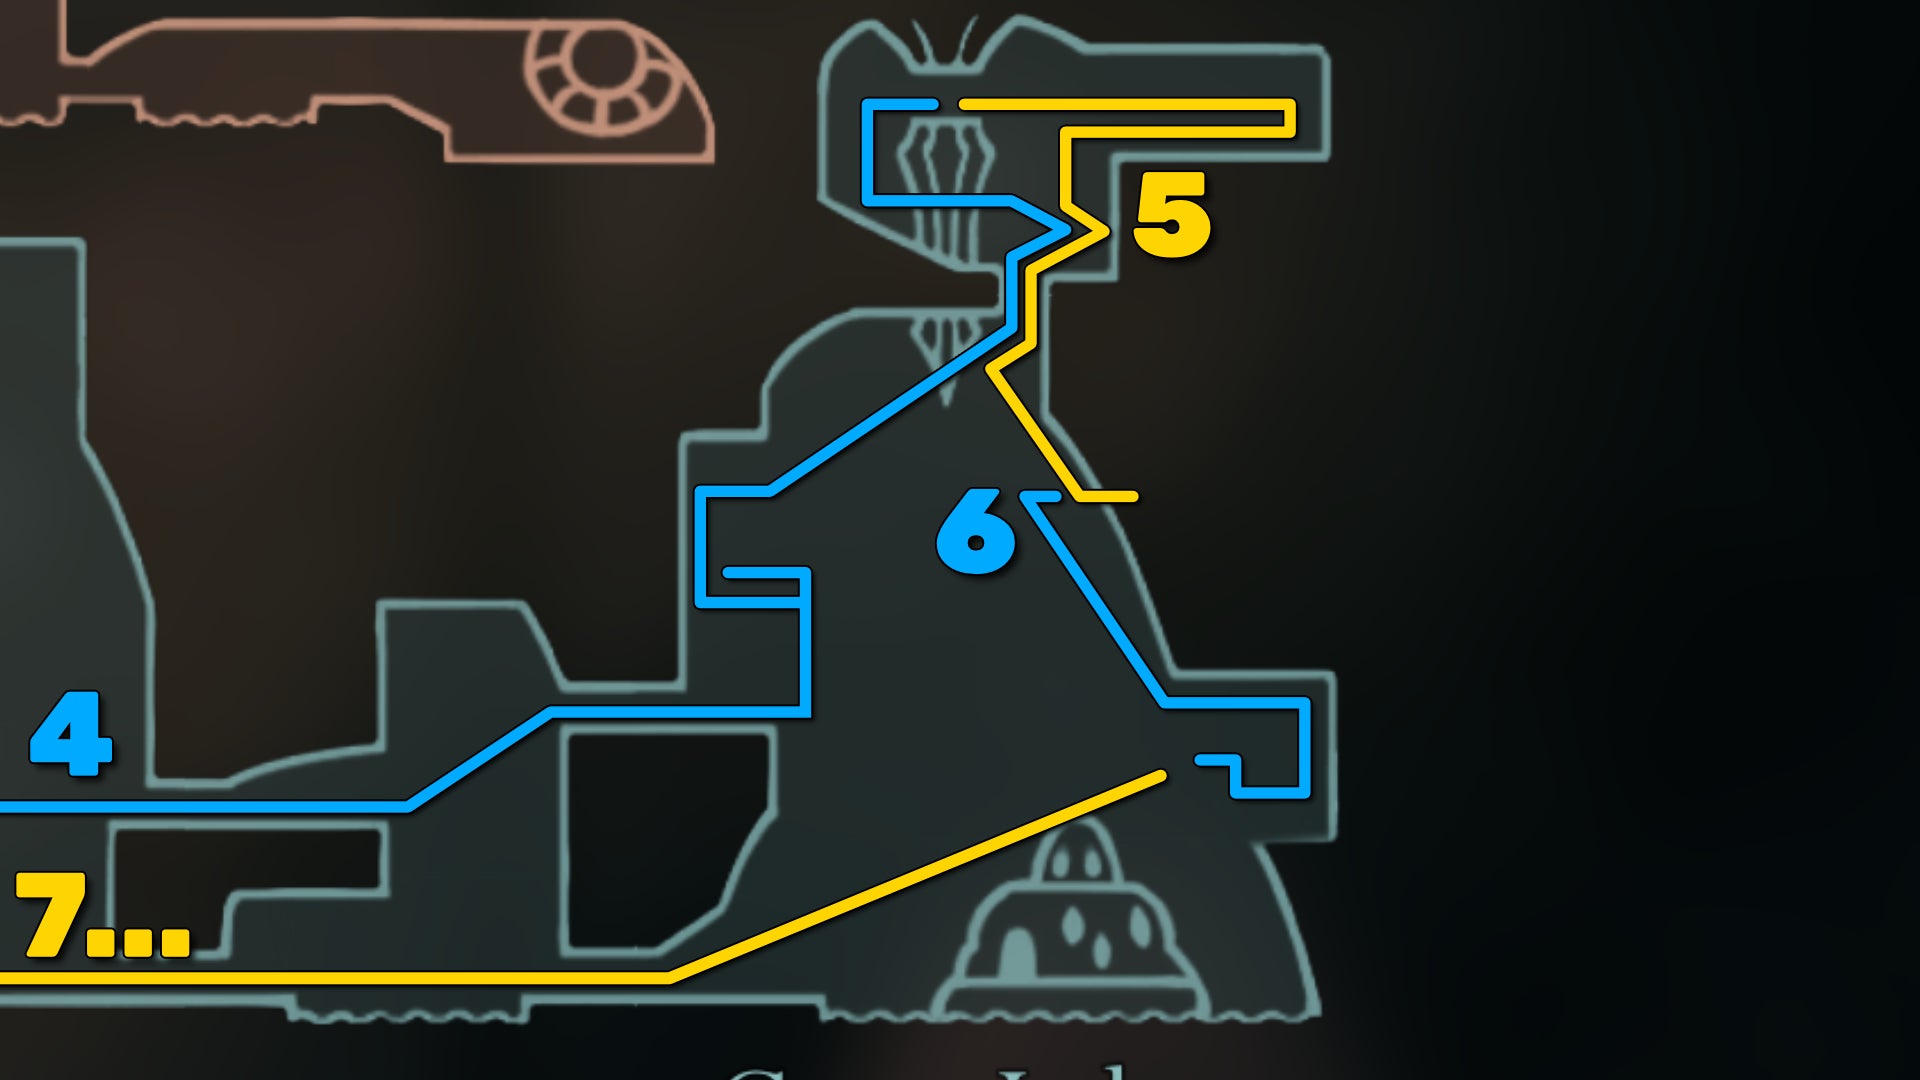
Image credit:Rock Paper Shotgun/Team Cherry
4. Gain the Thread Storm skill.
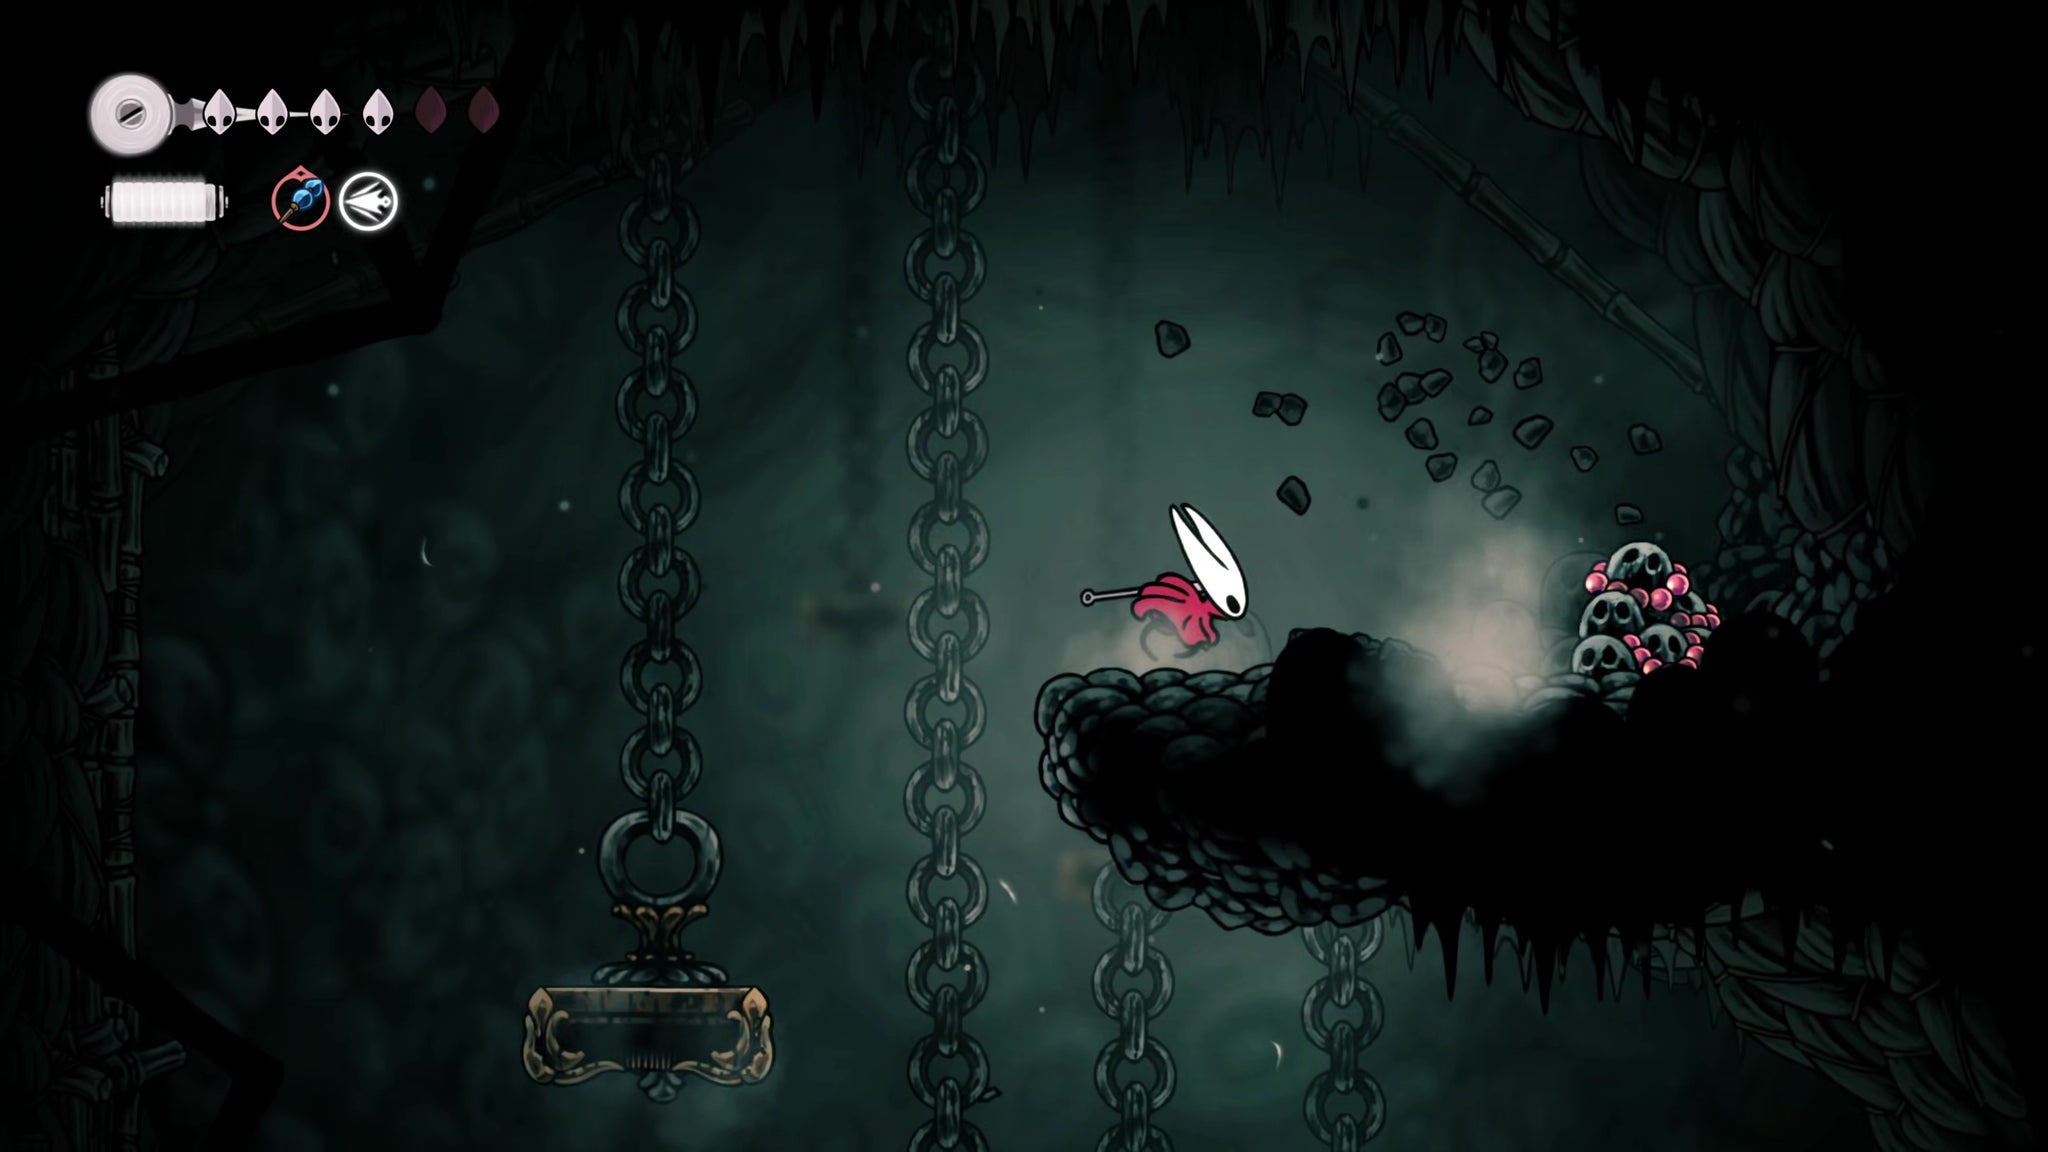
Image credit:Rock Paper Shotgun/Team Cherry
Once you’re rested, head back to the right. Once you reach the metal platforms, head down to the lower ledge to loot a Frayed Rosary String; then climb the ledges to the top for a Rosary cache. After that, head back into Craw Lake.
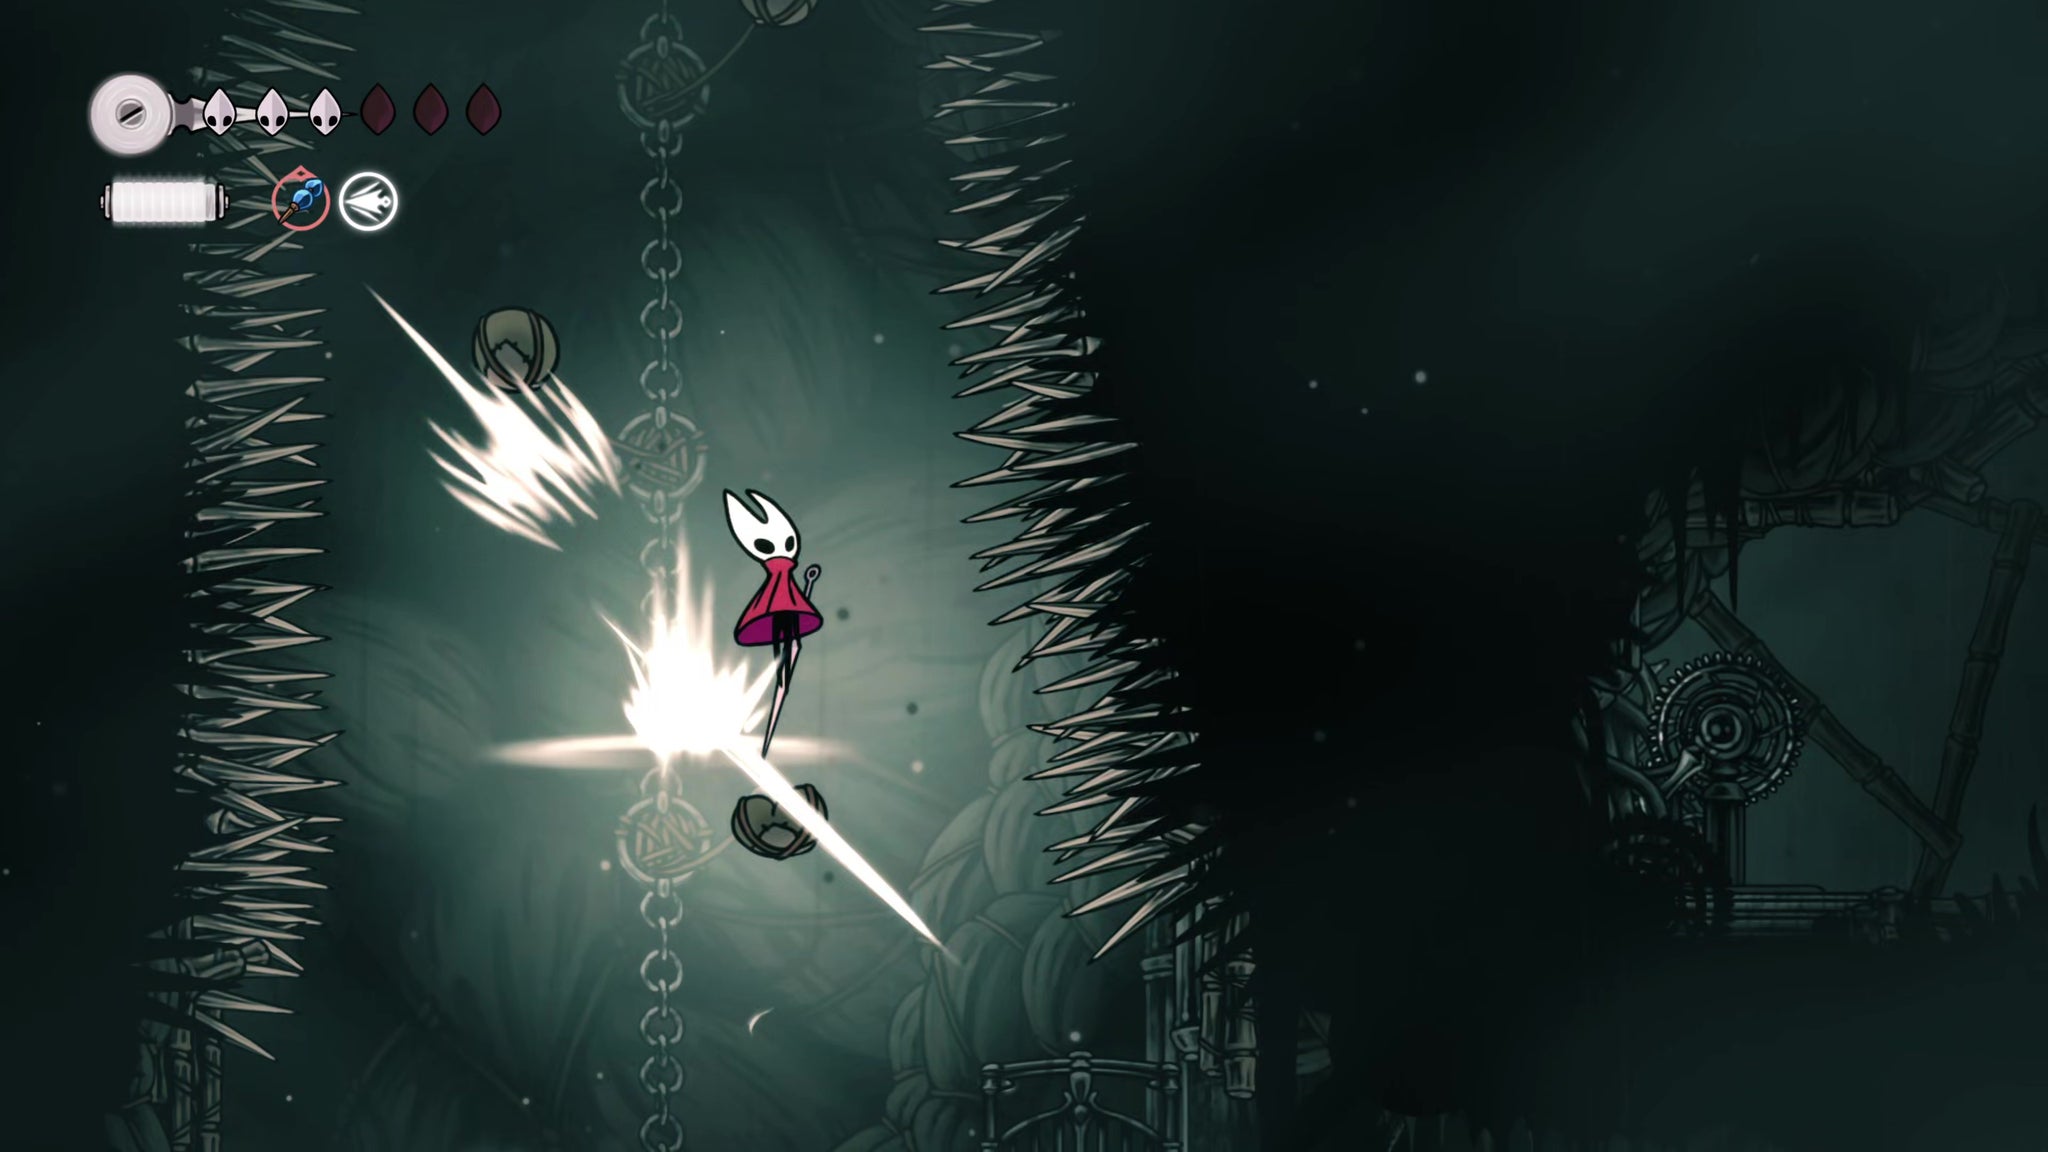
Image credit:Rock Paper Shotgun/Team Cherry
Make your way further up the balloons, and aim for the ledge on your left with the lever. Pulling this lever unlocks a gate just below; you can dip back down slightly and Pogo up the balloons again to reach it. Follow the path of balloons and spikes, and kill the Squatcraw at the top. Now keep bouncing off the balloons until you reach the exit at the very top.
From here, it’s a simple matter of Pogo-ing up to the ledge above, where you can interact with the monument to unlock your newest attack skill: Thread Storm.
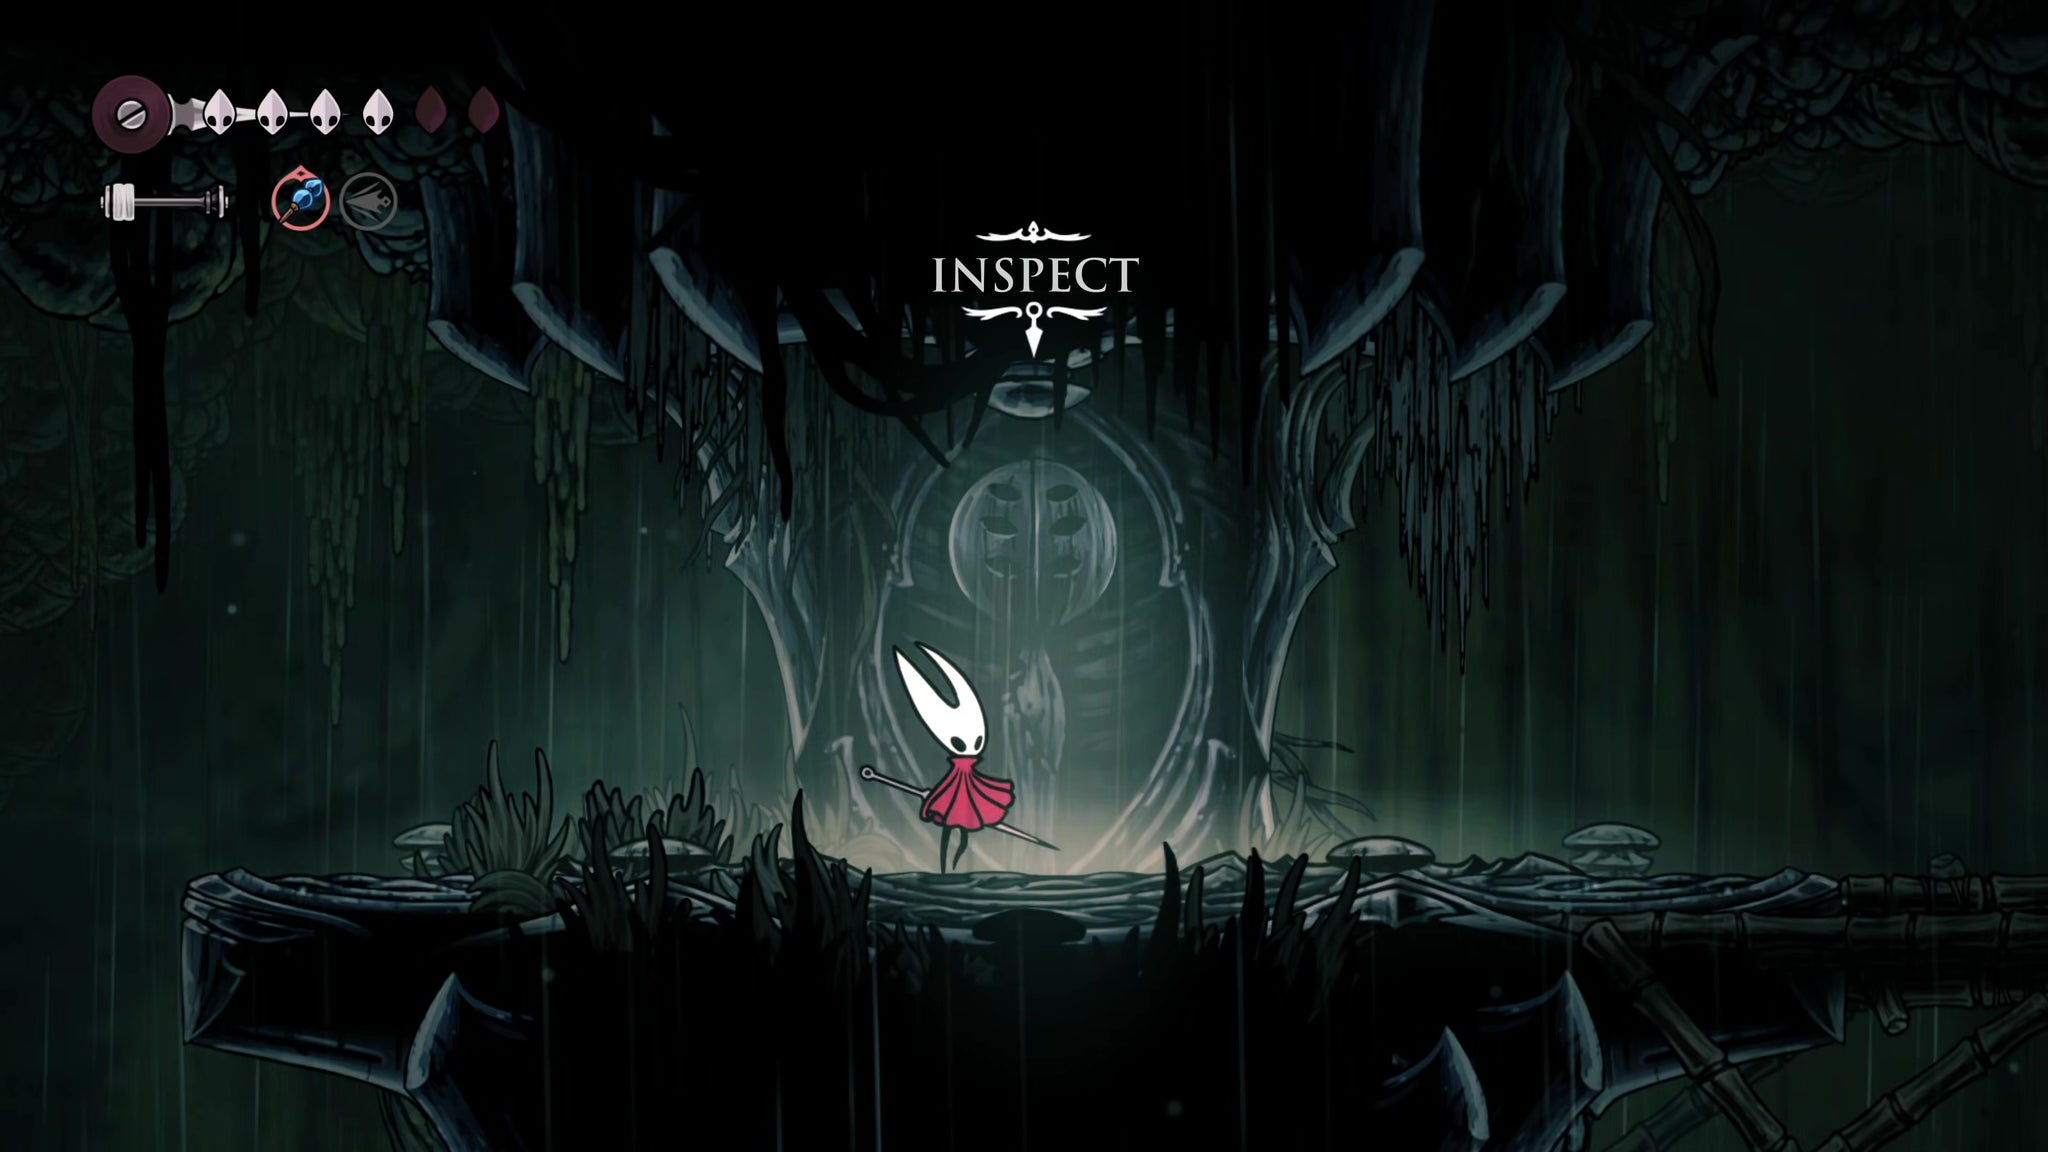
Image credit:Rock Paper Shotgun/Team Cherry
This is a replacement for your Silkspear (you can’t have both at once). Silkspear is great for attacking ground-level enemies from afar, but Thread Storm - a signature move of Hornet’s from the first game - offers you a great area-of-effect attack that’s very handy against the various flyers of Greymoor.
5. Obtain the Threefold Pin.
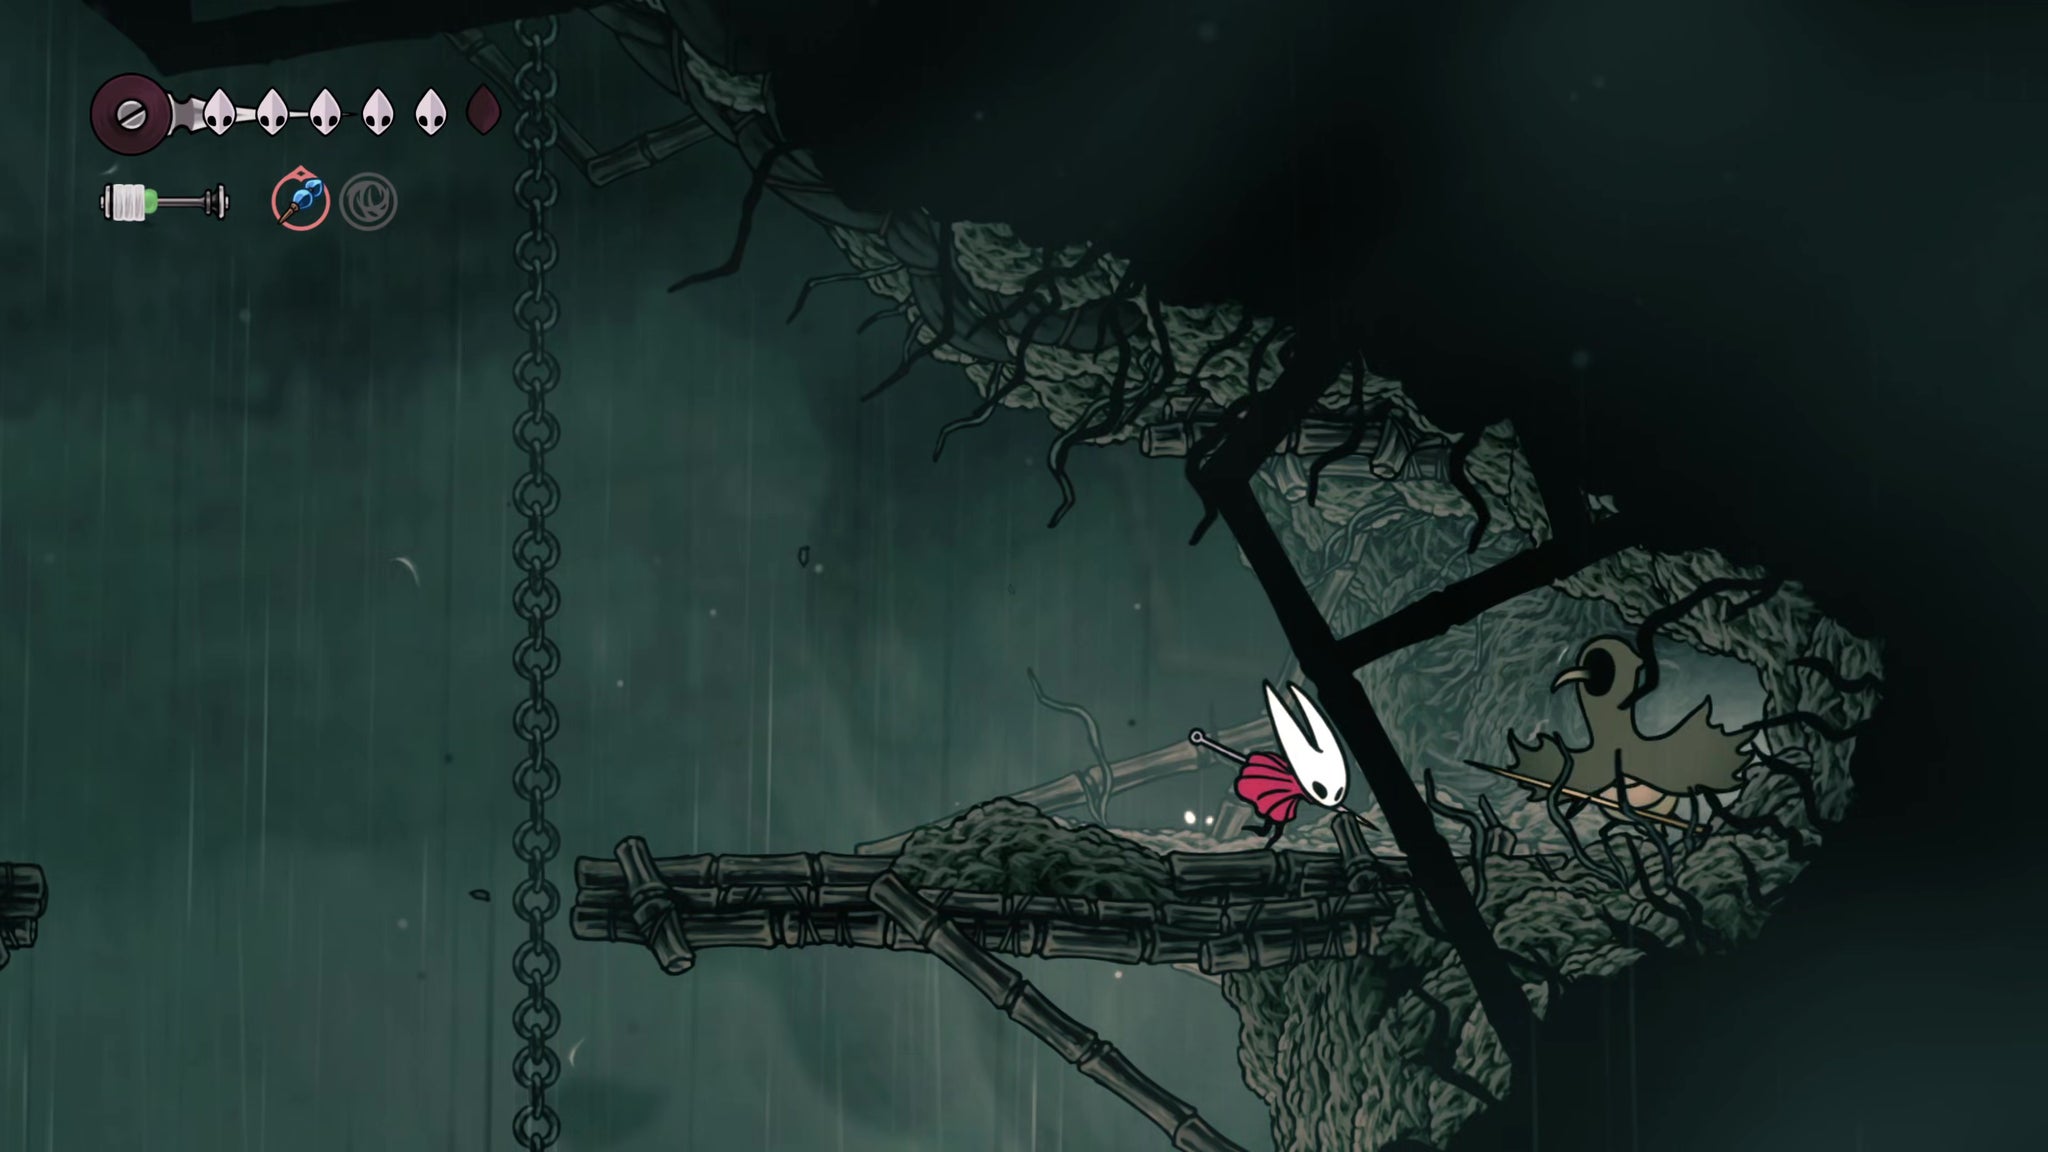
Image credit:Rock Paper Shotgun/Team Cherry
Try out your new Thread Storm ability on the Craws to the right, then follow the path back down onto the lower screen. From the right-hand ledge below you, drop off the edge and float to the right to reach a secluded ledge guarded by a Tallcraw.
Kill the Tallcraw and pass through the wall to your right to pick up a new tool - the Threefold Pin. This tool gives you an attack which works similarly to the three-way attacks of those Squatcraws, and it’s very good at picking off Craws. Consider equipping it at your next Bench.
6. Rescue the trapped Flea.
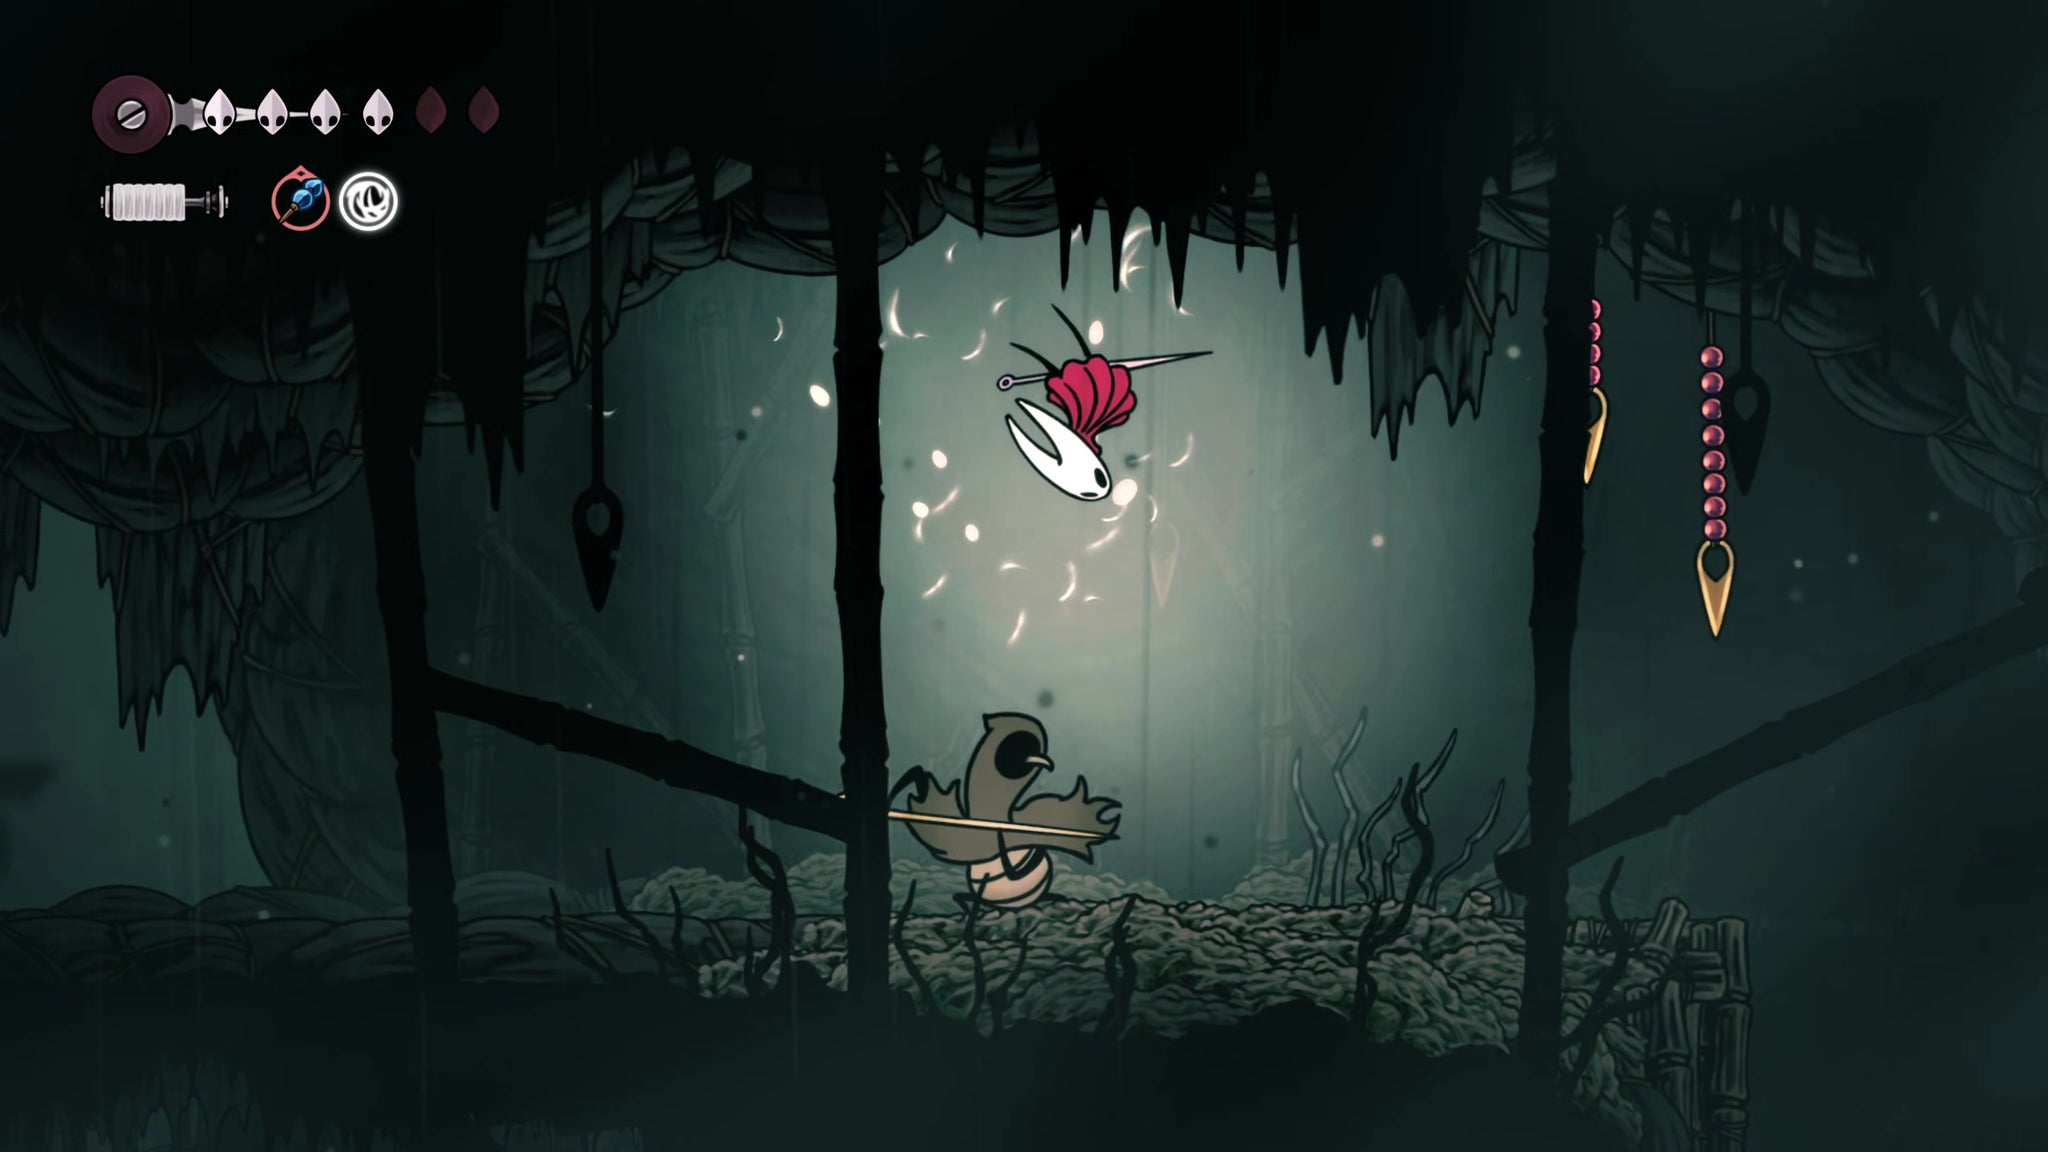
Image credit:Rock Paper Shotgun/Team Cherry
Now jump off the cliff again and float down to the right to find another ledge guarded by another Tallcraw. Follow this short path, and you’ll soon see a Flea trapped in a rock in the rafters above you. Attack the rock to rescue the Flea, then hit the lever below you to drop down and make your way back onto the roof of the building at the bottom of Craw Lake.
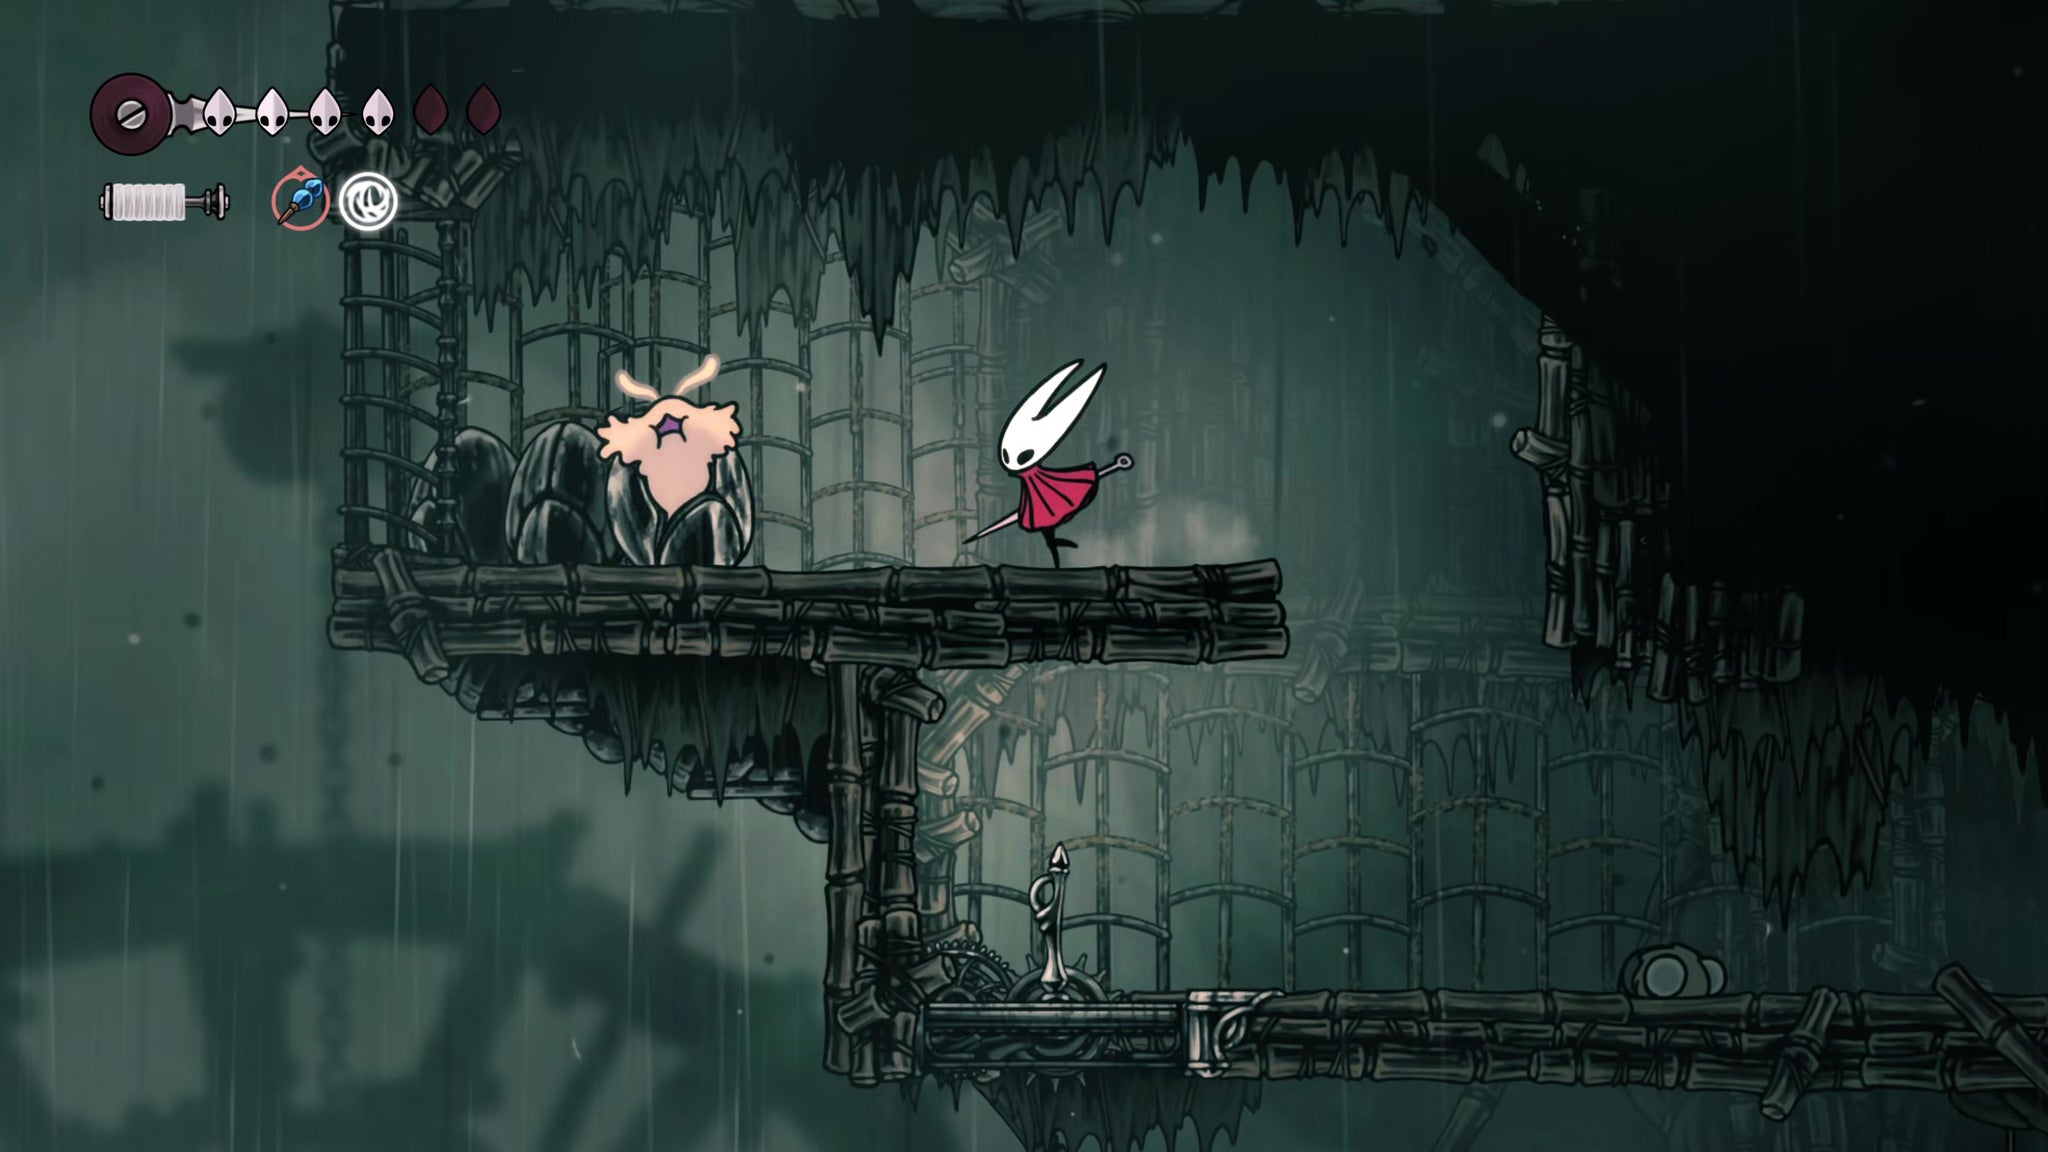
Image credit:Rock Paper Shotgun/Team Cherry
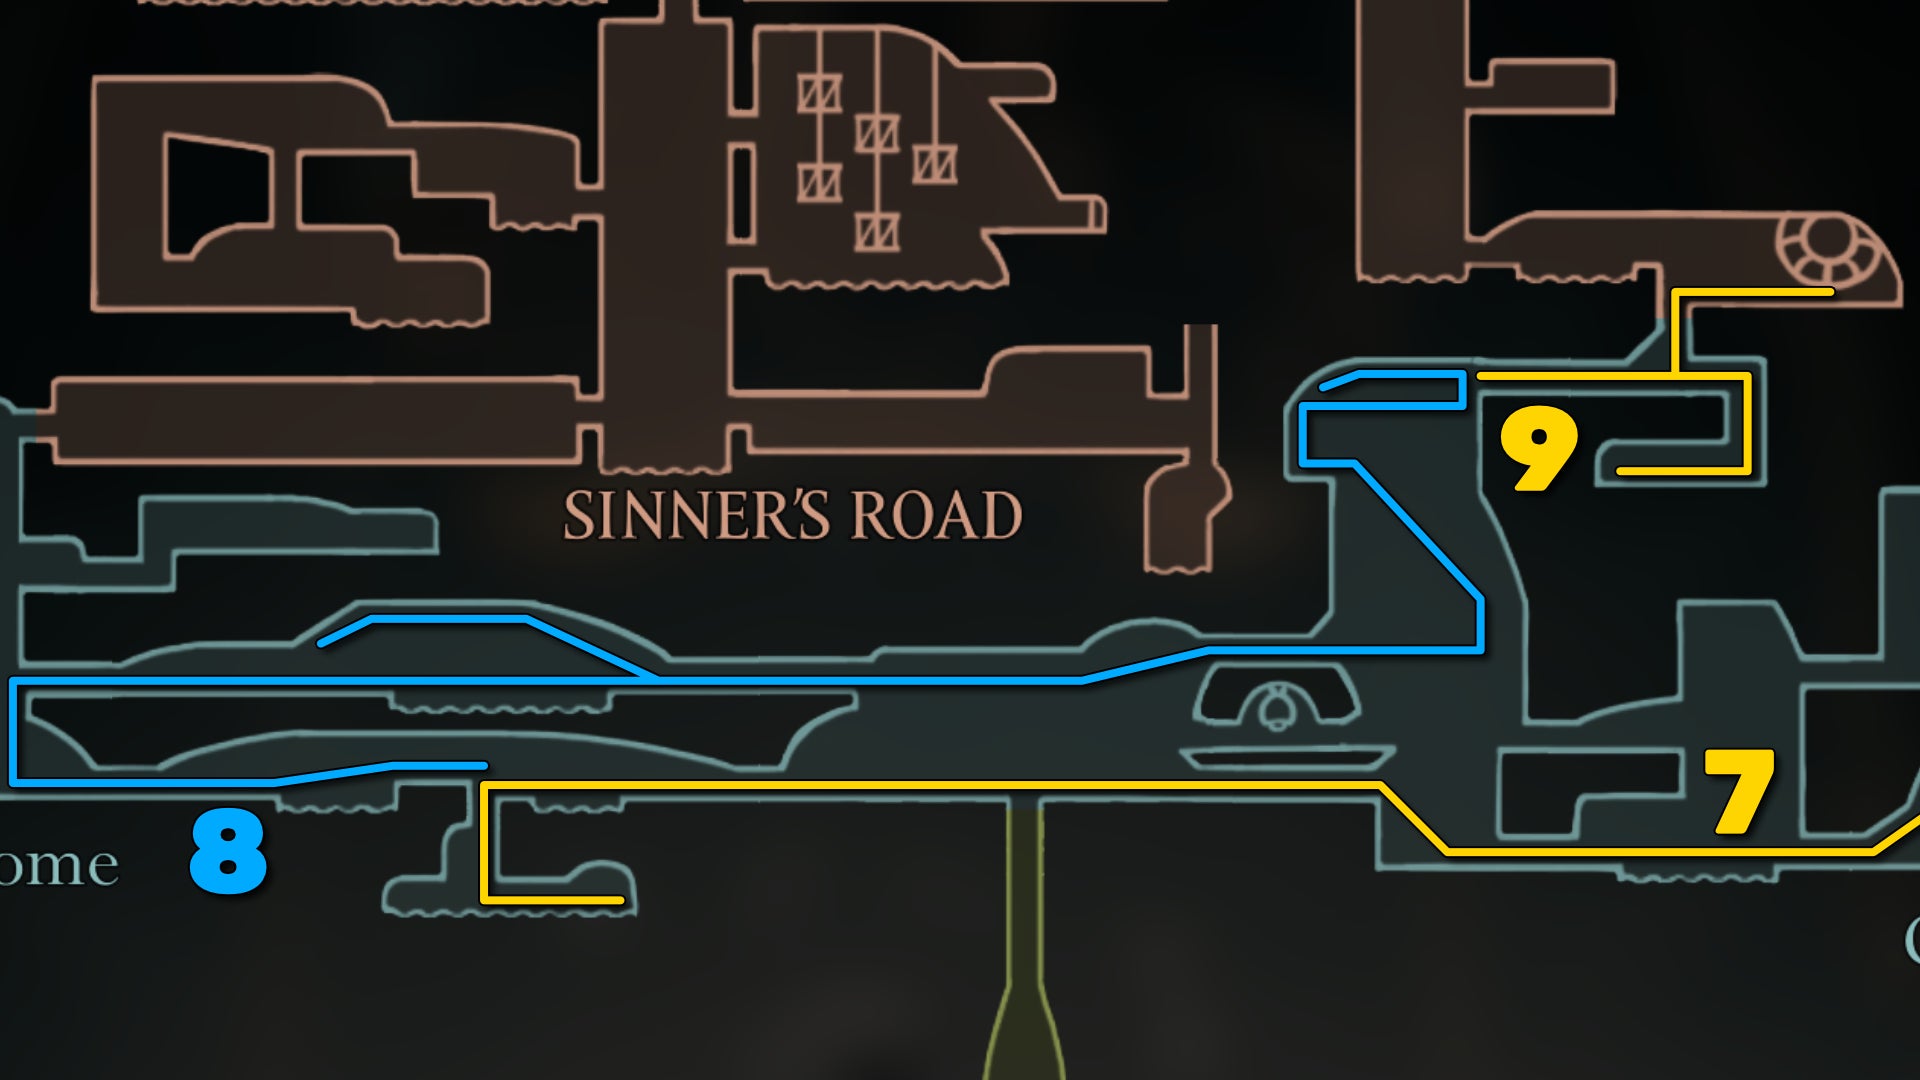
Image credit:Rock Paper Shotgun/Team Cherry
7. Obtain the hidden Bone Scroll.
We’re done with Craw Lake now - that wasn’t so hard, was it, Shakra? Head back to same Bench as before and rest. Then soldier on to the left. This time we’ll jump over the hole back down to Far Fields, and explore the west side of Greymoor.
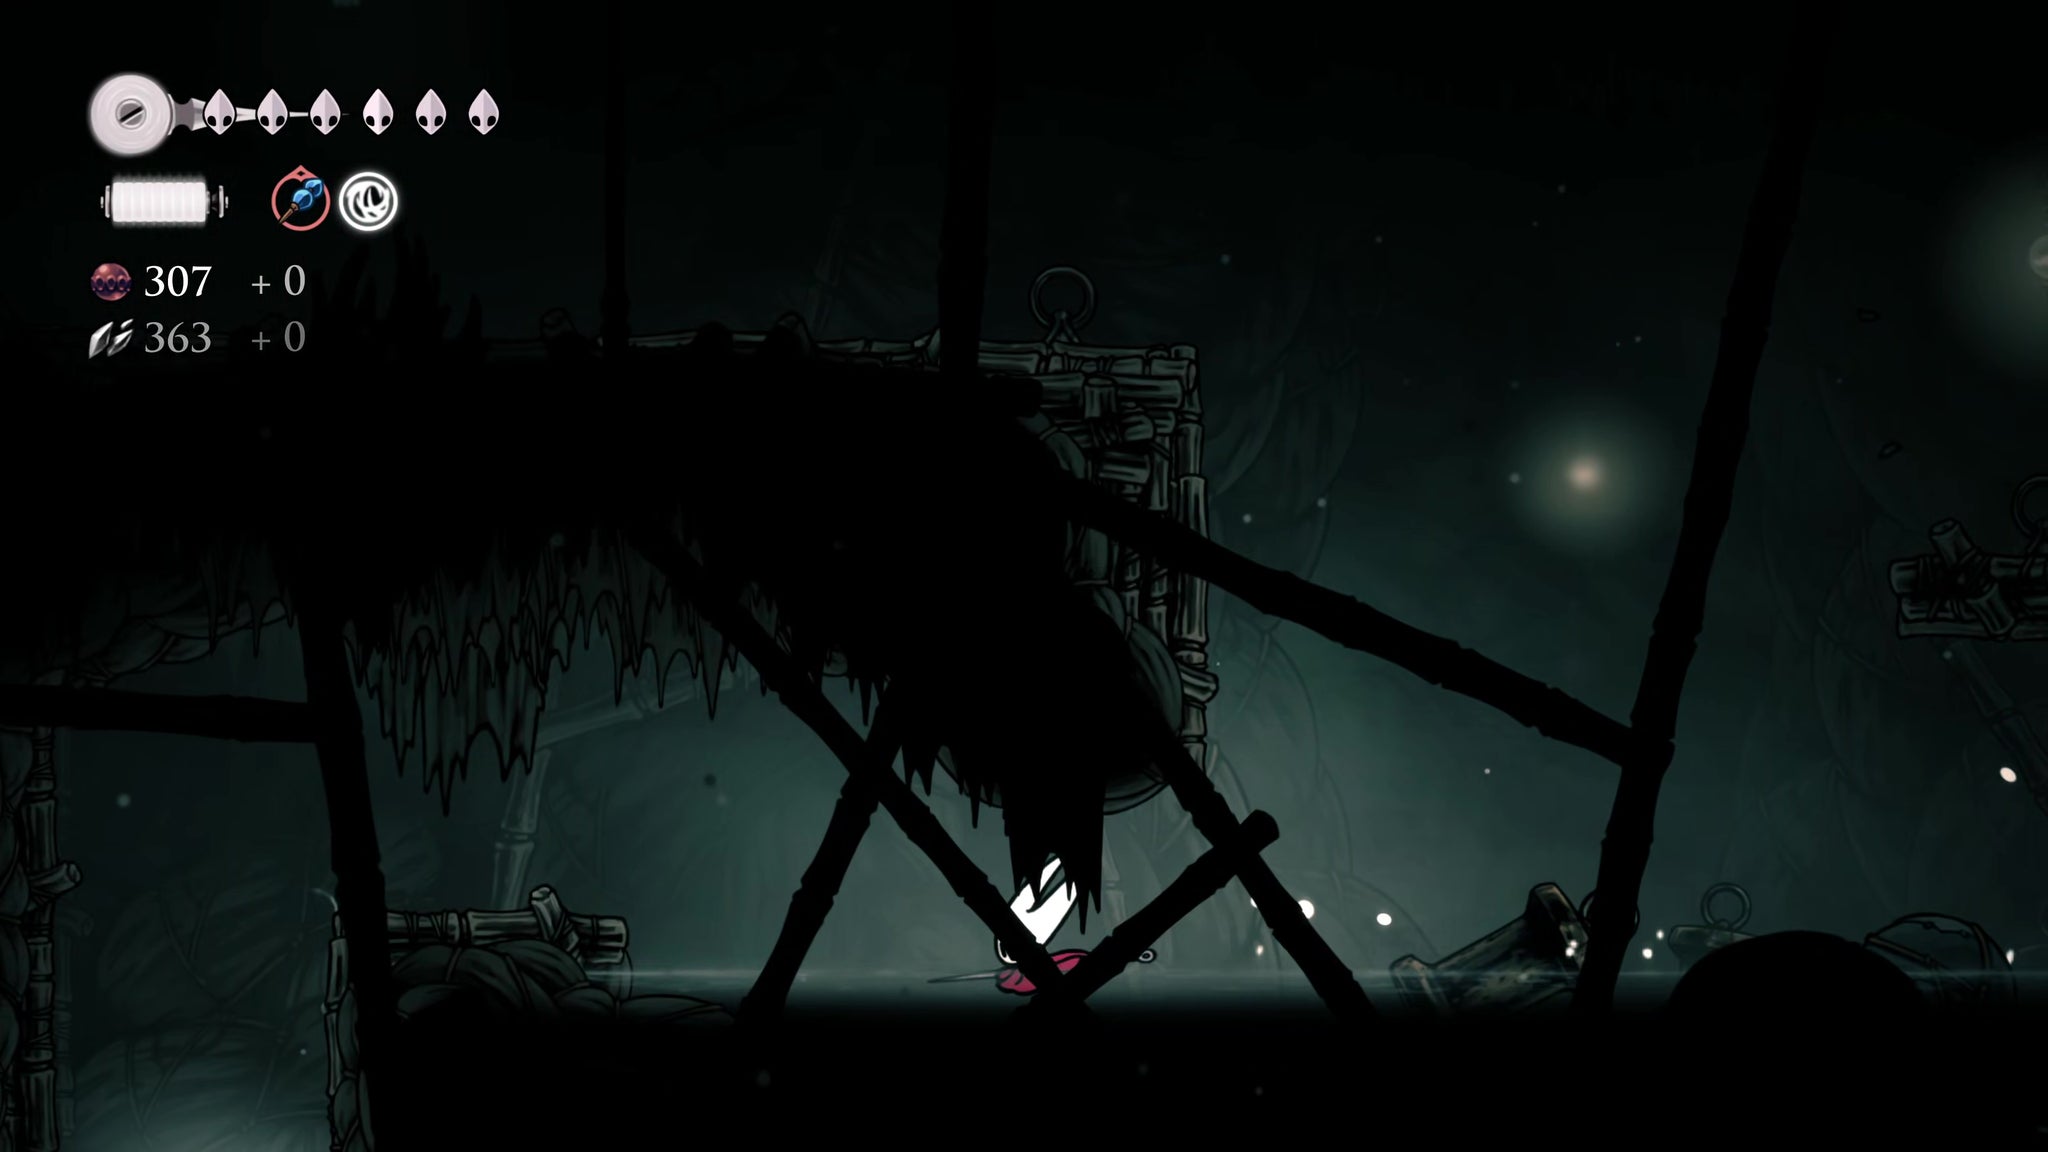
Image credit:Rock Paper Shotgun/Team Cherry
In the first room to the west is a bunch of Pilgrim enemies to kill. Stay at water-level as you head to the left, and you’ll come across a little hidden passage lower down. At the bottom of this passage, on the right-hand side, you can loot a Bone Scroll from a Pilgrim’s body.
Then head back up and exit to the left, killing the remaining enemies in your way.
8. Explore above the Bench for the Spool Fragment.
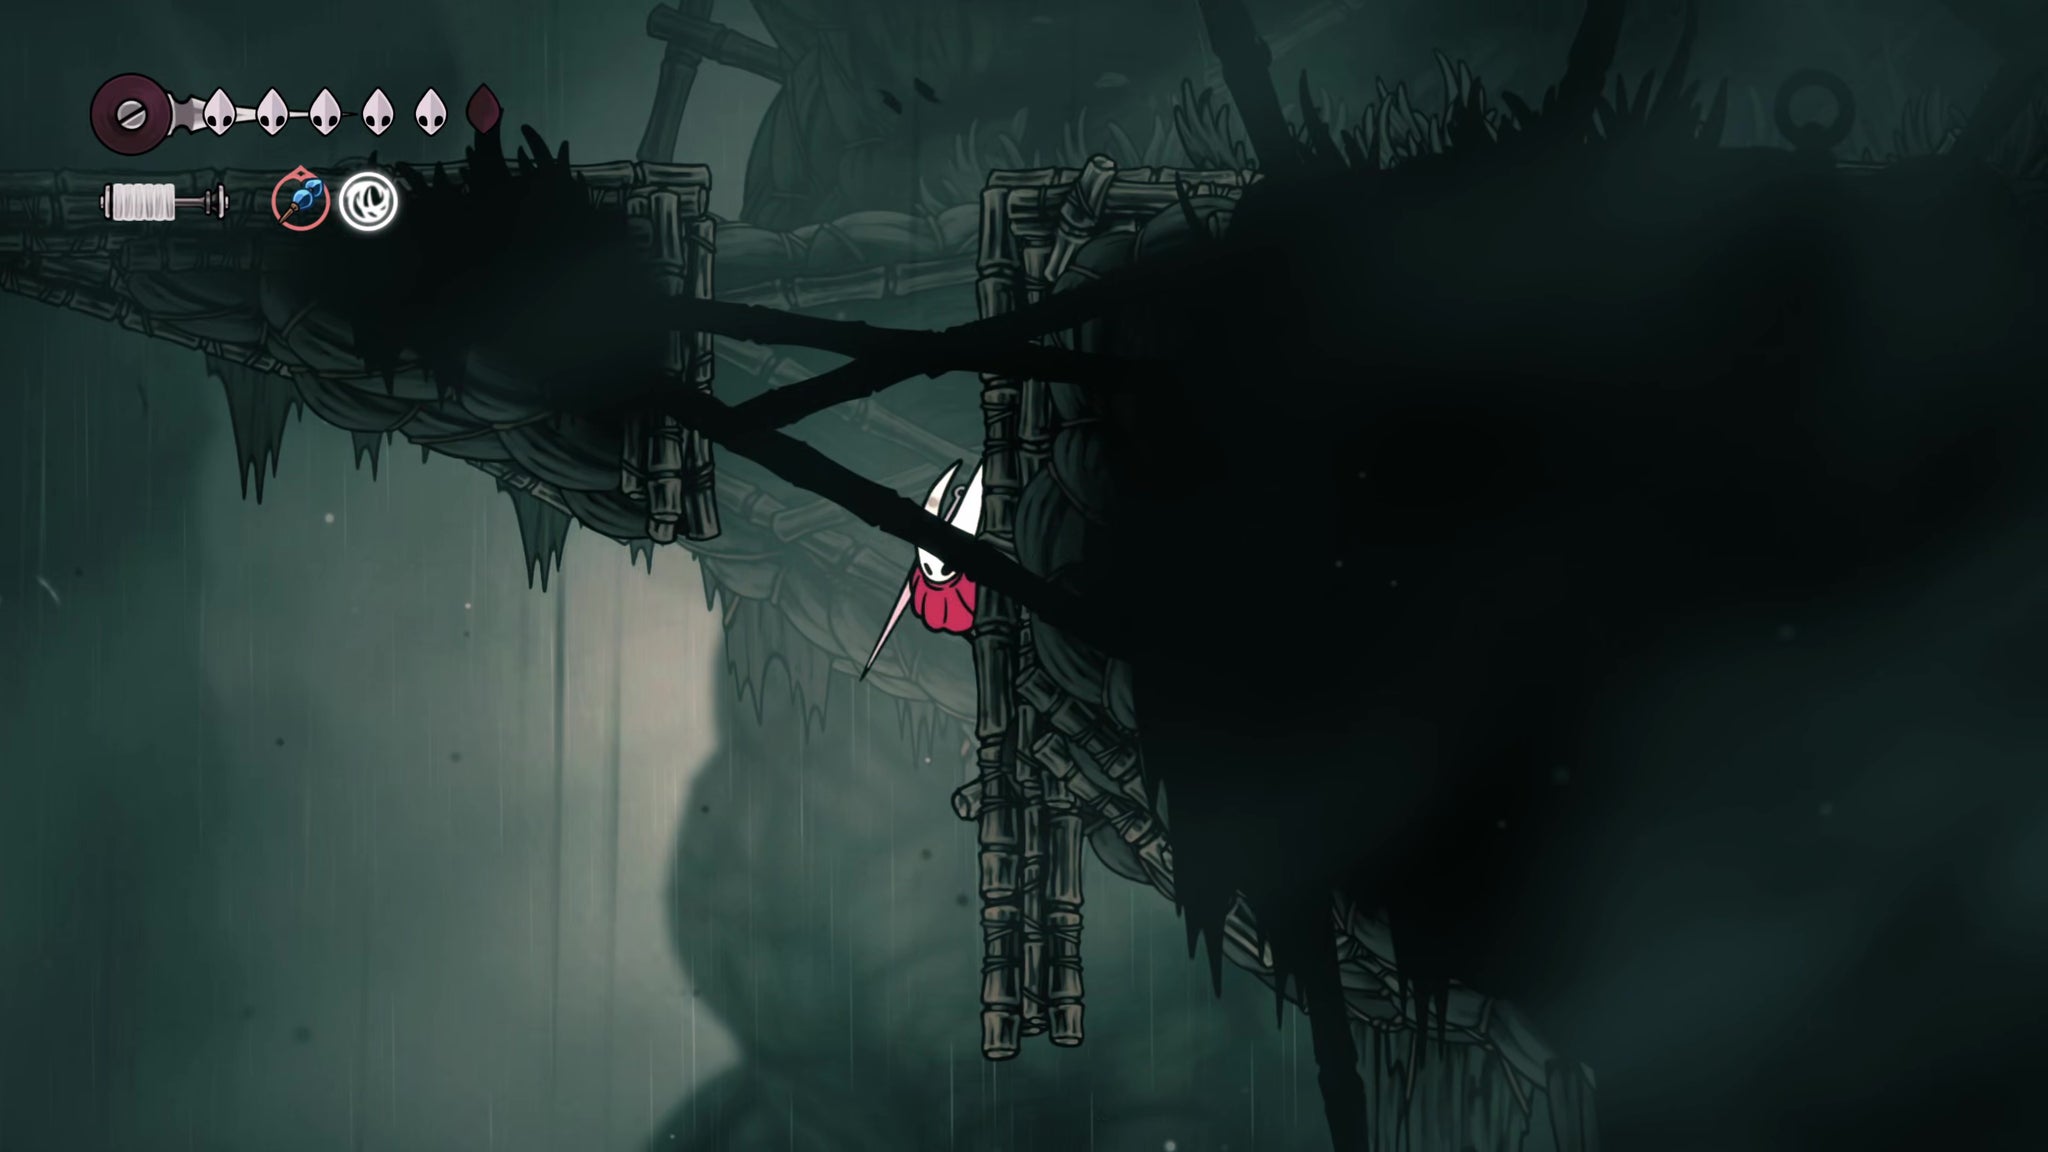
Image credit:Rock Paper Shotgun/Team Cherry
In the next room, take note of the lit building to your right - we’ll return here momentarily. For now, jump onto the wooden ledge above you, and then wall climb further up to reach a new room above where you were before. You’ll encounter a nasty new enemy - the Roachcatcher - which throws a pair of spiked projectiles at you. Stay at a distance and hit the projectiles as they reach you to send them back at your attacker.
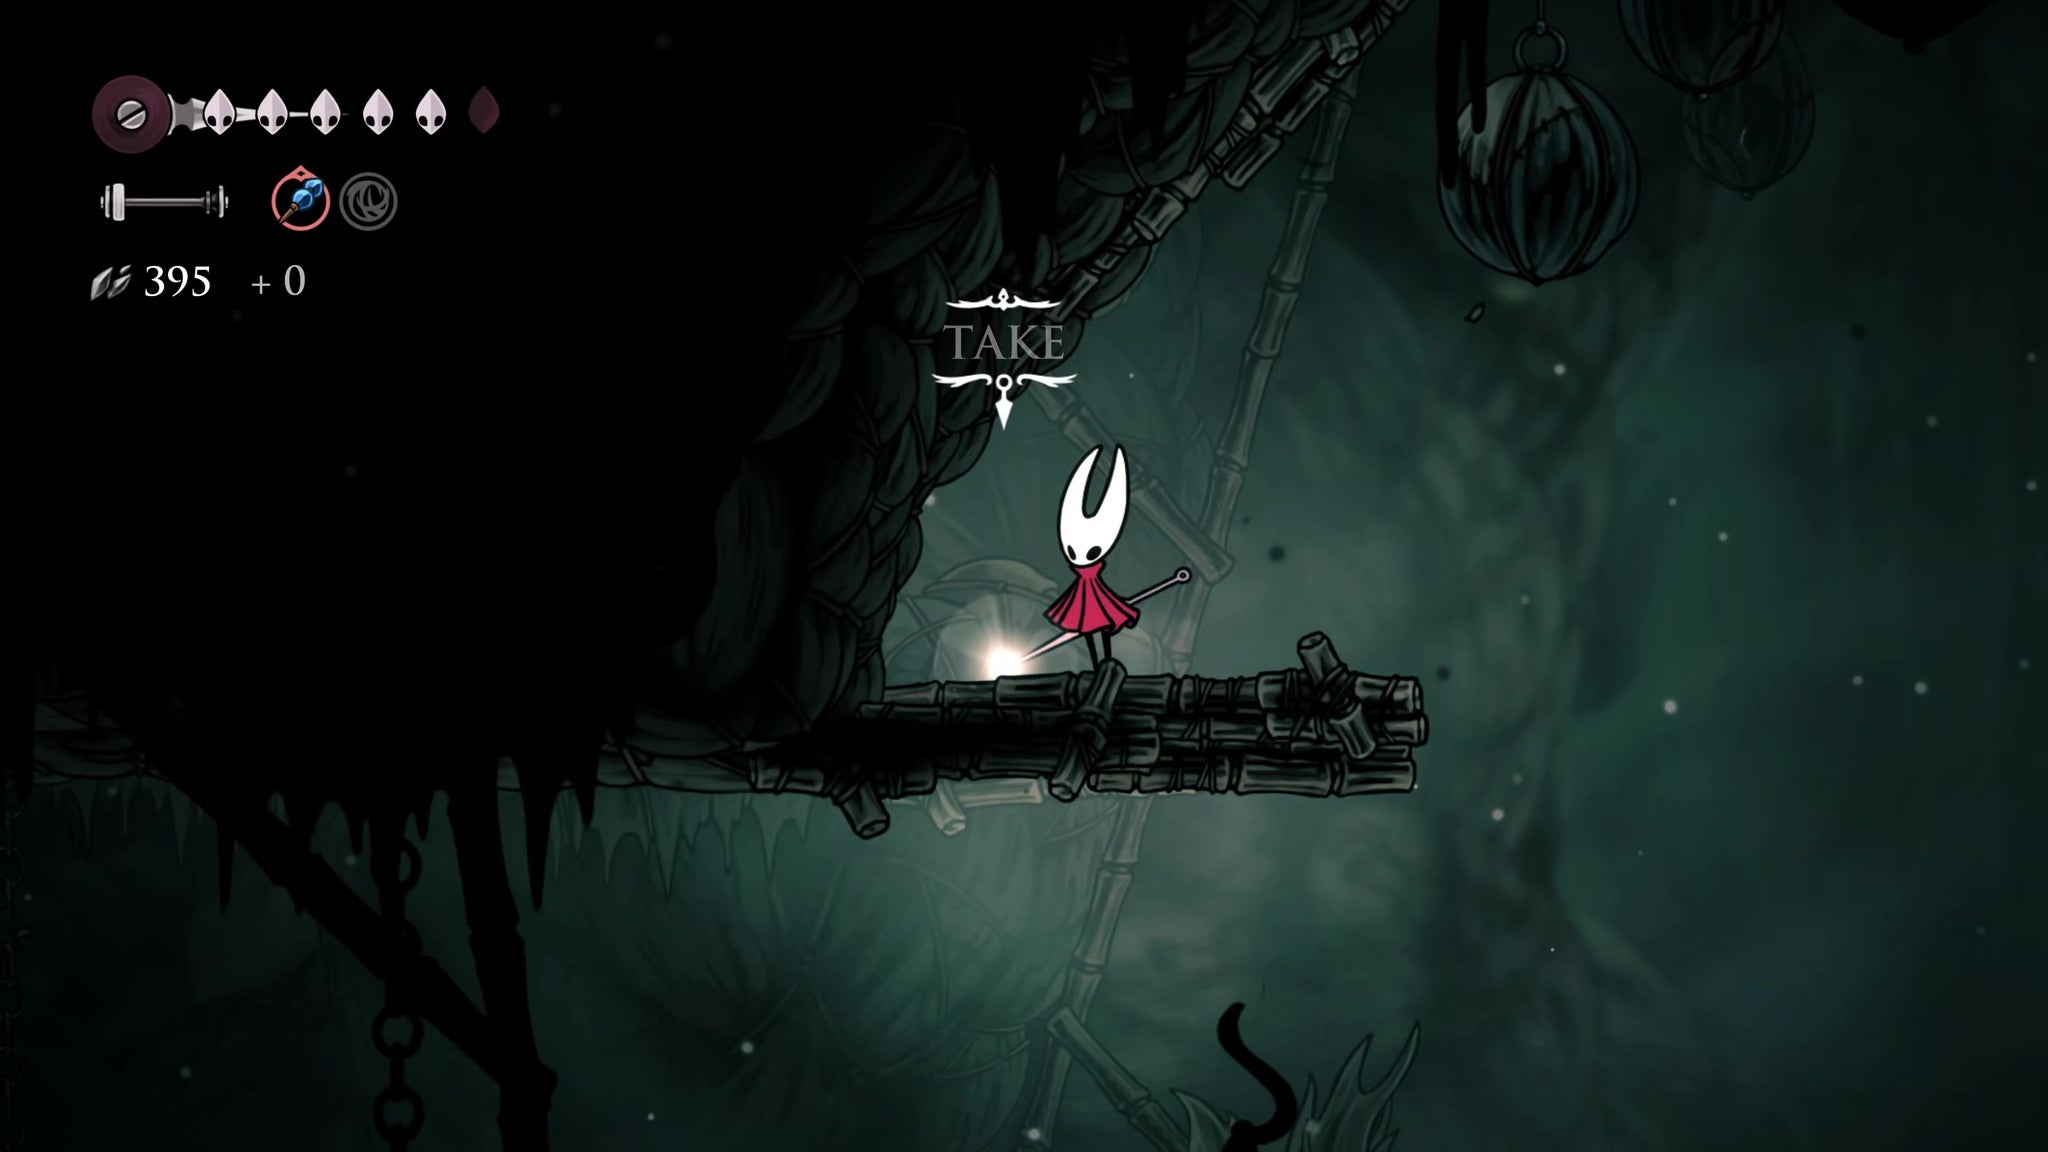
Image credit:Rock Paper Shotgun/Team Cherry
Make your way to the right-hand side of the room, and then turn back around and take the upper ledge path all the way back to the left to reach the Shard Bundle at the end. Then turn round again and exit to the right.
Jump the ledges in front of you to make your way across this room and exit off-screen. Then cross the bridge in the next room (don’t hit the lever yet), and Pogo upwards into the higher reaches of the room. You’ll face several Craw enemies along the way, but eventually you’ll reach a path on the left-hand side which you can follow upwards and to the right.


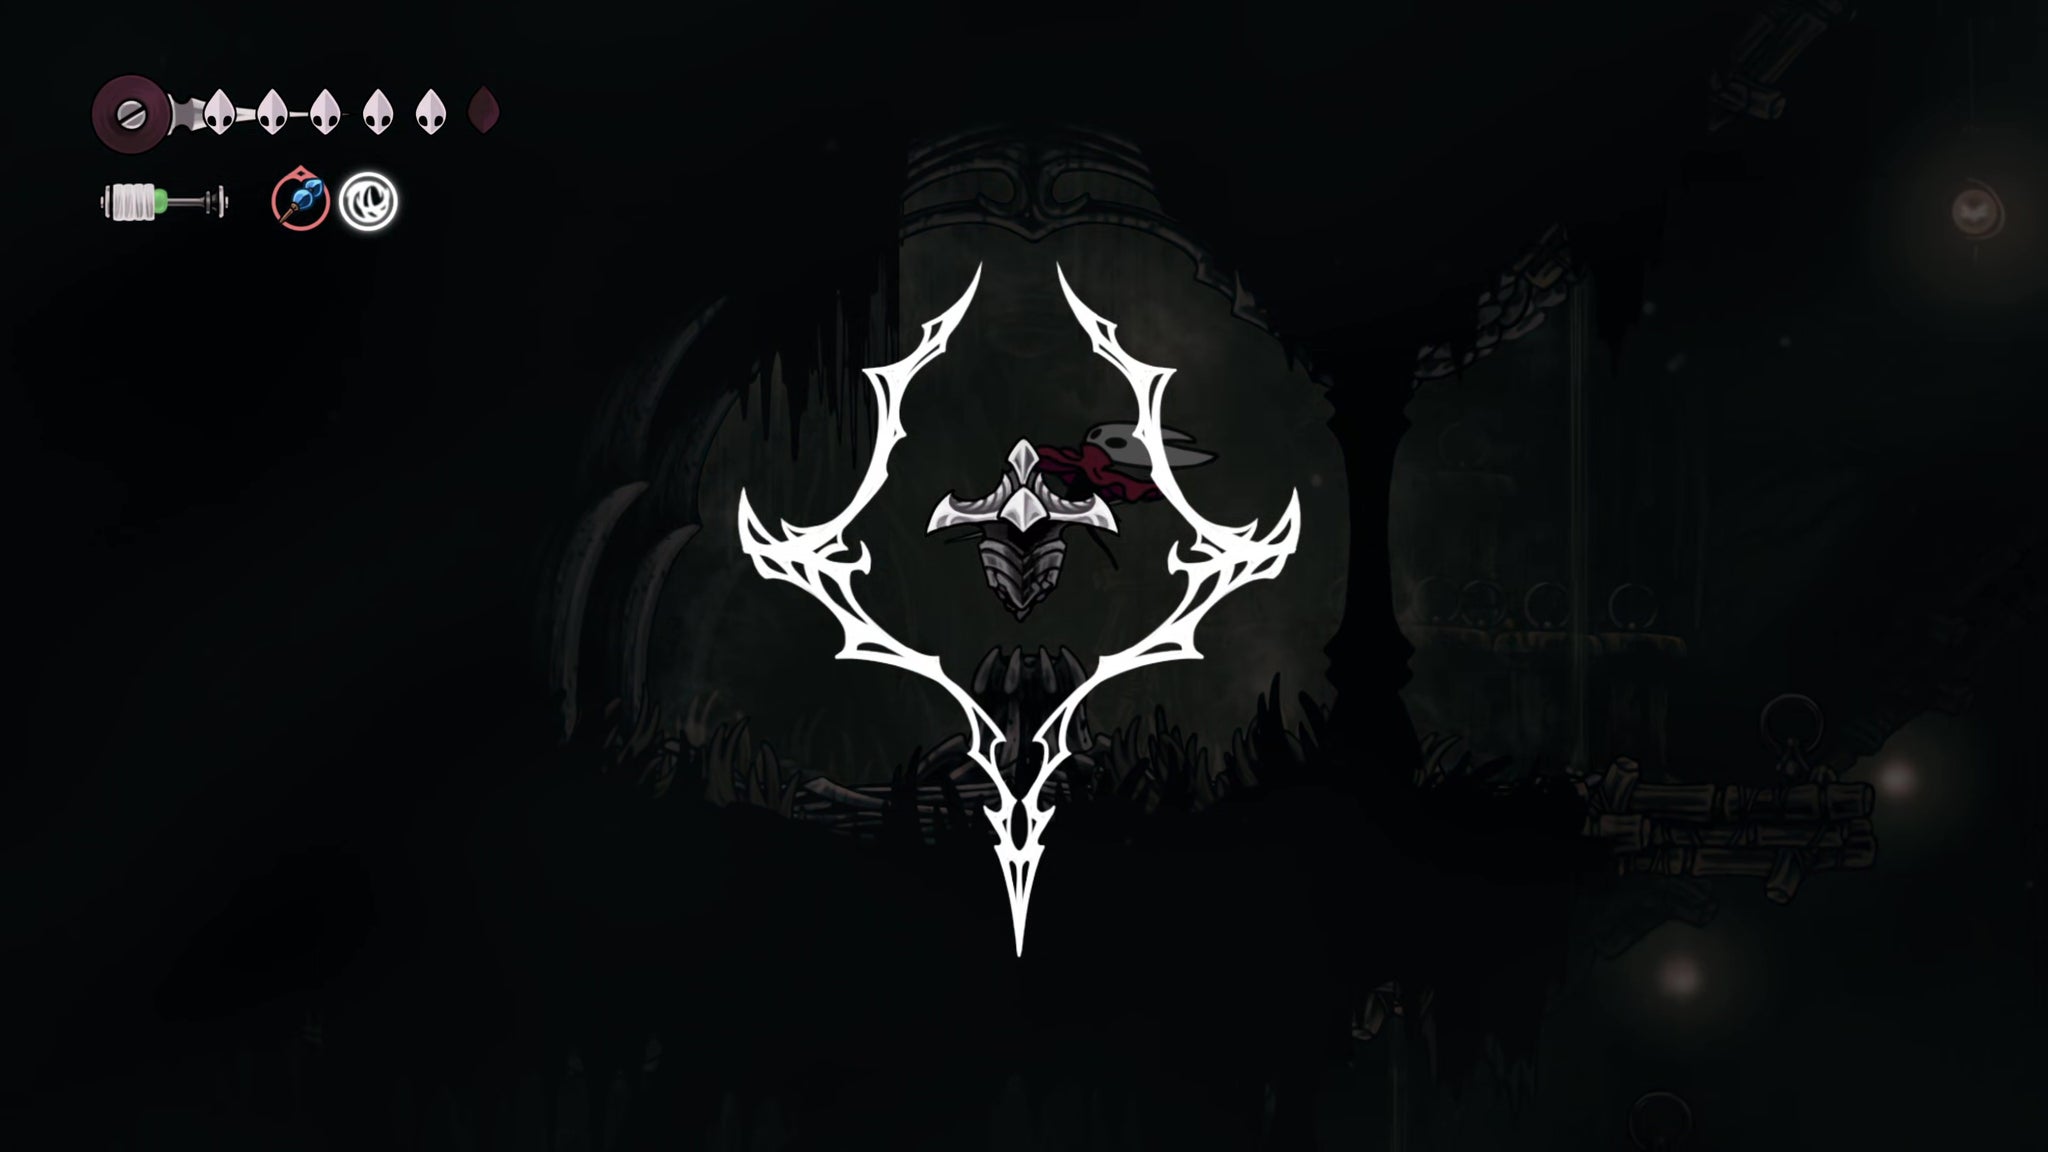
At the end of the path, jump-dash over to the wall above the spikes on the far right, and climb up to the ledge above you. From here, you can jump down to the left to obtain a Spool Fragment.
9. Discover Sinner’s Road and meet Styx.
From the Spool Fragment, jump back down to the right-hand ledge, and then make the same wall-climb manoeuvre up to the top. This time, once you’re at the top, turn around and attack the wall to your right to reveal a secret passage.


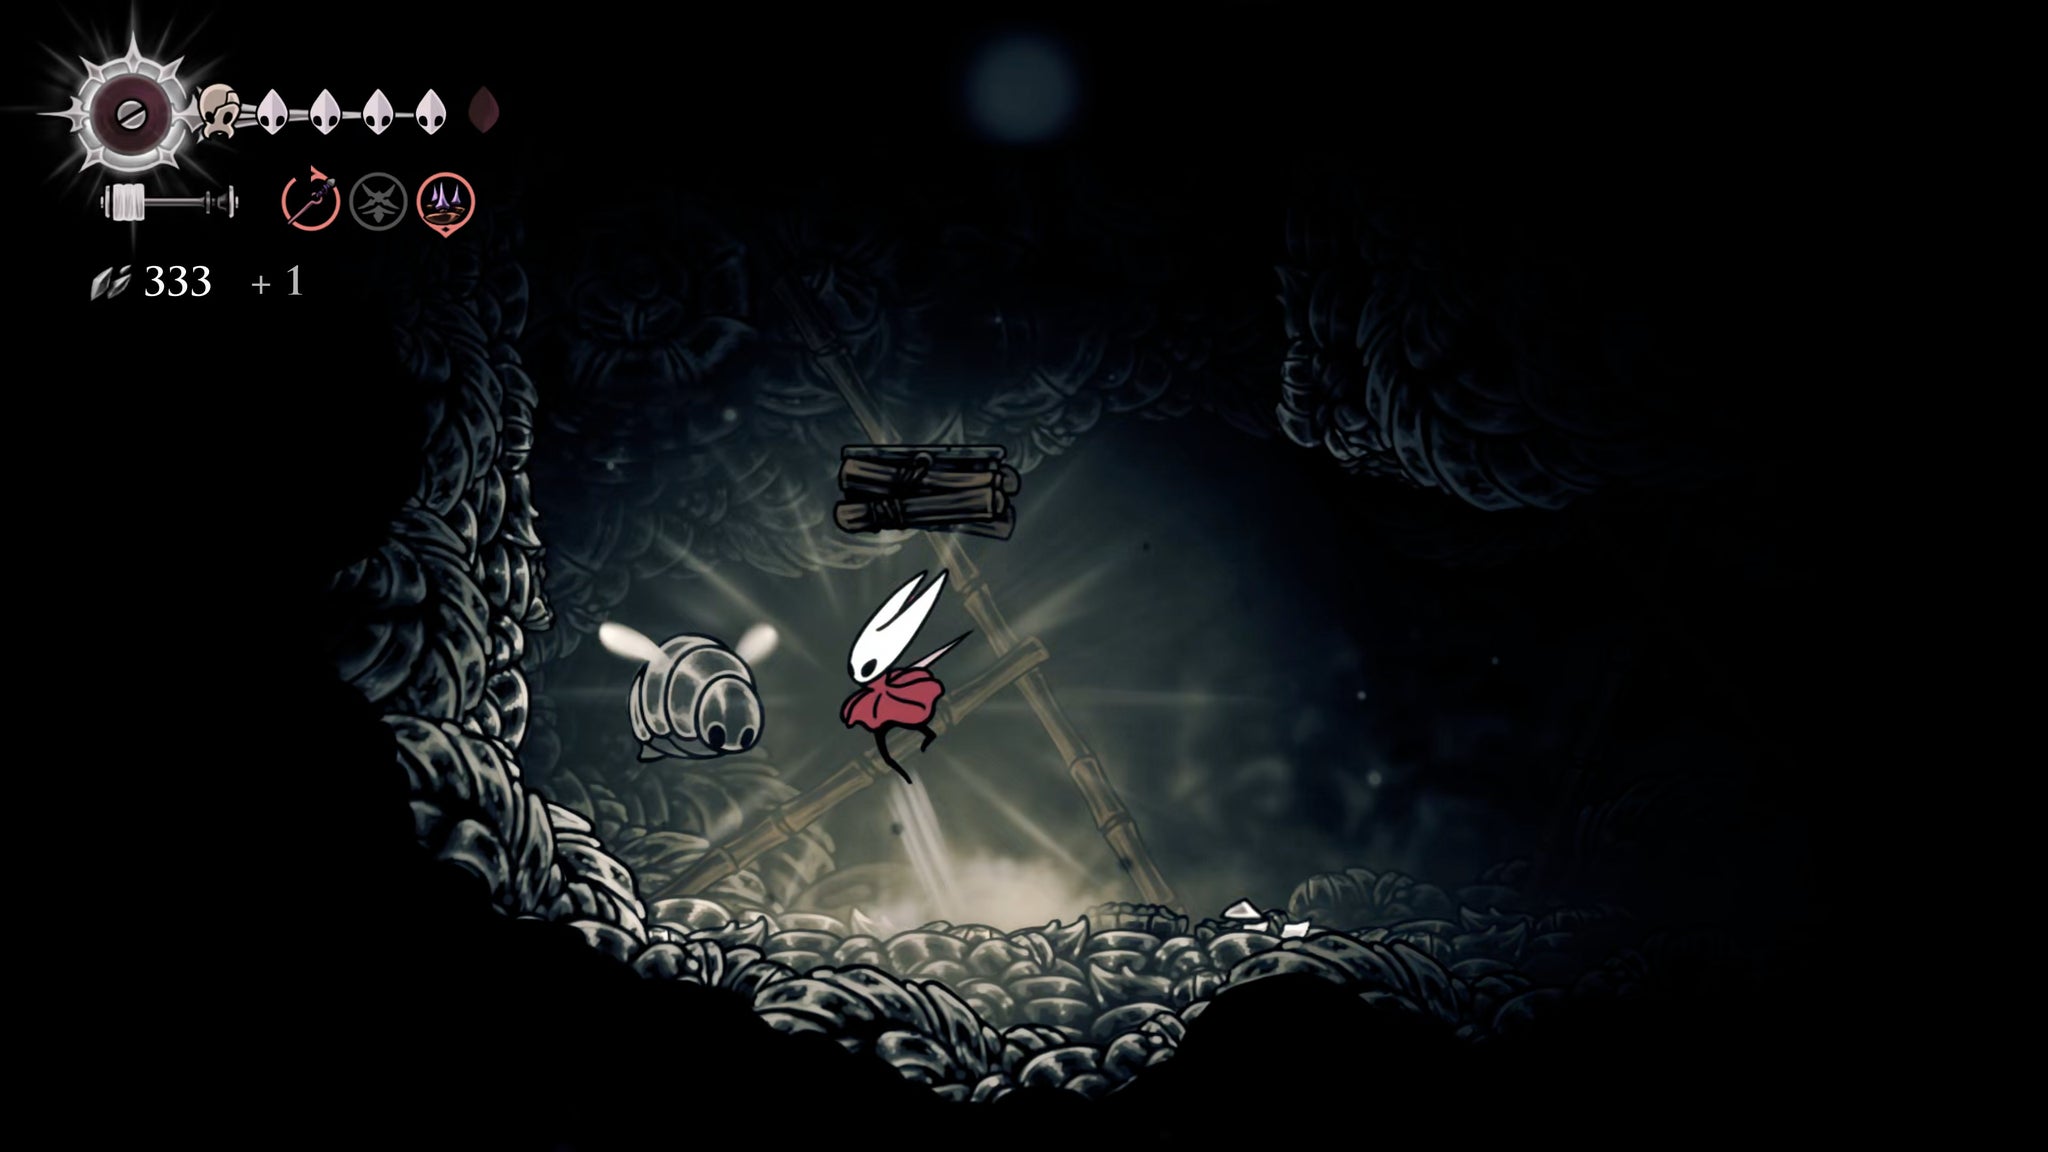
There’s a Mite in the next room; kill it, and then plow straight through the right-hand wall at ground level to reveal a secret passage within the secret passage. Drop to the bottom and attack the second breakable wall to reveal an area of fossilised shells.
You can attack the various shells to get Shell Shards, but the topmost one is actually a new enemy - a Shardillard. This is the only place one spawns, so kill it now if you want the Hunter’s Journal entry on it (more on this momentarily…).
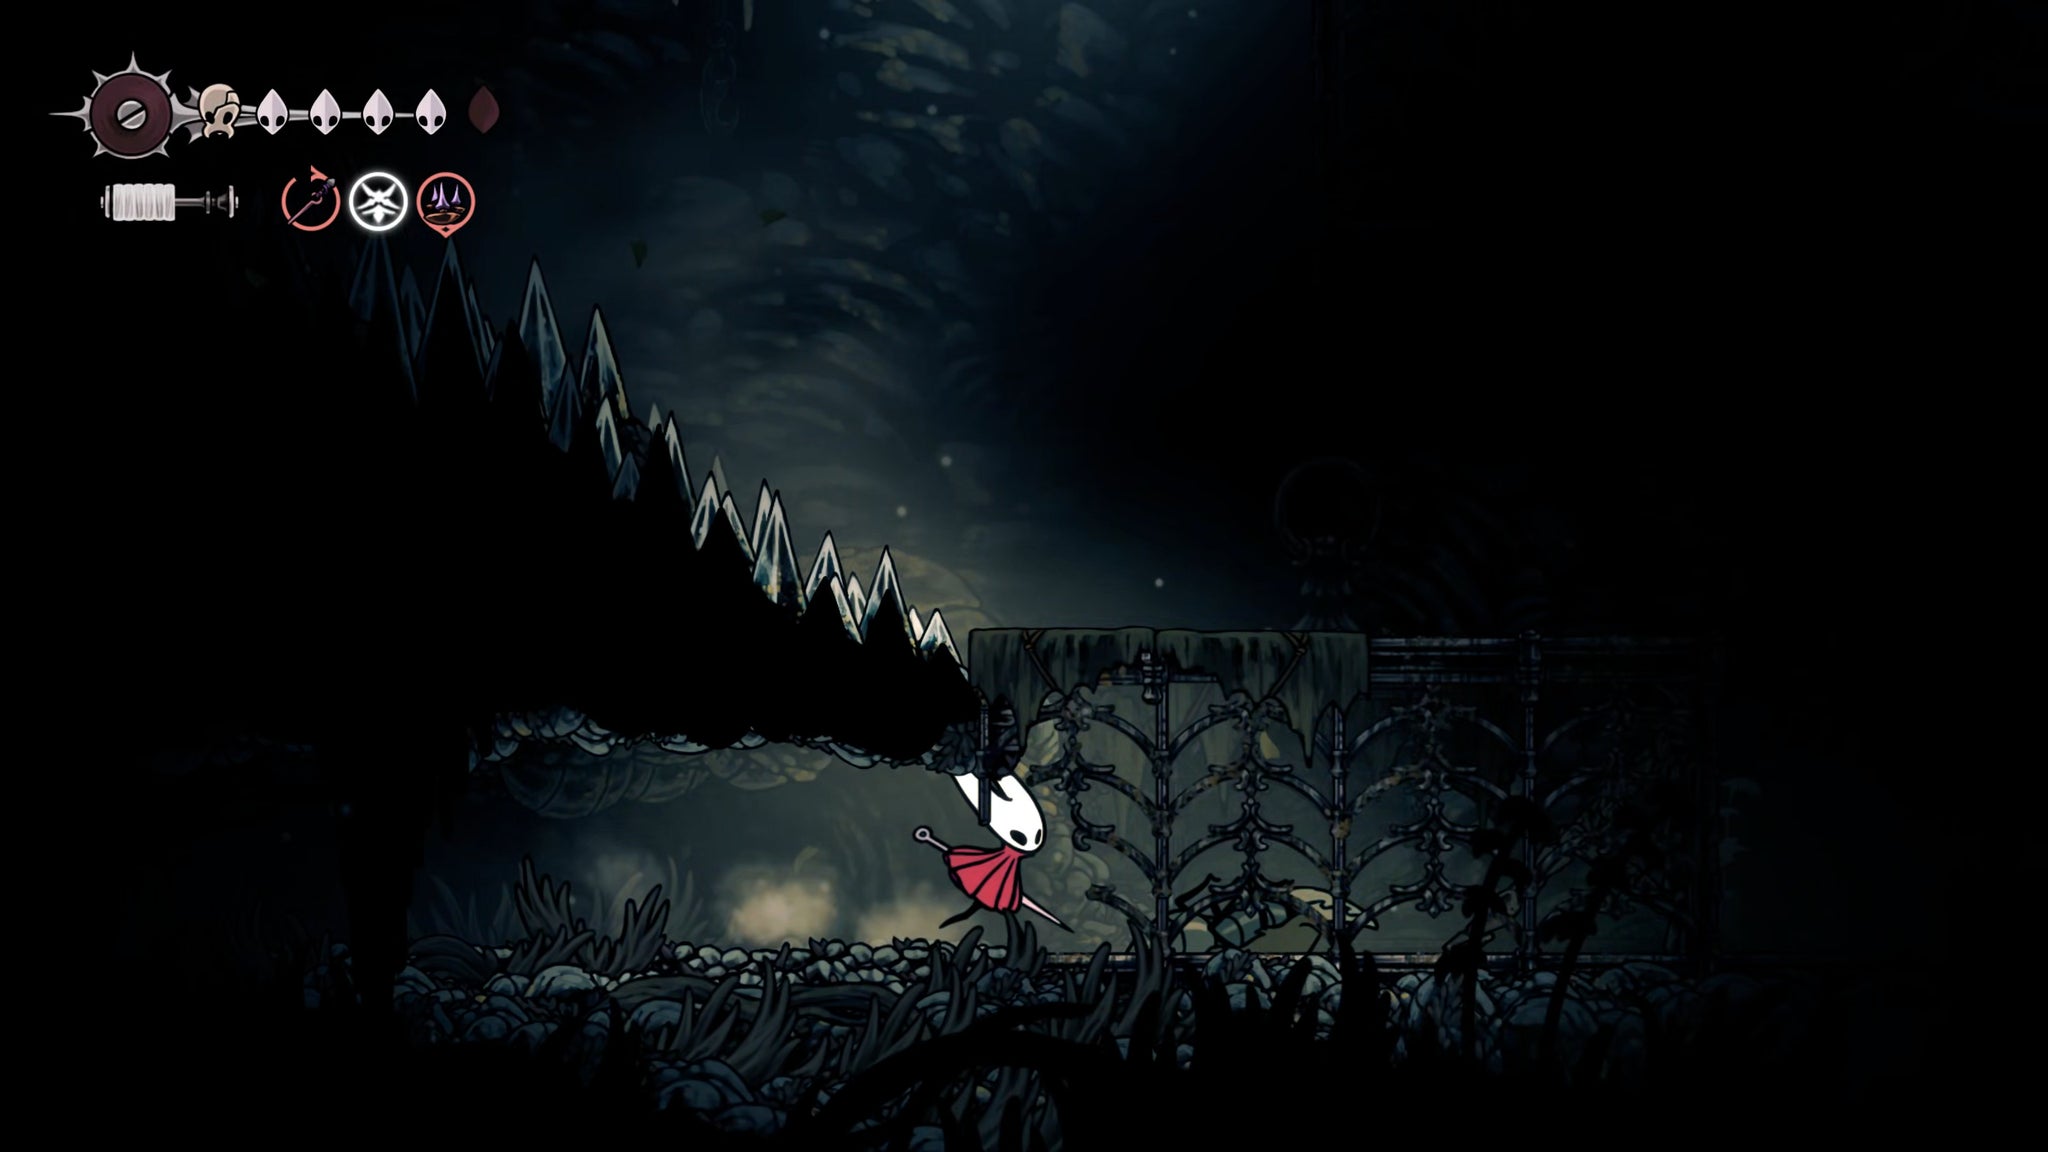
Image credit:Rock Paper Shotgun/Team Cherry
Climb back up to where that first Mite was, and jump up into the room above. You’ll find yourself in a cage, in a brand new (tougher) region - Sinner’s Road. Don’t worry, we’re not staying. Break its right-hand side open, and then kill the two Muchroaches (brand new enemies) in front of you. They’re very aggressive, so back off after each attack to avoid retribution.
Once they’re dead, rest on the strange “Bench” of silk ahead, and a large bug will drop from the ceiling. This is Styx! Exhaust his dialogue to learn that he considers himself your everlasting servant.

Image credit:Rock Paper Shotgun/Team Cherry
Come back to Styx whenever you like; he periodically creates spider eggs you can break for a Silkeater - a one-use item which retrieves your lost Silk (dropped after death) from afar. Handy, but only use it when you really need to save those Rosaries.
Don’t proceed further through this room. Sinner’s Road is a region to conquer later. Head back through the cage and out of the secret area you found.
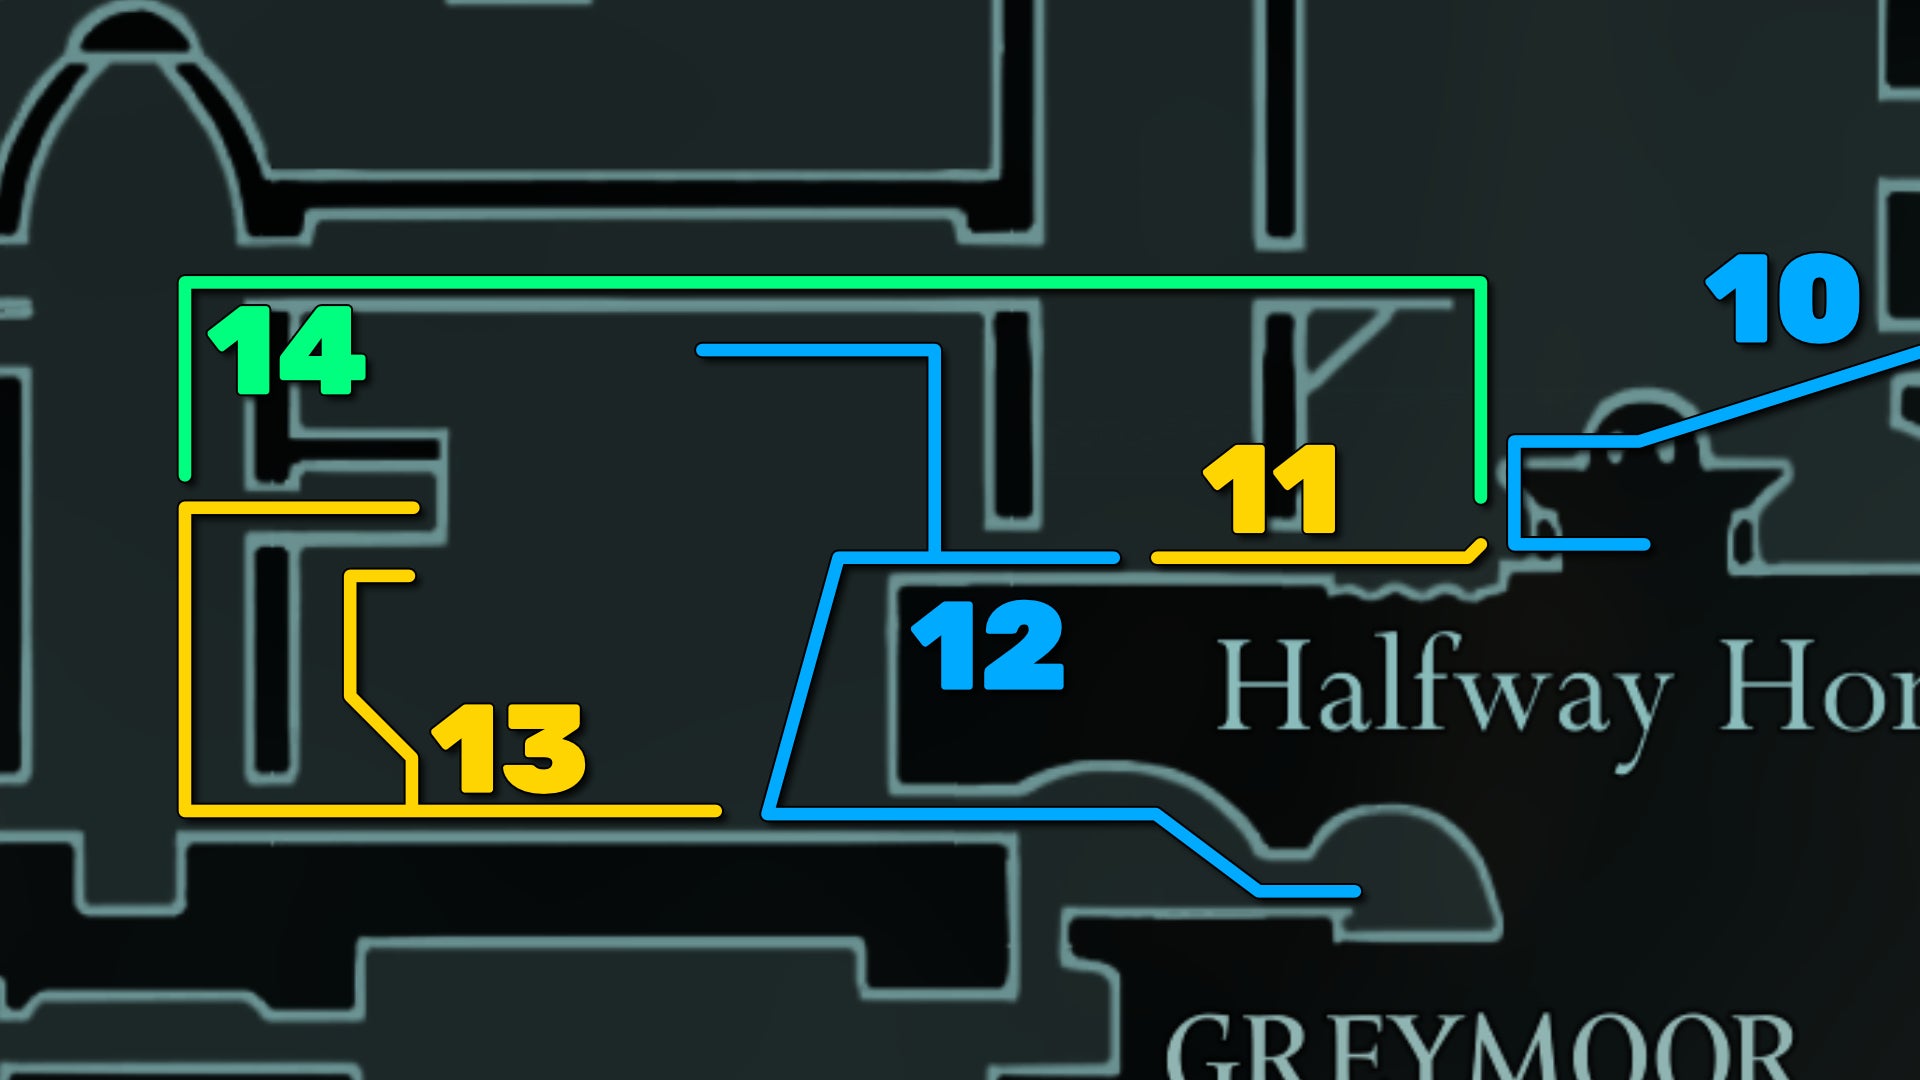
Image credit:Rock Paper Shotgun/Team Cherry
10. Meet Creig and Nuu at the Halfway Home.
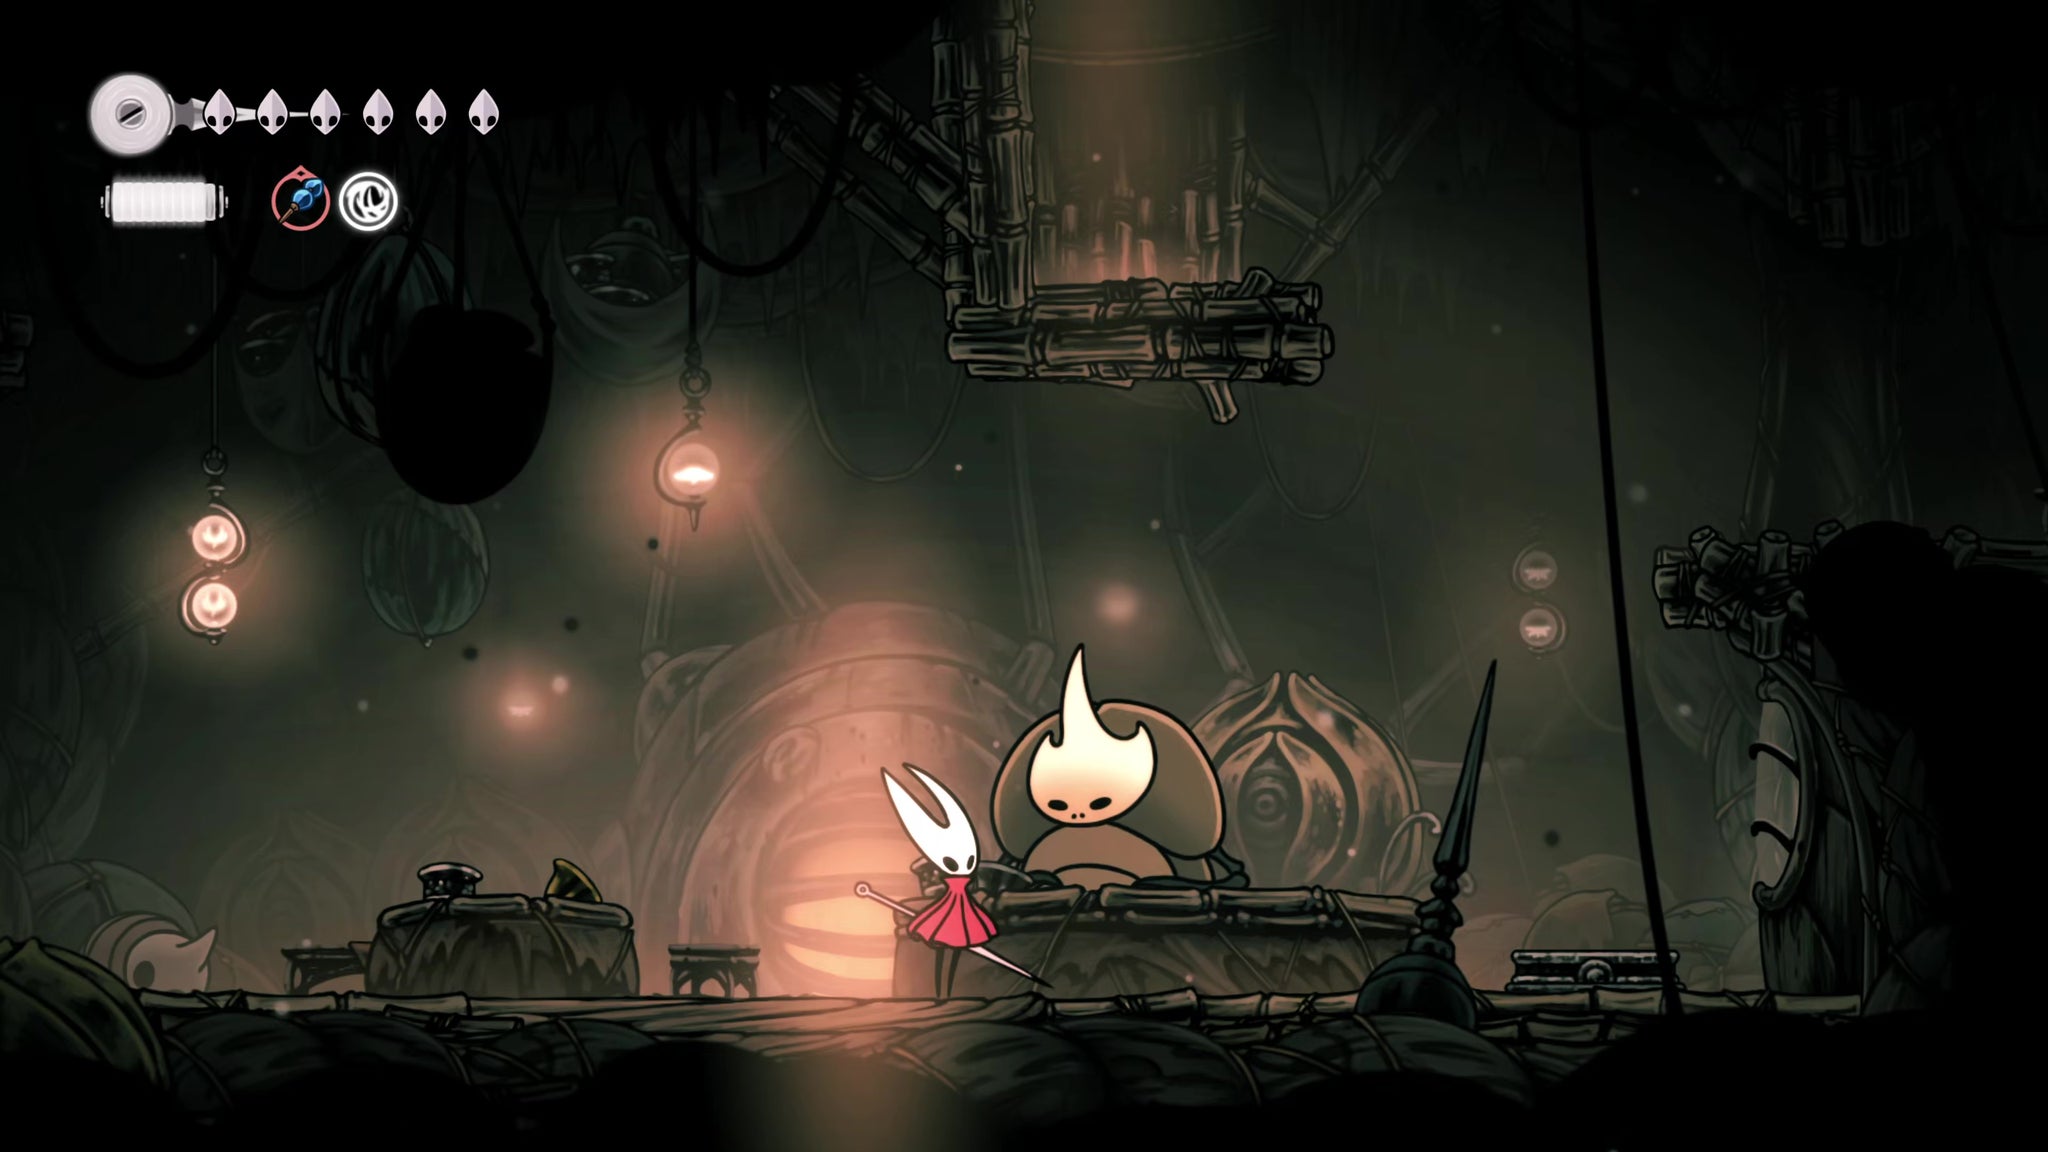
Image credit:Rock Paper Shotgun/Team Cherry
Retrace your steps until you’re back in the outdoor area with the lit building. Jump onto the roof (beware the Craws that spawn here), drop down the left side, and enter the building. This is the Halfway Home - a brief moment of respite amongst the dangers of Greymoor.
Speak with the proprietor - a bug named Creig. If you’ve followed this walkthrough, you’ll already have seen his name written on the Wishwall in Bellhart, so exhaust his dialogue to get a new quest to harvest Ragpelts from the Craw enemies in the region. I won’t explore this simple quest further in this walkthrough; just return to him once you’ve got the Ragpelts for your reward.
While you’re here, you can stand on the pressure plate beside Creig to open the shortcut out to the right. But there’s another to meet in the Halfway Home! Jump to the upper levels (there’s also a Bench here you can rest at), and you’ll meet the brightly coloured Nuu.

Rather a different take on the “hunter” this time around. |Image credit:Rock Paper Shotgun/Team Cherry
Accept Nuu’s quest, and she’ll give you the Hunter’s Journal - an encyclopaedia of enemies that you can fill in throughout your travels.
11. Complete the gauntlet to the west.
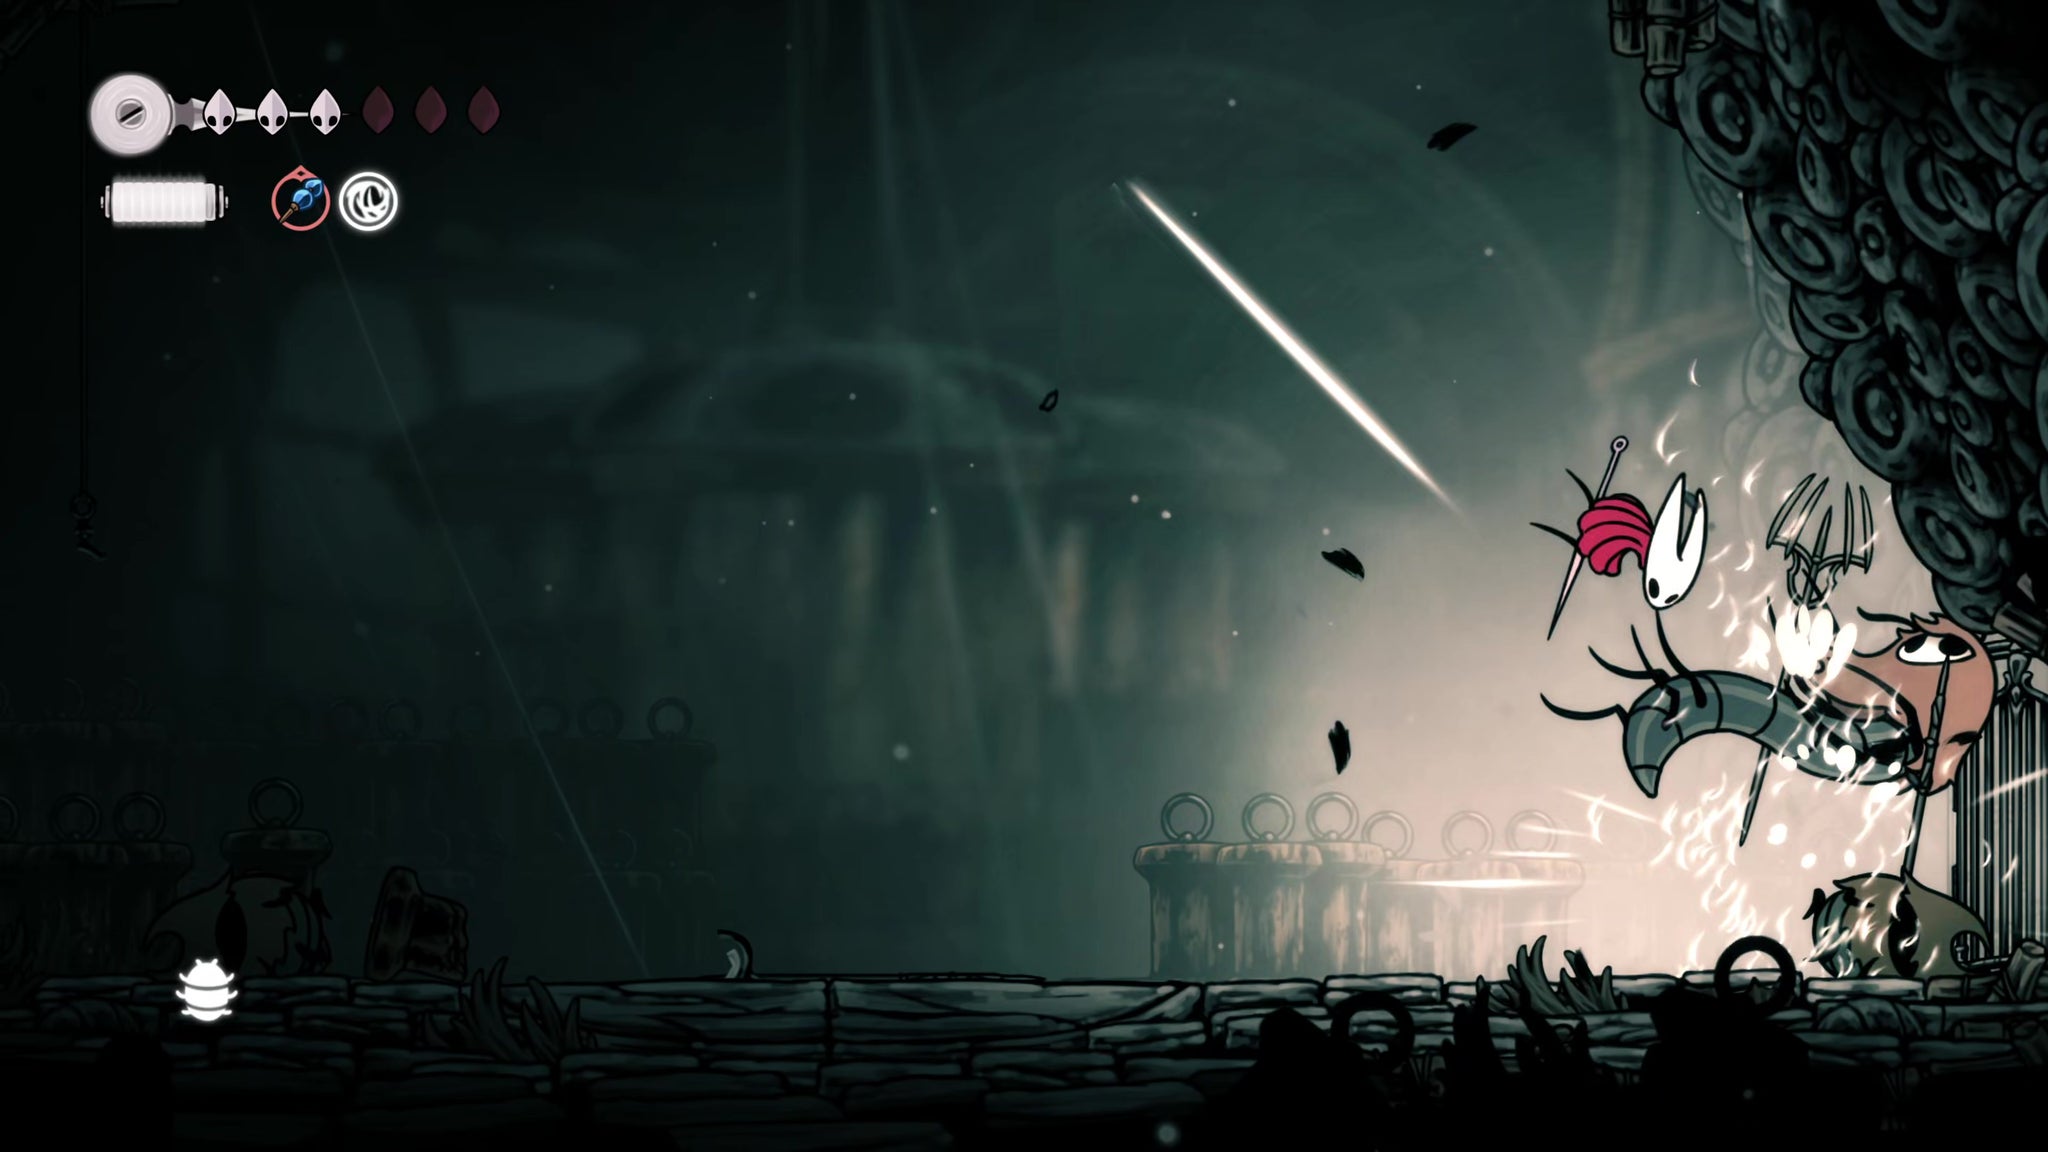
Image credit:Rock Paper Shotgun/Team Cherry
When you’re ready, exit out of the Halfway Home and into the next outdoor room to your left, where you’ll immediately come across another gauntlet. This is a simpler gauntlet than the previous one, although it does feature a new enemy - the serpentine Thread Raker (which is quite weak to repeated Pogo attacks, just so you know).
Once the gauntlet is cleared, exit to the left.
12. Unlock the Greymoor Bellway.
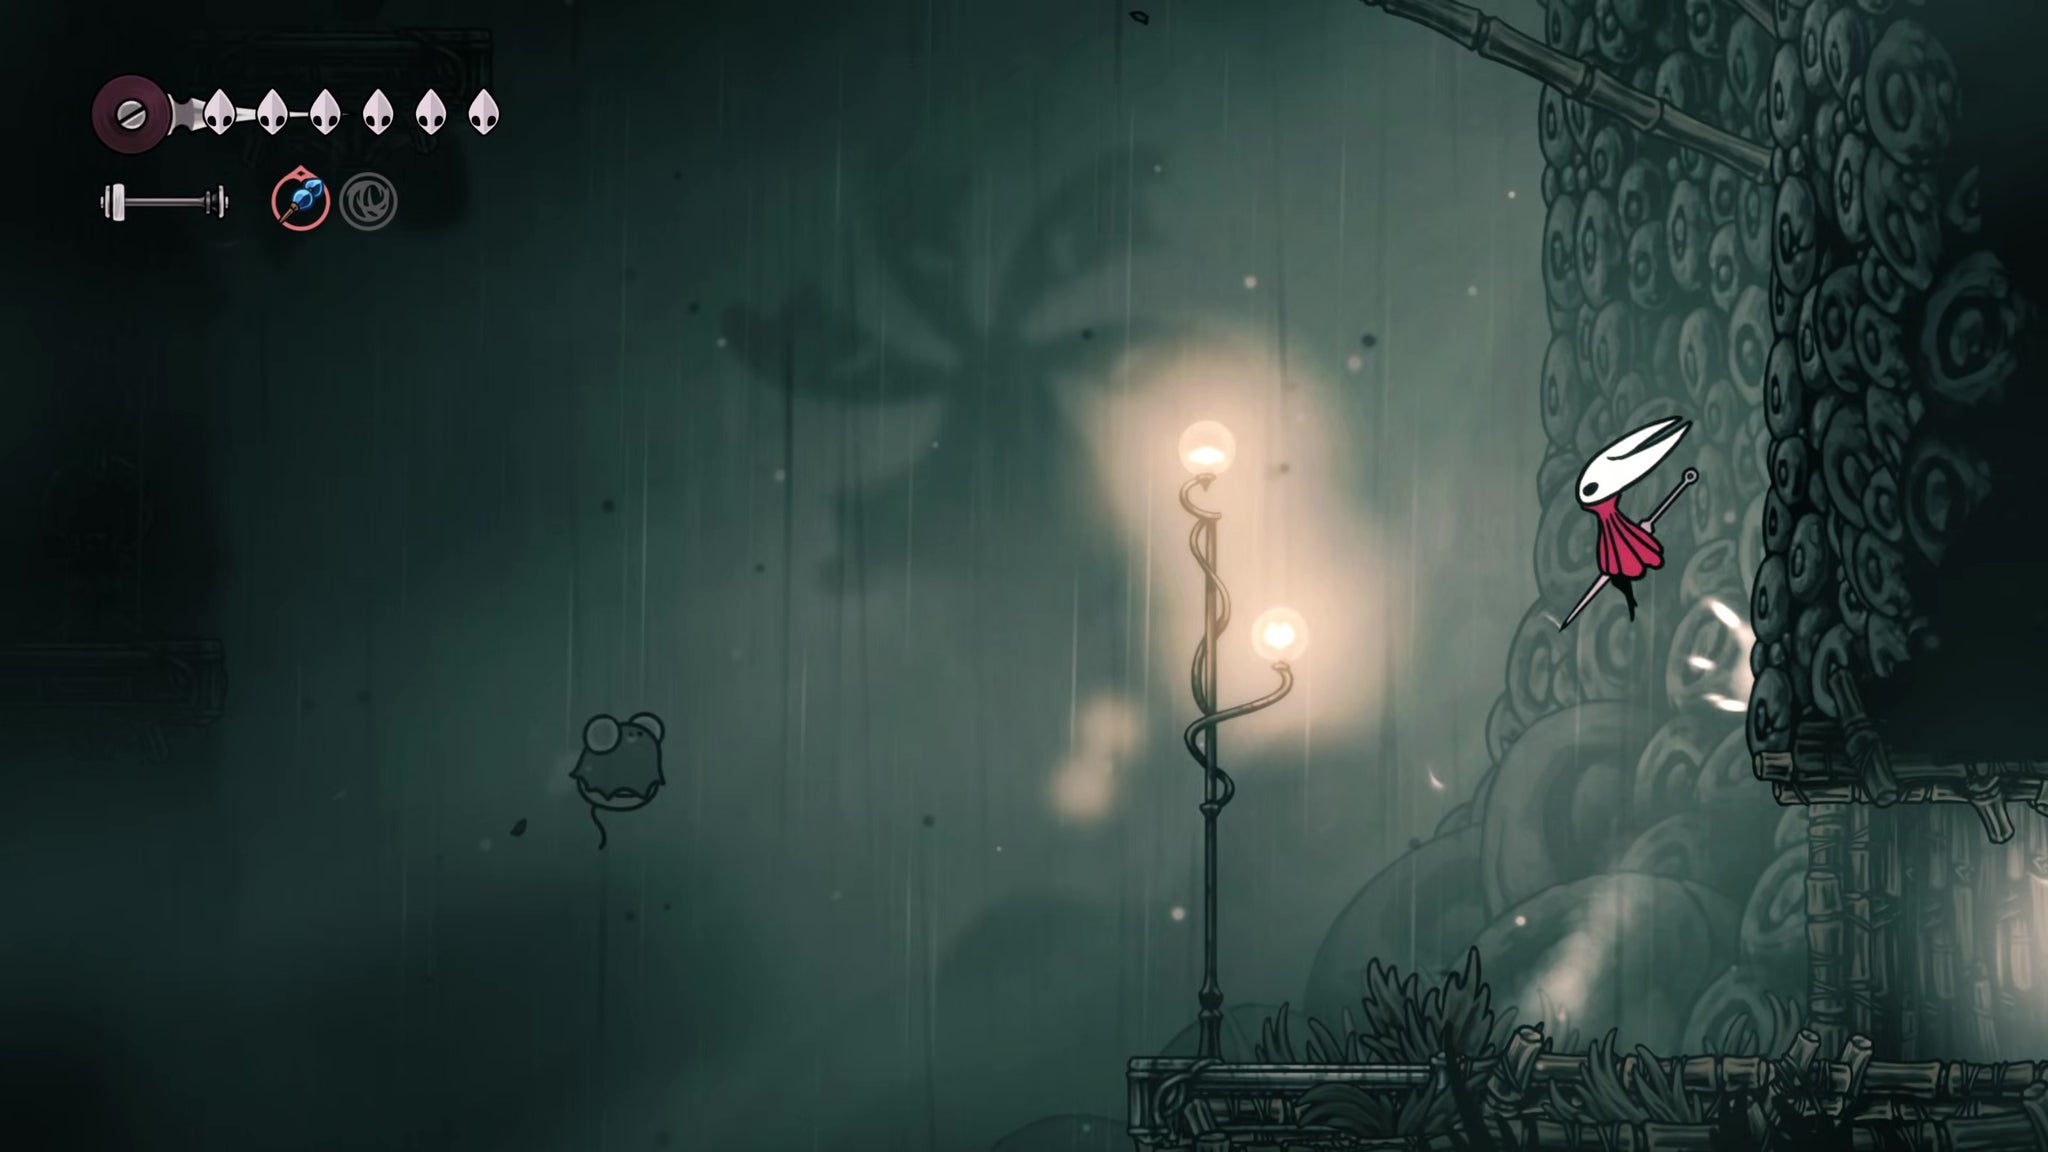
Image credit:Rock Paper Shotgun/Team Cherry
In the next room patrolled by those blind Fluttermites, wall-climb above you for a Rosary cache, and then follow the path along the ceiling to reach a little alcove guarded by a Silk Snipper wielding a giant pair of scissors. Slay it and loot the Shard Bundle at the end.
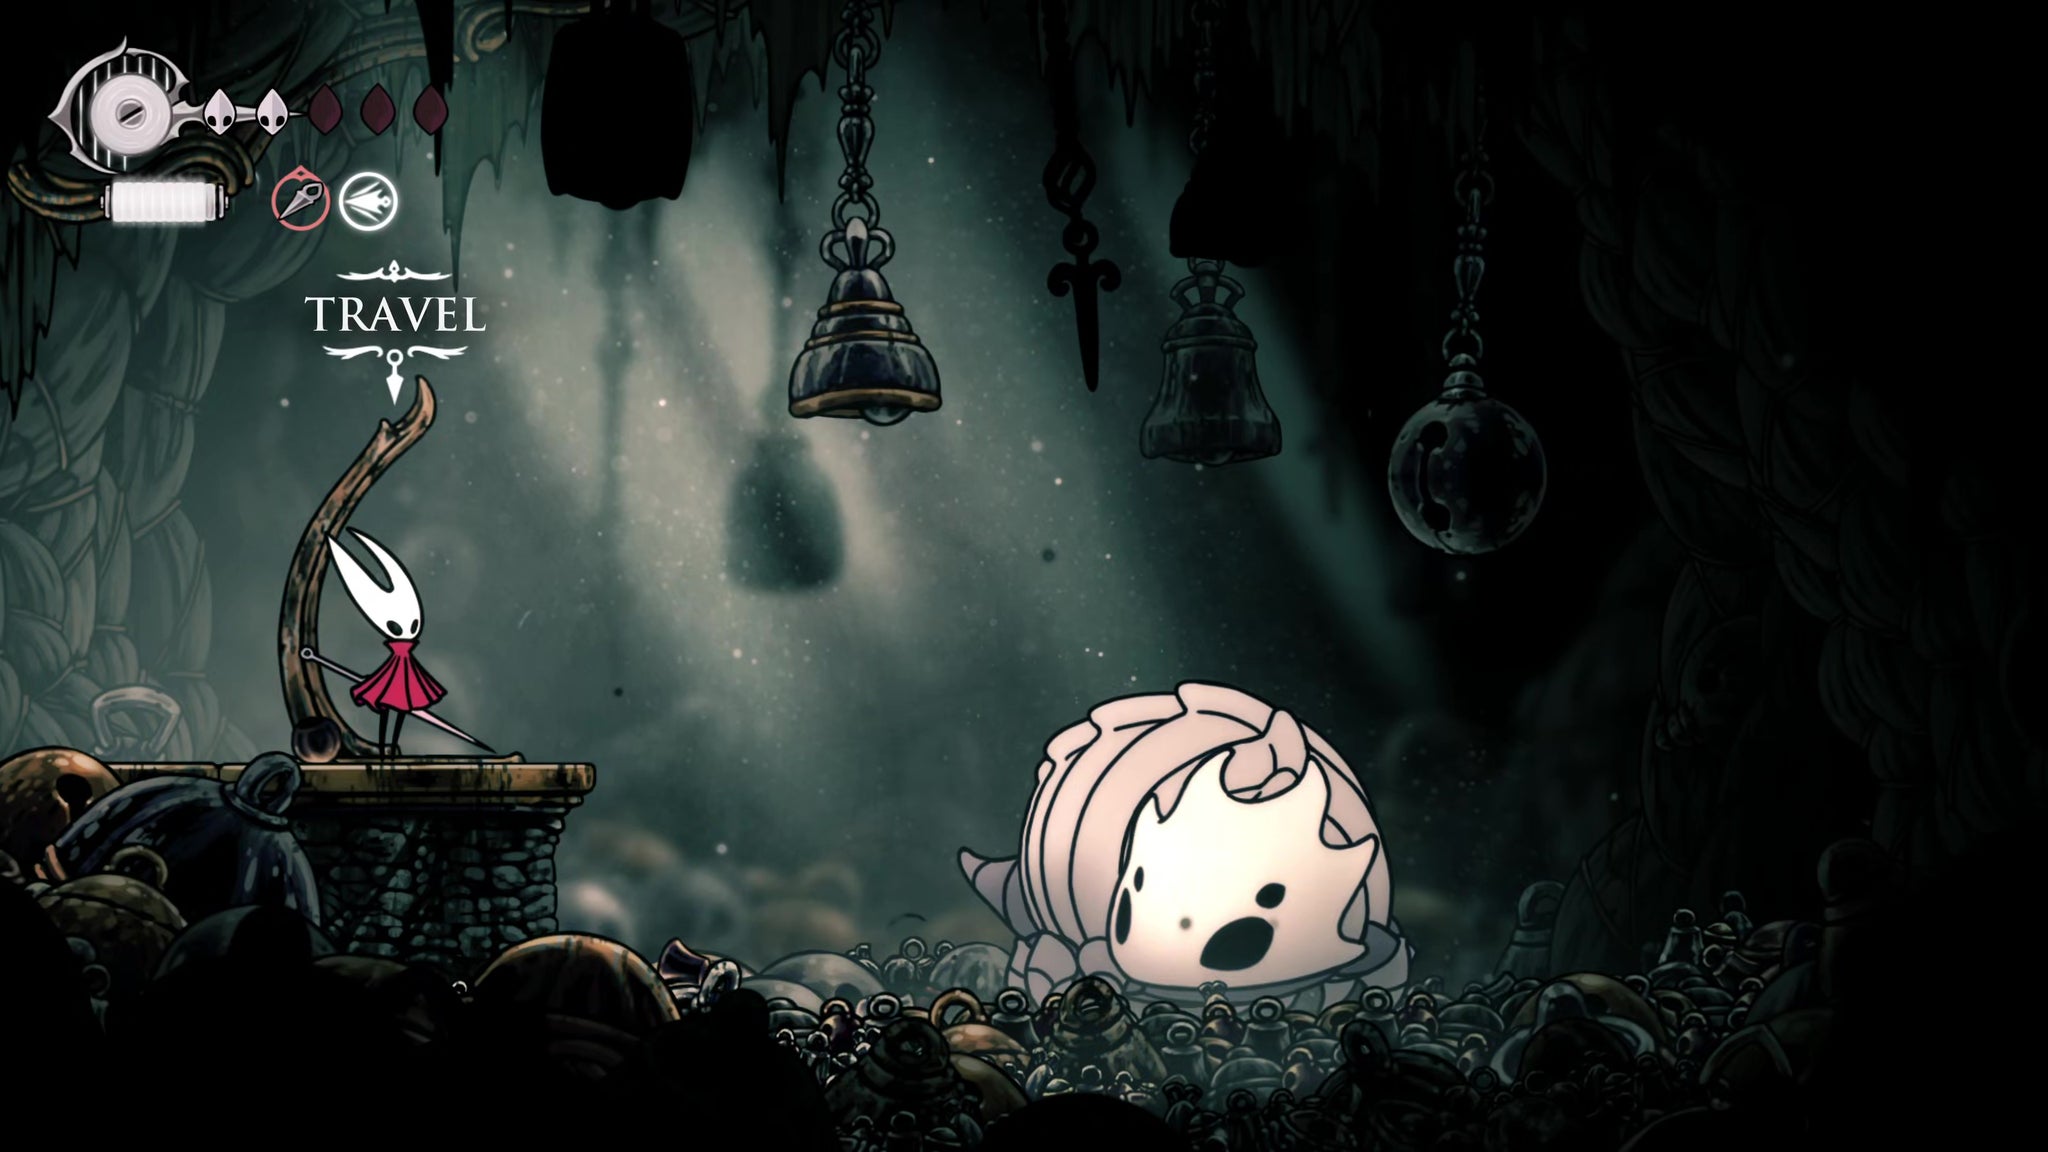
Image credit:Rock Paper Shotgun/Team Cherry
Then drop back down past the Fluttermites to the very ground level of the room and exit to the right. Follow the path to the right, and you can pay 80 Rosaries to unlock the Greymoor Bellway at last.
13. Meet Garmond and Zaza.
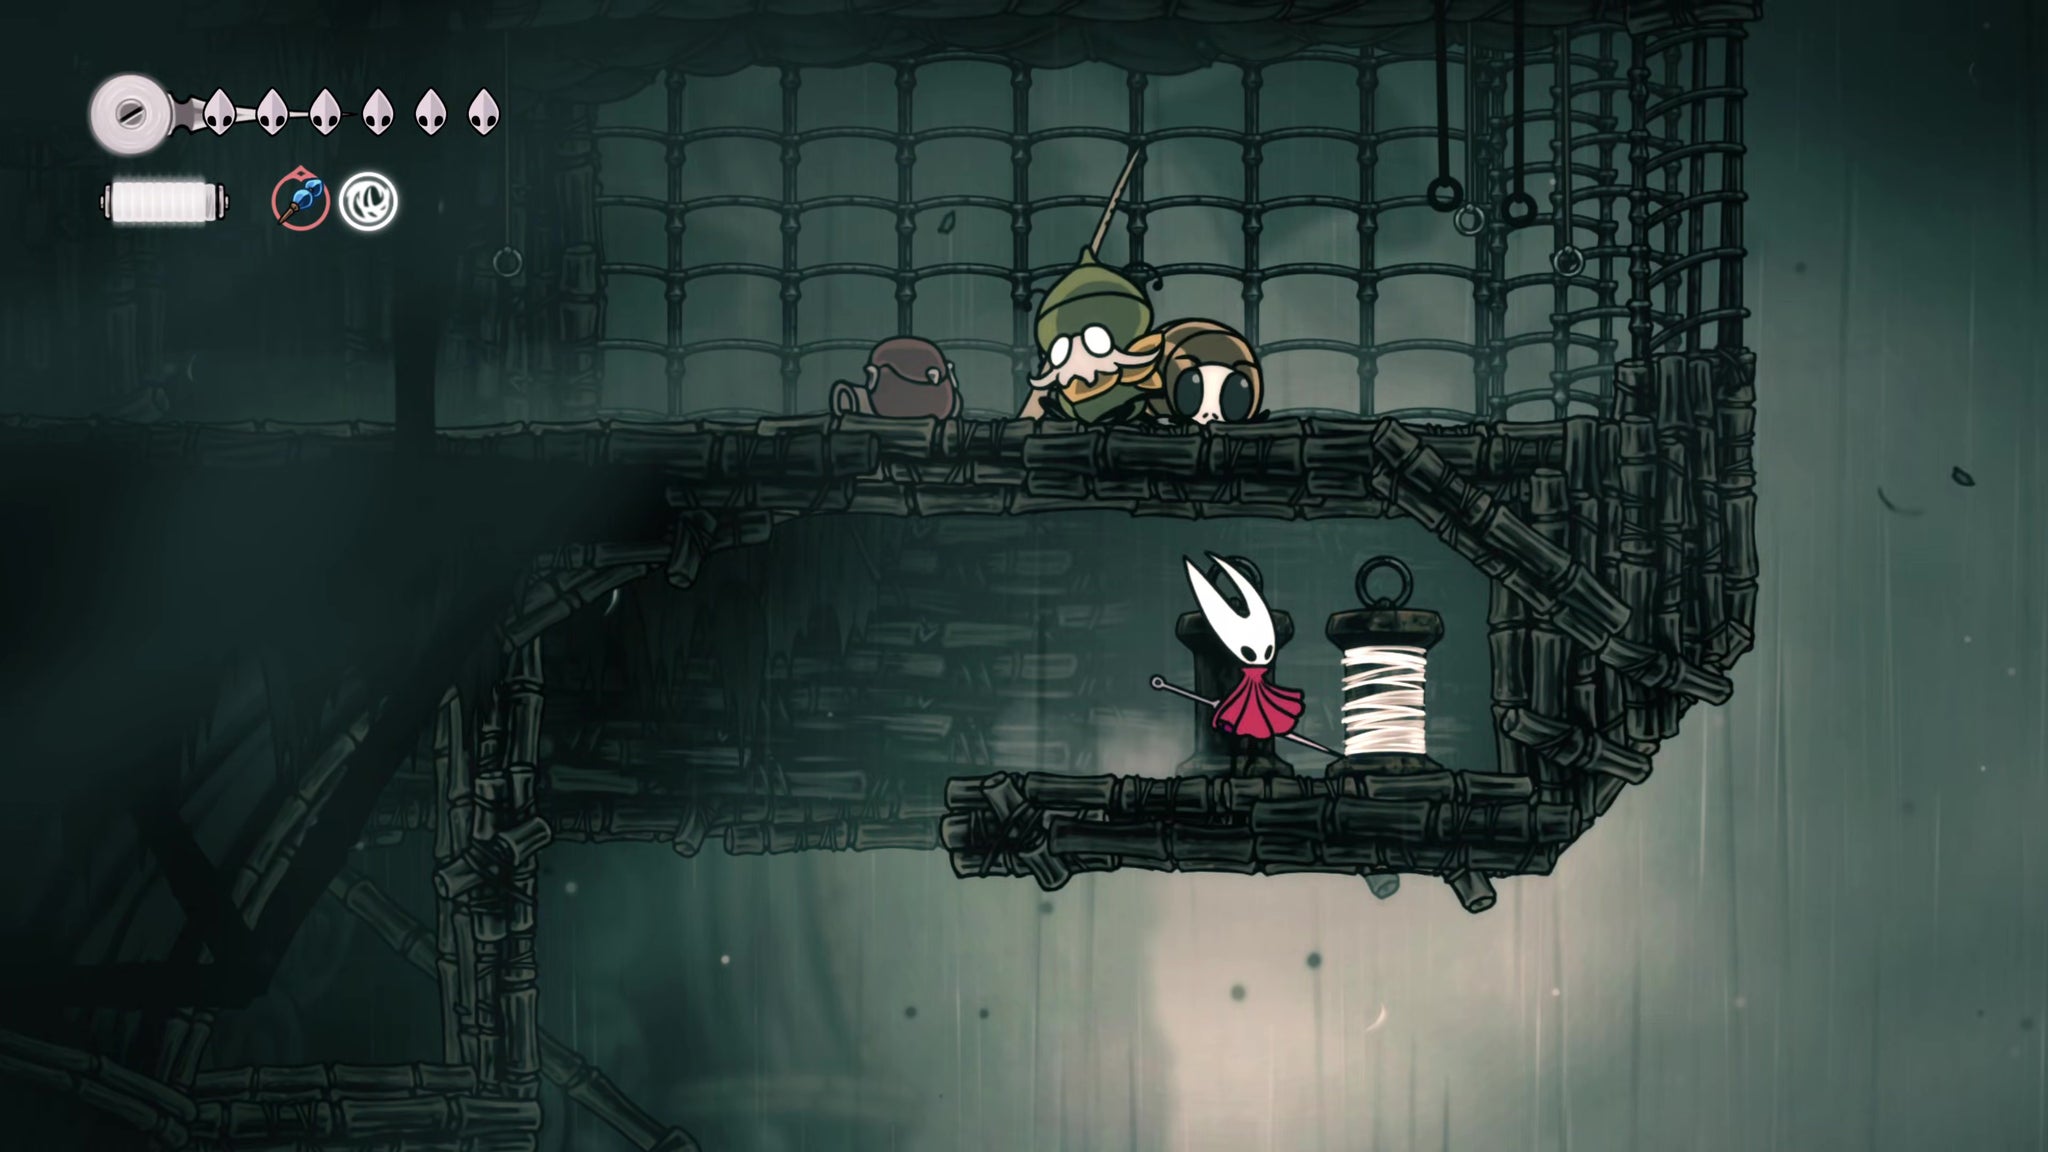
Image credit:Rock Paper Shotgun/Team Cherry
Head back outdoors and climb above the wooden walkway to your left. Follow the platforms upwards for some Silk. Just above the Silk you’ll see an NPC resting. To get to him, drop back down to the ground, and this time go through the wooden walkway to the next room.
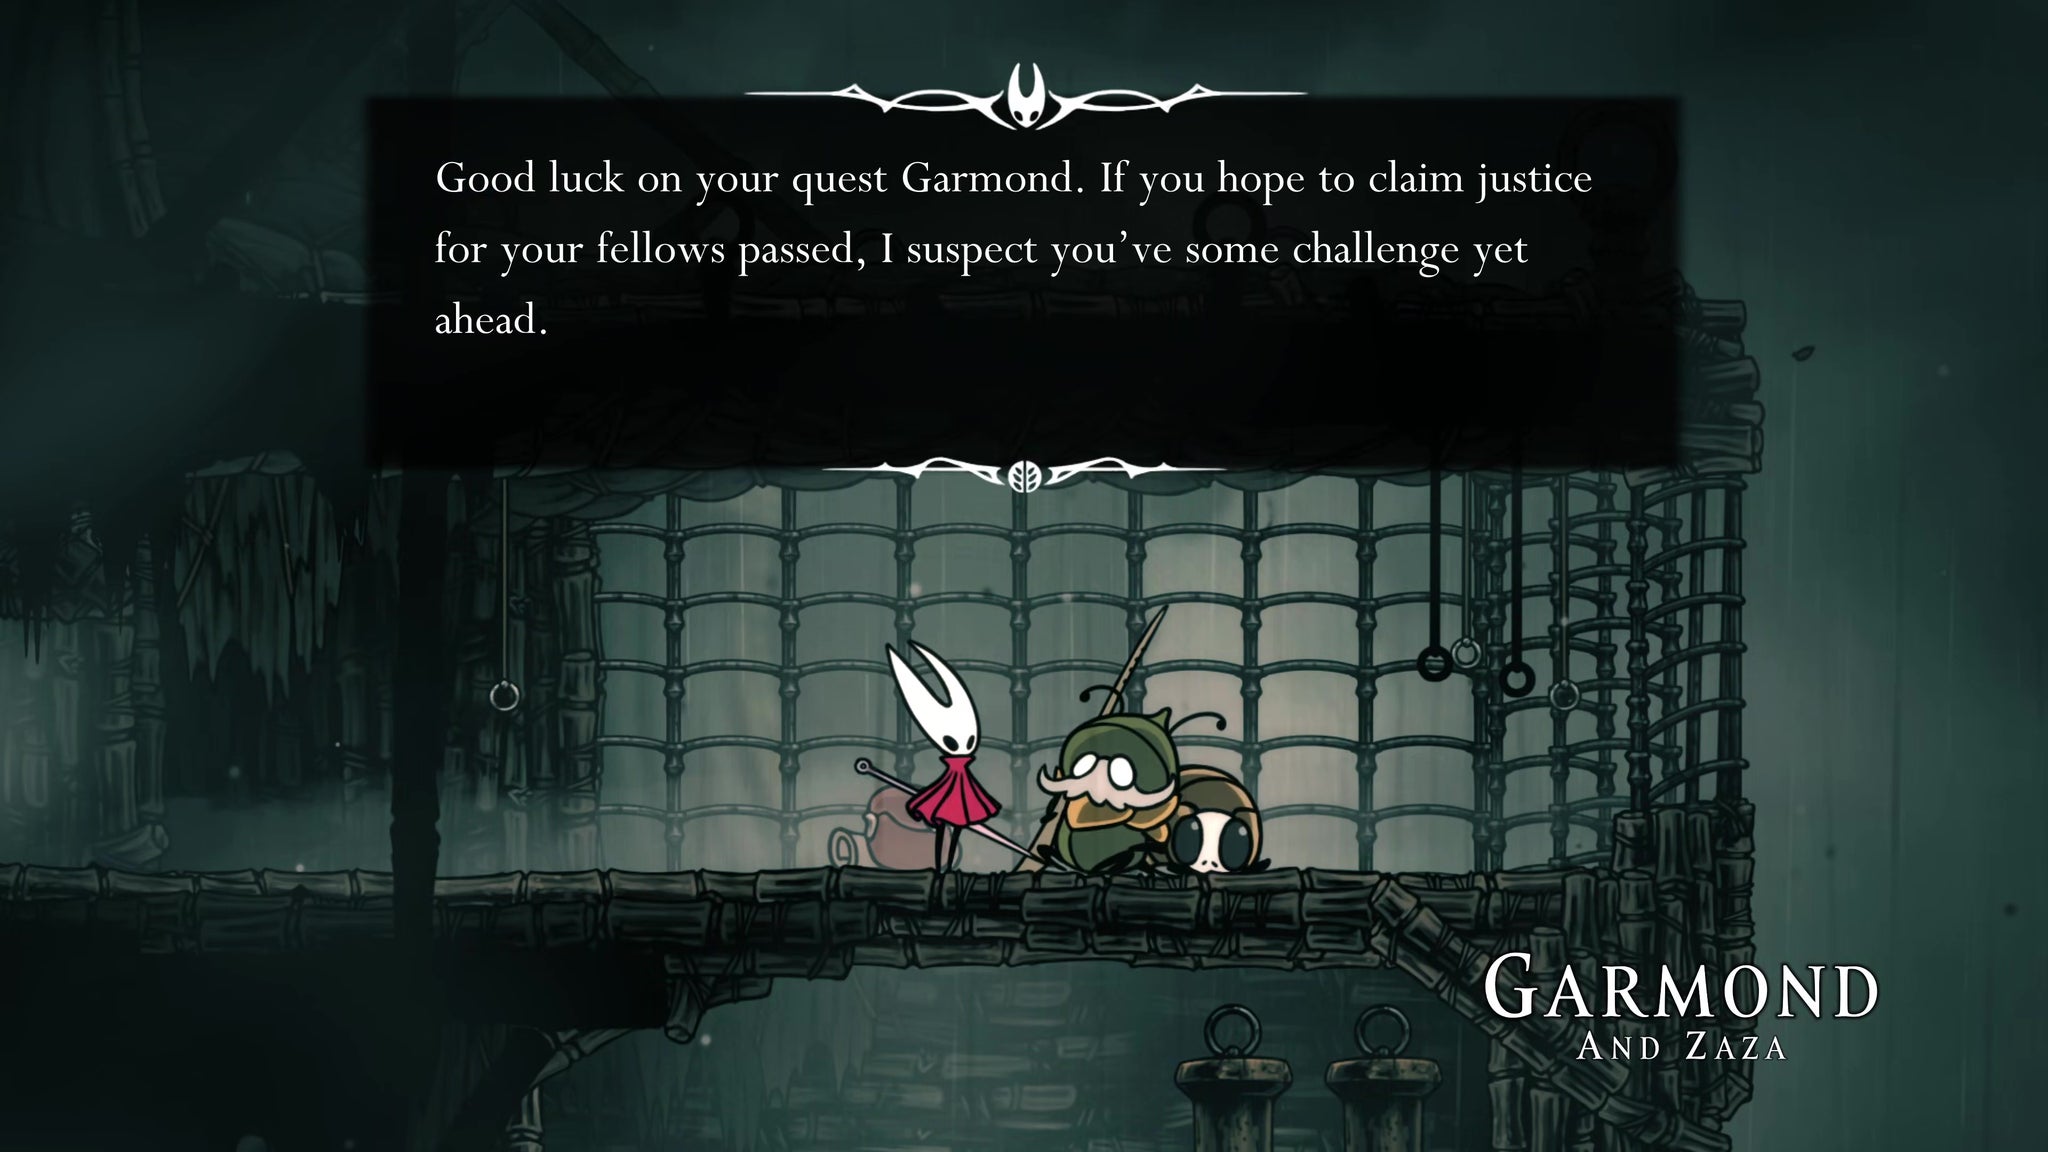
Image credit:Rock Paper Shotgun/Team Cherry
In this next room, climb up the ledges until you get to the spinning spiked saws at the top, then pass through the exit on the right just beneath them. At the end of the path you can speak with the NPC - Garmond - and his companion, Zaza.
14. Activate the Halfway Home elevator.
Go back into the spiked saws room, and cross over to the left-hand side for a Rosary cache. Then keep climbing upwards - you can Pogo off the saws for greater height.


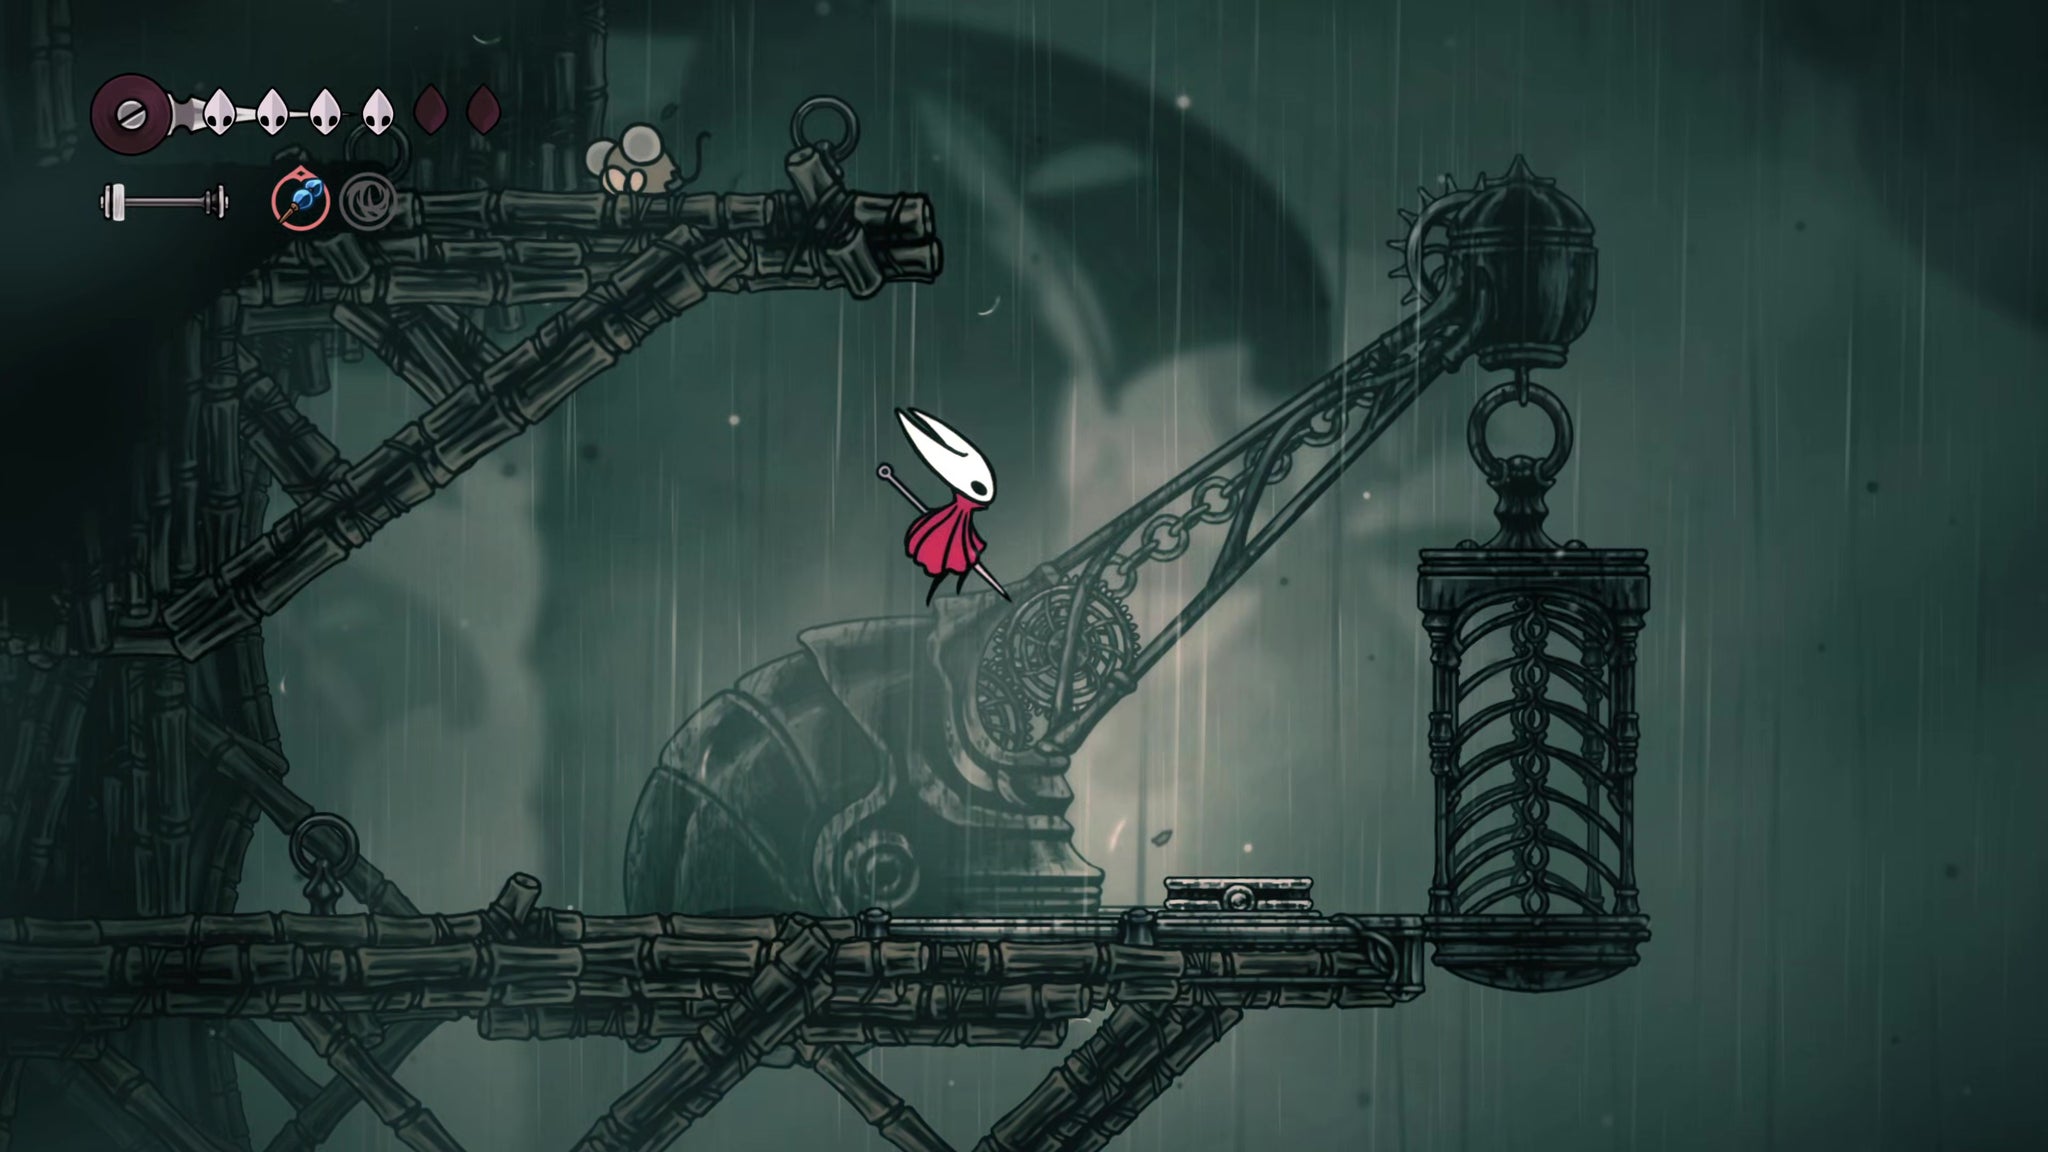
Climb up to the high-up right-hand exit, and go through it. In the corridor beyond, defeat another Thread Raker and keep heading all the way right until you reach an elevator. Stand on the pressure plate to activate it. It can now take you back to the Halfway Home whenever you like (you can go back now and rest at the Bench if needed).
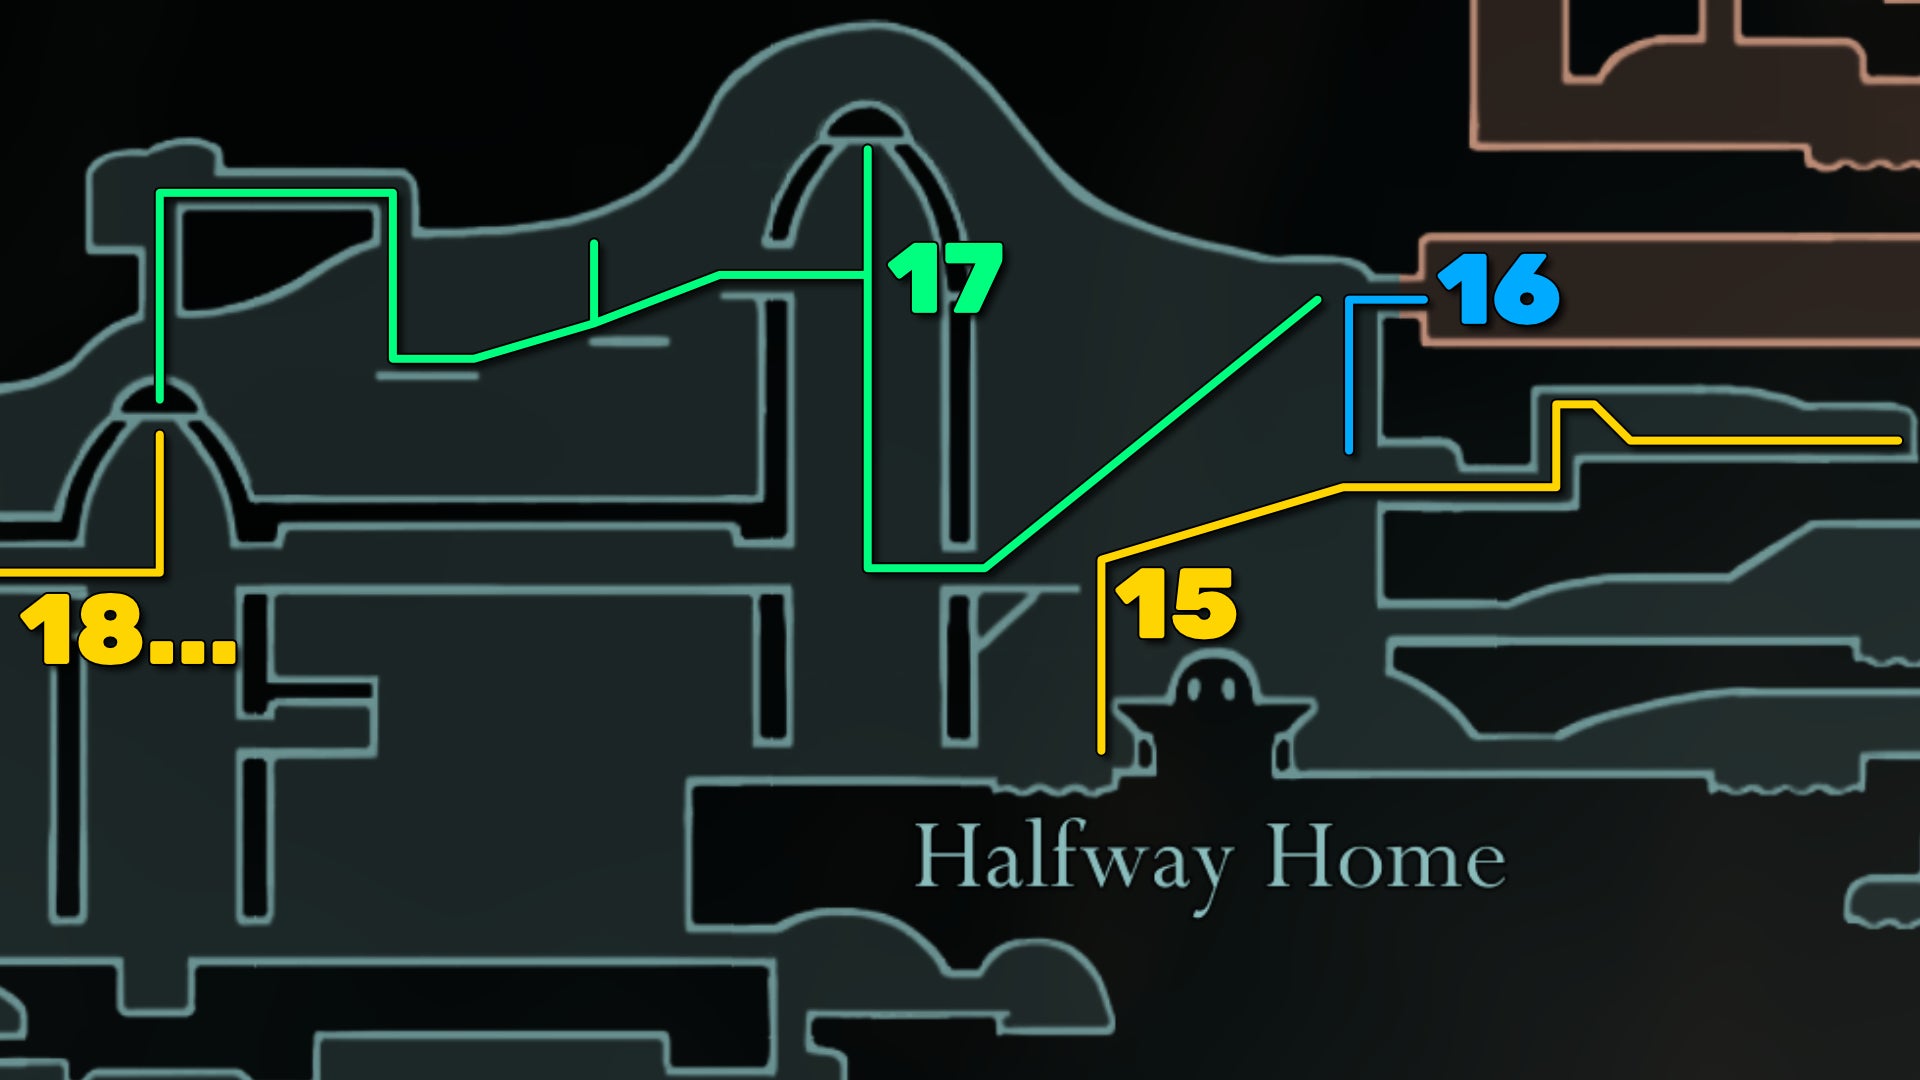
Image credit:Rock Paper Shotgun/Team Cherry
15. Rescue Kratt.
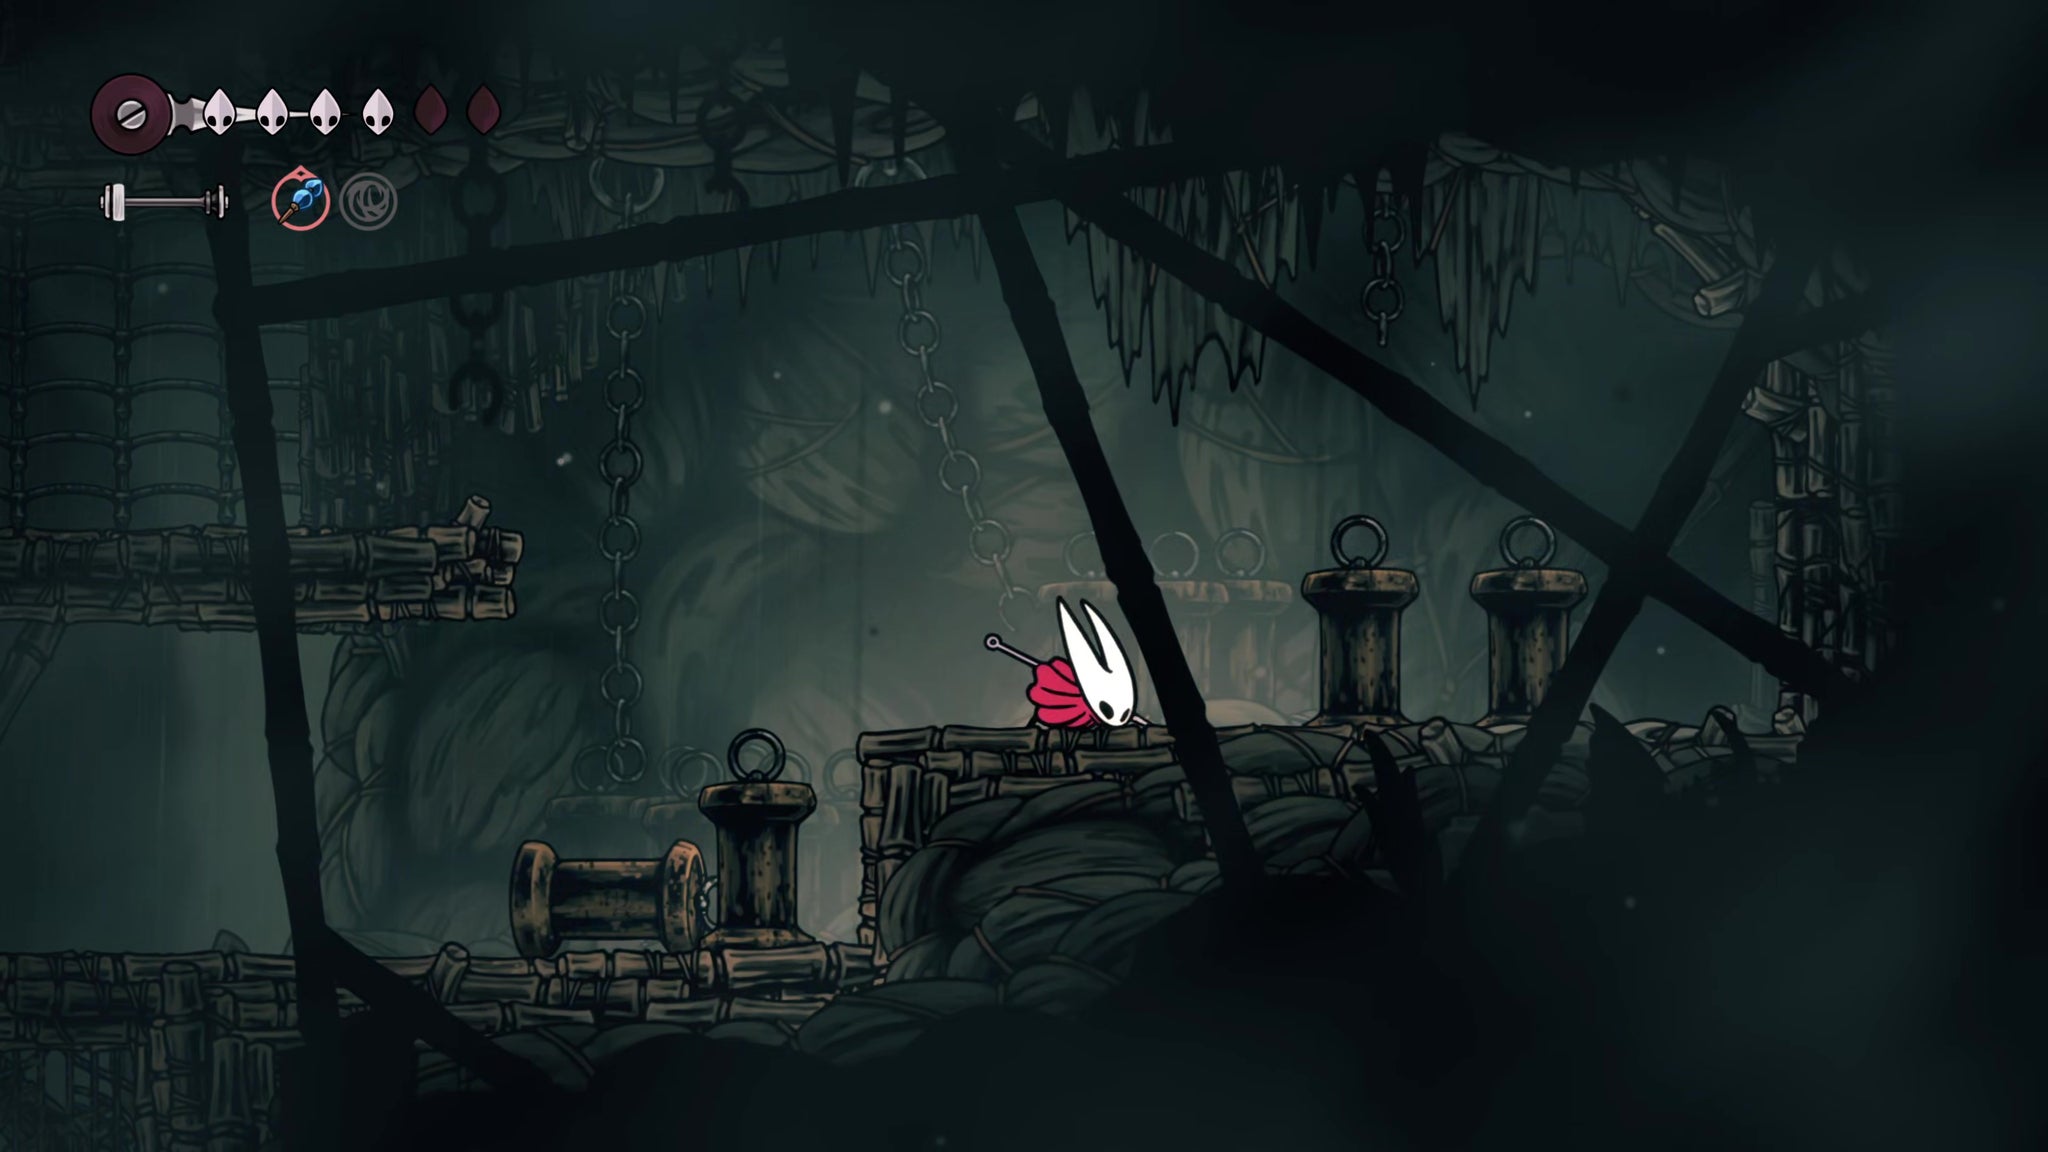
Image credit:Rock Paper Shotgun/Team Cherry
Ride the elevator back to the top, and jump over it to the right to reach a new set of platforms. On the far right-hand side, about halfway up, you’ll find a little alcove with a number of large yarn spools. Hit the wall at the end to open a secret passage.
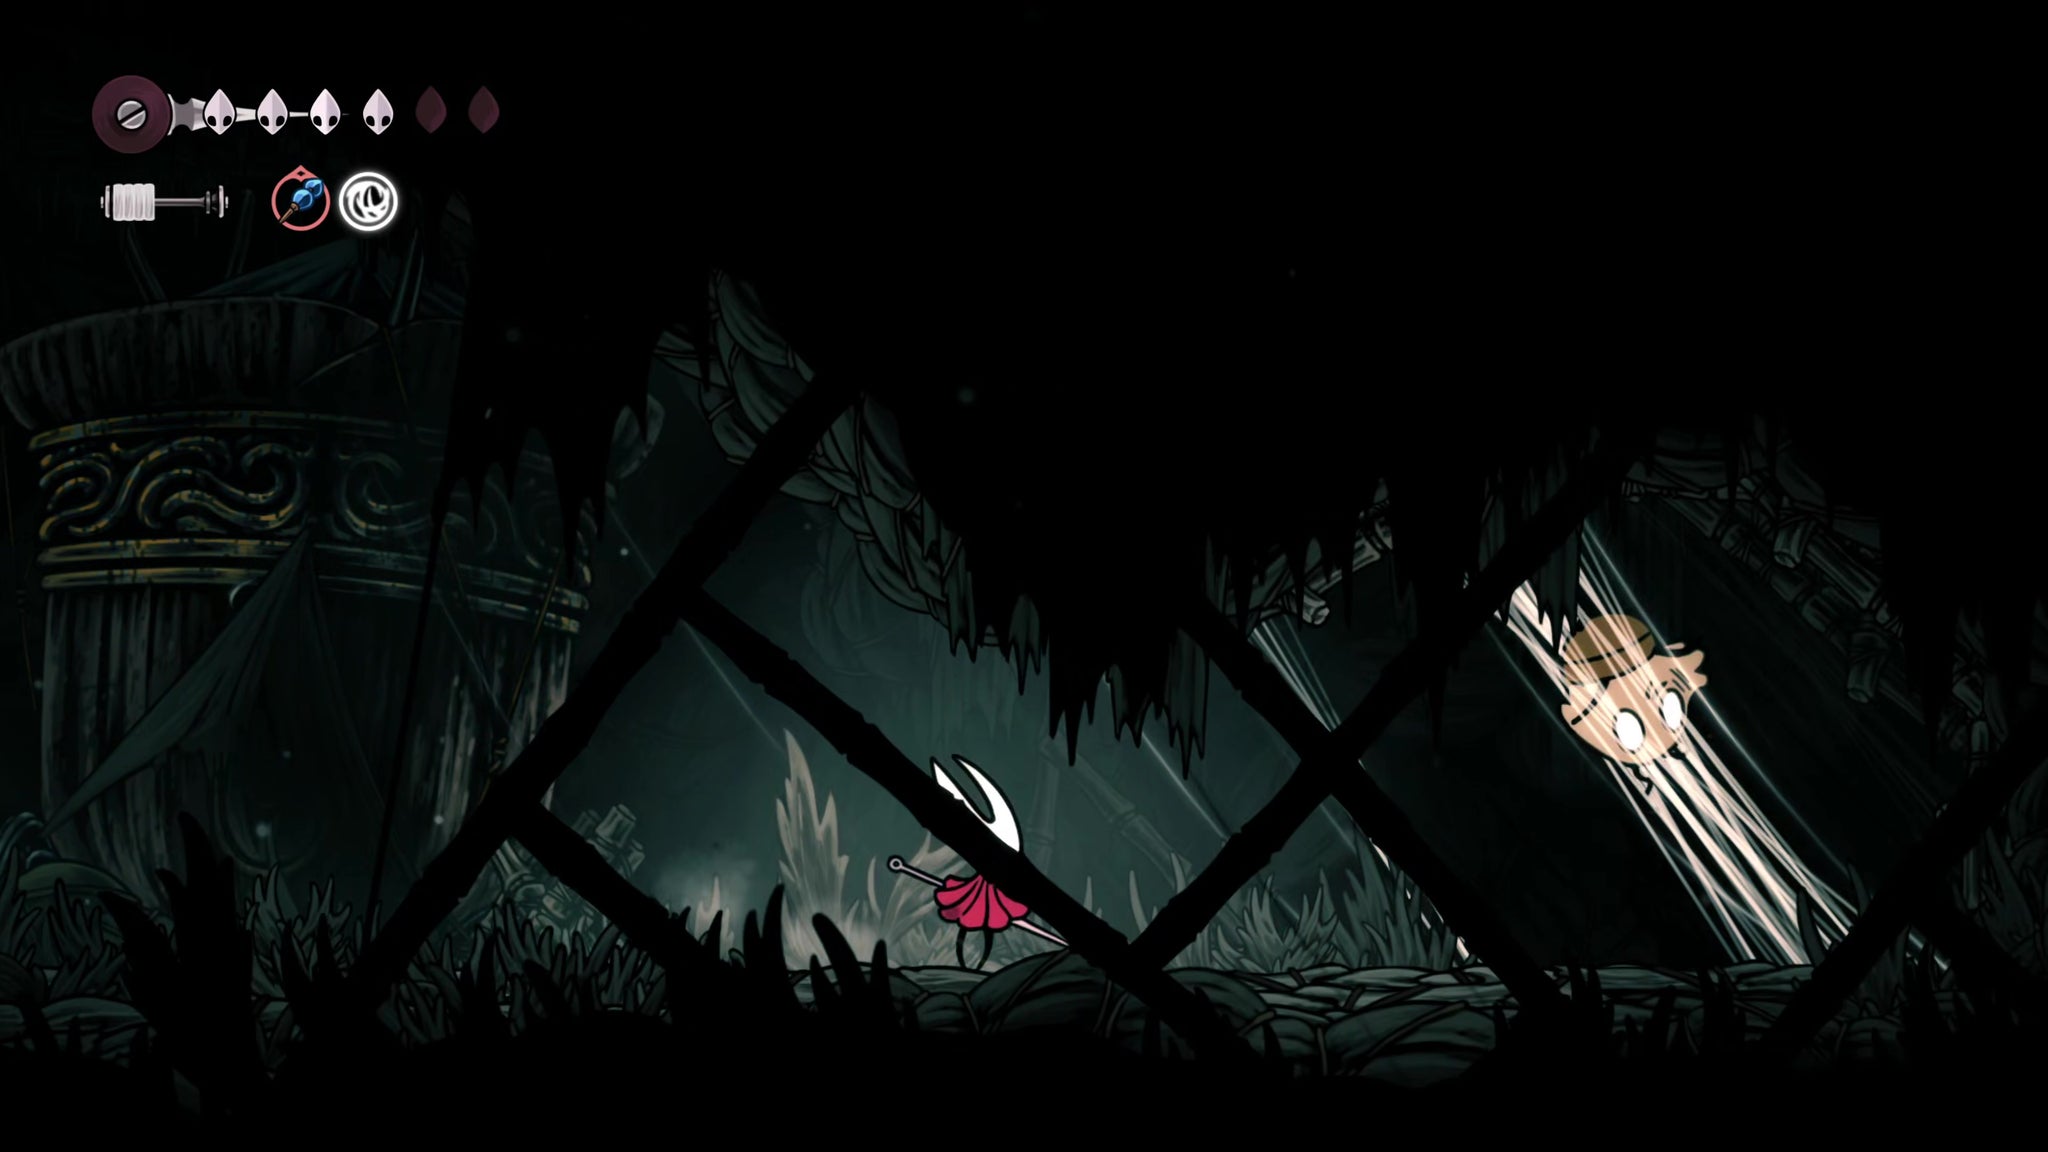
Image credit:Rock Paper Shotgun/Team Cherry
Cross the next room, and you’ll find an unusual Flea trapped in some webbing. Attack the webbing to free the Flea. Unusually, this one’s a full-fledged NPC named Kratt, who tells you he’ll see you back at the Flea Caravan.
16. Discover the main Sinner’s Road entrance for later.
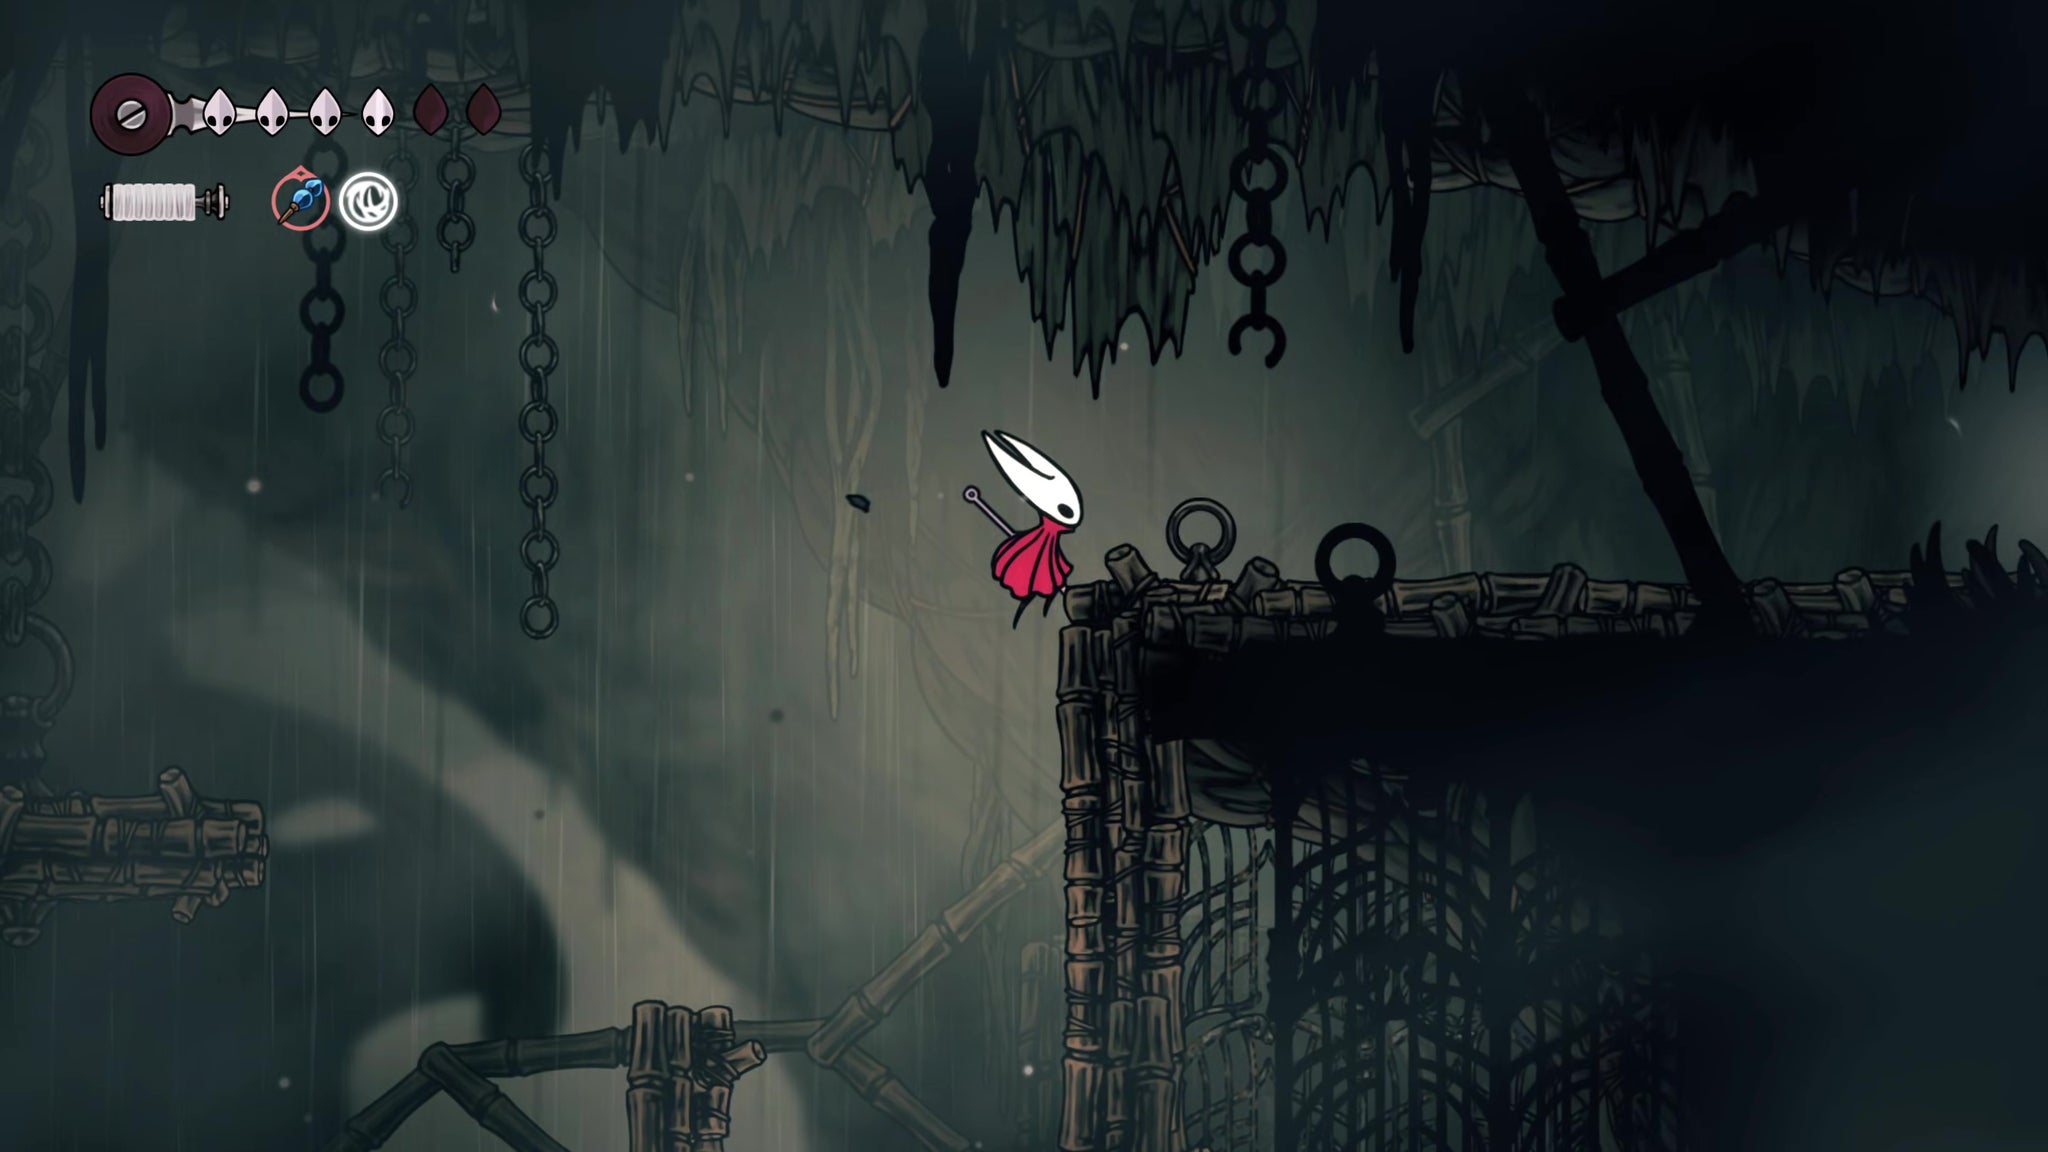
Image credit:Rock Paper Shotgun/Team Cherry
Head back out of the secret room, and then wall-climb all the way up to the top of this right-hand section of ledges. There’s an exit in the very top-right corner. Peek your head in for now - this is the main entrance to Sinner’s Road, which we’ll be exploring it from later.
Again, it’s a sizeable step up in difficulty from anything you’ve faced so far, so we won’t go there now. But make a mental note - this is how to get there properly.

This place is tricky; definitely leave it for later. |Image credit:Rock Paper Shotgun/Team Cherry
17. Rescue another Flea atop the tower.
Head back into the relative safety of Greymoor, and make your way back to the top side of the elevator. You can do some tricky Pogo-ing to get to the ceiling far above the elevator for a tablet of lore, but it’s entirely optional.
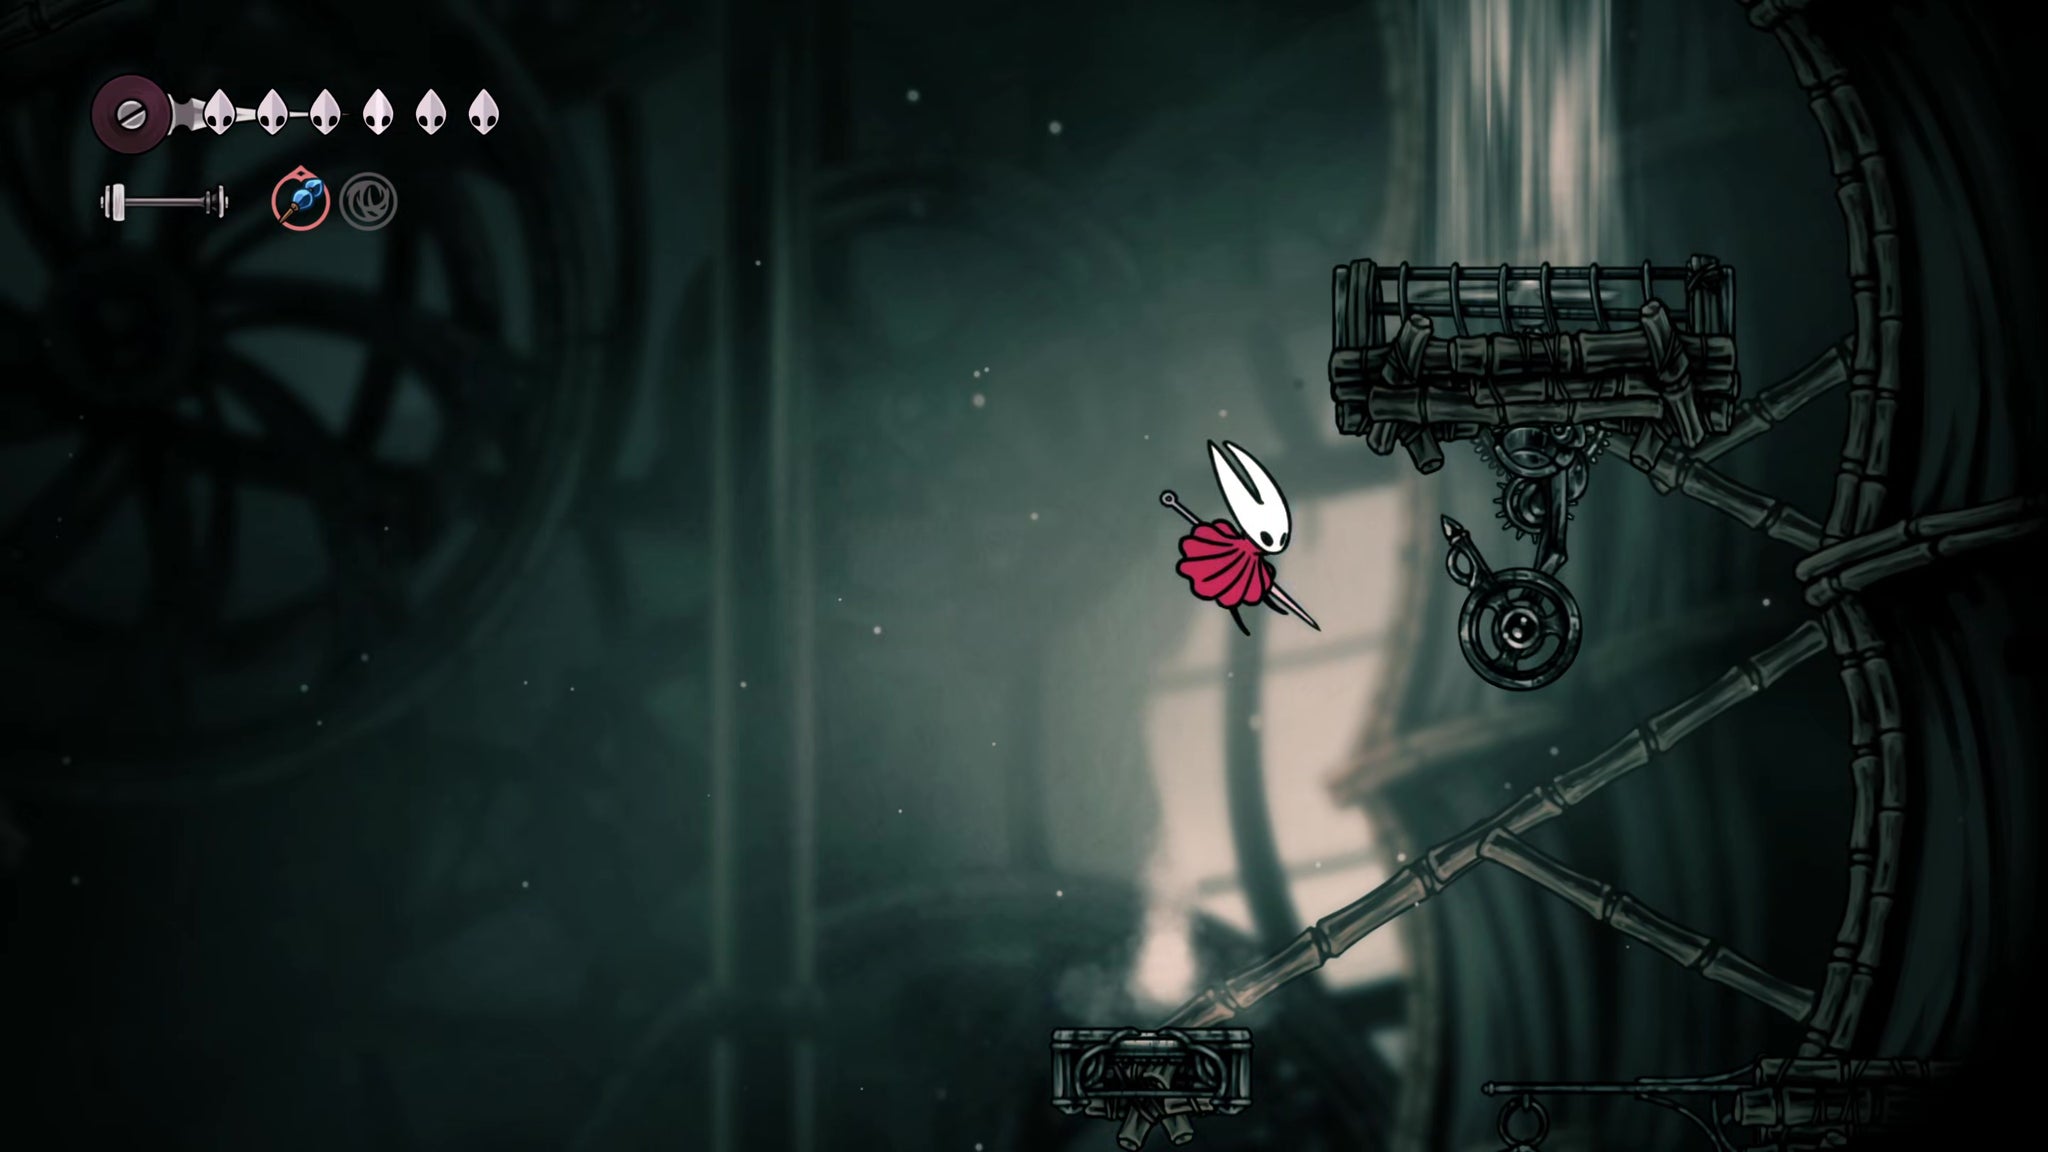
Image credit:Rock Paper Shotgun/Team Cherry
Back at the elevator, exit out the left passage, then climb up and repeatedly attack the lever above you until it locks in place to create an air current. Then drop down through the hole in the floor, and do the same with the lever below guarded by Fluttermites. There are also some Rosaries to collect at this level and just below it on the left.
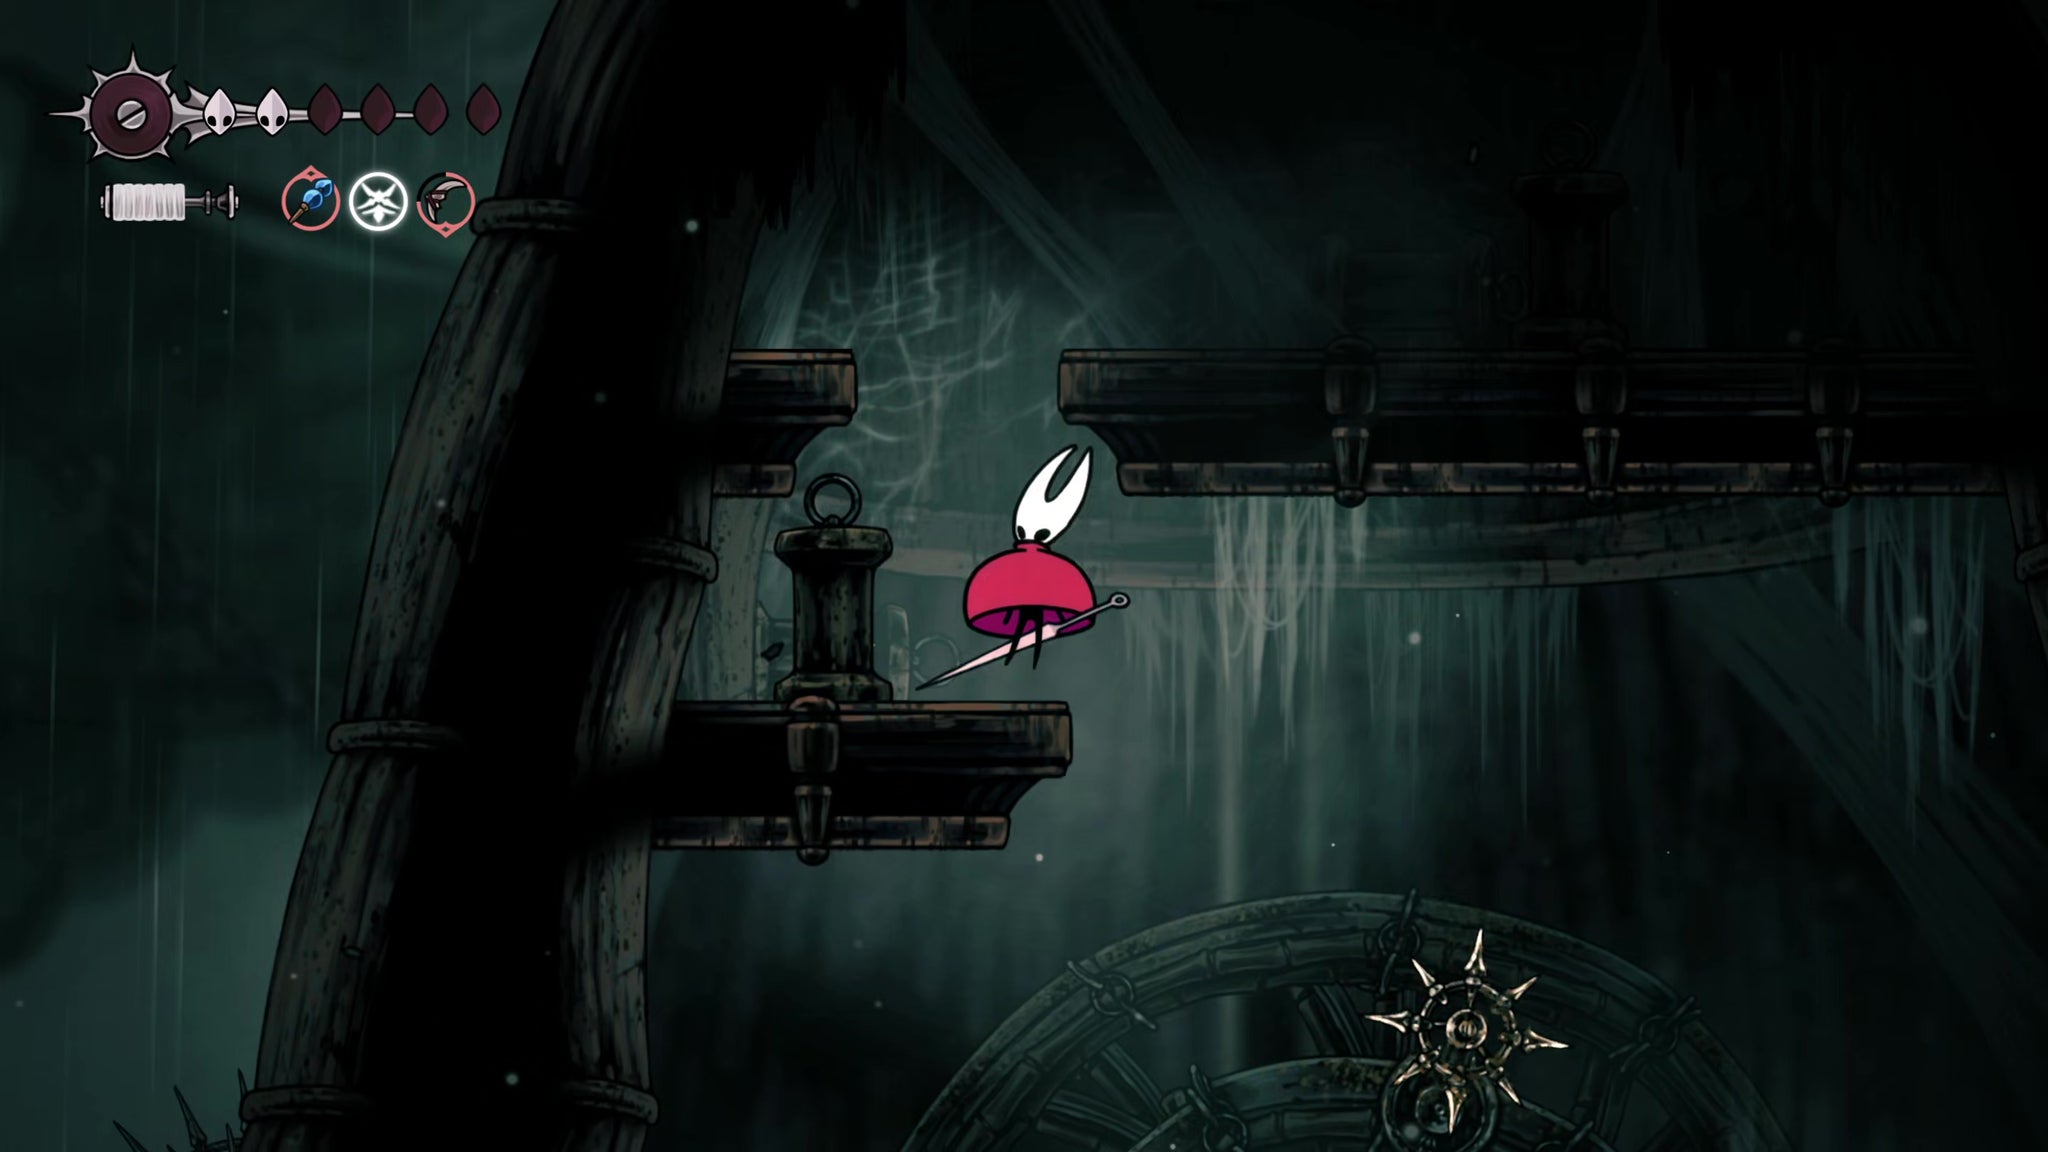
Image credit:Rock Paper Shotgun/Team Cherry
Now ride the air currents to the top, and you’ll find a third lever to pull, guarded by a Silk Snipper. Pull the lever to activate the third air current, and then ride it to the very top. You can Pogo off the saws here to reach a little enclosed space containing a large spider egg. Break the egg to receive a Silkeater.
Now drop down a little to the ledge to the left of the saws, and pass into the next room. Pogo off the balloons to avoid the spikes, and hit the lever to create another air current upwards, which simply leads to some Silk. Then continue Pogo-ing to the left, and clear the platform of enemies. Below is another lever to activate, for yet another air current.


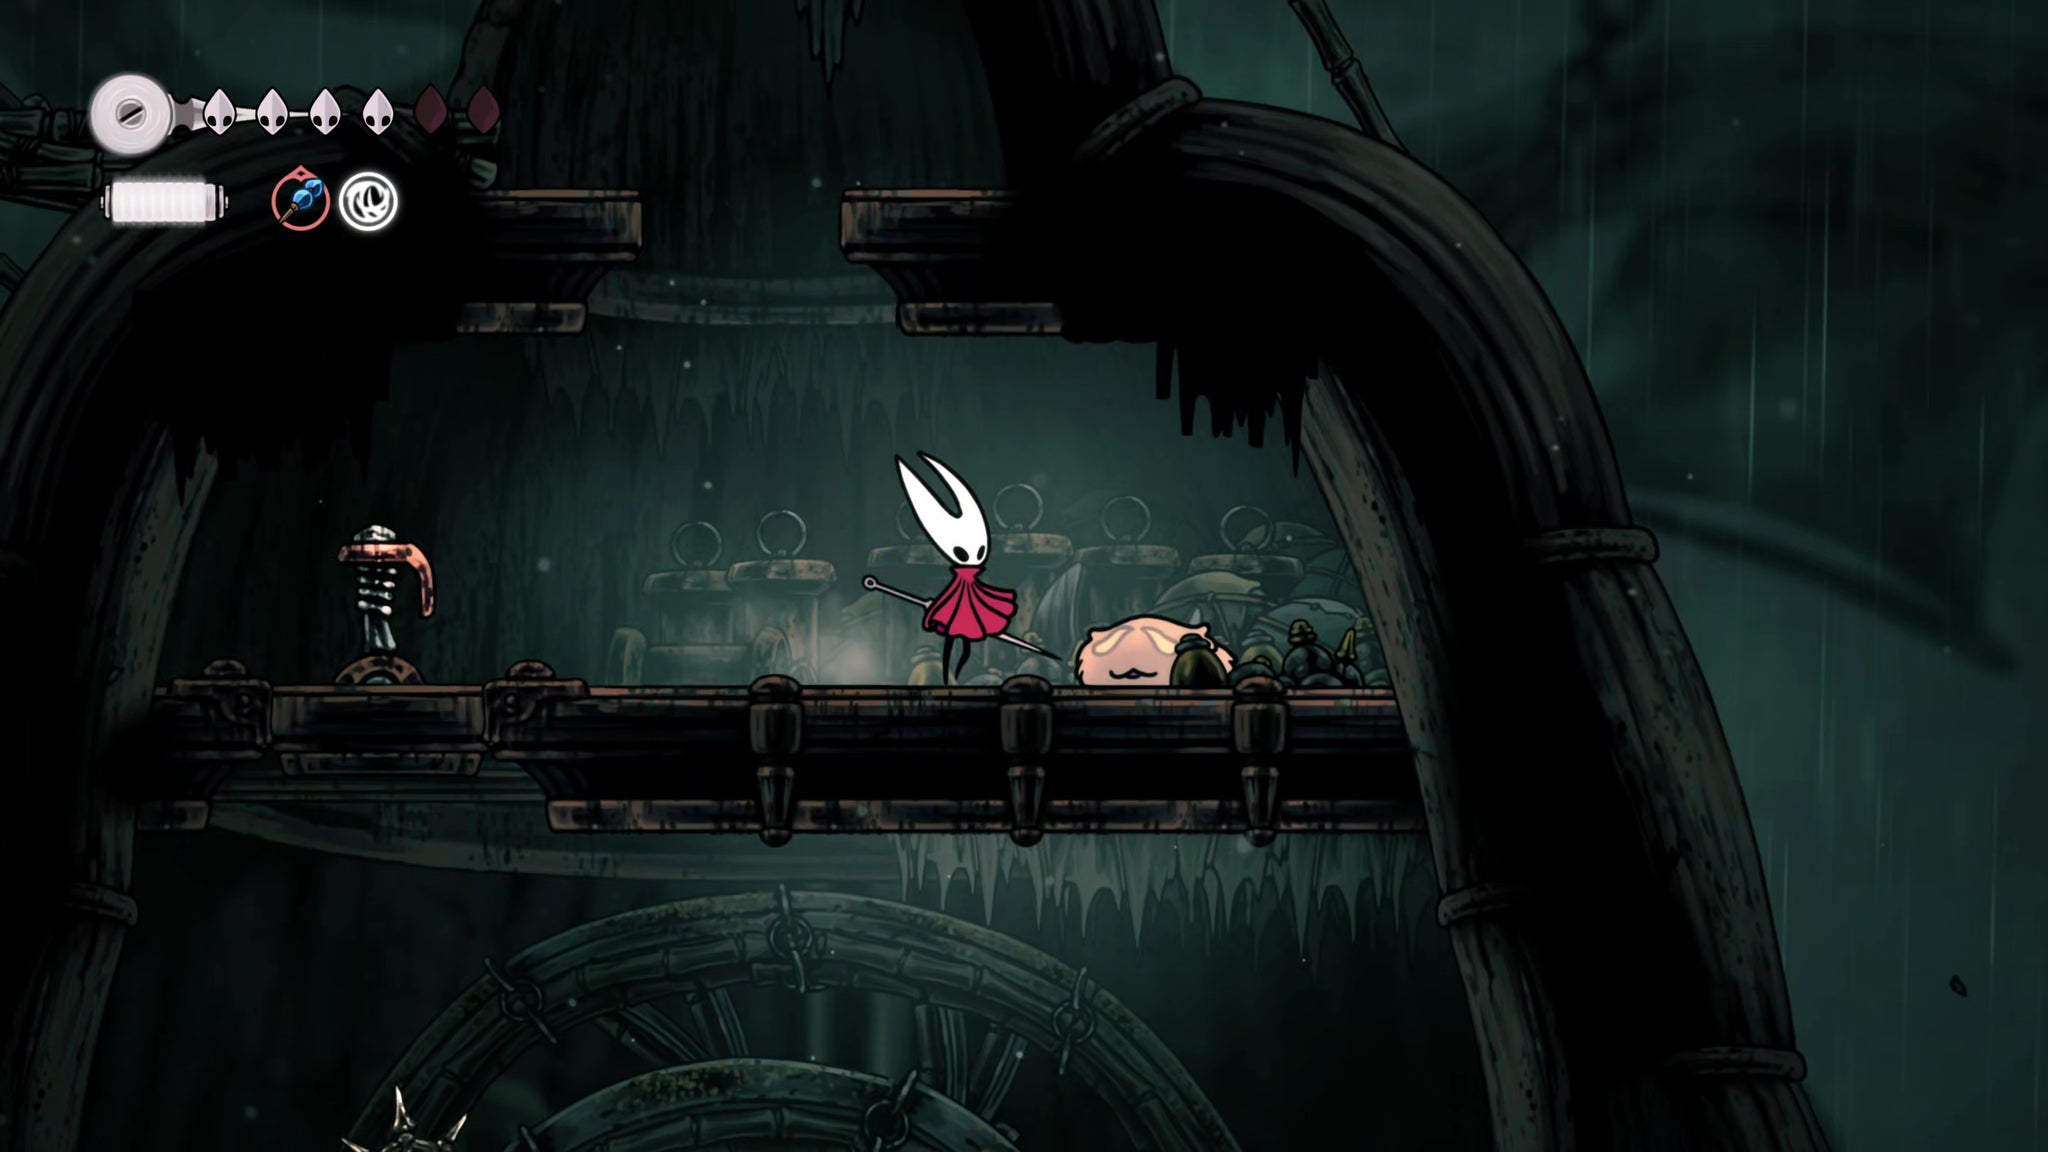
Use the air current to gain enough height to reach the balloons further to the left. These will allow you to reach the wall at the top of the screen, which leads to an upper exit.
Drop down the hole in the next room, and you’ll find a sleeping Lost Flea to rescue. That done, hit the lever next to you to drop down to the start of this whole path again.
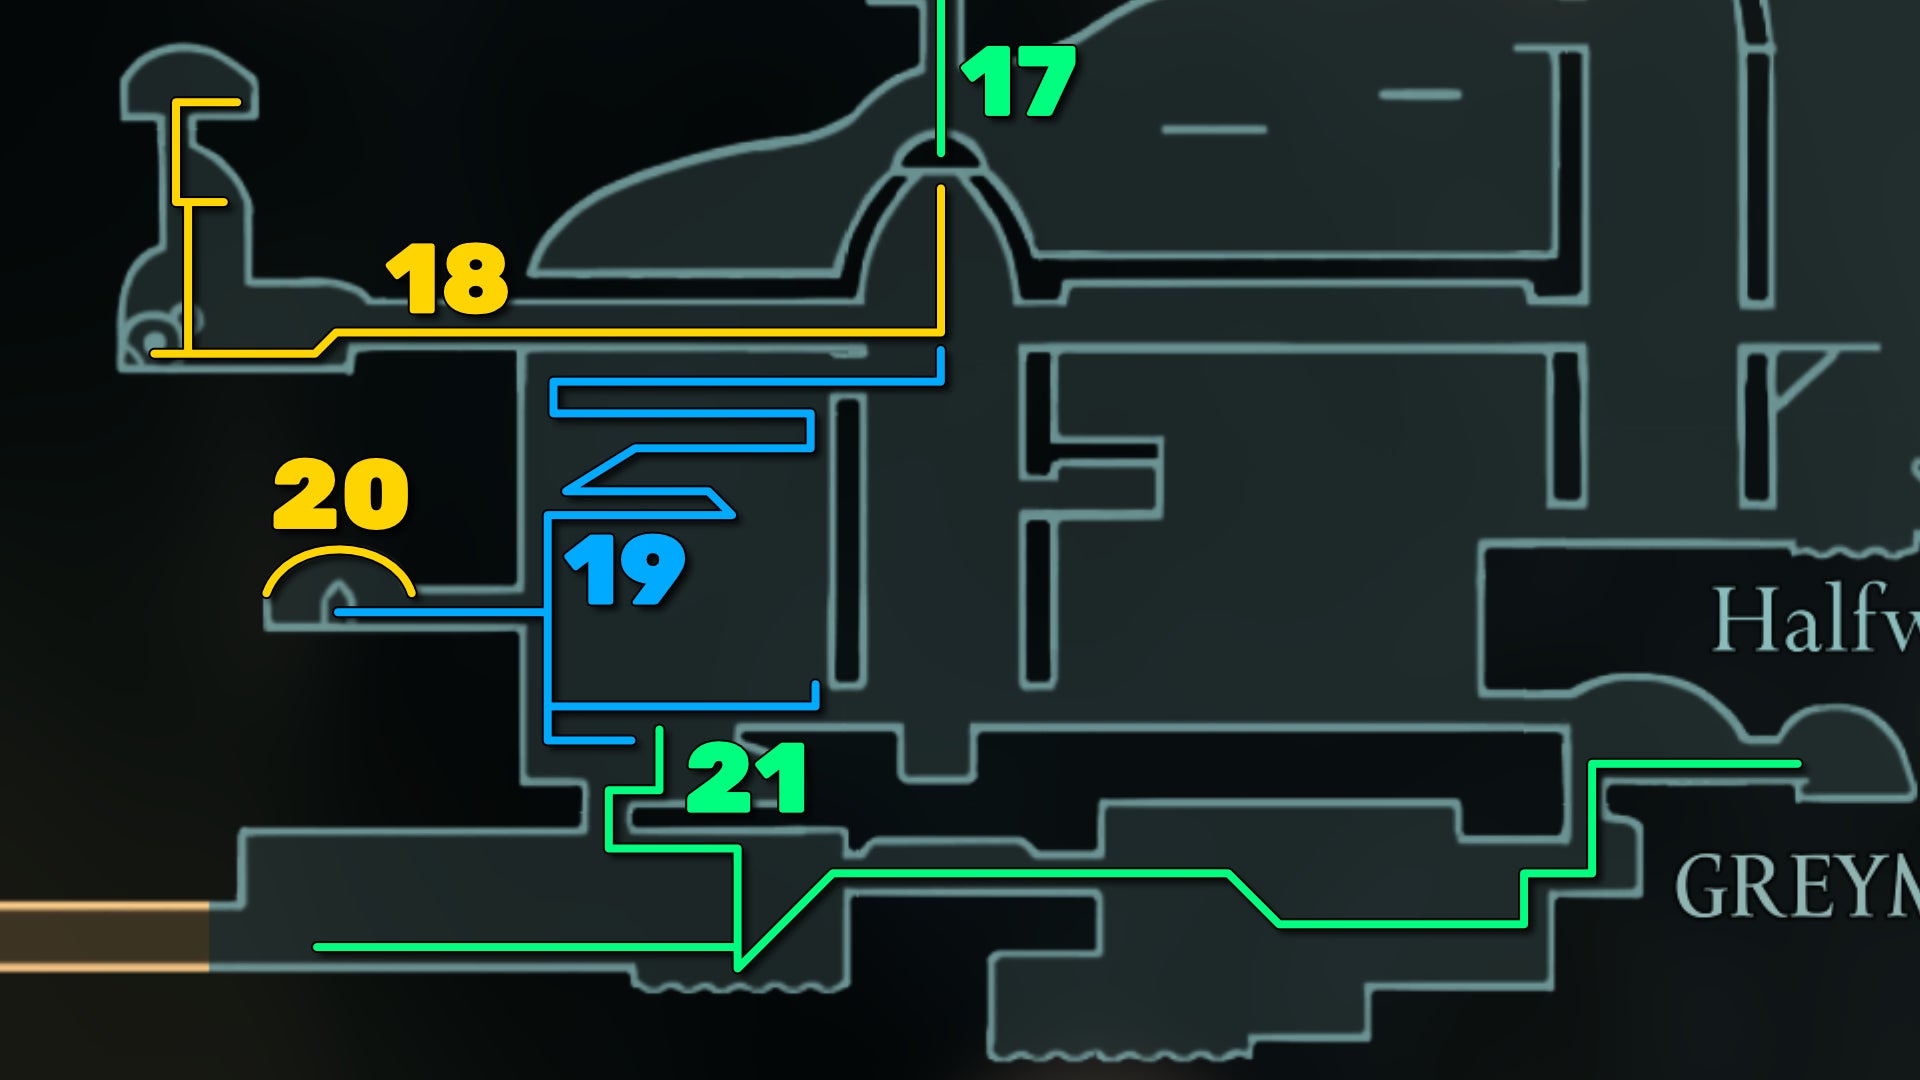
Image credit:Rock Paper Shotgun/Team Cherry
18. Craft the Pimpillo tool.
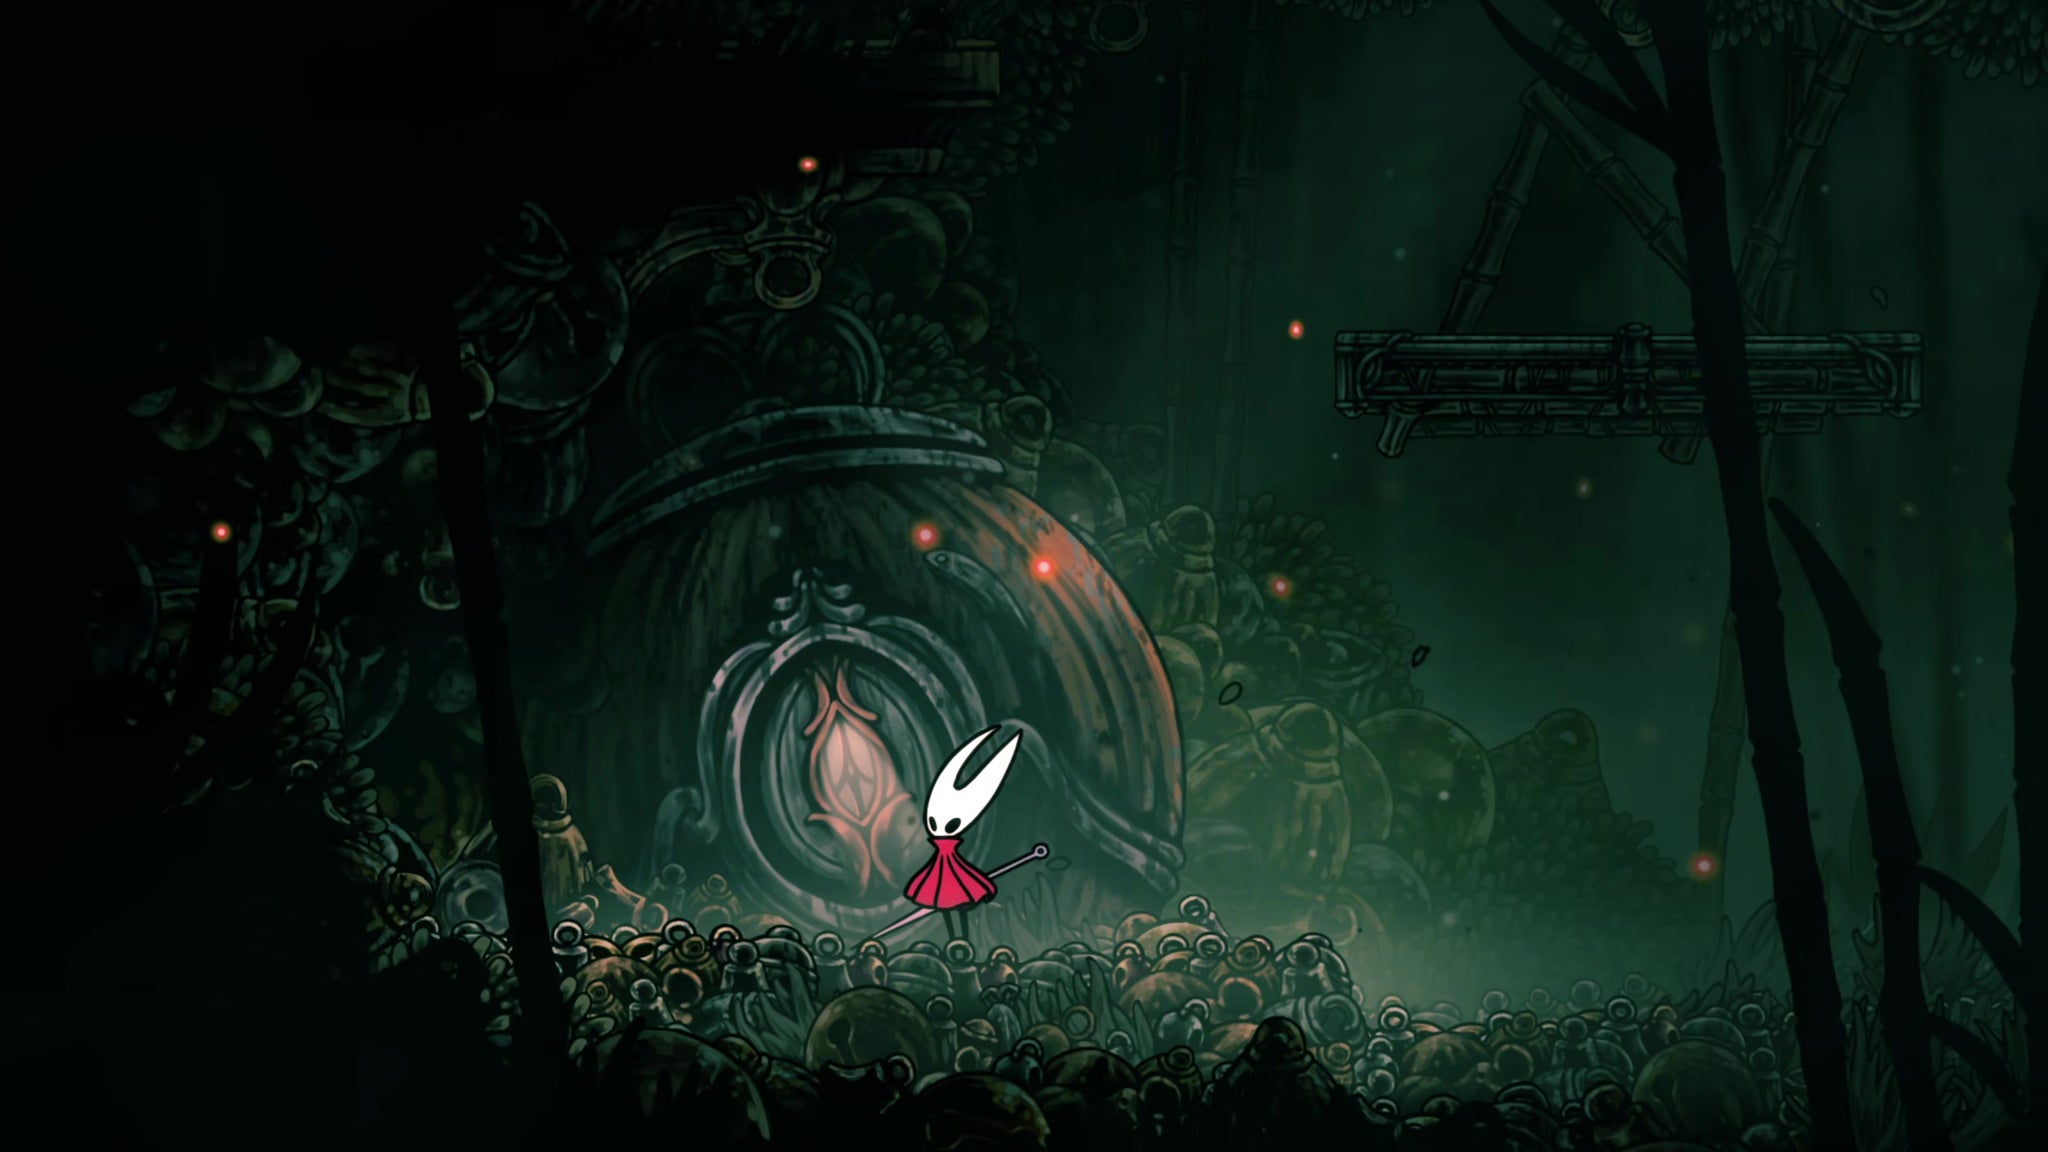
Image credit:Rock Paper Shotgun/Team Cherry
Drop a little further below the saws, and you’ll see two exits on your left - one atop the other. Take the upper exit, and follow the path all the way to the end, where you can “Inspect” a strange-looking bellhome. You won’t get any useful response from the inhabitant at this time, so just leave them be.
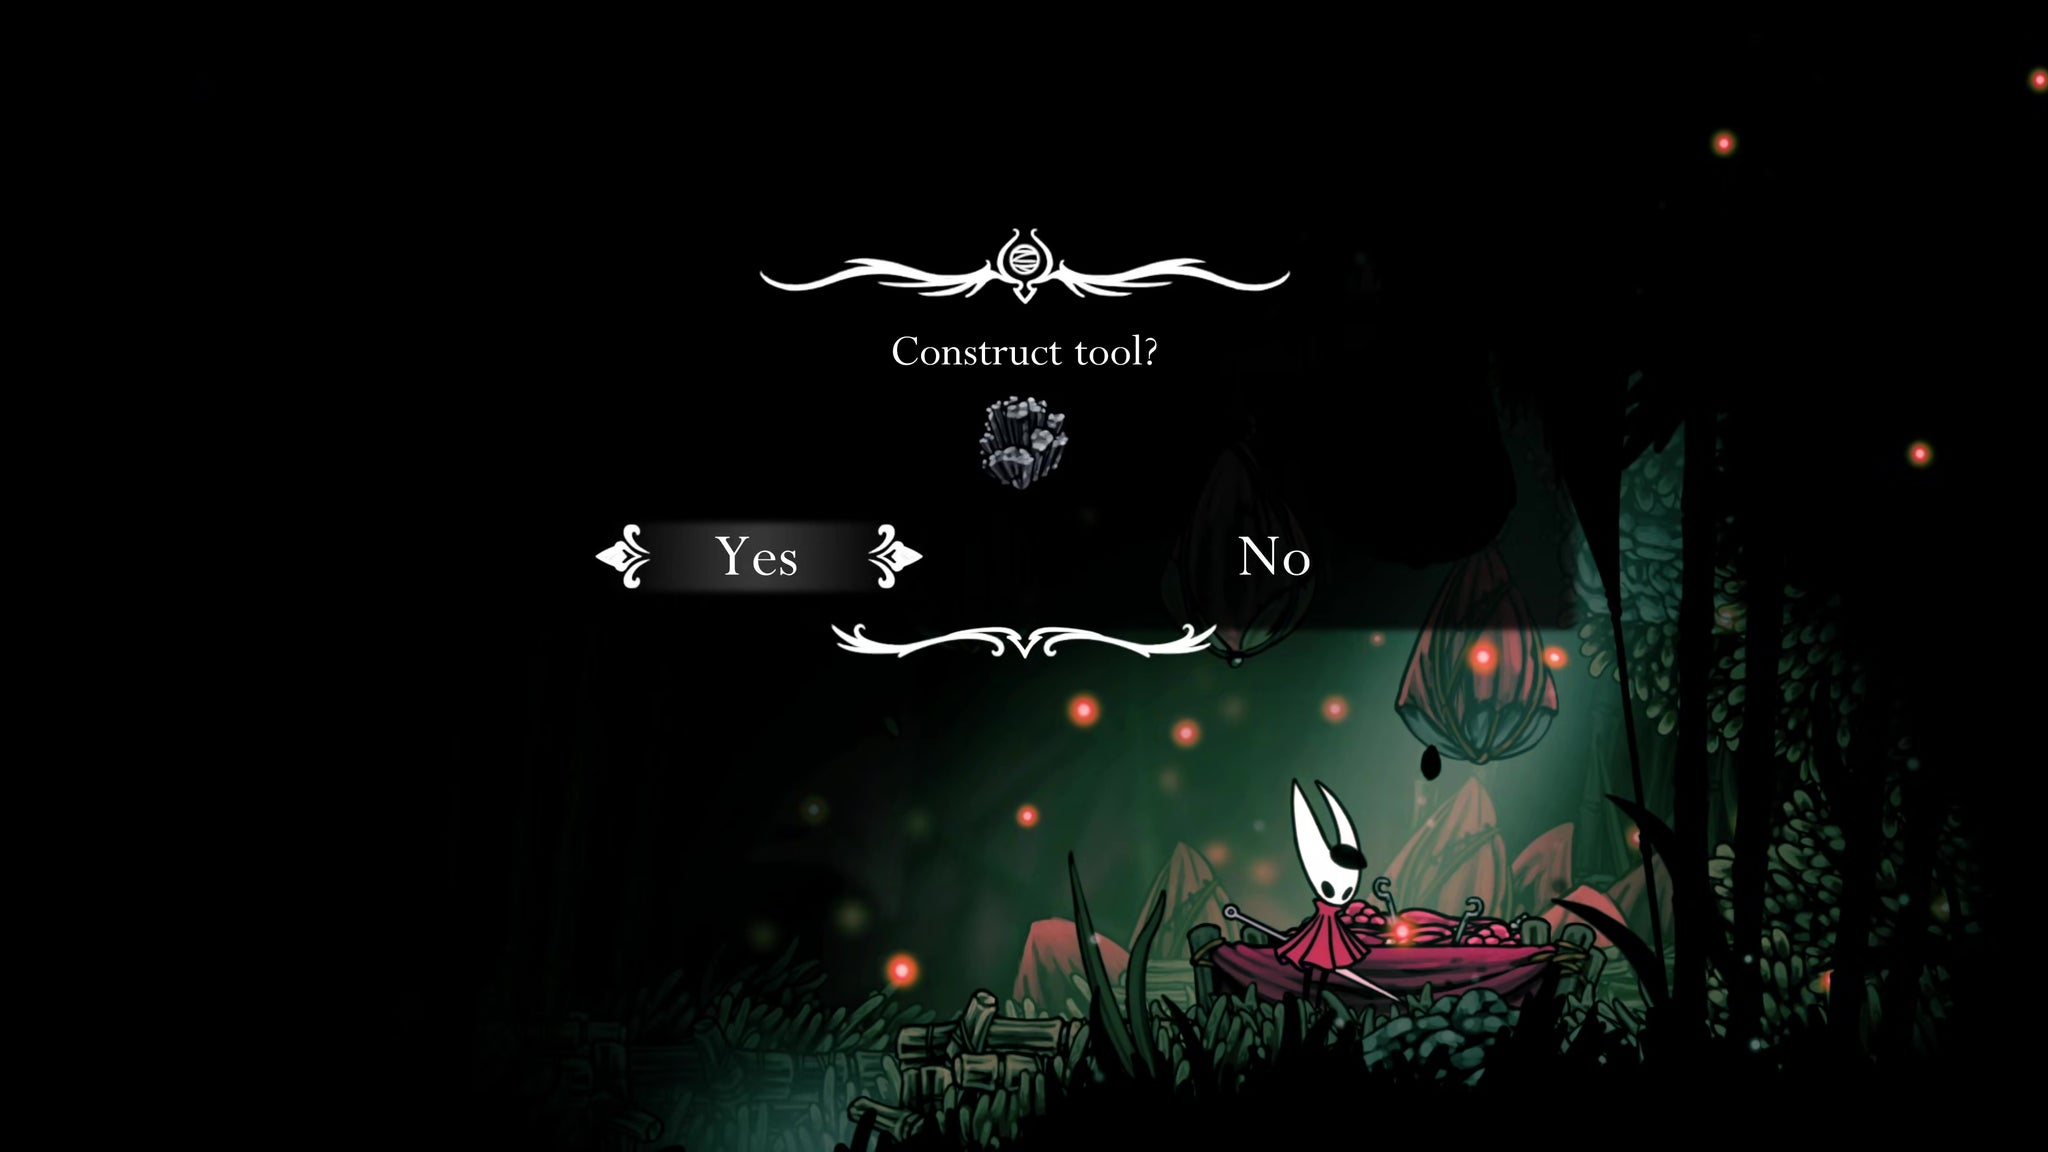
Image credit:Rock Paper Shotgun/Team Cherry
Climb the ledges above you, and at the very top of the path you can loot a Frayed Rosary String from a Pilgrim’s corpse. But that’s not all! Attack the left-most part of the ceiling above you to open another secret passageway, then climb up there to craft a new tool from your Craftmetal: the Pimpillo. It’s a grenade. You’re welcome.
19. Enter the Chapel Of The Reaper.
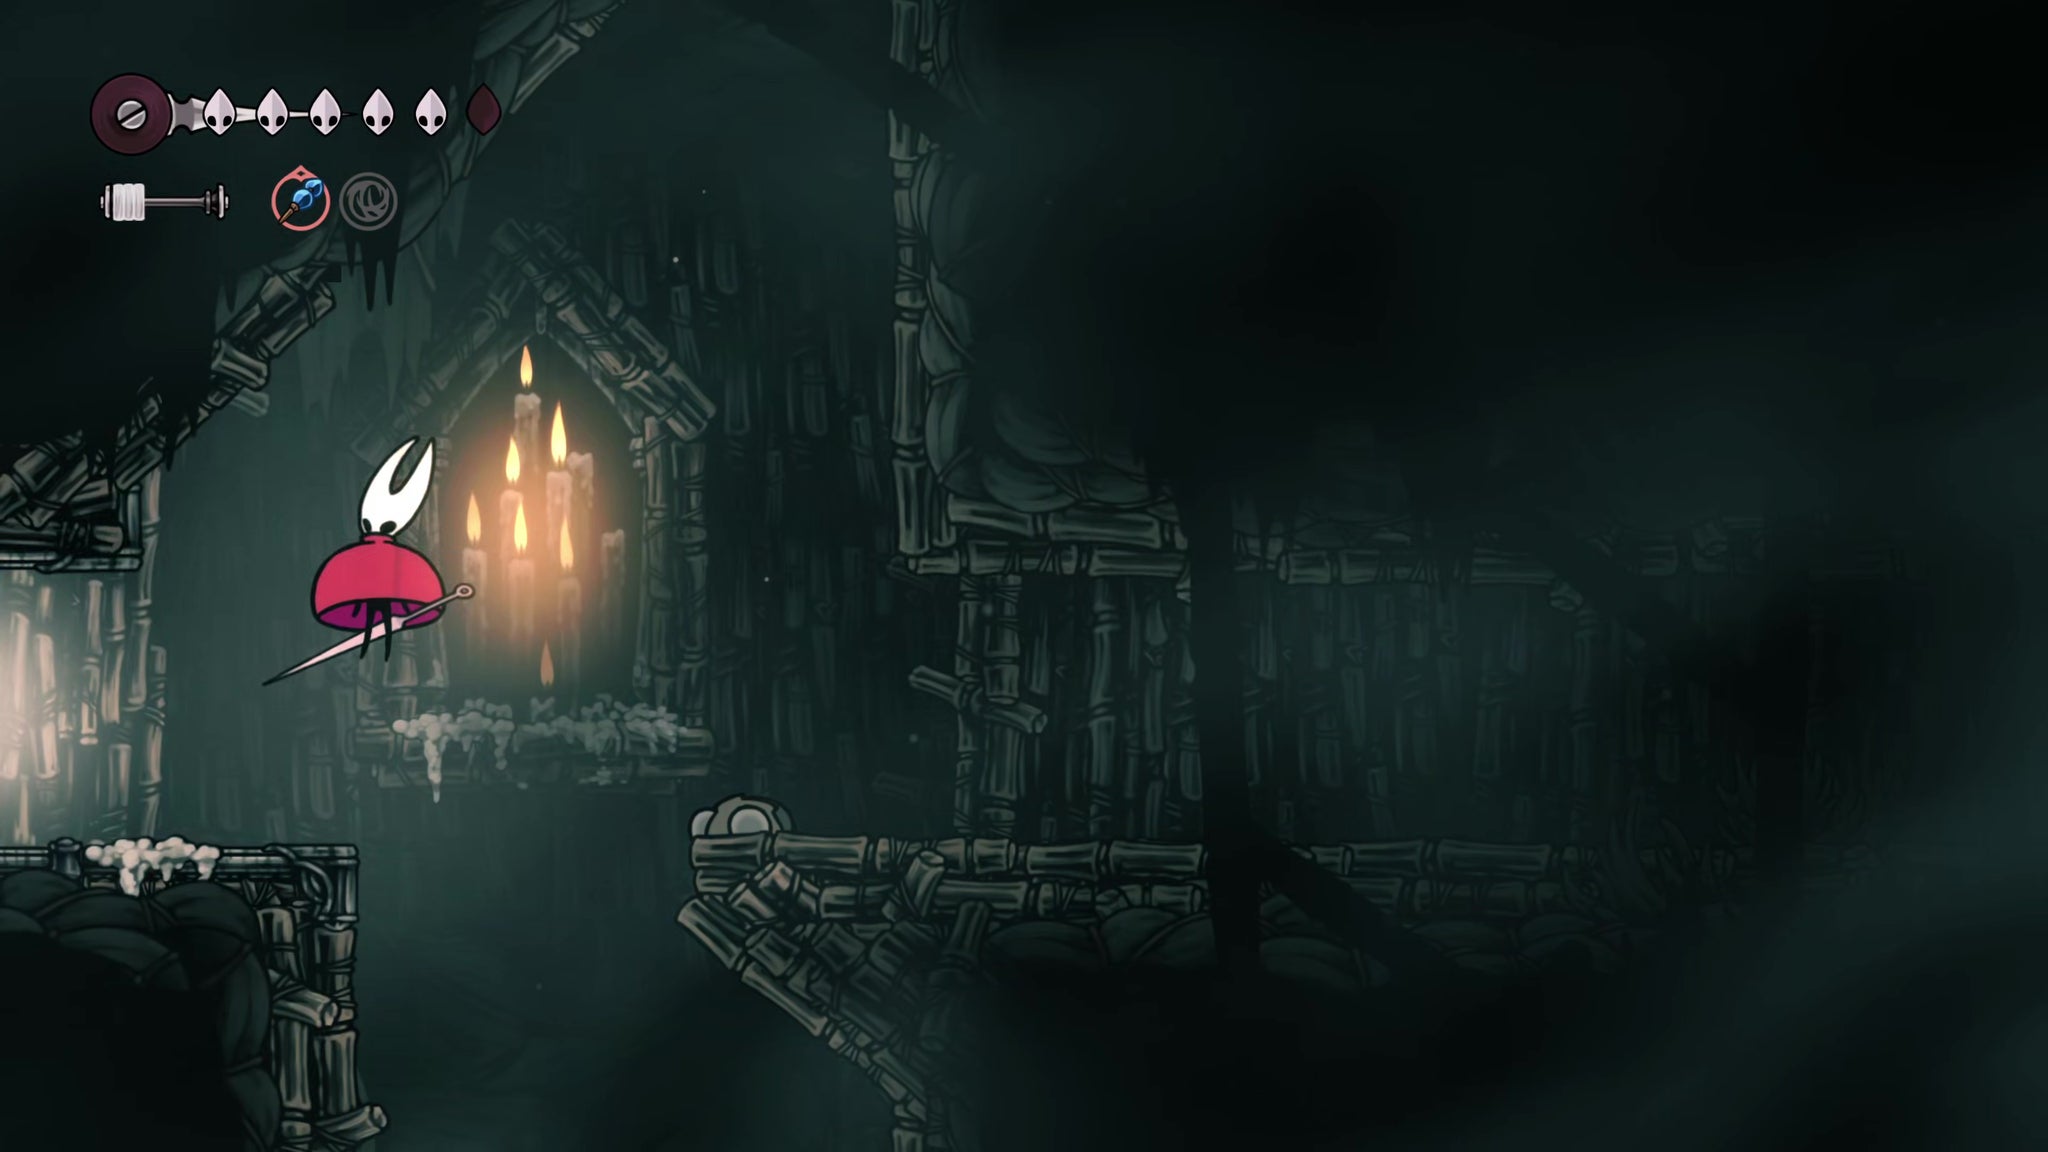
Image credit:Rock Paper Shotgun/Team Cherry
Backtrack to the place with the two left-hand exits, one atop the other. This time, take the lower exit.
Along this winding path you’ll have to contend with more Silk Snippers and other enemies, so take it slow. Once you’re on the smaller ledges below, keep an eye out for a Rosary cache up and to the right, but otherwise keep descending to the lower ledges on your left.
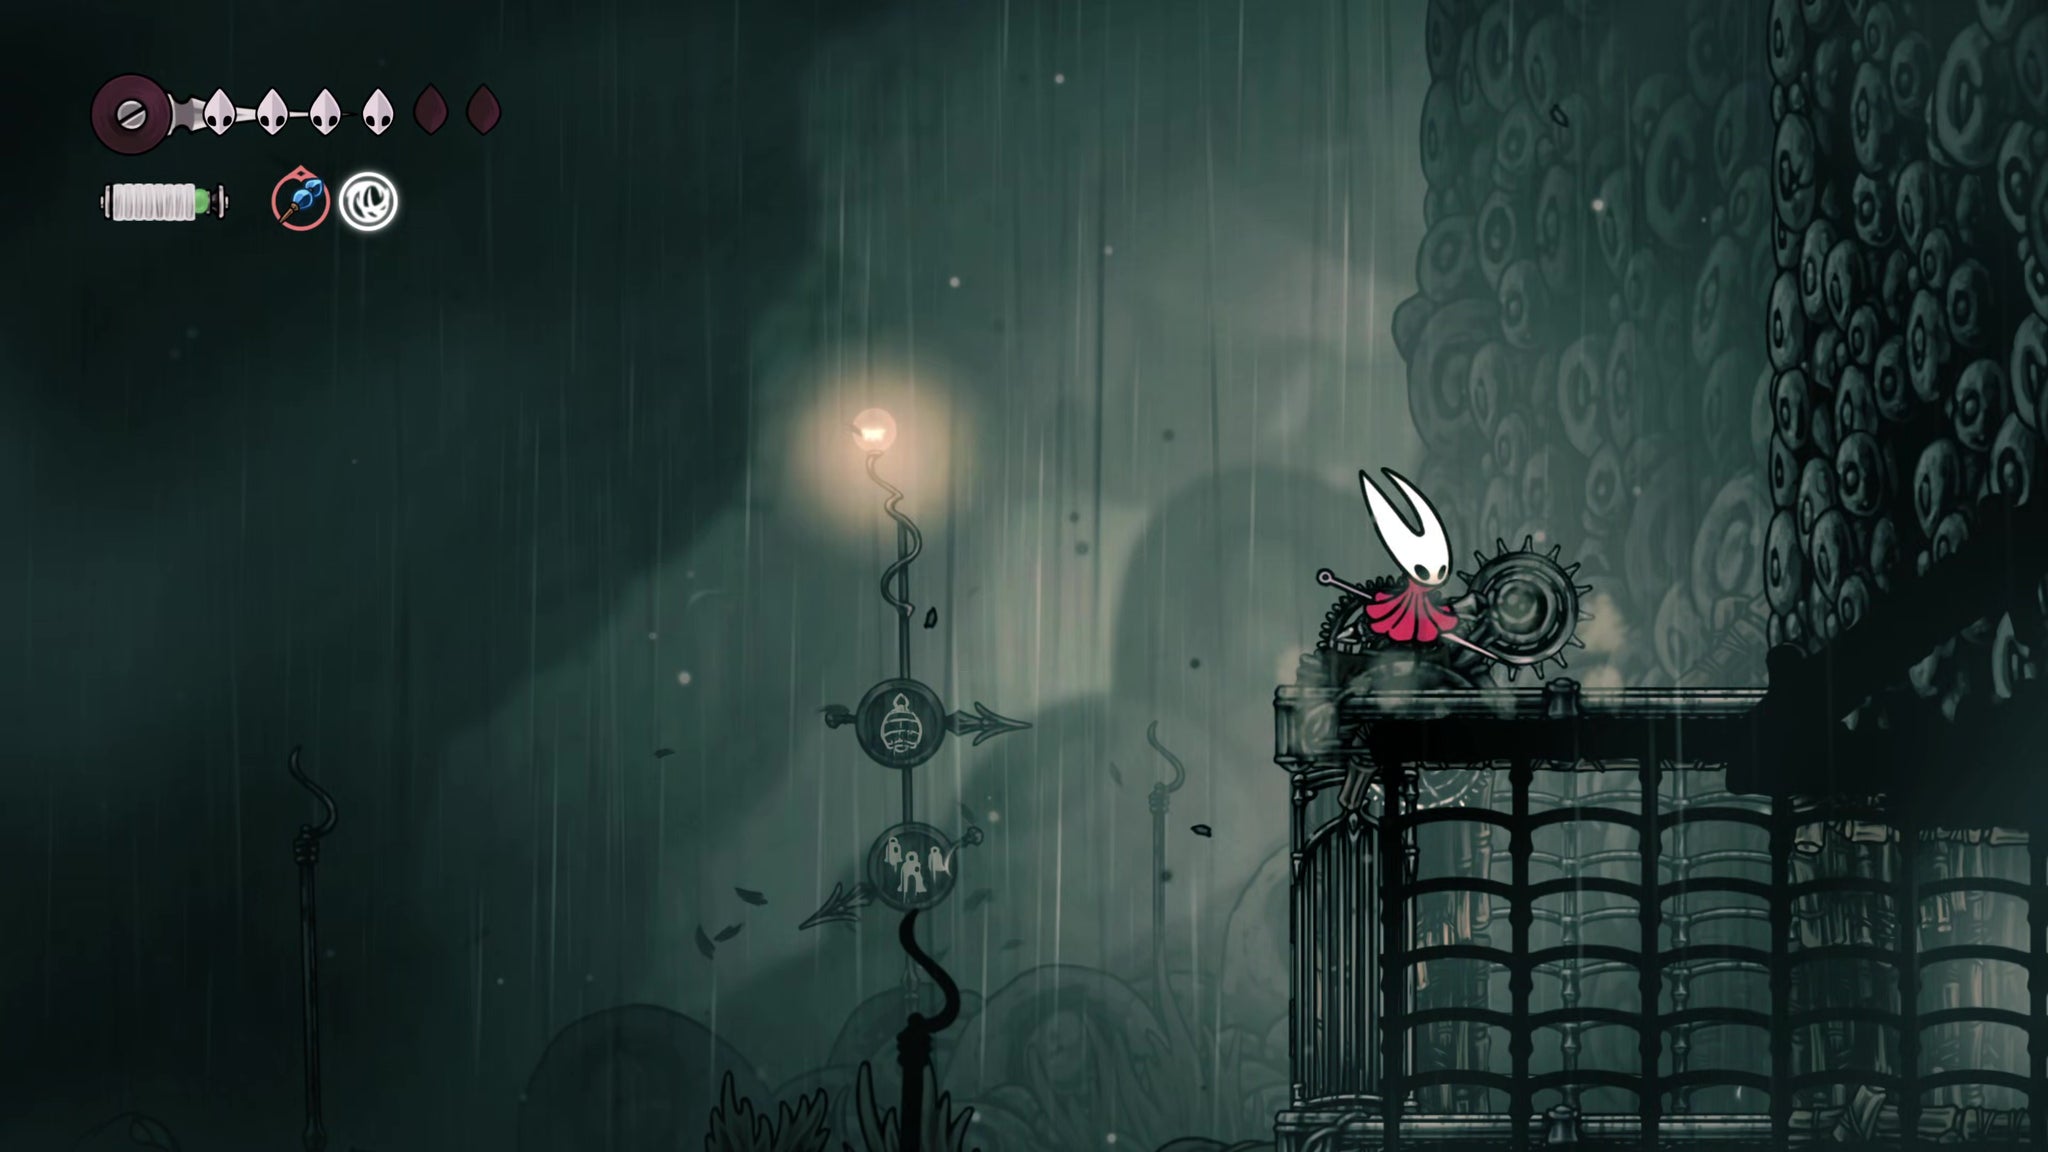
Image credit:Rock Paper Shotgun/Team Cherry
After a short drop you’ll find a way off-screen to the left. Drop lower first, though, and you’ll find some more Rosaries in an open cage. Then pass over the roof of the cage and jump to the right-hand side for a lever that opens a shortcut back to the right.
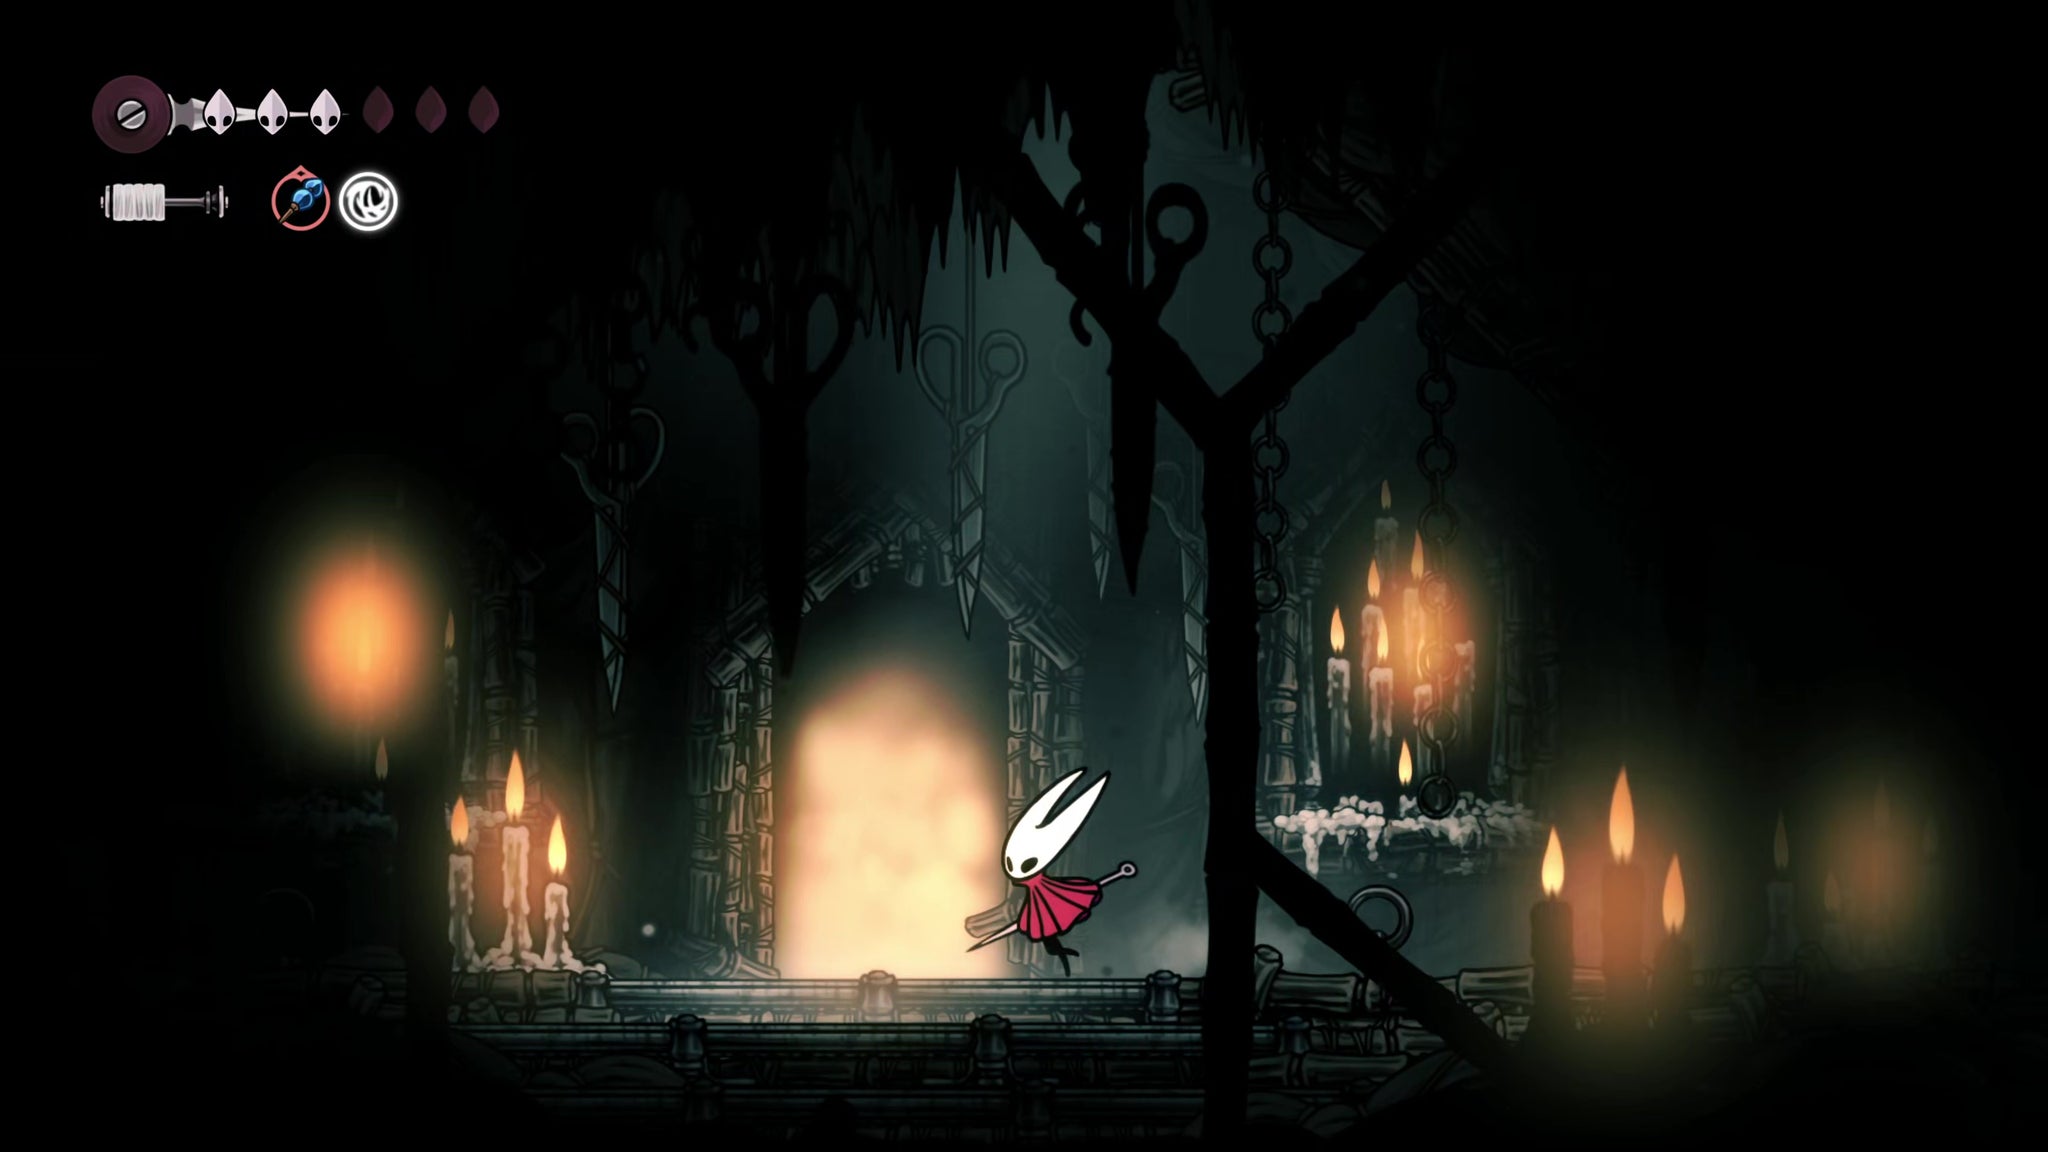
Image credit:Rock Paper Shotgun/Team Cherry
When that’s done, retrace your steps and head through that exit to the left. The path will take you to the entrance to another chapel: the Chapel Of The Reaper.
20. Complete the Gauntlet to claim the Reaper Crest.
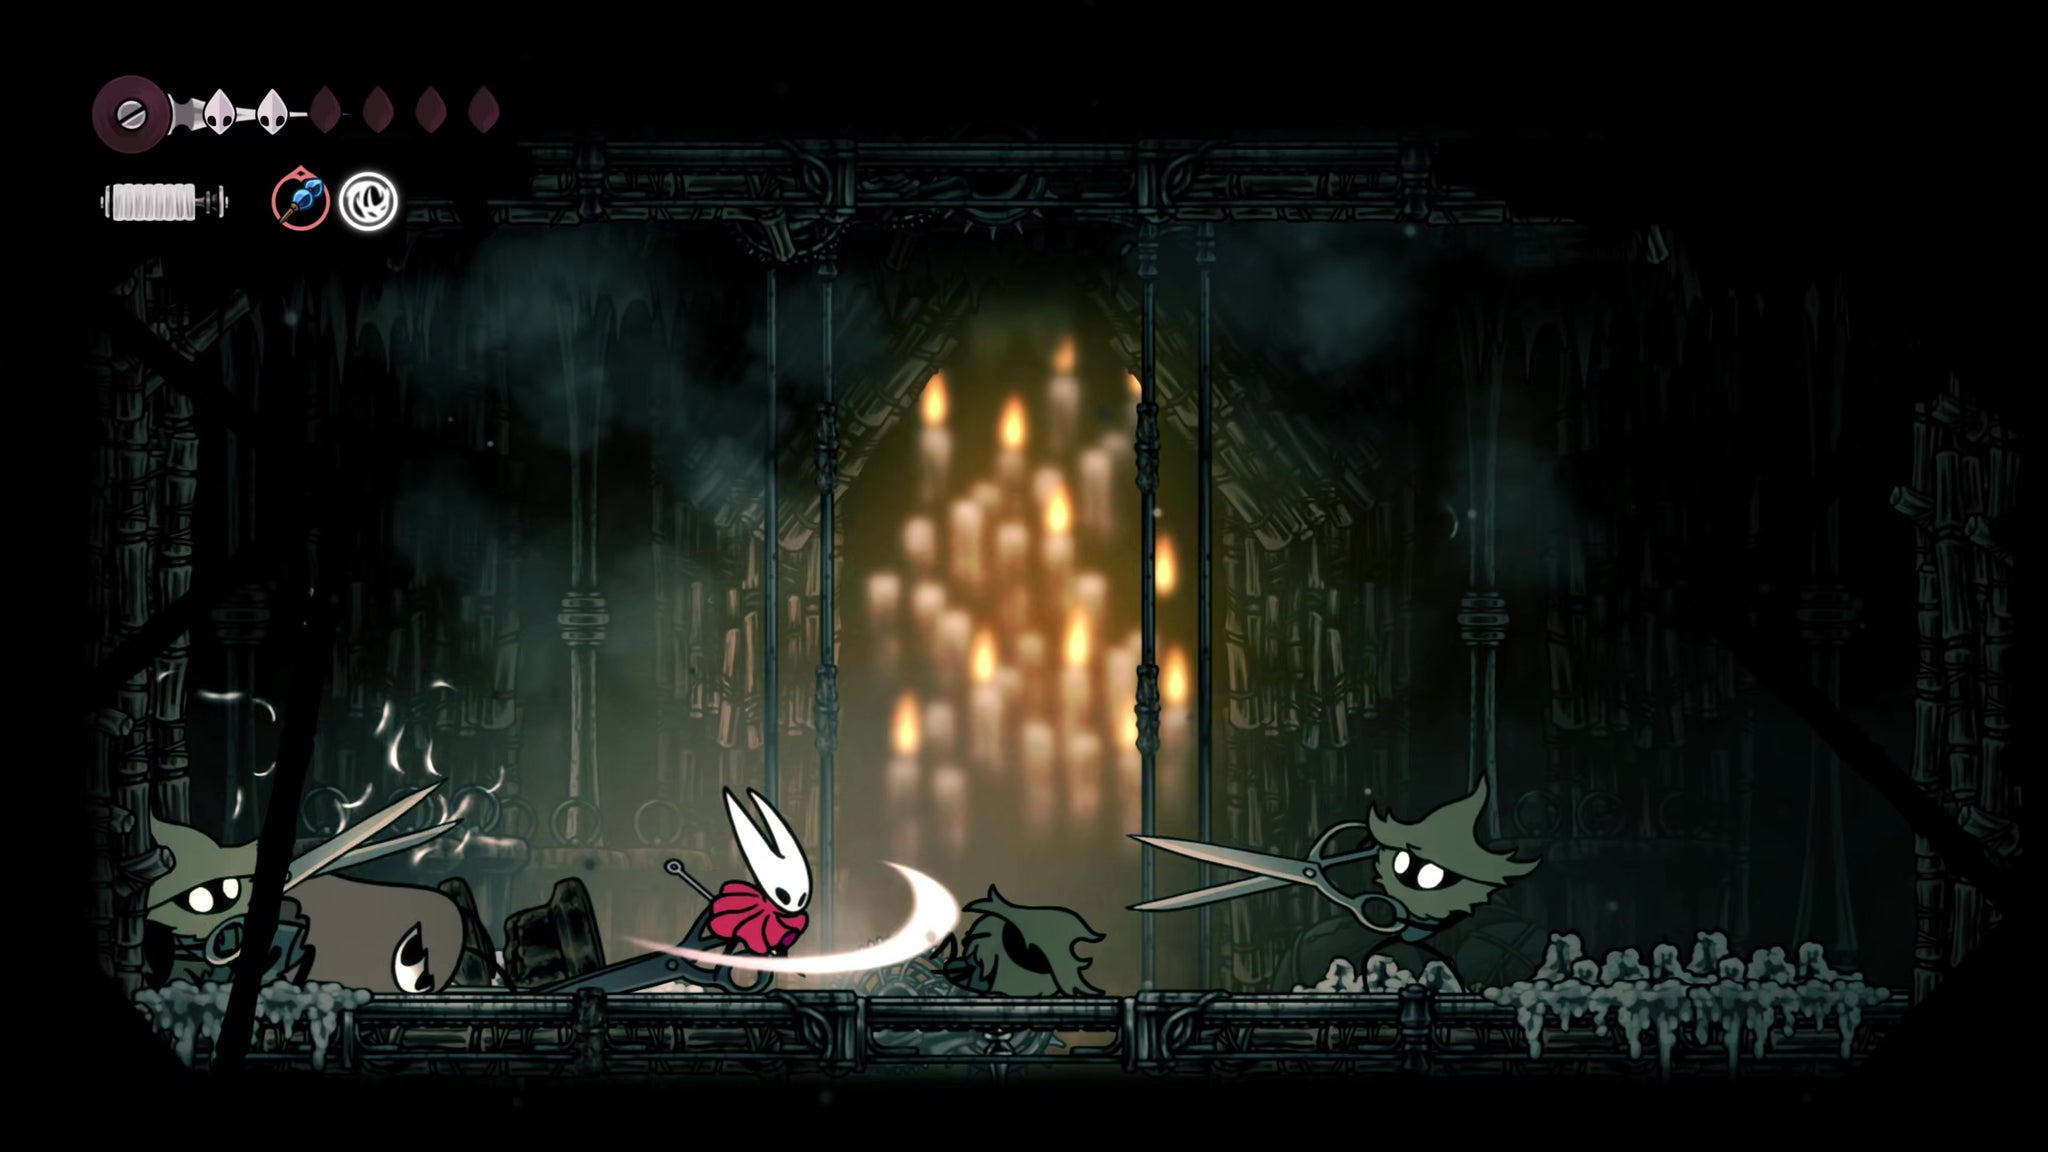
Image credit:Rock Paper Shotgun/Team Cherry
This Chapel is actually very easy. Just follow the main path, Pogo-ing off the saws as needed, and you’ll reach another gauntlet to survive. The Silk Snippers might give you a bit of trouble, but otherwise it’s fairly plain sailing. Once the gauntlet is complete, head upwards to claim the magnificent Reaper Crest.

Image credit:Rock Paper Shotgun/Team Cherry
The Reaper Crest is my personal favourite Crest for this stage of the game. It offers powerful attacks with a decent range and a forgiving hitbox arc - including for downward attacks, which makes it arguably even better for Pogo-ing than the Wanderer Crest. It may take you a bit of time to get used to the pause Hornet does in the air before each Pogo, though.
21. Visit the Flea Caravan again.
With the Chapel Of The Reaper conquered, you’ve pretty much seen and dealt with the entirety of Greymoor. Exit out of the Chapel and backtrack to the cage you jumped over before. Run over the top of the cage and drop to the ground level, where you’ll see a little tunnel going even further down to your left.
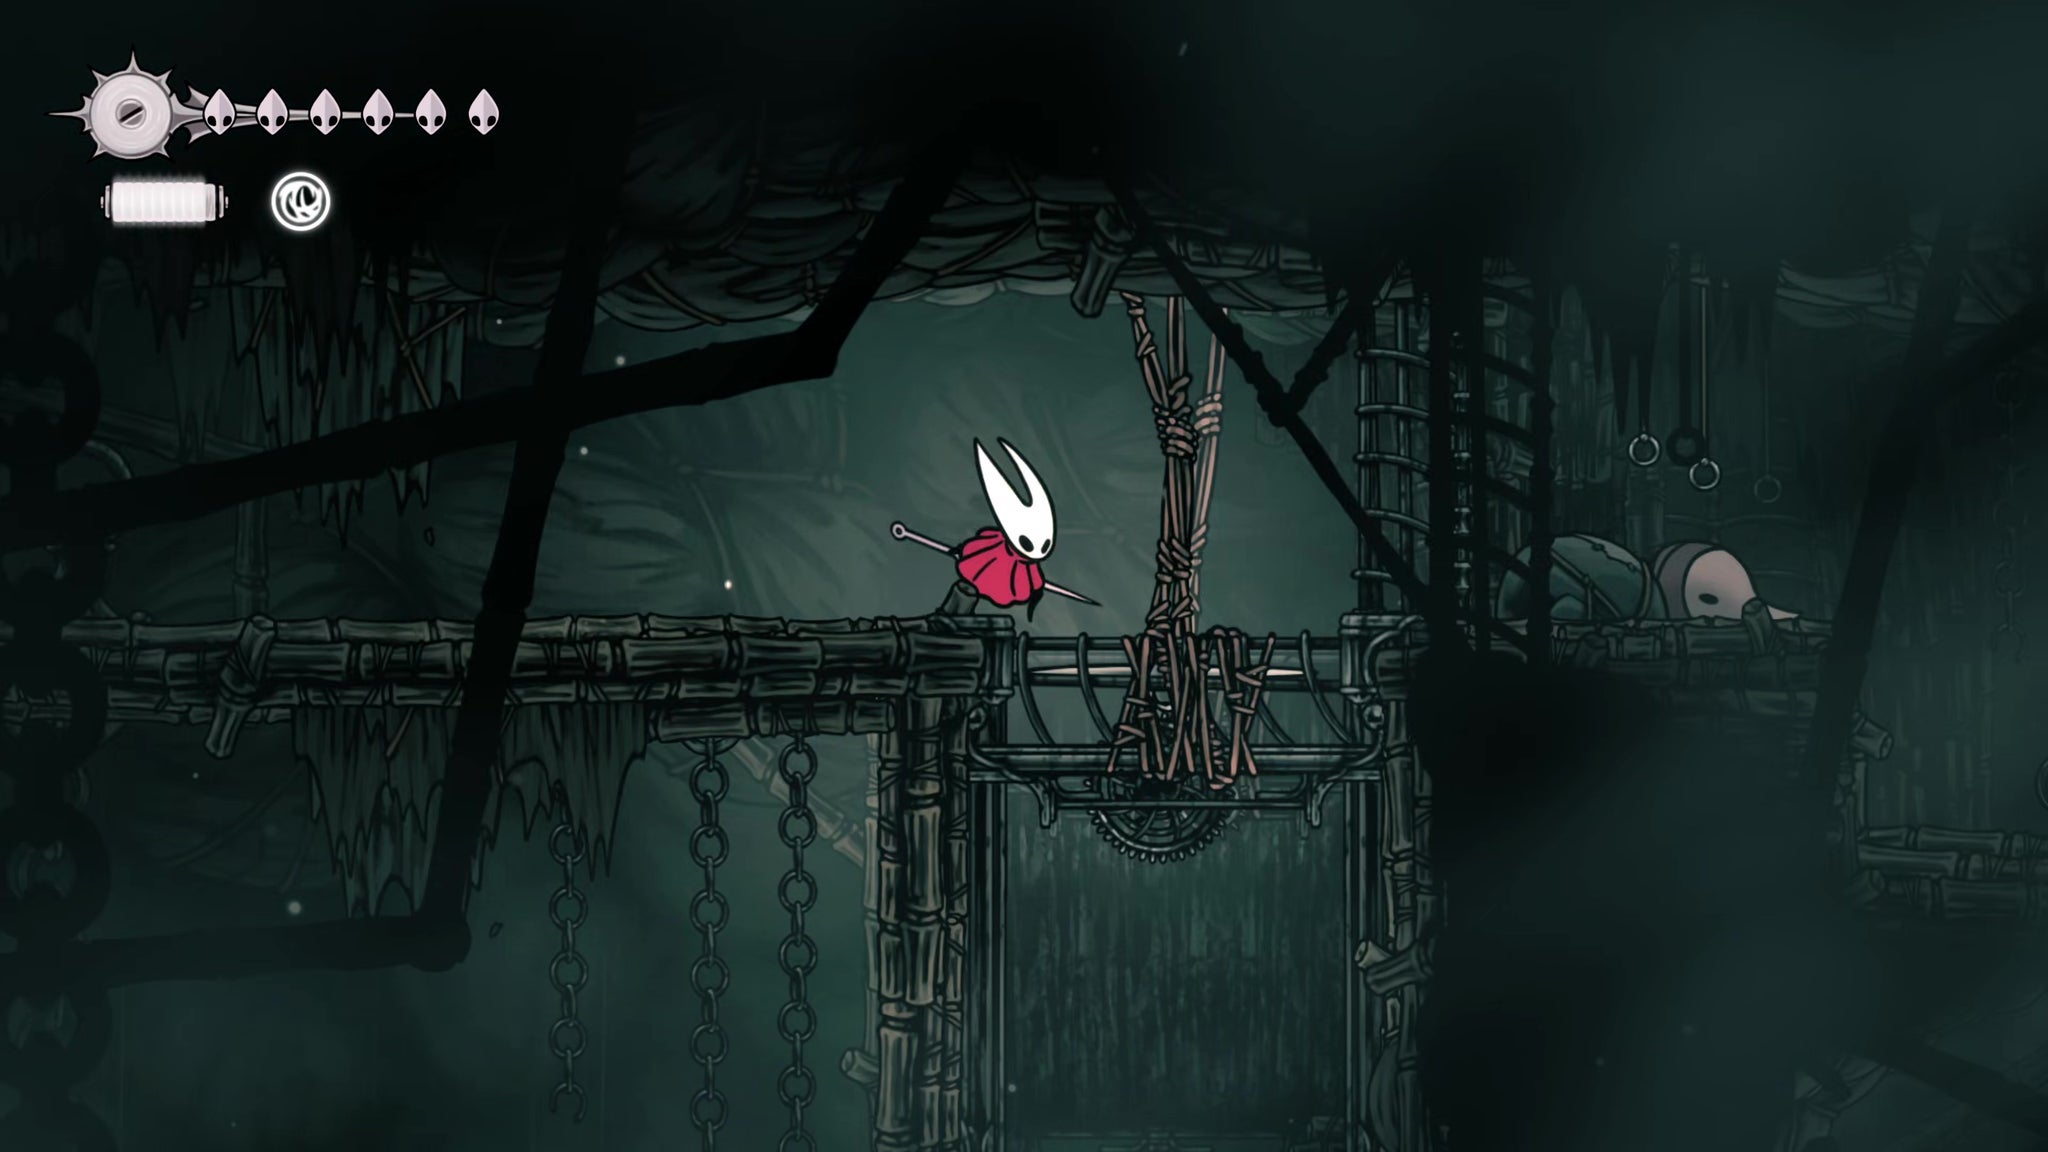
Image credit:Rock Paper Shotgun/Team Cherry
At the end of the path, attack the ropes to open a way downwards, and then jump over to the right-hand side reach the next room. Avoid the bear traps in here (attack to disable them), and fight your way past the giant Mites (Pogo-ing off their heads repeatedly works wonders). At the end of the path you’ll be able to break open a passage back to the Bellway.
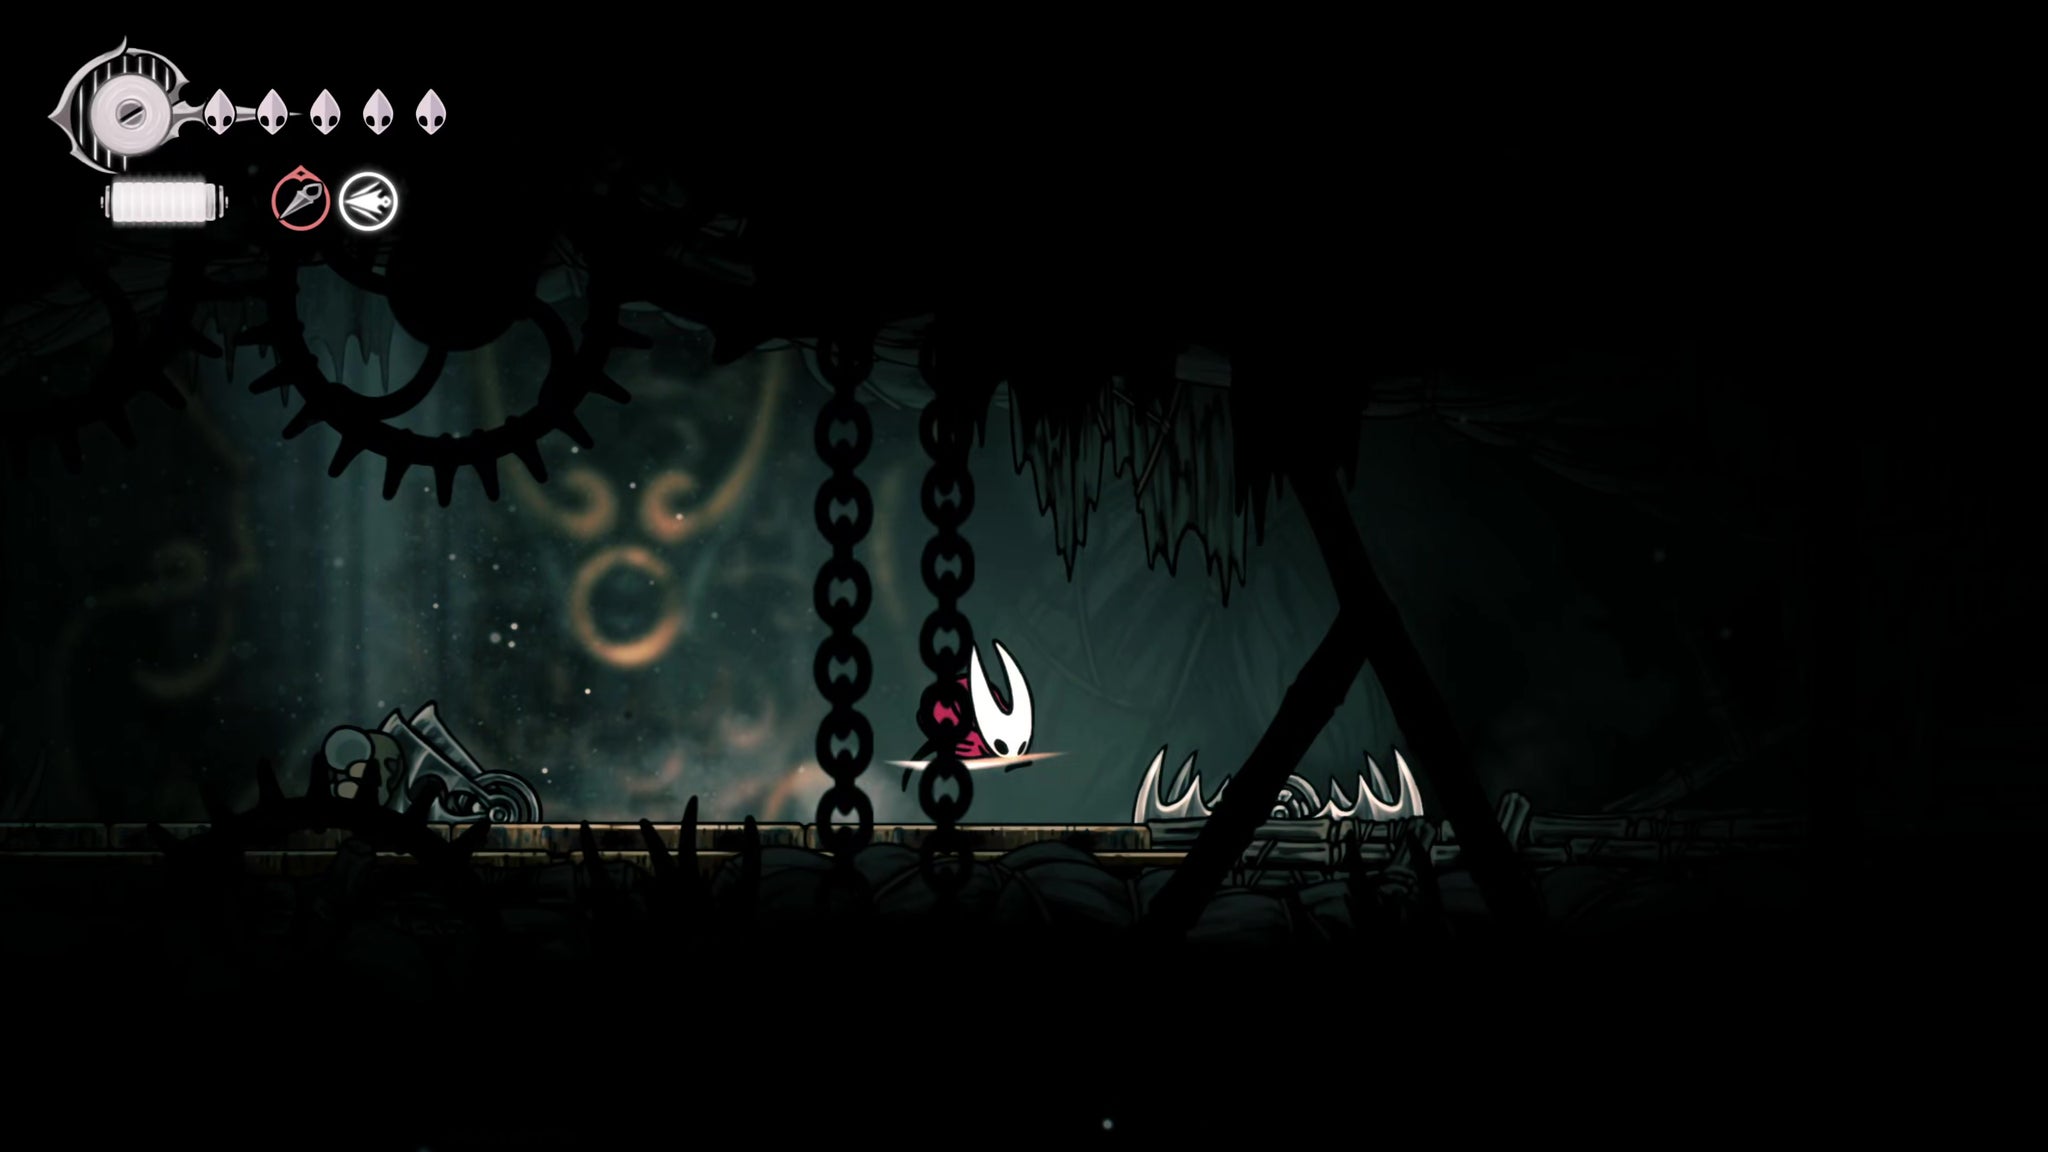
Image credit:Rock Paper Shotgun/Team Cherry
Now backtrack and head left this time. Before long, you’ll find yourself back at the Flea Caravan, safe and sound - and you’ll also see that Kratt has joined them, and set up his own sauna. You can accept his offer to try it out; but as you settle in the water (which restores your Health and Silk), you’ll hear and then see him spying on you from above. Jump up and thwack him to teach him a lesson.
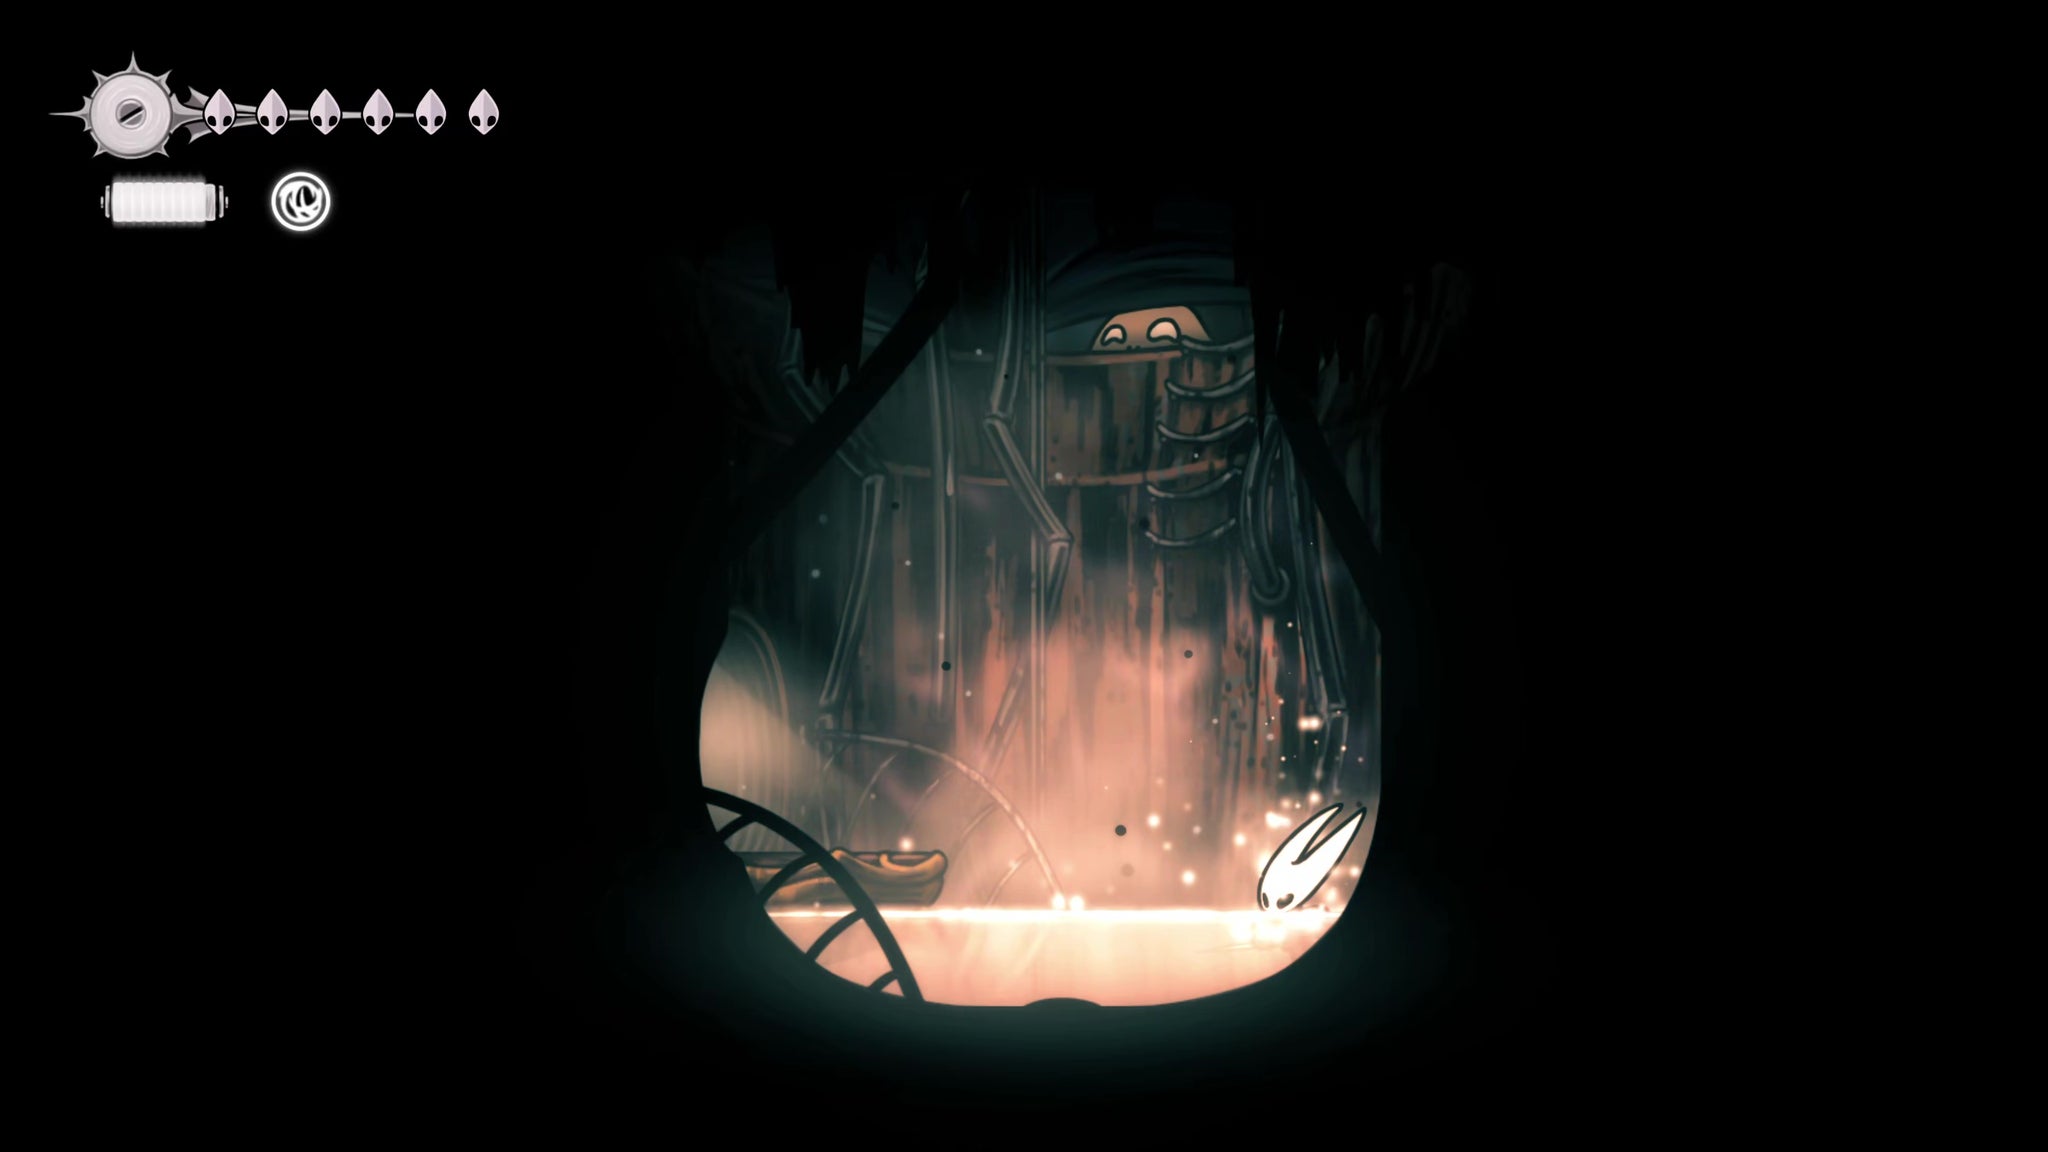
Creep! |Image credit:Rock Paper Shotgun/Team Cherry
Back outside, you can speak with him again to hear his apology for being a perverted little Fleabag, and promise free (unobserved) saunas whenever you like from now on. A nice little bonus for completing Greymoor!
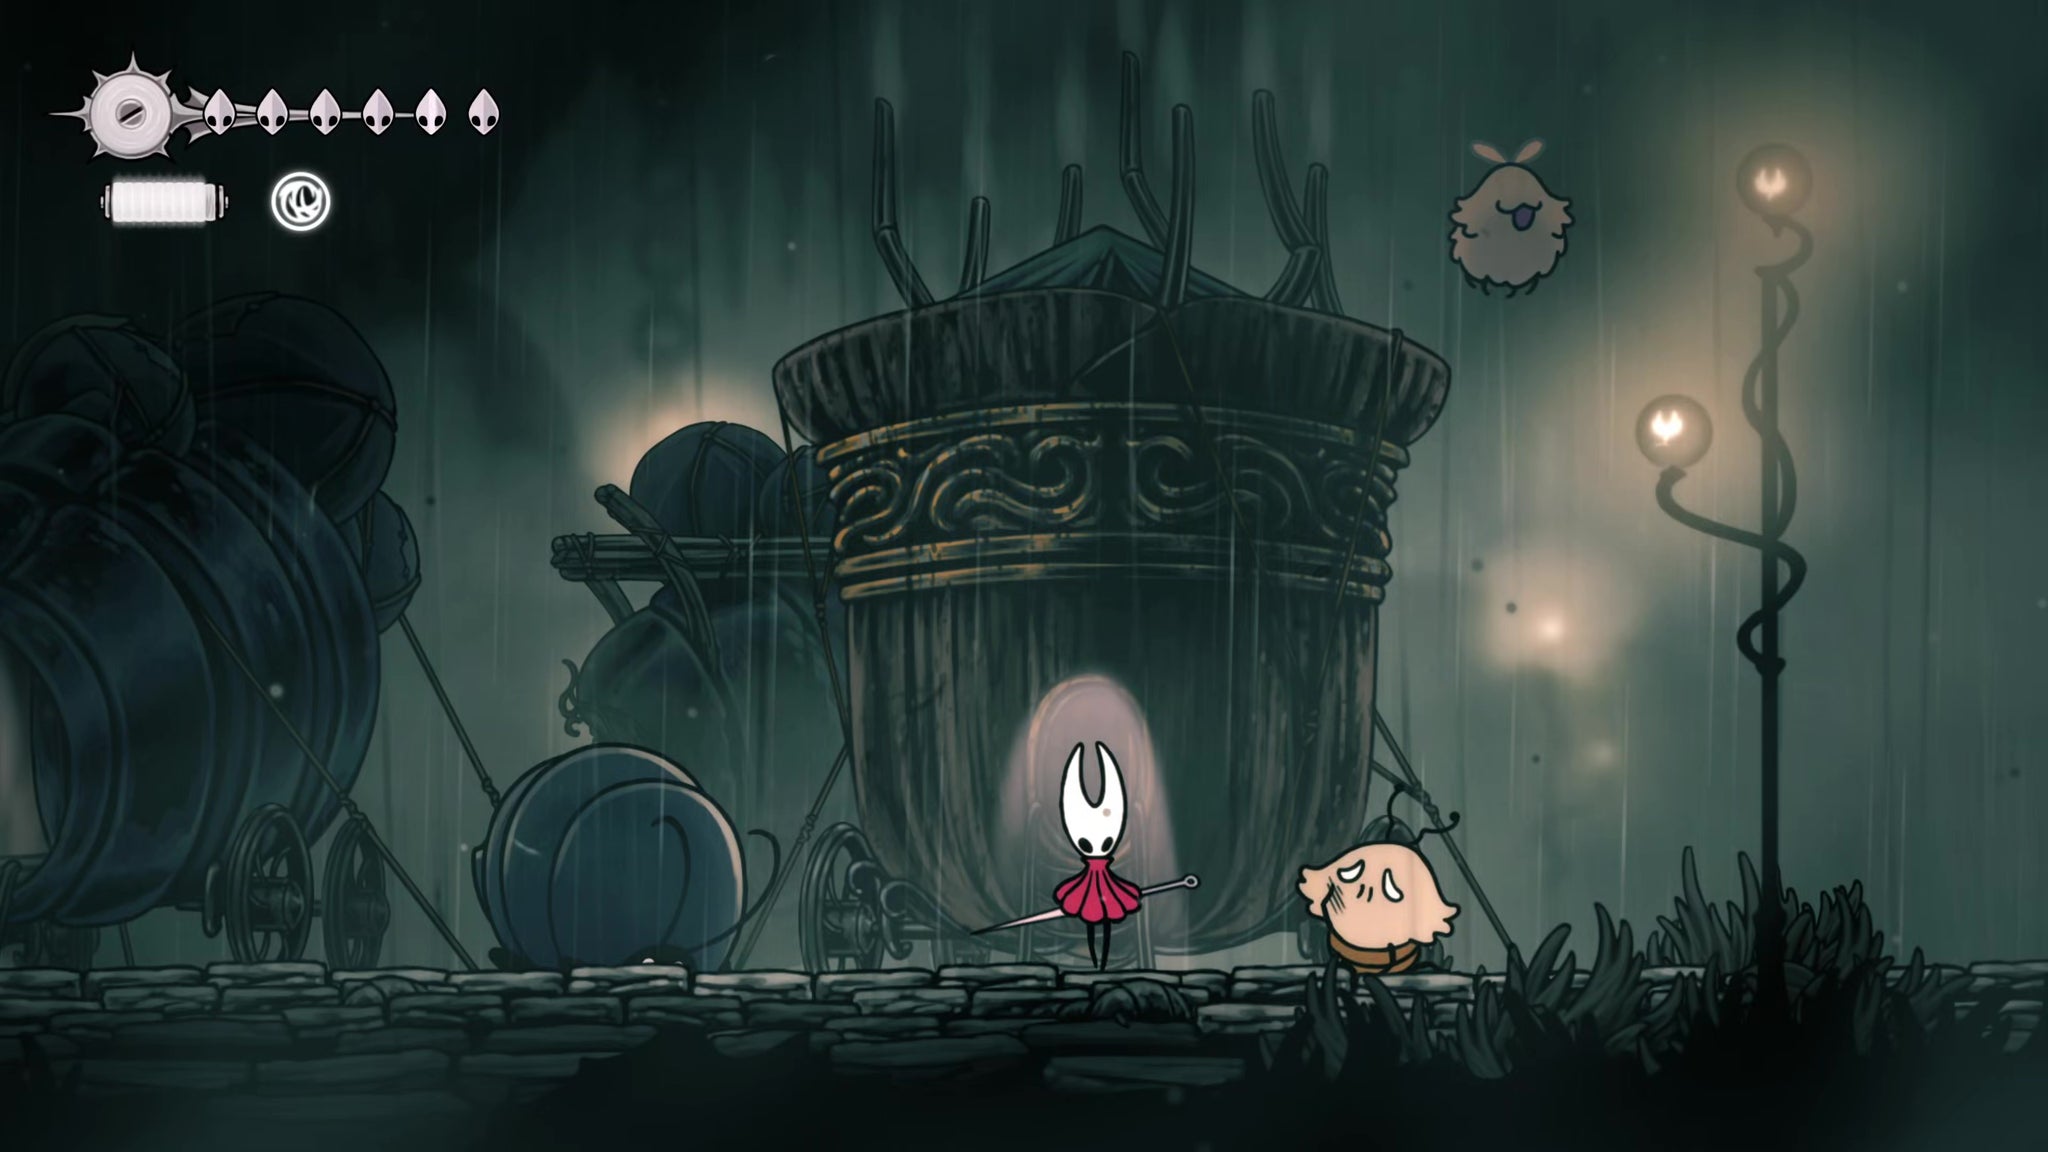
…Creep. |Image credit:Rock Paper Shotgun/Team Cherry
That’s all for Greymoor. Now it’s time to turn our attention to a couple of passageways in the world of Pharloom that we can now access, thanks to our Needolin. Follow along with Part 13 of our Silksong walkthrough !


Hollow Knight: Silksong
PC , Nintendo Switch
Rock Paper Shotgun is better when you sign in
Sign in and join us on our journey to discover strange and compelling PC games.

All 75 Arc Raiders Blueprints and where to get them
These areas have the highest chance of giving you Blueprints

Image credit:Rock Paper Shotgun/Embark Studios

Looking for more Arc Raiders Blueprints? It’s a special day when you find a Blueprint, as they’re among the most valuable items in Arc Raiders. If you find a Blueprint that you haven’t already found, then you must make sure you hold onto it at all costs, because Blueprints are the key to one of the most important and powerful systems of meta-progression in the game.
This guide aims to be the very best guide on Blueprints you can find, starting with a primer on what exactly they are and how they work in Arc Raiders, before delving into exactly where to get Blueprints and the very best farming spots for you to take in your search.
We’ll also go over how to get Blueprints from other unlikely activities, such as destroying Surveyors and completing specific quests. And you’ll also find the full list of all 75 Blueprints in Arc Raiders on this page (including the newest Blueprints added with the Cold Snap update , such as the Deadline Blueprint and Firework Box Blueprint), giving you all the information you need to expand your own crafting repertoire.
In this guide:
- What are Blueprints in Arc Raiders?
- Full Blueprint list: All crafting recipes
- Where to find Blueprints in Arc Raiders Blueprints obtained from quests Blueprints obtained from Trials Best Blueprint farming locations

What are Blueprints in Arc Raiders?
Blueprints in Arc Raiders are special items which, if you manage to extract with them, you can expend to permanently unlock a new crafting recipe in your Workshop. If you manage to extract from a raid with an Anvil Blueprint, for example, you can unlock the ability to craft your very own Anvil Pistol, as many times as you like (as long as you have the crafting materials).
To use a Blueprint, simply open your Inventory while in the lobby, then right-click on the Blueprint and click “Learn And Consume” . This will permanently unlock the recipe for that item in your Workshop. As of the Stella Montis update, there are allegedly 75 different Blueprints to unlock - although only 68 are confirmed to be in the game so far. You can see all the Blueprints you’ve found and unlocked by going to the Workshop menu, and hitting “R” to bring up the Blueprint screen.
It’s possible to find duplicates of past Blueprints you’ve already unlocked. If you find these, then you can either sell them, or - if you like to play with friends - you can take it into a match and gift it to your friend so they can unlock that recipe for themselves. Another option is to keep hold of them until the time comes to donate them to the Expedition.
Full Blueprint list: All crafting recipes
Below is the full list of all the Blueprints that are currently available to find in Arc Raiders, and the crafting recipe required for each item:
| Blueprint | Type | Recipe | Crafted At |
|---|---|---|---|
| Bettina | Weapon | 3x Advanced Mechanical Components 3x Heavy Gun Parts 3x Canister | Gunsmith 3 |
| Blue Light Stick | Quick Use | 3x Chemicals | Utility Station 1 |
| Aphelion | Weapon | 3x Magnetic Accelerator 3x Complex Gun Parts 1x Matriarch Reactor | Gunsmith 3 |
| Combat Mk. 3 (Flanking) | Augment | 2x Advanced Electrical Components 3x Processor | Gear Bench 3 |
| Combat Mk. 3 (Aggressive) | Augment | 2x Advanced Electrical Components 3x Processor | Gear Bench 3 |
| Complex Gun Parts | Material | 2x Light Gun Parts 2x Medium Gun Parts 2x Heavy Gun Parts | Refiner 3 |
| Fireworks Box | Quick Use | 1x Explosive Compound 3x Pop Trigger | Explosives Station 2 |
| Gas Mine | Mine | 4x Chemicals 2x Rubber Parts | Explosives Station 1 |
| Green Light Stick | Quick Use | 3x Chemicals | Utility Station 1 |
| Pulse Mine | Mine | 1x Crude Explosives 1x Wires | Explosives Station 1 |
| Seeker Grenade | Grenade | 1x Crude Explosives 2x ARC Alloy | Explosives Station 1 |
| Looting Mk. 3 (Survivor) | Augment | 2x Advanced Electrical Components 3x Processor | Gear Bench 3 |
| Angled Grip II | Mod | 2x Mechanical Components 3x Duct Tape | Gunsmith 2 |
| Angled Grip III | Mod | 2x Mod Components 5x Duct Tape | Gunsmith 3 |
| Hullcracker | Weapon | 1x Magnetic Accelerator 3x Heavy Gun Parts 1x Exodus Modules | Gunsmith 3 |
| Launcher Ammo | Ammo | 5x Metal Parts 1x Crude Explosives | Workbench 1 |
| Anvil | Weapon | 5x Mechanical Components 5x Simple Gun Parts | Gunsmith 2 |
| Anvil Splitter | Mod | 2x Mod Components 3x Processor | Gunsmith 3 |
| ??? | ??? | ??? | ??? |
| Barricade Kit | Quick Use | 1x Mechanical Components | Utility Station 2 |
| Blaze Grenade | Grenade | 1x Explosive Compound 2x Oil | Explosives Station 3 |
| Bobcat | Weapon | 3x Advanced Mechanical Components 3x Light Gun Parts | Gunsmith 3 |
| Osprey | Weapon | 2x Advanced Mechanical Components 3x Medium Gun Parts 7x Wires | Gunsmith 3 |
| Burletta | Weapon | 3x Mechanical Components 3x Simple Gun Parts | Gunsmith 1 |
| Compensator II | Mod | 2x Mechanical Components 4x Wires | Gunsmith 2 |
| Compensator III | Mod | 2x Mod Components 8x Wires | Gunsmith 3 |
| Defibrillator | Quick Use | 9x Plastic Parts 1x Moss | Medical Lab 2 |
| ??? | ??? | ??? | ??? |
| Equalizer | Weapon | 3x Magnetic Accelerator 3x Complex Gun Parts 1x Queen Reactor | Gunsmith 3 |
| Extended Barrel | Mod | 2x Mod Components 8x Wires | Gunsmith 3 |
| Extended Light Mag II | Mod | 2x Mechanical Components 3x Steel Spring | Gunsmith 2 |
| Extended Light Mag III | Mod | 2x Mod Components 5x Steel Spring | Gunsmith 3 |
| Extended Medium Mag II | Mod | 2x Mechanical Components 3x Steel Spring | Gunsmith 2 |
| Extended Medium Mag III | Mod | 2x Mod Components 5x Steel Spring | Gunsmith 3 |
| Extended Shotgun Mag II | Mod | 2x Mechanical Components 3x Steel Spring | Gunsmith 2 |
| Extended Shotgun Mag III | Mod | 2x Mod Components 5x Steel Spring | Gunsmith 3 |
| Remote Raider Flare | Quick Use | 2x Chemicals 4x Rubber Parts | Utility Station 1 |
| Heavy Gun Parts | Material | 4x Simple Gun Parts | Refiner 2 |
| Venator | Weapon | 2x Advanced Mechanical Components 3x Medium Gun Parts 5x Magnet | Gunsmith 3 |
| Il Toro | Weapon | 5x Mechanical Components 6x Simple Gun Parts | Gunsmith 1 |
| Jolt Mine | Mine | 1x Electrical Components 1x Battery | Explosives Station 2 |
| Explosive Mine | Mine | 1x Explosive Compound 1x Sensors | Explosives Station 3 |
| Jupiter | Weapon | 3x Magnetic Accelerator 3x Complex Gun Parts 1x Queen Reactor | Gunsmith 3 |
| Light Gun Parts | Material | 4x Simple Gun Parts | Refiner 2 |
| Lightweight Stock | Mod | 2x Mod Components 5x Duct Tape | Gunsmith 3 |
| Lure Grenade | Grenade | 1x Speaker Component 1x Electrical Components | Utility Station 2 |
| Medium Gun Parts | Material | 4x Simple Gun Parts | Refiner 2 |
| Torrente | Weapon | 2x Advanced Mechanical Components 3x Medium Gun Parts 6x Steel Spring | Gunsmith 3 |
| Muzzle Brake II | Mod | 2x Mechanical Components 4x Wires | Gunsmith 2 |
| Muzzle Brake III | Mod | 2x Mod Components 8x Wires | Gunsmith 3 |
| Padded Stock | Mod | 2x Mod Components 5x Duct Tape | Gunsmith 3 |
| Shotgun Choke II | Mod | 2x Mechanical Components 4x Wires | Gunsmith 2 |
| Shotgun Choke III | Mod | 2x Mod Components 8x Wires | Gunsmith 3 |
| Shotgun Silencer | Mod | 2x Mod Components 8x Wires | Gunsmith 3 |
| Showstopper | Grenade | 1x Advanced Electrical Components 1x Voltage Converter | Explosives Station 3 |
| Silencer I | Mod | 2x Mechanical Components 4x Wires | Gunsmith 2 |
| Silencer II | Mod | 2x Mod Components 8x Wires | Gunsmith 3 |
| Snap Hook | Quick Use | 2x Power Rod 3x Rope 1x Exodus Modules | Utility Station 3 |
| Stable Stock II | Mod | 2x Mechanical Components 3x Duct Tape | Gunsmith 2 |
| Stable Stock III | Mod | 2x Mod Components 5x Duct Tape | Gunsmith 3 |
| Tagging Grenade | Grenade | 1x Electrical Components 1x Sensors | Utility Station 3 |
| Tempest | Weapon | 3x Advanced Mechanical Components 3x Medium Gun Parts 3x Canister | Gunsmith 3 |
| Trigger Nade | Grenade | 2x Crude Explosives 1x Processor | Explosives Station 2 |
| Vertical Grip II | Mod | 2x Mechanical Components 3x Duct Tape | Gunsmith 2 |
| Vertical Grip III | Mod | 2x Mod Components 5x Duct Tape | Gunsmith 3 |
| Vita Shot | Quick Use | 2x Antiseptic 1x Syringe | Medical Lab 3 |
| Vita Spray | Quick Use | 3x Antiseptic 1x Canister | Medical Lab 3 |
| Vulcano | Weapon | 1x Magnetic Accelerator 3x Heavy Gun Parts 1x Exodus Modules | Gunsmith 3 |
| Wolfpack | Grenade | 2x Explosive Compound 2x Sensors | Explosives Station 3 |
| Red Light Stick | Quick Use | 3x Chemicals | Utility Station 1 |
| Smoke Grenade | Grenade | 14x Chemicals 1x Canister | Utility Station 2 |
| Deadline | Mine | 3x Explosive Compound 2x ARC Circuitry | Explosives Station 3 |
| Trailblazer | Grenade | 1x Explosive Compound 1x Synthesized Fuel | Explosives Station 3 |
| Tactical Mk. 3 (Defensive) | Augment | 2x Advanced Electrical Components 3x Processor | Gear Bench 3 |
| Tactical Mk. 3 (Healing) | Augment | 2x Advanced Electrical Components 3x Processor | Gear Bench 3 |
| Yellow Light Stick | Quick Use | 3x Chemicals | Utility Station 1 |
Note: The missing Blueprints in this list likely have not actually been added to the game at the time of writing, because none of the playerbase has managed to find any of them. As they are added to the game, I will update this page with the most relevant information so you know exactly how to get all 75 Arc Raiders Blueprints.
Where to find Blueprints in Arc Raiders
Below is a list of all containers, modifiers, and events which maximise your chances of finding Blueprints:
- Certain quests reward you with specific Blueprints .
- Completing Trials has a high chance of offering Blueprints as rewards.
- Surveyors have a decent chance of dropping Blueprints on death.
- High loot value areas tend to have a greater chance of spawning Blueprints.
- Night Raids and Storms may increase rare Blueprint spawn chances in containers.
- Containers with higher numbers of items may have a higher tendency to spawn Blueprints. As a result, Blue Gate (which has many “large” containers containing multiple items) may give you a higher chance of spawning Blueprints.
- Raider containers (Raider Caches, Weapon Boxes, Medical Bags, Grenade Tubes) have increased Blueprint drop rates. As a result, the Uncovered Caches event gives you a high chance of finding Blueprints.
- Security Lockers have a higher than average chance of containing Blueprints.
- Certain Blueprints only seem to spawn under specific circumstances: Tempest Blueprint only spawns during Night Raid events. Vulcano Blueprint only spawns during Hidden Bunker events. Jupiter and Equaliser Blueprints only spawn during Harvester events.

Raider Caches, Weapon Boxes, and other raider-oriented container types have a good chance of offering Blueprints. |Image credit:Rock Paper Shotgun/Embark Studios
Blueprints have a very low chance of spawning in any container in Arc Raiders, around 1-2% on average. However, there is a higher chance of finding Blueprints in particular container types. Specifically, you can find more Blueprints in Raider containers and security lockers.
Beyond this, if you’re looking for Blueprints you should focus on regions of the map which are marked as having particularly high-value loot. Areas such as the Control Tower in Dam Battlegrounds, the Arrival and Departure Buildings in Spaceport, and Pilgrim’s Peak in Blue Gate all have a better-than-average chance of spawning Blueprints somewhere amongst all their containers. Night Raids and Electromagnetic Storm events also increase the drop chances of certain Blueprints .
In addition to these containers, you can often loot Blueprints from destroyed Surveyors - the largest of the rolling ball ARC. Surveyors are more commonly found on the later maps - Spaceport and Blue Gate - and if one spawns in your match, you’ll likely see it by the blue laser beam that it casts into the sky while “surveying”.
Surveyors are quite well-armoured and will very speedily run away from you once it notices you, but if you can take one down then make sure you loot all its parts for a chance of obtaining certain unusual Blueprints.
Blueprints obtained from quests
One way in which you can get Blueprints is by completing certain quests for the vendors in Speranza. Some quests will reward you with a specific item Blueprint upon completion, so as long as you work through all the quests in Arc Raiders, you are guaranteed those Blueprints.
Here is the full list of all Blueprints you can get from quest rewards:
- Trigger Nade Blueprint: Rewarded after completing “Sparks Fly”.
- Lure Grenade Blueprint: Rewarded after completing “Greasing Her Palms”.
- Burletta Blueprint: Rewarded after completing “Industrial Espionage”.
- Hullcracker Blueprint (and Launcher Ammo Blueprint): Rewarded after completing “The Major’s Footlocker”.
Alas, that’s only 4 Blueprints out of a total of 75 to unlock, so for the vast majority you will need to find them yourself during a raid. If you’re intent on farming Blueprints, then it’s best to equip yourself with cheap gear in case you lose it, but don’t use a free loadout because then you won’t get a safe pocket to stash any new Blueprint you find. No pain in Arc Raiders is sharper than failing to extract with a new Blueprint you’ve been after for a dozen hours already.

One of the best ways to get Blueprints is by hitting three stars on all five Trials every week. |Image credit:Rock Paper Shotgun/Embark Studios
Blueprints obtained from Trials
One of the very best ways to get Blueprints is as rewards for completing Trials in Arc Raiders. Trials are unlocked from Level 15 onwards, and allow you to earn rewards by focusing on certain tasks over the course of several raids. For example, one Trial might task you with dealing damage to Hornets, while another might challenge you to loot Supply Drops.
Trials refresh on a weekly basis, with a new week bringing five new Trials. Each Trial can offer up to three rewards after passing certain score milestones, and it’s possible to receive very high level loot from these reward crates - including Blueprints. So if you want to unlock as many Blueprints as possible, you should make a point of completing as many Trials as possible each week.
Best Blueprint farming locations
The very best way to get Blueprints is to frequent specific areas of the maps which combine high-tier loot pools with the right types of containers to search. Here are my recommendations for where to find Blueprints on every map, so you can always keep the search going for new crafting recipes to unlock.

Image credit:Rock Paper Shotgun/Embark Studios
Dam Battlegrounds
The best places to farm Blueprints on Dam Battlegrounds are the Control Tower, Power Generation Complex, Ruby Residence, and Pale Apartments . The first two regions, despite only being marked on the map as mid-tier loot, contain a phenomenal number of containers to loot. The Control Tower can also contain a couple of high-tier Security Lockers - though of course, you’ll need to have unlocked the Security Breach skill at the end of the Survival tree.
There’s also a lot of reporting amongst the playerbase that the Residential areas in the top-left of the map - Pale Apartments and Ruby Residence - give you a comparatively strong chance of finding Blueprints. Considering their size, there’s a high density of containers to loot in both locations, and they also have the benefit of being fairly out of the way. So you’re more likely to have all the containers to yourself.
Buried City
The best Blueprint farming locations on Buried City are the Santa Maria Houses, Grandioso Apartments, Town Hall, and the various buildings of the New District . Grandioso Apartments has a lower number of containers than the rest, but a high chance of spawning weapon cases - which have good Blueprint drop rates. The others are high-tier loot areas, with plenty of lootable containers - including Security Lockers.
Spaceport
The best places to find Blueprints on Spaceport are the Arrival and Departure Buildings, as well as Control Tower A6 and the Launch Towers . All these areas are labelled as high-value loot regions, and many of them are also very handily connected to one another by the Spaceport wall, which you can use to quickly run from one area to the next. At the tops of most of these buildings you’ll find at least one Security Locker, so this is an excellent farming route for players looking to find Blueprints.
The downside to looting Blueprints on Spaceport is that all these areas are hotly contested, particularly in Duos and Squads. You’ll need to be very focused and fast in order to complete the full farming route.

Image credit:Rock Paper Shotgun/Embark Studios
Blue Gate
Blue Gate tends to have a good chance of dropping Blueprints, potentially because it generally has a high number of containers which can hold lots of items; so there’s a higher chance of a Blueprint spawning in each container. In my experience, the best Blueprint farming spots on Blue Gate are Pilgrim’s Peak, Raider’s Refuge, the Ancient Fort, and the Underground Complex beneath the Warehouse .
All of these areas contain a wealth of containers to loot. Raider’s Refuge has less to loot, but the majority of the containers in and around the Refuge are raider containers, which have a high chance of containing Blueprints - particularly during major events.
Stella Montis
On the whole, Stella Montis seems to have a very low drop rate for Blueprints (though a high chance of dropping other high-tier loot). If you do want to try farming Blueprints on this map, the best places to find Blueprints in Stella Montis are Medical Research, Assembly Workshop, and the Business Center . These areas have the highest density of containers to loot on the map.
In addition to this, the Western Tunnel has a few different Security Lockers to loot, so while there’s very little to loot elsewhere in this area of the map, it’s worth hitting those Security Lockers if you spawn there at the start of a match.
That wraps up this primer on how to get all the Blueprints in Arc Raiders as quickly as possible. With the Expedition system constantly resetting a large number of players’ Blueprints, it’s more important than ever to have the most up-to-date information on where to find all these Blueprints.
While you’re here, be sure to check out our Arc Raiders best guns tier list , as well as our primers on the best skills to unlock and all the different Field Depot locations on every map.


ARC Raiders
PS5 , Xbox Series X/S , PC
Rock Paper Shotgun is better when you sign in
Sign in and join us on our journey to discover strange and compelling PC games.
