Fastest ways to make easy money in Kingdom Come Deliverance 2
Here’s how to get Groschen fast in the early days of KCD2

Image credit:Rock Paper Shotgun/Deep Silver

What are the fastest ways to make easy money in Kingdom Come: Deliverance 2? It might come as a shock to the system once you’re past the opening few quests in Kingdom Come: Deliverance 2 , and (without too many spoilers) Henry finds himself more or less having to start from scratch, with no gear, no reputation, and not a single Groschen to spend. Early on in the game, it’s very hard to make money quickly unless you know exactly where to go and what to do.
With such a deep and wide-ranging series of life sim mechanics, there’s no shortage of money-making methods available to you in KCD2. But some methods are going to get you hundreds or thousands of Groschen a lot quicker than others! In this guide, we’ll walk you through all the very best ways to make easy money fast in Kingdom Come: Deliverance 2 , from treasure maps to thievery, from selling perfumes to competing in fistfight tournaments. Time’s money, so let’s get started.

Fastest ways to make easy money in KCD2
If you want to earn lots of spending money as quickly as possible early on in Kingdom Come: Deliverance 2, then - just like in real life - you should aim to set up multiple revenue streams. Don’t just rely on one method to earn Groschen, but branch out and look for every opportunity to earn a bit more gold, no matter how small the sum.
To get you started, here are several of the very best ways to get easy money fast early on in KCD2. Don’t just pick one or two; pick several (or all of them!) to really kickstart your Groschen reserves!
Here are the fastest ways to make money in Kingdom Come: Deliverance 2:
- Report the cabbage thief to Bailiff Thrush
- Sell stolen horses to Horse Handler Mikolai
- Kill bandits and sell their armour
- Follow Treasure Maps for big rewards
- Prioritise side quests
- Upgrade Thievery early and steal everything
- Forge and sell Longswords
- Brew and sell potions - particularly Lion
- Track down Gules’ bandits after “The Jaunt”
- Compete in fistfighting tournaments
- Poach animals, and cook their meat before selling
Below we’ll walk you through each of these money-making methods in more detail, so you’re left with no doubt about how to earn Groschen as quickly as possible.
1. Report the cabbage thief to Bailiff Thrush

Image credit:Rock Paper Shotgun/Deep Silver
Here’s a favourite strategy of mine for getting a lot of spending money early on in KCD2. Explore the south of the Trosky map a little bit and you’ll find a wide river stretching left to right. Due south of Semine Castle, there’s a little road below the river that disappears into the forest . Just around there, you’ll find a man hiding in a cave. His name is Pepa, and he’s been stealing cabbages in order to turn it into special Sauerkraut. If you choose to leave him be, then you can return to him whenever you like to exchange cabbages for Pepa’s Sauerkraut, which is a food item with strong healing benefits.
However, the Sauerkraut’s usefulness declines later on as you start using potions for healing instead. Knowing this, I like to head straight there as soon as possible, meet Pepa, and then report his cabbage theft to Bailiff Thrush in Troskowitz. Pepa and his infinite supply of Sauerkraut will disappear from the map, but you’ll earn around 800 Groschen from the Bailiff for reporting the theft. That amount of money makes the first few hours of open-world travel in Kingdom Come: Deliverance 2 a lot easier.
2. Sell stolen horses to Horse Handler Mikolai
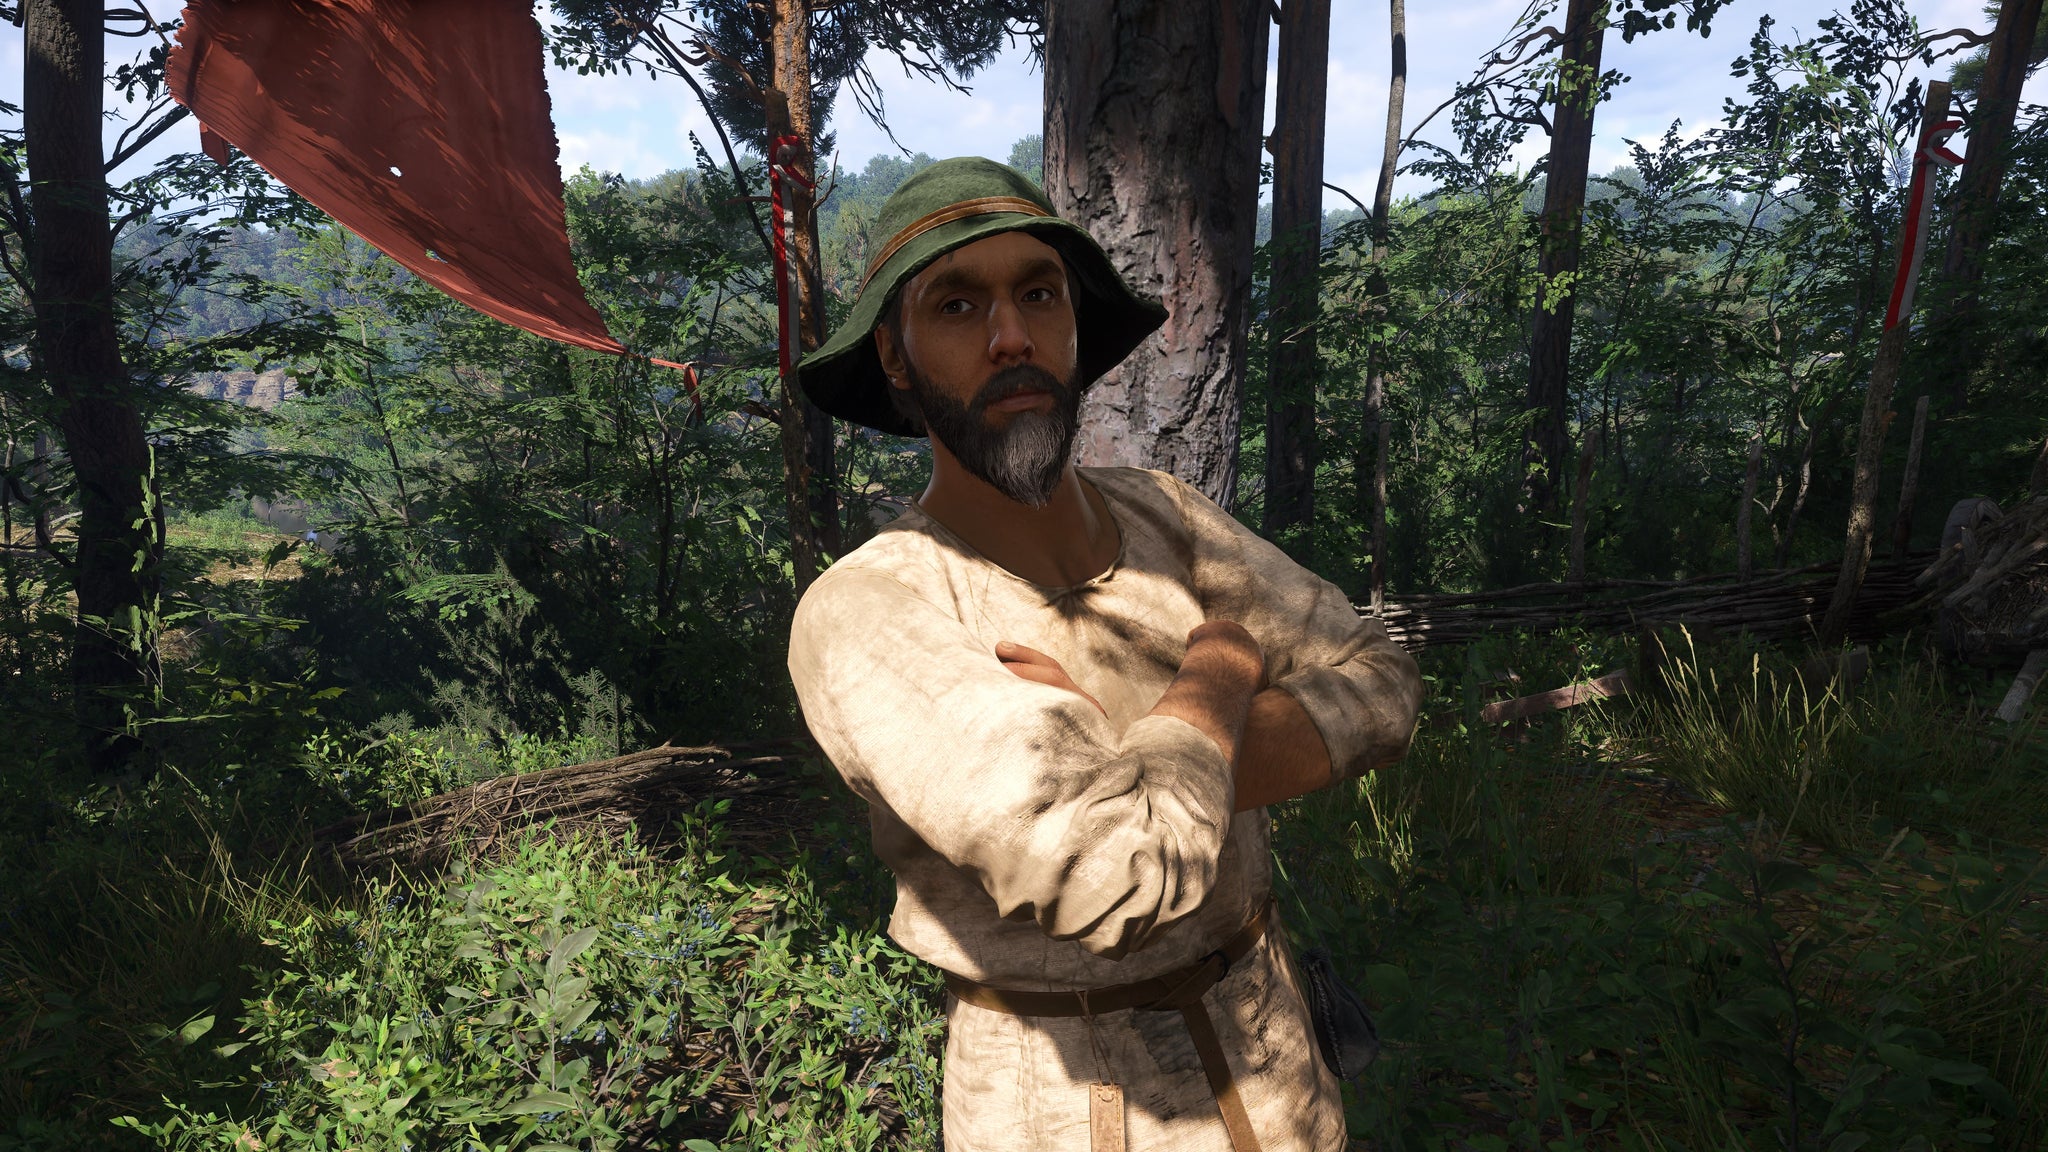
Image credit:Rock Paper Shotgun/Deep Silver
It’s really all too easy to steal a horse in the dead of night in Kingdom Come: Deliverance 2. As long as you take your time with the horse when you first get on it, it’ll happily allow you to ride it anywhere. And to make lots of easy money, the best place to ride is straight to the Nomad Camp in the west of Trosky, to find Horse Handler Mikolai.
Mikolai is a godsend for players look to make lots of Groschen early on. Ride your stolen horse into his territory and then speak to him, and you’ll get the option to enter the “Horse Black Market” dialogue option. There, you can sell your stolen horse - usually for hundreds of Groschen at a time. You can only do this once every 24 in-game hours, but the rewards speak for themselves.
3. Kill bandits and sell their armour

Image credit:Rock Paper Shotgun/Deep Silver
Everyone’s favourite money-making scheme from the first game is also a strong strategy in KCD2. Bandits on the road will often leave you no choice but to fight, and once they’re dead, you should make sure to loot every bandit corpse for their armour and weapons. These will almost always be the most valuable items on their person, and they only increase in value as the game progresses and starts to throw better-equipped enemies at you. As an example, towards the end of my Trosky travels I was wearing some gauntlets worth 2080 Groschen .
Of course, traders won’t pay full price for anything you have to sell, but you’re still likely to rack up several hundred (or thousand) Groschen if you make a habit of regularly stripping defeated bandits for any armour or weapons worth more than 100 Groschen . You may just want to pick up some Perks that increase your carrying capacity if you want to avoid overencumbrance!
4. Follow Treasure Maps for big rewards

Image credit:Rock Paper Shotgun/Deep Silver
As you delve deeper into the random side quests and activities of Kingdom Come: Deliverance 2, you’ll start to see treasure maps appearing. These abstract scribbled maps are deliberately unhelpful, so it may take you a lot of chin-scratching to figure out where to go to find said treasure - but as the name indicates, the rewards are well worth it.
The earliest treasure you’re likely to get your hands on is the Vidlak Bandits’ treasure, a map for which can be found at the camp that you deal with in the early side quest, “Lackey”. Follow the map to the hollow tree north of Vidlak Pond, and just a short trek downstream you’ll find a washed-up chest in the reeds with 300 Groschen and a Golden Crucifix worth 1,430 Groschen . This chest is available to find from the very start, and it’s a fantastic way to give your income a big early boost.
5. Prioritise side quests
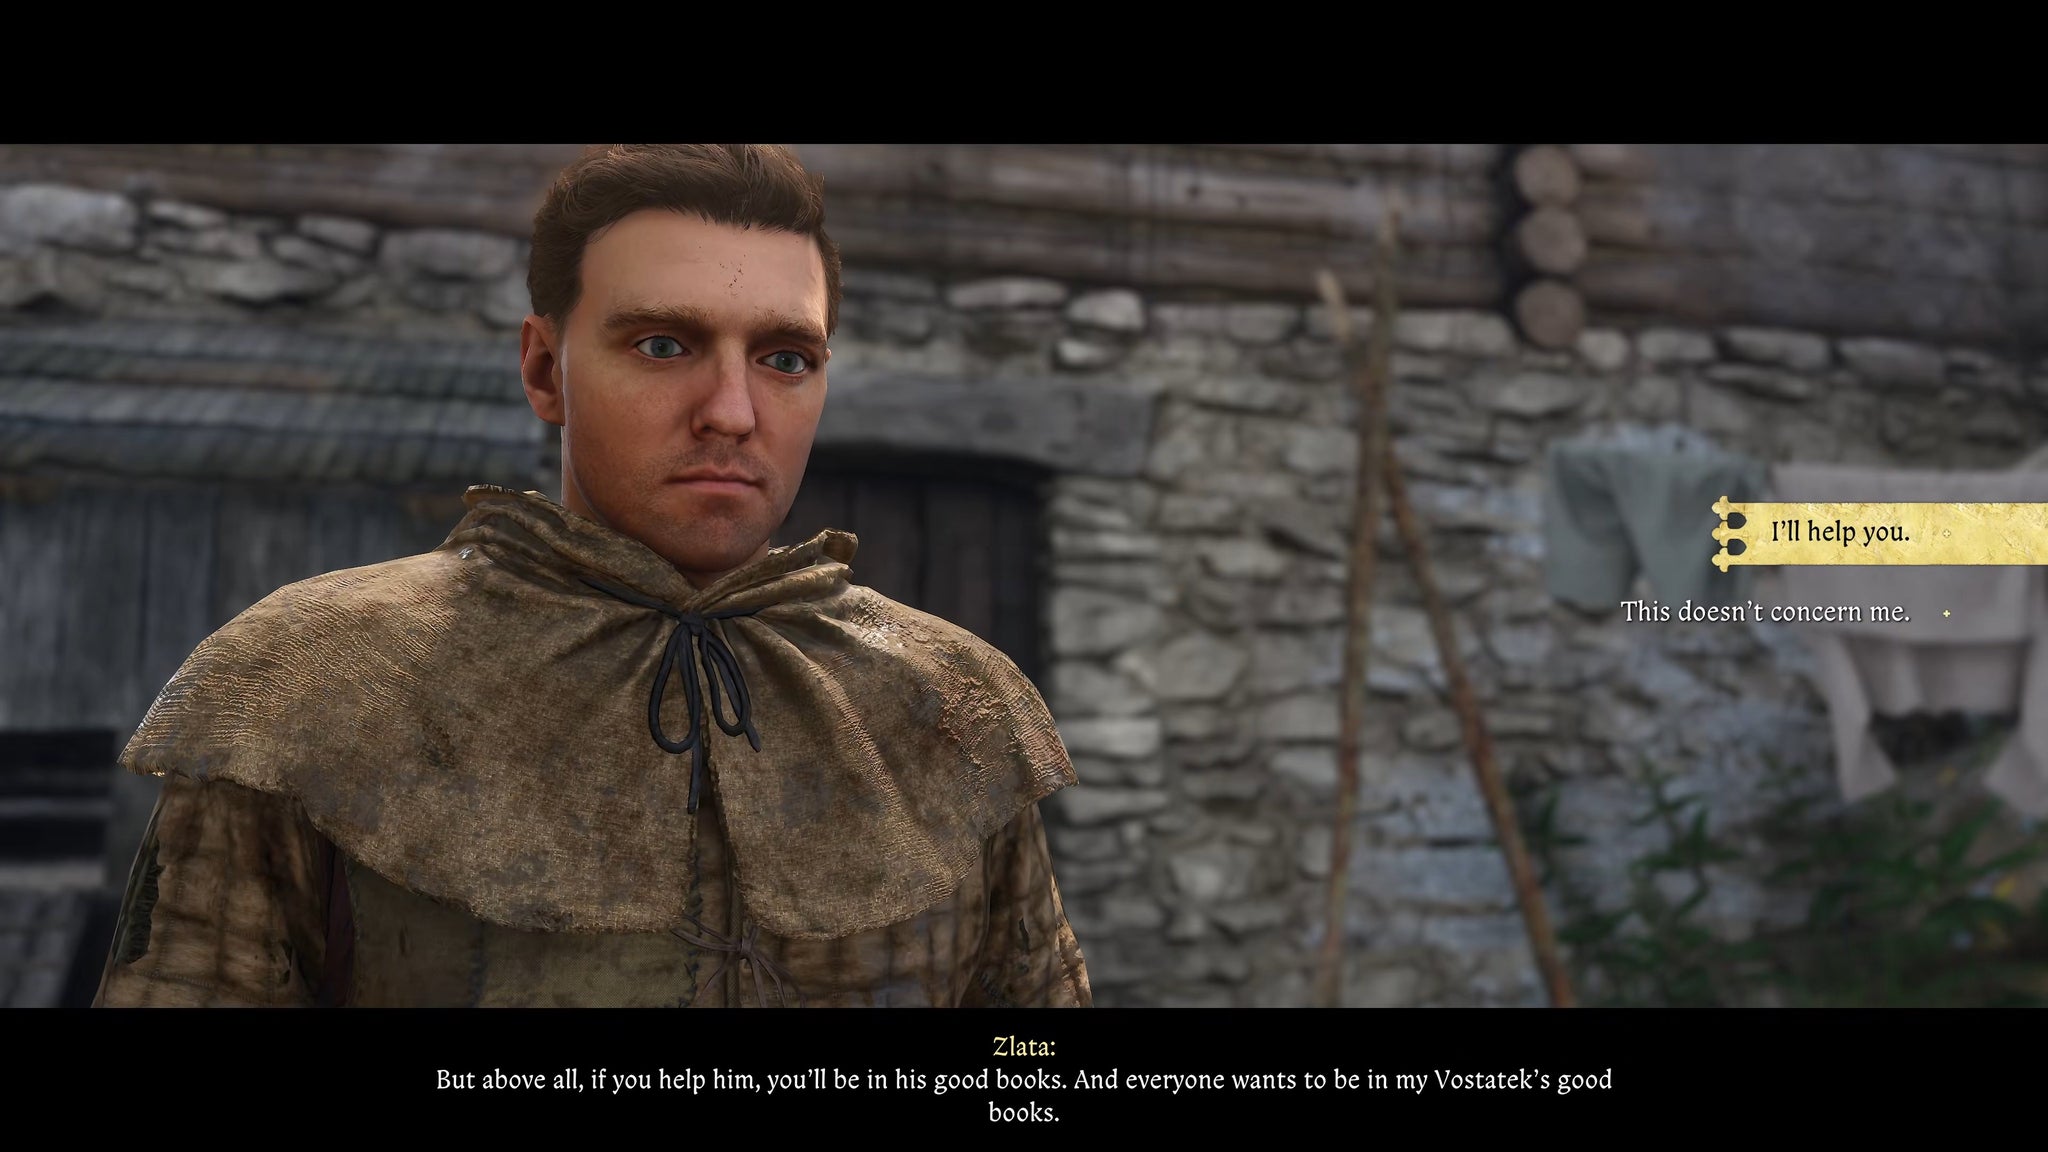
Image credit:Rock Paper Shotgun/Deep Silver
Side quests will generally pay you quite well for your troubles early on in the Trosky region. So it’s a good idea, once you start the “Wedding Crashers” main quest and the world opens up, to just explore and pick up every side quest you can find before dealing with them one by one. Early on you’ll be paid sums of 20-50 Groschen for completed tasks, but this can extend to nice paydays of 200 Groschen or more , particularly if you’re speaking to nobles or more affluent questgivers.
6. Upgrade Thievery early and steal everything

Image credit:Rock Paper Shotgun/Deep Silver
If you want to play Henry as straight as an arrow, then you probably won’t want to walk the path of the thief in the night, stealing everything that isn’t nailed down. Even then, there are no laws against stealing from “bad guys” like bandits and ruffians. But if you really want to earn money fast, it’s a good idea to head down to Lower Semine Mill early on, learn all you can about lockpicking and pickpocketing, and then go on nighttime sneak-raids of people’s houses.
Just remember that stolen items will be recognised if you’re near where they were stolen from. So it’s best to select one place (ideally with lots of traders) as your hub which you return to for selling, and then go around looting all the nearby villages and towns for their most valuable belongings. Plus, it’s great for earning lots of Thievery experience, which could really help you later on in the story!
7. Forge and sell Longswords
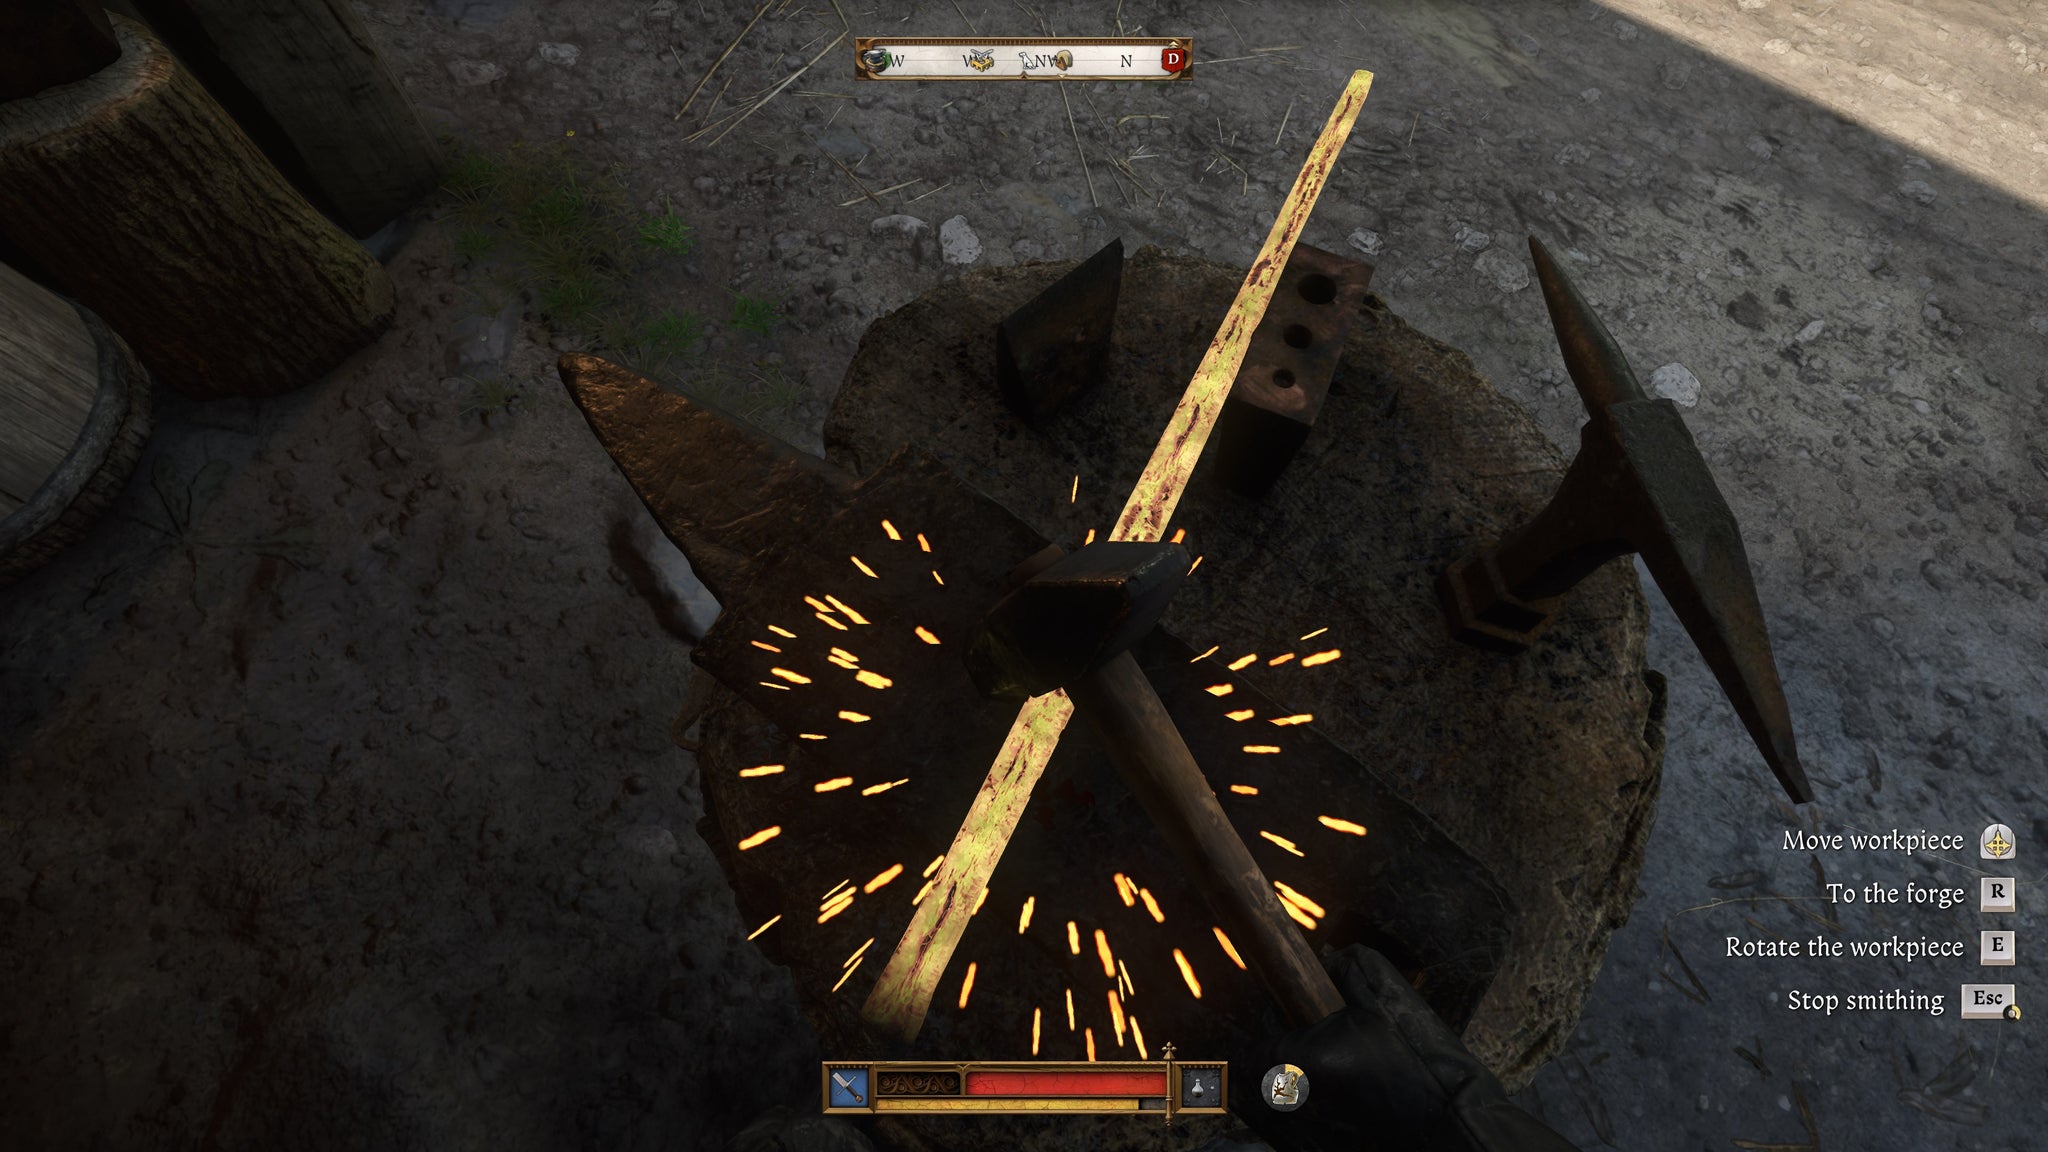
Image credit:Rock Paper Shotgun/Deep Silver
After Trosky opens up, pay Blacksmith Radovan a visit in Tachov and get him to teach you the basics of smithing. Blacksmithing, to me at least, is one of the most relaxing and enjoyable minigames in KCD2, and it’s no hardship at all for me to spend a day or two hammering away crafting valuable works of steel to sell to Radovan or others.
My go-to money-making strategy is to earn enough money to purchase the Common Longsword recipe from Radovan (for around 300 Groschen). The Longsword is one of the most valuable early-game items you can craft, and the material requirements are quite low. With haggling, I generally earn a net profit of around 150 Groschen for each Longsword I craft, which adds up to an awful lot early on in Kingdom Come: Deliverance 2. It also means you only need to sell 2 Longswords before you’ve recouped the cost of the recipe.
8. Brew and sell potions - particularly Lion
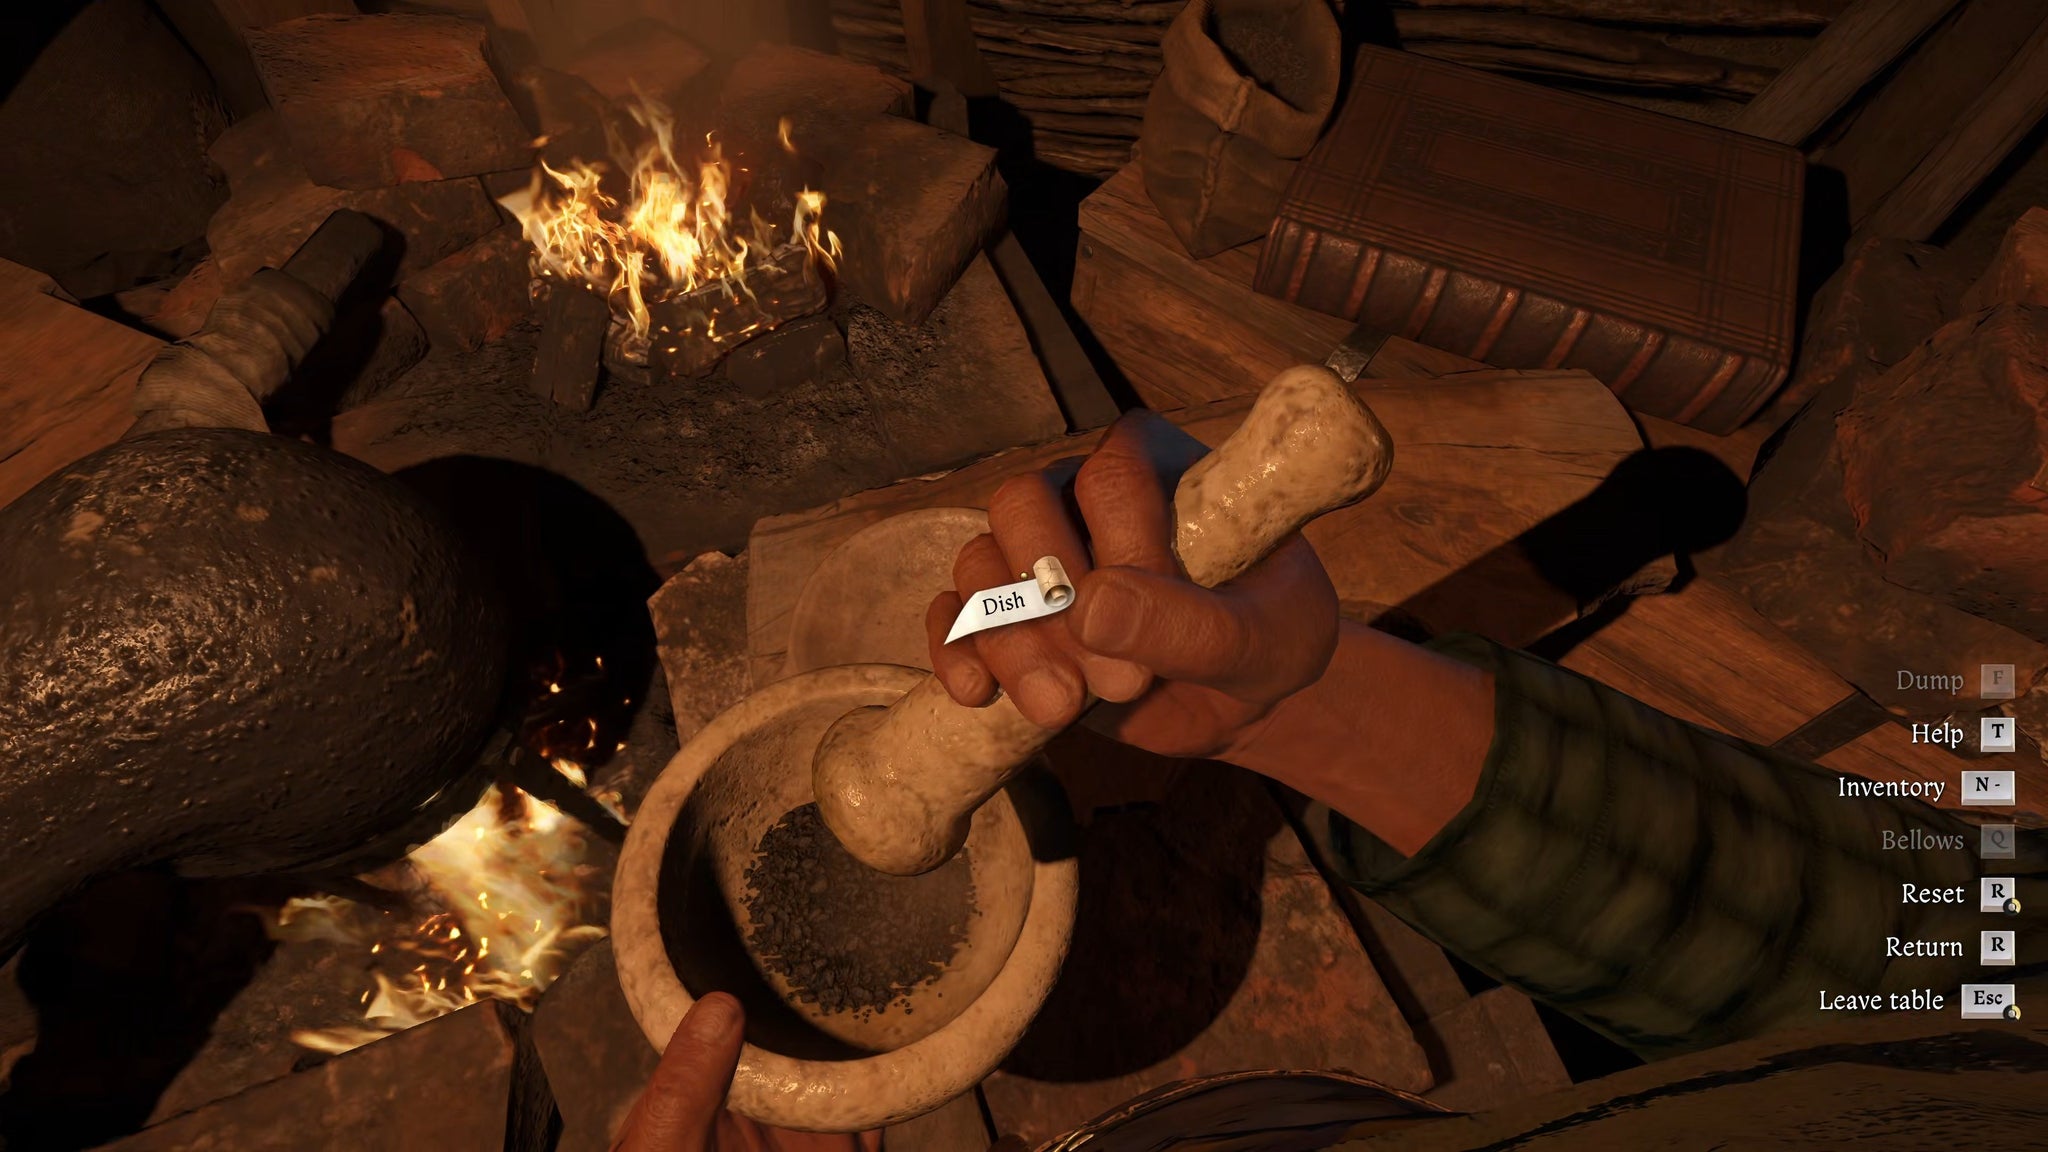
Image credit:Rock Paper Shotgun/Deep Silver
Potions will sell for less than swords, but they have two important benefits: the ingredients are easier to find; and you can brew potions without having to learn the recipe for them! You also get access to an Alchemy Bench extremely early on at Bozhena’s abode, and at Troskowitz.
Perfumes tend to sell for higher prices than other potions, and my favourite to sell in bulk is Lion. This extremely simple but potent perfume requires just 2x Sage and 2x Mint, and you can sell each bottle for around 18 Groschen. Remember also that you get multiple bottles from a single crafting, so with haggling and fresh herbs I’m selling 4x Strong Lion for around 80-90 Groschen each time - all using just some Sage and Mint.
Here’s the recipe for Lion if you want it:
- Prepare 2x Sage and 2x Mint.
- Add Spirits to the cauldron.
- Add the Sage and boil for 2 turns.
- Grind the Mint and add to the cauldron.
- Finally, pour.
9. Track down Gules’ bandits after “The Jaunt”

Image credit:Rock Paper Shotgun/Deep Silver
You know what I said about side quests being very profitable early on? Well, in particular, I highly recommend you beeline to Trosky Castle after meeting Blacksmith Radovan, so you can get on with “The Jaunt”. On its own, this side quest doesn’t earn you very much (although it does introduce you to some rather influential people, like Lord Semine). But completing “The Jaunt” opens up a string of small side quests involving tracking down bandits - and those quests can be very lucrative for an early-game Henry.
Once you’ve completed “The Jaunt”, go find Gules in Semine Castle. He’ll ask you for help tracking down his former bandit comrades. You’ll gain a reward from Gules for each one, and it’s also a great opportunity for stealing tonnes of valuable armour from various bandits. What’s more - once you find the final bandit in this chain of quests, Casper, you can loot the keys off his body and use them to open the chest in his camp. This chest contains - brace yourself - a whopping 1,739.4 Groschen . You’re welcome.
10. Compete in fistfighting tournaments
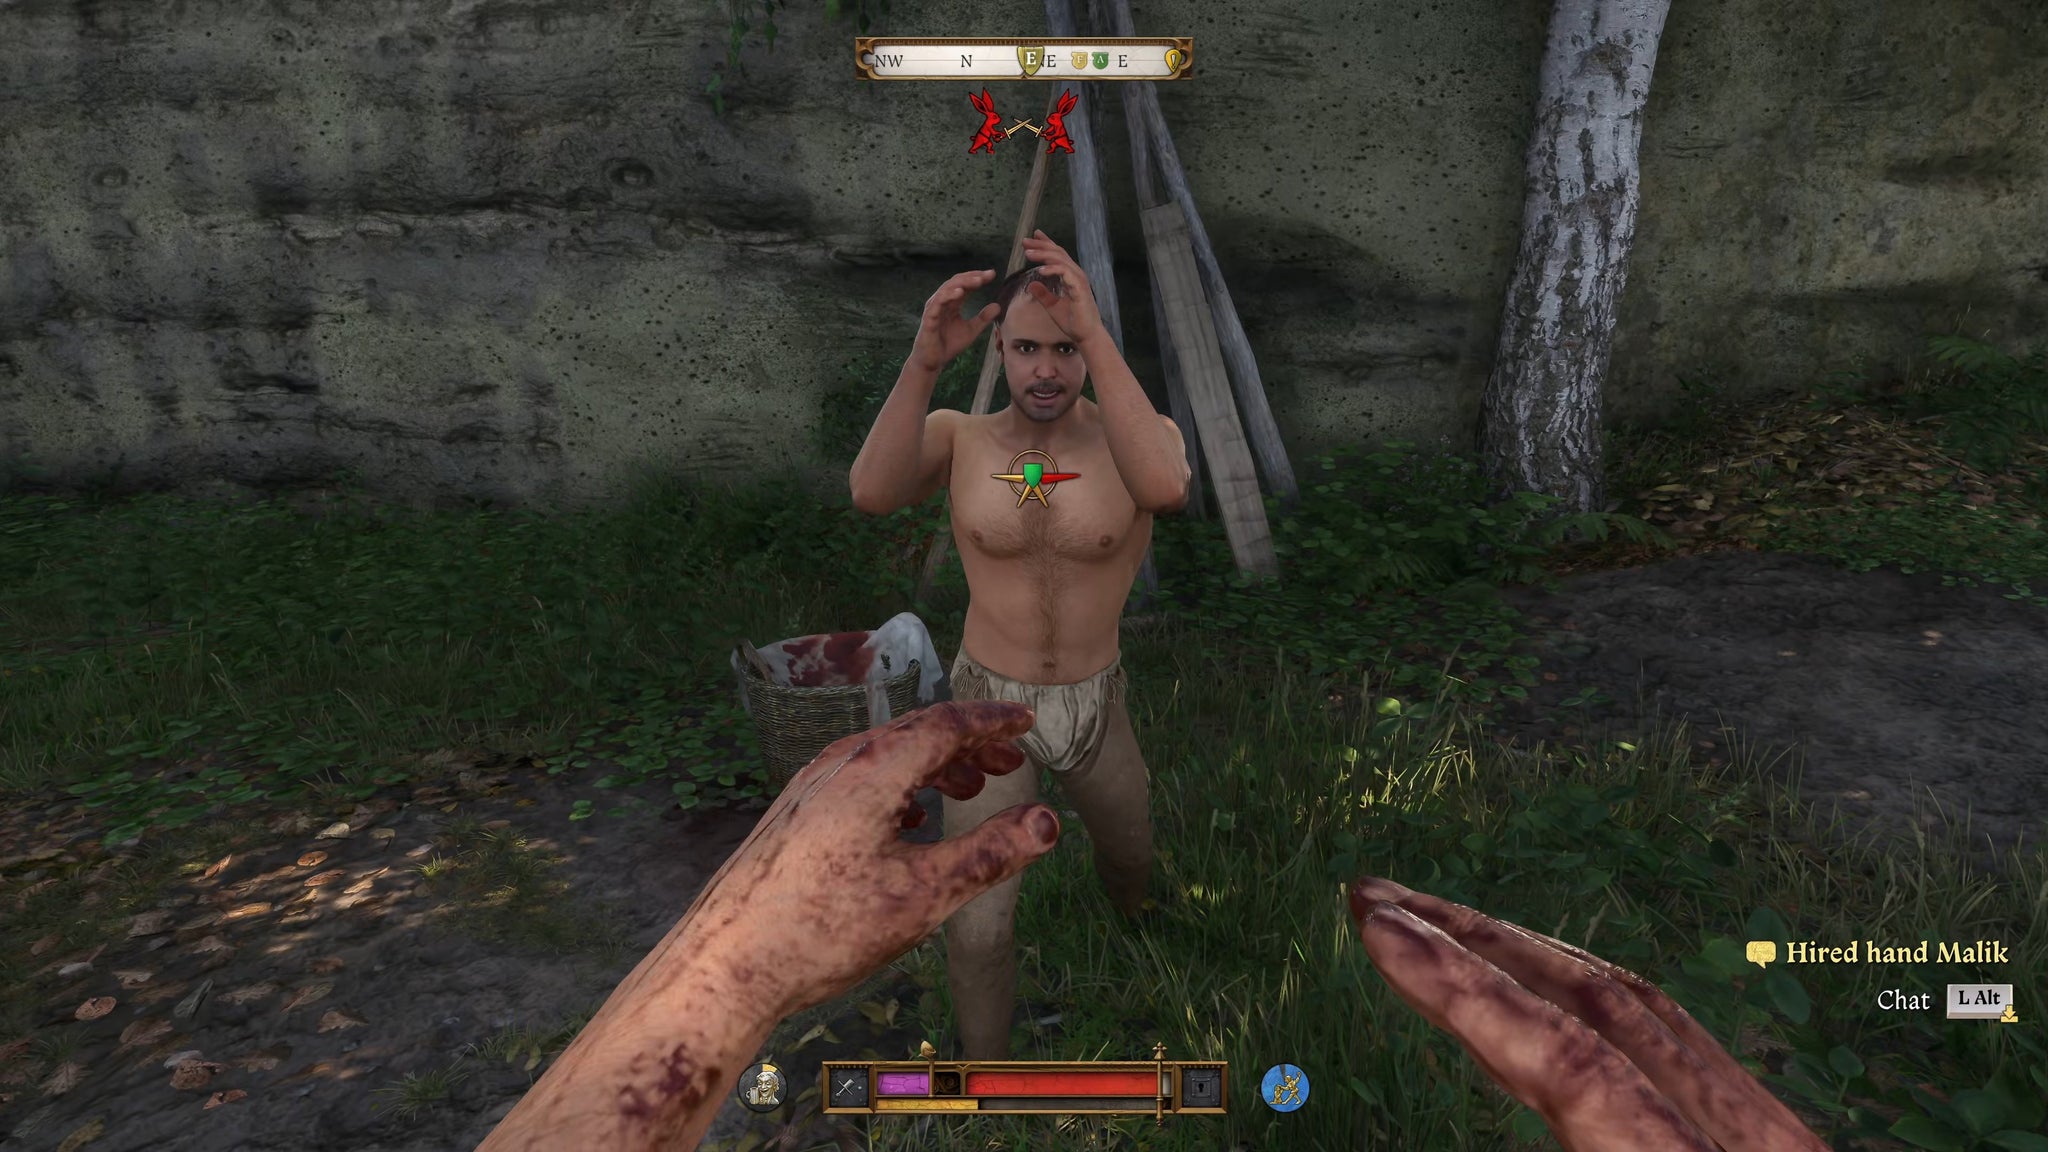
Image credit:Rock Paper Shotgun/Deep Silver
If you head to Lower Semine Mill to speak with Miller Kreyzl and his people, you’ll discover after joining their band that they like to engage in good-natured fistfighting tourneys with one another. There are three combatants to defeat in Lower Semine Mill (for 10 Groschen each), and once you’ve defeated all three, you can speak with Kreyzl and he’ll give you 150 Groschen with which to enter the larger tournament at the Zhelejov Wagoners’ Inn to the north.
You can of course just take the Miller’s 150 Groschen and run. Or you can use 100 of it to compete in the Zhelejov fights. There’s another 3 opponents there; each one will give you 10 gold for a win, and after beating all 3 you can speak with the Innkeeper to get 200 Groschen as a reward . So all in all you’ll earn 310 Groschen for a bit of fairly easy fistfighting. Not bad!
11. Poach animals, and cook their meat before selling

Image credit:Rock Paper Shotgun/Deep Silver
Poaching will get you into a lot of trouble if you get caught doing it; the only animals you’re allowed to butcher and sell are wolves. But there’s a bit of a cheesy workaround which Kingdom Come: Deliverance 2 inherited from its predecessor. See, if you cook the poached animal’s meat, then it immediately loses its “stolen” status, allowing you to sell it as normal. Plus, cooked meat is more valuable anyway. Win win!
A single deer will drop a metric deer-load of meat, which you can magically cook instantly at any campfire or cooking station. After that you can sell it all off together, and the sheer quantity of meat means you’ll be getting a decent payoff. The very first time I went poaching in the night, I killed 3 deer, took all their meat and other bits back to the merchant in Troskowitz, and sold it all for 50 Groschen. That’s not a huge amount, but early on in the game when you’re looking to earn money as fast as possible, every little helps. Just remember that meat weighs a lot, so you should empty your inventory (or use a horse’s inventory) to make carrying the meat easier.
That’s everything you need to know about making easy money fast in Kingdom Come: Deliverance 2. For more help with KCD2, head to our guides on how to get a horse , how to play dice and how to heal . We’ve also got guides on the Kingdom Come Deliverance 2 best class and how to pick hard locks .


Kingdom Come: Deliverance II
Video Game
Rock Paper Shotgun is better when you sign in
Sign in and join us on our journey to discover strange and compelling PC games.

All 75 Arc Raiders Blueprints and where to get them
These areas have the highest chance of giving you Blueprints

Image credit:Rock Paper Shotgun/Embark Studios

Looking for more Arc Raiders Blueprints? It’s a special day when you find a Blueprint, as they’re among the most valuable items in Arc Raiders. If you find a Blueprint that you haven’t already found, then you must make sure you hold onto it at all costs, because Blueprints are the key to one of the most important and powerful systems of meta-progression in the game.
This guide aims to be the very best guide on Blueprints you can find, starting with a primer on what exactly they are and how they work in Arc Raiders, before delving into exactly where to get Blueprints and the very best farming spots for you to take in your search.
We’ll also go over how to get Blueprints from other unlikely activities, such as destroying Surveyors and completing specific quests. And you’ll also find the full list of all 75 Blueprints in Arc Raiders on this page (including the newest Blueprints added with the Cold Snap update , such as the Deadline Blueprint and Firework Box Blueprint), giving you all the information you need to expand your own crafting repertoire.
In this guide:
- What are Blueprints in Arc Raiders?
- Full Blueprint list: All crafting recipes
- Where to find Blueprints in Arc Raiders Blueprints obtained from quests Blueprints obtained from Trials Best Blueprint farming locations

What are Blueprints in Arc Raiders?
Blueprints in Arc Raiders are special items which, if you manage to extract with them, you can expend to permanently unlock a new crafting recipe in your Workshop. If you manage to extract from a raid with an Anvil Blueprint, for example, you can unlock the ability to craft your very own Anvil Pistol, as many times as you like (as long as you have the crafting materials).
To use a Blueprint, simply open your Inventory while in the lobby, then right-click on the Blueprint and click “Learn And Consume” . This will permanently unlock the recipe for that item in your Workshop. As of the Stella Montis update, there are allegedly 75 different Blueprints to unlock - although only 68 are confirmed to be in the game so far. You can see all the Blueprints you’ve found and unlocked by going to the Workshop menu, and hitting “R” to bring up the Blueprint screen.
It’s possible to find duplicates of past Blueprints you’ve already unlocked. If you find these, then you can either sell them, or - if you like to play with friends - you can take it into a match and gift it to your friend so they can unlock that recipe for themselves. Another option is to keep hold of them until the time comes to donate them to the Expedition.
Full Blueprint list: All crafting recipes
Below is the full list of all the Blueprints that are currently available to find in Arc Raiders, and the crafting recipe required for each item:
| Blueprint | Type | Recipe | Crafted At |
|---|---|---|---|
| Bettina | Weapon | 3x Advanced Mechanical Components 3x Heavy Gun Parts 3x Canister | Gunsmith 3 |
| Blue Light Stick | Quick Use | 3x Chemicals | Utility Station 1 |
| Aphelion | Weapon | 3x Magnetic Accelerator 3x Complex Gun Parts 1x Matriarch Reactor | Gunsmith 3 |
| Combat Mk. 3 (Flanking) | Augment | 2x Advanced Electrical Components 3x Processor | Gear Bench 3 |
| Combat Mk. 3 (Aggressive) | Augment | 2x Advanced Electrical Components 3x Processor | Gear Bench 3 |
| Complex Gun Parts | Material | 2x Light Gun Parts 2x Medium Gun Parts 2x Heavy Gun Parts | Refiner 3 |
| Fireworks Box | Quick Use | 1x Explosive Compound 3x Pop Trigger | Explosives Station 2 |
| Gas Mine | Mine | 4x Chemicals 2x Rubber Parts | Explosives Station 1 |
| Green Light Stick | Quick Use | 3x Chemicals | Utility Station 1 |
| Pulse Mine | Mine | 1x Crude Explosives 1x Wires | Explosives Station 1 |
| Seeker Grenade | Grenade | 1x Crude Explosives 2x ARC Alloy | Explosives Station 1 |
| Looting Mk. 3 (Survivor) | Augment | 2x Advanced Electrical Components 3x Processor | Gear Bench 3 |
| Angled Grip II | Mod | 2x Mechanical Components 3x Duct Tape | Gunsmith 2 |
| Angled Grip III | Mod | 2x Mod Components 5x Duct Tape | Gunsmith 3 |
| Hullcracker | Weapon | 1x Magnetic Accelerator 3x Heavy Gun Parts 1x Exodus Modules | Gunsmith 3 |
| Launcher Ammo | Ammo | 5x Metal Parts 1x Crude Explosives | Workbench 1 |
| Anvil | Weapon | 5x Mechanical Components 5x Simple Gun Parts | Gunsmith 2 |
| Anvil Splitter | Mod | 2x Mod Components 3x Processor | Gunsmith 3 |
| ??? | ??? | ??? | ??? |
| Barricade Kit | Quick Use | 1x Mechanical Components | Utility Station 2 |
| Blaze Grenade | Grenade | 1x Explosive Compound 2x Oil | Explosives Station 3 |
| Bobcat | Weapon | 3x Advanced Mechanical Components 3x Light Gun Parts | Gunsmith 3 |
| Osprey | Weapon | 2x Advanced Mechanical Components 3x Medium Gun Parts 7x Wires | Gunsmith 3 |
| Burletta | Weapon | 3x Mechanical Components 3x Simple Gun Parts | Gunsmith 1 |
| Compensator II | Mod | 2x Mechanical Components 4x Wires | Gunsmith 2 |
| Compensator III | Mod | 2x Mod Components 8x Wires | Gunsmith 3 |
| Defibrillator | Quick Use | 9x Plastic Parts 1x Moss | Medical Lab 2 |
| ??? | ??? | ??? | ??? |
| Equalizer | Weapon | 3x Magnetic Accelerator 3x Complex Gun Parts 1x Queen Reactor | Gunsmith 3 |
| Extended Barrel | Mod | 2x Mod Components 8x Wires | Gunsmith 3 |
| Extended Light Mag II | Mod | 2x Mechanical Components 3x Steel Spring | Gunsmith 2 |
| Extended Light Mag III | Mod | 2x Mod Components 5x Steel Spring | Gunsmith 3 |
| Extended Medium Mag II | Mod | 2x Mechanical Components 3x Steel Spring | Gunsmith 2 |
| Extended Medium Mag III | Mod | 2x Mod Components 5x Steel Spring | Gunsmith 3 |
| Extended Shotgun Mag II | Mod | 2x Mechanical Components 3x Steel Spring | Gunsmith 2 |
| Extended Shotgun Mag III | Mod | 2x Mod Components 5x Steel Spring | Gunsmith 3 |
| Remote Raider Flare | Quick Use | 2x Chemicals 4x Rubber Parts | Utility Station 1 |
| Heavy Gun Parts | Material | 4x Simple Gun Parts | Refiner 2 |
| Venator | Weapon | 2x Advanced Mechanical Components 3x Medium Gun Parts 5x Magnet | Gunsmith 3 |
| Il Toro | Weapon | 5x Mechanical Components 6x Simple Gun Parts | Gunsmith 1 |
| Jolt Mine | Mine | 1x Electrical Components 1x Battery | Explosives Station 2 |
| Explosive Mine | Mine | 1x Explosive Compound 1x Sensors | Explosives Station 3 |
| Jupiter | Weapon | 3x Magnetic Accelerator 3x Complex Gun Parts 1x Queen Reactor | Gunsmith 3 |
| Light Gun Parts | Material | 4x Simple Gun Parts | Refiner 2 |
| Lightweight Stock | Mod | 2x Mod Components 5x Duct Tape | Gunsmith 3 |
| Lure Grenade | Grenade | 1x Speaker Component 1x Electrical Components | Utility Station 2 |
| Medium Gun Parts | Material | 4x Simple Gun Parts | Refiner 2 |
| Torrente | Weapon | 2x Advanced Mechanical Components 3x Medium Gun Parts 6x Steel Spring | Gunsmith 3 |
| Muzzle Brake II | Mod | 2x Mechanical Components 4x Wires | Gunsmith 2 |
| Muzzle Brake III | Mod | 2x Mod Components 8x Wires | Gunsmith 3 |
| Padded Stock | Mod | 2x Mod Components 5x Duct Tape | Gunsmith 3 |
| Shotgun Choke II | Mod | 2x Mechanical Components 4x Wires | Gunsmith 2 |
| Shotgun Choke III | Mod | 2x Mod Components 8x Wires | Gunsmith 3 |
| Shotgun Silencer | Mod | 2x Mod Components 8x Wires | Gunsmith 3 |
| Showstopper | Grenade | 1x Advanced Electrical Components 1x Voltage Converter | Explosives Station 3 |
| Silencer I | Mod | 2x Mechanical Components 4x Wires | Gunsmith 2 |
| Silencer II | Mod | 2x Mod Components 8x Wires | Gunsmith 3 |
| Snap Hook | Quick Use | 2x Power Rod 3x Rope 1x Exodus Modules | Utility Station 3 |
| Stable Stock II | Mod | 2x Mechanical Components 3x Duct Tape | Gunsmith 2 |
| Stable Stock III | Mod | 2x Mod Components 5x Duct Tape | Gunsmith 3 |
| Tagging Grenade | Grenade | 1x Electrical Components 1x Sensors | Utility Station 3 |
| Tempest | Weapon | 3x Advanced Mechanical Components 3x Medium Gun Parts 3x Canister | Gunsmith 3 |
| Trigger Nade | Grenade | 2x Crude Explosives 1x Processor | Explosives Station 2 |
| Vertical Grip II | Mod | 2x Mechanical Components 3x Duct Tape | Gunsmith 2 |
| Vertical Grip III | Mod | 2x Mod Components 5x Duct Tape | Gunsmith 3 |
| Vita Shot | Quick Use | 2x Antiseptic 1x Syringe | Medical Lab 3 |
| Vita Spray | Quick Use | 3x Antiseptic 1x Canister | Medical Lab 3 |
| Vulcano | Weapon | 1x Magnetic Accelerator 3x Heavy Gun Parts 1x Exodus Modules | Gunsmith 3 |
| Wolfpack | Grenade | 2x Explosive Compound 2x Sensors | Explosives Station 3 |
| Red Light Stick | Quick Use | 3x Chemicals | Utility Station 1 |
| Smoke Grenade | Grenade | 14x Chemicals 1x Canister | Utility Station 2 |
| Deadline | Mine | 3x Explosive Compound 2x ARC Circuitry | Explosives Station 3 |
| Trailblazer | Grenade | 1x Explosive Compound 1x Synthesized Fuel | Explosives Station 3 |
| Tactical Mk. 3 (Defensive) | Augment | 2x Advanced Electrical Components 3x Processor | Gear Bench 3 |
| Tactical Mk. 3 (Healing) | Augment | 2x Advanced Electrical Components 3x Processor | Gear Bench 3 |
| Yellow Light Stick | Quick Use | 3x Chemicals | Utility Station 1 |
Note: The missing Blueprints in this list likely have not actually been added to the game at the time of writing, because none of the playerbase has managed to find any of them. As they are added to the game, I will update this page with the most relevant information so you know exactly how to get all 75 Arc Raiders Blueprints.
Where to find Blueprints in Arc Raiders
Below is a list of all containers, modifiers, and events which maximise your chances of finding Blueprints:
- Certain quests reward you with specific Blueprints .
- Completing Trials has a high chance of offering Blueprints as rewards.
- Surveyors have a decent chance of dropping Blueprints on death.
- High loot value areas tend to have a greater chance of spawning Blueprints.
- Night Raids and Storms may increase rare Blueprint spawn chances in containers.
- Containers with higher numbers of items may have a higher tendency to spawn Blueprints. As a result, Blue Gate (which has many “large” containers containing multiple items) may give you a higher chance of spawning Blueprints.
- Raider containers (Raider Caches, Weapon Boxes, Medical Bags, Grenade Tubes) have increased Blueprint drop rates. As a result, the Uncovered Caches event gives you a high chance of finding Blueprints.
- Security Lockers have a higher than average chance of containing Blueprints.
- Certain Blueprints only seem to spawn under specific circumstances: Tempest Blueprint only spawns during Night Raid events. Vulcano Blueprint only spawns during Hidden Bunker events. Jupiter and Equaliser Blueprints only spawn during Harvester events.

Raider Caches, Weapon Boxes, and other raider-oriented container types have a good chance of offering Blueprints. |Image credit:Rock Paper Shotgun/Embark Studios
Blueprints have a very low chance of spawning in any container in Arc Raiders, around 1-2% on average. However, there is a higher chance of finding Blueprints in particular container types. Specifically, you can find more Blueprints in Raider containers and security lockers.
Beyond this, if you’re looking for Blueprints you should focus on regions of the map which are marked as having particularly high-value loot. Areas such as the Control Tower in Dam Battlegrounds, the Arrival and Departure Buildings in Spaceport, and Pilgrim’s Peak in Blue Gate all have a better-than-average chance of spawning Blueprints somewhere amongst all their containers. Night Raids and Electromagnetic Storm events also increase the drop chances of certain Blueprints .
In addition to these containers, you can often loot Blueprints from destroyed Surveyors - the largest of the rolling ball ARC. Surveyors are more commonly found on the later maps - Spaceport and Blue Gate - and if one spawns in your match, you’ll likely see it by the blue laser beam that it casts into the sky while “surveying”.
Surveyors are quite well-armoured and will very speedily run away from you once it notices you, but if you can take one down then make sure you loot all its parts for a chance of obtaining certain unusual Blueprints.
Blueprints obtained from quests
One way in which you can get Blueprints is by completing certain quests for the vendors in Speranza. Some quests will reward you with a specific item Blueprint upon completion, so as long as you work through all the quests in Arc Raiders, you are guaranteed those Blueprints.
Here is the full list of all Blueprints you can get from quest rewards:
- Trigger Nade Blueprint: Rewarded after completing “Sparks Fly”.
- Lure Grenade Blueprint: Rewarded after completing “Greasing Her Palms”.
- Burletta Blueprint: Rewarded after completing “Industrial Espionage”.
- Hullcracker Blueprint (and Launcher Ammo Blueprint): Rewarded after completing “The Major’s Footlocker”.
Alas, that’s only 4 Blueprints out of a total of 75 to unlock, so for the vast majority you will need to find them yourself during a raid. If you’re intent on farming Blueprints, then it’s best to equip yourself with cheap gear in case you lose it, but don’t use a free loadout because then you won’t get a safe pocket to stash any new Blueprint you find. No pain in Arc Raiders is sharper than failing to extract with a new Blueprint you’ve been after for a dozen hours already.

One of the best ways to get Blueprints is by hitting three stars on all five Trials every week. |Image credit:Rock Paper Shotgun/Embark Studios
Blueprints obtained from Trials
One of the very best ways to get Blueprints is as rewards for completing Trials in Arc Raiders. Trials are unlocked from Level 15 onwards, and allow you to earn rewards by focusing on certain tasks over the course of several raids. For example, one Trial might task you with dealing damage to Hornets, while another might challenge you to loot Supply Drops.
Trials refresh on a weekly basis, with a new week bringing five new Trials. Each Trial can offer up to three rewards after passing certain score milestones, and it’s possible to receive very high level loot from these reward crates - including Blueprints. So if you want to unlock as many Blueprints as possible, you should make a point of completing as many Trials as possible each week.
Best Blueprint farming locations
The very best way to get Blueprints is to frequent specific areas of the maps which combine high-tier loot pools with the right types of containers to search. Here are my recommendations for where to find Blueprints on every map, so you can always keep the search going for new crafting recipes to unlock.

Image credit:Rock Paper Shotgun/Embark Studios
Dam Battlegrounds
The best places to farm Blueprints on Dam Battlegrounds are the Control Tower, Power Generation Complex, Ruby Residence, and Pale Apartments . The first two regions, despite only being marked on the map as mid-tier loot, contain a phenomenal number of containers to loot. The Control Tower can also contain a couple of high-tier Security Lockers - though of course, you’ll need to have unlocked the Security Breach skill at the end of the Survival tree.
There’s also a lot of reporting amongst the playerbase that the Residential areas in the top-left of the map - Pale Apartments and Ruby Residence - give you a comparatively strong chance of finding Blueprints. Considering their size, there’s a high density of containers to loot in both locations, and they also have the benefit of being fairly out of the way. So you’re more likely to have all the containers to yourself.
Buried City
The best Blueprint farming locations on Buried City are the Santa Maria Houses, Grandioso Apartments, Town Hall, and the various buildings of the New District . Grandioso Apartments has a lower number of containers than the rest, but a high chance of spawning weapon cases - which have good Blueprint drop rates. The others are high-tier loot areas, with plenty of lootable containers - including Security Lockers.
Spaceport
The best places to find Blueprints on Spaceport are the Arrival and Departure Buildings, as well as Control Tower A6 and the Launch Towers . All these areas are labelled as high-value loot regions, and many of them are also very handily connected to one another by the Spaceport wall, which you can use to quickly run from one area to the next. At the tops of most of these buildings you’ll find at least one Security Locker, so this is an excellent farming route for players looking to find Blueprints.
The downside to looting Blueprints on Spaceport is that all these areas are hotly contested, particularly in Duos and Squads. You’ll need to be very focused and fast in order to complete the full farming route.

Image credit:Rock Paper Shotgun/Embark Studios
Blue Gate
Blue Gate tends to have a good chance of dropping Blueprints, potentially because it generally has a high number of containers which can hold lots of items; so there’s a higher chance of a Blueprint spawning in each container. In my experience, the best Blueprint farming spots on Blue Gate are Pilgrim’s Peak, Raider’s Refuge, the Ancient Fort, and the Underground Complex beneath the Warehouse .
All of these areas contain a wealth of containers to loot. Raider’s Refuge has less to loot, but the majority of the containers in and around the Refuge are raider containers, which have a high chance of containing Blueprints - particularly during major events.
Stella Montis
On the whole, Stella Montis seems to have a very low drop rate for Blueprints (though a high chance of dropping other high-tier loot). If you do want to try farming Blueprints on this map, the best places to find Blueprints in Stella Montis are Medical Research, Assembly Workshop, and the Business Center . These areas have the highest density of containers to loot on the map.
In addition to this, the Western Tunnel has a few different Security Lockers to loot, so while there’s very little to loot elsewhere in this area of the map, it’s worth hitting those Security Lockers if you spawn there at the start of a match.
That wraps up this primer on how to get all the Blueprints in Arc Raiders as quickly as possible. With the Expedition system constantly resetting a large number of players’ Blueprints, it’s more important than ever to have the most up-to-date information on where to find all these Blueprints.
While you’re here, be sure to check out our Arc Raiders best guns tier list , as well as our primers on the best skills to unlock and all the different Field Depot locations on every map.


ARC Raiders
PS5 , Xbox Series X/S , PC
Rock Paper Shotgun is better when you sign in
Sign in and join us on our journey to discover strange and compelling PC games.
