Enshrouded early access review: the best building system in the survival genre
Peel back the Shroud and there’s a solid foundation here
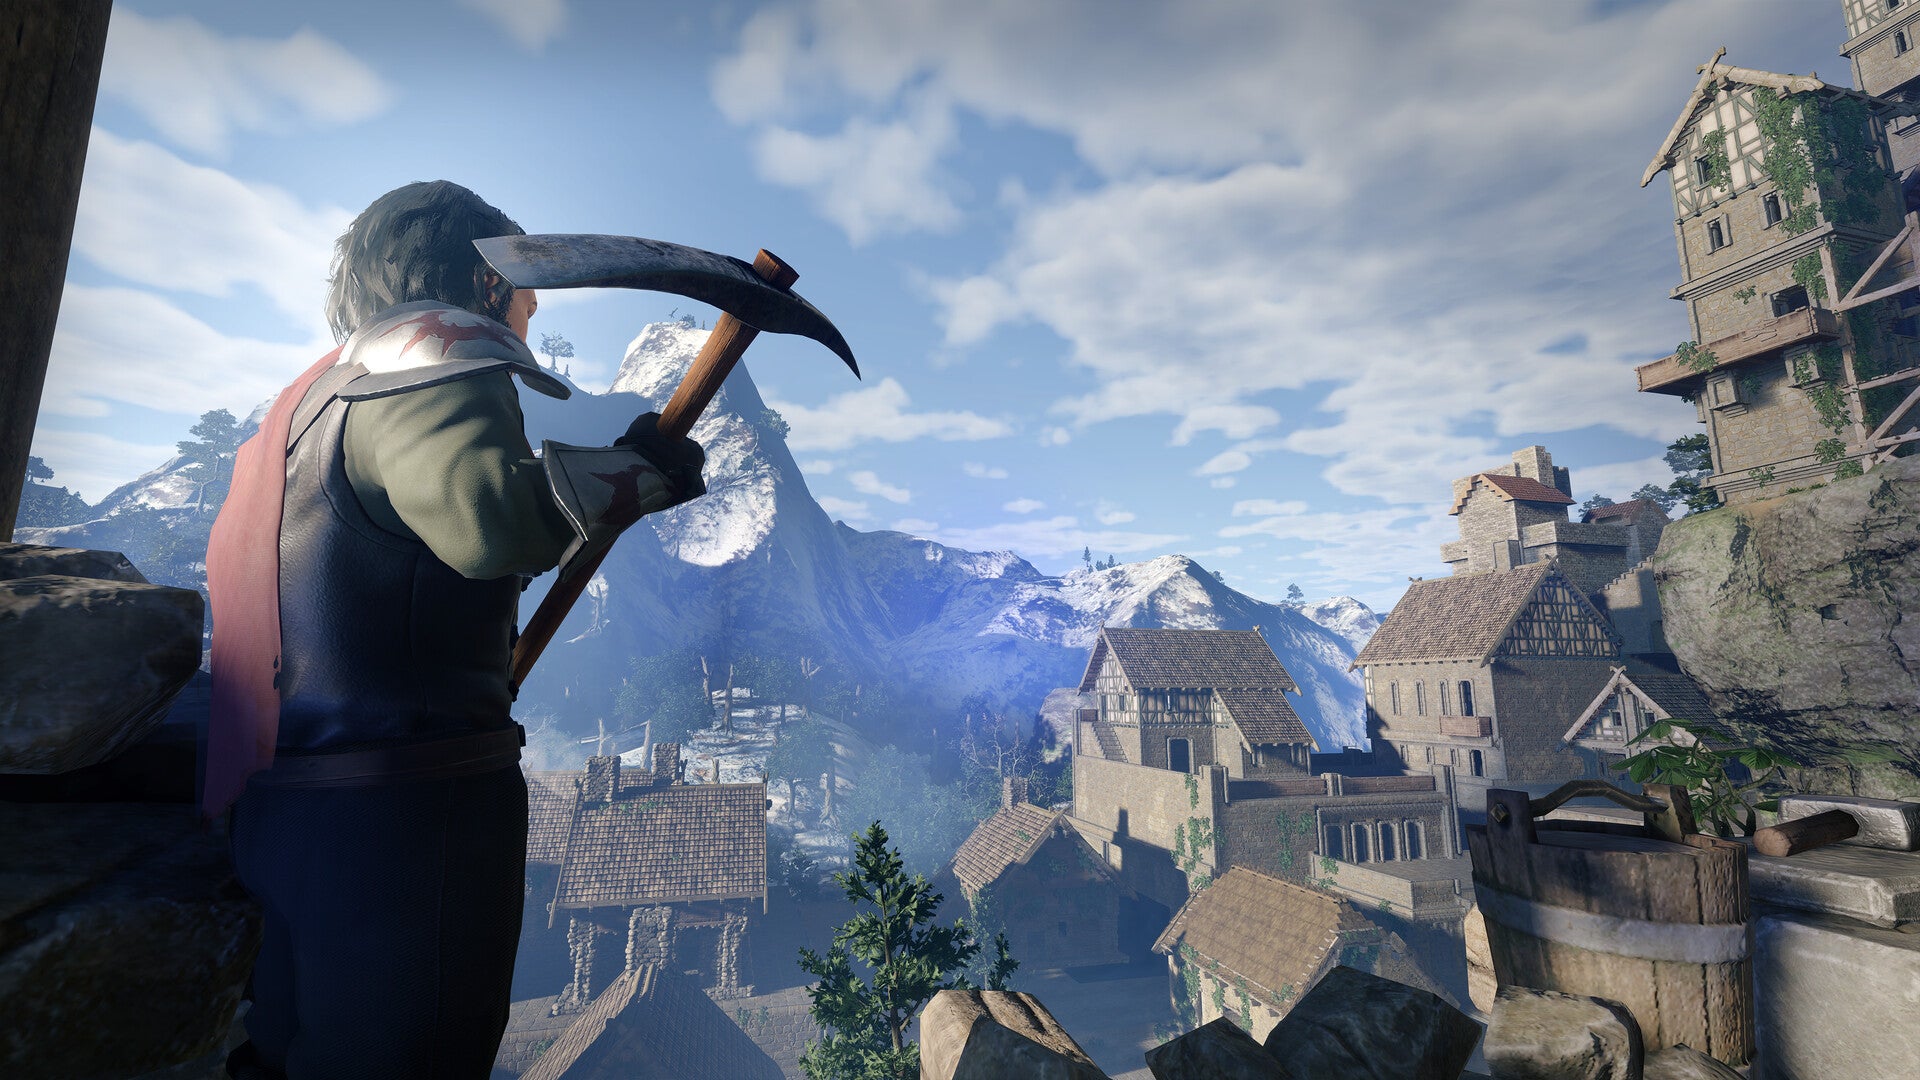
Image credit:Keen Games

- Developer: Keen Games
- Publisher: Keen Games
- Release: January 24th 2024
- On: Windows 10
- From: Steam
- Price: £25/$27/€27
- Reviewed on: AMD Ryzen 9 7950X, 32GB RAM, Nvidia RTX 4080, Windows 10
I realised several hours into my Enshrouded playthrough that I have an unspoken internal checklist for what makes a great open-world survival crafting game. Great building, a sense of scale, a beautiful atmosphere, and the ability to die in extremely stupid ways. In Minecraft , it’s digging straight down into lava. In Valheim , it’s getting crushed by the very tree you’d just chopped down. And after dying for the third time by trying to climb a slightly-too-steep hill, slipping down and building enough momentum to send me careening off the cliff to my death, I realised that Enshrouded , too, ticks all the boxes for maybe one day being listed among the titans of the genre.
One paragraph in, and I’ve already compared Enshrouded to Valheim . You’ll see that quite a bit throughout this review, and for good reason. Enshrouded has come the closest for me to recapturing that feeling of when the world collectively discovered Valheim for the first time. But that’s both an accolade and a reservation. Because it’s not quite there… yet.
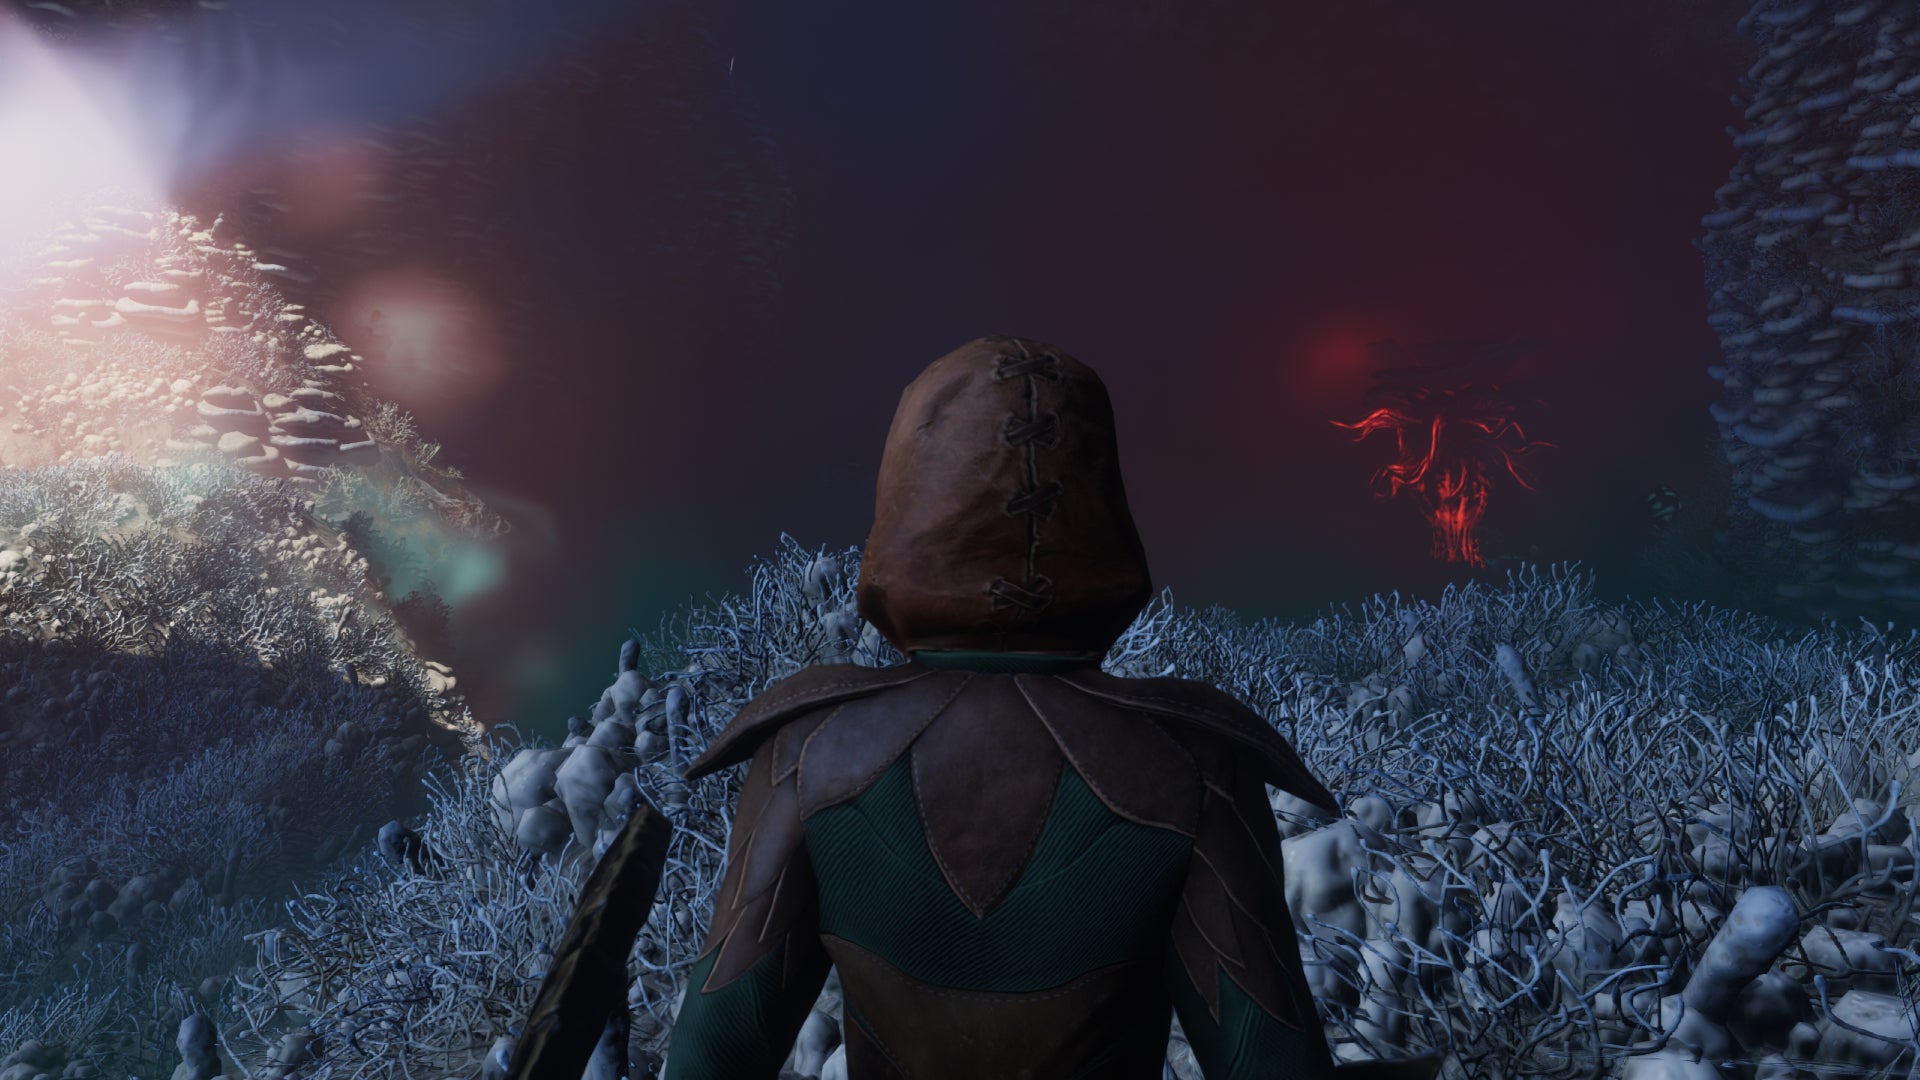
The poisonous Shroud is the central concept of Enshrouded, and it’s also my least favourite part of the game so far. |Image credit:Rock Paper Shotgun/Keen Games
Enshrouded is a third-person survival crafting game set in a massive, prebuilt fantasy world called Embervale. Its unique selling point and namesake is the Shroud - a magical fog, inhabited by fell enemies. The Shroud covers huge swathes of the map, like rivers and lakes in other fantasy worlds. Whenever you enter it, a timer starts to count down at the top of your screen. If the timer runs out, you die.
As a main point of differentiation from others in the genre, I’ll admit it’s not nearly as exciting as, say, playing as a sunbeam-dodging vampire, or exploring an entirely underwater planet. In fact, the times I spent in the Shroud were probably the least fun I had in Enshrouded. Embervale is a sprawling, painstakingly crafted world, densely populated with unique little points of interest like ruins, villages, wells, and ravines. It can be truly gorgeous at times. But the moment I step into the Shroud, all I see is fog. Low visibility, an oppressive atmosphere, and constant time pressure aren’t why I play these games (don’t ask me how the hell Subnautica manages it, it’s witchcraft as far as I’m concerned), and while I do appreciate how the Shroud timer makes you plan ahead and prepare for excursions into the fog, it was always less enjoyable than going on similar adventures above the Shroud.
But while the Shroud is the key selling point of Enshrouded, it’s not the reason to play it. I realised early on that if you scooped up every last bit of the Shroud from the map and completely removed it from the game, there’s still enough going on to make Enshrouded feel unique. It’s a bit of an odd one. I almost wish the game didn’t make such a big deal of the Shroud, because it feels like it’s putting its worst foot forward. By keeping my head above the fog, I slowly fell in love with the rest of Enshrouded.
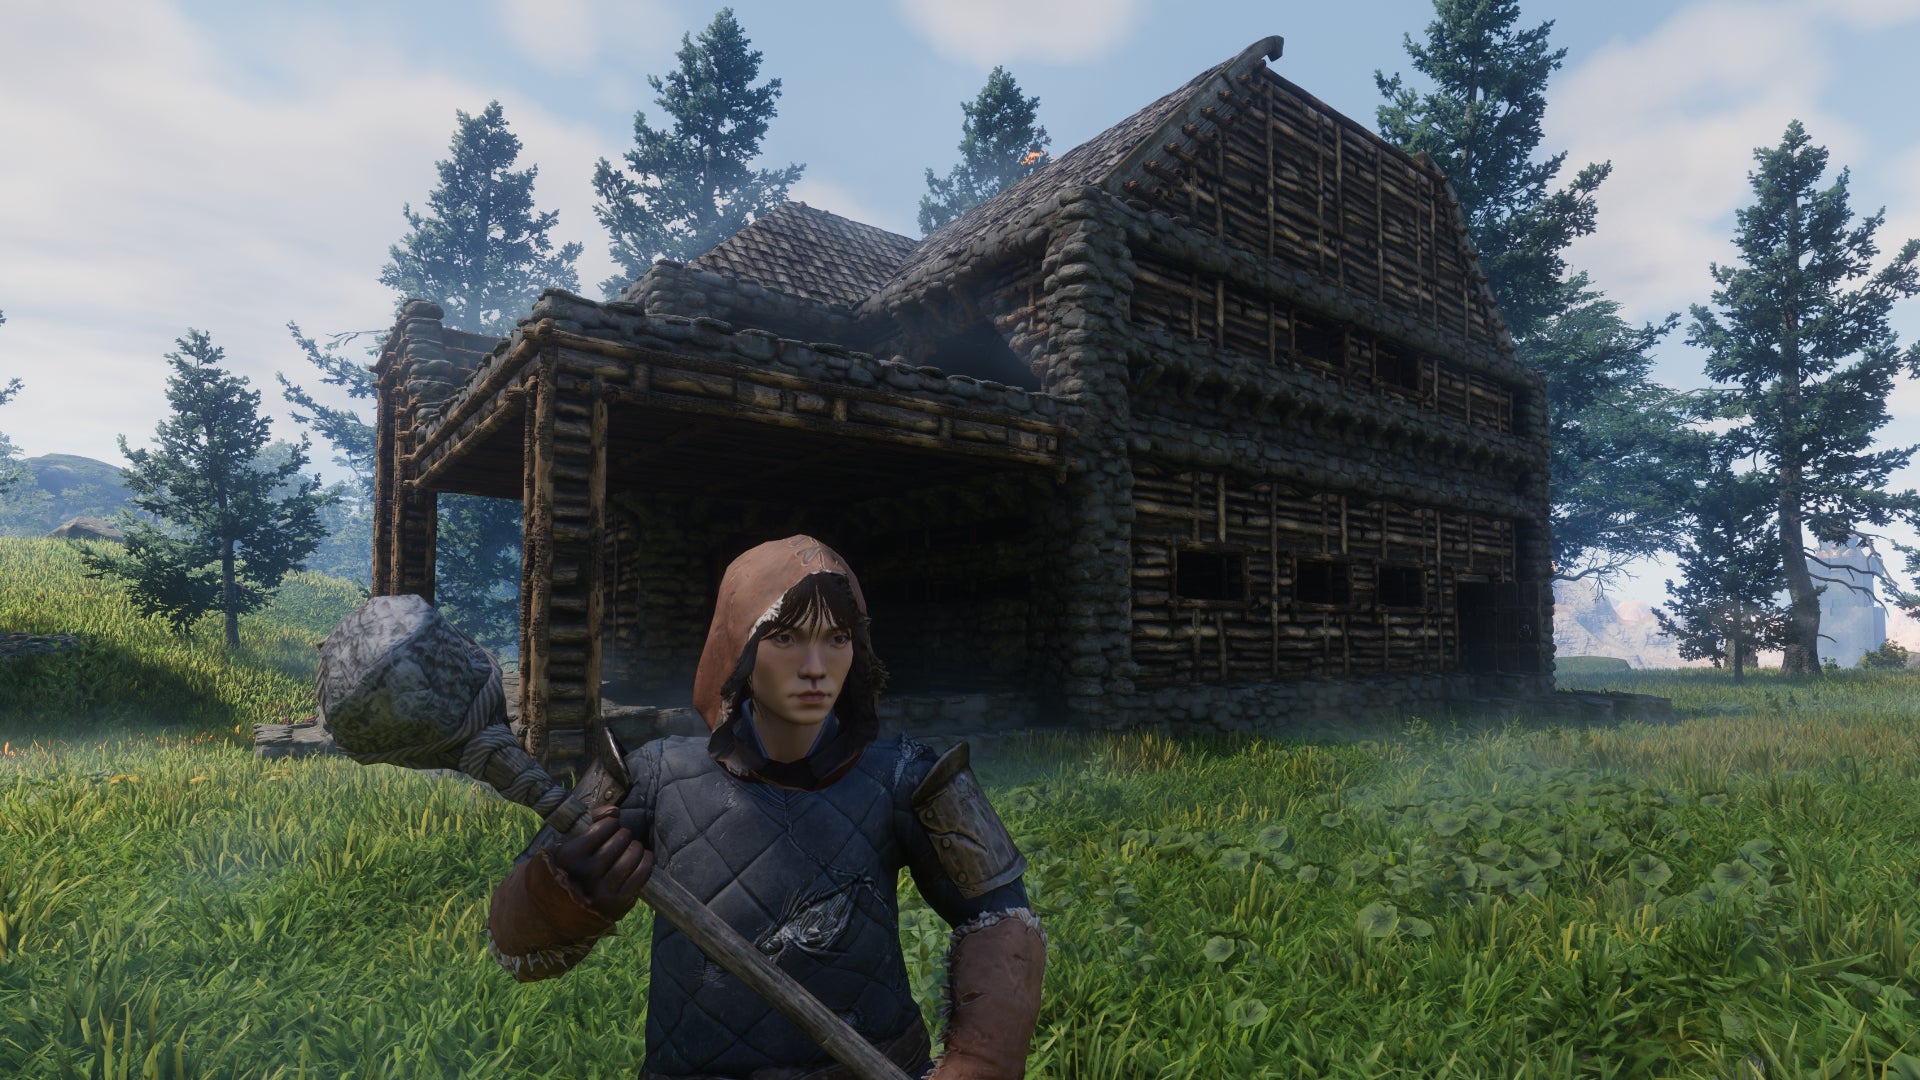
Image credit:Rock Paper Shotgun/Keen Games
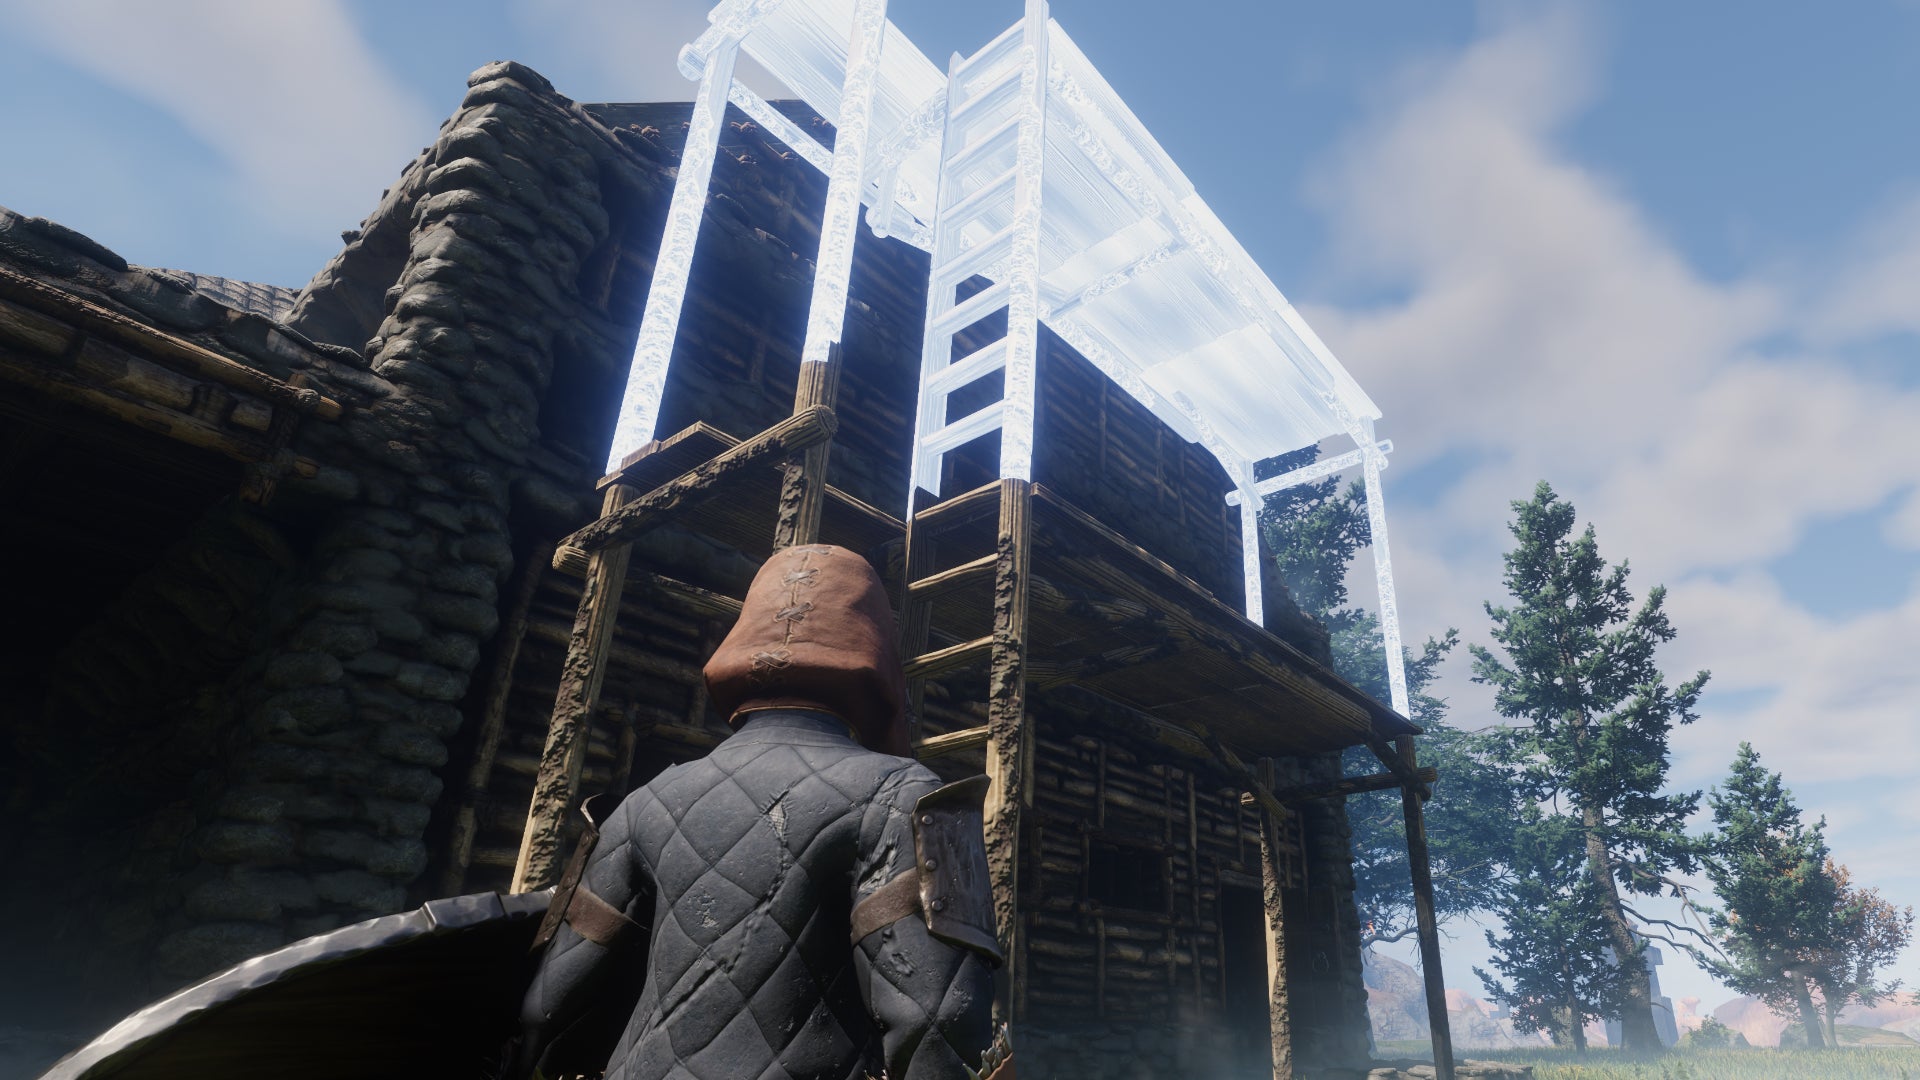
Playing around with the building system in Enshrouded for a few hours has made it difficult to go back to building in any other survival crafting game. |Image credit:Rock Paper Shotgun/Keen Games
Let’s talk about the building, because that’s where Enshrouded shines brightest. Keen Games have built upon the foundations of their previous voxel venture, Portal Knights, and delivered probably the best building system I’ve ever come across in a survival crafting game. By building a Flame Altar out of stone, you can designate an area safe for building. After that, you can craft a Construction Hammer, and with the Hammer in your hand, you can open up Enshrouded’s expansive voxel building mode. Here you can use various premade shapes to quickly plop down walls, floors, stairs, and roof parts of all types, but all those shapes are malleable. After placing down a wall, I can sculpt out a window area, or add more blocks for an extra decorative touch. The premade building parts are essentially just shortcuts, so you don’t have to place everything down a block at a time a la Minecraft. It’s a very powerful and easy to use building system.
I particularly love the game’s clever use of the mouse wheel to select your desired building parts and materials. Scroll the mouse wheel on its own and it selects the building shape in your building hotbar. But hold ALT and scroll, and you can switch between different hotbars themselves, each with their own types of building shapes. And for any of those shapes, you can hold CTRL and scroll to change the building material from stone to wood to metal and so on. It’s wonderfully intuitive, and I’ll miss it dearly when I move onto any other survival game.
The building materials, too, are lovely; very rustic-looking, which is right up my alley. I love how they subtly change their look once placed, based on the other blocks around them. And in an inspired move, several of these blocks require you to explore the world and visit particular points of interest to unlock their recipes. Whenever I got a bit burnt out with exploring and fighting in the Shroud, I’d turn to building. And eventually, the promise of more building blocks would get me right back into exploring again.
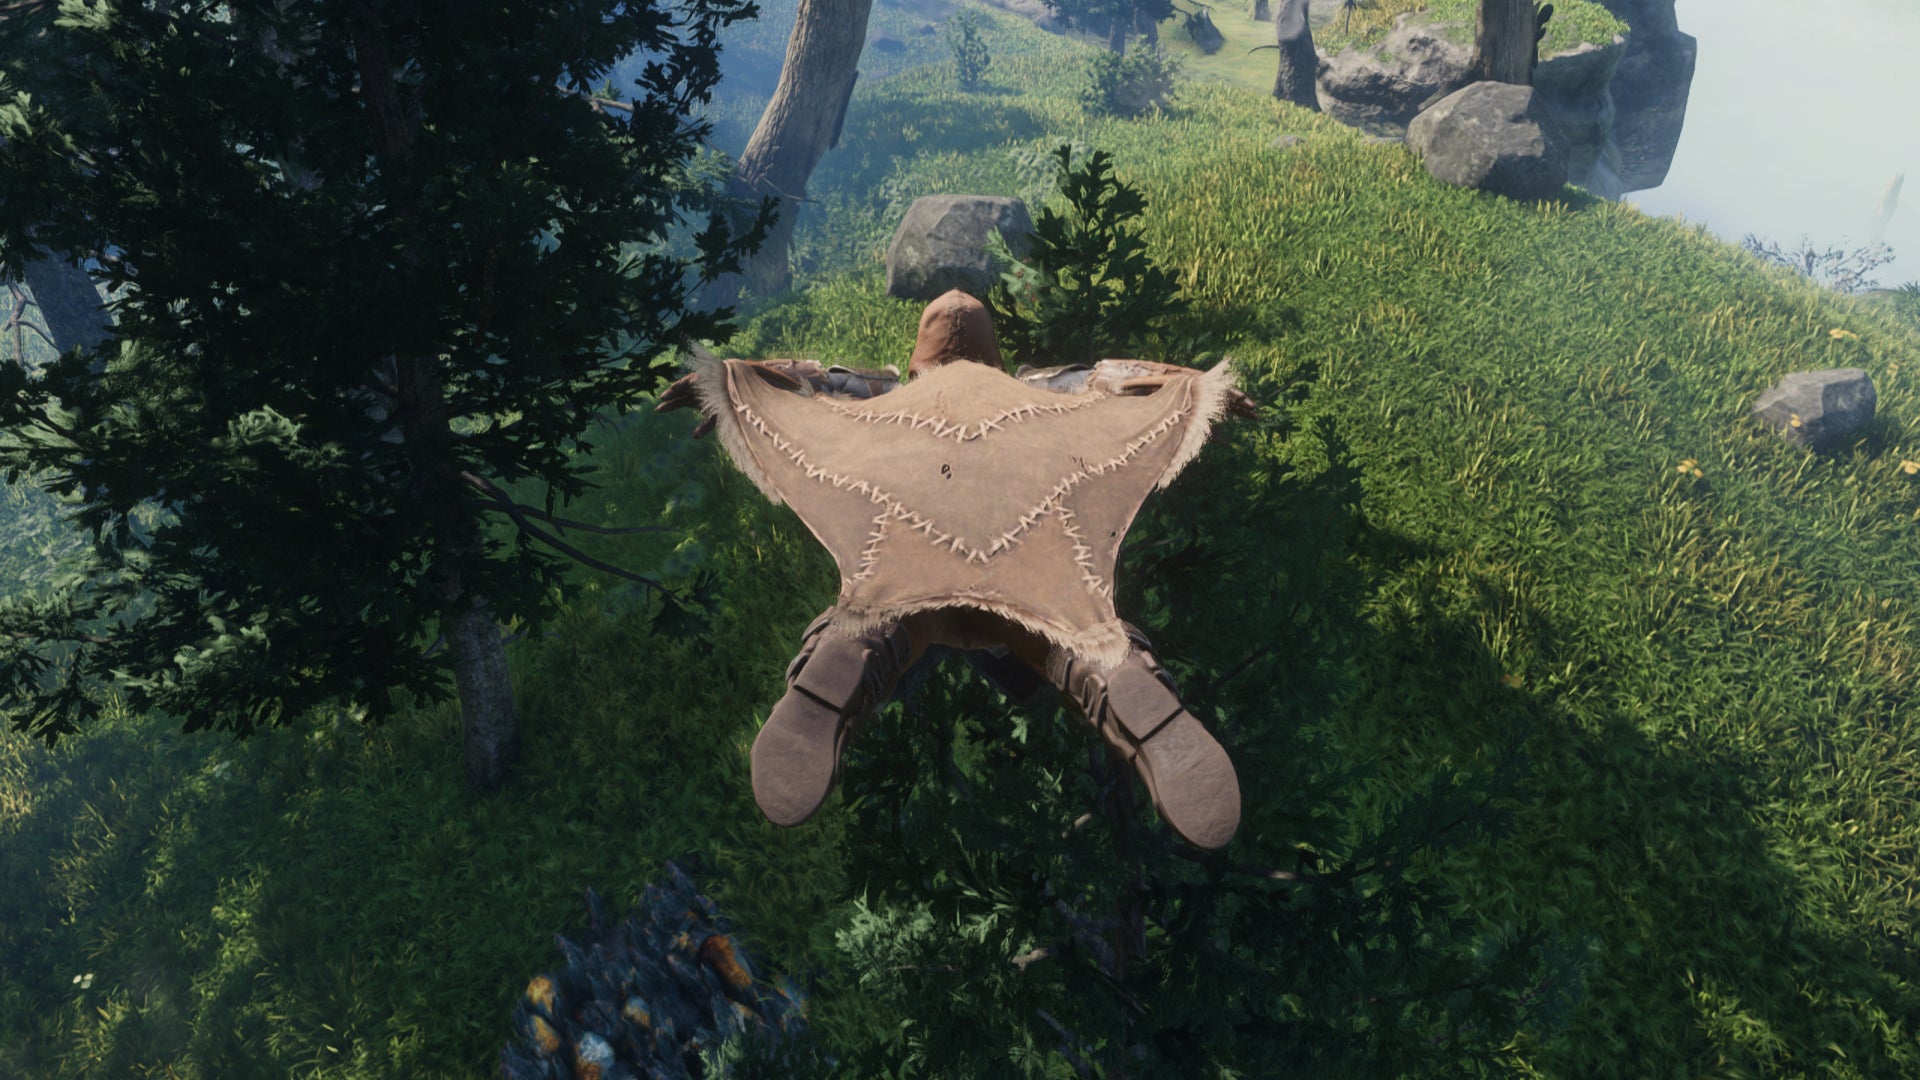
Thank goodness for the Glider, more or less the only way to get around Enshrouded’s massive map faster than running. |Image credit:Rock Paper Shotgun/Keen Games
At first my adventures were dominated by quests, which does a good job of orienting new players. Over the first few hours, I was sent on expeditions to gather materials to craft two important traversal items: the Grappling Hook and the Glider. They’re exactly what you’d expect, and they do make moving about a lot more fun, which is very much necessary in a game with such a large map and no mounts to ride (currently).
After those first few quests, a lot of your time spent exploring the massive world of Embervale boils down to fighting creatures and bandits, and looting them for better equipment. The combat system is similar to Valheim, and best described as “clunky soulslike” combat. There’s dodging, and parrying, and all that good stuff. Credit to it, in Enshrouded you do have to pay attention to enemy attack patterns and adapt to them, or you’ll quickly be punished. It’s not fantastic , but it still offers more than most combat systems in the survival crafting genre, which has always lagged behind the rest of the games world when it comes to tight-feeling combat.
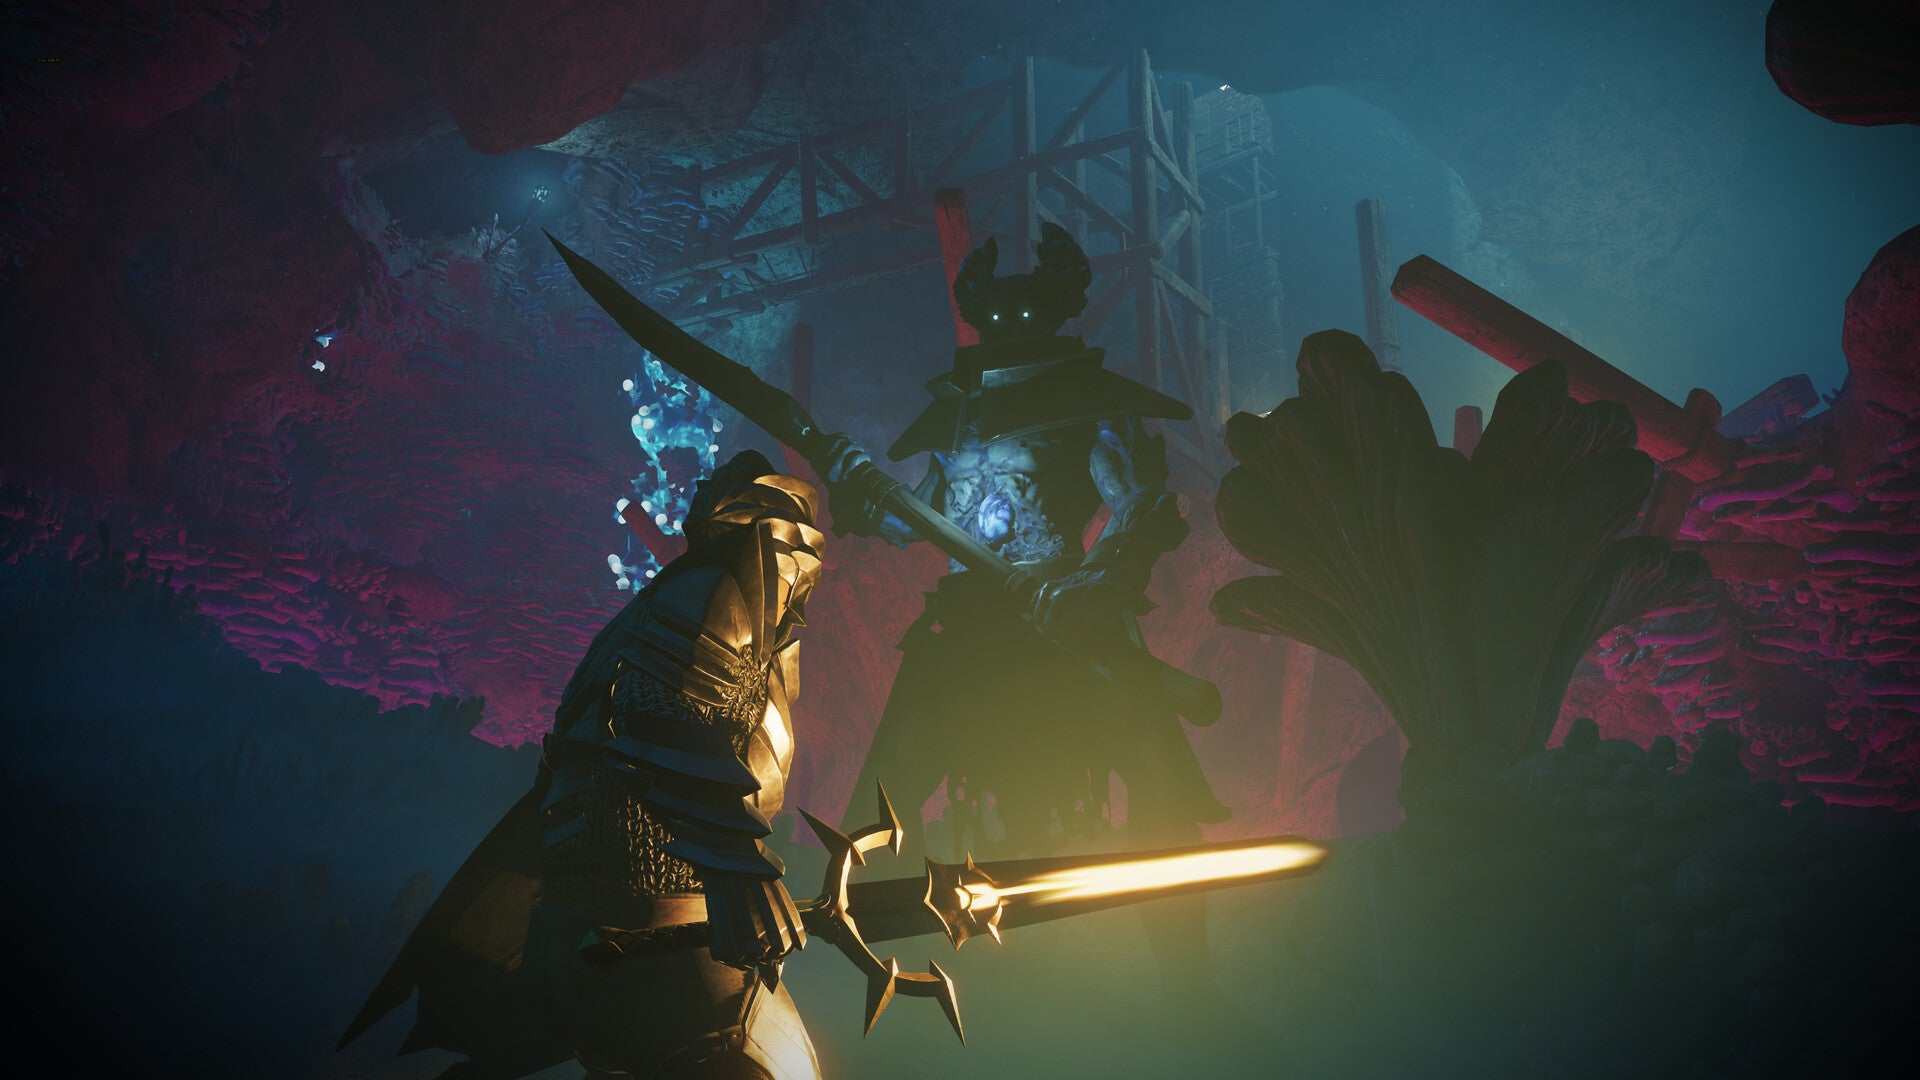
Combat is fairly solid here; I just wish there was more to differentiate the weapons. |Image credit:Keen Games
Fights are a bit of a mixed bag though, because while there are a lot of different weapons, they all feel insipid and uninspired. Swords and axes may deal differing amounts of cutting and blunt damage, but at heart they’re just very slightly different takes on the same vanilla flavour of melee combat. Same with the variety of two-handed maces and guillotine axes on offer. The bows and staves feel pretty cool to use, I’ll admit - but even they suffer from the same issue, where I end up picking the one with slightly better stats because none of them have any flair or character.
A lot of Enshrouded is a mixed bag, in truth. For every lovely quality of life feature that I wish other survival crafting games would copy, there’s a glaring omission that makes me throw up my hands and exclaim, “How can you not get this right in 2024?!”, and I experienced a lot of mental whiplash. You can pin a recipe on screen to keep track of ingredients; it does not automatically un-pin when you’ve crafted the item, so you have to do it manually. Equipped items of clothing don’t take up space in your inventory; you cannot split item stacks in your inventory apart from exactly in half, which is a problem if you only want two items out of a stack of 50.
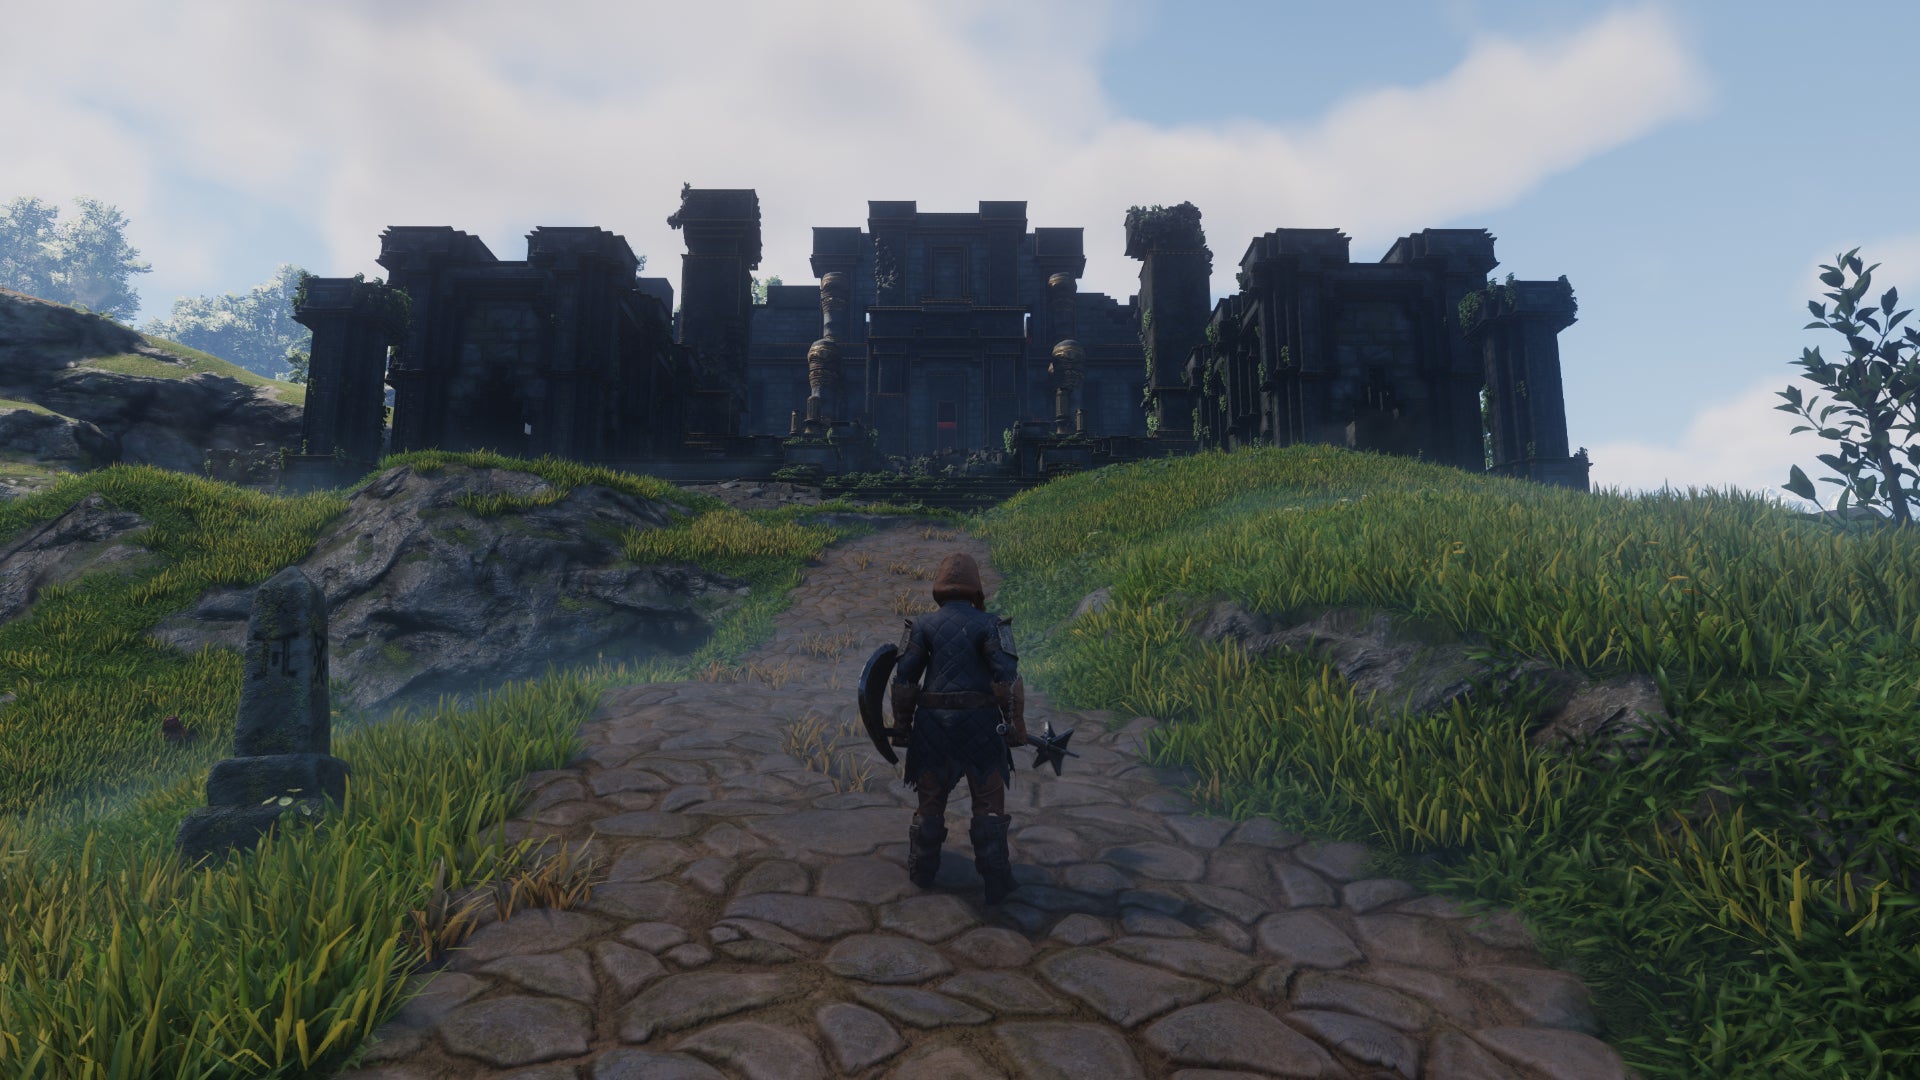
The five NPCs in Enshrouded must be awoken by exploring the five puzzle-filled Ancient Vaults scattered around the starting biome. |Image credit:Rock Paper Shotgun/Keen Games
I do feel like I’ve probably missed something in not playing Enshrouded multiplayer during my time so far with the game. It’s always much easier to forgive little foibles and frustrations when you’re having fun with friends. It’s a bit of a lonely affair, playing Enshrouded in singleplayer. At times, that’s quite comforting. Embervale is a quiet safe space for you to build and explore as you see fit. Other times, it felt a little melancholy. I think it might be more pronounced when you’re sharing a home with five static NPCs who might as well be crafting benches, for all the character they’ve been given.
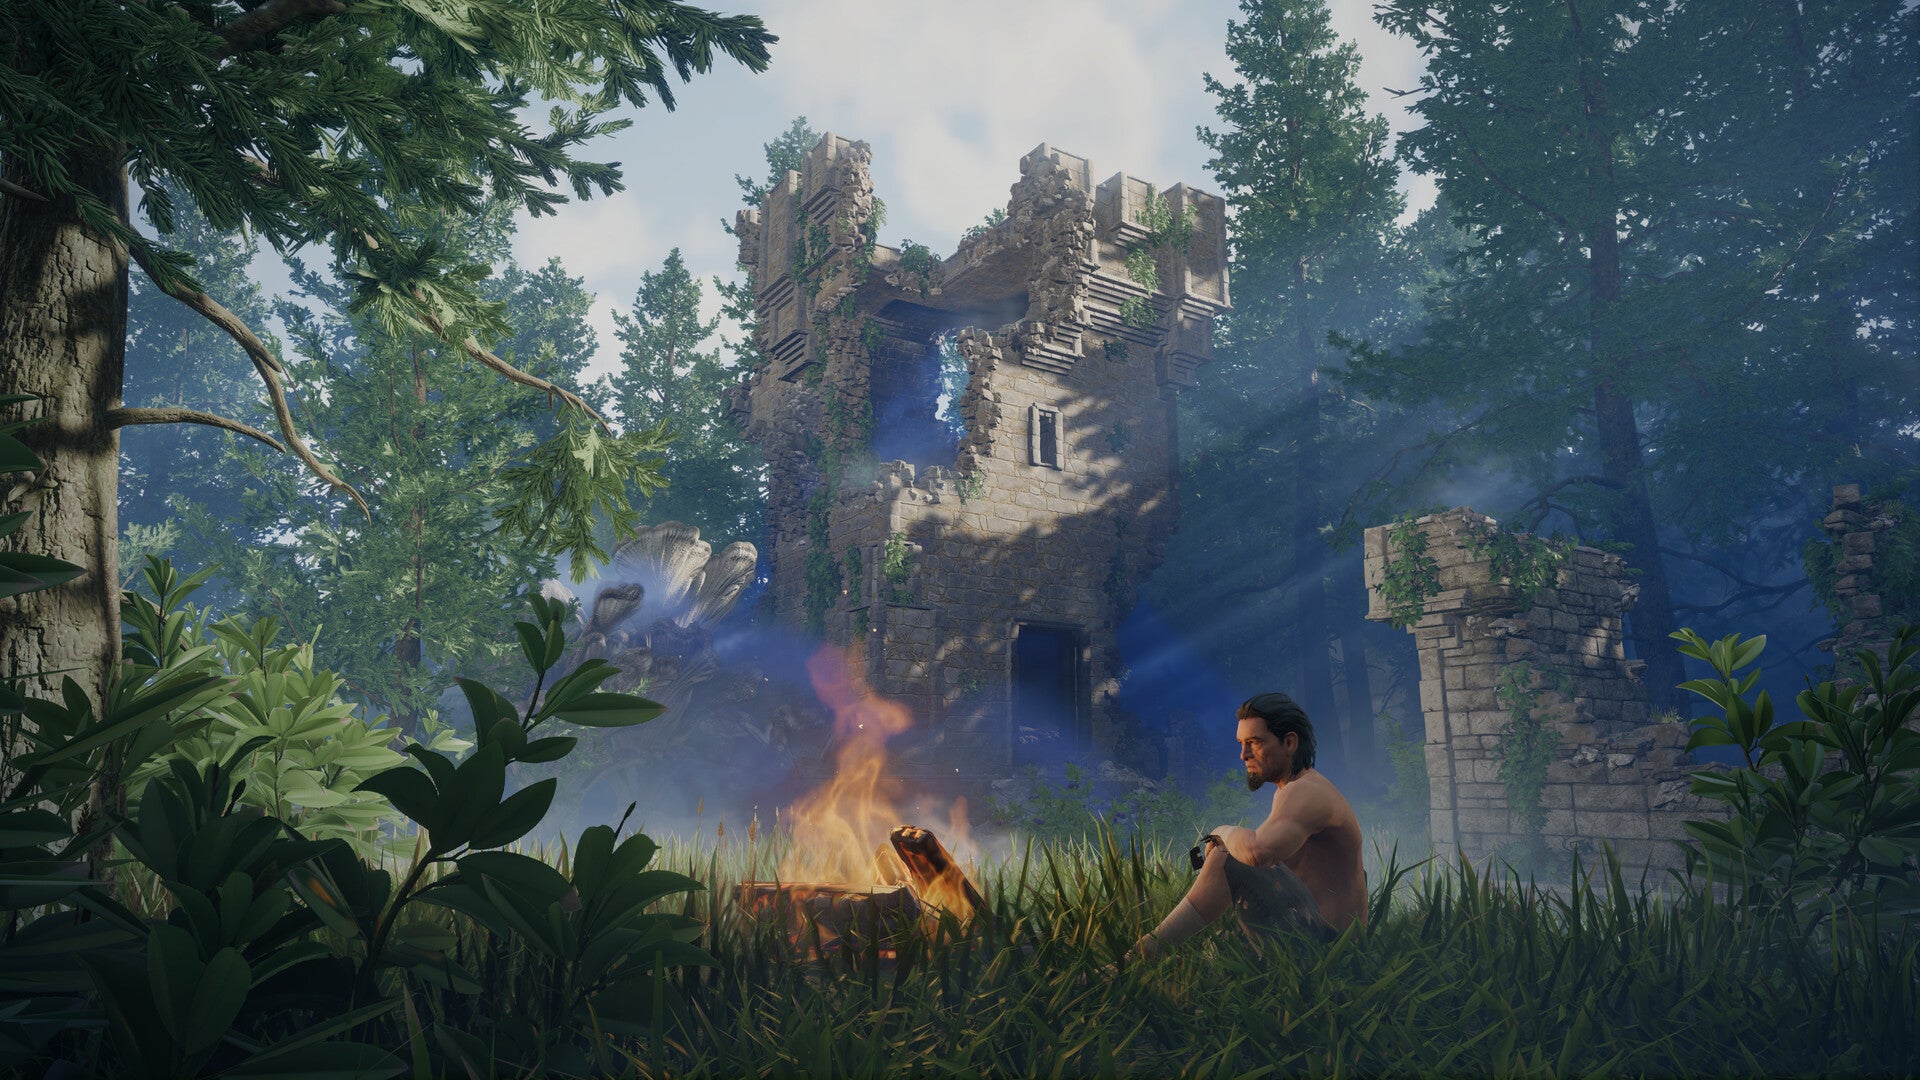
A sombre soundtrackThe music in Enshrouded is… well, it’s very dreary. It’s nice enough, but it all feels a bit too sombre to be playing all the time. I wish they’d add some tracks with a bit more life and joy in them as well.Image credit:Keen Games
I also have to speak briefly on the technical difficulties I encountered in Enshrouded. It’s through the lens of early access, of course, but I’ve found it hard to forgive for erasing an hour’s worth of progress. Nor was it easy to contain my frustration when I spent two hours trying to reclaim my belongings, but couldn’t because the game kept crashing. Crashing and saving issues aside, the game runs decently well on my (admittedly very beefy) RTX 4080, reaching around 70 FPS on the highest settings and 120 FPS on the lowest. I wouldn’t call it a very well optimised game from those figures, though, and there’s a particular problem around sunset and sunrise where the FPS tanks down to 20 FPS without fail. Admittedly I struggle to remember the last early access open-world survival crafting game that didn’t have day one performance issues, so I’m willing to cut it some slack there. But others with lower-spec PCs may not have as much slack to cut.
If you can get on with Enshrouded despite its early access quirks and underwhelming premise, you’ll find a rock solid foundation for what I really believe could one day be one of the most popular and well-thought-of survival crafting games out there. The building is absolutely exquisite, and the main reason I’ll continue playing. The combat is sound, the world is evocative, beautiful, and thick with surprises. It is, as I say, the closest anything has got to recapturing the feeling of playing Valheim for the first time, and while my 40-odd hours with Enshrouded has left me more than anything wistfully wanting to go back to Valheim itself, I’m sure there will be times when I say to myself, “I wish it did this thing like Enshrouded does it.”
This review is based on a review build of the game provided by publishers Keen Games.

Find out how we conduct our reviews by reading our review policy .
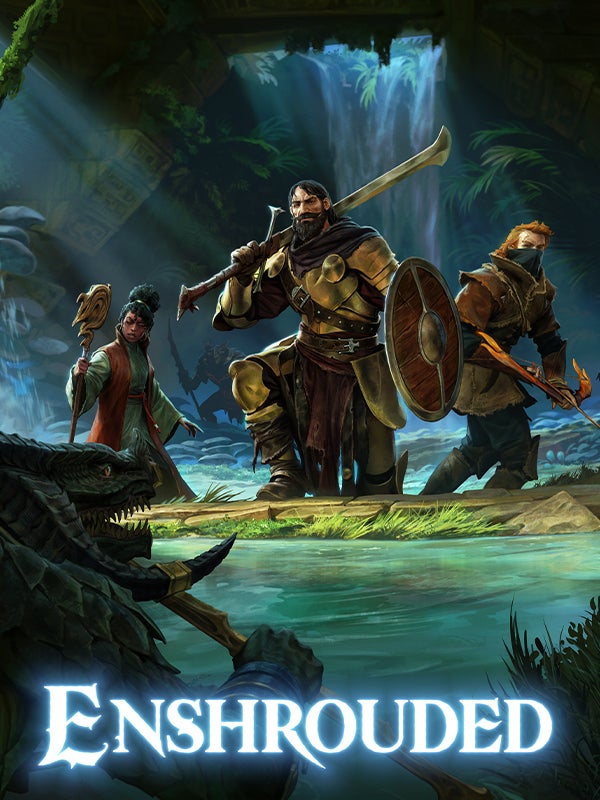
Enshrouded
PC
Rock Paper Shotgun is better when you sign in
Sign in and join us on our journey to discover strange and compelling PC games.

All 75 Arc Raiders Blueprints and where to get them
These areas have the highest chance of giving you Blueprints

Image credit:Rock Paper Shotgun/Embark Studios

Looking for more Arc Raiders Blueprints? It’s a special day when you find a Blueprint, as they’re among the most valuable items in Arc Raiders. If you find a Blueprint that you haven’t already found, then you must make sure you hold onto it at all costs, because Blueprints are the key to one of the most important and powerful systems of meta-progression in the game.
This guide aims to be the very best guide on Blueprints you can find, starting with a primer on what exactly they are and how they work in Arc Raiders, before delving into exactly where to get Blueprints and the very best farming spots for you to take in your search.
We’ll also go over how to get Blueprints from other unlikely activities, such as destroying Surveyors and completing specific quests. And you’ll also find the full list of all 75 Blueprints in Arc Raiders on this page (including the newest Blueprints added with the Cold Snap update , such as the Deadline Blueprint and Firework Box Blueprint), giving you all the information you need to expand your own crafting repertoire.
In this guide:
- What are Blueprints in Arc Raiders?
- Full Blueprint list: All crafting recipes
- Where to find Blueprints in Arc Raiders Blueprints obtained from quests Blueprints obtained from Trials Best Blueprint farming locations

What are Blueprints in Arc Raiders?
Blueprints in Arc Raiders are special items which, if you manage to extract with them, you can expend to permanently unlock a new crafting recipe in your Workshop. If you manage to extract from a raid with an Anvil Blueprint, for example, you can unlock the ability to craft your very own Anvil Pistol, as many times as you like (as long as you have the crafting materials).
To use a Blueprint, simply open your Inventory while in the lobby, then right-click on the Blueprint and click “Learn And Consume” . This will permanently unlock the recipe for that item in your Workshop. As of the Stella Montis update, there are allegedly 75 different Blueprints to unlock - although only 68 are confirmed to be in the game so far. You can see all the Blueprints you’ve found and unlocked by going to the Workshop menu, and hitting “R” to bring up the Blueprint screen.
It’s possible to find duplicates of past Blueprints you’ve already unlocked. If you find these, then you can either sell them, or - if you like to play with friends - you can take it into a match and gift it to your friend so they can unlock that recipe for themselves. Another option is to keep hold of them until the time comes to donate them to the Expedition.
Full Blueprint list: All crafting recipes
Below is the full list of all the Blueprints that are currently available to find in Arc Raiders, and the crafting recipe required for each item:
| Blueprint | Type | Recipe | Crafted At |
|---|---|---|---|
| Bettina | Weapon | 3x Advanced Mechanical Components 3x Heavy Gun Parts 3x Canister | Gunsmith 3 |
| Blue Light Stick | Quick Use | 3x Chemicals | Utility Station 1 |
| Aphelion | Weapon | 3x Magnetic Accelerator 3x Complex Gun Parts 1x Matriarch Reactor | Gunsmith 3 |
| Combat Mk. 3 (Flanking) | Augment | 2x Advanced Electrical Components 3x Processor | Gear Bench 3 |
| Combat Mk. 3 (Aggressive) | Augment | 2x Advanced Electrical Components 3x Processor | Gear Bench 3 |
| Complex Gun Parts | Material | 2x Light Gun Parts 2x Medium Gun Parts 2x Heavy Gun Parts | Refiner 3 |
| Fireworks Box | Quick Use | 1x Explosive Compound 3x Pop Trigger | Explosives Station 2 |
| Gas Mine | Mine | 4x Chemicals 2x Rubber Parts | Explosives Station 1 |
| Green Light Stick | Quick Use | 3x Chemicals | Utility Station 1 |
| Pulse Mine | Mine | 1x Crude Explosives 1x Wires | Explosives Station 1 |
| Seeker Grenade | Grenade | 1x Crude Explosives 2x ARC Alloy | Explosives Station 1 |
| Looting Mk. 3 (Survivor) | Augment | 2x Advanced Electrical Components 3x Processor | Gear Bench 3 |
| Angled Grip II | Mod | 2x Mechanical Components 3x Duct Tape | Gunsmith 2 |
| Angled Grip III | Mod | 2x Mod Components 5x Duct Tape | Gunsmith 3 |
| Hullcracker | Weapon | 1x Magnetic Accelerator 3x Heavy Gun Parts 1x Exodus Modules | Gunsmith 3 |
| Launcher Ammo | Ammo | 5x Metal Parts 1x Crude Explosives | Workbench 1 |
| Anvil | Weapon | 5x Mechanical Components 5x Simple Gun Parts | Gunsmith 2 |
| Anvil Splitter | Mod | 2x Mod Components 3x Processor | Gunsmith 3 |
| ??? | ??? | ??? | ??? |
| Barricade Kit | Quick Use | 1x Mechanical Components | Utility Station 2 |
| Blaze Grenade | Grenade | 1x Explosive Compound 2x Oil | Explosives Station 3 |
| Bobcat | Weapon | 3x Advanced Mechanical Components 3x Light Gun Parts | Gunsmith 3 |
| Osprey | Weapon | 2x Advanced Mechanical Components 3x Medium Gun Parts 7x Wires | Gunsmith 3 |
| Burletta | Weapon | 3x Mechanical Components 3x Simple Gun Parts | Gunsmith 1 |
| Compensator II | Mod | 2x Mechanical Components 4x Wires | Gunsmith 2 |
| Compensator III | Mod | 2x Mod Components 8x Wires | Gunsmith 3 |
| Defibrillator | Quick Use | 9x Plastic Parts 1x Moss | Medical Lab 2 |
| ??? | ??? | ??? | ??? |
| Equalizer | Weapon | 3x Magnetic Accelerator 3x Complex Gun Parts 1x Queen Reactor | Gunsmith 3 |
| Extended Barrel | Mod | 2x Mod Components 8x Wires | Gunsmith 3 |
| Extended Light Mag II | Mod | 2x Mechanical Components 3x Steel Spring | Gunsmith 2 |
| Extended Light Mag III | Mod | 2x Mod Components 5x Steel Spring | Gunsmith 3 |
| Extended Medium Mag II | Mod | 2x Mechanical Components 3x Steel Spring | Gunsmith 2 |
| Extended Medium Mag III | Mod | 2x Mod Components 5x Steel Spring | Gunsmith 3 |
| Extended Shotgun Mag II | Mod | 2x Mechanical Components 3x Steel Spring | Gunsmith 2 |
| Extended Shotgun Mag III | Mod | 2x Mod Components 5x Steel Spring | Gunsmith 3 |
| Remote Raider Flare | Quick Use | 2x Chemicals 4x Rubber Parts | Utility Station 1 |
| Heavy Gun Parts | Material | 4x Simple Gun Parts | Refiner 2 |
| Venator | Weapon | 2x Advanced Mechanical Components 3x Medium Gun Parts 5x Magnet | Gunsmith 3 |
| Il Toro | Weapon | 5x Mechanical Components 6x Simple Gun Parts | Gunsmith 1 |
| Jolt Mine | Mine | 1x Electrical Components 1x Battery | Explosives Station 2 |
| Explosive Mine | Mine | 1x Explosive Compound 1x Sensors | Explosives Station 3 |
| Jupiter | Weapon | 3x Magnetic Accelerator 3x Complex Gun Parts 1x Queen Reactor | Gunsmith 3 |
| Light Gun Parts | Material | 4x Simple Gun Parts | Refiner 2 |
| Lightweight Stock | Mod | 2x Mod Components 5x Duct Tape | Gunsmith 3 |
| Lure Grenade | Grenade | 1x Speaker Component 1x Electrical Components | Utility Station 2 |
| Medium Gun Parts | Material | 4x Simple Gun Parts | Refiner 2 |
| Torrente | Weapon | 2x Advanced Mechanical Components 3x Medium Gun Parts 6x Steel Spring | Gunsmith 3 |
| Muzzle Brake II | Mod | 2x Mechanical Components 4x Wires | Gunsmith 2 |
| Muzzle Brake III | Mod | 2x Mod Components 8x Wires | Gunsmith 3 |
| Padded Stock | Mod | 2x Mod Components 5x Duct Tape | Gunsmith 3 |
| Shotgun Choke II | Mod | 2x Mechanical Components 4x Wires | Gunsmith 2 |
| Shotgun Choke III | Mod | 2x Mod Components 8x Wires | Gunsmith 3 |
| Shotgun Silencer | Mod | 2x Mod Components 8x Wires | Gunsmith 3 |
| Showstopper | Grenade | 1x Advanced Electrical Components 1x Voltage Converter | Explosives Station 3 |
| Silencer I | Mod | 2x Mechanical Components 4x Wires | Gunsmith 2 |
| Silencer II | Mod | 2x Mod Components 8x Wires | Gunsmith 3 |
| Snap Hook | Quick Use | 2x Power Rod 3x Rope 1x Exodus Modules | Utility Station 3 |
| Stable Stock II | Mod | 2x Mechanical Components 3x Duct Tape | Gunsmith 2 |
| Stable Stock III | Mod | 2x Mod Components 5x Duct Tape | Gunsmith 3 |
| Tagging Grenade | Grenade | 1x Electrical Components 1x Sensors | Utility Station 3 |
| Tempest | Weapon | 3x Advanced Mechanical Components 3x Medium Gun Parts 3x Canister | Gunsmith 3 |
| Trigger Nade | Grenade | 2x Crude Explosives 1x Processor | Explosives Station 2 |
| Vertical Grip II | Mod | 2x Mechanical Components 3x Duct Tape | Gunsmith 2 |
| Vertical Grip III | Mod | 2x Mod Components 5x Duct Tape | Gunsmith 3 |
| Vita Shot | Quick Use | 2x Antiseptic 1x Syringe | Medical Lab 3 |
| Vita Spray | Quick Use | 3x Antiseptic 1x Canister | Medical Lab 3 |
| Vulcano | Weapon | 1x Magnetic Accelerator 3x Heavy Gun Parts 1x Exodus Modules | Gunsmith 3 |
| Wolfpack | Grenade | 2x Explosive Compound 2x Sensors | Explosives Station 3 |
| Red Light Stick | Quick Use | 3x Chemicals | Utility Station 1 |
| Smoke Grenade | Grenade | 14x Chemicals 1x Canister | Utility Station 2 |
| Deadline | Mine | 3x Explosive Compound 2x ARC Circuitry | Explosives Station 3 |
| Trailblazer | Grenade | 1x Explosive Compound 1x Synthesized Fuel | Explosives Station 3 |
| Tactical Mk. 3 (Defensive) | Augment | 2x Advanced Electrical Components 3x Processor | Gear Bench 3 |
| Tactical Mk. 3 (Healing) | Augment | 2x Advanced Electrical Components 3x Processor | Gear Bench 3 |
| Yellow Light Stick | Quick Use | 3x Chemicals | Utility Station 1 |
Note: The missing Blueprints in this list likely have not actually been added to the game at the time of writing, because none of the playerbase has managed to find any of them. As they are added to the game, I will update this page with the most relevant information so you know exactly how to get all 75 Arc Raiders Blueprints.
Where to find Blueprints in Arc Raiders
Below is a list of all containers, modifiers, and events which maximise your chances of finding Blueprints:
- Certain quests reward you with specific Blueprints .
- Completing Trials has a high chance of offering Blueprints as rewards.
- Surveyors have a decent chance of dropping Blueprints on death.
- High loot value areas tend to have a greater chance of spawning Blueprints.
- Night Raids and Storms may increase rare Blueprint spawn chances in containers.
- Containers with higher numbers of items may have a higher tendency to spawn Blueprints. As a result, Blue Gate (which has many “large” containers containing multiple items) may give you a higher chance of spawning Blueprints.
- Raider containers (Raider Caches, Weapon Boxes, Medical Bags, Grenade Tubes) have increased Blueprint drop rates. As a result, the Uncovered Caches event gives you a high chance of finding Blueprints.
- Security Lockers have a higher than average chance of containing Blueprints.
- Certain Blueprints only seem to spawn under specific circumstances: Tempest Blueprint only spawns during Night Raid events. Vulcano Blueprint only spawns during Hidden Bunker events. Jupiter and Equaliser Blueprints only spawn during Harvester events.

Raider Caches, Weapon Boxes, and other raider-oriented container types have a good chance of offering Blueprints. |Image credit:Rock Paper Shotgun/Embark Studios
Blueprints have a very low chance of spawning in any container in Arc Raiders, around 1-2% on average. However, there is a higher chance of finding Blueprints in particular container types. Specifically, you can find more Blueprints in Raider containers and security lockers.
Beyond this, if you’re looking for Blueprints you should focus on regions of the map which are marked as having particularly high-value loot. Areas such as the Control Tower in Dam Battlegrounds, the Arrival and Departure Buildings in Spaceport, and Pilgrim’s Peak in Blue Gate all have a better-than-average chance of spawning Blueprints somewhere amongst all their containers. Night Raids and Electromagnetic Storm events also increase the drop chances of certain Blueprints .
In addition to these containers, you can often loot Blueprints from destroyed Surveyors - the largest of the rolling ball ARC. Surveyors are more commonly found on the later maps - Spaceport and Blue Gate - and if one spawns in your match, you’ll likely see it by the blue laser beam that it casts into the sky while “surveying”.
Surveyors are quite well-armoured and will very speedily run away from you once it notices you, but if you can take one down then make sure you loot all its parts for a chance of obtaining certain unusual Blueprints.
Blueprints obtained from quests
One way in which you can get Blueprints is by completing certain quests for the vendors in Speranza. Some quests will reward you with a specific item Blueprint upon completion, so as long as you work through all the quests in Arc Raiders, you are guaranteed those Blueprints.
Here is the full list of all Blueprints you can get from quest rewards:
- Trigger Nade Blueprint: Rewarded after completing “Sparks Fly”.
- Lure Grenade Blueprint: Rewarded after completing “Greasing Her Palms”.
- Burletta Blueprint: Rewarded after completing “Industrial Espionage”.
- Hullcracker Blueprint (and Launcher Ammo Blueprint): Rewarded after completing “The Major’s Footlocker”.
Alas, that’s only 4 Blueprints out of a total of 75 to unlock, so for the vast majority you will need to find them yourself during a raid. If you’re intent on farming Blueprints, then it’s best to equip yourself with cheap gear in case you lose it, but don’t use a free loadout because then you won’t get a safe pocket to stash any new Blueprint you find. No pain in Arc Raiders is sharper than failing to extract with a new Blueprint you’ve been after for a dozen hours already.

One of the best ways to get Blueprints is by hitting three stars on all five Trials every week. |Image credit:Rock Paper Shotgun/Embark Studios
Blueprints obtained from Trials
One of the very best ways to get Blueprints is as rewards for completing Trials in Arc Raiders. Trials are unlocked from Level 15 onwards, and allow you to earn rewards by focusing on certain tasks over the course of several raids. For example, one Trial might task you with dealing damage to Hornets, while another might challenge you to loot Supply Drops.
Trials refresh on a weekly basis, with a new week bringing five new Trials. Each Trial can offer up to three rewards after passing certain score milestones, and it’s possible to receive very high level loot from these reward crates - including Blueprints. So if you want to unlock as many Blueprints as possible, you should make a point of completing as many Trials as possible each week.
Best Blueprint farming locations
The very best way to get Blueprints is to frequent specific areas of the maps which combine high-tier loot pools with the right types of containers to search. Here are my recommendations for where to find Blueprints on every map, so you can always keep the search going for new crafting recipes to unlock.

Image credit:Rock Paper Shotgun/Embark Studios
Dam Battlegrounds
The best places to farm Blueprints on Dam Battlegrounds are the Control Tower, Power Generation Complex, Ruby Residence, and Pale Apartments . The first two regions, despite only being marked on the map as mid-tier loot, contain a phenomenal number of containers to loot. The Control Tower can also contain a couple of high-tier Security Lockers - though of course, you’ll need to have unlocked the Security Breach skill at the end of the Survival tree.
There’s also a lot of reporting amongst the playerbase that the Residential areas in the top-left of the map - Pale Apartments and Ruby Residence - give you a comparatively strong chance of finding Blueprints. Considering their size, there’s a high density of containers to loot in both locations, and they also have the benefit of being fairly out of the way. So you’re more likely to have all the containers to yourself.
Buried City
The best Blueprint farming locations on Buried City are the Santa Maria Houses, Grandioso Apartments, Town Hall, and the various buildings of the New District . Grandioso Apartments has a lower number of containers than the rest, but a high chance of spawning weapon cases - which have good Blueprint drop rates. The others are high-tier loot areas, with plenty of lootable containers - including Security Lockers.
Spaceport
The best places to find Blueprints on Spaceport are the Arrival and Departure Buildings, as well as Control Tower A6 and the Launch Towers . All these areas are labelled as high-value loot regions, and many of them are also very handily connected to one another by the Spaceport wall, which you can use to quickly run from one area to the next. At the tops of most of these buildings you’ll find at least one Security Locker, so this is an excellent farming route for players looking to find Blueprints.
The downside to looting Blueprints on Spaceport is that all these areas are hotly contested, particularly in Duos and Squads. You’ll need to be very focused and fast in order to complete the full farming route.

Image credit:Rock Paper Shotgun/Embark Studios
Blue Gate
Blue Gate tends to have a good chance of dropping Blueprints, potentially because it generally has a high number of containers which can hold lots of items; so there’s a higher chance of a Blueprint spawning in each container. In my experience, the best Blueprint farming spots on Blue Gate are Pilgrim’s Peak, Raider’s Refuge, the Ancient Fort, and the Underground Complex beneath the Warehouse .
All of these areas contain a wealth of containers to loot. Raider’s Refuge has less to loot, but the majority of the containers in and around the Refuge are raider containers, which have a high chance of containing Blueprints - particularly during major events.
Stella Montis
On the whole, Stella Montis seems to have a very low drop rate for Blueprints (though a high chance of dropping other high-tier loot). If you do want to try farming Blueprints on this map, the best places to find Blueprints in Stella Montis are Medical Research, Assembly Workshop, and the Business Center . These areas have the highest density of containers to loot on the map.
In addition to this, the Western Tunnel has a few different Security Lockers to loot, so while there’s very little to loot elsewhere in this area of the map, it’s worth hitting those Security Lockers if you spawn there at the start of a match.
That wraps up this primer on how to get all the Blueprints in Arc Raiders as quickly as possible. With the Expedition system constantly resetting a large number of players’ Blueprints, it’s more important than ever to have the most up-to-date information on where to find all these Blueprints.
While you’re here, be sure to check out our Arc Raiders best guns tier list , as well as our primers on the best skills to unlock and all the different Field Depot locations on every map.


ARC Raiders
PS5 , Xbox Series X/S , PC
Rock Paper Shotgun is better when you sign in
Sign in and join us on our journey to discover strange and compelling PC games.
