Elden Ring Shadow Of The Erdtree area progression order
Here is our recommended area order for the Elden Ring DLC

Image credit:Rock Paper Shotgun/Bandai Namco

Looking for a good progression route for Elden Ring: Shadow Of The Erdtree? The Shadow Of The Erdtree DLC introduces you to the Realm Of Shadow, a staggeringly large map for a mere DLC, and one with a huge emphasis on verticality and hidden paths to new areas. From the first region alone you can visit half a dozen different places, including two legacy dungeons. Just like the base Elden Ring map, the open world can be quite overwhelming, and the path forward is not always clear.
In Shadow Of The Erdtree, your character progression is dictated less by your character level and more by your Shadow Realm Blessing and your Scadutree Blessing Level. So when it comes to picking the right area order and progress route through the Realm Of Shadow, you also have to factor in how many Scadutree Fragments are available to pick up in each region, to figure out how powerful you’re meant to become before tackling the next area.
In this Shadow Of The Erdtree area order guide, we’ll walk you through the recommended progression route in the Elden Ring DLC, starting from your opening moments in the Gravesite Plain and working all the way to the final legacy dungeon of the expansion, which is home to the fiendish final main boss . You can peruse our Shadow Of The Erdtree progression route map below for a quick overview of our recommended area order, or read our in-depth guide further down to learn about the dangers of each individual region in the DLC.
Note: spoilers for the Shadow Of The Erdtree DLC follow! If you’re looking for a progression route guide for the main game, check out our Elden Ring area order walkthrough.
Shadow Of The Erdtree progression route map
Follow this annotated map for the ideal progression route through every region of the Realm Of Shadow in the Elden Ring DLC. Each area is colour-coded and numbered with our recommended area order, and using the key on the side of the map you can also find our recommended Scadutree Blessing level for each region.
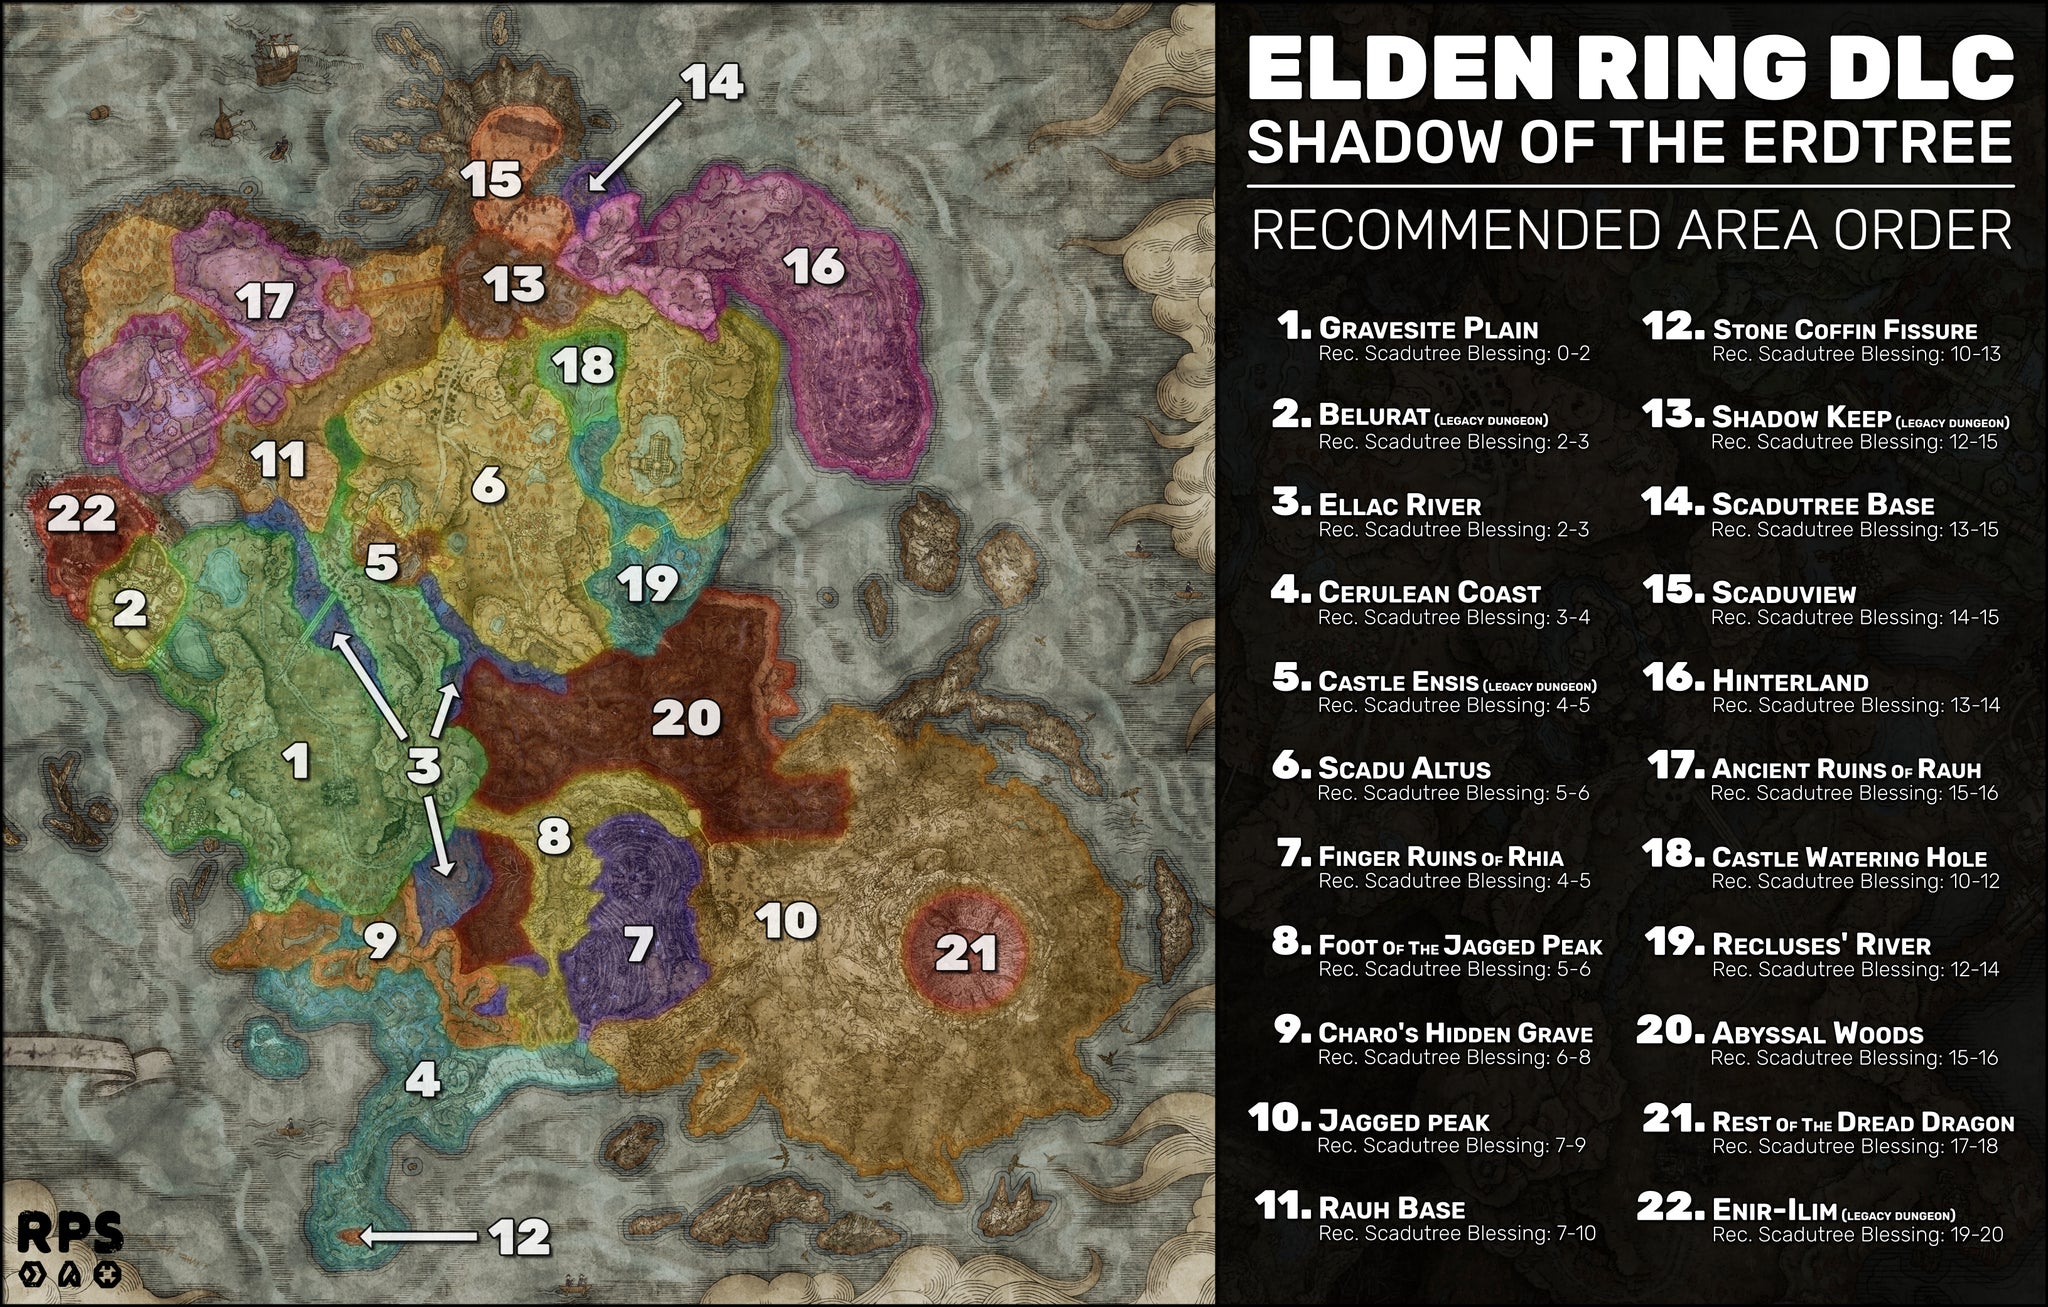
Use this progression route map to guide your journey through Shadow Of The Erdtree.Click to view at full resolution!|Image credit:Rock Paper Shotgun/Bandai Namco
Below we’ll break down each of these regions one by one, along with important information such as important item pickups and which boss fights are better left until later on when you’re more levelled up.
Shadow Of The Erdtree area order
This table details our recommended area order for each of the regions in the Elden Ring DLC, along with our recommendations for your Scadutree Blessing level within each region.
| Order | Area | Scadutree Blessing Level |
|---|---|---|
| 1 | Gravesite Plain | 0-2 |
| 2 | Belurat, Tower Settlement | 2-3 |
| 3 | Ellac River | 2-3 |
| 4 | Cerulean Coast | 3-4 |
| 5 | Castle Ensis | 4-5 |
| 6 | Scadu Altus | 5-6 |
| 7 | Finger Ruins Of Rhia | 4-5 |
| 8 | Foot Of The Jagged Peak | 5-6 |
| 9 | Charo’s Hidden Grave | 6-8 |
| 10 | Jagged Peak | 7-9 |
| 11 | Rauh Base | 7-10 |
| 12 | Stone Coffin Fissure | 10-13 |
| 13 | Shadow Keep | 12-15 |
| 14 | Scadutree Base | 13-15 |
| 15 | Scaduview | 14-15 |
| 16 | Hinterland | 13-14 |
| 17 | Ancient Ruins Of Rauh | 15-16 |
| 18 | Castle Watering Hole | 10-12 |
| 19 | Recluses’ River | 12-14 |
| 20 | Abyssal Woods | 15-16 |
| 21 | Rest Of The Dread Dragon | 17-18 |
| 22 | Enir-Ilim | 19-20 |
Unlike the base game, it isn’t terribly important what your character’s level is, as long as it’s above Level 120 or so. It’s also a given that you will need to upgrade your weapons to maximum level (or near maximum) in order to deal significant damage against enemies within Shadow Of The Erdtree.
1. Gravesite Plain
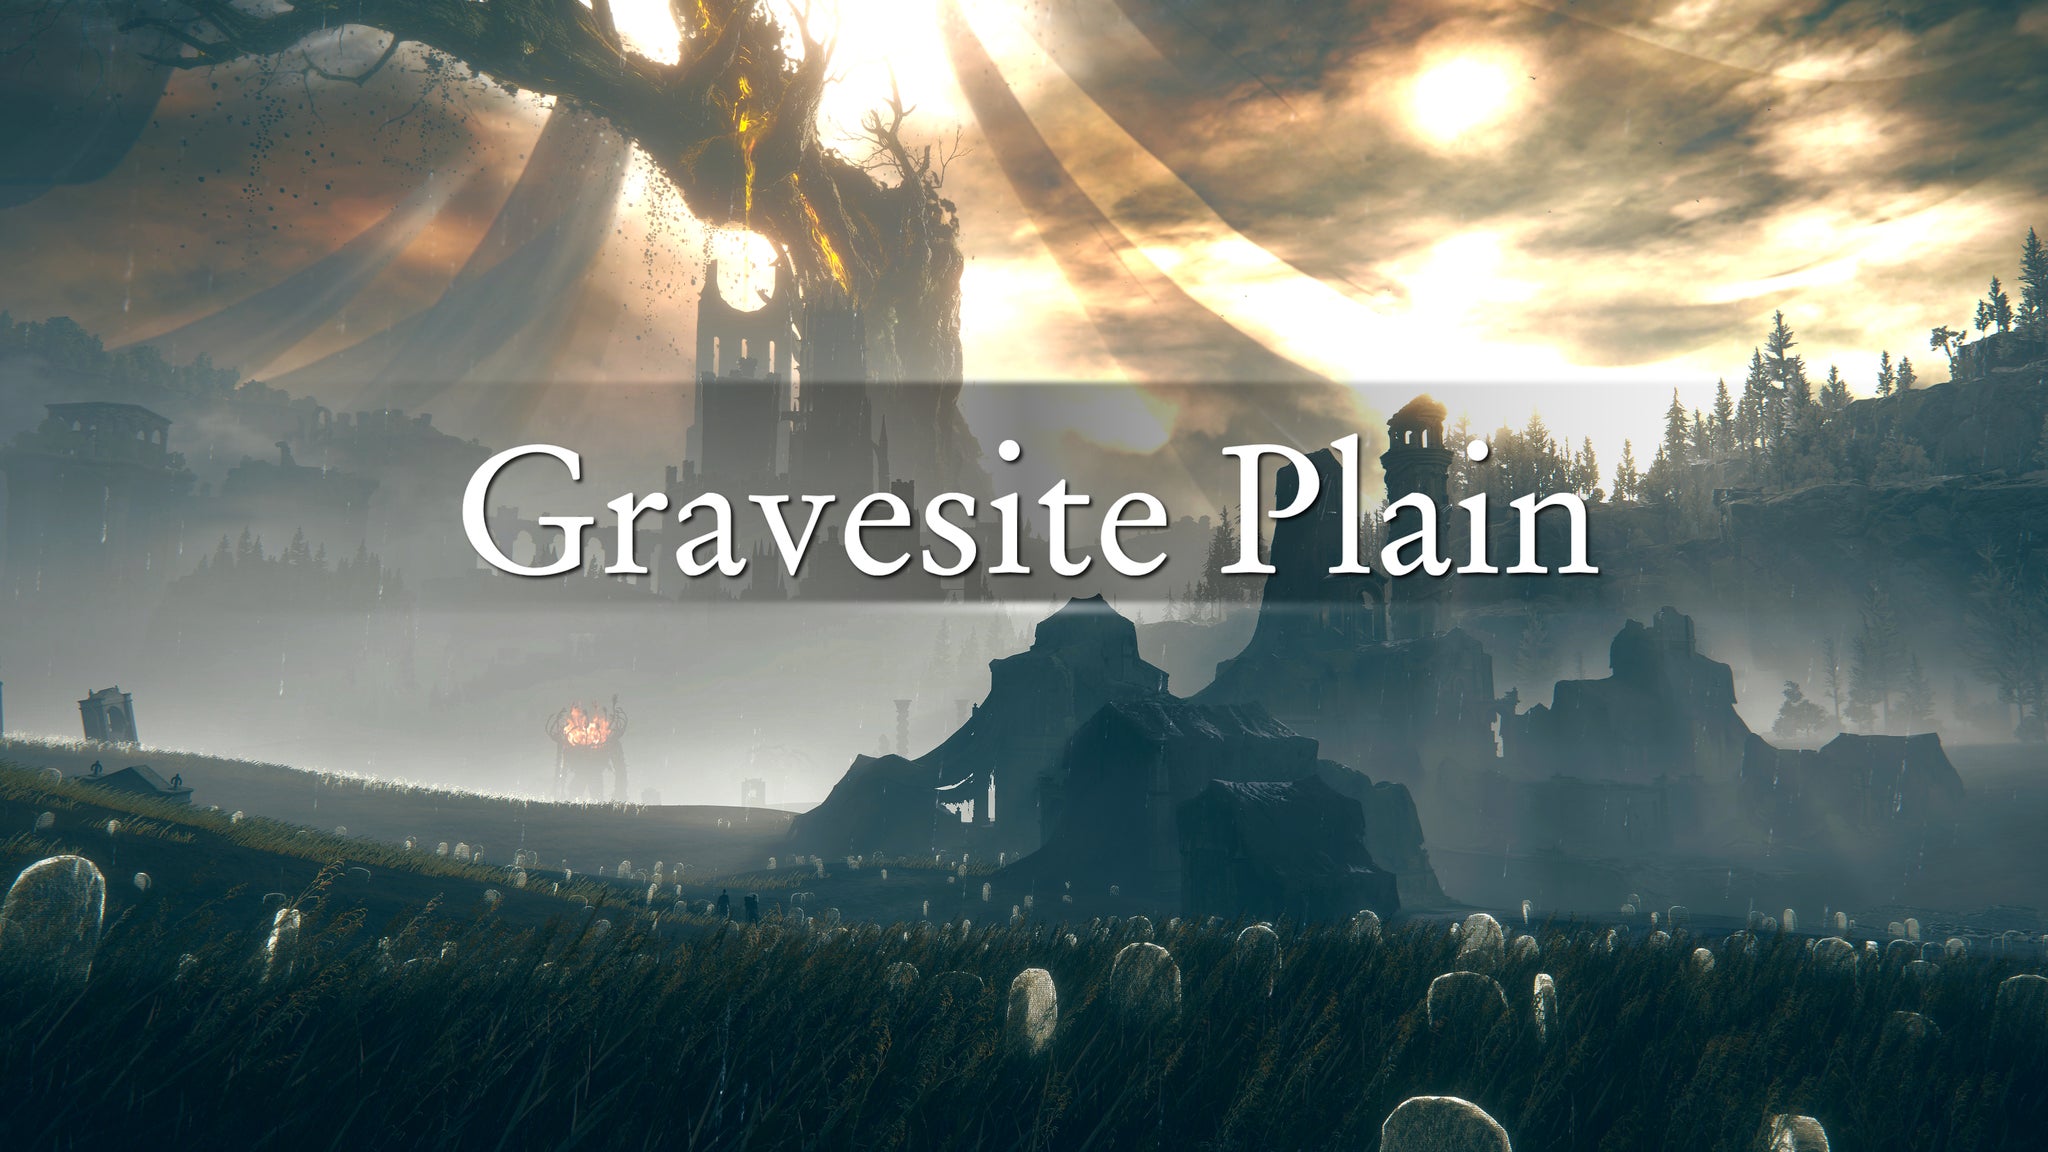
Image credit:Rock Paper Shotgun/Bandai Namco
Recommended Scadutree Blessing Level: 0-2 Key Items: Backhand Blade , Deflecting Hardtear, Great Katana Bosses to watch out for: Furnace Golem , Blackgaol Knight , Ghostflame Dragon
When you first begin the Shadow Of The Erdtree DLC, you will spawn inside the Gravesite Plain, a large and surprisingly vertical region which leads to several different areas of the map. Don’t be complacent; despite being the lowest-level area in the DLC, you can still die very quickly to most enemies without adequate Shadow Realm Blessings.
From the Gravesite Plain you can enter Belurat to the northwest, Castle Ensis to the northeast, the Foot Of The Jagged Peak via the Dragon’s Pit, and the Cerulean Coast via Ellac River . That’s a whole lot of places to explore.
2. Belurat, Tower Settlement
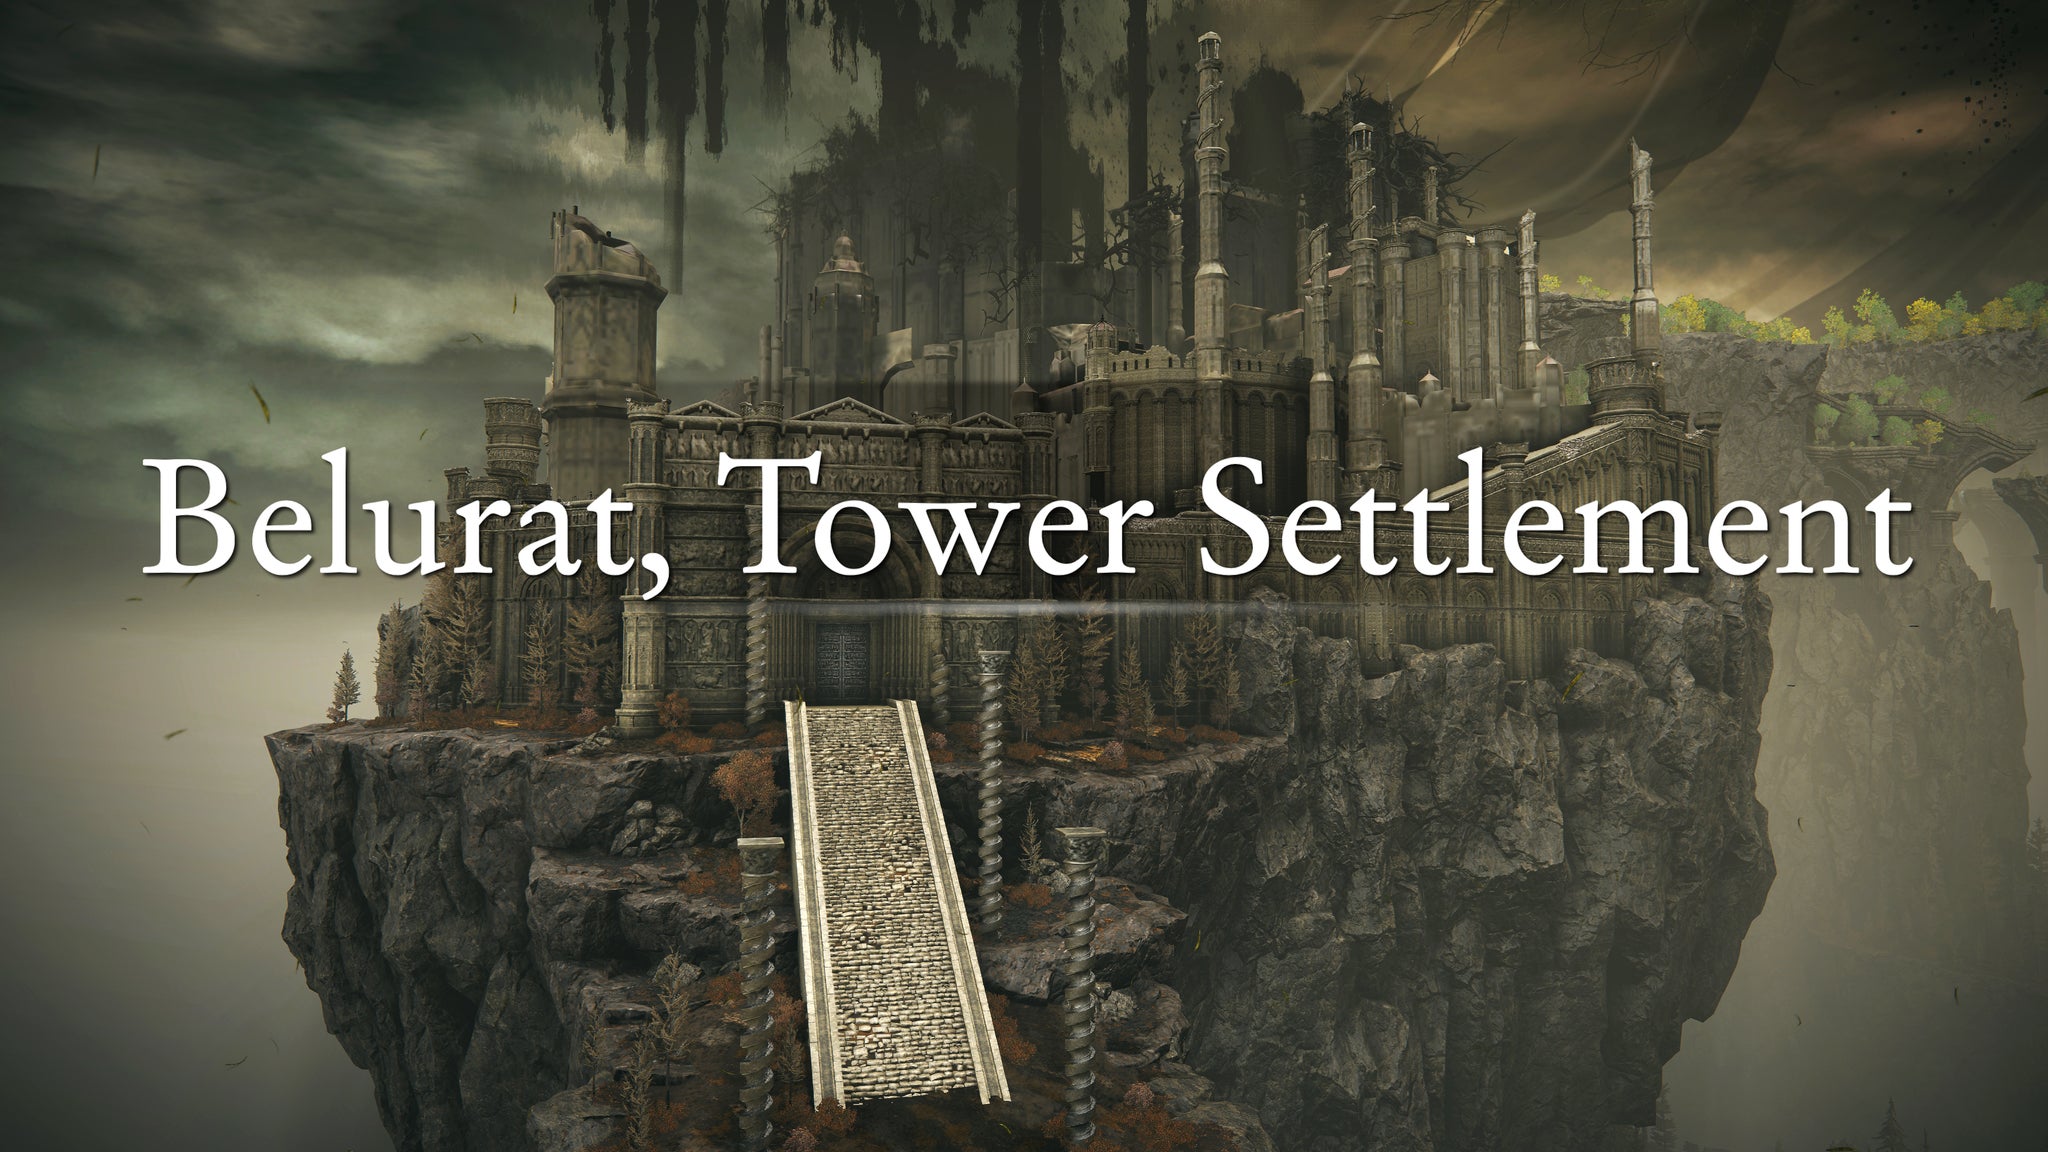
Image credit:Rock Paper Shotgun/Bandai Namco
Recommended Scadutree Blessing Level: 2-3 Key Items: Storeroom Key , Well Depths Key , Divine Beast Head Bosses to watch out for: Divine Beast Dancing Lion, Fire Knight Queelign
Belurat, Tower Settlement is located to the northwest of the Gravesite Plain , and it’s likely the first legacy dungeon you’ll explore in Shadow Of The Erdtree. Filled with Spider-Scorpions, Shadow Undead, and Horned Warriors, it’s also home to a number of surprises, including a poison swamp, an invasion from Fire Knight Queelign, and an entire side-quest revolving around the Hornsent Grandam NPC inside the Storeroom .
In general the dungeon shouldn’t be too difficult, although you may find that the main boss, the Divine Beast Dancing Lion , is too tough for you at first, and you may want to save defeating it until a little later on.
3. Ellac River
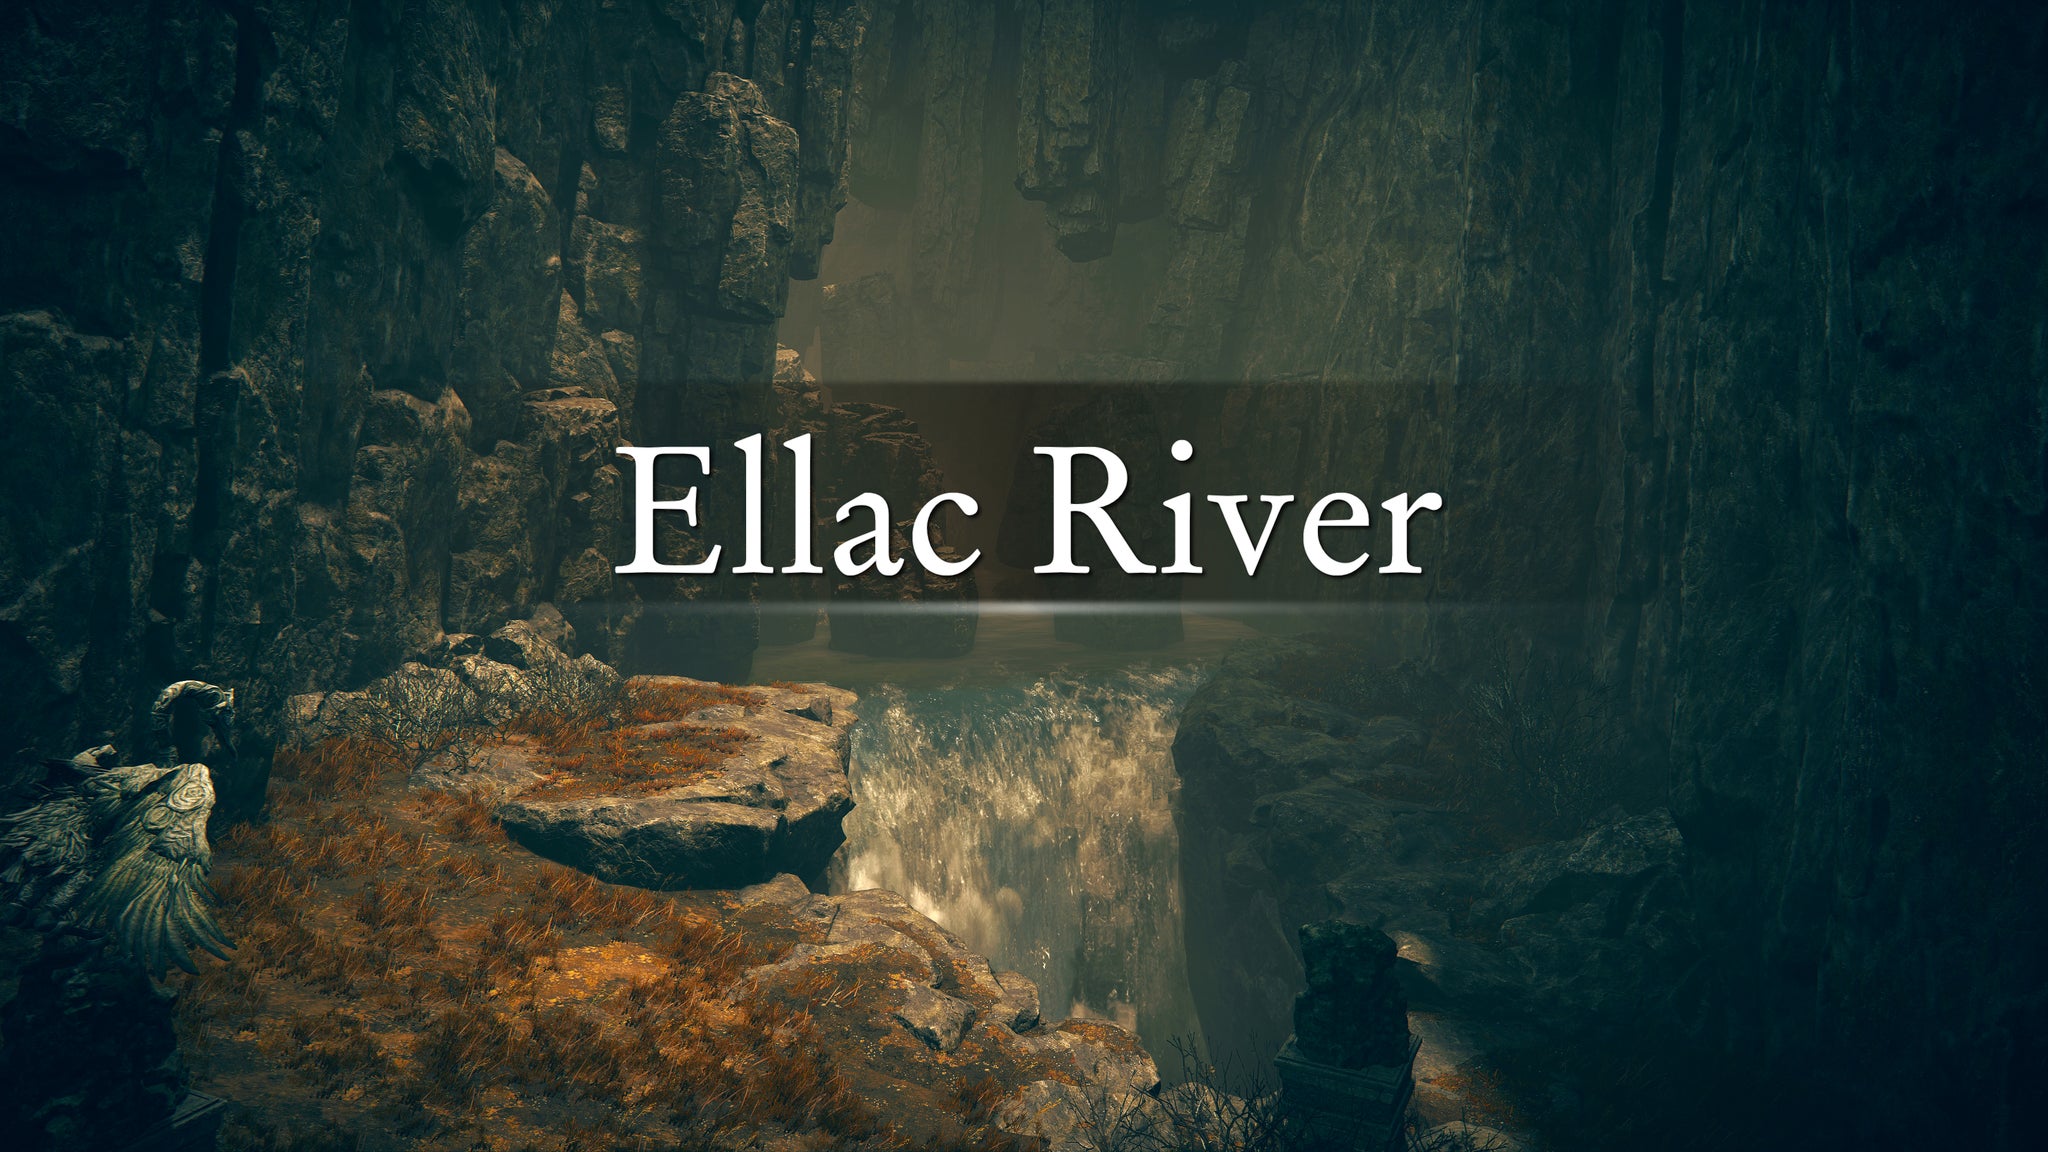
Image credit:Rock Paper Shotgun/Bandai Namco
Recommended Scadutree Blessing Level: 2-3 Key Items: Lightning Perfume Bottle, Horned Bairn Bosses to watch out for: Ulcerated Tree Spirit , Furnace Golem
The Ellac River lies beneath the Gravesite Plain , and you can only access it by following the path of lowest elevation east of the Castle Front Site Of Grace . Once you reach the small river beside Castle Ensis , you can head into the cave beyond the giant Miranda Flower and into Ellac River.
There’s not much of note inside Ellac River besides the Rivermouth Cave to the northwest. Its main purpose is to guide you south towards the gorgeous Cerulean Coast region - but mind the Furnace Golem guarding the region entrance.
4. Cerulean Coast

Image credit:Rock Paper Shotgun/Bandai Namco
Recommended Scadutree Blessing Level: 3-4 Key Items: Dancing Blade Of Ranah , Star-Lined Sword Bosses to watch out for: Ghostflame Dragon, Dancer Of Ranah
The Cerulean Coast is only a small step up in difficulty from the Gravesite Plain , so it’s safe to explore fairly early on in your progress route. It’s also a spectacularly gorgeous place, despite only having a couple of key areas to visit.
From the Cerulean Coast, you can access the Stone Coffin Fissure in the southern peninsula, as well as the Finger Ruins Of Rhia via the beach (both of which we’ll get to later). You can also fight the Dancer Of Ranah on the island to the west by using the cave from the nearby shore. Just don’t waste time trying to get to the upper levels ( Charo’s Hidden Grave ); that comes a bit later.
5. Castle Ensis
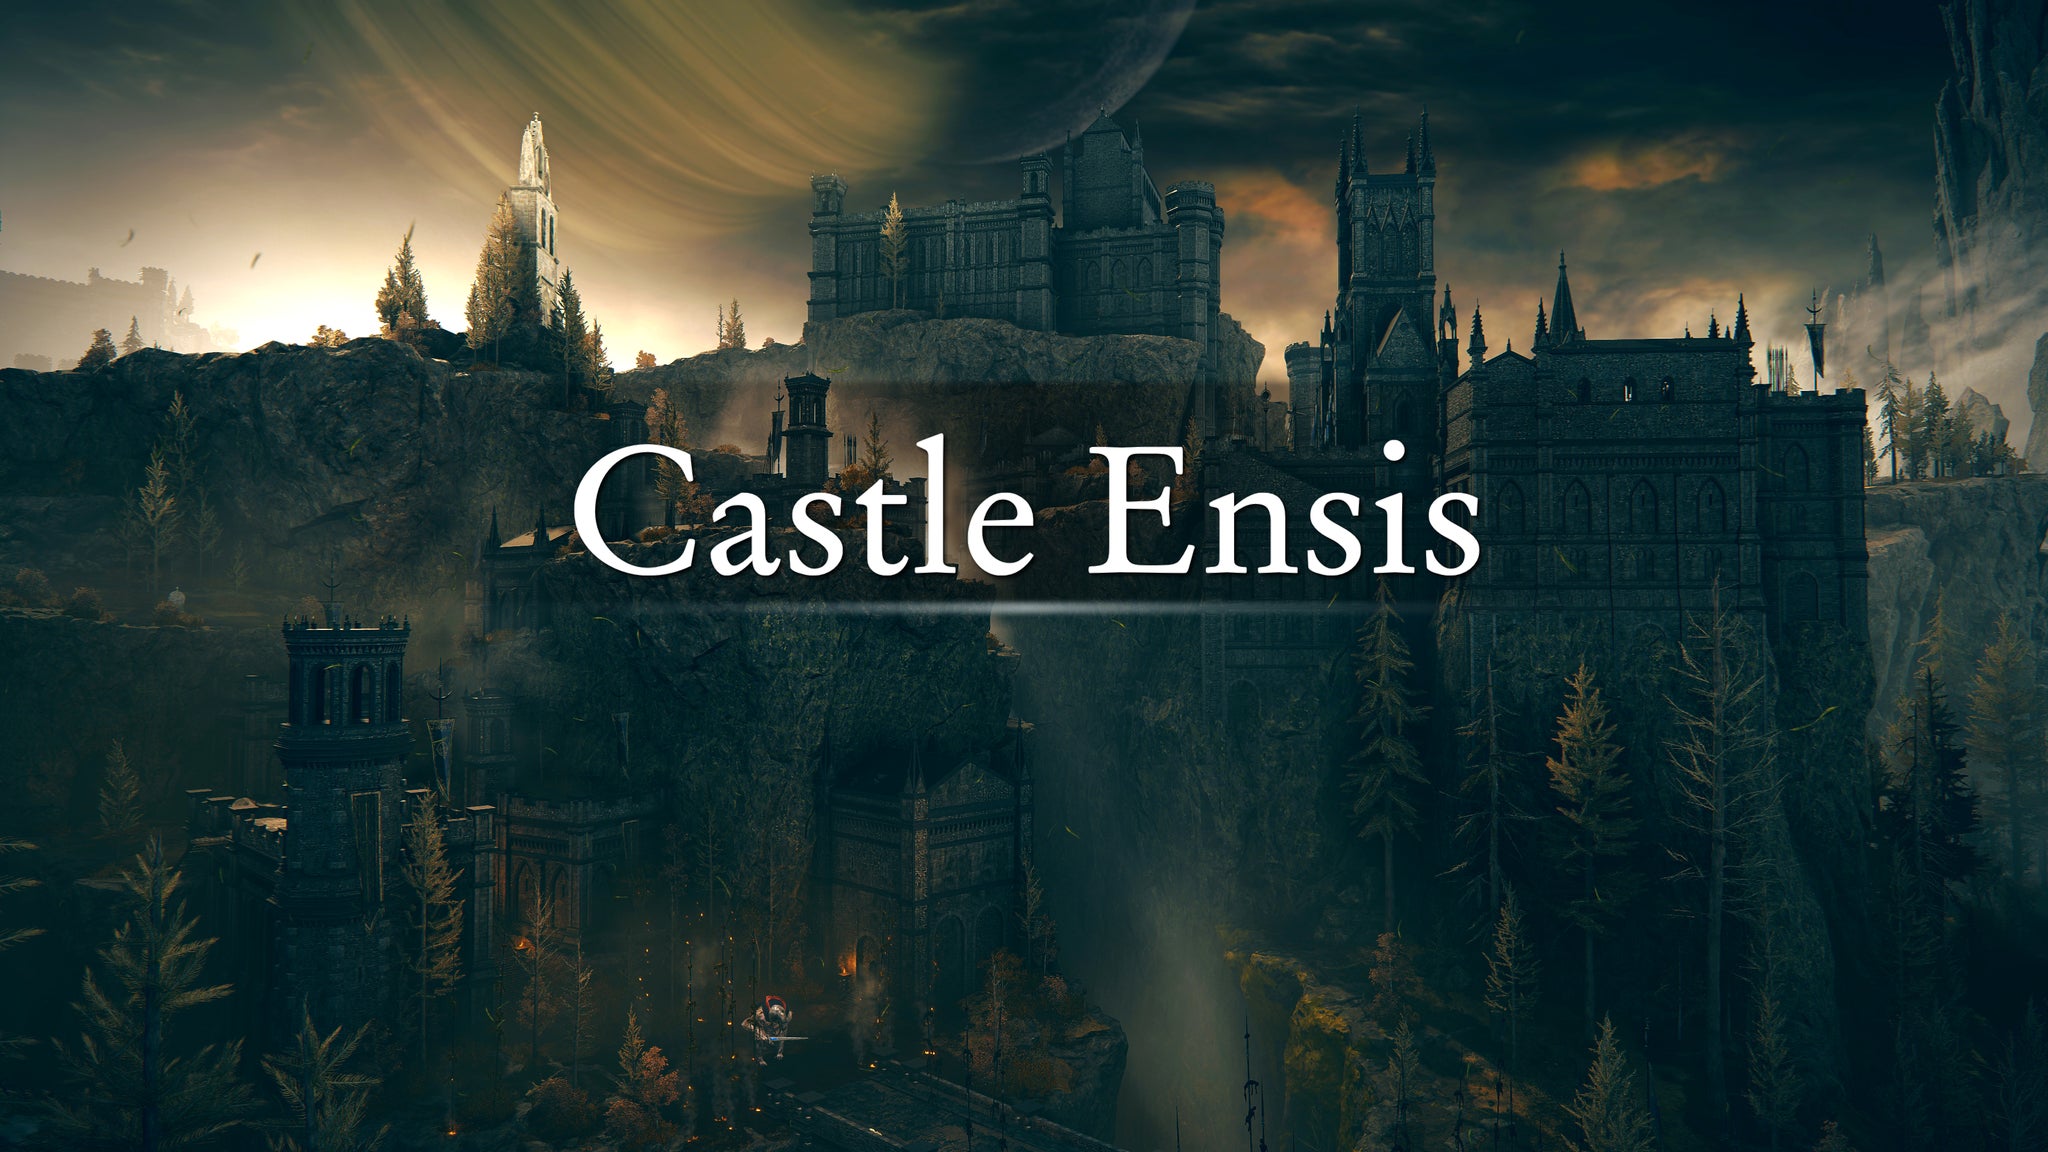
Image credit:Rock Paper Shotgun/Bandai Namco
Recommended Scadutree Blessing Level: 4-5 Key Items: Milady , Wing Stance , Rellana’s Cameo, Spelldrake Talisman +3 Bosses to watch out for: Rellana Twin Moon Knight, Moonrithyll Carian Knight
The second legacy dungeon, Castle Ensis, is a step up in difficulty from Belurat . That’s why we recommend a thorough exploration of the Gravesite Plain and Cerulean Coast first, to beef you up with Scadutree Fragments before taking on Remembrance boss Rellana in her home turf. It’s not a terribly large legacy dungeon, but expect heavy resistance in the form of Carian Nobles and Glintstone Sorcerers.
Rellana herself can be really nasty depending on your build and playstyle. I’d recommend at least Scadutree Blessing Level 5 before taking her on. You may wish to return to her a little later, because you can reach Scadu Altus via an alternative path (via the Spiritspring below the Fort Of Reprimand in Ellac River ).
6. Scadu Altus

Image credit:Rock Paper Shotgun/Bandai Namco
Recommended Scadutree Blessing Level: 5-6 Key Items: Prayer Room Key , Night Set, O Mother Gesture Bosses to watch out for: Ralva The Great Red Bear, Furnace Golem
Scadu Altus is a massive, wide-open area that rivals the Gravesite Plain in size. It’s split largely into two by the Recluses’ River (which you’ll explore later), and the eastern half is accessible only by dropping down the hole in Moorth Ruins and following the path through Bonny Village. While you’re there, you should look north of Bonny Village and pick up the O Mother Gesture, as it’s required for visiting a later region on the list .
Scadu Altus is home to a fair few interesting locations, including the Cathedral Of Manus Metyr - home to Ymir’s questline - as well as the Church Of The Crusade, the Ruined Forge Of Starfall Past, and the Fort Of Reprimand.
7. Finger Ruins Of Rhia

Image credit:Rock Paper Shotgun/Bandai Namco
Recommended Scadutree Blessing Level: 4-5 Key Items: Crimson Seed Talisman +1, Finger-Weaver’s Cookbook [1] Bosses to watch out for: None
The Finger Ruins Of Rhia are the first location you need to visit for Count Ymir, and it’s largely empty of reasons to visit apart from the Crimson Seed Talisman +1 that you get for sounding the Hanging Bell at the centre of the ruins. There are no bosses, just tonnes of Fingercreepers and Lamprey. You can access it via the sandy shore in in the Cerulean Coast .
8. Foot Of The Jagged Peak

Image credit:Rock Paper Shotgun/Bandai Namco
Recommended Scadutree Blessing Level: 5-6 Key Items: Grand Altar Of Dragon Communion, Dragon Heart Bosses to watch out for: Jagged Peak Drake
The Foot Of The Jagged Peak is a gateway region which contains one important location: the Grand Altar Of Dragon Communion. There you can meet the Dragon Communion Priestess , and learn about the Dread Dragon, Bayle.
The Foot Of The Jagged Peak doesn’t have much in the way of enemies besides one Jagged Peak Drake near the entrance. You can get to this region by completing the Dragon’s Pit dungeon in the Gravesite Plain , and exiting out the other side. From here, you can continue east to the Jagged Peak itself, or climb over the giant dragon’s corpse to reach Charo’s Hidden Grave .
9. Charo’s Hidden Grave
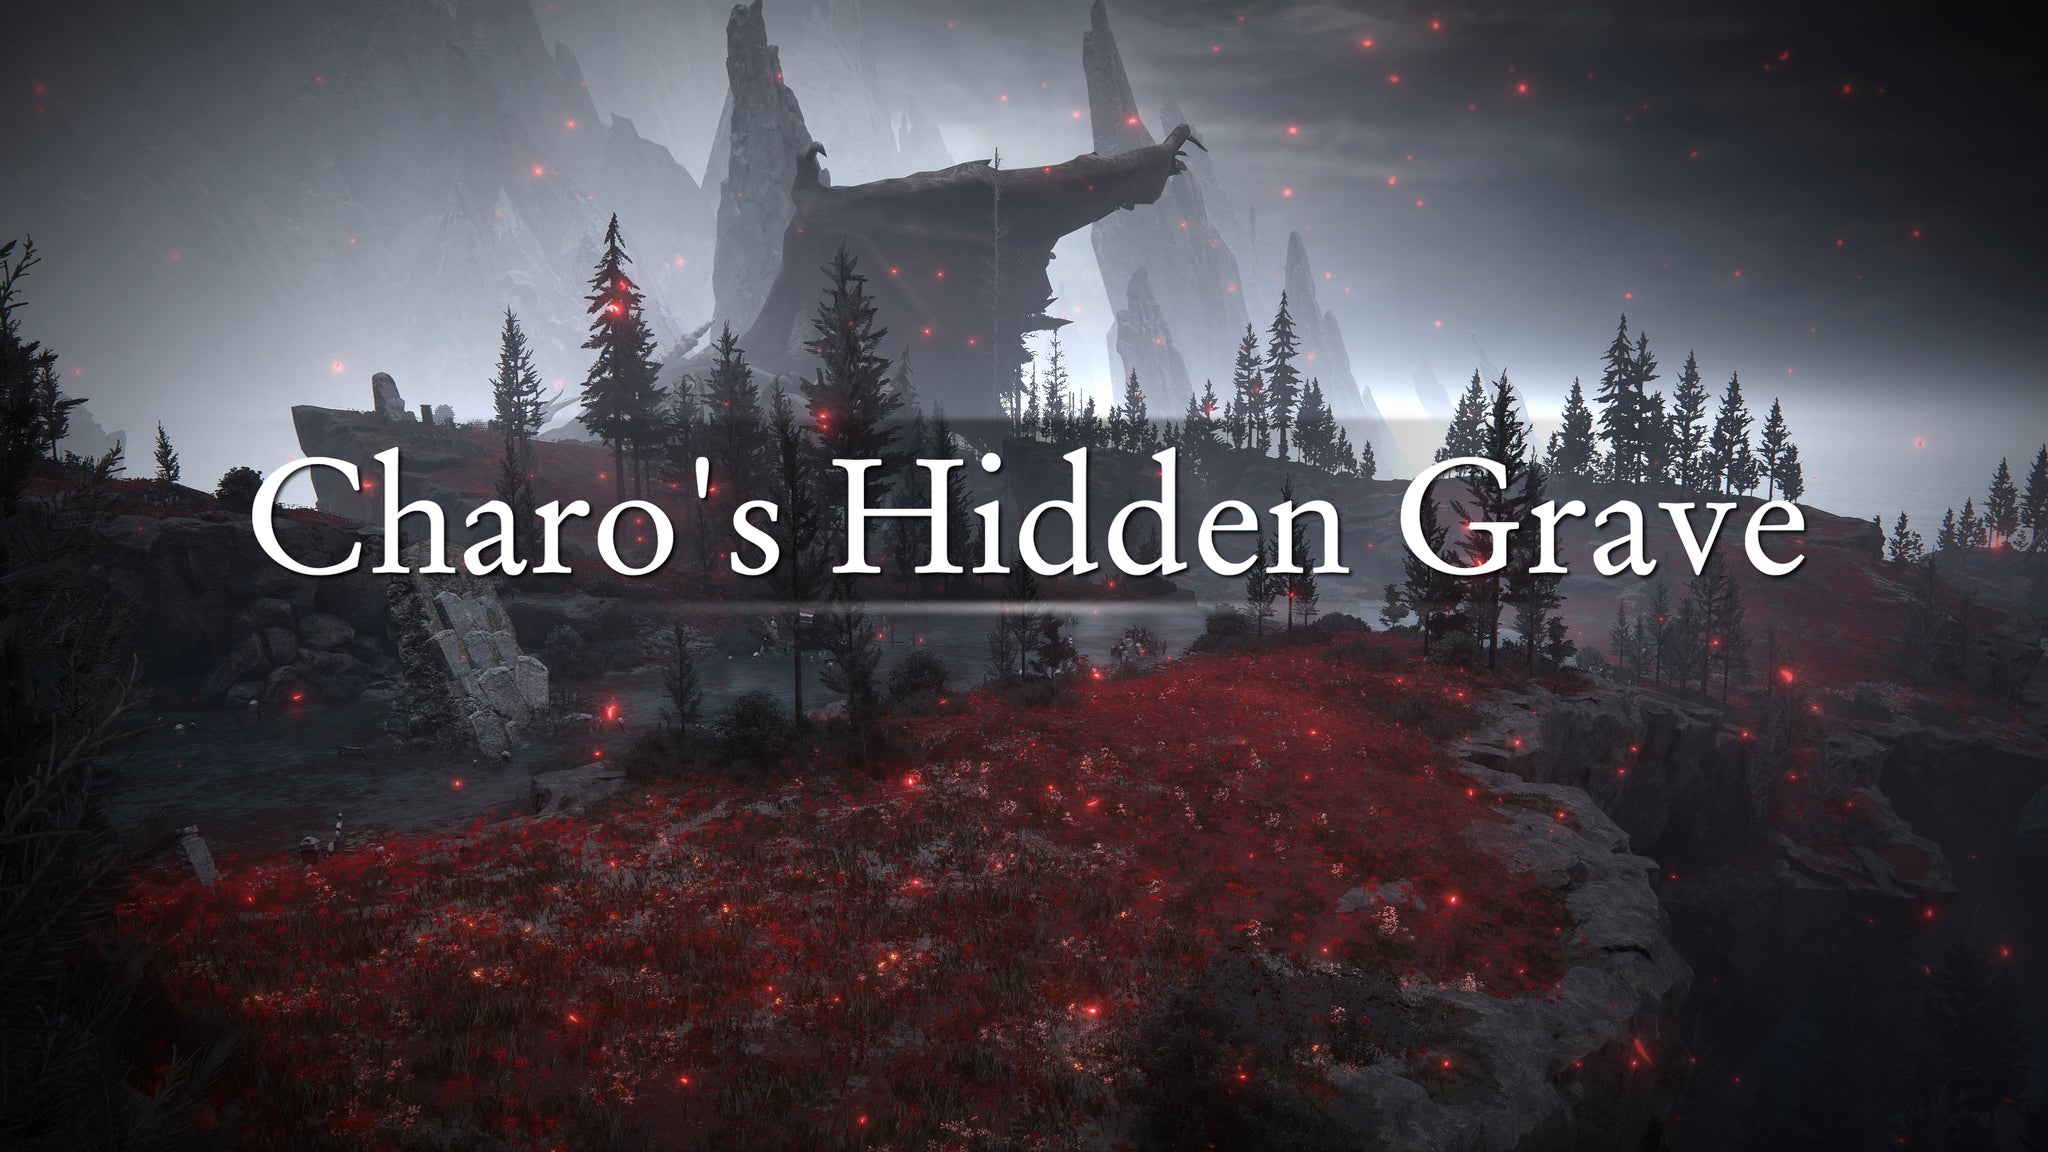
Image credit:Rock Paper Shotgun/Bandai Namco
Recommended Scadutree Blessing Level: 6-8 Key Items: Spirit Glaive, Spirit Sword, Lamenter’s Mask Bosses to watch out for: Death Rite Bird, Hippopotamus, Furnace Golem
Charo’s Hidden Grave is a well-hidden region that’s just as jaw-droppingly beautiful as the Cerulean Coast below it. The only way you can reach it is via the Foot Of The Jagged Peak, and it feels like a decent step up in overall difficulty when compared to earlier regions in this list. Prime among the dangers here is the Death Rite Bird which appears only at night, in the middle of the lake surrounded by Gravebirds.
You can also cross to the north side of Charo’s Hidden Grave over the ravine, and enter the Lamenter’s Gaol , a very easily missed dungeon which gives you some interesting items as a reward for defeating its rather unique boss.
10. Jagged Peak
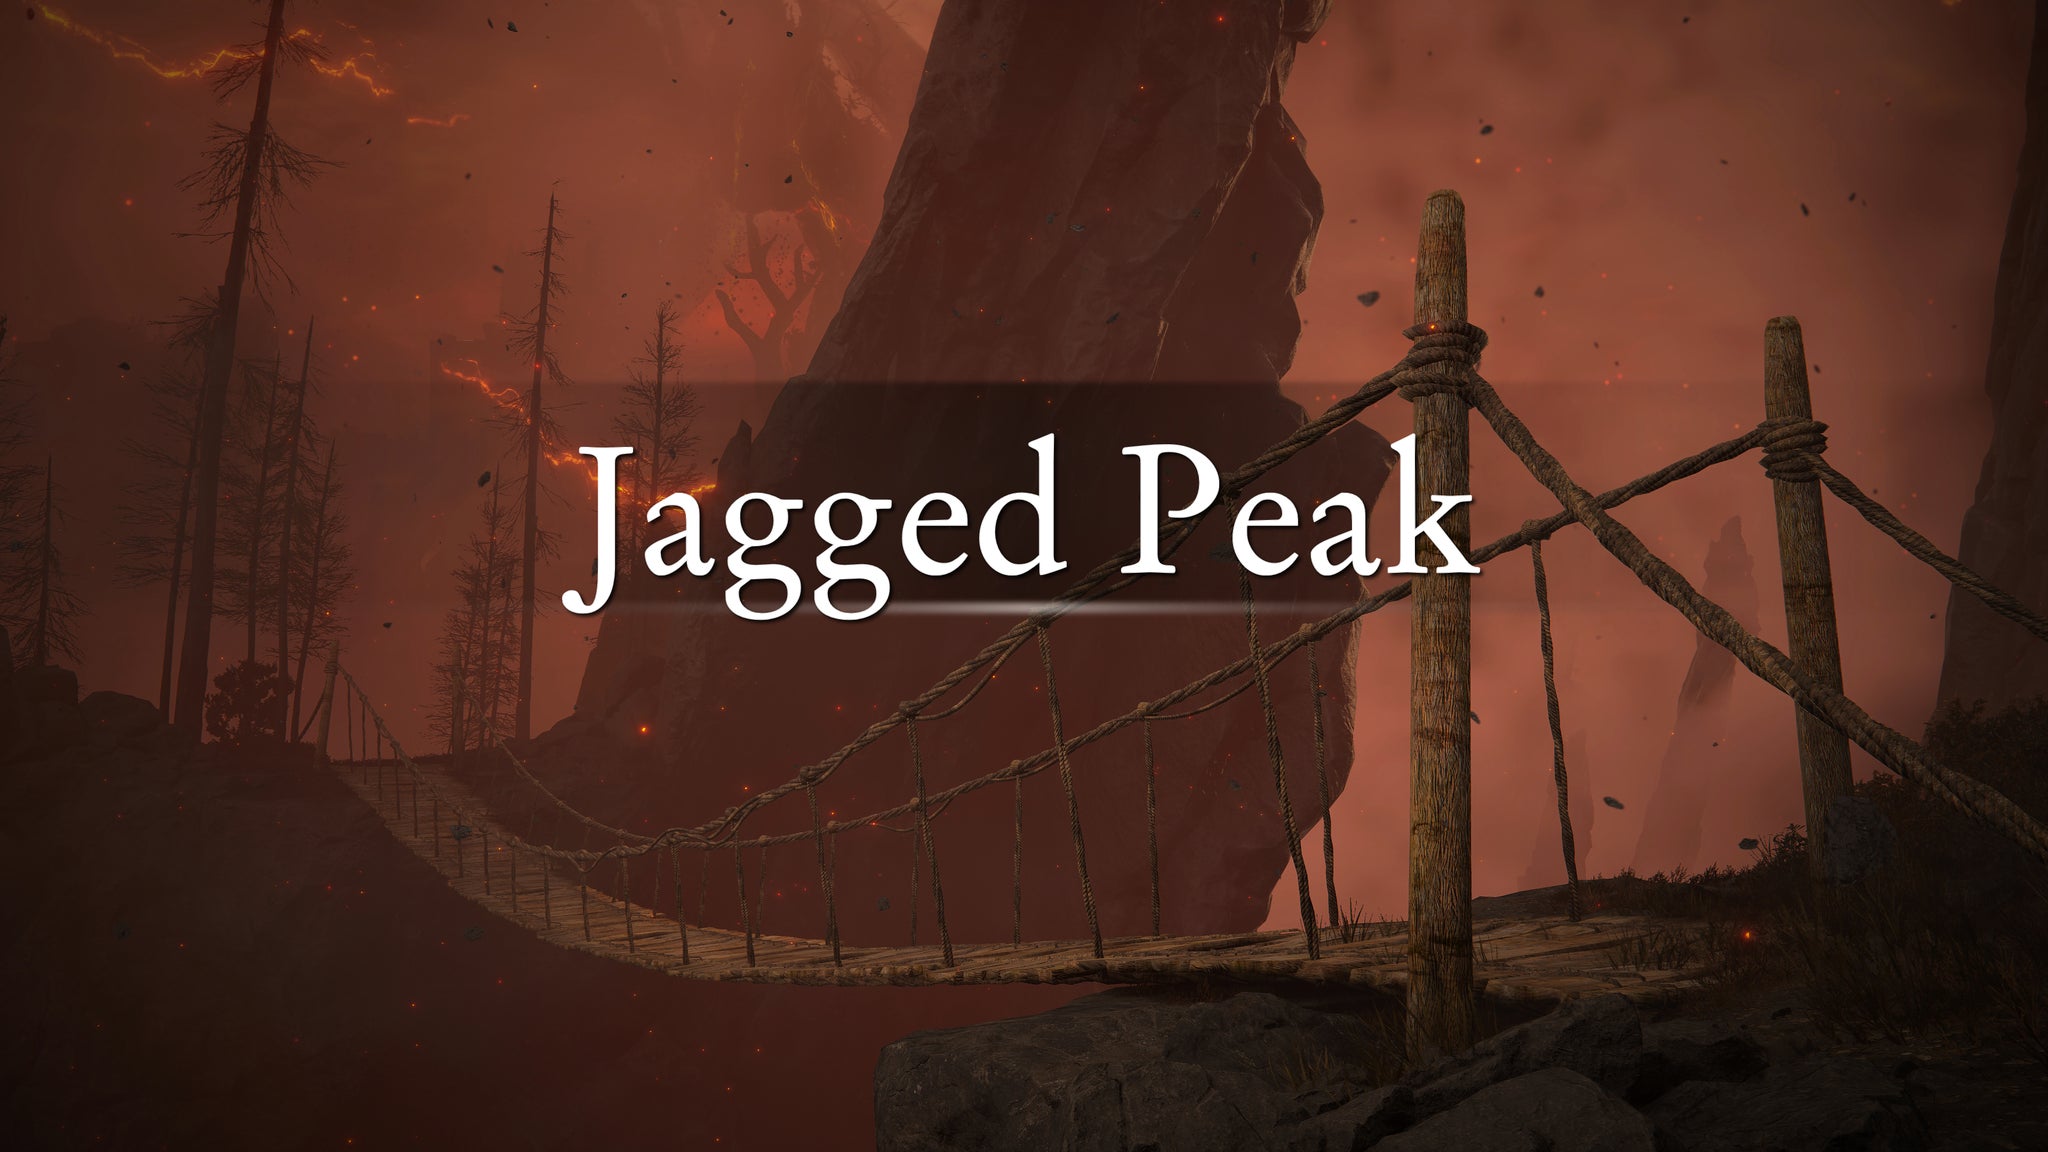
Image credit:Rock Paper Shotgun/Bandai Namco
Recommended Scadutree Blessing Level: 7-9 Key Items: Igon’s Greatbow, Rock Heart, Dragon Heart x2 Bosses to watch out for: Ancient Dragon Senessax
The vast majority of the Jagged Peak is actually not too difficult, despite its very intimidating nature. There are only really three fights in this region: one against a pair of Dragons early on; then a somewhat harder fight against Ancient Dragon Senessax near the summit; and then finally the main boss at the summit itself, which I highly recommend you leave until much later on .
11. Rauh Base
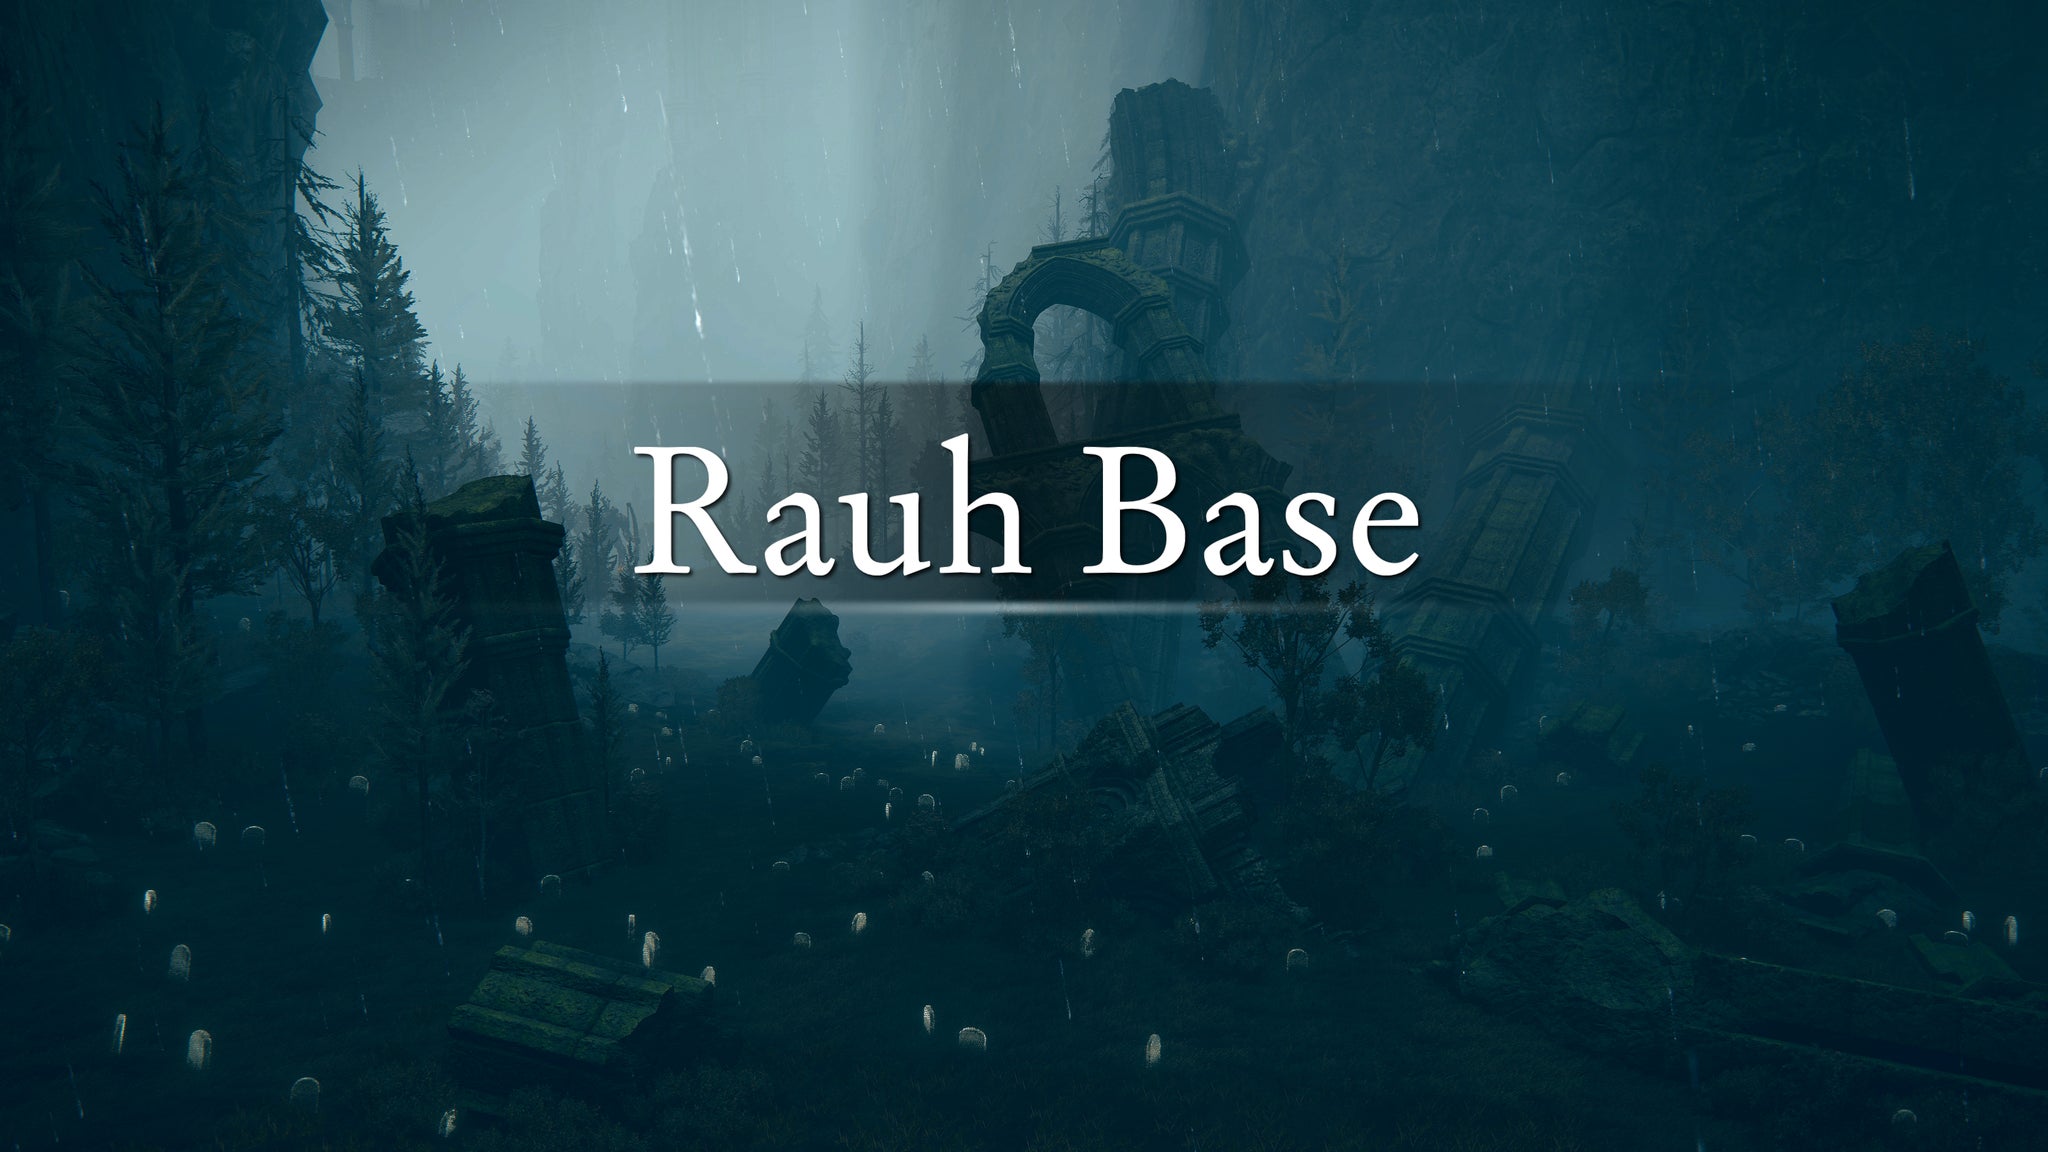
Image credit:Rock Paper Shotgun/Bandai Namco
Recommended Scadutree Blessing Level: 7-10 Key Items: Smithscript Greathammer , Death Knight’s Longhaft Axe Bosses to watch out for: Rugalea The Great Red Bear, Death Knight
Rauh Base can be accessed as soon as you unlock Scadu Altus . Simply head into the cave in the river north of Moorth Ruins, and you can follow that path all the way to the Rauh Base region. Entering Rauh Base at this point in the progress route makes the most sense, as it’s quite clearly separated from the considerably harder Ancient Ruins Of Rauh area above it, and the difficulty provides a good preparation for the next region: the Stone Coffin Fissure .
12. Stone Coffin Fissure

Image credit:Rock Paper Shotgun/Bandai Namco
Recommended Scadutree Blessing Level: 10-13 Key Items: Velvet Sword Of St. Trina, St. Trina’s Smile, St. Trina’s Blossom Bosses to watch out for: Putrescent Knight
The Stone Coffin Fissure is located at the bottommost point of the Cerulean Coast , and the entrance is blocked by a seal that only lifts once Miquella’s Great Rune is broken . This happens only once you’ve reached Rauh Base, Shadow Keep, or the eastern section of Scadu Altus for the first time.
The Stone Coffin Fissure is home to a number of Bloodfiends, Gravebirds, and Skeletons, none of which should give you much trouble at this point. There’s also a Misbegotten Crusader enemy, which may take a couple of attempts. But the real test of your ability comes at the very bottom, in the Garden Of Deep Purple, where the dangerous Putrescent Knight defends St. Trina herself.
13. Shadow Keep
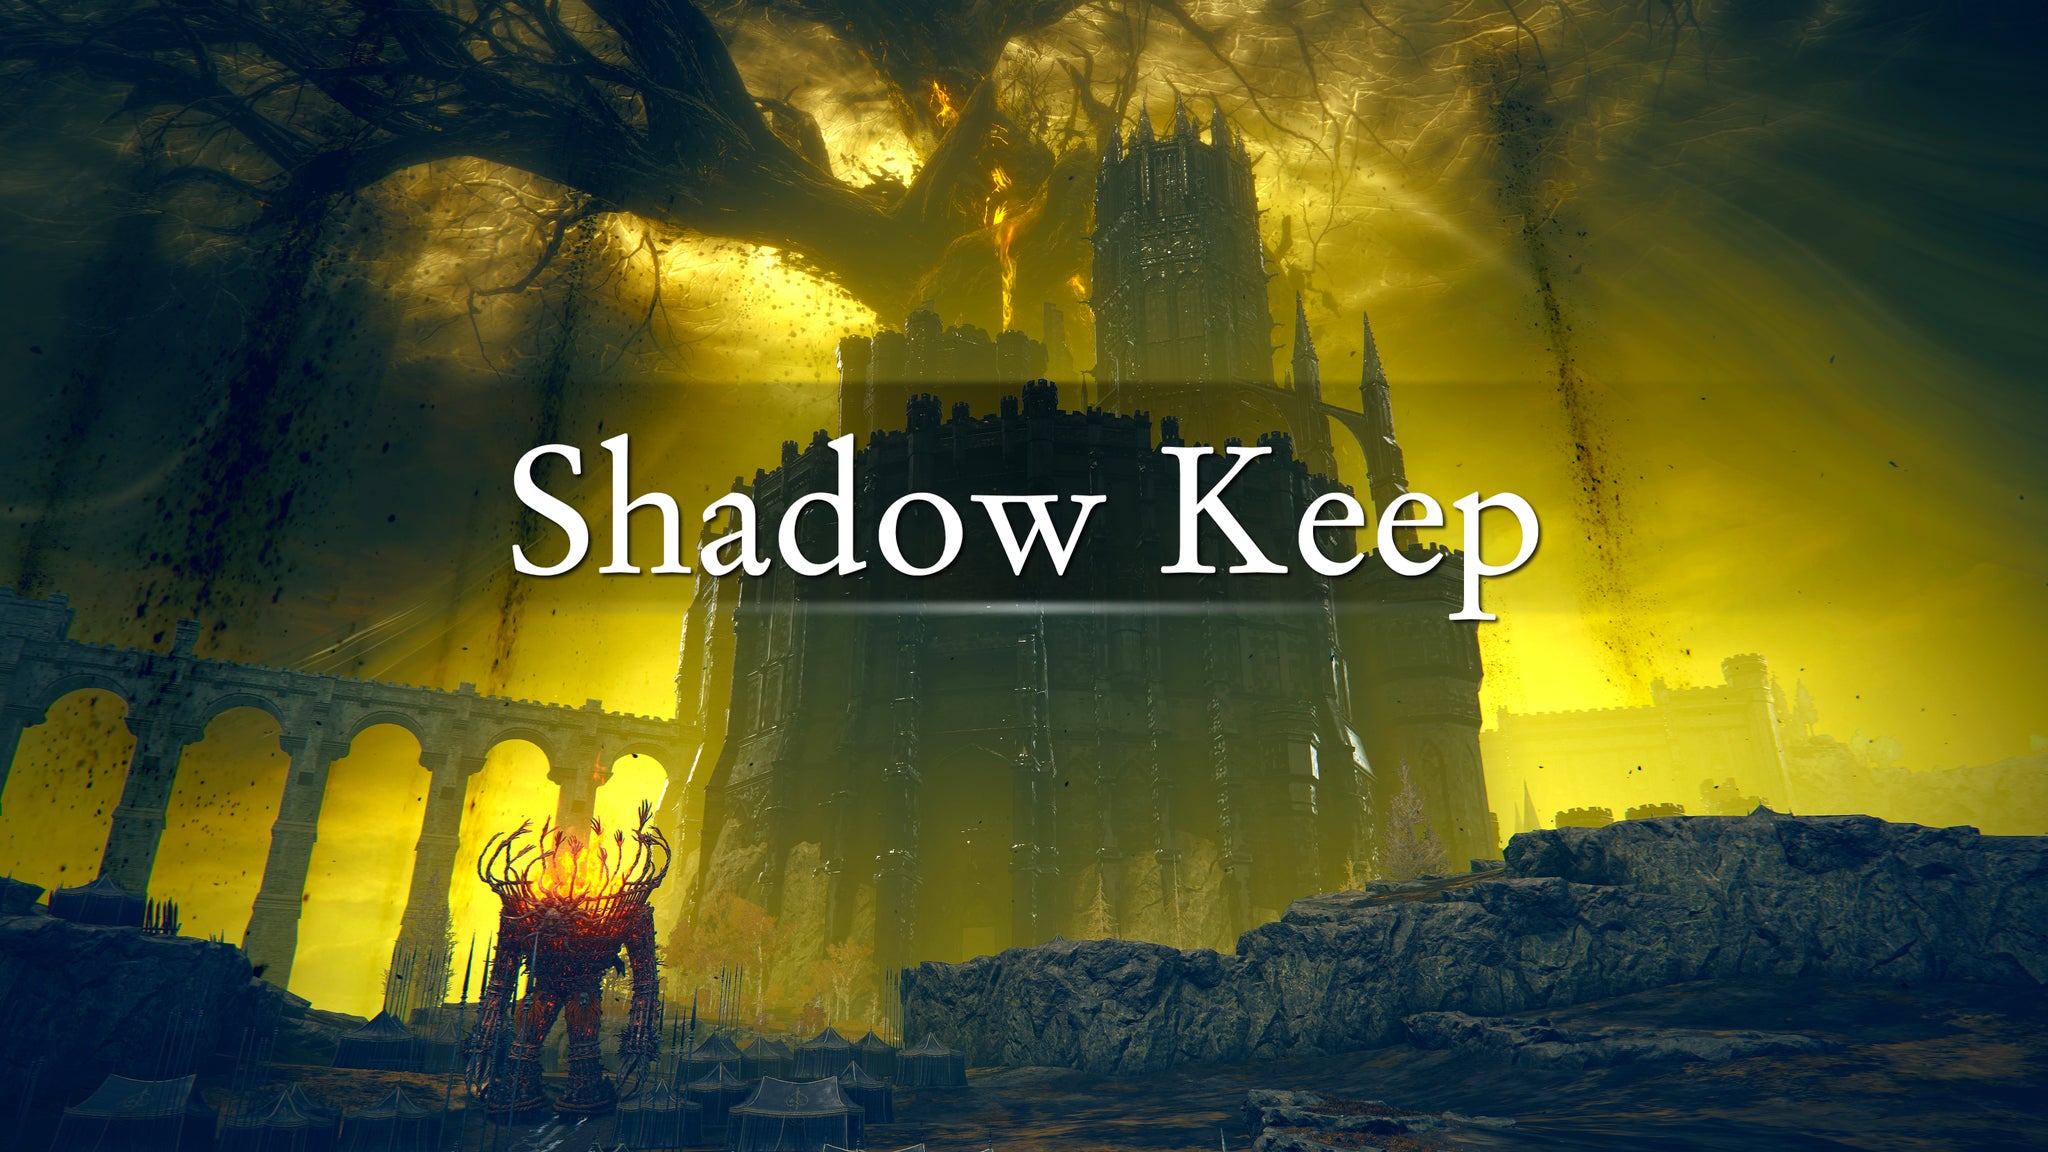
Image credit:Rock Paper Shotgun/Bandai Namco
Recommended Scadutree Blessing Level: 12-15 Key Items: Messmer’s Kindling, Queelign’s Greatsword, Iris Of Grace Bosses to watch out for: Messmer The Impaler, Golden Hippopotamus
The Shadow Keep is the largest legacy dungeon in the Shadow Of The Erdtree DLC, and placing it here in the progression route comes with a couple of caveats. First: the main boss, Messmer The Impaler , can wait until a little later if you wish. He’s a tough one, as you might imagine, and it’s completely fine to wait until after you’ve done pretty much everything else in the game (aside from Enir-Ilim ) before defeating him.
Second - Shadow Keep is split into two major sections, one of which is the Church District to the east. This Church District is accessible via eastern Scadu Altus , and it’s a good idea to tackle this area second (after beating everything in the main Shadow Keep area) for the most natural progression through the dungeon.
14. Scadutree Base
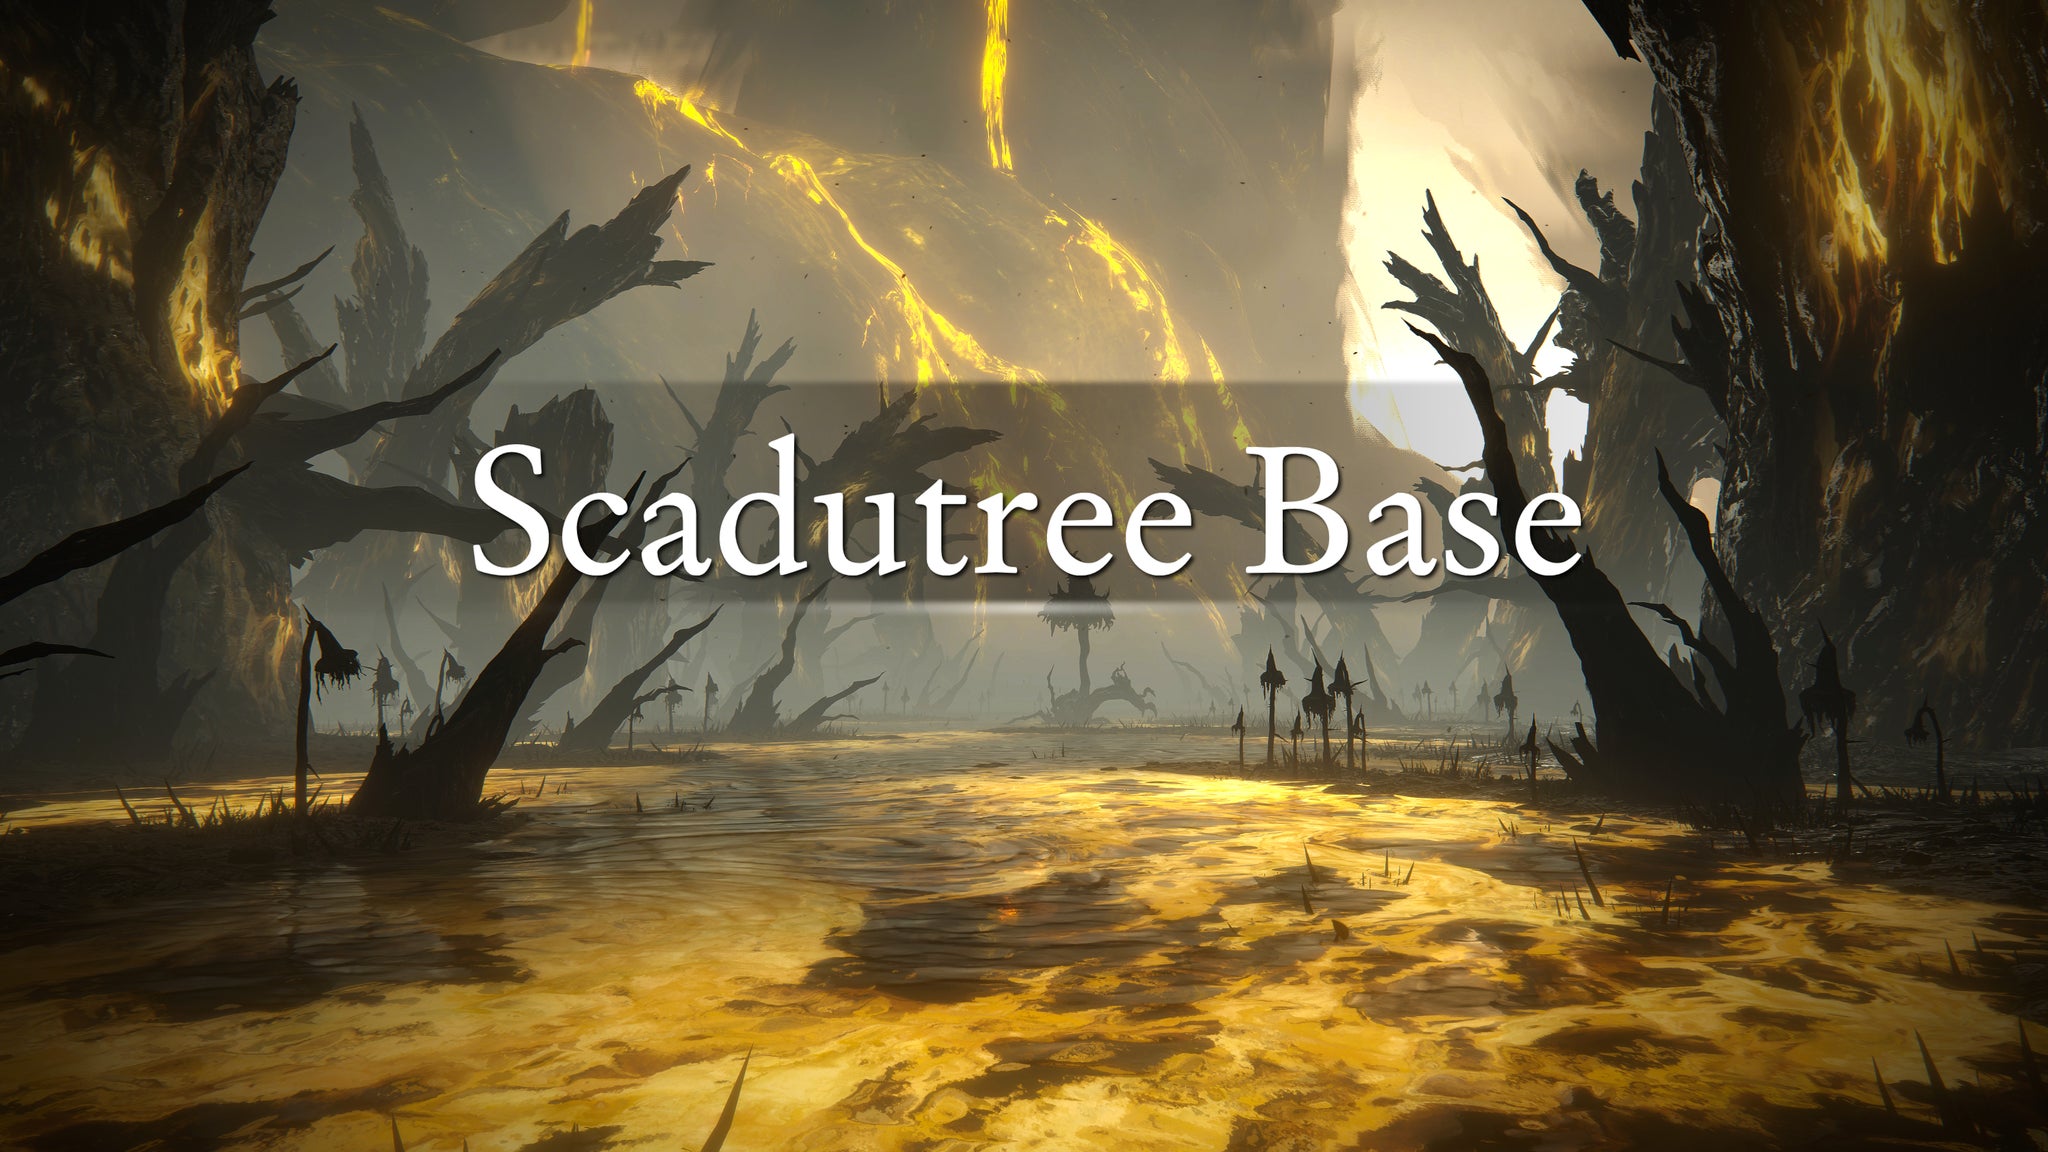
Image credit:Rock Paper Shotgun/Bandai Namco
Recommended Scadutree Blessing Level: 13-15 Key Items: Miquella’s Great Rune Bosses to watch out for: Scadutree Avatar
The Scadutree Base is a small area (basically just a boss arena) which is connected to the Shadow Keep Church District via the Tree-Worship Passage. Once you’ve drained the district you can follow the path through the double doors at the end of the church to reach this sub-region, where the fascinating and somewhat terrifying Scadutree Avatar Remembrance boss awaits you.
15. Scaduview
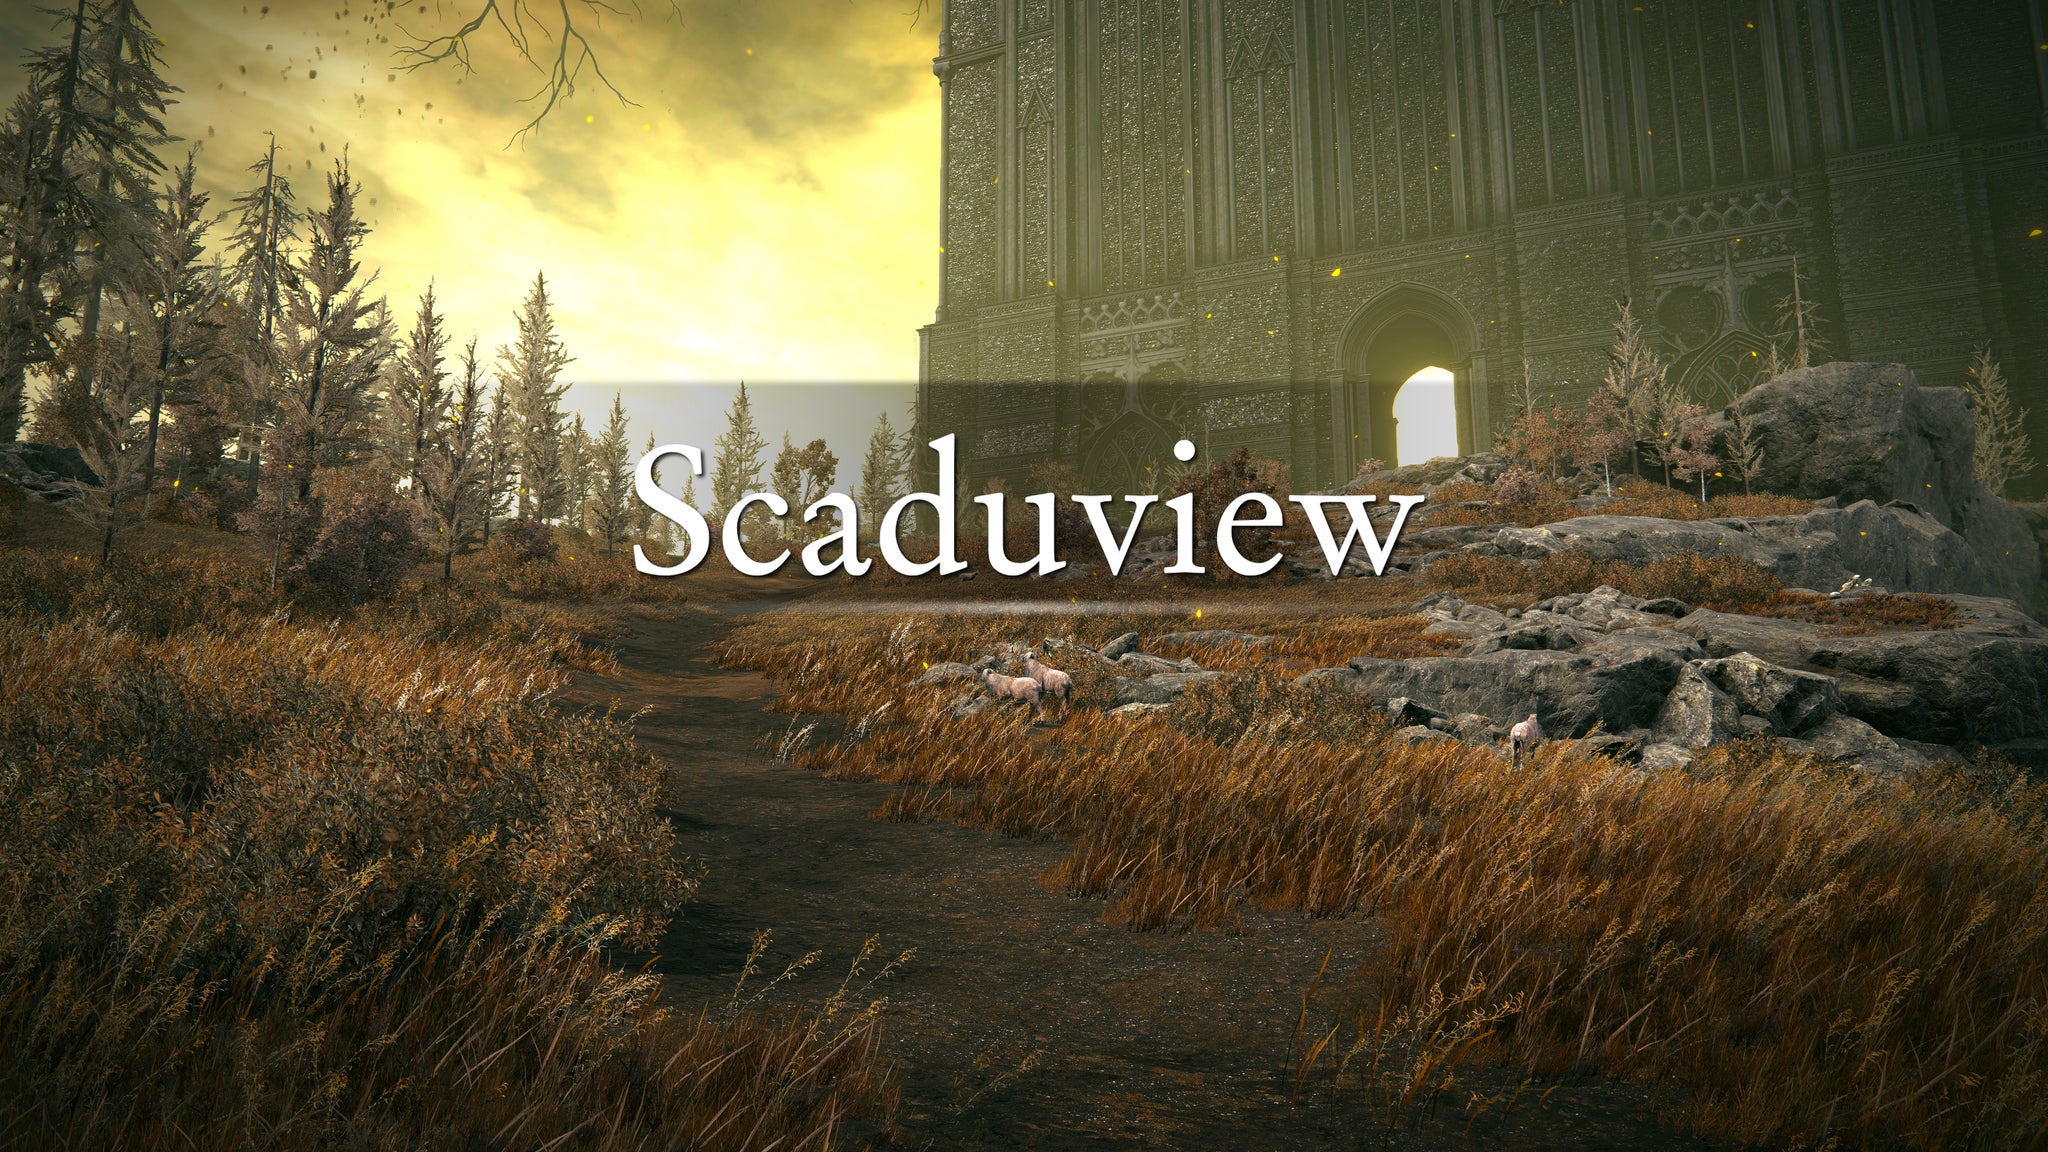
Image credit:Rock Paper Shotgun/Bandai Namco
Recommended Scadutree Blessing Level: 14-15 Key Items: Scadutree Fragment x5, Gaius’s Greaves Bosses to watch out for: Commander Gaius
Scaduview is a small region located to the north of the Shadow Keep, and it is accessible only via the Shadow Keep Back Gate. Just outside this gate, however, you immediately confront the main danger of the region: Commander Gaius, a powerful mounted Remembrance boss that nearly rivals Messmer himself in difficulty.
It’s well worth the effort of defeating him though, because beyond the back gate and in Scaduview itself, you’ll be able to pick up an easy 5 Scadutree Fragments at the Scadutree Chalice.
16. Hinterland
<img loading=“lazy” src=“https://assetsio.gnwcdn.com/elden-ring-shadow-of-the-erdtree-hinterland-header-image.jpg?width=2048&height=2048&fit=bounds&quality=85&format=jpg&auto=webp" onerror=“this.onerror=null;this.src=‘https://blogger.googleusercontent.com/img/a/AVvXsEhe7F7TRXHtjiKvHb5vS7DmnxvpHiDyoYyYvm1nHB3Qp2_w3BnM6A2eq4v7FYxCC9bfZt3a9vIMtAYEKUiaDQbHMg-ViyGmRIj39MLp0bGFfgfYw1Dc9q_H-T0wiTm3l0Uq42dETrN9eC8aGJ9_IORZsxST1AcLR7np1koOfcc7tnHa4S8Mwz_xD9d0=s16000';" alt=“An establishing shot of the Hinterland region in Elden Ring: Shadow Of The Erdtree: a landscape of cliffs, trees, and brightly coloured flowers. Superimposed over the image is the word “Hinterland”. - 19”>
Image credit:Rock Paper Shotgun/Bandai Namco
Recommended Scadutree Blessing Level: 13-14 Key Items: Golden Braid , Fingercreeper Ashes, Cerulean Seed Talisman +1 Bosses to watch out for: Tree Sentinel x2, Fallingstar Beast
The Hinterland is a surprisingly large area in the north of the Realm Of Shadow, which is gatekept behind a very specific action: performing the O Mother Gesture in front of the Marika Statue by the Shadow Keep Back Gate. The O Mother Gesture, as you might recall, can be found to the north of Bonny Village in Scadu Altus .
There’s not much in the way of extreme dangers here; the biggest difficulties are the two Tree Sentinels early on in the Hinterland , and the Fallingstar Beast at the northern crater. Otherwise, the main point of coming here (besides the fascinating lore of Shaman Village) is to reach the Finger Ruins Of Dheo for Ymir’s quest.
17. Ancient Ruins Of Rauh

Image credit:Rock Paper Shotgun/Bandai Namco
Recommended Scadutree Blessing Level: 15-16 Key Items: Devonia’s Hammer, Divine Beast Tornado, Mottled Necklace +2 Bosses to watch out for: Romina Saint Of The Bud, Divine Beast Dancing Lion
The Ancient Ruins Of Rauh found high above the Rauh Base can only be reached by crossing the long bridge west from the Shadow Keep . Many would recommend completing the Ancient Ruins Of Rauh last (before Enir-Ilim ), because it is this region which provides you with the path to reach the endgame dungeon. However, I find it much better to tackle the Ancient Ruins Of Rauh slightly earlier on, because it doesn’t actually provide a huge challenge, and it’s best enjoyed before you’re over levelled ready for the endgame.
The main boss of the region, Romina, is an absolute pushover and by far the easiest Remembrance boss in the DLC (and probably Elden Ring as a whole). On the other hand, there’s a second Divine Beast Dancing Lion in this region, and it’s considerably tougher than the one you fought in Belurat , so this boss may end up being your biggest trouble in the Ancient Ruins Of Rauh.
18. Castle Watering Hole

Image credit:Rock Paper Shotgun/Bandai Namco
Recommended Scadutree Blessing Level: 10-12 Key Items: Altar Of Light And Dark, Bloodsucking Cracked Tear, Oil-Soaked Tear Bosses to watch out for: Furnace Golem x2
The Castle Watering Hole is a hard-to-reach sub-region of Scadu Altus which itself doesn’t contain that many threats (aside from 2 Furnace Golems), but it makes sense to explore it at this point in your journey as you slowly make your way towards the Abyssal Woods .
The most important thing you’ll find in the Castle Watering Hole (aside from a path into the Recluses’ River ) is the Ruins Of Unte , which holds an Altar Of Light And Dark inside that you can use to obtain the Sword Of Light and the Sword Of Darkness .
19. Recluses’ River
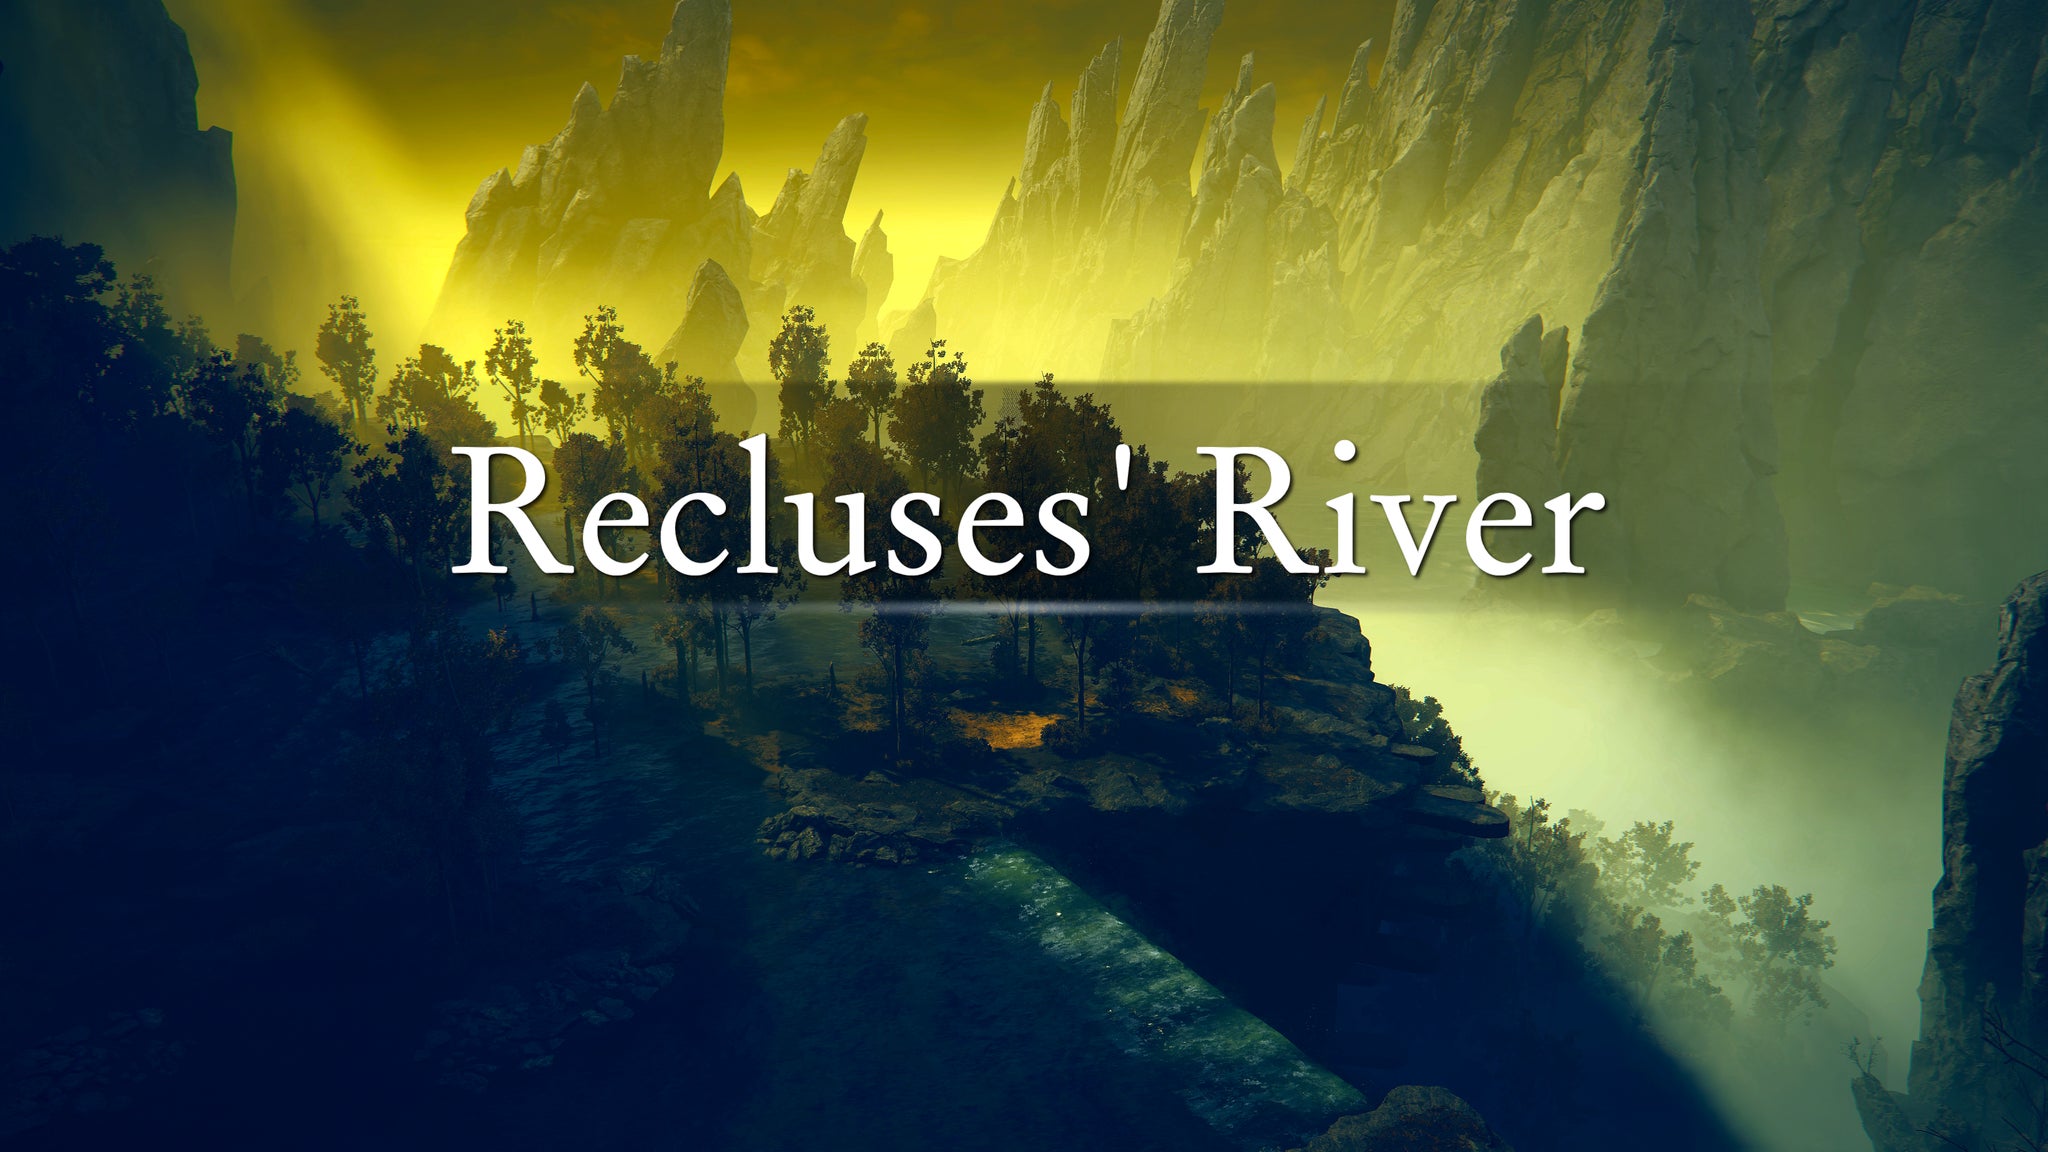
Image credit:Rock Paper Shotgun/Bandai Namco
Recommended Scadutree Blessing Level: 12-14 Key Items: Dryleaf Set, Rakshasa’s Great Katana, Barbed Staff-Spear Bosses to watch out for: Rakshasa, Jori Elder Inquisitor
The Recluses’ River again is not terribly challenging - I’d say it’s between Scadu Altus and the Shadow Keep in terms of difficulty - but it is a required part of your progression route in order to reach the final major region of the Realm Of Shadow, the Abyssal Woods . The Recluses’ River is not straightforward to traverse, so you need to stay alert while fighting the bands of Man-Flies that defend this area.
Within the Recluses’ River there are three key areas to watch out for. The first is the Village Of Flies, the home of the Man-Flies (and an errant Curseblade). The second is the Eastern Nameless Mausoleum, which contains the boss Rakshasa and his singular set of armour (as well as Rakshasa’s Great Katana). And finally, at the very bottom of the river you’ll find the Darklight Catacombs , the gateway to the next region.
20. Abyssal Woods
<img loading=“lazy” src=“https://assetsio.gnwcdn.com/elden-ring-shadow-of-the-erdtree-abyssal-woods-header-image.jpg?width=2048&height=2048&fit=bounds&quality=85&format=jpg&auto=webp" onerror=“this.onerror=null;this.src=‘https://blogger.googleusercontent.com/img/a/AVvXsEhe7F7TRXHtjiKvHb5vS7DmnxvpHiDyoYyYvm1nHB3Qp2_w3BnM6A2eq4v7FYxCC9bfZt3a9vIMtAYEKUiaDQbHMg-ViyGmRIj39MLp0bGFfgfYw1Dc9q_H-T0wiTm3l0Uq42dETrN9eC8aGJ9_IORZsxST1AcLR7np1koOfcc7tnHa4S8Mwz_xD9d0=s16000';" alt=“An establishing shot of the landscape of the Abyssal Woods region in Elden Ring: Shadow Of The Erdtree. The words “Abyssal Woods” are superimposed over the top. - 23”>
Image credit:Rock Paper Shotgun/Bandai Namco
Recommended Scadutree Blessing Level: 15-16 Key Items: Aged One’s Exultation, Madding Hand Bosses to watch out for: Midra Lord Of Frenzied Flame
The haunting Abyssal Woods are reached via the Darklight Catacombs in the Recluses’ River , and is unique thanks to its main enemies, the Aging Untouchable (also known as Winter Lanterns ), which are unkillable except by parrying them.
The real reason to leave the Abyssal Woods until this late in your progression route, however, is Midra’s Manse - a dungeon at the very bottom of the Abyssal Woods which is home to Remembrance boss Midra, Lord Of Frenzied Flame. I’ve heard some people say they found Midra easier than expected; good for them. It’s a challenging fight to many others, it seems, and I’d advise only fighting him once you’ve reached around Scadutree Blessing Level 15 or so.
21. Rest Of The Dread Dragon

Image credit:Rock Paper Shotgun/Bandai Namco
Recommended Scadutree Blessing Level: 17-18 Key Items: Bayle’s Heart Bosses to watch out for: Bayle The Dread
Before you progress to the endgame region of Enir-Ilim , remember that you still need to defeat Bayle The Dread at the very top of the Jagged Peak. Despite technically not being a Remembrance boss, I class him as a main boss in our Shadow Of The Erdtree boss order guide because of his sheer difficulty. Even with the help of fan-favourite NPC summon Igon, Bayle is an extremely challenging fight, and I’d recommend only fighting him once you’ve collected almost all the Scadutree Fragments that the Realm Of Shadow has to offer.
22. Enir-Ilim
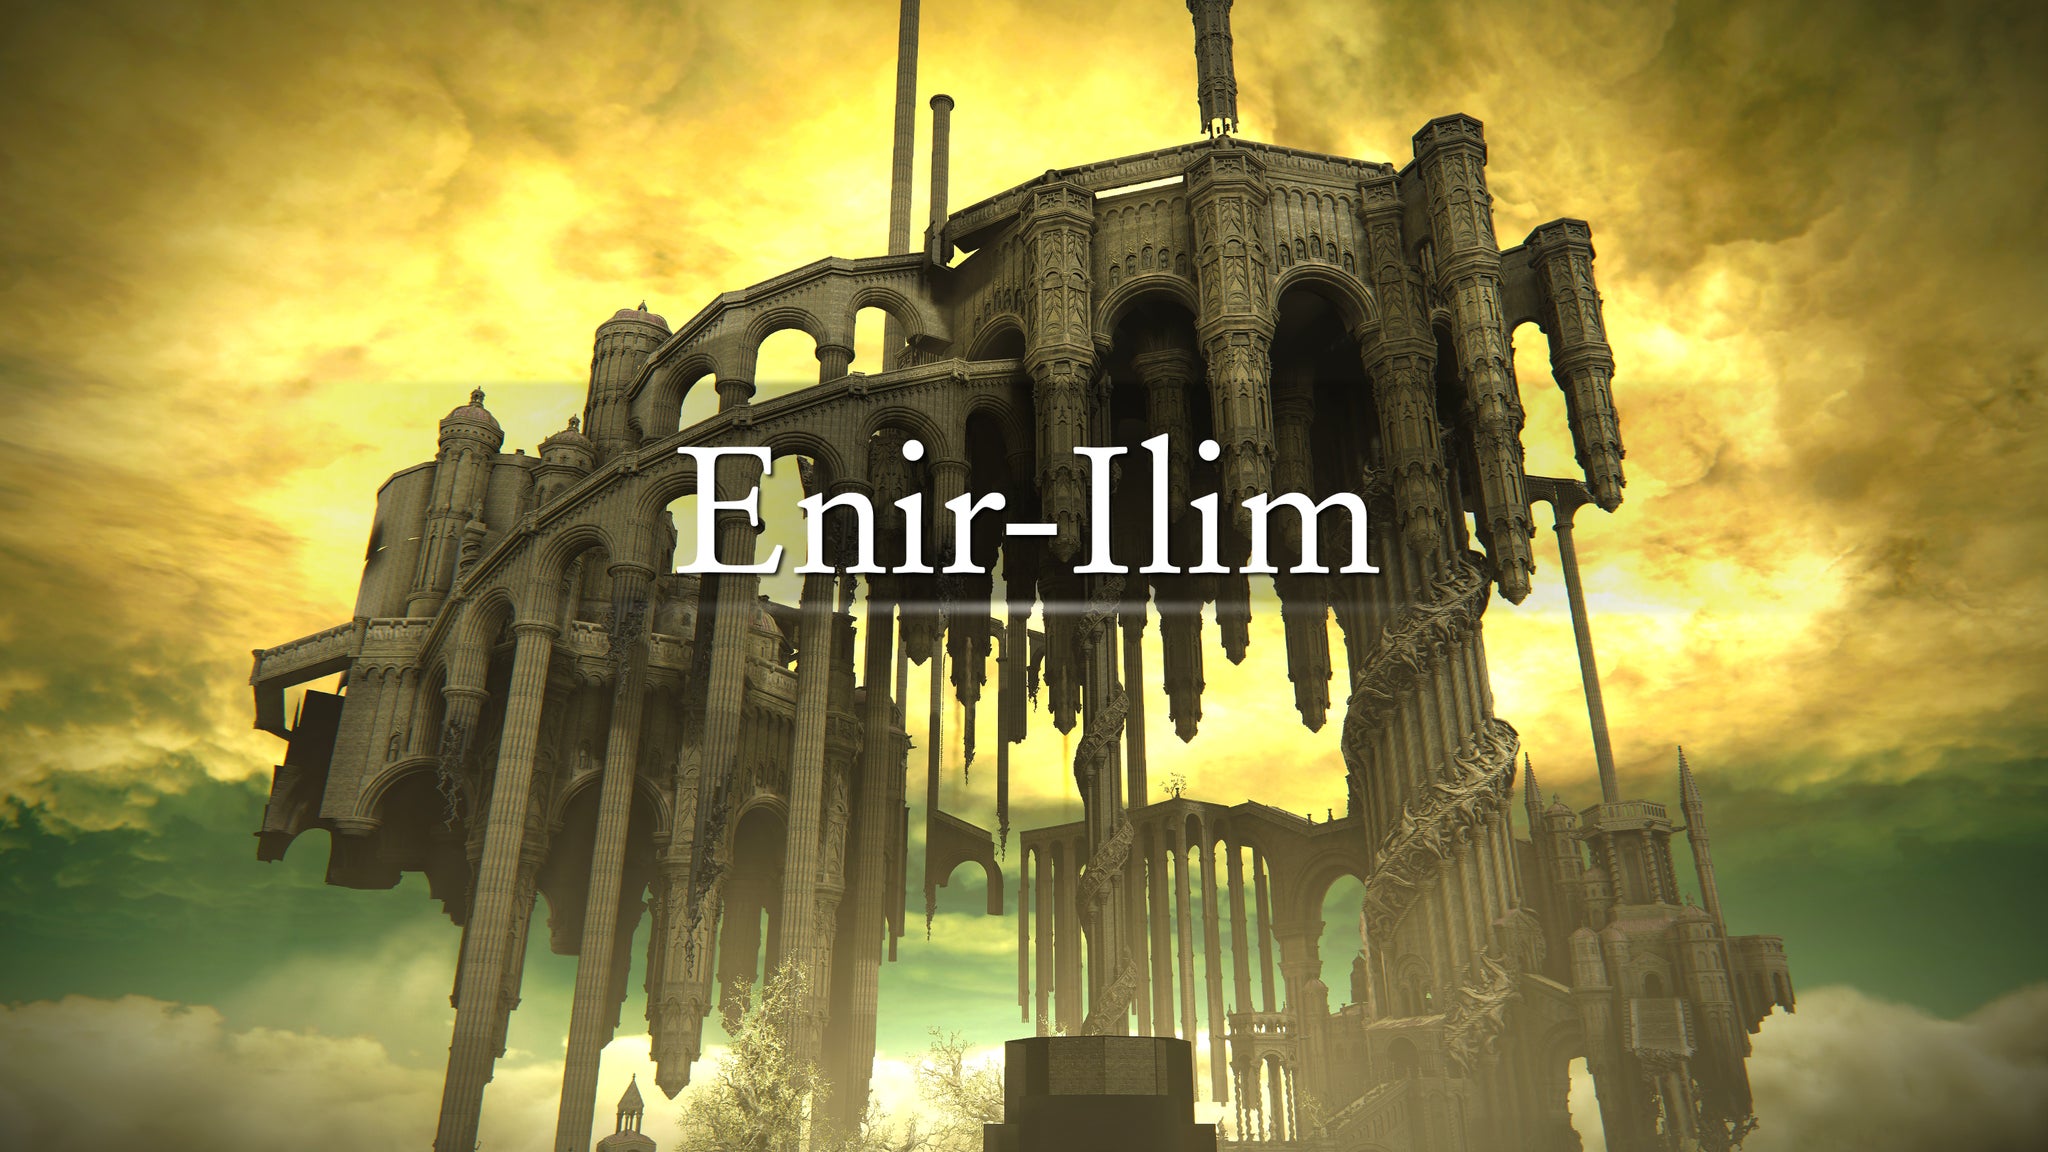
Image credit:Rock Paper Shotgun/Bandai Namco
Recommended Scadutree Blessing Level: 19-20 Key Items: Euporia, Leda’s Sword, Thiollier’s Hidden Needle Bosses to watch out for: Promised Consort Radahn, Needle Knight Leda
The final region of the game, the legacy dungeon Enir-Ilim is reached only by burning the sealing tree at the end of the Ancient Ruins Of Rauh using Messmer’s Kindling. Obviously, it’s a very challenging area, filled mainly with Inquisitors (which aren’t actually that hard, but in numbers they can be very annoying), and some exceptionally challenging Horned Warrior elites.
These challenges can be overcome with a fairly high Scadutree Blessing Level, but the two main boss fights are a different matter. The fight against our former comrade Leda can be extremely challenging or fairly easy depending on who you have as enemies and allies. It all depends on your choices in the different NPCs’ questlines . But when it comes to the final boss fight against Promised Consort Radahn, you’d better be at pretty much the maximum possible Scadutree Blessing Level in order to stand a chance of defeating him.
That’s every single area of the Shadow Of The Erdtree DLC in Elden Ring covered in order, so hopefully you’ve found a good progression route to follow here. To make sure you’re as prepared as possible for all the Shadow Realm’s dangers, have a peruse through our Elden Ring DLC weapons guide, and our list of the best weapons in Shadow Of The Erdtree . You can also consult our Shadow Of The Erdtree boss locations guide to make sure you don’t miss a single boss encounter.


Elden Ring
PS4 , PS5 , Xbox One , Xbox Series X/S , PC
Rock Paper Shotgun is better when you sign in
Sign in and join us on our journey to discover strange and compelling PC games.

All 75 Arc Raiders Blueprints and where to get them
These areas have the highest chance of giving you Blueprints

Image credit:Rock Paper Shotgun/Embark Studios

Looking for more Arc Raiders Blueprints? It’s a special day when you find a Blueprint, as they’re among the most valuable items in Arc Raiders. If you find a Blueprint that you haven’t already found, then you must make sure you hold onto it at all costs, because Blueprints are the key to one of the most important and powerful systems of meta-progression in the game.
This guide aims to be the very best guide on Blueprints you can find, starting with a primer on what exactly they are and how they work in Arc Raiders, before delving into exactly where to get Blueprints and the very best farming spots for you to take in your search.
We’ll also go over how to get Blueprints from other unlikely activities, such as destroying Surveyors and completing specific quests. And you’ll also find the full list of all 75 Blueprints in Arc Raiders on this page (including the newest Blueprints added with the Cold Snap update , such as the Deadline Blueprint and Firework Box Blueprint), giving you all the information you need to expand your own crafting repertoire.
In this guide:
- What are Blueprints in Arc Raiders?
- Full Blueprint list: All crafting recipes
- Where to find Blueprints in Arc Raiders Blueprints obtained from quests Blueprints obtained from Trials Best Blueprint farming locations

What are Blueprints in Arc Raiders?
Blueprints in Arc Raiders are special items which, if you manage to extract with them, you can expend to permanently unlock a new crafting recipe in your Workshop. If you manage to extract from a raid with an Anvil Blueprint, for example, you can unlock the ability to craft your very own Anvil Pistol, as many times as you like (as long as you have the crafting materials).
To use a Blueprint, simply open your Inventory while in the lobby, then right-click on the Blueprint and click “Learn And Consume” . This will permanently unlock the recipe for that item in your Workshop. As of the Stella Montis update, there are allegedly 75 different Blueprints to unlock - although only 68 are confirmed to be in the game so far. You can see all the Blueprints you’ve found and unlocked by going to the Workshop menu, and hitting “R” to bring up the Blueprint screen.
It’s possible to find duplicates of past Blueprints you’ve already unlocked. If you find these, then you can either sell them, or - if you like to play with friends - you can take it into a match and gift it to your friend so they can unlock that recipe for themselves. Another option is to keep hold of them until the time comes to donate them to the Expedition.
Full Blueprint list: All crafting recipes
Below is the full list of all the Blueprints that are currently available to find in Arc Raiders, and the crafting recipe required for each item:
| Blueprint | Type | Recipe | Crafted At |
|---|---|---|---|
| Bettina | Weapon | 3x Advanced Mechanical Components 3x Heavy Gun Parts 3x Canister | Gunsmith 3 |
| Blue Light Stick | Quick Use | 3x Chemicals | Utility Station 1 |
| Aphelion | Weapon | 3x Magnetic Accelerator 3x Complex Gun Parts 1x Matriarch Reactor | Gunsmith 3 |
| Combat Mk. 3 (Flanking) | Augment | 2x Advanced Electrical Components 3x Processor | Gear Bench 3 |
| Combat Mk. 3 (Aggressive) | Augment | 2x Advanced Electrical Components 3x Processor | Gear Bench 3 |
| Complex Gun Parts | Material | 2x Light Gun Parts 2x Medium Gun Parts 2x Heavy Gun Parts | Refiner 3 |
| Fireworks Box | Quick Use | 1x Explosive Compound 3x Pop Trigger | Explosives Station 2 |
| Gas Mine | Mine | 4x Chemicals 2x Rubber Parts | Explosives Station 1 |
| Green Light Stick | Quick Use | 3x Chemicals | Utility Station 1 |
| Pulse Mine | Mine | 1x Crude Explosives 1x Wires | Explosives Station 1 |
| Seeker Grenade | Grenade | 1x Crude Explosives 2x ARC Alloy | Explosives Station 1 |
| Looting Mk. 3 (Survivor) | Augment | 2x Advanced Electrical Components 3x Processor | Gear Bench 3 |
| Angled Grip II | Mod | 2x Mechanical Components 3x Duct Tape | Gunsmith 2 |
| Angled Grip III | Mod | 2x Mod Components 5x Duct Tape | Gunsmith 3 |
| Hullcracker | Weapon | 1x Magnetic Accelerator 3x Heavy Gun Parts 1x Exodus Modules | Gunsmith 3 |
| Launcher Ammo | Ammo | 5x Metal Parts 1x Crude Explosives | Workbench 1 |
| Anvil | Weapon | 5x Mechanical Components 5x Simple Gun Parts | Gunsmith 2 |
| Anvil Splitter | Mod | 2x Mod Components 3x Processor | Gunsmith 3 |
| ??? | ??? | ??? | ??? |
| Barricade Kit | Quick Use | 1x Mechanical Components | Utility Station 2 |
| Blaze Grenade | Grenade | 1x Explosive Compound 2x Oil | Explosives Station 3 |
| Bobcat | Weapon | 3x Advanced Mechanical Components 3x Light Gun Parts | Gunsmith 3 |
| Osprey | Weapon | 2x Advanced Mechanical Components 3x Medium Gun Parts 7x Wires | Gunsmith 3 |
| Burletta | Weapon | 3x Mechanical Components 3x Simple Gun Parts | Gunsmith 1 |
| Compensator II | Mod | 2x Mechanical Components 4x Wires | Gunsmith 2 |
| Compensator III | Mod | 2x Mod Components 8x Wires | Gunsmith 3 |
| Defibrillator | Quick Use | 9x Plastic Parts 1x Moss | Medical Lab 2 |
| ??? | ??? | ??? | ??? |
| Equalizer | Weapon | 3x Magnetic Accelerator 3x Complex Gun Parts 1x Queen Reactor | Gunsmith 3 |
| Extended Barrel | Mod | 2x Mod Components 8x Wires | Gunsmith 3 |
| Extended Light Mag II | Mod | 2x Mechanical Components 3x Steel Spring | Gunsmith 2 |
| Extended Light Mag III | Mod | 2x Mod Components 5x Steel Spring | Gunsmith 3 |
| Extended Medium Mag II | Mod | 2x Mechanical Components 3x Steel Spring | Gunsmith 2 |
| Extended Medium Mag III | Mod | 2x Mod Components 5x Steel Spring | Gunsmith 3 |
| Extended Shotgun Mag II | Mod | 2x Mechanical Components 3x Steel Spring | Gunsmith 2 |
| Extended Shotgun Mag III | Mod | 2x Mod Components 5x Steel Spring | Gunsmith 3 |
| Remote Raider Flare | Quick Use | 2x Chemicals 4x Rubber Parts | Utility Station 1 |
| Heavy Gun Parts | Material | 4x Simple Gun Parts | Refiner 2 |
| Venator | Weapon | 2x Advanced Mechanical Components 3x Medium Gun Parts 5x Magnet | Gunsmith 3 |
| Il Toro | Weapon | 5x Mechanical Components 6x Simple Gun Parts | Gunsmith 1 |
| Jolt Mine | Mine | 1x Electrical Components 1x Battery | Explosives Station 2 |
| Explosive Mine | Mine | 1x Explosive Compound 1x Sensors | Explosives Station 3 |
| Jupiter | Weapon | 3x Magnetic Accelerator 3x Complex Gun Parts 1x Queen Reactor | Gunsmith 3 |
| Light Gun Parts | Material | 4x Simple Gun Parts | Refiner 2 |
| Lightweight Stock | Mod | 2x Mod Components 5x Duct Tape | Gunsmith 3 |
| Lure Grenade | Grenade | 1x Speaker Component 1x Electrical Components | Utility Station 2 |
| Medium Gun Parts | Material | 4x Simple Gun Parts | Refiner 2 |
| Torrente | Weapon | 2x Advanced Mechanical Components 3x Medium Gun Parts 6x Steel Spring | Gunsmith 3 |
| Muzzle Brake II | Mod | 2x Mechanical Components 4x Wires | Gunsmith 2 |
| Muzzle Brake III | Mod | 2x Mod Components 8x Wires | Gunsmith 3 |
| Padded Stock | Mod | 2x Mod Components 5x Duct Tape | Gunsmith 3 |
| Shotgun Choke II | Mod | 2x Mechanical Components 4x Wires | Gunsmith 2 |
| Shotgun Choke III | Mod | 2x Mod Components 8x Wires | Gunsmith 3 |
| Shotgun Silencer | Mod | 2x Mod Components 8x Wires | Gunsmith 3 |
| Showstopper | Grenade | 1x Advanced Electrical Components 1x Voltage Converter | Explosives Station 3 |
| Silencer I | Mod | 2x Mechanical Components 4x Wires | Gunsmith 2 |
| Silencer II | Mod | 2x Mod Components 8x Wires | Gunsmith 3 |
| Snap Hook | Quick Use | 2x Power Rod 3x Rope 1x Exodus Modules | Utility Station 3 |
| Stable Stock II | Mod | 2x Mechanical Components 3x Duct Tape | Gunsmith 2 |
| Stable Stock III | Mod | 2x Mod Components 5x Duct Tape | Gunsmith 3 |
| Tagging Grenade | Grenade | 1x Electrical Components 1x Sensors | Utility Station 3 |
| Tempest | Weapon | 3x Advanced Mechanical Components 3x Medium Gun Parts 3x Canister | Gunsmith 3 |
| Trigger Nade | Grenade | 2x Crude Explosives 1x Processor | Explosives Station 2 |
| Vertical Grip II | Mod | 2x Mechanical Components 3x Duct Tape | Gunsmith 2 |
| Vertical Grip III | Mod | 2x Mod Components 5x Duct Tape | Gunsmith 3 |
| Vita Shot | Quick Use | 2x Antiseptic 1x Syringe | Medical Lab 3 |
| Vita Spray | Quick Use | 3x Antiseptic 1x Canister | Medical Lab 3 |
| Vulcano | Weapon | 1x Magnetic Accelerator 3x Heavy Gun Parts 1x Exodus Modules | Gunsmith 3 |
| Wolfpack | Grenade | 2x Explosive Compound 2x Sensors | Explosives Station 3 |
| Red Light Stick | Quick Use | 3x Chemicals | Utility Station 1 |
| Smoke Grenade | Grenade | 14x Chemicals 1x Canister | Utility Station 2 |
| Deadline | Mine | 3x Explosive Compound 2x ARC Circuitry | Explosives Station 3 |
| Trailblazer | Grenade | 1x Explosive Compound 1x Synthesized Fuel | Explosives Station 3 |
| Tactical Mk. 3 (Defensive) | Augment | 2x Advanced Electrical Components 3x Processor | Gear Bench 3 |
| Tactical Mk. 3 (Healing) | Augment | 2x Advanced Electrical Components 3x Processor | Gear Bench 3 |
| Yellow Light Stick | Quick Use | 3x Chemicals | Utility Station 1 |
Note: The missing Blueprints in this list likely have not actually been added to the game at the time of writing, because none of the playerbase has managed to find any of them. As they are added to the game, I will update this page with the most relevant information so you know exactly how to get all 75 Arc Raiders Blueprints.
Where to find Blueprints in Arc Raiders
Below is a list of all containers, modifiers, and events which maximise your chances of finding Blueprints:
- Certain quests reward you with specific Blueprints .
- Completing Trials has a high chance of offering Blueprints as rewards.
- Surveyors have a decent chance of dropping Blueprints on death.
- High loot value areas tend to have a greater chance of spawning Blueprints.
- Night Raids and Storms may increase rare Blueprint spawn chances in containers.
- Containers with higher numbers of items may have a higher tendency to spawn Blueprints. As a result, Blue Gate (which has many “large” containers containing multiple items) may give you a higher chance of spawning Blueprints.
- Raider containers (Raider Caches, Weapon Boxes, Medical Bags, Grenade Tubes) have increased Blueprint drop rates. As a result, the Uncovered Caches event gives you a high chance of finding Blueprints.
- Security Lockers have a higher than average chance of containing Blueprints.
- Certain Blueprints only seem to spawn under specific circumstances: Tempest Blueprint only spawns during Night Raid events. Vulcano Blueprint only spawns during Hidden Bunker events. Jupiter and Equaliser Blueprints only spawn during Harvester events.

Raider Caches, Weapon Boxes, and other raider-oriented container types have a good chance of offering Blueprints. |Image credit:Rock Paper Shotgun/Embark Studios
Blueprints have a very low chance of spawning in any container in Arc Raiders, around 1-2% on average. However, there is a higher chance of finding Blueprints in particular container types. Specifically, you can find more Blueprints in Raider containers and security lockers.
Beyond this, if you’re looking for Blueprints you should focus on regions of the map which are marked as having particularly high-value loot. Areas such as the Control Tower in Dam Battlegrounds, the Arrival and Departure Buildings in Spaceport, and Pilgrim’s Peak in Blue Gate all have a better-than-average chance of spawning Blueprints somewhere amongst all their containers. Night Raids and Electromagnetic Storm events also increase the drop chances of certain Blueprints .
In addition to these containers, you can often loot Blueprints from destroyed Surveyors - the largest of the rolling ball ARC. Surveyors are more commonly found on the later maps - Spaceport and Blue Gate - and if one spawns in your match, you’ll likely see it by the blue laser beam that it casts into the sky while “surveying”.
Surveyors are quite well-armoured and will very speedily run away from you once it notices you, but if you can take one down then make sure you loot all its parts for a chance of obtaining certain unusual Blueprints.
Blueprints obtained from quests
One way in which you can get Blueprints is by completing certain quests for the vendors in Speranza. Some quests will reward you with a specific item Blueprint upon completion, so as long as you work through all the quests in Arc Raiders, you are guaranteed those Blueprints.
Here is the full list of all Blueprints you can get from quest rewards:
- Trigger Nade Blueprint: Rewarded after completing “Sparks Fly”.
- Lure Grenade Blueprint: Rewarded after completing “Greasing Her Palms”.
- Burletta Blueprint: Rewarded after completing “Industrial Espionage”.
- Hullcracker Blueprint (and Launcher Ammo Blueprint): Rewarded after completing “The Major’s Footlocker”.
Alas, that’s only 4 Blueprints out of a total of 75 to unlock, so for the vast majority you will need to find them yourself during a raid. If you’re intent on farming Blueprints, then it’s best to equip yourself with cheap gear in case you lose it, but don’t use a free loadout because then you won’t get a safe pocket to stash any new Blueprint you find. No pain in Arc Raiders is sharper than failing to extract with a new Blueprint you’ve been after for a dozen hours already.

One of the best ways to get Blueprints is by hitting three stars on all five Trials every week. |Image credit:Rock Paper Shotgun/Embark Studios
Blueprints obtained from Trials
One of the very best ways to get Blueprints is as rewards for completing Trials in Arc Raiders. Trials are unlocked from Level 15 onwards, and allow you to earn rewards by focusing on certain tasks over the course of several raids. For example, one Trial might task you with dealing damage to Hornets, while another might challenge you to loot Supply Drops.
Trials refresh on a weekly basis, with a new week bringing five new Trials. Each Trial can offer up to three rewards after passing certain score milestones, and it’s possible to receive very high level loot from these reward crates - including Blueprints. So if you want to unlock as many Blueprints as possible, you should make a point of completing as many Trials as possible each week.
Best Blueprint farming locations
The very best way to get Blueprints is to frequent specific areas of the maps which combine high-tier loot pools with the right types of containers to search. Here are my recommendations for where to find Blueprints on every map, so you can always keep the search going for new crafting recipes to unlock.

Image credit:Rock Paper Shotgun/Embark Studios
Dam Battlegrounds
The best places to farm Blueprints on Dam Battlegrounds are the Control Tower, Power Generation Complex, Ruby Residence, and Pale Apartments . The first two regions, despite only being marked on the map as mid-tier loot, contain a phenomenal number of containers to loot. The Control Tower can also contain a couple of high-tier Security Lockers - though of course, you’ll need to have unlocked the Security Breach skill at the end of the Survival tree.
There’s also a lot of reporting amongst the playerbase that the Residential areas in the top-left of the map - Pale Apartments and Ruby Residence - give you a comparatively strong chance of finding Blueprints. Considering their size, there’s a high density of containers to loot in both locations, and they also have the benefit of being fairly out of the way. So you’re more likely to have all the containers to yourself.
Buried City
The best Blueprint farming locations on Buried City are the Santa Maria Houses, Grandioso Apartments, Town Hall, and the various buildings of the New District . Grandioso Apartments has a lower number of containers than the rest, but a high chance of spawning weapon cases - which have good Blueprint drop rates. The others are high-tier loot areas, with plenty of lootable containers - including Security Lockers.
Spaceport
The best places to find Blueprints on Spaceport are the Arrival and Departure Buildings, as well as Control Tower A6 and the Launch Towers . All these areas are labelled as high-value loot regions, and many of them are also very handily connected to one another by the Spaceport wall, which you can use to quickly run from one area to the next. At the tops of most of these buildings you’ll find at least one Security Locker, so this is an excellent farming route for players looking to find Blueprints.
The downside to looting Blueprints on Spaceport is that all these areas are hotly contested, particularly in Duos and Squads. You’ll need to be very focused and fast in order to complete the full farming route.

Image credit:Rock Paper Shotgun/Embark Studios
Blue Gate
Blue Gate tends to have a good chance of dropping Blueprints, potentially because it generally has a high number of containers which can hold lots of items; so there’s a higher chance of a Blueprint spawning in each container. In my experience, the best Blueprint farming spots on Blue Gate are Pilgrim’s Peak, Raider’s Refuge, the Ancient Fort, and the Underground Complex beneath the Warehouse .
All of these areas contain a wealth of containers to loot. Raider’s Refuge has less to loot, but the majority of the containers in and around the Refuge are raider containers, which have a high chance of containing Blueprints - particularly during major events.
Stella Montis
On the whole, Stella Montis seems to have a very low drop rate for Blueprints (though a high chance of dropping other high-tier loot). If you do want to try farming Blueprints on this map, the best places to find Blueprints in Stella Montis are Medical Research, Assembly Workshop, and the Business Center . These areas have the highest density of containers to loot on the map.
In addition to this, the Western Tunnel has a few different Security Lockers to loot, so while there’s very little to loot elsewhere in this area of the map, it’s worth hitting those Security Lockers if you spawn there at the start of a match.
That wraps up this primer on how to get all the Blueprints in Arc Raiders as quickly as possible. With the Expedition system constantly resetting a large number of players’ Blueprints, it’s more important than ever to have the most up-to-date information on where to find all these Blueprints.
While you’re here, be sure to check out our Arc Raiders best guns tier list , as well as our primers on the best skills to unlock and all the different Field Depot locations on every map.


ARC Raiders
PS5 , Xbox Series X/S , PC
Rock Paper Shotgun is better when you sign in
Sign in and join us on our journey to discover strange and compelling PC games.
