Dragon’s Dogma 2 walkthrough: How to beat all the main quests
A full walkthrough of every main quest in Dragon’s Dogma 2
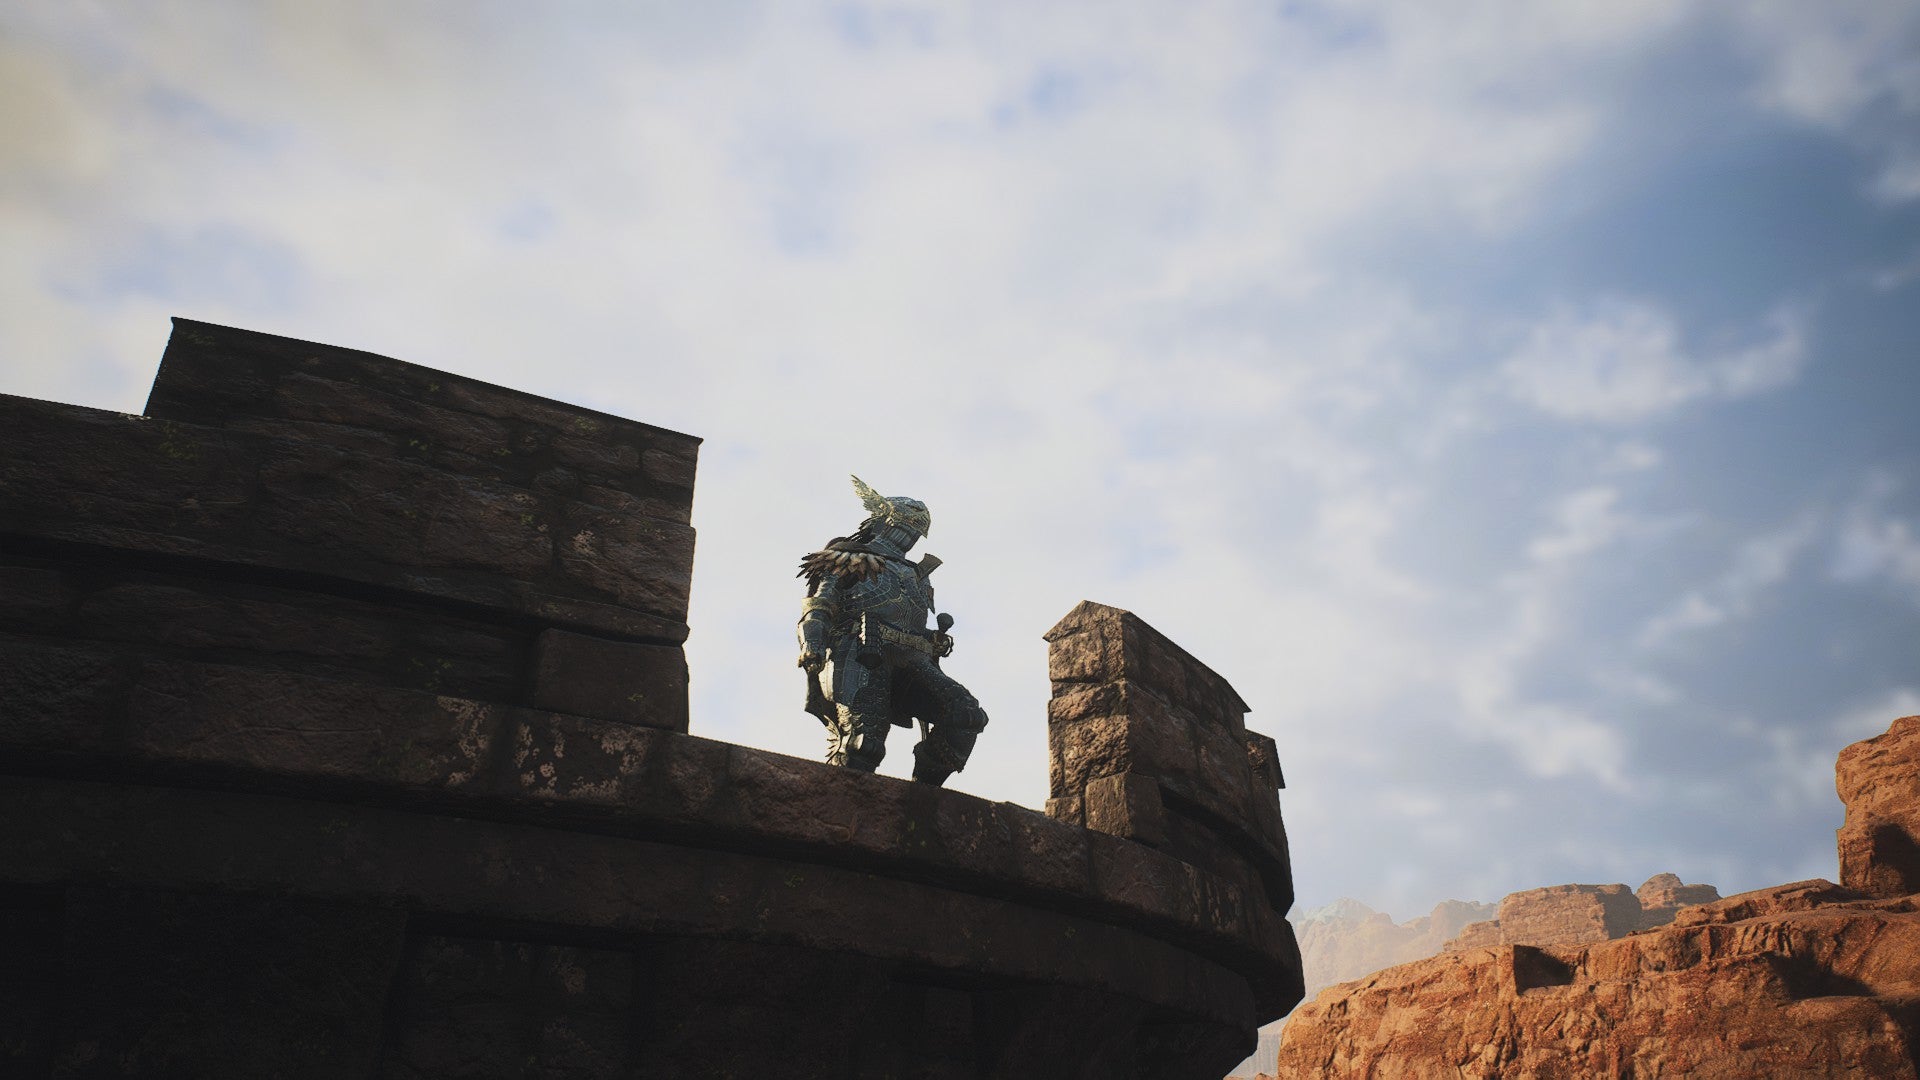
Image credit:Rock Paper Shotgun/Capcom

Looking for a full walkthrough of Dragon’s Dogma 2? The sprawling world of Dragon’s Dogma 2 can be pretty daunting at first - as is so often the case with massive open-world RPGs . At times, we know it can be hard to keep track of where you’re going and what must be done to fulfil your destiny as the Arisen in a land teeming with threats and mysteries.
In this guide, we aim to present you with a focused, concise walkthrough of all 20+ main quests in Dragon’s Dogma 2 , so that you always know how to progress to the next chapter of the story. Whether you’re stuck on a particular main quest or you’re just not sure what to do next, we’ve got you covered with our dedicated Dragon’s Dogma 2 walkthrough.
This highlight reel shows off all the incredible adventures awaiting the new Arisen of Dragon’s Dogma 2.Watch on YouTube
Dragon’s Dogma 2 walkthrough: Every main quest
Dragon’s Dogma 2 is filled to the brim with side quests and activities that are just begging to sidetrack you from the main story for the next several hours. We’ve foregone all those side activities in our Dragon’s Dogma 2 walkthrough. Instead, we’ll show you exactly how to get through each of the main quests in the game in order, so you know exactly how to progress the story no matter where you are in the game.
Here are all the main quests in Dragon’s Dogma 2:
- Gaoled Awakening
- Tale’s Beginning
- In Dragon’s Wake
- Seat of the Sovran
- Monster Culling
- The Caged Magistrate
- Disa’s Plot
- The Stolen Throne
- The Nameless Village
- An Unsettling Encounter
- Feast of Deception
- Nation of the Lambent Flame
- Flickering Shadows
- Convergence
- A New Godsway
- The Guardian Gigantus
- Legacy
- Dreams Apart
- Halls of the First Dawn
- A Scholarly Pursuit
- When Wills Collide
Read on for a handy walkthrough of each of the quests in Dragon’s Dogma 2, but beware - while we’ve tried our best to keep story spoilers to a minimum, there will be certain unavoidable spoilers below!
1. Gaoled Awakening

Dragon’s Dogma 2’s first quest quickly throws you into a fight with a menacing gorgon. |Image credit:Rock Paper Shotgun/Capcom
Gaoled Awakening objectives:
- Complete character creation.
- Follow Fiska outside.
- Meet and converse with Rook.
- Retrieve a stone block from the mine and place it next to Rook.
- Fight the gorgon outside.
- Run to the cliff with Rook and jump off the edge.
Your journey in Dragon’s Dogma 2 begins as do many of the best RPGs: in a jail cell. Your first order of business is to escape. To learn how to complete this task, check out our Gaoled Awakening quest walkthrough .
2. Tale’s Beginning
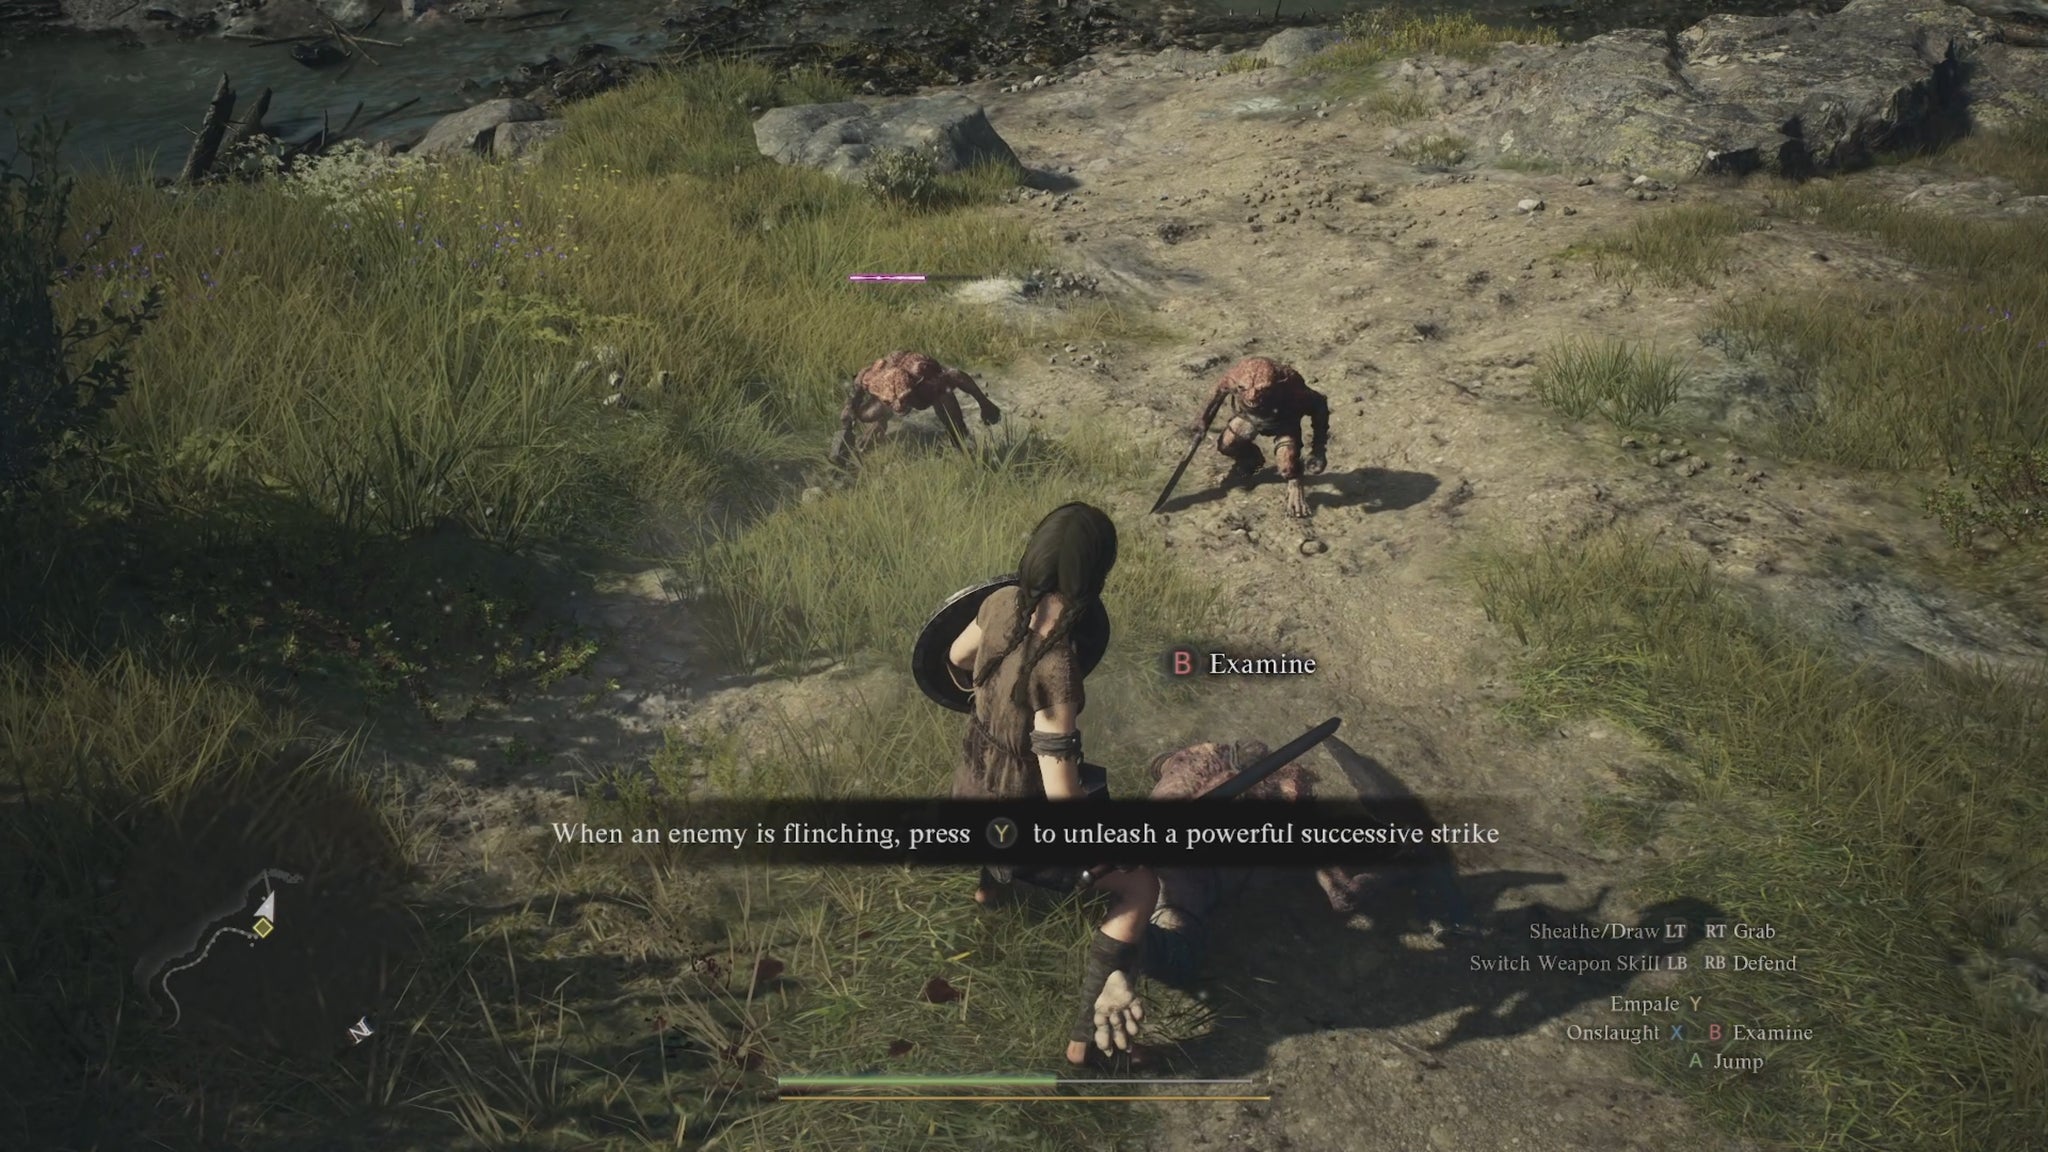
Your first true fight will be with the two groups of goblins on the road in the Tale’s Beginning quest. |Image credit:Rock Paper Shotgun/Capcom
Tale’s Beginning objectives:
- Follow Justinn to the nearby outpost.
- Defeat the goblins along the path.
- Summon your first pawn at the outpost Riftstone.
- Rest at the Borderwatch Lounge.
Tale’s Beginning starts once you (unwillingly) depart from the back of your faithful Griffin mount, and (unwillingly) part ways with your friendo, Rook. Your aim is, quite simply, to reach and rest at the nearby outpost. For a full guide to this mission, check out our Tale’s Beginning quest walkthrough .
3. In Dragon’s Wake
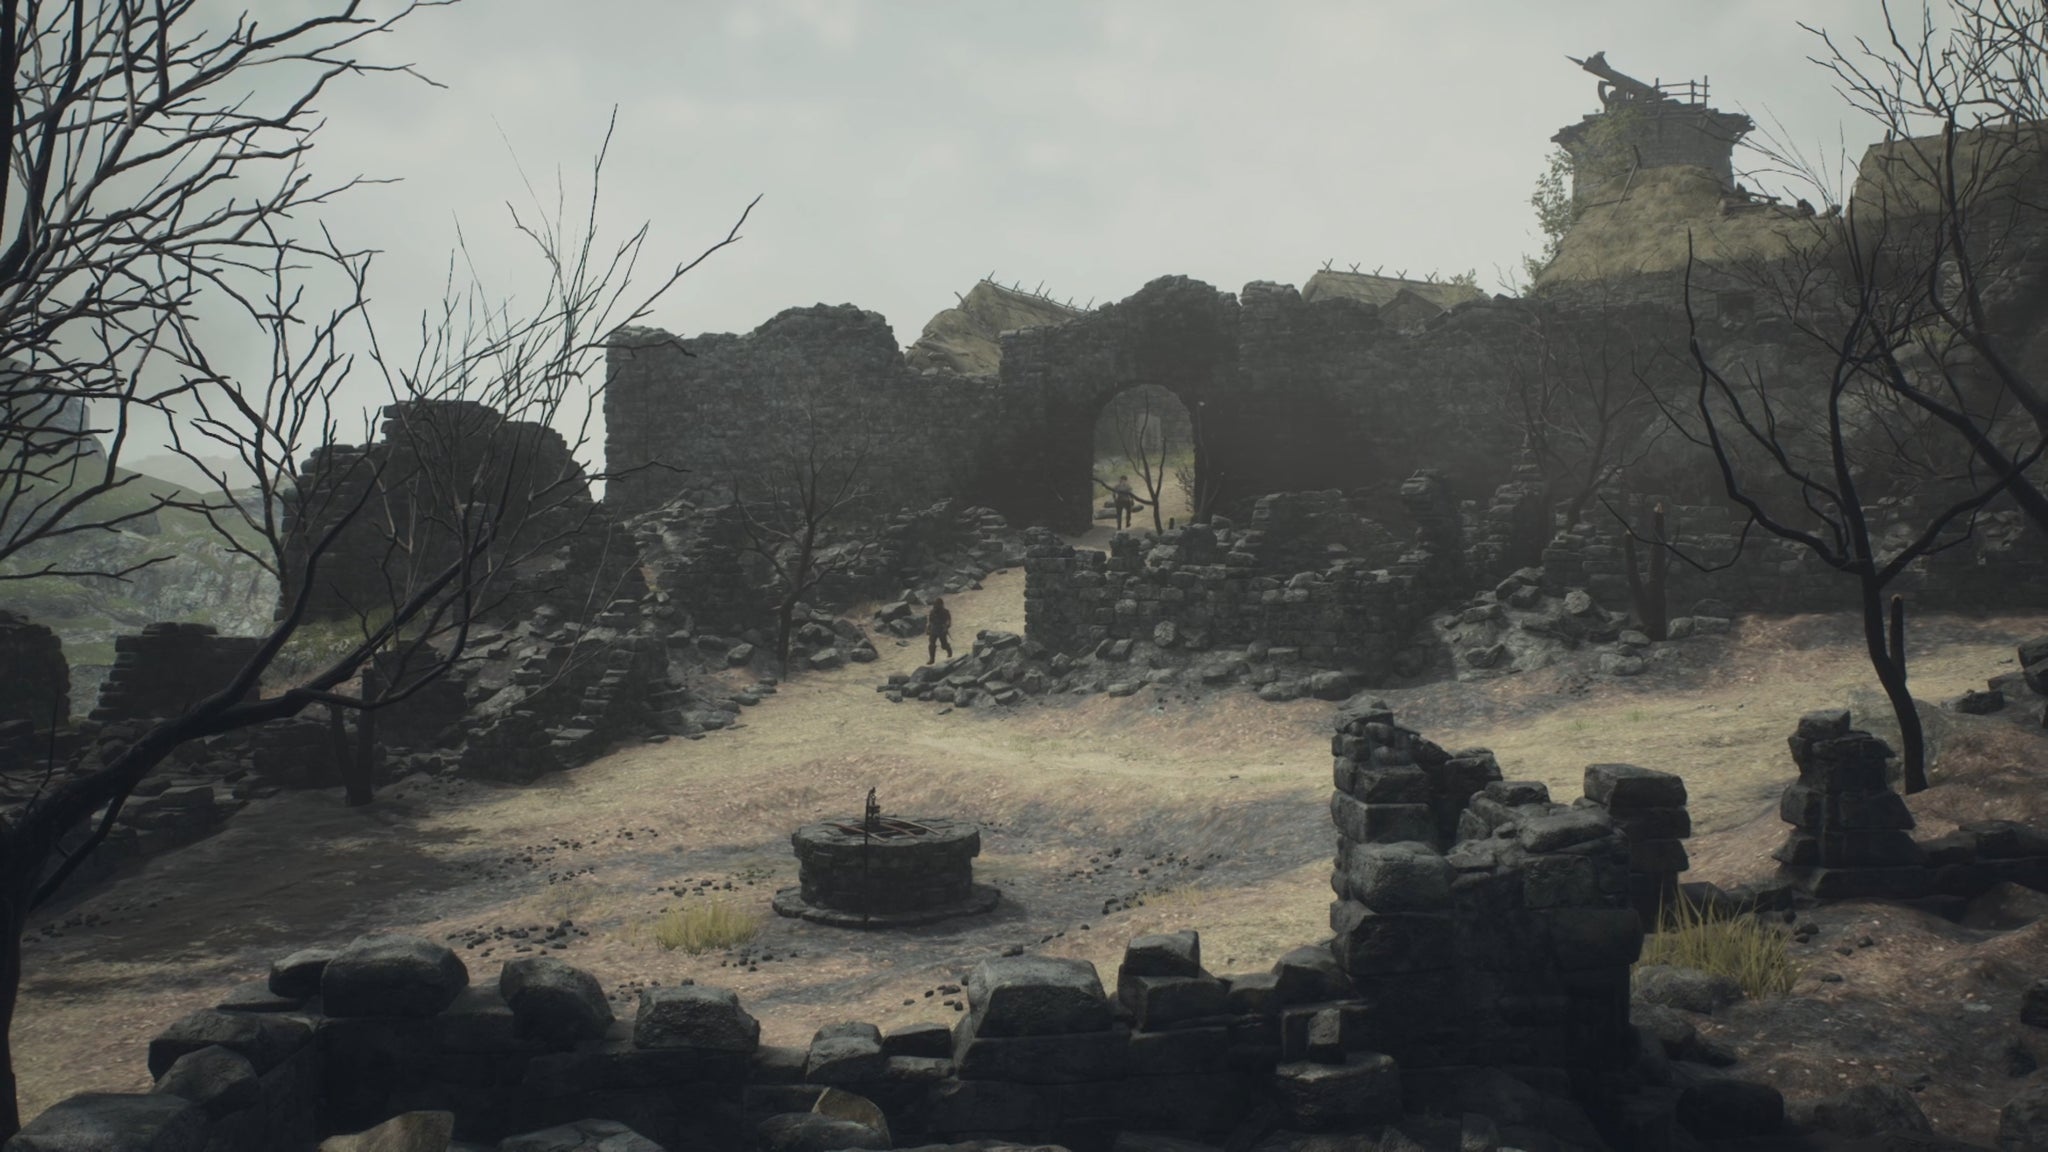
The third quest sees you reach the nearby ruins of Melve, where you’ll learn a little about your past. |Image credit:Rock Paper Shotgun/Capcom
In Dragon’s Wake objectives:
- Head to the soutwest gate of the outpost.
- (Optional) Complete the side-quest “Ordeals of a New Recruit”.
- Reach the razed stronghold of Melve.
- Proceed through the memory.
- Speak to Ulrika and then Gregor.
- Head to the nearby building and speak to Lennart.
- (Optional) Complete the side-quest “Medicament Predicament”.
- Accompany Gregor towards Vernworth, defeating the goblins/harpies on the road.
- Activate the Forgotten Riftstone.
- Defeat the cyclops in the ravine.
- Climb aboard the oxcart OR reach Vernworth on foot.
Prepare to meet your first dragon (kinda but not really). From the outpost where you rested in the previous mission, you must head to Melve to explore your past, and then journey onward to the capital of Vermund. For full details, consult our In Dragon’s Wake quest walkthrough .
4. Seat of the Sovran

Captain Brant will be waiting for you at the entrance of Vernworth, the capital. |Image credit:Rock Paper Shotgun/Capcom
Seat of the Sovran objectives:
- Speak to Brant.
- Speak to Norman outside about the fleeing urchin.
- Meet Brant in the Stardrop Inn at night.
- Obtain all three quests from Brant.
Seat Of The Sovran sees you arrive at last in Vernworth, the capital of the country of Vermund. There to meet you at the gates is Captain Brant, who will become your touchstone for the next several quests. This is a very quick quest that consists mostly of dialogue, but those looking for more details will find them in our Seat Of The Sovran quest walkthrough .
5. Monster Culling
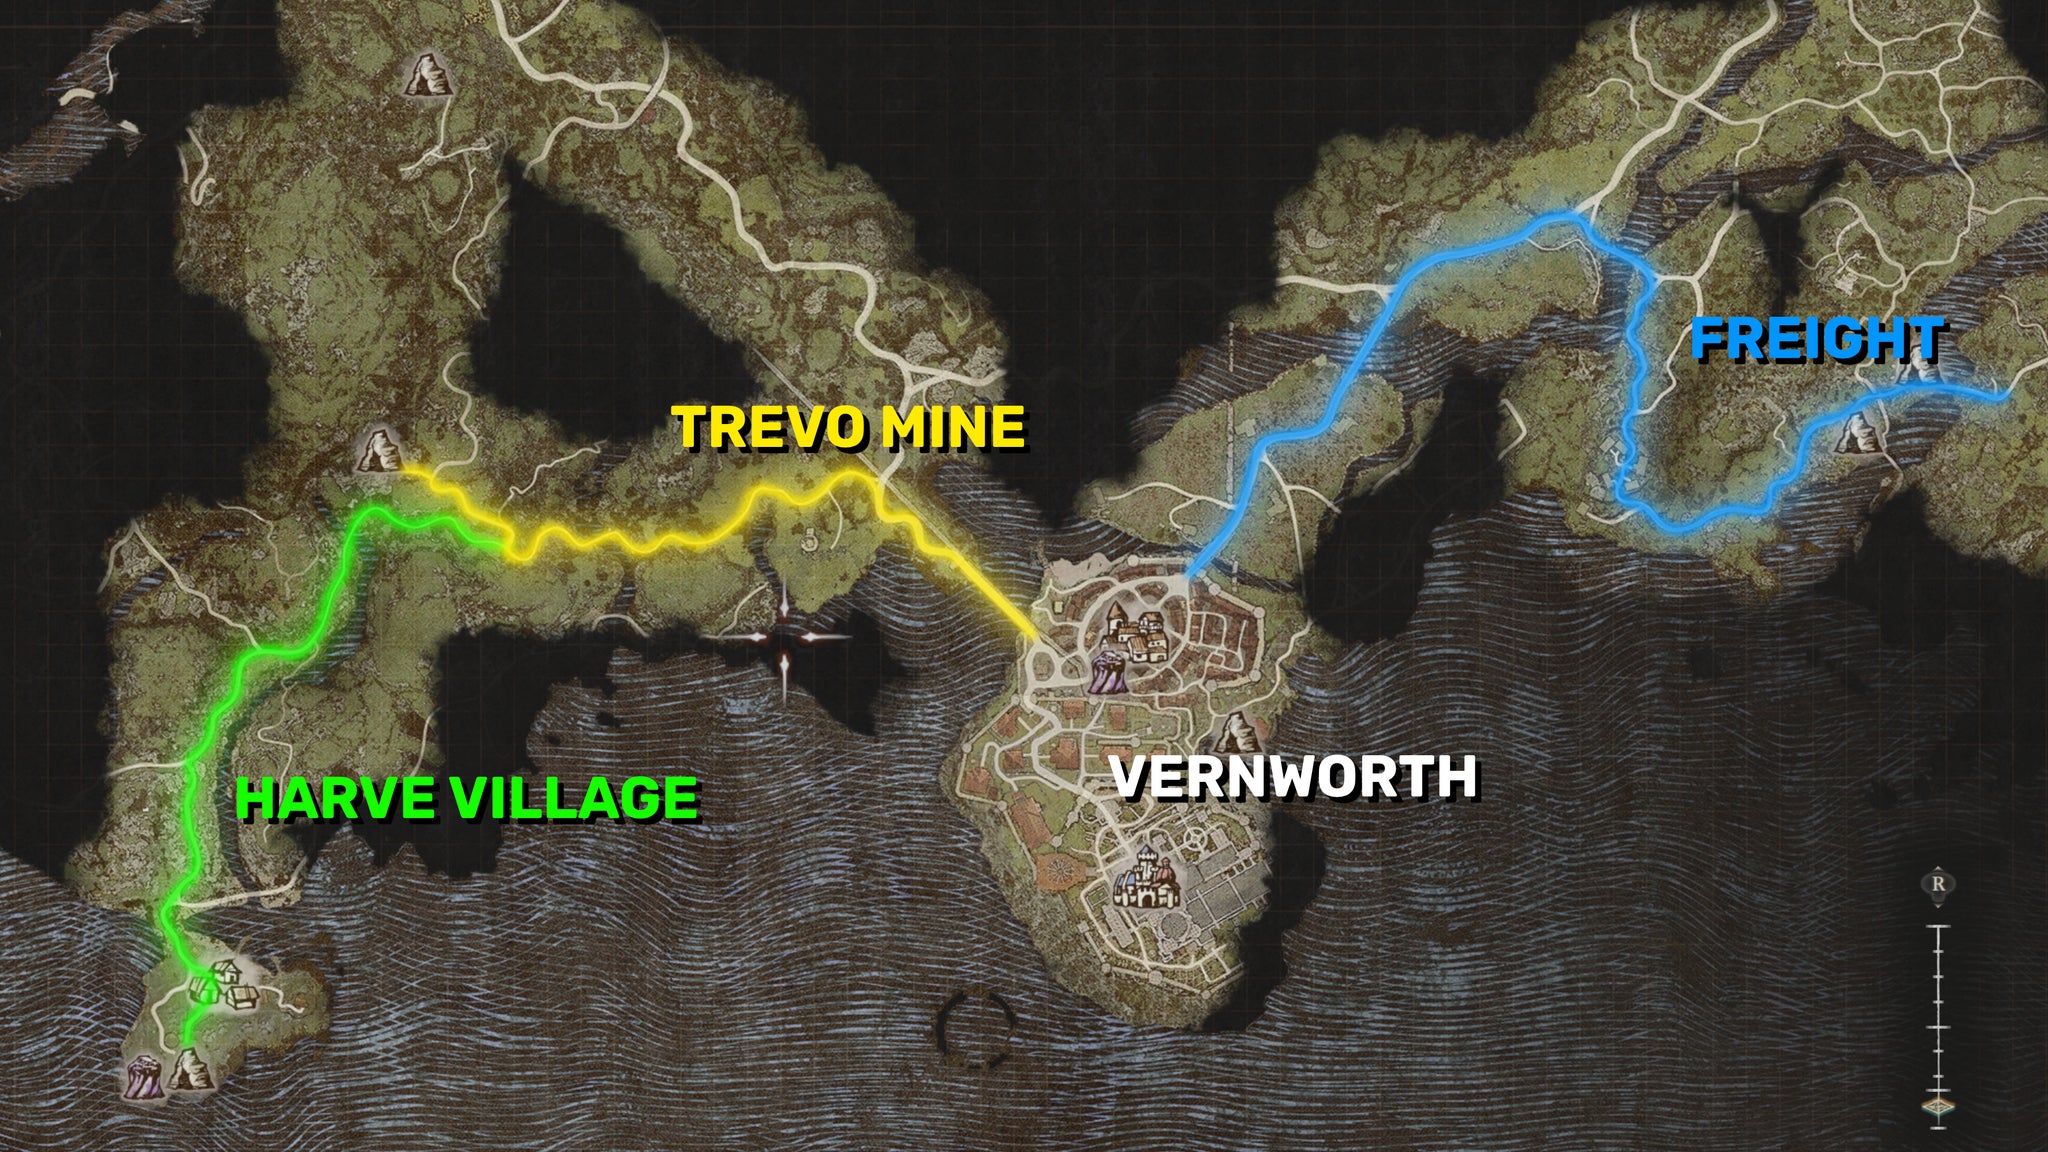
Here are our recommended routes from Vernworth to each of the Monster Culling locations. |Image credit:Rock Paper Shotgun/Capcom
Monster Culling objectives:
- Reach Trevo Mine west of Vernworth.
- Clear out Trevo Mine and obtain the Greatsword and Archistaff.
- Receive and complete the “Vocation Frustration” side-quest in Vernworth.
- (Optional) Obtain the Wakestone Shards from Vermund Charnel House.
- Reach Harve Village and talk to Dylan.
- Clear the nearby cave of saurians and lead the guards inside back out.
- (Optional) Defeat the saurians overrunning the village in the “Scaly Invaders” side-quest.
- Head east of Vermund to the final quest marker.
- Defeat the goblins attacking the guards.
- Return to Captain Brant at night in the Stardrop Inn.
There’s a spate of monster-related incidents around Vernworth, and it’s going to look quite good if you, the true Arisen, were to take care of them. This is the first fairly lengthy main quest in Dragon’s Dogma 2, so it’s a good idea to know where you’re going and what you’re doing ahead of time. To help with that, check out our Monster Culling quest walkthrough .
6. The Caged Magistrate

The next quest sees you help Magistrate Waldhar to escape his gaol cell, but he won’t leave without a library to go back to. |Image credit:Rock Paper Shotgun/Capcom
The Caged Magistrate objectives:
- Obtain the Gaol Key and Eventide Mask from Brant.
- Enter Vernworth Castle.
- Meet Otto at the base of the Gaol Tower.
- Open the first cell on your right and speak to Waldhar.
- Speak to Brant.
- Give food to Kendrick twice.
- Speak to the three children near Kendrick.
- Speak to Kendrick again.
- Find Malcolm inside the Gracious Hand’s Vaults.
- Follow Malcolm to the library.
- Report news of the library to Waldhar.
- Lead Waldhar out of the Gaol Tower.
- Report back to Brant.
The Caged Magistrate is one of several quests Brant gives you which will involve donning a delightfully devilish (Seymour) disguise and breaking into Vernworth Castle - this time, to free an old magistrate who could be one of your staunchest allies. For details on this rather confusing quest, check out our The Caged Magistrate quest walkthrough .
7. Disa’s Plot
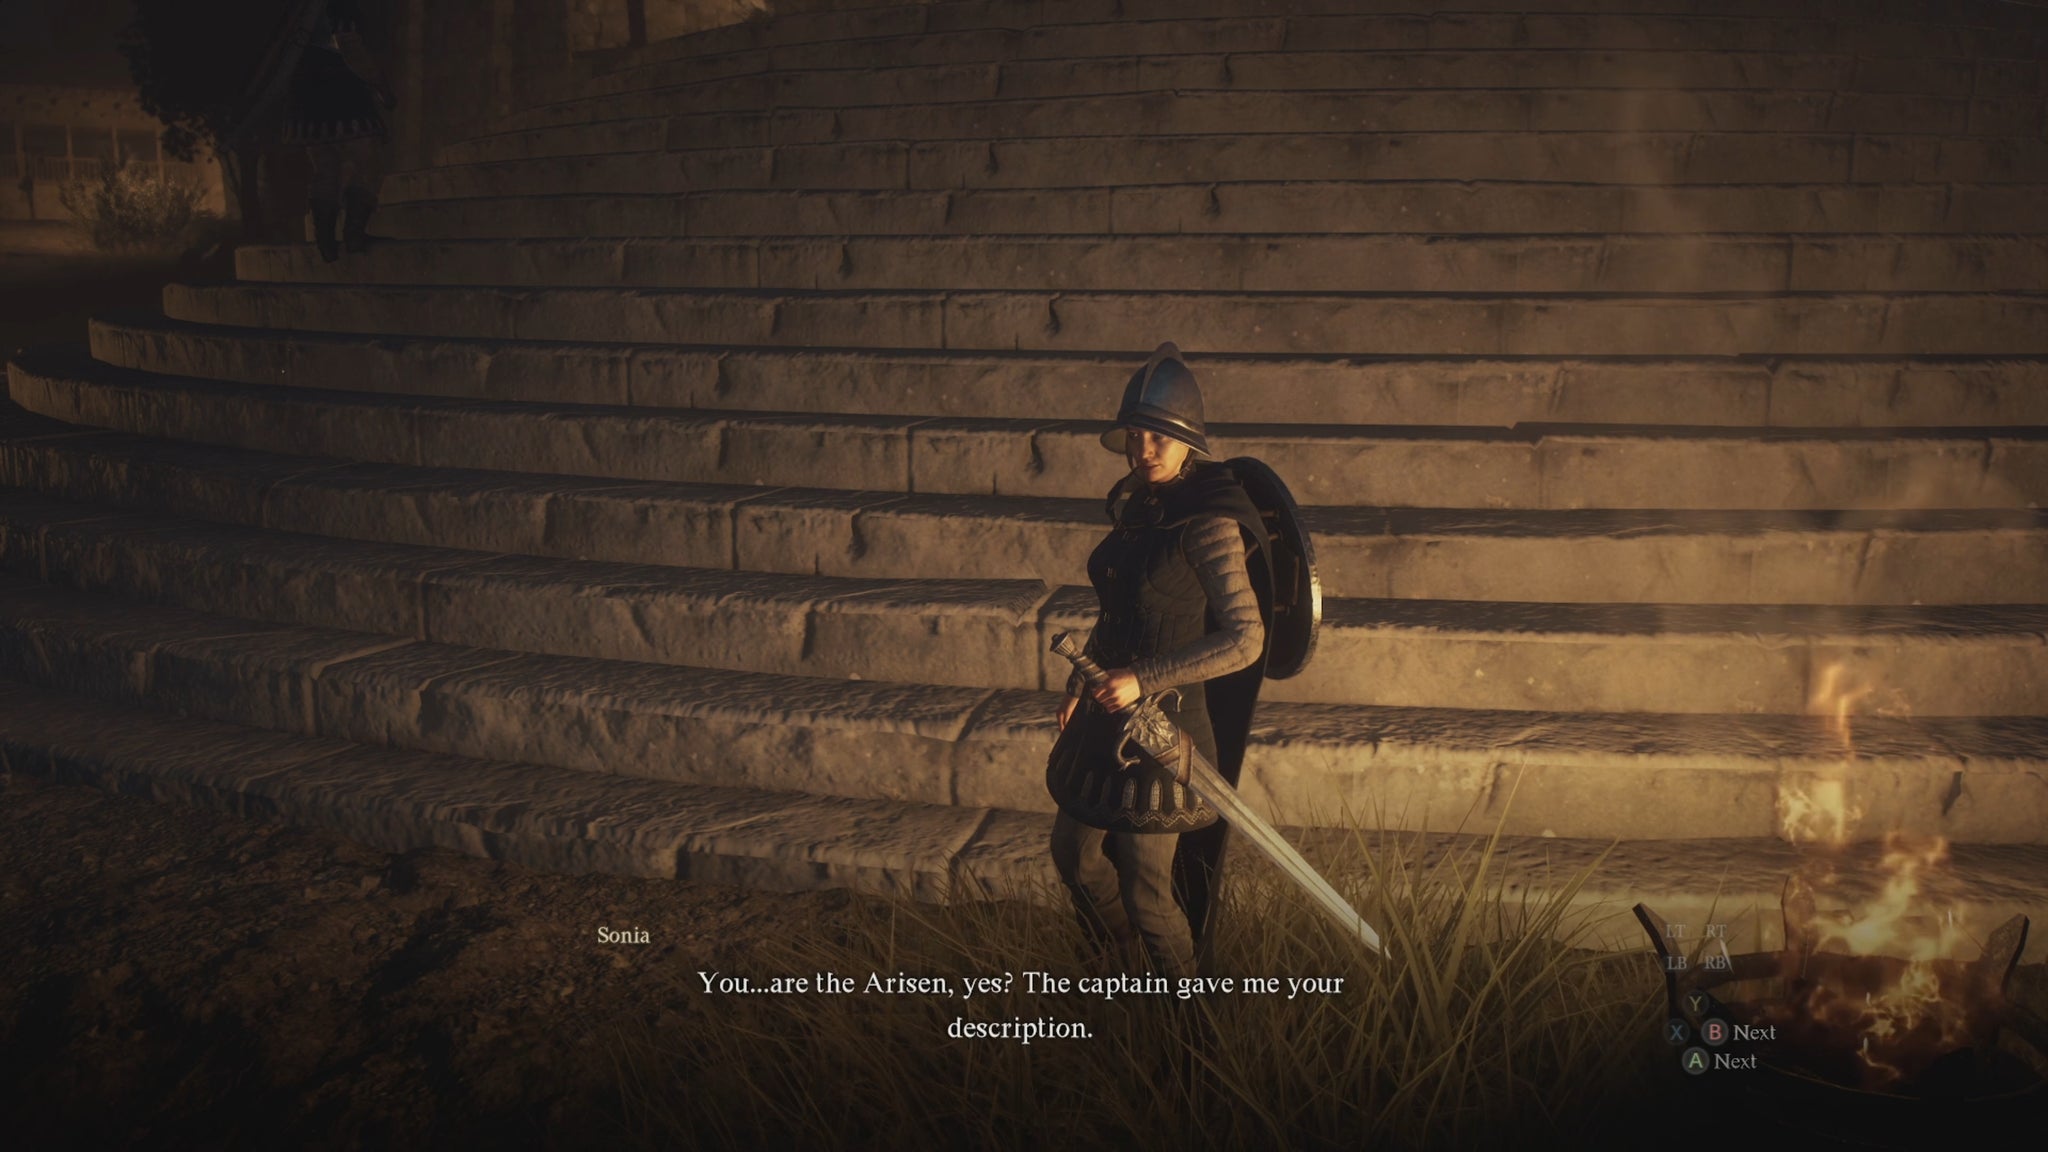
The guard Sonia will lead you to the Guardhouse upon entering the Vernworth Castle grounds. |Image credit:Rock Paper Shotgun/Capcom
Disa’s Plot objectives:
- Obtain the Eventide Mask from Brant.
- Meet Sonia at the Vernworth Castle entrance.
- Follow Sonia to the Guardhouse.
- Head to the top floor of the Guardhouse.
- Obtain the Torn Letter.
- Escape through the window.
- Report back to Brant.
Disa’s Plot is another Vernworth Castle-centric quest, one which asks you to break into the Guardhouse and do away with some important paperwork that may uncover the titular Disa’s plot. If you’re unsure of where to go, consult our Disa’s Plot quest walkthrough .
8. The Stolen Throne
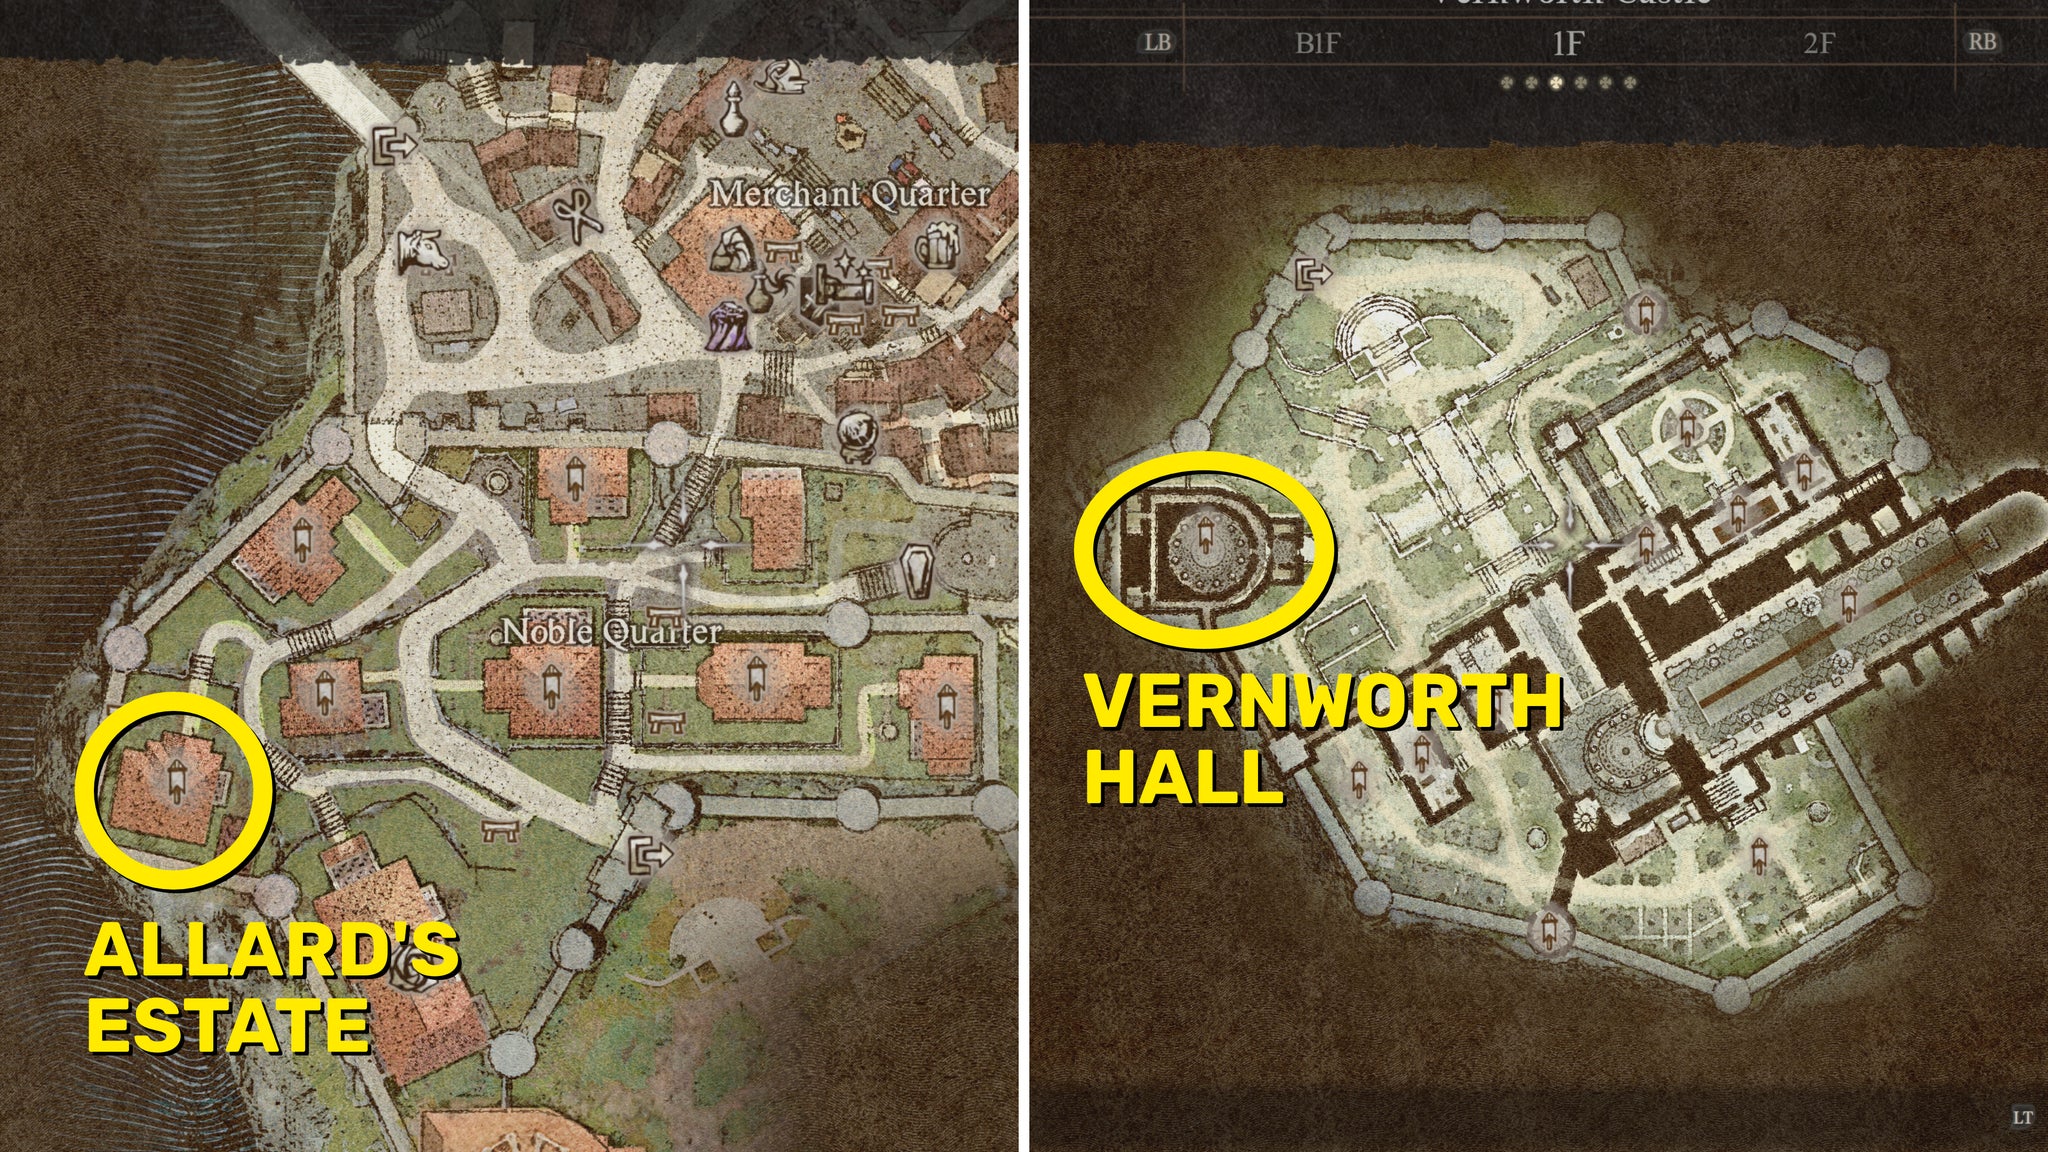
The masquerade is at Vernworth Hall, but we’d recommend taking formal clothes from Allard’s Estate first! |Image credit:Rock Paper Shotgun/Capcom
The Stolen Throne objectives:
- Take (and wear) the clothing items from Allard’s Estate.
- Enter Vernworth Hall and join the Masquerade.
- Go through the hidden passage at the back of the Hall.
- Reach the Rose Chateau Bordelrie via the balcony.
- Spy through the peephole.
- Report back to Brant.
The Stolen Throne is - yes, you guessed it - another Vernworth Castle sneakathon, but at least this time you get to dress up fully and pretend to have been invited to a masquerade in order to gain some interesting intelligence on the false Arisen. For full details, check out our The Stolen Throne quest walkthrough .
9. The Nameless Village
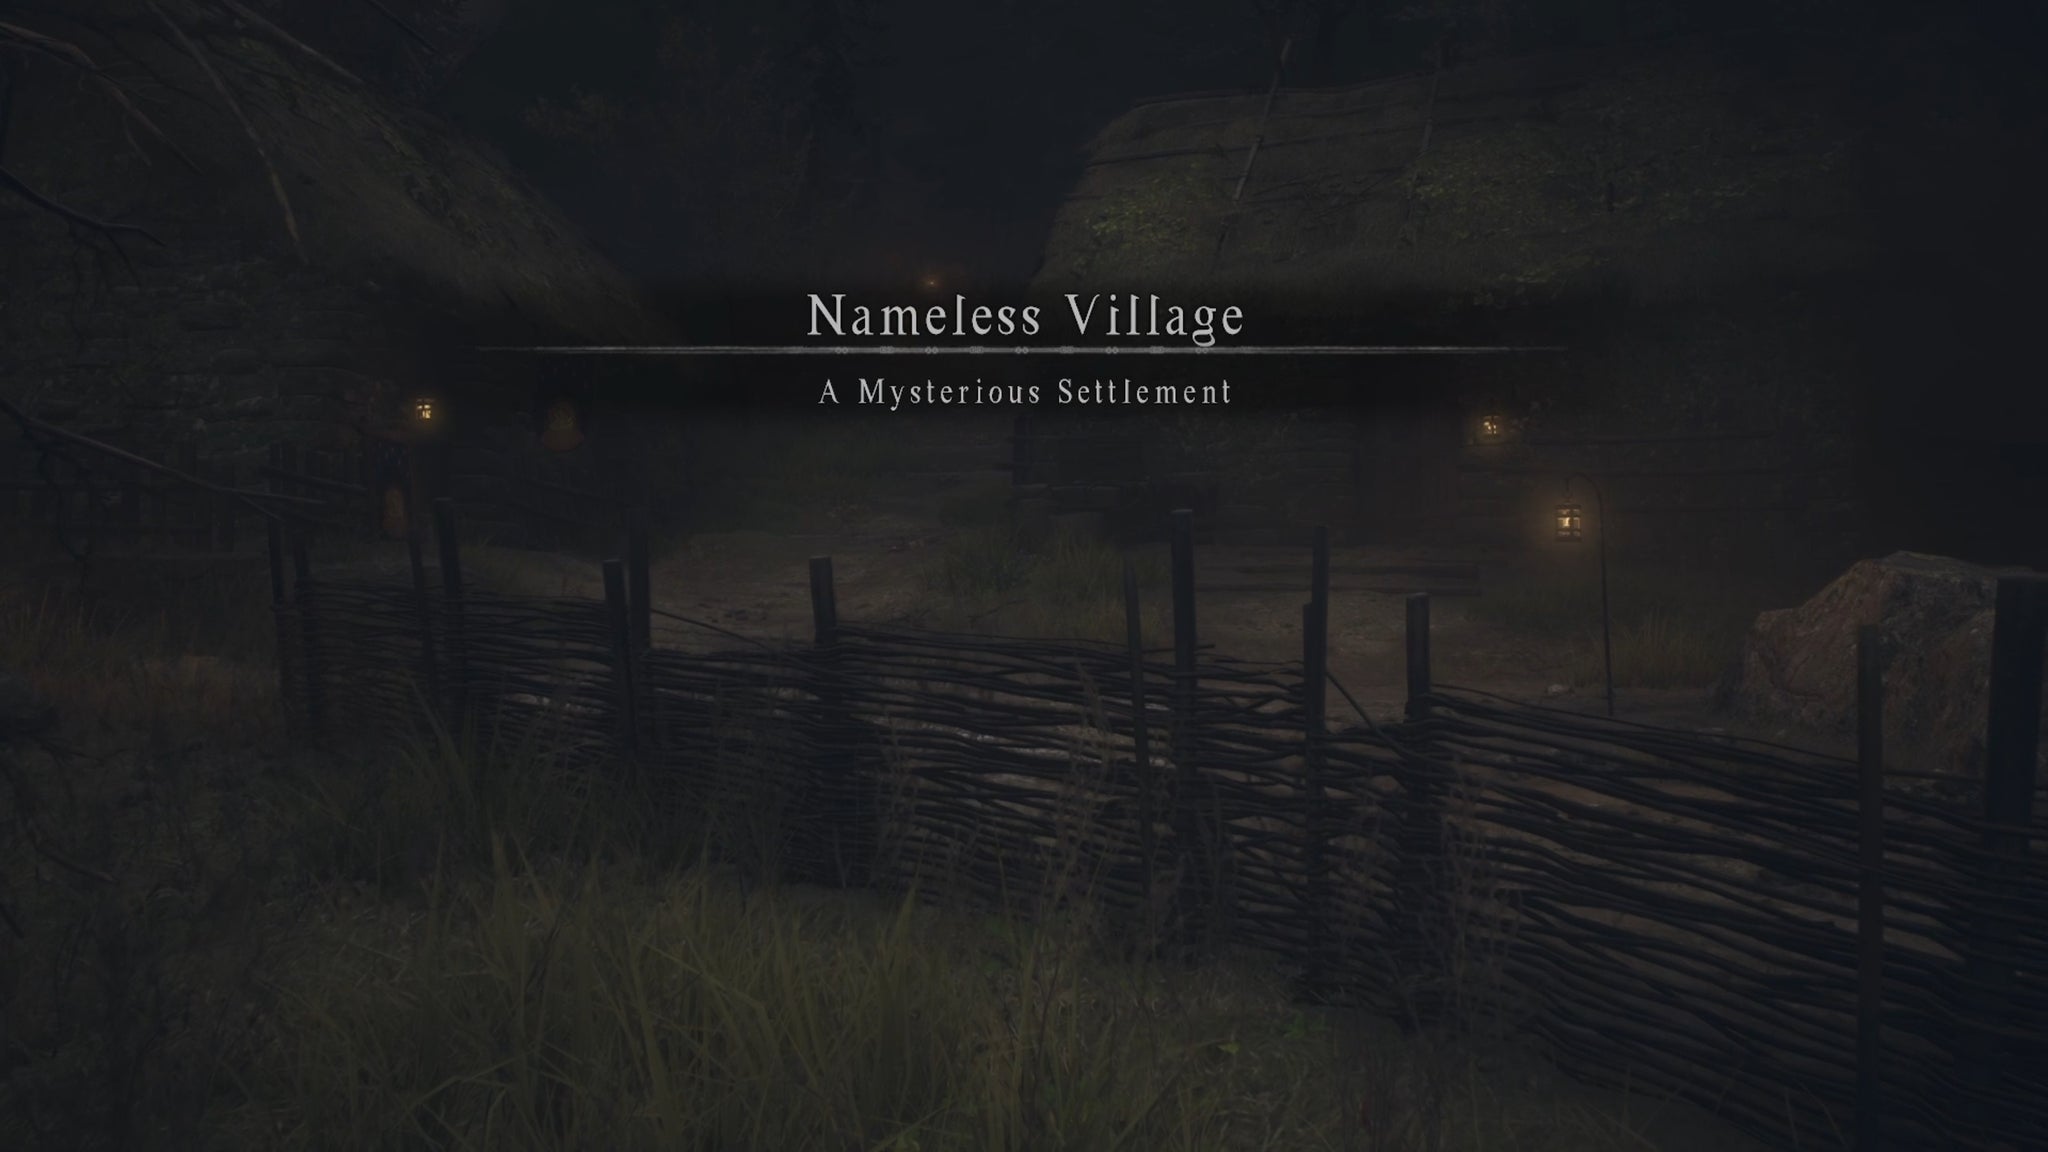
The Nameless Village is a tricky place to reach, and contains a couple of interesting secrets… |Image credit:Rock Paper Shotgun/Capcom
The Nameless Village objectives:
- Head northeast to the quest marker on the map.
- Before the landslide, take the right-hand path.
- Climb the rocks just past the minotaur.
- Speak to Srail outside the Nameless Village.
- (Optional) Rest at the inn.
- Speak to Flaude in the Old Noble Manor.
- Descend the ladder outside the manor into Nameless Village Depths.
- Complete the obstacle course.
- Speak to Flaude.
- Loot the 5 chests in the next room.
- Report back to Brant.
The Nameless Village is probably the most confusing main quest so far in Dragon’s Dogma 2. Even just getting to said village is quite a challenge if you don’t know where you’re going. You’d best check out our The Nameless Village quest walkthrough to see you through it.
10. An Unsettling Encounter
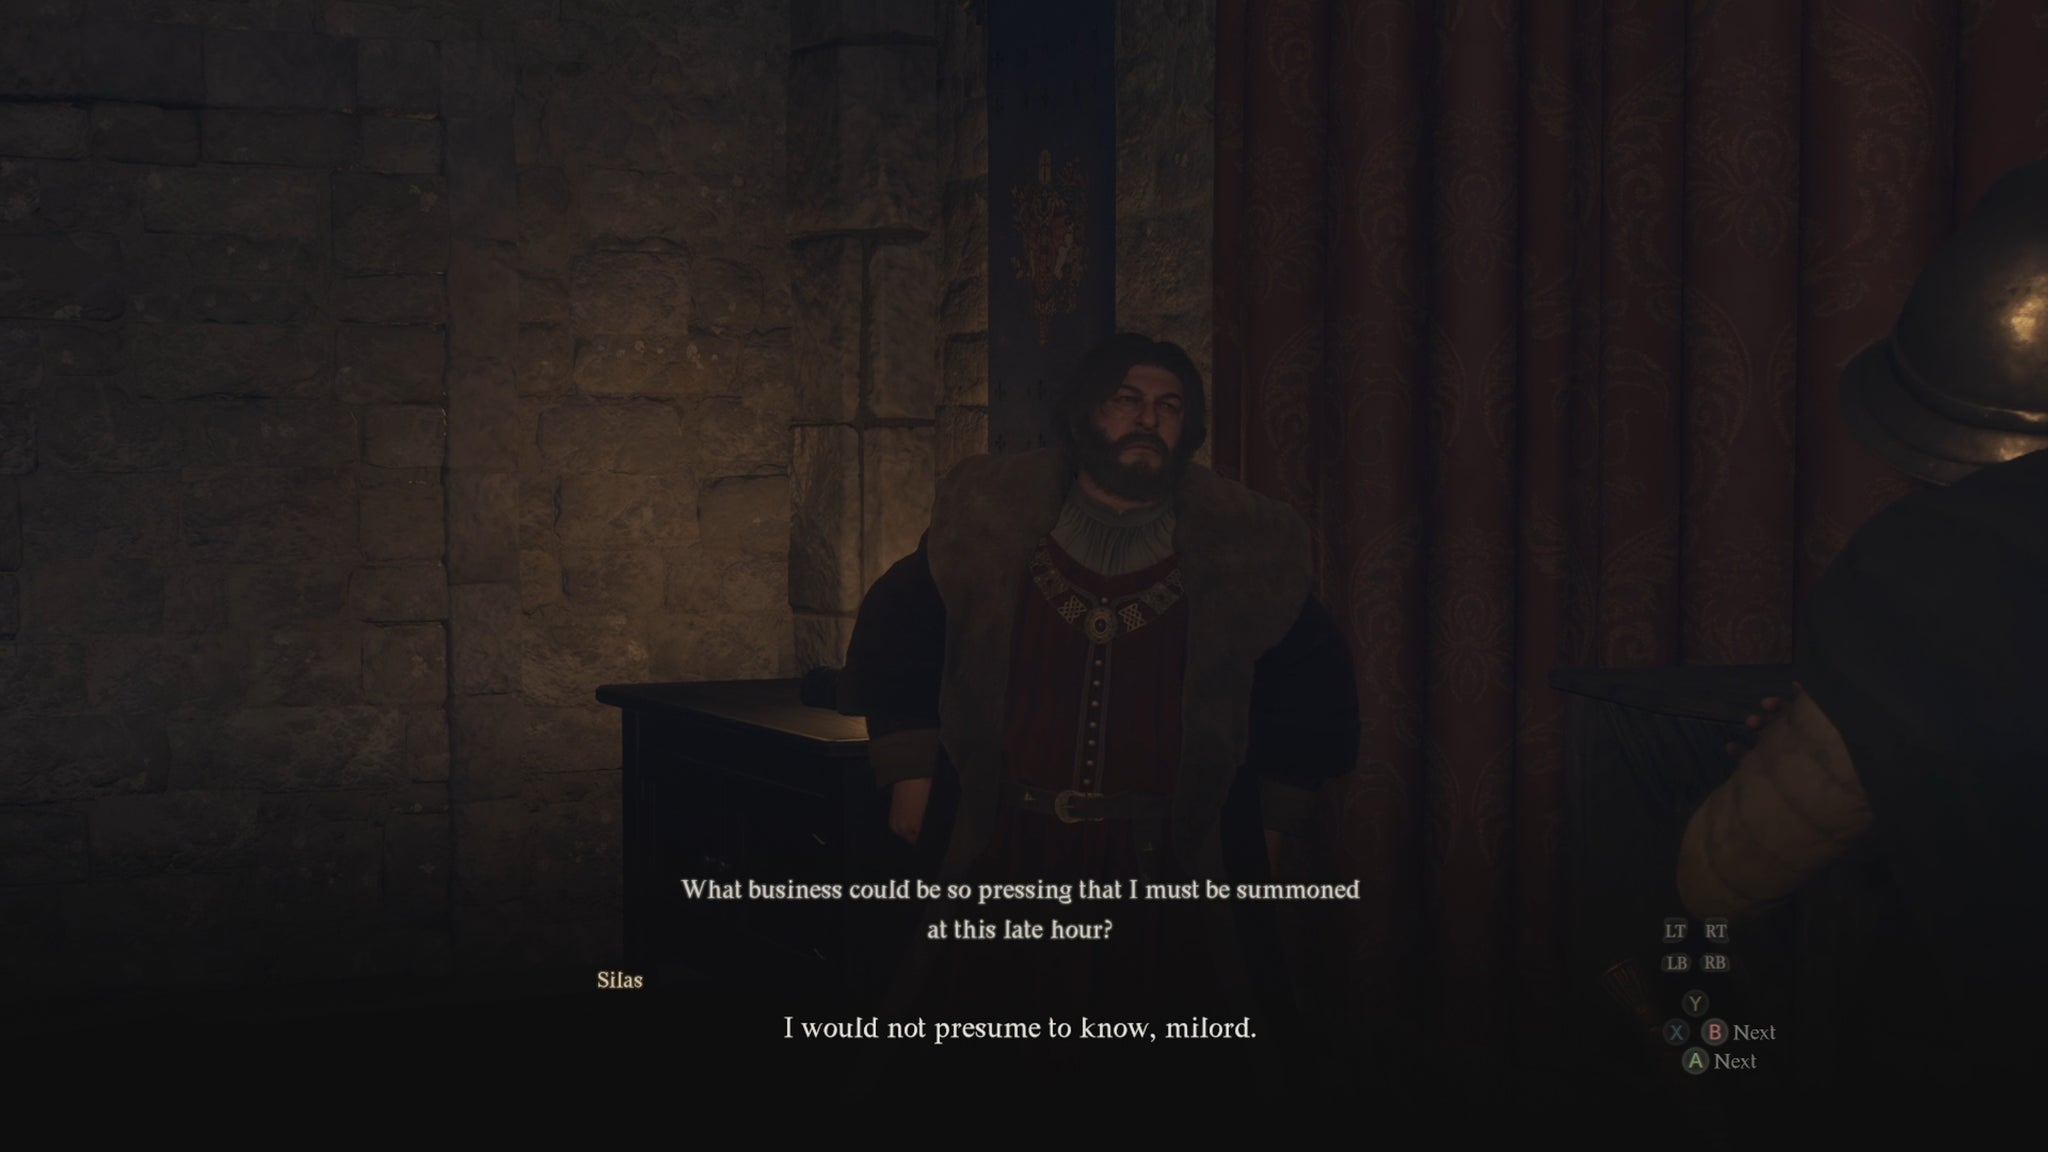
One tip: wait for Allard and the guard to leave his chambers fully before you start snooping. |Image credit:Rock Paper Shotgun/Capcom
An Unsettling Encounter objectives:
- Enter Vernworth Castle and follow Sonia to the Guardhouse.
- Go up the spiral stairs to the upper floor.
- Wait for Allard and Silas to leave.
- Enter the secret room inside Allard’s Chambers.
- Pick up the Battahli-Crested Letter.
- Escape via the window.
- Sneak past the guards and meet Wilhelmina.
- Report back to Brant.
We’re nearing the end of the Vernworth questline now. An Unsettling Encounter requires you to, once again, sneak into the Guardhouse in Vernworth Castle, this time to snoop around the chambers of one Allard, a powerful member of the royal household. Learn how to navigate this quest with our An Unsettling Encounter quest walkthrough .
11. Feast of Deception

The false Arisen’s coronation doesn’t go quite as planned for you and Brant. |Image credit:Rock Paper Shotgun/Capcom
Feast Of Deception objectives:
- (Optional) Begin “The Arisen’s Shadow” side-quest.
- (Optional) Capture Bermudo but don’t kill him.
- (Optional) Talk to Brant about Bermudo.
- Tell Brant you are ready for the coronation.
- Wait for the results of Brant’s investigation.
Feast Of Deception is an incredibly simple quest - in fact, it’s mostly just cutscenes and dialogue. But we strongly urge you first to complete The Arisen’s Shadow side-quest, because it sets you up nicely for the future. We’ll explain why, and how to complete both quests, in our Feast Of Deception quest walkthrough .
12. Nation of the Lambent Flame
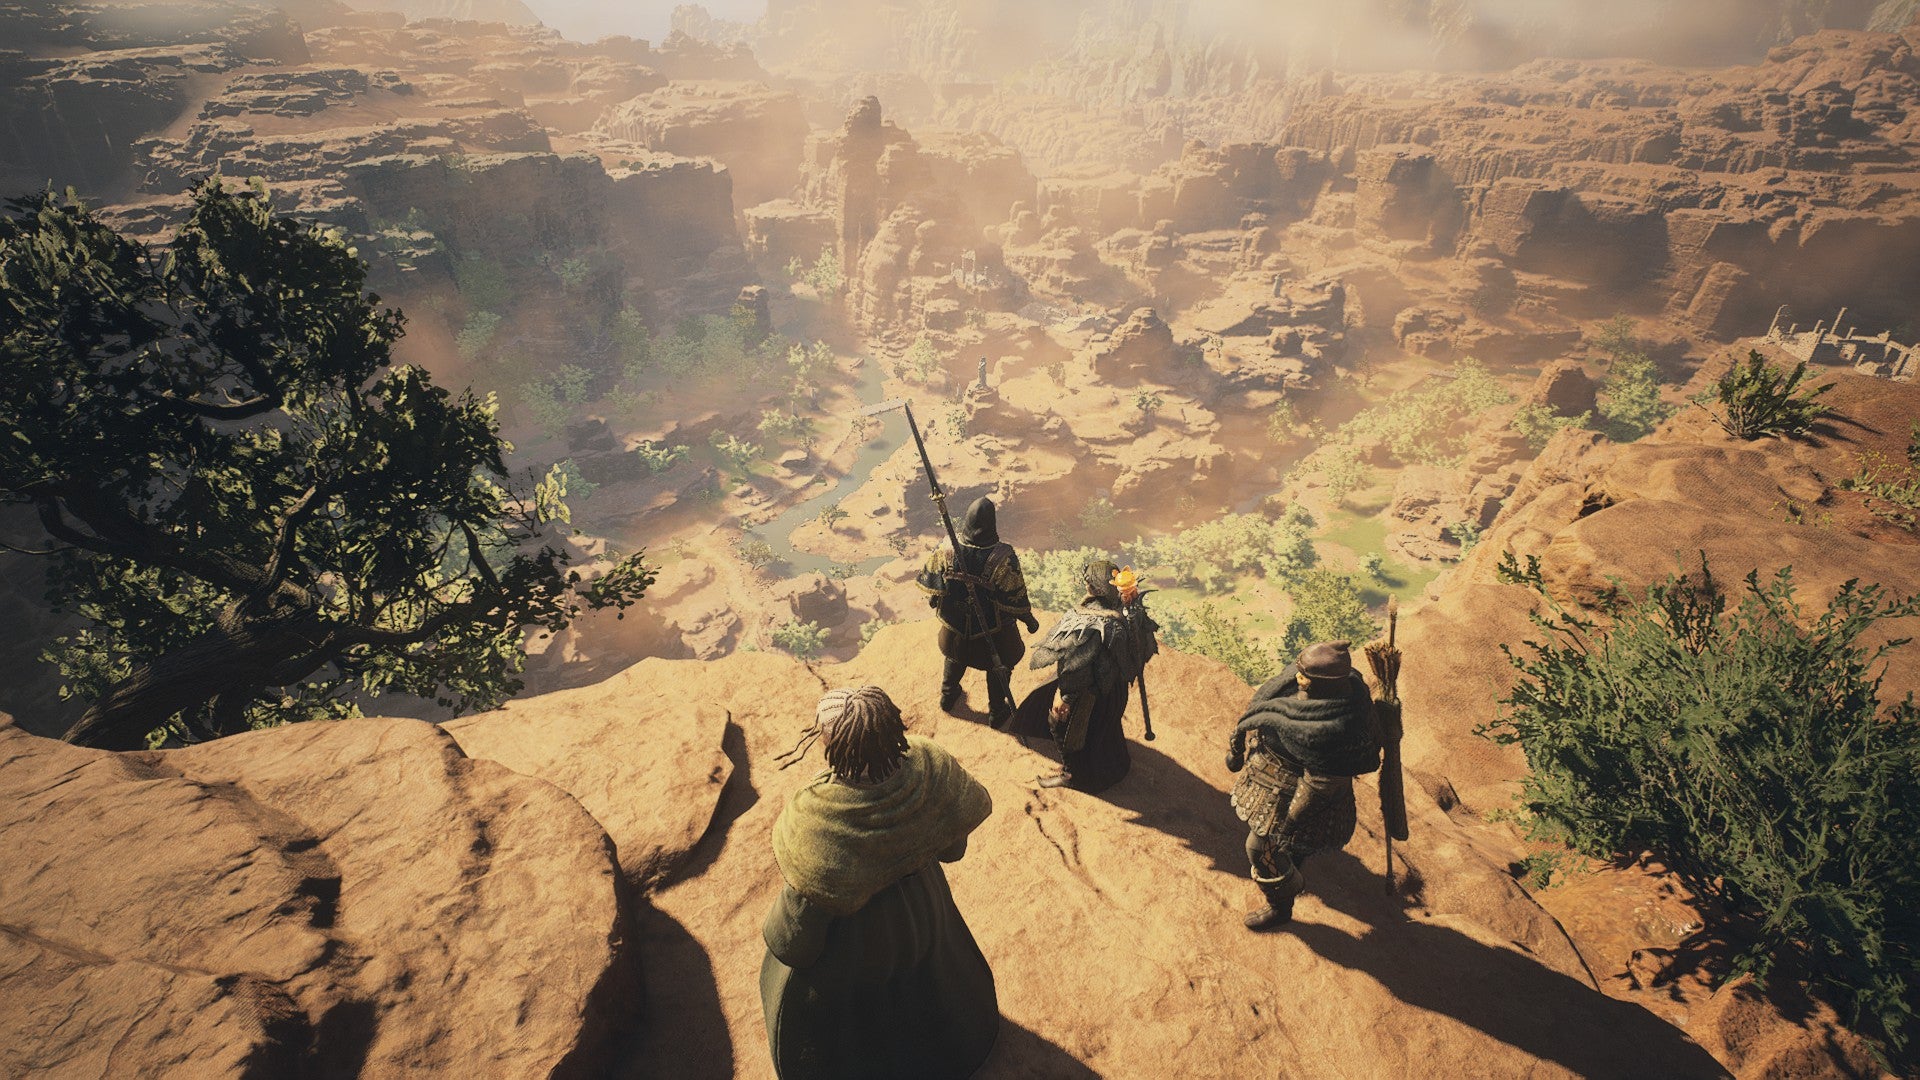
Battahl awaits you, brave Arisen. What massive foes will you defeat on its desert pathways? |Image credit:Rock Paper Shotgun/Capcom
Nation of the Lambent Flame objectives:
- Journey to the Checkpoint Rest Town.
- (Optional) Obtain a Beastren Mask.
- Enter Battahl.
- Travel to Bakbattahl.
- Speak with Menella outside the Rockmouse’s Burrow.
After spending many hours traversing the green wilds, finally it’s time to head to the orange desert. Nation of the Lambent Flame sees your Arisen venturing to Battahl, the southern nation on the world map that’s dominated by Beastren. Enemies are going to get tougher from here on out, so we recommend you prepare for some hard battles before heading south. Check out our Nation of the Lambent Flame quest walkthrough for more details on the trek through Battahl.
13. Flickering Shadows

It’s very nice of Dragon’s Dogma 2 to give you a free advanced vocation simply by completing this quest! |Image credit:Rock Paper Shotgun/Capcom
Flickering Shadows objectives:
- Explore Bakbattahl.
- Exit the city via the northern road.
- Speak with Ambrosius by the beach.
- Gather Small Blue Crystal Shards.
- Visit the Bay Wayside Shrine to speak with the Dragonforged.
- Visit the Reverent Shrine to speak with the Oracle Luz.
- Return to Harve Village.
- Speak with the Rivage Elder.
Now that you’re in Bakbattahl, a whole new vibrant capital city is open for exploration. You’re also on the verge of encountering some vital characters who’ll clue you into your destiny as the Arisen, and you might pick up a tricky vocation along the way. Our Flickering Shadows quest walkthrough contains all that you need to know.
14. Convergence
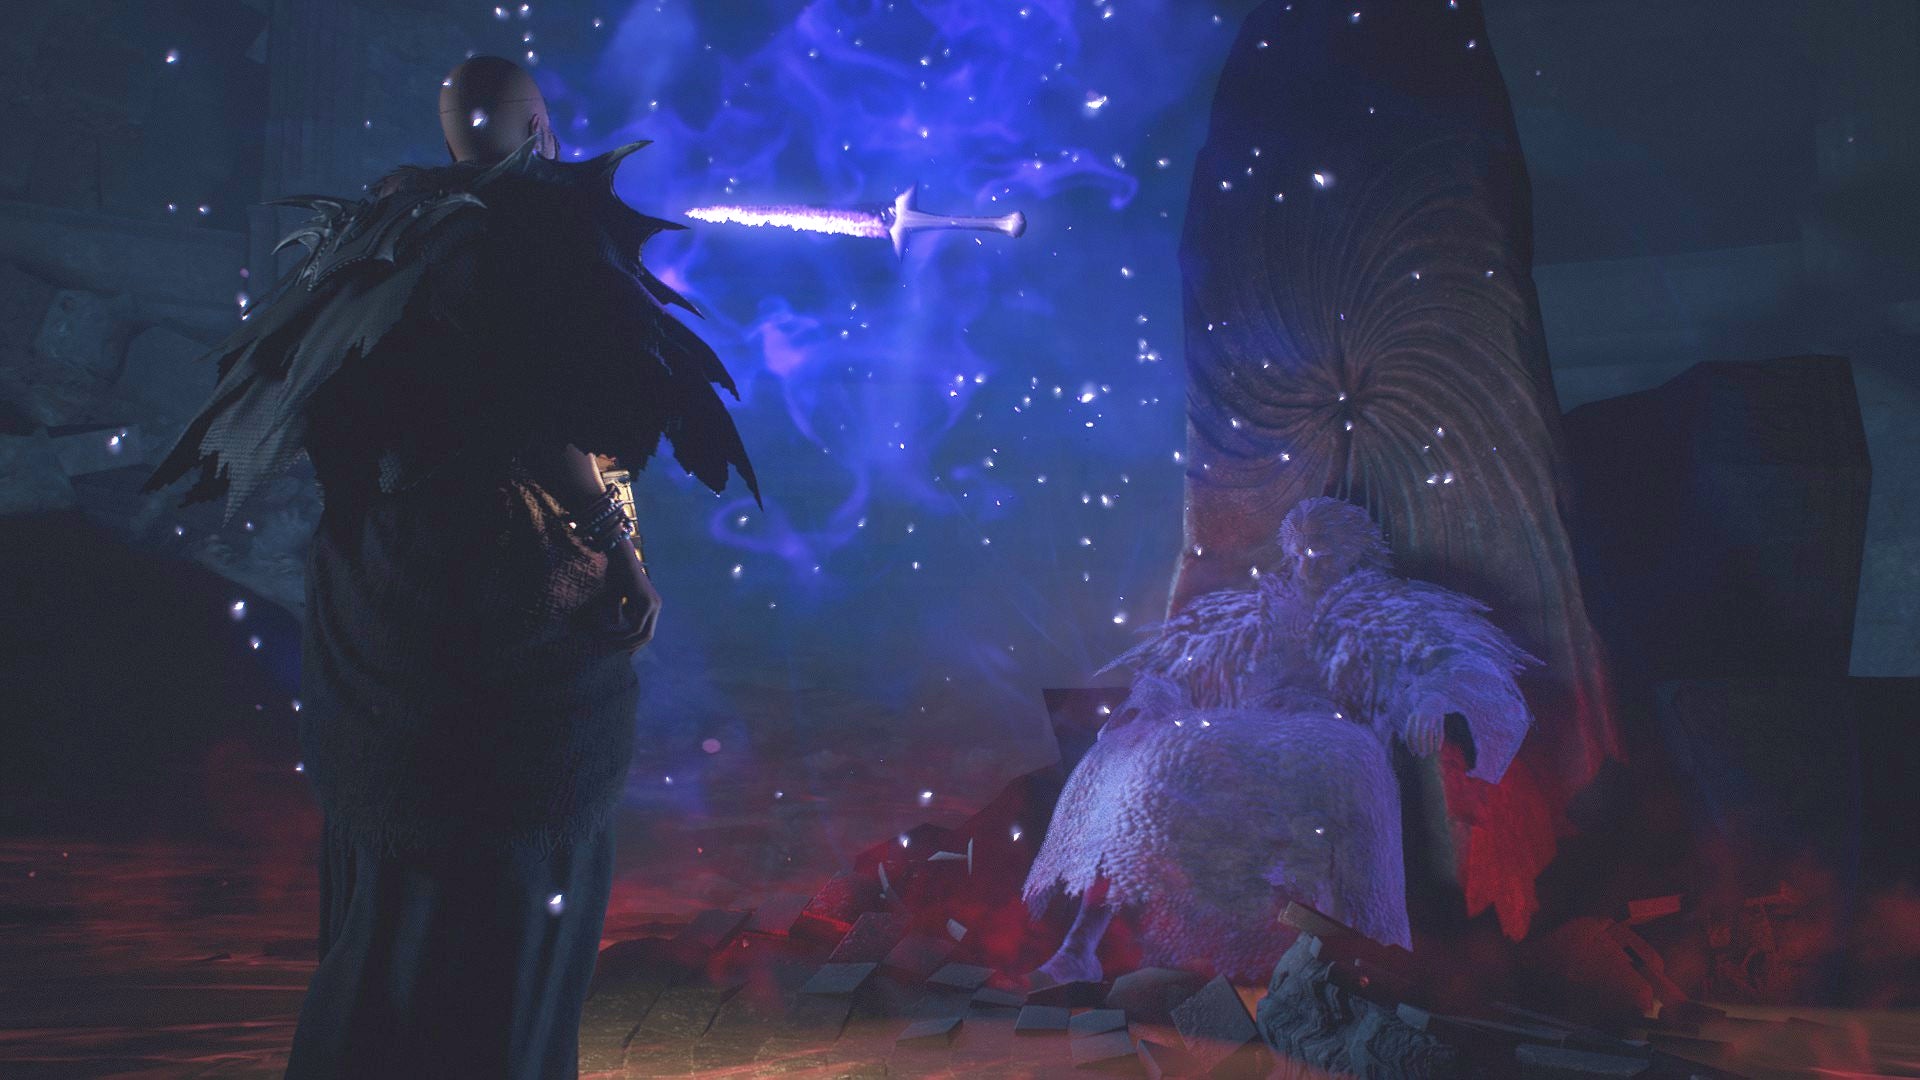
A ghostly figure in a chair can only mean one thing: plot developments incoming. |Image credit:Rock Paper Shotgun/Capcom
Convergence objectives:
- Explore the Seafloor Shrine.
- Speak with Rothais.
- Obtain the Dulled Godsbane Blade.
Convergence is a snap compared to the previous quests you’ve had to endure in Battahl - merely explore a shrine, speak with a Beastren ghost, and obtain a sword that was once all-powerful. But in case you get lost along the way, we’ve written up the full details in our Convergence quest walkthrough .
15. A New Godsway
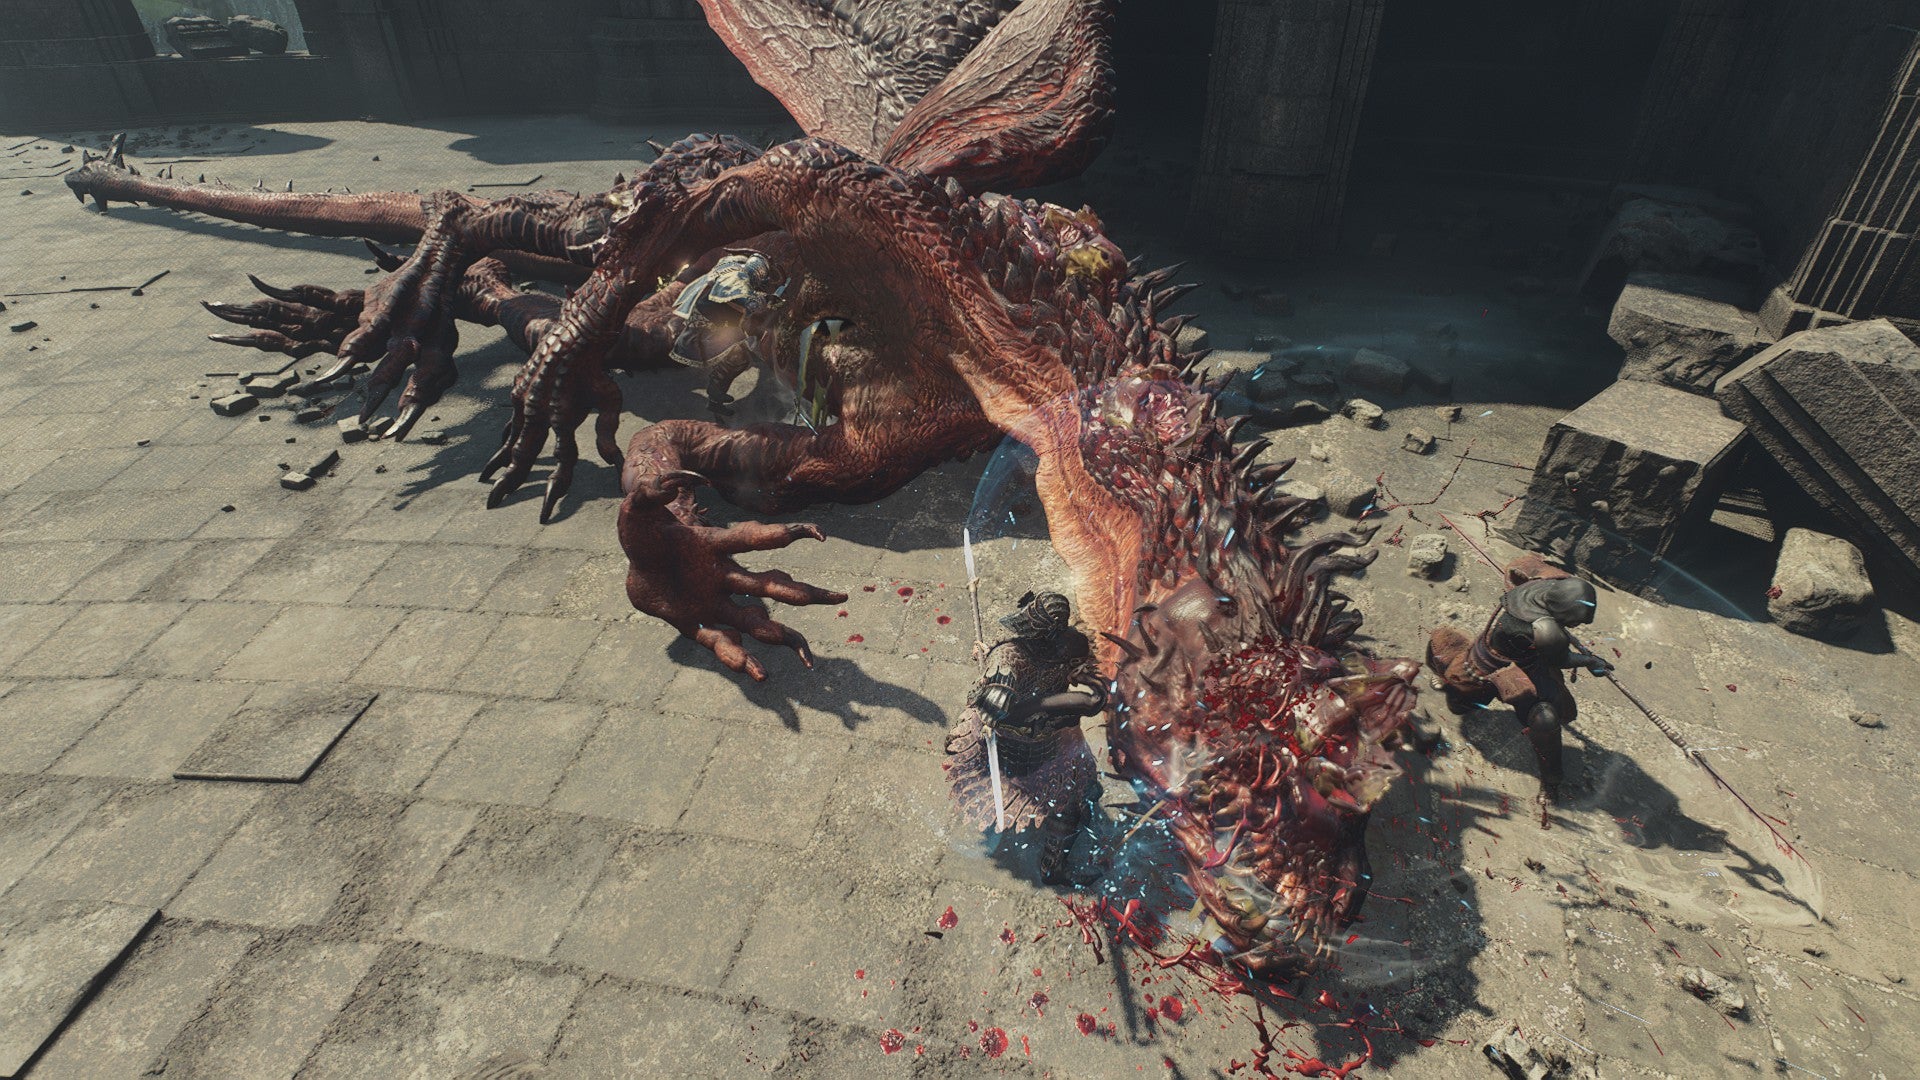
It’s time to start taking down these dragons. You’ve been waiting long enough! |Image credit:Rock Paper Shotgun/Capcom
A New Godsway objectives:
- Deliver the Dulled Godsbane Blade to Ambrosius.
- Slay drakes for 15 Wyrmslife Crystals.
- (Optional). Visit Dragonsbreath Tower.
- Deliver the 15 Wyrmlife Crystals to Ambrosius.
- Speak to Ambrosius after a day passes.
A New Godsway’s a little different when compared to other quests in Dragon’s Dogma 2, as it requires you to get your hands dirty and farm drakes for their crystalised blood. For many players, this will be your first time going up against fearsome draconic enemies in Dragon’s Dogma 2. We’ve detailed the best way to fight these tough but surmountable lesser dragons in our A New Godsway quest walkthrough .
16. The Guardian Gigantus

Get ready to outrun what may possibly be the tallest enemy in all of Dragon’s Dogma 2. |Image credit:Rock Paper Shotgun/Capcom
The Guardian Gigantus objectives:
- Pursue Phaesus and his lackeys through the Spellseal Door.
- (Optional) Fight the Guardian Gigantus.
- (Optional) Explore Agamen Volcanic Island.
- Enter Moonglint Tower.
As you’ve progressed through Dragon’s Dogma 2, you may have heard tales of a magnificent statue of monumental height lurking underwater. Here’s the quest where it makes its full appearance and rampages halfway across the map. Our The Guardian Gigantus quest walkthrough has everything you need to know when it comes to slowing down its destructive march.
17. Legacy

The Dragon’s here. Do you dare to face him in combat, or defy your destiny? |Image credit:Rock Paper Shotgun/Capcom
Legacy objectives:
- (Optional) Explore the Excavation Site.
- Climb Moonglint Tower.
- Survive against Phaesus’ lackeys.
- Consider the critical decision that the Dragon gives you.
- (Optional) Use the Empowered Godsbane Blade while riding the Dragon’s back.
- (Optional) Defeat the Dragon.
Legacy is either the final quest of Dragon’s Dogma 2, or the opening that ushers in the game’s hidden finale. Whatever decision you make, an epic showdown between Arisen and Dragon awaits. See how to vanquish your foe in our Legacy quest walkthrough .
18. Dreams Apart
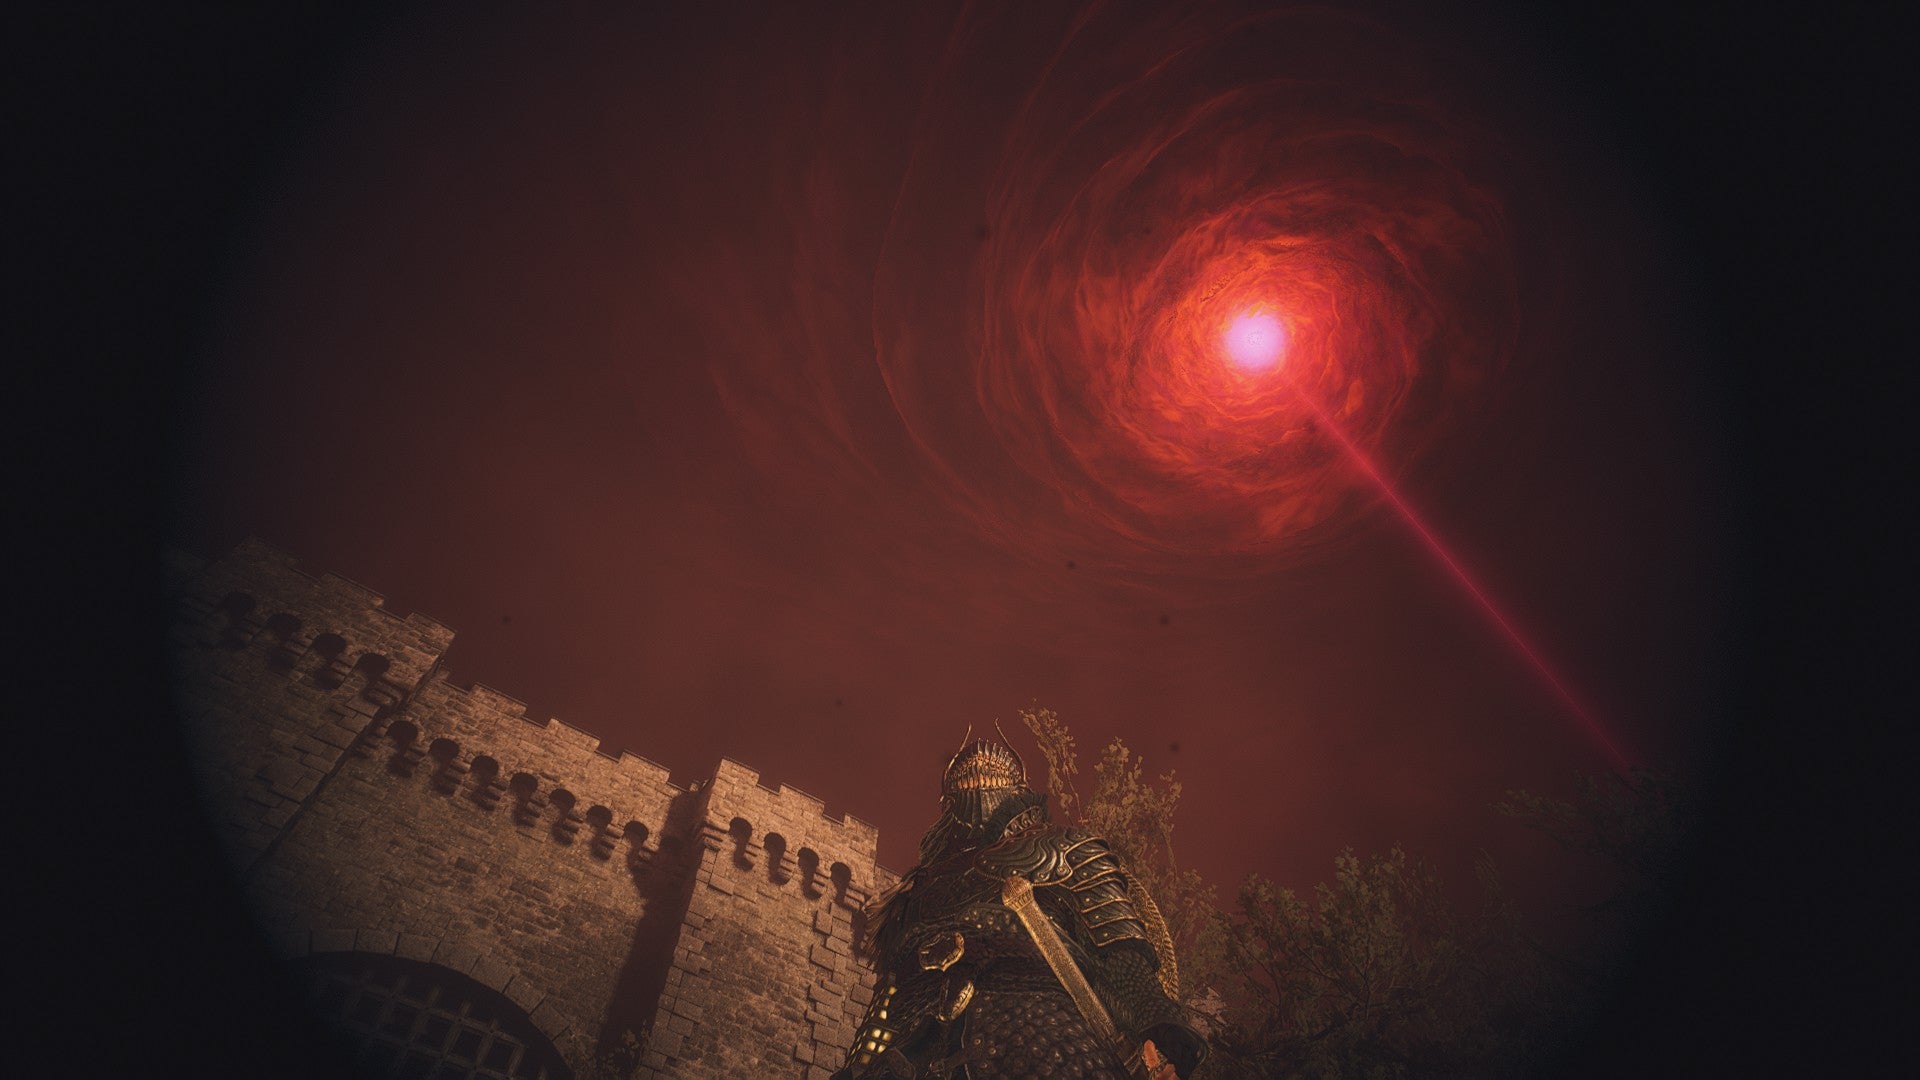
The world is now coloured in red and about to fall apart. But hey, Ferrystones are everywhere and fast travel is finally easy. What a trade-off. |Image credit:Rock Paper Shotgun/Capcom
Dreams Apart objectives:
- (Optional) Familarise yourself with the Unmoored World.
- Visit the Forbidden Magick Research Lab.
- Speak with Phaesus.
- Reunite with your main pawn.
The true endgame of Dragon’s Dogma 2 kicks off with Dreams Apart, which is actually a very simple quest. Since the quest itself isn’t that hard, this is the perfect chance to get used to the unusual nature of the Unmoored World, where the oceans have dried up, deadly Purgener Dragons lurk in the skies, and one wrong death can send you spiraling back to the beginning. Get the complete rundown via our Dreams Apart quest walkthrough .
19. Halls of the First Dawn
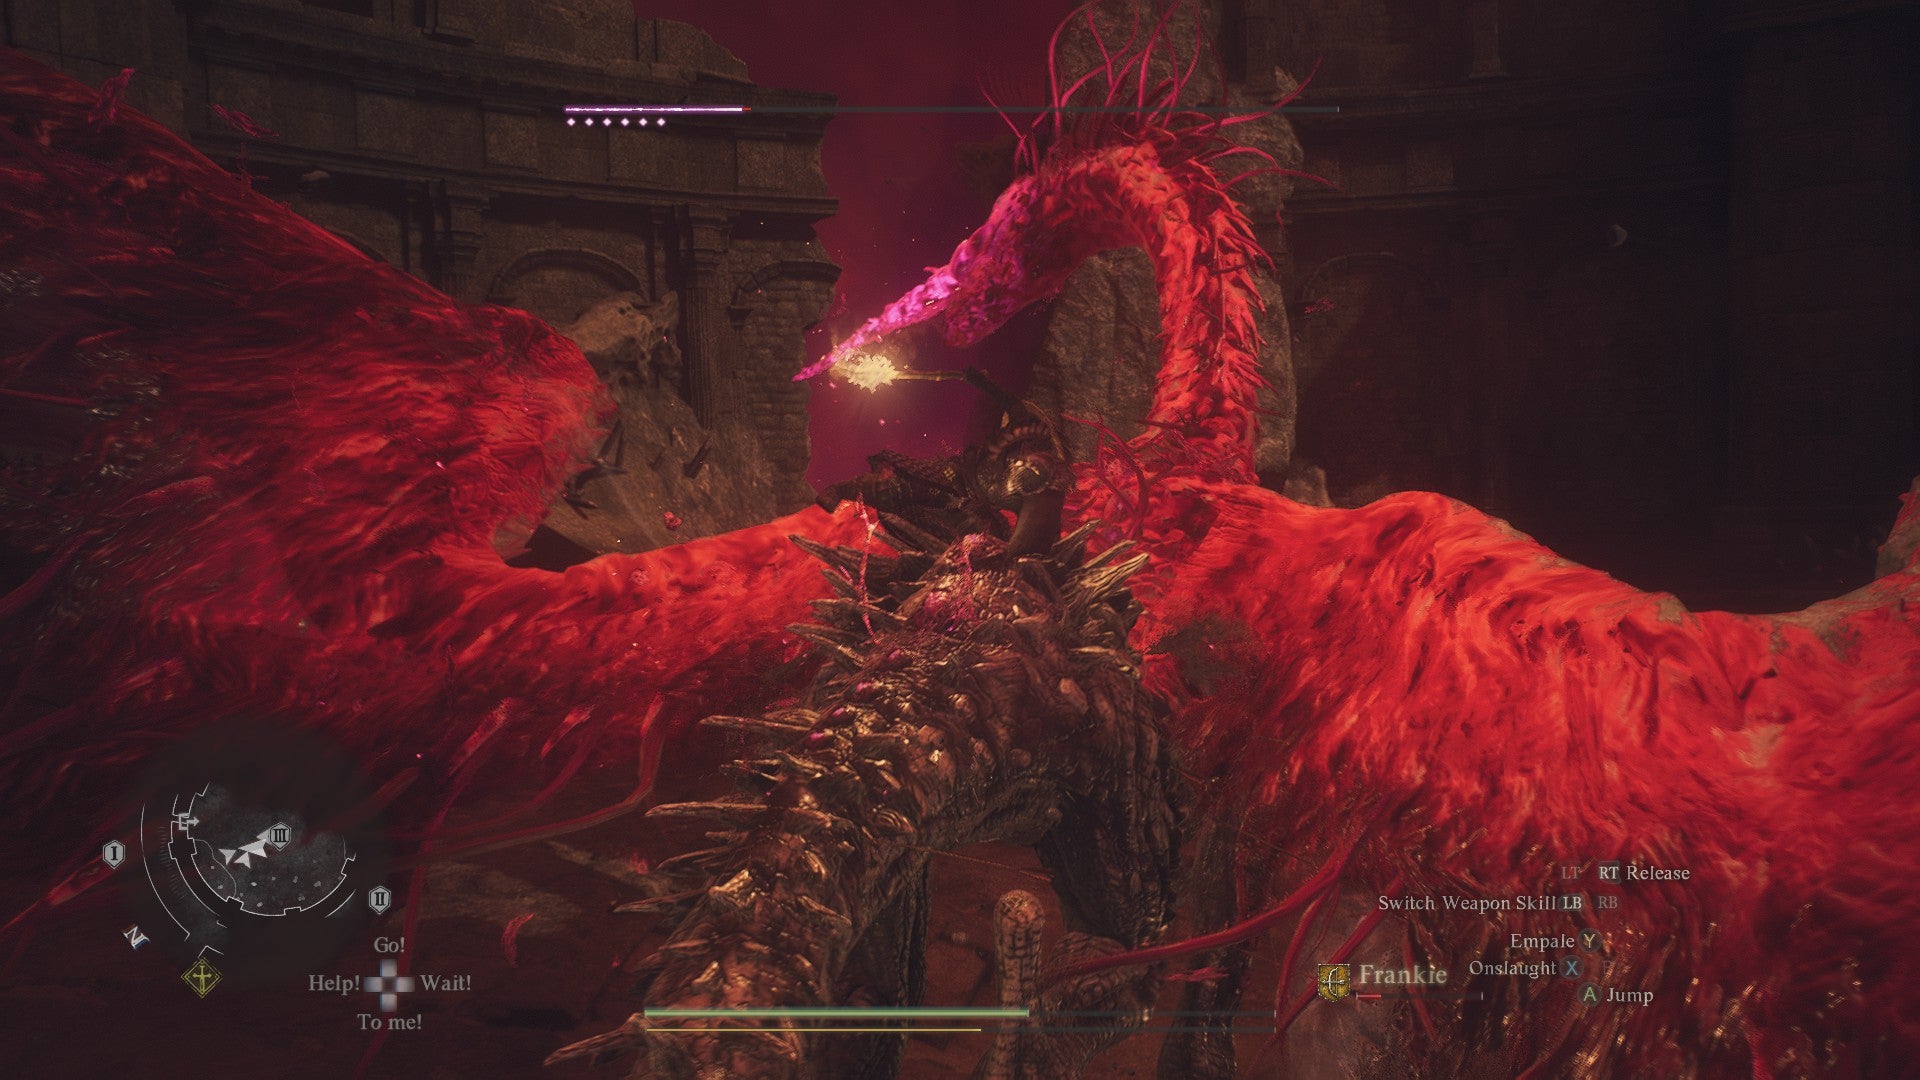
Get ready for a lot of running around during this main quest, which frankly takes forever. Oh, and you might as well slay some big bosses along the way. |Image credit:Rock Paper Shotgun/Capcom
Halls of the First Dawn objectives:
- Go to the Seafloor Shrine.
- Speak with Rothais and Luz.
- Visit Bakbattahl and complete the “Civil Unrest” sidequest.
- (Optional) Defeat the Bakbattahl Purgener Dragon.
- Visit Vernworth and complete “The Regentkin’s Resolve” sidequest.
- (Optional) Defeat the Vernworth Purgener Dragon.
- Visit Sacred Arbor and complete the “Wandering Roots” sidequest.
- (Optional) Defeat the Sacred Arbor Purgener Dragon.
- Visit the Volcanic Island Camp and complete “The Importance of Aiding Ernesto” sidequest.
- (Optional) Defeat the Volcanic Island Camp Purgener Dragon.
- Visit the Excavation Site and complete the “Shepherd of the Pawns” sidequest.
Halls of the First Dawn is a long quest that sees you visiting nearly ever major community on the Dragon’s Dogma map and convincing people to evacuate to the Seafloor Shrine. We also recommend that you fight the Purgener Dragons as you visit each area to save time. This part of the Unmoored World can be a bit of a slog, but we’ve detailed the most efficient way to go about things in our Halls of the First Dawn quest walkthrough .
20. A Scholarly Pursuit

This little thing might look okay above a fireplace…until it starts summoning waves of monsters one after another. |Image credit:Rock Paper Shotgun/Capcom
A Scholarly Pursuit objectives:
- Use the Godsbane Blade on the beacon in Bakbattahl.
- Follow Phaesus to get closer to the draconic jar.
- Defeat the summoned monsters along the way.
- Smash the jar.
Technically part of the quest chain in Halls of the First Dawn, A Scholarly Pursuit sees you facing a draconic jar that appears in Bakbattahl and manifests hordes of deadly monsters. Check out our A Scholarly Pursuit quest walkthrough for the full details on destroying this piece of cursed pottery.
21. When Wills Collide

The time has come to end this Dragon once and for all. |Image credit:Rock Paper Shotgun/Capcom
When Wills Collide objectives:
- Return to the resting place of the Guardian Gigantus.
- Watch the ensuing battle between the reanimated Gigantus and the Purgener Dragon.
- Go to last red beacon by the Seafloor Shrine.
- Use the Godsbane Blade on the beacon.
- Avoid the Dragon’s attacks.
When Wills Collide is the final quest to complete in the Unmoored World, unlocking the last red beacon on the map and the point of no return. If you’re ready to finish Dragon’s Dogma 2, go ahead and read our When Wills Collide quest walkthrough .
That’s a wrap on all the main story quests in Dragon’s Dogma 2! If you’d like more advice in preparation for New Game +, why not take a peek at our best vocations guide ? We’ve also got comprehensive guides of the best weapons and best armor in Dragon’s Dogma 2, and even a selection of mods that are worth your time if you decide to replay this monumental action RPG. Enjoy, and congrats on making it to the end.


Dragon’s Dogma 2
PS5 , Xbox Series X/S , PC
Rock Paper Shotgun is better when you sign in
Sign in and join us on our journey to discover strange and compelling PC games.

All 75 Arc Raiders Blueprints and where to get them
These areas have the highest chance of giving you Blueprints

Image credit:Rock Paper Shotgun/Embark Studios

Looking for more Arc Raiders Blueprints? It’s a special day when you find a Blueprint, as they’re among the most valuable items in Arc Raiders. If you find a Blueprint that you haven’t already found, then you must make sure you hold onto it at all costs, because Blueprints are the key to one of the most important and powerful systems of meta-progression in the game.
This guide aims to be the very best guide on Blueprints you can find, starting with a primer on what exactly they are and how they work in Arc Raiders, before delving into exactly where to get Blueprints and the very best farming spots for you to take in your search.
We’ll also go over how to get Blueprints from other unlikely activities, such as destroying Surveyors and completing specific quests. And you’ll also find the full list of all 75 Blueprints in Arc Raiders on this page (including the newest Blueprints added with the Cold Snap update , such as the Deadline Blueprint and Firework Box Blueprint), giving you all the information you need to expand your own crafting repertoire.
In this guide:
- What are Blueprints in Arc Raiders?
- Full Blueprint list: All crafting recipes
- Where to find Blueprints in Arc Raiders Blueprints obtained from quests Blueprints obtained from Trials Best Blueprint farming locations

What are Blueprints in Arc Raiders?
Blueprints in Arc Raiders are special items which, if you manage to extract with them, you can expend to permanently unlock a new crafting recipe in your Workshop. If you manage to extract from a raid with an Anvil Blueprint, for example, you can unlock the ability to craft your very own Anvil Pistol, as many times as you like (as long as you have the crafting materials).
To use a Blueprint, simply open your Inventory while in the lobby, then right-click on the Blueprint and click “Learn And Consume” . This will permanently unlock the recipe for that item in your Workshop. As of the Stella Montis update, there are allegedly 75 different Blueprints to unlock - although only 68 are confirmed to be in the game so far. You can see all the Blueprints you’ve found and unlocked by going to the Workshop menu, and hitting “R” to bring up the Blueprint screen.
It’s possible to find duplicates of past Blueprints you’ve already unlocked. If you find these, then you can either sell them, or - if you like to play with friends - you can take it into a match and gift it to your friend so they can unlock that recipe for themselves. Another option is to keep hold of them until the time comes to donate them to the Expedition.
Full Blueprint list: All crafting recipes
Below is the full list of all the Blueprints that are currently available to find in Arc Raiders, and the crafting recipe required for each item:
| Blueprint | Type | Recipe | Crafted At |
|---|---|---|---|
| Bettina | Weapon | 3x Advanced Mechanical Components 3x Heavy Gun Parts 3x Canister | Gunsmith 3 |
| Blue Light Stick | Quick Use | 3x Chemicals | Utility Station 1 |
| Aphelion | Weapon | 3x Magnetic Accelerator 3x Complex Gun Parts 1x Matriarch Reactor | Gunsmith 3 |
| Combat Mk. 3 (Flanking) | Augment | 2x Advanced Electrical Components 3x Processor | Gear Bench 3 |
| Combat Mk. 3 (Aggressive) | Augment | 2x Advanced Electrical Components 3x Processor | Gear Bench 3 |
| Complex Gun Parts | Material | 2x Light Gun Parts 2x Medium Gun Parts 2x Heavy Gun Parts | Refiner 3 |
| Fireworks Box | Quick Use | 1x Explosive Compound 3x Pop Trigger | Explosives Station 2 |
| Gas Mine | Mine | 4x Chemicals 2x Rubber Parts | Explosives Station 1 |
| Green Light Stick | Quick Use | 3x Chemicals | Utility Station 1 |
| Pulse Mine | Mine | 1x Crude Explosives 1x Wires | Explosives Station 1 |
| Seeker Grenade | Grenade | 1x Crude Explosives 2x ARC Alloy | Explosives Station 1 |
| Looting Mk. 3 (Survivor) | Augment | 2x Advanced Electrical Components 3x Processor | Gear Bench 3 |
| Angled Grip II | Mod | 2x Mechanical Components 3x Duct Tape | Gunsmith 2 |
| Angled Grip III | Mod | 2x Mod Components 5x Duct Tape | Gunsmith 3 |
| Hullcracker | Weapon | 1x Magnetic Accelerator 3x Heavy Gun Parts 1x Exodus Modules | Gunsmith 3 |
| Launcher Ammo | Ammo | 5x Metal Parts 1x Crude Explosives | Workbench 1 |
| Anvil | Weapon | 5x Mechanical Components 5x Simple Gun Parts | Gunsmith 2 |
| Anvil Splitter | Mod | 2x Mod Components 3x Processor | Gunsmith 3 |
| ??? | ??? | ??? | ??? |
| Barricade Kit | Quick Use | 1x Mechanical Components | Utility Station 2 |
| Blaze Grenade | Grenade | 1x Explosive Compound 2x Oil | Explosives Station 3 |
| Bobcat | Weapon | 3x Advanced Mechanical Components 3x Light Gun Parts | Gunsmith 3 |
| Osprey | Weapon | 2x Advanced Mechanical Components 3x Medium Gun Parts 7x Wires | Gunsmith 3 |
| Burletta | Weapon | 3x Mechanical Components 3x Simple Gun Parts | Gunsmith 1 |
| Compensator II | Mod | 2x Mechanical Components 4x Wires | Gunsmith 2 |
| Compensator III | Mod | 2x Mod Components 8x Wires | Gunsmith 3 |
| Defibrillator | Quick Use | 9x Plastic Parts 1x Moss | Medical Lab 2 |
| ??? | ??? | ??? | ??? |
| Equalizer | Weapon | 3x Magnetic Accelerator 3x Complex Gun Parts 1x Queen Reactor | Gunsmith 3 |
| Extended Barrel | Mod | 2x Mod Components 8x Wires | Gunsmith 3 |
| Extended Light Mag II | Mod | 2x Mechanical Components 3x Steel Spring | Gunsmith 2 |
| Extended Light Mag III | Mod | 2x Mod Components 5x Steel Spring | Gunsmith 3 |
| Extended Medium Mag II | Mod | 2x Mechanical Components 3x Steel Spring | Gunsmith 2 |
| Extended Medium Mag III | Mod | 2x Mod Components 5x Steel Spring | Gunsmith 3 |
| Extended Shotgun Mag II | Mod | 2x Mechanical Components 3x Steel Spring | Gunsmith 2 |
| Extended Shotgun Mag III | Mod | 2x Mod Components 5x Steel Spring | Gunsmith 3 |
| Remote Raider Flare | Quick Use | 2x Chemicals 4x Rubber Parts | Utility Station 1 |
| Heavy Gun Parts | Material | 4x Simple Gun Parts | Refiner 2 |
| Venator | Weapon | 2x Advanced Mechanical Components 3x Medium Gun Parts 5x Magnet | Gunsmith 3 |
| Il Toro | Weapon | 5x Mechanical Components 6x Simple Gun Parts | Gunsmith 1 |
| Jolt Mine | Mine | 1x Electrical Components 1x Battery | Explosives Station 2 |
| Explosive Mine | Mine | 1x Explosive Compound 1x Sensors | Explosives Station 3 |
| Jupiter | Weapon | 3x Magnetic Accelerator 3x Complex Gun Parts 1x Queen Reactor | Gunsmith 3 |
| Light Gun Parts | Material | 4x Simple Gun Parts | Refiner 2 |
| Lightweight Stock | Mod | 2x Mod Components 5x Duct Tape | Gunsmith 3 |
| Lure Grenade | Grenade | 1x Speaker Component 1x Electrical Components | Utility Station 2 |
| Medium Gun Parts | Material | 4x Simple Gun Parts | Refiner 2 |
| Torrente | Weapon | 2x Advanced Mechanical Components 3x Medium Gun Parts 6x Steel Spring | Gunsmith 3 |
| Muzzle Brake II | Mod | 2x Mechanical Components 4x Wires | Gunsmith 2 |
| Muzzle Brake III | Mod | 2x Mod Components 8x Wires | Gunsmith 3 |
| Padded Stock | Mod | 2x Mod Components 5x Duct Tape | Gunsmith 3 |
| Shotgun Choke II | Mod | 2x Mechanical Components 4x Wires | Gunsmith 2 |
| Shotgun Choke III | Mod | 2x Mod Components 8x Wires | Gunsmith 3 |
| Shotgun Silencer | Mod | 2x Mod Components 8x Wires | Gunsmith 3 |
| Showstopper | Grenade | 1x Advanced Electrical Components 1x Voltage Converter | Explosives Station 3 |
| Silencer I | Mod | 2x Mechanical Components 4x Wires | Gunsmith 2 |
| Silencer II | Mod | 2x Mod Components 8x Wires | Gunsmith 3 |
| Snap Hook | Quick Use | 2x Power Rod 3x Rope 1x Exodus Modules | Utility Station 3 |
| Stable Stock II | Mod | 2x Mechanical Components 3x Duct Tape | Gunsmith 2 |
| Stable Stock III | Mod | 2x Mod Components 5x Duct Tape | Gunsmith 3 |
| Tagging Grenade | Grenade | 1x Electrical Components 1x Sensors | Utility Station 3 |
| Tempest | Weapon | 3x Advanced Mechanical Components 3x Medium Gun Parts 3x Canister | Gunsmith 3 |
| Trigger Nade | Grenade | 2x Crude Explosives 1x Processor | Explosives Station 2 |
| Vertical Grip II | Mod | 2x Mechanical Components 3x Duct Tape | Gunsmith 2 |
| Vertical Grip III | Mod | 2x Mod Components 5x Duct Tape | Gunsmith 3 |
| Vita Shot | Quick Use | 2x Antiseptic 1x Syringe | Medical Lab 3 |
| Vita Spray | Quick Use | 3x Antiseptic 1x Canister | Medical Lab 3 |
| Vulcano | Weapon | 1x Magnetic Accelerator 3x Heavy Gun Parts 1x Exodus Modules | Gunsmith 3 |
| Wolfpack | Grenade | 2x Explosive Compound 2x Sensors | Explosives Station 3 |
| Red Light Stick | Quick Use | 3x Chemicals | Utility Station 1 |
| Smoke Grenade | Grenade | 14x Chemicals 1x Canister | Utility Station 2 |
| Deadline | Mine | 3x Explosive Compound 2x ARC Circuitry | Explosives Station 3 |
| Trailblazer | Grenade | 1x Explosive Compound 1x Synthesized Fuel | Explosives Station 3 |
| Tactical Mk. 3 (Defensive) | Augment | 2x Advanced Electrical Components 3x Processor | Gear Bench 3 |
| Tactical Mk. 3 (Healing) | Augment | 2x Advanced Electrical Components 3x Processor | Gear Bench 3 |
| Yellow Light Stick | Quick Use | 3x Chemicals | Utility Station 1 |
Note: The missing Blueprints in this list likely have not actually been added to the game at the time of writing, because none of the playerbase has managed to find any of them. As they are added to the game, I will update this page with the most relevant information so you know exactly how to get all 75 Arc Raiders Blueprints.
Where to find Blueprints in Arc Raiders
Below is a list of all containers, modifiers, and events which maximise your chances of finding Blueprints:
- Certain quests reward you with specific Blueprints .
- Completing Trials has a high chance of offering Blueprints as rewards.
- Surveyors have a decent chance of dropping Blueprints on death.
- High loot value areas tend to have a greater chance of spawning Blueprints.
- Night Raids and Storms may increase rare Blueprint spawn chances in containers.
- Containers with higher numbers of items may have a higher tendency to spawn Blueprints. As a result, Blue Gate (which has many “large” containers containing multiple items) may give you a higher chance of spawning Blueprints.
- Raider containers (Raider Caches, Weapon Boxes, Medical Bags, Grenade Tubes) have increased Blueprint drop rates. As a result, the Uncovered Caches event gives you a high chance of finding Blueprints.
- Security Lockers have a higher than average chance of containing Blueprints.
- Certain Blueprints only seem to spawn under specific circumstances: Tempest Blueprint only spawns during Night Raid events. Vulcano Blueprint only spawns during Hidden Bunker events. Jupiter and Equaliser Blueprints only spawn during Harvester events.

Raider Caches, Weapon Boxes, and other raider-oriented container types have a good chance of offering Blueprints. |Image credit:Rock Paper Shotgun/Embark Studios
Blueprints have a very low chance of spawning in any container in Arc Raiders, around 1-2% on average. However, there is a higher chance of finding Blueprints in particular container types. Specifically, you can find more Blueprints in Raider containers and security lockers.
Beyond this, if you’re looking for Blueprints you should focus on regions of the map which are marked as having particularly high-value loot. Areas such as the Control Tower in Dam Battlegrounds, the Arrival and Departure Buildings in Spaceport, and Pilgrim’s Peak in Blue Gate all have a better-than-average chance of spawning Blueprints somewhere amongst all their containers. Night Raids and Electromagnetic Storm events also increase the drop chances of certain Blueprints .
In addition to these containers, you can often loot Blueprints from destroyed Surveyors - the largest of the rolling ball ARC. Surveyors are more commonly found on the later maps - Spaceport and Blue Gate - and if one spawns in your match, you’ll likely see it by the blue laser beam that it casts into the sky while “surveying”.
Surveyors are quite well-armoured and will very speedily run away from you once it notices you, but if you can take one down then make sure you loot all its parts for a chance of obtaining certain unusual Blueprints.
Blueprints obtained from quests
One way in which you can get Blueprints is by completing certain quests for the vendors in Speranza. Some quests will reward you with a specific item Blueprint upon completion, so as long as you work through all the quests in Arc Raiders, you are guaranteed those Blueprints.
Here is the full list of all Blueprints you can get from quest rewards:
- Trigger Nade Blueprint: Rewarded after completing “Sparks Fly”.
- Lure Grenade Blueprint: Rewarded after completing “Greasing Her Palms”.
- Burletta Blueprint: Rewarded after completing “Industrial Espionage”.
- Hullcracker Blueprint (and Launcher Ammo Blueprint): Rewarded after completing “The Major’s Footlocker”.
Alas, that’s only 4 Blueprints out of a total of 75 to unlock, so for the vast majority you will need to find them yourself during a raid. If you’re intent on farming Blueprints, then it’s best to equip yourself with cheap gear in case you lose it, but don’t use a free loadout because then you won’t get a safe pocket to stash any new Blueprint you find. No pain in Arc Raiders is sharper than failing to extract with a new Blueprint you’ve been after for a dozen hours already.

One of the best ways to get Blueprints is by hitting three stars on all five Trials every week. |Image credit:Rock Paper Shotgun/Embark Studios
Blueprints obtained from Trials
One of the very best ways to get Blueprints is as rewards for completing Trials in Arc Raiders. Trials are unlocked from Level 15 onwards, and allow you to earn rewards by focusing on certain tasks over the course of several raids. For example, one Trial might task you with dealing damage to Hornets, while another might challenge you to loot Supply Drops.
Trials refresh on a weekly basis, with a new week bringing five new Trials. Each Trial can offer up to three rewards after passing certain score milestones, and it’s possible to receive very high level loot from these reward crates - including Blueprints. So if you want to unlock as many Blueprints as possible, you should make a point of completing as many Trials as possible each week.
Best Blueprint farming locations
The very best way to get Blueprints is to frequent specific areas of the maps which combine high-tier loot pools with the right types of containers to search. Here are my recommendations for where to find Blueprints on every map, so you can always keep the search going for new crafting recipes to unlock.

Image credit:Rock Paper Shotgun/Embark Studios
Dam Battlegrounds
The best places to farm Blueprints on Dam Battlegrounds are the Control Tower, Power Generation Complex, Ruby Residence, and Pale Apartments . The first two regions, despite only being marked on the map as mid-tier loot, contain a phenomenal number of containers to loot. The Control Tower can also contain a couple of high-tier Security Lockers - though of course, you’ll need to have unlocked the Security Breach skill at the end of the Survival tree.
There’s also a lot of reporting amongst the playerbase that the Residential areas in the top-left of the map - Pale Apartments and Ruby Residence - give you a comparatively strong chance of finding Blueprints. Considering their size, there’s a high density of containers to loot in both locations, and they also have the benefit of being fairly out of the way. So you’re more likely to have all the containers to yourself.
Buried City
The best Blueprint farming locations on Buried City are the Santa Maria Houses, Grandioso Apartments, Town Hall, and the various buildings of the New District . Grandioso Apartments has a lower number of containers than the rest, but a high chance of spawning weapon cases - which have good Blueprint drop rates. The others are high-tier loot areas, with plenty of lootable containers - including Security Lockers.
Spaceport
The best places to find Blueprints on Spaceport are the Arrival and Departure Buildings, as well as Control Tower A6 and the Launch Towers . All these areas are labelled as high-value loot regions, and many of them are also very handily connected to one another by the Spaceport wall, which you can use to quickly run from one area to the next. At the tops of most of these buildings you’ll find at least one Security Locker, so this is an excellent farming route for players looking to find Blueprints.
The downside to looting Blueprints on Spaceport is that all these areas are hotly contested, particularly in Duos and Squads. You’ll need to be very focused and fast in order to complete the full farming route.

Image credit:Rock Paper Shotgun/Embark Studios
Blue Gate
Blue Gate tends to have a good chance of dropping Blueprints, potentially because it generally has a high number of containers which can hold lots of items; so there’s a higher chance of a Blueprint spawning in each container. In my experience, the best Blueprint farming spots on Blue Gate are Pilgrim’s Peak, Raider’s Refuge, the Ancient Fort, and the Underground Complex beneath the Warehouse .
All of these areas contain a wealth of containers to loot. Raider’s Refuge has less to loot, but the majority of the containers in and around the Refuge are raider containers, which have a high chance of containing Blueprints - particularly during major events.
Stella Montis
On the whole, Stella Montis seems to have a very low drop rate for Blueprints (though a high chance of dropping other high-tier loot). If you do want to try farming Blueprints on this map, the best places to find Blueprints in Stella Montis are Medical Research, Assembly Workshop, and the Business Center . These areas have the highest density of containers to loot on the map.
In addition to this, the Western Tunnel has a few different Security Lockers to loot, so while there’s very little to loot elsewhere in this area of the map, it’s worth hitting those Security Lockers if you spawn there at the start of a match.
That wraps up this primer on how to get all the Blueprints in Arc Raiders as quickly as possible. With the Expedition system constantly resetting a large number of players’ Blueprints, it’s more important than ever to have the most up-to-date information on where to find all these Blueprints.
While you’re here, be sure to check out our Arc Raiders best guns tier list , as well as our primers on the best skills to unlock and all the different Field Depot locations on every map.


ARC Raiders
PS5 , Xbox Series X/S , PC
Rock Paper Shotgun is better when you sign in
Sign in and join us on our journey to discover strange and compelling PC games.
