Dragon’s Dogma 2: Halls of the First Dawn quest walkthrough
Evacuating cities and killing Purgener Dragons awaits in Halls of the First Dawn
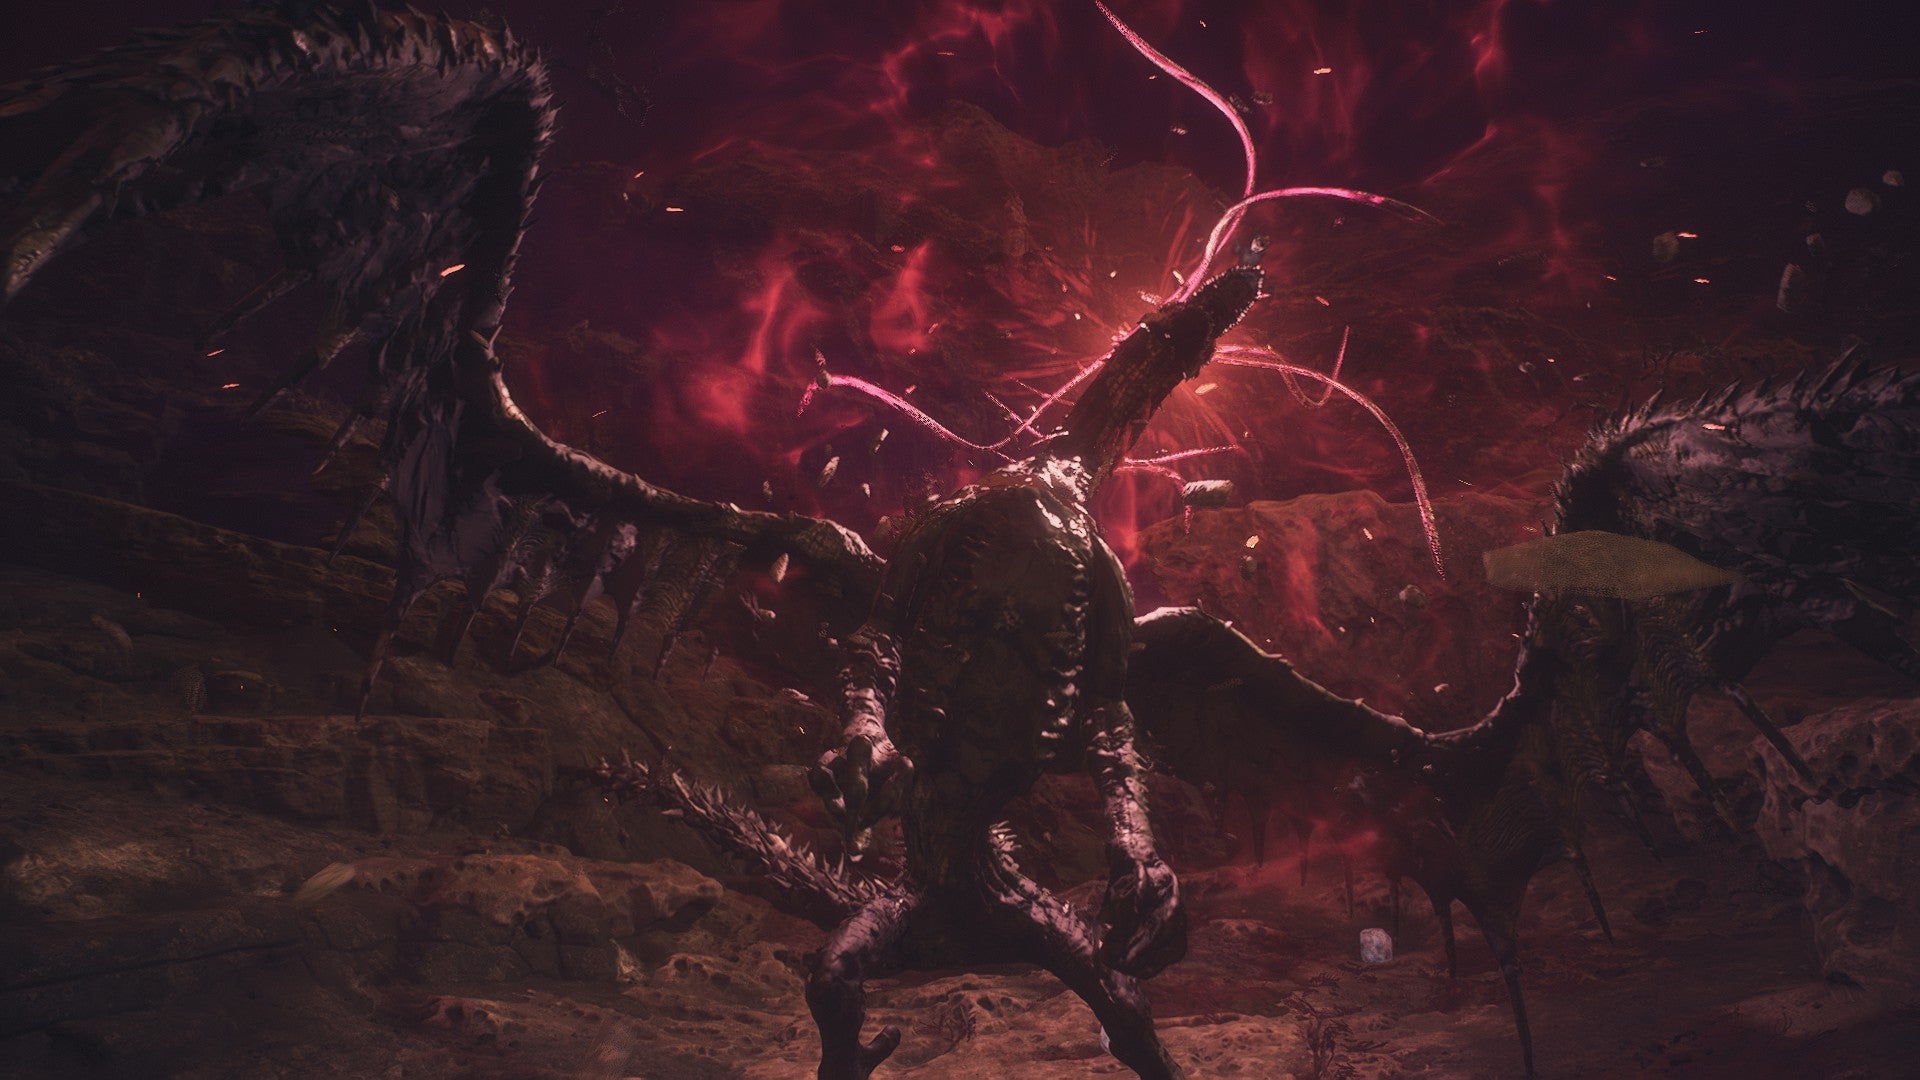
Image credit:Rock Paper Shotgun/Capcom

Looking for a walkthrough for the main quest Halls of the First Dawn in Dragon’s Dogma 2? Welcome to the longest quest of the Unmoored World in Dragon’s Dogma 2 . Halls of the First Dawn is actually more of a branching path connecting several sidequests, and along the way you’ll have plenty of chances to battle the deadly Purgener Dragons that lurk in the skies at the top of each eerie red beacon. While you technically don’t need to beat these bosses to complete this quest, and can certainly return to them later in your endgame journey, this is as good a time as any.
If you’re ready to zip all over the map and tackle Brine-infused dragons, get started with the following Halls of the First Dawn quest walkthrough.

This highlight reel shows off all the incredible adventures awaiting the new Arisen of Dragon’s Dogma 2.Watch on YouTube
For our full walkthrough of the entire game or to find a different quest, visit our Dragon’s Dogma 2 walkthrough guide!
Halls of the First Dawn quest walkthrough
Halls of the First Dawn objectives:
- Go to the Seafloor Shrine.
- Speak with Rothais and Luz.
- Visit Bakbattahl and complete the “Civil Unrest” sidequest.
- (Optional) Defeat the Bakbattahl Purgener Dragon.
- Visit Vernworth and complete “The Regentkin’s Resolve” sidequest.
- (Optional) Defeat the Vernworth Purgener Dragon.
- Visit Sacred Arbor and complete the “Wandering Roots” sidequest.
- (Optional) Defeat the Sacred Arbor Purgener Dragon.
- Visit the Volcanic Island Camp and complete “The Importance of Aiding Ernesto” sidequest.
- (Optional) Defeat the Volcanic Island Camp Purgener Dragon.
- Visit the Excavation Site and complete the “Shepherd of the Pawns” sidequest.
First thing’s first - head over to the Seafloor Shrine , which has risen above the ocean and is now totally walkable. You’ll encounter lots of skeletons and other undead foes as you traverse these previously-underwater passageways, but they’re not terribly hard and drop lots of Ferrystones , which you’ll desperately need in the Unmoored World.
Once you’ve reached the shrine, speak with Rothais and activate the nearby Portcrystal , so you can teleport back here whenever you want. Several of the former Arisen you’ve met on your journey will then appear. Speak with Luz, who tells you that the towns around the world are in danger of extinction and need to be evacuated as soon as possible.

I’ll get right on that evacuation process, Luz! |Image credit:Rock Paper Shotgun/Capcom
You’re now free to travel to the towns in the vicinity of the four red beacons on your map. Ideally, you want to do this as quickly as possible to save as many folks as you can, especially because the Unmoored World runs on a time limit. (For more on this time limit, see our guide to the previous main story quest, Dreams Apart .)
The good news is that after you’ve saved the populations of each town, the Seafloor Shrine will slowly populate with shopkeepers and other resources, creating a central hub that you can always return to as you tackle the endgame.
Civil Unrest
We recommend that you evacuate the people of Bakbattahl first, since they’re fairly close to the Seafloor Shrine. Once you’re in the city, speak with Manella , who can be found near the oxcart stop. This will activate the sidequest “Civil Unrest” , which tasks you with solving petty disputes around town.
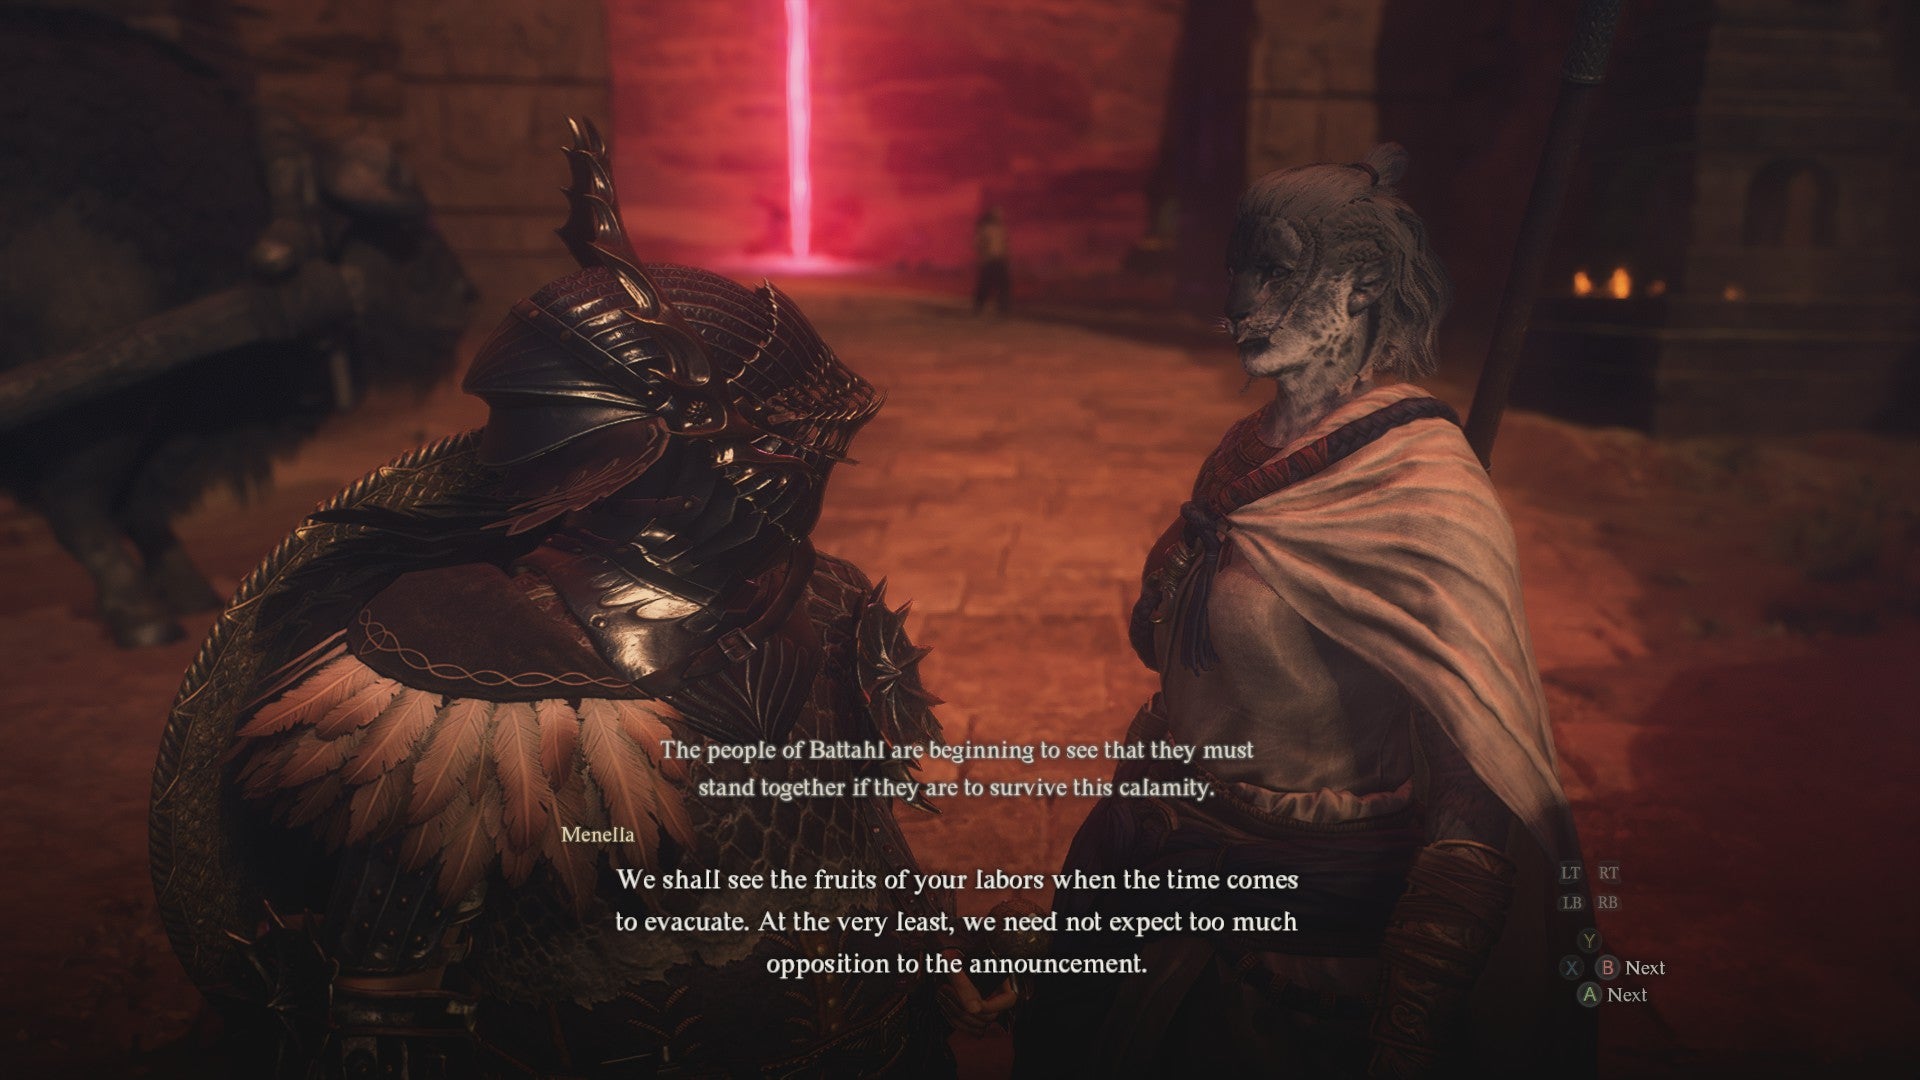
As a captain of Bakbattahl’s guard, shouldn’t Manella be taking care of civil disputes herself instead of tasking them to the Arisen? Just a thought. |Image credit:Rock Paper Shotgun/Capcom
Go to each quest marker on your map. One dispute is on the northern side of Bakbattahl, and you’ll stumble into a fight that requires you to get personally involved. The second is near the inn, where two men are arguing. You can either threaten then with a few whacks to the head (Manella will chastise you for this, but it doesn’t affect the outcome of the quest) or offer their nearby children food to settle things peacefully. The last dispute is in front of the vocation guild, and all you need to do is watch two locals engage in a duel.
Once all disputes are taken care of, return to Manella, who will ask you to speak with Empress Nadinia in the palace. The quest ends afterwards, as evacuations kick off throughout the city.
Since you’re in Bakbattahl, it’s worth facing the area’s Purgener Dragon , which is oddly enough a jar instead of a living creature. This is technically the subject of the next main quest in the game, so head over to our guide for “A Scholarly Pursuit” for more info.
The Regentkin’s Resolve
With Bakbattahl taken care of, Ferrystone to Vernworth. Speak with Captain Brant at the tavern to begin the sidequest “The Regentkin’s Resolve” . Next, you’ll need to talk with Sven in his room on the second floor of the Vernworth palace. Sven asks you to convince his mother Disa to agree to a citywide evacuation, and also to secure control over Vernworth’s oxcarts, which have been commandeered by an annoying nobleman.

It’s nice to see Sven finally wearing the crown for himself and proving a better ruler than his mother. |Image credit:Rock Paper Shotgun/Capcom
Disa’s room is down the hall from Sven’s. While she’s unresponsive to the idea of evacuation, you can force her to come to her senses by picking her up and depositing her in Sven’s room. If you’d prefer a more tactful approach and have completed the sidequest “The Ornate Box” , you should see a box on Queen Disa’s desk. Take this box to Sven and he’ll reconcile his differences with his mother.
Dealing with the oxcarts is a simpler affair. Merely head over the the oxcart station in Vernworth’s western gate and talk to Allard , a slimy noble who’s bought them for himself. You can either pull out your weapon to intimidate him, or jump on him to deliver some good old fashioned threats. The oxcarts will be yours, and Sven will reward you and end the quest once you tell him the good news.
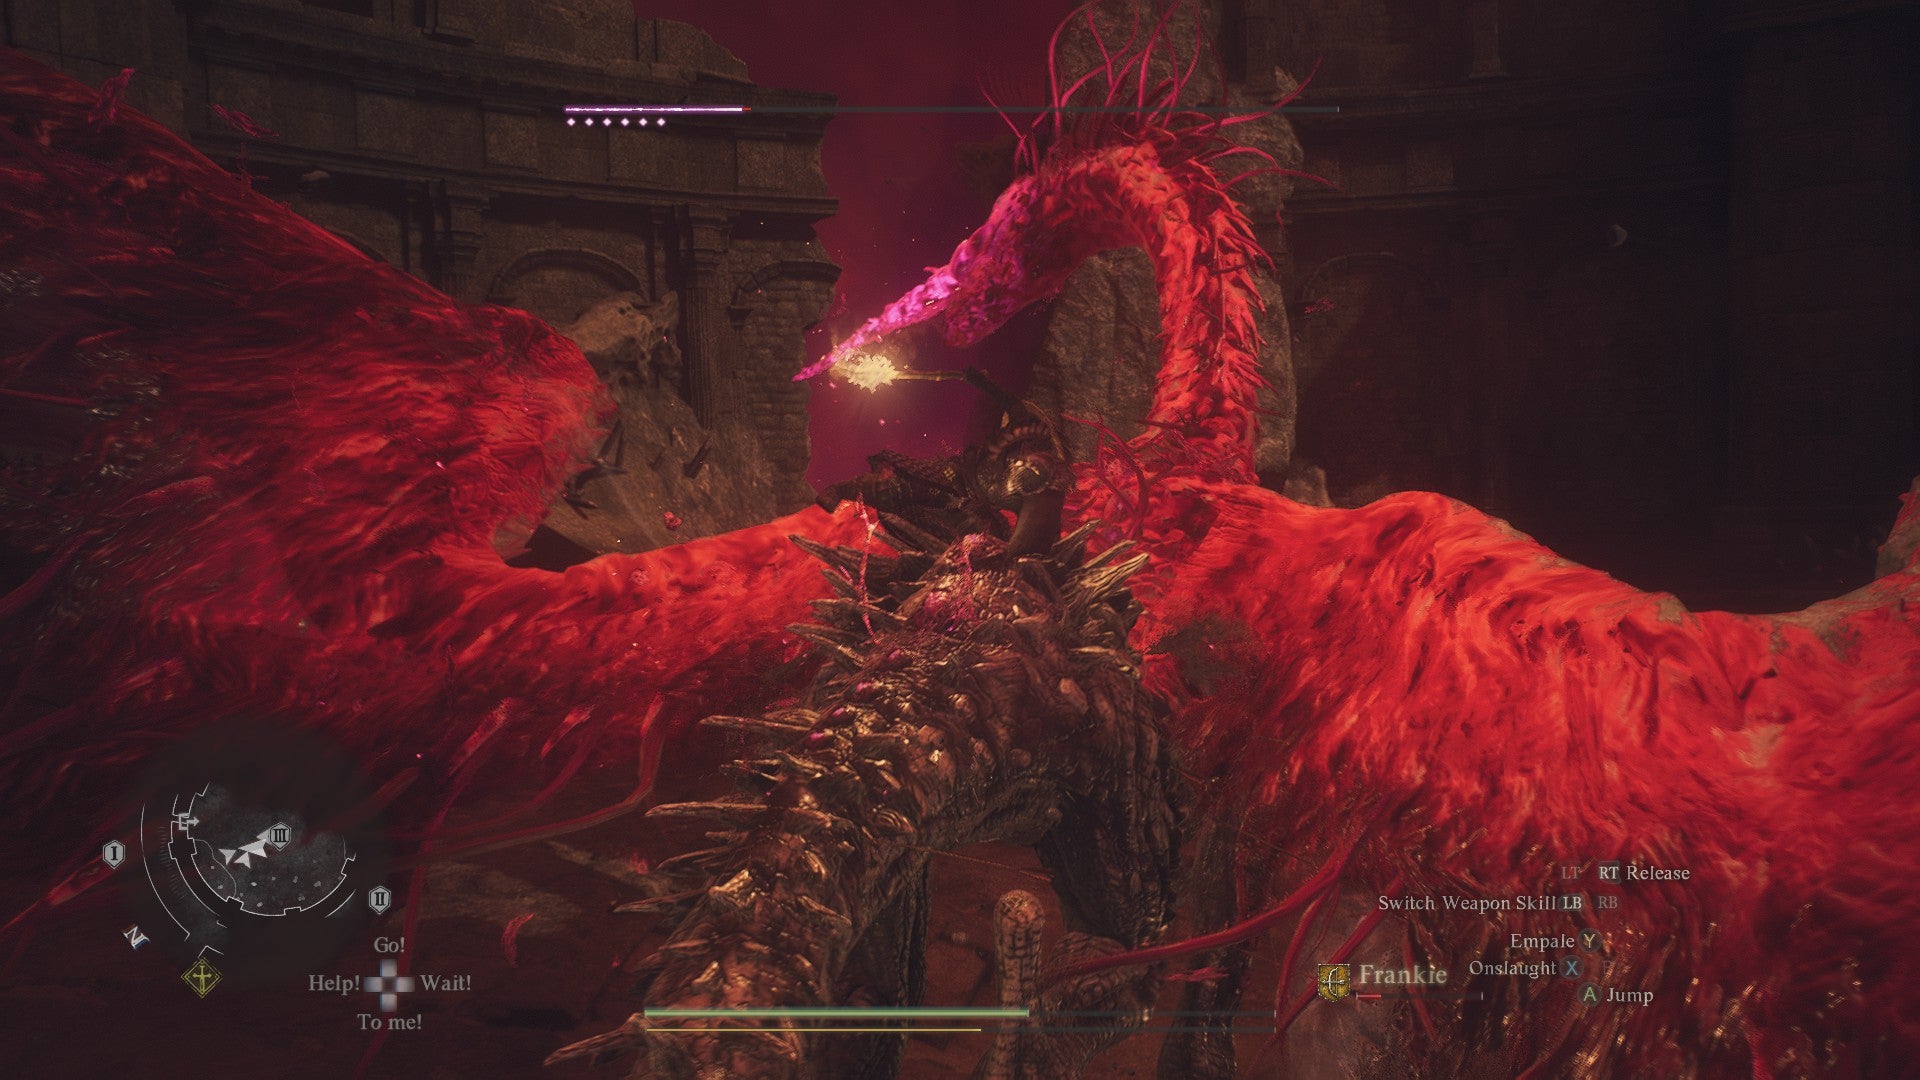
If you’re following this guide to the letter, Vernworth’s Purgener Dragon is the first you’ve faced. Prepare to do a lot of climbing to break those pink weak points, and beware falling to your doom. |Image credit:Rock Paper Shotgun/Capcom
Now that Vernworth’s people are safe, you should take care of the Vernworth Purgener Dragon . Head to the beacon on the seabed floor near the southwestern edge of the city and use your Godsbane Blade . A terrible drake covered in Brine will descend from the heavens, kicking off combat. You’ll want to avoid its breath explosions, its meteor attacks, as well as the typhoons that it can summon across the battlefield. Luckily, the Purgener’s weak spots are well telegraphed by pink stones attached to its body. As the fight progresses, the Brine will recede and more of these pink stones will appear. Attack them with extreme prejudice, and when all are gone, target the drake’s horned head.
Wandering Roots
Now that Bakbattahl and Vernworth have begun their evacuations, it’s time to chat with the elves in their hidden village and get them to turn tail as well. Finding Sacred Arbor is completely optional, and it’s possible that you’ve missed it during the game, especially if you’ve only been completing main quests. Thankfully, you can teleport to the city via Ferrystone. You’ll also need to pick up a pawn with the Woodland Wordsmith Specialisation, which means that they can speak Elvish. Without this specialisation, all elven dialogue will come across as incomprehensible.
In Sacred Arbor, speak with Glyndwr , the dashing archer at the town’s entrance. He’ll take you to his father Taliesin , who’s typically pigheaded about evacuating. (What’s up with everyone not wanting to save their skins around here?) To get him to change his mind, you’ll need to continuously talk with him over the course of three days. The easiest way to do this if you’ve got coin to spare is to use the Sacred Arbor inn three times, chatting with Taliesin immediately after you wake up. Eventually, he’ll agree to go along with you, if only because you’re persistent.
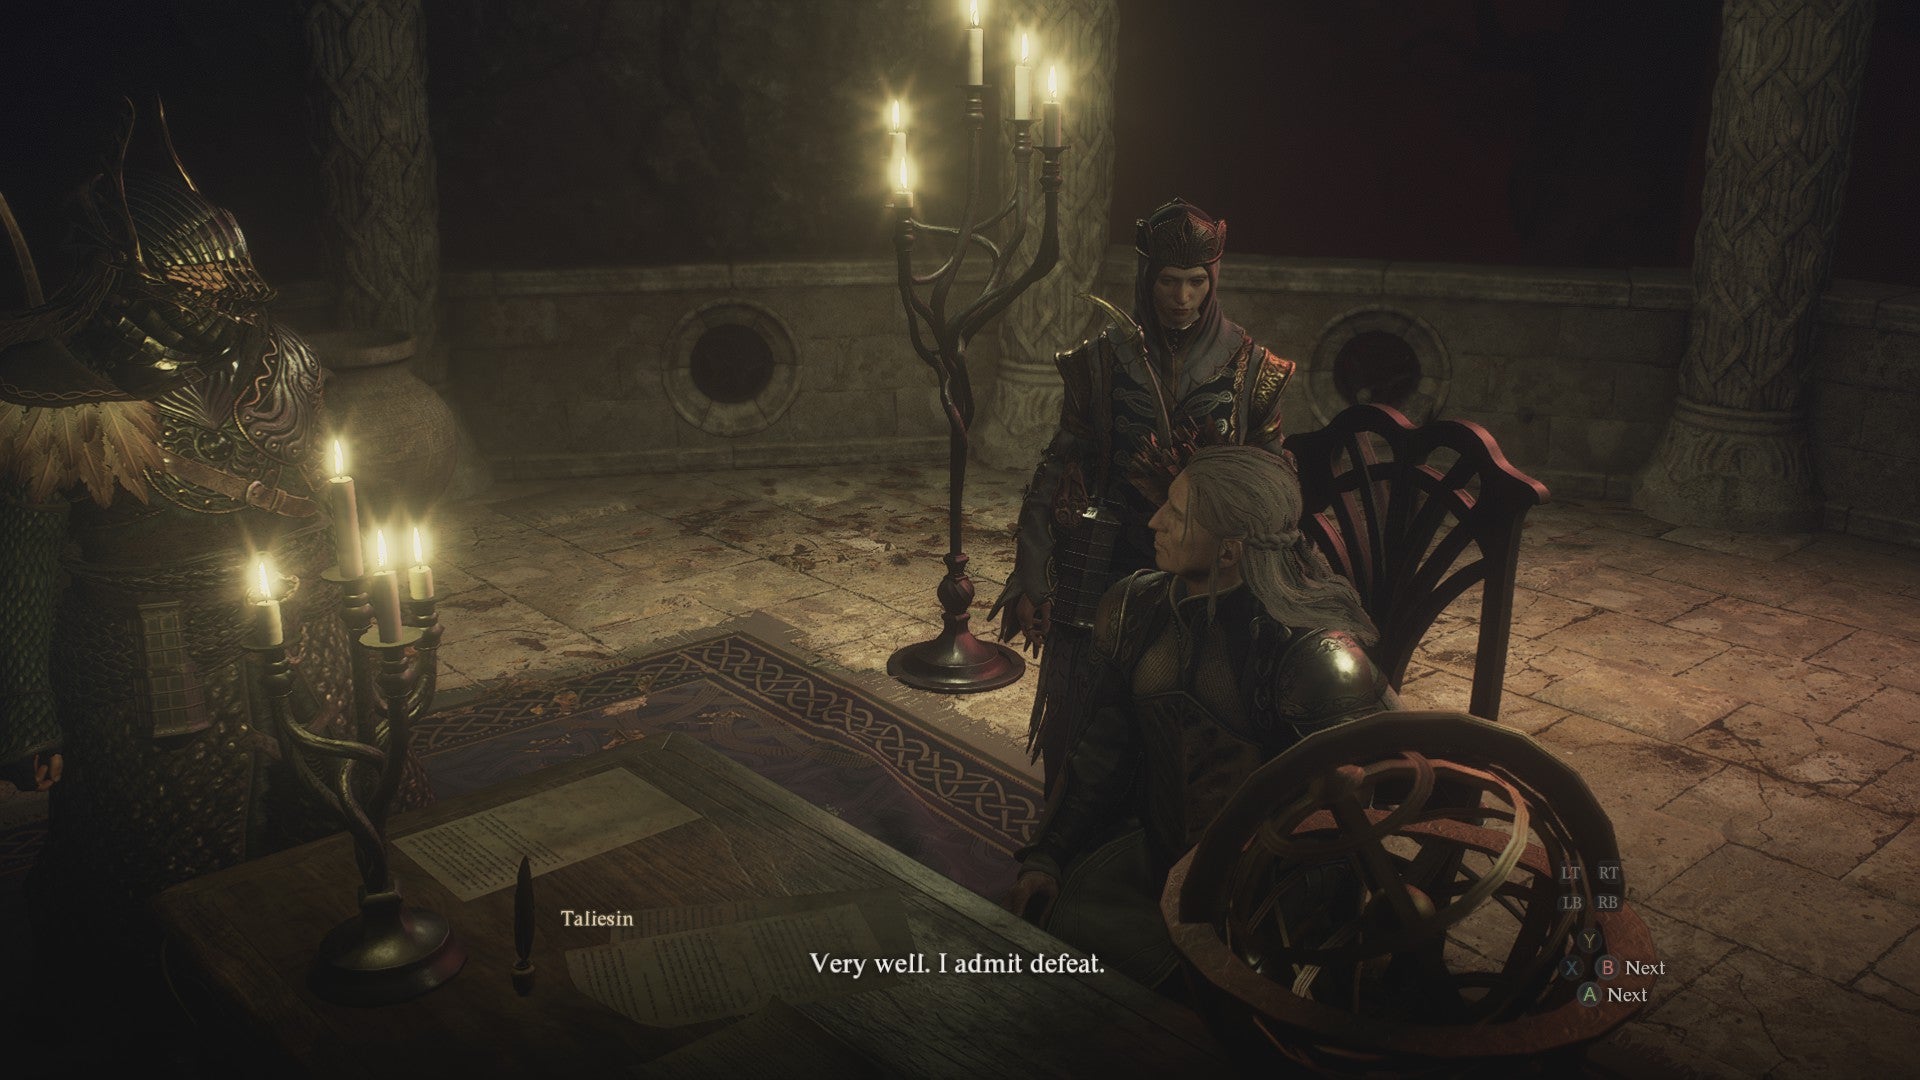
Taliesin can be pestered until he complies, though if you’ve previously visited Sacred Arbor and done its sidequests, there are other ways to convince him, as explained below. |Image credit:Rock Paper Shotgun/Capcom
If you’ve completed the elven sidequests “The Ailing Arborheart” , “Out of the Forest” , and “Into the Forge” , Taliesin will be more receptive to your cause if you can prove that a piece of the elves’ forest home can grow at the Seafloor Shrine. He’ll give you the Arborheart Cutting , which you need to plant at the quest marker spot in the Seafloor Shrine. Once this is done, the elves will agree to leave their sacred abode.
With the elves gone, go to the red beacon in front of Sacred Arbor and use your Godsbane Blade . The Sacred Arbor Purgener Dragon is a giant worm that’s much easier than the last boss you fought. It’ll slither across the arena and use the same meteor and typhoon attacks as its drake cousin. Climb atop it and bash the pink stones to render it asunder.
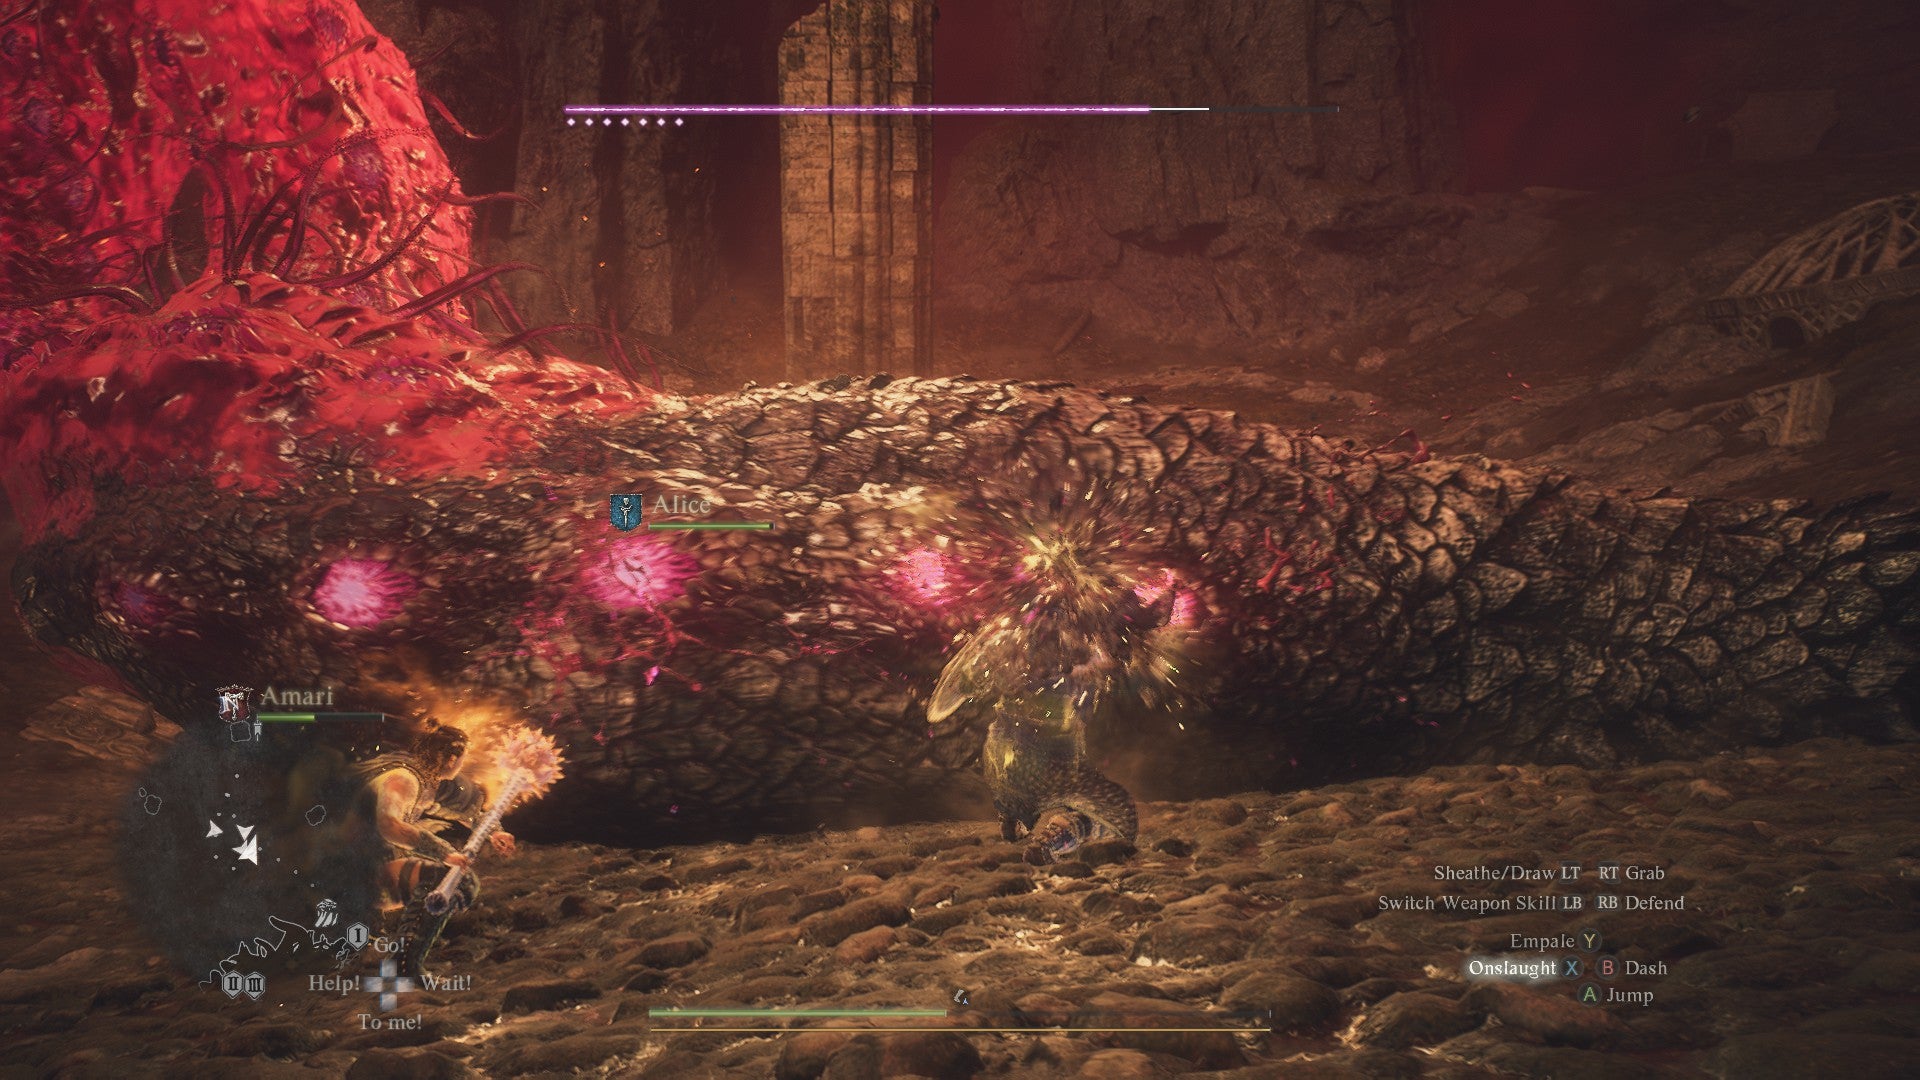
It looks massive, but this worm Purgener Dragon’s a relatively easy target who wears its weak points on its sleeve. It’s a lot of fun hanging onto its back as it wiggles around, too. |Image credit:Rock Paper Shotgun/Capcom
The Importance of Aiding Ernesto
Teleport to Agamen Volcanic Island , go to the Volcanic Island Camp , and speak with the Beastren guard Ernesto by the northern gates to start “The Importance of Aiding Ernesto” . He’ll ask you to convince Gautstafr and his elven wife Cliodhna to evacuate with the other residents of the camp.
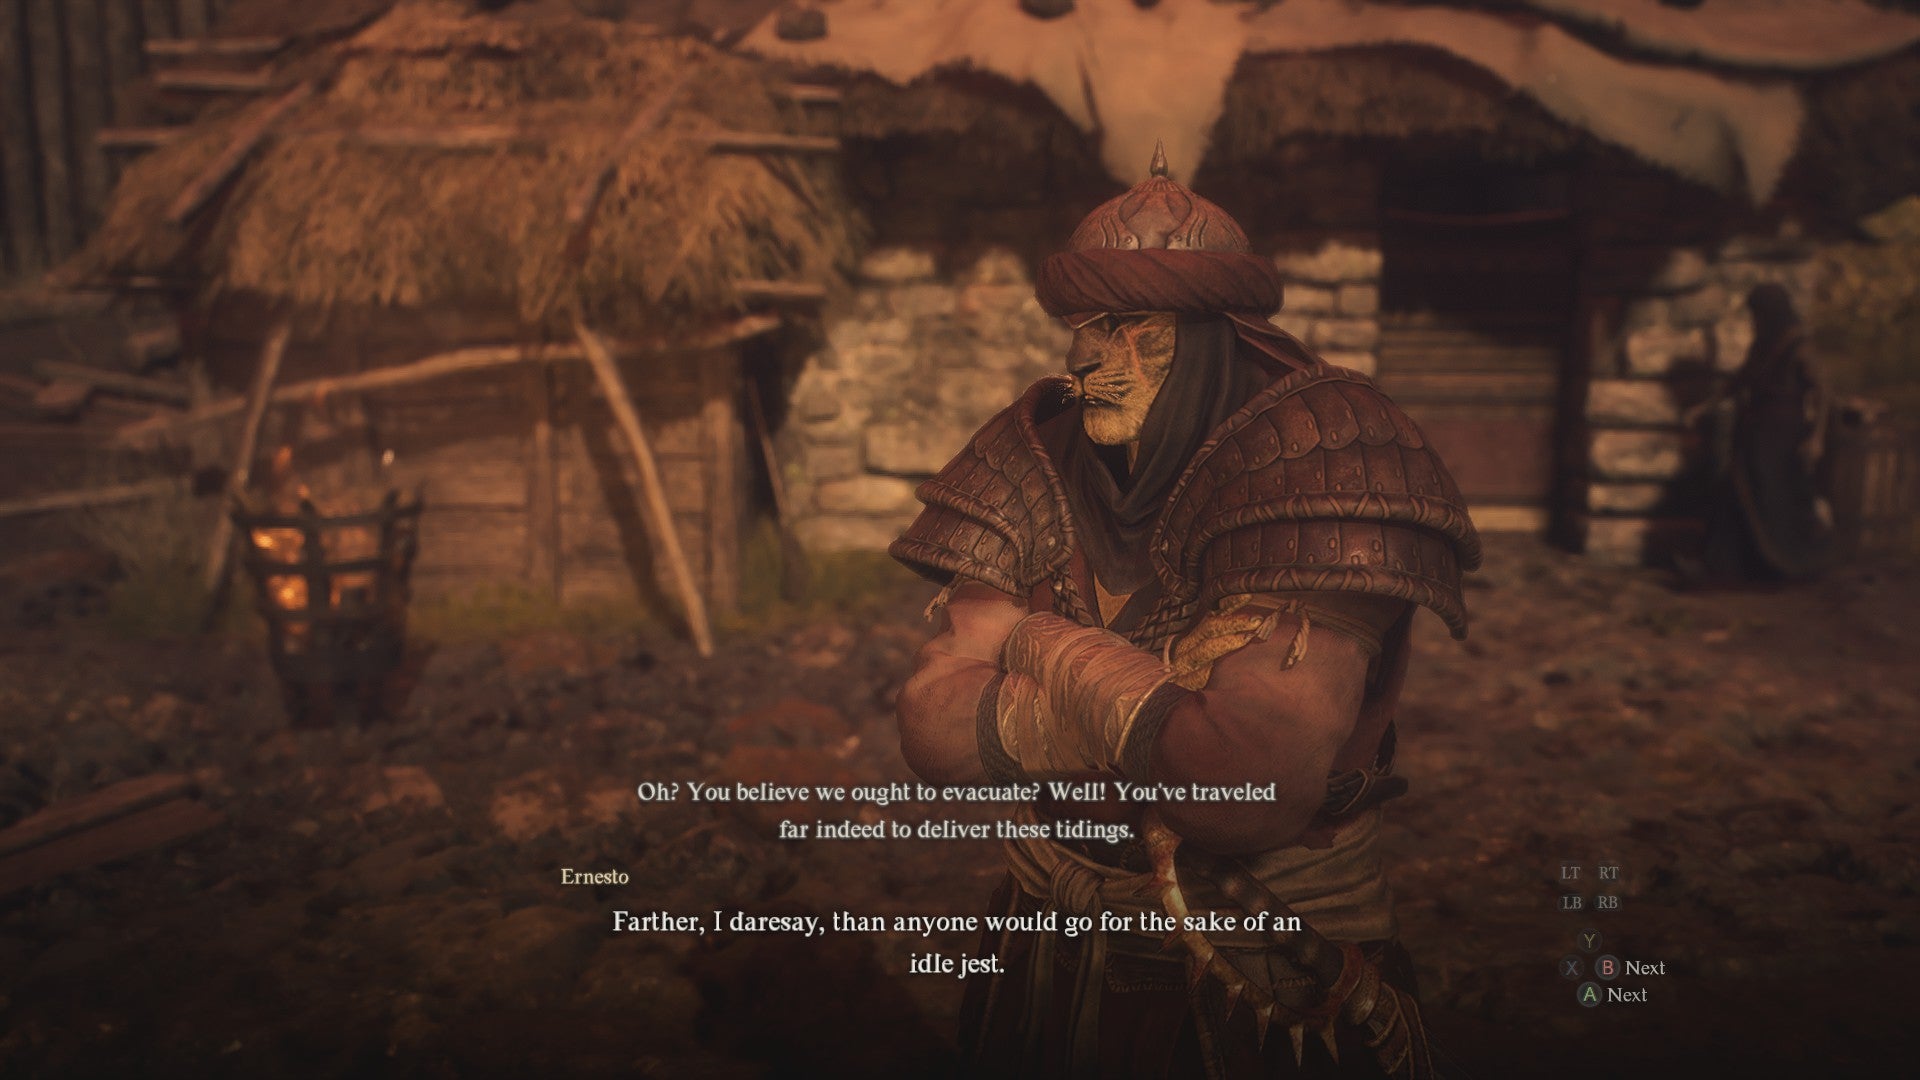
Another guard perfectly happy to give the Arisen busywork! To be fair, it is kind of a pain to trek all the way to Gautstafr and Cliodhna’s house. |Image credit:Rock Paper Shotgun/Capcom
If you unlocked the Magick Archer vocation , you’ll remember these two. They live in a house off the beaten path on the eastern side of the island, and they’ll be receptive to your cause. Unfortunately, you’ll have to escort them all the way back to the camp, and Gautstafr isn’t exactly a fast walker. Cliodhna shoots a mean magickal bow, though, and will be an asset when fighting the various hobgoblins and minotaur you’re likely to encounter on the route.
Once the husband and wife duo are safe, Ernesto tasks you with convincing the former Arisen Lamont to aid him. You’ll know this boiled egg-loving guy if you unlocked the Warfarer vocation . He’s the sort of dude who hates authority and taking orders, but he has a good heart, and if you ask him to serve as Gautstafr and Cliodhna’s bodyguard, he’ll comply. This completes the quest.
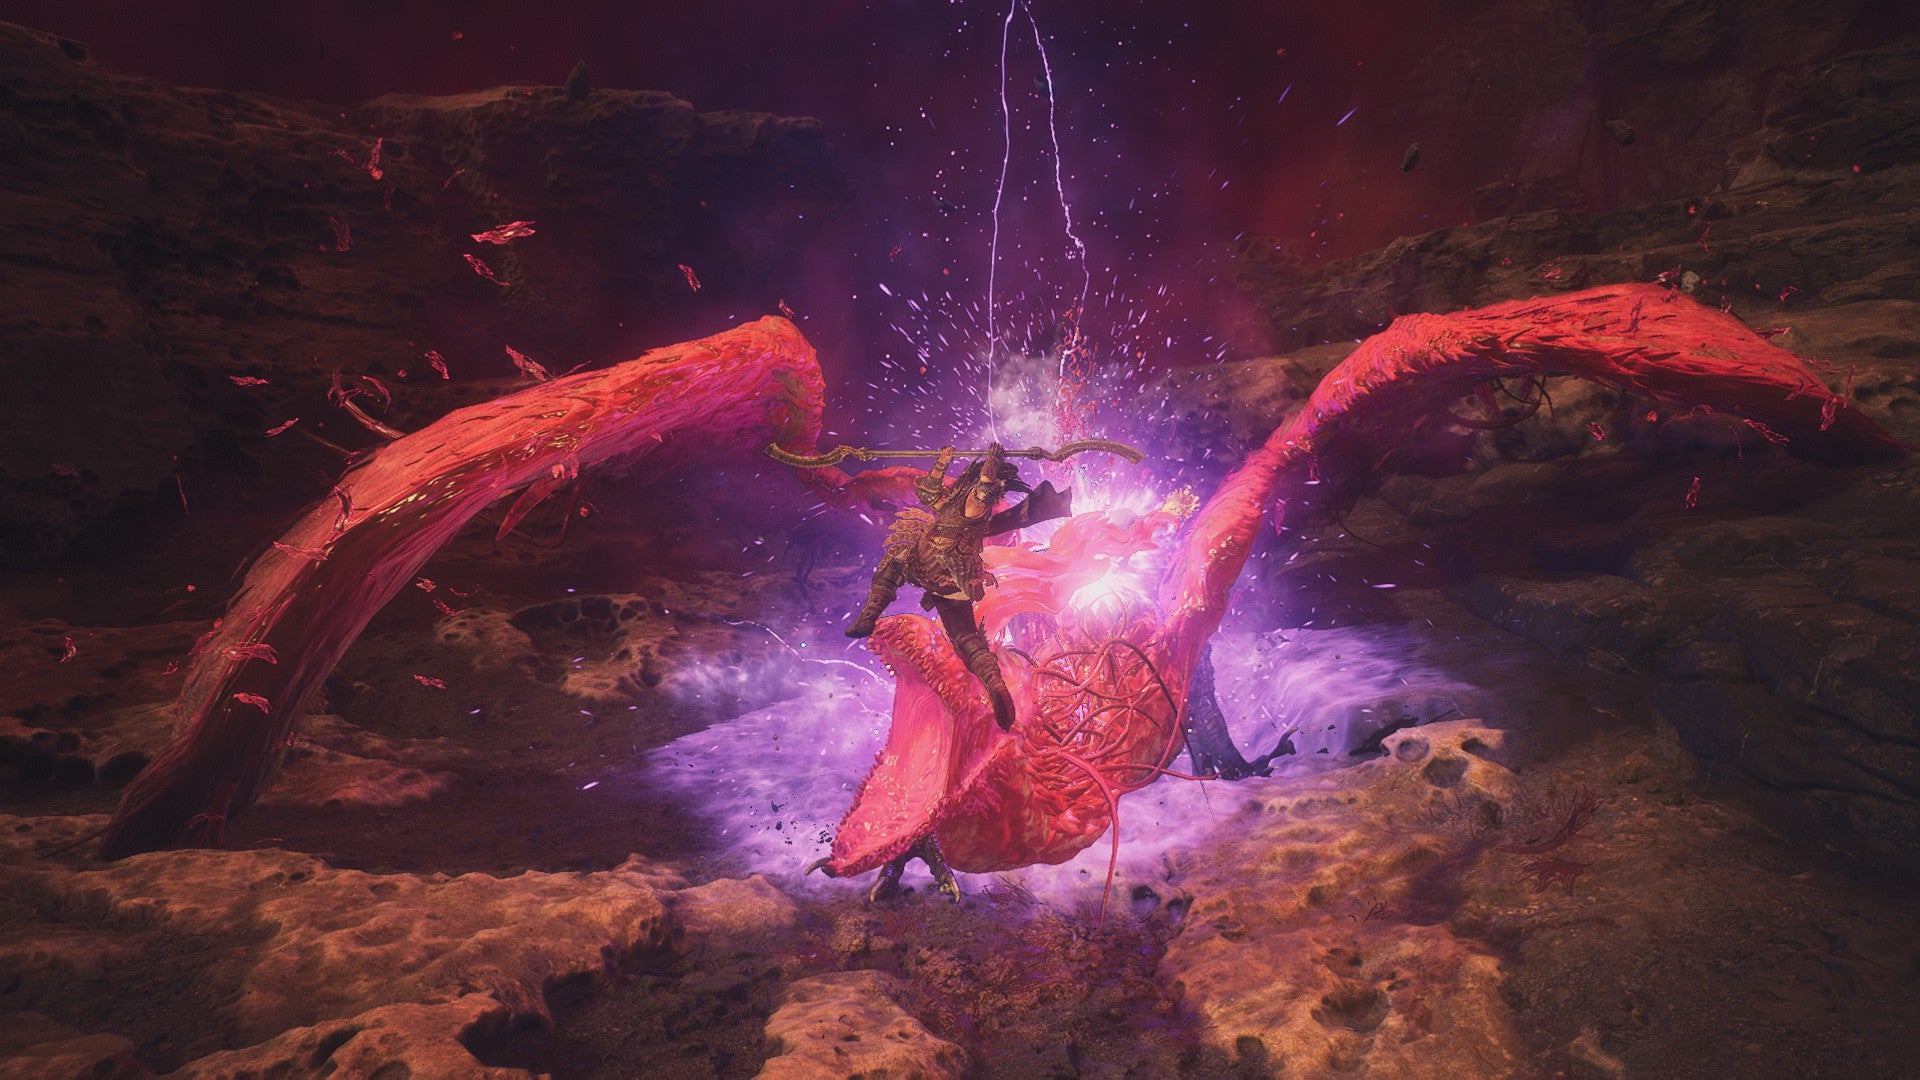
Another Brine dragon down, one more to go… |Image credit:Rock Paper Shotgun/Capcom
The Volcanic Island Camp Purgener Dragon can be fought once you reach its beacon east of the Volcanic Island Camp and use the Godsbane Blade. This one’s another drake, like the Vernworth Purgener. Use the same strategies of dodging its big attacks and attacking its pink spots to reign victorious.
Shepherd of the Pawns
“Shepherd of the Pawns” begins when you go to the Excavation Site and encounter the guard Henrique fighting a golem near the entrance. This should be a fairly easy kill by this point - just smack the golem’s coloured weak points to kill it. Then follow Henrique to the cells of the camp, where your epic Arisen adventure began oh so long ago. There will be several pawns there who refuse to move, and Henrique gives you the Overseers’ Lodge Key , asking you to search for a way to convince them.
Use the key to open the door of the large house near the Excavation Camp inn. Inside you’ll find a storage room with the Diminished Godsway on the floor. Take this, bring it back to the cells, and give it to Henrique to free the pawns and finish the quest.
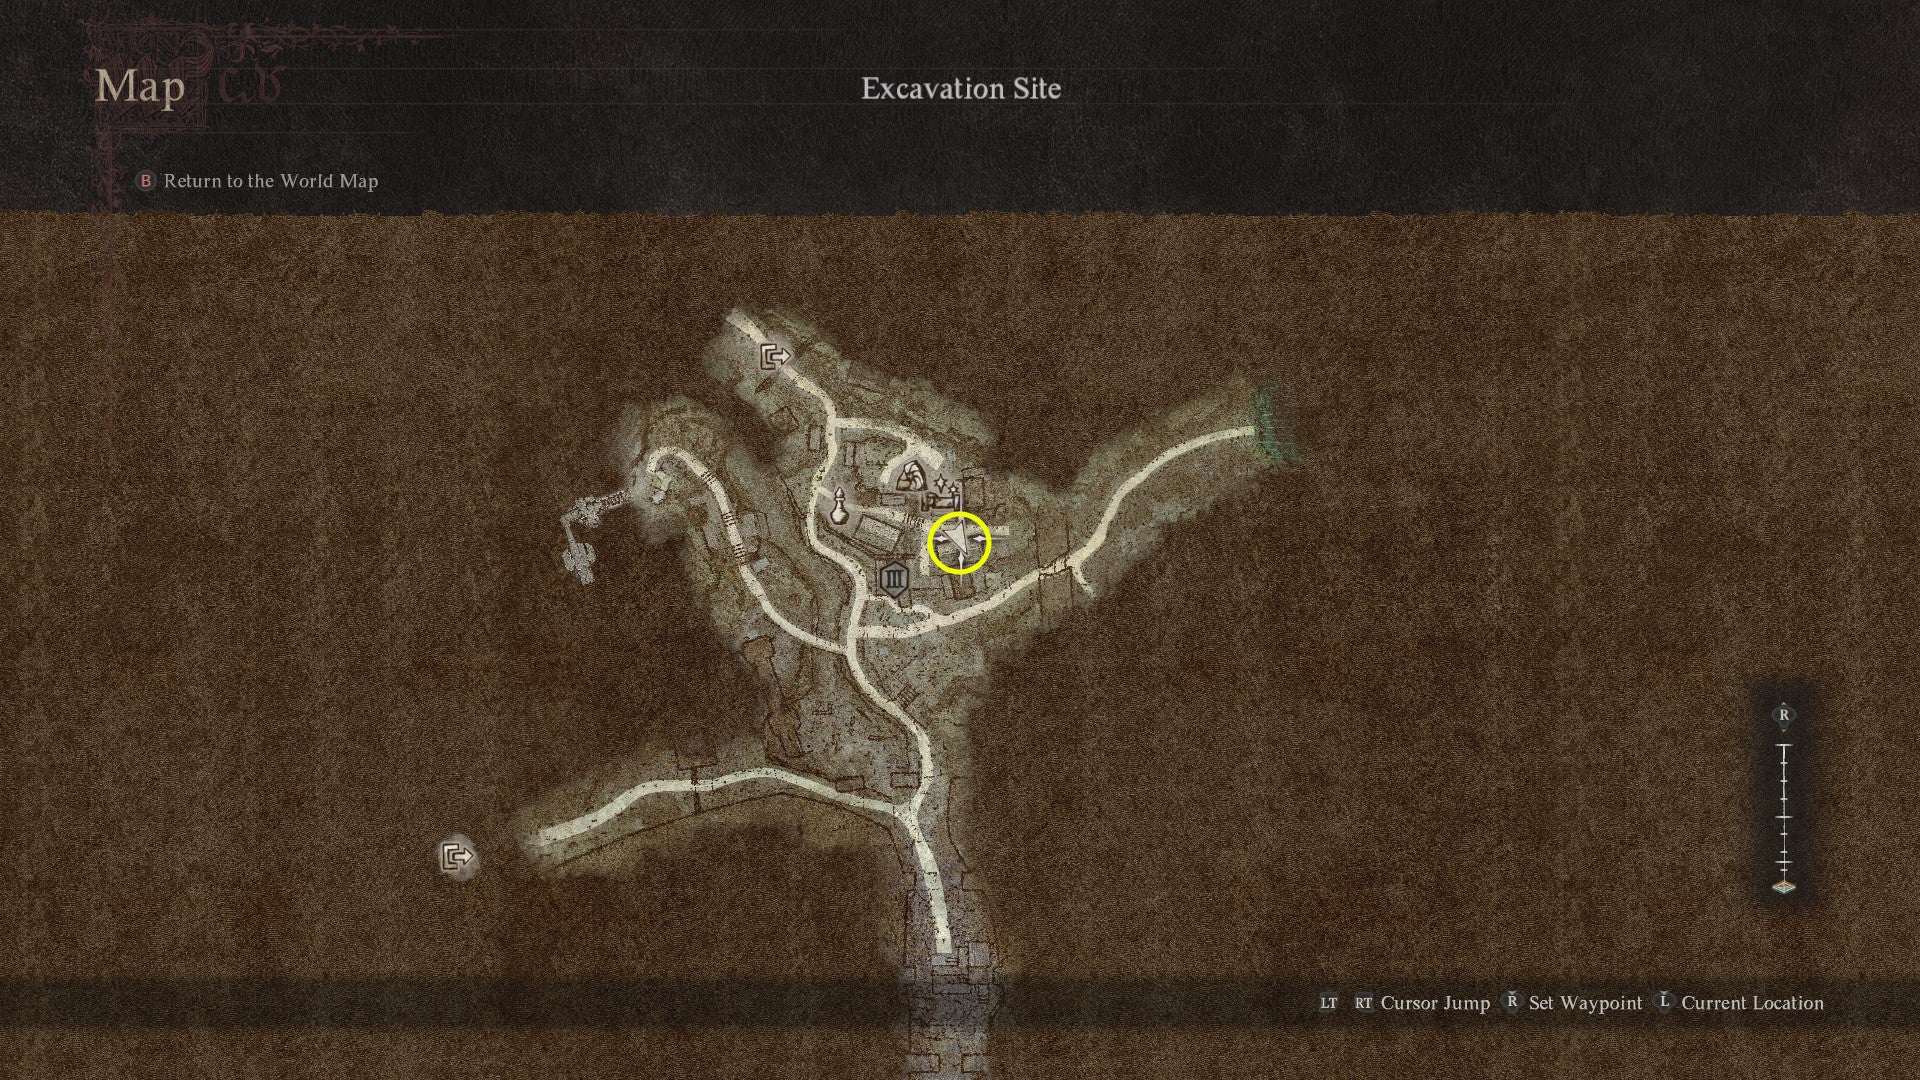
Here’s the house that you’re looking for. Apparently, it belonged to that awful camp overseer who you might remember from the very beginning of the game. |Image credit:Rock Paper Shotgun/Capcom
Unlike the other quests here, there isn’t a Purgener Dragon immediately available for you to fight, at least at the moment. (See our guide on the " When Wills Collide " quest for more info). So, bask in the knowledge that all of the Unmoored World’s major communities are evactuated, and enjoy the fact that “Halls of the First Dawn” has finally come to an end. Head back to the Seafloor Shrine to enjoy the fruits of your labor and the new hub town you’ve steadily created, and get ready to witness the true ending of Dragon’s Dogma 2 .
Next quest:A Scholary Pursuit
Hopefully you’ve been well-equipped and properly leveled up as you battled all of those Brine-infused dragons falling from the sky. If you’re not, or simply want some assistance at ranking up new vocations in the Unmoored World, feel free to check out our guides to the Archer , Fighter , Mage , Magick Archer , Mystic Spearhand , Sorcerer , Thief , Trickster , Warrior , and Warfarer . We’ve also got full rundowns of the best weapons and best armor in Dragon’s Dogma 2.


Dragon’s Dogma 2
PS5 , Xbox Series X/S , PC
Rock Paper Shotgun is better when you sign in
Sign in and join us on our journey to discover strange and compelling PC games.

All 75 Arc Raiders Blueprints and where to get them
These areas have the highest chance of giving you Blueprints

Image credit:Rock Paper Shotgun/Embark Studios

Looking for more Arc Raiders Blueprints? It’s a special day when you find a Blueprint, as they’re among the most valuable items in Arc Raiders. If you find a Blueprint that you haven’t already found, then you must make sure you hold onto it at all costs, because Blueprints are the key to one of the most important and powerful systems of meta-progression in the game.
This guide aims to be the very best guide on Blueprints you can find, starting with a primer on what exactly they are and how they work in Arc Raiders, before delving into exactly where to get Blueprints and the very best farming spots for you to take in your search.
We’ll also go over how to get Blueprints from other unlikely activities, such as destroying Surveyors and completing specific quests. And you’ll also find the full list of all 75 Blueprints in Arc Raiders on this page (including the newest Blueprints added with the Cold Snap update , such as the Deadline Blueprint and Firework Box Blueprint), giving you all the information you need to expand your own crafting repertoire.
In this guide:
- What are Blueprints in Arc Raiders?
- Full Blueprint list: All crafting recipes
- Where to find Blueprints in Arc Raiders Blueprints obtained from quests Blueprints obtained from Trials Best Blueprint farming locations

What are Blueprints in Arc Raiders?
Blueprints in Arc Raiders are special items which, if you manage to extract with them, you can expend to permanently unlock a new crafting recipe in your Workshop. If you manage to extract from a raid with an Anvil Blueprint, for example, you can unlock the ability to craft your very own Anvil Pistol, as many times as you like (as long as you have the crafting materials).
To use a Blueprint, simply open your Inventory while in the lobby, then right-click on the Blueprint and click “Learn And Consume” . This will permanently unlock the recipe for that item in your Workshop. As of the Stella Montis update, there are allegedly 75 different Blueprints to unlock - although only 68 are confirmed to be in the game so far. You can see all the Blueprints you’ve found and unlocked by going to the Workshop menu, and hitting “R” to bring up the Blueprint screen.
It’s possible to find duplicates of past Blueprints you’ve already unlocked. If you find these, then you can either sell them, or - if you like to play with friends - you can take it into a match and gift it to your friend so they can unlock that recipe for themselves. Another option is to keep hold of them until the time comes to donate them to the Expedition.
Full Blueprint list: All crafting recipes
Below is the full list of all the Blueprints that are currently available to find in Arc Raiders, and the crafting recipe required for each item:
| Blueprint | Type | Recipe | Crafted At |
|---|---|---|---|
| Bettina | Weapon | 3x Advanced Mechanical Components 3x Heavy Gun Parts 3x Canister | Gunsmith 3 |
| Blue Light Stick | Quick Use | 3x Chemicals | Utility Station 1 |
| Aphelion | Weapon | 3x Magnetic Accelerator 3x Complex Gun Parts 1x Matriarch Reactor | Gunsmith 3 |
| Combat Mk. 3 (Flanking) | Augment | 2x Advanced Electrical Components 3x Processor | Gear Bench 3 |
| Combat Mk. 3 (Aggressive) | Augment | 2x Advanced Electrical Components 3x Processor | Gear Bench 3 |
| Complex Gun Parts | Material | 2x Light Gun Parts 2x Medium Gun Parts 2x Heavy Gun Parts | Refiner 3 |
| Fireworks Box | Quick Use | 1x Explosive Compound 3x Pop Trigger | Explosives Station 2 |
| Gas Mine | Mine | 4x Chemicals 2x Rubber Parts | Explosives Station 1 |
| Green Light Stick | Quick Use | 3x Chemicals | Utility Station 1 |
| Pulse Mine | Mine | 1x Crude Explosives 1x Wires | Explosives Station 1 |
| Seeker Grenade | Grenade | 1x Crude Explosives 2x ARC Alloy | Explosives Station 1 |
| Looting Mk. 3 (Survivor) | Augment | 2x Advanced Electrical Components 3x Processor | Gear Bench 3 |
| Angled Grip II | Mod | 2x Mechanical Components 3x Duct Tape | Gunsmith 2 |
| Angled Grip III | Mod | 2x Mod Components 5x Duct Tape | Gunsmith 3 |
| Hullcracker | Weapon | 1x Magnetic Accelerator 3x Heavy Gun Parts 1x Exodus Modules | Gunsmith 3 |
| Launcher Ammo | Ammo | 5x Metal Parts 1x Crude Explosives | Workbench 1 |
| Anvil | Weapon | 5x Mechanical Components 5x Simple Gun Parts | Gunsmith 2 |
| Anvil Splitter | Mod | 2x Mod Components 3x Processor | Gunsmith 3 |
| ??? | ??? | ??? | ??? |
| Barricade Kit | Quick Use | 1x Mechanical Components | Utility Station 2 |
| Blaze Grenade | Grenade | 1x Explosive Compound 2x Oil | Explosives Station 3 |
| Bobcat | Weapon | 3x Advanced Mechanical Components 3x Light Gun Parts | Gunsmith 3 |
| Osprey | Weapon | 2x Advanced Mechanical Components 3x Medium Gun Parts 7x Wires | Gunsmith 3 |
| Burletta | Weapon | 3x Mechanical Components 3x Simple Gun Parts | Gunsmith 1 |
| Compensator II | Mod | 2x Mechanical Components 4x Wires | Gunsmith 2 |
| Compensator III | Mod | 2x Mod Components 8x Wires | Gunsmith 3 |
| Defibrillator | Quick Use | 9x Plastic Parts 1x Moss | Medical Lab 2 |
| ??? | ??? | ??? | ??? |
| Equalizer | Weapon | 3x Magnetic Accelerator 3x Complex Gun Parts 1x Queen Reactor | Gunsmith 3 |
| Extended Barrel | Mod | 2x Mod Components 8x Wires | Gunsmith 3 |
| Extended Light Mag II | Mod | 2x Mechanical Components 3x Steel Spring | Gunsmith 2 |
| Extended Light Mag III | Mod | 2x Mod Components 5x Steel Spring | Gunsmith 3 |
| Extended Medium Mag II | Mod | 2x Mechanical Components 3x Steel Spring | Gunsmith 2 |
| Extended Medium Mag III | Mod | 2x Mod Components 5x Steel Spring | Gunsmith 3 |
| Extended Shotgun Mag II | Mod | 2x Mechanical Components 3x Steel Spring | Gunsmith 2 |
| Extended Shotgun Mag III | Mod | 2x Mod Components 5x Steel Spring | Gunsmith 3 |
| Remote Raider Flare | Quick Use | 2x Chemicals 4x Rubber Parts | Utility Station 1 |
| Heavy Gun Parts | Material | 4x Simple Gun Parts | Refiner 2 |
| Venator | Weapon | 2x Advanced Mechanical Components 3x Medium Gun Parts 5x Magnet | Gunsmith 3 |
| Il Toro | Weapon | 5x Mechanical Components 6x Simple Gun Parts | Gunsmith 1 |
| Jolt Mine | Mine | 1x Electrical Components 1x Battery | Explosives Station 2 |
| Explosive Mine | Mine | 1x Explosive Compound 1x Sensors | Explosives Station 3 |
| Jupiter | Weapon | 3x Magnetic Accelerator 3x Complex Gun Parts 1x Queen Reactor | Gunsmith 3 |
| Light Gun Parts | Material | 4x Simple Gun Parts | Refiner 2 |
| Lightweight Stock | Mod | 2x Mod Components 5x Duct Tape | Gunsmith 3 |
| Lure Grenade | Grenade | 1x Speaker Component 1x Electrical Components | Utility Station 2 |
| Medium Gun Parts | Material | 4x Simple Gun Parts | Refiner 2 |
| Torrente | Weapon | 2x Advanced Mechanical Components 3x Medium Gun Parts 6x Steel Spring | Gunsmith 3 |
| Muzzle Brake II | Mod | 2x Mechanical Components 4x Wires | Gunsmith 2 |
| Muzzle Brake III | Mod | 2x Mod Components 8x Wires | Gunsmith 3 |
| Padded Stock | Mod | 2x Mod Components 5x Duct Tape | Gunsmith 3 |
| Shotgun Choke II | Mod | 2x Mechanical Components 4x Wires | Gunsmith 2 |
| Shotgun Choke III | Mod | 2x Mod Components 8x Wires | Gunsmith 3 |
| Shotgun Silencer | Mod | 2x Mod Components 8x Wires | Gunsmith 3 |
| Showstopper | Grenade | 1x Advanced Electrical Components 1x Voltage Converter | Explosives Station 3 |
| Silencer I | Mod | 2x Mechanical Components 4x Wires | Gunsmith 2 |
| Silencer II | Mod | 2x Mod Components 8x Wires | Gunsmith 3 |
| Snap Hook | Quick Use | 2x Power Rod 3x Rope 1x Exodus Modules | Utility Station 3 |
| Stable Stock II | Mod | 2x Mechanical Components 3x Duct Tape | Gunsmith 2 |
| Stable Stock III | Mod | 2x Mod Components 5x Duct Tape | Gunsmith 3 |
| Tagging Grenade | Grenade | 1x Electrical Components 1x Sensors | Utility Station 3 |
| Tempest | Weapon | 3x Advanced Mechanical Components 3x Medium Gun Parts 3x Canister | Gunsmith 3 |
| Trigger Nade | Grenade | 2x Crude Explosives 1x Processor | Explosives Station 2 |
| Vertical Grip II | Mod | 2x Mechanical Components 3x Duct Tape | Gunsmith 2 |
| Vertical Grip III | Mod | 2x Mod Components 5x Duct Tape | Gunsmith 3 |
| Vita Shot | Quick Use | 2x Antiseptic 1x Syringe | Medical Lab 3 |
| Vita Spray | Quick Use | 3x Antiseptic 1x Canister | Medical Lab 3 |
| Vulcano | Weapon | 1x Magnetic Accelerator 3x Heavy Gun Parts 1x Exodus Modules | Gunsmith 3 |
| Wolfpack | Grenade | 2x Explosive Compound 2x Sensors | Explosives Station 3 |
| Red Light Stick | Quick Use | 3x Chemicals | Utility Station 1 |
| Smoke Grenade | Grenade | 14x Chemicals 1x Canister | Utility Station 2 |
| Deadline | Mine | 3x Explosive Compound 2x ARC Circuitry | Explosives Station 3 |
| Trailblazer | Grenade | 1x Explosive Compound 1x Synthesized Fuel | Explosives Station 3 |
| Tactical Mk. 3 (Defensive) | Augment | 2x Advanced Electrical Components 3x Processor | Gear Bench 3 |
| Tactical Mk. 3 (Healing) | Augment | 2x Advanced Electrical Components 3x Processor | Gear Bench 3 |
| Yellow Light Stick | Quick Use | 3x Chemicals | Utility Station 1 |
Note: The missing Blueprints in this list likely have not actually been added to the game at the time of writing, because none of the playerbase has managed to find any of them. As they are added to the game, I will update this page with the most relevant information so you know exactly how to get all 75 Arc Raiders Blueprints.
Where to find Blueprints in Arc Raiders
Below is a list of all containers, modifiers, and events which maximise your chances of finding Blueprints:
- Certain quests reward you with specific Blueprints .
- Completing Trials has a high chance of offering Blueprints as rewards.
- Surveyors have a decent chance of dropping Blueprints on death.
- High loot value areas tend to have a greater chance of spawning Blueprints.
- Night Raids and Storms may increase rare Blueprint spawn chances in containers.
- Containers with higher numbers of items may have a higher tendency to spawn Blueprints. As a result, Blue Gate (which has many “large” containers containing multiple items) may give you a higher chance of spawning Blueprints.
- Raider containers (Raider Caches, Weapon Boxes, Medical Bags, Grenade Tubes) have increased Blueprint drop rates. As a result, the Uncovered Caches event gives you a high chance of finding Blueprints.
- Security Lockers have a higher than average chance of containing Blueprints.
- Certain Blueprints only seem to spawn under specific circumstances: Tempest Blueprint only spawns during Night Raid events. Vulcano Blueprint only spawns during Hidden Bunker events. Jupiter and Equaliser Blueprints only spawn during Harvester events.

Raider Caches, Weapon Boxes, and other raider-oriented container types have a good chance of offering Blueprints. |Image credit:Rock Paper Shotgun/Embark Studios
Blueprints have a very low chance of spawning in any container in Arc Raiders, around 1-2% on average. However, there is a higher chance of finding Blueprints in particular container types. Specifically, you can find more Blueprints in Raider containers and security lockers.
Beyond this, if you’re looking for Blueprints you should focus on regions of the map which are marked as having particularly high-value loot. Areas such as the Control Tower in Dam Battlegrounds, the Arrival and Departure Buildings in Spaceport, and Pilgrim’s Peak in Blue Gate all have a better-than-average chance of spawning Blueprints somewhere amongst all their containers. Night Raids and Electromagnetic Storm events also increase the drop chances of certain Blueprints .
In addition to these containers, you can often loot Blueprints from destroyed Surveyors - the largest of the rolling ball ARC. Surveyors are more commonly found on the later maps - Spaceport and Blue Gate - and if one spawns in your match, you’ll likely see it by the blue laser beam that it casts into the sky while “surveying”.
Surveyors are quite well-armoured and will very speedily run away from you once it notices you, but if you can take one down then make sure you loot all its parts for a chance of obtaining certain unusual Blueprints.
Blueprints obtained from quests
One way in which you can get Blueprints is by completing certain quests for the vendors in Speranza. Some quests will reward you with a specific item Blueprint upon completion, so as long as you work through all the quests in Arc Raiders, you are guaranteed those Blueprints.
Here is the full list of all Blueprints you can get from quest rewards:
- Trigger Nade Blueprint: Rewarded after completing “Sparks Fly”.
- Lure Grenade Blueprint: Rewarded after completing “Greasing Her Palms”.
- Burletta Blueprint: Rewarded after completing “Industrial Espionage”.
- Hullcracker Blueprint (and Launcher Ammo Blueprint): Rewarded after completing “The Major’s Footlocker”.
Alas, that’s only 4 Blueprints out of a total of 75 to unlock, so for the vast majority you will need to find them yourself during a raid. If you’re intent on farming Blueprints, then it’s best to equip yourself with cheap gear in case you lose it, but don’t use a free loadout because then you won’t get a safe pocket to stash any new Blueprint you find. No pain in Arc Raiders is sharper than failing to extract with a new Blueprint you’ve been after for a dozen hours already.

One of the best ways to get Blueprints is by hitting three stars on all five Trials every week. |Image credit:Rock Paper Shotgun/Embark Studios
Blueprints obtained from Trials
One of the very best ways to get Blueprints is as rewards for completing Trials in Arc Raiders. Trials are unlocked from Level 15 onwards, and allow you to earn rewards by focusing on certain tasks over the course of several raids. For example, one Trial might task you with dealing damage to Hornets, while another might challenge you to loot Supply Drops.
Trials refresh on a weekly basis, with a new week bringing five new Trials. Each Trial can offer up to three rewards after passing certain score milestones, and it’s possible to receive very high level loot from these reward crates - including Blueprints. So if you want to unlock as many Blueprints as possible, you should make a point of completing as many Trials as possible each week.
Best Blueprint farming locations
The very best way to get Blueprints is to frequent specific areas of the maps which combine high-tier loot pools with the right types of containers to search. Here are my recommendations for where to find Blueprints on every map, so you can always keep the search going for new crafting recipes to unlock.

Image credit:Rock Paper Shotgun/Embark Studios
Dam Battlegrounds
The best places to farm Blueprints on Dam Battlegrounds are the Control Tower, Power Generation Complex, Ruby Residence, and Pale Apartments . The first two regions, despite only being marked on the map as mid-tier loot, contain a phenomenal number of containers to loot. The Control Tower can also contain a couple of high-tier Security Lockers - though of course, you’ll need to have unlocked the Security Breach skill at the end of the Survival tree.
There’s also a lot of reporting amongst the playerbase that the Residential areas in the top-left of the map - Pale Apartments and Ruby Residence - give you a comparatively strong chance of finding Blueprints. Considering their size, there’s a high density of containers to loot in both locations, and they also have the benefit of being fairly out of the way. So you’re more likely to have all the containers to yourself.
Buried City
The best Blueprint farming locations on Buried City are the Santa Maria Houses, Grandioso Apartments, Town Hall, and the various buildings of the New District . Grandioso Apartments has a lower number of containers than the rest, but a high chance of spawning weapon cases - which have good Blueprint drop rates. The others are high-tier loot areas, with plenty of lootable containers - including Security Lockers.
Spaceport
The best places to find Blueprints on Spaceport are the Arrival and Departure Buildings, as well as Control Tower A6 and the Launch Towers . All these areas are labelled as high-value loot regions, and many of them are also very handily connected to one another by the Spaceport wall, which you can use to quickly run from one area to the next. At the tops of most of these buildings you’ll find at least one Security Locker, so this is an excellent farming route for players looking to find Blueprints.
The downside to looting Blueprints on Spaceport is that all these areas are hotly contested, particularly in Duos and Squads. You’ll need to be very focused and fast in order to complete the full farming route.

Image credit:Rock Paper Shotgun/Embark Studios
Blue Gate
Blue Gate tends to have a good chance of dropping Blueprints, potentially because it generally has a high number of containers which can hold lots of items; so there’s a higher chance of a Blueprint spawning in each container. In my experience, the best Blueprint farming spots on Blue Gate are Pilgrim’s Peak, Raider’s Refuge, the Ancient Fort, and the Underground Complex beneath the Warehouse .
All of these areas contain a wealth of containers to loot. Raider’s Refuge has less to loot, but the majority of the containers in and around the Refuge are raider containers, which have a high chance of containing Blueprints - particularly during major events.
Stella Montis
On the whole, Stella Montis seems to have a very low drop rate for Blueprints (though a high chance of dropping other high-tier loot). If you do want to try farming Blueprints on this map, the best places to find Blueprints in Stella Montis are Medical Research, Assembly Workshop, and the Business Center . These areas have the highest density of containers to loot on the map.
In addition to this, the Western Tunnel has a few different Security Lockers to loot, so while there’s very little to loot elsewhere in this area of the map, it’s worth hitting those Security Lockers if you spawn there at the start of a match.
That wraps up this primer on how to get all the Blueprints in Arc Raiders as quickly as possible. With the Expedition system constantly resetting a large number of players’ Blueprints, it’s more important than ever to have the most up-to-date information on where to find all these Blueprints.
While you’re here, be sure to check out our Arc Raiders best guns tier list , as well as our primers on the best skills to unlock and all the different Field Depot locations on every map.


ARC Raiders
PS5 , Xbox Series X/S , PC
Rock Paper Shotgun is better when you sign in
Sign in and join us on our journey to discover strange and compelling PC games.
