Disney Epic Mickey: Rebrushed review: a faithful remaster of a paint-splashing platformer
An old master?
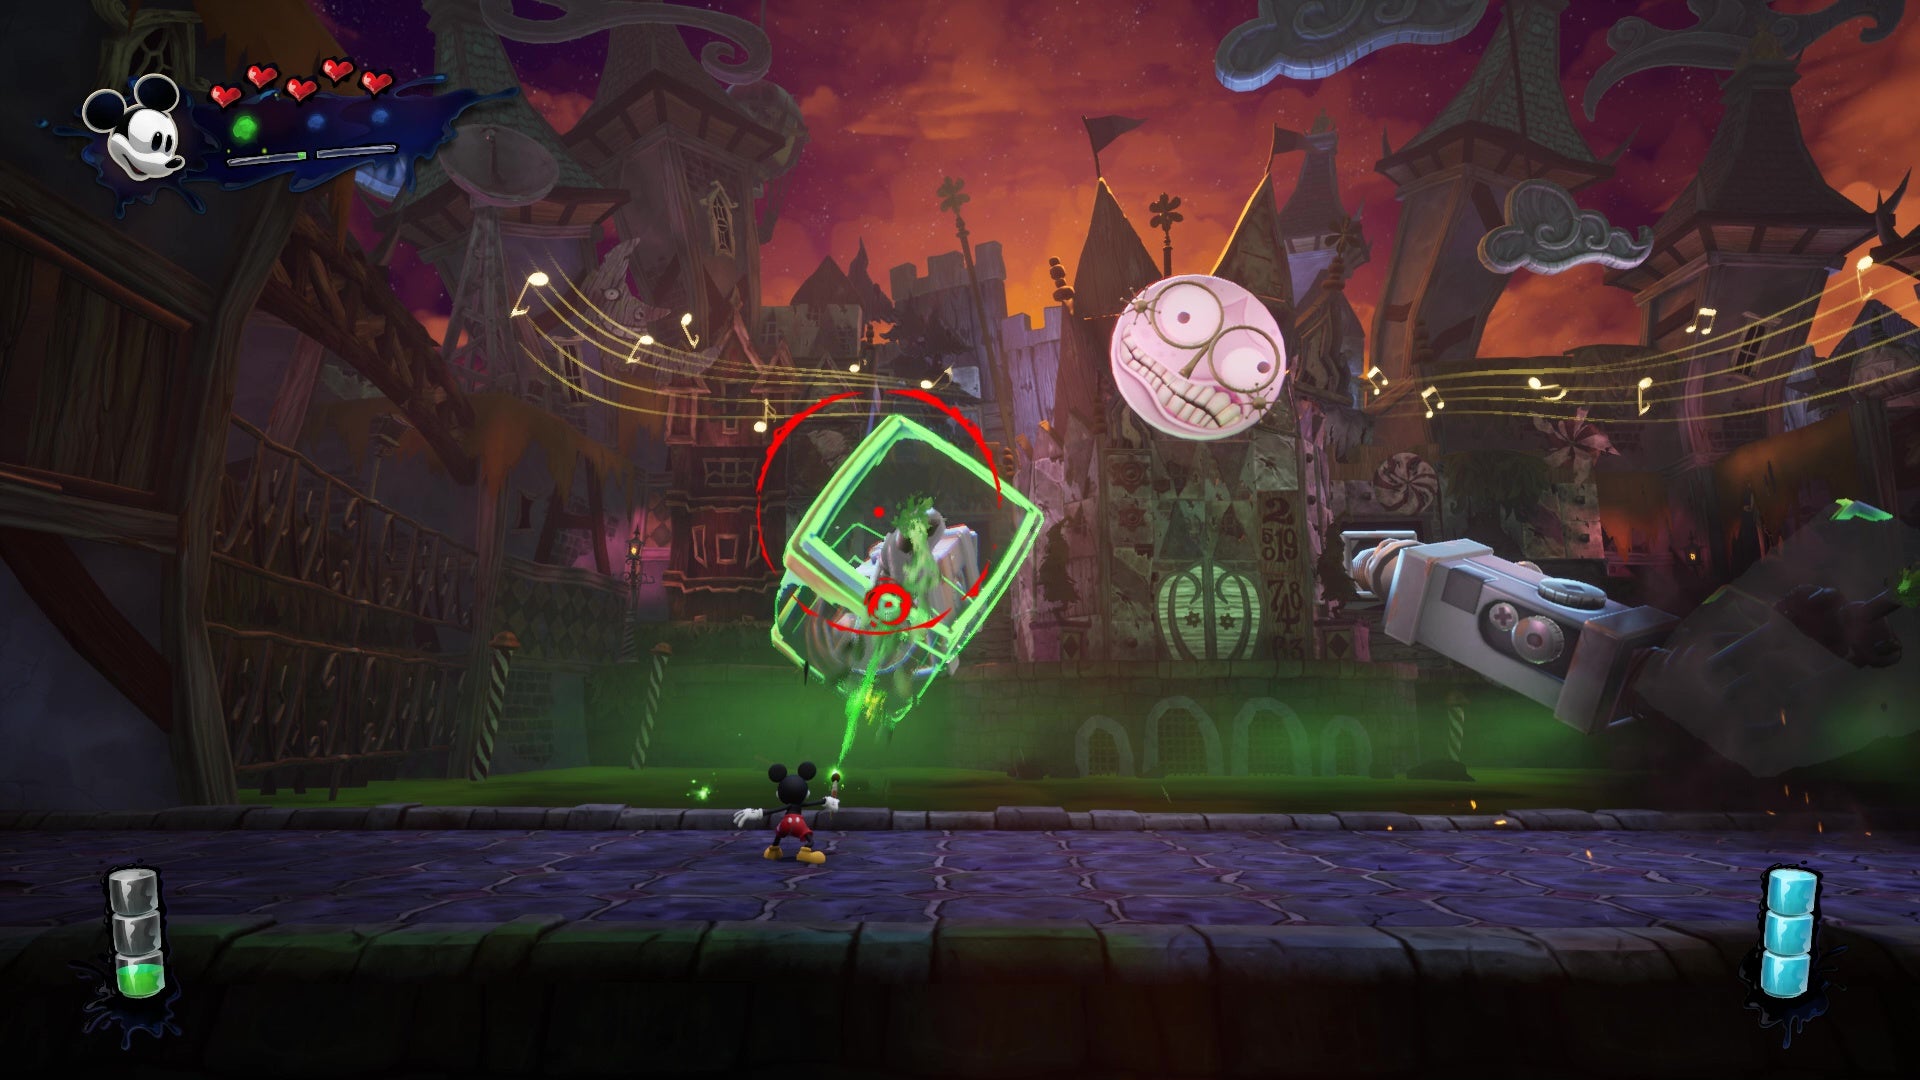
Image credit:Rock Paper Shotgun/THQ Nordic

- Developer: Purple Lamp
- Publisher: THQ Nordic
- Release: September 24th 2024
- On: Windows
- From: Steam , GOG
- Price: £50/€60/$60
- Reviewed on: Intel Core i7-12700F, Nvidia RTX 3080, 16GB RAM, Windows 11
Disney Epic Mickey: Rebrushed is a remaster of Disney Epic Mickey, a cult classic 3D platformer first released a decade ago on the Wii. In the original you controlled the titular Mickey Mouse who, armed with a magical paintbrush (wieldable by waving the Wiimote about), could paint or rub out surfaces to solve puzzles. It was the work of Junction Studios led by Warren Spector, best known for being The Deus Ex Guy. No, sadly Mickey could not nano-augment his brush for better target acquisition, nor project laser-guided anti-tank rockets from his podgy white mitts.
And no, Rebrushed doesn’t let him do anything of these either. Clearly a missed opportunity. But is it better nonetheless? With an updated look, some added secrets, more moves for Mickey, and controller/M&K support, I’d say longtime Mickey heads will adore this nostalgia trip. For total newcomers like me, I’d say it’s a platformer that’s certainly charming and clever and wonderfully experimental, but a bit flat in places too.
The story of Rebrushed begins with a monumental cockup. Mickey is awoken by a magical mirror that transports him into the house of a wizard, who seems to be painting a lovely world onto canvas. The wizard leaves satisfied with his work, so Mickey’s like, “I best fucking slop some paint about lol”, and proceeds to do just that. Only he knocks an entire bottle of thinner onto the canvas while he’s at it, because he’s an idiot. The wizard’s world now in shambles and radiating some evil energy, Mickey pisses off back into the mirror and to the safety of his room. Remarkably, he then falls right back asleep like nothing’s happened. Only then does karma get his ass, as he’s dragged back through the mirror by an evil hand and into the ruined painting.
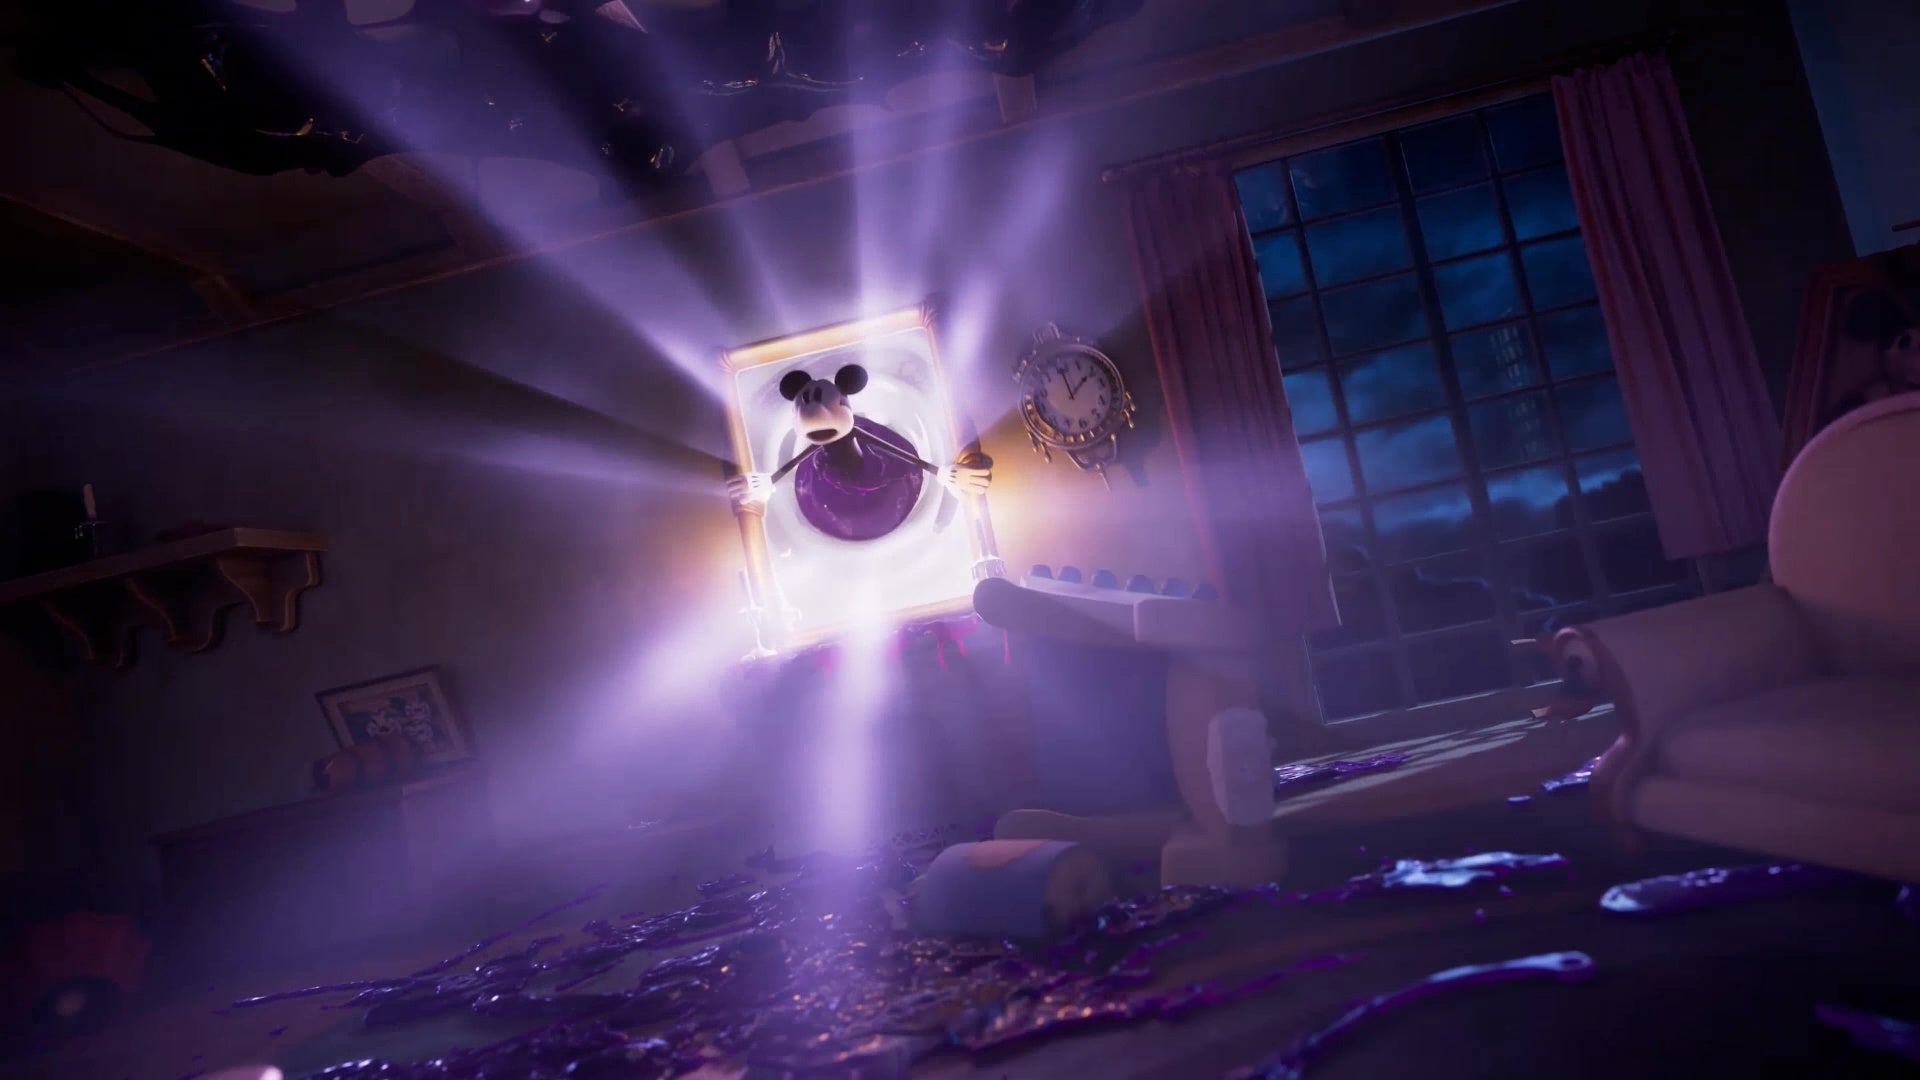
Image credit:Rock Paper Shotgun/THQ Nordic
And so, Mickey is armed with the magical brush he wrongfully picked up in the first place, and tasked with righting the world he’s ravaged from the inside. I find Disney a bit of a shoulder shrug, in all honesty (I chose Dexter’s Laboratory and Hell In A Cell matches over The Lion King growing up), but I will admit that the game’s setting is neat. In that it’s a world inhabited by Disney’s forgotten creations and misfits, which is both an interesting insight into a back catalogue and a motivation: you do really want to save these poor folks.
That’s best achieved, it turns out, through some platforming, aided by “ho ho” double jumps and an ability to paint or thin surfaces. It’s the latter that’s the crux here, as Rebrushed isn’t designed as a movement-first platformer. In fact, Mickey’s a bit shite at rodentkour, what with his weirdly floaty falls and tendency to just slide off edges rather than grab at them. Throughout his adventures, he retains the same mediocre moveset, too, so don’t expect him to develop some Celeste-esque air dashes or Mario hop-skips-and-vaults.
Instead, Rebrushed focuses on the waggling of the brush. Guided easily and accurately by your mouse or your controller thumbsticks, you can hit highlighted zones with either paint or thinner: select the blue splodge of paint and you’ll fill things in, while the green splodges of thinner burn bits away. Again, you don’t develop new brush-wagging skills or meet, say, Daffio Vequackquez who lends you some new oil paints. Ultimately, challenge and enjoyment lay heavily on how each level is laid out.
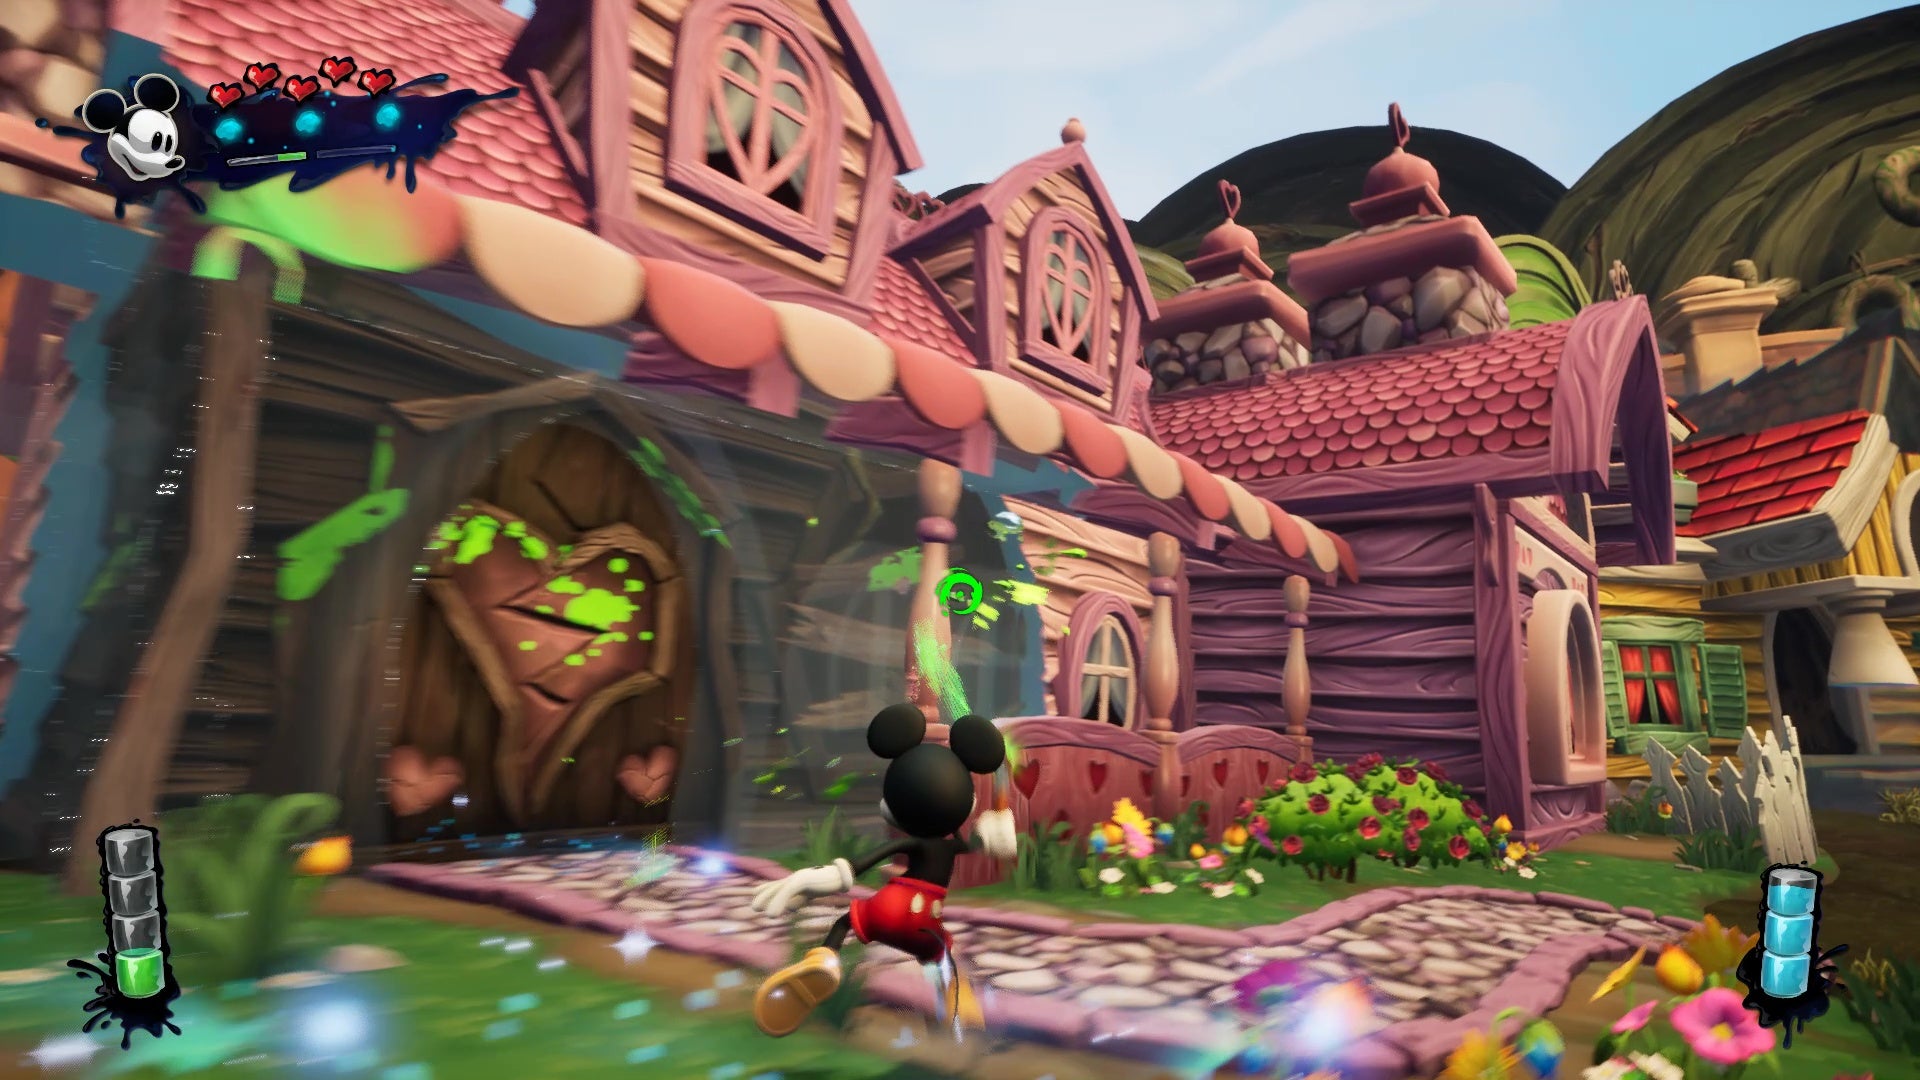
Image credit:Rock Paper Shotgun/THQ Nordic
While I never played the Wii version, I imagine that some physicality has been lost as you fling paint around. The mouse or thumbstick works wonderfully, but I wonder if Epic Mickey veterans might find the act robbed of its purposefulness. |Image credit:Rock Paper Shotgun/THQ Nordic
Through Mickey’s travels, you’ll pass through sewery slums, wrecked theme parks with rickety rockets, crumbling ruins, fire-stricken towns, and pirate-infested isles. You move through these spaces at quite a pace, too, as each spot is broken up into easily digestible mechanical conundrums. Almost all of which have you tick things off a checklist: get the masks, find the switches, rescue the pals. A lot of what you’ll do is run around a space and search for the highlighted bits, filling or thinning as is often quite obvious. You might need to flip a switch up on the thingamajig, so you paint some platforms to get there. A chest might be alight, so you thin the platform above it where water barrels rest. The best bits have you paint or thin cogs, so they help spin or hold platforms in place for you.
It’s all pretty simple stuff and it’s hard to get truly stuck, even for me. But I find its relative ease quite relaxing, and a testament to each level’s layout. I like how you’re often given what sounds like a tedious or intimidating “find the Xs and Ys” mission, but then find surfaces and pathways that are highlighted or folded into each other in such a way as to complement a natural curiosity. Or, indeed, the explorative tendencies of someone like myself, who plods around and chalks this up to being a “vibes based” problem solver. This grants each place a real playground feel as you go about splashing paint or thinner, discovering plenty of optional secrets by accident.
These 3D platforming main events are connected by other 2D mini-levels, sort of like portals into forgotten or lost Disney episodes. You might have to hop through Willy Doo: The Goose’s (I have made this character up) steamboat as he contends with whales (I have also made this bit up), in what’s often classic 1930’s styling of trumpet parps and bobbing characters with big eyes. They’re somewhat fun, if a very straightforward test of double jumps, as there’s no painting or thinning powers in these ancient realms. Really, they exist to please Disney fans and lightly educate laypeople, as they very much feel like they could’ve been levels designed for a pop-up stand in Walt’s museum.
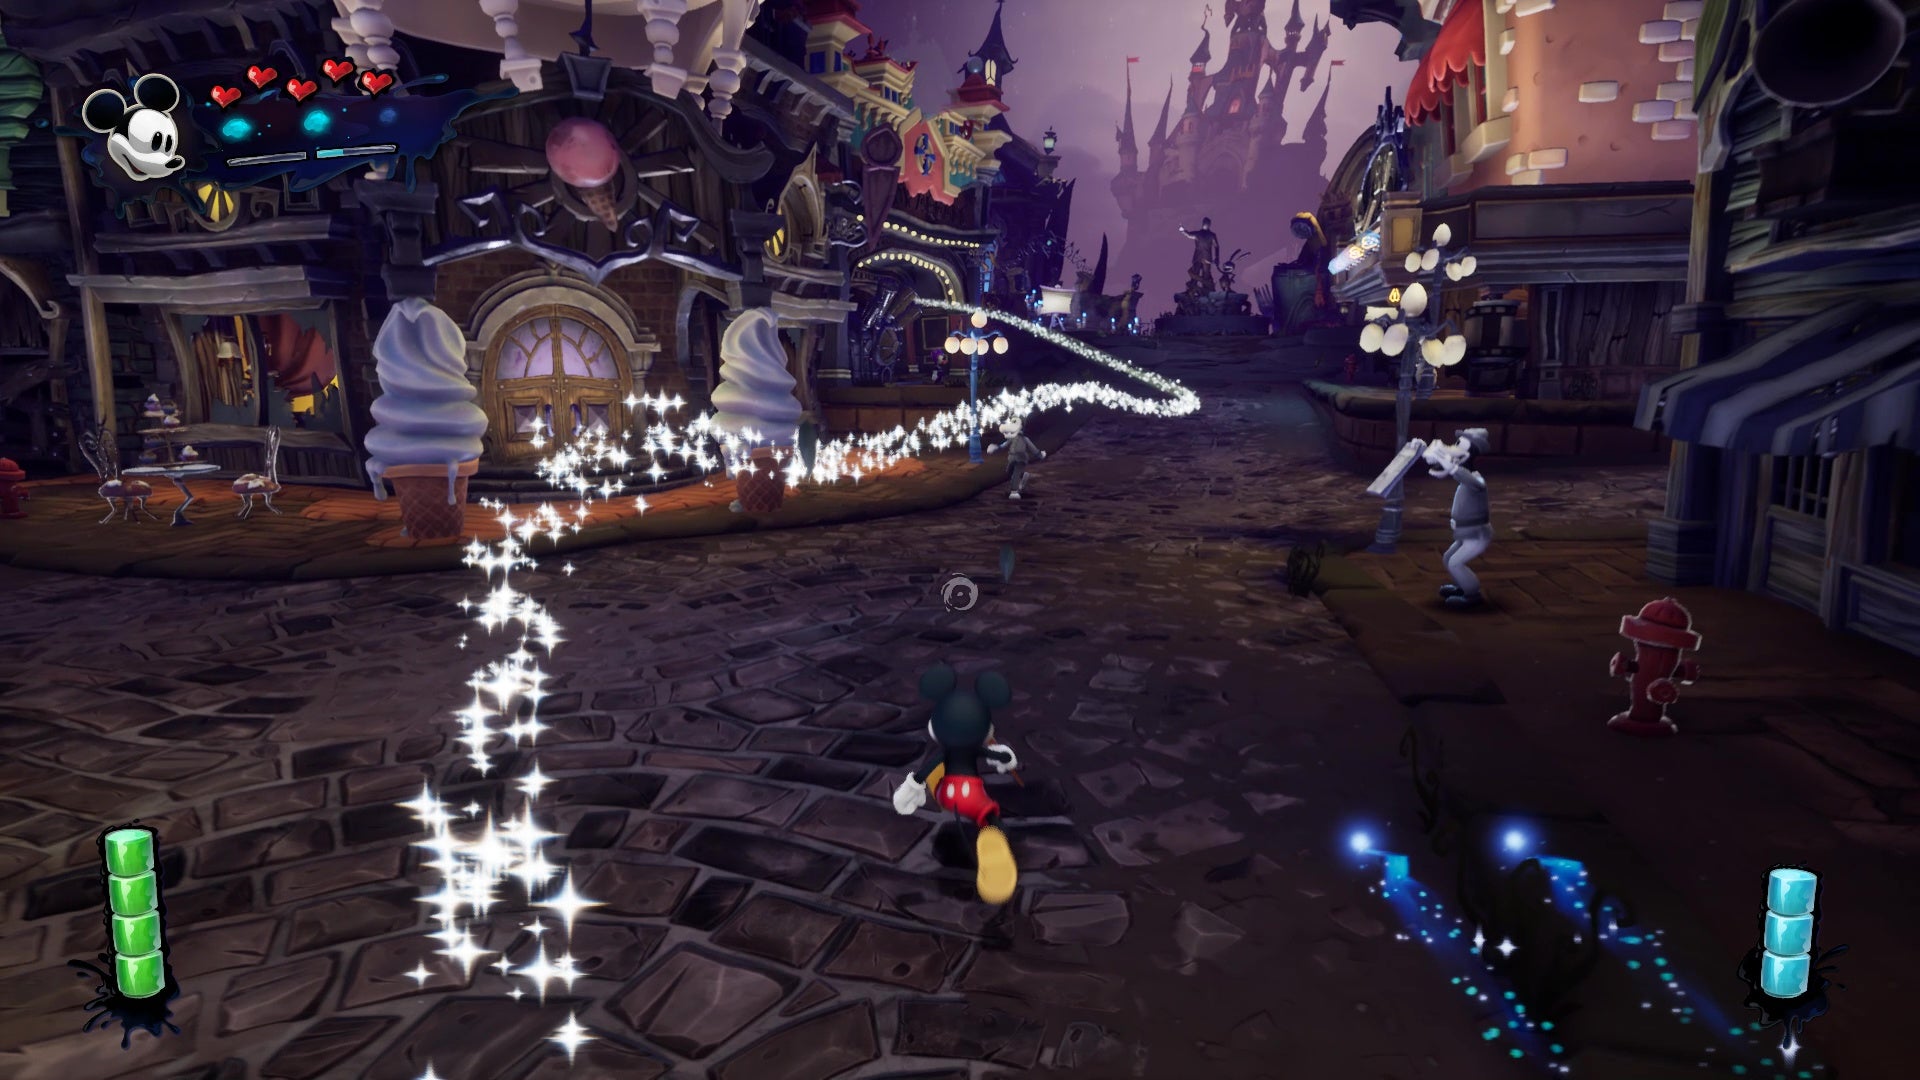
You unlock some powers as you go, like one that lets you drop TVs to distract enemies or power specific plates on the floor. Another lets you slow down time for a bit. They’re useful in very limited scenarios, basically. |Image credit:Rock Paper Shotgun/THQ Nordic
After you’ve burst out of these levels, you might end up in a couple of hub spaces you’ll return to a handful of times over the course of the story. The main one being Mean Street, home to vendors with menial sidequests that’ll grant you either: 1) a collectible pin or 2) an orb. Those pins feature a lot, often as rewards for finding secret spots as you thin or paint stuff out in the world, which is infuriating for me as a person who doesn’t care for them, but may satisfy those of you who love this sort of thing. Anyway, yeah, there’s also a Gremlin in Mean Street who asks you to grab him however many orbs to power more portals to 3D levels, and thus, more mandated Mickeying.
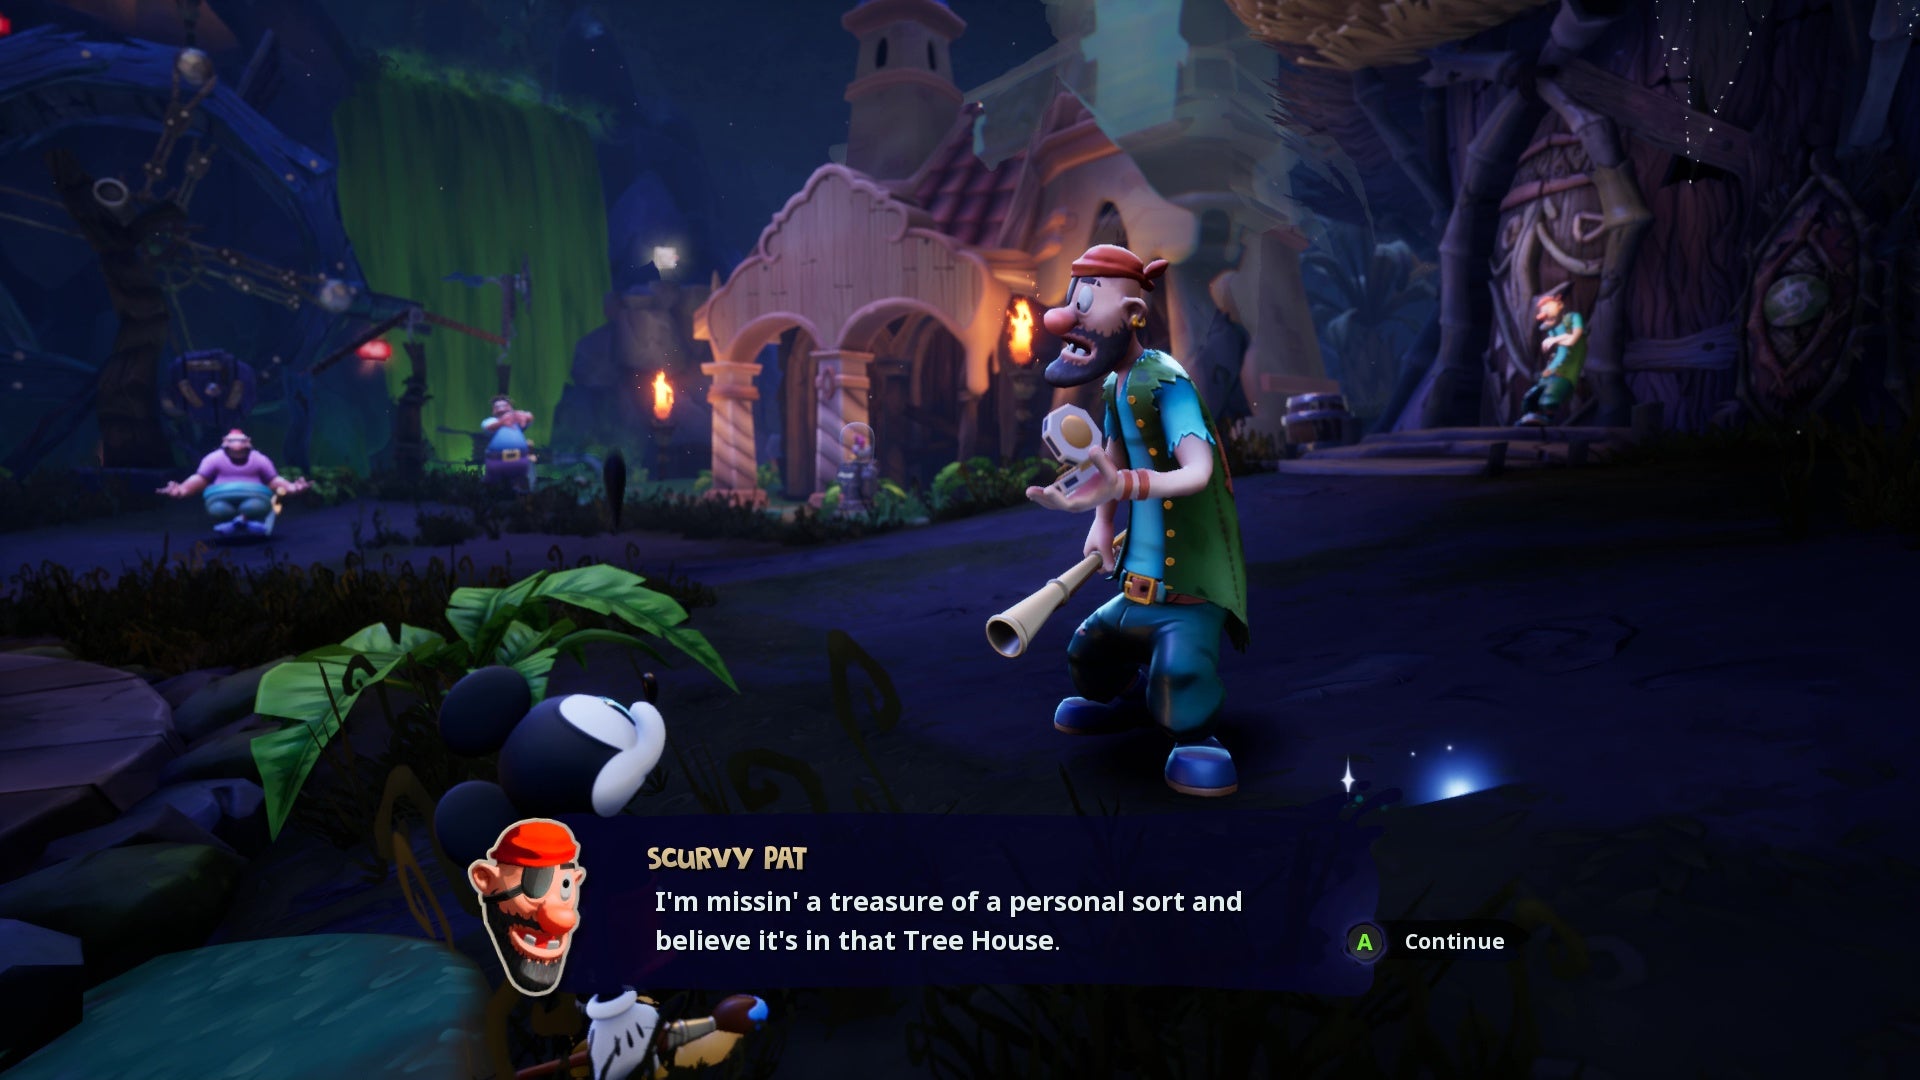
Said mandated Mickeying does feature some interesting decision-making, though, which remains more “interesting” than it does actually impactful - but still. At the most basic level, combat revolves around painting enemies or thinning them. Paint them enough and they’ll turn friendly, while thinner just outright erases them (some enemies can only be thinned, then spin attacked). Some levels have Gremlins trapped in cages, too, where they might offer to fix or fudge bits around the map to either make your route to the main objective a bit easier, or open up a room to yet another pissing pin. Another time, I gave a pirate some ice cream to woo a lady he was into, without consulting what the lady may have wanted. Apparently she wasn’t into ice cream.
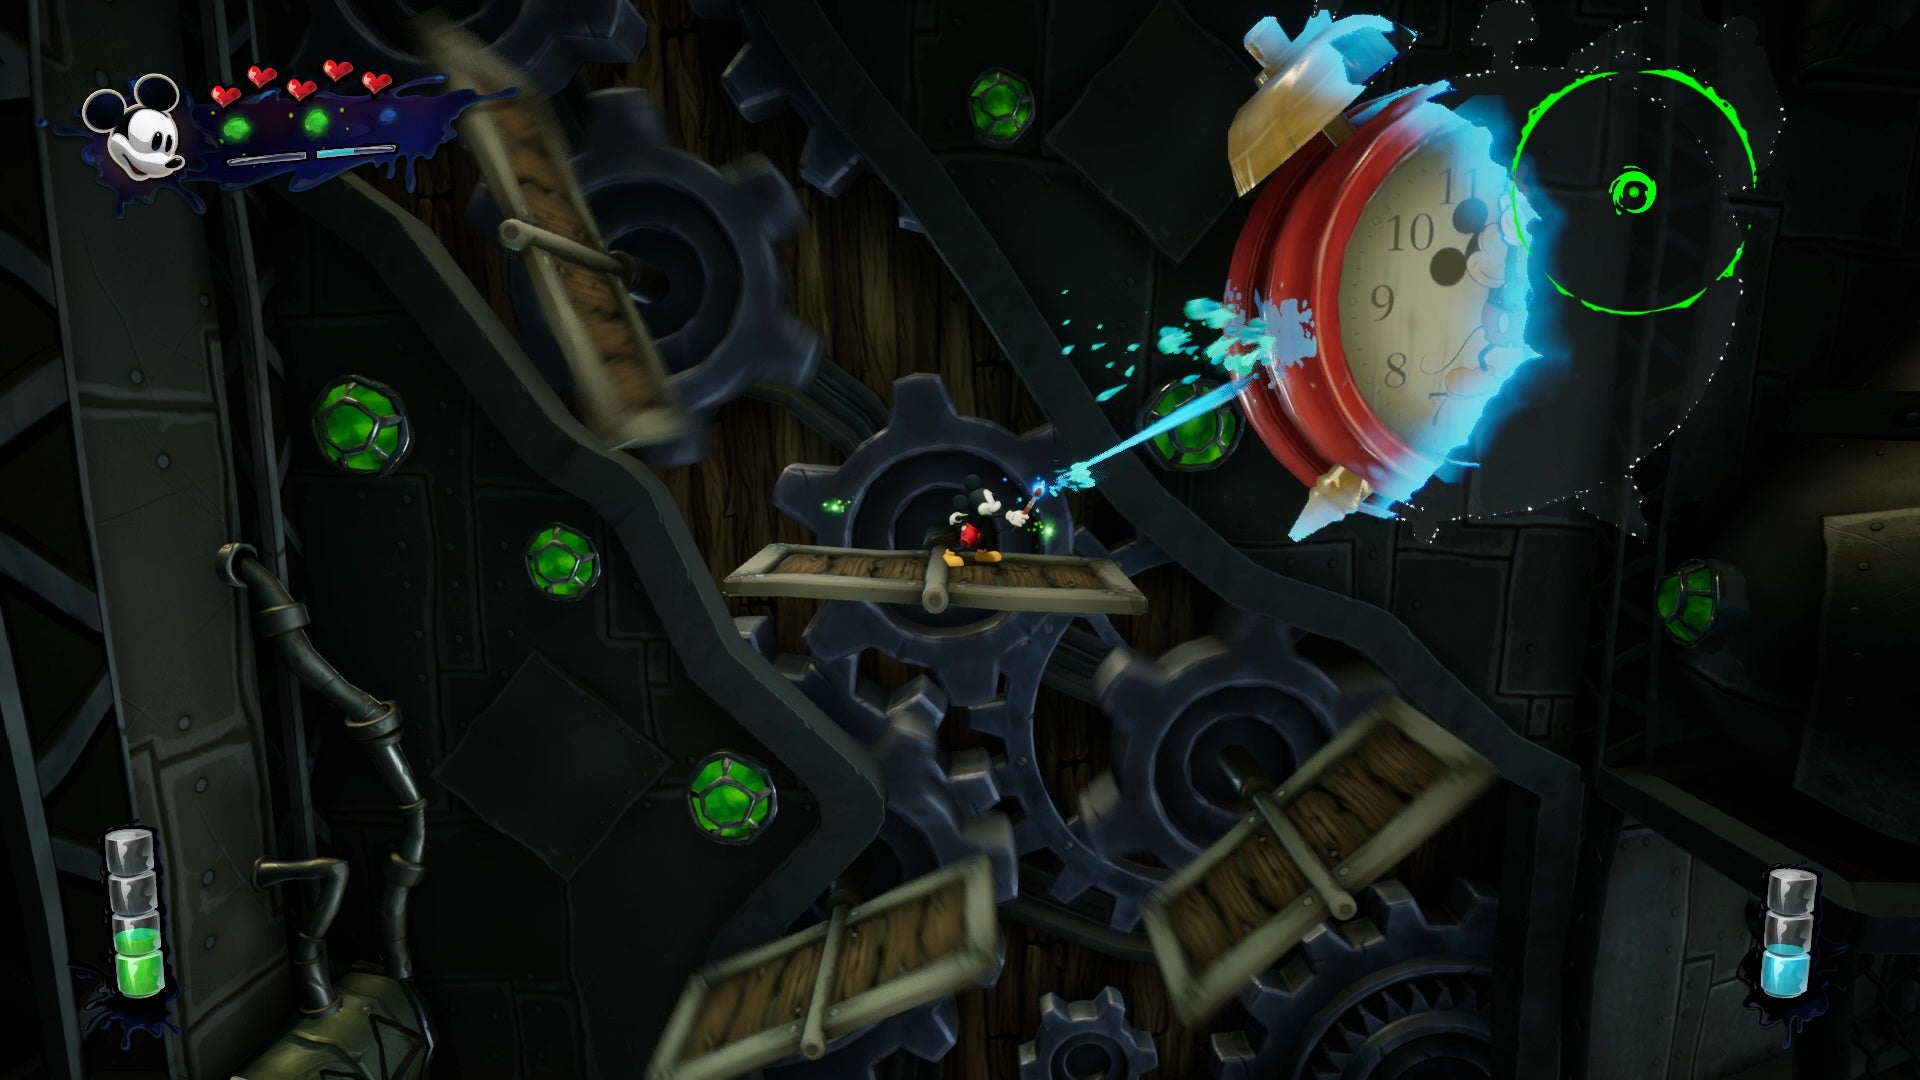
Image credit:Rock Paper Shotgun/THQ Nordic
Much of the choices feel a bit embryonic, or a bit experimental, like they’re not fully fleshed out just yet: the ice creams and the gremlins and whatnot don’t really have a lasting impact. Some bosses, though, can either be defeated by painting or thinning them, in clever tussles where you’ve truly got to balance your paint, thinner, and hops to avoid falls or arm slams. Whatever substance you choose determines their fate, either as an eroded husk or a character saved from corruption. Save a lad called Petetronic and his regular counterpart Pete, a vendor in Mean Street, might be like “Well done” and give you a spark. So don’t expect immediate, earth-shattering consequences. Instead, it’s one of those games where those decisions are tallied by Dick Disney in the background and a Good or Bad ending selected for you once the credits roll.
As someone who doesn’t really get on with the source material, I find myself warmed by Disney Epic Mickey: Rebrushed . It’s not all that challenging and sometimes a bit eh , but I liked that easygoing nature more than I resented it. You’re free to splosh paint around and stumble into cool mechanical puzzles or simply remove the floor from an enemy and watch them plunge to their death. And while some of the side quests and optional tidbits don’t amount to much more than, at most, an end credit sequence, I admire its adventurous spirit. You can tell it tries to do things a bit differently to the usual platformer and for the most part, it works!

Find out how we conduct our reviews by reading our review policy .

Disney Epic Mickey: Rebrushed
Video Game
Rock Paper Shotgun is better when you sign in
Sign in and join us on our journey to discover strange and compelling PC games.

All 75 Arc Raiders Blueprints and where to get them
These areas have the highest chance of giving you Blueprints

Image credit:Rock Paper Shotgun/Embark Studios

Looking for more Arc Raiders Blueprints? It’s a special day when you find a Blueprint, as they’re among the most valuable items in Arc Raiders. If you find a Blueprint that you haven’t already found, then you must make sure you hold onto it at all costs, because Blueprints are the key to one of the most important and powerful systems of meta-progression in the game.
This guide aims to be the very best guide on Blueprints you can find, starting with a primer on what exactly they are and how they work in Arc Raiders, before delving into exactly where to get Blueprints and the very best farming spots for you to take in your search.
We’ll also go over how to get Blueprints from other unlikely activities, such as destroying Surveyors and completing specific quests. And you’ll also find the full list of all 75 Blueprints in Arc Raiders on this page (including the newest Blueprints added with the Cold Snap update , such as the Deadline Blueprint and Firework Box Blueprint), giving you all the information you need to expand your own crafting repertoire.
In this guide:
- What are Blueprints in Arc Raiders?
- Full Blueprint list: All crafting recipes
- Where to find Blueprints in Arc Raiders Blueprints obtained from quests Blueprints obtained from Trials Best Blueprint farming locations

What are Blueprints in Arc Raiders?
Blueprints in Arc Raiders are special items which, if you manage to extract with them, you can expend to permanently unlock a new crafting recipe in your Workshop. If you manage to extract from a raid with an Anvil Blueprint, for example, you can unlock the ability to craft your very own Anvil Pistol, as many times as you like (as long as you have the crafting materials).
To use a Blueprint, simply open your Inventory while in the lobby, then right-click on the Blueprint and click “Learn And Consume” . This will permanently unlock the recipe for that item in your Workshop. As of the Stella Montis update, there are allegedly 75 different Blueprints to unlock - although only 68 are confirmed to be in the game so far. You can see all the Blueprints you’ve found and unlocked by going to the Workshop menu, and hitting “R” to bring up the Blueprint screen.
It’s possible to find duplicates of past Blueprints you’ve already unlocked. If you find these, then you can either sell them, or - if you like to play with friends - you can take it into a match and gift it to your friend so they can unlock that recipe for themselves. Another option is to keep hold of them until the time comes to donate them to the Expedition.
Full Blueprint list: All crafting recipes
Below is the full list of all the Blueprints that are currently available to find in Arc Raiders, and the crafting recipe required for each item:
| Blueprint | Type | Recipe | Crafted At |
|---|---|---|---|
| Bettina | Weapon | 3x Advanced Mechanical Components 3x Heavy Gun Parts 3x Canister | Gunsmith 3 |
| Blue Light Stick | Quick Use | 3x Chemicals | Utility Station 1 |
| Aphelion | Weapon | 3x Magnetic Accelerator 3x Complex Gun Parts 1x Matriarch Reactor | Gunsmith 3 |
| Combat Mk. 3 (Flanking) | Augment | 2x Advanced Electrical Components 3x Processor | Gear Bench 3 |
| Combat Mk. 3 (Aggressive) | Augment | 2x Advanced Electrical Components 3x Processor | Gear Bench 3 |
| Complex Gun Parts | Material | 2x Light Gun Parts 2x Medium Gun Parts 2x Heavy Gun Parts | Refiner 3 |
| Fireworks Box | Quick Use | 1x Explosive Compound 3x Pop Trigger | Explosives Station 2 |
| Gas Mine | Mine | 4x Chemicals 2x Rubber Parts | Explosives Station 1 |
| Green Light Stick | Quick Use | 3x Chemicals | Utility Station 1 |
| Pulse Mine | Mine | 1x Crude Explosives 1x Wires | Explosives Station 1 |
| Seeker Grenade | Grenade | 1x Crude Explosives 2x ARC Alloy | Explosives Station 1 |
| Looting Mk. 3 (Survivor) | Augment | 2x Advanced Electrical Components 3x Processor | Gear Bench 3 |
| Angled Grip II | Mod | 2x Mechanical Components 3x Duct Tape | Gunsmith 2 |
| Angled Grip III | Mod | 2x Mod Components 5x Duct Tape | Gunsmith 3 |
| Hullcracker | Weapon | 1x Magnetic Accelerator 3x Heavy Gun Parts 1x Exodus Modules | Gunsmith 3 |
| Launcher Ammo | Ammo | 5x Metal Parts 1x Crude Explosives | Workbench 1 |
| Anvil | Weapon | 5x Mechanical Components 5x Simple Gun Parts | Gunsmith 2 |
| Anvil Splitter | Mod | 2x Mod Components 3x Processor | Gunsmith 3 |
| ??? | ??? | ??? | ??? |
| Barricade Kit | Quick Use | 1x Mechanical Components | Utility Station 2 |
| Blaze Grenade | Grenade | 1x Explosive Compound 2x Oil | Explosives Station 3 |
| Bobcat | Weapon | 3x Advanced Mechanical Components 3x Light Gun Parts | Gunsmith 3 |
| Osprey | Weapon | 2x Advanced Mechanical Components 3x Medium Gun Parts 7x Wires | Gunsmith 3 |
| Burletta | Weapon | 3x Mechanical Components 3x Simple Gun Parts | Gunsmith 1 |
| Compensator II | Mod | 2x Mechanical Components 4x Wires | Gunsmith 2 |
| Compensator III | Mod | 2x Mod Components 8x Wires | Gunsmith 3 |
| Defibrillator | Quick Use | 9x Plastic Parts 1x Moss | Medical Lab 2 |
| ??? | ??? | ??? | ??? |
| Equalizer | Weapon | 3x Magnetic Accelerator 3x Complex Gun Parts 1x Queen Reactor | Gunsmith 3 |
| Extended Barrel | Mod | 2x Mod Components 8x Wires | Gunsmith 3 |
| Extended Light Mag II | Mod | 2x Mechanical Components 3x Steel Spring | Gunsmith 2 |
| Extended Light Mag III | Mod | 2x Mod Components 5x Steel Spring | Gunsmith 3 |
| Extended Medium Mag II | Mod | 2x Mechanical Components 3x Steel Spring | Gunsmith 2 |
| Extended Medium Mag III | Mod | 2x Mod Components 5x Steel Spring | Gunsmith 3 |
| Extended Shotgun Mag II | Mod | 2x Mechanical Components 3x Steel Spring | Gunsmith 2 |
| Extended Shotgun Mag III | Mod | 2x Mod Components 5x Steel Spring | Gunsmith 3 |
| Remote Raider Flare | Quick Use | 2x Chemicals 4x Rubber Parts | Utility Station 1 |
| Heavy Gun Parts | Material | 4x Simple Gun Parts | Refiner 2 |
| Venator | Weapon | 2x Advanced Mechanical Components 3x Medium Gun Parts 5x Magnet | Gunsmith 3 |
| Il Toro | Weapon | 5x Mechanical Components 6x Simple Gun Parts | Gunsmith 1 |
| Jolt Mine | Mine | 1x Electrical Components 1x Battery | Explosives Station 2 |
| Explosive Mine | Mine | 1x Explosive Compound 1x Sensors | Explosives Station 3 |
| Jupiter | Weapon | 3x Magnetic Accelerator 3x Complex Gun Parts 1x Queen Reactor | Gunsmith 3 |
| Light Gun Parts | Material | 4x Simple Gun Parts | Refiner 2 |
| Lightweight Stock | Mod | 2x Mod Components 5x Duct Tape | Gunsmith 3 |
| Lure Grenade | Grenade | 1x Speaker Component 1x Electrical Components | Utility Station 2 |
| Medium Gun Parts | Material | 4x Simple Gun Parts | Refiner 2 |
| Torrente | Weapon | 2x Advanced Mechanical Components 3x Medium Gun Parts 6x Steel Spring | Gunsmith 3 |
| Muzzle Brake II | Mod | 2x Mechanical Components 4x Wires | Gunsmith 2 |
| Muzzle Brake III | Mod | 2x Mod Components 8x Wires | Gunsmith 3 |
| Padded Stock | Mod | 2x Mod Components 5x Duct Tape | Gunsmith 3 |
| Shotgun Choke II | Mod | 2x Mechanical Components 4x Wires | Gunsmith 2 |
| Shotgun Choke III | Mod | 2x Mod Components 8x Wires | Gunsmith 3 |
| Shotgun Silencer | Mod | 2x Mod Components 8x Wires | Gunsmith 3 |
| Showstopper | Grenade | 1x Advanced Electrical Components 1x Voltage Converter | Explosives Station 3 |
| Silencer I | Mod | 2x Mechanical Components 4x Wires | Gunsmith 2 |
| Silencer II | Mod | 2x Mod Components 8x Wires | Gunsmith 3 |
| Snap Hook | Quick Use | 2x Power Rod 3x Rope 1x Exodus Modules | Utility Station 3 |
| Stable Stock II | Mod | 2x Mechanical Components 3x Duct Tape | Gunsmith 2 |
| Stable Stock III | Mod | 2x Mod Components 5x Duct Tape | Gunsmith 3 |
| Tagging Grenade | Grenade | 1x Electrical Components 1x Sensors | Utility Station 3 |
| Tempest | Weapon | 3x Advanced Mechanical Components 3x Medium Gun Parts 3x Canister | Gunsmith 3 |
| Trigger Nade | Grenade | 2x Crude Explosives 1x Processor | Explosives Station 2 |
| Vertical Grip II | Mod | 2x Mechanical Components 3x Duct Tape | Gunsmith 2 |
| Vertical Grip III | Mod | 2x Mod Components 5x Duct Tape | Gunsmith 3 |
| Vita Shot | Quick Use | 2x Antiseptic 1x Syringe | Medical Lab 3 |
| Vita Spray | Quick Use | 3x Antiseptic 1x Canister | Medical Lab 3 |
| Vulcano | Weapon | 1x Magnetic Accelerator 3x Heavy Gun Parts 1x Exodus Modules | Gunsmith 3 |
| Wolfpack | Grenade | 2x Explosive Compound 2x Sensors | Explosives Station 3 |
| Red Light Stick | Quick Use | 3x Chemicals | Utility Station 1 |
| Smoke Grenade | Grenade | 14x Chemicals 1x Canister | Utility Station 2 |
| Deadline | Mine | 3x Explosive Compound 2x ARC Circuitry | Explosives Station 3 |
| Trailblazer | Grenade | 1x Explosive Compound 1x Synthesized Fuel | Explosives Station 3 |
| Tactical Mk. 3 (Defensive) | Augment | 2x Advanced Electrical Components 3x Processor | Gear Bench 3 |
| Tactical Mk. 3 (Healing) | Augment | 2x Advanced Electrical Components 3x Processor | Gear Bench 3 |
| Yellow Light Stick | Quick Use | 3x Chemicals | Utility Station 1 |
Note: The missing Blueprints in this list likely have not actually been added to the game at the time of writing, because none of the playerbase has managed to find any of them. As they are added to the game, I will update this page with the most relevant information so you know exactly how to get all 75 Arc Raiders Blueprints.
Where to find Blueprints in Arc Raiders
Below is a list of all containers, modifiers, and events which maximise your chances of finding Blueprints:
- Certain quests reward you with specific Blueprints .
- Completing Trials has a high chance of offering Blueprints as rewards.
- Surveyors have a decent chance of dropping Blueprints on death.
- High loot value areas tend to have a greater chance of spawning Blueprints.
- Night Raids and Storms may increase rare Blueprint spawn chances in containers.
- Containers with higher numbers of items may have a higher tendency to spawn Blueprints. As a result, Blue Gate (which has many “large” containers containing multiple items) may give you a higher chance of spawning Blueprints.
- Raider containers (Raider Caches, Weapon Boxes, Medical Bags, Grenade Tubes) have increased Blueprint drop rates. As a result, the Uncovered Caches event gives you a high chance of finding Blueprints.
- Security Lockers have a higher than average chance of containing Blueprints.
- Certain Blueprints only seem to spawn under specific circumstances: Tempest Blueprint only spawns during Night Raid events. Vulcano Blueprint only spawns during Hidden Bunker events. Jupiter and Equaliser Blueprints only spawn during Harvester events.

Raider Caches, Weapon Boxes, and other raider-oriented container types have a good chance of offering Blueprints. |Image credit:Rock Paper Shotgun/Embark Studios
Blueprints have a very low chance of spawning in any container in Arc Raiders, around 1-2% on average. However, there is a higher chance of finding Blueprints in particular container types. Specifically, you can find more Blueprints in Raider containers and security lockers.
Beyond this, if you’re looking for Blueprints you should focus on regions of the map which are marked as having particularly high-value loot. Areas such as the Control Tower in Dam Battlegrounds, the Arrival and Departure Buildings in Spaceport, and Pilgrim’s Peak in Blue Gate all have a better-than-average chance of spawning Blueprints somewhere amongst all their containers. Night Raids and Electromagnetic Storm events also increase the drop chances of certain Blueprints .
In addition to these containers, you can often loot Blueprints from destroyed Surveyors - the largest of the rolling ball ARC. Surveyors are more commonly found on the later maps - Spaceport and Blue Gate - and if one spawns in your match, you’ll likely see it by the blue laser beam that it casts into the sky while “surveying”.
Surveyors are quite well-armoured and will very speedily run away from you once it notices you, but if you can take one down then make sure you loot all its parts for a chance of obtaining certain unusual Blueprints.
Blueprints obtained from quests
One way in which you can get Blueprints is by completing certain quests for the vendors in Speranza. Some quests will reward you with a specific item Blueprint upon completion, so as long as you work through all the quests in Arc Raiders, you are guaranteed those Blueprints.
Here is the full list of all Blueprints you can get from quest rewards:
- Trigger Nade Blueprint: Rewarded after completing “Sparks Fly”.
- Lure Grenade Blueprint: Rewarded after completing “Greasing Her Palms”.
- Burletta Blueprint: Rewarded after completing “Industrial Espionage”.
- Hullcracker Blueprint (and Launcher Ammo Blueprint): Rewarded after completing “The Major’s Footlocker”.
Alas, that’s only 4 Blueprints out of a total of 75 to unlock, so for the vast majority you will need to find them yourself during a raid. If you’re intent on farming Blueprints, then it’s best to equip yourself with cheap gear in case you lose it, but don’t use a free loadout because then you won’t get a safe pocket to stash any new Blueprint you find. No pain in Arc Raiders is sharper than failing to extract with a new Blueprint you’ve been after for a dozen hours already.

One of the best ways to get Blueprints is by hitting three stars on all five Trials every week. |Image credit:Rock Paper Shotgun/Embark Studios
Blueprints obtained from Trials
One of the very best ways to get Blueprints is as rewards for completing Trials in Arc Raiders. Trials are unlocked from Level 15 onwards, and allow you to earn rewards by focusing on certain tasks over the course of several raids. For example, one Trial might task you with dealing damage to Hornets, while another might challenge you to loot Supply Drops.
Trials refresh on a weekly basis, with a new week bringing five new Trials. Each Trial can offer up to three rewards after passing certain score milestones, and it’s possible to receive very high level loot from these reward crates - including Blueprints. So if you want to unlock as many Blueprints as possible, you should make a point of completing as many Trials as possible each week.
Best Blueprint farming locations
The very best way to get Blueprints is to frequent specific areas of the maps which combine high-tier loot pools with the right types of containers to search. Here are my recommendations for where to find Blueprints on every map, so you can always keep the search going for new crafting recipes to unlock.

Image credit:Rock Paper Shotgun/Embark Studios
Dam Battlegrounds
The best places to farm Blueprints on Dam Battlegrounds are the Control Tower, Power Generation Complex, Ruby Residence, and Pale Apartments . The first two regions, despite only being marked on the map as mid-tier loot, contain a phenomenal number of containers to loot. The Control Tower can also contain a couple of high-tier Security Lockers - though of course, you’ll need to have unlocked the Security Breach skill at the end of the Survival tree.
There’s also a lot of reporting amongst the playerbase that the Residential areas in the top-left of the map - Pale Apartments and Ruby Residence - give you a comparatively strong chance of finding Blueprints. Considering their size, there’s a high density of containers to loot in both locations, and they also have the benefit of being fairly out of the way. So you’re more likely to have all the containers to yourself.
Buried City
The best Blueprint farming locations on Buried City are the Santa Maria Houses, Grandioso Apartments, Town Hall, and the various buildings of the New District . Grandioso Apartments has a lower number of containers than the rest, but a high chance of spawning weapon cases - which have good Blueprint drop rates. The others are high-tier loot areas, with plenty of lootable containers - including Security Lockers.
Spaceport
The best places to find Blueprints on Spaceport are the Arrival and Departure Buildings, as well as Control Tower A6 and the Launch Towers . All these areas are labelled as high-value loot regions, and many of them are also very handily connected to one another by the Spaceport wall, which you can use to quickly run from one area to the next. At the tops of most of these buildings you’ll find at least one Security Locker, so this is an excellent farming route for players looking to find Blueprints.
The downside to looting Blueprints on Spaceport is that all these areas are hotly contested, particularly in Duos and Squads. You’ll need to be very focused and fast in order to complete the full farming route.

Image credit:Rock Paper Shotgun/Embark Studios
Blue Gate
Blue Gate tends to have a good chance of dropping Blueprints, potentially because it generally has a high number of containers which can hold lots of items; so there’s a higher chance of a Blueprint spawning in each container. In my experience, the best Blueprint farming spots on Blue Gate are Pilgrim’s Peak, Raider’s Refuge, the Ancient Fort, and the Underground Complex beneath the Warehouse .
All of these areas contain a wealth of containers to loot. Raider’s Refuge has less to loot, but the majority of the containers in and around the Refuge are raider containers, which have a high chance of containing Blueprints - particularly during major events.
Stella Montis
On the whole, Stella Montis seems to have a very low drop rate for Blueprints (though a high chance of dropping other high-tier loot). If you do want to try farming Blueprints on this map, the best places to find Blueprints in Stella Montis are Medical Research, Assembly Workshop, and the Business Center . These areas have the highest density of containers to loot on the map.
In addition to this, the Western Tunnel has a few different Security Lockers to loot, so while there’s very little to loot elsewhere in this area of the map, it’s worth hitting those Security Lockers if you spawn there at the start of a match.
That wraps up this primer on how to get all the Blueprints in Arc Raiders as quickly as possible. With the Expedition system constantly resetting a large number of players’ Blueprints, it’s more important than ever to have the most up-to-date information on where to find all these Blueprints.
While you’re here, be sure to check out our Arc Raiders best guns tier list , as well as our primers on the best skills to unlock and all the different Field Depot locations on every map.


ARC Raiders
PS5 , Xbox Series X/S , PC
Rock Paper Shotgun is better when you sign in
Sign in and join us on our journey to discover strange and compelling PC games.
