Conquering Total War: Warhammer 3 as a pirate with a pathological aversion to ever touching grass
Born to plunder. World is an ocean. 410,757,864,530 dead elves.

Image credit:Creative Assembly/Sega

In the dingy portside taverns that pop up, seemingly unbidden, like roiling blisters along the coastal towns of the Old World , the name Count Noctilus is spoken only in hushed whispers by those blasted enough on grog to forget themselves. They are sure to be swiftly rebuked by their fellows for playing dice with fate, those still of sound mind rightly afeared that the name may echo through the brine and tickle the ears of the dread captain himself. On the seas he calls kingdom, Noctilus is without equal, without mercy, and utterly without hesitation. For what has a dead man left to fear?
He has but one fatal flaw; he is deathly afraid of ever leaving his comfortable ship to touch ‘pon the verdant grass of land. I intend to honour this. Do you hear me, lubbers? I will show my strategy game mastery by conquering Total War: Warhammer 3’s world , and I will never touch grass.
Now, while it’s naturally going to be enough of a challenge for me, an agoraphobic games blogger, to roleplay as a terminal shut-in, I am setting a few ground rules to keep things interesting. My goal here is to hit the short victory condition. I’ll need to raze, sack or capture 30 settlements, and gain 8000 infamy, accrued by doing the usual pirate bits, mostly killing. Here are the rules:
- No traveling across any landmass on the entire map. Sea only. I can use the fast travel sea lanes, and I can capture ports, but the only way I can leave the ports is via sea again. I can enter and leave my starting capital, the Galleon’s Graveyard, as I please.
- I’m playing on Very Hard campaign difficulty, but Normal battles. I like the enemy having monetary buffs because you end up fighting more and bigger armies, but I also like stats being tuned to their default values. I’ve also cranked the actual battle AI all the way up, as per the recent-ish new settings.
- You will likely see screenshots of me fighting on land. This is just what the game does for sea battles. It is not real grass. Ditto for sieges and port battles. Not real. I will never, ever, touch real grass.
Additionally, I’m using the following mods:
- Reloading Animations , because I’ll be using gunnery wights, and it’s one more nice animation.
- Pirate’s Unlife for Me Overhaul , for some extra pirate incentives and flavour.
- Better Camera , because it makes the camera better.
Sometimes, because the game is weird, it will plonk Noctilus on nearby land once I’ve finished taking a port settlement. There’s nothing I can do about this, so my rule is as long as I immediately return to sea at the first possible opportunity, then it doesn’t break the run. You might occasionally see a screenshot of Noctilus on some grass. This a liar’s screenshot. Nothing can make me touch real grass, even the game’s literal code. Avast!
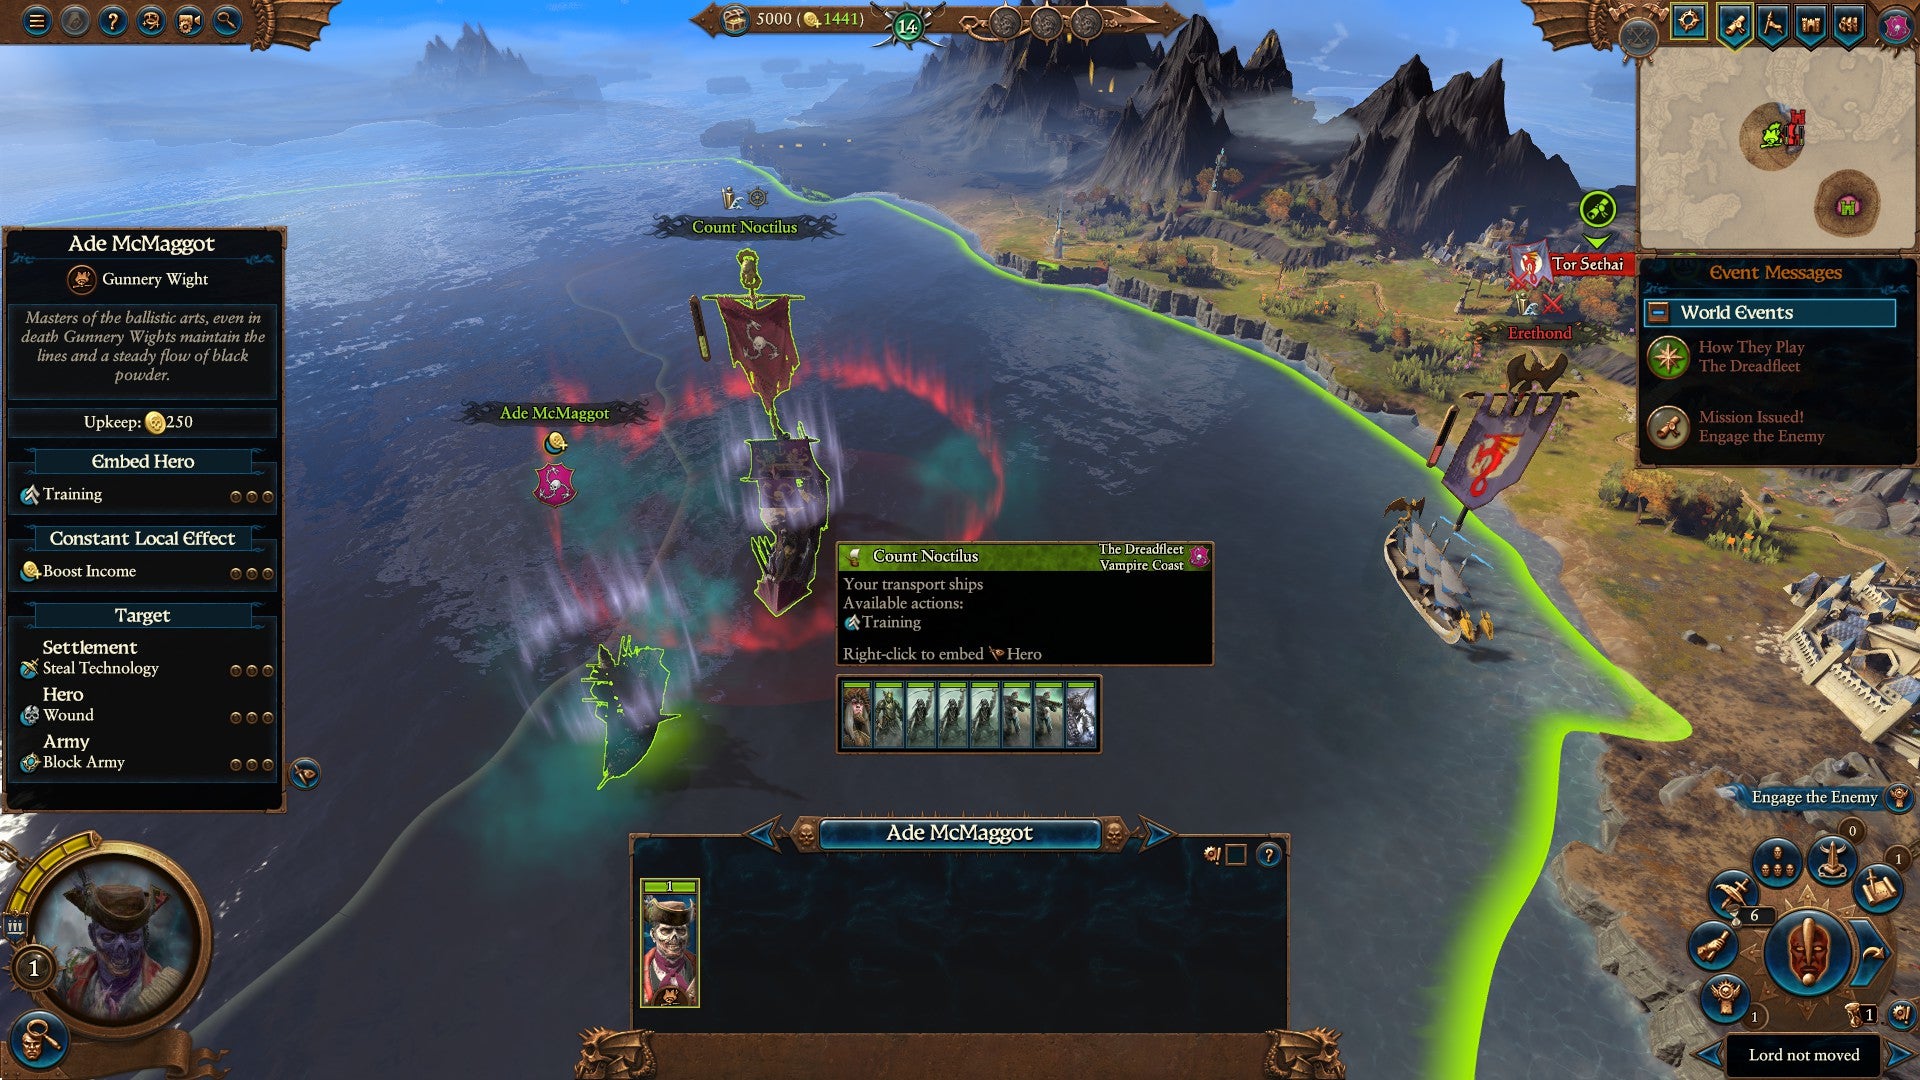
Image credit:Creative Assembly/Sega
Having long ago lost the ability to produce saliva, Noctilus orders his lip-licking monkey to get to licking in anticipation of elven riches. But what’s this? He’s immediately met on the sea by an elf named Erethond. When I click on him to view his army, he shouts “ridiculous!” at me. It’s actually really simple, thinks Noctilus. The mouse only has two buttons. But no matter, we’ll see how pointy-toity you are when you’re whining to the crabs about how your parents didn’t love you enough to not pick the first entry in the ‘Obvious Names for Elves’ book. I raise some insta-dead, research a movement bonus, then get stuck in.
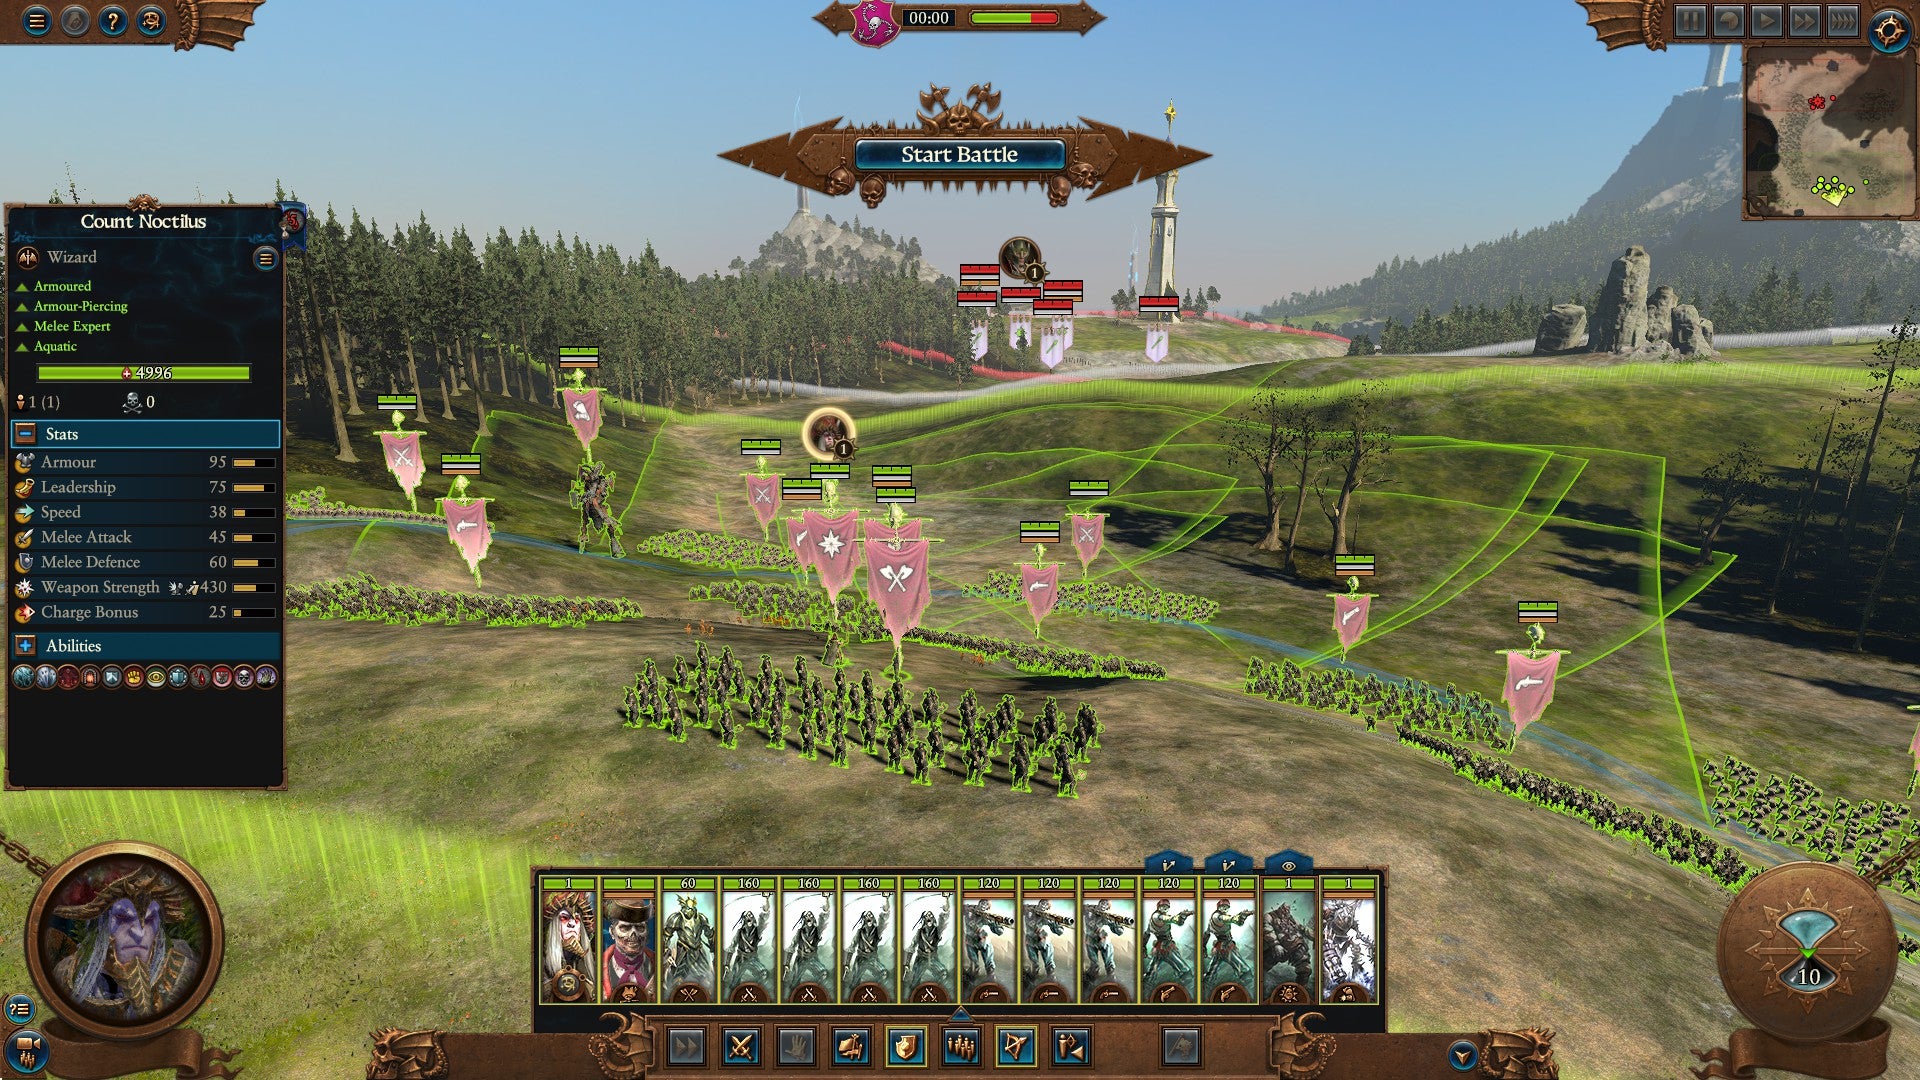
Image credit:Sega/Creative Assembly
We’ve got a few nice hills on our side of the map, so I layout a loose checkerboard with the rifles on the high ground, and stick my exploding bloater in some trees to hopefully take out a few Dragon Princes later. They’re the only potentially nasty unit the elves have, so well worth sacrificing the bloater for. Before that though, we’ve got some elf luring to do. I attacked them, so they’ll like as not just wait out the timer and win if I leave them to their own devices. Luckily, the Necrofex Colossus has silly range. I take pot shots at their archers until they figure they’ve had enough and advance. The main thing my army is missing so early is either some bats or dogs; something to get into elven backlines sharpish so their arrows don’t decimate me. Luckily, I chew through most of their frontline quickly, including the Dragon Princes, and Erethond is quickly reduced to Ere-dead. Thanks. Been saving that one.
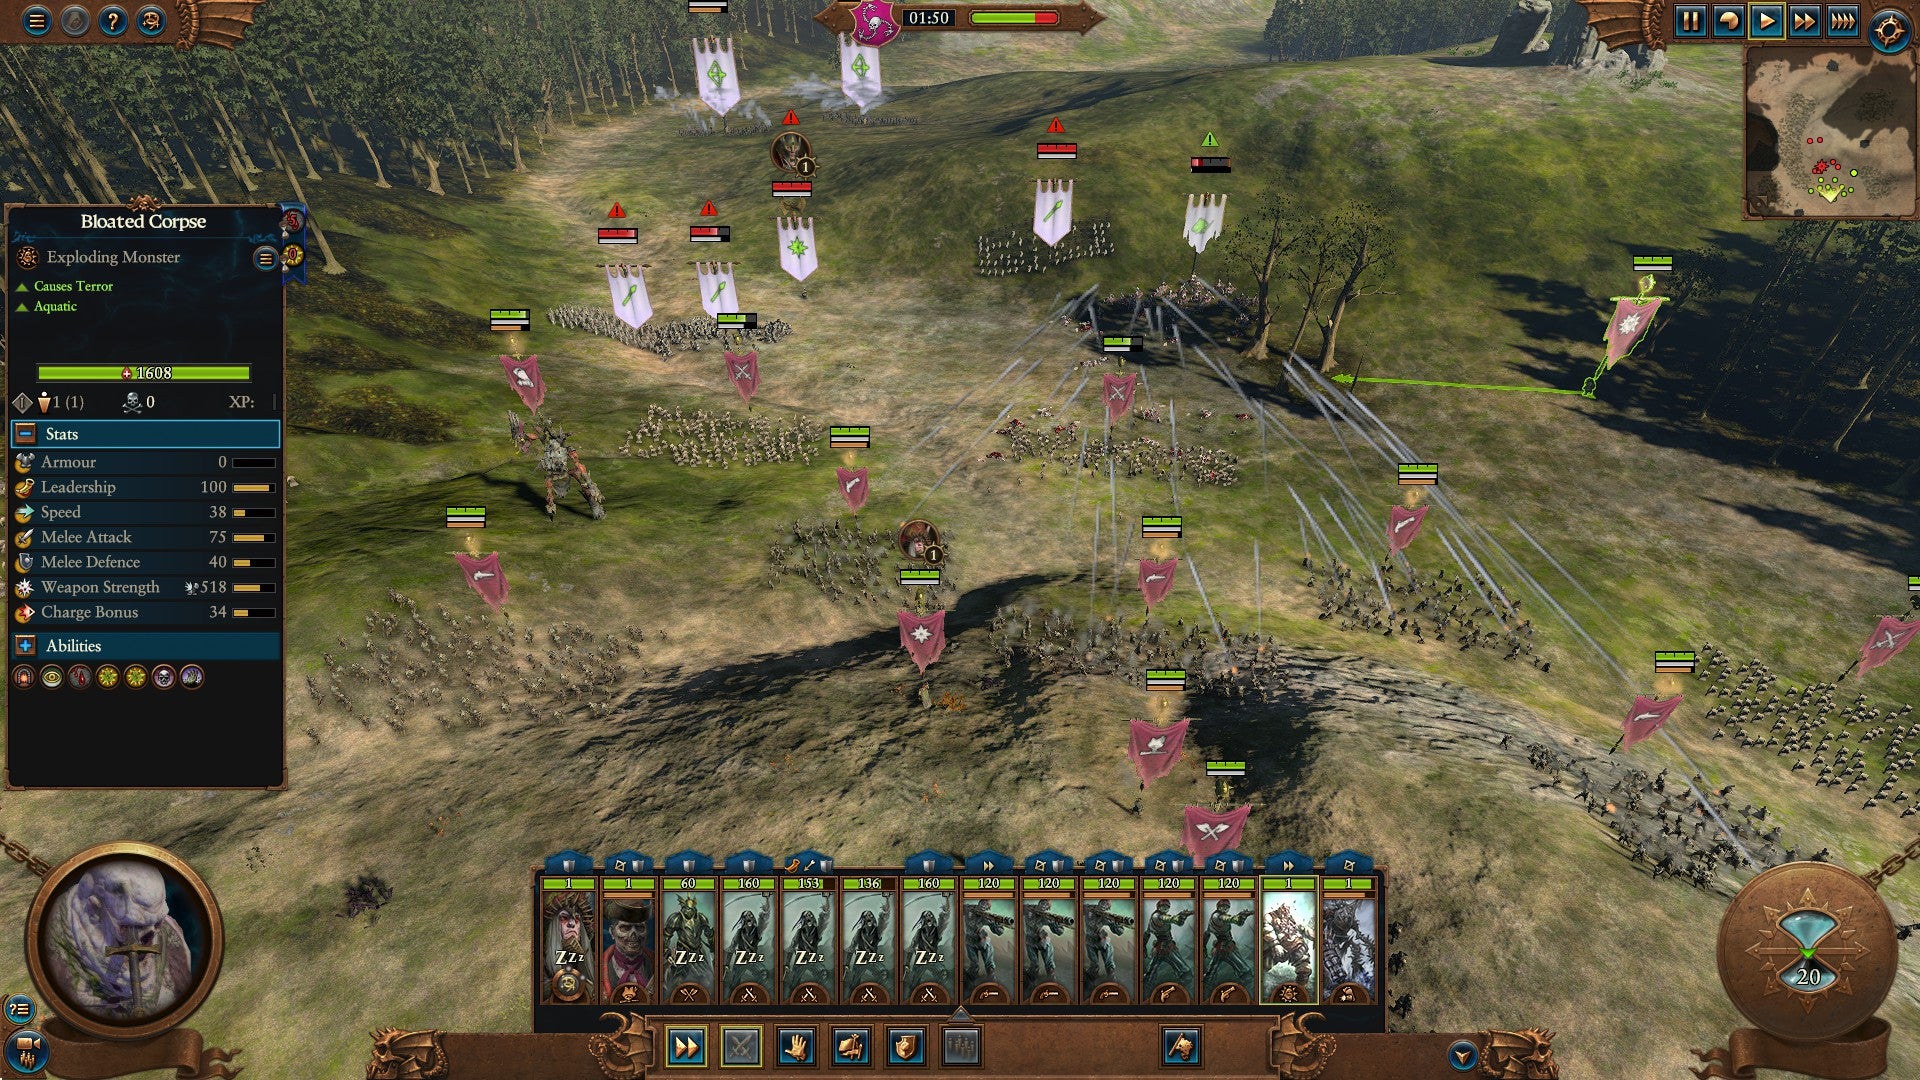
Image credit:Creative Assembly/Sega
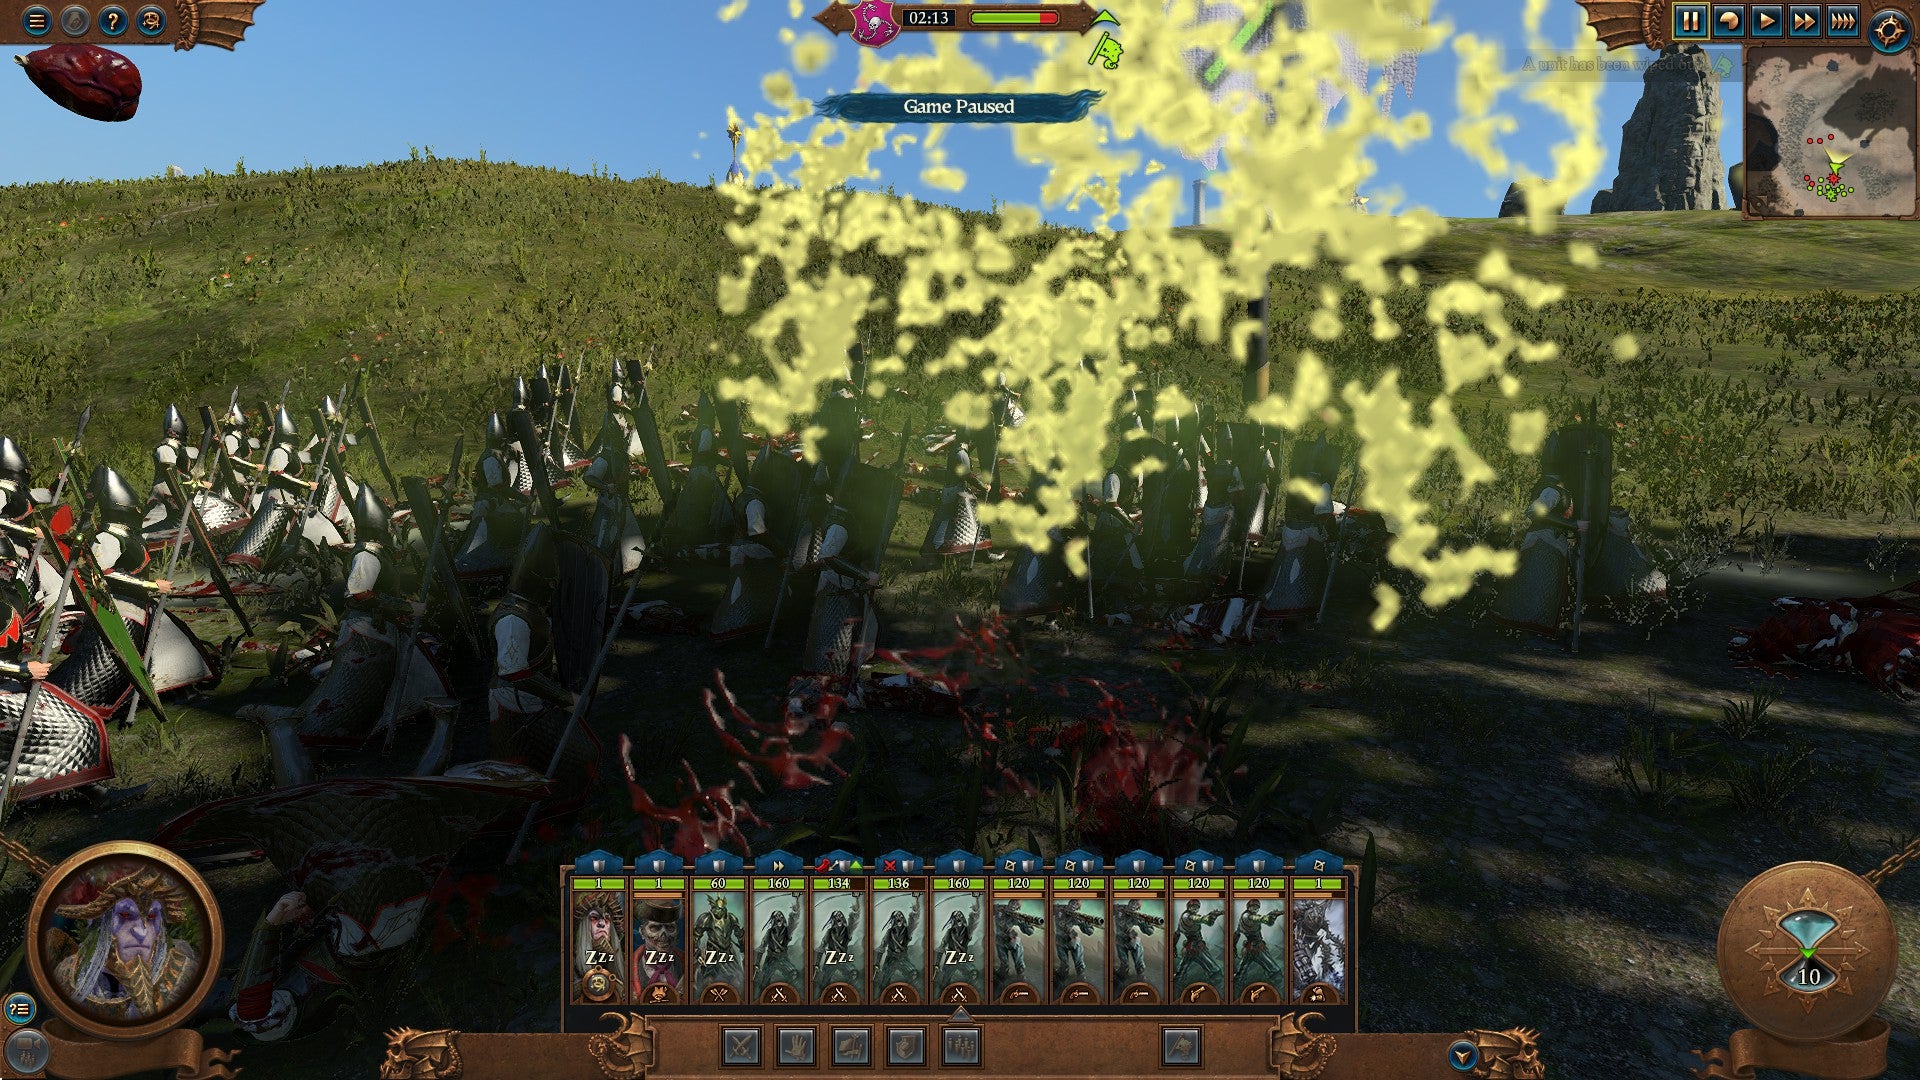
Image credit:Creative Assembly/Sega
I end the turn forgetting to build anything on my ship, or recruiting any units. I have apparently forgotten how hybrid horde armies work.
It’s turn two , and we’ve run into our first problem: there’s a sizable patch of grass between Noctilus and Vaul’s Anvil, which means I’m going to have to leave these elves disgustingly alive. No matter! Lothern, the juiciest elf city, is a port, and also right around the corner. I reason dealing a blow to Tyrion this early is a good shout, too. I park up behind a volcano, do some housekeeping, and its on to turn three. Where’s that monkey got to?
It’s turn three and Noctilus has just been informed that, much like the previous three lip-licking monkeys, Captain Fleas has somehow worked out how to use a pistol, and shot himself. The funeral can wait, however, as there are elves to kill. I’m not ready to take on Lothern in siege battle yet, so we’ll just encircle it and try to wear them down. We won’t fully encircle it obviously, because that would involve land. We’ll just hang around at port looking menacing. Men! Replace the regular skull flag with the ‘Elves r cringe’ flag. This is sure to whip them into a frenzy and make them reckless. We snag a few upgrades and on turn five siege the city, but not before declaring war on a faraway pirate named Gentlemen Jenkins because the game offered us money to do so. He’s miles away, so it’s fine.
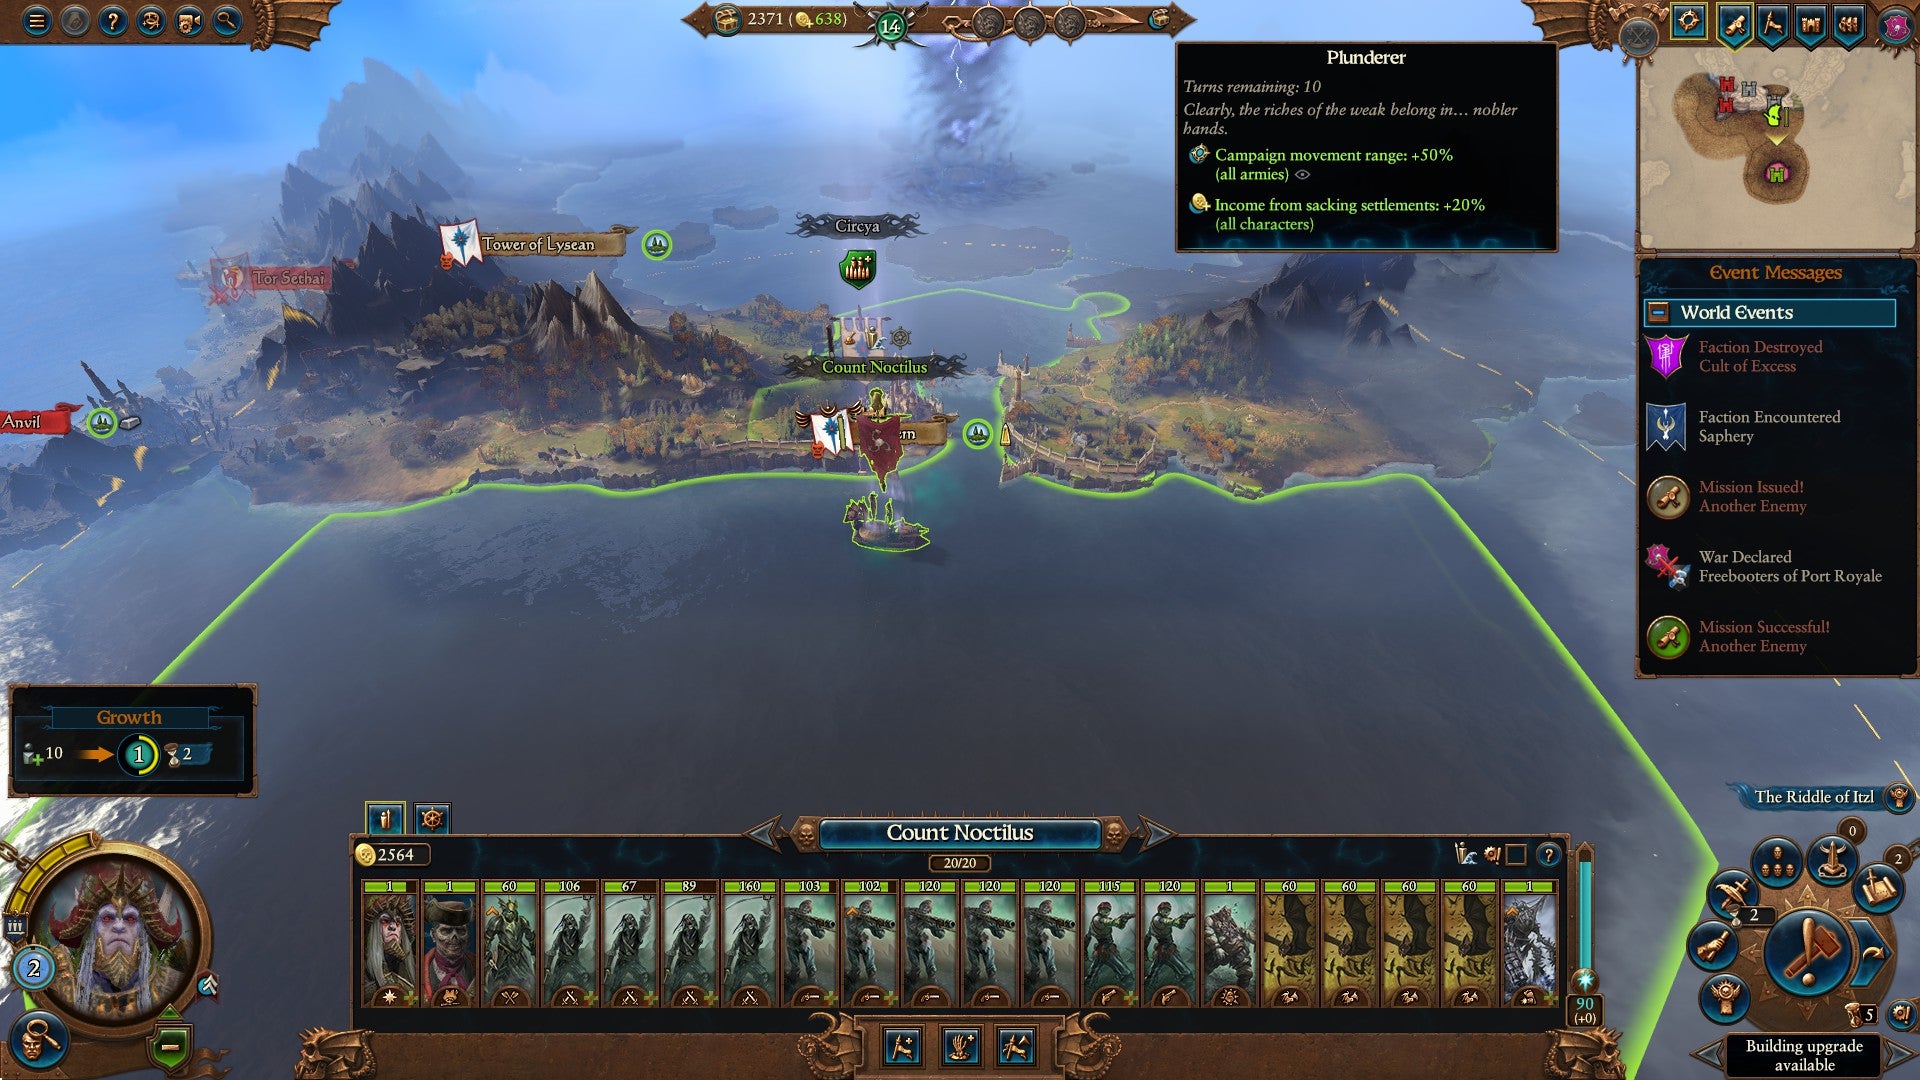
Image credit:Creative Assembly/Sega
I siege the city for a few turns, and I’m just about to wear the elves down to a manageable level through attrition when disaster strikes. It’s elf boss Tyrion, come to support the garrison. There’s no way this my current band of flaky reprobates can handle this fight - have you ever seen a zombie with scurvy try to lift up a polearm, it’s not pretty - so I retreat. And…
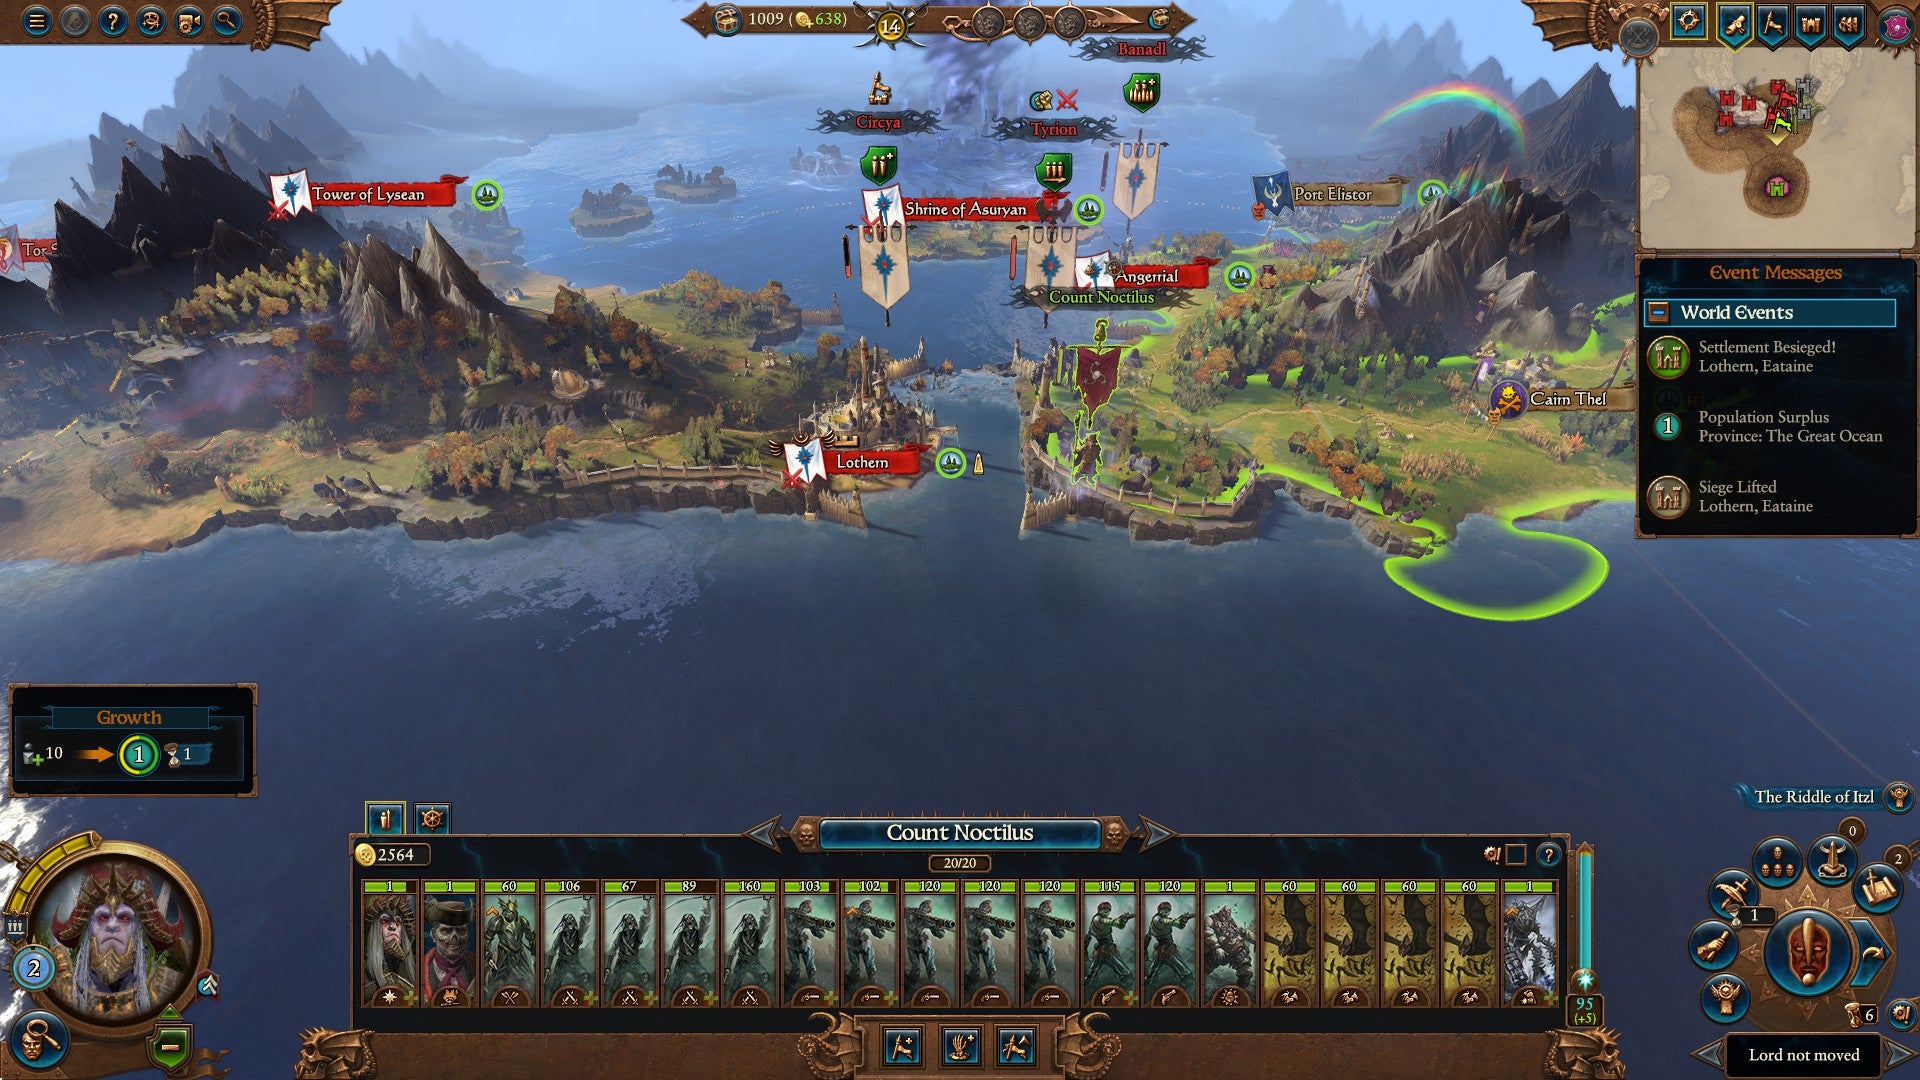
Image credit:Creative Assembly/Sega
The game sticks me right on land, or at least that’s what the elves’ cowardly magic would have me believe. You and I, reader, know this is actually impossible, because I simply will not touch grass under any circumstances. I immediately dispel the elf magic, and sail back to Galleon’s Graveyard to rally the troops. I research some tech, upgrade my settlement, recruit some artillery and…
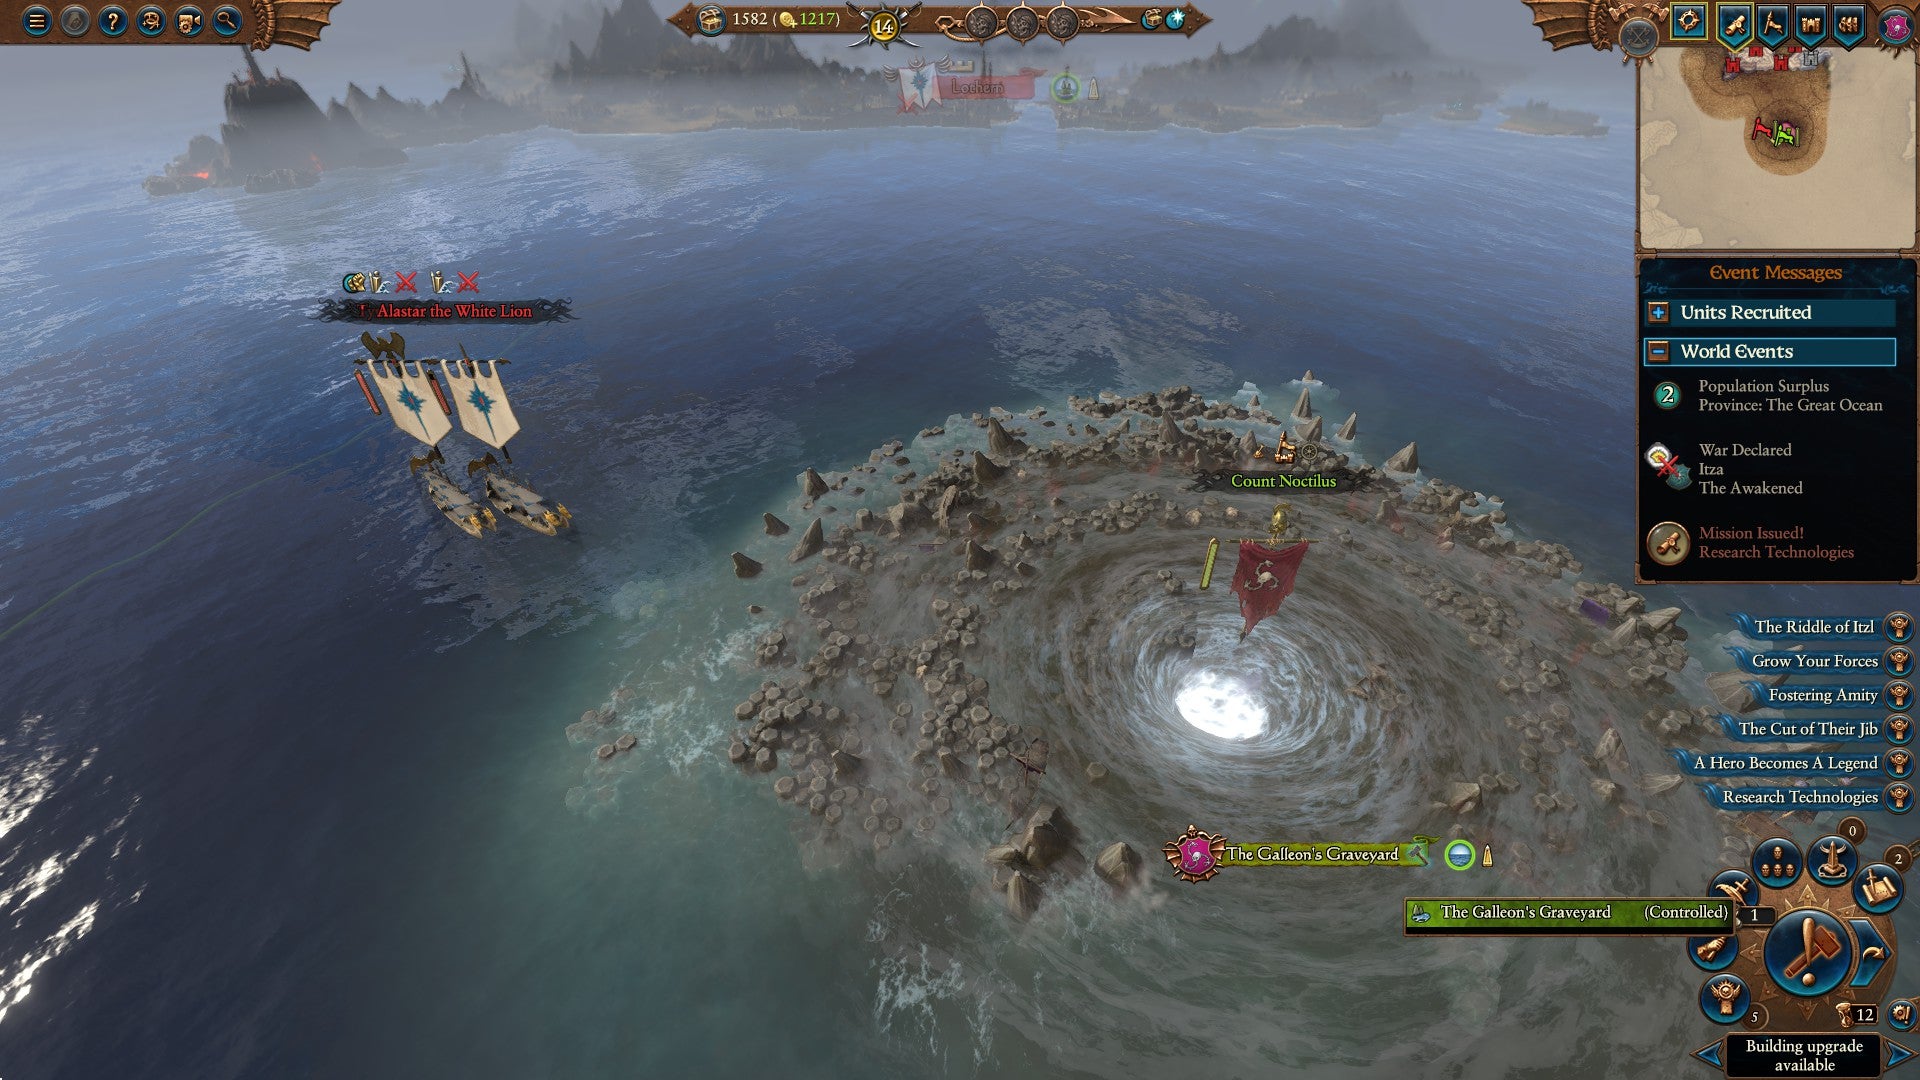
Image credit:Creative Assembly/Sega
The elves have fallen for my completely intentional ruse in which I pretended to be a coward. Idiots. As luck would have it, I’m given a dilemma that buffs my gunlines. I’ve got two turns to recruit before Tyrion and Alastar arrive, so I load up on rifle zombies. They’ll also take attrition, so with a little finesse (guns) I should be able to win the day.
I don’t want to brag here, but I’ve got quite a lot of guns. The elves? Zero guns. Not a single solitary sausage. I camp up on a hill, put my bats in reserve to shut down the archers, make sure to focus down their lords when they come close, and we manage to win the day. Now, do I count myself lucky and sensibly hang around until I’m in a better position, or do I press the advantage and immediately sail back to Lothern? This is a rhetorical question, of course. I pump a few skill points into Noctilus’ ‘Invocation of Nehek’, which lets me re-raise fallen zombies, grab a few more troops, and set sail.
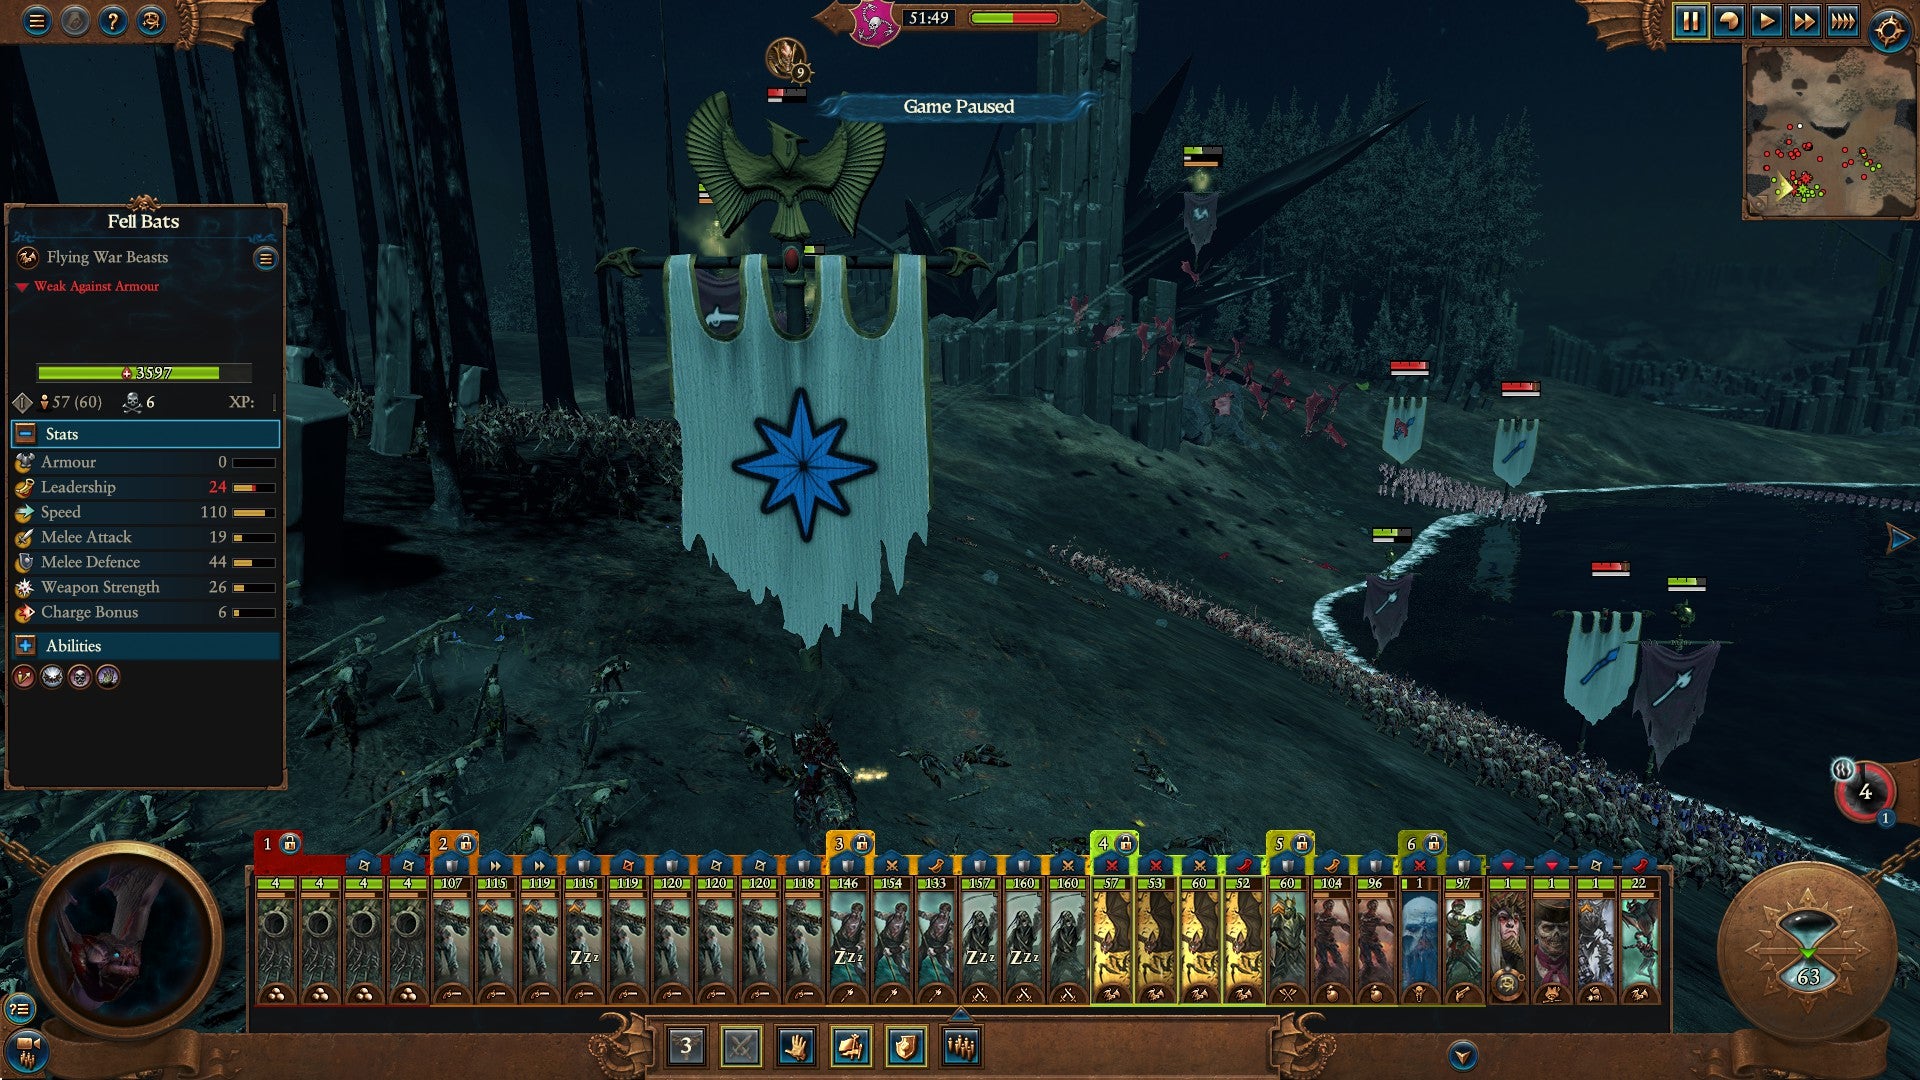
Image credit:Creative Assembly/Sega
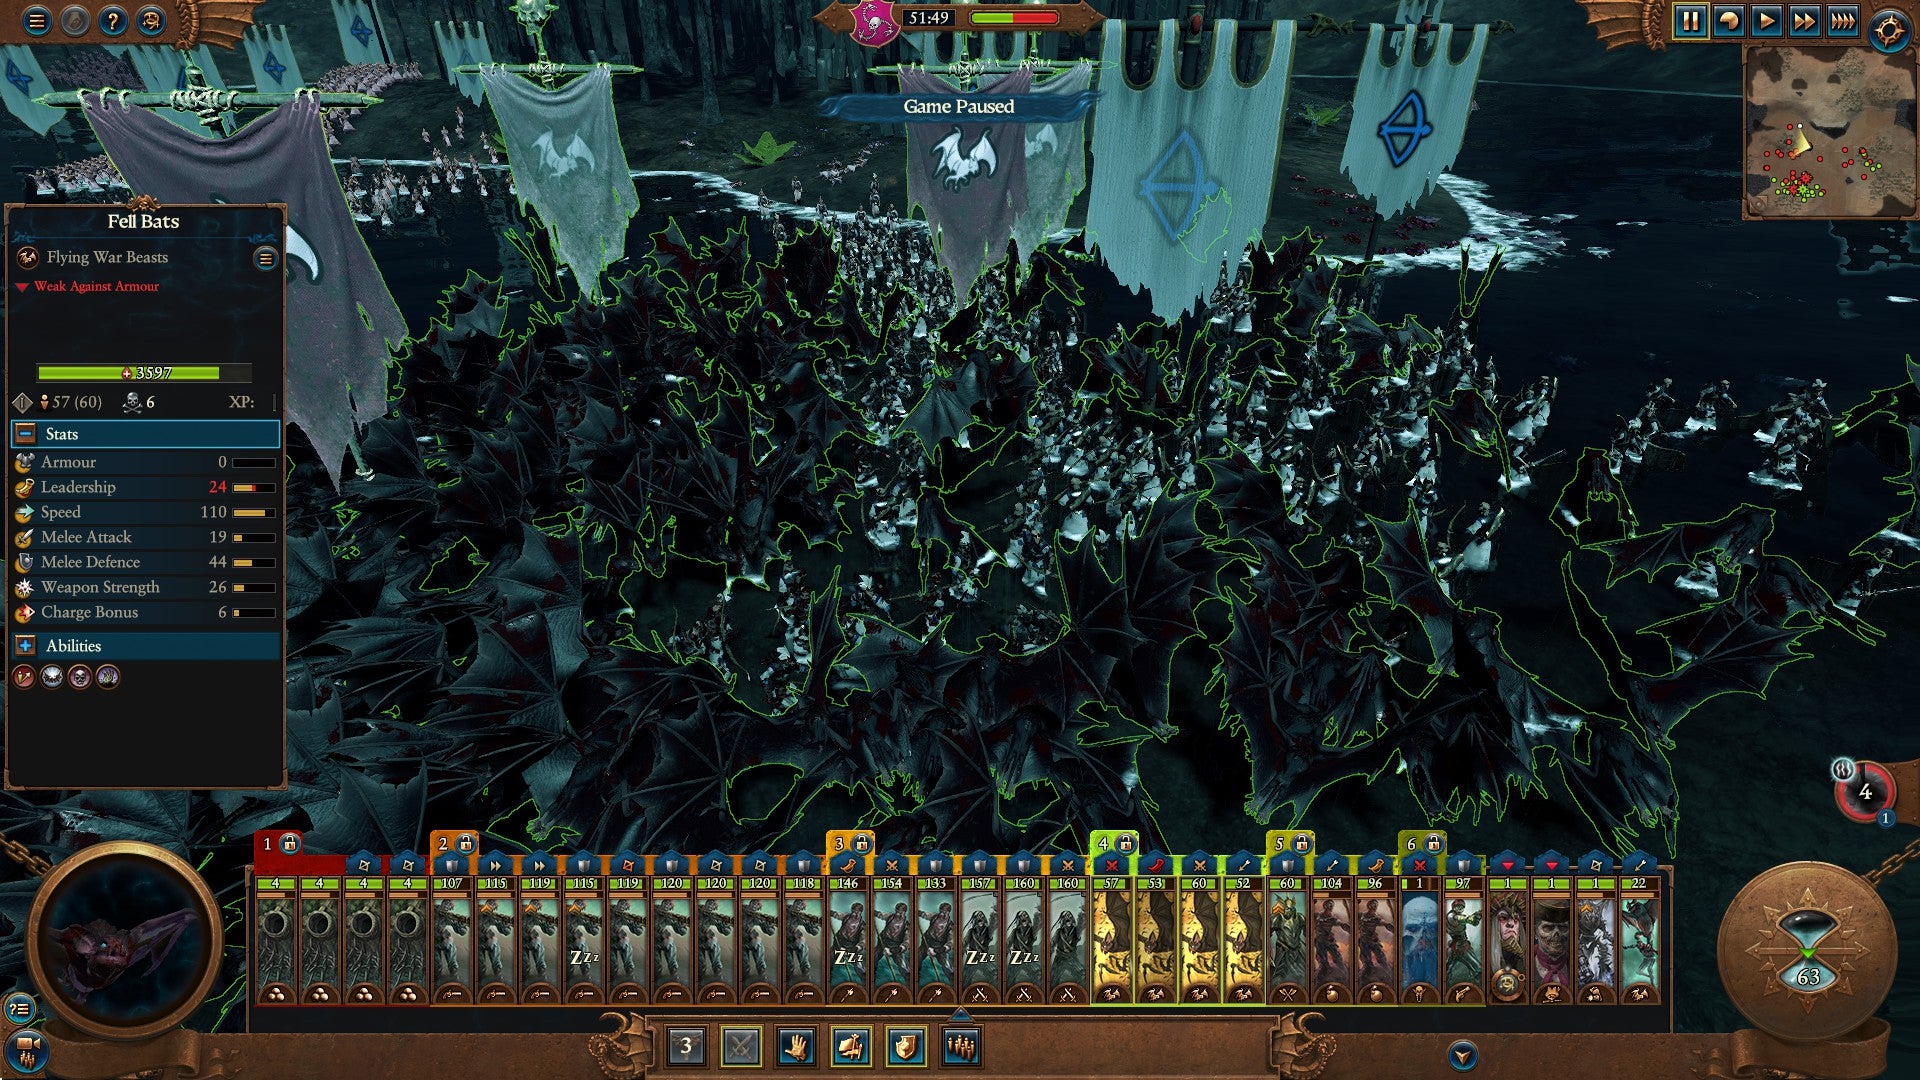
Image credit:Creative Assembly/Sega
Did I mention my intense dislike for elves yet? Partly because of the economy buffs the AI receives on higher difficulties, and partly because elves are the worst, they’ve already recuperated most of their losses. I take a smaller port city as an appetizer, hoping to lure out the army, and raze the place to the ground. A bit of clever maneuvering later, which I won’t show you because it was too clever and it would make you feel bad, I’m ready to take the grand prize. Loth-ern? More like Loth-burn! Thanks. I was saving that one especially as treat for anyone who read this far down.
As is my right as the author, and also a lazy person, I kick off the siege with the tried-and-true tack of parking in a single corner of the map, where only a few of the elves’ towers can hit me, then systematically take them down with artillery. I pop a couple of brave sacrificial chumps in front of the artillery to soak up shots. I drop the occasional healing spell to keep my meatshields shielded with adequate meat, then pop the game on fast forward, occasionally switching targets. Soon, all the towers are destroyed, and I’m free to unload every single artillery shell, plus more with my wight’s extra powder buff, on the elven capital. Before long, they’re in tatters.
My next step is to send Noctilus in solo and park him behind a wall, casting spells on the already weakened elves with impunity. I burn through my winds of magic, then send in the heavies to finish the job. The city falls, like a precarious peanut balanced atop of a pile of dead elves.
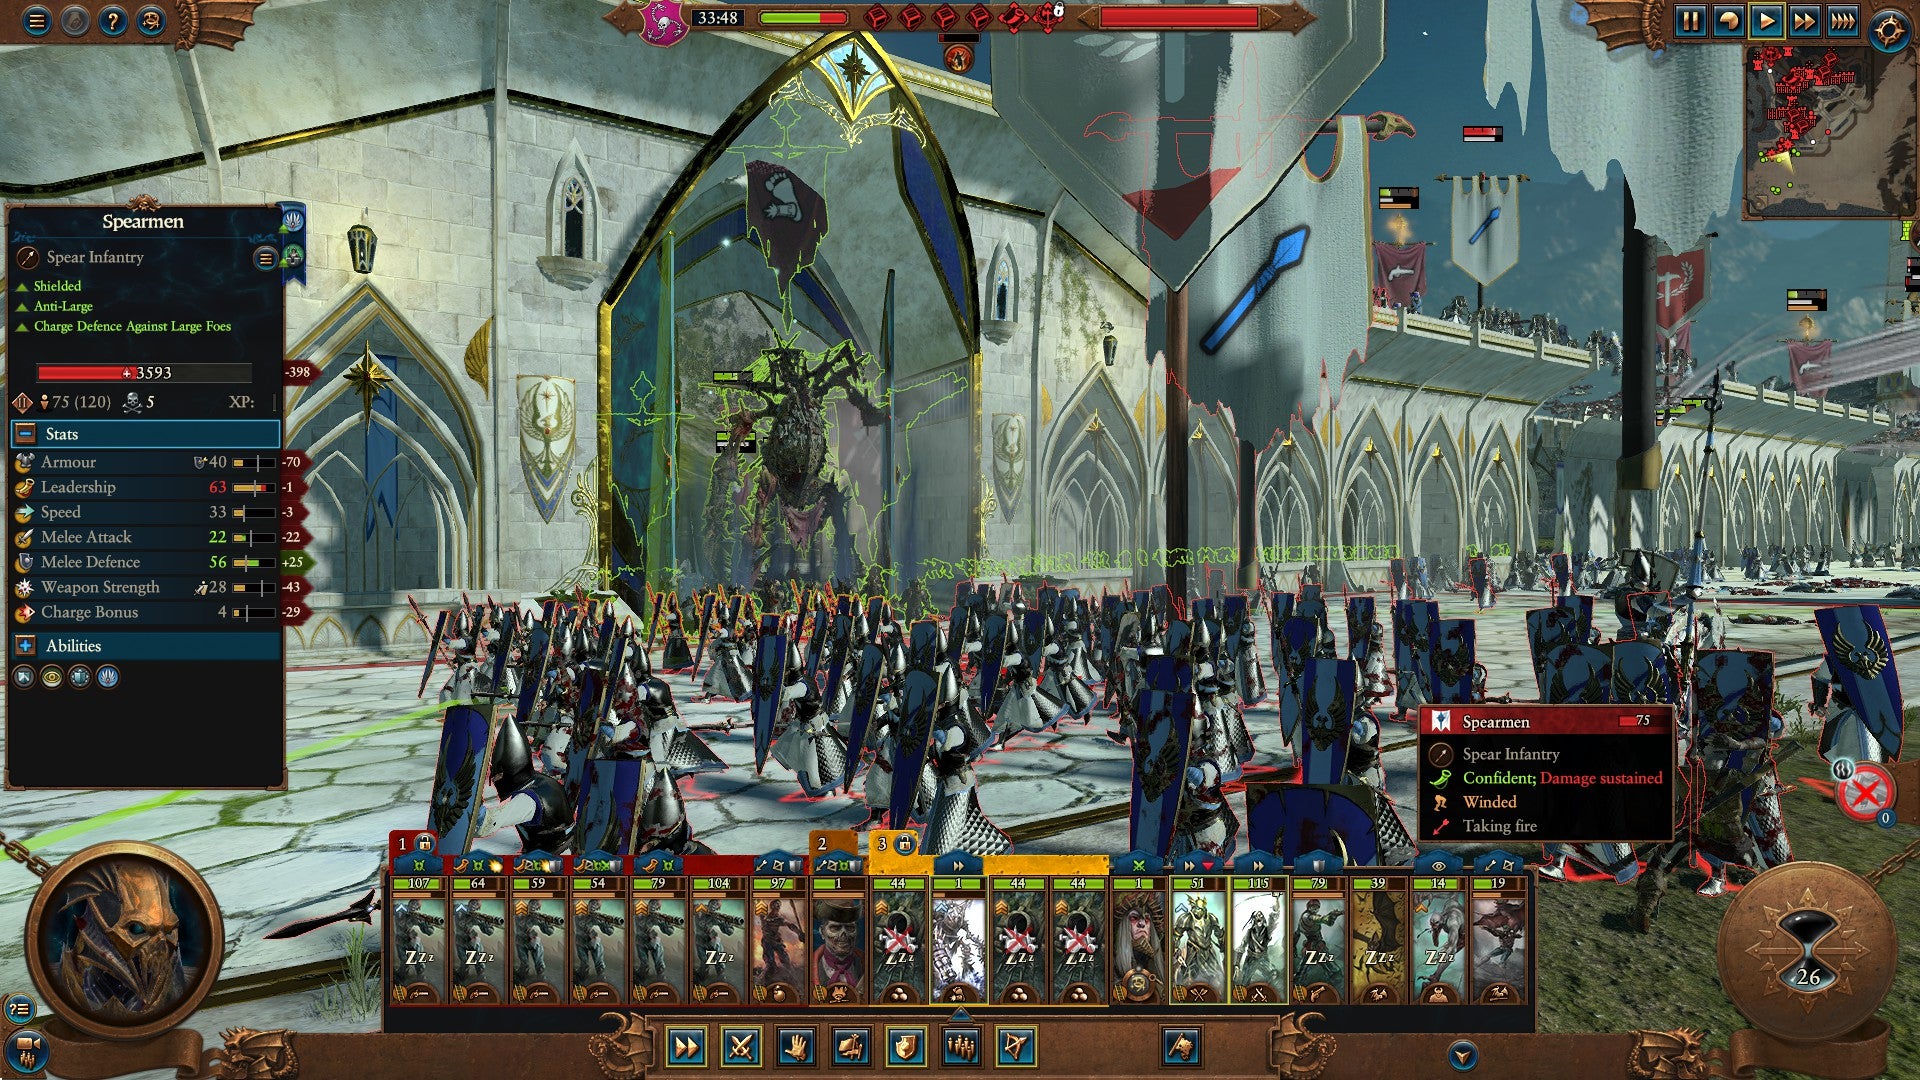
Image credit:Creative Assembly/Sega
Holding back every instinct I have to burn Lothern to the ground, I build a pirate cove in its ruins, granting me some juicy passive income from what’s sure to soon be one of the richest cities on the map. I’m just preparing to set back to the Graveyard to give Captain Fleas the goodbye he deserves when, shiver me doubloons, it’s only Gentleman Jenkins, come to seek revenge! What sort of dastardly army does the rogue Empire general have up his Gentlemanly sleevies?
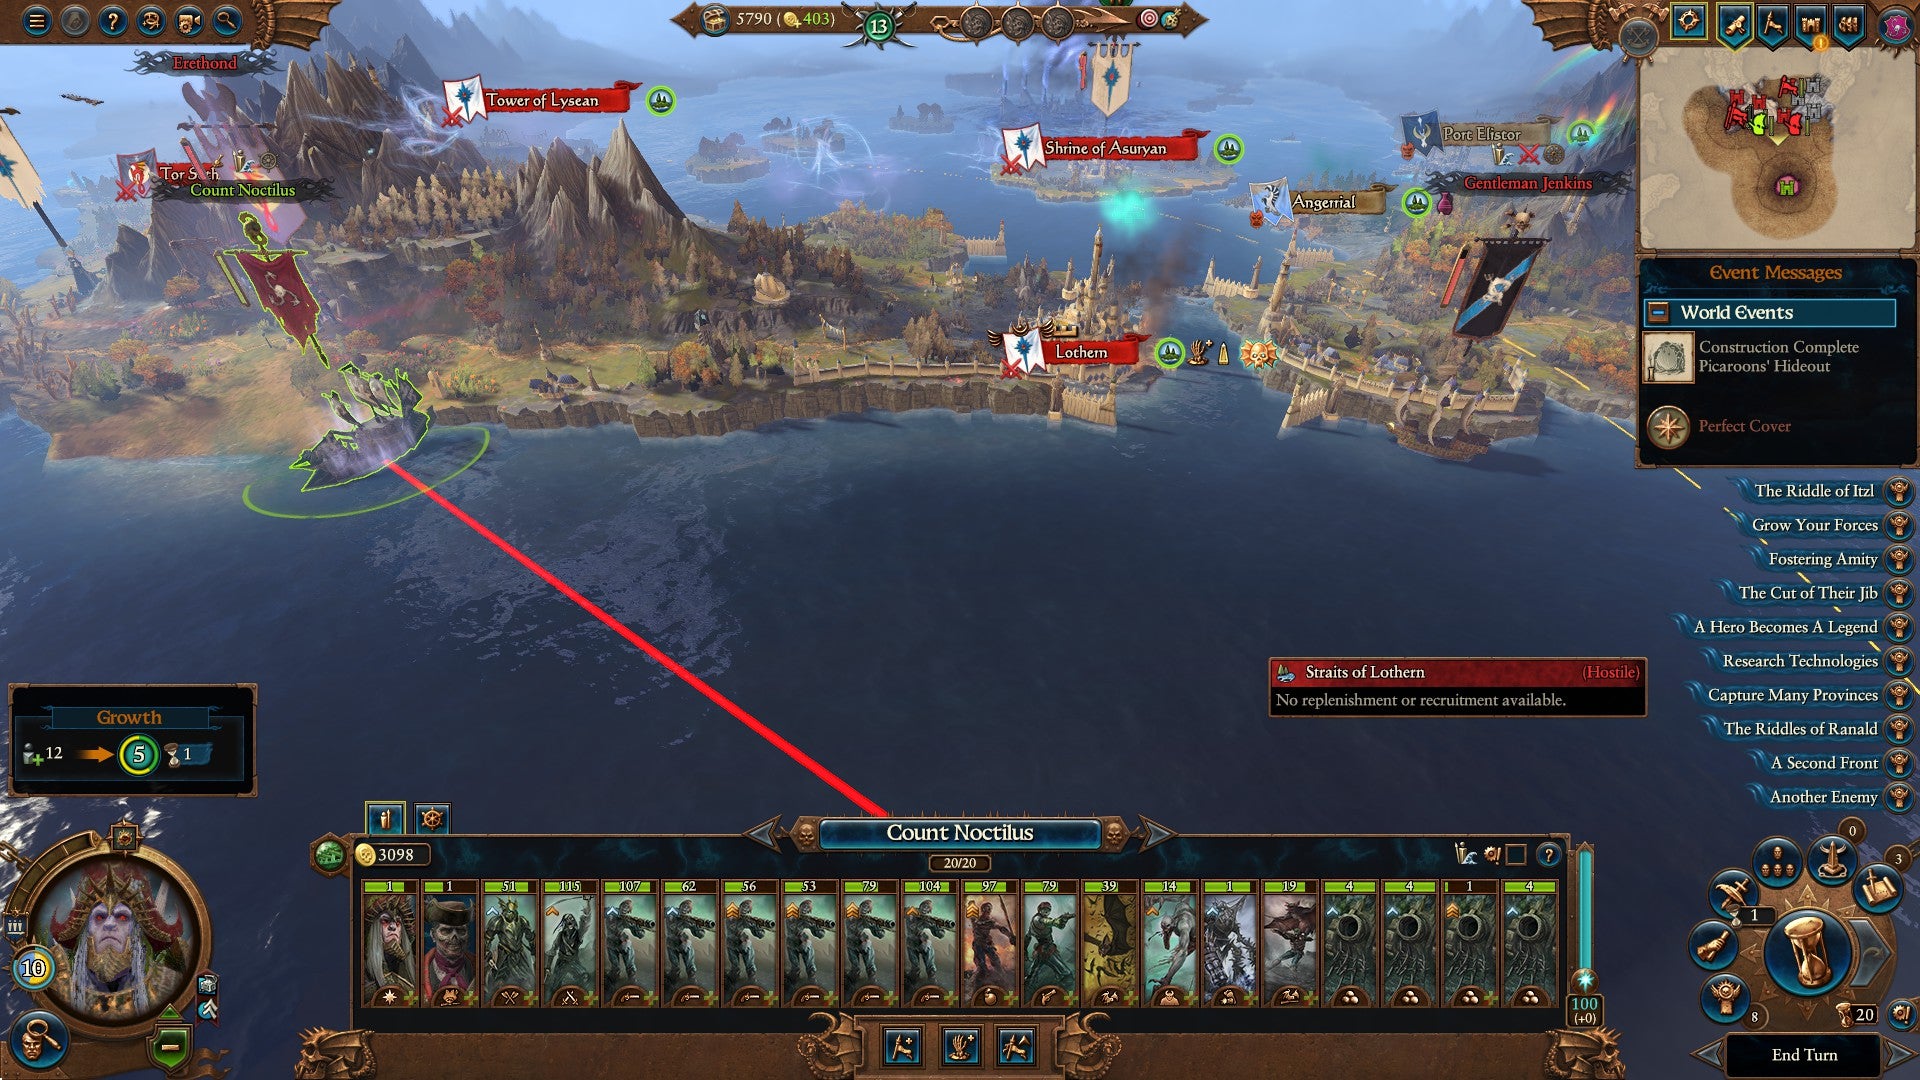
Image credit:Creative Assembly/Sega
That, mateys, will have to wait until next time. Until then, be careful out there. Grass, it turns out, is bloody everywhere.

Total War: Warhammer III
Video Game
Rock Paper Shotgun is better when you sign in
Sign in and join us on our journey to discover strange and compelling PC games.

All 75 Arc Raiders Blueprints and where to get them
These areas have the highest chance of giving you Blueprints

Image credit:Rock Paper Shotgun/Embark Studios

Looking for more Arc Raiders Blueprints? It’s a special day when you find a Blueprint, as they’re among the most valuable items in Arc Raiders. If you find a Blueprint that you haven’t already found, then you must make sure you hold onto it at all costs, because Blueprints are the key to one of the most important and powerful systems of meta-progression in the game.
This guide aims to be the very best guide on Blueprints you can find, starting with a primer on what exactly they are and how they work in Arc Raiders, before delving into exactly where to get Blueprints and the very best farming spots for you to take in your search.
We’ll also go over how to get Blueprints from other unlikely activities, such as destroying Surveyors and completing specific quests. And you’ll also find the full list of all 75 Blueprints in Arc Raiders on this page (including the newest Blueprints added with the Cold Snap update , such as the Deadline Blueprint and Firework Box Blueprint), giving you all the information you need to expand your own crafting repertoire.
In this guide:
- What are Blueprints in Arc Raiders?
- Full Blueprint list: All crafting recipes
- Where to find Blueprints in Arc Raiders Blueprints obtained from quests Blueprints obtained from Trials Best Blueprint farming locations

What are Blueprints in Arc Raiders?
Blueprints in Arc Raiders are special items which, if you manage to extract with them, you can expend to permanently unlock a new crafting recipe in your Workshop. If you manage to extract from a raid with an Anvil Blueprint, for example, you can unlock the ability to craft your very own Anvil Pistol, as many times as you like (as long as you have the crafting materials).
To use a Blueprint, simply open your Inventory while in the lobby, then right-click on the Blueprint and click “Learn And Consume” . This will permanently unlock the recipe for that item in your Workshop. As of the Stella Montis update, there are allegedly 75 different Blueprints to unlock - although only 68 are confirmed to be in the game so far. You can see all the Blueprints you’ve found and unlocked by going to the Workshop menu, and hitting “R” to bring up the Blueprint screen.
It’s possible to find duplicates of past Blueprints you’ve already unlocked. If you find these, then you can either sell them, or - if you like to play with friends - you can take it into a match and gift it to your friend so they can unlock that recipe for themselves. Another option is to keep hold of them until the time comes to donate them to the Expedition.
Full Blueprint list: All crafting recipes
Below is the full list of all the Blueprints that are currently available to find in Arc Raiders, and the crafting recipe required for each item:
| Blueprint | Type | Recipe | Crafted At |
|---|---|---|---|
| Bettina | Weapon | 3x Advanced Mechanical Components 3x Heavy Gun Parts 3x Canister | Gunsmith 3 |
| Blue Light Stick | Quick Use | 3x Chemicals | Utility Station 1 |
| Aphelion | Weapon | 3x Magnetic Accelerator 3x Complex Gun Parts 1x Matriarch Reactor | Gunsmith 3 |
| Combat Mk. 3 (Flanking) | Augment | 2x Advanced Electrical Components 3x Processor | Gear Bench 3 |
| Combat Mk. 3 (Aggressive) | Augment | 2x Advanced Electrical Components 3x Processor | Gear Bench 3 |
| Complex Gun Parts | Material | 2x Light Gun Parts 2x Medium Gun Parts 2x Heavy Gun Parts | Refiner 3 |
| Fireworks Box | Quick Use | 1x Explosive Compound 3x Pop Trigger | Explosives Station 2 |
| Gas Mine | Mine | 4x Chemicals 2x Rubber Parts | Explosives Station 1 |
| Green Light Stick | Quick Use | 3x Chemicals | Utility Station 1 |
| Pulse Mine | Mine | 1x Crude Explosives 1x Wires | Explosives Station 1 |
| Seeker Grenade | Grenade | 1x Crude Explosives 2x ARC Alloy | Explosives Station 1 |
| Looting Mk. 3 (Survivor) | Augment | 2x Advanced Electrical Components 3x Processor | Gear Bench 3 |
| Angled Grip II | Mod | 2x Mechanical Components 3x Duct Tape | Gunsmith 2 |
| Angled Grip III | Mod | 2x Mod Components 5x Duct Tape | Gunsmith 3 |
| Hullcracker | Weapon | 1x Magnetic Accelerator 3x Heavy Gun Parts 1x Exodus Modules | Gunsmith 3 |
| Launcher Ammo | Ammo | 5x Metal Parts 1x Crude Explosives | Workbench 1 |
| Anvil | Weapon | 5x Mechanical Components 5x Simple Gun Parts | Gunsmith 2 |
| Anvil Splitter | Mod | 2x Mod Components 3x Processor | Gunsmith 3 |
| ??? | ??? | ??? | ??? |
| Barricade Kit | Quick Use | 1x Mechanical Components | Utility Station 2 |
| Blaze Grenade | Grenade | 1x Explosive Compound 2x Oil | Explosives Station 3 |
| Bobcat | Weapon | 3x Advanced Mechanical Components 3x Light Gun Parts | Gunsmith 3 |
| Osprey | Weapon | 2x Advanced Mechanical Components 3x Medium Gun Parts 7x Wires | Gunsmith 3 |
| Burletta | Weapon | 3x Mechanical Components 3x Simple Gun Parts | Gunsmith 1 |
| Compensator II | Mod | 2x Mechanical Components 4x Wires | Gunsmith 2 |
| Compensator III | Mod | 2x Mod Components 8x Wires | Gunsmith 3 |
| Defibrillator | Quick Use | 9x Plastic Parts 1x Moss | Medical Lab 2 |
| ??? | ??? | ??? | ??? |
| Equalizer | Weapon | 3x Magnetic Accelerator 3x Complex Gun Parts 1x Queen Reactor | Gunsmith 3 |
| Extended Barrel | Mod | 2x Mod Components 8x Wires | Gunsmith 3 |
| Extended Light Mag II | Mod | 2x Mechanical Components 3x Steel Spring | Gunsmith 2 |
| Extended Light Mag III | Mod | 2x Mod Components 5x Steel Spring | Gunsmith 3 |
| Extended Medium Mag II | Mod | 2x Mechanical Components 3x Steel Spring | Gunsmith 2 |
| Extended Medium Mag III | Mod | 2x Mod Components 5x Steel Spring | Gunsmith 3 |
| Extended Shotgun Mag II | Mod | 2x Mechanical Components 3x Steel Spring | Gunsmith 2 |
| Extended Shotgun Mag III | Mod | 2x Mod Components 5x Steel Spring | Gunsmith 3 |
| Remote Raider Flare | Quick Use | 2x Chemicals 4x Rubber Parts | Utility Station 1 |
| Heavy Gun Parts | Material | 4x Simple Gun Parts | Refiner 2 |
| Venator | Weapon | 2x Advanced Mechanical Components 3x Medium Gun Parts 5x Magnet | Gunsmith 3 |
| Il Toro | Weapon | 5x Mechanical Components 6x Simple Gun Parts | Gunsmith 1 |
| Jolt Mine | Mine | 1x Electrical Components 1x Battery | Explosives Station 2 |
| Explosive Mine | Mine | 1x Explosive Compound 1x Sensors | Explosives Station 3 |
| Jupiter | Weapon | 3x Magnetic Accelerator 3x Complex Gun Parts 1x Queen Reactor | Gunsmith 3 |
| Light Gun Parts | Material | 4x Simple Gun Parts | Refiner 2 |
| Lightweight Stock | Mod | 2x Mod Components 5x Duct Tape | Gunsmith 3 |
| Lure Grenade | Grenade | 1x Speaker Component 1x Electrical Components | Utility Station 2 |
| Medium Gun Parts | Material | 4x Simple Gun Parts | Refiner 2 |
| Torrente | Weapon | 2x Advanced Mechanical Components 3x Medium Gun Parts 6x Steel Spring | Gunsmith 3 |
| Muzzle Brake II | Mod | 2x Mechanical Components 4x Wires | Gunsmith 2 |
| Muzzle Brake III | Mod | 2x Mod Components 8x Wires | Gunsmith 3 |
| Padded Stock | Mod | 2x Mod Components 5x Duct Tape | Gunsmith 3 |
| Shotgun Choke II | Mod | 2x Mechanical Components 4x Wires | Gunsmith 2 |
| Shotgun Choke III | Mod | 2x Mod Components 8x Wires | Gunsmith 3 |
| Shotgun Silencer | Mod | 2x Mod Components 8x Wires | Gunsmith 3 |
| Showstopper | Grenade | 1x Advanced Electrical Components 1x Voltage Converter | Explosives Station 3 |
| Silencer I | Mod | 2x Mechanical Components 4x Wires | Gunsmith 2 |
| Silencer II | Mod | 2x Mod Components 8x Wires | Gunsmith 3 |
| Snap Hook | Quick Use | 2x Power Rod 3x Rope 1x Exodus Modules | Utility Station 3 |
| Stable Stock II | Mod | 2x Mechanical Components 3x Duct Tape | Gunsmith 2 |
| Stable Stock III | Mod | 2x Mod Components 5x Duct Tape | Gunsmith 3 |
| Tagging Grenade | Grenade | 1x Electrical Components 1x Sensors | Utility Station 3 |
| Tempest | Weapon | 3x Advanced Mechanical Components 3x Medium Gun Parts 3x Canister | Gunsmith 3 |
| Trigger Nade | Grenade | 2x Crude Explosives 1x Processor | Explosives Station 2 |
| Vertical Grip II | Mod | 2x Mechanical Components 3x Duct Tape | Gunsmith 2 |
| Vertical Grip III | Mod | 2x Mod Components 5x Duct Tape | Gunsmith 3 |
| Vita Shot | Quick Use | 2x Antiseptic 1x Syringe | Medical Lab 3 |
| Vita Spray | Quick Use | 3x Antiseptic 1x Canister | Medical Lab 3 |
| Vulcano | Weapon | 1x Magnetic Accelerator 3x Heavy Gun Parts 1x Exodus Modules | Gunsmith 3 |
| Wolfpack | Grenade | 2x Explosive Compound 2x Sensors | Explosives Station 3 |
| Red Light Stick | Quick Use | 3x Chemicals | Utility Station 1 |
| Smoke Grenade | Grenade | 14x Chemicals 1x Canister | Utility Station 2 |
| Deadline | Mine | 3x Explosive Compound 2x ARC Circuitry | Explosives Station 3 |
| Trailblazer | Grenade | 1x Explosive Compound 1x Synthesized Fuel | Explosives Station 3 |
| Tactical Mk. 3 (Defensive) | Augment | 2x Advanced Electrical Components 3x Processor | Gear Bench 3 |
| Tactical Mk. 3 (Healing) | Augment | 2x Advanced Electrical Components 3x Processor | Gear Bench 3 |
| Yellow Light Stick | Quick Use | 3x Chemicals | Utility Station 1 |
Note: The missing Blueprints in this list likely have not actually been added to the game at the time of writing, because none of the playerbase has managed to find any of them. As they are added to the game, I will update this page with the most relevant information so you know exactly how to get all 75 Arc Raiders Blueprints.
Where to find Blueprints in Arc Raiders
Below is a list of all containers, modifiers, and events which maximise your chances of finding Blueprints:
- Certain quests reward you with specific Blueprints .
- Completing Trials has a high chance of offering Blueprints as rewards.
- Surveyors have a decent chance of dropping Blueprints on death.
- High loot value areas tend to have a greater chance of spawning Blueprints.
- Night Raids and Storms may increase rare Blueprint spawn chances in containers.
- Containers with higher numbers of items may have a higher tendency to spawn Blueprints. As a result, Blue Gate (which has many “large” containers containing multiple items) may give you a higher chance of spawning Blueprints.
- Raider containers (Raider Caches, Weapon Boxes, Medical Bags, Grenade Tubes) have increased Blueprint drop rates. As a result, the Uncovered Caches event gives you a high chance of finding Blueprints.
- Security Lockers have a higher than average chance of containing Blueprints.
- Certain Blueprints only seem to spawn under specific circumstances: Tempest Blueprint only spawns during Night Raid events. Vulcano Blueprint only spawns during Hidden Bunker events. Jupiter and Equaliser Blueprints only spawn during Harvester events.

Raider Caches, Weapon Boxes, and other raider-oriented container types have a good chance of offering Blueprints. |Image credit:Rock Paper Shotgun/Embark Studios
Blueprints have a very low chance of spawning in any container in Arc Raiders, around 1-2% on average. However, there is a higher chance of finding Blueprints in particular container types. Specifically, you can find more Blueprints in Raider containers and security lockers.
Beyond this, if you’re looking for Blueprints you should focus on regions of the map which are marked as having particularly high-value loot. Areas such as the Control Tower in Dam Battlegrounds, the Arrival and Departure Buildings in Spaceport, and Pilgrim’s Peak in Blue Gate all have a better-than-average chance of spawning Blueprints somewhere amongst all their containers. Night Raids and Electromagnetic Storm events also increase the drop chances of certain Blueprints .
In addition to these containers, you can often loot Blueprints from destroyed Surveyors - the largest of the rolling ball ARC. Surveyors are more commonly found on the later maps - Spaceport and Blue Gate - and if one spawns in your match, you’ll likely see it by the blue laser beam that it casts into the sky while “surveying”.
Surveyors are quite well-armoured and will very speedily run away from you once it notices you, but if you can take one down then make sure you loot all its parts for a chance of obtaining certain unusual Blueprints.
Blueprints obtained from quests
One way in which you can get Blueprints is by completing certain quests for the vendors in Speranza. Some quests will reward you with a specific item Blueprint upon completion, so as long as you work through all the quests in Arc Raiders, you are guaranteed those Blueprints.
Here is the full list of all Blueprints you can get from quest rewards:
- Trigger Nade Blueprint: Rewarded after completing “Sparks Fly”.
- Lure Grenade Blueprint: Rewarded after completing “Greasing Her Palms”.
- Burletta Blueprint: Rewarded after completing “Industrial Espionage”.
- Hullcracker Blueprint (and Launcher Ammo Blueprint): Rewarded after completing “The Major’s Footlocker”.
Alas, that’s only 4 Blueprints out of a total of 75 to unlock, so for the vast majority you will need to find them yourself during a raid. If you’re intent on farming Blueprints, then it’s best to equip yourself with cheap gear in case you lose it, but don’t use a free loadout because then you won’t get a safe pocket to stash any new Blueprint you find. No pain in Arc Raiders is sharper than failing to extract with a new Blueprint you’ve been after for a dozen hours already.

One of the best ways to get Blueprints is by hitting three stars on all five Trials every week. |Image credit:Rock Paper Shotgun/Embark Studios
Blueprints obtained from Trials
One of the very best ways to get Blueprints is as rewards for completing Trials in Arc Raiders. Trials are unlocked from Level 15 onwards, and allow you to earn rewards by focusing on certain tasks over the course of several raids. For example, one Trial might task you with dealing damage to Hornets, while another might challenge you to loot Supply Drops.
Trials refresh on a weekly basis, with a new week bringing five new Trials. Each Trial can offer up to three rewards after passing certain score milestones, and it’s possible to receive very high level loot from these reward crates - including Blueprints. So if you want to unlock as many Blueprints as possible, you should make a point of completing as many Trials as possible each week.
Best Blueprint farming locations
The very best way to get Blueprints is to frequent specific areas of the maps which combine high-tier loot pools with the right types of containers to search. Here are my recommendations for where to find Blueprints on every map, so you can always keep the search going for new crafting recipes to unlock.

Image credit:Rock Paper Shotgun/Embark Studios
Dam Battlegrounds
The best places to farm Blueprints on Dam Battlegrounds are the Control Tower, Power Generation Complex, Ruby Residence, and Pale Apartments . The first two regions, despite only being marked on the map as mid-tier loot, contain a phenomenal number of containers to loot. The Control Tower can also contain a couple of high-tier Security Lockers - though of course, you’ll need to have unlocked the Security Breach skill at the end of the Survival tree.
There’s also a lot of reporting amongst the playerbase that the Residential areas in the top-left of the map - Pale Apartments and Ruby Residence - give you a comparatively strong chance of finding Blueprints. Considering their size, there’s a high density of containers to loot in both locations, and they also have the benefit of being fairly out of the way. So you’re more likely to have all the containers to yourself.
Buried City
The best Blueprint farming locations on Buried City are the Santa Maria Houses, Grandioso Apartments, Town Hall, and the various buildings of the New District . Grandioso Apartments has a lower number of containers than the rest, but a high chance of spawning weapon cases - which have good Blueprint drop rates. The others are high-tier loot areas, with plenty of lootable containers - including Security Lockers.
Spaceport
The best places to find Blueprints on Spaceport are the Arrival and Departure Buildings, as well as Control Tower A6 and the Launch Towers . All these areas are labelled as high-value loot regions, and many of them are also very handily connected to one another by the Spaceport wall, which you can use to quickly run from one area to the next. At the tops of most of these buildings you’ll find at least one Security Locker, so this is an excellent farming route for players looking to find Blueprints.
The downside to looting Blueprints on Spaceport is that all these areas are hotly contested, particularly in Duos and Squads. You’ll need to be very focused and fast in order to complete the full farming route.

Image credit:Rock Paper Shotgun/Embark Studios
Blue Gate
Blue Gate tends to have a good chance of dropping Blueprints, potentially because it generally has a high number of containers which can hold lots of items; so there’s a higher chance of a Blueprint spawning in each container. In my experience, the best Blueprint farming spots on Blue Gate are Pilgrim’s Peak, Raider’s Refuge, the Ancient Fort, and the Underground Complex beneath the Warehouse .
All of these areas contain a wealth of containers to loot. Raider’s Refuge has less to loot, but the majority of the containers in and around the Refuge are raider containers, which have a high chance of containing Blueprints - particularly during major events.
Stella Montis
On the whole, Stella Montis seems to have a very low drop rate for Blueprints (though a high chance of dropping other high-tier loot). If you do want to try farming Blueprints on this map, the best places to find Blueprints in Stella Montis are Medical Research, Assembly Workshop, and the Business Center . These areas have the highest density of containers to loot on the map.
In addition to this, the Western Tunnel has a few different Security Lockers to loot, so while there’s very little to loot elsewhere in this area of the map, it’s worth hitting those Security Lockers if you spawn there at the start of a match.
That wraps up this primer on how to get all the Blueprints in Arc Raiders as quickly as possible. With the Expedition system constantly resetting a large number of players’ Blueprints, it’s more important than ever to have the most up-to-date information on where to find all these Blueprints.
While you’re here, be sure to check out our Arc Raiders best guns tier list , as well as our primers on the best skills to unlock and all the different Field Depot locations on every map.


ARC Raiders
PS5 , Xbox Series X/S , PC
Rock Paper Shotgun is better when you sign in
Sign in and join us on our journey to discover strange and compelling PC games.
