Best talismans in Elden Ring
The 15 best talismans for Elden Ring and Shadow of the Erdtree
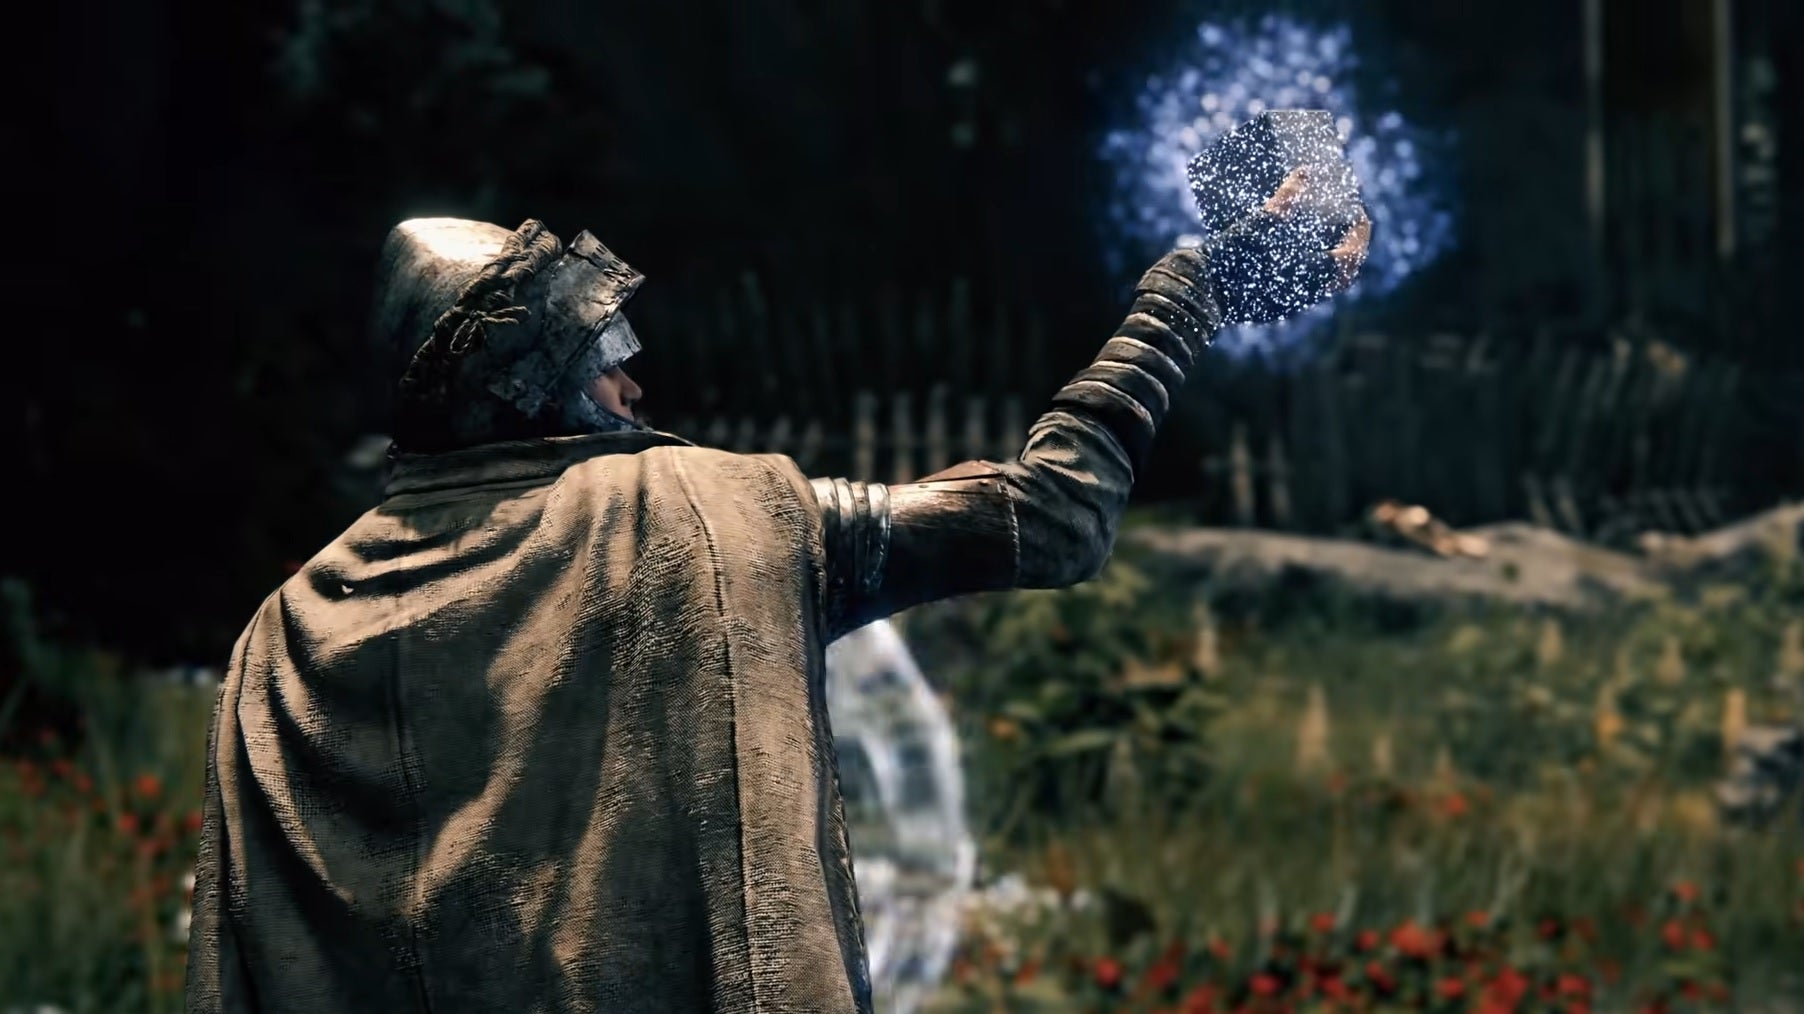
Image credit:Bandai Namco

Looking for the best talismans in Elden Ring? Talismans are important accessories in Elden Ring , replacing rings from past Souls games. Fresh characters can equip only one talisman, but as you grow stronger, you’ll be able to use four at a time. Assembling the right combination of talismans can massively increase your damage and ability to survive, often spelling the difference between life and death against Elden Ring’s biggest bosses .
Not all talismans are made equal, however, and finding the right balance can be almost as tricky as finding the talismans themselves, which are scattered all over the Lands Between and the Shadow Realm. This guide will take some of the weight off of your Tarnished’s shoulders by showcasing the 15 best talismans in both Elden Ring and the Shadow of the Erdtree DLC that are an absolute priority to find.

The best talismans in Elden Ring and Shadow of the Erdtree
Click on any item in the list below to be taken to that talisman’s description, along with an interactive map that will show you the exact location.
For the sake of convenience, the first 10 talismans listed here are for Elden Ring’s base game, while the last 5 are for Shadow of the Erdtree.
- Radagon’s Soreseal
- Marika’s Soreseal
- Great-Jar’s Arsenal
- Shard of Alexander
- Erdtree’s Favor +2
- Radagon Icon
- Rotten Winged Sword Insignia
- Graven-Mass Talisman
- Flock’s Canvas Talisman
- Dragoncrest Greatshield Talisman
- Pearl Shield Talisman
- Two-Handed Sword Talisman
- Two-Headed Turtle Talisman
- Crimson Seed +1 Talisman
- Cerulean Seed +1 Talisman
Radagon’s Soreseal
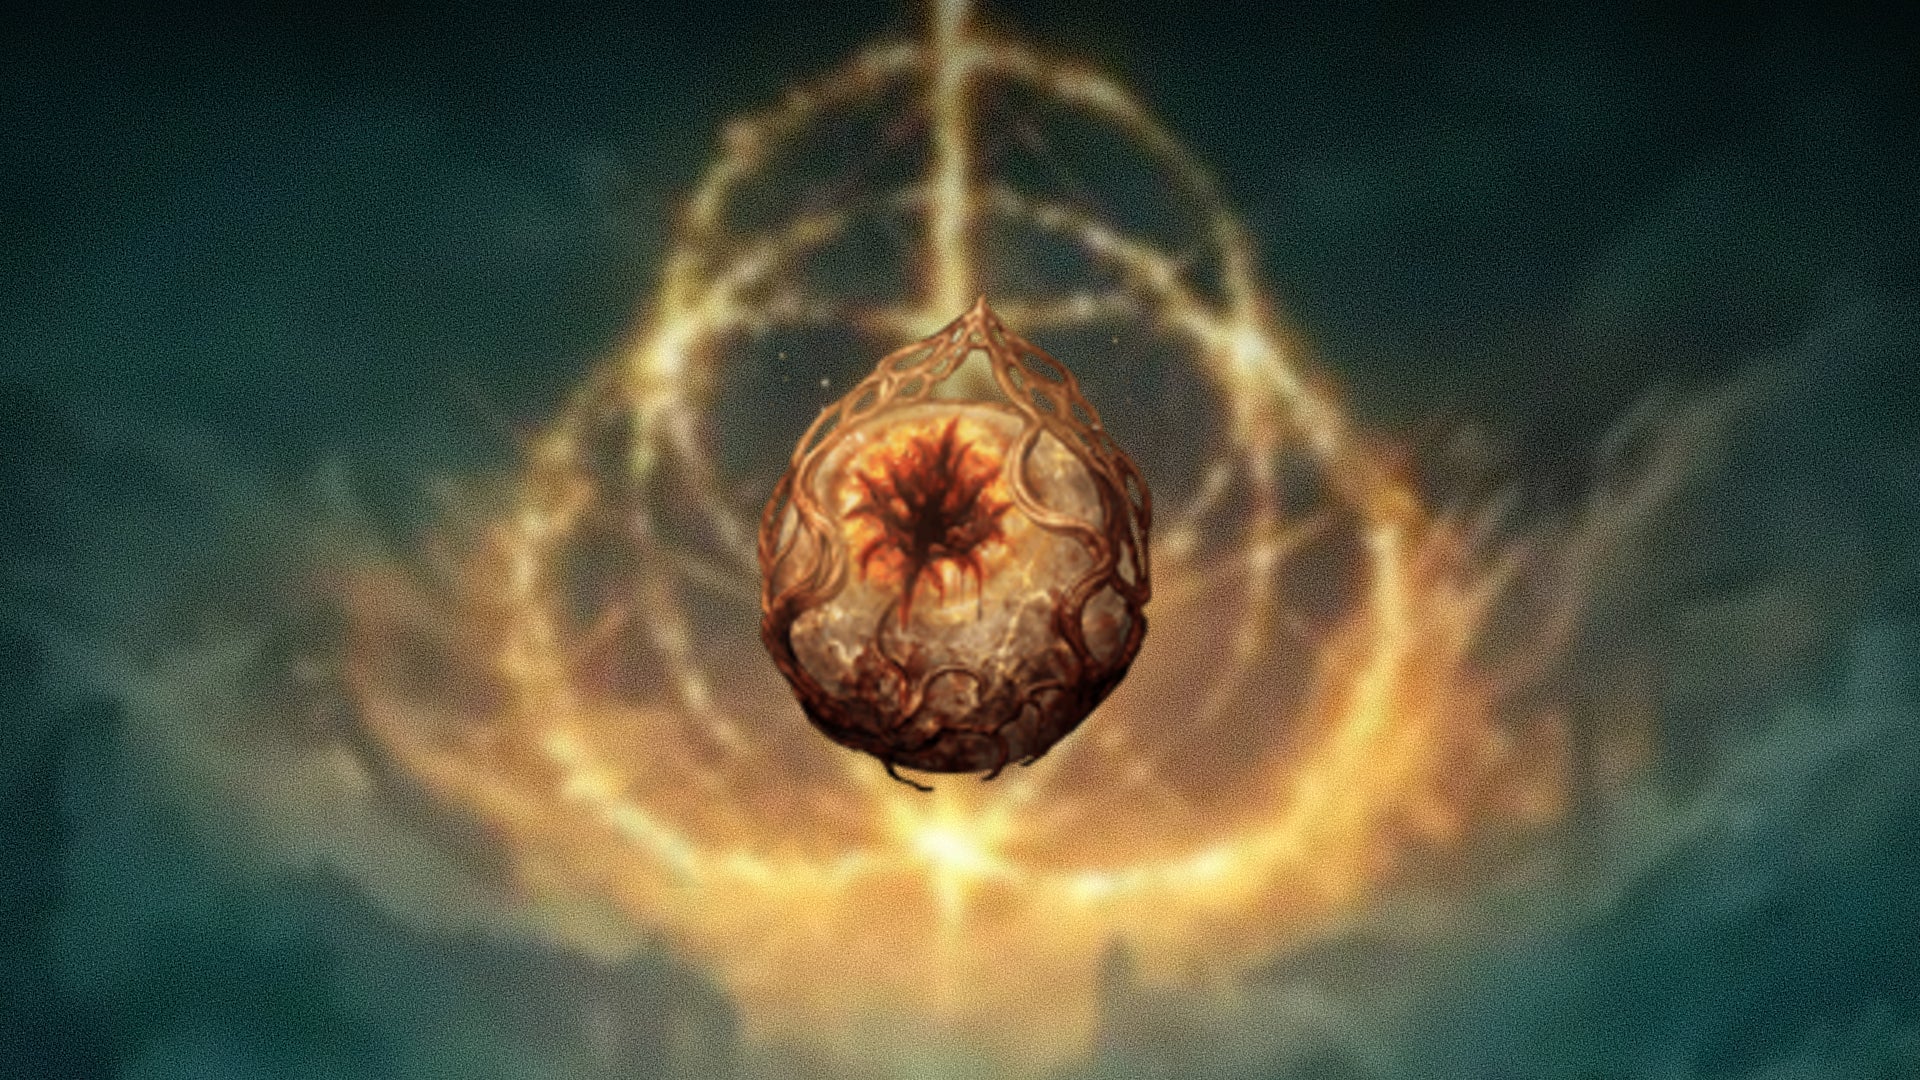
Raise most of your physical stats in exchange for slightly more incoming damage. |Image credit:Rock Paper Shotgun/Bandai Namco
Radagon’s Soreseal is a fantastic talisman for most builds that scale physical damage, raising your Vigor , Endurance, Strength, and Dexterity by 5 points each in exchange for 15% more damage taken. Despite the fact that this talisman makes you slightly squishier, those extra points of Strength, Dexterity, and Endurance are worth it for just about any melee weapon that can scale off of both Strength and Dexterity.
You can find Radagon’s Soreseal on a corpse in Forth Faroth , just south of the Dragonbarrow Minor Erdtree to the far northeast of Caelid. This is an extremely dangerous, high-level zone, so you may want to use the lower-level version of this talisman, Radagon’s Scarseal, early on. You’ll find Radagon’s Scarseal by defeating the boss of the Weeping Evergaol in the northwest of Weeping Peninsula.
Marika’s Soreseal
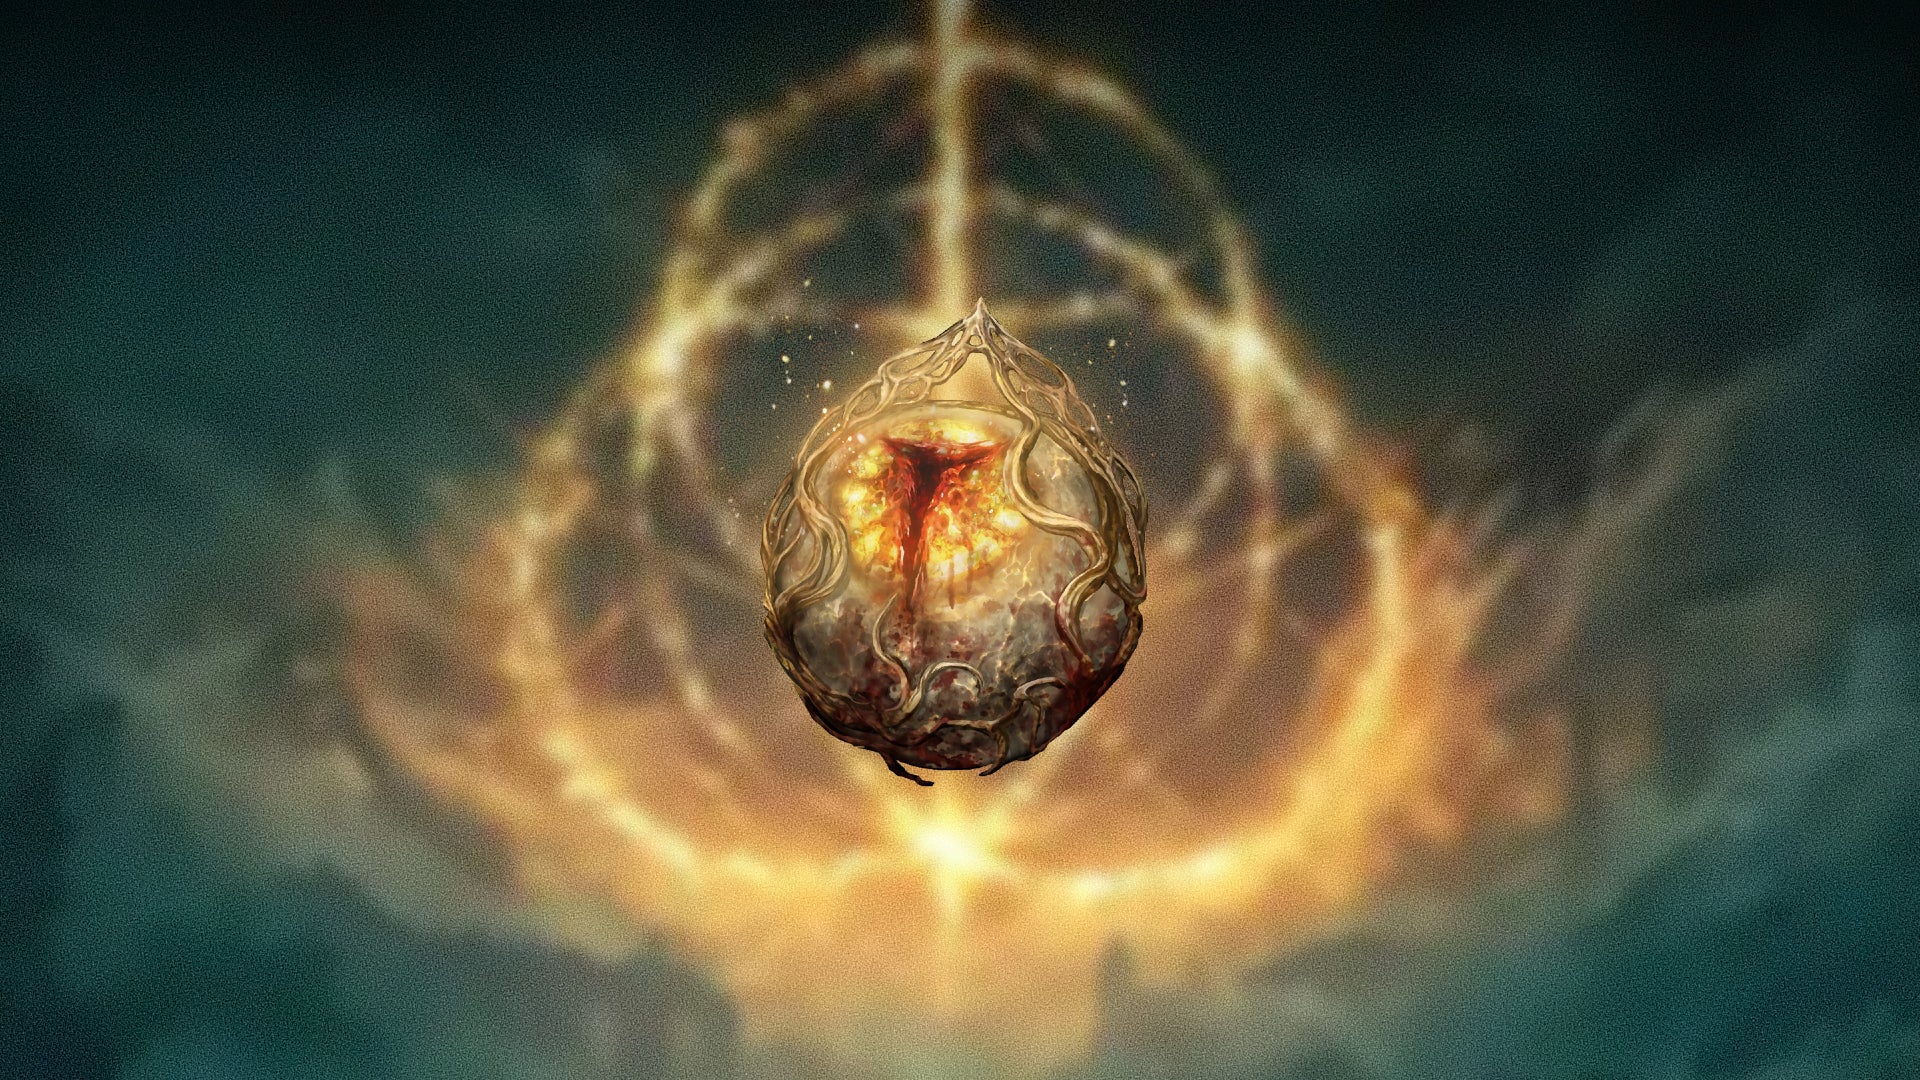
Boost your magic stats for less damage negation. |Image credit:Rock Paper Shotgun/Bandai Namco
The caster counterpart to Radagon’s Soreseal, Marika’s Soreseal raises Mind, Intelligence, Faith, and Arcane by 5 points each, in exchange for a 10% damage negation penalty. You’re going to feel that penalty when you get hit, but casters who use this talisman should be playing at safer ranges anyways. You can also combine both Soreseals on weapons that scale Strength, Dexterity, and one or more caster stats for a huge damage boost, plus an even bigger defensive penalty.
You’ll find Marika’s Soreseal in Elphael, Brace of the Haligtree at the lowest level of the outer walls, near the Prayer Room site of Grace. You will need two Stonesword Keys to open the fog door and acquire the talisman. This is a very, very late-game area, so consider the lower-level Marika’s Scarseal until this point. You’ll find it under a waterfall in the far north of Siofra River, near the Dragonkin Soldier boss.
Great-Jar’s Arsenal
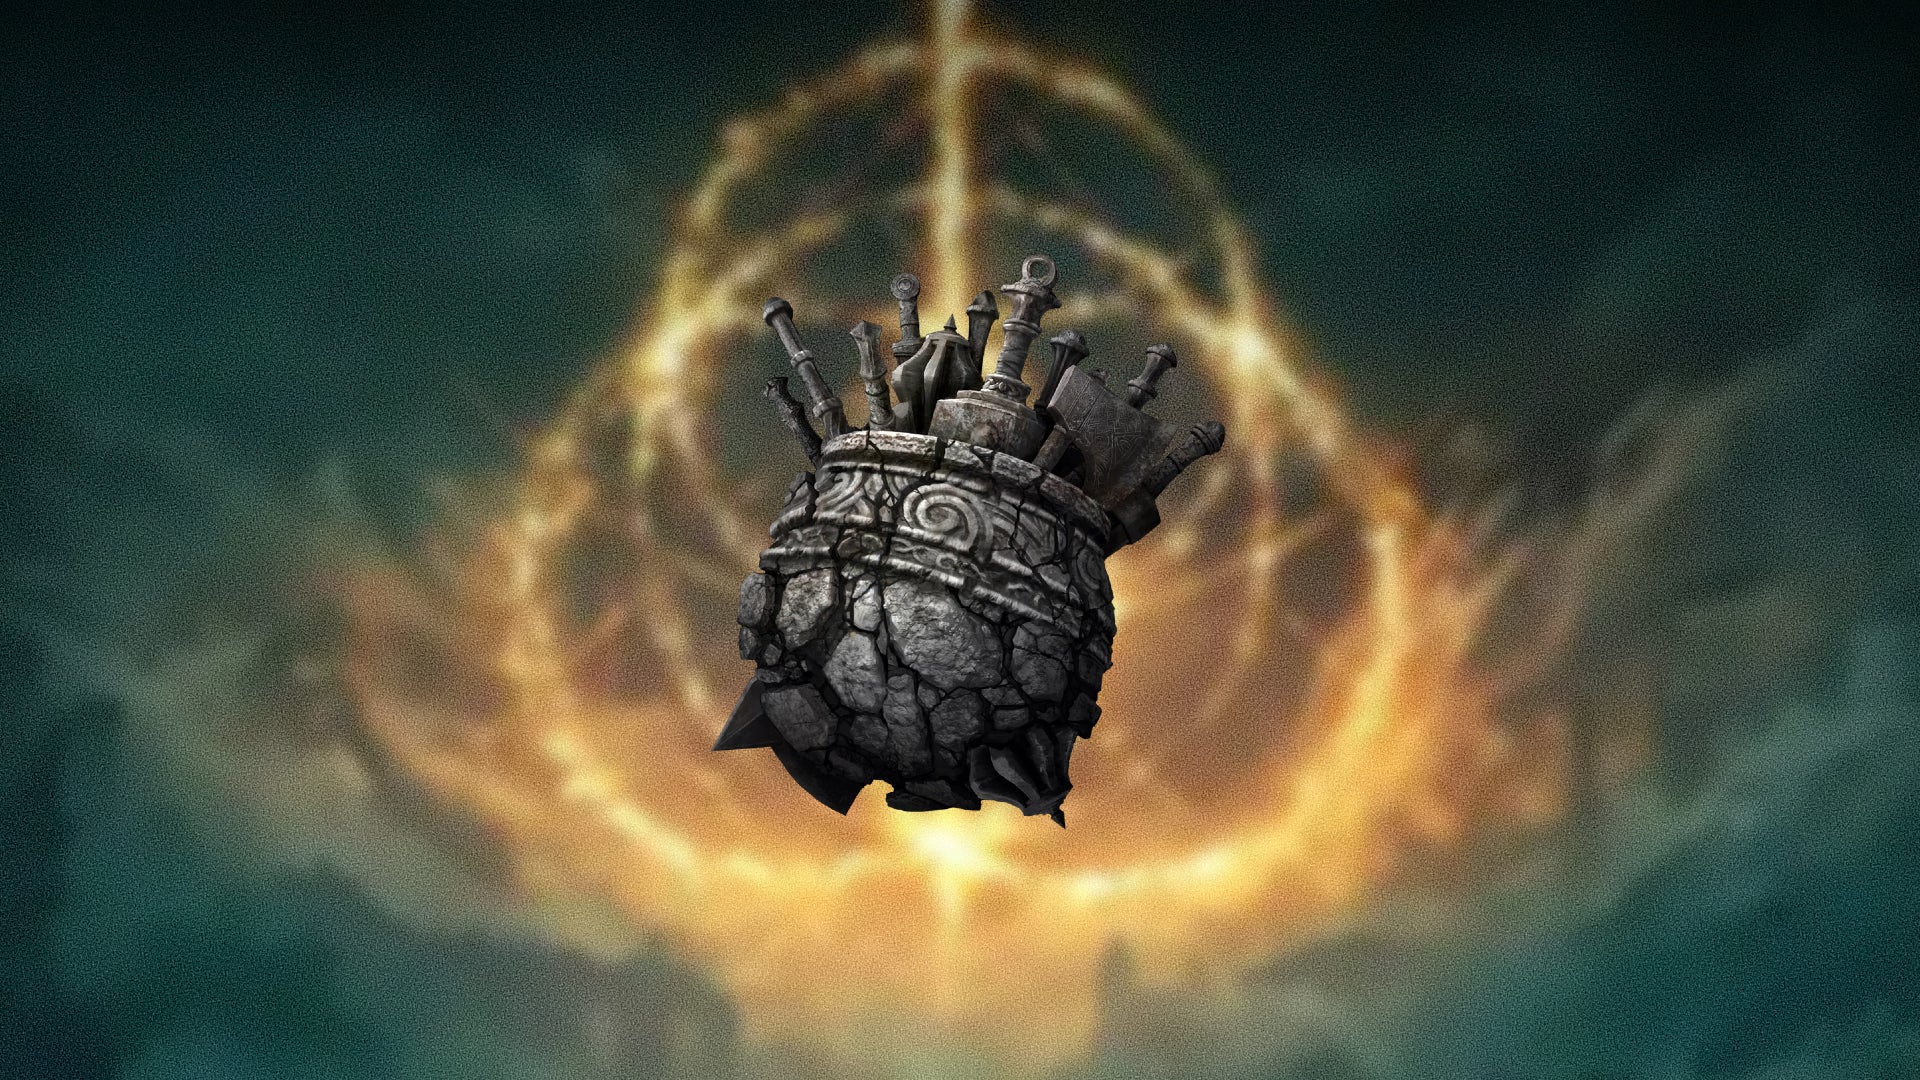
The Great-Jar is one of our favourite NPCs, and this talisman is pretty neat. |Image credit:Rock Paper Shotgun/Bandai Namco
The Great-Jar’s Arsenal talisman greatly increases your maximum equip load, making it an excellent choice for colossal weapon users. This talisman makes it possible to run very beefy weapons and armor without crossing the heavy load threshold, keeping your dodge rolls crispy. You can acquire the Great-Jar’s Arsenal from speaking with the Great-Jar itself, and then engaging in a short but easy-to-miss quest.
You will find the Great-Jar in the far north of Caelid , following the canyon path from the northern Siofra River lift. On the path in front of him are three hostile NPC summon signs, which are easy to miss, as they aren’t directly at his feet and often get buried in bloodstains. Speak to the Great-Jar, summon and defeat all three invaders, then speak to the Great-Jar again to earn your reward.
Shard of Alexander
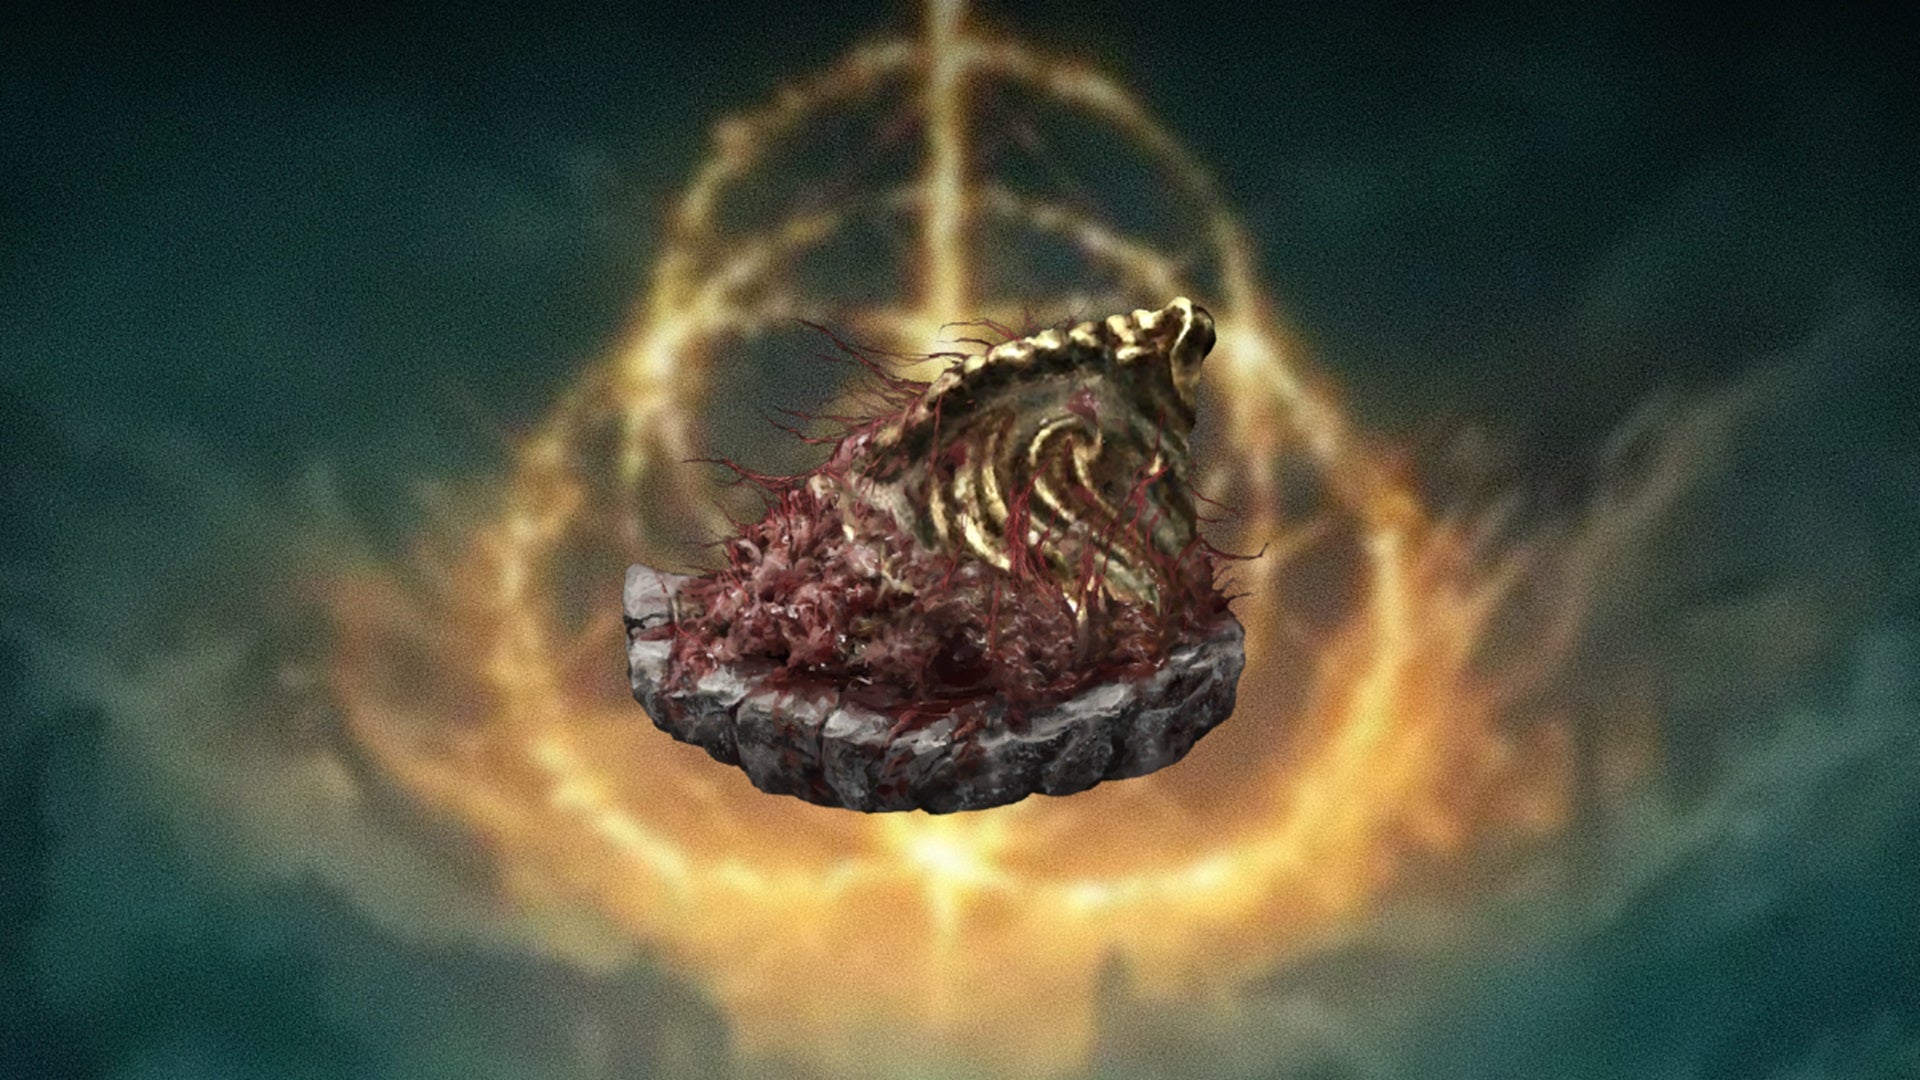
Alexander is our other favourite NPC in base Elden Ring. |Image credit:Rock Paper Shotgun/Bandai Namco
The Shard of Alexander greatly increases the damage of weapon skills, and is a superb choice to make any of the best weapons in Elden Ring more potent. Getting this talisman takes a few steps though, as you’ll have to play out the entire Alexander Iron Fist questline.
You’ll initially find Alexander on Stormhill, but the first truly necessary step of his quest is defeating Radahn, which is outlined in our Elden Ring walkthrough . Speak to Alexander at the site of Grace after the fight, and then find him again in Liurnia on the cliffs above Jarburg. Free him using an oil pot, and then he will move on to Mt. Gelmir, where you will find him bathing in the magma in the far west of the area. Speak to him here, and you will have the option to summon him to fight the Fire Giant. Whether you summon him there or not, you will next find him on the floating walkway near the Dragon Temple Lift Grace in Crumbling Farum Azula . Speak to him here, and he will challenge you to a duel. Defeat him to earn the Shard of Alexander.
Erdtree’s Favor +2

The finest of the Erdtree’s blessings. |Image credit:Rock Paper Shotgun/Bandai Namco
There are three Erdtree’s Favor talismans, and they all increase your maximum health, stamina, and equip load. This will of course significantly improve your survivability, allowing you to wear heavier armor with higher health. The Erdtree’s Favor +2 talisman is the best of the bunch and is a very late acquisition, found in Leyndell, Ashen Capital after defeating Malekith.
You can find this all-around excellent talisman on a tree branch in the far east of the area, near the lift to the Forbidden Lands and East Altus Divine Tower, guarded by several Tree Spirits. The path to the talisman from Leyndell is blocked, so you will need to backtrack from the Forbidden Lands Site of Grace.
Radagon Icon
A useful talisman for cutting down the cast times of slow spells. |Image credit:Rock Paper Shotgun/Bandai Namco
The Radagon Icon shortens spell casting time, making it a great pick for many caster builds. If you’re struggling to get spells off without taking a hit, Radagon Icon will be a major assist.
Finding the Radagon Icon isn’t too tough - you can pick it up in the Raya Lucaria Academy , at the top of a ladder near the Debate Parlor Site of Grace. Head out into the courtyard, hook to the right, then hop the fence and climb the ladder to get to the talisman’s location.
Rotten Winged Sword Insignia
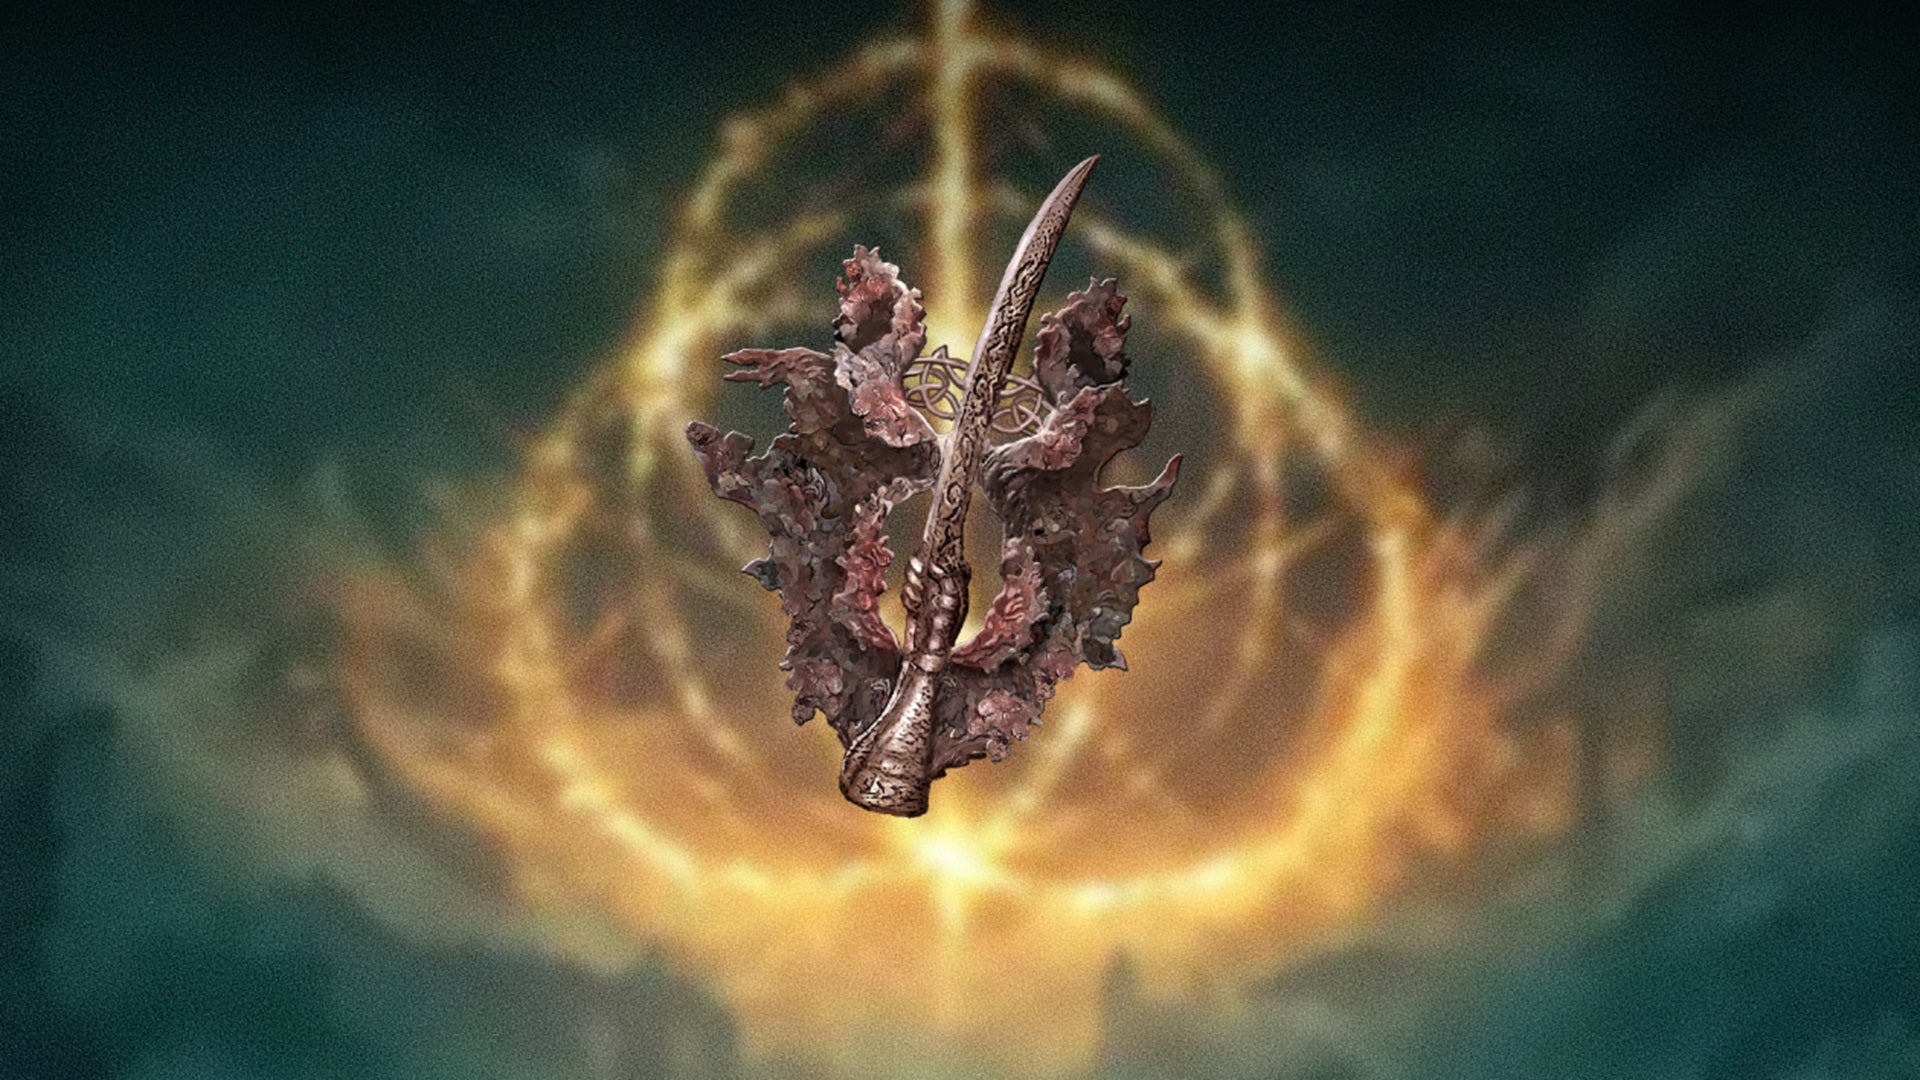
The best talisman for dual-wielders. |Image credit:Rock Paper Shotgun/Bandai Namco
The Rotten Winged Sword Insignia increases the power of successive attacks, providing a huge damage boost to fast-attacking weapons like claws and katanas. You can do this even faster when dual-wielding, making the Rotten Winged Sword Insignia arguably the best accessory for dual-wield builds. However, it takes some serious time and effort to acquire.
To earn the Rotten Winged Sword Insignia, you will need to complete almost the entirety of Millicent’s questline . You will first meet her near Selia, Town of Sorcery in the Church of Plague. Speak to Gowry in the shack just south of town and follow his instructions to knock out the first few steps of the quest. Once Millicent wakes up and departs the church, return to Gowry’s shack to find her there. Exhaust her dialogue there, then head to the Erdtree-Gazing Hill Site of Grace on Altus Plateau and bring her the Valkyrie’s Prosthesis from the Shaded Castle. Find her once more after defeating the Godskin Apostle at Dominula, Windmill Village, next to the Site of Grace. Next, track her down at the Ancient Snow Valley Ruins Grace, then the Prayer Room Grace in the Haligtree.
Once you’ve spoken to her here, head deeper into the tree and defeat the Ulcerated Tree Spirit near the Drainage Channel Site of Grace. Reload the area to find two summon signs, one to challenge Millicent and one to help her fight off four invaders. Help Millicent to earn the Rotten Winged Sword Insignia.
Flock’s Canvas Talisman
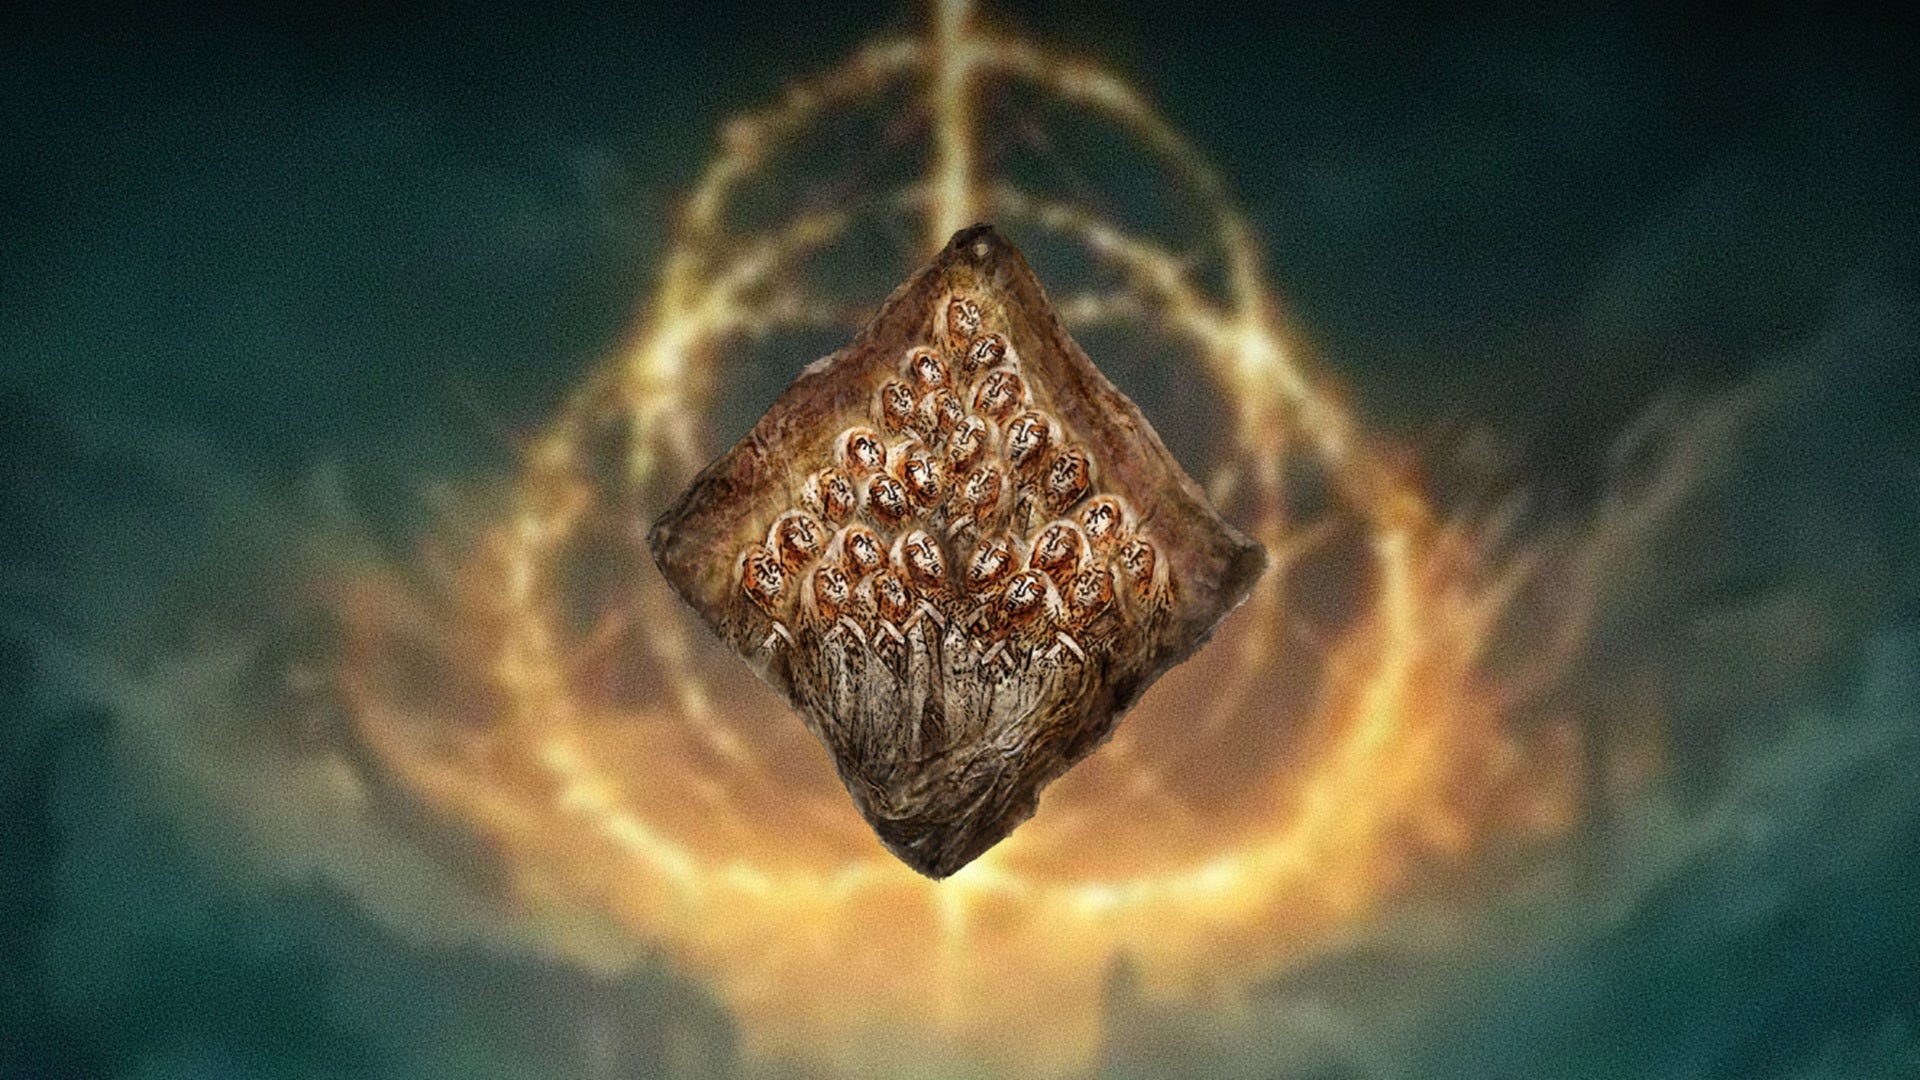
Let the wisdom of this flock improve your incantations. |Image credit:Rock Paper Shotgun/Bandai Namco
The Flock’s Canvas greatly raises the potency of incantations. To acquire it, you’ll need to complete Millicent’s questline , as detailed in the description for the Rotten Winged Sword Insignia above.
If you choose to challenge Millicent rather than help, you will find Gowry dead in his shack, with the Flock’s Canvas talisman on his body. If you helped Millicent, Gowry will still be alive. However, you can kill him to acquire both the talisman and a bell bearing that will transfer his shop inventory to the Husk Sisters. We recommend this route, as you can acquire both talismans this way. Plus, Gowry is a bit of a creep.
Graven-Mass Talisman
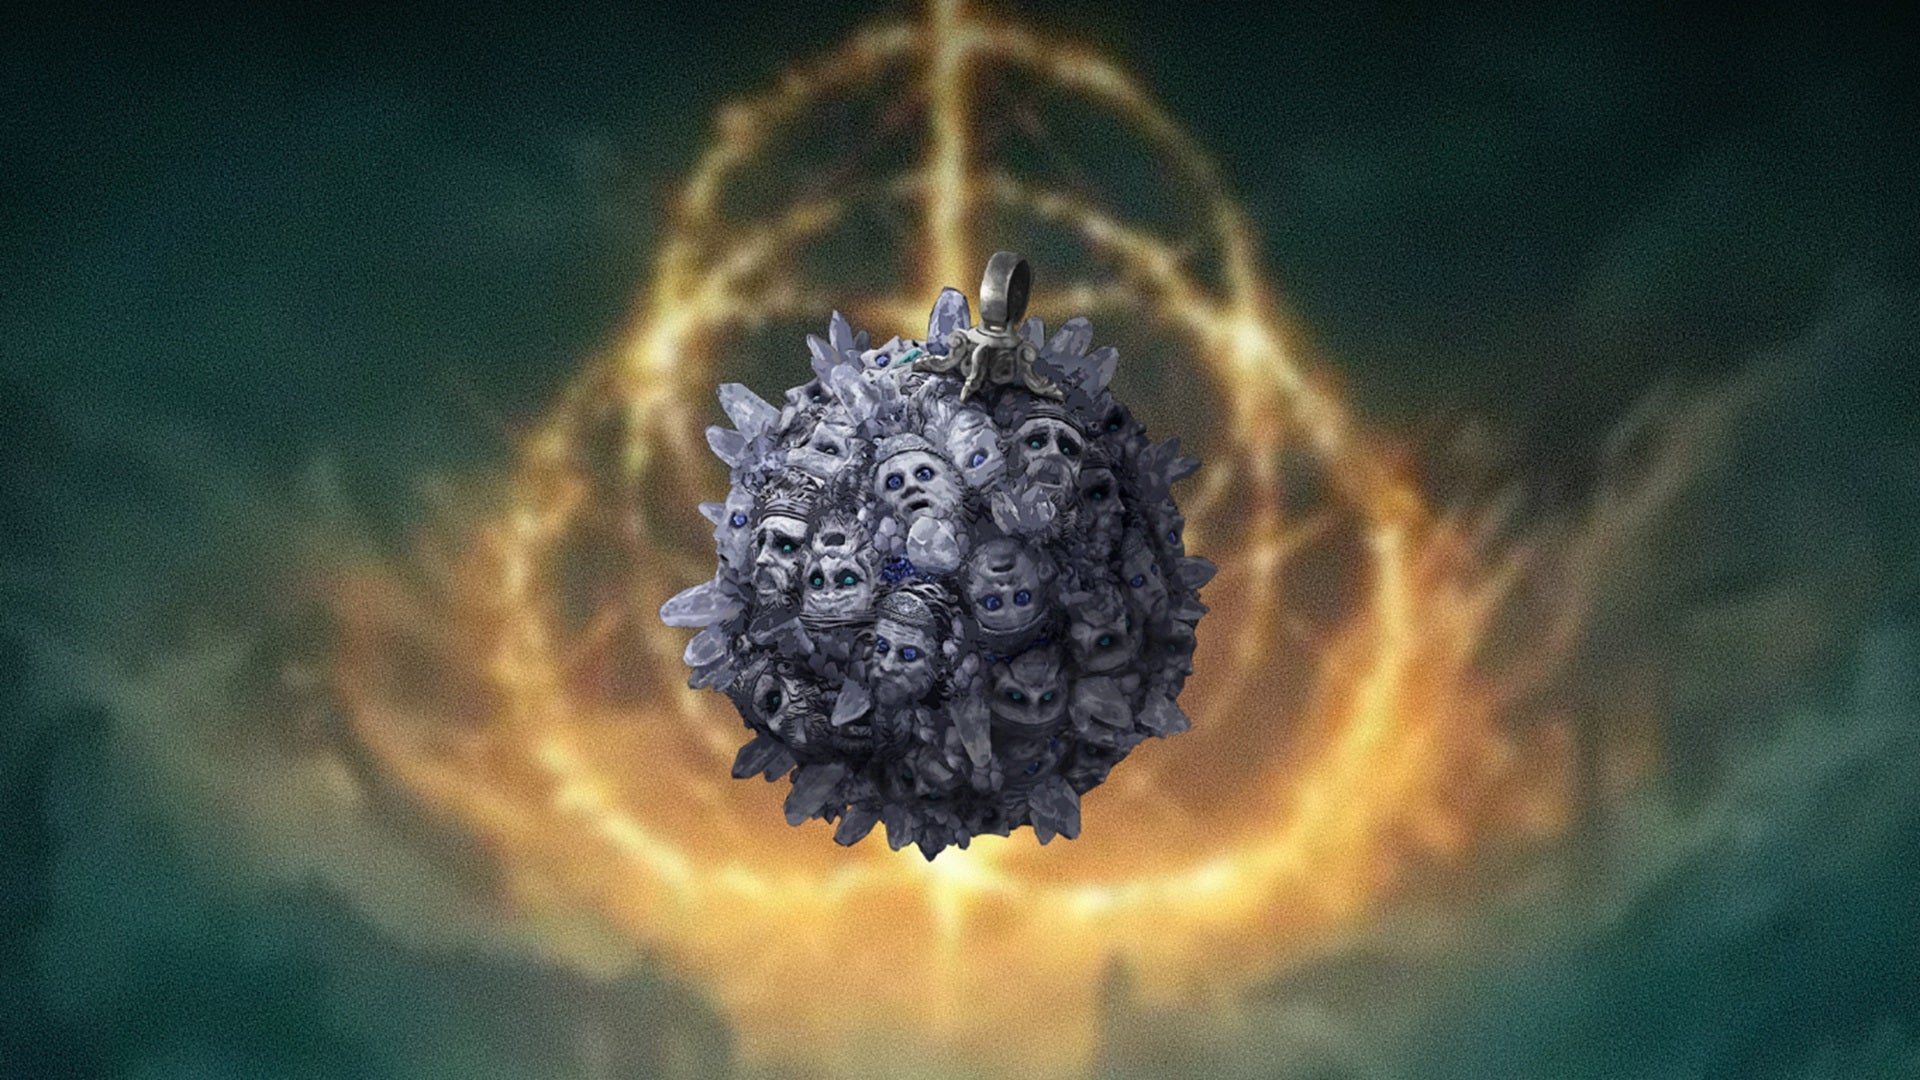
Let the cries of this graven-mass amplify your sorceries. |Image credit:Rock Paper Shotgun/Bandai Namco
Similar to Flock’s Canvas, Graven-Mass Talisman greatly raises the potency of sorceries, making it a must for all sorcery users.
You’ll find the Graven-Mass talisman inside the Albinauric Rise tower in the eastern Consecrated Snowfield . Use a Bewitching Branch on one of the two imps outside the tower to make them attack each other. Once one dies, the seal on the tower will break and you can head inside.
Dragoncrest Greatshield Talisman
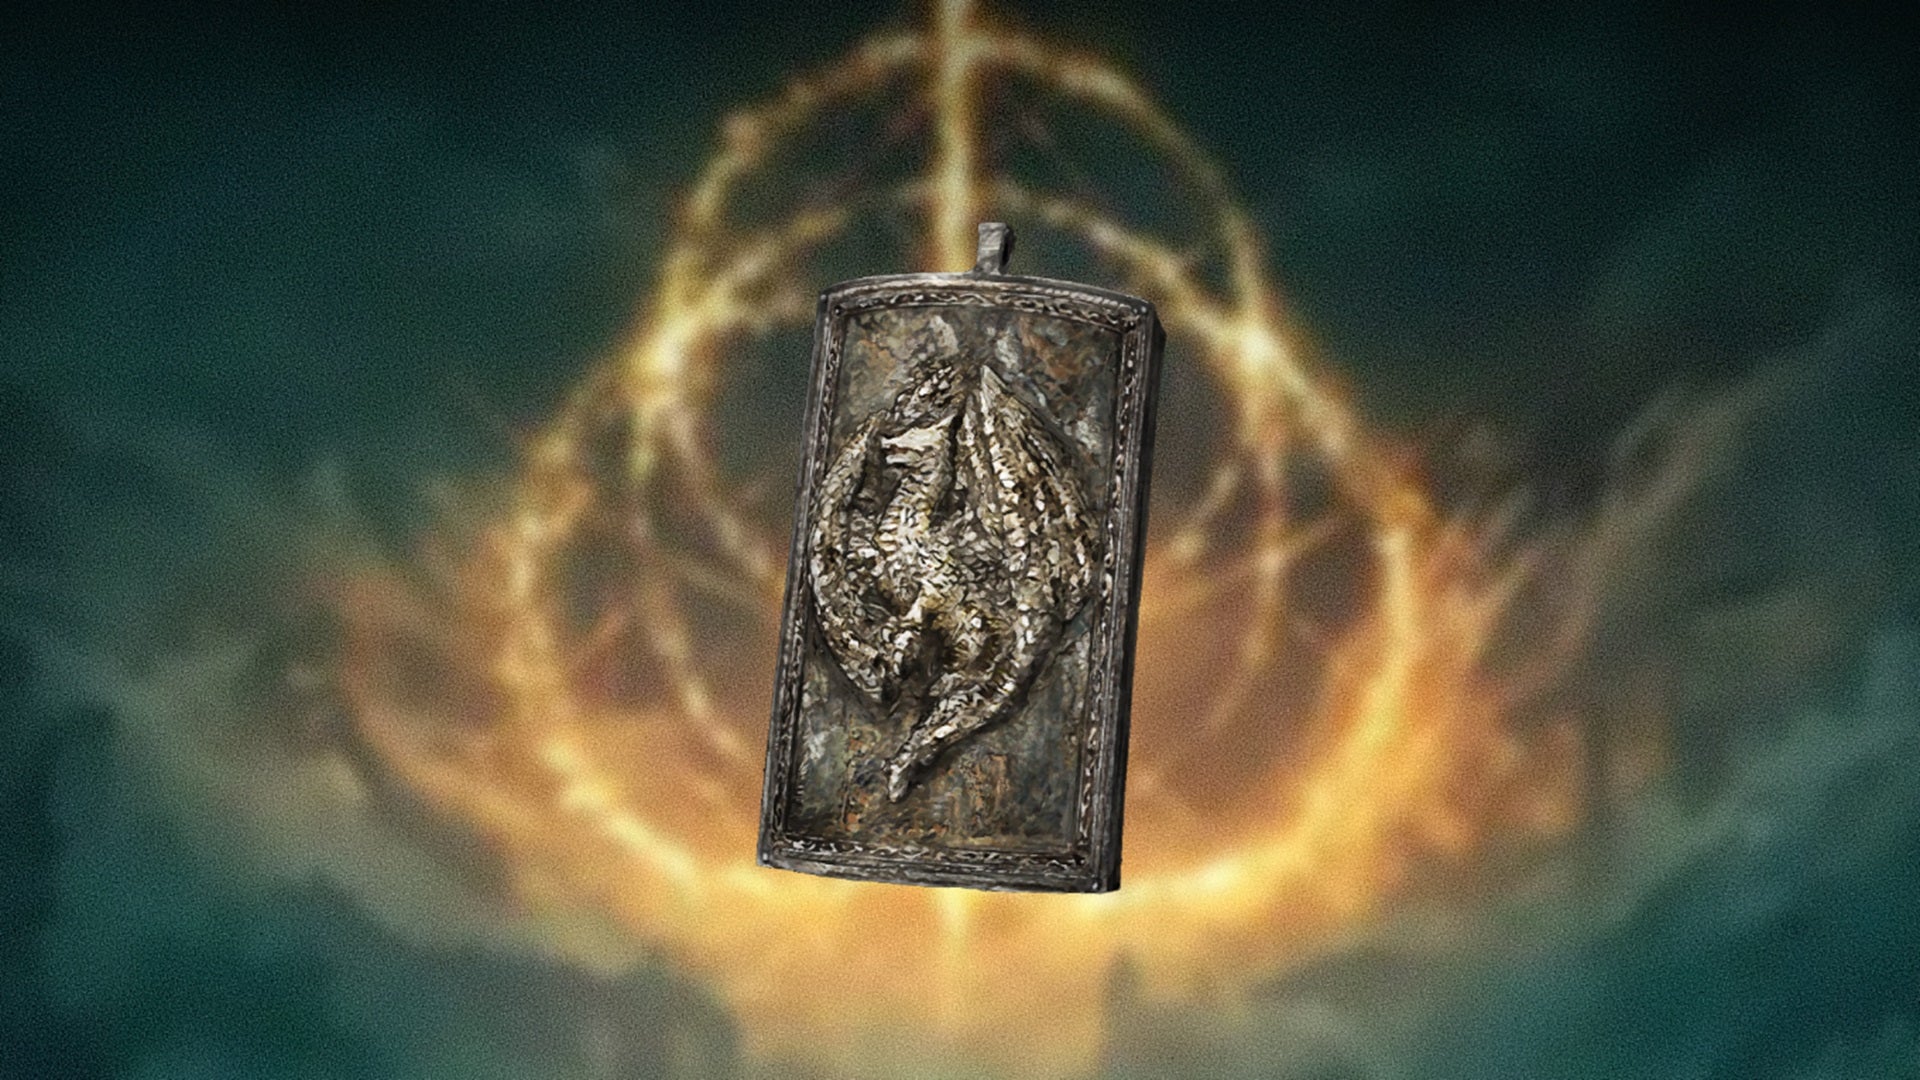
A shield fit for a dragon. |Image credit:Rock Paper Shotgun/Bandai Namco
The Dragoncrest Greatshield Talisman enormously boosts physical damage negation, making it one of the best defensive options in Elden Ring. If you’re constantly getting clobbered by physical attacks or want to experiment with a tank build, this talisman can spare you a lot of pain.
You can find the Dragoncrest Greatshield Talisman in Elphael, Brace of the Haligtree inside the church-like room above the Haligtree Roots Grace. You’ll need to enter through the roof though, so descend from the Drainage Channel Site of Grace via the winding branches to get on top of the structure.
Pearl Shield Talisman

Let the pearls on this shield protect you. |Image credit:Rock Paper Shotgun/Bandai Namco
One of the finest talismans in Shadow of the Erdtree, the Pearl Shield Talisman boosts your non-physical resistance as long as you’re blocking. If you have a shield handy and are working towards a tank build, equipping this talisman essentially means that you can get in close to the enemy, maintain your block, and soak up all other attacks as you wait for an opening. In even more practical terms, if you equip this, you’ll be able to tackle the final boss of Shadow of the Erdtree much easier, since they do an utterly disgusting amount of Holy damage in their second phase.
To get the Pearl Shield Talisman, head northwest of the Ancient Ruins Base Site of Grace in the Rauh Base region of the Shadowlands. You want to keep your eyes out for a chest under a torn tent near a small Messmer Soldier campsite.
Two-Handed Sword Talisman

If it weren’t obvious, anyone who likes big blades will benefit from this one. |Image credit:Rock Paper Shotgun/Bandai Namco
This talisman does exactly what you’d think - it amplifies attacks made by two-handed weapons. More specifically, you’re looking at a 15% damage boost whenever you’re swinging a greatsword, greataxe, or similarly colossal weapon. That’s a magnificent increase in damage, so if you’re looking for a bump in raw power, you can’t go wrong with the Two-Handed Sword Talisman.
Getting the Two-Handed Sword Talisman isn’t too tough; all you need to do is search the top of the Temple Town Ruins in western Rauh Base. Follow the path covered with a red rug and watch out for the undead foes in the area until you come across a treasure chest. If you’re having difficulties with the route, take a peek at our guide on how to get into the Temple Town Ruins .
Two-Headed Turtle Talisman
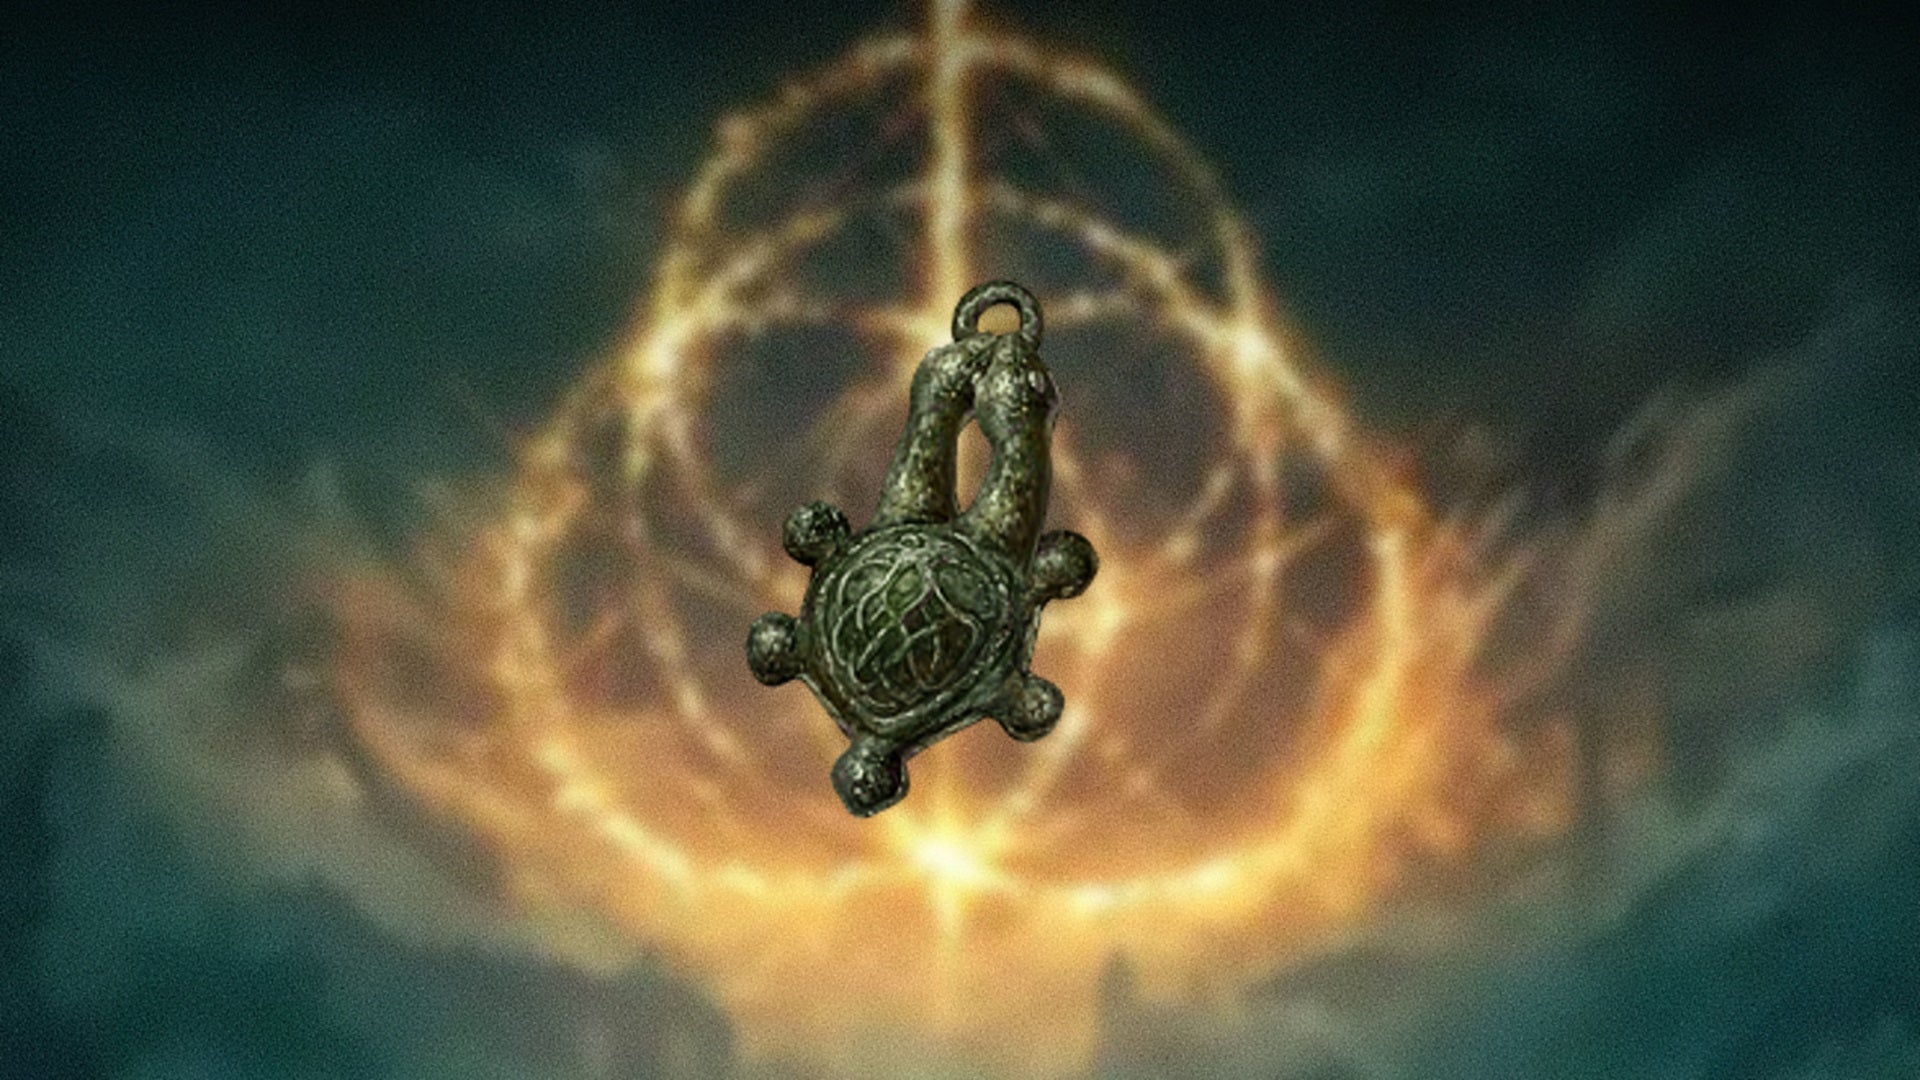
Two turtle heads means double the stamina recovery. |Image credit:Rock Paper Shotgun/Bandai Namco
This is a cute talisman for sure, but it’s also a potent fix if you’re often running out of stamina. Wearing the Two-Headed Turtle greately raises your stamina recovery speed, allowing you to stay in the fight even if the challenges of Shadow of the Erdtree have you dodging and rolling more than actually attacking.
You can pick up the Two-Headed Turtle Talisman by looting a corpse in a cave hidden behind a waterfall in the northern stretch of the Ellac River in Gravesite Plain. Navigate northwest along the river from the Ellac River Cave Site of Grace until you reach a large crab monster at the base of a waterfall. Once the monster is taken cave of, walk through the waterfall to enter a cavern filled with glowing worms. At the very back of the cave is the corpse you’re looking for.
Crimson Seed +1 Talisman
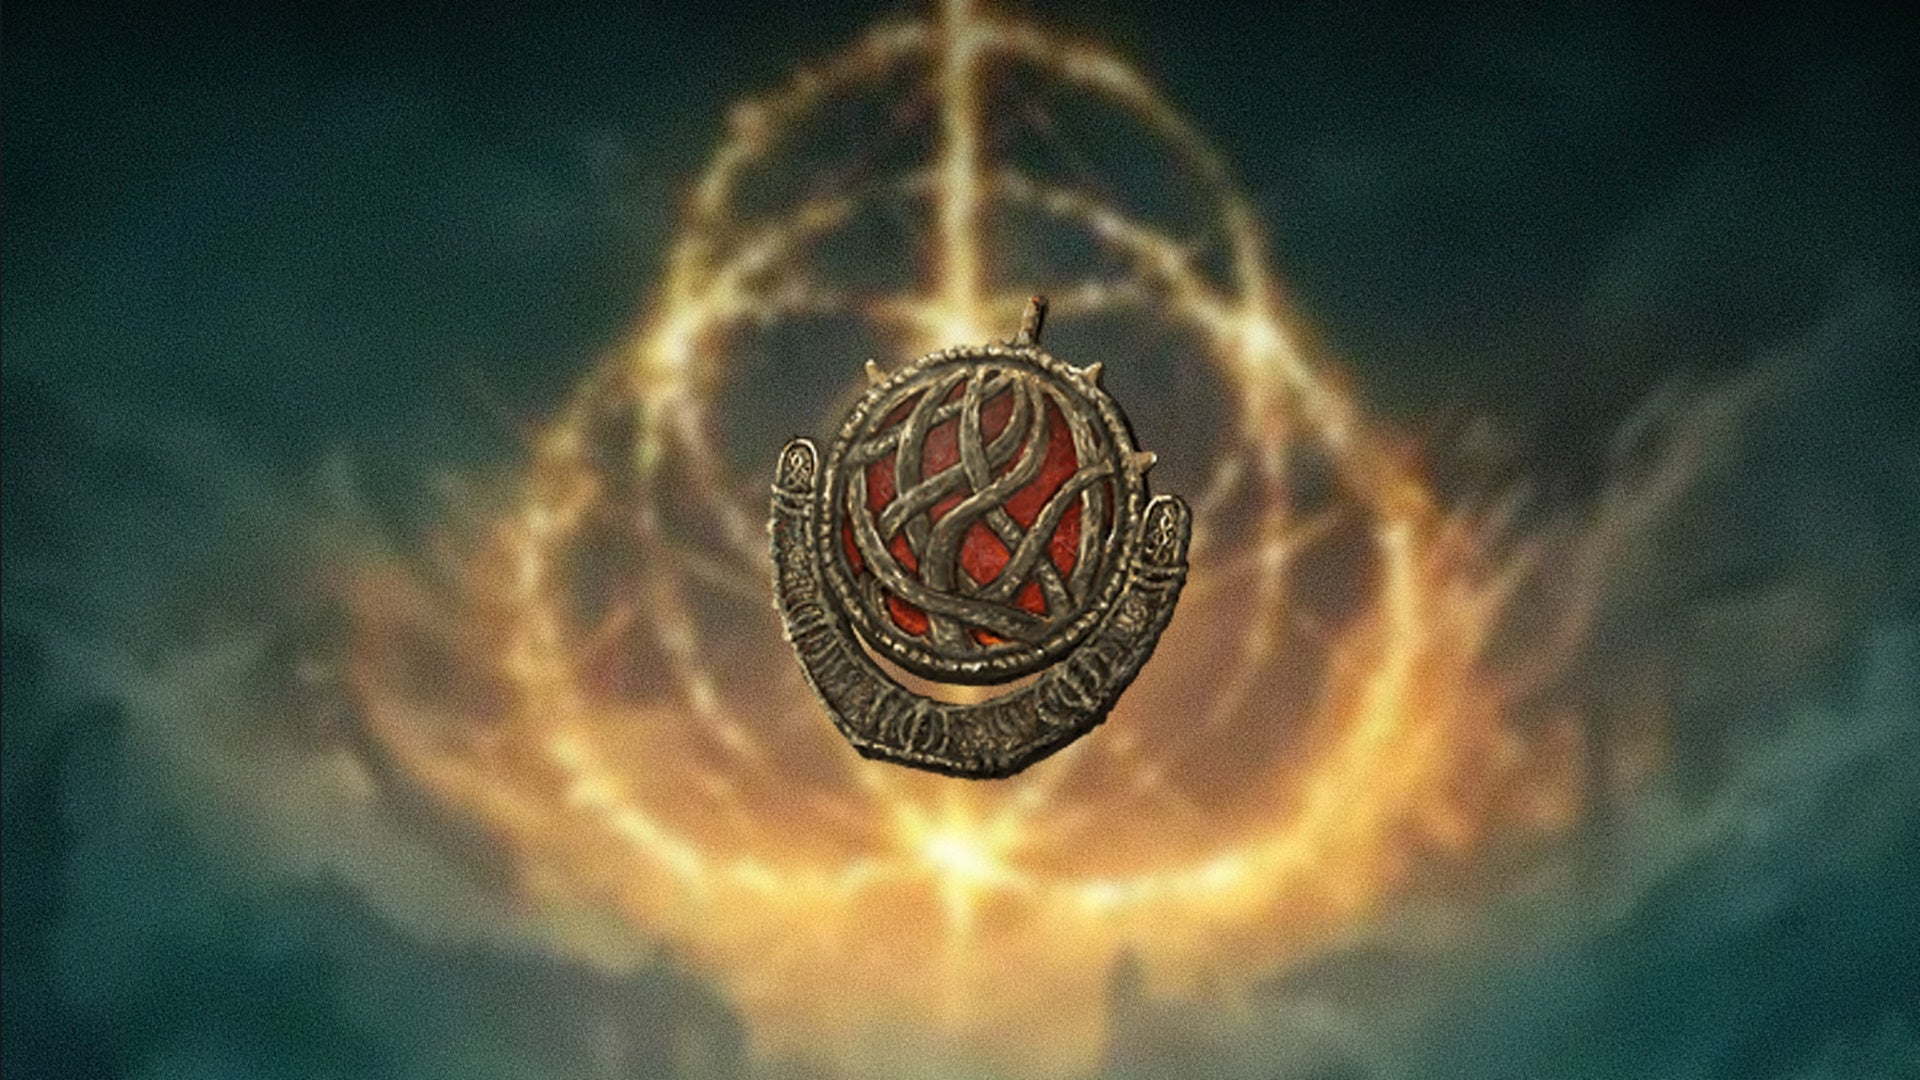
A nice HP boost. |Image credit:Rock Paper Shotgun/Bandai Namco
The Crimson Seed +1 talisman is sweet and simple - it greatly boosts your HP restoration from using the Flask of Crimson Tears. When you need to pop a potion in the middle of a fight, you’ll be thankful for the extra buff that this HP increaser gives.
The Crimson Seed Talisman +1 Talisman can be found by sounding the Hanging Bell at the Finger Ruins of Rhia , which are accessed by going northwest from the Cerulean Coast. This is part of the cryptic and lengthy Count Ymir questline .
Cerulean Seed +1 Talisman

And here’s a lovely FP boost to cap things off. |Image credit:Rock Paper Shotgun/Bandai Namco
The Cerulean Seed +1 Talisman is cousin to the Crimson Seed +1 above. Instead of increasing HP, it amplifies FP recovery when using the Flask of Cerulean Tears, and is pivotal for spellcasters and any hybrid build that relies on magical antics.
Getting the Cerulean Seed +1 requires you to sound the hanging bell in the Finger Ruins of Dheo , which is the second bell that you’ll deal with during the Count Ymir questline .
Those are all the best talismans in both the Elden Ring base game and Shadow of the Erdtree! It’s a long list, but Elden Ring is a long game. You’ll have no regrets if you go tracking these down. If you aren’t sure which talismans fit into your build, our guide to some of the best builds in Elden Ring can give you a better idea. Completionists can check out our complete list of every boss location in Elden Ring to make sure they don’t miss a thing. And if you’ve just begun Elden Ring’s DLC and aren’t sure what to do, see our guide on what to do first in Shadow of the Erdtree to get sorted.


Elden Ring
PS4 , PS5 , Xbox One , Xbox Series X/S , PC
Rock Paper Shotgun is better when you sign in
Sign in and join us on our journey to discover strange and compelling PC games.

All 75 Arc Raiders Blueprints and where to get them
These areas have the highest chance of giving you Blueprints

Image credit:Rock Paper Shotgun/Embark Studios

Looking for more Arc Raiders Blueprints? It’s a special day when you find a Blueprint, as they’re among the most valuable items in Arc Raiders. If you find a Blueprint that you haven’t already found, then you must make sure you hold onto it at all costs, because Blueprints are the key to one of the most important and powerful systems of meta-progression in the game.
This guide aims to be the very best guide on Blueprints you can find, starting with a primer on what exactly they are and how they work in Arc Raiders, before delving into exactly where to get Blueprints and the very best farming spots for you to take in your search.
We’ll also go over how to get Blueprints from other unlikely activities, such as destroying Surveyors and completing specific quests. And you’ll also find the full list of all 75 Blueprints in Arc Raiders on this page (including the newest Blueprints added with the Cold Snap update , such as the Deadline Blueprint and Firework Box Blueprint), giving you all the information you need to expand your own crafting repertoire.
In this guide:
- What are Blueprints in Arc Raiders?
- Full Blueprint list: All crafting recipes
- Where to find Blueprints in Arc Raiders Blueprints obtained from quests Blueprints obtained from Trials Best Blueprint farming locations

What are Blueprints in Arc Raiders?
Blueprints in Arc Raiders are special items which, if you manage to extract with them, you can expend to permanently unlock a new crafting recipe in your Workshop. If you manage to extract from a raid with an Anvil Blueprint, for example, you can unlock the ability to craft your very own Anvil Pistol, as many times as you like (as long as you have the crafting materials).
To use a Blueprint, simply open your Inventory while in the lobby, then right-click on the Blueprint and click “Learn And Consume” . This will permanently unlock the recipe for that item in your Workshop. As of the Stella Montis update, there are allegedly 75 different Blueprints to unlock - although only 68 are confirmed to be in the game so far. You can see all the Blueprints you’ve found and unlocked by going to the Workshop menu, and hitting “R” to bring up the Blueprint screen.
It’s possible to find duplicates of past Blueprints you’ve already unlocked. If you find these, then you can either sell them, or - if you like to play with friends - you can take it into a match and gift it to your friend so they can unlock that recipe for themselves. Another option is to keep hold of them until the time comes to donate them to the Expedition.
Full Blueprint list: All crafting recipes
Below is the full list of all the Blueprints that are currently available to find in Arc Raiders, and the crafting recipe required for each item:
| Blueprint | Type | Recipe | Crafted At |
|---|---|---|---|
| Bettina | Weapon | 3x Advanced Mechanical Components 3x Heavy Gun Parts 3x Canister | Gunsmith 3 |
| Blue Light Stick | Quick Use | 3x Chemicals | Utility Station 1 |
| Aphelion | Weapon | 3x Magnetic Accelerator 3x Complex Gun Parts 1x Matriarch Reactor | Gunsmith 3 |
| Combat Mk. 3 (Flanking) | Augment | 2x Advanced Electrical Components 3x Processor | Gear Bench 3 |
| Combat Mk. 3 (Aggressive) | Augment | 2x Advanced Electrical Components 3x Processor | Gear Bench 3 |
| Complex Gun Parts | Material | 2x Light Gun Parts 2x Medium Gun Parts 2x Heavy Gun Parts | Refiner 3 |
| Fireworks Box | Quick Use | 1x Explosive Compound 3x Pop Trigger | Explosives Station 2 |
| Gas Mine | Mine | 4x Chemicals 2x Rubber Parts | Explosives Station 1 |
| Green Light Stick | Quick Use | 3x Chemicals | Utility Station 1 |
| Pulse Mine | Mine | 1x Crude Explosives 1x Wires | Explosives Station 1 |
| Seeker Grenade | Grenade | 1x Crude Explosives 2x ARC Alloy | Explosives Station 1 |
| Looting Mk. 3 (Survivor) | Augment | 2x Advanced Electrical Components 3x Processor | Gear Bench 3 |
| Angled Grip II | Mod | 2x Mechanical Components 3x Duct Tape | Gunsmith 2 |
| Angled Grip III | Mod | 2x Mod Components 5x Duct Tape | Gunsmith 3 |
| Hullcracker | Weapon | 1x Magnetic Accelerator 3x Heavy Gun Parts 1x Exodus Modules | Gunsmith 3 |
| Launcher Ammo | Ammo | 5x Metal Parts 1x Crude Explosives | Workbench 1 |
| Anvil | Weapon | 5x Mechanical Components 5x Simple Gun Parts | Gunsmith 2 |
| Anvil Splitter | Mod | 2x Mod Components 3x Processor | Gunsmith 3 |
| ??? | ??? | ??? | ??? |
| Barricade Kit | Quick Use | 1x Mechanical Components | Utility Station 2 |
| Blaze Grenade | Grenade | 1x Explosive Compound 2x Oil | Explosives Station 3 |
| Bobcat | Weapon | 3x Advanced Mechanical Components 3x Light Gun Parts | Gunsmith 3 |
| Osprey | Weapon | 2x Advanced Mechanical Components 3x Medium Gun Parts 7x Wires | Gunsmith 3 |
| Burletta | Weapon | 3x Mechanical Components 3x Simple Gun Parts | Gunsmith 1 |
| Compensator II | Mod | 2x Mechanical Components 4x Wires | Gunsmith 2 |
| Compensator III | Mod | 2x Mod Components 8x Wires | Gunsmith 3 |
| Defibrillator | Quick Use | 9x Plastic Parts 1x Moss | Medical Lab 2 |
| ??? | ??? | ??? | ??? |
| Equalizer | Weapon | 3x Magnetic Accelerator 3x Complex Gun Parts 1x Queen Reactor | Gunsmith 3 |
| Extended Barrel | Mod | 2x Mod Components 8x Wires | Gunsmith 3 |
| Extended Light Mag II | Mod | 2x Mechanical Components 3x Steel Spring | Gunsmith 2 |
| Extended Light Mag III | Mod | 2x Mod Components 5x Steel Spring | Gunsmith 3 |
| Extended Medium Mag II | Mod | 2x Mechanical Components 3x Steel Spring | Gunsmith 2 |
| Extended Medium Mag III | Mod | 2x Mod Components 5x Steel Spring | Gunsmith 3 |
| Extended Shotgun Mag II | Mod | 2x Mechanical Components 3x Steel Spring | Gunsmith 2 |
| Extended Shotgun Mag III | Mod | 2x Mod Components 5x Steel Spring | Gunsmith 3 |
| Remote Raider Flare | Quick Use | 2x Chemicals 4x Rubber Parts | Utility Station 1 |
| Heavy Gun Parts | Material | 4x Simple Gun Parts | Refiner 2 |
| Venator | Weapon | 2x Advanced Mechanical Components 3x Medium Gun Parts 5x Magnet | Gunsmith 3 |
| Il Toro | Weapon | 5x Mechanical Components 6x Simple Gun Parts | Gunsmith 1 |
| Jolt Mine | Mine | 1x Electrical Components 1x Battery | Explosives Station 2 |
| Explosive Mine | Mine | 1x Explosive Compound 1x Sensors | Explosives Station 3 |
| Jupiter | Weapon | 3x Magnetic Accelerator 3x Complex Gun Parts 1x Queen Reactor | Gunsmith 3 |
| Light Gun Parts | Material | 4x Simple Gun Parts | Refiner 2 |
| Lightweight Stock | Mod | 2x Mod Components 5x Duct Tape | Gunsmith 3 |
| Lure Grenade | Grenade | 1x Speaker Component 1x Electrical Components | Utility Station 2 |
| Medium Gun Parts | Material | 4x Simple Gun Parts | Refiner 2 |
| Torrente | Weapon | 2x Advanced Mechanical Components 3x Medium Gun Parts 6x Steel Spring | Gunsmith 3 |
| Muzzle Brake II | Mod | 2x Mechanical Components 4x Wires | Gunsmith 2 |
| Muzzle Brake III | Mod | 2x Mod Components 8x Wires | Gunsmith 3 |
| Padded Stock | Mod | 2x Mod Components 5x Duct Tape | Gunsmith 3 |
| Shotgun Choke II | Mod | 2x Mechanical Components 4x Wires | Gunsmith 2 |
| Shotgun Choke III | Mod | 2x Mod Components 8x Wires | Gunsmith 3 |
| Shotgun Silencer | Mod | 2x Mod Components 8x Wires | Gunsmith 3 |
| Showstopper | Grenade | 1x Advanced Electrical Components 1x Voltage Converter | Explosives Station 3 |
| Silencer I | Mod | 2x Mechanical Components 4x Wires | Gunsmith 2 |
| Silencer II | Mod | 2x Mod Components 8x Wires | Gunsmith 3 |
| Snap Hook | Quick Use | 2x Power Rod 3x Rope 1x Exodus Modules | Utility Station 3 |
| Stable Stock II | Mod | 2x Mechanical Components 3x Duct Tape | Gunsmith 2 |
| Stable Stock III | Mod | 2x Mod Components 5x Duct Tape | Gunsmith 3 |
| Tagging Grenade | Grenade | 1x Electrical Components 1x Sensors | Utility Station 3 |
| Tempest | Weapon | 3x Advanced Mechanical Components 3x Medium Gun Parts 3x Canister | Gunsmith 3 |
| Trigger Nade | Grenade | 2x Crude Explosives 1x Processor | Explosives Station 2 |
| Vertical Grip II | Mod | 2x Mechanical Components 3x Duct Tape | Gunsmith 2 |
| Vertical Grip III | Mod | 2x Mod Components 5x Duct Tape | Gunsmith 3 |
| Vita Shot | Quick Use | 2x Antiseptic 1x Syringe | Medical Lab 3 |
| Vita Spray | Quick Use | 3x Antiseptic 1x Canister | Medical Lab 3 |
| Vulcano | Weapon | 1x Magnetic Accelerator 3x Heavy Gun Parts 1x Exodus Modules | Gunsmith 3 |
| Wolfpack | Grenade | 2x Explosive Compound 2x Sensors | Explosives Station 3 |
| Red Light Stick | Quick Use | 3x Chemicals | Utility Station 1 |
| Smoke Grenade | Grenade | 14x Chemicals 1x Canister | Utility Station 2 |
| Deadline | Mine | 3x Explosive Compound 2x ARC Circuitry | Explosives Station 3 |
| Trailblazer | Grenade | 1x Explosive Compound 1x Synthesized Fuel | Explosives Station 3 |
| Tactical Mk. 3 (Defensive) | Augment | 2x Advanced Electrical Components 3x Processor | Gear Bench 3 |
| Tactical Mk. 3 (Healing) | Augment | 2x Advanced Electrical Components 3x Processor | Gear Bench 3 |
| Yellow Light Stick | Quick Use | 3x Chemicals | Utility Station 1 |
Note: The missing Blueprints in this list likely have not actually been added to the game at the time of writing, because none of the playerbase has managed to find any of them. As they are added to the game, I will update this page with the most relevant information so you know exactly how to get all 75 Arc Raiders Blueprints.
Where to find Blueprints in Arc Raiders
Below is a list of all containers, modifiers, and events which maximise your chances of finding Blueprints:
- Certain quests reward you with specific Blueprints .
- Completing Trials has a high chance of offering Blueprints as rewards.
- Surveyors have a decent chance of dropping Blueprints on death.
- High loot value areas tend to have a greater chance of spawning Blueprints.
- Night Raids and Storms may increase rare Blueprint spawn chances in containers.
- Containers with higher numbers of items may have a higher tendency to spawn Blueprints. As a result, Blue Gate (which has many “large” containers containing multiple items) may give you a higher chance of spawning Blueprints.
- Raider containers (Raider Caches, Weapon Boxes, Medical Bags, Grenade Tubes) have increased Blueprint drop rates. As a result, the Uncovered Caches event gives you a high chance of finding Blueprints.
- Security Lockers have a higher than average chance of containing Blueprints.
- Certain Blueprints only seem to spawn under specific circumstances: Tempest Blueprint only spawns during Night Raid events. Vulcano Blueprint only spawns during Hidden Bunker events. Jupiter and Equaliser Blueprints only spawn during Harvester events.

Raider Caches, Weapon Boxes, and other raider-oriented container types have a good chance of offering Blueprints. |Image credit:Rock Paper Shotgun/Embark Studios
Blueprints have a very low chance of spawning in any container in Arc Raiders, around 1-2% on average. However, there is a higher chance of finding Blueprints in particular container types. Specifically, you can find more Blueprints in Raider containers and security lockers.
Beyond this, if you’re looking for Blueprints you should focus on regions of the map which are marked as having particularly high-value loot. Areas such as the Control Tower in Dam Battlegrounds, the Arrival and Departure Buildings in Spaceport, and Pilgrim’s Peak in Blue Gate all have a better-than-average chance of spawning Blueprints somewhere amongst all their containers. Night Raids and Electromagnetic Storm events also increase the drop chances of certain Blueprints .
In addition to these containers, you can often loot Blueprints from destroyed Surveyors - the largest of the rolling ball ARC. Surveyors are more commonly found on the later maps - Spaceport and Blue Gate - and if one spawns in your match, you’ll likely see it by the blue laser beam that it casts into the sky while “surveying”.
Surveyors are quite well-armoured and will very speedily run away from you once it notices you, but if you can take one down then make sure you loot all its parts for a chance of obtaining certain unusual Blueprints.
Blueprints obtained from quests
One way in which you can get Blueprints is by completing certain quests for the vendors in Speranza. Some quests will reward you with a specific item Blueprint upon completion, so as long as you work through all the quests in Arc Raiders, you are guaranteed those Blueprints.
Here is the full list of all Blueprints you can get from quest rewards:
- Trigger Nade Blueprint: Rewarded after completing “Sparks Fly”.
- Lure Grenade Blueprint: Rewarded after completing “Greasing Her Palms”.
- Burletta Blueprint: Rewarded after completing “Industrial Espionage”.
- Hullcracker Blueprint (and Launcher Ammo Blueprint): Rewarded after completing “The Major’s Footlocker”.
Alas, that’s only 4 Blueprints out of a total of 75 to unlock, so for the vast majority you will need to find them yourself during a raid. If you’re intent on farming Blueprints, then it’s best to equip yourself with cheap gear in case you lose it, but don’t use a free loadout because then you won’t get a safe pocket to stash any new Blueprint you find. No pain in Arc Raiders is sharper than failing to extract with a new Blueprint you’ve been after for a dozen hours already.

One of the best ways to get Blueprints is by hitting three stars on all five Trials every week. |Image credit:Rock Paper Shotgun/Embark Studios
Blueprints obtained from Trials
One of the very best ways to get Blueprints is as rewards for completing Trials in Arc Raiders. Trials are unlocked from Level 15 onwards, and allow you to earn rewards by focusing on certain tasks over the course of several raids. For example, one Trial might task you with dealing damage to Hornets, while another might challenge you to loot Supply Drops.
Trials refresh on a weekly basis, with a new week bringing five new Trials. Each Trial can offer up to three rewards after passing certain score milestones, and it’s possible to receive very high level loot from these reward crates - including Blueprints. So if you want to unlock as many Blueprints as possible, you should make a point of completing as many Trials as possible each week.
Best Blueprint farming locations
The very best way to get Blueprints is to frequent specific areas of the maps which combine high-tier loot pools with the right types of containers to search. Here are my recommendations for where to find Blueprints on every map, so you can always keep the search going for new crafting recipes to unlock.

Image credit:Rock Paper Shotgun/Embark Studios
Dam Battlegrounds
The best places to farm Blueprints on Dam Battlegrounds are the Control Tower, Power Generation Complex, Ruby Residence, and Pale Apartments . The first two regions, despite only being marked on the map as mid-tier loot, contain a phenomenal number of containers to loot. The Control Tower can also contain a couple of high-tier Security Lockers - though of course, you’ll need to have unlocked the Security Breach skill at the end of the Survival tree.
There’s also a lot of reporting amongst the playerbase that the Residential areas in the top-left of the map - Pale Apartments and Ruby Residence - give you a comparatively strong chance of finding Blueprints. Considering their size, there’s a high density of containers to loot in both locations, and they also have the benefit of being fairly out of the way. So you’re more likely to have all the containers to yourself.
Buried City
The best Blueprint farming locations on Buried City are the Santa Maria Houses, Grandioso Apartments, Town Hall, and the various buildings of the New District . Grandioso Apartments has a lower number of containers than the rest, but a high chance of spawning weapon cases - which have good Blueprint drop rates. The others are high-tier loot areas, with plenty of lootable containers - including Security Lockers.
Spaceport
The best places to find Blueprints on Spaceport are the Arrival and Departure Buildings, as well as Control Tower A6 and the Launch Towers . All these areas are labelled as high-value loot regions, and many of them are also very handily connected to one another by the Spaceport wall, which you can use to quickly run from one area to the next. At the tops of most of these buildings you’ll find at least one Security Locker, so this is an excellent farming route for players looking to find Blueprints.
The downside to looting Blueprints on Spaceport is that all these areas are hotly contested, particularly in Duos and Squads. You’ll need to be very focused and fast in order to complete the full farming route.

Image credit:Rock Paper Shotgun/Embark Studios
Blue Gate
Blue Gate tends to have a good chance of dropping Blueprints, potentially because it generally has a high number of containers which can hold lots of items; so there’s a higher chance of a Blueprint spawning in each container. In my experience, the best Blueprint farming spots on Blue Gate are Pilgrim’s Peak, Raider’s Refuge, the Ancient Fort, and the Underground Complex beneath the Warehouse .
All of these areas contain a wealth of containers to loot. Raider’s Refuge has less to loot, but the majority of the containers in and around the Refuge are raider containers, which have a high chance of containing Blueprints - particularly during major events.
Stella Montis
On the whole, Stella Montis seems to have a very low drop rate for Blueprints (though a high chance of dropping other high-tier loot). If you do want to try farming Blueprints on this map, the best places to find Blueprints in Stella Montis are Medical Research, Assembly Workshop, and the Business Center . These areas have the highest density of containers to loot on the map.
In addition to this, the Western Tunnel has a few different Security Lockers to loot, so while there’s very little to loot elsewhere in this area of the map, it’s worth hitting those Security Lockers if you spawn there at the start of a match.
That wraps up this primer on how to get all the Blueprints in Arc Raiders as quickly as possible. With the Expedition system constantly resetting a large number of players’ Blueprints, it’s more important than ever to have the most up-to-date information on where to find all these Blueprints.
While you’re here, be sure to check out our Arc Raiders best guns tier list , as well as our primers on the best skills to unlock and all the different Field Depot locations on every map.


ARC Raiders
PS5 , Xbox Series X/S , PC
Rock Paper Shotgun is better when you sign in
Sign in and join us on our journey to discover strange and compelling PC games.
