Best race in The Elder Scrolls IV: Oblivion Remastered
The best races for melee, magic, and stealth builds in Oblivion Remastered

Image credit:Rock Paper Shotgun/Bethesda

Wondering what the best race is in The Elder Scrolls IV: Oblivion Remastered? As one might expect from a game originally from 2006, The Elder Scrolls IV: Oblivion features some old school character creation bioessentialism, with the different races on display offering up different strengths and weaknesses. While these factors will lessen as you level up your character, they’re very noticeable at the start of the game, making your choice of race a vital decision in determining your early build.
If you’ve explored Tamriel in any other Elder Scrolls game, Oblivion’s starting races will feel familiar, from the bog-standard Orcs to your Khajiit catfolk. Their starting stats will require some tinkering to fully understand, however. This guide will present what we think is the best race for new Oblivion players, and we’ll also break down each of the races in terms of difficulty and what they can offer for a particular character build.

Best race in Oblivion Remastered
- Best race for melee: Nord (Western) , Orc (Orsinium) , or Redguard (Dragontail Mountains)
- Best race for magic: Breton (Systres) or High Elf (Summerset Isle)
- Best race for stealth: Khajiit (Anequina) or Wood Elf (Reaper’s March)
We’ve gone with the traditional RPG character tropes of fighter, mage, and thief with these choices, as they will appeal to a wide variety of newbie players immediately.
For greater detail, see the table below, comparing the skill bonuses and special abilities of each race. Races in Oblivion Remastered start with a +5 to their skills, and we’ve outlined instances that deviate from this norm. Below the table, we’ve explained the strengths and weaknesses of each race in greater detail.
Keep in mind that this information is tailored to Oblivion Remastered. While the broad strokes still apply to the original game, there are subtle differences throughout, especially to skill bonuses.
| Race | Skill Bonuses | Special Abilities |
|---|---|---|
| Argonian | Alchemy +10, Athletics +15, Blade +10, Hand-to-Hand +10, Illusion +10, Mysticism +10, Security +15 | Resist Disease (magnitude 75, constant), Resist Poison (magnitude 100, constant), Water Breathing (constant) |
| Breton | Alchemy +10, Alteration +10, Conjuration +15, Illusion +10, Mysticism +15, Restoration +15 | Fortified Maximum Magicka (magnitude 50, constant), Resist Magicka (magnitude 50, constant), Shield (magnitude 50, duration 60, once a day) |
| Dark Elf | Athletics +10, Blade +15, Blunt +10, Destruction +15, Light Armor +10, Marksman +10, Mysticism +10 | Summon Ghost (duration 60, once a day), Resist Fire (magnitude 75, constant) |
| High Elf | Alchemy +10, Alteration +15, Conjuration +10, Destruction +15, Illusion +10, Mysticism +15 | Fortified Maximum Magicka (magnitude 100, constant), Weakness to Fire, Frost, and Shock (magnitude 25, constant), Resist Disease (magnitude 75, constant) |
| Imperial | Blade +10, Blunt +10, Hand-to-Hand +10, Heavy Armor +15, Mercantile +15, Speechcraft +15 | Absorb Fatigue (magnitude 100, once a day), Charm (magnitude 30, once a day) |
| Khajiit | Acrobatics +15, Athletics +10, Blade +10, Hand-to-Hand +15, Light Armor +10, Security +10, Sneak +10 | Demoralize (magnitude 100, once a day), Night-Eye (duration 30, unlimited) |
| Nord | Armorer +10, Blade +15, Block +10, Blunt +15, Heavy Armor +15, Restoration +10 | Frost Damage (touch, magnitude 50, once a day), Shield (magnitude 30, duration 60, once a day), Resist Frost (magnitude 50, constant) |
| Orc | Armorer +15, Block +15, Blunt +15, Hand-to-Hand +10, Heavy Armor +15 | Berserk (Fortify Health 20, Fortify Fatigue 200, Fortify Strength 50, Drain Agility 100, duration 60, once a day), Resist Magicka (magnitude 25) |
| Redguard | Athletics +15, Blade +15, Blunt +15, Light Armor +10, Heavy Armor +10, Mercantile +10 | Adrenaline Rush (Fortify Agility 50, Fortify Speed 50, Fortify Strength 50, Fortify Endurance 50, Fortify Health 25, duration 60), Resist Poison (magnitude 75), Resist Disease (magnitude 75) |
| Wood Elf | Acrobatics +10, Alchemy +15, Alteration +10, Light Armor +10, Marksman +15, Sneak +15 | Command Creature (magnitude 20, duration 60, once a day), Resist Disease (magnitude 75) |
Argonian
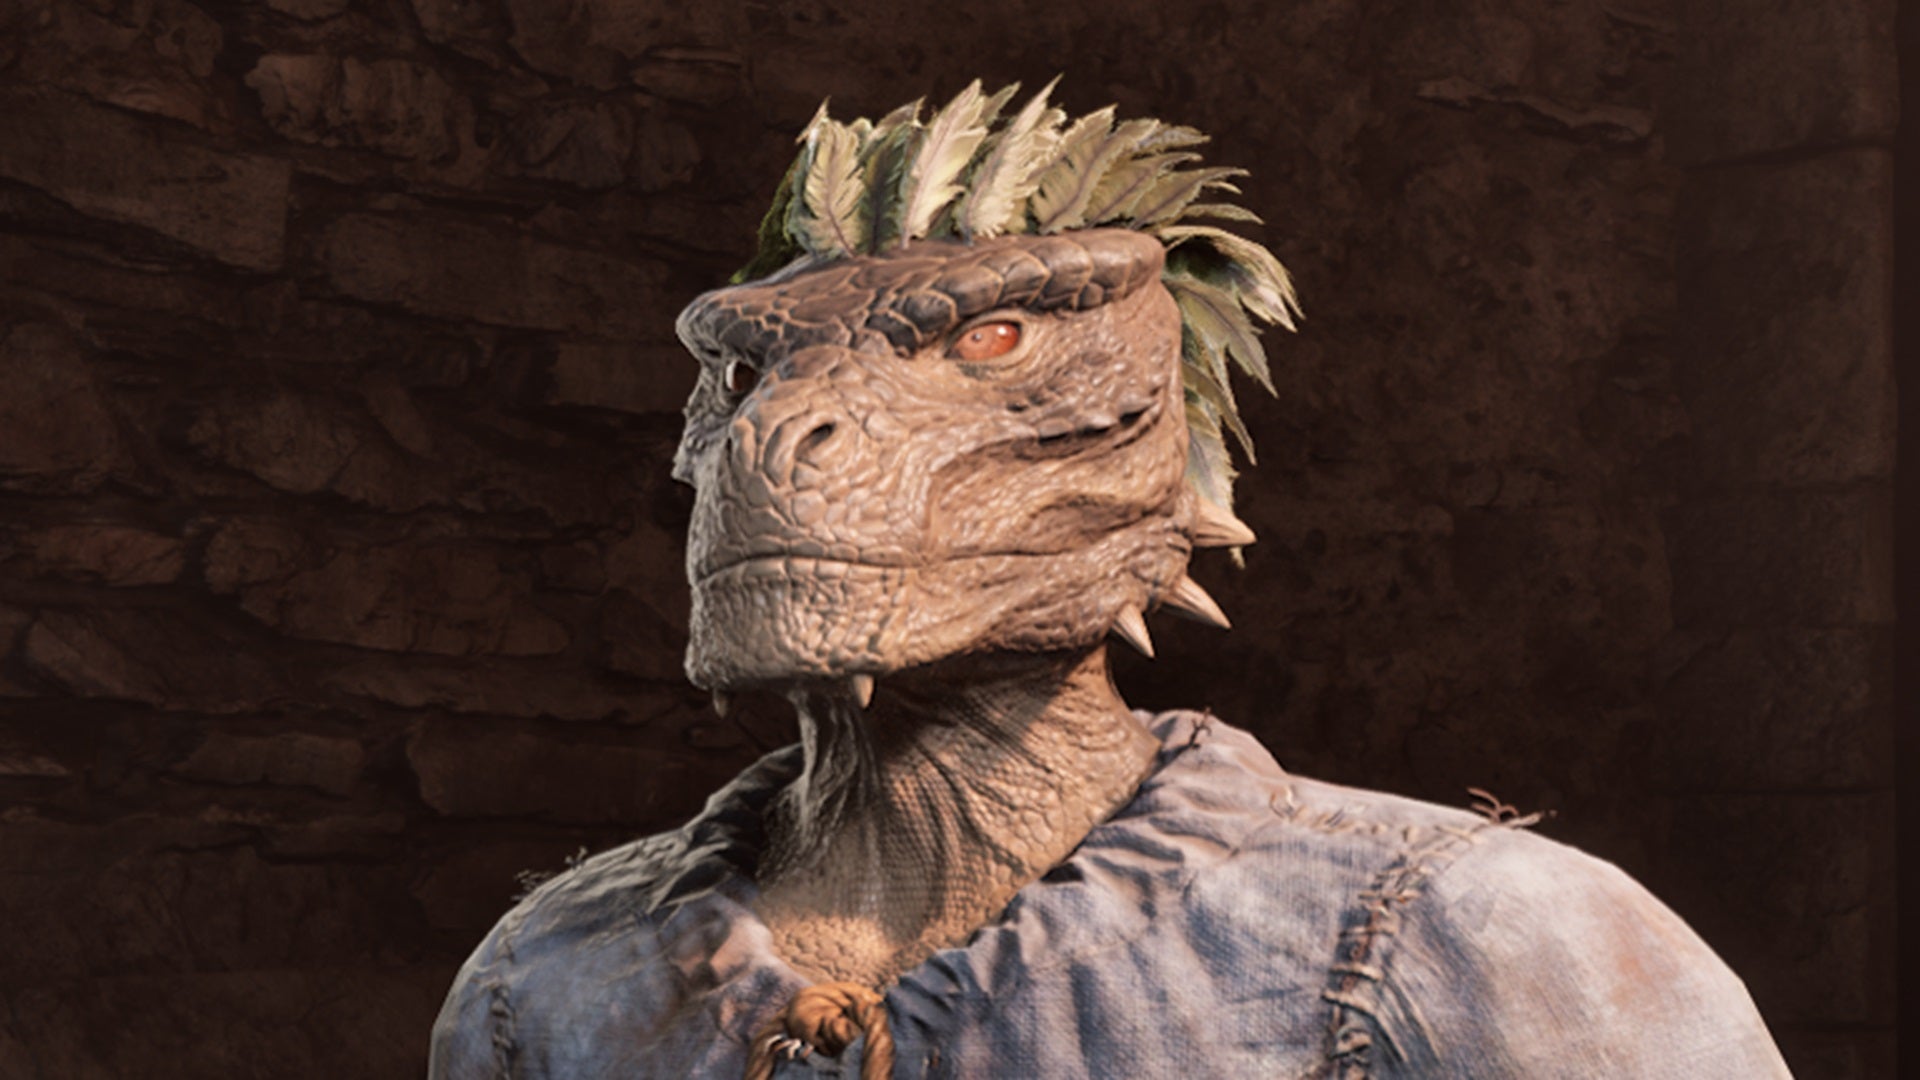
Breathing underwater is cool, as is being a lizard in general. |Image credit:Rock Paper Shotgun/Bethesda
The Argonians are the lizardfolk of the Elder Scrolls franchise. They have decent bonuses for magic-using and stealth, though when compared to the various elven races and Khajiit, they fall short. Their special abilities are also very specific - Resist Disease and Poison are useful, but only against certain enemy types, while Water Breathing is great for exploration purposes, but also a bit niche. Due to these factors, Argonians are best suited for highly specific builds that perhaps lean into the joy of “hey, I’m playing a lizardman” roleplaying.
Breton

An affinity for magic flows through their veins. |Image credit:Rock Paper Shotgun/Bethesda
Bretons are basically half-elves, and make for excellent spellcasters thanks to their high resistance to magical energies. Their Magic Resistance and Dragon Skin abilities are excellent resources for keeping your character alive in the thick of combat, and if you want a pure mage build that prioritises defense, it’s best to go with a Breton character . To make up for their relatively low Endurance, be sure to choose Endurance as one of your favoured character attributes.
Dark Elf
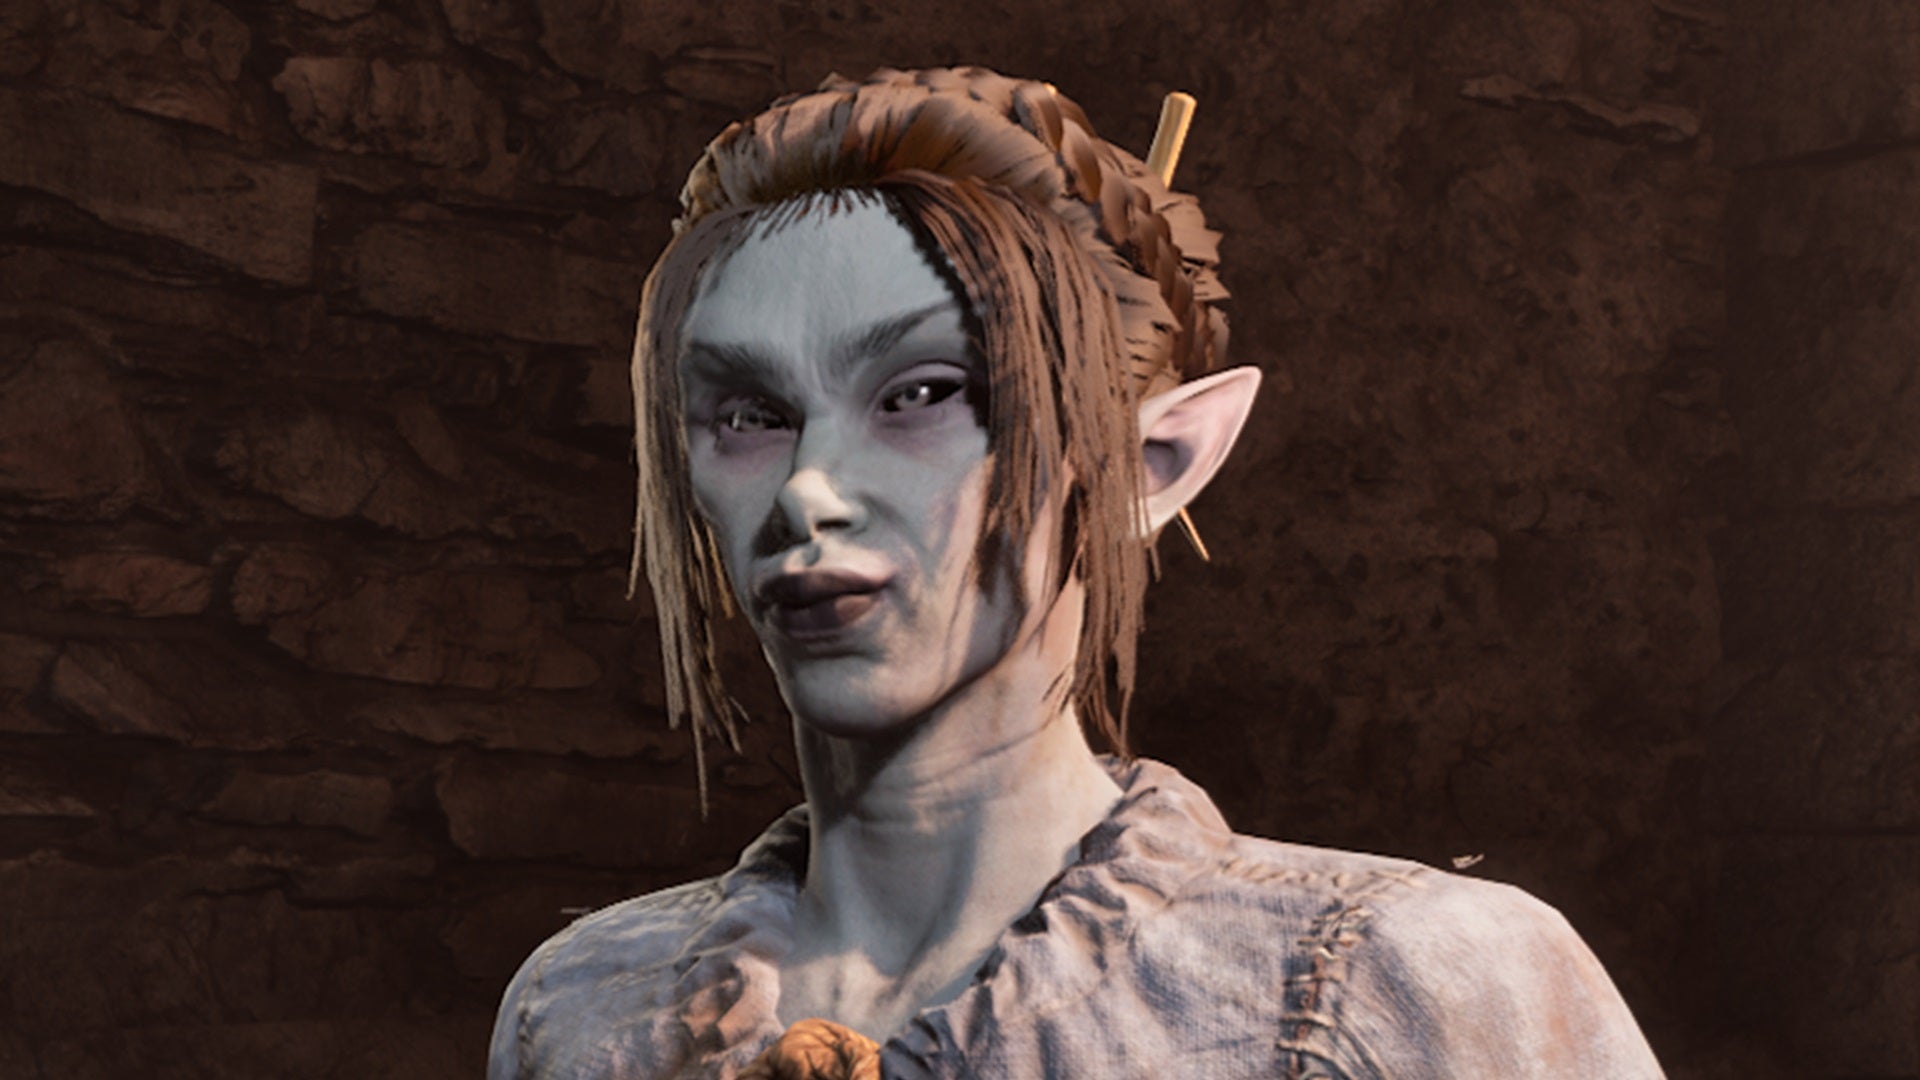
Dark Elves are cool. They should really remaster Morrowind… |Image credit:Rock Paper Shotgun/Bethesda
Dark Elves, also known as Dunmer, are Oblivion’s most well-rounded race if you’re making a jack-of-all-trades spellsword who can hold their own with both magic and melee. They also make decent archers thanks to their Marksman bonus. With Ancestor Guardian, they can bring a spectral helper to the fray who isn’t especially strong until you level up, but nevertheless helps take the heat off you in combat. Dark Elf Fire Resistance is also very useful, especially since the titular gates throughout the game that lead to Oblivion are full of fire-based foes.
High Elf

Pick a High Elf if you want the biggest magical bang for your buck. |Image credit:Rock Paper Shotgun/Bethesda
The High Elves of Oblivion are high and mighty spellcasters who are a tad more aggressive than their Breton cousins. They’re weak to Fire, Frost, and Shock, but with a magnitude of 100, their Enhanced Magicka ability will keep them in the fight longer than their counterparts. That nice +10 bonus to Destruction also hints at their true purpose, which is specialising in powerful damage magic. If you don’t mind the squishiness, High Elves are the best choice for an offensive pure mage build, in other words.
Imperial

Imperials are pretty standard, but they’re the most affected by the events of Oblivion. |Image credit:Rock Paper Shotgun/Bethesda
As the typical human residents of Cyrodiil, Imperials are all over the place. They’re nothing special on the surface, but if you’re actually interested in roleplaying as a regular citizen most affected by the world-shattering events of the plot, it might pay off to roll an Imperial character. Their Voice of the Emperor trait, which lets them Charm targets, is also very useful for talking your way our of scrapes, and their Speechcraft bonus supplements this. So if you want to talk your way out of problems, play an Imperial .
Khajiit
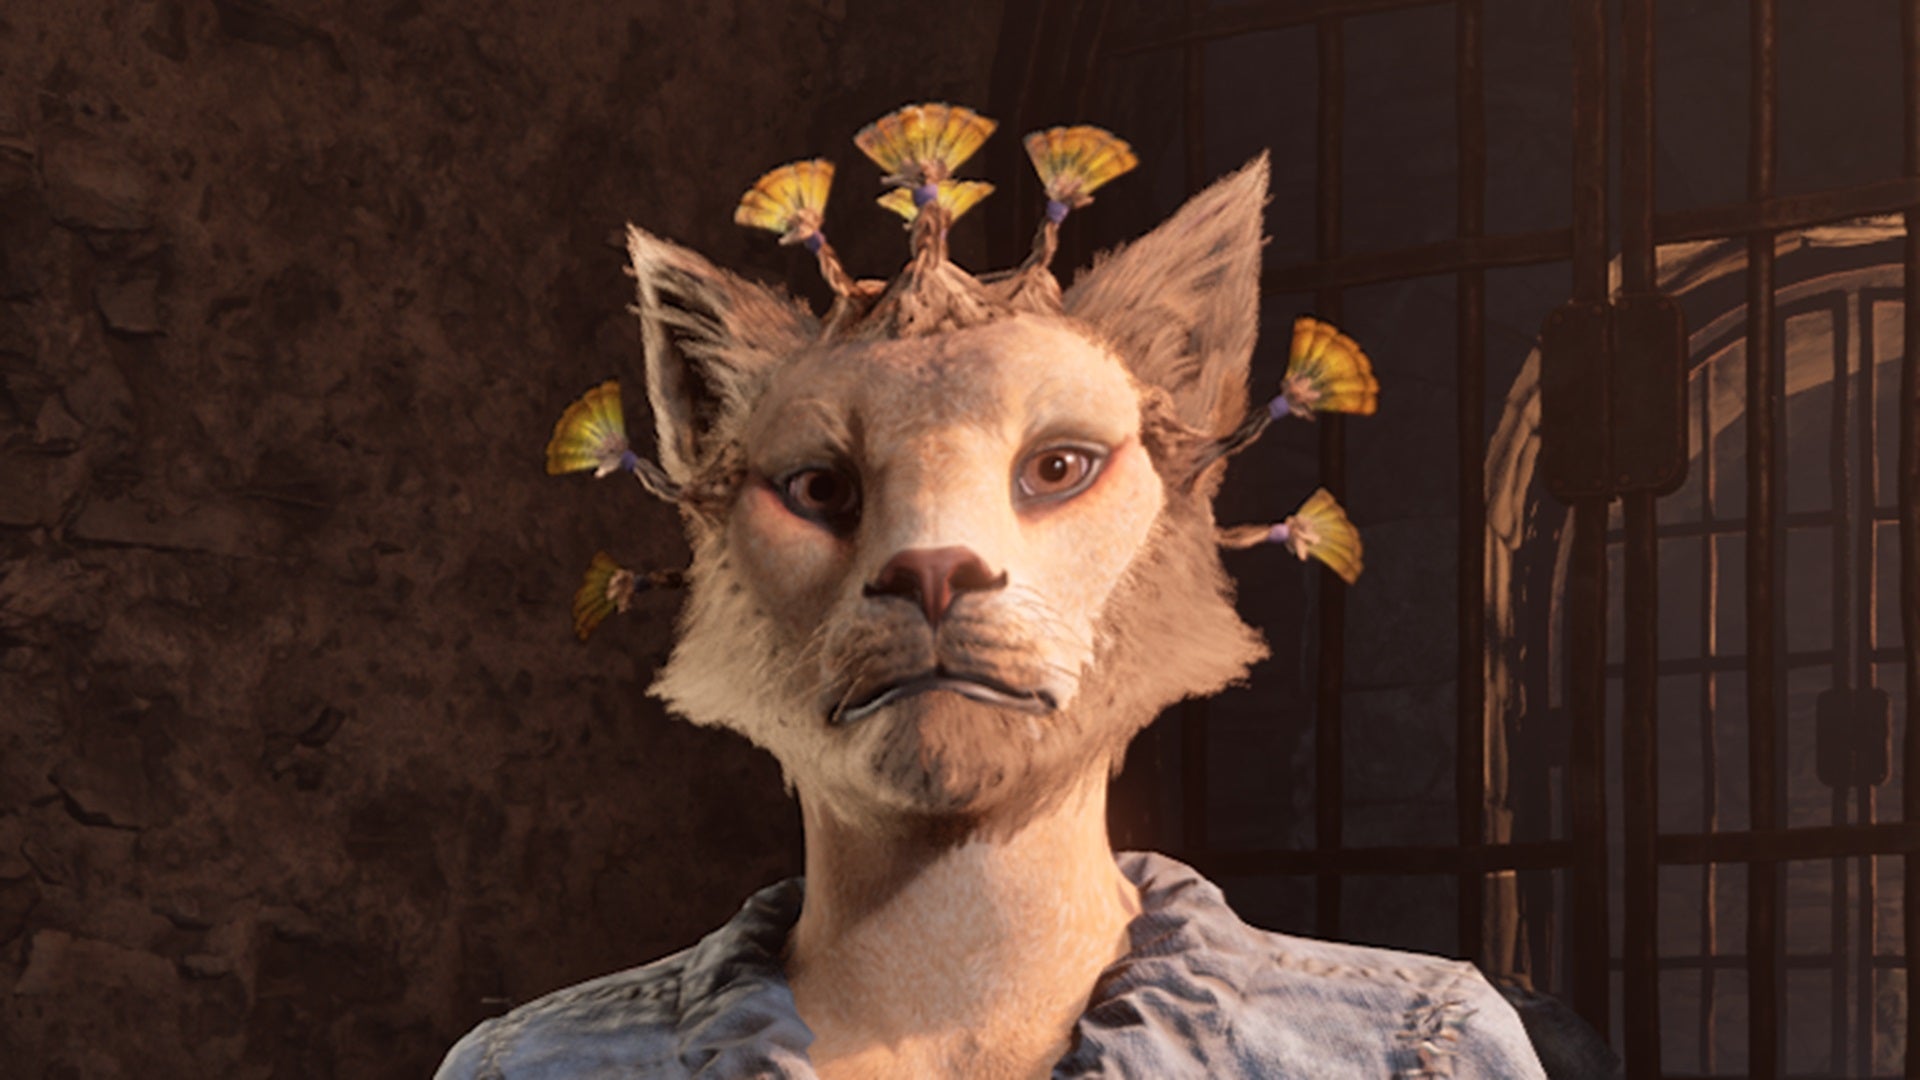
Khajiit are good at sneaking, and also great if you like cats in general. |Image credit:Rock Paper Shotgun/Bethesda
One of my personal favourite Elder Scrolls races, the Khajiit are catfolk who boast handy stats for rogue builds that focus on melee weapons . (For a ranged rogue, it’s more effective to go with a Wood Elf.) Eye of Night is especially wonderful for its unlimited ability to cast Night-Eye on yourself, which lets you see in the dark, stealthily creep up on someone, and get that precious sneak attack damage. Eye of Fear’s Demoralize also isn’t bad to have, even if you can only use it once per day.
Nord

Want some Skyrim in your Oblivion? Here’s a Nord for you! |Image credit:Rock Paper Shotgun/Bethesda
Nord are humans from Skyrim - both the sequel to Oblivion that everyone knows and loves, but also the northernmost region of Tamriel. As a result, they have hardy attributes for survival, like Woad, which lets them cast Shield on themselves, and Nordic Frost, which inflicts 50 points of Frost damage on hit. For a melee focused barbarian build that focuses on heavy armor and heavy weapons , the Nord are very good, but the stat boosts that Orcs get are better.
Orc
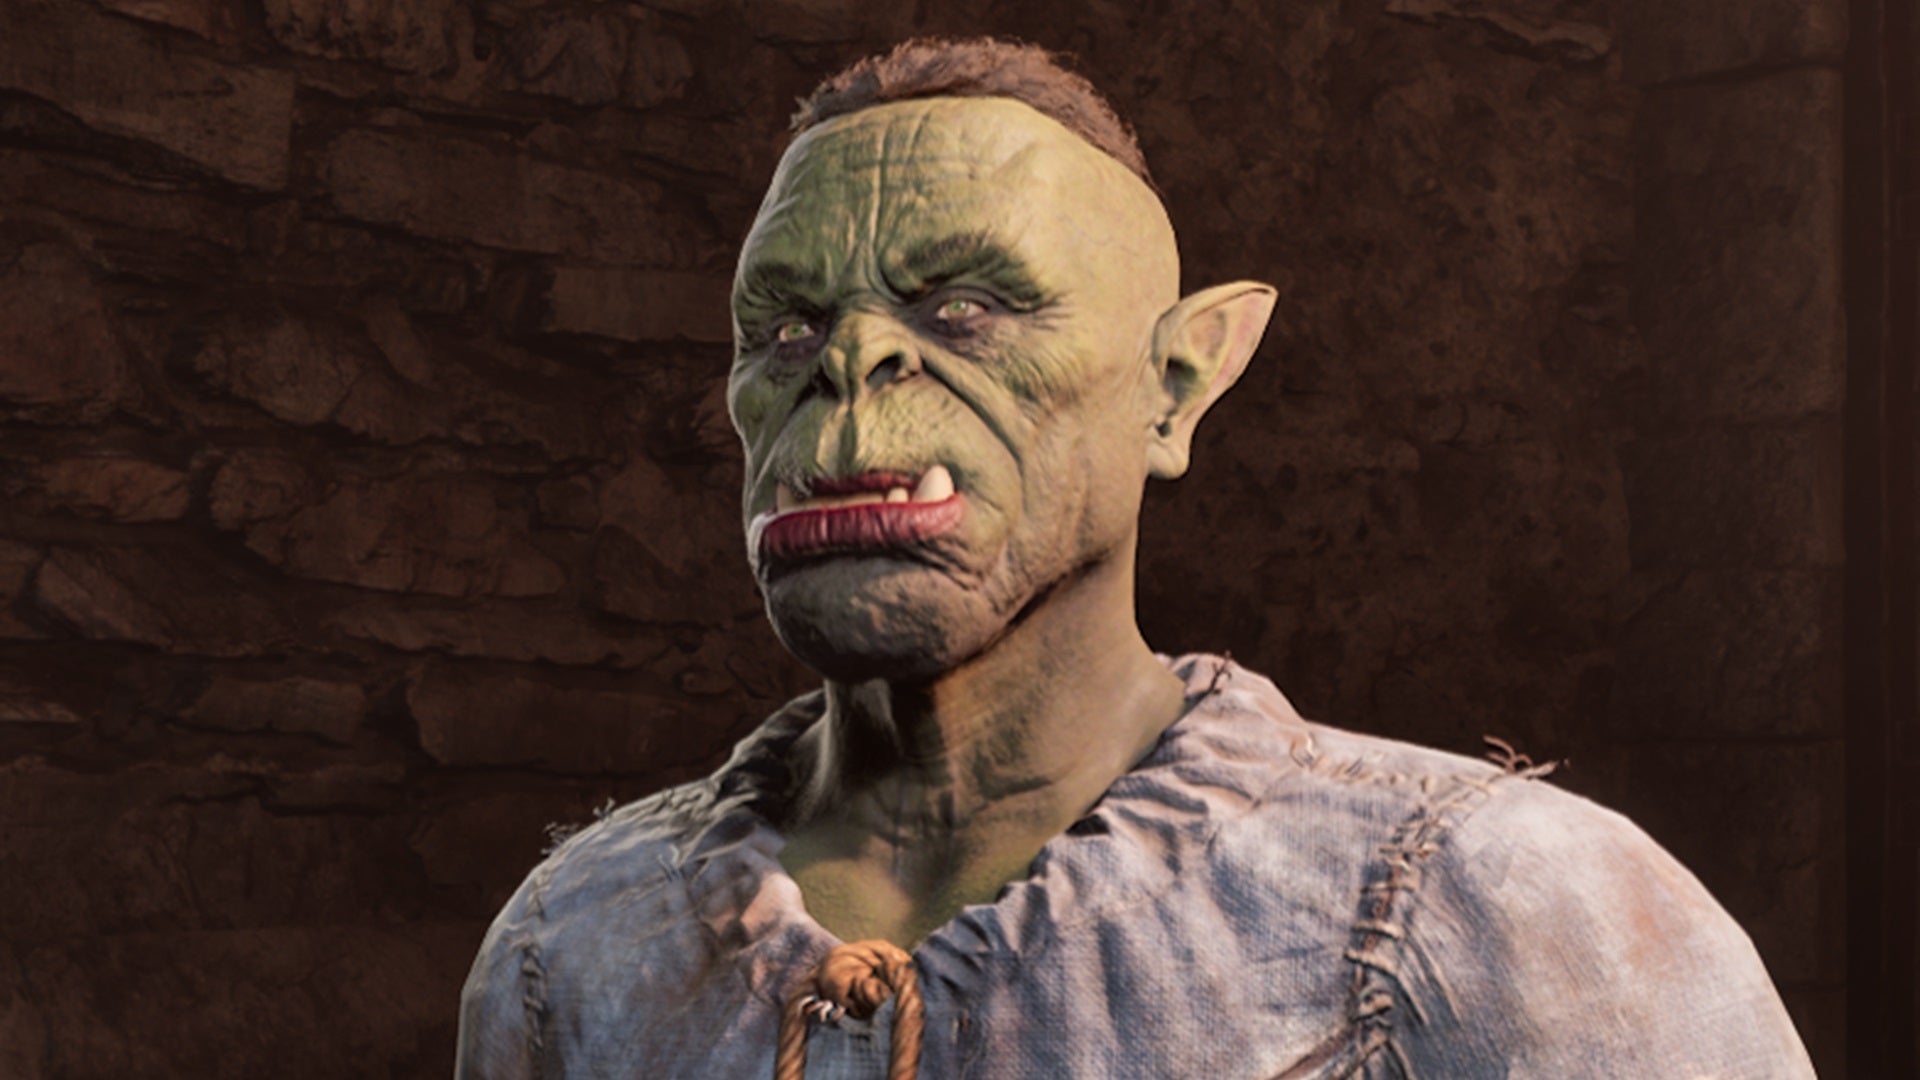
Insert joke about “it’s not easy being green” here. |Image credit:Rock Paper Shotgun/Bethesda
Orcs are pretty self-explanatory if you’ve played any fantasy game. In Oblivion, they’re what you might expect, boasting extreme powerhouse durability in combat thanks to Berserk , a fantastic skill that lets them fortify Fatigue, Health, and Strength all in one go. Agility will go down, leaving you susceptible to a stagger, but you’ll hopefully be defeating your enemies too fast to care. Orc magic resistance is also decent, and their skill bonuses are better than Nords.
Redguard

Redguards are superb melee combatants and some of the best warriors in Tamriel. |Image credit:Rock Paper Shotgun/Bethesda
I’ve been partial to Redguards ever since the often forgotten 1998 game The Elder Scrolls Adventures: Redguard. In Oblivion, they aren’t as powerful as Nords or Orcs, but they’re still a great dexterity-oriented melee option . Their main skill is Adrenaline Rush, which boosts their Agility, Endurance, Speed, Strength, and Health in one go. It won’t make a Redguard character hit as hard as the Orc’s Berserk, but it sure will make them zip around the battlefield.
Wood Elf

If you want to shoot steadily and stealthily, pick a Wood Elf. |Image credit:Rock Paper Shotgun/Bethesda
Wood Elves, also called Bosmer, are extremely agile - the perfect choice for a stealthy thief build with ranged capabilities . They start with the highest Marksman bonus of all races, and their Agility and Speed stats can soar to extreme heights if you double down on maxing them out while prioritising light armor. If you want to build an alchemy-focused character, Wood Elf is also a good choice, as they start with a +10 Alchemy bonus, and poisons can amplify their arrow shots.
All race origins in Oblivion Remastered

Races in Oblivion Remastered come with several minute differences, but no longer are stat bonuses decided by gender. Enter…origins! |Image credit:Rock Paper Shotgun/Bethesda
In the original version of Oblivion, male and females of each race had slightly different Attributes. For instance, male Khajiits had higher Strength but lower Speed than females. This has been replaced in Oblivion Remastered with origins, which represent where a race hailed from and provide similar differences. If you want to see the specific Attributes that origins change, refer to the following table:
| Race + Origin | Attribute Bonuses |
|---|---|
| Argonian Arnesia | Agility 50, Endurance 30, Personality 30, Speed 50, Willpower 30 |
| Argonian Thornmarsh | Endurance 30, Intelligence 50, Personality 30 |
| Breton High Rock | Agility 30, Endurance 30, Intelligence 50, Magicka Bonus 50, Strength 30, Willpower 50 |
| Breton Systres | Agility 30, Endurance 30, Intelligence 50, Magicka Bonus 50, Speed 30, Willpower 50 |
| Dark Elf Mainland | Endurance 30, Speed 50, Willpower 30 |
| Dark Elf Vvardenfell | Personality 30, Speed 50, Willpower 30 |
| High Elf Auridon | Intelligence 50, Magicka Bonus 100, Speed 30, Strength 30 |
| High Elf Summerset Isle | Endurance 30, Intelligence 50, Magicka Bonus 100, Strength 30 |
| Imperial Colovia | Agility 30, Personality 50, Speed 30 |
| Imperial Nibenay | Agility 30, Personality 50, Willpower 30 |
| Khajiit Anequina | Agility 50, Endurance 30, Willpower 30 |
| Khajiit Pellitine | Agility 50, Strength 30, Willpower 30 |
| Nord Eastern | Intelligence 30, Personality 30, Strength 50 |
| Nord Western | Endurance 50, Intelligence 30, Personality 30, Strength 50, Willpower 30 |
| Orc Orsinium | Agility 35, Endurance 50, Personality 25, Speed 30, Strength 45, Willpower 45 |
| Orc Stronghold | Agility 35, Endurance 50, Intelligence 30, Personality 30, Speed 30, Strength 45, Willpower 50 |
| Redguard Alik’r Desert | Endurance 50, Intelligence 30, Willpower 30 |
| Redguard Dragontail Mountains | Endurance 50, Strength 50, Intelligence 30, Personality 30, Willpower 30 |
| Wood Elf Grahtwood | Agility 50, Personality 30, Speed 50, Strength 30, Willpower 30 |
| Wood Elf Reaper’s March | Agility 50, Endurance 30, Speed 50, Strength 30, Willpower 30 |
And that’s a wrap on which race is best for your Oblivion character. For more on customising your avatar, check out our guides on the best birthsign and the best pre-determined classes in Oblivion. If you’d like your character to take a darker turn, see our guide on how to become a vampire , and if you’re simply hoping to shut down all of those pesky portals, see our guide on how to shut Oblivion gates . Good luck out there in the wilds of Cyrodiil!

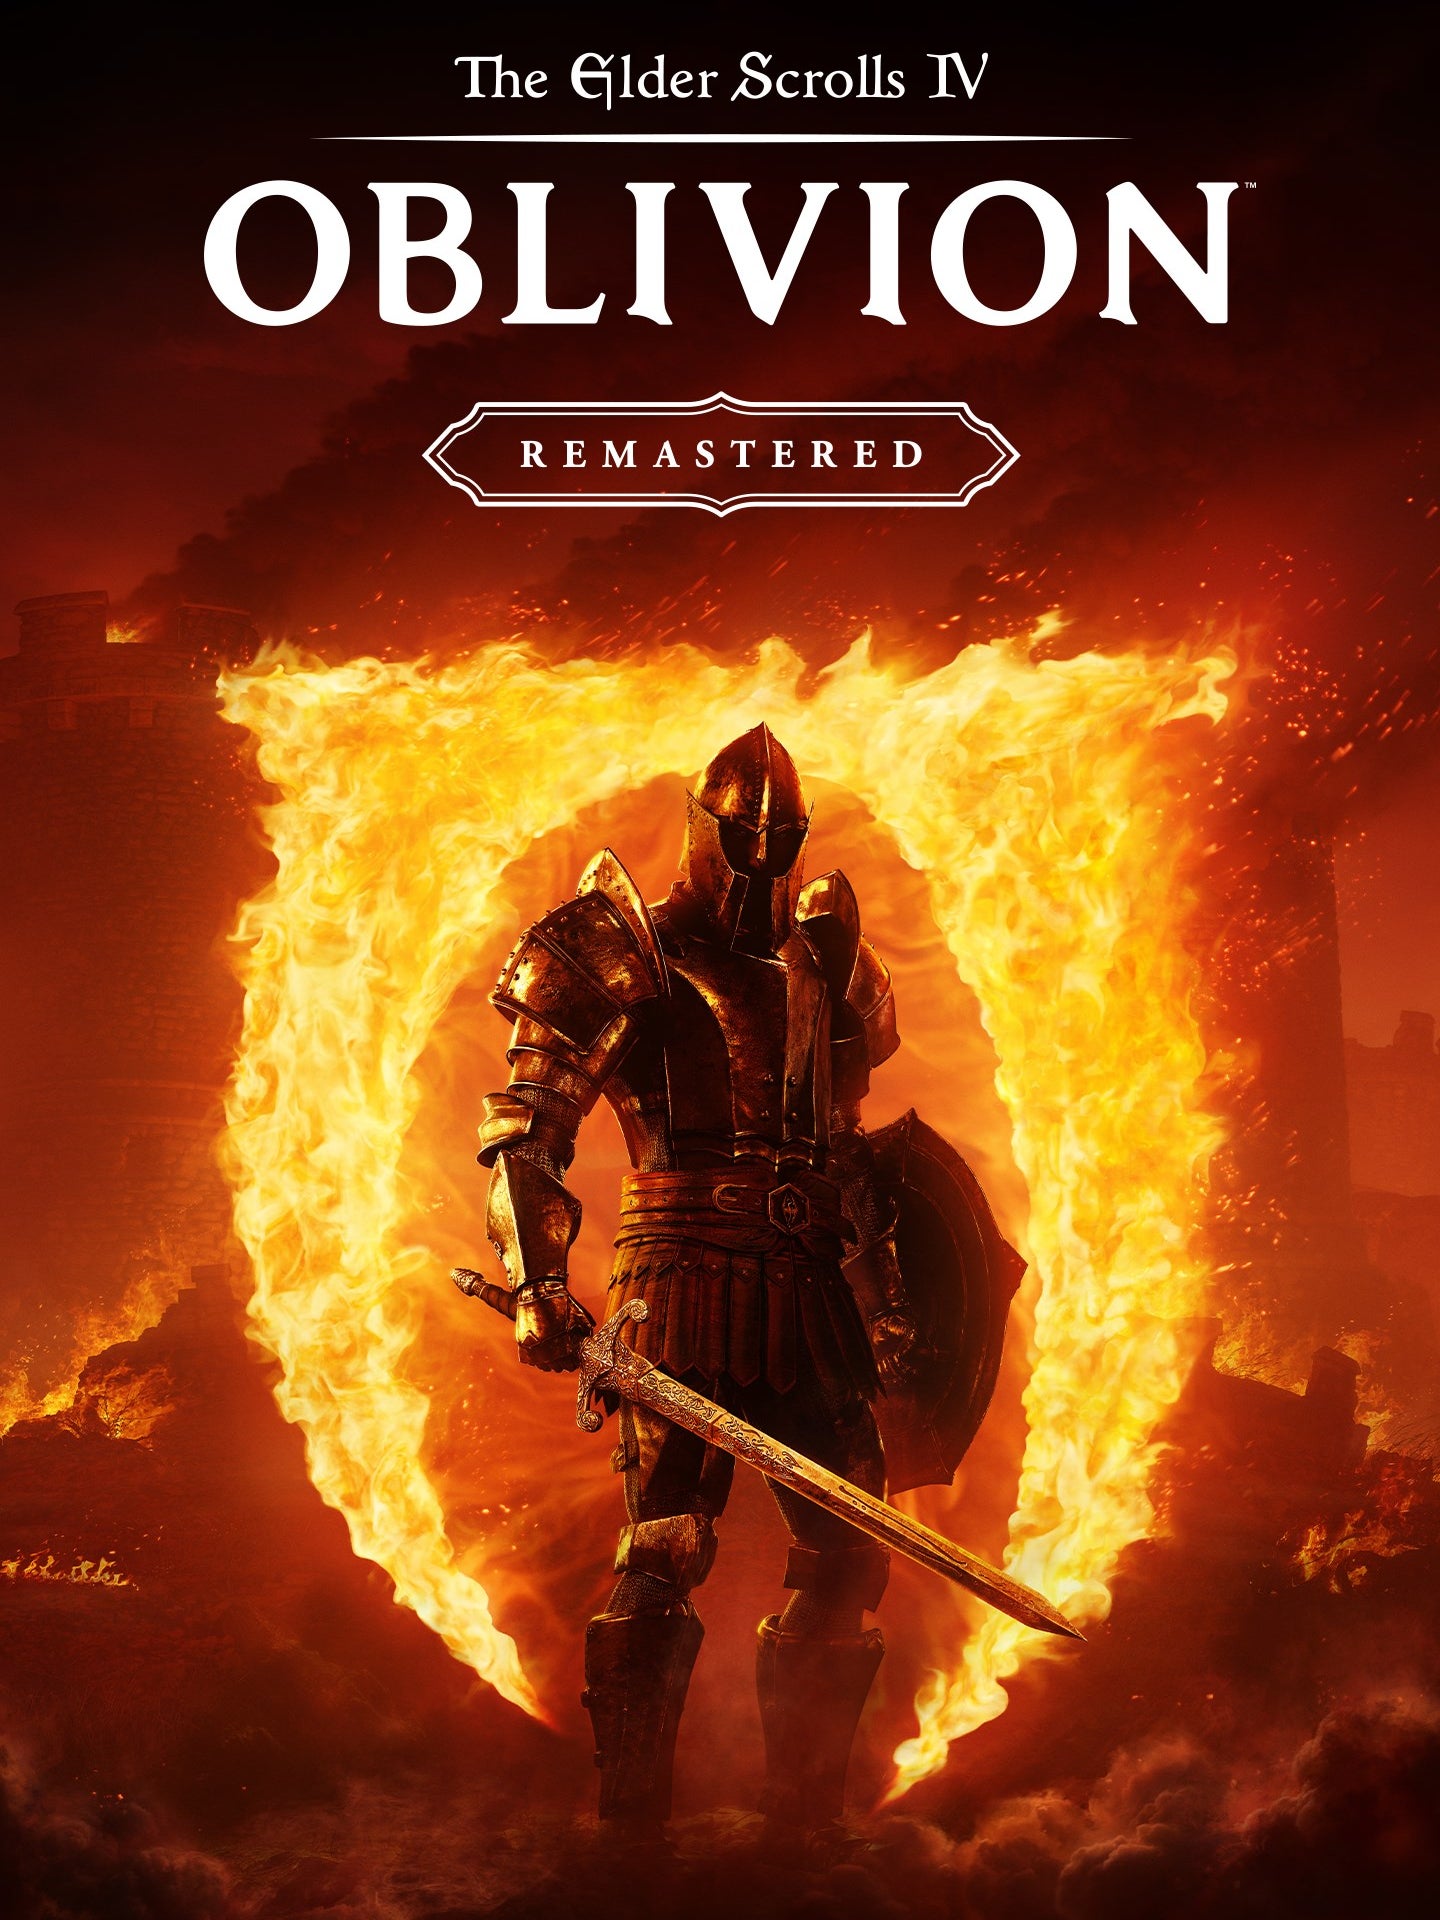
The Elder Scrolls IV: Oblivion Remastered
PS5 , Xbox Series X/S , PC
Rock Paper Shotgun is better when you sign in
Sign in and join us on our journey to discover strange and compelling PC games.

All 75 Arc Raiders Blueprints and where to get them
These areas have the highest chance of giving you Blueprints

Image credit:Rock Paper Shotgun/Embark Studios

Looking for more Arc Raiders Blueprints? It’s a special day when you find a Blueprint, as they’re among the most valuable items in Arc Raiders. If you find a Blueprint that you haven’t already found, then you must make sure you hold onto it at all costs, because Blueprints are the key to one of the most important and powerful systems of meta-progression in the game.
This guide aims to be the very best guide on Blueprints you can find, starting with a primer on what exactly they are and how they work in Arc Raiders, before delving into exactly where to get Blueprints and the very best farming spots for you to take in your search.
We’ll also go over how to get Blueprints from other unlikely activities, such as destroying Surveyors and completing specific quests. And you’ll also find the full list of all 75 Blueprints in Arc Raiders on this page (including the newest Blueprints added with the Cold Snap update , such as the Deadline Blueprint and Firework Box Blueprint), giving you all the information you need to expand your own crafting repertoire.
In this guide:
- What are Blueprints in Arc Raiders?
- Full Blueprint list: All crafting recipes
- Where to find Blueprints in Arc Raiders Blueprints obtained from quests Blueprints obtained from Trials Best Blueprint farming locations

What are Blueprints in Arc Raiders?
Blueprints in Arc Raiders are special items which, if you manage to extract with them, you can expend to permanently unlock a new crafting recipe in your Workshop. If you manage to extract from a raid with an Anvil Blueprint, for example, you can unlock the ability to craft your very own Anvil Pistol, as many times as you like (as long as you have the crafting materials).
To use a Blueprint, simply open your Inventory while in the lobby, then right-click on the Blueprint and click “Learn And Consume” . This will permanently unlock the recipe for that item in your Workshop. As of the Stella Montis update, there are allegedly 75 different Blueprints to unlock - although only 68 are confirmed to be in the game so far. You can see all the Blueprints you’ve found and unlocked by going to the Workshop menu, and hitting “R” to bring up the Blueprint screen.
It’s possible to find duplicates of past Blueprints you’ve already unlocked. If you find these, then you can either sell them, or - if you like to play with friends - you can take it into a match and gift it to your friend so they can unlock that recipe for themselves. Another option is to keep hold of them until the time comes to donate them to the Expedition.
Full Blueprint list: All crafting recipes
Below is the full list of all the Blueprints that are currently available to find in Arc Raiders, and the crafting recipe required for each item:
| Blueprint | Type | Recipe | Crafted At |
|---|---|---|---|
| Bettina | Weapon | 3x Advanced Mechanical Components 3x Heavy Gun Parts 3x Canister | Gunsmith 3 |
| Blue Light Stick | Quick Use | 3x Chemicals | Utility Station 1 |
| Aphelion | Weapon | 3x Magnetic Accelerator 3x Complex Gun Parts 1x Matriarch Reactor | Gunsmith 3 |
| Combat Mk. 3 (Flanking) | Augment | 2x Advanced Electrical Components 3x Processor | Gear Bench 3 |
| Combat Mk. 3 (Aggressive) | Augment | 2x Advanced Electrical Components 3x Processor | Gear Bench 3 |
| Complex Gun Parts | Material | 2x Light Gun Parts 2x Medium Gun Parts 2x Heavy Gun Parts | Refiner 3 |
| Fireworks Box | Quick Use | 1x Explosive Compound 3x Pop Trigger | Explosives Station 2 |
| Gas Mine | Mine | 4x Chemicals 2x Rubber Parts | Explosives Station 1 |
| Green Light Stick | Quick Use | 3x Chemicals | Utility Station 1 |
| Pulse Mine | Mine | 1x Crude Explosives 1x Wires | Explosives Station 1 |
| Seeker Grenade | Grenade | 1x Crude Explosives 2x ARC Alloy | Explosives Station 1 |
| Looting Mk. 3 (Survivor) | Augment | 2x Advanced Electrical Components 3x Processor | Gear Bench 3 |
| Angled Grip II | Mod | 2x Mechanical Components 3x Duct Tape | Gunsmith 2 |
| Angled Grip III | Mod | 2x Mod Components 5x Duct Tape | Gunsmith 3 |
| Hullcracker | Weapon | 1x Magnetic Accelerator 3x Heavy Gun Parts 1x Exodus Modules | Gunsmith 3 |
| Launcher Ammo | Ammo | 5x Metal Parts 1x Crude Explosives | Workbench 1 |
| Anvil | Weapon | 5x Mechanical Components 5x Simple Gun Parts | Gunsmith 2 |
| Anvil Splitter | Mod | 2x Mod Components 3x Processor | Gunsmith 3 |
| ??? | ??? | ??? | ??? |
| Barricade Kit | Quick Use | 1x Mechanical Components | Utility Station 2 |
| Blaze Grenade | Grenade | 1x Explosive Compound 2x Oil | Explosives Station 3 |
| Bobcat | Weapon | 3x Advanced Mechanical Components 3x Light Gun Parts | Gunsmith 3 |
| Osprey | Weapon | 2x Advanced Mechanical Components 3x Medium Gun Parts 7x Wires | Gunsmith 3 |
| Burletta | Weapon | 3x Mechanical Components 3x Simple Gun Parts | Gunsmith 1 |
| Compensator II | Mod | 2x Mechanical Components 4x Wires | Gunsmith 2 |
| Compensator III | Mod | 2x Mod Components 8x Wires | Gunsmith 3 |
| Defibrillator | Quick Use | 9x Plastic Parts 1x Moss | Medical Lab 2 |
| ??? | ??? | ??? | ??? |
| Equalizer | Weapon | 3x Magnetic Accelerator 3x Complex Gun Parts 1x Queen Reactor | Gunsmith 3 |
| Extended Barrel | Mod | 2x Mod Components 8x Wires | Gunsmith 3 |
| Extended Light Mag II | Mod | 2x Mechanical Components 3x Steel Spring | Gunsmith 2 |
| Extended Light Mag III | Mod | 2x Mod Components 5x Steel Spring | Gunsmith 3 |
| Extended Medium Mag II | Mod | 2x Mechanical Components 3x Steel Spring | Gunsmith 2 |
| Extended Medium Mag III | Mod | 2x Mod Components 5x Steel Spring | Gunsmith 3 |
| Extended Shotgun Mag II | Mod | 2x Mechanical Components 3x Steel Spring | Gunsmith 2 |
| Extended Shotgun Mag III | Mod | 2x Mod Components 5x Steel Spring | Gunsmith 3 |
| Remote Raider Flare | Quick Use | 2x Chemicals 4x Rubber Parts | Utility Station 1 |
| Heavy Gun Parts | Material | 4x Simple Gun Parts | Refiner 2 |
| Venator | Weapon | 2x Advanced Mechanical Components 3x Medium Gun Parts 5x Magnet | Gunsmith 3 |
| Il Toro | Weapon | 5x Mechanical Components 6x Simple Gun Parts | Gunsmith 1 |
| Jolt Mine | Mine | 1x Electrical Components 1x Battery | Explosives Station 2 |
| Explosive Mine | Mine | 1x Explosive Compound 1x Sensors | Explosives Station 3 |
| Jupiter | Weapon | 3x Magnetic Accelerator 3x Complex Gun Parts 1x Queen Reactor | Gunsmith 3 |
| Light Gun Parts | Material | 4x Simple Gun Parts | Refiner 2 |
| Lightweight Stock | Mod | 2x Mod Components 5x Duct Tape | Gunsmith 3 |
| Lure Grenade | Grenade | 1x Speaker Component 1x Electrical Components | Utility Station 2 |
| Medium Gun Parts | Material | 4x Simple Gun Parts | Refiner 2 |
| Torrente | Weapon | 2x Advanced Mechanical Components 3x Medium Gun Parts 6x Steel Spring | Gunsmith 3 |
| Muzzle Brake II | Mod | 2x Mechanical Components 4x Wires | Gunsmith 2 |
| Muzzle Brake III | Mod | 2x Mod Components 8x Wires | Gunsmith 3 |
| Padded Stock | Mod | 2x Mod Components 5x Duct Tape | Gunsmith 3 |
| Shotgun Choke II | Mod | 2x Mechanical Components 4x Wires | Gunsmith 2 |
| Shotgun Choke III | Mod | 2x Mod Components 8x Wires | Gunsmith 3 |
| Shotgun Silencer | Mod | 2x Mod Components 8x Wires | Gunsmith 3 |
| Showstopper | Grenade | 1x Advanced Electrical Components 1x Voltage Converter | Explosives Station 3 |
| Silencer I | Mod | 2x Mechanical Components 4x Wires | Gunsmith 2 |
| Silencer II | Mod | 2x Mod Components 8x Wires | Gunsmith 3 |
| Snap Hook | Quick Use | 2x Power Rod 3x Rope 1x Exodus Modules | Utility Station 3 |
| Stable Stock II | Mod | 2x Mechanical Components 3x Duct Tape | Gunsmith 2 |
| Stable Stock III | Mod | 2x Mod Components 5x Duct Tape | Gunsmith 3 |
| Tagging Grenade | Grenade | 1x Electrical Components 1x Sensors | Utility Station 3 |
| Tempest | Weapon | 3x Advanced Mechanical Components 3x Medium Gun Parts 3x Canister | Gunsmith 3 |
| Trigger Nade | Grenade | 2x Crude Explosives 1x Processor | Explosives Station 2 |
| Vertical Grip II | Mod | 2x Mechanical Components 3x Duct Tape | Gunsmith 2 |
| Vertical Grip III | Mod | 2x Mod Components 5x Duct Tape | Gunsmith 3 |
| Vita Shot | Quick Use | 2x Antiseptic 1x Syringe | Medical Lab 3 |
| Vita Spray | Quick Use | 3x Antiseptic 1x Canister | Medical Lab 3 |
| Vulcano | Weapon | 1x Magnetic Accelerator 3x Heavy Gun Parts 1x Exodus Modules | Gunsmith 3 |
| Wolfpack | Grenade | 2x Explosive Compound 2x Sensors | Explosives Station 3 |
| Red Light Stick | Quick Use | 3x Chemicals | Utility Station 1 |
| Smoke Grenade | Grenade | 14x Chemicals 1x Canister | Utility Station 2 |
| Deadline | Mine | 3x Explosive Compound 2x ARC Circuitry | Explosives Station 3 |
| Trailblazer | Grenade | 1x Explosive Compound 1x Synthesized Fuel | Explosives Station 3 |
| Tactical Mk. 3 (Defensive) | Augment | 2x Advanced Electrical Components 3x Processor | Gear Bench 3 |
| Tactical Mk. 3 (Healing) | Augment | 2x Advanced Electrical Components 3x Processor | Gear Bench 3 |
| Yellow Light Stick | Quick Use | 3x Chemicals | Utility Station 1 |
Note: The missing Blueprints in this list likely have not actually been added to the game at the time of writing, because none of the playerbase has managed to find any of them. As they are added to the game, I will update this page with the most relevant information so you know exactly how to get all 75 Arc Raiders Blueprints.
Where to find Blueprints in Arc Raiders
Below is a list of all containers, modifiers, and events which maximise your chances of finding Blueprints:
- Certain quests reward you with specific Blueprints .
- Completing Trials has a high chance of offering Blueprints as rewards.
- Surveyors have a decent chance of dropping Blueprints on death.
- High loot value areas tend to have a greater chance of spawning Blueprints.
- Night Raids and Storms may increase rare Blueprint spawn chances in containers.
- Containers with higher numbers of items may have a higher tendency to spawn Blueprints. As a result, Blue Gate (which has many “large” containers containing multiple items) may give you a higher chance of spawning Blueprints.
- Raider containers (Raider Caches, Weapon Boxes, Medical Bags, Grenade Tubes) have increased Blueprint drop rates. As a result, the Uncovered Caches event gives you a high chance of finding Blueprints.
- Security Lockers have a higher than average chance of containing Blueprints.
- Certain Blueprints only seem to spawn under specific circumstances: Tempest Blueprint only spawns during Night Raid events. Vulcano Blueprint only spawns during Hidden Bunker events. Jupiter and Equaliser Blueprints only spawn during Harvester events.

Raider Caches, Weapon Boxes, and other raider-oriented container types have a good chance of offering Blueprints. |Image credit:Rock Paper Shotgun/Embark Studios
Blueprints have a very low chance of spawning in any container in Arc Raiders, around 1-2% on average. However, there is a higher chance of finding Blueprints in particular container types. Specifically, you can find more Blueprints in Raider containers and security lockers.
Beyond this, if you’re looking for Blueprints you should focus on regions of the map which are marked as having particularly high-value loot. Areas such as the Control Tower in Dam Battlegrounds, the Arrival and Departure Buildings in Spaceport, and Pilgrim’s Peak in Blue Gate all have a better-than-average chance of spawning Blueprints somewhere amongst all their containers. Night Raids and Electromagnetic Storm events also increase the drop chances of certain Blueprints .
In addition to these containers, you can often loot Blueprints from destroyed Surveyors - the largest of the rolling ball ARC. Surveyors are more commonly found on the later maps - Spaceport and Blue Gate - and if one spawns in your match, you’ll likely see it by the blue laser beam that it casts into the sky while “surveying”.
Surveyors are quite well-armoured and will very speedily run away from you once it notices you, but if you can take one down then make sure you loot all its parts for a chance of obtaining certain unusual Blueprints.
Blueprints obtained from quests
One way in which you can get Blueprints is by completing certain quests for the vendors in Speranza. Some quests will reward you with a specific item Blueprint upon completion, so as long as you work through all the quests in Arc Raiders, you are guaranteed those Blueprints.
Here is the full list of all Blueprints you can get from quest rewards:
- Trigger Nade Blueprint: Rewarded after completing “Sparks Fly”.
- Lure Grenade Blueprint: Rewarded after completing “Greasing Her Palms”.
- Burletta Blueprint: Rewarded after completing “Industrial Espionage”.
- Hullcracker Blueprint (and Launcher Ammo Blueprint): Rewarded after completing “The Major’s Footlocker”.
Alas, that’s only 4 Blueprints out of a total of 75 to unlock, so for the vast majority you will need to find them yourself during a raid. If you’re intent on farming Blueprints, then it’s best to equip yourself with cheap gear in case you lose it, but don’t use a free loadout because then you won’t get a safe pocket to stash any new Blueprint you find. No pain in Arc Raiders is sharper than failing to extract with a new Blueprint you’ve been after for a dozen hours already.

One of the best ways to get Blueprints is by hitting three stars on all five Trials every week. |Image credit:Rock Paper Shotgun/Embark Studios
Blueprints obtained from Trials
One of the very best ways to get Blueprints is as rewards for completing Trials in Arc Raiders. Trials are unlocked from Level 15 onwards, and allow you to earn rewards by focusing on certain tasks over the course of several raids. For example, one Trial might task you with dealing damage to Hornets, while another might challenge you to loot Supply Drops.
Trials refresh on a weekly basis, with a new week bringing five new Trials. Each Trial can offer up to three rewards after passing certain score milestones, and it’s possible to receive very high level loot from these reward crates - including Blueprints. So if you want to unlock as many Blueprints as possible, you should make a point of completing as many Trials as possible each week.
Best Blueprint farming locations
The very best way to get Blueprints is to frequent specific areas of the maps which combine high-tier loot pools with the right types of containers to search. Here are my recommendations for where to find Blueprints on every map, so you can always keep the search going for new crafting recipes to unlock.

Image credit:Rock Paper Shotgun/Embark Studios
Dam Battlegrounds
The best places to farm Blueprints on Dam Battlegrounds are the Control Tower, Power Generation Complex, Ruby Residence, and Pale Apartments . The first two regions, despite only being marked on the map as mid-tier loot, contain a phenomenal number of containers to loot. The Control Tower can also contain a couple of high-tier Security Lockers - though of course, you’ll need to have unlocked the Security Breach skill at the end of the Survival tree.
There’s also a lot of reporting amongst the playerbase that the Residential areas in the top-left of the map - Pale Apartments and Ruby Residence - give you a comparatively strong chance of finding Blueprints. Considering their size, there’s a high density of containers to loot in both locations, and they also have the benefit of being fairly out of the way. So you’re more likely to have all the containers to yourself.
Buried City
The best Blueprint farming locations on Buried City are the Santa Maria Houses, Grandioso Apartments, Town Hall, and the various buildings of the New District . Grandioso Apartments has a lower number of containers than the rest, but a high chance of spawning weapon cases - which have good Blueprint drop rates. The others are high-tier loot areas, with plenty of lootable containers - including Security Lockers.
Spaceport
The best places to find Blueprints on Spaceport are the Arrival and Departure Buildings, as well as Control Tower A6 and the Launch Towers . All these areas are labelled as high-value loot regions, and many of them are also very handily connected to one another by the Spaceport wall, which you can use to quickly run from one area to the next. At the tops of most of these buildings you’ll find at least one Security Locker, so this is an excellent farming route for players looking to find Blueprints.
The downside to looting Blueprints on Spaceport is that all these areas are hotly contested, particularly in Duos and Squads. You’ll need to be very focused and fast in order to complete the full farming route.

Image credit:Rock Paper Shotgun/Embark Studios
Blue Gate
Blue Gate tends to have a good chance of dropping Blueprints, potentially because it generally has a high number of containers which can hold lots of items; so there’s a higher chance of a Blueprint spawning in each container. In my experience, the best Blueprint farming spots on Blue Gate are Pilgrim’s Peak, Raider’s Refuge, the Ancient Fort, and the Underground Complex beneath the Warehouse .
All of these areas contain a wealth of containers to loot. Raider’s Refuge has less to loot, but the majority of the containers in and around the Refuge are raider containers, which have a high chance of containing Blueprints - particularly during major events.
Stella Montis
On the whole, Stella Montis seems to have a very low drop rate for Blueprints (though a high chance of dropping other high-tier loot). If you do want to try farming Blueprints on this map, the best places to find Blueprints in Stella Montis are Medical Research, Assembly Workshop, and the Business Center . These areas have the highest density of containers to loot on the map.
In addition to this, the Western Tunnel has a few different Security Lockers to loot, so while there’s very little to loot elsewhere in this area of the map, it’s worth hitting those Security Lockers if you spawn there at the start of a match.
That wraps up this primer on how to get all the Blueprints in Arc Raiders as quickly as possible. With the Expedition system constantly resetting a large number of players’ Blueprints, it’s more important than ever to have the most up-to-date information on where to find all these Blueprints.
While you’re here, be sure to check out our Arc Raiders best guns tier list , as well as our primers on the best skills to unlock and all the different Field Depot locations on every map.


ARC Raiders
PS5 , Xbox Series X/S , PC
Rock Paper Shotgun is better when you sign in
Sign in and join us on our journey to discover strange and compelling PC games.
