Balatro review: only fools would sleep on this moreish poker roguelike
No joke

Image credit:Rock Paper Shotgun/Playstack

- Developer: LocalThunk
- Publisher: Playstack
- Release: February 20th 2024
- On: Windows
- From: Steam
- Price: £12.79/€14/$15
- Reviewed on: Intel Core i9-11900K, 16GB RAM, Nvidia RTX 3080, Windows 10 + Steam Deck
There’s a particular boss encounter in Balatro that always feels like it’s cheating a bit. In this mesmerising poker roguelike, each stage is made up of three blinds - small, big and boss - with the blind essentially being a high score you have to hit by playing different kinds of poker hands - your traditional flushes, straights, pairs and so on. Each hand has its own number of chips and multiplier bonuses associated with it, and Balatro’s whole deal is about shuffling closer to victory by making the most of the cards you’re dealt. While some blinds are tiny, stretching to just 300 or 450 early on in a run, they quickly start ramping up into the tens of thousands as each successfully defeated boss blind ups the ante and the accompanying stakes. Reach an ante of eight, and bingo, you’ve won a run of Balatro.
The boss blind I keep coming a cropper with, though, is The Flint. This sucker not only halves a hand’s chip score, but it also cuts its multiplier in two as well, and I’ve yet to figure out exactly how to defeat it. Sometimes it appears with a blind of just 600, but other times it’s been an enormous 22,000. In fairness, all bosses have little tricks like this. Some will debuff certain card suites, making them useless in your overall score count. Others may only let you play one hand type the entire match, while the cheeky Tooth will deduct you $1 for every card used. But Balatro isn’t simply about beating the odds with smart and intelligent card plays. It’s about bending, twisting and abusing those odds to your will - also through smart and intelligent card plays. Cheating isn’t just encouraged in Balatro. It’s damn near mandatory, and it’s all thanks to the brilliantly conceived joker cards that give the game its Latin-based name.



The jokers are really the heart and soul of Balatro’s deckbuilding here. You don’t need to know a thing about playing actual poker - I didn’t before trying the demo a few weeks back, but its very beginner-friendly tutorial sets out everything you need to understand and get to grips with. Ultimately, it’s really just about playing the best hand possible to score the highest number of points to beat the round’s blind number. The twist, however, is that even if you played a straight flush (the highest scoring poker hand) each and every time, you’d soon be laughed out of the room once the blinds start ballooning in size. There’s no way to win ‘honourably’ in Balatro, and so collecting the right crop of jokers to start racking up points quickly becomes your number one priority early on in a run. There are 150 of them to buy, pass up and discover in total, too, resulting in games that never feel the same no matter how many two pairs and four of a kinds you offer up along the way. And to make matters even more selective, you can only have five of them equipped at any one time, so you’ll either have to sell or hold off on newer joker cards that come up for sale in the end-of-round shop if you spot something that looks particularly tasty.
The most desirable jokers are obviously the ones that jack up your multiplier score to help you earn mega points, but while some may do this universally for each scoring card, others may only trigger when you play certain suites or numbers, tempting you play fast and loose with your limited number of discard opportunities to try and find a more strategic combination. Other jokers don’t have anything to do with multipliers at all, leaning instead on generating lots of quick and easy cash, increasing your hand size or discard options, or even bending the rules of certain poker hands to maybe let you form straights with cards one rank apart, for example.
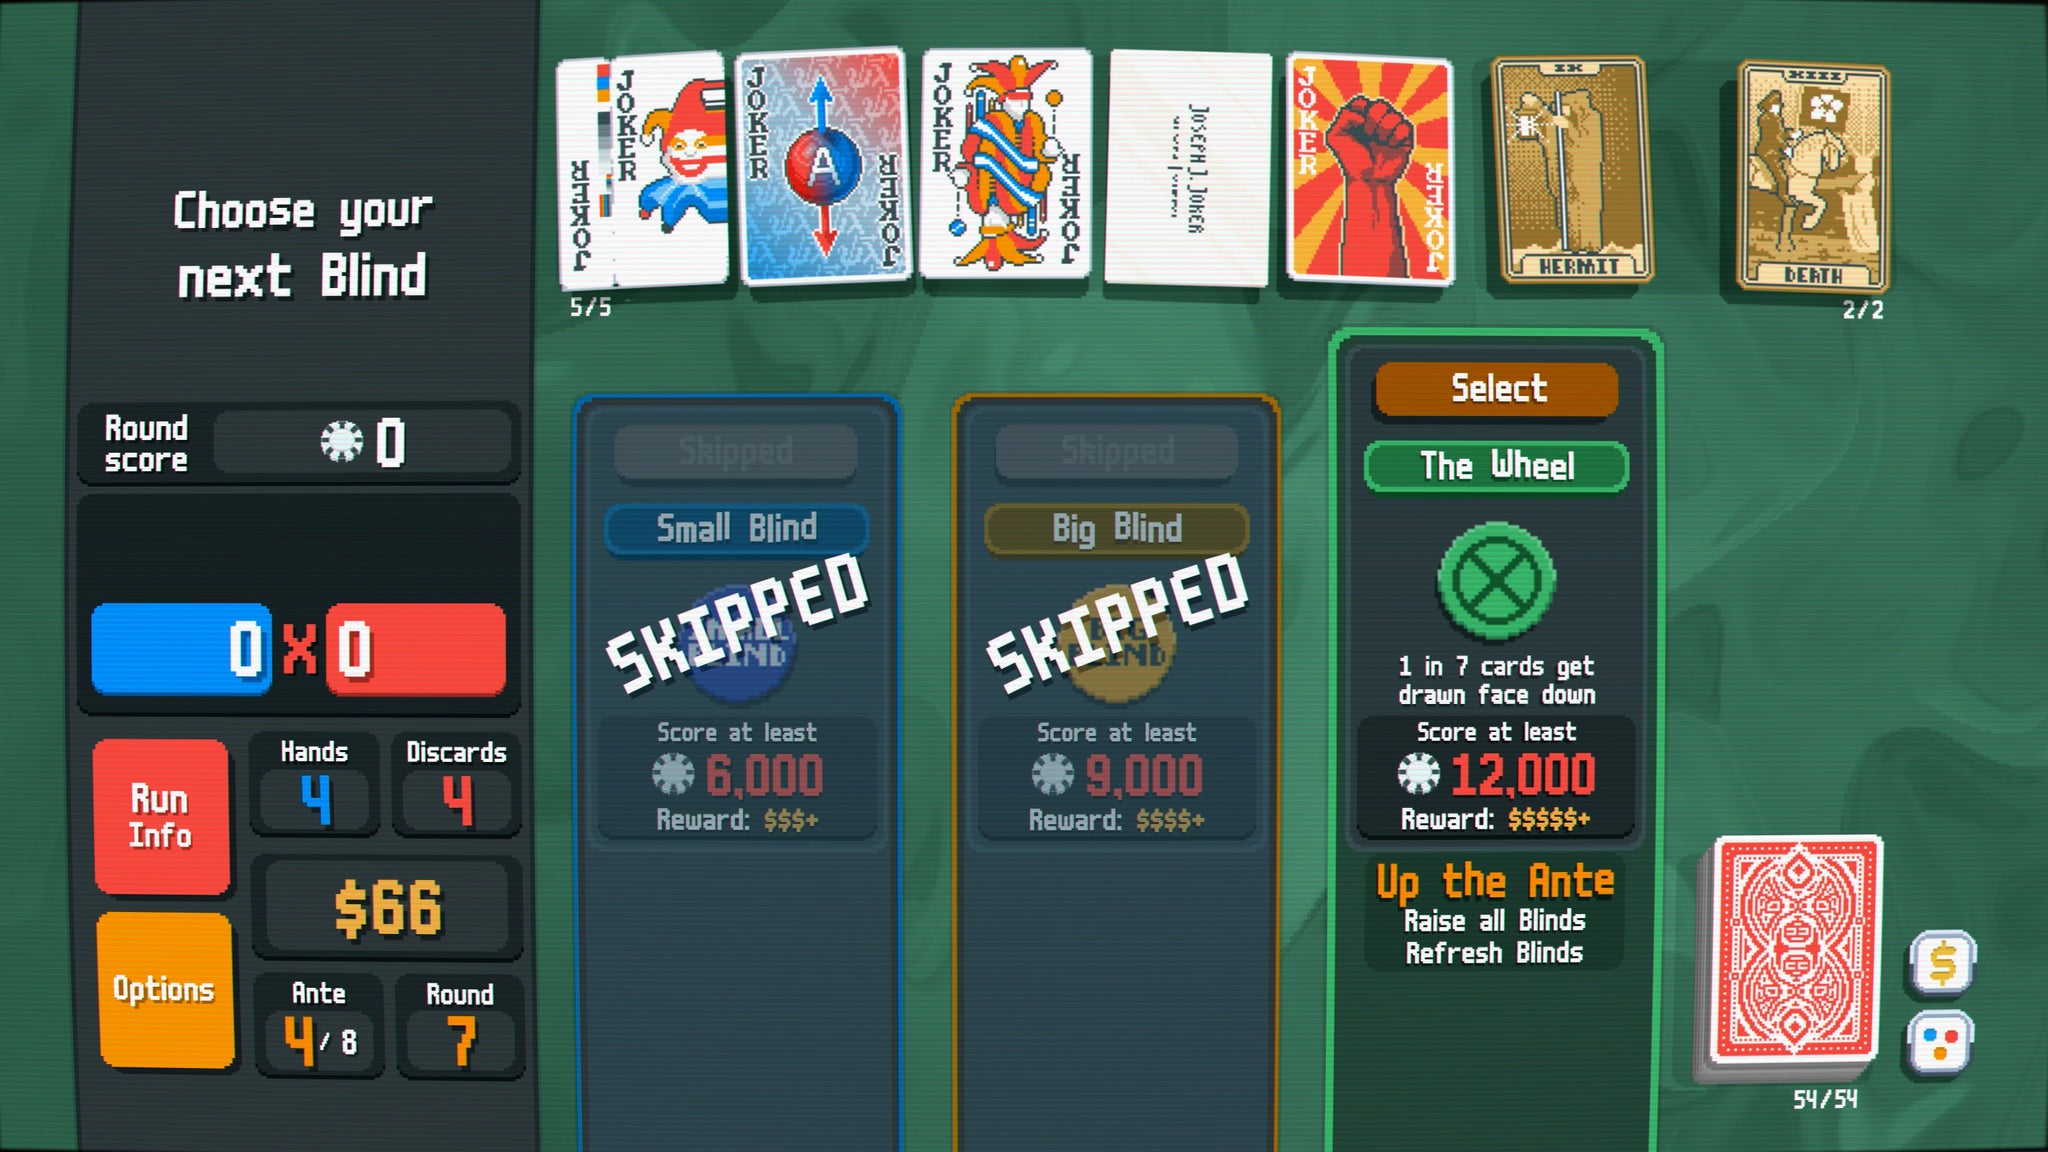
You can skip small or big blinds to get certain effects depending on what skip tokens are attached to them. Here, I get a big $30 pay out after the successful completion of that round’s boss blind. |Image credit:Rock Paper Shotgun/Playstack
These can benefit you in smaller, less direct ways than simple points gathering, and finding synergistic combinations, or even just experimenting with new cards you’ve never seen before, makes every run feel fresh, new and unpredictable. Anything is possible here, and with so many viable routes and strategies to (quite literally) try your hand at, Balatro deftly avoids falling into the same old ruts the more you play. There’s no one best strategy to adopt or work towards here. Rather, it’s about making the best of what you get dealt, both in the type of hands you’re able to play, and the cheat combos you’re accruing in the background.
But it’s not just jokers that are vying for the attention of your hard-won earnings. The end-of-round shop has several more vital goodies you’ll want to invest in over the course of a run, such as consumable tarot and celestial cards that add special buffs and effects to your regular deck cards. Again, you’re limited to carrying two of these at any one moment, but these can also be used to add extra multipliers to certain cards when played, or they might reward you for keeping that card in your hand or discard pile instead, adding extra risk to the mix as you try and massage the numbers in your head.
In addition to this, planet cards can level up different hand types, increasing not only the number of chips they generate, but also their accompanying multiplier. I had made the mistake of ignoring these in some of my first Balatro runs, but soon realised that these are just as important as a great run of jokers to hitting those late-game blind scores. Then there’s the lure of regular and jumbo booster packs, which give you a greater array of potential cards, jokers, planets, tarot and celestial cards to pick from, but which may of course yield nothing that can really benefit you in the here and now.
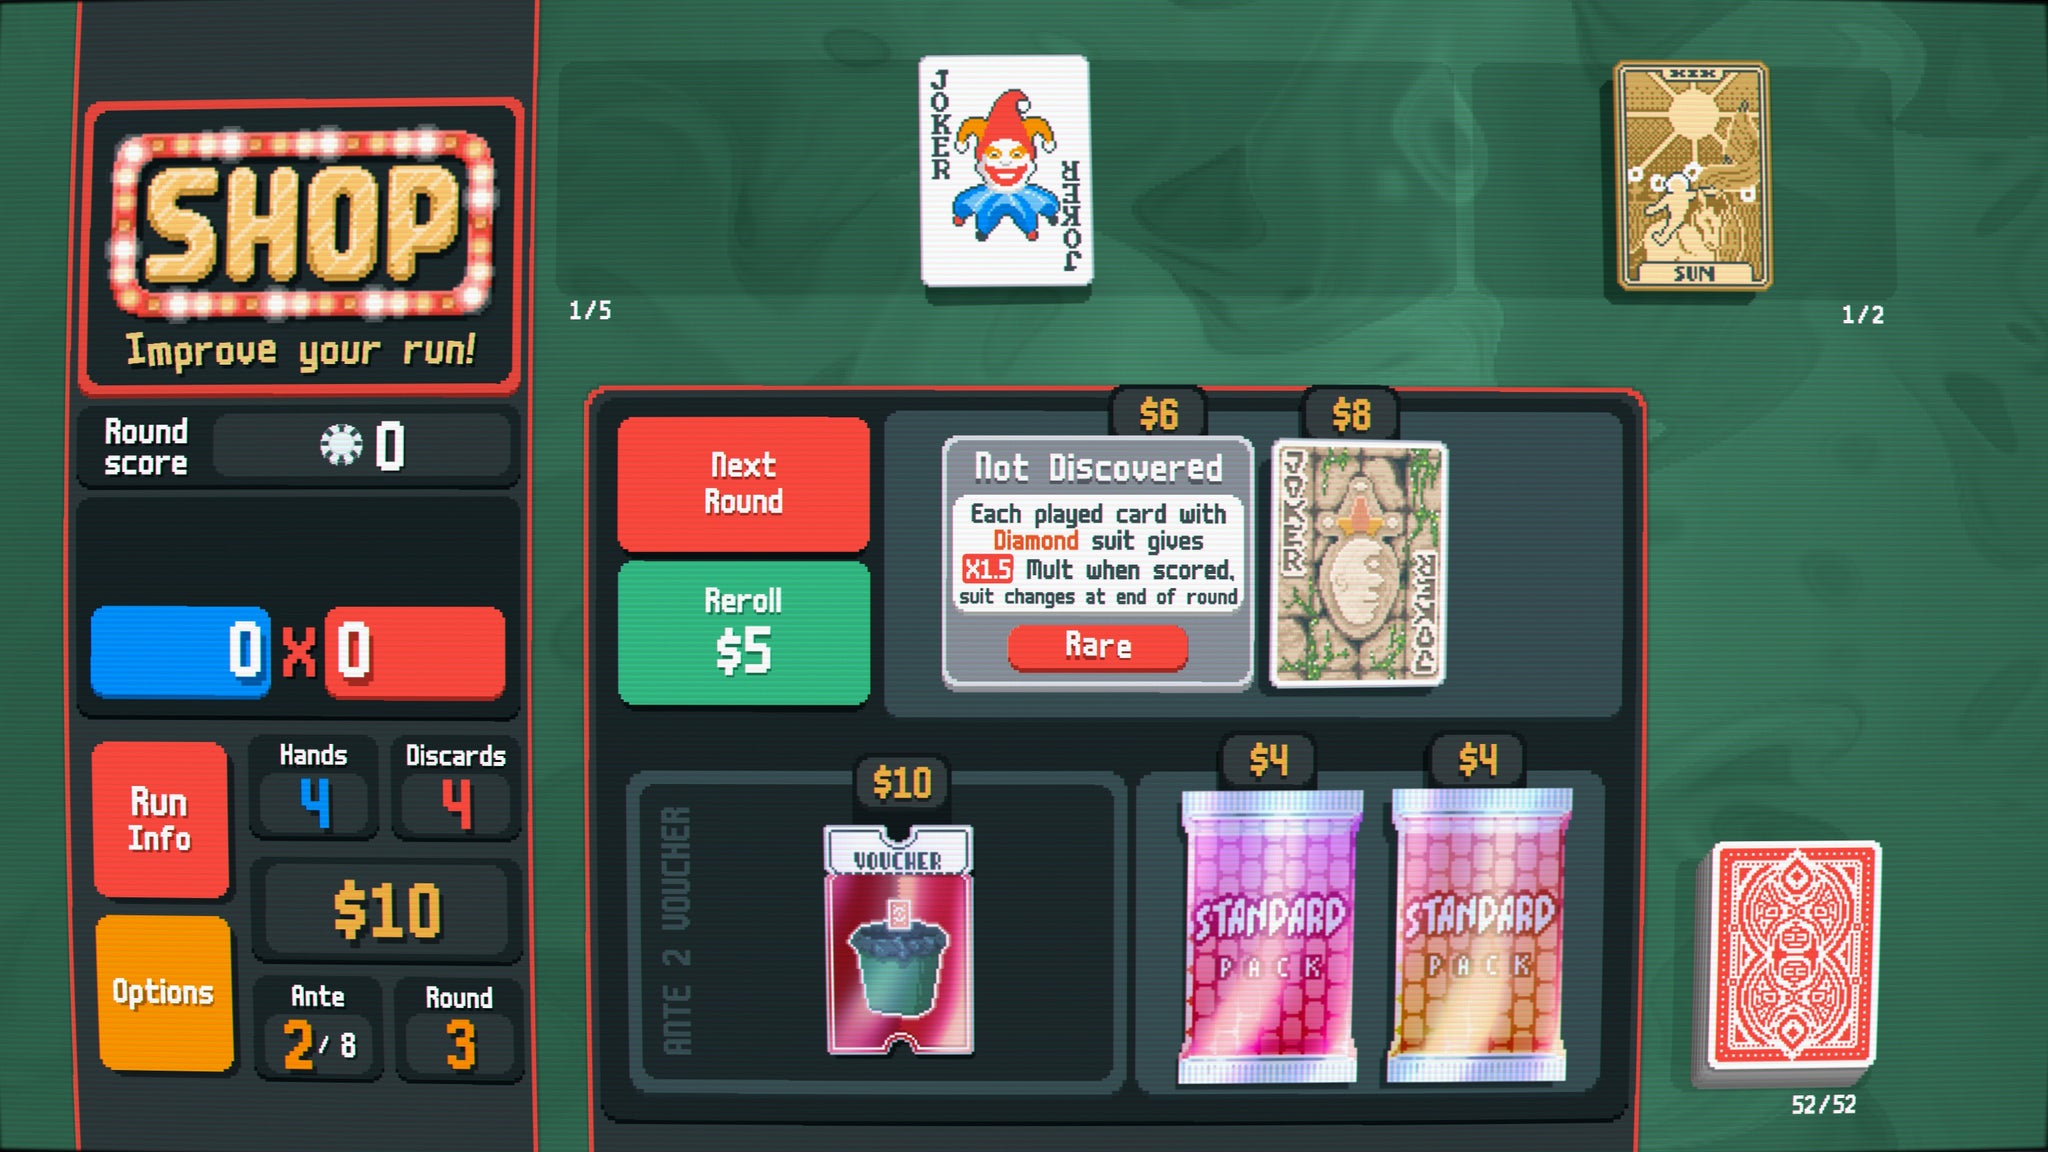
Image credit:Rock Paper Shotgun/Playstack
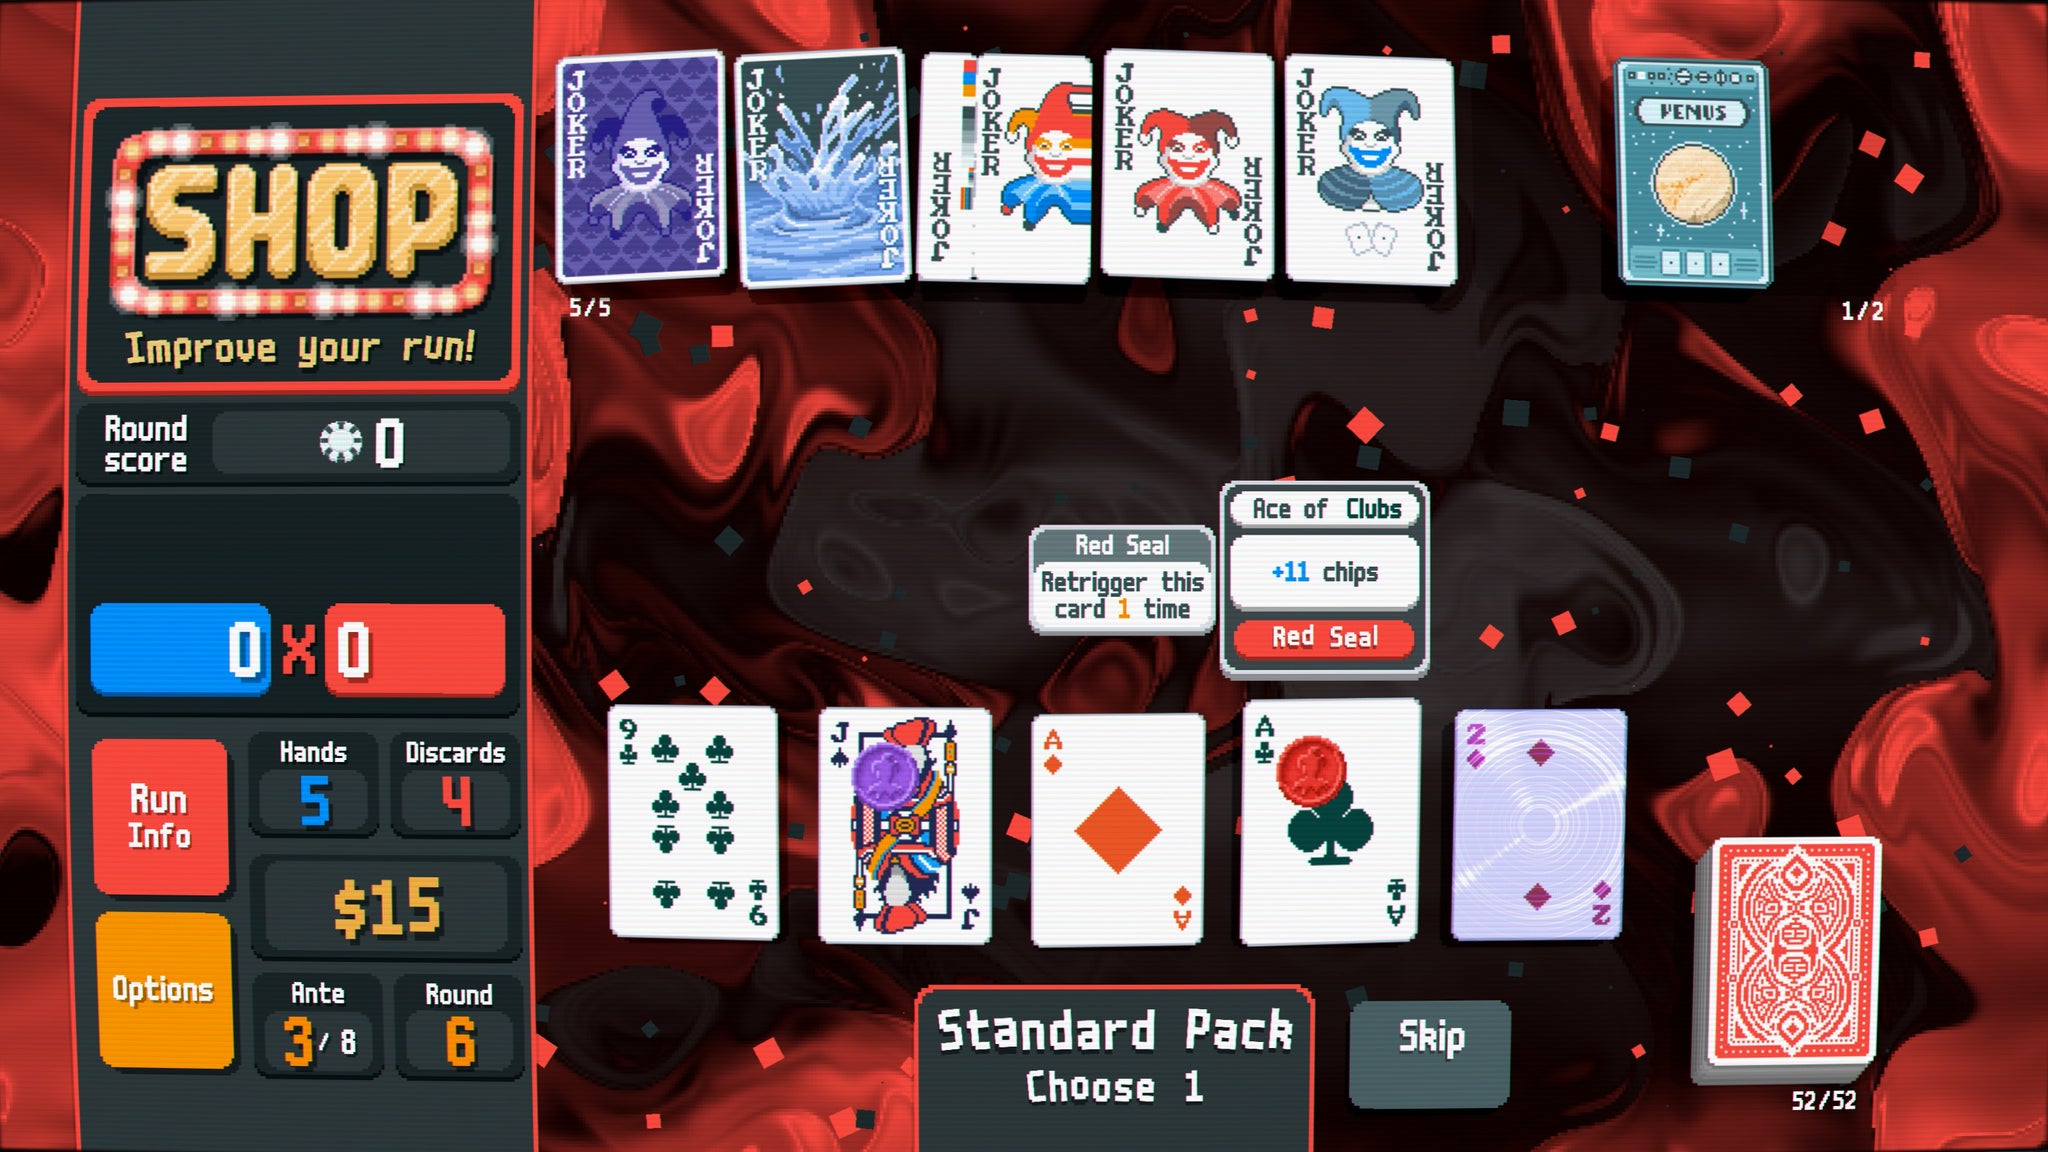
The end-of-round shop has lots of gorgeous-looking booster packs to pick from, provided you have the cash. You won’t visit the shop if you end up skipping a blind, though, so there’s a good risk-reward system here for engaging in the small and big blinds. |Image credit:Rock Paper Shotgun/Playstack

Decks on DeckAt time of writing, Balatro isn’t Steam Deck verified, but it works perfectly well. Text is perhaps a smidge on the small side, but the cards are always nice and clear and gamepad controls work just as well as your mouse. It’s a great fit.Image credit:Rock Paper Shotgun/Playstack
Weighing up these different avenues of attack is all part of what makes Balatro such an inviting and devious little puzzle box, but its rigorous mental gymnastics is only one of the ways it manages to hold you in its grip. Its dreamy, electronic lounge music meshes perfectly with the hypnotic, almost inkblot-style backgrounds that noodle away behind all the numbers, menu boxes and CRT overlays. And together with the hard, xylophone-like dings of your multiplier score as it starts rapidly scaling up in intensity, the game’s as visually and aurally satisfying as a perfectly performed riffle shuffle.
The atmosphere is so on point, in fact, that even defeat manages to feel like just another roll of the dice. If there was one major complaint I could level at Balatro, it’s that some runs can feel like they’re doomed to fail from the start, either because the shop doesn’t offer up any jokers to buy for the first couple of blinds, or the luck of the draw means you’re just dealt a succession of bad hands. It’s easy to see the writing on the wall in cases like this, but it’s a testament to Balatro’s relaxed and easy-going nature that you’ll want to carry on playing anyway. Indeed, I’ve yet to actually win a full game of Balatro during all my hours of reviewing it, but even repeated defeats to my old friend The Flint have left me feeling like tipping my imaginary cap with a congratulatory, ‘Well played, old chap,’ at the end of it. It’s far too mellow to feel frustrating, and I’ve always gone straight back in for another round, determined that this time, maybe this time, things will be better.
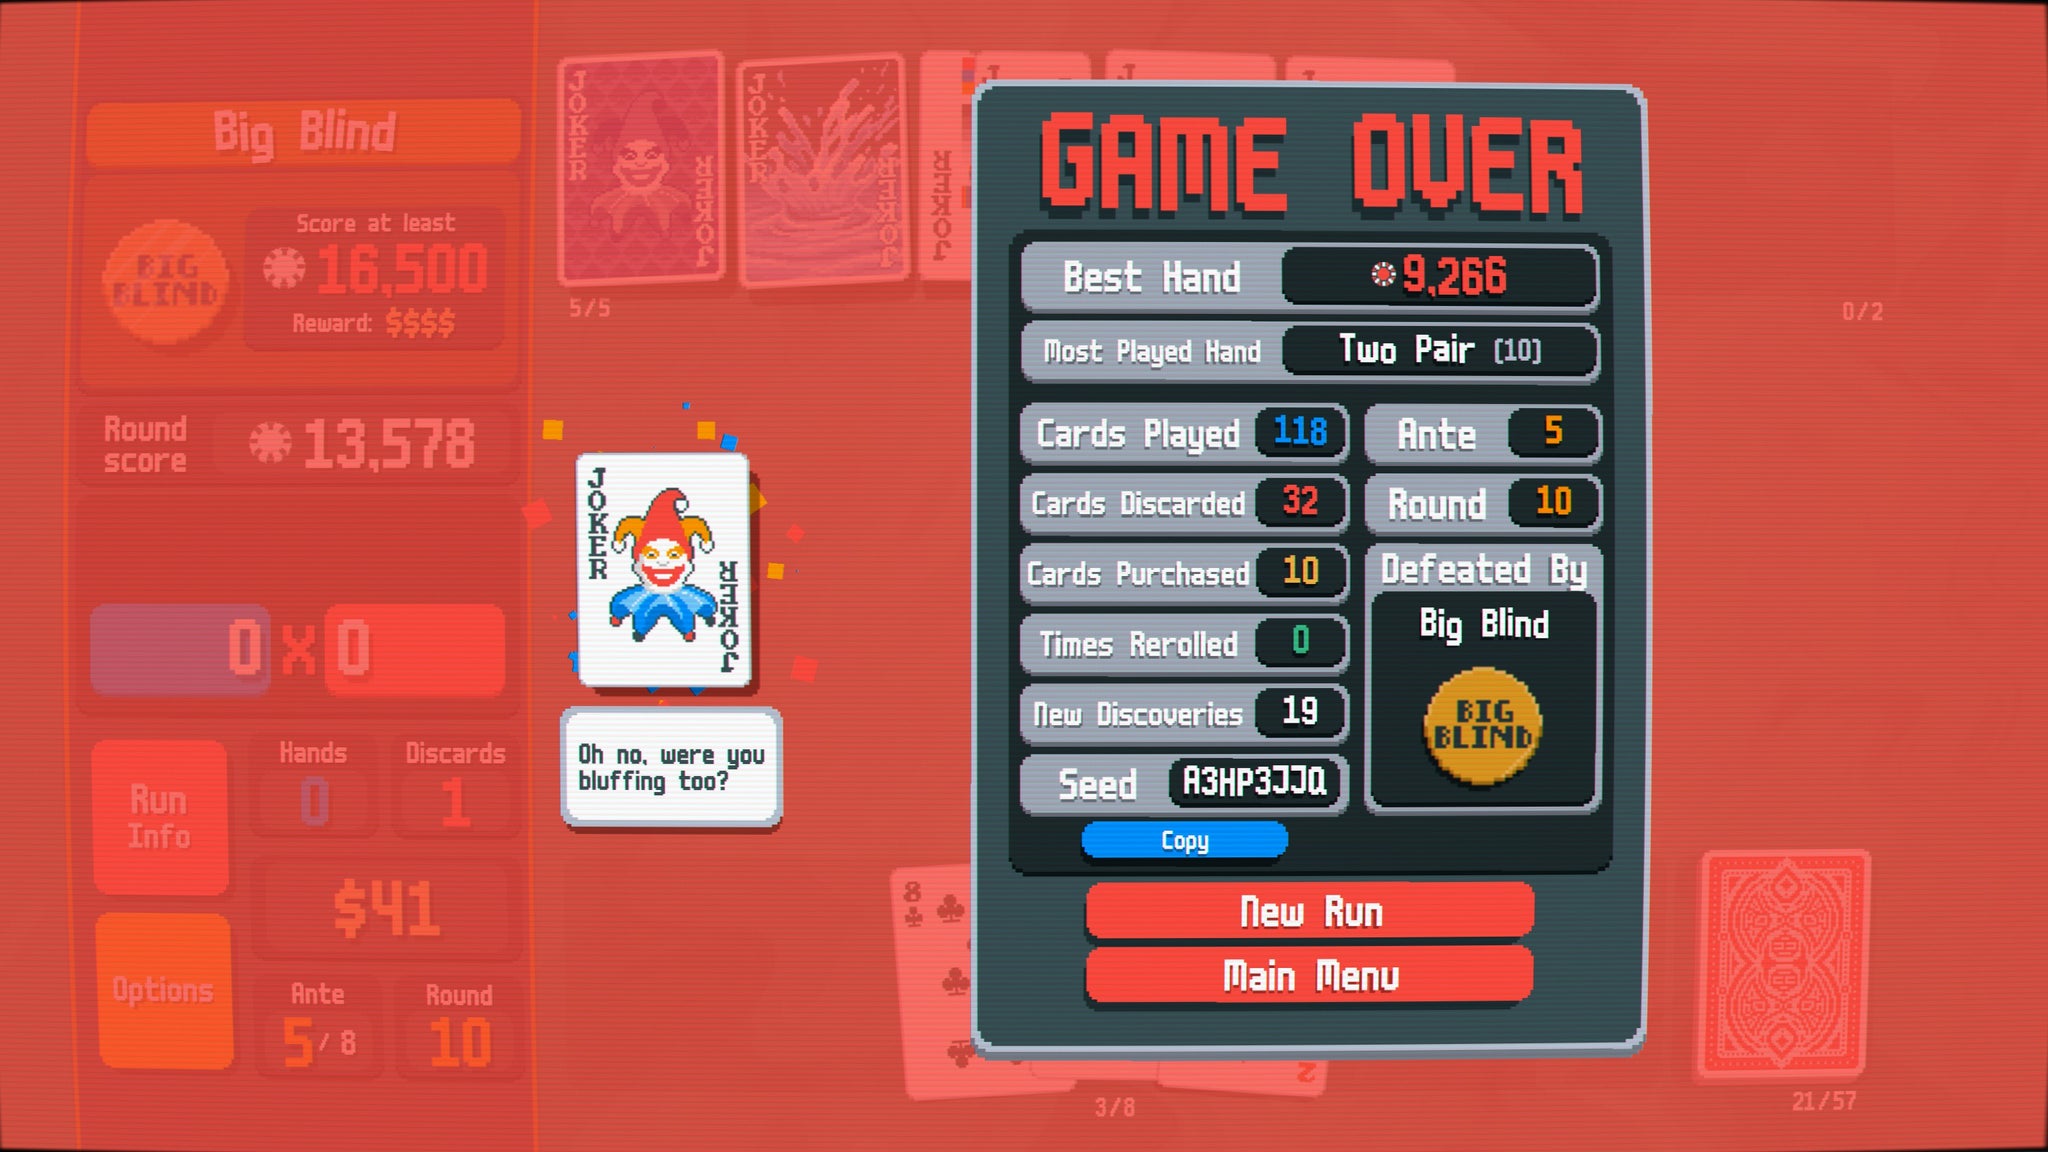
Your guide Jimbo is a smug little so and so, but he does have a lot of good card puns reserved for your moment of defeat. I’ll give him that. |Image credit:Rock Paper Shotgun/Playstack
Of course, if you were being cynical, you could argue that much of Balatro’s appeal draws from the same well of bad habits formed by serial gamblers. And to some extent, yes, it does. It taps straight into that ‘one more turn’ mentality that’s seen many of us play a strategy game into the wee hours of a morning, but the crucial thing here is that Balatro isn’t malicious about the way it deals its cards. There’s no wagering or betting of chips involved, and as with many roguelikes, you begin each run as a blank canvas, starting from scratch and building your own luck as you go. Nothing is lost on defeat - and what you gain is simply better knowledge for next time.
Ultimately, Balatro is a game that delights in the art of making numbers go up - big, fast and on fire - by whatever means necessary. It reels you back in not to exploit psychological weakness, but to celebrate the inherent joy of learning, mastering and beating a system gamed around impossible odds, all while being just a teeny bit naughty in the process. It not only invites you to sit at the table, but openly hands you all manner of scalpels to tear into it, make it bleed, and gut it for everything it’s worth - and it will smile and applaud you for it every step of the way. Balatro is very generous, in that sense, even when victories are seemingly few and far between. Indeed, the only way I ever felt cheated by Balatro is when I had to stop playing and not spend more time playing Balatro.
This review is based on a review build of the game, provided by publishers Playstack.

Find out how we conduct our reviews by reading our review policy .

Balatro
PC
Rock Paper Shotgun is better when you sign in
Sign in and join us on our journey to discover strange and compelling PC games.

All 75 Arc Raiders Blueprints and where to get them
These areas have the highest chance of giving you Blueprints

Image credit:Rock Paper Shotgun/Embark Studios

Looking for more Arc Raiders Blueprints? It’s a special day when you find a Blueprint, as they’re among the most valuable items in Arc Raiders. If you find a Blueprint that you haven’t already found, then you must make sure you hold onto it at all costs, because Blueprints are the key to one of the most important and powerful systems of meta-progression in the game.
This guide aims to be the very best guide on Blueprints you can find, starting with a primer on what exactly they are and how they work in Arc Raiders, before delving into exactly where to get Blueprints and the very best farming spots for you to take in your search.
We’ll also go over how to get Blueprints from other unlikely activities, such as destroying Surveyors and completing specific quests. And you’ll also find the full list of all 75 Blueprints in Arc Raiders on this page (including the newest Blueprints added with the Cold Snap update , such as the Deadline Blueprint and Firework Box Blueprint), giving you all the information you need to expand your own crafting repertoire.
In this guide:
- What are Blueprints in Arc Raiders?
- Full Blueprint list: All crafting recipes
- Where to find Blueprints in Arc Raiders Blueprints obtained from quests Blueprints obtained from Trials Best Blueprint farming locations

What are Blueprints in Arc Raiders?
Blueprints in Arc Raiders are special items which, if you manage to extract with them, you can expend to permanently unlock a new crafting recipe in your Workshop. If you manage to extract from a raid with an Anvil Blueprint, for example, you can unlock the ability to craft your very own Anvil Pistol, as many times as you like (as long as you have the crafting materials).
To use a Blueprint, simply open your Inventory while in the lobby, then right-click on the Blueprint and click “Learn And Consume” . This will permanently unlock the recipe for that item in your Workshop. As of the Stella Montis update, there are allegedly 75 different Blueprints to unlock - although only 68 are confirmed to be in the game so far. You can see all the Blueprints you’ve found and unlocked by going to the Workshop menu, and hitting “R” to bring up the Blueprint screen.
It’s possible to find duplicates of past Blueprints you’ve already unlocked. If you find these, then you can either sell them, or - if you like to play with friends - you can take it into a match and gift it to your friend so they can unlock that recipe for themselves. Another option is to keep hold of them until the time comes to donate them to the Expedition.
Full Blueprint list: All crafting recipes
Below is the full list of all the Blueprints that are currently available to find in Arc Raiders, and the crafting recipe required for each item:
| Blueprint | Type | Recipe | Crafted At |
|---|---|---|---|
| Bettina | Weapon | 3x Advanced Mechanical Components 3x Heavy Gun Parts 3x Canister | Gunsmith 3 |
| Blue Light Stick | Quick Use | 3x Chemicals | Utility Station 1 |
| Aphelion | Weapon | 3x Magnetic Accelerator 3x Complex Gun Parts 1x Matriarch Reactor | Gunsmith 3 |
| Combat Mk. 3 (Flanking) | Augment | 2x Advanced Electrical Components 3x Processor | Gear Bench 3 |
| Combat Mk. 3 (Aggressive) | Augment | 2x Advanced Electrical Components 3x Processor | Gear Bench 3 |
| Complex Gun Parts | Material | 2x Light Gun Parts 2x Medium Gun Parts 2x Heavy Gun Parts | Refiner 3 |
| Fireworks Box | Quick Use | 1x Explosive Compound 3x Pop Trigger | Explosives Station 2 |
| Gas Mine | Mine | 4x Chemicals 2x Rubber Parts | Explosives Station 1 |
| Green Light Stick | Quick Use | 3x Chemicals | Utility Station 1 |
| Pulse Mine | Mine | 1x Crude Explosives 1x Wires | Explosives Station 1 |
| Seeker Grenade | Grenade | 1x Crude Explosives 2x ARC Alloy | Explosives Station 1 |
| Looting Mk. 3 (Survivor) | Augment | 2x Advanced Electrical Components 3x Processor | Gear Bench 3 |
| Angled Grip II | Mod | 2x Mechanical Components 3x Duct Tape | Gunsmith 2 |
| Angled Grip III | Mod | 2x Mod Components 5x Duct Tape | Gunsmith 3 |
| Hullcracker | Weapon | 1x Magnetic Accelerator 3x Heavy Gun Parts 1x Exodus Modules | Gunsmith 3 |
| Launcher Ammo | Ammo | 5x Metal Parts 1x Crude Explosives | Workbench 1 |
| Anvil | Weapon | 5x Mechanical Components 5x Simple Gun Parts | Gunsmith 2 |
| Anvil Splitter | Mod | 2x Mod Components 3x Processor | Gunsmith 3 |
| ??? | ??? | ??? | ??? |
| Barricade Kit | Quick Use | 1x Mechanical Components | Utility Station 2 |
| Blaze Grenade | Grenade | 1x Explosive Compound 2x Oil | Explosives Station 3 |
| Bobcat | Weapon | 3x Advanced Mechanical Components 3x Light Gun Parts | Gunsmith 3 |
| Osprey | Weapon | 2x Advanced Mechanical Components 3x Medium Gun Parts 7x Wires | Gunsmith 3 |
| Burletta | Weapon | 3x Mechanical Components 3x Simple Gun Parts | Gunsmith 1 |
| Compensator II | Mod | 2x Mechanical Components 4x Wires | Gunsmith 2 |
| Compensator III | Mod | 2x Mod Components 8x Wires | Gunsmith 3 |
| Defibrillator | Quick Use | 9x Plastic Parts 1x Moss | Medical Lab 2 |
| ??? | ??? | ??? | ??? |
| Equalizer | Weapon | 3x Magnetic Accelerator 3x Complex Gun Parts 1x Queen Reactor | Gunsmith 3 |
| Extended Barrel | Mod | 2x Mod Components 8x Wires | Gunsmith 3 |
| Extended Light Mag II | Mod | 2x Mechanical Components 3x Steel Spring | Gunsmith 2 |
| Extended Light Mag III | Mod | 2x Mod Components 5x Steel Spring | Gunsmith 3 |
| Extended Medium Mag II | Mod | 2x Mechanical Components 3x Steel Spring | Gunsmith 2 |
| Extended Medium Mag III | Mod | 2x Mod Components 5x Steel Spring | Gunsmith 3 |
| Extended Shotgun Mag II | Mod | 2x Mechanical Components 3x Steel Spring | Gunsmith 2 |
| Extended Shotgun Mag III | Mod | 2x Mod Components 5x Steel Spring | Gunsmith 3 |
| Remote Raider Flare | Quick Use | 2x Chemicals 4x Rubber Parts | Utility Station 1 |
| Heavy Gun Parts | Material | 4x Simple Gun Parts | Refiner 2 |
| Venator | Weapon | 2x Advanced Mechanical Components 3x Medium Gun Parts 5x Magnet | Gunsmith 3 |
| Il Toro | Weapon | 5x Mechanical Components 6x Simple Gun Parts | Gunsmith 1 |
| Jolt Mine | Mine | 1x Electrical Components 1x Battery | Explosives Station 2 |
| Explosive Mine | Mine | 1x Explosive Compound 1x Sensors | Explosives Station 3 |
| Jupiter | Weapon | 3x Magnetic Accelerator 3x Complex Gun Parts 1x Queen Reactor | Gunsmith 3 |
| Light Gun Parts | Material | 4x Simple Gun Parts | Refiner 2 |
| Lightweight Stock | Mod | 2x Mod Components 5x Duct Tape | Gunsmith 3 |
| Lure Grenade | Grenade | 1x Speaker Component 1x Electrical Components | Utility Station 2 |
| Medium Gun Parts | Material | 4x Simple Gun Parts | Refiner 2 |
| Torrente | Weapon | 2x Advanced Mechanical Components 3x Medium Gun Parts 6x Steel Spring | Gunsmith 3 |
| Muzzle Brake II | Mod | 2x Mechanical Components 4x Wires | Gunsmith 2 |
| Muzzle Brake III | Mod | 2x Mod Components 8x Wires | Gunsmith 3 |
| Padded Stock | Mod | 2x Mod Components 5x Duct Tape | Gunsmith 3 |
| Shotgun Choke II | Mod | 2x Mechanical Components 4x Wires | Gunsmith 2 |
| Shotgun Choke III | Mod | 2x Mod Components 8x Wires | Gunsmith 3 |
| Shotgun Silencer | Mod | 2x Mod Components 8x Wires | Gunsmith 3 |
| Showstopper | Grenade | 1x Advanced Electrical Components 1x Voltage Converter | Explosives Station 3 |
| Silencer I | Mod | 2x Mechanical Components 4x Wires | Gunsmith 2 |
| Silencer II | Mod | 2x Mod Components 8x Wires | Gunsmith 3 |
| Snap Hook | Quick Use | 2x Power Rod 3x Rope 1x Exodus Modules | Utility Station 3 |
| Stable Stock II | Mod | 2x Mechanical Components 3x Duct Tape | Gunsmith 2 |
| Stable Stock III | Mod | 2x Mod Components 5x Duct Tape | Gunsmith 3 |
| Tagging Grenade | Grenade | 1x Electrical Components 1x Sensors | Utility Station 3 |
| Tempest | Weapon | 3x Advanced Mechanical Components 3x Medium Gun Parts 3x Canister | Gunsmith 3 |
| Trigger Nade | Grenade | 2x Crude Explosives 1x Processor | Explosives Station 2 |
| Vertical Grip II | Mod | 2x Mechanical Components 3x Duct Tape | Gunsmith 2 |
| Vertical Grip III | Mod | 2x Mod Components 5x Duct Tape | Gunsmith 3 |
| Vita Shot | Quick Use | 2x Antiseptic 1x Syringe | Medical Lab 3 |
| Vita Spray | Quick Use | 3x Antiseptic 1x Canister | Medical Lab 3 |
| Vulcano | Weapon | 1x Magnetic Accelerator 3x Heavy Gun Parts 1x Exodus Modules | Gunsmith 3 |
| Wolfpack | Grenade | 2x Explosive Compound 2x Sensors | Explosives Station 3 |
| Red Light Stick | Quick Use | 3x Chemicals | Utility Station 1 |
| Smoke Grenade | Grenade | 14x Chemicals 1x Canister | Utility Station 2 |
| Deadline | Mine | 3x Explosive Compound 2x ARC Circuitry | Explosives Station 3 |
| Trailblazer | Grenade | 1x Explosive Compound 1x Synthesized Fuel | Explosives Station 3 |
| Tactical Mk. 3 (Defensive) | Augment | 2x Advanced Electrical Components 3x Processor | Gear Bench 3 |
| Tactical Mk. 3 (Healing) | Augment | 2x Advanced Electrical Components 3x Processor | Gear Bench 3 |
| Yellow Light Stick | Quick Use | 3x Chemicals | Utility Station 1 |
Note: The missing Blueprints in this list likely have not actually been added to the game at the time of writing, because none of the playerbase has managed to find any of them. As they are added to the game, I will update this page with the most relevant information so you know exactly how to get all 75 Arc Raiders Blueprints.
Where to find Blueprints in Arc Raiders
Below is a list of all containers, modifiers, and events which maximise your chances of finding Blueprints:
- Certain quests reward you with specific Blueprints .
- Completing Trials has a high chance of offering Blueprints as rewards.
- Surveyors have a decent chance of dropping Blueprints on death.
- High loot value areas tend to have a greater chance of spawning Blueprints.
- Night Raids and Storms may increase rare Blueprint spawn chances in containers.
- Containers with higher numbers of items may have a higher tendency to spawn Blueprints. As a result, Blue Gate (which has many “large” containers containing multiple items) may give you a higher chance of spawning Blueprints.
- Raider containers (Raider Caches, Weapon Boxes, Medical Bags, Grenade Tubes) have increased Blueprint drop rates. As a result, the Uncovered Caches event gives you a high chance of finding Blueprints.
- Security Lockers have a higher than average chance of containing Blueprints.
- Certain Blueprints only seem to spawn under specific circumstances: Tempest Blueprint only spawns during Night Raid events. Vulcano Blueprint only spawns during Hidden Bunker events. Jupiter and Equaliser Blueprints only spawn during Harvester events.

Raider Caches, Weapon Boxes, and other raider-oriented container types have a good chance of offering Blueprints. |Image credit:Rock Paper Shotgun/Embark Studios
Blueprints have a very low chance of spawning in any container in Arc Raiders, around 1-2% on average. However, there is a higher chance of finding Blueprints in particular container types. Specifically, you can find more Blueprints in Raider containers and security lockers.
Beyond this, if you’re looking for Blueprints you should focus on regions of the map which are marked as having particularly high-value loot. Areas such as the Control Tower in Dam Battlegrounds, the Arrival and Departure Buildings in Spaceport, and Pilgrim’s Peak in Blue Gate all have a better-than-average chance of spawning Blueprints somewhere amongst all their containers. Night Raids and Electromagnetic Storm events also increase the drop chances of certain Blueprints .
In addition to these containers, you can often loot Blueprints from destroyed Surveyors - the largest of the rolling ball ARC. Surveyors are more commonly found on the later maps - Spaceport and Blue Gate - and if one spawns in your match, you’ll likely see it by the blue laser beam that it casts into the sky while “surveying”.
Surveyors are quite well-armoured and will very speedily run away from you once it notices you, but if you can take one down then make sure you loot all its parts for a chance of obtaining certain unusual Blueprints.
Blueprints obtained from quests
One way in which you can get Blueprints is by completing certain quests for the vendors in Speranza. Some quests will reward you with a specific item Blueprint upon completion, so as long as you work through all the quests in Arc Raiders, you are guaranteed those Blueprints.
Here is the full list of all Blueprints you can get from quest rewards:
- Trigger Nade Blueprint: Rewarded after completing “Sparks Fly”.
- Lure Grenade Blueprint: Rewarded after completing “Greasing Her Palms”.
- Burletta Blueprint: Rewarded after completing “Industrial Espionage”.
- Hullcracker Blueprint (and Launcher Ammo Blueprint): Rewarded after completing “The Major’s Footlocker”.
Alas, that’s only 4 Blueprints out of a total of 75 to unlock, so for the vast majority you will need to find them yourself during a raid. If you’re intent on farming Blueprints, then it’s best to equip yourself with cheap gear in case you lose it, but don’t use a free loadout because then you won’t get a safe pocket to stash any new Blueprint you find. No pain in Arc Raiders is sharper than failing to extract with a new Blueprint you’ve been after for a dozen hours already.

One of the best ways to get Blueprints is by hitting three stars on all five Trials every week. |Image credit:Rock Paper Shotgun/Embark Studios
Blueprints obtained from Trials
One of the very best ways to get Blueprints is as rewards for completing Trials in Arc Raiders. Trials are unlocked from Level 15 onwards, and allow you to earn rewards by focusing on certain tasks over the course of several raids. For example, one Trial might task you with dealing damage to Hornets, while another might challenge you to loot Supply Drops.
Trials refresh on a weekly basis, with a new week bringing five new Trials. Each Trial can offer up to three rewards after passing certain score milestones, and it’s possible to receive very high level loot from these reward crates - including Blueprints. So if you want to unlock as many Blueprints as possible, you should make a point of completing as many Trials as possible each week.
Best Blueprint farming locations
The very best way to get Blueprints is to frequent specific areas of the maps which combine high-tier loot pools with the right types of containers to search. Here are my recommendations for where to find Blueprints on every map, so you can always keep the search going for new crafting recipes to unlock.

Image credit:Rock Paper Shotgun/Embark Studios
Dam Battlegrounds
The best places to farm Blueprints on Dam Battlegrounds are the Control Tower, Power Generation Complex, Ruby Residence, and Pale Apartments . The first two regions, despite only being marked on the map as mid-tier loot, contain a phenomenal number of containers to loot. The Control Tower can also contain a couple of high-tier Security Lockers - though of course, you’ll need to have unlocked the Security Breach skill at the end of the Survival tree.
There’s also a lot of reporting amongst the playerbase that the Residential areas in the top-left of the map - Pale Apartments and Ruby Residence - give you a comparatively strong chance of finding Blueprints. Considering their size, there’s a high density of containers to loot in both locations, and they also have the benefit of being fairly out of the way. So you’re more likely to have all the containers to yourself.
Buried City
The best Blueprint farming locations on Buried City are the Santa Maria Houses, Grandioso Apartments, Town Hall, and the various buildings of the New District . Grandioso Apartments has a lower number of containers than the rest, but a high chance of spawning weapon cases - which have good Blueprint drop rates. The others are high-tier loot areas, with plenty of lootable containers - including Security Lockers.
Spaceport
The best places to find Blueprints on Spaceport are the Arrival and Departure Buildings, as well as Control Tower A6 and the Launch Towers . All these areas are labelled as high-value loot regions, and many of them are also very handily connected to one another by the Spaceport wall, which you can use to quickly run from one area to the next. At the tops of most of these buildings you’ll find at least one Security Locker, so this is an excellent farming route for players looking to find Blueprints.
The downside to looting Blueprints on Spaceport is that all these areas are hotly contested, particularly in Duos and Squads. You’ll need to be very focused and fast in order to complete the full farming route.

Image credit:Rock Paper Shotgun/Embark Studios
Blue Gate
Blue Gate tends to have a good chance of dropping Blueprints, potentially because it generally has a high number of containers which can hold lots of items; so there’s a higher chance of a Blueprint spawning in each container. In my experience, the best Blueprint farming spots on Blue Gate are Pilgrim’s Peak, Raider’s Refuge, the Ancient Fort, and the Underground Complex beneath the Warehouse .
All of these areas contain a wealth of containers to loot. Raider’s Refuge has less to loot, but the majority of the containers in and around the Refuge are raider containers, which have a high chance of containing Blueprints - particularly during major events.
Stella Montis
On the whole, Stella Montis seems to have a very low drop rate for Blueprints (though a high chance of dropping other high-tier loot). If you do want to try farming Blueprints on this map, the best places to find Blueprints in Stella Montis are Medical Research, Assembly Workshop, and the Business Center . These areas have the highest density of containers to loot on the map.
In addition to this, the Western Tunnel has a few different Security Lockers to loot, so while there’s very little to loot elsewhere in this area of the map, it’s worth hitting those Security Lockers if you spawn there at the start of a match.
That wraps up this primer on how to get all the Blueprints in Arc Raiders as quickly as possible. With the Expedition system constantly resetting a large number of players’ Blueprints, it’s more important than ever to have the most up-to-date information on where to find all these Blueprints.
While you’re here, be sure to check out our Arc Raiders best guns tier list , as well as our primers on the best skills to unlock and all the different Field Depot locations on every map.


ARC Raiders
PS5 , Xbox Series X/S , PC
Rock Paper Shotgun is better when you sign in
Sign in and join us on our journey to discover strange and compelling PC games.
