Arknights Endfield tier list (February 2026): Which are the best characters in the current meta?
These are the best Operators to Headhunt in Arknights Endfield right now

Image credit:Rock Paper Shotgun/Gryphline

Which are the very best Arknights Endfield characters in the current meta? Frighteningly addictive open-world gacha RPG Arknights: Endfield , as you might expect, offers quite a colourful array of characters to pull from the Headhunting gacha system. There are currently 23 characters (known as Operators) in Arknights: Endfield , and the dizzying complexity of their skillsets and attributes can make it very difficult for new players to figure out which are the best characters to upgrade and include in their teams.
In this guide, we’ll reveal our complete Arknights: Endfield tier list covering the worst and best characters in the current meta. Further below you can read our write-ups on all 23 Operators, discussing their strengths, shortcomings, attributes, key skills, and how effectively they can fulfil their chosen roles. All this should help quickly get you up to speed on which are the very best Operators to use in combat against any type of foe.
Arknights Endfield tier list
Here is the full tier list of all 23 Arknights Endfield characters, organised from best to worst:
| SS-Tier | Ardelia, Laevatain, Last Rite, Yvonne |
|---|---|
| S-Tier | Antal, Avywenna, Endministrator, Gilberta, Pogranichnik, Xaihi |
| A-Tier | Akekuri, Arclight, Chen Qianyu, Ember, Lifeng, Perlica, Wulfgard |
| B-Tier | Alesh, Da Pan, Estella, Snowshine |
| C-Tier | Catcher, Fluorite |
Who are the best characters in Arknights Endfield?
The strongest characters in the current meta are Ardelia, Laevatain, Last Rite, and Yvonne. All of them are 6-Star Operators, which makes them rarer and harder to unlock than other characters, but there’s no denying their sheer power in combat.
Ardelia’s approachable skillset and her excellent versatility and healing make her probably the best Support Operator in the game. Laevatain’s heavy focus on AoE Heat damage makes her unmatched at clearing waves of enemies.
The other two top-tier Operators, meanwhile, excel at single target damage and control. The straightforward Last Rite delivers very high burst damage, augmented by her Cryo Susceptibility. And similarly, Yvonne’s forcible Solidifications and high damage makes her a core Shatter team pick and one of the best single-target DPS Operators in Arknights: Endfield.
As we’ll discuss in greater detail below, none of the characters in Arknights: Endfield are useless. Any of them can be used to great effect, particularly with the right upgrades, equipment, and team composition. That said, there’s no question in our experience that the SS-Tier Operators in the tier list above are the most powerful characters you can get your hands on right now.
Below we’ll go over all 23 Operators in order of the above tier list, along with key stats, the pros and cons of each character, and our opinions on their overall effectiveness in the current meta.
Ardelia
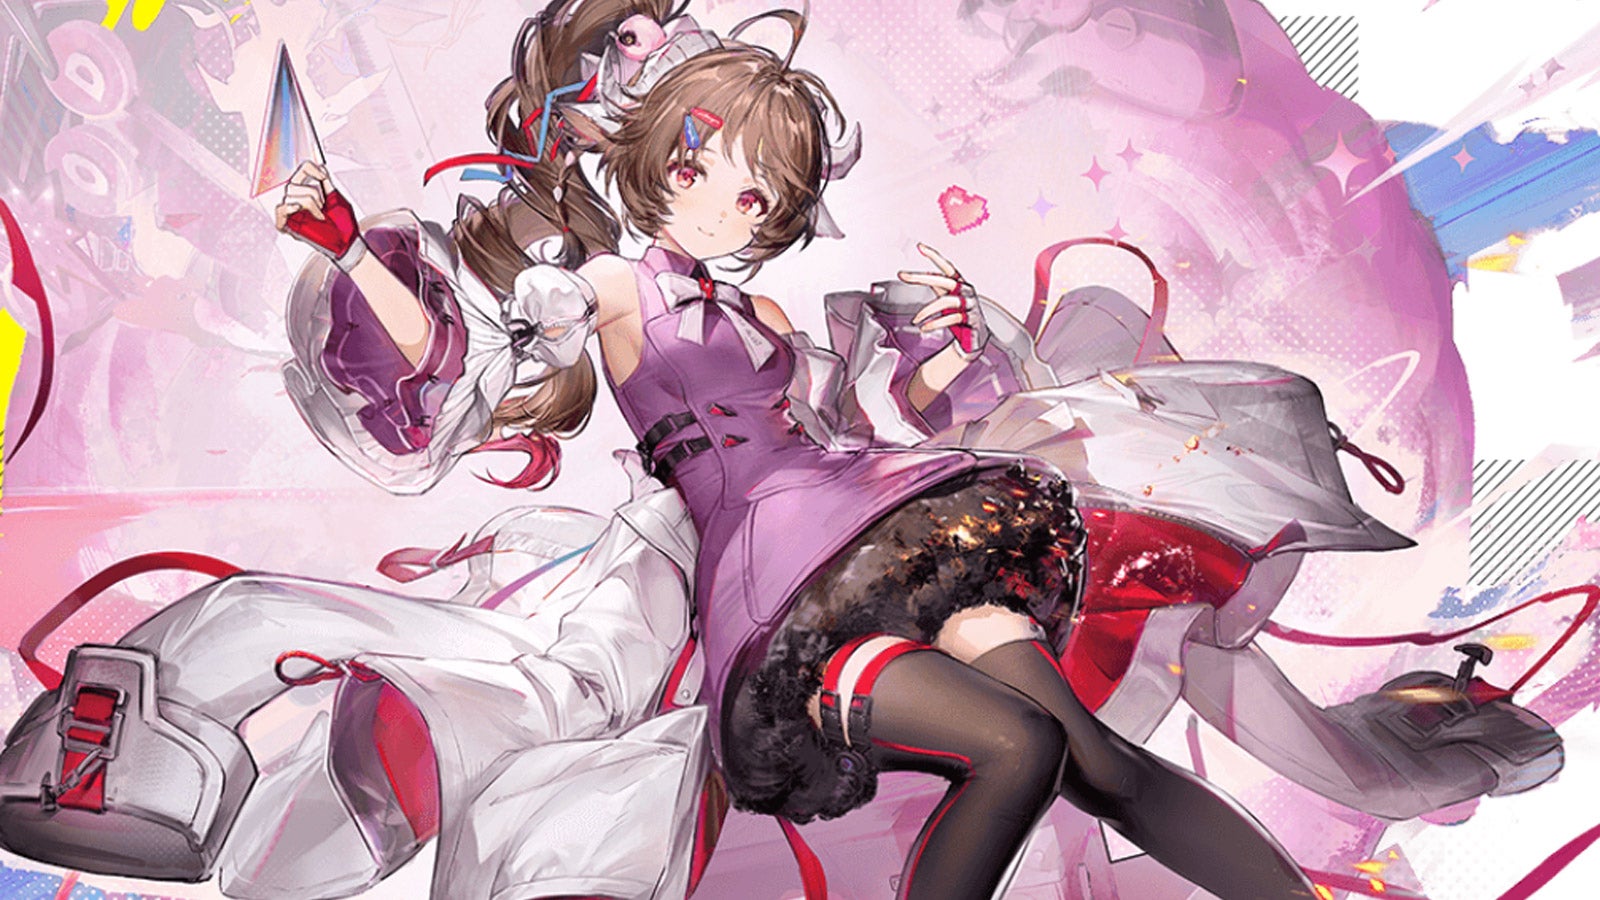
Image credit:Hypergryph / Gryphline
| Rarity: 6-Star | Role: Supporter |
|---|---|
| Weapon: Arts Unit | Arts Type: Nature |
| Primary: Intellect | Secondary: Will |
| Pros: + Highly versatile; easily slots into multiple team comps. + Powerful and consistent healing, particularly with “Friendly Presence” Talent. + Very easy to trigger her Combo Skill, one of the easiest ways to apply Corrosion. + Everyone gets her for free! Cons: - Cannot count on Ardelia to deal high damage without backup. - Must apply and consume Corrosion for full value. |
Support queen Ardelia’s greatest strength is her versatility. Her skills are very easy to understand and use, and provide the player with some of the most accessible means of applying both Corrosion and Physical/Arts Susceptibility in the game.
The manner in which her Skills trigger allow you to build up a clear step-by-step plan of moves during battle. Begin with a basic attack to trigger Ardelia’s Combo Skill to apply Corrosion; then follow up with a Battle Skill to consume the Corrosion and turn it into Physical Susceptibility and Arts Susceptibility, drastically increasing the damage output of the whole team.
Add in the strong and dependable healing effects that a fully-levelled Ardelia can offer with her various “Shadows Of Mr. Dolly”, and it’s clear why Ardelia is widely considered an S-Tier Operator.
Laevatain
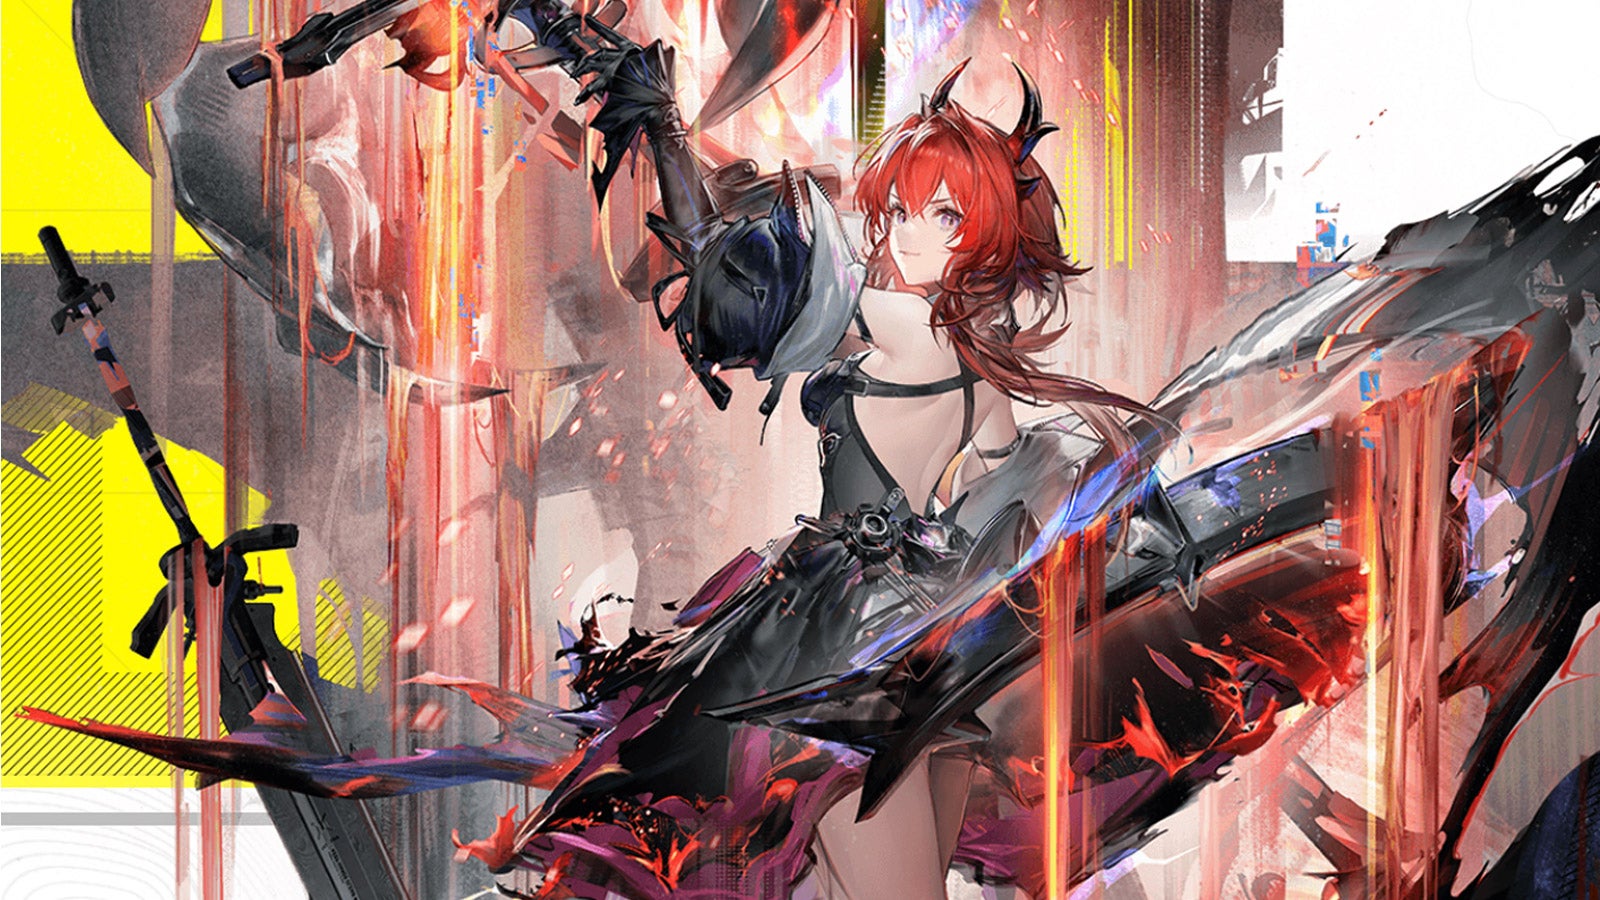
Image credit:Hypergryph / Gryphline
| Rarity: 6-Star | Role: Striker |
|---|---|
| Weapon: Sword | Arts Type: Heat |
| Primary: Intellect | Secondary: Strength |
| Pros: + Fantastic AoE DPS. + Strong single-target DPS as well. + Dominates most Heat-based team comps. Cons: - Outside of Heat teams, you won’t get full value from her. |
Laevatain is the absolute hotness right now (pun intended) when it comes to 6-Star Operators in Arknights: Endfield. She’s a Heat-based main DPS who can wave-clear more effectively than any other character in the game, thanks to her myriad area-of-effect skills and a devastating Ultimate - which hits harder and lasts longer once you hit Potential 5 with her.
The heavy focus on Heat Damage and Combustion makes it obvious how you should build your team around her. Laevatain is the magma-hot core of any top-tier Heat-based team right now, and the more you can apply Combustion, the more you can trigger her Combo Skill for even more AoE damage, and some extra Ultimate charge for a blistering grand finale that’ll decimate most enemies.
Last Rite
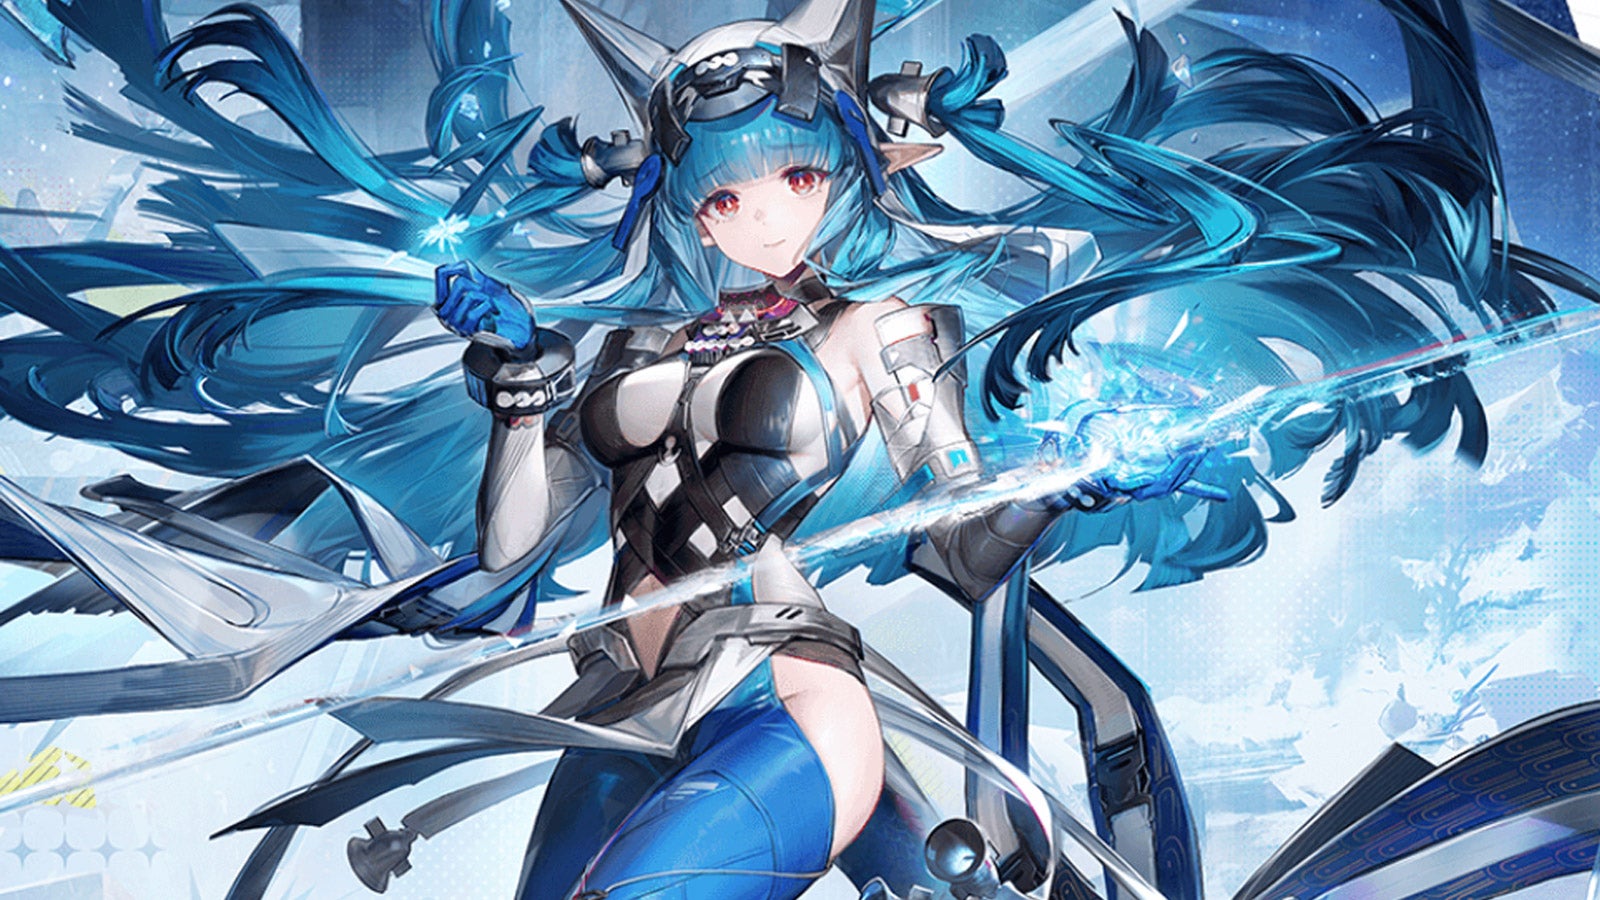
Image credit:Hypergryph / Gryphline
| Rarity: 6-Star | Role: Striker |
|---|---|
| Weapon: Greatsword | Arts Type: Cryo |
| Primary: Strength | Secondary: Will |
| Pros: + Deals massive damage if played right. + Can build a powerful Cryo team around her. + Consumes Cryo Infliction for huge returns. Cons: - Her Combo Skill requires some set-up. - Feels a little clunky to play. |
Last Rite is an absolute powerhouse of a striker to build a brutal Cryo-team around. Although she’s a little clunky to play, she’ll pour on huge damage when used right, especially if her teammates are applying Cryo Infliction.
When three stacks of Cryo Infliction are added to a foe, Last Rite can use her Combo Skill to trap and devastate them, meanwhile her Ultimate lets her summon an ice scythe and attack with three massive blows. She’ll need Cryo Infliction to work effectively, meaning she should be partnered with Yvonne, Xaihi, Alesh, Snowshine or Estella.
The main issue with Last Rite is that her best skills require set-up. All of the team will have to focus on using Cryo Infliction to see the strongest results, using Battle Skills carefully to make sure they’re priming her for success. Other than that, she’s one of the most brutal Operators you can currently roll.
Yvonne
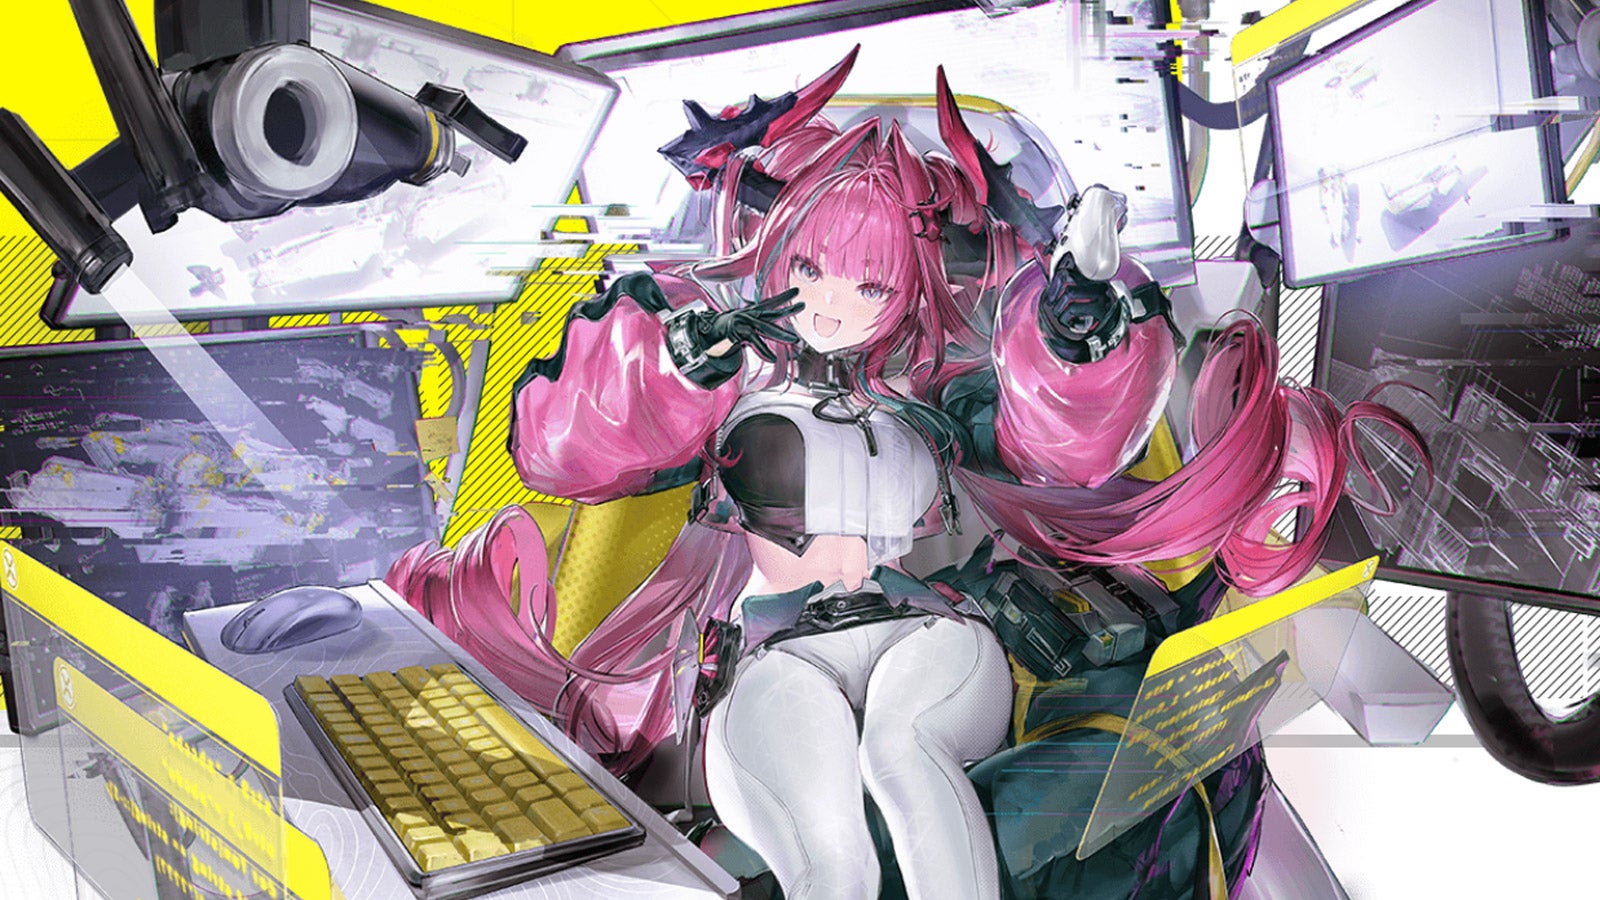
Image credit:Hypergryph / Gryphline
| Rarity: 6-Star | Role: Striker |
|---|---|
| Weapon: Handcannon | Arts Type: Cryo |
| Primary: Intellect | Secondary: Agility |
| Pros: + Excellent DPS against single targets. + Forcible Solidification makes her a great Shatter comp pick. + Good Ultimate energy gain. Cons: - Less effective against multiple enemies. |
Yvonne is in many ways the antithesis of Laevatain. While Laevatain’s Heat-based AoE attacks are phenomenal at wave-clearing, Yvonne’s Cryo and Solidification effects make her one of the best single-target damage dealers in the game. Her skills are layered and complex at first glance, but all you really need to know is she’s fantastic at forcibly applying Solidification to enemies, making her the quintessential pick for a Shatter-focused team comp.
Beyond this, Yvonne can unleash some very strong damage in her own right, particularly when you manage to Solidify an enemy and then perform her Ult, giving Yvonne a much stronger set of Basic Attacks with a high crit rate and phenomenal Final Strike damage. She can’t compete with Laevatain’s wave-clearing, but Yvonne’s power with Cryo-based single-target damage makes her a clear SS-Tier Operator.
Antal
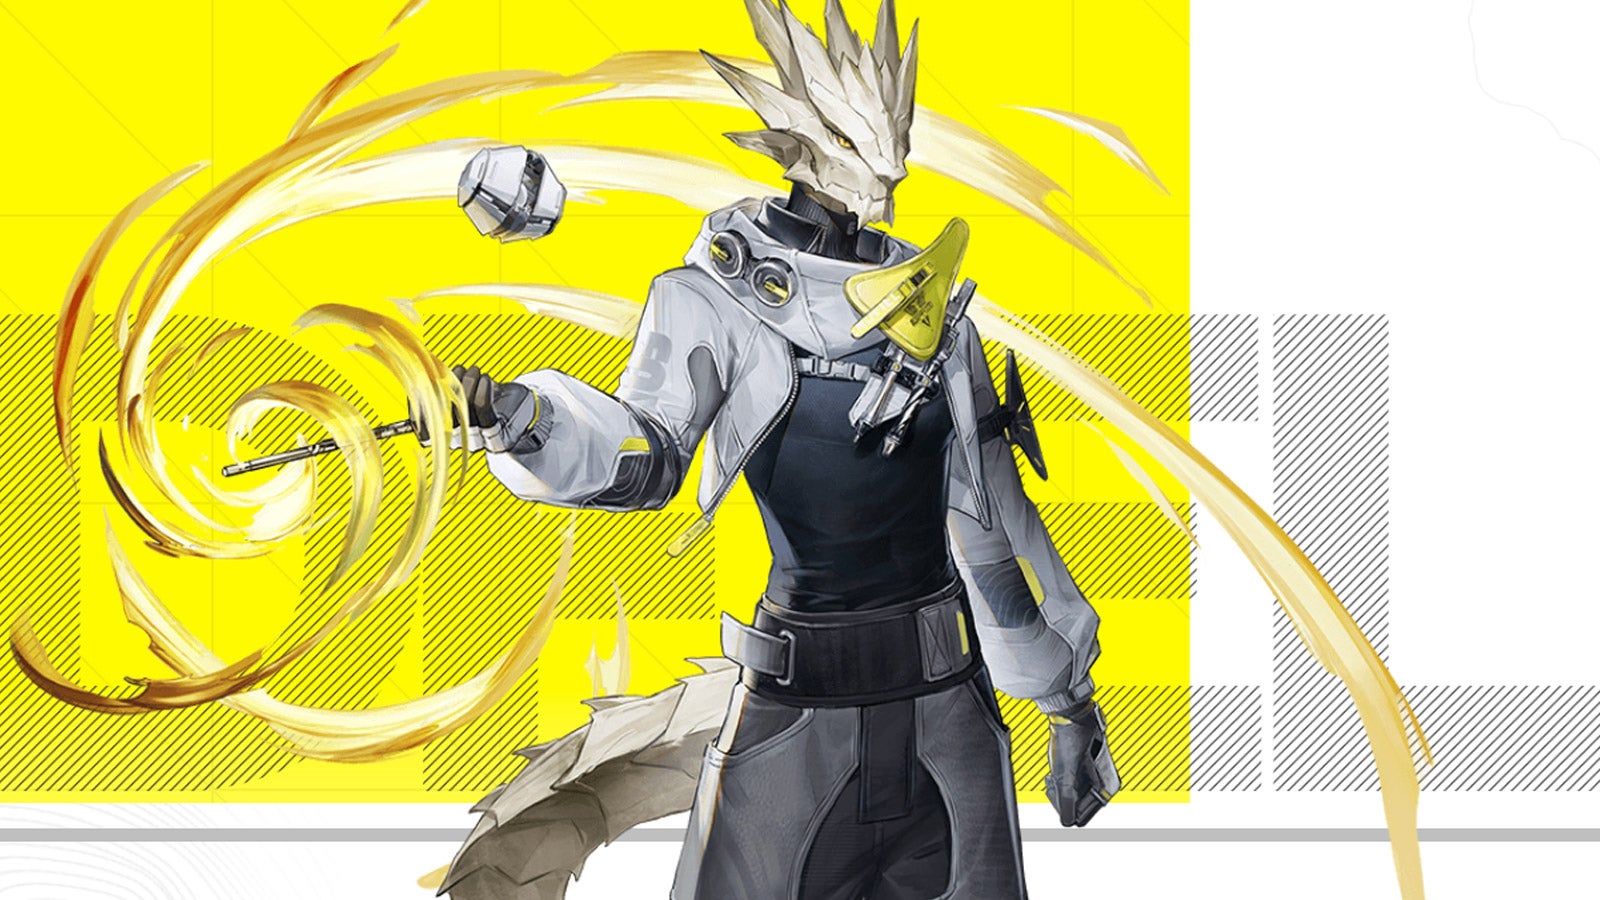
Image credit:Hypergryph / Gryphline
| Rarity: 4-Star | Role: Supporter |
|---|---|
| Weapon: Arts Unit | Arts Type: Electric |
| Primary: Intellect | Secondary: Strength |
| Pros: + Inflicts a variety of excellent status effects. + Very powerful in Heat and Electric teams. Cons: - Inflexible; won’t slot well into non-Heat/Electric teams. - Deals low damage without his status effects. |
Widely considered the best-value 4-Star Operator in Arknights: Endfield, Antal’s claim to fame is his ability to stack both Damage Amplification with Heat and Electric Susceptibility. So, surround him with Heat and Electric DPS characters, and Antal will help the team obliterate enemies in no time at all.
Be sure not to forget that Antal is a Supporter at heart. On his own, he adds little value and little damage to the team. But use his Ultimate and Battle Skill against a powerful single-target enemy, and you’ll instantly make the fight much easier to tackle.
Avywenna
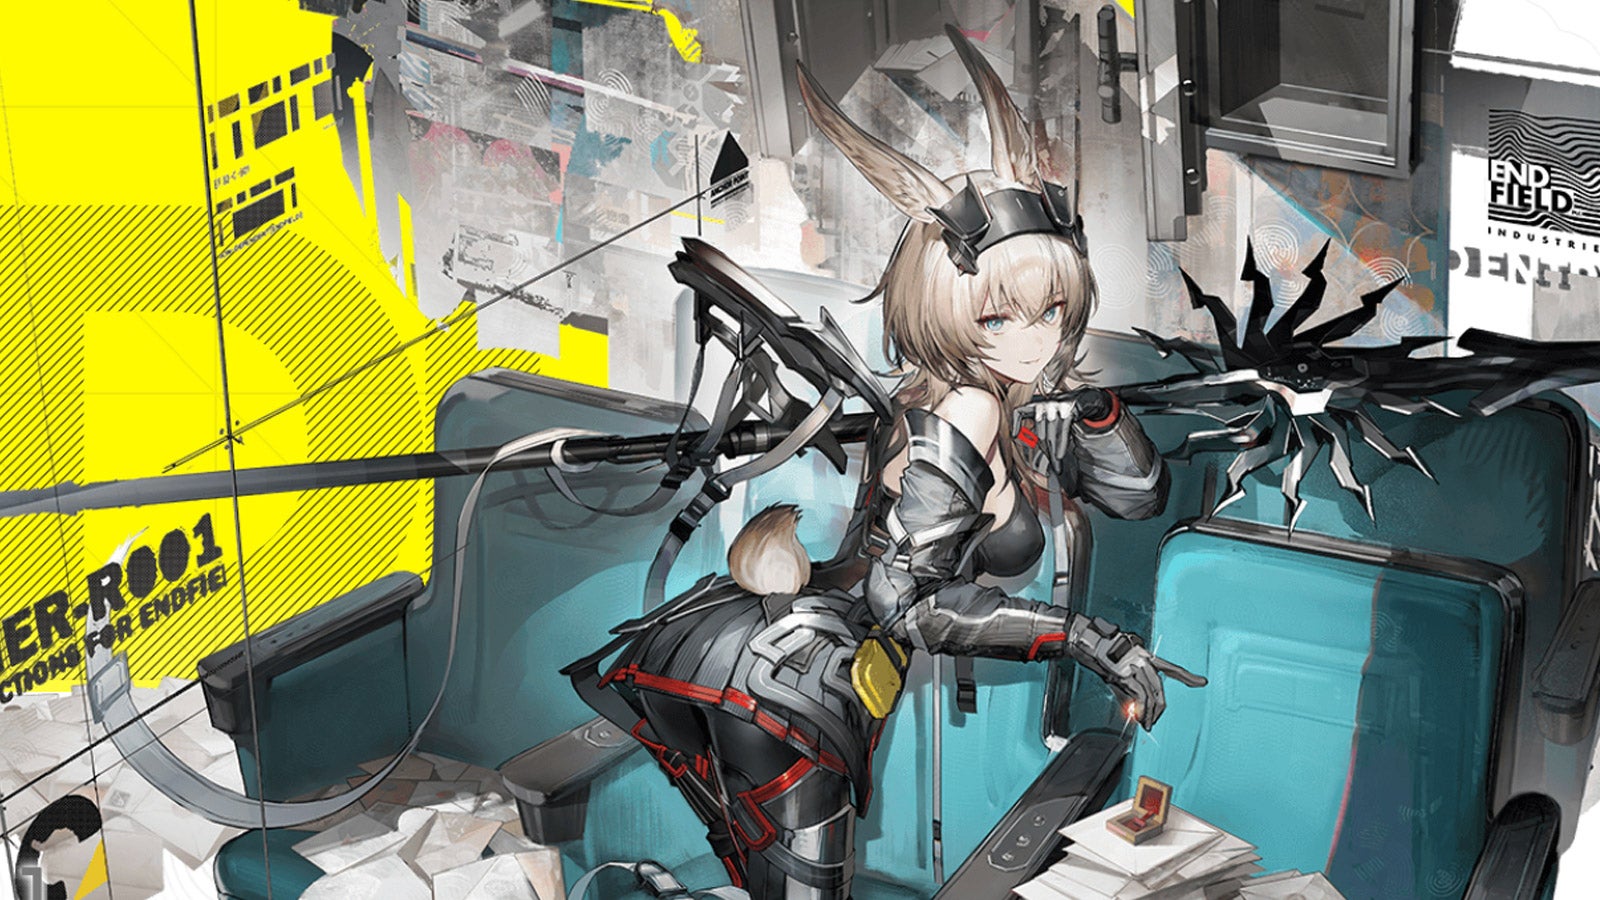
Image credit:Hypergryph / Gryphline
| Rarity: 5-Star | Role: Striker |
|---|---|
| Weapon: Polearm | Arts Type: Electric |
| Primary: Will | Secondary: Agility |
| Pros: + A solid DPS for electric-based teams. + Can deal damage to large packs of enemies simultaneously. + Her Battle Skill can deal big damage in the stagger window. Cons: - Requires a lot of set-up mid-fight. - Only excels in electric-based team comps. |
Avywenna is a key component of any electric-based team, acting as a DPS that manages packs of enemies at once. Her abilities revolve around her throwable Thunderlances, which she launches with her Combo Skill. These remain on the battlefield, and can be recalled through enemies using her Battle Skill, applying Electric Infliction.
You’ll want to combo Avywenna with Perlica and Arclight, as her Combo Skill can only be activated if the Controlled Operator hits a Final Strike on a foe with Electric Infliction or Electrification.
Using her abilities mid-battle is finicky though. You’ll have to manage enemy status effects, meanwhile setting up and tracking your Thunderlances so you can position her to rip them back through foes. If you can, you’ll melt multiple enemies at once.
Endministrator
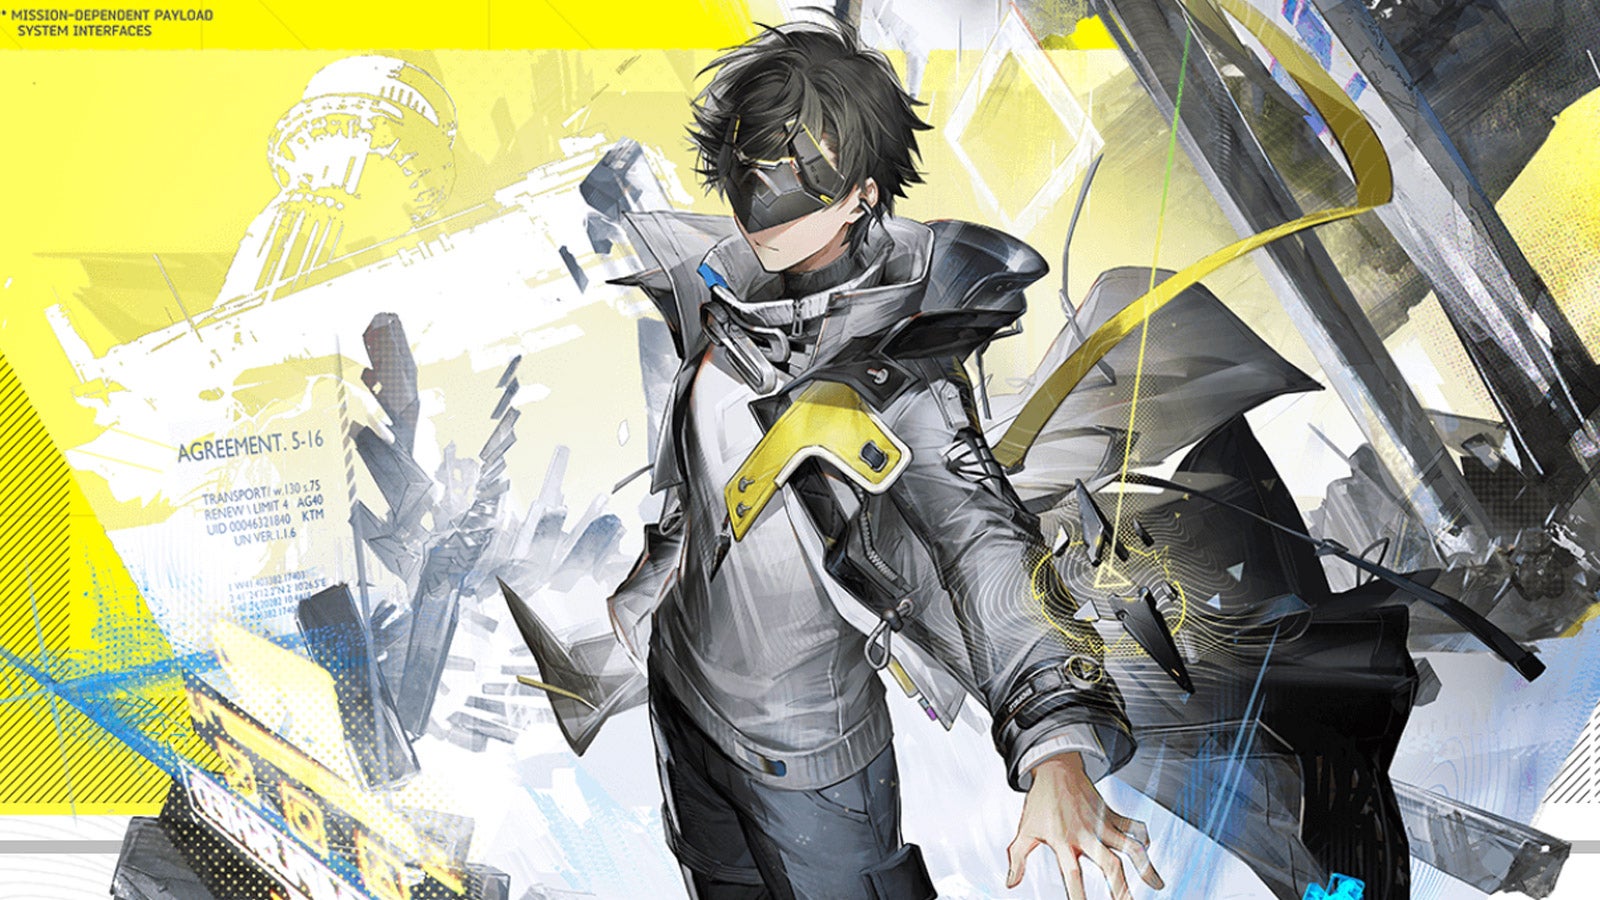
Image credit:Hypergryph / Gryphline
| Rarity: 6-Star | Role: Guard |
|---|---|
| Weapon: Sword | Arts Type: Physical |
| Primary: Agility | Secondary: Strength |
| Pros: + High Physical damage, thanks to easy Vulnerability stacking. + Very easy to trigger Endmin’s Combo Skill. + Forms a solid and accessible Physical team core with Chen. Cons: - Doesn’t really excel outside Physical teams. |
The starting character of Arknights: Endfield they may be, but that doesn’t mean they’re the least of the bunch. The Endministrator’s skills all focus on one thing: inflicting massive Physical damage. Their Combo Skill triggers whenever another team member deals damage with their Combo Skill, which gives you a lot of dependable extra damage in a fight.
Endmin forms the backbone of many a Physical-based team alongside fellow free-to-play Operator, Chen Qianyu, and it’s well worth upgrading Endmin for this reason, particularly if you’re struggling to pull any of the absolute top-tier characters from the gacha. Alas, Endmin’s focus on Physical damage means they don’t really fit anywhere else.
Gilberta
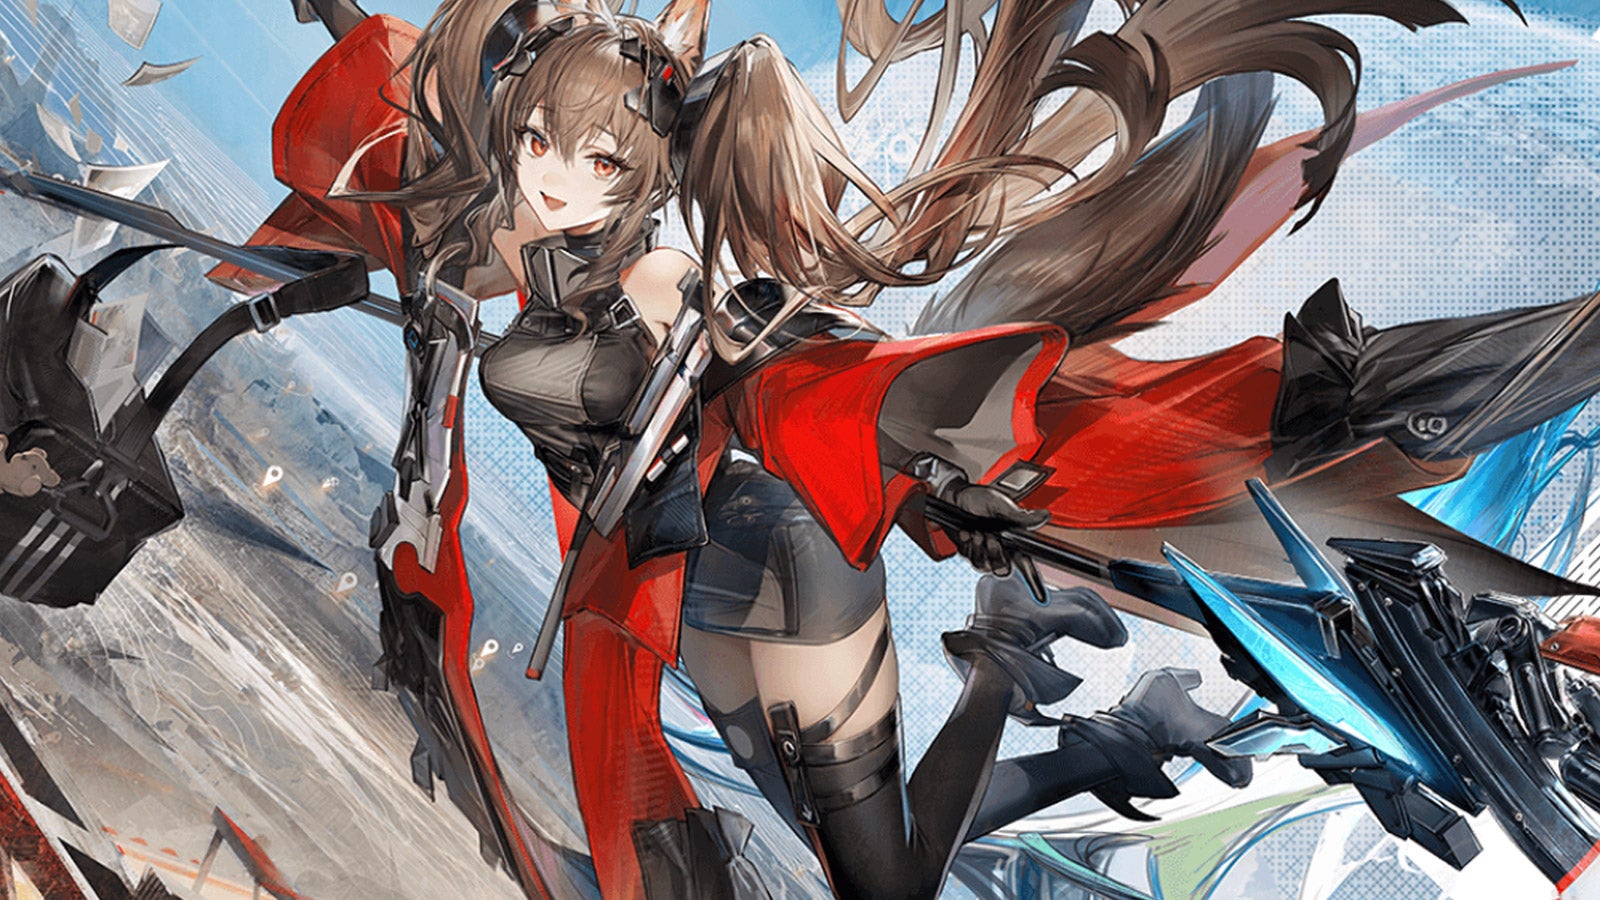
Image credit:Hypergryph / Gryphline
| Rarity: 6-Star | Role: Supporter |
|---|---|
| Weapon: Arts Unit | Arts Type: Nature |
| Primary: Will | Secondary: Intellect |
| Pros: + Great crowd-control and wave-clearing skills. + Jack-of-all-trades who slots into multiple team comps. Cons: - Getting max value from her Arts Susceptibility is tough. - Lacking in single-target DPS. |
Gilberta is one of the most intriguing Operators in Endfield. Her kitchen-sink hybrid toolkit combines Nature DMG, crowd-control, and Arts Susceptibility into a package that I can’t exactly call neat. She’s very strong at crowd-control and clearing waves, thanks to the AoE of both her Battle Skill and her Combo Skill. The Combo Skill requires an Arts Reaction to trigger, which makes her a good fit alongside Operators who forcibly trigger such reactions, like Laevatain or Perlica.
The awkwardness in her kit arises in her Ultimate. Arguably the strongest part of her kit is her Ultimate’s ability to apply Arts Susceptibility, but this is contingent on first building up stacks of Vulnerability. And if you build a team for applying Vulnerability, you don’t then have much room to capitalise on the Arts Susceptibility!
It’s a strangeness which hobbles Gilberta somewhat, but nevertheless she remains a strong crowd-controlling Supporter who can fit into multiple teams quite happily (if not perfectly).
Pogranichnik
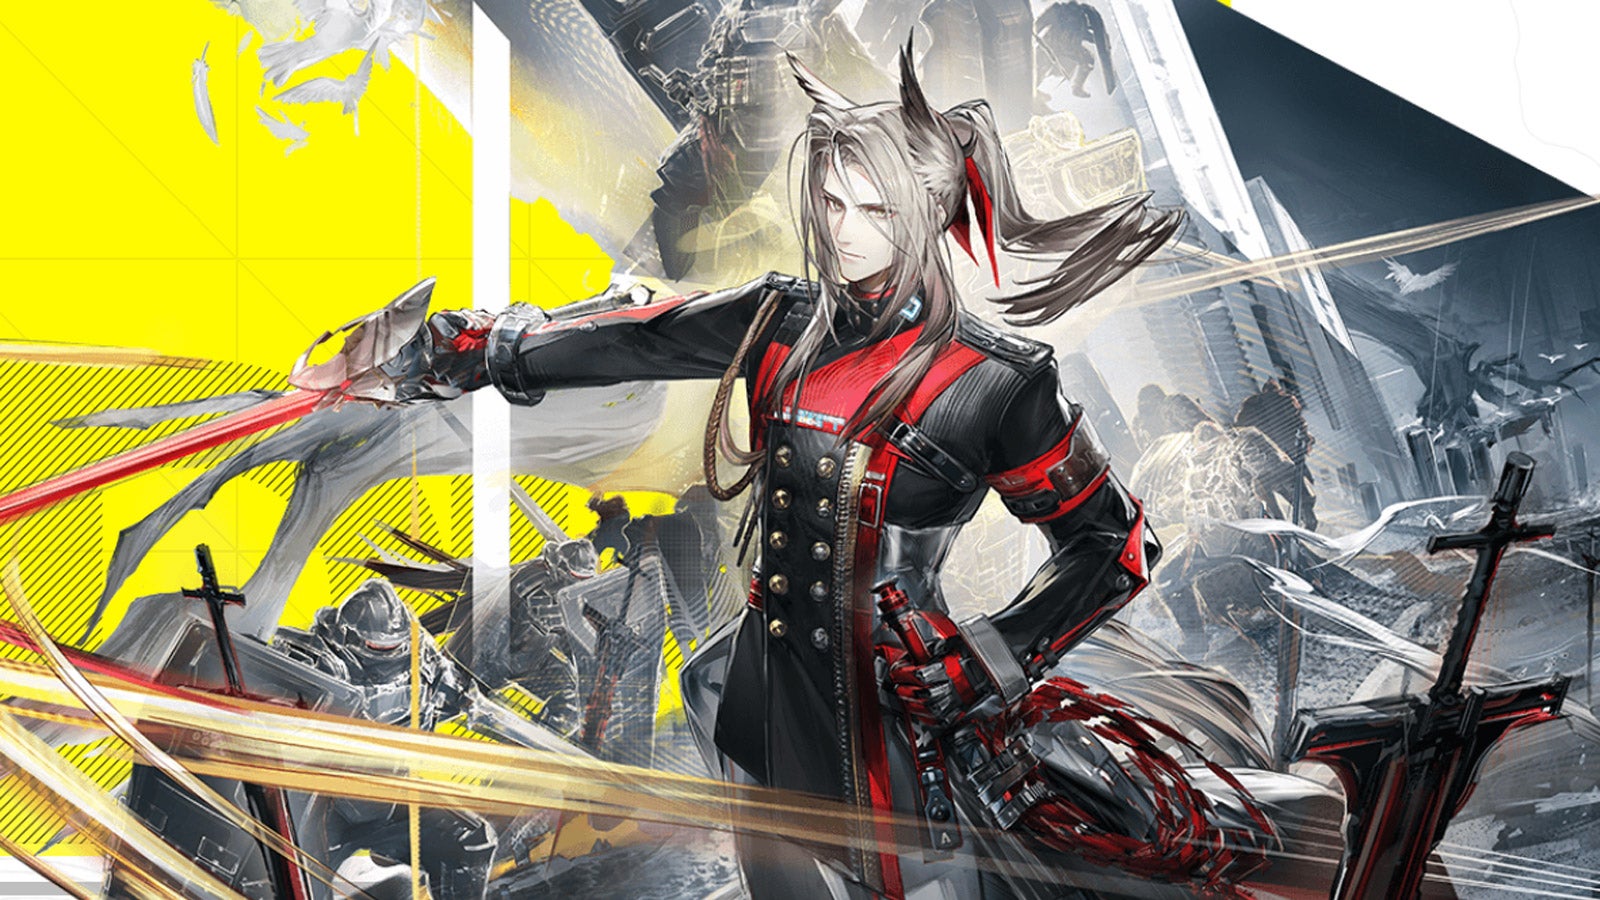
Image credit:Hypergryph / Gryphline
| Rarity: 6-Star | Role: Vanguard |
|---|---|
| Weapon: Sword | Arts Type: Physical |
| Primary: Will | Secondary: Agility |
| Pros: + A powerful Vanguard that greatly enhances physical-based comps. + His skills boost SP recovery. + The only character able to use Breach thus far. Cons: - Isn’t versatile outside of physical teams. - Physical teams are currently one of the weaker comp-types. |
Pogranichnik is essential to building a physical-based comp at launch. His abilities boost SP recovery, allowing you to unleash skills more frequently, and his kit revolves around applying Breach via his Battle Skill. Breach consumes all Vulnerability stacks afflicting an enemy, dealing damage and buffing physical attacks based on the number of stacks consumed.
He can then follow up using his Combo Skill, which lets him perform up to three slash attacks depending on the amount of stacks consumed. His skills give physical comps a clear strategy, as they apply Vulnerability stacks so Prog can consume them to deal huge damage. He’s best partnered with the likes of Chen, Da Pan and Endministrator.
He misses out on SS-tier primarily because he’s locked in a physical-based comp, lacking versatility. His powers rely on other Operators stacking physical debuffs that he can cash in on, which is rough considering physical-based comps aren’t the strongest in the game right now.
Xaihi
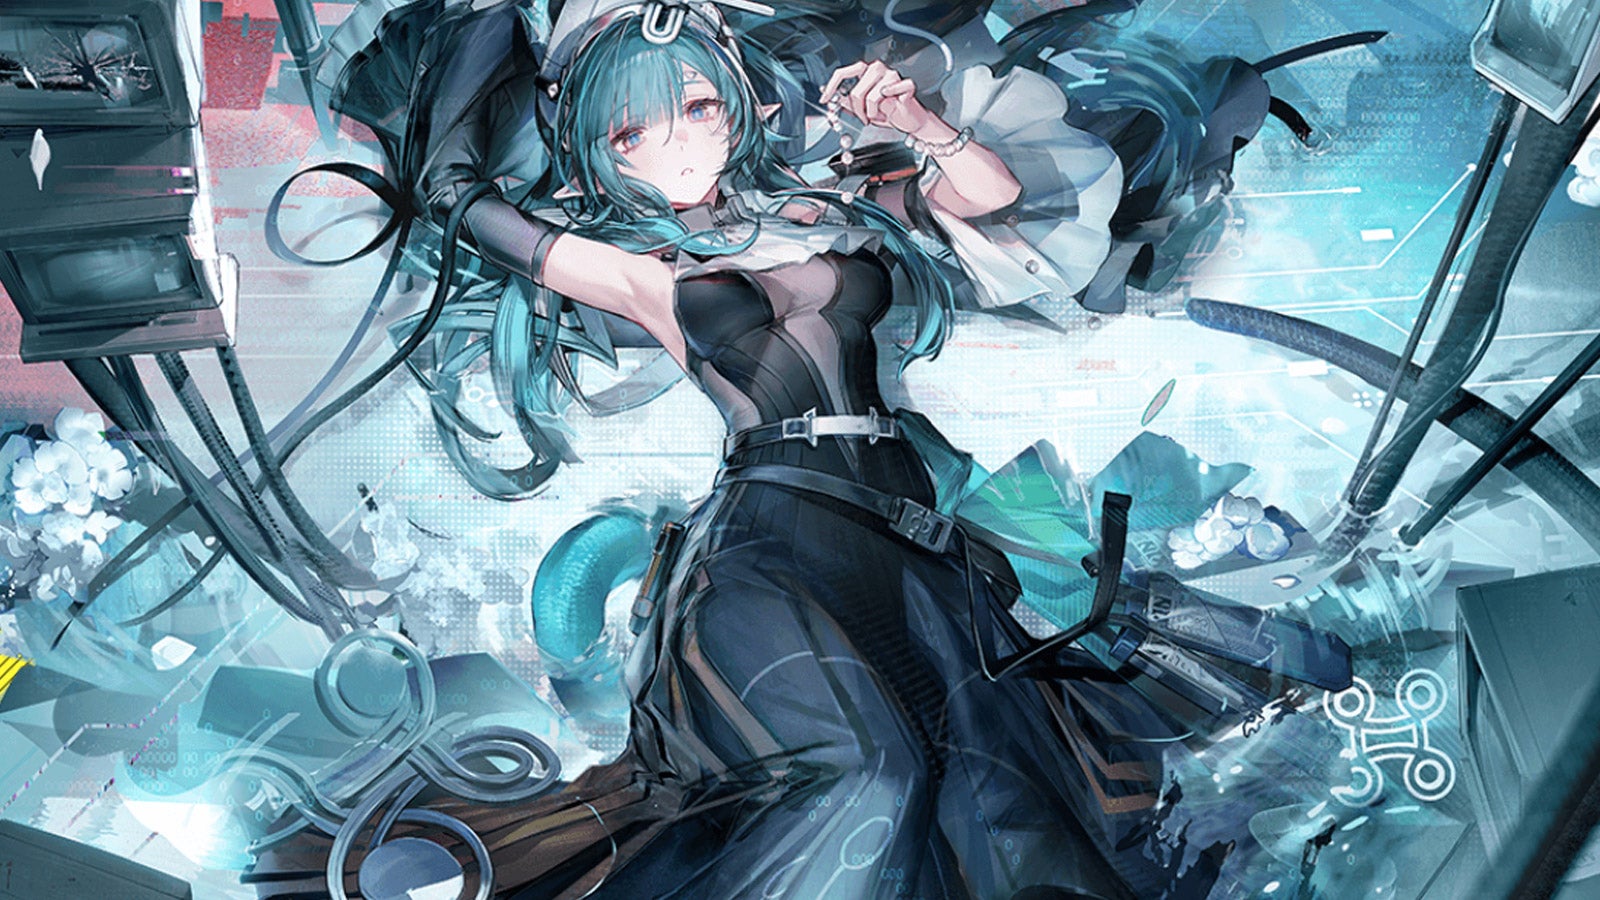
Image credit:Hypergryph / Gryphline
| Rarity: 5-Star | Role: Supporter |
|---|---|
| Weapon: Arts Unit | Arts Type: Cryo |
| Primary: Will | Secondary: Intellect |
| Pros: + A strong support that can heal and buff. + An essential component of any Cryo-based team. Cons: - Her healing focuses on only the controller Operator. - There are better supports in the game. |
Xaihi is basically a shoo-in for any Cryo comp. She’s a support that can heal the controlled Operator using her Battle Skill, which summons a crystal that restores health the next two times the player lands a finishing blow.
When the crystal runs out of uses, Xaihi triggers her Combo Skill, firing the crystal at an enemy and causing Cryo Infliction. She can also buff too, with her Ultimate amping Cryo and Nature damage. She makes a killer trio with Last Rite and Yvonne, and you can round out the squad with Snowshine, Alesh or Estella.
But there are more versatile supports out there. Ardelia , for example, is far easier to slot into any team, especially as she can create and consume Corrosion to amp all elemental damage and heal multiple Operators at once. Considering Xaihi is mostly Cryo-focused and can only heal a single Operator, she’s best served sticking on teams where ice is the focus.
Akekuri
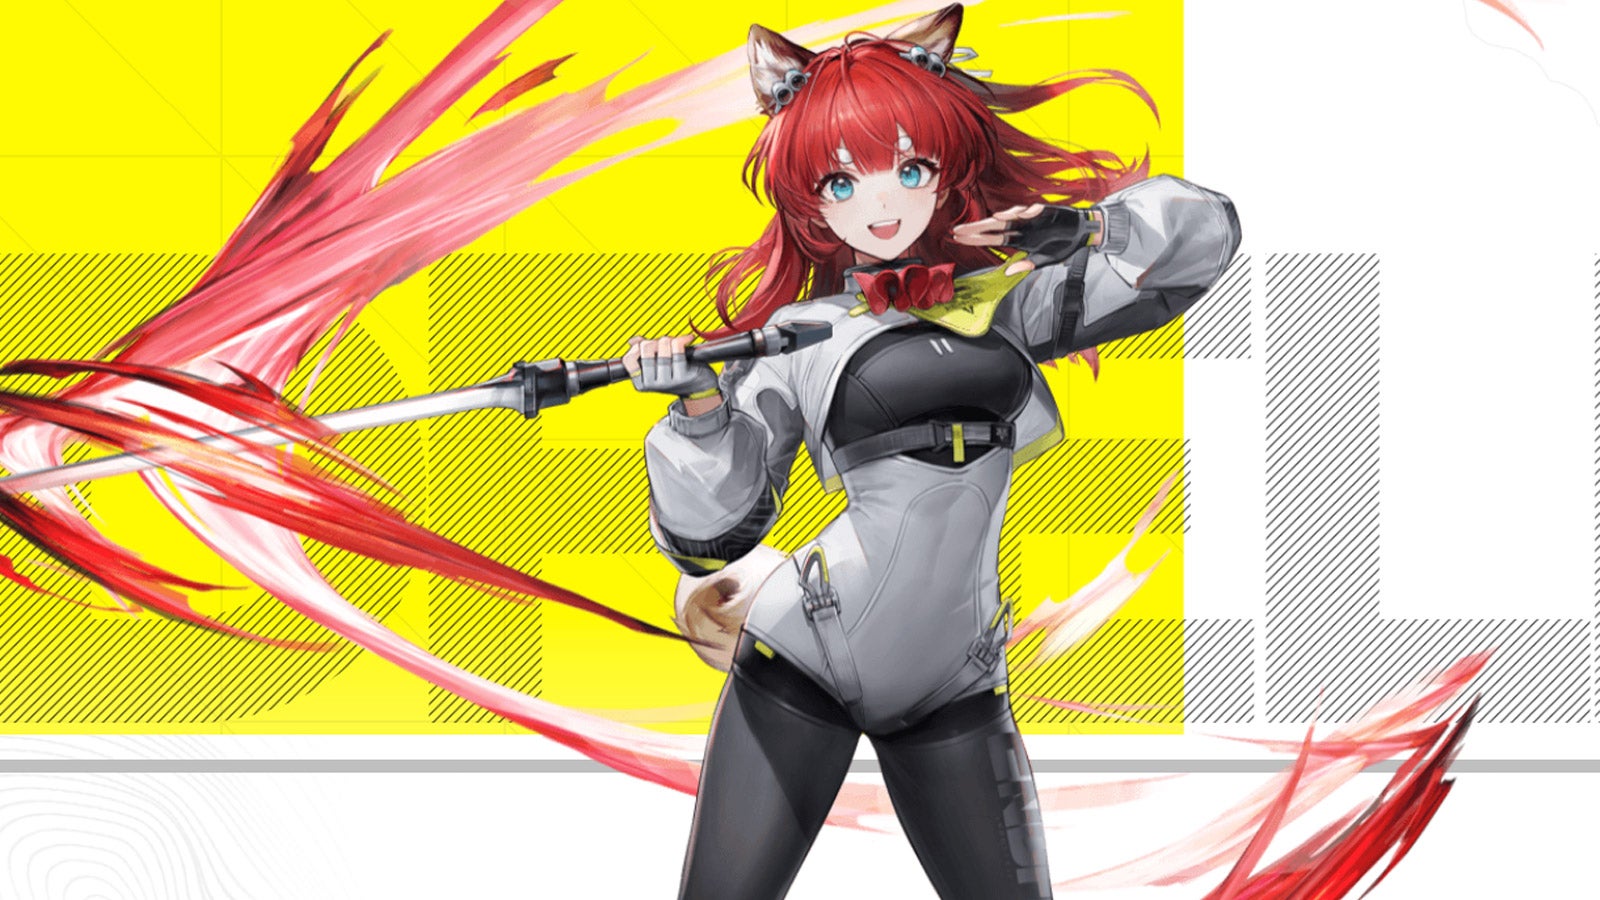
Image credit:Hypergryph / Gryphline
| Rarity: 4-Star | Role: Vanguard |
|---|---|
| Weapon: Sword | Arts Type: Heat |
| Primary: Agility | Secondary: Intellect |
| Pros: + A versatile Vanguard; can slot in several teams. + A 4-star Operator that you’ll earn quickly. + Her Ultimate is great for SP recovery. Cons: - Outside of SP recovery, her kit is weak. |
Akekuri’s a versatile Vanguard that will gather SP for the team through both her Combo Skill, which activates whenever an enemy staggers, and her Ultimate, which fires 3 flares that each boost SP recovery.
There are stronger Vanguards in the current pool, but they only thrive alongside a certain damage type. Meanwhile, Akekuri doesn’t need to consume debuffs to generate SP, meaning you can chuck her in all sorts of comps. As long as you’re activating her skills and building stagger, she’s a phenomenal SP generator that keeps your crew powered up. She’s also a 4-Star Operator, meaning you’ll get her early on.
The trade-off is that, outside of SP recovery, Akekuri doesn’t have the strongest kit. Her damage output is low, and her moves don’t have many useful effects bar Heat Infliction. However, she’s still an absolute steal at a 4-Star rating, and someone you can throw into most comps while you try to pull an element-specific Vanguard.
Arclight

Image credit:Hypergryph / Gryphline
| Rarity: 5-Star | Role: Vanguard |
|---|---|
| Weapon: Sword | Arts Type: Electric |
| Primary: Agility | Secondary: Intellect |
| Pros: + An SP generator that can fuel electric team Battle Skills. + Consumes Electrification, making her key to Electric comps. Cons: - No versatility to work outside Electric comps. |
Arclight is the glue that keeps an Electric comp together. Her abilities focus on generating SP by consuming Electrified and Electric Infliction, with both her Battle and Combo Skills recovering SP when activated. Considering her Combo Skill only has a 3-second cooldown too, she’s essential to making Electric teams work at their full potential.
She’s best combined with Perlica and Avywenna. Both Perlica’s Battle Skill and Combo Skill inflict Electrification, while Avywenna’s Thunderlances deal Electrification both when thrown and recalled. Arclight can then consume these debuffs and return SP to the team.
However, without Perlica and Avywenna, there’s not much Arclight can add to a team, considering most of her skills rely on draining Electric debuffs. There’s no versatility to her kit; however, that kit is such a boon to an Electric comp that she’s essential if you’re dealing Electric-based damage.
Chen Qianyu
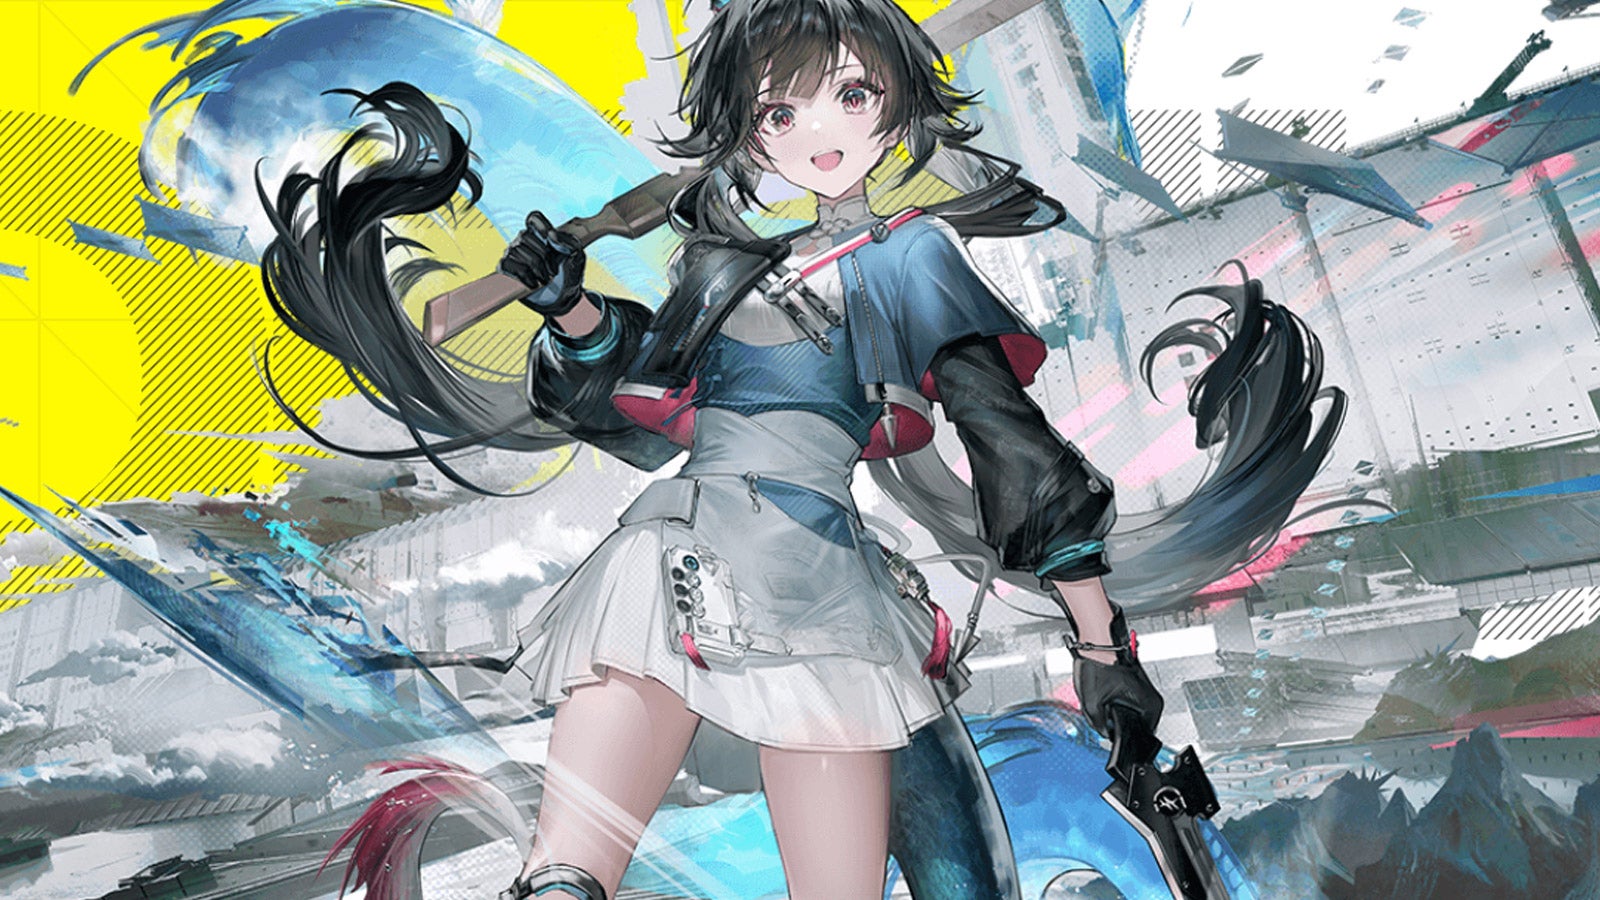
Image credit:Hypergryph / Gryphline
| Rarity: 5-Star | Role: Guard |
|---|---|
| Weapon: Sword | Arts Type: Physical |
| Primary: Agility | Secondary: Strength |
| Pros: + Deals high stagger damage and hits hard in stagger windows. + Applies vulnerability stacks with no-SP cost using her Combo Skill. + A useful all-rounder that’s easy to play, fitting into a range of teams. Cons: - There are Operators with more complex skills that provide stronger team comps. - Isn’t doing anything other physical Operators can’t. |
Chen Qianyu’s role is to debuff and deal big damage, inflicting vulnerability stacks with her Combo Skill and raising stagger to break enemies. She also can inflict lift using her Battle Skill, leaving enemies vulnerable to follow-up attacks.
She’s a key addition to most physical-based teams, with her Combo Skill generating Vulnerability stacks without spending SP. It makes her partner well with Pogranichnik, who consumes vulnerability stacks to deal heavy damage.
The trade-off is that Chen isn’t an Operator that’ll significantly enhance your team or add any nuance to the damage they output. She’s a solid addition, but won’t overhaul how you play, and can probably be subbed out for a different Operator if you feel the squad’s missing something.
Ember
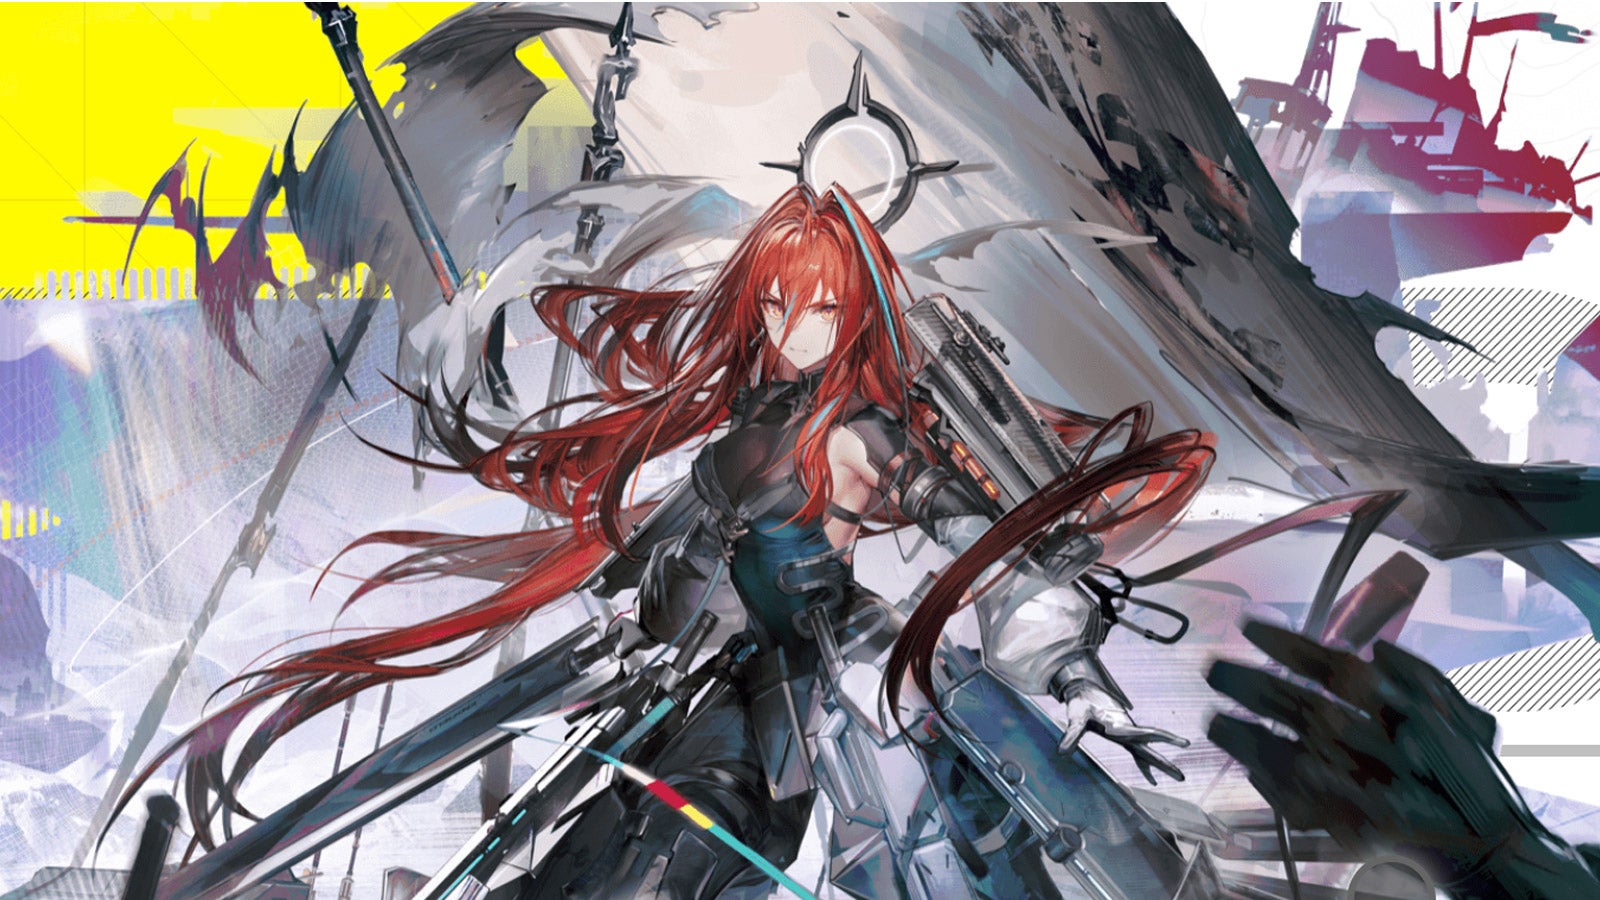
Image credit:Hypergryph / Gryphline
| Rarity: 6-Star | Role: Defender |
|---|---|
| Weapon: Greatsword | Arts Type: Heat |
| Primary: Strength | Secondary: Will |
| Pros: + A useful tank that can break enemy combos. + Deals high stagger damage and can knock down enemies. + Works effectively in most teams. Cons: - Great for protection, but doesn’t offer much else. - Her overall damage output isn’t particularly high. |
Ember’s role is to play defensive for the team, with her Combo Skill allowing her to dash in and knock enemies out of combos when they attack the Controlled Operator, inflicting Knock Down. Her moveset is great for dealing Stagger, with her Battle Skill dealing huge posture damage if an enemy hits her while executing it.
She fits in various team comps, absorbing incoming damage and using an Ultimate that provides Shield to her teammates. Her Battle Skill and Ultimate deal Heat damage too, making her work well with Operators like Akekuri, Wulfgard and Laevatain. That said, her ability to negate damage makes her usable in non-Heat Squads too.
Ember’s protection is pretty much the only reason to have her in a comp, though. Her damage output isn’t particularly high, and she won’t add much in terms of unique skills. She’s a shield, and she plays the part very well, but don’t expect the dynamic of combat to shift if she’s in play.
Lifeng
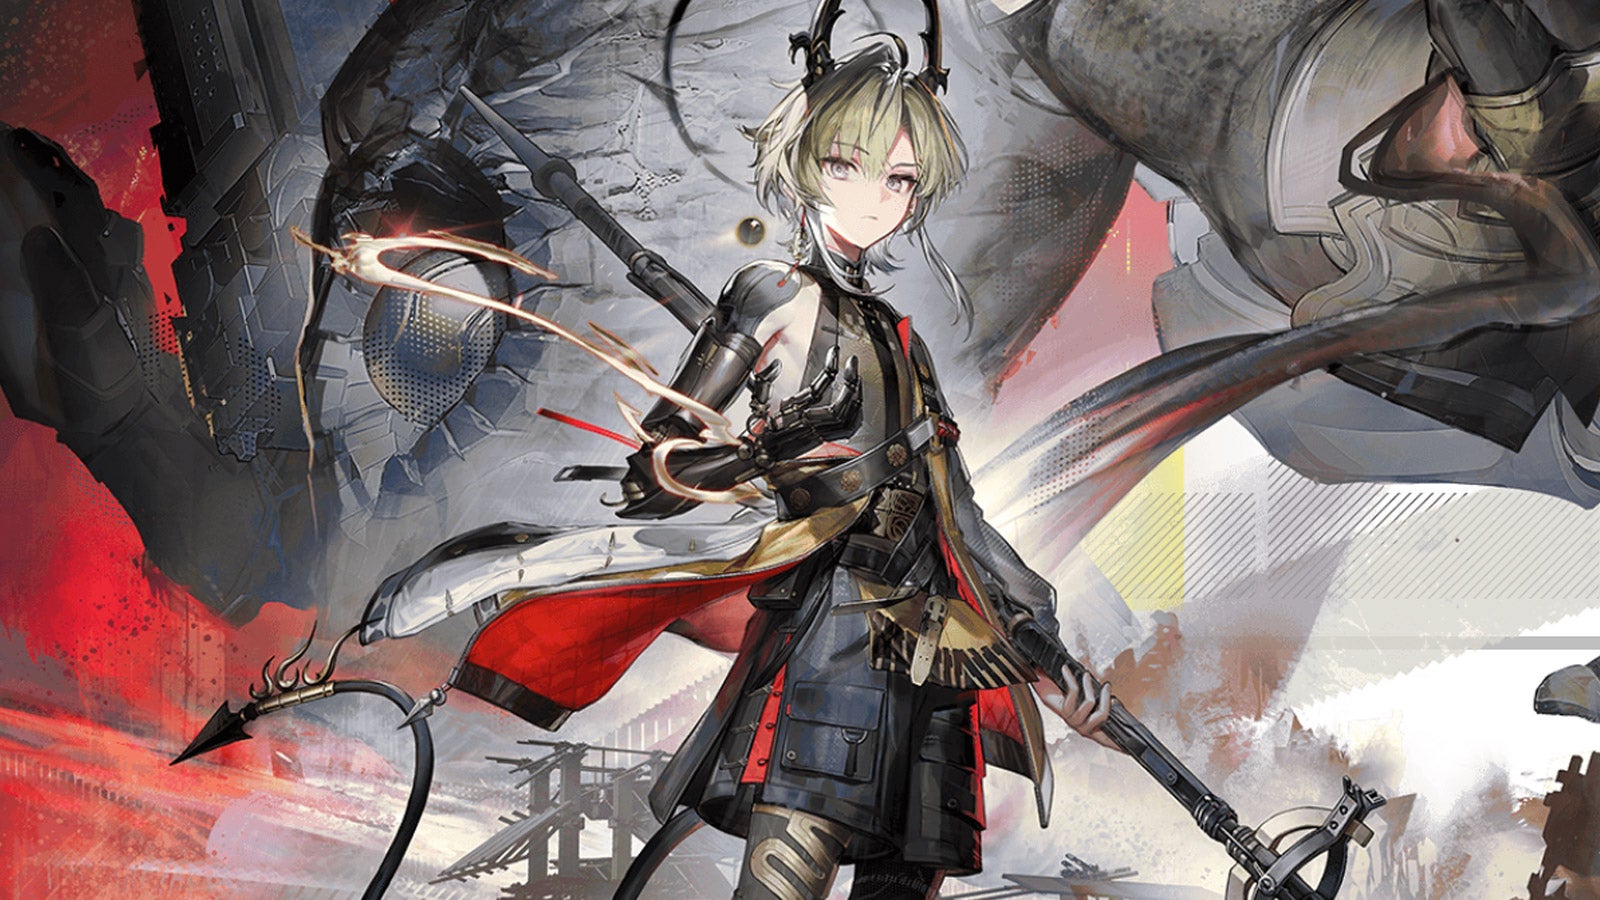
Image credit:Hypergryph / Gryphline
| Rarity: 6-Star | Role: Guard |
|---|---|
| Weapon: Polearm | Arts Type: Physical |
| Primary: Agility | Secondary: Strength |
| Pros: + Offers a unique playstyle for a physical-team. + Can set-up heavy damage by inflicting physical susceptibility. + Can buff other Operators Battle Skills and Ultimates. Cons: - Requires a very specific build to be effective. - Needs constant management to ensure his skills are timed right. |
Lifeng’s abilities are best suited to be the DPS of a physical-based comp, but it needs a specific set-up. That’s because Lifeng can inflict Physical Susceptibility using his Battle Skill, but only if the enemy he’s targeting has no Vulnerability stacks currently affecting it. In an all-Physical team, Physical Susceptibility is a great debuff, as all physical attacks will do increased damage.
He’s best paired with Pogranichnik , who consumes Vulnerability stacks by inflicting Breach. If you can keep Vulnerability Stacks in check, Lifeng can do a ton of damage very quickly, while also buffing other Operators’ attacks with his Combo Skill. Good team comps for Lifeng almost always include Pogranichnik, as well as Endministrator, Chen or Da Pan.
Lifeng’s skills force him into a specific comp, though, and you’ll likely be tailoring a build entirely around him, which doesn’t make him very versatile. He also requires constant management, as you have to make sure you’re removing Vulnerability stacks to inflict Physical Susceptibility.
Perlica
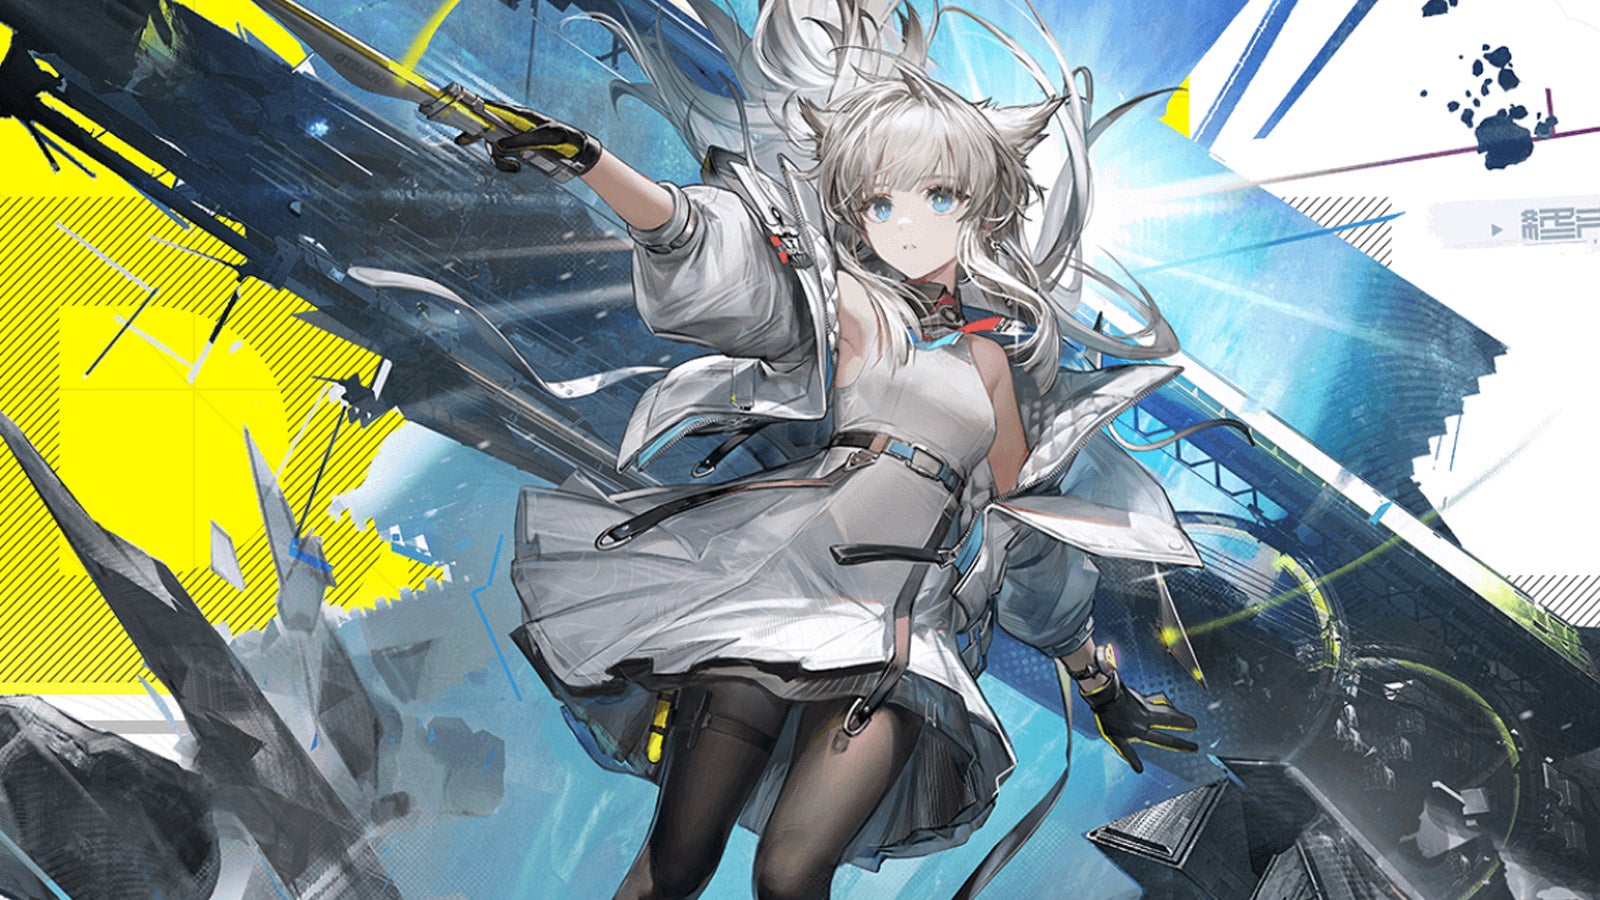
Image credit:Hypergryph / Gryphline
| Rarity: 5-Star | Role: Caster |
|---|---|
| Weapon: Arts Unit | Arts Type: Electric |
| Primary: Intellect | Secondary: Will |
| Pros: + Easily inflicts Electrification with her Combo Skill. + Fits into any Arts-based team comp. Cons: - Underwhelming Battle Skill. |
Perlica is the staunchest of The Endministrator’s companions at the beginning of the game, but aside from a very easily triggered Combo Skill (which applies on any Final Strike), Perlica is only very effective in teams which focus on Arts Damage - particularly Electric like her. In those cases, her ability to forcibly inflict Electrification (which makes the enemy take more Arts Damage) gives her some real value from the backline.
The rest of Perlica’s toolkit is a bit lacking, although her Ultimate certainly packs enough of a punch to be useful in general fights. Her greatest asset is that Combo Skill, and you’ll only get full value from her if you’re making the most of it at every opportunity.
Wulfgard
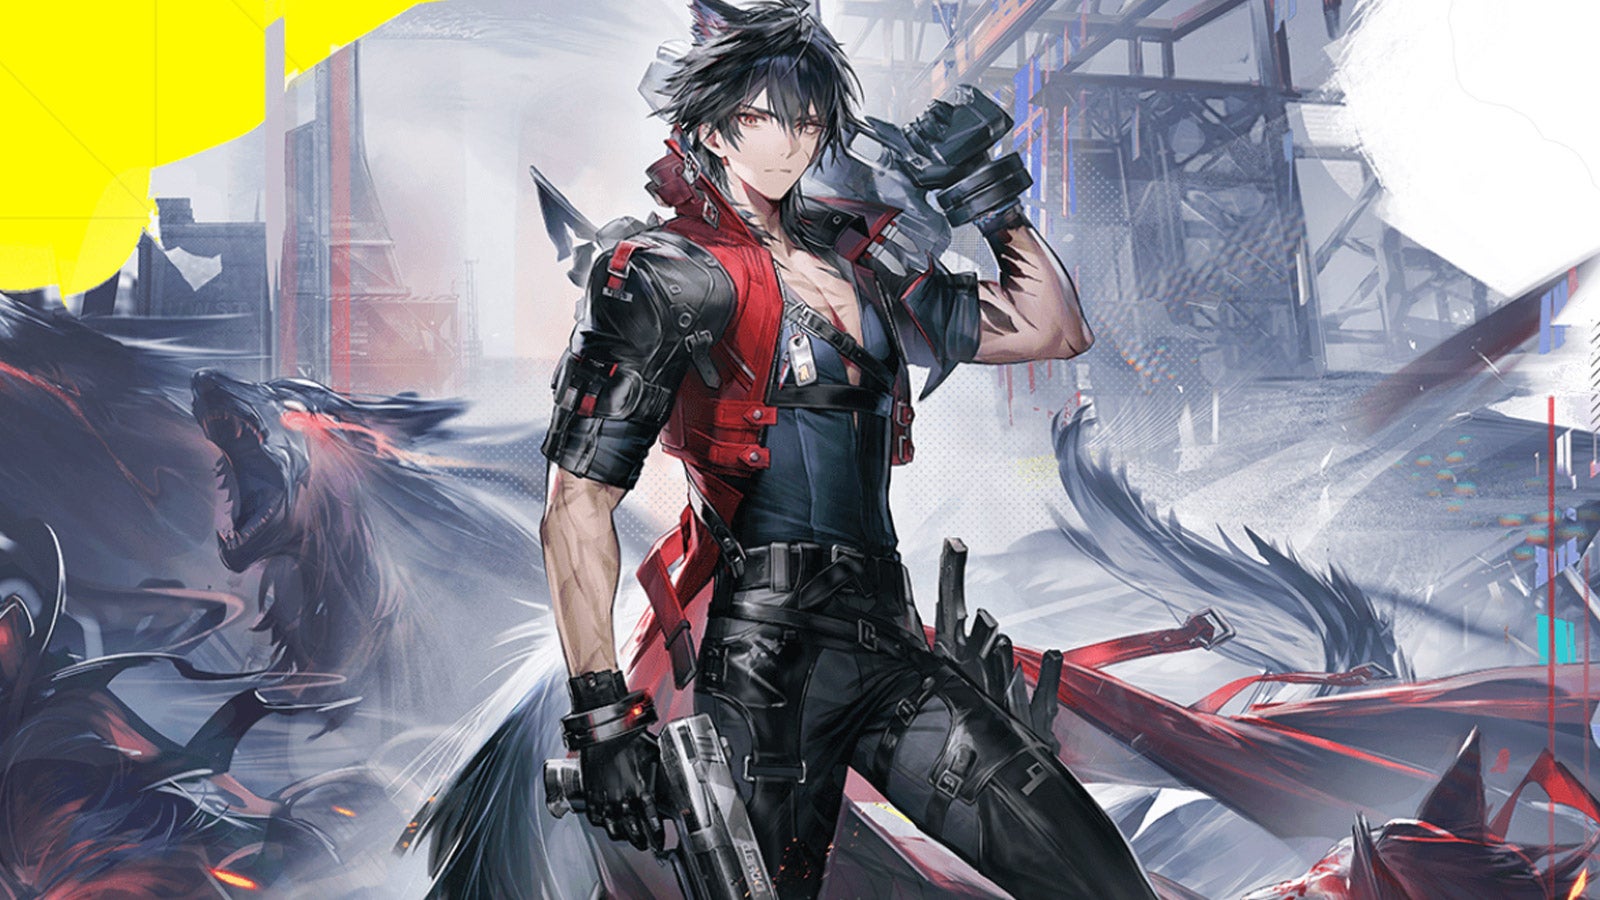
Image credit:Hypergryph / Gryphline
| Rarity: 5-Star | Role: Caster |
|---|---|
| Weapon: Handcannon | Arts Type: Heat |
| Primary: Strength | Secondary: Agility |
| Pros: + Straightforward and dependable DPS. + Core part of most Heat teams; applies Heat Infliction/Burst very easily. Cons: - Harder to slot into non-Heat focused teams. - Requires max Potential for full value. |
Wulfgard’s greatest strength is the ease with which he applies Heat Infliction, particularly once you reach Potential 5, which resets his Battle Skill cooldown upon Ulting. He slots well into almost any heat-based team, but he’s never the star character there (that accolade usually belongs to Laevatain).
Still, Wulfgard is a powerful ranged DPS Operator in his own right, and while his kit makes it less intuitive to inject him in a non-heat team, he can still provide a lot of value as your main damage-dealer, particularly earlier on in Arknights: Endfield.
Alesh
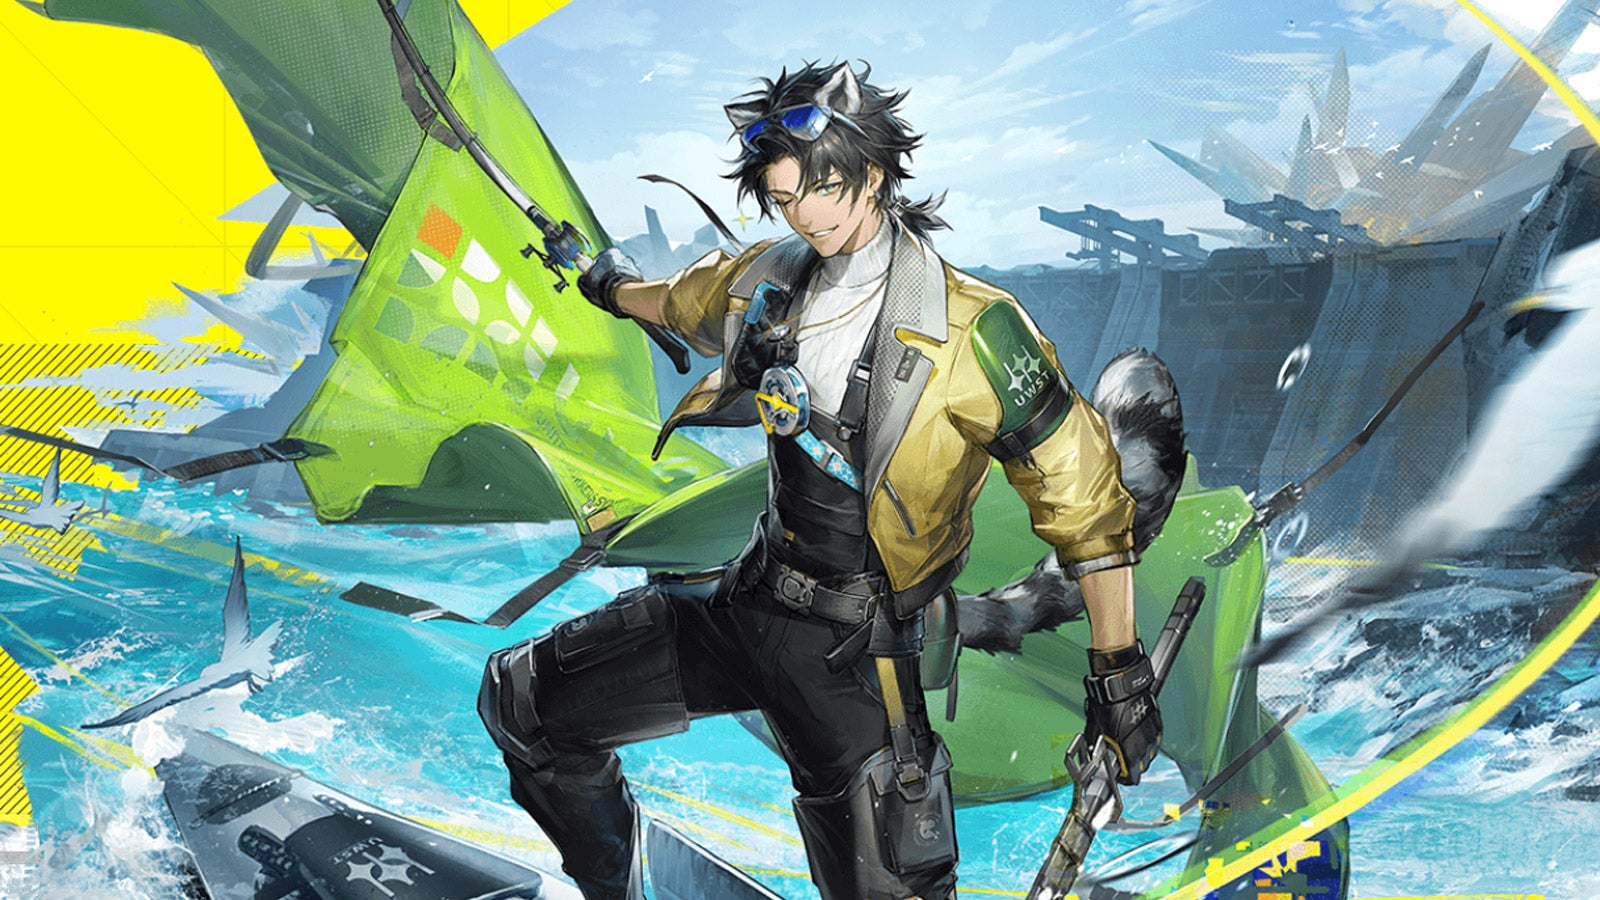
Image credit:Hypergryph / Gryphline
| Rarity: 5-Star | Role: Vanguard |
|---|---|
| Weapon: Sword | Arts Type: Cryo |
| Primary: Strength | Secondary: Intellect |
| Pros: + Consumes Cryo Infliction to recover SP. + A useful Vanguard for a Cryo comp. Cons: - Has a lower damage output than most Vanguards. - There are better Cryo units to take his place in a comp. |
As with most Vanguards, Alesh is a very useful on a Cryo team. His Battle Skill consumes Cryo Infliction to apply Solidification and regenerate SP, which can fuel other party members’ Battle Skills.
Alongside Operators like Xaihi, Snowshine, Last Rite and Yvonne, he excels, turning their Cryo Infliction into SP and damage. However, Alesh isn’t the best Cryo comp member if you’ve managed to pull better squad mates, namely Last Rite and Yvonne.
His damage output is severely lacking, especially compared to other Vanguards, and his talent for turning Cryo Infliction into damage can be usurped by Last Rite’s Battle Skill. Ultimately, though, he’s a useful Cryo team member until you pull some better Operators.
Da Pan
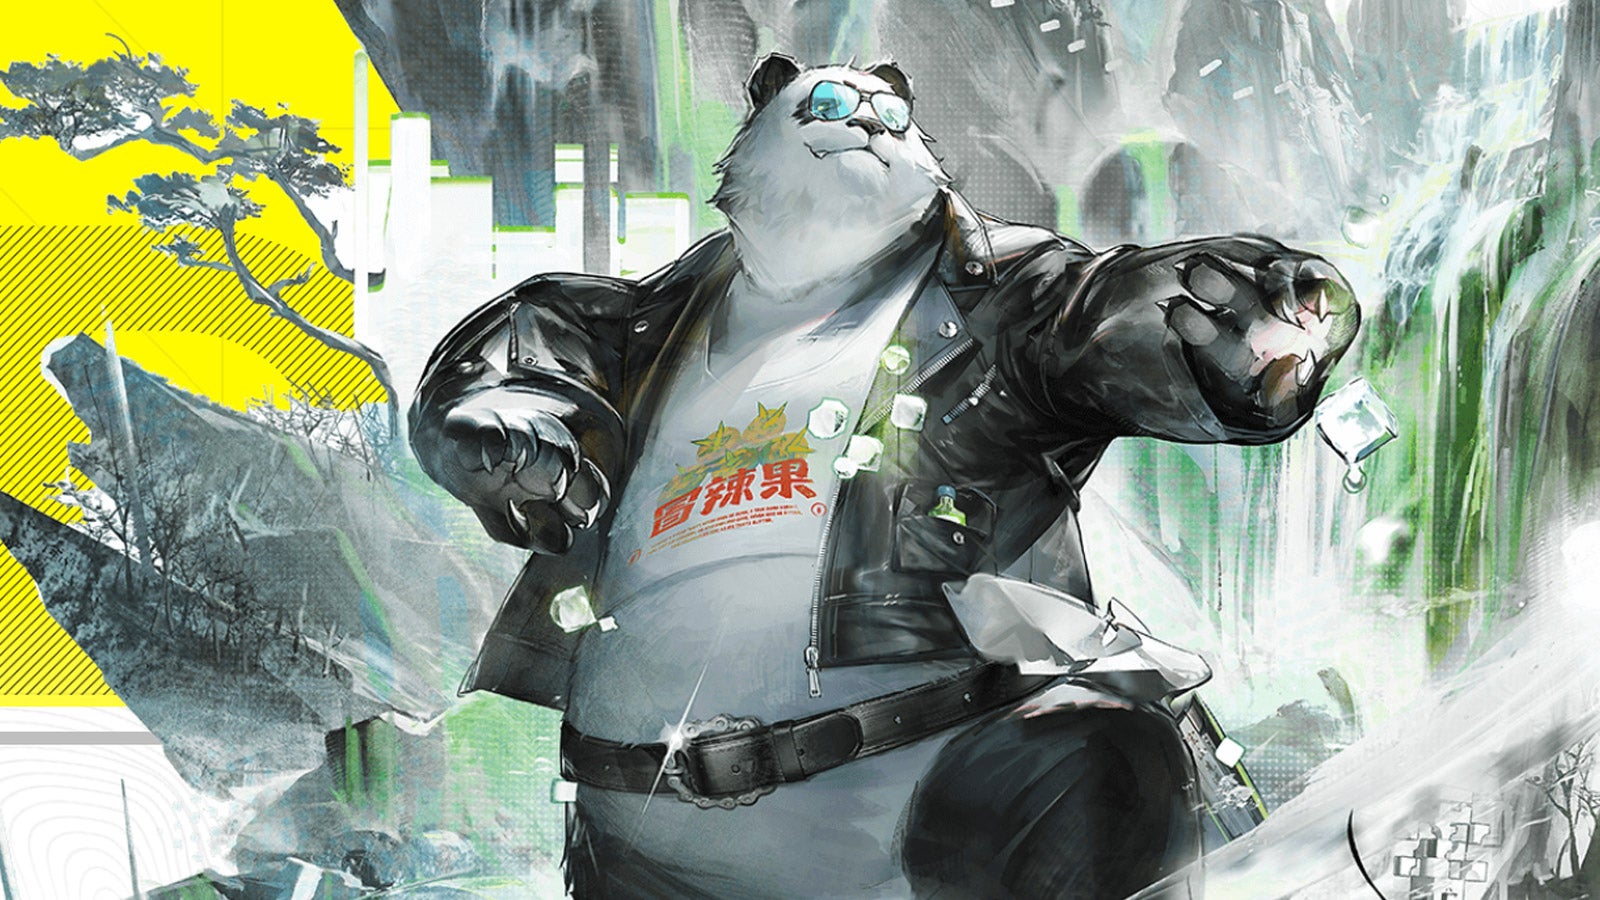
Image credit:Hypergryph / Gryphline
| Rarity: 5-Star | Role: Striker |
|---|---|
| Weapon: Greatsword | Arts Type: Physical |
| Primary: Strength | Secondary: Will |
| Pros: + Can apply and exploit Vulnerability stacks. + Solid tank for a physical comp. + Deals high stagger damage. Cons: - Damage output isn’t as high as other Operators. - Isn’t versatile outside of a physical comp. |
Da Pan is mostly just a Vulnerability-stack generator. His Combo and Battle Skills will both give the debuff, but his Ultimate shines most, seeing him apply Lift to multiple enemies, then Knock Down, both of which apply additional Vulnerability stacks.
His focus on exploiting the Vulnerable status makes him a good combo with Pogranichnik, Endministrator and Chen. Chen and Endministrator also add stacks to enemies, letting Da Pan execute his Combo Skill quicker, while Pogranichnik can consume stacks with Breach, dealing massive damage.
Outside of that, Da Pan isn’t particularly versatile. He only really belongs in a physical team, and even then, he’s merely a generator for Vulnerability stacks, which most physical Operators already have covered. Still, he’s a useful tool, especially as his Ultimate applies Vulnerable to multiple foes at once.
Estella
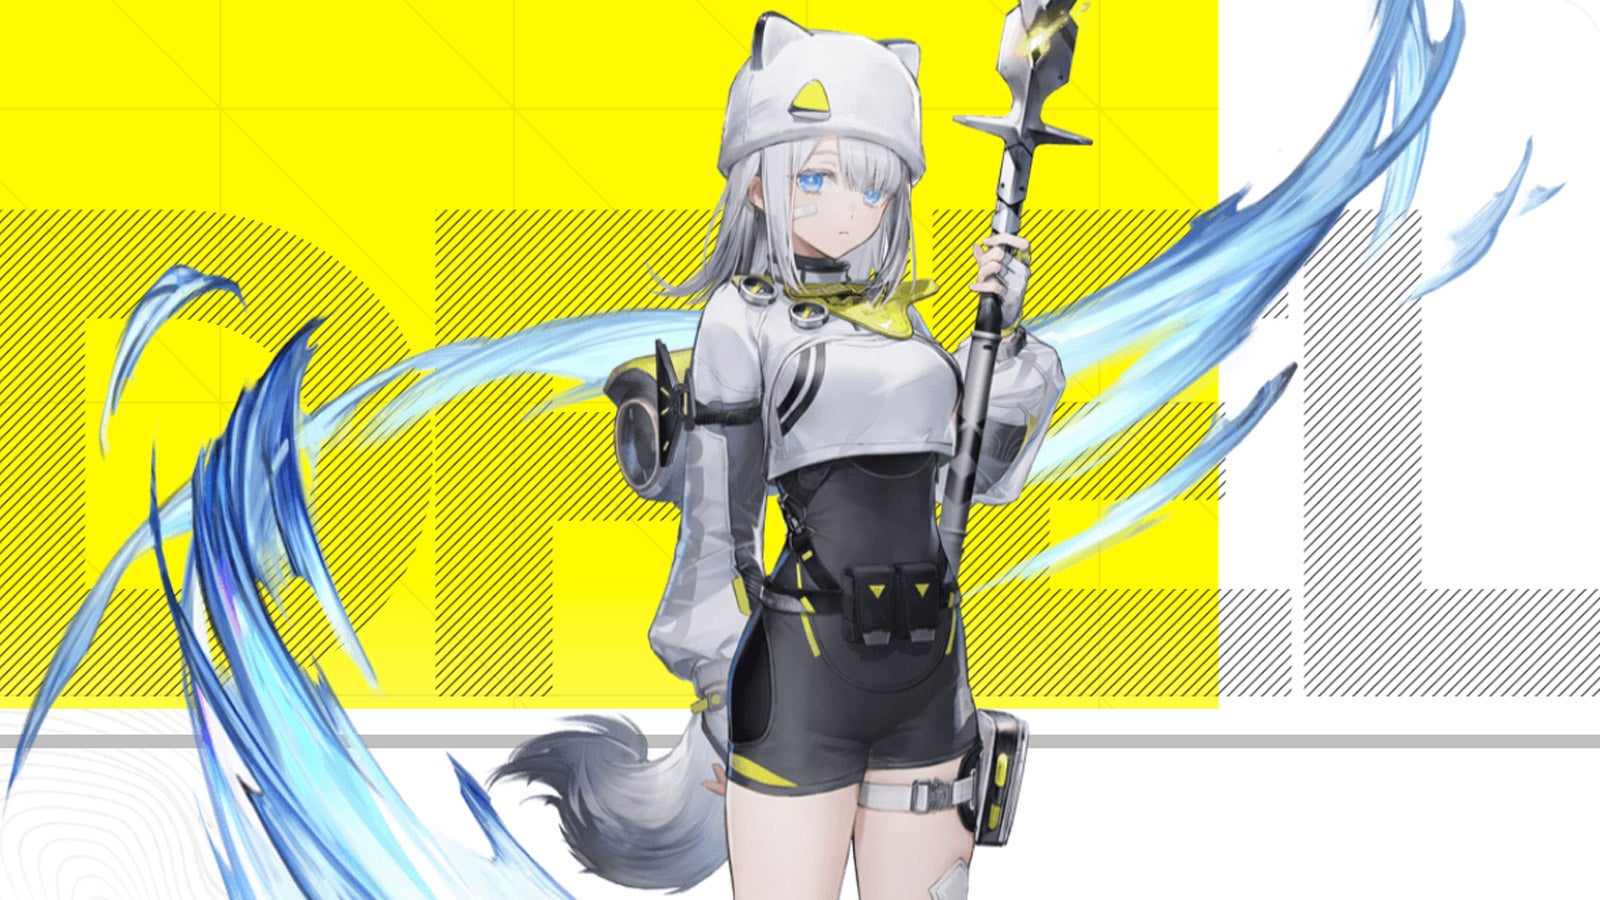
Image credit:Hypergryph / Gryphline
| Rarity: 4-Star | Role: Guard |
|---|---|
| Weapon: Polearm | Arts Type: Cryo |
| Primary: Will | Secondary: Strength |
| Pros: + Access to a strong Solidification > Physical Susceptibility combo. + Very SP efficient. Cons: - Dominates your attack patterns, leaving less room for others. - Only a short window to capitalise on Physical Susceptibility. |
Eternally sleepy Estella requires a lot of work to get true value from her, and so she only really works inside Shatter-based teams. Give an enemy some non-Cryo Arts Infliction, and then follow up with Estella’s Battle Skill to Solidify them. This immediately triggers her Combo Skill, which swaps the Solidification for Physical Susceptibility for a short time, allowing a Physical DPS like Endmin to whale on them.
Having Estella on your team immediately forces you to adhere to a strict order of attacks, and while there’s no denying she’s a powerful asset for those who like to play with the Solidification and Shatter effects, she’s not exactly a meta-defining choice of Operator at the moment.
Snowshine
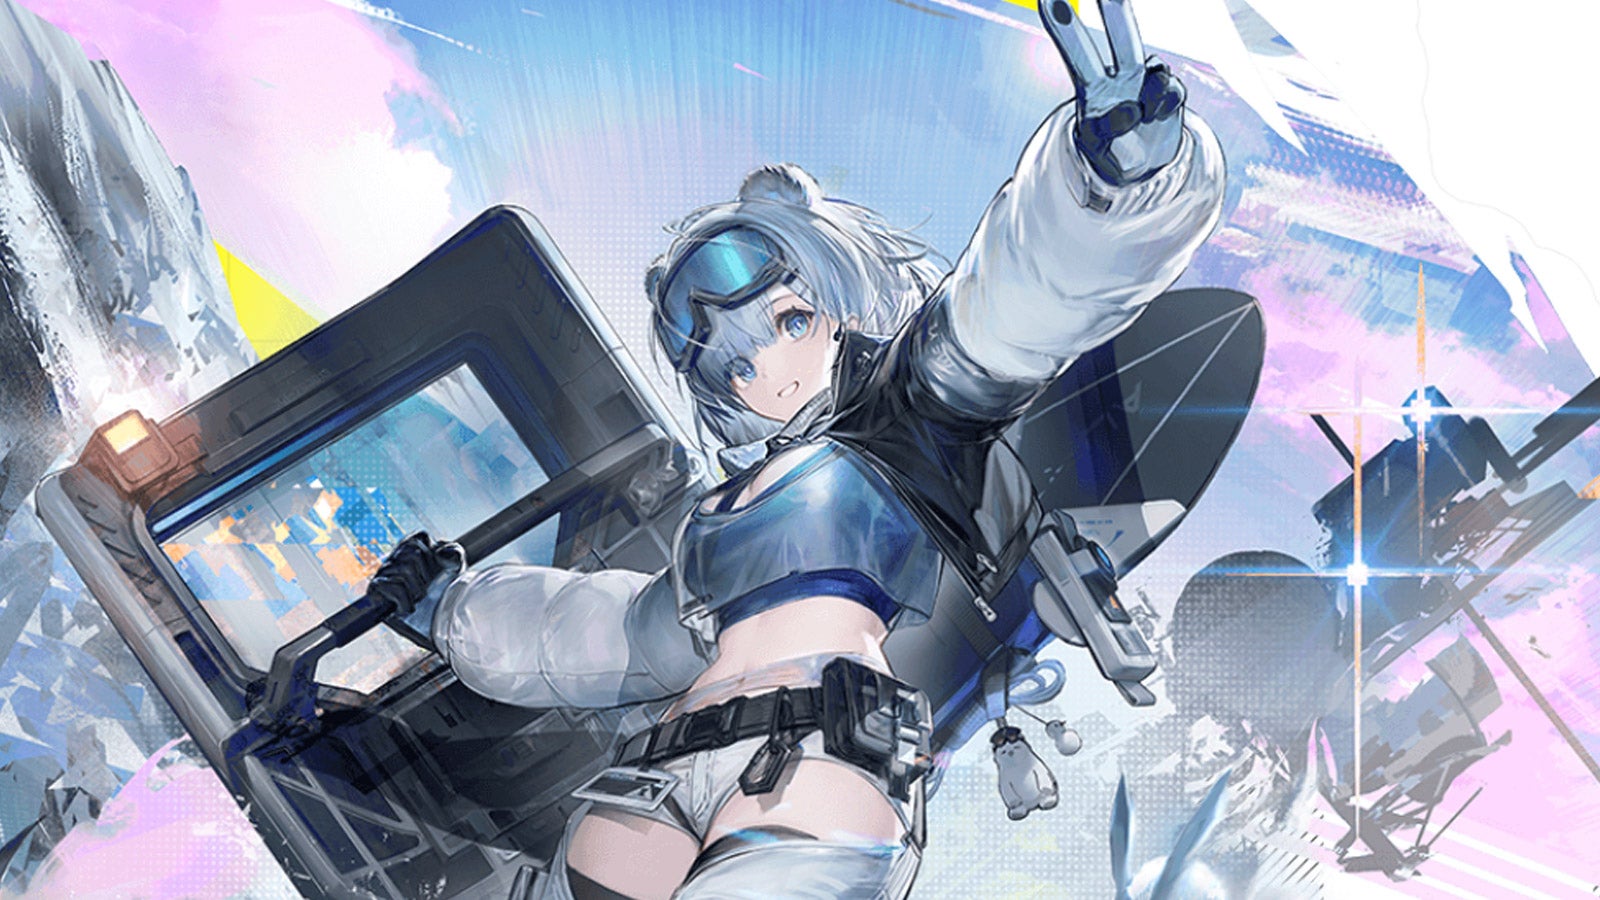
Image credit:Hypergryph / Gryphline
| Rarity: 5-Star | Role: Defender |
|---|---|
| Weapon: Greatsword | Arts Type: Cryo |
| Primary: Strength | Secondary: Will |
| Pros: + Offers both tank and support skills. + Inflicts stagger and Cryo Infliction. + Fits well in a Cryo comp. Cons: - Low damage output. - There are significantly stronger Cryo Operators. |
Snowshine is essentially a Cryo version of Ember , acting as a tank that can intercept enemy damage and support other Operators. Her Combo Skill triggers when an enemy attacks the player-controlled Operator, allowing her to knock foes out of combos and heal allies.
She can also apply Cryo Infliction, which is useful for Operators like Alesh that consume the debuff to power their skills. She’s intended to live in a Cryo comp, alongside the likes of Xaihi, Last Rite, Yvonne, Alesh and Estella.
Snowshine is outclassed by most other Cryo units, though. Her damage output isn’t great, and other Operators have stronger abilities that better benefit the team. Unless you’re really struggling with an enemy’s DPS, you’ll likely enhance your Cryo comp by subbing her out for someone else.
Catcher
Image credit:Hypergryph / Gryphline
| Rarity: 4-Star | Role: Defender |
|---|---|
| Weapon: Greatsword | Arts Type: Physical |
| Primary: Strength | Secondary: Will |
| Pros: + Decent application of Physical status effects. + Situational Protection and Shields. Cons: - Unintuitive Combo Triggers. - Outclassed both in and out of his role. |
Catcher is not in a great place in the current Arknights: Endfield Operator meta right now. His Defender role relies on application of Protection and Shields to the team using either his Battle Skill or his Combo Skill. But the awkward Combo Triggers (when an enemy starts charging up a skill, or when the controlled Operator is attacked and falls below 40% HP) makes it quite irritating to get full value from Catcher’s defensive abilities.
Catcher can deal decent Physical damage for a non-DPS Operator, but it’s generally a better idea to invest in other Operators first. DPS and Healing are more important than Shields in the current meta, and Catcher suffers greatly as a result.
Fluorite
Image credit:Hypergryph / Gryphline
| Rarity: 4-Star | Role: Caster |
|---|---|
| Weapon: Handcannon | Arts Type: Nature |
| Primary: Agility | Secondary: Intellect |
| Pros: + Designed to flexibly sit in either Cryo or Nature teams. Cons: - Underwhelming and high-Cooldown Combo Skill. - Outclassed by others in her element(s). |
It’s easy to see Fluorite’s value in theory . Plant her in a team with a heavy focus on Cryo or Nature Arts (or both), and focus on applying Inflictions as much as possible. Fluorite will use her augmenting abilities to push this strategy to this limit, so you should see lots of Arts Bursts, Solidifications, and Corrosions all over the place.
In reality, she just isn’t that strong in the current meta. Solidification and Corrosion are useful, but if you want to build a team around those effects, there are more powerful options than Fluorite. The most interesting part of her kit is her Combo Skill, but this is significantly hobbled by its very high cooldown (even with the cooldown-reducing “Craver Of Chaos” Potential skill unlocked).
That wraps up our Arknights: Endfield tier list guide, ranging from the very best characters in the game to the most underwhelming. If you want some help pulling for any of these Operators, you can read up on the intricacies of the Arknights: Endfield Pity System . While you’re here, you can also make use of our up-to-date Arknights: Endfield codes list.
If you’re still a new player struggling to figure out the minutiae of Endfield’s various systems, we’ve also got handy explainers ranging from how to increase Power Output of your base to a location guide on how to get Citrome in Arknights: Endfield .
Arknights: Endfield
Android , iOS , PS5 , PC
Rock Paper Shotgun is better when you sign in
Sign in and join us on our journey to discover strange and compelling PC games.

All 75 Arc Raiders Blueprints and where to get them
These areas have the highest chance of giving you Blueprints

Image credit:Rock Paper Shotgun/Embark Studios
Looking for more Arc Raiders Blueprints? It’s a special day when you find a Blueprint, as they’re among the most valuable items in Arc Raiders. If you find a Blueprint that you haven’t already found, then you must make sure you hold onto it at all costs, because Blueprints are the key to one of the most important and powerful systems of meta-progression in the game.
This guide aims to be the very best guide on Blueprints you can find, starting with a primer on what exactly they are and how they work in Arc Raiders, before delving into exactly where to get Blueprints and the very best farming spots for you to take in your search.
We’ll also go over how to get Blueprints from other unlikely activities, such as destroying Surveyors and completing specific quests. And you’ll also find the full list of all 75 Blueprints in Arc Raiders on this page (including the newest Blueprints added with the Cold Snap update , such as the Deadline Blueprint and Firework Box Blueprint), giving you all the information you need to expand your own crafting repertoire.
In this guide:
- What are Blueprints in Arc Raiders?
- Full Blueprint list: All crafting recipes
- Where to find Blueprints in Arc Raiders Blueprints obtained from quests Blueprints obtained from Trials Best Blueprint farming locations

What are Blueprints in Arc Raiders?
Blueprints in Arc Raiders are special items which, if you manage to extract with them, you can expend to permanently unlock a new crafting recipe in your Workshop. If you manage to extract from a raid with an Anvil Blueprint, for example, you can unlock the ability to craft your very own Anvil Pistol, as many times as you like (as long as you have the crafting materials).
To use a Blueprint, simply open your Inventory while in the lobby, then right-click on the Blueprint and click “Learn And Consume” . This will permanently unlock the recipe for that item in your Workshop. As of the Stella Montis update, there are allegedly 75 different Blueprints to unlock - although only 68 are confirmed to be in the game so far. You can see all the Blueprints you’ve found and unlocked by going to the Workshop menu, and hitting “R” to bring up the Blueprint screen.
It’s possible to find duplicates of past Blueprints you’ve already unlocked. If you find these, then you can either sell them, or - if you like to play with friends - you can take it into a match and gift it to your friend so they can unlock that recipe for themselves. Another option is to keep hold of them until the time comes to donate them to the Expedition.
Full Blueprint list: All crafting recipes
Below is the full list of all the Blueprints that are currently available to find in Arc Raiders, and the crafting recipe required for each item:
| Blueprint | Type | Recipe | Crafted At |
|---|---|---|---|
| Bettina | Weapon | 3x Advanced Mechanical Components 3x Heavy Gun Parts 3x Canister | Gunsmith 3 |
| Blue Light Stick | Quick Use | 3x Chemicals | Utility Station 1 |
| Aphelion | Weapon | 3x Magnetic Accelerator 3x Complex Gun Parts 1x Matriarch Reactor | Gunsmith 3 |
| Combat Mk. 3 (Flanking) | Augment | 2x Advanced Electrical Components 3x Processor | Gear Bench 3 |
| Combat Mk. 3 (Aggressive) | Augment | 2x Advanced Electrical Components 3x Processor | Gear Bench 3 |
| Complex Gun Parts | Material | 2x Light Gun Parts 2x Medium Gun Parts 2x Heavy Gun Parts | Refiner 3 |
| Fireworks Box | Quick Use | 1x Explosive Compound 3x Pop Trigger | Explosives Station 2 |
| Gas Mine | Mine | 4x Chemicals 2x Rubber Parts | Explosives Station 1 |
| Green Light Stick | Quick Use | 3x Chemicals | Utility Station 1 |
| Pulse Mine | Mine | 1x Crude Explosives 1x Wires | Explosives Station 1 |
| Seeker Grenade | Grenade | 1x Crude Explosives 2x ARC Alloy | Explosives Station 1 |
| Looting Mk. 3 (Survivor) | Augment | 2x Advanced Electrical Components 3x Processor | Gear Bench 3 |
| Angled Grip II | Mod | 2x Mechanical Components 3x Duct Tape | Gunsmith 2 |
| Angled Grip III | Mod | 2x Mod Components 5x Duct Tape | Gunsmith 3 |
| Hullcracker | Weapon | 1x Magnetic Accelerator 3x Heavy Gun Parts 1x Exodus Modules | Gunsmith 3 |
| Launcher Ammo | Ammo | 5x Metal Parts 1x Crude Explosives | Workbench 1 |
| Anvil | Weapon | 5x Mechanical Components 5x Simple Gun Parts | Gunsmith 2 |
| Anvil Splitter | Mod | 2x Mod Components 3x Processor | Gunsmith 3 |
| ??? | ??? | ??? | ??? |
| Barricade Kit | Quick Use | 1x Mechanical Components | Utility Station 2 |
| Blaze Grenade | Grenade | 1x Explosive Compound 2x Oil | Explosives Station 3 |
| Bobcat | Weapon | 3x Advanced Mechanical Components 3x Light Gun Parts | Gunsmith 3 |
| Osprey | Weapon | 2x Advanced Mechanical Components 3x Medium Gun Parts 7x Wires | Gunsmith 3 |
| Burletta | Weapon | 3x Mechanical Components 3x Simple Gun Parts | Gunsmith 1 |
| Compensator II | Mod | 2x Mechanical Components 4x Wires | Gunsmith 2 |
| Compensator III | Mod | 2x Mod Components 8x Wires | Gunsmith 3 |
| Defibrillator | Quick Use | 9x Plastic Parts 1x Moss | Medical Lab 2 |
| ??? | ??? | ??? | ??? |
| Equalizer | Weapon | 3x Magnetic Accelerator 3x Complex Gun Parts 1x Queen Reactor | Gunsmith 3 |
| Extended Barrel | Mod | 2x Mod Components 8x Wires | Gunsmith 3 |
| Extended Light Mag II | Mod | 2x Mechanical Components 3x Steel Spring | Gunsmith 2 |
| Extended Light Mag III | Mod | 2x Mod Components 5x Steel Spring | Gunsmith 3 |
| Extended Medium Mag II | Mod | 2x Mechanical Components 3x Steel Spring | Gunsmith 2 |
| Extended Medium Mag III | Mod | 2x Mod Components 5x Steel Spring | Gunsmith 3 |
| Extended Shotgun Mag II | Mod | 2x Mechanical Components 3x Steel Spring | Gunsmith 2 |
| Extended Shotgun Mag III | Mod | 2x Mod Components 5x Steel Spring | Gunsmith 3 |
| Remote Raider Flare | Quick Use | 2x Chemicals 4x Rubber Parts | Utility Station 1 |
| Heavy Gun Parts | Material | 4x Simple Gun Parts | Refiner 2 |
| Venator | Weapon | 2x Advanced Mechanical Components 3x Medium Gun Parts 5x Magnet | Gunsmith 3 |
| Il Toro | Weapon | 5x Mechanical Components 6x Simple Gun Parts | Gunsmith 1 |
| Jolt Mine | Mine | 1x Electrical Components 1x Battery | Explosives Station 2 |
| Explosive Mine | Mine | 1x Explosive Compound 1x Sensors | Explosives Station 3 |
| Jupiter | Weapon | 3x Magnetic Accelerator 3x Complex Gun Parts 1x Queen Reactor | Gunsmith 3 |
| Light Gun Parts | Material | 4x Simple Gun Parts | Refiner 2 |
| Lightweight Stock | Mod | 2x Mod Components 5x Duct Tape | Gunsmith 3 |
| Lure Grenade | Grenade | 1x Speaker Component 1x Electrical Components | Utility Station 2 |
| Medium Gun Parts | Material | 4x Simple Gun Parts | Refiner 2 |
| Torrente | Weapon | 2x Advanced Mechanical Components 3x Medium Gun Parts 6x Steel Spring | Gunsmith 3 |
| Muzzle Brake II | Mod | 2x Mechanical Components 4x Wires | Gunsmith 2 |
| Muzzle Brake III | Mod | 2x Mod Components 8x Wires | Gunsmith 3 |
| Padded Stock | Mod | 2x Mod Components 5x Duct Tape | Gunsmith 3 |
| Shotgun Choke II | Mod | 2x Mechanical Components 4x Wires | Gunsmith 2 |
| Shotgun Choke III | Mod | 2x Mod Components 8x Wires | Gunsmith 3 |
| Shotgun Silencer | Mod | 2x Mod Components 8x Wires | Gunsmith 3 |
| Showstopper | Grenade | 1x Advanced Electrical Components 1x Voltage Converter | Explosives Station 3 |
| Silencer I | Mod | 2x Mechanical Components 4x Wires | Gunsmith 2 |
| Silencer II | Mod | 2x Mod Components 8x Wires | Gunsmith 3 |
| Snap Hook | Quick Use | 2x Power Rod 3x Rope 1x Exodus Modules | Utility Station 3 |
| Stable Stock II | Mod | 2x Mechanical Components 3x Duct Tape | Gunsmith 2 |
| Stable Stock III | Mod | 2x Mod Components 5x Duct Tape | Gunsmith 3 |
| Tagging Grenade | Grenade | 1x Electrical Components 1x Sensors | Utility Station 3 |
| Tempest | Weapon | 3x Advanced Mechanical Components 3x Medium Gun Parts 3x Canister | Gunsmith 3 |
| Trigger Nade | Grenade | 2x Crude Explosives 1x Processor | Explosives Station 2 |
| Vertical Grip II | Mod | 2x Mechanical Components 3x Duct Tape | Gunsmith 2 |
| Vertical Grip III | Mod | 2x Mod Components 5x Duct Tape | Gunsmith 3 |
| Vita Shot | Quick Use | 2x Antiseptic 1x Syringe | Medical Lab 3 |
| Vita Spray | Quick Use | 3x Antiseptic 1x Canister | Medical Lab 3 |
| Vulcano | Weapon | 1x Magnetic Accelerator 3x Heavy Gun Parts 1x Exodus Modules | Gunsmith 3 |
| Wolfpack | Grenade | 2x Explosive Compound 2x Sensors | Explosives Station 3 |
| Red Light Stick | Quick Use | 3x Chemicals | Utility Station 1 |
| Smoke Grenade | Grenade | 14x Chemicals 1x Canister | Utility Station 2 |
| Deadline | Mine | 3x Explosive Compound 2x ARC Circuitry | Explosives Station 3 |
| Trailblazer | Grenade | 1x Explosive Compound 1x Synthesized Fuel | Explosives Station 3 |
| Tactical Mk. 3 (Defensive) | Augment | 2x Advanced Electrical Components 3x Processor | Gear Bench 3 |
| Tactical Mk. 3 (Healing) | Augment | 2x Advanced Electrical Components 3x Processor | Gear Bench 3 |
| Yellow Light Stick | Quick Use | 3x Chemicals | Utility Station 1 |
Note: The missing Blueprints in this list likely have not actually been added to the game at the time of writing, because none of the playerbase has managed to find any of them. As they are added to the game, I will update this page with the most relevant information so you know exactly how to get all 75 Arc Raiders Blueprints.
Where to find Blueprints in Arc Raiders
Below is a list of all containers, modifiers, and events which maximise your chances of finding Blueprints:
- Certain quests reward you with specific Blueprints .
- Completing Trials has a high chance of offering Blueprints as rewards.
- Surveyors have a decent chance of dropping Blueprints on death.
- High loot value areas tend to have a greater chance of spawning Blueprints.
- Night Raids and Storms may increase rare Blueprint spawn chances in containers.
- Containers with higher numbers of items may have a higher tendency to spawn Blueprints. As a result, Blue Gate (which has many “large” containers containing multiple items) may give you a higher chance of spawning Blueprints.
- Raider containers (Raider Caches, Weapon Boxes, Medical Bags, Grenade Tubes) have increased Blueprint drop rates. As a result, the Uncovered Caches event gives you a high chance of finding Blueprints.
- Security Lockers have a higher than average chance of containing Blueprints.
- Certain Blueprints only seem to spawn under specific circumstances: Tempest Blueprint only spawns during Night Raid events. Vulcano Blueprint only spawns during Hidden Bunker events. Jupiter and Equaliser Blueprints only spawn during Harvester events.

Raider Caches, Weapon Boxes, and other raider-oriented container types have a good chance of offering Blueprints. |Image credit:Rock Paper Shotgun/Embark Studios
Blueprints have a very low chance of spawning in any container in Arc Raiders, around 1-2% on average. However, there is a higher chance of finding Blueprints in particular container types. Specifically, you can find more Blueprints in Raider containers and security lockers.
Beyond this, if you’re looking for Blueprints you should focus on regions of the map which are marked as having particularly high-value loot. Areas such as the Control Tower in Dam Battlegrounds, the Arrival and Departure Buildings in Spaceport, and Pilgrim’s Peak in Blue Gate all have a better-than-average chance of spawning Blueprints somewhere amongst all their containers. Night Raids and Electromagnetic Storm events also increase the drop chances of certain Blueprints .
In addition to these containers, you can often loot Blueprints from destroyed Surveyors - the largest of the rolling ball ARC. Surveyors are more commonly found on the later maps - Spaceport and Blue Gate - and if one spawns in your match, you’ll likely see it by the blue laser beam that it casts into the sky while “surveying”.
Surveyors are quite well-armoured and will very speedily run away from you once it notices you, but if you can take one down then make sure you loot all its parts for a chance of obtaining certain unusual Blueprints.
Blueprints obtained from quests
One way in which you can get Blueprints is by completing certain quests for the vendors in Speranza. Some quests will reward you with a specific item Blueprint upon completion, so as long as you work through all the quests in Arc Raiders, you are guaranteed those Blueprints.
Here is the full list of all Blueprints you can get from quest rewards:
- Trigger Nade Blueprint: Rewarded after completing “Sparks Fly”.
- Lure Grenade Blueprint: Rewarded after completing “Greasing Her Palms”.
- Burletta Blueprint: Rewarded after completing “Industrial Espionage”.
- Hullcracker Blueprint (and Launcher Ammo Blueprint): Rewarded after completing “The Major’s Footlocker”.
Alas, that’s only 4 Blueprints out of a total of 75 to unlock, so for the vast majority you will need to find them yourself during a raid. If you’re intent on farming Blueprints, then it’s best to equip yourself with cheap gear in case you lose it, but don’t use a free loadout because then you won’t get a safe pocket to stash any new Blueprint you find. No pain in Arc Raiders is sharper than failing to extract with a new Blueprint you’ve been after for a dozen hours already.

One of the best ways to get Blueprints is by hitting three stars on all five Trials every week. |Image credit:Rock Paper Shotgun/Embark Studios
Blueprints obtained from Trials
One of the very best ways to get Blueprints is as rewards for completing Trials in Arc Raiders. Trials are unlocked from Level 15 onwards, and allow you to earn rewards by focusing on certain tasks over the course of several raids. For example, one Trial might task you with dealing damage to Hornets, while another might challenge you to loot Supply Drops.
Trials refresh on a weekly basis, with a new week bringing five new Trials. Each Trial can offer up to three rewards after passing certain score milestones, and it’s possible to receive very high level loot from these reward crates - including Blueprints. So if you want to unlock as many Blueprints as possible, you should make a point of completing as many Trials as possible each week.
Best Blueprint farming locations
The very best way to get Blueprints is to frequent specific areas of the maps which combine high-tier loot pools with the right types of containers to search. Here are my recommendations for where to find Blueprints on every map, so you can always keep the search going for new crafting recipes to unlock.

Image credit:Rock Paper Shotgun/Embark Studios
Dam Battlegrounds
The best places to farm Blueprints on Dam Battlegrounds are the Control Tower, Power Generation Complex, Ruby Residence, and Pale Apartments . The first two regions, despite only being marked on the map as mid-tier loot, contain a phenomenal number of containers to loot. The Control Tower can also contain a couple of high-tier Security Lockers - though of course, you’ll need to have unlocked the Security Breach skill at the end of the Survival tree.
There’s also a lot of reporting amongst the playerbase that the Residential areas in the top-left of the map - Pale Apartments and Ruby Residence - give you a comparatively strong chance of finding Blueprints. Considering their size, there’s a high density of containers to loot in both locations, and they also have the benefit of being fairly out of the way. So you’re more likely to have all the containers to yourself.
Buried City
The best Blueprint farming locations on Buried City are the Santa Maria Houses, Grandioso Apartments, Town Hall, and the various buildings of the New District . Grandioso Apartments has a lower number of containers than the rest, but a high chance of spawning weapon cases - which have good Blueprint drop rates. The others are high-tier loot areas, with plenty of lootable containers - including Security Lockers.
Spaceport
The best places to find Blueprints on Spaceport are the Arrival and Departure Buildings, as well as Control Tower A6 and the Launch Towers . All these areas are labelled as high-value loot regions, and many of them are also very handily connected to one another by the Spaceport wall, which you can use to quickly run from one area to the next. At the tops of most of these buildings you’ll find at least one Security Locker, so this is an excellent farming route for players looking to find Blueprints.
The downside to looting Blueprints on Spaceport is that all these areas are hotly contested, particularly in Duos and Squads. You’ll need to be very focused and fast in order to complete the full farming route.

Image credit:Rock Paper Shotgun/Embark Studios
Blue Gate
Blue Gate tends to have a good chance of dropping Blueprints, potentially because it generally has a high number of containers which can hold lots of items; so there’s a higher chance of a Blueprint spawning in each container. In my experience, the best Blueprint farming spots on Blue Gate are Pilgrim’s Peak, Raider’s Refuge, the Ancient Fort, and the Underground Complex beneath the Warehouse .
All of these areas contain a wealth of containers to loot. Raider’s Refuge has less to loot, but the majority of the containers in and around the Refuge are raider containers, which have a high chance of containing Blueprints - particularly during major events.
Stella Montis
On the whole, Stella Montis seems to have a very low drop rate for Blueprints (though a high chance of dropping other high-tier loot). If you do want to try farming Blueprints on this map, the best places to find Blueprints in Stella Montis are Medical Research, Assembly Workshop, and the Business Center . These areas have the highest density of containers to loot on the map.
In addition to this, the Western Tunnel has a few different Security Lockers to loot, so while there’s very little to loot elsewhere in this area of the map, it’s worth hitting those Security Lockers if you spawn there at the start of a match.
That wraps up this primer on how to get all the Blueprints in Arc Raiders as quickly as possible. With the Expedition system constantly resetting a large number of players’ Blueprints, it’s more important than ever to have the most up-to-date information on where to find all these Blueprints.
While you’re here, be sure to check out our Arc Raiders best guns tier list , as well as our primers on the best skills to unlock and all the different Field Depot locations on every map.

ARC Raiders
PS5 , Xbox Series X/S , PC
Rock Paper Shotgun is better when you sign in
Sign in and join us on our journey to discover strange and compelling PC games.
