All Lethal Company monsters and how to beat them
Here’s all the monsters in Lethal Company and how to beat them

Image credit:Rock Paper Shotgun/Zeekerss

Looking for a list of all Lethal Company monsters and ways to beat them? As you explore to find scrap in Lethal Company and meet your quota for ‘The Company’, you’ll come across various monsters. As of writing, there are 19 monsters in Lethal Company .
These monsters range from amusing to outright terrifying and are the main obstacle in your way to achieving sweet, sweet profit. With a host of horrors generated on different moons, you’ll need a list of all monsters in Lethal Company to learn their various weaknesses and ensure your survival. Join us as we go through each monster currently in the game and the best ways to deal with them.
All Lethal Company monsters
- Baboon Hawk
- Bracken
- Bunker Spider
- Circuit Bees
- Coil-head
- Earth Leviathan
- Eyeless Dog
- Forest Keeper
- Ghost Girl in Red Dress
- Hoarding Bug
- Hygrodere
- Jester
- Manticoil
- Nutcracker
- Roaming Locusts
- Snare Flea
- Spore Lizard
- The Masked
- Thumper

Baboon Hawk
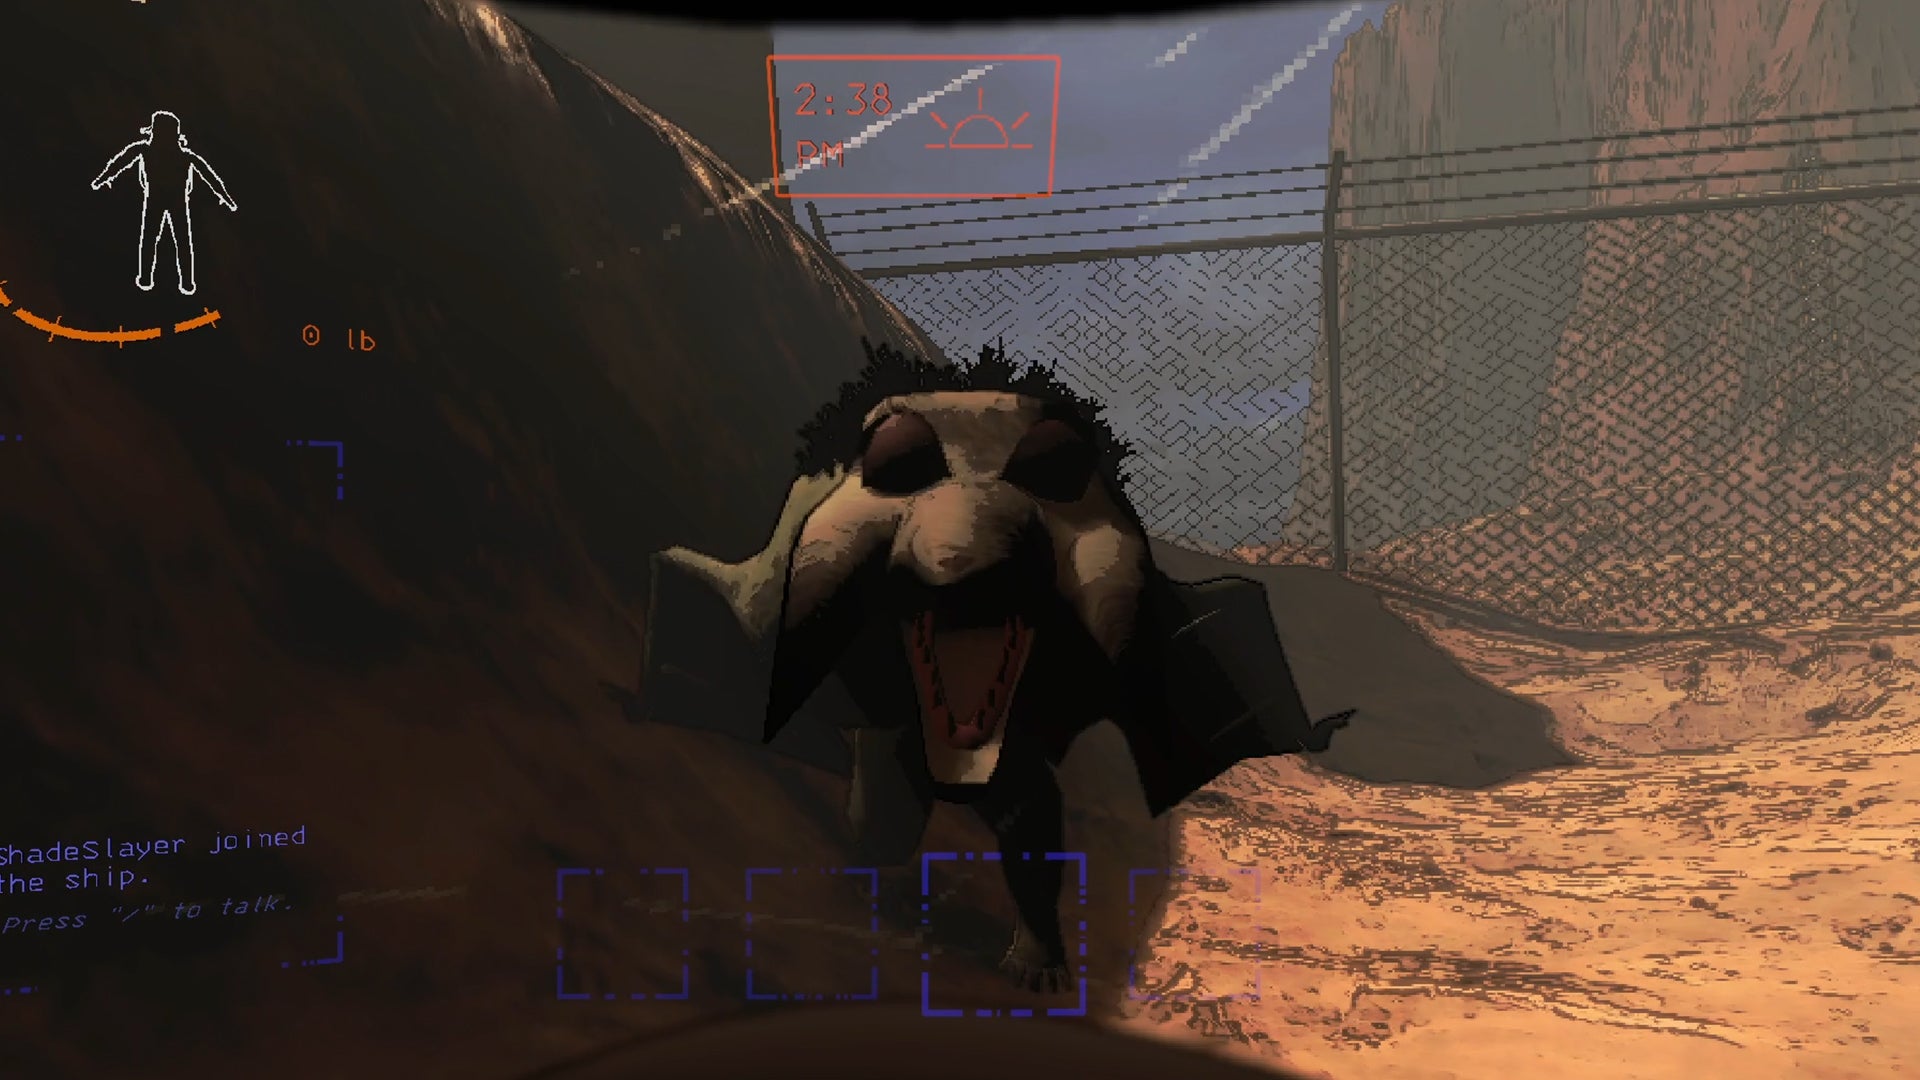
Image credit:Rock Paper Shotgun/Zeekerss
- Location: Outdoors
- Threat level: Low
- How to beat/evade: Drop your loot and run or use a Shovel or Zap Gun to kill it
- Key features: They are likely to group together in the evenings. They have baboon faces and bat-like wings
The Baboon Hawk is a curious creature as it tends to pick on players who are carrying loot. For this reason, it’s best to drop what you’re holding and run (particularly if there is a large group of them). That is unless you have a weapon and want to risk fending it off. There will usually be one or two outdoors during the day but this will increase to larger groups of four or five in the evening hours.
Bracken
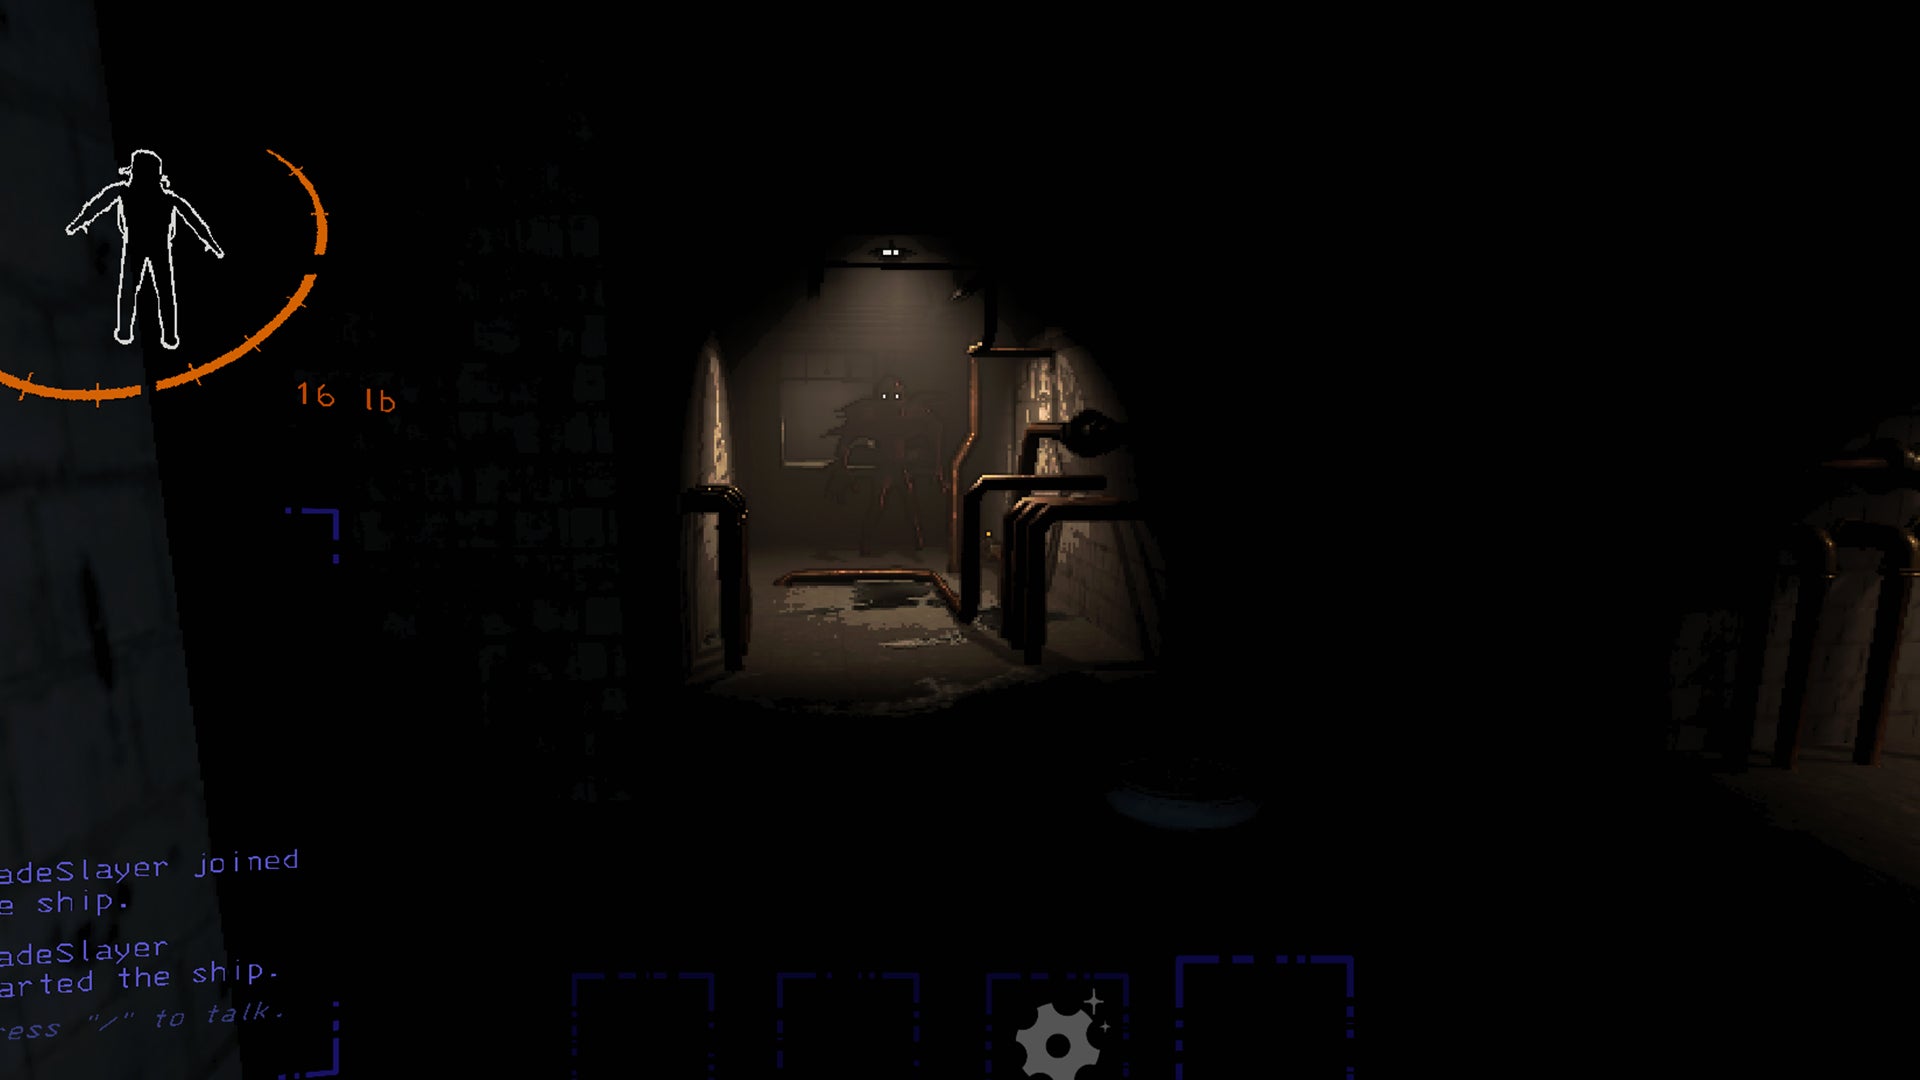
Image credit:Rock Paper Shotgun/Zeekerss
- Location: Indoors
- Threat level: Medium/high
- How to beat/evade: Don’t look at it and back away. Use a Zap Gun to stun him, followed by successful Shovel attacks
- Key features: The Bracken looks like a shadow figure with branches coming out of its body. You’ll usually see its glowing eyes first
The Bracken is a common jump scare in Lethal Company. This little terror will sneak up at you indoors and will usually run towards you if you look directly at its face. For this reason, try to avoid prolonged stares and move away from him.
You may get an inkling that The Bracken is nearby if you find a large wood-panelled room called a ‘Bracken Room’ which acts as a spawn point for these troublesome ghouls. Otherwise, you may hear a change in the ambient music.
Bunker Spider
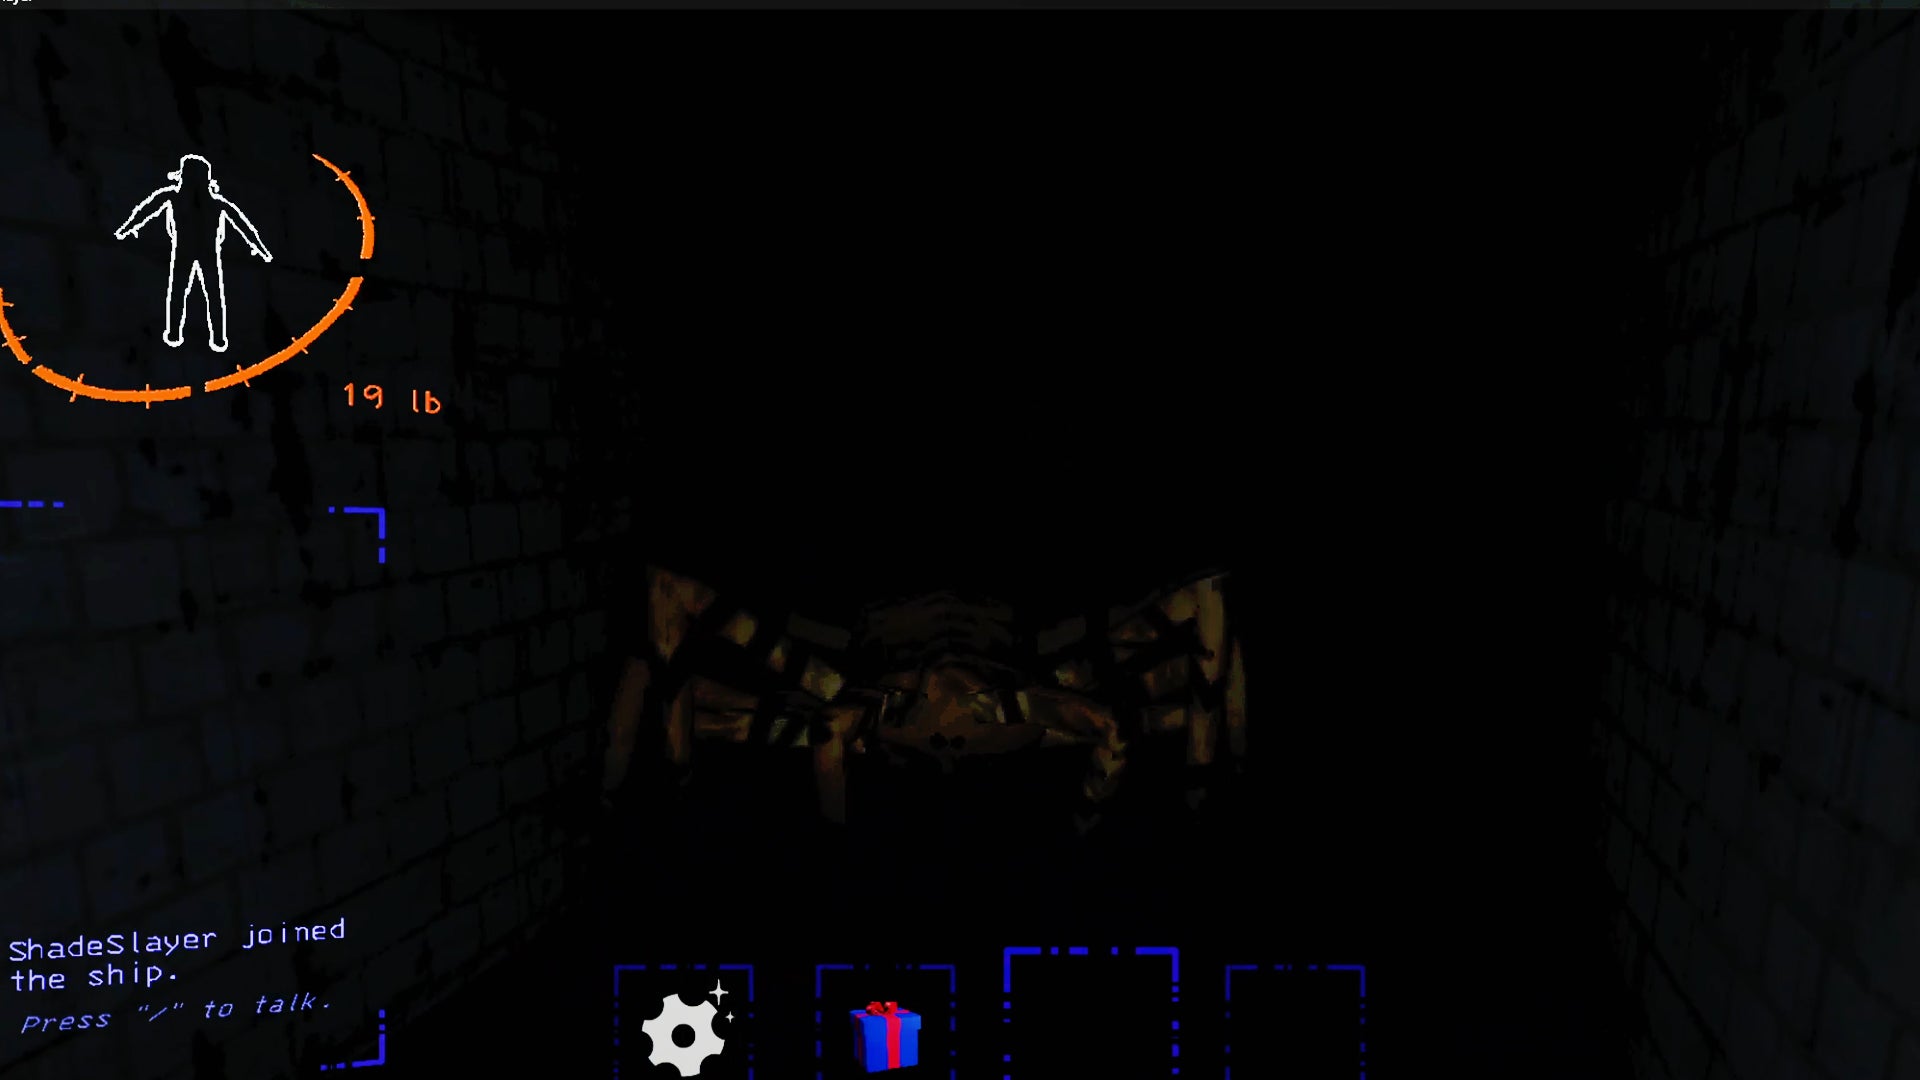
Image credit:Rock Paper Shotgun/Zeekerss
- Location: Indoors
- Threat level: Medium
- How to beat/evade: Destroy any webs you encounter with weapons. Hit it with a Shovel or other weapon to defeat it
- Key features: Touching bunker spider webs will alert monsters of your presence
Bunker Spiders are nasty specimens that hang around indoors, weaving webs to trick any unwitting players. The issue is that once you collide with said webs, this will alert any nearby monsters of your location. If this happens your best bet is to haul yourself out of there and don’t bother looking back.
Circuit Bees
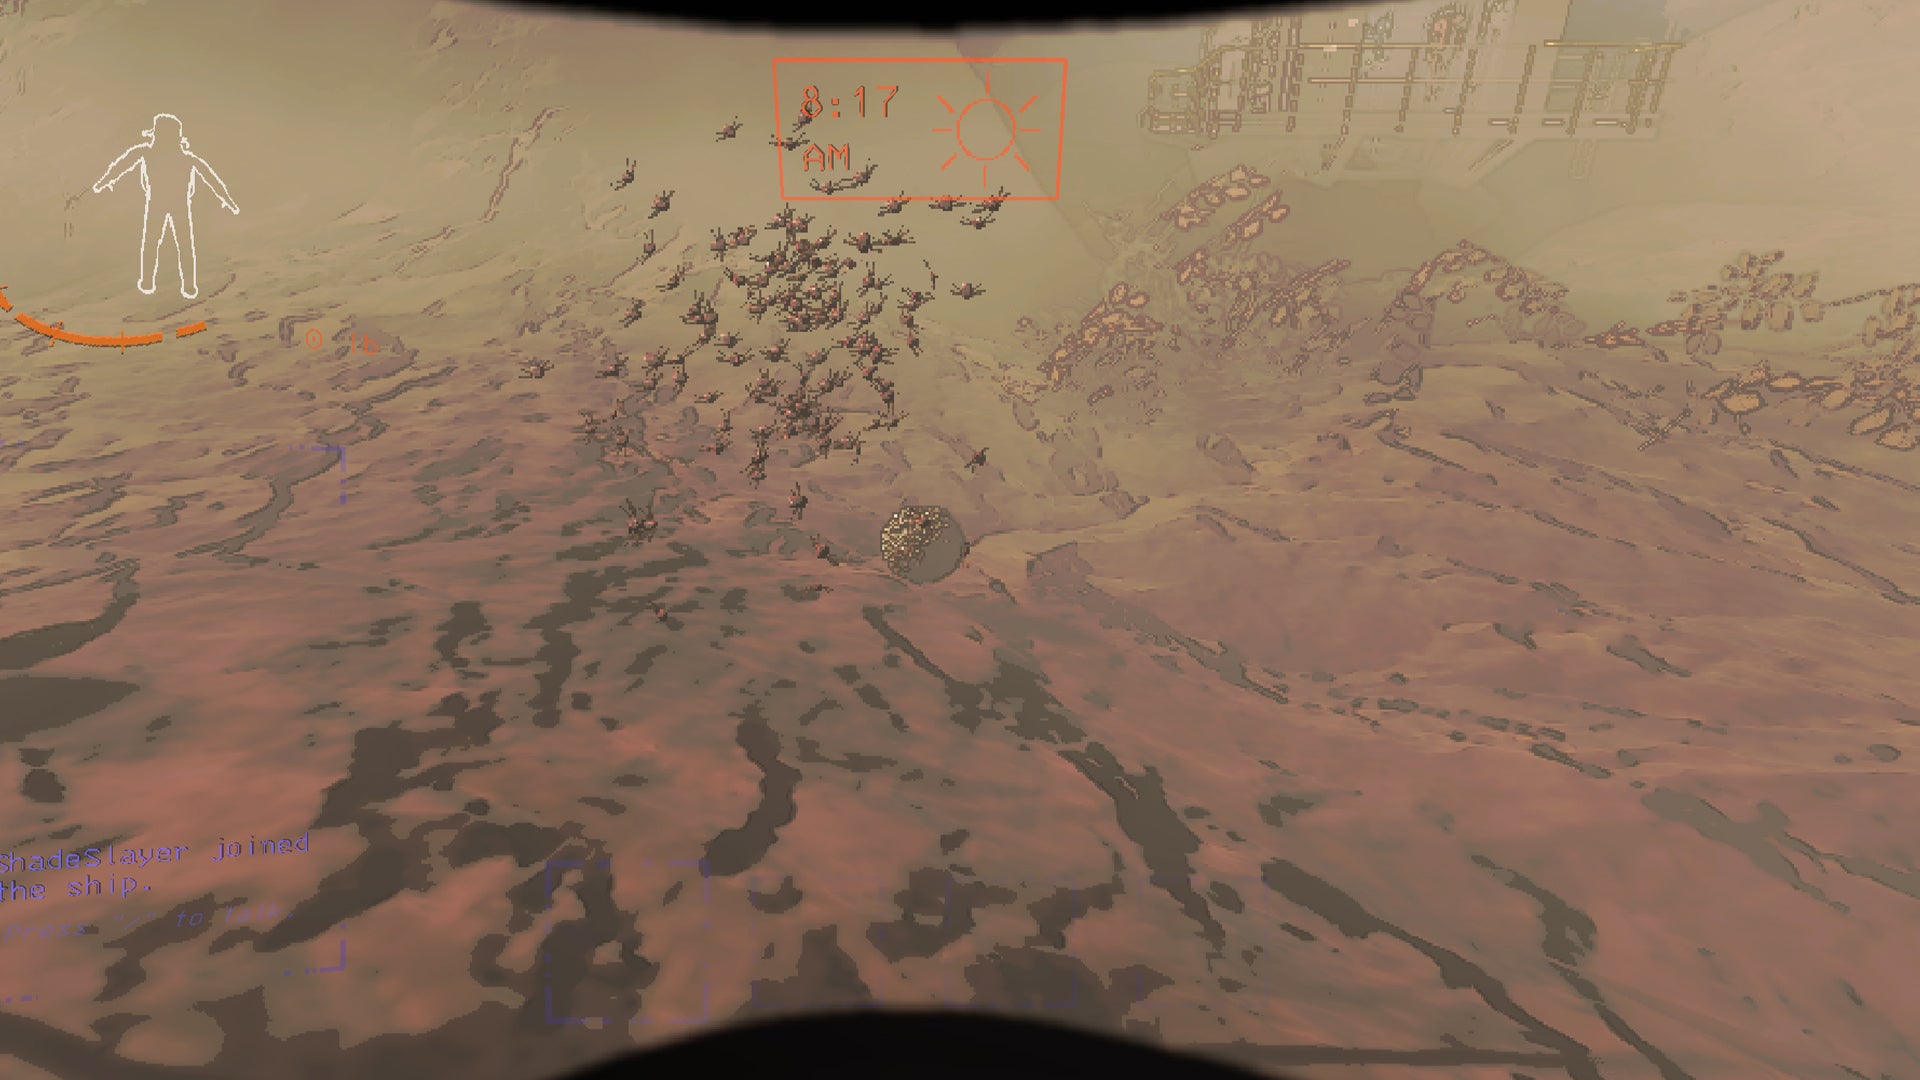
Image credit:Rock Paper Shotgun/Zeekerss
- Location: Outdoors
- Threat level: Low
- How to beat/evade: Sprint away and generally try to avoid any hives
- Key features: They cluster around bee hives outdoors
Although it will take a while for Circuit Bees to sting you to death, they assuredly will if you don’t get away from them. That being said, there is currently no way to kill bees so your best bet is to just avoid them.
If you are feeling brave, an empty bee hive will usually sell for around 100 credits. To successfully get one you’ll need a team member to act as bait and get the bees to chase them whilst you pick up the hive. This is a risky tactic but can be worth it for the quota.
Coil-Head
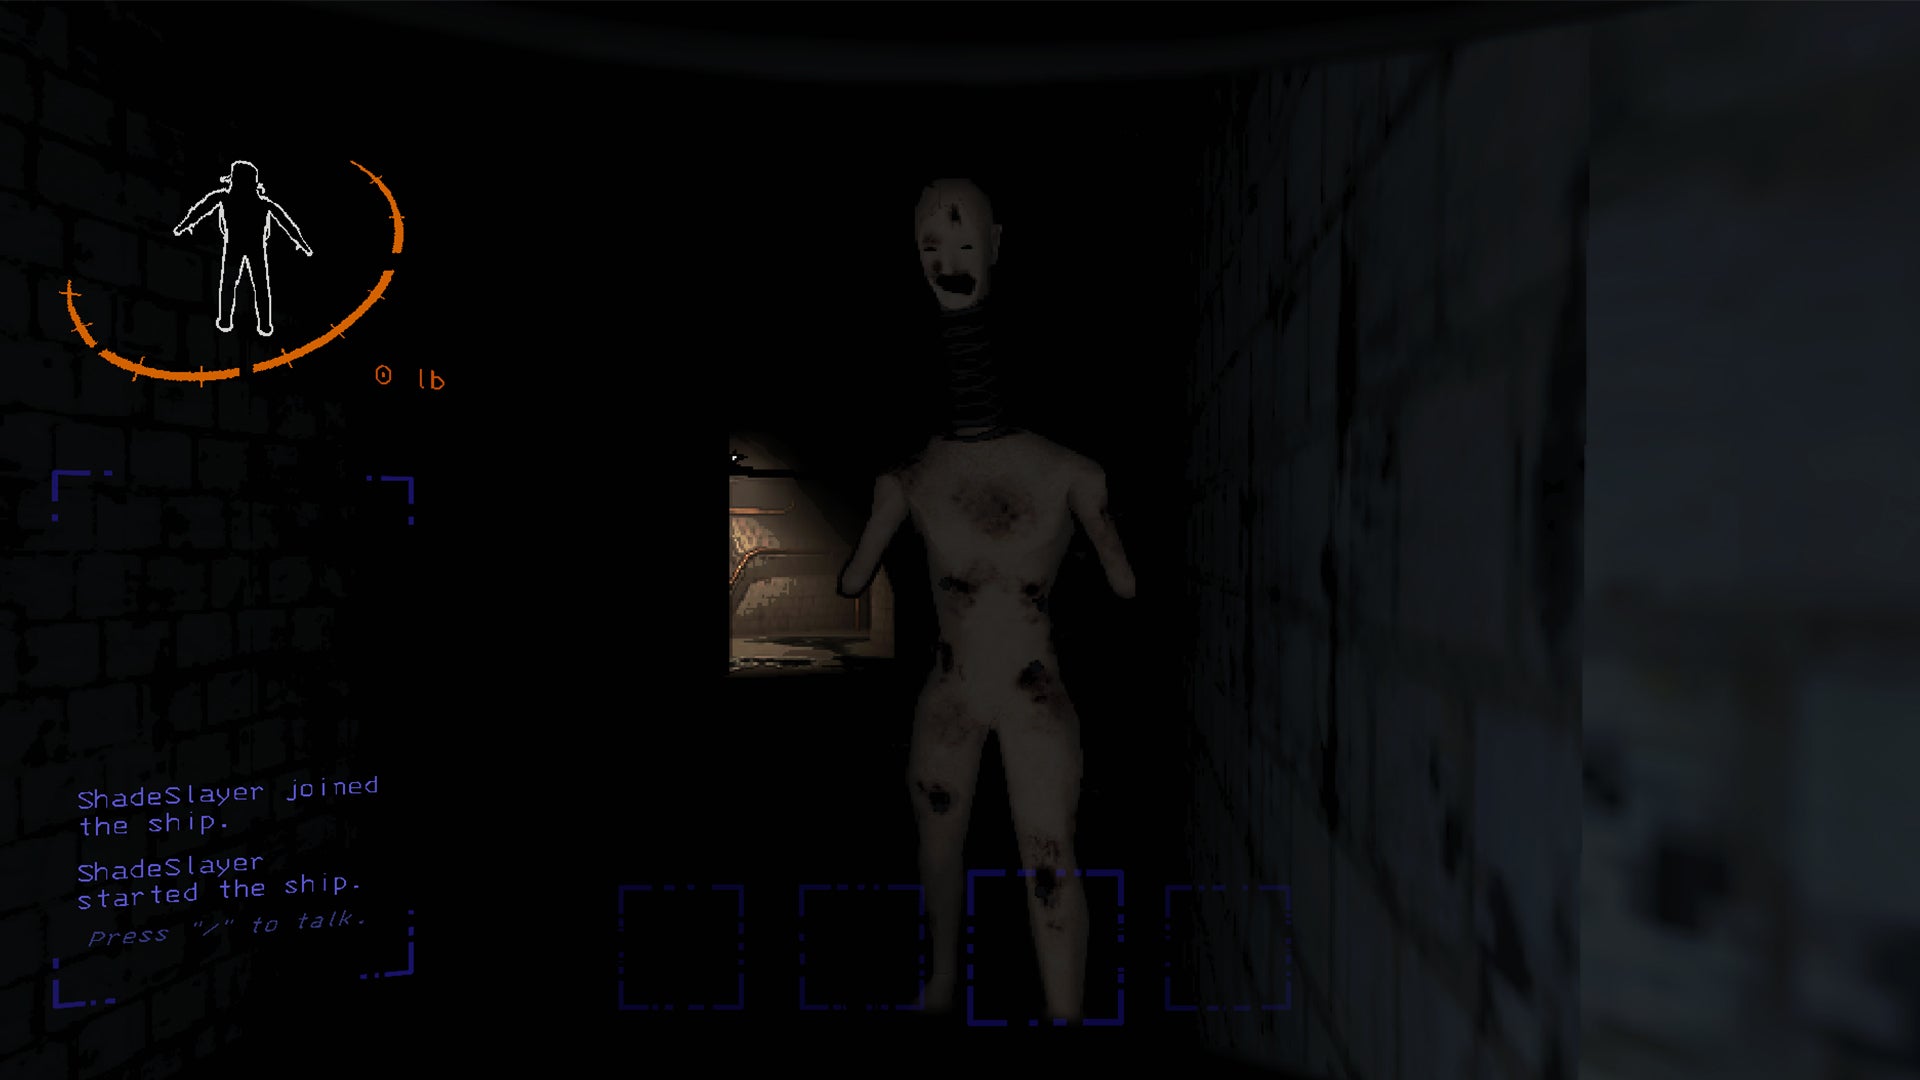
Image credit:Rock Paper Shotgun/Zeekerss
- Location: Indoors
- Threat level: Very high
- How to beat/evade: Keep eye contact with the Coil-Head at all times and back away slowly. They are impervious to damage
- Key features: These nightmares look like mannequins with a big spring for a neck. They cannot move if looked at
The Coil-Head is Lethal Company’s version of a Weeping Angel (think Dr.Who). That being said, they are genuinely terrifying and the only way to save yourself from an encounter is to keep looking at them. They can only move for the kill if undetected.
It is possible to stun a Coil-Head with a Stun Grenade. Otherwise, they are immune to damage and your best chance for survival is slowly backing away, then running outdoors.
Earth Leviathan
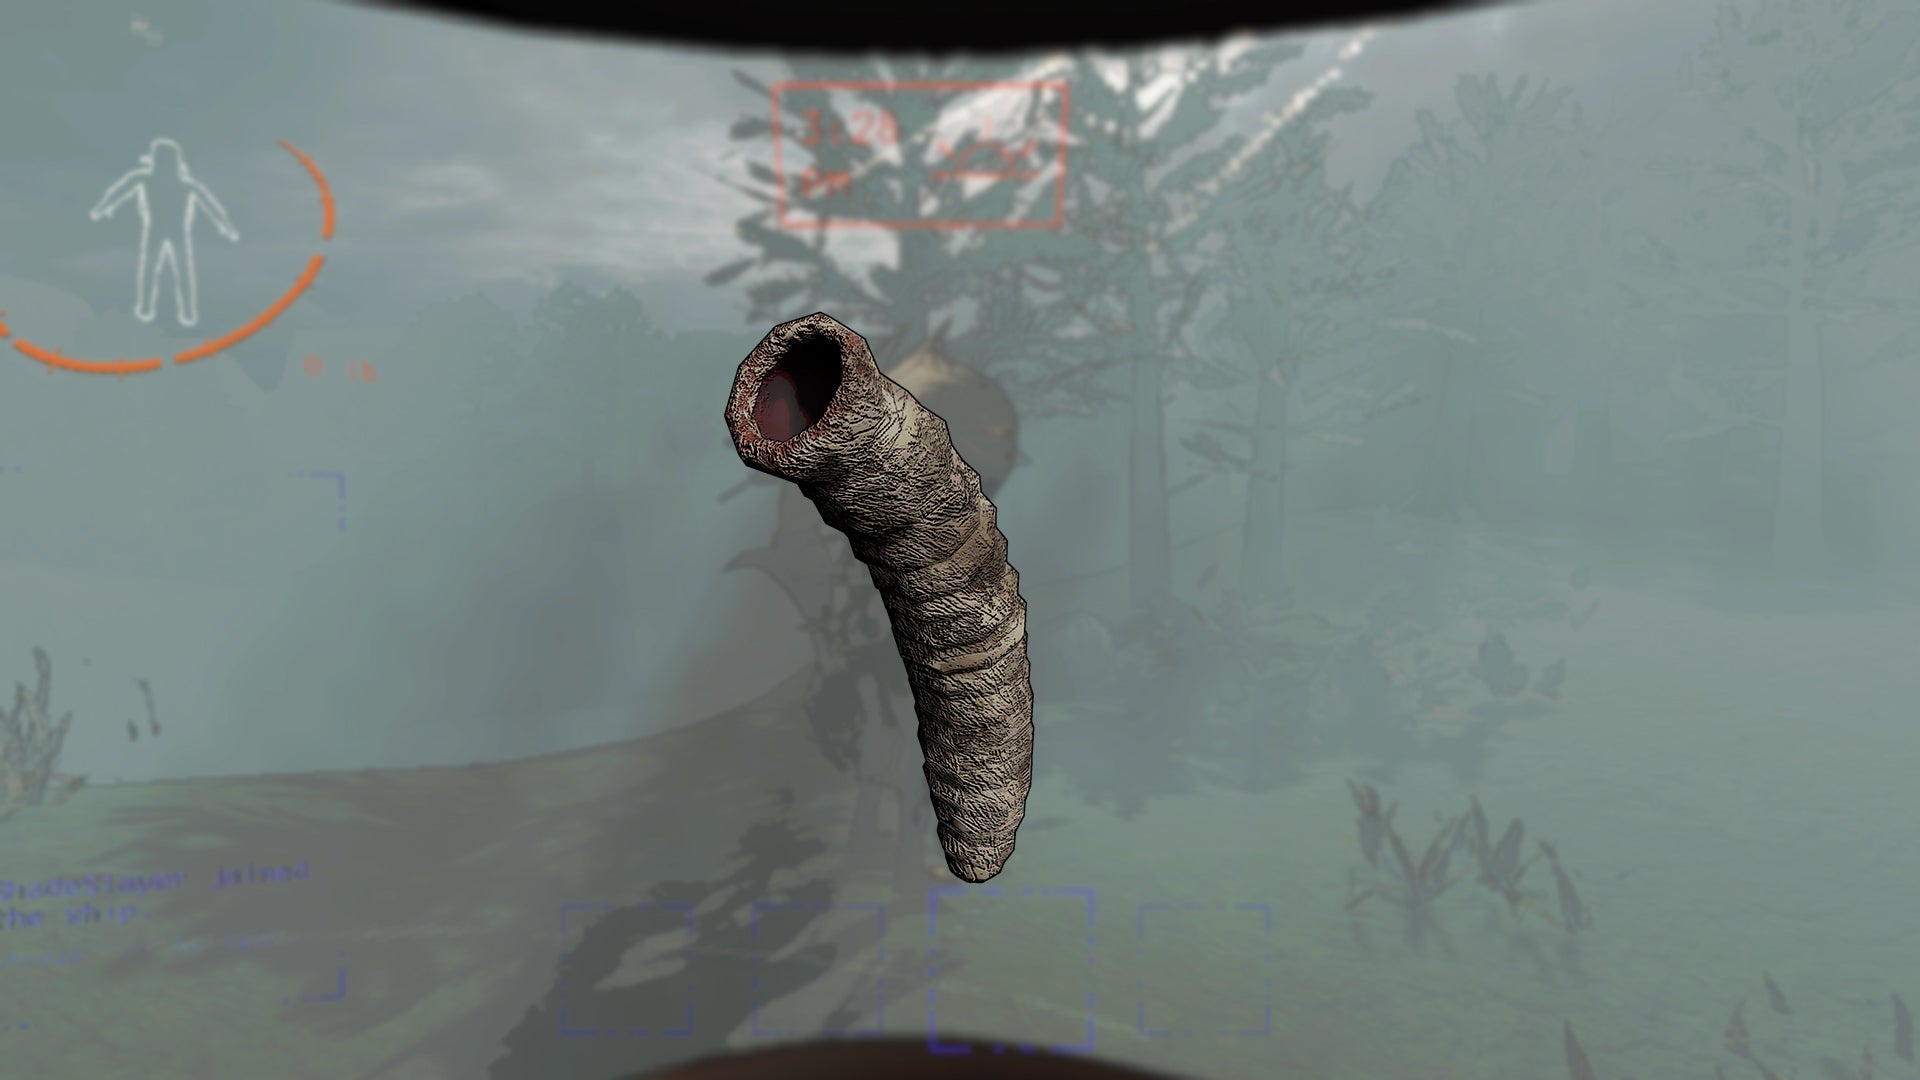
Image credit:Rock Paper Shotgun/Zeekerss
- Location: Outdoors
- Threat level: High
- How to beat/evade: Run away and drop anything you’re carrying to buy yourself some extra speed. These monsters cannot be killed
- Key features: You’ll usually hear a deep rumbling sound just before an attack
The Earth Leviathan is like a Thresher Maw from Mass Effect . Essentially it’s a large worm that burrows underneath the ground. Luckily, you’ll usually receive a measure of warning before one attacks. It will cause a rumbling sound underneath the earth. Make sure you drop anything and run as these monsters are impervious to damage and will insta-kill.
Eyeless Dog
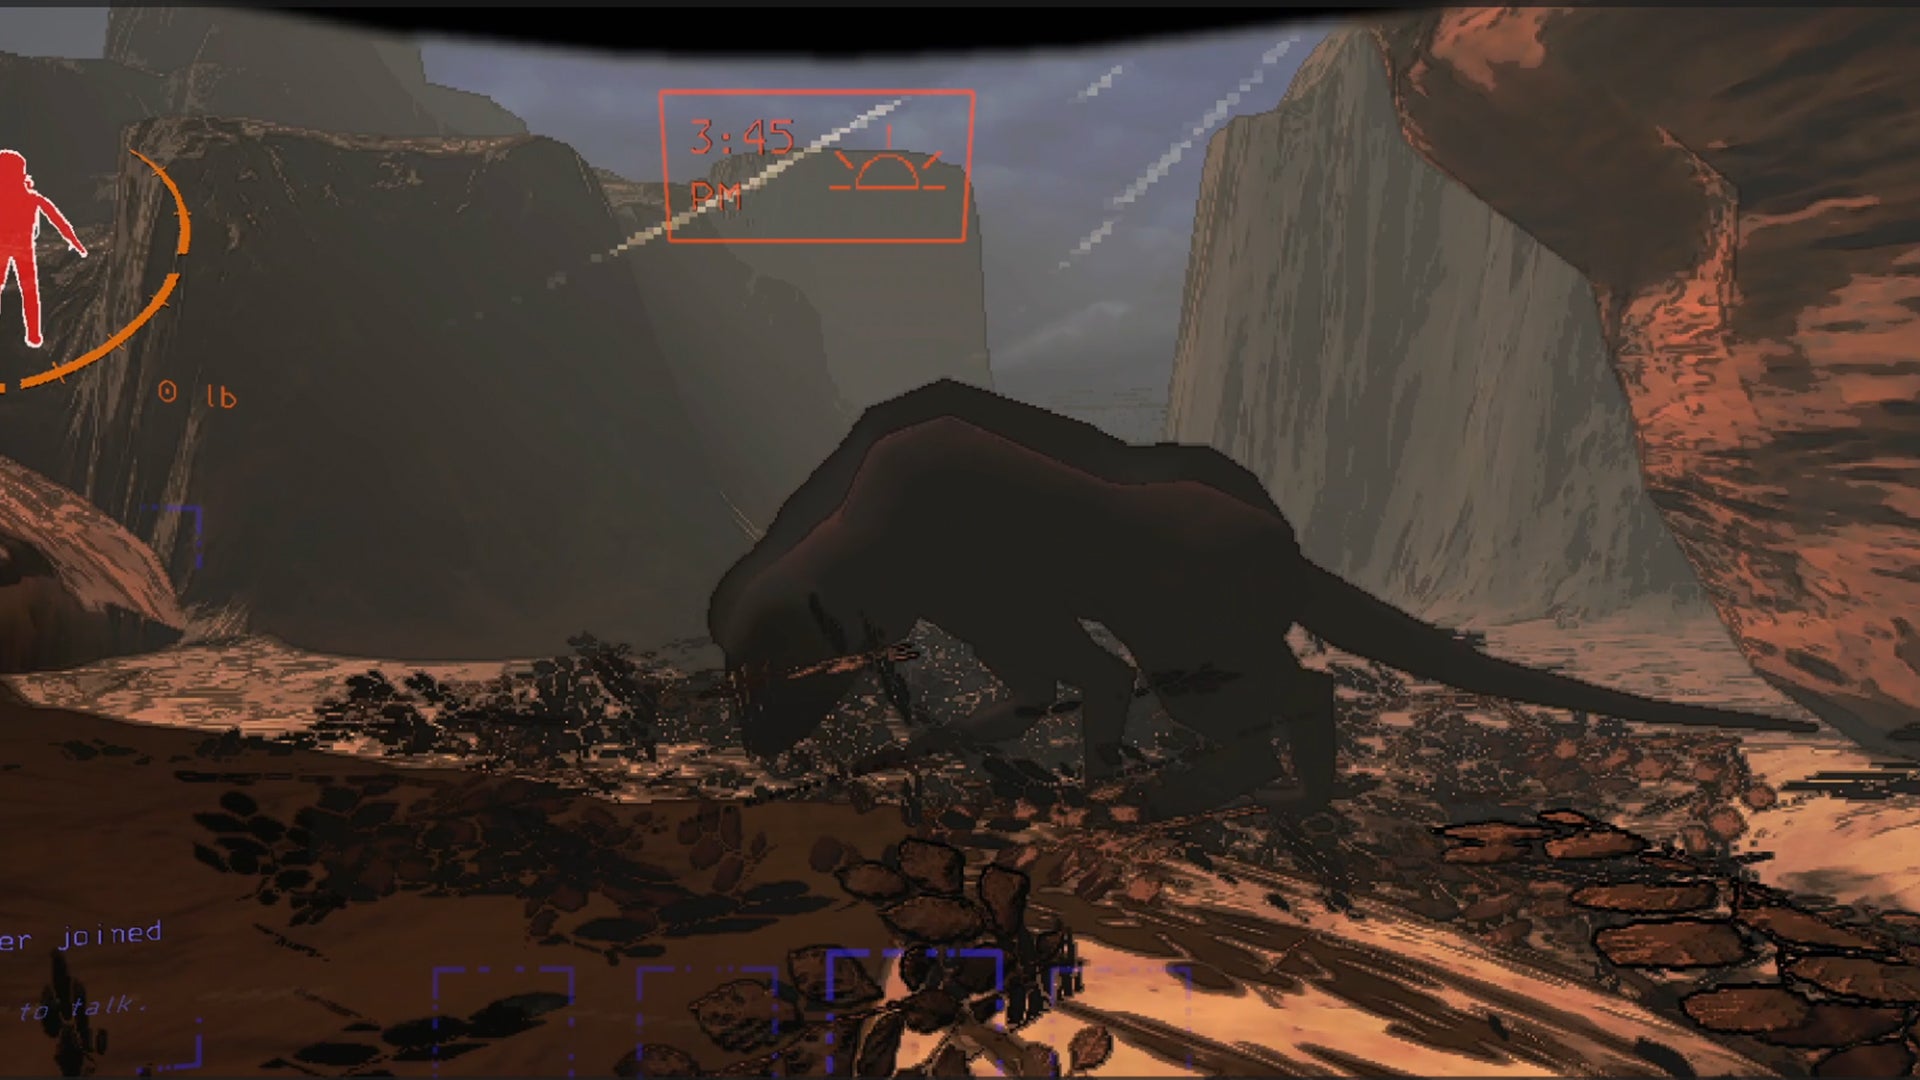
Image credit:Rock Paper Shotgun/Zeekerss
- Location: Outdoors
- Threat level: Medium
- How to beat/evade: These monsters rely on their hearing, so keep quiet. They can be killed with standard weapons
- Key features: Large black dogs with disproportionate heads. Blind but with an extreme sense of smell
Eyeless Dogs are, unfortunately, a common monster you can encounter outside. These beasts are blind but have superior hearing. This means your best chance at escape is usually by crouch walking away and keeping as quiet as possible.
Forest Keeper
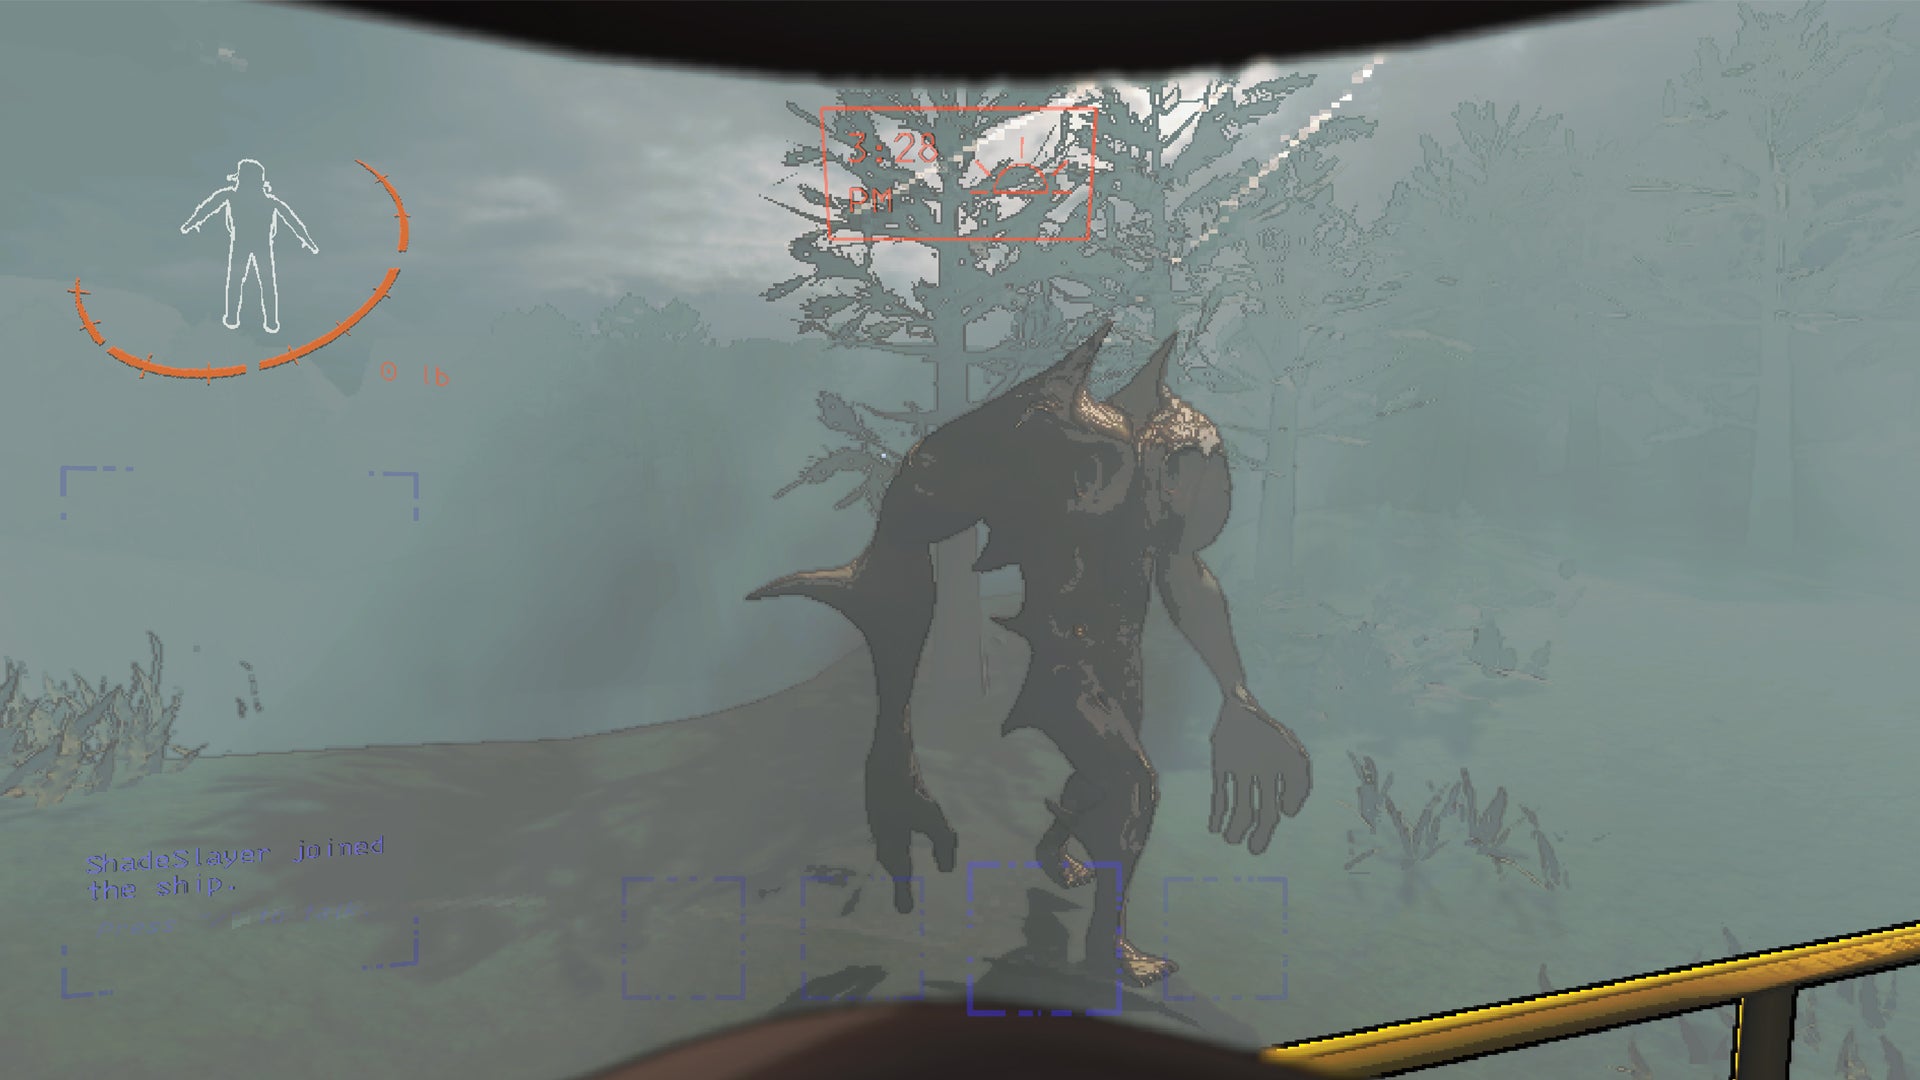
Image credit:Rock Paper Shotgun/Zeekerss
- Location: Outdoors
- Threat level: High
- How to beat/evade: Break their line of sight by hiding behind some terrain. These monsters cannot be killed
- Key features: These monsters look like giants or trolls and usually prowl around forests. They have excellent sight but won’t react to sound as much
Forest Keepers prowl around outside and have excellent eyesight. These powerful specimens cannot be killed and will often provide an insta-death if you’re unfortunate enough to run into one. As such your best bet is to hide from them. Usually moving behind a tree is enough to buy yourself some time.
Luckily, these monsters cannot enter the ship so you can theoretically just run for it if you’re desperate. Otherwise, you can use a Laser Pointer to distract them or a Stun Grenade to slow them down.
Ghost Girl

Image credit:Rock Paper Shotgun/Zeekerss
- Location: Indoors
- Threat level: Very high
- How to beat/evade: Cannot be killed. We suggest running
- Key features: Brown hair and red dress. You’ll usually hear breathing and giggles if you’re being haunted
Arguably the most terrifying of all monsters in Lethal Company is the Ghost Girl. This meddlesome child will ‘haunt’ a player, meaning they’ll hear her telltale giggles and heavy breathing. The only resistance to the Ghost Girl is to run away and abort the mission. After taking one crew member she will work her way through everyone until there are no survivors.
Hoarding Bug
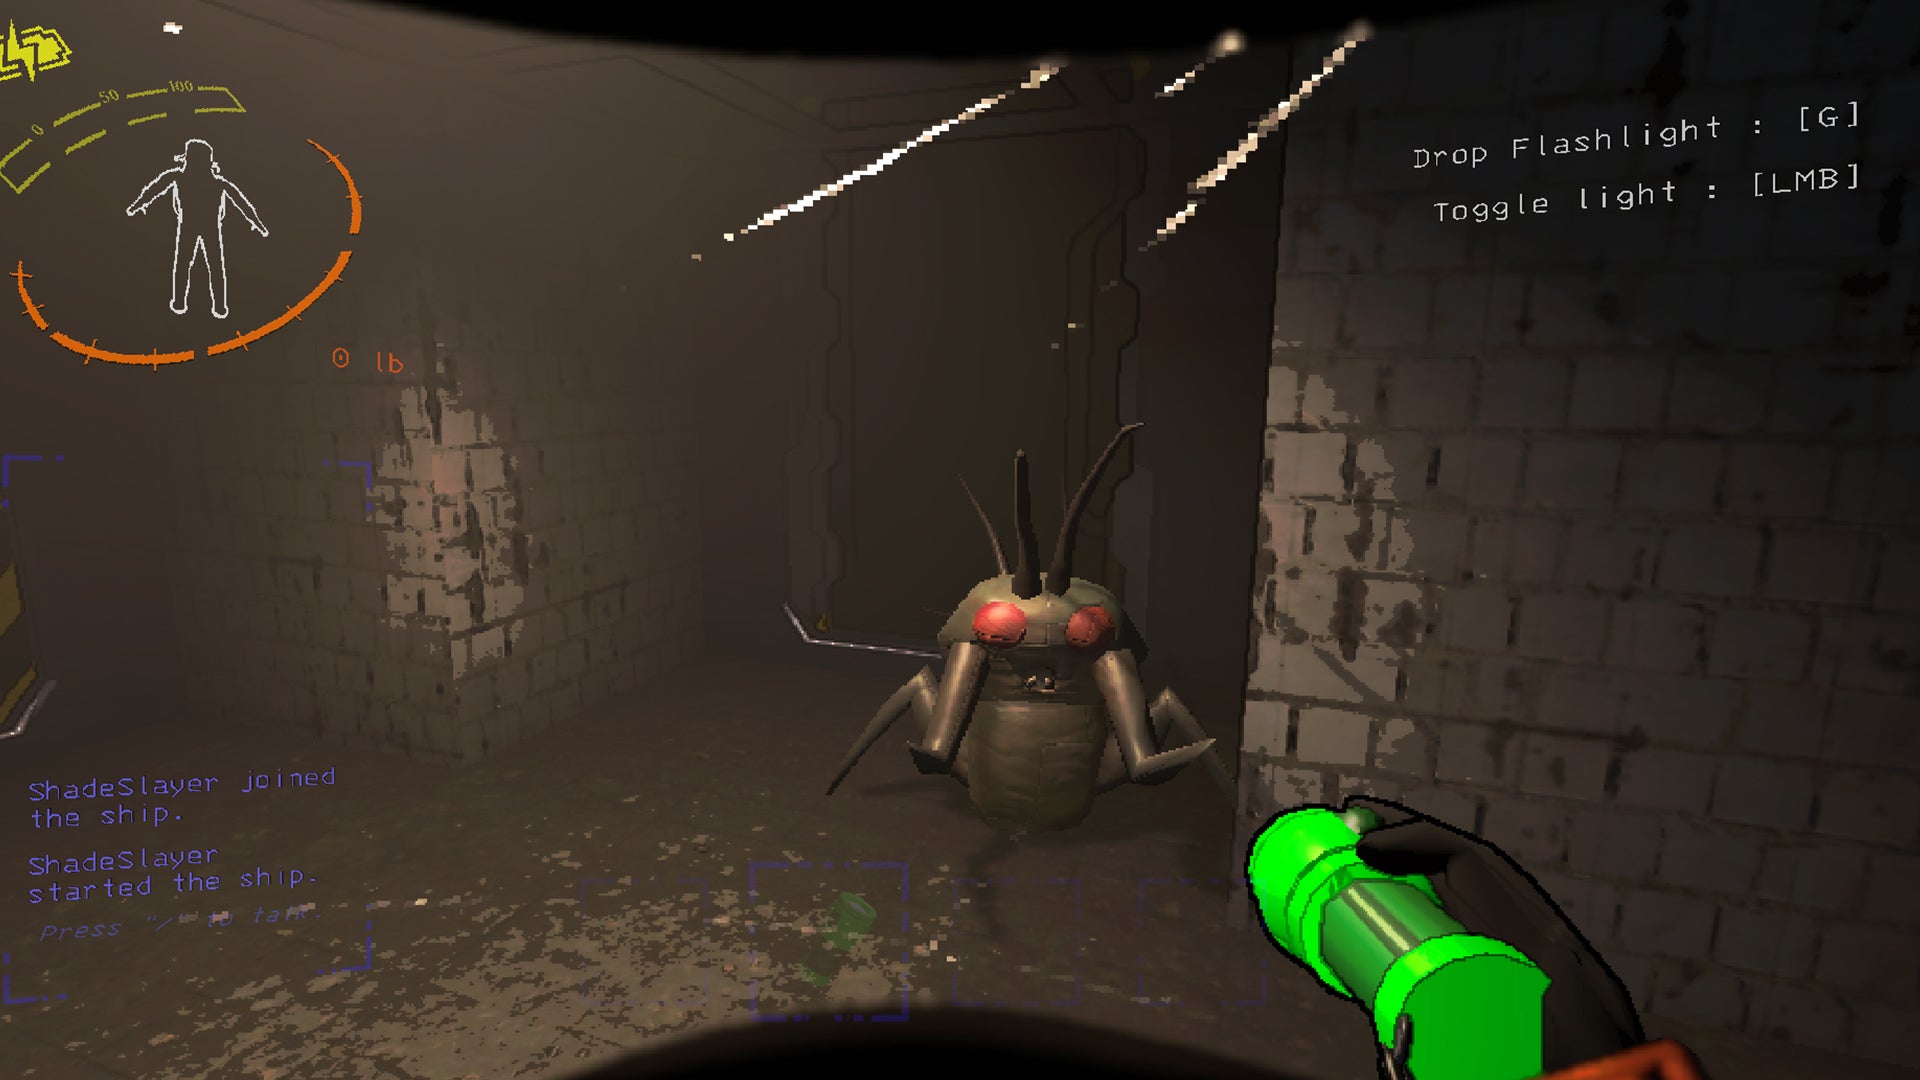
Image credit:Rock Paper Shotgun/Zeekerss
- Location: Indoors
- Threat level: Very low
- How to beat/evade: Can be killed with any weapon.
- Key features: These monsters have green bodies and large red eyes. They will usually gather scrap in piles
Hoarding Bugs pose relatively little threat and will only attack if you try to steal from their scrap piles or get too close to them. These cute little fellas will generally leave you alone but will signal if they’re getting angry by raising their mandible arms.
Hygrodere
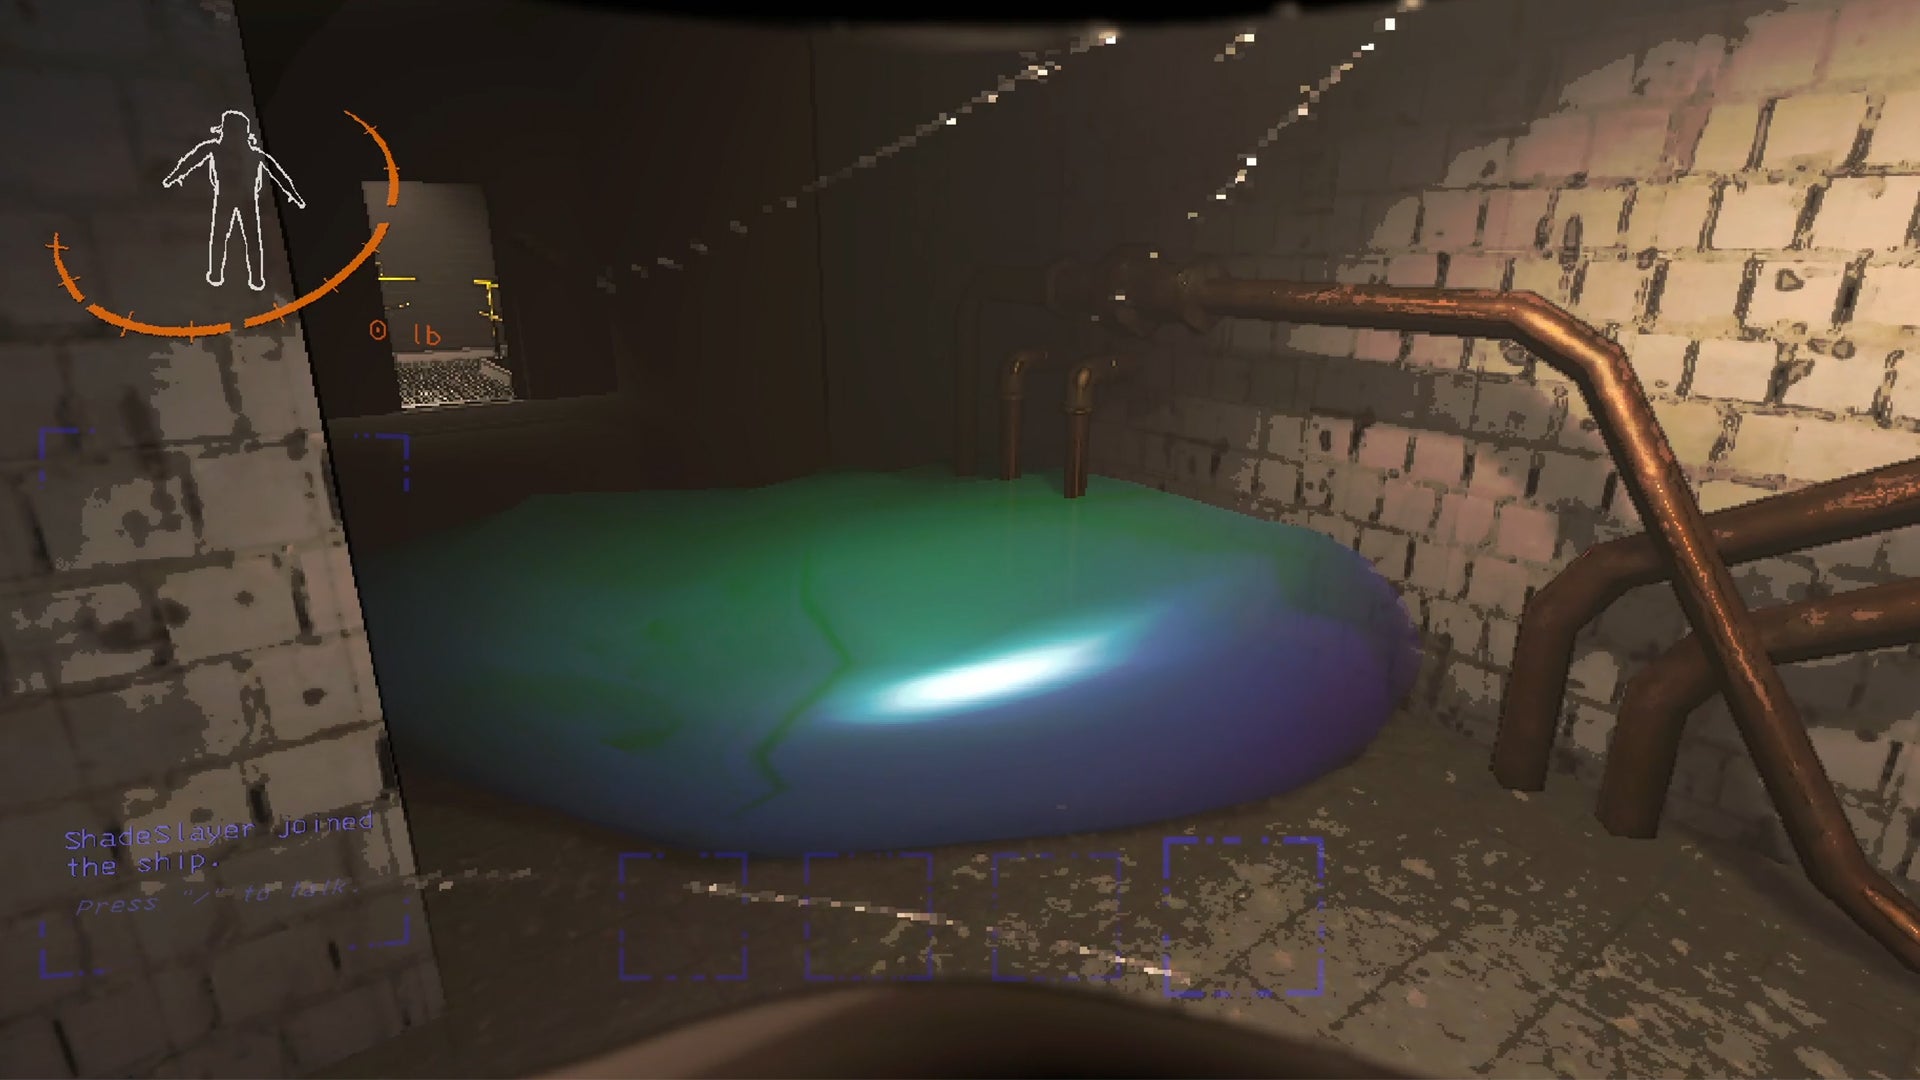
Image credit:Rock Paper Shotgun/Zeekerss
- Location: Indoors
- Threat level: Low
- How to beat/evade: Lock it behind doors and avoid getting caught in it. Cannot be killed
- Key features: This blue blob is attracted to sight and sound. As such it can be lured and/or distracted with equipment
The Hygrodere is a giant ball of slime that slowly expands and captures players within it. You can distract it by playing a Boombox in a room nearby which will keep it occupied. If you have the misfortune to get stuck in the slime it is an unavoidable death.
Jester
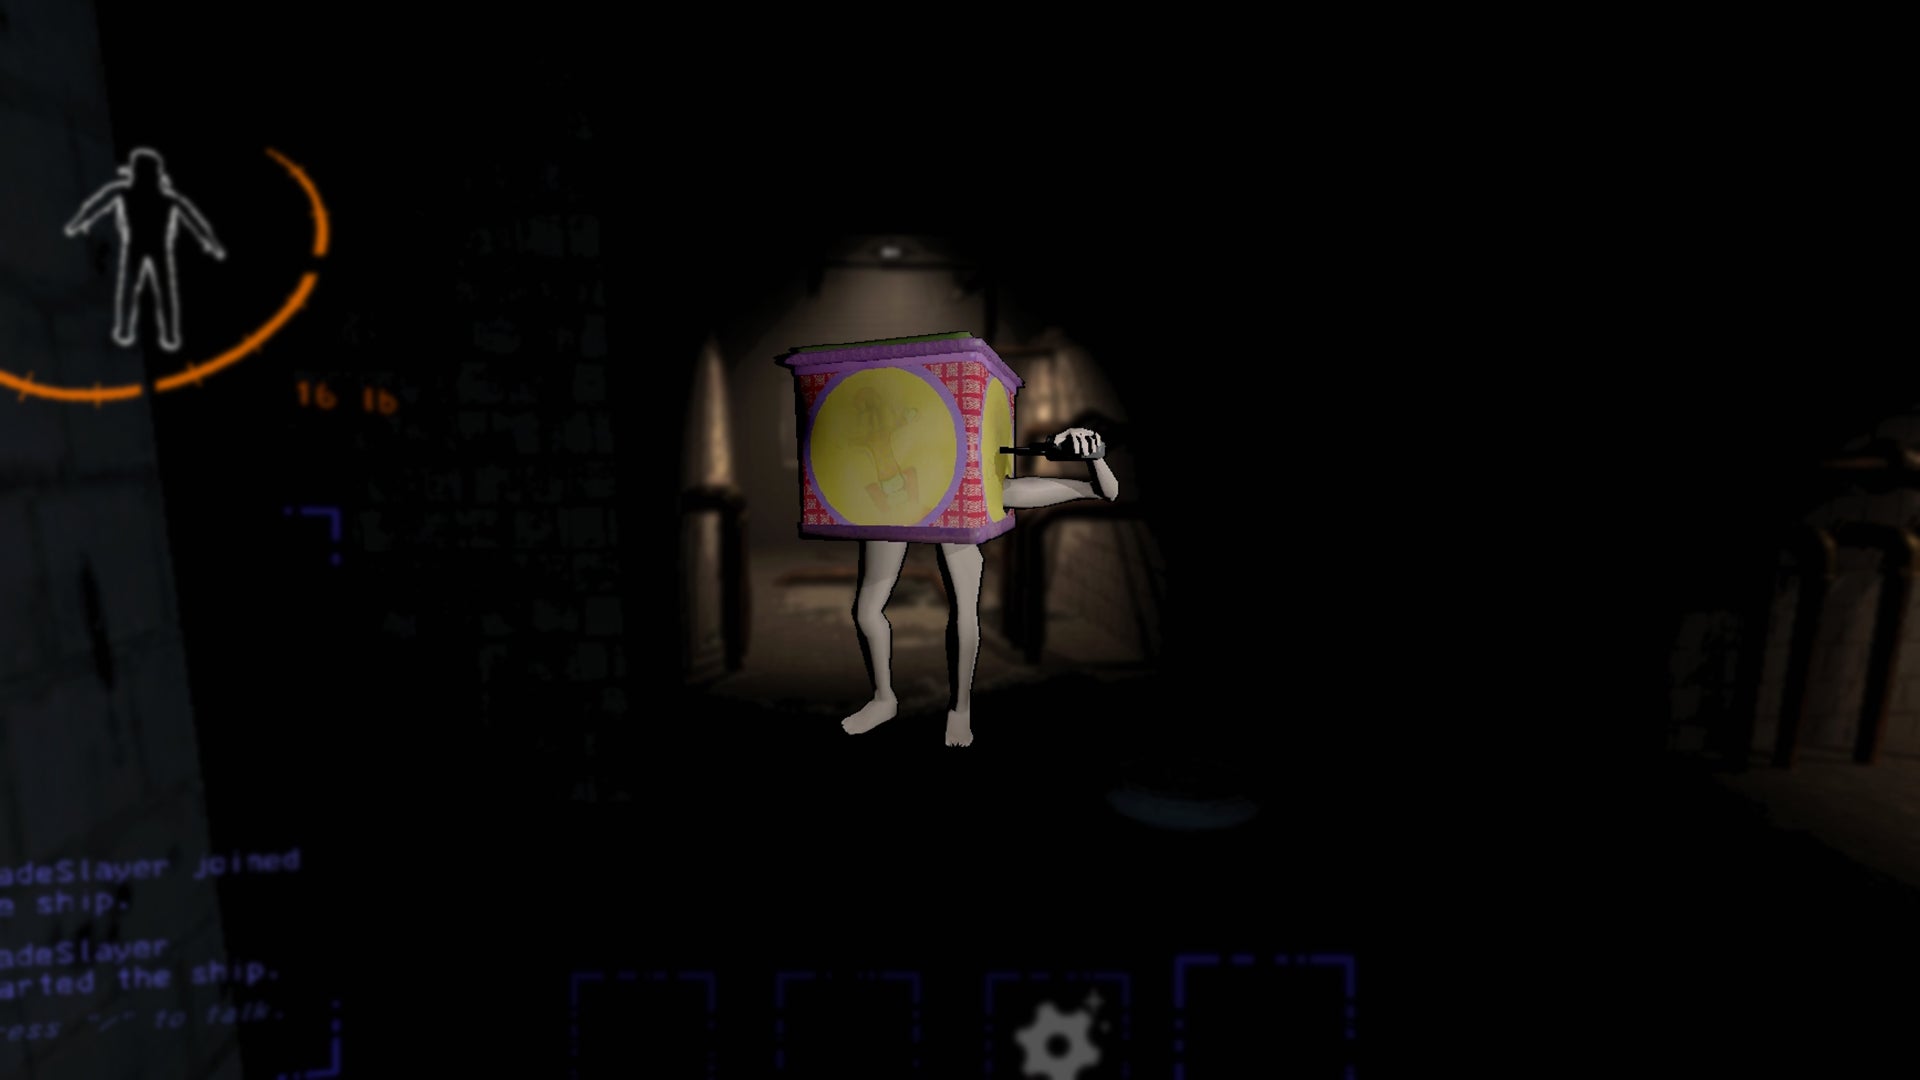
Image credit:Rock Paper Shotgun/Zeekerss
- Location: Indoors
- Threat level: High
- How to beat/evade: Whilst it is winding up, you can prevent its next stage by stunning it with a Zap Gun. Otherwise, it cannot be killed, so run
- Key features: Essentially looks like a jack-in-a-box on legs which will wind itself up
The horror of this next Lethal Company monster is time it takes to attack. When you first encounter the Jester it will appear as a jack-in-a-box on legs. Once it starts to wind itself up, you have a very limited time to act. When it releases its head and reveals its full form it will terrorise your teammates until you are all dead. For this reason, it’s best to run away and abort the mission if you see a Jester.
Manticoil
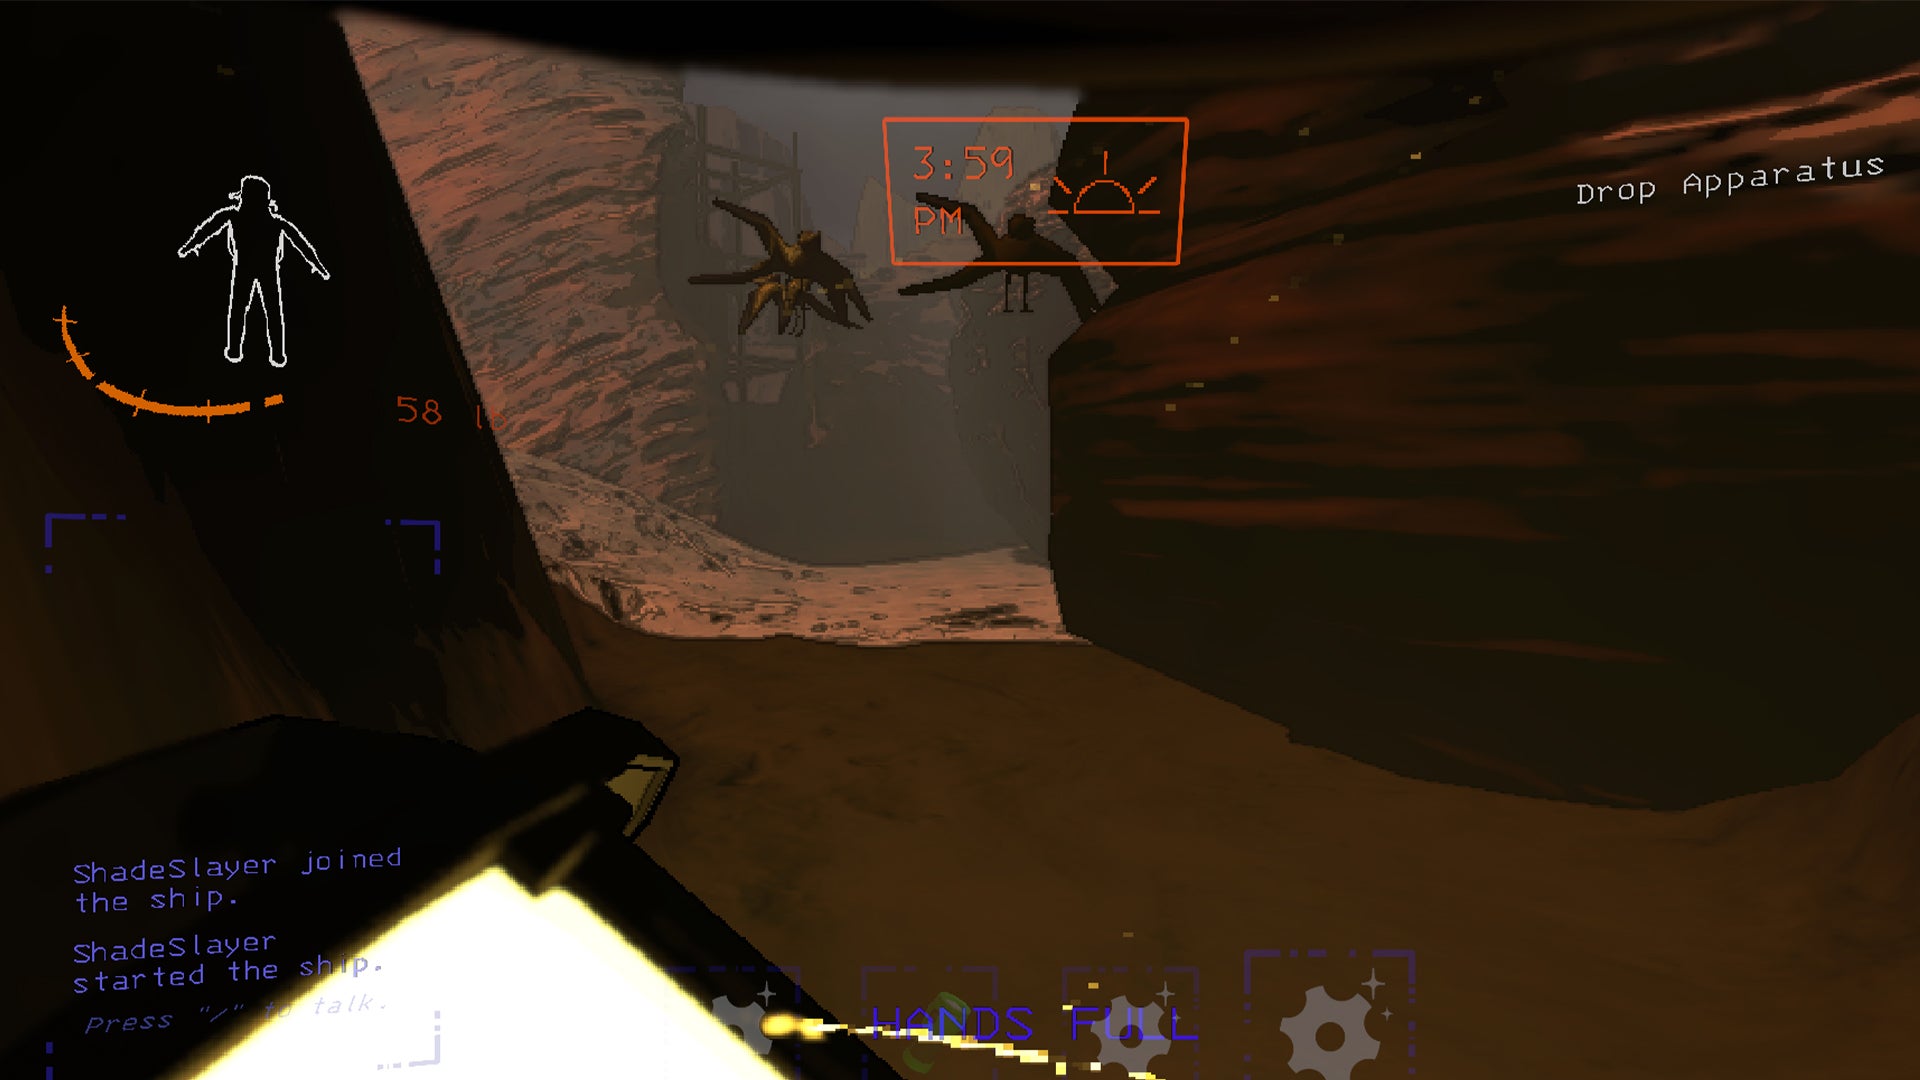
Image credit:Rock Paper Shotgun/Zeekerss
- Location: Outdoors
- Threat level: Very low
- How to beat/evade: Can be killed by basic weapons
- Key features: Passive bird-like creatures
The Manticoil is one of the few creatures in Lethal Company that has no interest in killing you or your teammates. As a passive bird-like creature it won’t harm you nor provide you with any credits so you should just leave it alone.
Nutcracker
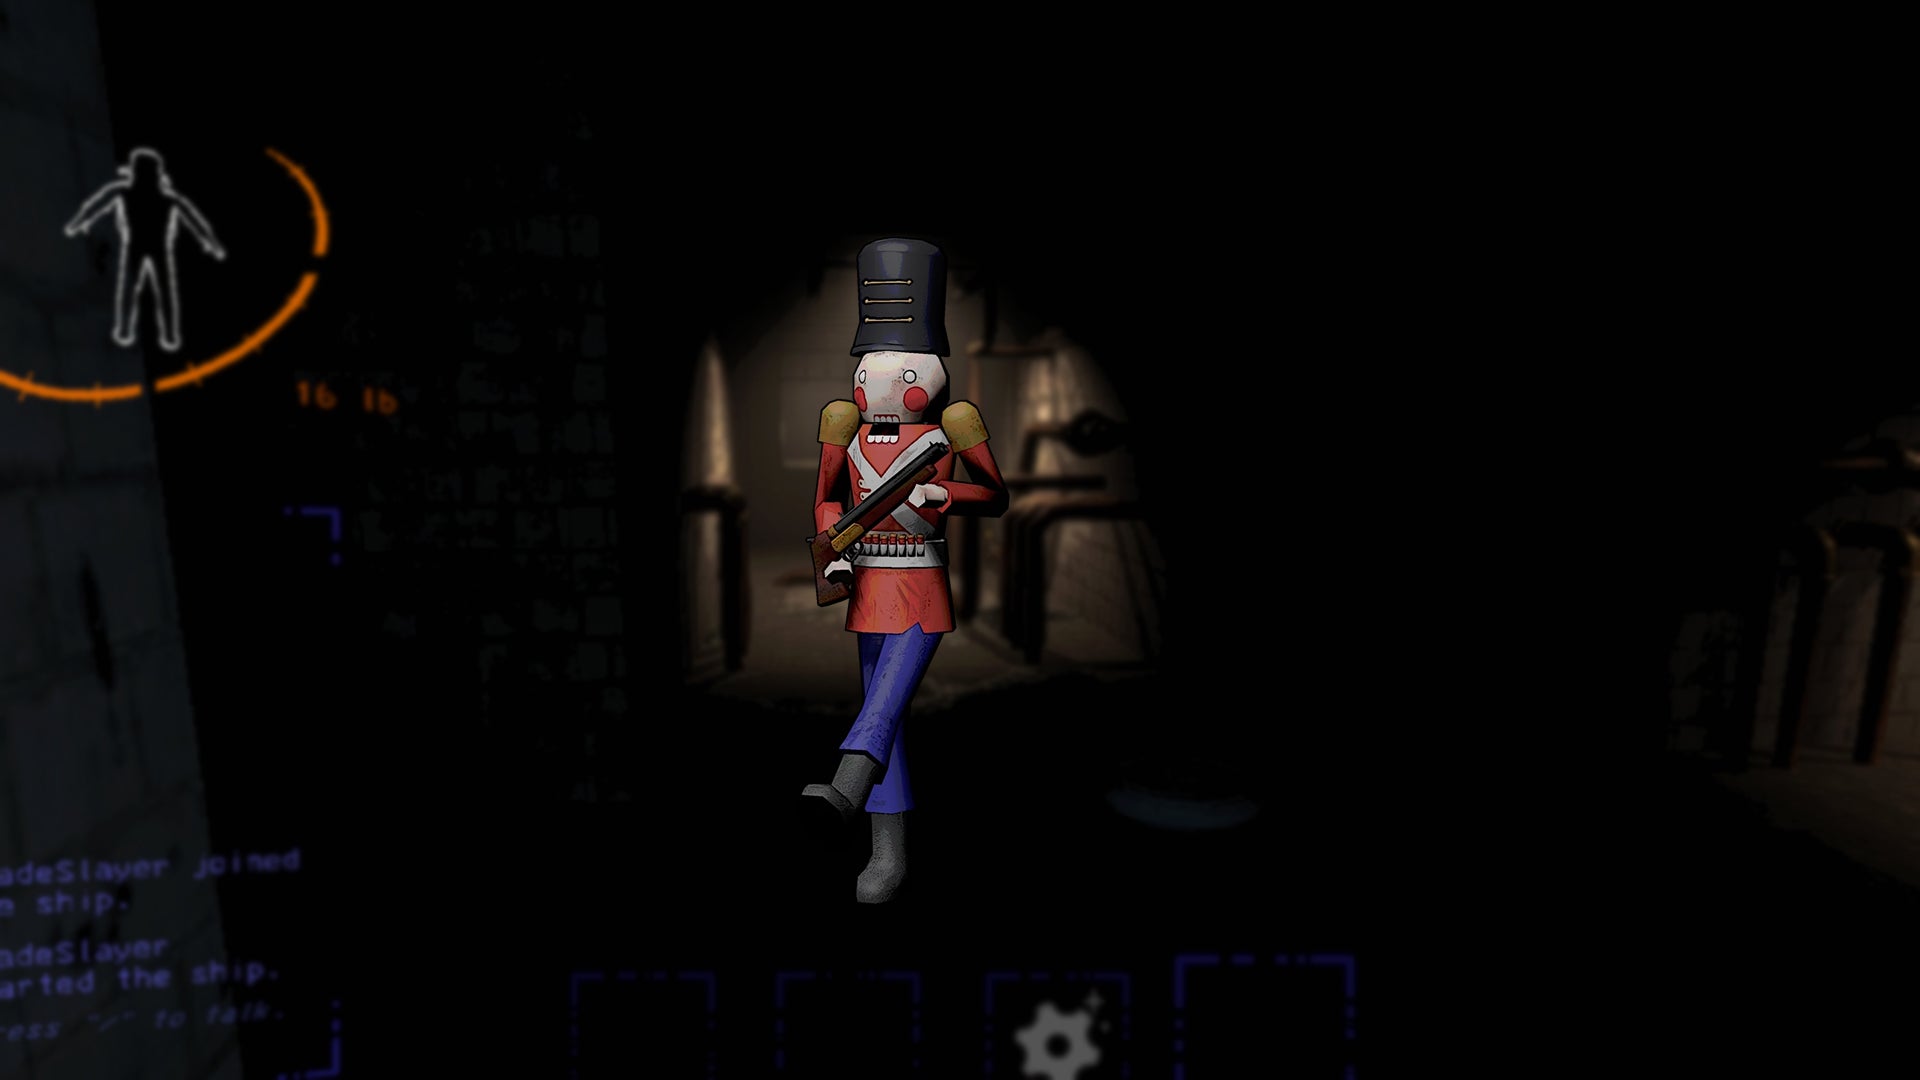
Image credit:Rock Paper Shotgun/Zeekerss
- Location: Indoors
- Threat level: Medium
- How to beat/evade: When the Nutcracker stops and reveals its eye, it is looking for movement. Stop moving immediately. You can kill this monster with weapons
- Key features: As expected, these monsters look like big nutcrackers. You can steal its shotgun
The Nutcracker will patrol, scouting levels for movement. When it pauses its route and lifts its head to reveal its secret eye, make sure you stop moving. The beast carries a shotgun which can be stolen whether it’s alive or dead. To do this, either pick it from its corpse or stun it first, then take it from its arms. It will try follow-up attacks so be on your guard.
Roaming Locusts
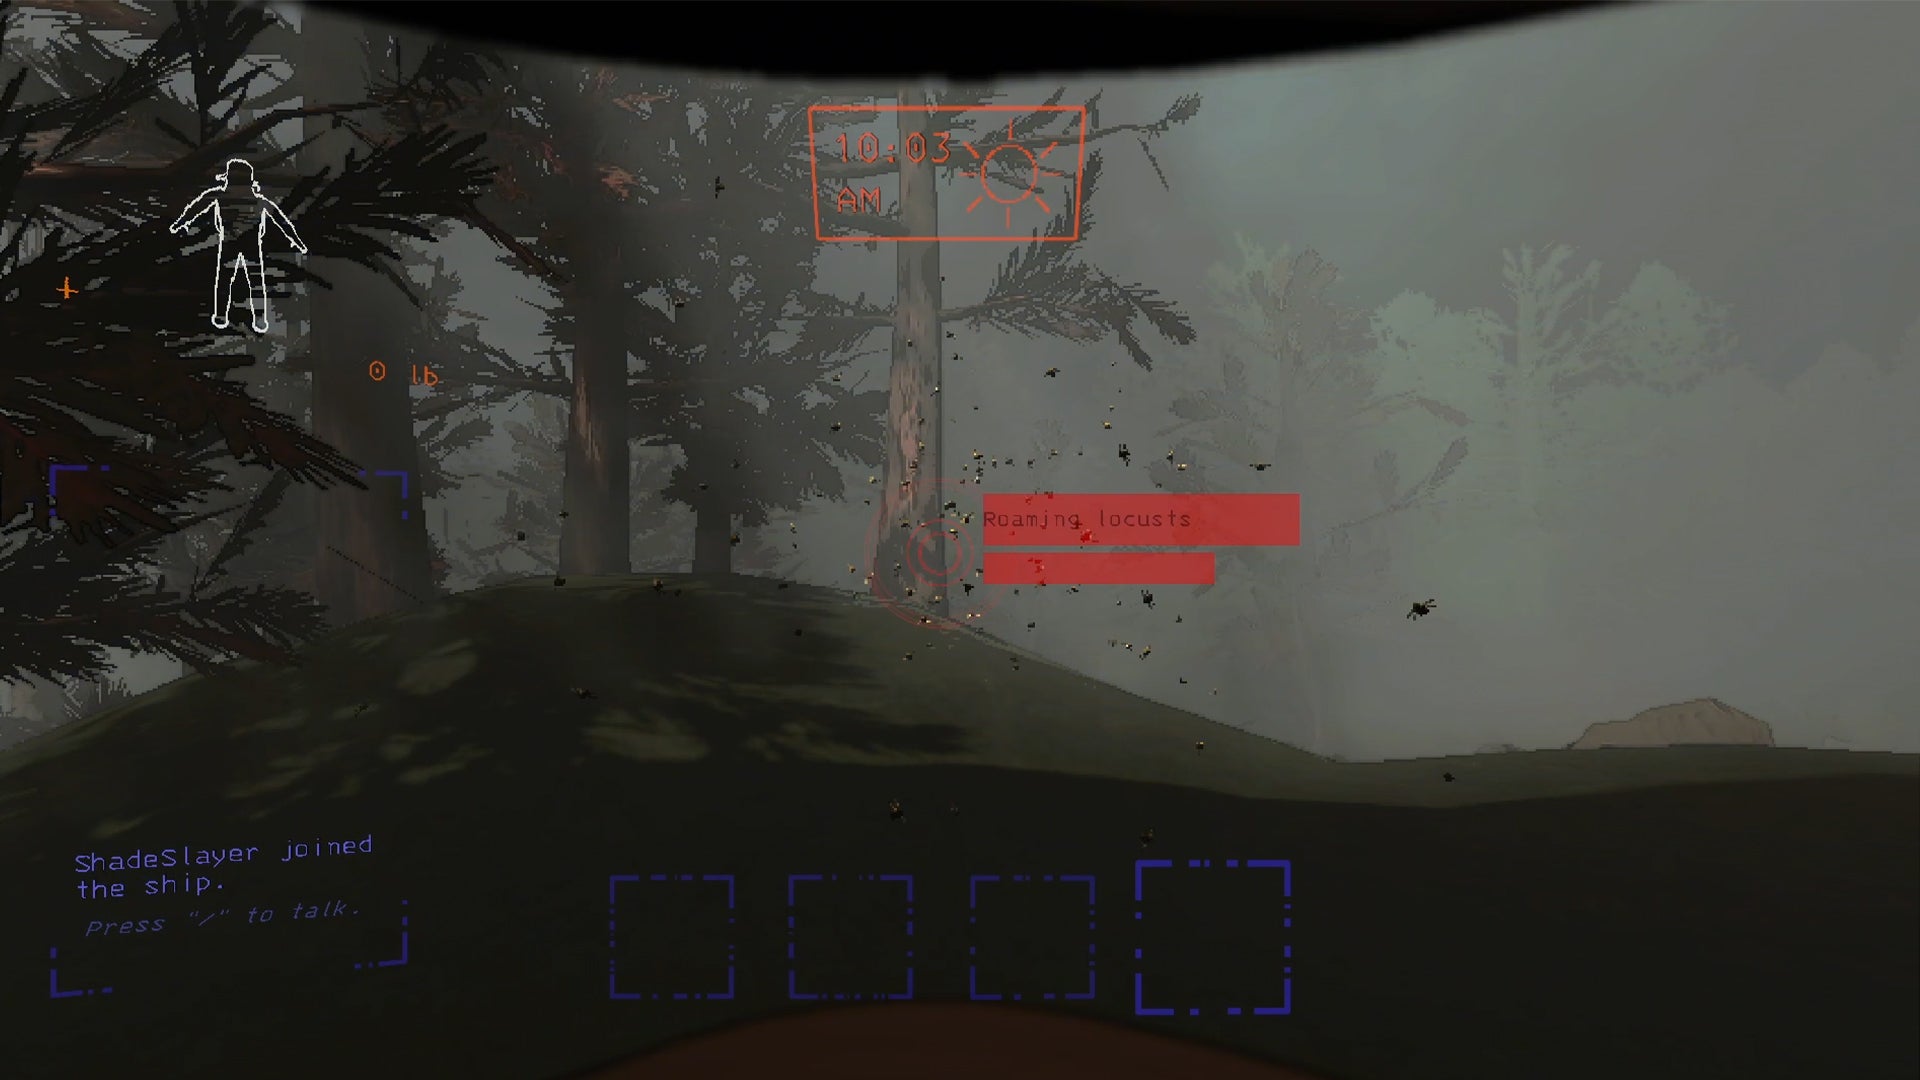
Image credit:Rock Paper Shotgun/Zeekerss
- Location: Outdoors
- Threat level: Very low
- How to beat/evade: Avoid
- Key features: The swarm will usually disperse after you’ve interacted with them
Roaming Locusts look similar to bees but pose very little threat. They will usually fly away after you walk by them.
Snare Flea
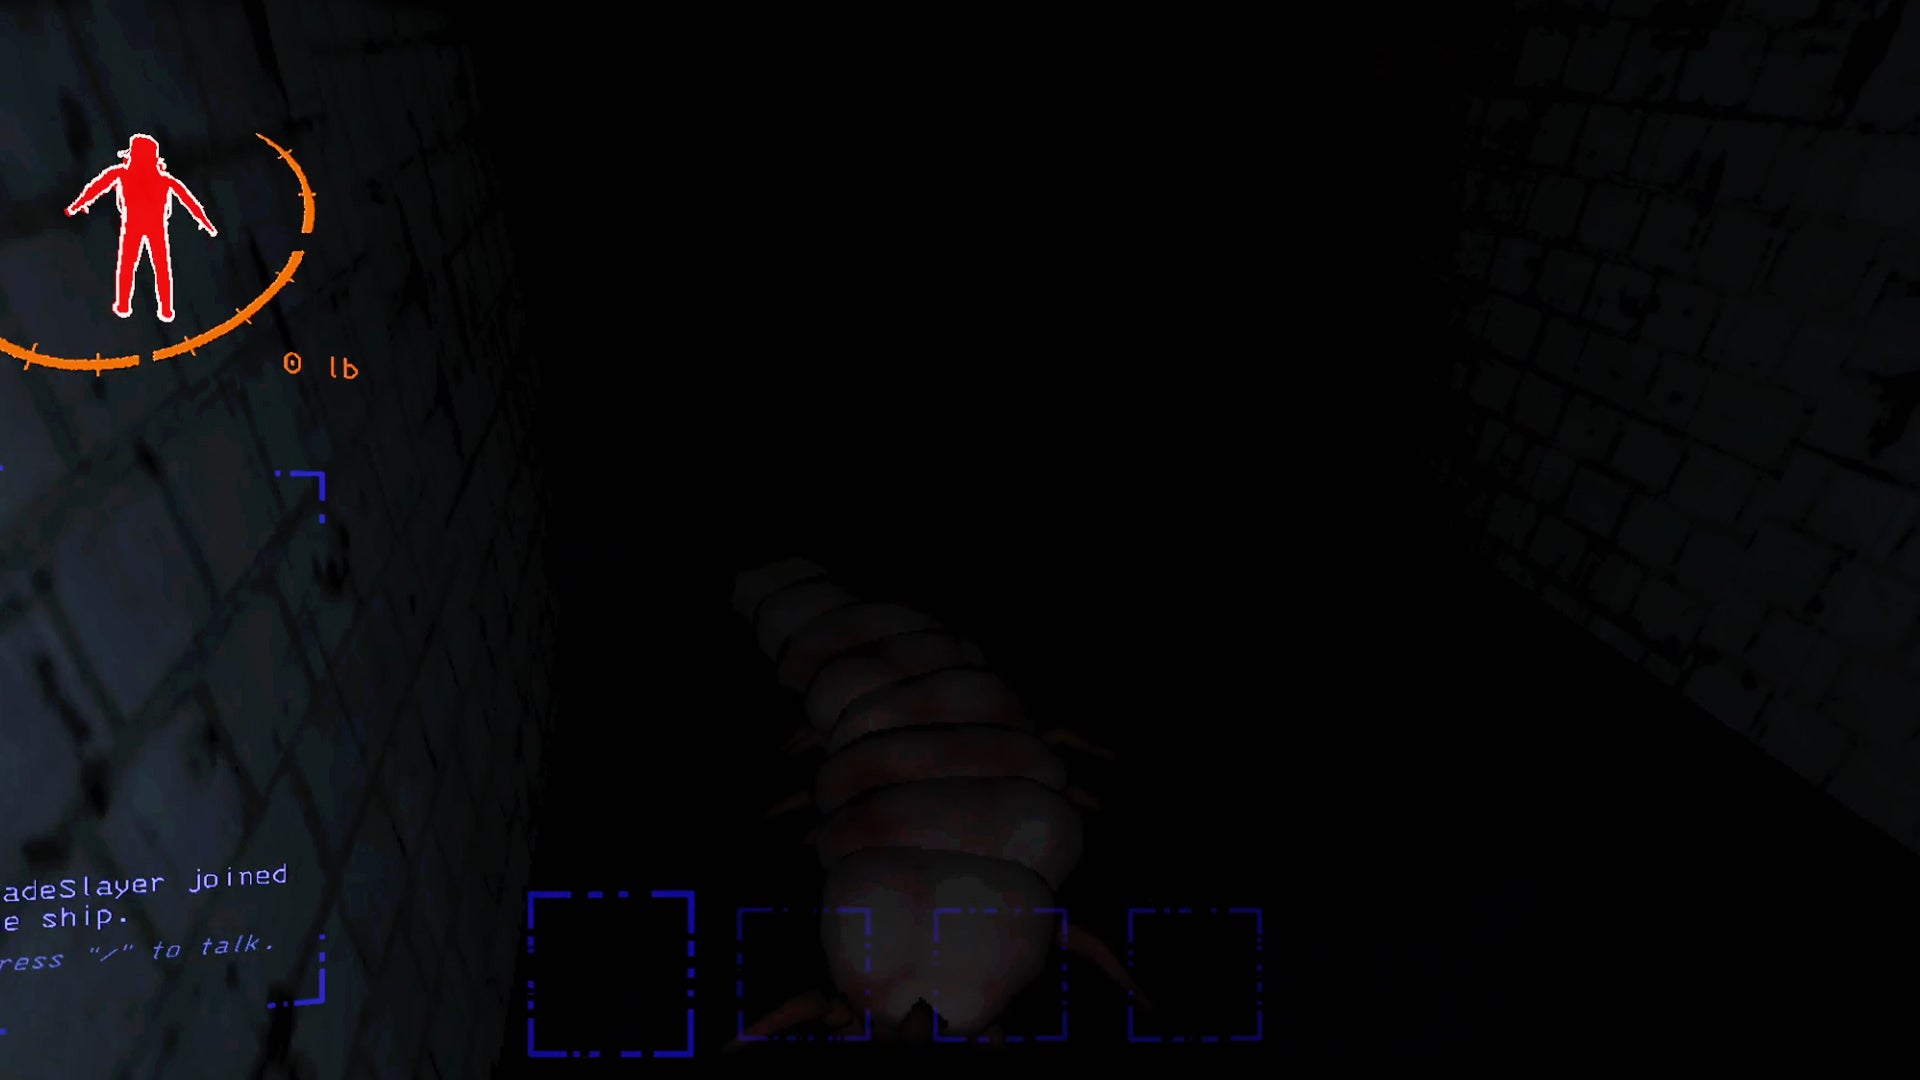
Image credit:Rock Paper Shotgun/Zeekerss
- Location: Indoors
- Threat level: Low/medium
- How to beat/evade: Keep an eye on ceilings. If attacked, communicate to a teammate for help. The flea will let you go if it gets hit with a Shovel
- Key features: These monsters cling onto ceilings and will drop down to suffocate teammates
Although Snare Fleas can be killed relatively easily, once one has you in their grip there is no way to escape on your own. You’ll need a teammate to hit it with a Shovel to get it to release you. If playing solo, make sure you keep an eye on ceilings whilst collecting scrap indoors.
If trapped, you can also use the Teleporter to travel back to the ship. This will usually cause the Flea to release you.
Spore Lizard
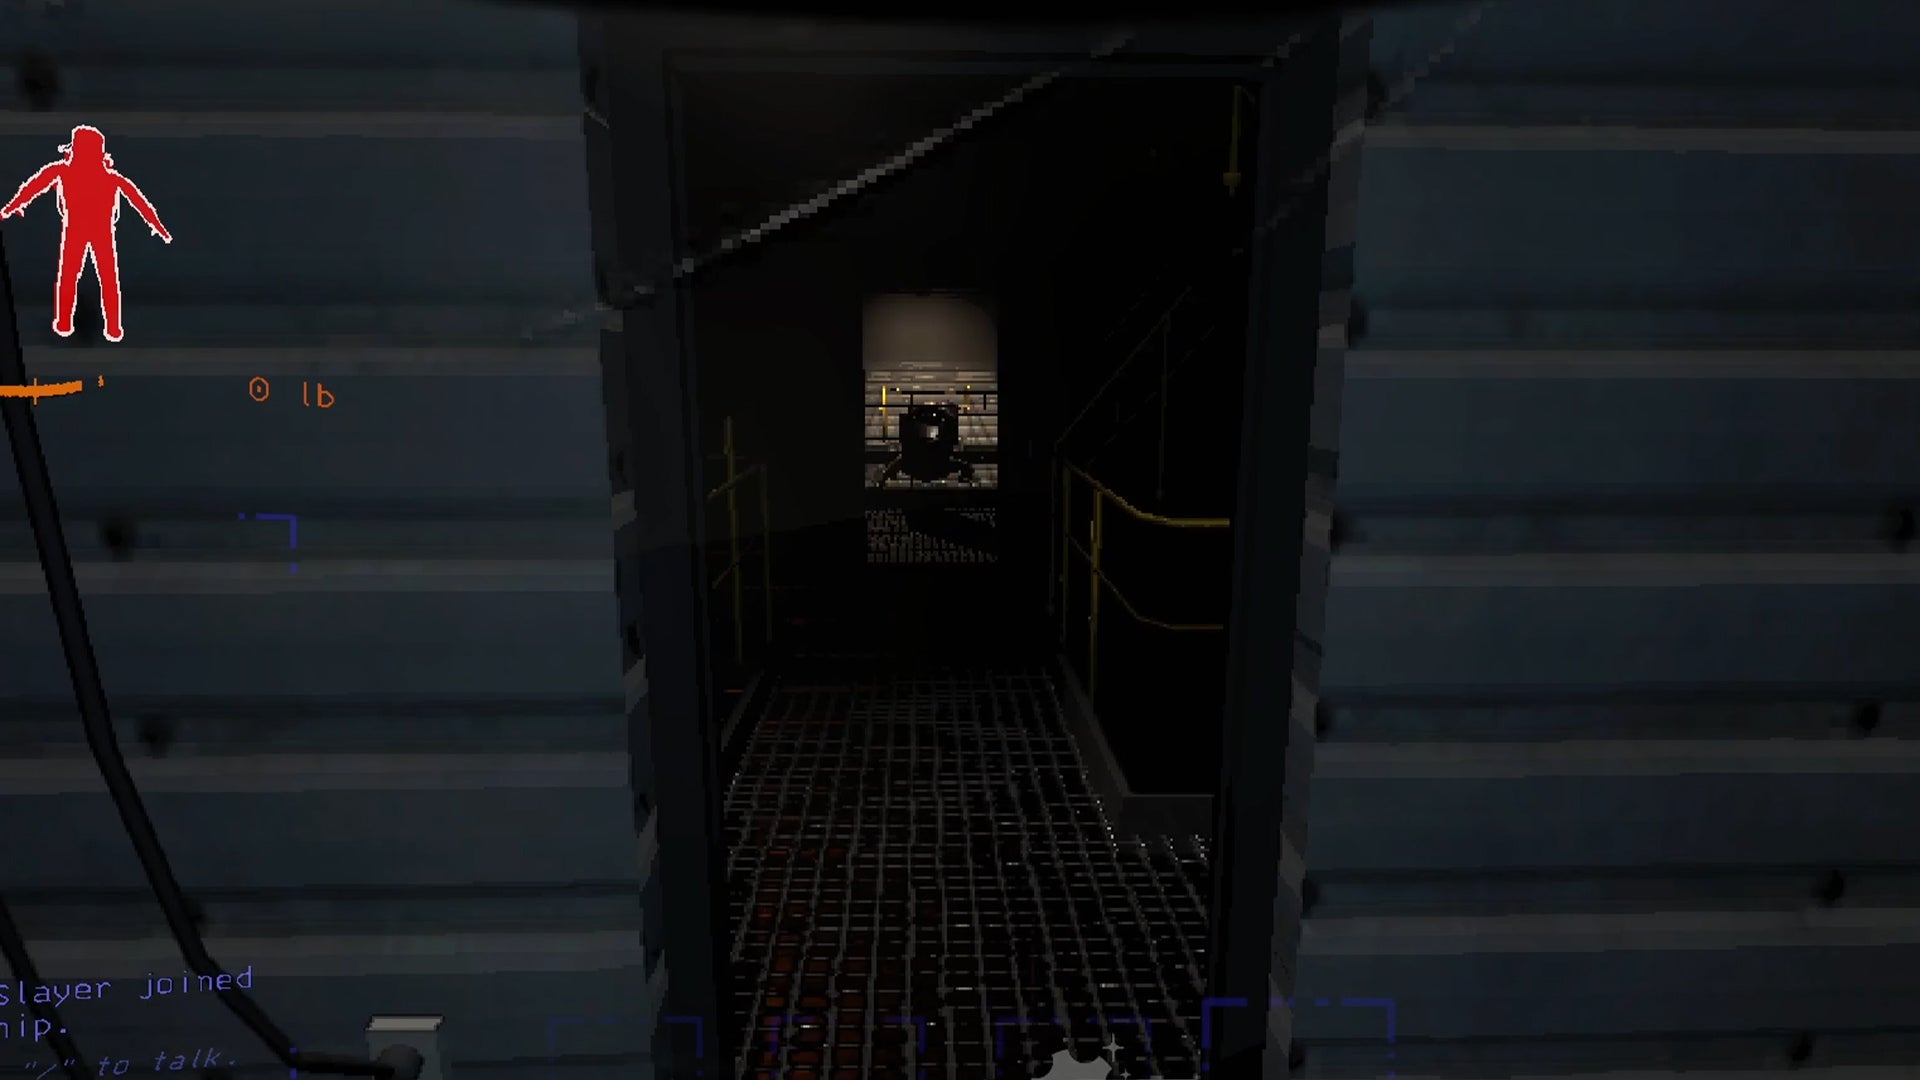
Image credit:Rock Paper Shotgun/Zeekerss
- Location: Indoors
- Threat level: Low
- How to beat/evade: These monsters can be stunned with weapons but you’re usually better off avoiding them
- Key features: These monsters look like lizards with large maws for mouths
Spore Lizards are relatively harmless if left alone. They can release a cloud of gas, which will disorientate your vision. Apart from this, these little guys mostly just want to be left alone.
The Masked
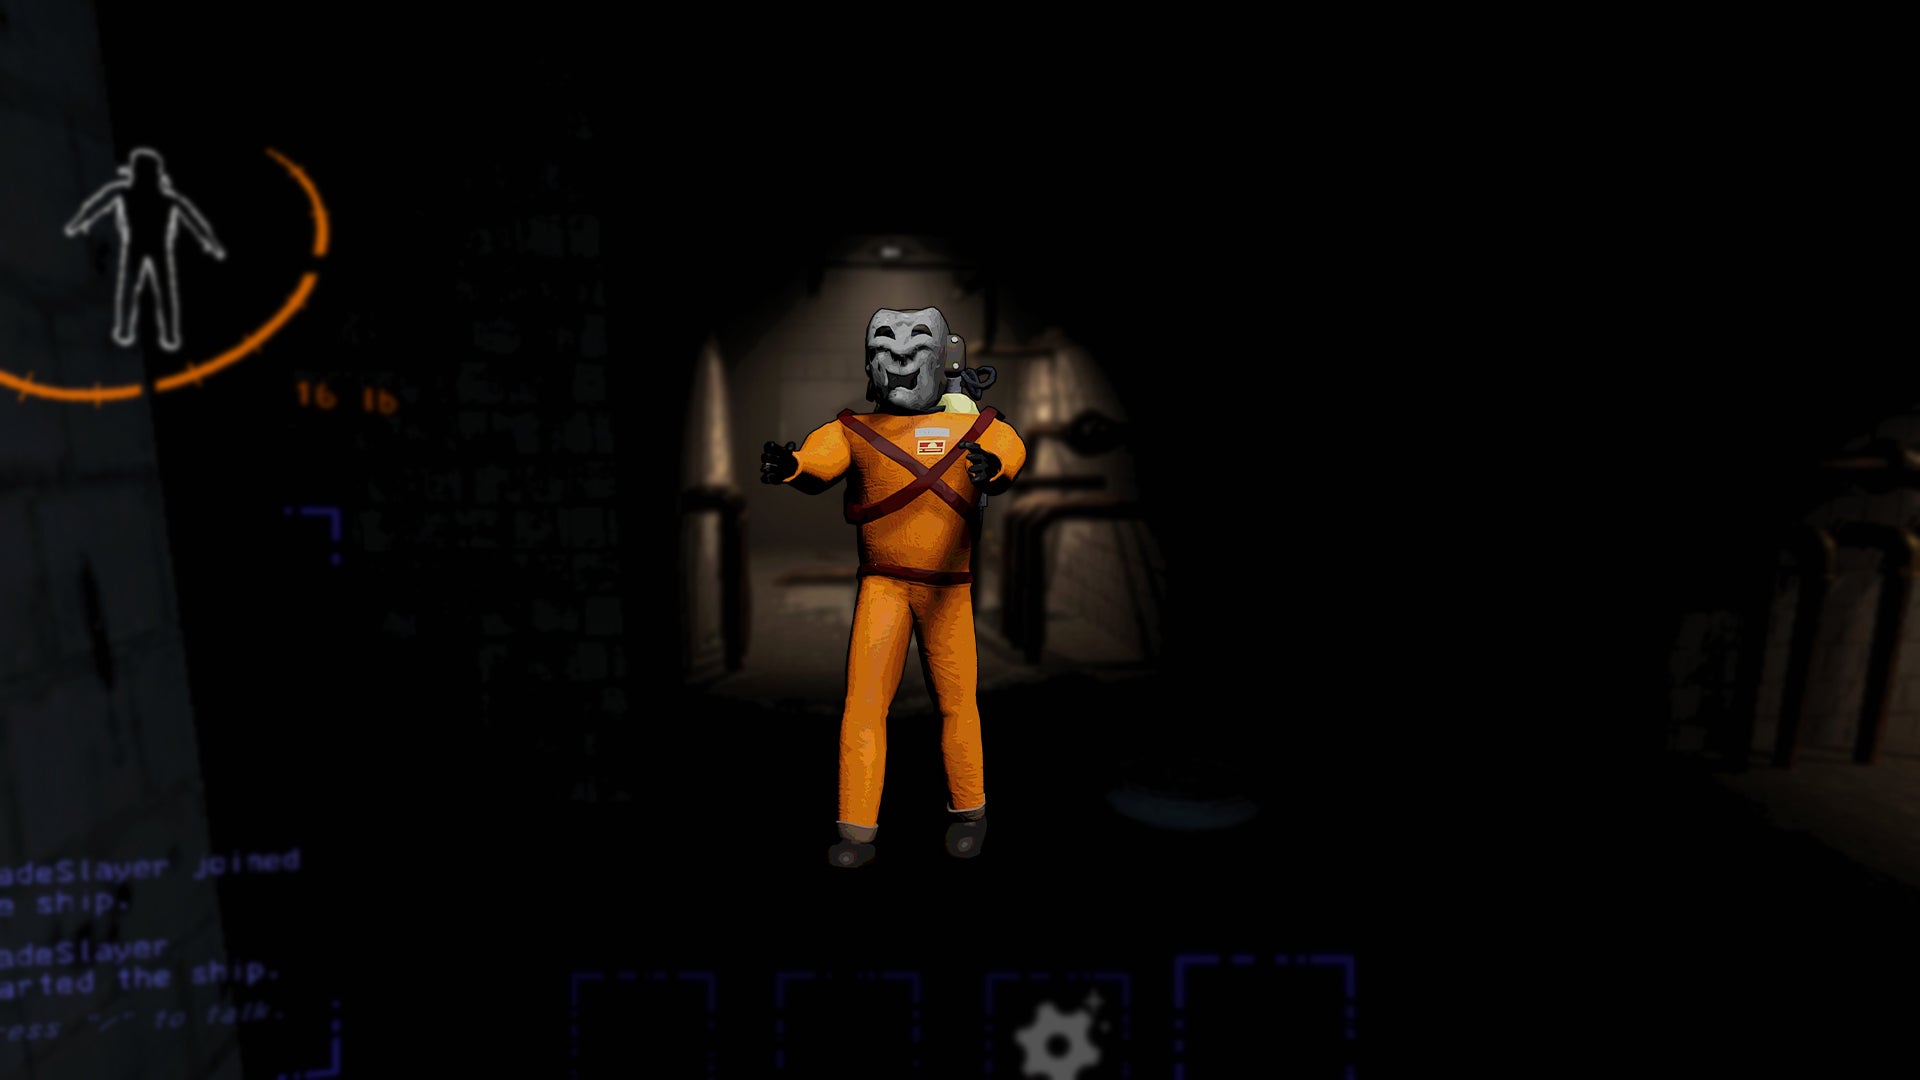
Image credit:Rock Paper Shotgun/Zeekerss
- Location: Both indoors and outdoors
- Threat level: High
- How to beat/evade: Run and leave the planet, these monsters can leave indoor spaces. They can be killed but will respawn after a few minutes
- Key features: These masks look like greek comedy and tradegy masks. When equipped, they can possess a player and cause them to turn against teammates
The Masked is a creature that has possessed one of your teammates. The scare factor of this monster is that it will still appear as a player icon at the comms station. Be sure you’re communicating with your teammates, using Walkie-Talkies where possible.
If you see a player wearing a white mask approaching you with outstretched arms, simply run. Be warned though, these monsters can run too.
Thumper
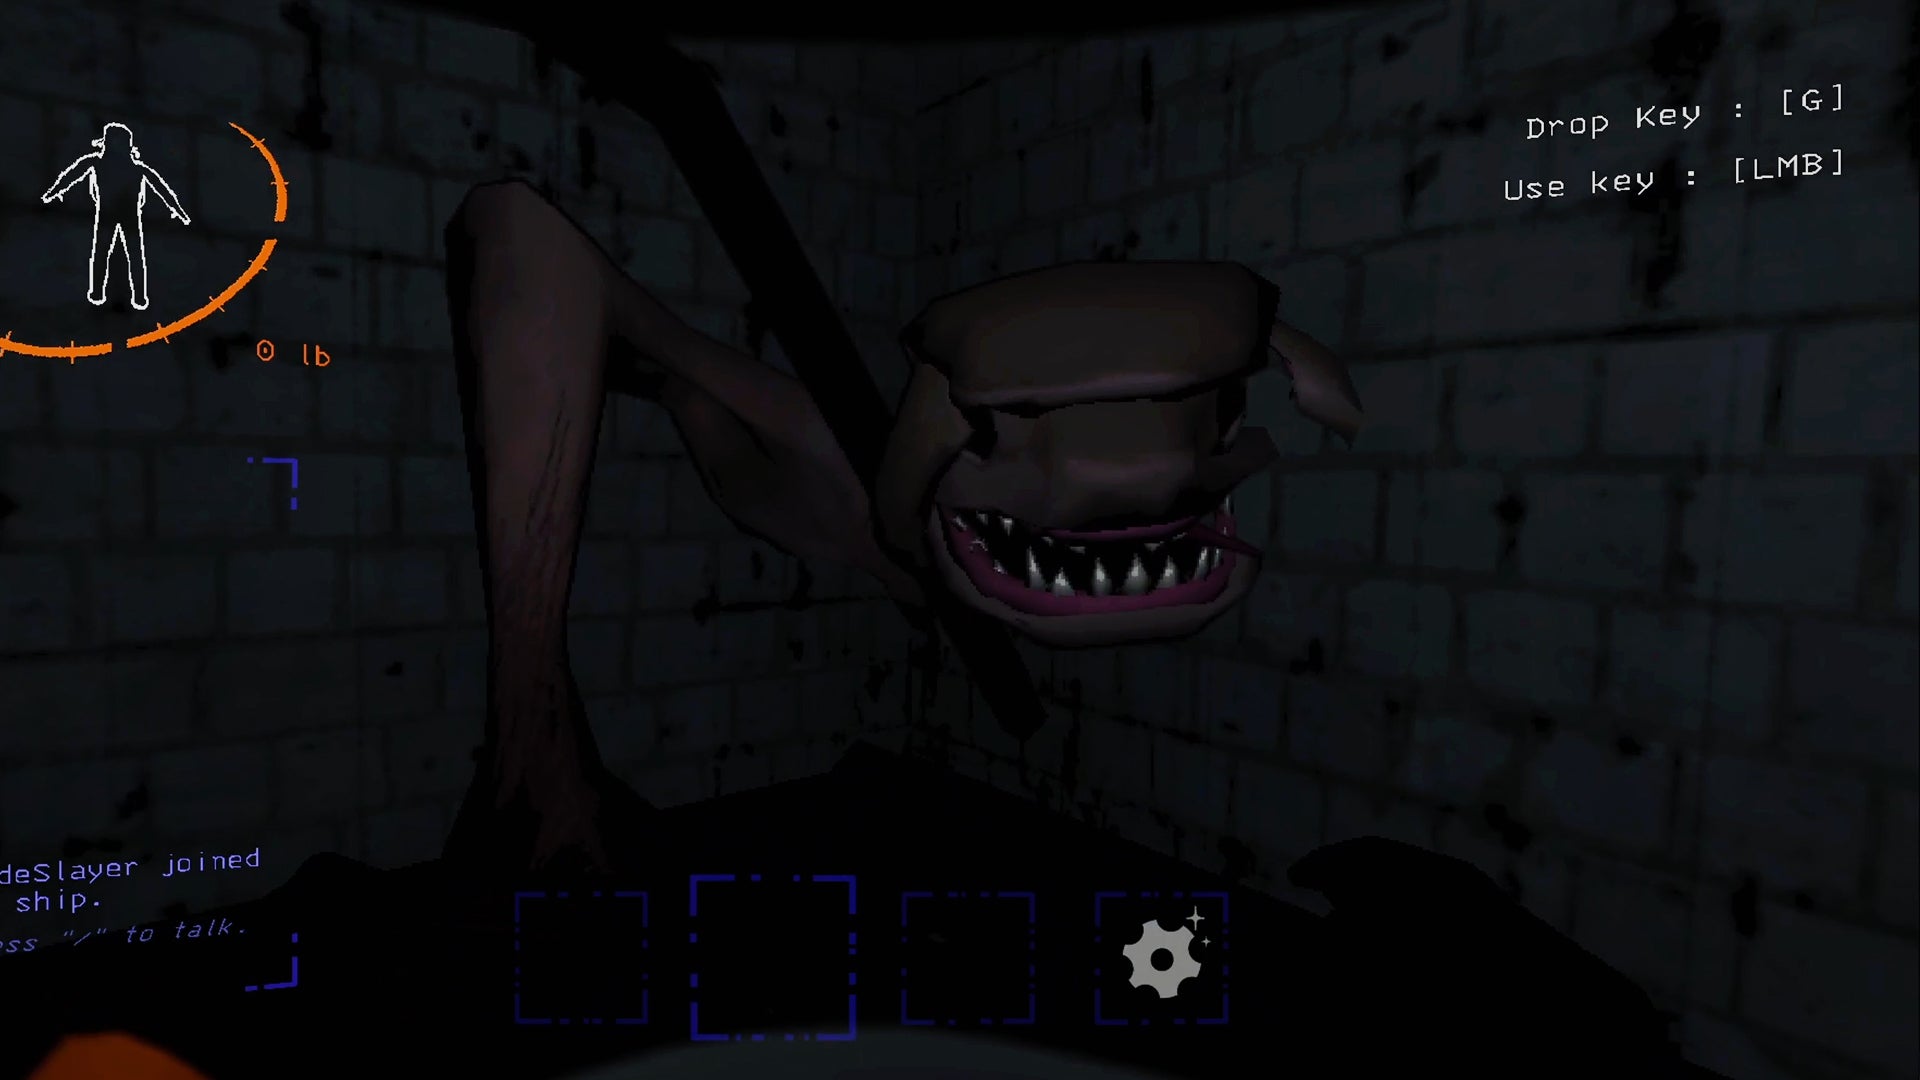
Image credit:Rock Paper Shotgun/Zeekerss
- Location: Indoors
- Threat level: Medium/high
- How to beat/evade: The Thumper can be killed by weapons
- Key features: Thumpers have large limbs, used to charge towards you. Death will usually occur after the Thumper has attacked you three times
The telltale thumping sounds of a Thumper are enough to send shivers down the spine of any Lethal Company player. These long-legged creatures will charge towards you in search of a meal. Luckily, these beasts cannot stop mid-charge and change direction so make sure you use sharp turns and stairwells to get away.
That rounds off our list of all monsters in Lethal Company and how to beat or altogether avoid them. With this information, you should hopefully be more prepared on your scrap run and make a nice profit for The Company. For more Lethal Company news, check out our article on the hilarious arachnophobia mode .
Lethal Company
Video Game
Rock Paper Shotgun is better when you sign in
Sign in and join us on our journey to discover strange and compelling PC games.

All 75 Arc Raiders Blueprints and where to get them
These areas have the highest chance of giving you Blueprints

Image credit:Rock Paper Shotgun/Embark Studios

Looking for more Arc Raiders Blueprints? It’s a special day when you find a Blueprint, as they’re among the most valuable items in Arc Raiders. If you find a Blueprint that you haven’t already found, then you must make sure you hold onto it at all costs, because Blueprints are the key to one of the most important and powerful systems of meta-progression in the game.
This guide aims to be the very best guide on Blueprints you can find, starting with a primer on what exactly they are and how they work in Arc Raiders, before delving into exactly where to get Blueprints and the very best farming spots for you to take in your search.
We’ll also go over how to get Blueprints from other unlikely activities, such as destroying Surveyors and completing specific quests. And you’ll also find the full list of all 75 Blueprints in Arc Raiders on this page (including the newest Blueprints added with the Cold Snap update , such as the Deadline Blueprint and Firework Box Blueprint), giving you all the information you need to expand your own crafting repertoire.
In this guide:
- What are Blueprints in Arc Raiders?
- Full Blueprint list: All crafting recipes
- Where to find Blueprints in Arc Raiders Blueprints obtained from quests Blueprints obtained from Trials Best Blueprint farming locations

What are Blueprints in Arc Raiders?
Blueprints in Arc Raiders are special items which, if you manage to extract with them, you can expend to permanently unlock a new crafting recipe in your Workshop. If you manage to extract from a raid with an Anvil Blueprint, for example, you can unlock the ability to craft your very own Anvil Pistol, as many times as you like (as long as you have the crafting materials).
To use a Blueprint, simply open your Inventory while in the lobby, then right-click on the Blueprint and click “Learn And Consume” . This will permanently unlock the recipe for that item in your Workshop. As of the Stella Montis update, there are allegedly 75 different Blueprints to unlock - although only 68 are confirmed to be in the game so far. You can see all the Blueprints you’ve found and unlocked by going to the Workshop menu, and hitting “R” to bring up the Blueprint screen.
It’s possible to find duplicates of past Blueprints you’ve already unlocked. If you find these, then you can either sell them, or - if you like to play with friends - you can take it into a match and gift it to your friend so they can unlock that recipe for themselves. Another option is to keep hold of them until the time comes to donate them to the Expedition.
Full Blueprint list: All crafting recipes
Below is the full list of all the Blueprints that are currently available to find in Arc Raiders, and the crafting recipe required for each item:
| Blueprint | Type | Recipe | Crafted At |
|---|---|---|---|
| Bettina | Weapon | 3x Advanced Mechanical Components 3x Heavy Gun Parts 3x Canister | Gunsmith 3 |
| Blue Light Stick | Quick Use | 3x Chemicals | Utility Station 1 |
| Aphelion | Weapon | 3x Magnetic Accelerator 3x Complex Gun Parts 1x Matriarch Reactor | Gunsmith 3 |
| Combat Mk. 3 (Flanking) | Augment | 2x Advanced Electrical Components 3x Processor | Gear Bench 3 |
| Combat Mk. 3 (Aggressive) | Augment | 2x Advanced Electrical Components 3x Processor | Gear Bench 3 |
| Complex Gun Parts | Material | 2x Light Gun Parts 2x Medium Gun Parts 2x Heavy Gun Parts | Refiner 3 |
| Fireworks Box | Quick Use | 1x Explosive Compound 3x Pop Trigger | Explosives Station 2 |
| Gas Mine | Mine | 4x Chemicals 2x Rubber Parts | Explosives Station 1 |
| Green Light Stick | Quick Use | 3x Chemicals | Utility Station 1 |
| Pulse Mine | Mine | 1x Crude Explosives 1x Wires | Explosives Station 1 |
| Seeker Grenade | Grenade | 1x Crude Explosives 2x ARC Alloy | Explosives Station 1 |
| Looting Mk. 3 (Survivor) | Augment | 2x Advanced Electrical Components 3x Processor | Gear Bench 3 |
| Angled Grip II | Mod | 2x Mechanical Components 3x Duct Tape | Gunsmith 2 |
| Angled Grip III | Mod | 2x Mod Components 5x Duct Tape | Gunsmith 3 |
| Hullcracker | Weapon | 1x Magnetic Accelerator 3x Heavy Gun Parts 1x Exodus Modules | Gunsmith 3 |
| Launcher Ammo | Ammo | 5x Metal Parts 1x Crude Explosives | Workbench 1 |
| Anvil | Weapon | 5x Mechanical Components 5x Simple Gun Parts | Gunsmith 2 |
| Anvil Splitter | Mod | 2x Mod Components 3x Processor | Gunsmith 3 |
| ??? | ??? | ??? | ??? |
| Barricade Kit | Quick Use | 1x Mechanical Components | Utility Station 2 |
| Blaze Grenade | Grenade | 1x Explosive Compound 2x Oil | Explosives Station 3 |
| Bobcat | Weapon | 3x Advanced Mechanical Components 3x Light Gun Parts | Gunsmith 3 |
| Osprey | Weapon | 2x Advanced Mechanical Components 3x Medium Gun Parts 7x Wires | Gunsmith 3 |
| Burletta | Weapon | 3x Mechanical Components 3x Simple Gun Parts | Gunsmith 1 |
| Compensator II | Mod | 2x Mechanical Components 4x Wires | Gunsmith 2 |
| Compensator III | Mod | 2x Mod Components 8x Wires | Gunsmith 3 |
| Defibrillator | Quick Use | 9x Plastic Parts 1x Moss | Medical Lab 2 |
| ??? | ??? | ??? | ??? |
| Equalizer | Weapon | 3x Magnetic Accelerator 3x Complex Gun Parts 1x Queen Reactor | Gunsmith 3 |
| Extended Barrel | Mod | 2x Mod Components 8x Wires | Gunsmith 3 |
| Extended Light Mag II | Mod | 2x Mechanical Components 3x Steel Spring | Gunsmith 2 |
| Extended Light Mag III | Mod | 2x Mod Components 5x Steel Spring | Gunsmith 3 |
| Extended Medium Mag II | Mod | 2x Mechanical Components 3x Steel Spring | Gunsmith 2 |
| Extended Medium Mag III | Mod | 2x Mod Components 5x Steel Spring | Gunsmith 3 |
| Extended Shotgun Mag II | Mod | 2x Mechanical Components 3x Steel Spring | Gunsmith 2 |
| Extended Shotgun Mag III | Mod | 2x Mod Components 5x Steel Spring | Gunsmith 3 |
| Remote Raider Flare | Quick Use | 2x Chemicals 4x Rubber Parts | Utility Station 1 |
| Heavy Gun Parts | Material | 4x Simple Gun Parts | Refiner 2 |
| Venator | Weapon | 2x Advanced Mechanical Components 3x Medium Gun Parts 5x Magnet | Gunsmith 3 |
| Il Toro | Weapon | 5x Mechanical Components 6x Simple Gun Parts | Gunsmith 1 |
| Jolt Mine | Mine | 1x Electrical Components 1x Battery | Explosives Station 2 |
| Explosive Mine | Mine | 1x Explosive Compound 1x Sensors | Explosives Station 3 |
| Jupiter | Weapon | 3x Magnetic Accelerator 3x Complex Gun Parts 1x Queen Reactor | Gunsmith 3 |
| Light Gun Parts | Material | 4x Simple Gun Parts | Refiner 2 |
| Lightweight Stock | Mod | 2x Mod Components 5x Duct Tape | Gunsmith 3 |
| Lure Grenade | Grenade | 1x Speaker Component 1x Electrical Components | Utility Station 2 |
| Medium Gun Parts | Material | 4x Simple Gun Parts | Refiner 2 |
| Torrente | Weapon | 2x Advanced Mechanical Components 3x Medium Gun Parts 6x Steel Spring | Gunsmith 3 |
| Muzzle Brake II | Mod | 2x Mechanical Components 4x Wires | Gunsmith 2 |
| Muzzle Brake III | Mod | 2x Mod Components 8x Wires | Gunsmith 3 |
| Padded Stock | Mod | 2x Mod Components 5x Duct Tape | Gunsmith 3 |
| Shotgun Choke II | Mod | 2x Mechanical Components 4x Wires | Gunsmith 2 |
| Shotgun Choke III | Mod | 2x Mod Components 8x Wires | Gunsmith 3 |
| Shotgun Silencer | Mod | 2x Mod Components 8x Wires | Gunsmith 3 |
| Showstopper | Grenade | 1x Advanced Electrical Components 1x Voltage Converter | Explosives Station 3 |
| Silencer I | Mod | 2x Mechanical Components 4x Wires | Gunsmith 2 |
| Silencer II | Mod | 2x Mod Components 8x Wires | Gunsmith 3 |
| Snap Hook | Quick Use | 2x Power Rod 3x Rope 1x Exodus Modules | Utility Station 3 |
| Stable Stock II | Mod | 2x Mechanical Components 3x Duct Tape | Gunsmith 2 |
| Stable Stock III | Mod | 2x Mod Components 5x Duct Tape | Gunsmith 3 |
| Tagging Grenade | Grenade | 1x Electrical Components 1x Sensors | Utility Station 3 |
| Tempest | Weapon | 3x Advanced Mechanical Components 3x Medium Gun Parts 3x Canister | Gunsmith 3 |
| Trigger Nade | Grenade | 2x Crude Explosives 1x Processor | Explosives Station 2 |
| Vertical Grip II | Mod | 2x Mechanical Components 3x Duct Tape | Gunsmith 2 |
| Vertical Grip III | Mod | 2x Mod Components 5x Duct Tape | Gunsmith 3 |
| Vita Shot | Quick Use | 2x Antiseptic 1x Syringe | Medical Lab 3 |
| Vita Spray | Quick Use | 3x Antiseptic 1x Canister | Medical Lab 3 |
| Vulcano | Weapon | 1x Magnetic Accelerator 3x Heavy Gun Parts 1x Exodus Modules | Gunsmith 3 |
| Wolfpack | Grenade | 2x Explosive Compound 2x Sensors | Explosives Station 3 |
| Red Light Stick | Quick Use | 3x Chemicals | Utility Station 1 |
| Smoke Grenade | Grenade | 14x Chemicals 1x Canister | Utility Station 2 |
| Deadline | Mine | 3x Explosive Compound 2x ARC Circuitry | Explosives Station 3 |
| Trailblazer | Grenade | 1x Explosive Compound 1x Synthesized Fuel | Explosives Station 3 |
| Tactical Mk. 3 (Defensive) | Augment | 2x Advanced Electrical Components 3x Processor | Gear Bench 3 |
| Tactical Mk. 3 (Healing) | Augment | 2x Advanced Electrical Components 3x Processor | Gear Bench 3 |
| Yellow Light Stick | Quick Use | 3x Chemicals | Utility Station 1 |
Note: The missing Blueprints in this list likely have not actually been added to the game at the time of writing, because none of the playerbase has managed to find any of them. As they are added to the game, I will update this page with the most relevant information so you know exactly how to get all 75 Arc Raiders Blueprints.
Where to find Blueprints in Arc Raiders
Below is a list of all containers, modifiers, and events which maximise your chances of finding Blueprints:
- Certain quests reward you with specific Blueprints .
- Completing Trials has a high chance of offering Blueprints as rewards.
- Surveyors have a decent chance of dropping Blueprints on death.
- High loot value areas tend to have a greater chance of spawning Blueprints.
- Night Raids and Storms may increase rare Blueprint spawn chances in containers.
- Containers with higher numbers of items may have a higher tendency to spawn Blueprints. As a result, Blue Gate (which has many “large” containers containing multiple items) may give you a higher chance of spawning Blueprints.
- Raider containers (Raider Caches, Weapon Boxes, Medical Bags, Grenade Tubes) have increased Blueprint drop rates. As a result, the Uncovered Caches event gives you a high chance of finding Blueprints.
- Security Lockers have a higher than average chance of containing Blueprints.
- Certain Blueprints only seem to spawn under specific circumstances: Tempest Blueprint only spawns during Night Raid events. Vulcano Blueprint only spawns during Hidden Bunker events. Jupiter and Equaliser Blueprints only spawn during Harvester events.

Raider Caches, Weapon Boxes, and other raider-oriented container types have a good chance of offering Blueprints. |Image credit:Rock Paper Shotgun/Embark Studios
Blueprints have a very low chance of spawning in any container in Arc Raiders, around 1-2% on average. However, there is a higher chance of finding Blueprints in particular container types. Specifically, you can find more Blueprints in Raider containers and security lockers.
Beyond this, if you’re looking for Blueprints you should focus on regions of the map which are marked as having particularly high-value loot. Areas such as the Control Tower in Dam Battlegrounds, the Arrival and Departure Buildings in Spaceport, and Pilgrim’s Peak in Blue Gate all have a better-than-average chance of spawning Blueprints somewhere amongst all their containers. Night Raids and Electromagnetic Storm events also increase the drop chances of certain Blueprints .
In addition to these containers, you can often loot Blueprints from destroyed Surveyors - the largest of the rolling ball ARC. Surveyors are more commonly found on the later maps - Spaceport and Blue Gate - and if one spawns in your match, you’ll likely see it by the blue laser beam that it casts into the sky while “surveying”.
Surveyors are quite well-armoured and will very speedily run away from you once it notices you, but if you can take one down then make sure you loot all its parts for a chance of obtaining certain unusual Blueprints.
Blueprints obtained from quests
One way in which you can get Blueprints is by completing certain quests for the vendors in Speranza. Some quests will reward you with a specific item Blueprint upon completion, so as long as you work through all the quests in Arc Raiders, you are guaranteed those Blueprints.
Here is the full list of all Blueprints you can get from quest rewards:
- Trigger Nade Blueprint: Rewarded after completing “Sparks Fly”.
- Lure Grenade Blueprint: Rewarded after completing “Greasing Her Palms”.
- Burletta Blueprint: Rewarded after completing “Industrial Espionage”.
- Hullcracker Blueprint (and Launcher Ammo Blueprint): Rewarded after completing “The Major’s Footlocker”.
Alas, that’s only 4 Blueprints out of a total of 75 to unlock, so for the vast majority you will need to find them yourself during a raid. If you’re intent on farming Blueprints, then it’s best to equip yourself with cheap gear in case you lose it, but don’t use a free loadout because then you won’t get a safe pocket to stash any new Blueprint you find. No pain in Arc Raiders is sharper than failing to extract with a new Blueprint you’ve been after for a dozen hours already.

One of the best ways to get Blueprints is by hitting three stars on all five Trials every week. |Image credit:Rock Paper Shotgun/Embark Studios
Blueprints obtained from Trials
One of the very best ways to get Blueprints is as rewards for completing Trials in Arc Raiders. Trials are unlocked from Level 15 onwards, and allow you to earn rewards by focusing on certain tasks over the course of several raids. For example, one Trial might task you with dealing damage to Hornets, while another might challenge you to loot Supply Drops.
Trials refresh on a weekly basis, with a new week bringing five new Trials. Each Trial can offer up to three rewards after passing certain score milestones, and it’s possible to receive very high level loot from these reward crates - including Blueprints. So if you want to unlock as many Blueprints as possible, you should make a point of completing as many Trials as possible each week.
Best Blueprint farming locations
The very best way to get Blueprints is to frequent specific areas of the maps which combine high-tier loot pools with the right types of containers to search. Here are my recommendations for where to find Blueprints on every map, so you can always keep the search going for new crafting recipes to unlock.

Image credit:Rock Paper Shotgun/Embark Studios
Dam Battlegrounds
The best places to farm Blueprints on Dam Battlegrounds are the Control Tower, Power Generation Complex, Ruby Residence, and Pale Apartments . The first two regions, despite only being marked on the map as mid-tier loot, contain a phenomenal number of containers to loot. The Control Tower can also contain a couple of high-tier Security Lockers - though of course, you’ll need to have unlocked the Security Breach skill at the end of the Survival tree.
There’s also a lot of reporting amongst the playerbase that the Residential areas in the top-left of the map - Pale Apartments and Ruby Residence - give you a comparatively strong chance of finding Blueprints. Considering their size, there’s a high density of containers to loot in both locations, and they also have the benefit of being fairly out of the way. So you’re more likely to have all the containers to yourself.
Buried City
The best Blueprint farming locations on Buried City are the Santa Maria Houses, Grandioso Apartments, Town Hall, and the various buildings of the New District . Grandioso Apartments has a lower number of containers than the rest, but a high chance of spawning weapon cases - which have good Blueprint drop rates. The others are high-tier loot areas, with plenty of lootable containers - including Security Lockers.
Spaceport
The best places to find Blueprints on Spaceport are the Arrival and Departure Buildings, as well as Control Tower A6 and the Launch Towers . All these areas are labelled as high-value loot regions, and many of them are also very handily connected to one another by the Spaceport wall, which you can use to quickly run from one area to the next. At the tops of most of these buildings you’ll find at least one Security Locker, so this is an excellent farming route for players looking to find Blueprints.
The downside to looting Blueprints on Spaceport is that all these areas are hotly contested, particularly in Duos and Squads. You’ll need to be very focused and fast in order to complete the full farming route.

Image credit:Rock Paper Shotgun/Embark Studios
Blue Gate
Blue Gate tends to have a good chance of dropping Blueprints, potentially because it generally has a high number of containers which can hold lots of items; so there’s a higher chance of a Blueprint spawning in each container. In my experience, the best Blueprint farming spots on Blue Gate are Pilgrim’s Peak, Raider’s Refuge, the Ancient Fort, and the Underground Complex beneath the Warehouse .
All of these areas contain a wealth of containers to loot. Raider’s Refuge has less to loot, but the majority of the containers in and around the Refuge are raider containers, which have a high chance of containing Blueprints - particularly during major events.
Stella Montis
On the whole, Stella Montis seems to have a very low drop rate for Blueprints (though a high chance of dropping other high-tier loot). If you do want to try farming Blueprints on this map, the best places to find Blueprints in Stella Montis are Medical Research, Assembly Workshop, and the Business Center . These areas have the highest density of containers to loot on the map.
In addition to this, the Western Tunnel has a few different Security Lockers to loot, so while there’s very little to loot elsewhere in this area of the map, it’s worth hitting those Security Lockers if you spawn there at the start of a match.
That wraps up this primer on how to get all the Blueprints in Arc Raiders as quickly as possible. With the Expedition system constantly resetting a large number of players’ Blueprints, it’s more important than ever to have the most up-to-date information on where to find all these Blueprints.
While you’re here, be sure to check out our Arc Raiders best guns tier list , as well as our primers on the best skills to unlock and all the different Field Depot locations on every map.

ARC Raiders
PS5 , Xbox Series X/S , PC
Rock Paper Shotgun is better when you sign in
Sign in and join us on our journey to discover strange and compelling PC games.
