All Legendary Spell locations in Elden Ring
Here are all Legendary Spell locations in Elden Ring
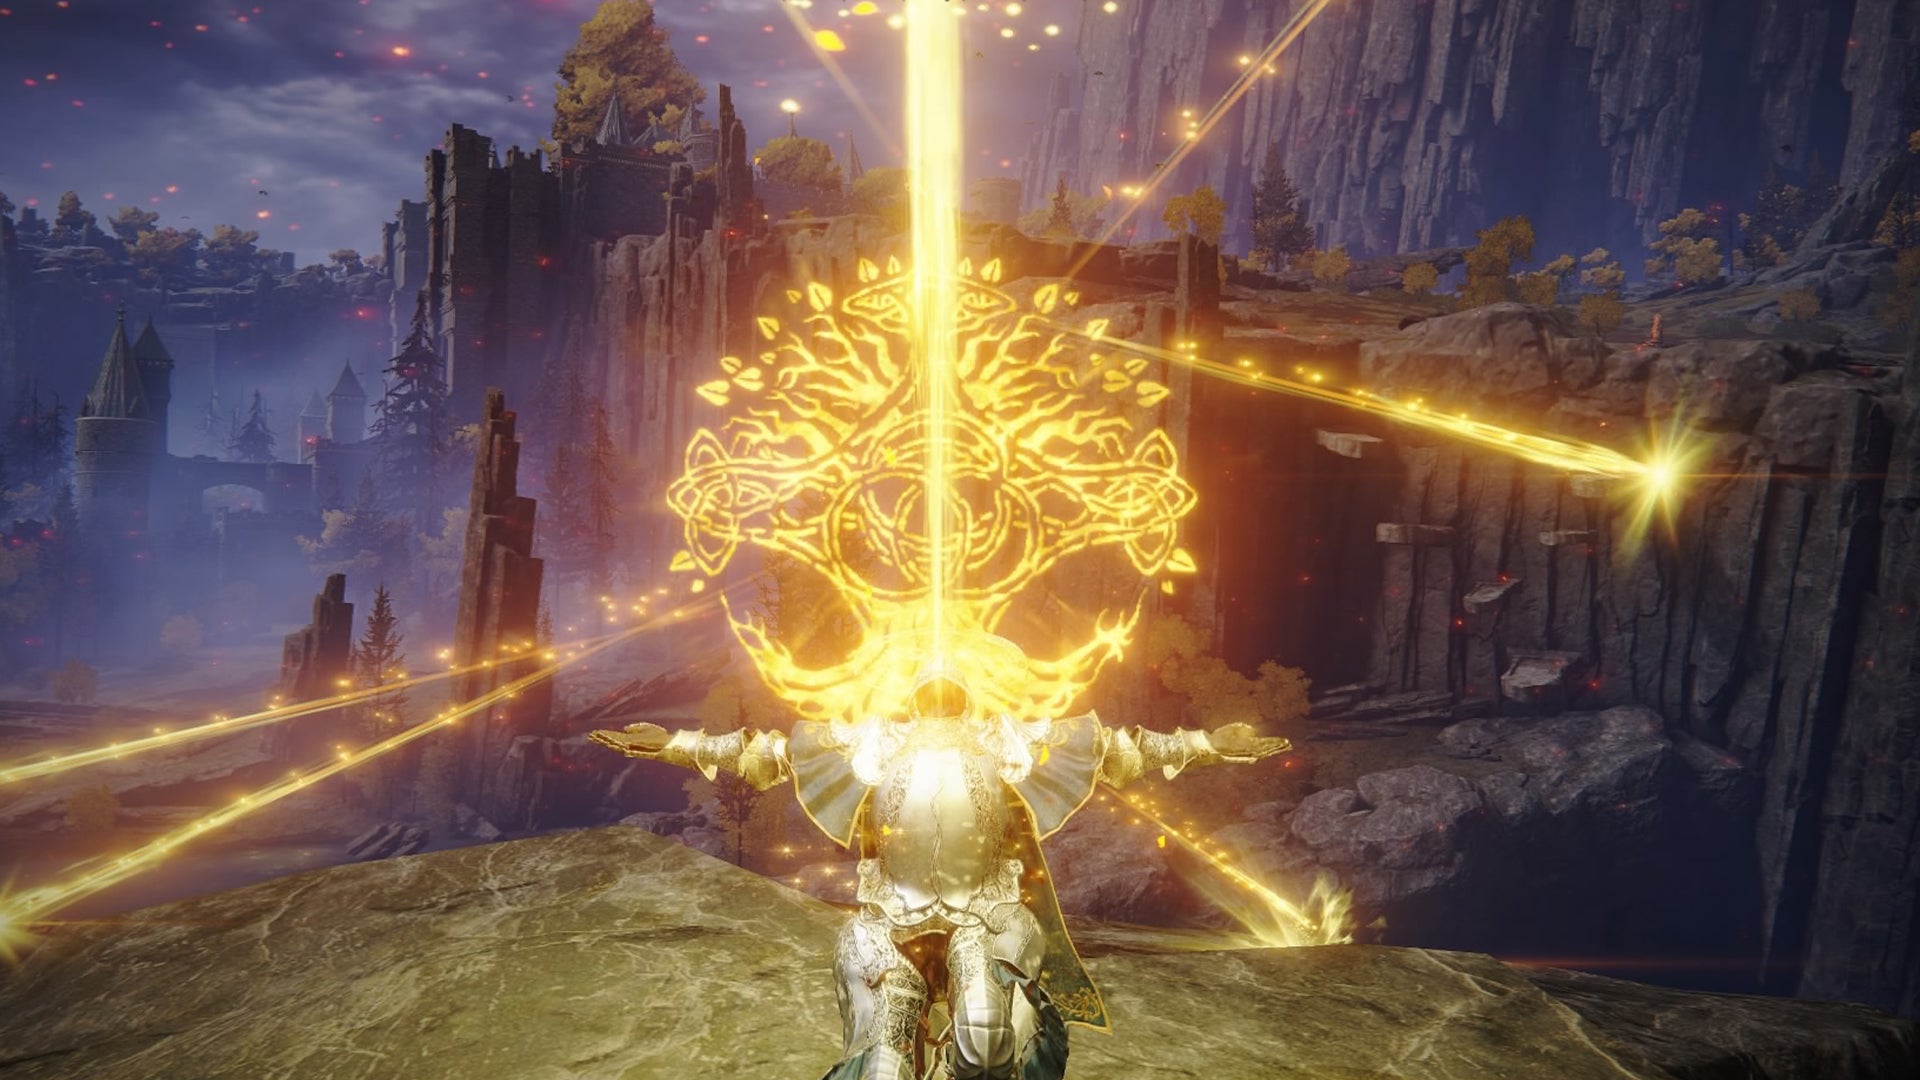
Image credit:Rock Paper Shotgun/Bandai Namco

Looking for all of the Legendary Spell locations in Elden Ring? There are a total of 7 Legendary spells in Elden Ring and you must collect them all to achieve the optional achievement ‘Legendary Sorceries and Incantations ‘.
As the name would suggest, these are potent spells that, depending on your stats, can elevate any Sorcerer or Incantation build. Join us as we go through each Legendary Spell and where to get them in the game.
All Legendary Spells
The following list are all of the Legendary Spells in Elden Ring. We’ve organised this list in the recommended order to pick them up based on region and quest requirements but feel free to scroll ahead if you’ve already collected a few of them.
- Flame of the Fell God
- Greyoll’s Roar
- Comet Azur
- Stars of Ruin
- Ranni’s Dark Moon
- Elden Stars
- Founding Rain of Stars
Flame of the Fell God location
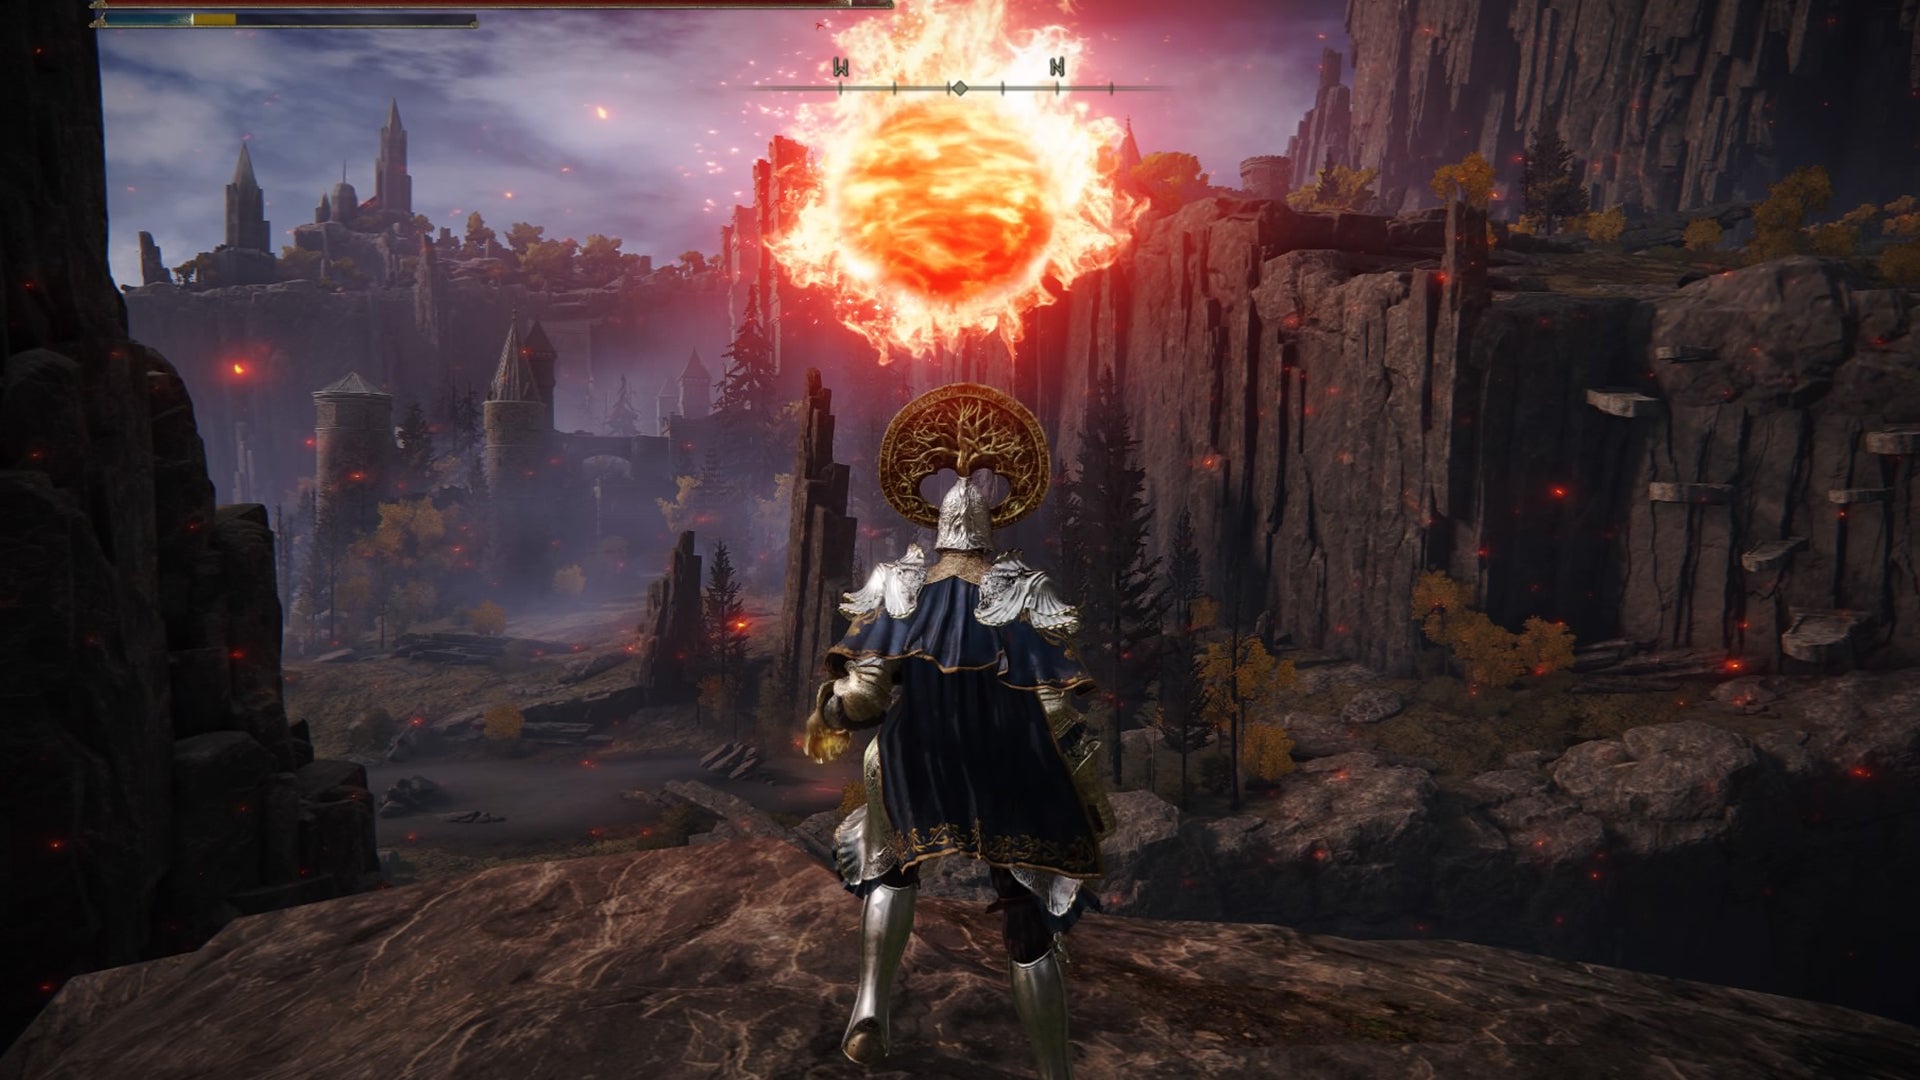
The Flame of the Fell God Spell should be the easiest of the bunch to pick up relatively early. |Image credit:Rock Paper Shotgun/Bandai Namco
- Spell type: Fire Giant Incantation.
- Requirements: Faith 41.
- Spell effect: Summon a fireball that explodes in an AOE.
The Flame of the Fell God is an Incantation that can only be acquired from defeating Adan, Thief of Fire within the Malefactor’s Evergaol in southern Liurnia of the Lakes.
This is an optional field boss that is particularly strong against fire (unsurprisingly) standard, slash and pierce damage. He is weaker against Lightning effects, so bear that in mind when taking this boss on.
To find him, travel to the Scenic Isle Site Of Grace and move southeast to the cliff face overlooking the Liurnia Lake Shore Site Of Grace. You’ll see the usual telltale signs of an Evergaol, namely the gravitational spheres and stone sigil on the ground. Interact with this to be transported to the fight.
Greyoll’s Roar location
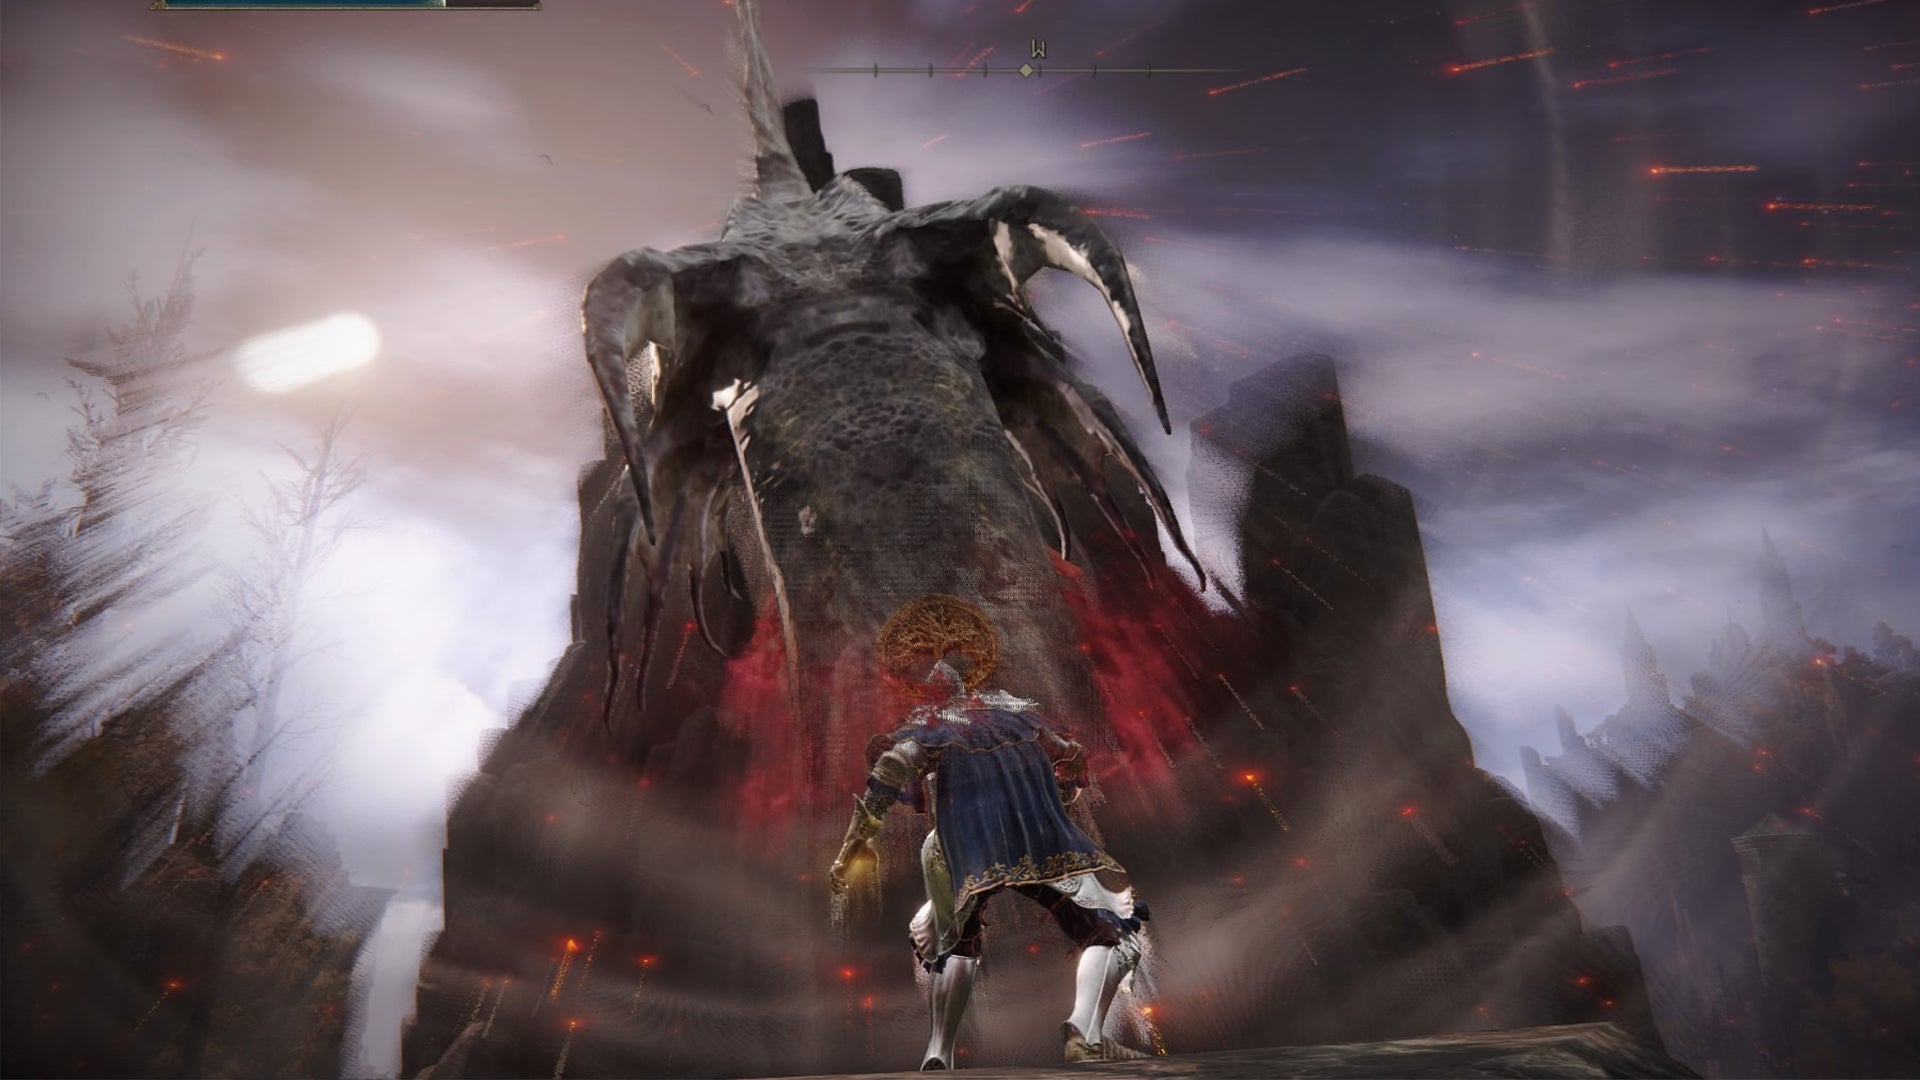
Greyoll’s Roar is one of many Dragon Communion Incantations that allows you to summon a spectral dragon’s head. |Image credit:Rock Paper Shotgun/Bandai Namco
- Spell type: Dragon Communion Incantation.
- Requirements: Faith 28, Arcane 17.
- Spell effect: A Spectral dragon head is summoned that emits a roar attack that deals physical and stance damage.
Greyoll’s Roar is a Dragon Communion Incantation, meaning it can be purchased at the Dragon Communion Altar in Caelid in return for three dragon hearts. The church is located in southwestern Caelid, southwest of the Caelid Highway South Site Of Grace and west of the Caelid Catacombs.
To purchase the Incantation you need three dragon hearts and must first defeat Elder Dragon Greyoll , located in the Dragonbarrow region in Caelid (directly west of the Fort Faroth Site Of Grace).
To succeed in this boss fight you must kill at least five of the younger dragons surrounding Greyoll. These dragons are weak to pierce damage and strong against most elemental effects. Greyoll will turn to dust once five of the dragon offspring are defeated.
Comet Azur location
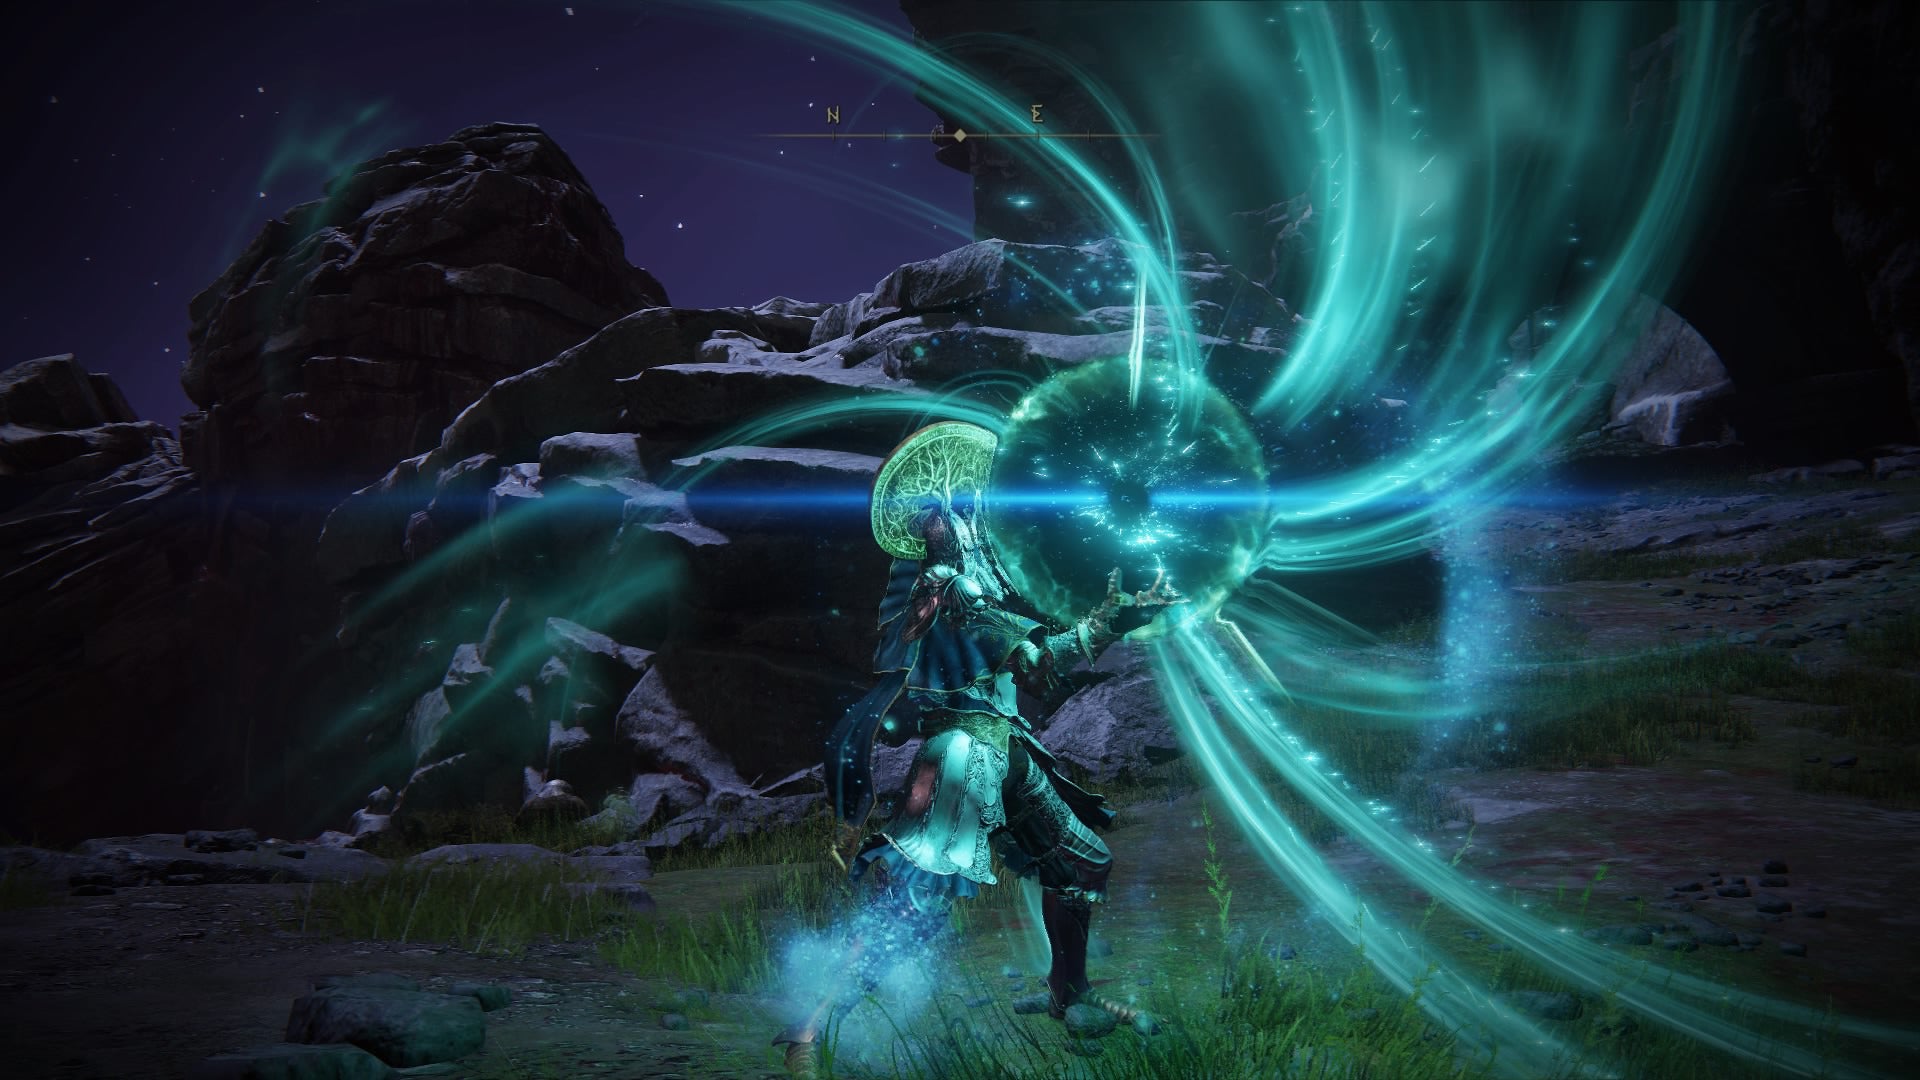
The Comet Azur Sorcery is also available as a Weapon Skill on the Sword of Night and Flame. |Image credit:Rock Paper Shotgun/From Software
- Spell type: Primeval Sorcery.
- Requirements: Intelligence 60.
- Spell effect: Charges up a large comet which blasts foes in a long torrent.
The Comet Azur Sorcery is pretty easy to pick up but will require you to invest some time in the Sorceress Sellen ’s questline . Essentially, you can pick the Incantation up from Primeval Sorcerer Azur , who sits stationary by the cliffside north of the Hermit Village in Mt Gelmir (east of Volcano Manor ).
You’ll get the option to take the Sorcery from him after completing the following steps in Sellen’s questline:
- Defeat the Mad Pumpkin Head boss by the Waypoint Ruins in Limgrave and speak to Sellen below. You can purchase Glintstone Sorceries from her if you wish.
- Get far enough into the story to beat the bosses barring the way to the Altus Plateau (namely, Margit , Godrick and Rennala ).
- Travel to Primeval Sorcerer Azur near the Hermit Village. You can get to the village by travelling through the canyon north of the Seethewater River Site Of Grace.
- Return to Sellen to continue her questline. (You’ll need to do so if you want to pick up the next Legendary Spell on this list).
Stars of Ruin location
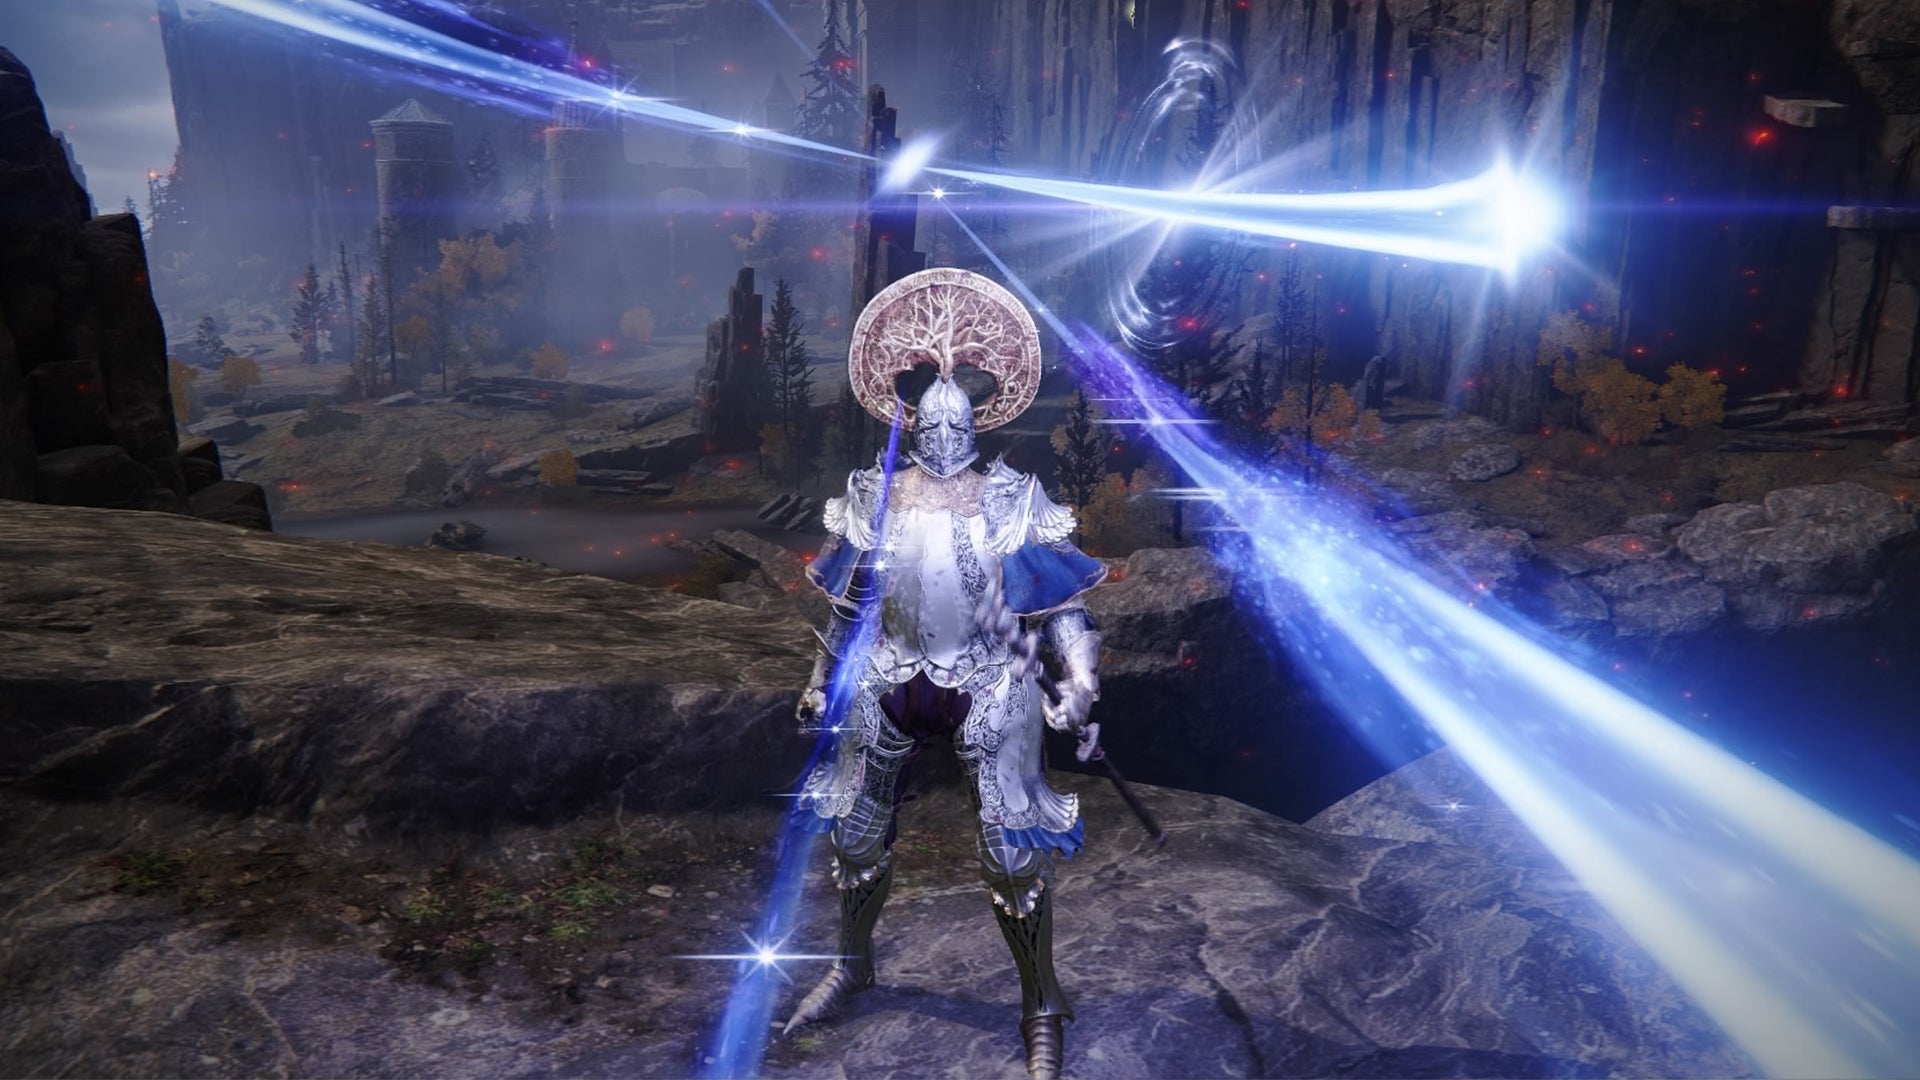
The Stars of Ruin also happens to be one of the best Intelligence-based spells in the game. |Image credit:Rock Paper Shotgun/From Software
- Spell type: Primeval Sorcery.
- Requirements: Intelligence 43.
- Spell effect: This Sorcery summons 12 spectral stars that can target enemies and strike them even if they dodge.
The Stars of Ruin is another spell on this list that requires some investment into Sellen’s sidequest. If you have completed the above steps in Sellen’s questline for the Comet Azur spell, you can then return to her at the Waypoint Ruins for the next step.
Sellen will give you the Sellian Sealbreaker key and task you with finding her mentor, Master Lusat, who happens to hold the next Legendary spell. He is located within the Sellia Hideaway cave, the entrance of which is hidden behind an illusory wall.
To gain access to the cave, travel to the Church of the Plague in central Caelid. Head north past the skeleton enemies and towards a large rock outcropping which you can hit to reveal a secret entrance.
Within the cave, follow the path forward and hit your way past several false walls blocking the way until you come across a chamber filled with large amethyst crystals over a pit. Walk across the crystals and look down until you spot a magic barrier below. Drop down and interact with the barrier to lift it and meet Master Lusat.
The next part of Sellen’s questline involves travelling to Redmane Castle and defeating Starscourge Radahn . Coincidentally, this is also a crucial part of Ranni’s questline which you’ll need to progress through for Ranni’s Dark Moon, as seen below.
Ranni’s Dark Moon location
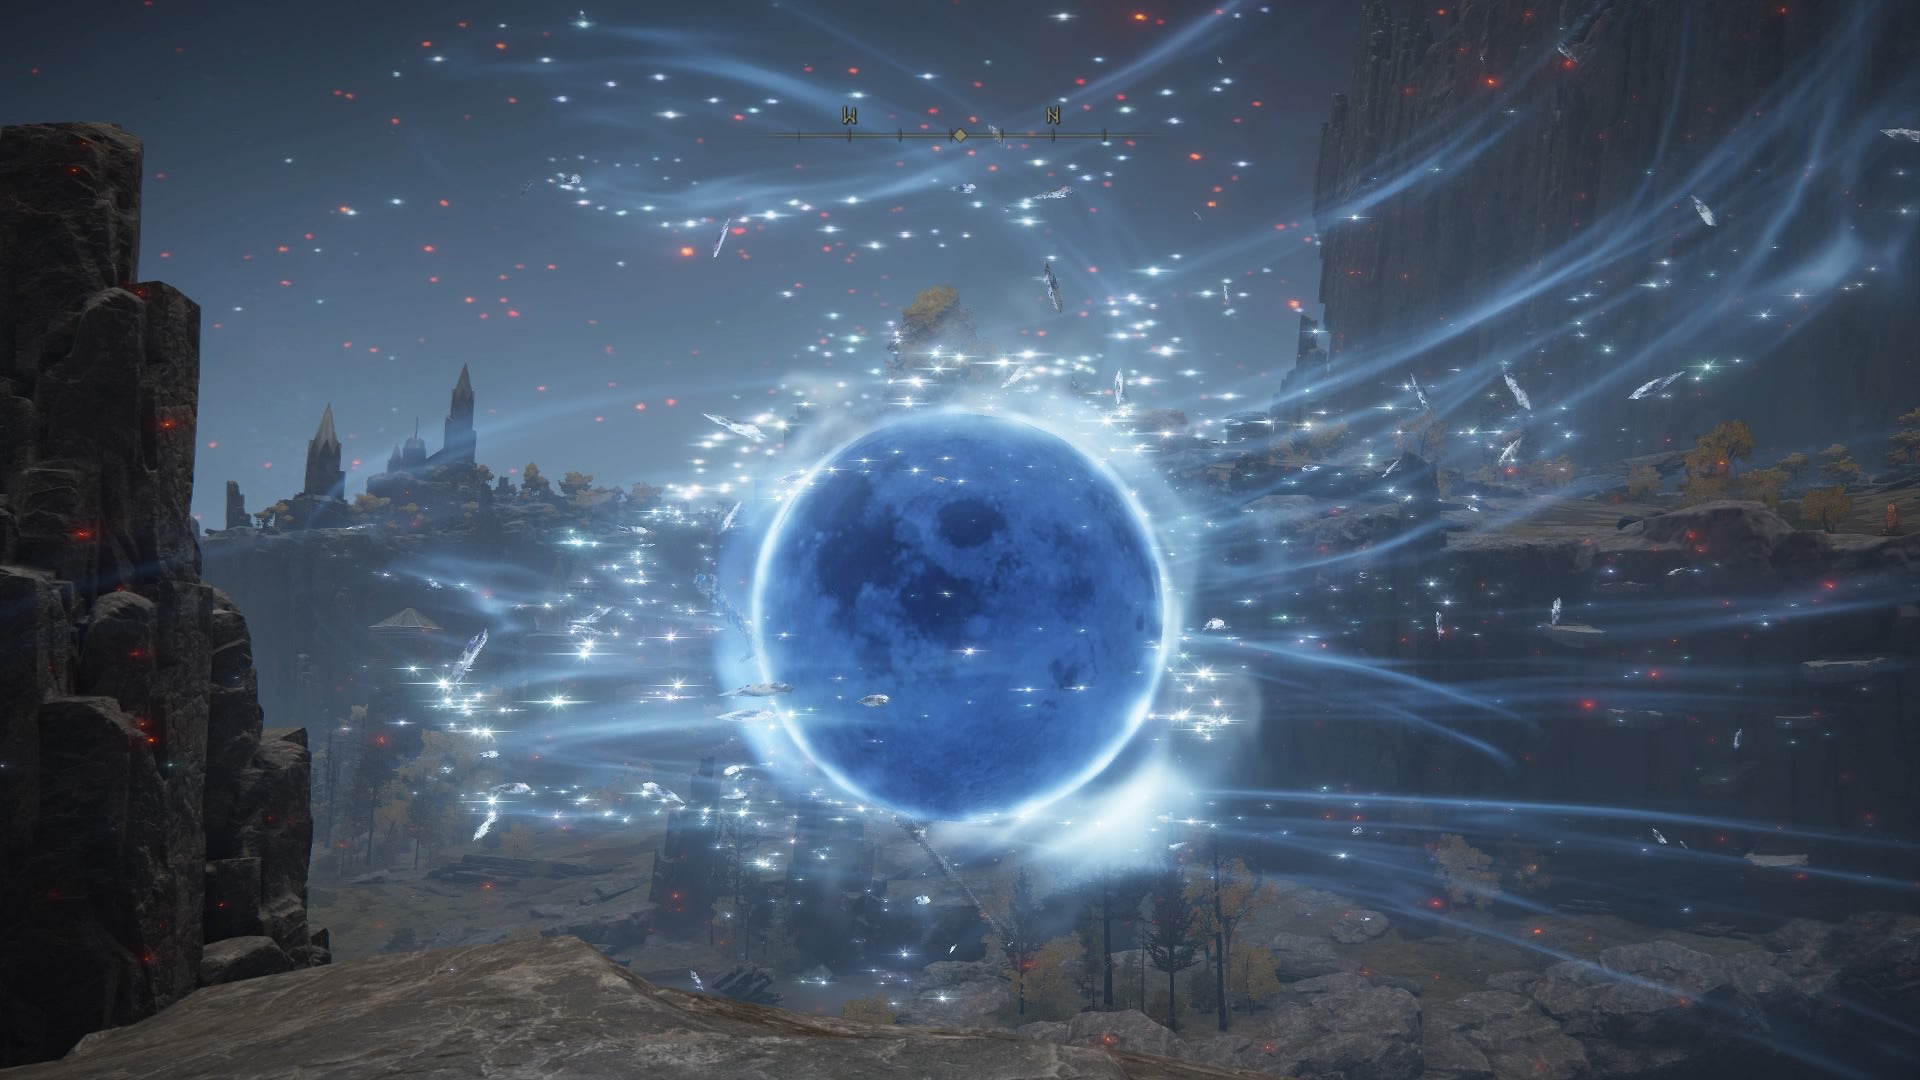
Ranni’s Dark Moon has a sister spell - Rennala’s Full Moon, that reduces magic damage negation. |Image credit:Rock Paper Shotgun/Bandai Namco
- Spell type: Full Moon Sorcery.
- Requirements: Intelligence 68.
- Spell effect: Conjure a full moon and hurl it towards enemies for magic damage and Frost build-up.
As the name would suggest, Ranni’s Dark Moon is given as a gift from Ranni upon completing most of her questline. We have a full rundown of Ranni’s questline here that you can follow but essentially, you need to get far enough into it to defeat Astel, Naturalborn of the Void .
Once this cosmic terror is defeated, travel up the lift in the arena to reach the Moonlight Altar in Liurnia of the Lakes (an area only accessible via this quest and boss fight). From here, travel southwest to Chelona’s Rise and loot the spell from a chest at the top of the tower.
To gain access to Chelona’s Rise, you must solve the magic barrier riddle and ‘seek three great wise beasts’. Essentially, you must kill three large spectral turtles in the area. The first is hanging off of a cliffedge directly west of the tower. The second is on a cliff outcropping far to the east of the tower (follow the eastern cliff edge around). The last is flying high in the air, southeast of the Ringleader’s Evergaol, meaning you’ll need to utilise the Spiritspring nearby and hit it off the back of Torrent.
Elden Stars location
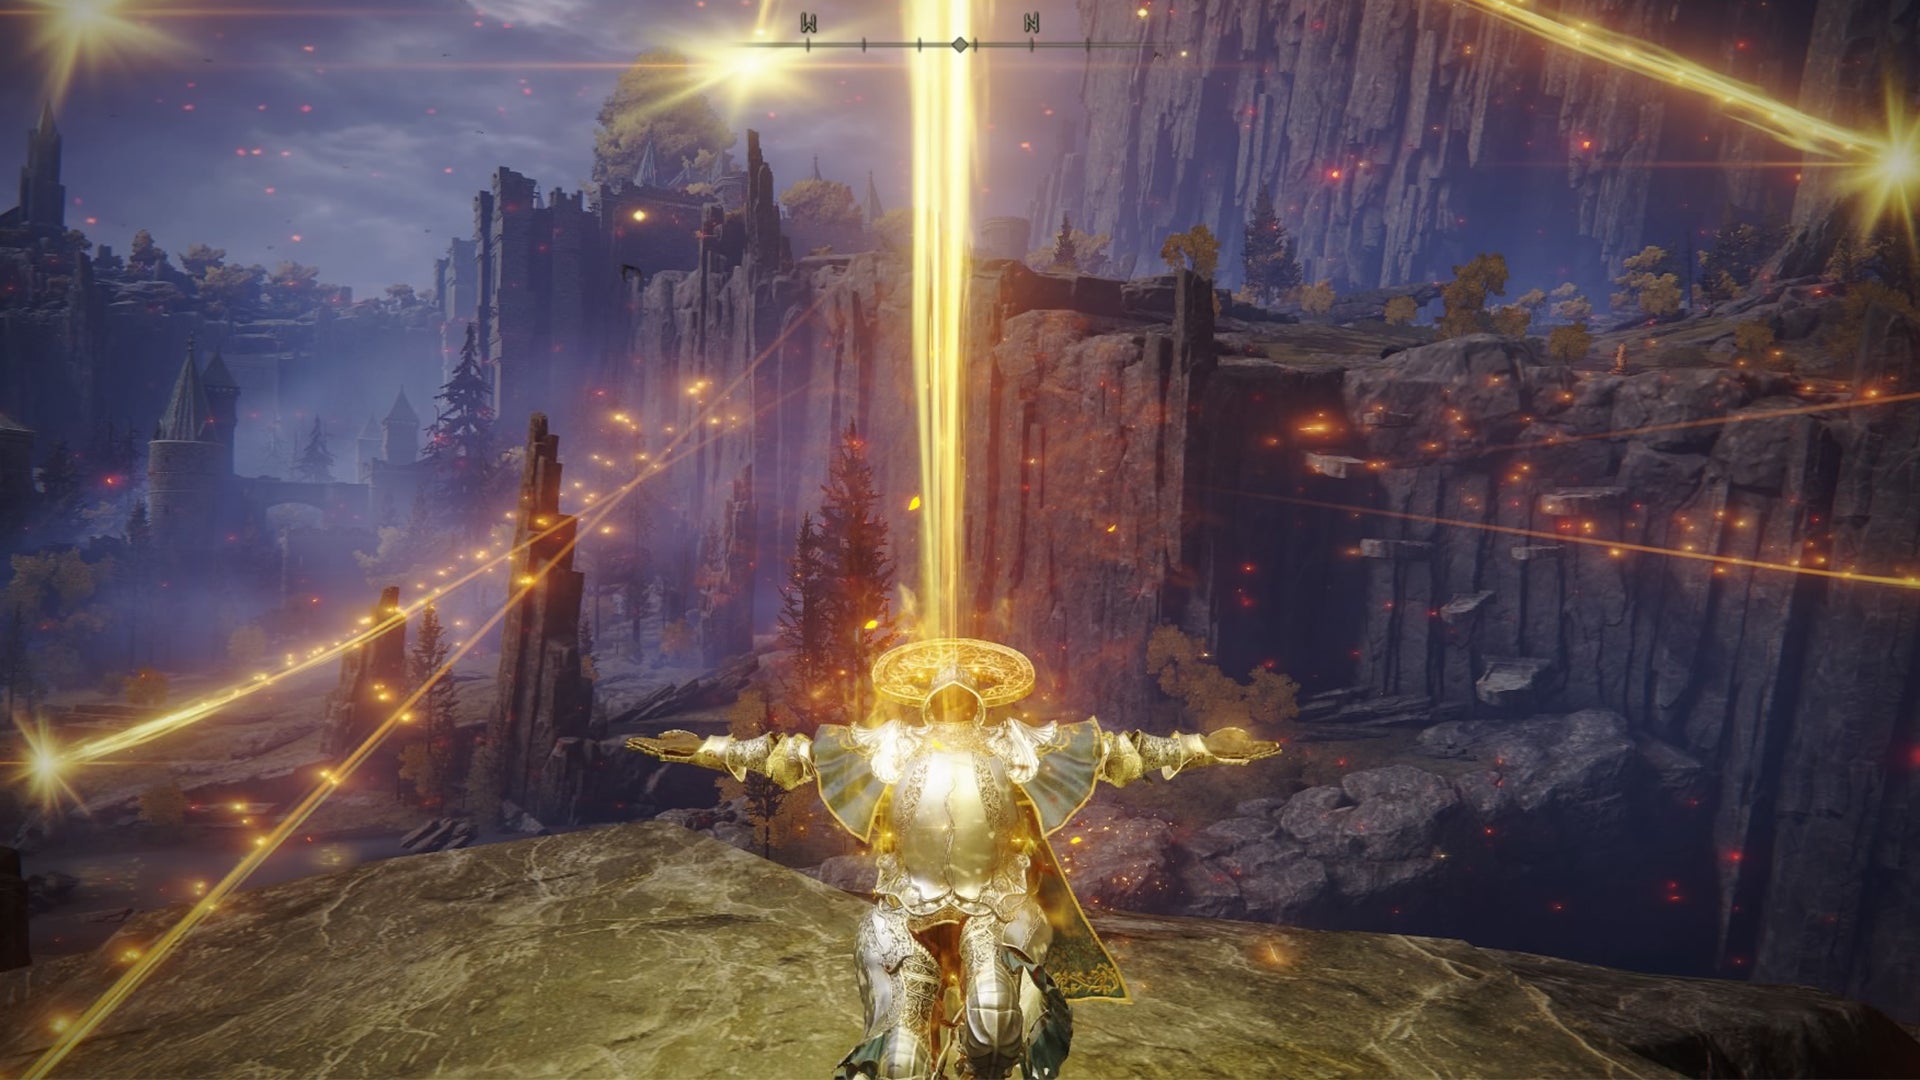
According to its description, the Elden Stars is the oldest of the Erdtree Incantations. |Image credit:Rock Paper Shotgun/Bandai Namco
- Spell type: Erdtree Incantation.
- Requirements: Faith 50.
- Spell effect: Summons a barrage of golden shooting stars that inflict Holy damage and stance damage.
To get the Elden Stars will require a fair bit of progress through the main Elden Ring story as it is located within the Deeproot Depths . From the Great Waterfall Crest Site Of Grace, travel west across the underground lake and up the giant tree roots with Torrent.
Continue west, then north up the roots and through the mouth of a cave. Travel west, out of the cave past the spiders and loot the corpse hanging off the ledge, looking over the roots below.
To gain access to the Deeproot Depths region, you must have defeated Starscourge Radahn (as per Ranni’s questline above) and gained access to Nokron , Eternal City. Then you must defeat the Valiant Gargoyles boss in the Siofra Aqueduct (accessible by travelling from the Mimic Tear Site Of Grace in Nokron to the Aquaduct-Facing Cliffs Site Of Grace). Once the Gargoyles are defeated, enter the coffin near the waterfall. This will take you to the Deeproot Depths region.
You can also access this area via the hidden passage near the Frenzied Flame Proscription Site Of Grace in the Subterranean Shunning-Grounds. Although, reaching this area will require you to defeat Mohg , the Omen so either path will require some graft.
Founding Rain of Stars location
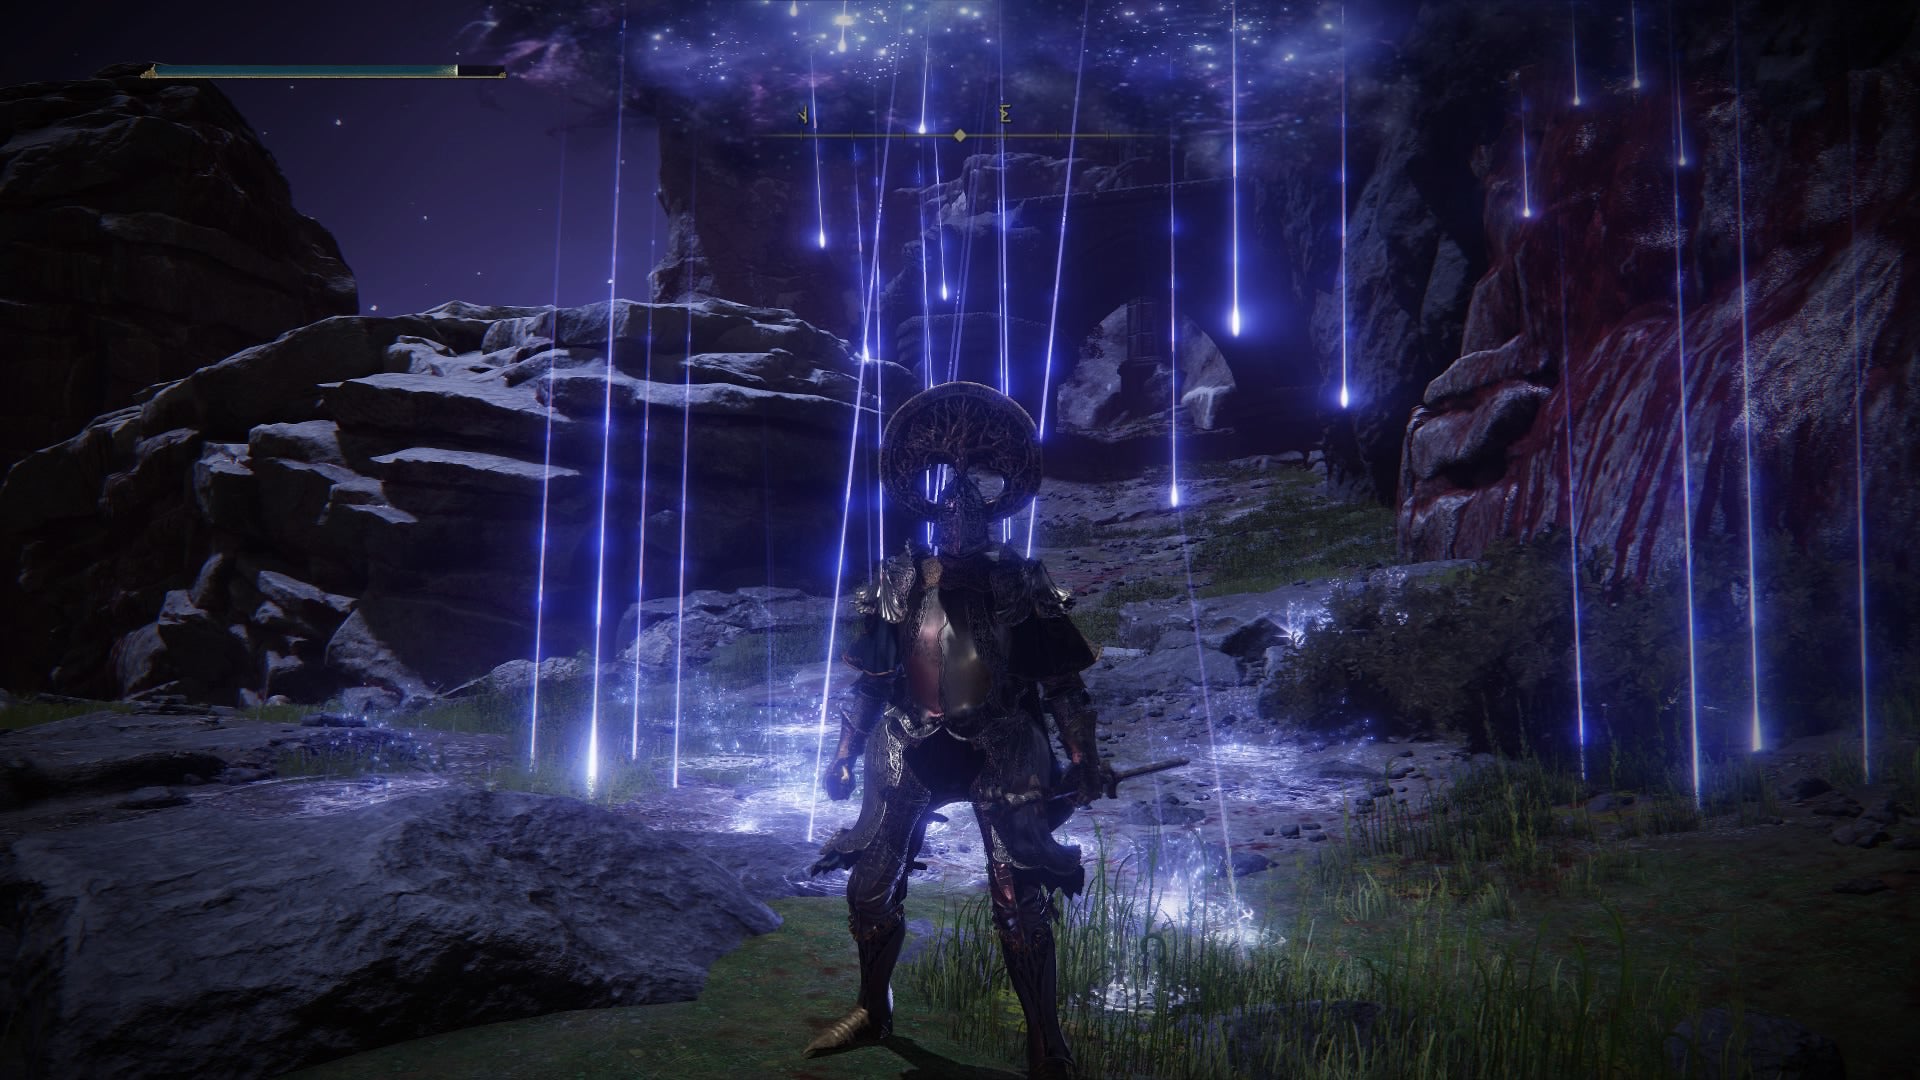
The Founding Rain of Stars can be charged for increased strength. |Image credit:Rock Paper Shotgun/Bandai Namco
- Spell type: Primeval Sorcery.
- Requirements: Intelligence 52.
- Spell effect: Summon a spectral cloud that emits magical raindrops in an AOE that delivers magic damage.
The Founding Rain of Stars Sorcery spell is located within the Mountaintops of the Giants region of Elden Ring, meaning you’ll need to defeat quite a few bosses to clear the way first.
We have a handy guide detailing how to access the Mountaintops of the Giants , but in short, you need to defeat Morgott, The Omen King in Leyndell first. Afterwards, rest at a Site Of Grace and speak with Melina who will guide you to the Mountaintops entrance.
The Founding Rain of Stars spell can be found within a chest at Heretical Rise , northeast in the main Mountaintops region and directly south of the Freezing Lake Site Of Grace.
Heretical Rise is somewhat elaborate to enter, however, as the pathway to the entrance is invisible. Starting at the southeastern side of the tower (west of the Freezing Lake Site Of Grace), you’ll see a large bridge towards the tower that has been broken half-way. Head forwards regardless and it will actually continue past the break, with some kind of invisible platform.
As you use Torrent to travel across this invisible portion of the bridge, head left when you’re about 8/10ths of the way across. Use the fog and player marks to show you the way, there will be a soft frost effect showing an ‘invisible’ staircase leading left (east) of the bridge.
From the stairs, follow the fog trail in a slight spiral to the right and toward a balcony. Once on the balcony you can head inside Heretical Rise and loot the chest containing the Legendary Spell (use the platform and stairs within to get to the room at the top of the tower containing the chest).
That rounds off our guide to all Legendary Spell locations in Elden Ring and where to get them. For more Elden Ring tips and tricks see our best weapons , best armor , Talismans , builds or boss locations guides.


Elden Ring
PS4 , PS5 , Xbox One , Xbox Series X/S , PC
Rock Paper Shotgun is better when you sign in
Sign in and join us on our journey to discover strange and compelling PC games.

All 75 Arc Raiders Blueprints and where to get them
These areas have the highest chance of giving you Blueprints

Image credit:Rock Paper Shotgun/Embark Studios

Looking for more Arc Raiders Blueprints? It’s a special day when you find a Blueprint, as they’re among the most valuable items in Arc Raiders. If you find a Blueprint that you haven’t already found, then you must make sure you hold onto it at all costs, because Blueprints are the key to one of the most important and powerful systems of meta-progression in the game.
This guide aims to be the very best guide on Blueprints you can find, starting with a primer on what exactly they are and how they work in Arc Raiders, before delving into exactly where to get Blueprints and the very best farming spots for you to take in your search.
We’ll also go over how to get Blueprints from other unlikely activities, such as destroying Surveyors and completing specific quests. And you’ll also find the full list of all 75 Blueprints in Arc Raiders on this page (including the newest Blueprints added with the Cold Snap update , such as the Deadline Blueprint and Firework Box Blueprint), giving you all the information you need to expand your own crafting repertoire.
In this guide:
- What are Blueprints in Arc Raiders?
- Full Blueprint list: All crafting recipes
- Where to find Blueprints in Arc Raiders Blueprints obtained from quests Blueprints obtained from Trials Best Blueprint farming locations

What are Blueprints in Arc Raiders?
Blueprints in Arc Raiders are special items which, if you manage to extract with them, you can expend to permanently unlock a new crafting recipe in your Workshop. If you manage to extract from a raid with an Anvil Blueprint, for example, you can unlock the ability to craft your very own Anvil Pistol, as many times as you like (as long as you have the crafting materials).
To use a Blueprint, simply open your Inventory while in the lobby, then right-click on the Blueprint and click “Learn And Consume” . This will permanently unlock the recipe for that item in your Workshop. As of the Stella Montis update, there are allegedly 75 different Blueprints to unlock - although only 68 are confirmed to be in the game so far. You can see all the Blueprints you’ve found and unlocked by going to the Workshop menu, and hitting “R” to bring up the Blueprint screen.
It’s possible to find duplicates of past Blueprints you’ve already unlocked. If you find these, then you can either sell them, or - if you like to play with friends - you can take it into a match and gift it to your friend so they can unlock that recipe for themselves. Another option is to keep hold of them until the time comes to donate them to the Expedition.
Full Blueprint list: All crafting recipes
Below is the full list of all the Blueprints that are currently available to find in Arc Raiders, and the crafting recipe required for each item:
| Blueprint | Type | Recipe | Crafted At |
|---|---|---|---|
| Bettina | Weapon | 3x Advanced Mechanical Components 3x Heavy Gun Parts 3x Canister | Gunsmith 3 |
| Blue Light Stick | Quick Use | 3x Chemicals | Utility Station 1 |
| Aphelion | Weapon | 3x Magnetic Accelerator 3x Complex Gun Parts 1x Matriarch Reactor | Gunsmith 3 |
| Combat Mk. 3 (Flanking) | Augment | 2x Advanced Electrical Components 3x Processor | Gear Bench 3 |
| Combat Mk. 3 (Aggressive) | Augment | 2x Advanced Electrical Components 3x Processor | Gear Bench 3 |
| Complex Gun Parts | Material | 2x Light Gun Parts 2x Medium Gun Parts 2x Heavy Gun Parts | Refiner 3 |
| Fireworks Box | Quick Use | 1x Explosive Compound 3x Pop Trigger | Explosives Station 2 |
| Gas Mine | Mine | 4x Chemicals 2x Rubber Parts | Explosives Station 1 |
| Green Light Stick | Quick Use | 3x Chemicals | Utility Station 1 |
| Pulse Mine | Mine | 1x Crude Explosives 1x Wires | Explosives Station 1 |
| Seeker Grenade | Grenade | 1x Crude Explosives 2x ARC Alloy | Explosives Station 1 |
| Looting Mk. 3 (Survivor) | Augment | 2x Advanced Electrical Components 3x Processor | Gear Bench 3 |
| Angled Grip II | Mod | 2x Mechanical Components 3x Duct Tape | Gunsmith 2 |
| Angled Grip III | Mod | 2x Mod Components 5x Duct Tape | Gunsmith 3 |
| Hullcracker | Weapon | 1x Magnetic Accelerator 3x Heavy Gun Parts 1x Exodus Modules | Gunsmith 3 |
| Launcher Ammo | Ammo | 5x Metal Parts 1x Crude Explosives | Workbench 1 |
| Anvil | Weapon | 5x Mechanical Components 5x Simple Gun Parts | Gunsmith 2 |
| Anvil Splitter | Mod | 2x Mod Components 3x Processor | Gunsmith 3 |
| ??? | ??? | ??? | ??? |
| Barricade Kit | Quick Use | 1x Mechanical Components | Utility Station 2 |
| Blaze Grenade | Grenade | 1x Explosive Compound 2x Oil | Explosives Station 3 |
| Bobcat | Weapon | 3x Advanced Mechanical Components 3x Light Gun Parts | Gunsmith 3 |
| Osprey | Weapon | 2x Advanced Mechanical Components 3x Medium Gun Parts 7x Wires | Gunsmith 3 |
| Burletta | Weapon | 3x Mechanical Components 3x Simple Gun Parts | Gunsmith 1 |
| Compensator II | Mod | 2x Mechanical Components 4x Wires | Gunsmith 2 |
| Compensator III | Mod | 2x Mod Components 8x Wires | Gunsmith 3 |
| Defibrillator | Quick Use | 9x Plastic Parts 1x Moss | Medical Lab 2 |
| ??? | ??? | ??? | ??? |
| Equalizer | Weapon | 3x Magnetic Accelerator 3x Complex Gun Parts 1x Queen Reactor | Gunsmith 3 |
| Extended Barrel | Mod | 2x Mod Components 8x Wires | Gunsmith 3 |
| Extended Light Mag II | Mod | 2x Mechanical Components 3x Steel Spring | Gunsmith 2 |
| Extended Light Mag III | Mod | 2x Mod Components 5x Steel Spring | Gunsmith 3 |
| Extended Medium Mag II | Mod | 2x Mechanical Components 3x Steel Spring | Gunsmith 2 |
| Extended Medium Mag III | Mod | 2x Mod Components 5x Steel Spring | Gunsmith 3 |
| Extended Shotgun Mag II | Mod | 2x Mechanical Components 3x Steel Spring | Gunsmith 2 |
| Extended Shotgun Mag III | Mod | 2x Mod Components 5x Steel Spring | Gunsmith 3 |
| Remote Raider Flare | Quick Use | 2x Chemicals 4x Rubber Parts | Utility Station 1 |
| Heavy Gun Parts | Material | 4x Simple Gun Parts | Refiner 2 |
| Venator | Weapon | 2x Advanced Mechanical Components 3x Medium Gun Parts 5x Magnet | Gunsmith 3 |
| Il Toro | Weapon | 5x Mechanical Components 6x Simple Gun Parts | Gunsmith 1 |
| Jolt Mine | Mine | 1x Electrical Components 1x Battery | Explosives Station 2 |
| Explosive Mine | Mine | 1x Explosive Compound 1x Sensors | Explosives Station 3 |
| Jupiter | Weapon | 3x Magnetic Accelerator 3x Complex Gun Parts 1x Queen Reactor | Gunsmith 3 |
| Light Gun Parts | Material | 4x Simple Gun Parts | Refiner 2 |
| Lightweight Stock | Mod | 2x Mod Components 5x Duct Tape | Gunsmith 3 |
| Lure Grenade | Grenade | 1x Speaker Component 1x Electrical Components | Utility Station 2 |
| Medium Gun Parts | Material | 4x Simple Gun Parts | Refiner 2 |
| Torrente | Weapon | 2x Advanced Mechanical Components 3x Medium Gun Parts 6x Steel Spring | Gunsmith 3 |
| Muzzle Brake II | Mod | 2x Mechanical Components 4x Wires | Gunsmith 2 |
| Muzzle Brake III | Mod | 2x Mod Components 8x Wires | Gunsmith 3 |
| Padded Stock | Mod | 2x Mod Components 5x Duct Tape | Gunsmith 3 |
| Shotgun Choke II | Mod | 2x Mechanical Components 4x Wires | Gunsmith 2 |
| Shotgun Choke III | Mod | 2x Mod Components 8x Wires | Gunsmith 3 |
| Shotgun Silencer | Mod | 2x Mod Components 8x Wires | Gunsmith 3 |
| Showstopper | Grenade | 1x Advanced Electrical Components 1x Voltage Converter | Explosives Station 3 |
| Silencer I | Mod | 2x Mechanical Components 4x Wires | Gunsmith 2 |
| Silencer II | Mod | 2x Mod Components 8x Wires | Gunsmith 3 |
| Snap Hook | Quick Use | 2x Power Rod 3x Rope 1x Exodus Modules | Utility Station 3 |
| Stable Stock II | Mod | 2x Mechanical Components 3x Duct Tape | Gunsmith 2 |
| Stable Stock III | Mod | 2x Mod Components 5x Duct Tape | Gunsmith 3 |
| Tagging Grenade | Grenade | 1x Electrical Components 1x Sensors | Utility Station 3 |
| Tempest | Weapon | 3x Advanced Mechanical Components 3x Medium Gun Parts 3x Canister | Gunsmith 3 |
| Trigger Nade | Grenade | 2x Crude Explosives 1x Processor | Explosives Station 2 |
| Vertical Grip II | Mod | 2x Mechanical Components 3x Duct Tape | Gunsmith 2 |
| Vertical Grip III | Mod | 2x Mod Components 5x Duct Tape | Gunsmith 3 |
| Vita Shot | Quick Use | 2x Antiseptic 1x Syringe | Medical Lab 3 |
| Vita Spray | Quick Use | 3x Antiseptic 1x Canister | Medical Lab 3 |
| Vulcano | Weapon | 1x Magnetic Accelerator 3x Heavy Gun Parts 1x Exodus Modules | Gunsmith 3 |
| Wolfpack | Grenade | 2x Explosive Compound 2x Sensors | Explosives Station 3 |
| Red Light Stick | Quick Use | 3x Chemicals | Utility Station 1 |
| Smoke Grenade | Grenade | 14x Chemicals 1x Canister | Utility Station 2 |
| Deadline | Mine | 3x Explosive Compound 2x ARC Circuitry | Explosives Station 3 |
| Trailblazer | Grenade | 1x Explosive Compound 1x Synthesized Fuel | Explosives Station 3 |
| Tactical Mk. 3 (Defensive) | Augment | 2x Advanced Electrical Components 3x Processor | Gear Bench 3 |
| Tactical Mk. 3 (Healing) | Augment | 2x Advanced Electrical Components 3x Processor | Gear Bench 3 |
| Yellow Light Stick | Quick Use | 3x Chemicals | Utility Station 1 |
Note: The missing Blueprints in this list likely have not actually been added to the game at the time of writing, because none of the playerbase has managed to find any of them. As they are added to the game, I will update this page with the most relevant information so you know exactly how to get all 75 Arc Raiders Blueprints.
Where to find Blueprints in Arc Raiders
Below is a list of all containers, modifiers, and events which maximise your chances of finding Blueprints:
- Certain quests reward you with specific Blueprints .
- Completing Trials has a high chance of offering Blueprints as rewards.
- Surveyors have a decent chance of dropping Blueprints on death.
- High loot value areas tend to have a greater chance of spawning Blueprints.
- Night Raids and Storms may increase rare Blueprint spawn chances in containers.
- Containers with higher numbers of items may have a higher tendency to spawn Blueprints. As a result, Blue Gate (which has many “large” containers containing multiple items) may give you a higher chance of spawning Blueprints.
- Raider containers (Raider Caches, Weapon Boxes, Medical Bags, Grenade Tubes) have increased Blueprint drop rates. As a result, the Uncovered Caches event gives you a high chance of finding Blueprints.
- Security Lockers have a higher than average chance of containing Blueprints.
- Certain Blueprints only seem to spawn under specific circumstances: Tempest Blueprint only spawns during Night Raid events. Vulcano Blueprint only spawns during Hidden Bunker events. Jupiter and Equaliser Blueprints only spawn during Harvester events.

Raider Caches, Weapon Boxes, and other raider-oriented container types have a good chance of offering Blueprints. |Image credit:Rock Paper Shotgun/Embark Studios
Blueprints have a very low chance of spawning in any container in Arc Raiders, around 1-2% on average. However, there is a higher chance of finding Blueprints in particular container types. Specifically, you can find more Blueprints in Raider containers and security lockers.
Beyond this, if you’re looking for Blueprints you should focus on regions of the map which are marked as having particularly high-value loot. Areas such as the Control Tower in Dam Battlegrounds, the Arrival and Departure Buildings in Spaceport, and Pilgrim’s Peak in Blue Gate all have a better-than-average chance of spawning Blueprints somewhere amongst all their containers. Night Raids and Electromagnetic Storm events also increase the drop chances of certain Blueprints .
In addition to these containers, you can often loot Blueprints from destroyed Surveyors - the largest of the rolling ball ARC. Surveyors are more commonly found on the later maps - Spaceport and Blue Gate - and if one spawns in your match, you’ll likely see it by the blue laser beam that it casts into the sky while “surveying”.
Surveyors are quite well-armoured and will very speedily run away from you once it notices you, but if you can take one down then make sure you loot all its parts for a chance of obtaining certain unusual Blueprints.
Blueprints obtained from quests
One way in which you can get Blueprints is by completing certain quests for the vendors in Speranza. Some quests will reward you with a specific item Blueprint upon completion, so as long as you work through all the quests in Arc Raiders, you are guaranteed those Blueprints.
Here is the full list of all Blueprints you can get from quest rewards:
- Trigger Nade Blueprint: Rewarded after completing “Sparks Fly”.
- Lure Grenade Blueprint: Rewarded after completing “Greasing Her Palms”.
- Burletta Blueprint: Rewarded after completing “Industrial Espionage”.
- Hullcracker Blueprint (and Launcher Ammo Blueprint): Rewarded after completing “The Major’s Footlocker”.
Alas, that’s only 4 Blueprints out of a total of 75 to unlock, so for the vast majority you will need to find them yourself during a raid. If you’re intent on farming Blueprints, then it’s best to equip yourself with cheap gear in case you lose it, but don’t use a free loadout because then you won’t get a safe pocket to stash any new Blueprint you find. No pain in Arc Raiders is sharper than failing to extract with a new Blueprint you’ve been after for a dozen hours already.

One of the best ways to get Blueprints is by hitting three stars on all five Trials every week. |Image credit:Rock Paper Shotgun/Embark Studios
Blueprints obtained from Trials
One of the very best ways to get Blueprints is as rewards for completing Trials in Arc Raiders. Trials are unlocked from Level 15 onwards, and allow you to earn rewards by focusing on certain tasks over the course of several raids. For example, one Trial might task you with dealing damage to Hornets, while another might challenge you to loot Supply Drops.
Trials refresh on a weekly basis, with a new week bringing five new Trials. Each Trial can offer up to three rewards after passing certain score milestones, and it’s possible to receive very high level loot from these reward crates - including Blueprints. So if you want to unlock as many Blueprints as possible, you should make a point of completing as many Trials as possible each week.
Best Blueprint farming locations
The very best way to get Blueprints is to frequent specific areas of the maps which combine high-tier loot pools with the right types of containers to search. Here are my recommendations for where to find Blueprints on every map, so you can always keep the search going for new crafting recipes to unlock.

Image credit:Rock Paper Shotgun/Embark Studios
Dam Battlegrounds
The best places to farm Blueprints on Dam Battlegrounds are the Control Tower, Power Generation Complex, Ruby Residence, and Pale Apartments . The first two regions, despite only being marked on the map as mid-tier loot, contain a phenomenal number of containers to loot. The Control Tower can also contain a couple of high-tier Security Lockers - though of course, you’ll need to have unlocked the Security Breach skill at the end of the Survival tree.
There’s also a lot of reporting amongst the playerbase that the Residential areas in the top-left of the map - Pale Apartments and Ruby Residence - give you a comparatively strong chance of finding Blueprints. Considering their size, there’s a high density of containers to loot in both locations, and they also have the benefit of being fairly out of the way. So you’re more likely to have all the containers to yourself.
Buried City
The best Blueprint farming locations on Buried City are the Santa Maria Houses, Grandioso Apartments, Town Hall, and the various buildings of the New District . Grandioso Apartments has a lower number of containers than the rest, but a high chance of spawning weapon cases - which have good Blueprint drop rates. The others are high-tier loot areas, with plenty of lootable containers - including Security Lockers.
Spaceport
The best places to find Blueprints on Spaceport are the Arrival and Departure Buildings, as well as Control Tower A6 and the Launch Towers . All these areas are labelled as high-value loot regions, and many of them are also very handily connected to one another by the Spaceport wall, which you can use to quickly run from one area to the next. At the tops of most of these buildings you’ll find at least one Security Locker, so this is an excellent farming route for players looking to find Blueprints.
The downside to looting Blueprints on Spaceport is that all these areas are hotly contested, particularly in Duos and Squads. You’ll need to be very focused and fast in order to complete the full farming route.

Image credit:Rock Paper Shotgun/Embark Studios
Blue Gate
Blue Gate tends to have a good chance of dropping Blueprints, potentially because it generally has a high number of containers which can hold lots of items; so there’s a higher chance of a Blueprint spawning in each container. In my experience, the best Blueprint farming spots on Blue Gate are Pilgrim’s Peak, Raider’s Refuge, the Ancient Fort, and the Underground Complex beneath the Warehouse .
All of these areas contain a wealth of containers to loot. Raider’s Refuge has less to loot, but the majority of the containers in and around the Refuge are raider containers, which have a high chance of containing Blueprints - particularly during major events.
Stella Montis
On the whole, Stella Montis seems to have a very low drop rate for Blueprints (though a high chance of dropping other high-tier loot). If you do want to try farming Blueprints on this map, the best places to find Blueprints in Stella Montis are Medical Research, Assembly Workshop, and the Business Center . These areas have the highest density of containers to loot on the map.
In addition to this, the Western Tunnel has a few different Security Lockers to loot, so while there’s very little to loot elsewhere in this area of the map, it’s worth hitting those Security Lockers if you spawn there at the start of a match.
That wraps up this primer on how to get all the Blueprints in Arc Raiders as quickly as possible. With the Expedition system constantly resetting a large number of players’ Blueprints, it’s more important than ever to have the most up-to-date information on where to find all these Blueprints.
While you’re here, be sure to check out our Arc Raiders best guns tier list , as well as our primers on the best skills to unlock and all the different Field Depot locations on every map.


ARC Raiders
PS5 , Xbox Series X/S , PC
Rock Paper Shotgun is better when you sign in
Sign in and join us on our journey to discover strange and compelling PC games.
