All Elden Ring: Nightreign bosses and mini-bosses
Here’s the full list of every boss, including The Forsaken Hollows Nightlords

Image credit:Bandai Namco

Just how many bosses can you find in Elden Ring: Nightreign? Elden Ring was famous for the sheer number of bosses it packed into its open world, and while Nightreign occupies an entirely different format, you may be surprised at just how many familiar faces you can find within Limveld. Base Elden Ring: Nightreign features 119 bosses, and The Forsaken Hollows DLC adds 10 extra bosses for a grand total of 129 .
If you’re looking to track down every last boss in the game, you’ve come to the right place. In this guide, we’ve compiled a comprehensive list of all 129 bosses in Nightreign , including both The Forsaken Hollows bosses and the online-only Everdark Sovereigns , with descriptions and details on when and how to find them, what to expect when facing them, and the full list of weaknesses for each Nightlord.

All Elden Ring: Nightreign bosses
Bosses in Elden Ring: Nightreign can be separated into six categories. First are the Nightlords - these are the big bosses, the ones you face at the very end of each Expedition, and your overall goal in Nightreign. You can unlock more powerful Everdark Sovereign variants of each Nightlord in Nightreign’s base game by beating the regular variant at least once. The Forsaken Hollows bosses, meanwhile, can only be accessed if you own the DLC and have unlocked The Great Hollow Shifting Earth .
Next are the various “End Of Night” bosses you’ll encounter at the ends of Day 1 and Day 2 . These are less powerful, but still likely more of a challenge than anything else you’ll find on the Limveld map. Each Expedition type (Tricephalos, Gaping Jaw, etc.) has its own pool of possible Night 1 and Night 2 bosses to face, so you’ll need to try all the Expeditions to track down every boss.
Beyond this, there’s a long line of Field Bosses . This group includes anything you’ll naturally encounter while exploring Limveld. Many of them will be found at points of interest, while other particularly powerful ones are found roaming certain less notable areas of the map, and will be marked at the beginning of Day 2 with a “Formidable Great Enemy” skull icon on the map. Most of these bosses will drop powerful instanced rewards which allow each member of your team to choose one reward from a list of options.
There are also occasional Raid bosses , which will invade your world on the odd run. These bosses are usually very tough (they’re often lesser versions of Nightlords), and if you manage to beat them, you get a stat bonus of some sort for the rest of your run; but if you die to them, then you incur a penalty for the rest of your run instead. And finally, there are a few Special bosses which you’ll only encounter during specific Remembrance quests for the various Nightfarers in the Roundtable Hold .
Below you’ll find the full list of every single boss in Elden Ring: Nightreign, ordered by type. Scroll further down for descriptions and info on every single boss in the game!
Nightlords:
- Gladius, Beast Of Night (Tricephalos)
- Adel, Baron Of Night (Gaping Jaw)
- Gnoster, Wisdom Of Night (Sentient Pest)
- Maris, Fathom Of Night (Augur)
- Libra, Creature Of Night (Equilibrious Beast)
- Fulghor, Champion Of Nightglow (Darkdrift Knight)
- Caligo, Miasma Of Night (Fissure In The Fog)
- The Shape Of Night/Heolstor The Nightlord (Night Aspect)
- Adel, Baron Of Night (Everdark Sovereign)
- Gnoster, Wisdom Of Night (Everdark Sovereign)
- Fulghor, Champion Of Nightglow (Everdark Sovereign)
- Weapon Bequeathed Harmonia (Balancers) (The Forsaken Hollows)
- Traitorous Straghess/Pure Impulse Straghess (Dreglord) (The Forsaken Hollows)
Night 1 bosses:
- Bell Bearing Hunter
- Demi-Human Queen and Demi-Human Swordmaster
- Battlefield Commander
- Centipede Demon
- Gaping Dragon
- Grafted Monarch
- Night’s Cavalry x2
- Royal Revenant
- Smelter Demon
- Tibia Mariner and Those Who Live In Death
- The Duke’s Dear Freja
- Ulcerated Tree Spirit
- Valiant Gargoyle
- Wormface
- Demon in Pain and Demon from Below (The Forsaken Hollows)
- Curseblade and Divine Beast Warrior (The Forsaken Hollows)
- Death Knights (The Forsaken Hollows)
- Giant Red Bear (The Forsaken Hollows)
Night 2 bosses:
- Fell Omen
- Tree Sentinel and Royal Cavalrymen
- Ancient Dragon
- Crucible Knight and Golden Hippopotamus
- Dancer Of The Boreal Valley
- Death Rite Bird
- Draconic Tree Sentinel and Royal Cavalrymen
- Full-Grown Fallingstar Beast
- Godskin Duo
- Great Wyrm
- Nameless King
- Nox Dragonkin Soldier
- Outland Commander
- Demon Prince (The Forsaken Hollows)
- Mohg, Lord of Blood (The Forsaken Hollows)
- Knight Artorias (The Forsaken Hollows)
- Dancing Divine Beast Lion (The Forsaken Hollows)
Field bosses:
- Abductor Virgin
- Albinauric Archers
- Albinaurics
- Ancestor Spirit
- Ancient Heroes Of Zamor
- Banished Knights
- Battlemages
- Beastly Brigade
- Beastmen Of Farum Azula
- Bell Bearing Hunter
- Black Blade Kindred
- Black Knife Assassin
- Colossal Fingercreeper
- Crucible Knight
- Crystalians
- Demi-Human Queen
- Demi-Human Swordmaster
- Depraved Perfumer
- Dragonkin Soldier
- Elder Lion
- Erdtree Avatar
- Erdtree Burial Watchdogs
- Fallen Nightfarers
- Fallingstar Beast
- Fire Monk
- Fire Prelate
- Flame Chariots
- Flying Dragon
- Flying Dragon Of The Hills
- Frenzied Flame Troll
- Giant Crows
- Godskin Noble
- Golden Hippopotamus
- Grafted Scion
- Guardian Golem
- Leonine Misbegotten
- Lordsworn Captain
- Magma Wyrm
- Mausoleum Knight
- Miranda Blossom
- Mountaintop Ice Dragon
- Night’s Cavalry
- Nox Warriors
- Omen
- Oracle Envoys
- Red Wolf Of The King Consort
- Redmane Knights
- Royal Army Knights
- Royal Carian Knight
- Royal Revenant
- Runebear
- Sanguine Noble
- Snowfield Trolls
- Stonedigger Troll
- Stoneskin Lords
- Tree Sentinel
- Draconic Tree Sentinel
- Troll
- Ulcerated Tree Spirit
- Valiant Gargoyle
- Wormface
Raid bosses:
- Augur
- Equilibrious Beast
- Fell Omen
- Sentient Pest
Special bosses:
- Night Idol (Revenant Unlock)
- Tunnel Crystalian (Wylder Remembrance)
- Mimic Troll (Wylder Remembrance)
- Cracked Golem (Guardian Remembrance)
- Night Huntsman (Ironeye Remembrance)
- Guardians Of The Dew (Duchess Remembrance)
- Revenant (Duchess Remembrance)
- Fallen Mercenaries (Duchess Remembrance)
- Onestrike Gladiator (Raider Remembrance)
- Blinding Elder Lion (Raider Remembrance)
- White Horn (Raider Remembrance)
- Night-Swallowed Golden Hippopotamus (Recluse Remembrance)
- Corrosion (Revenant Remembrance)
- Contaminant (Revenant Remembrance)
- Stray Bloodhound Knight (Executor Remembrance)
- Executor’s Cry (Executor Remembrance)
All Nightlords
Gladius, Beast Of Night (Tricephalos)

Image credit:Rock Paper Shotgun/Bandai Namco
| Type | Nightlord |
|---|---|
| Night 1 Bosses | Bell Bearing Hunter, Demi-Humans |
| Night 2 Bosses | Fell Omen, Tree Sentinel |
| Key Weakness | Holy |
| Image credit: Rock Paper Shotgun/Bandai Namco | Image credit: Rock Paper Shotgun/Bandai Namco | Image credit: Rock Paper Shotgun/Bandai Namco | Image credit: Rock Paper Shotgun/Bandai Namco | Image credit: Rock Paper Shotgun/Bandai Namco | Image credit: Rock Paper Shotgun/Bandai Namco | Image credit: Rock Paper Shotgun/Bandai Namco | Image credit: Rock Paper Shotgun/Bandai Namco | Image credit: Rock Paper Shotgun/Bandai Namco | Image credit: Rock Paper Shotgun/Bandai Namco |
|---|---|---|---|---|---|---|---|---|---|
| +0% | -50% | +0% | +35% | 252 | 541 | 541 | 252 | 154 | - |
Gladius is the first Nightlord you’ll face, and you need to defeat it once before you can unlock the other Nightlords. The Beast Of Night is a large, fast, and powerful three-headed dog who attacks with fierce bite combos, as well as by swinging a blade on the end of a very long chain. That chain gives Gladius some serious range, so you can’t afford to be complacent while fighting this foe - you’re rarely out of harm’s way in its arena. At around 75% health remaining, Gladius will enter a temporary second phase where it splits into three separate dogs, all of which roughly have the same moveset as the combined Gladius. The main dog retains use of the chain blade, and barks orders to the other two, inciting them to relentlessly charge and harry Nightfarers.
Adel, Baron Of Night (Gaping Jaw)

Image credit:Rock Paper Shotgun/Bandai Namco
| Type | Nightlord |
|---|---|
| Night 1 Bosses | Night’s Cavalry x2, Valiant Gargoyle, Wormface |
| Night 2 Bosses | Ancient Dragon, Crucible Knight/Golden Hippopotamus, Outland Commander |
| Key Weakness | Poison |
| Image credit: Rock Paper Shotgun/Bandai Namco | Image credit: Rock Paper Shotgun/Bandai Namco | Image credit: Rock Paper Shotgun/Bandai Namco | Image credit: Rock Paper Shotgun/Bandai Namco | Image credit: Rock Paper Shotgun/Bandai Namco | Image credit: Rock Paper Shotgun/Bandai Namco | Image credit: Rock Paper Shotgun/Bandai Namco | Image credit: Rock Paper Shotgun/Bandai Namco | Image credit: Rock Paper Shotgun/Bandai Namco | Image credit: Rock Paper Shotgun/Bandai Namco |
|---|---|---|---|---|---|---|---|---|---|
| +0% | -20% | -50% | +0% | 541 | 154 | 154 | 154 | 154 | - |
Adel, Baron Of Night is a giant reptilian Nightlord with a set of massive horizontal jaws that it uses to charge and scoop prey into its mouth. Found at the end of the Gaping Jaw Expedition, its greatest strength is its chaotic movements, which are akin to that of a Magma Wyrm. Poison is its weakness, and will prompt a unique interaction where Adel will stop charging and throw up its stomach contents, making this a fantastic time to deal consistent and safe damage. The true test comes at 50% HP, where Adel will start to utilise powerful lightning-infused jump attacks with a large area-of-effect.
Gnoster, Wisdom Of Night (Sentient Pest)
Image credit:Rock Paper Shotgun/Bandai Namco
| Type | Nightlord |
|---|---|
| Night 1 Bosses | Battlefield Commander, Centipede Demon, Smelter Demon, Tibia Mariner, Ulcerated Tree Spirit |
| Night 2 Bosses | Draconic Tree Sentinel, Great Wyrm, Nox Dragonkin Soldier |
| Key Weakness | Fire |
| Form | Image credit: Rock Paper Shotgun/Bandai Namco | Image credit: Rock Paper Shotgun/Bandai Namco | Image credit: Rock Paper Shotgun/Bandai Namco | Image credit: Rock Paper Shotgun/Bandai Namco | Image credit: Rock Paper Shotgun/Bandai Namco | Image credit: Rock Paper Shotgun/Bandai Namco | Image credit: Rock Paper Shotgun/Bandai Namco | Image credit: Rock Paper Shotgun/Bandai Namco | Image credit: Rock Paper Shotgun/Bandai Namco | Image credit: Rock Paper Shotgun/Bandai Namco |
|---|---|---|---|---|---|---|---|---|---|---|
| Moth | -50% | +40% | -10% | -10% | 154 | 154 | 541 | 154 | 541 | - |
| Scorpion | -10% | +35% | -10% | -10% | 154 | 154 | 252 | 154 | 154 | - |
Gnoster, the Nightlord of the Sentient Pest Expedition, is a giant white moth which exists alongside a massive black insectoid creature. While the black creature charges down foes, Gnoster itself floats out of easy reach and summons magic projectiles to assault your team. Ranged weapons - and fire even more so - are essential for shortening this strangely serene boss fight. At just over half health, though, things will get a lot more intense as Gnoster lands atop the black insect’s back and the pair of them unleash a series of devastating and hard-to-evade charge attacks, flanked by even more magical projectiles.
Maris, Fathom Of Night (Augur)
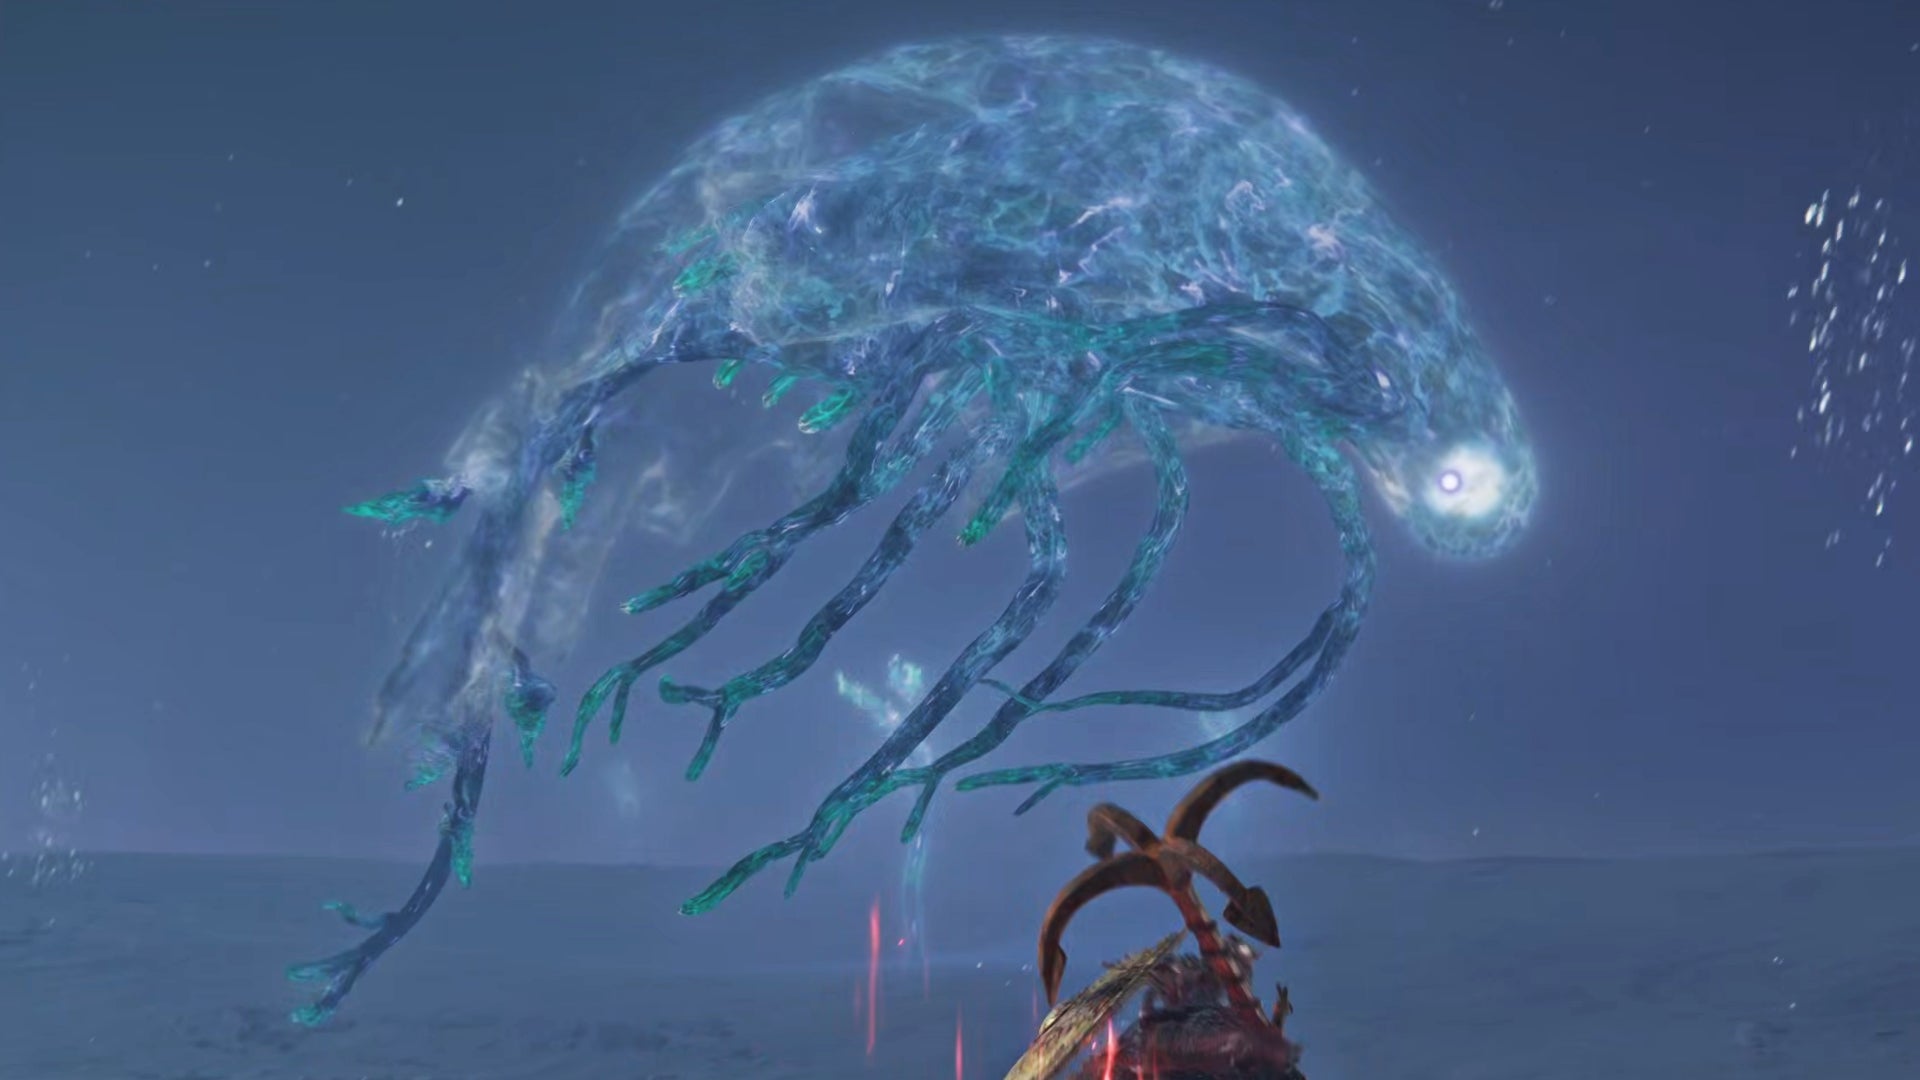
Image credit:Rock Paper Shotgun/Bandai Namco
| Type | Nightlord |
|---|---|
| Night 1 Bosses | Gaping Dragon, Grafted Monarch, Wormface |
| Night 2 Bosses | Full-Grown Fallingstar Beast, Tree Sentinel |
| Key Weakness | Lightning |
| Image credit: Rock Paper Shotgun/Bandai Namco | Image credit: Rock Paper Shotgun/Bandai Namco | Image credit: Rock Paper Shotgun/Bandai Namco | Image credit: Rock Paper Shotgun/Bandai Namco | Image credit: Rock Paper Shotgun/Bandai Namco | Image credit: Rock Paper Shotgun/Bandai Namco | Image credit: Rock Paper Shotgun/Bandai Namco | Image credit: Rock Paper Shotgun/Bandai Namco | Image credit: Rock Paper Shotgun/Bandai Namco | Image credit: Rock Paper Shotgun/Bandai Namco |
|---|---|---|---|---|---|---|---|---|---|
| -20% | -50% | +40% | -15% | - | 252 | - | 252 | - | - |
Maris, Fathom Of Night can be fought on Day 3 of the Augur Expedition. A graceful floating alien creature with some serious Elden Beast vibes, Maris is master of two things: summoning minions and tendril traps to keep you on the move; and sending your Nightfarers into a deadly slumber. Melee characters will likely struggle against Maris, because opportunities to land a strong blow are few. If you can withstand it, your best chance to deal massive damage is while the boss floats close to the ground and curls up in order to unleash a shockwave of sleep.
Libra, Creature Of Night (Equilibrious Beast)
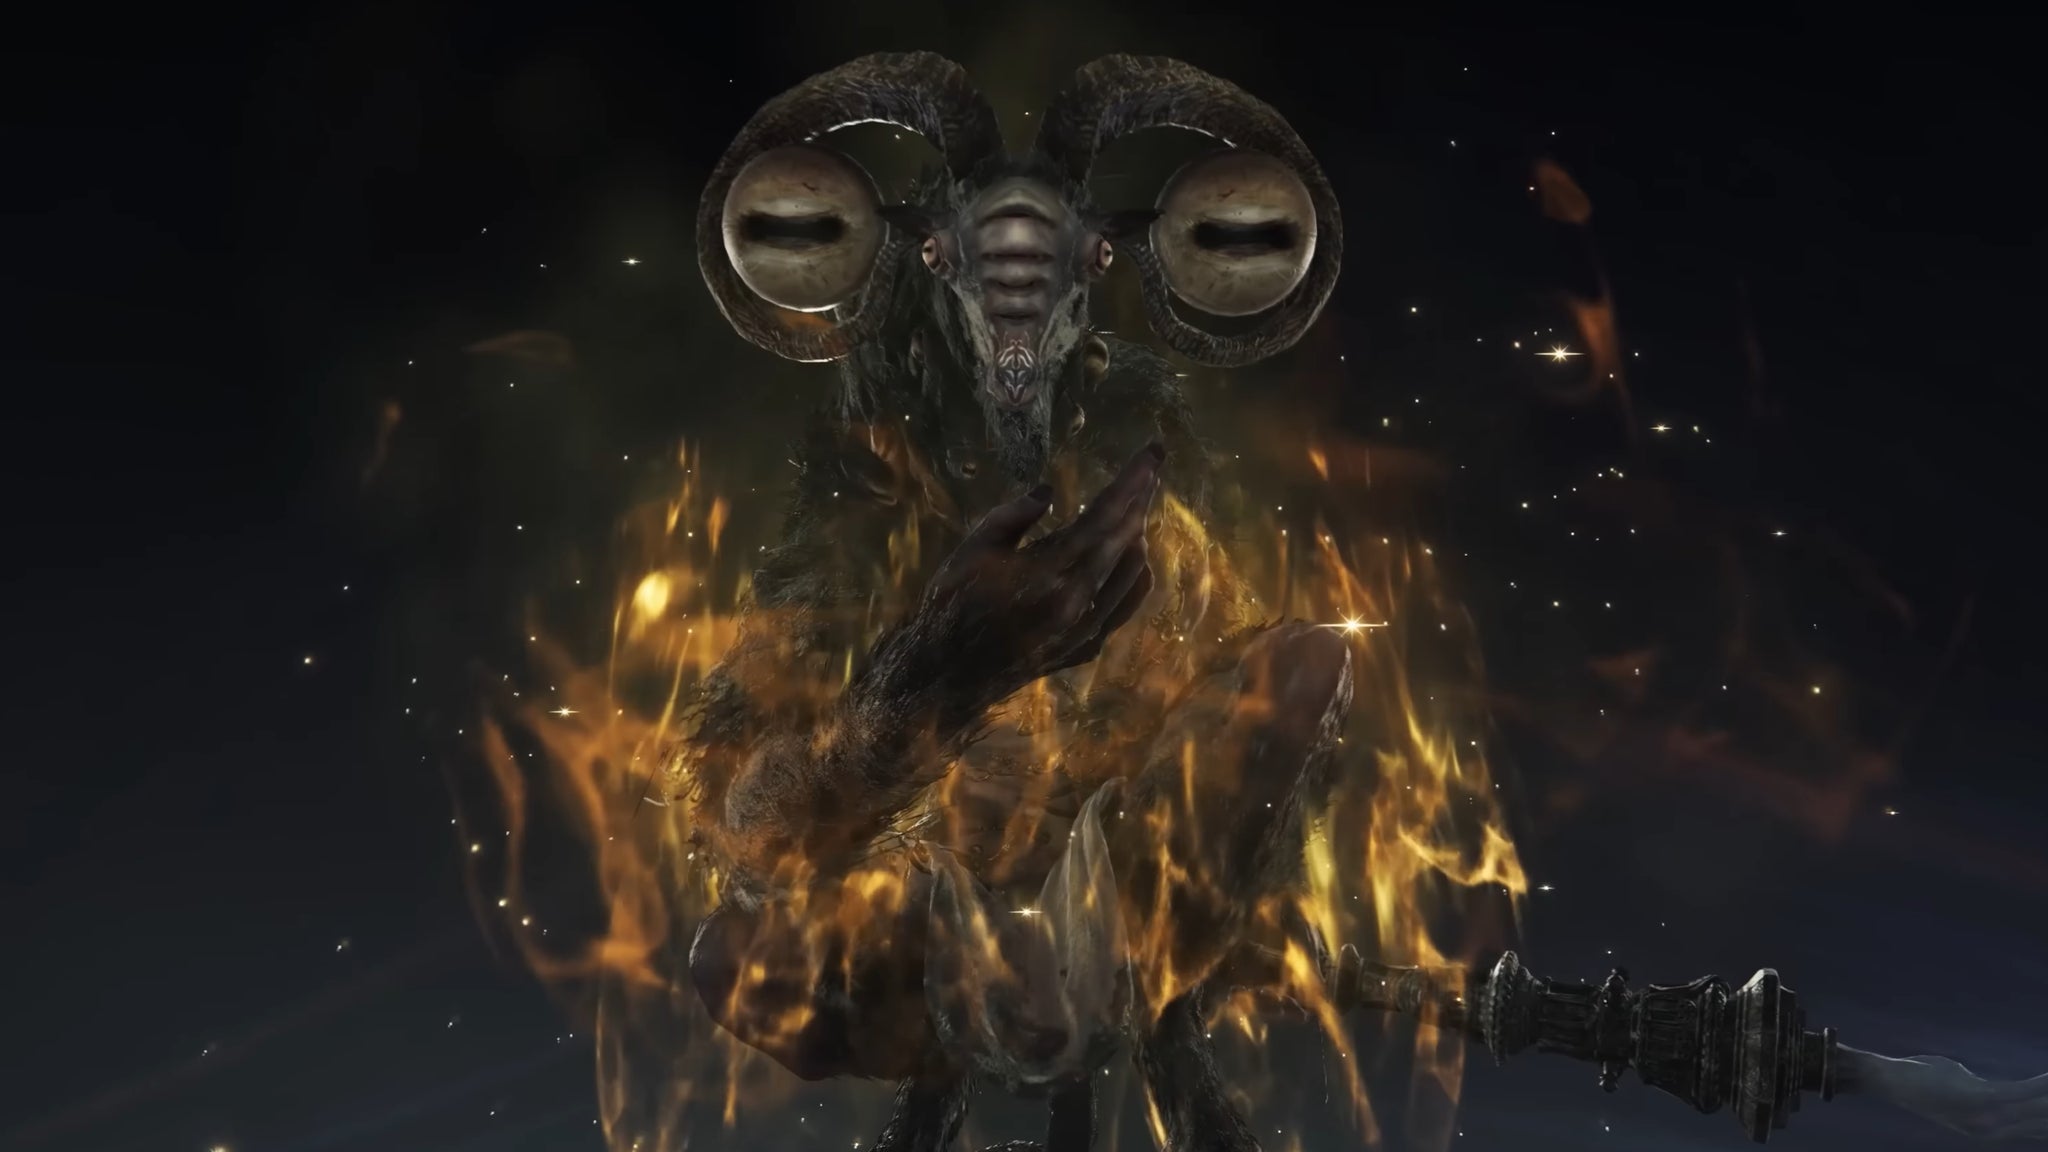
Image credit:Rock Paper Shotgun/Bandai Namco
| Type | Nightlord |
|---|---|
| Night 1 Bosses | Centipede Demon, The Duke’s Dear Freja, Tibia Mariner, Royal Revenant |
| Night 2 Bosses | Crucible Knight/Golden Hippopotamus, Death Rite Bird, Godskin Duo |
| Key Weakness | Madness |
| Image credit: Rock Paper Shotgun/Bandai Namco | Image credit: Rock Paper Shotgun/Bandai Namco | Image credit: Rock Paper Shotgun/Bandai Namco | Image credit: Rock Paper Shotgun/Bandai Namco | Image credit: Rock Paper Shotgun/Bandai Namco | Image credit: Rock Paper Shotgun/Bandai Namco | Image credit: Rock Paper Shotgun/Bandai Namco | Image credit: Rock Paper Shotgun/Bandai Namco | Image credit: Rock Paper Shotgun/Bandai Namco | Image credit: Rock Paper Shotgun/Bandai Namco |
|---|---|---|---|---|---|---|---|---|---|
| -20% | +20% | +0% | +35% | 252 | 252 | 154 | 154 | - | 154 |
The enigmatic Libra finishes off the Equilibrious Beast Expedition in a rather different manner to the other Nightlords. Ahead of the fight, you can speak to him in the centre of the arena and - if you wish - choose a monkey’s paw-style wish. There are various to choose from, and selecting each one will tell you about both the positive and negative effects that will follow. Once you’ve chosen (or rejected the choice), the true fight begins. Libra makes judicial use of Madness-inflicting magical attacks, and also hits very hard with his more standard physical combos. He’s not the hardest boss in the world to stagger, but will attempt to keep control of the fight by teleporting around and conjuring lots of area denial effects to keep you on the move. When he begins to hover and conjure sigils around him, you’d best run through the sigils quickly to destroy them, or his madness attacks will become much further-reaching and more powerful.
Fulghor, Champion Of Nightglow (Darkdrift Knight)

Image credit:Rock Paper Shotgun/Bandai Namco
| Type | Nightlord |
|---|---|
| Night 1 Bosses | Gaping Dragon, Night’s Cavalry x2, Royal Revenant, Valiant Gargoyle, Wormface |
| Night 2 Bosses | Nameless King, Nox Dragonkin Soldier, Outland Commander |
| Key Weakness | Lightning |
| Image credit: Rock Paper Shotgun/Bandai Namco | Image credit: Rock Paper Shotgun/Bandai Namco | Image credit: Rock Paper Shotgun/Bandai Namco | Image credit: Rock Paper Shotgun/Bandai Namco | Image credit: Rock Paper Shotgun/Bandai Namco | Image credit: Rock Paper Shotgun/Bandai Namco | Image credit: Rock Paper Shotgun/Bandai Namco | Image credit: Rock Paper Shotgun/Bandai Namco | Image credit: Rock Paper Shotgun/Bandai Namco | Image credit: Rock Paper Shotgun/Bandai Namco |
|---|---|---|---|---|---|---|---|---|---|
| +0% | +0% | +20% | -30% | 154 | 252 | 154 | 154 | 154 | - |
Fulghor, Champion of Nightglow is a huge, centaur-like creature fought on the final day of the Darkdrift Knight Expedition. Imbued with holy light and the powers of Gold, Fulghor summons spectral weaponry from the ground, charging around the arena wreathed in golden light. Its spear gives it a powerful set of melee attacks, and it boasts surprising speed given its size. When it nears 50% health, Fulghor gives into corruption and extends a sickly black and blue tendril from the stump on its left side. It then attacks with both the gold light of Order and the blue/black liquid, using new, large AoE slam attacks and wide-reaching sweeps with the tendril.
Caligo, Miasma Of Night (Fissure In The Fog)
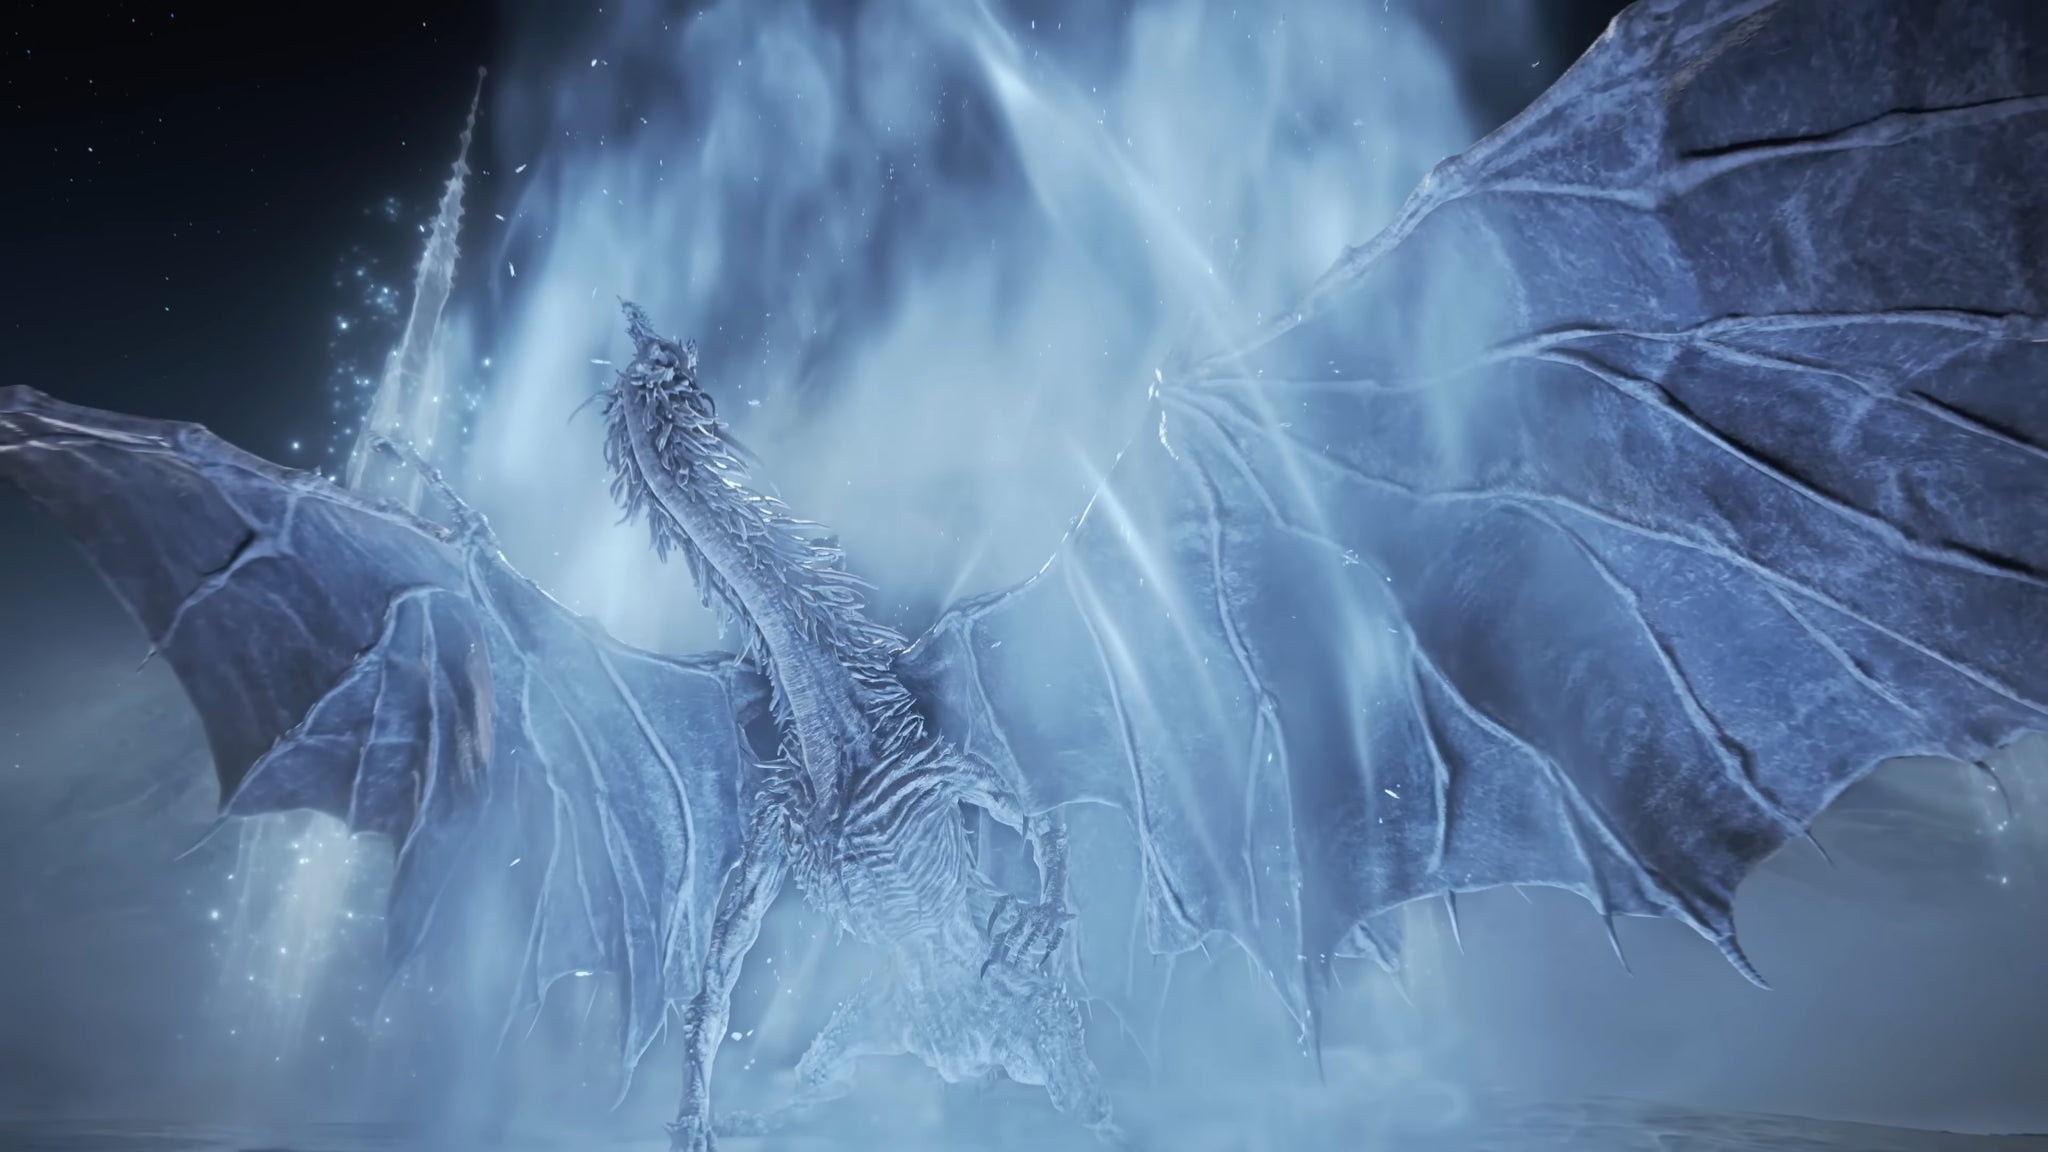
Image credit:Rock Paper Shotgun/Bandai Namco
| Type | Nightlord |
|---|---|
| Night 1 Bosses | Grafted Monarch, Smelter Demon, The Duke’s Dear Freja, Tibia Mariner, Ulcerated Tree Spirit |
| Night 2 Bosses | Dancer Of The Boreal Valley, Draconic Tree Sentinel, Godskin Duo |
| Key Weakness | Fire |
| Image credit: Rock Paper Shotgun/Bandai Namco | Image credit: Rock Paper Shotgun/Bandai Namco | Image credit: Rock Paper Shotgun/Bandai Namco | Image credit: Rock Paper Shotgun/Bandai Namco | Image credit: Rock Paper Shotgun/Bandai Namco | Image credit: Rock Paper Shotgun/Bandai Namco | Image credit: Rock Paper Shotgun/Bandai Namco | Image credit: Rock Paper Shotgun/Bandai Namco | Image credit: Rock Paper Shotgun/Bandai Namco | Image credit: Rock Paper Shotgun/Bandai Namco |
|---|---|---|---|---|---|---|---|---|---|
| -20% | +35% | -20% | -20% | 252 | 541 | 252 | 252 | 541 | - |
The towering dragon Caligo, Miasma Of Night, is the final boss of the Fissure In The Fog Expedition. As you might expect from its icy demeanour, bring fire for this fight, and plenty of it - and if you can gain the reward from the Mountaintop event in the same run, then even better. Without these boons, Caligo’s strength, mobility, and reach make for a very dangerous encounter. In particular, you need to watch out for when it attempts to obscure itself in fog and launch a surprise attack at you while you can’t see it coming. In the second phase, things get even more intense, as Caligo gains a more aggressive moveset which contains some powerful area-of-effect ice attacks that could spell the end for your run if you’re not all careful.
The Shape Of Night/Heolstor The Nightlord (Night Aspect)

Image credit:Rock Paper Shotgun/IGN/Bandai Namco
| Type | Nightlord |
|---|---|
| Night 1 Bosses | Any Night 1 Boss |
| Night 2 Bosses | Any Night 2 Boss |
| Key Weakness | Holy |
| Form | Image credit: Rock Paper Shotgun/Bandai Namco | Image credit: Rock Paper Shotgun/Bandai Namco | Image credit: Rock Paper Shotgun/Bandai Namco | Image credit: Rock Paper Shotgun/Bandai Namco | Image credit: Rock Paper Shotgun/Bandai Namco | Image credit: Rock Paper Shotgun/Bandai Namco | Image credit: Rock Paper Shotgun/Bandai Namco | Image credit: Rock Paper Shotgun/Bandai Namco | Image credit: Rock Paper Shotgun/Bandai Namco | Image credit: Rock Paper Shotgun/Bandai Namco |
|---|---|---|---|---|---|---|---|---|---|---|
| Phase 1 | +0% | +20% | +0% | +35% | - | - | - | 252 | 541 | - |
| Phase 2 | +0% | +0% | +20% | +20% | - | - | - | 252 | 541 | - |
Heolstor The Nightlord is the final boss of base Elden Ring: Nightreign, the one true Nightlord where all the others were merely its Aspects. To unlock the ability to fight Heolstor, you must first defeat four different Nightlords and gain their Traces Of Night. Only then can you begin this final ultimate test.
At first, Heolstor appears only as “The Shape Of Night”, and wields a single, dark-empowered sword. While it may be mobile and its attacks swift, Heolstor is a manageable opponent in this phase. It even seems like it only has a single health bar, but don’t be fooled. After depleting this final boss’s first bar, it calls upon the power of Night to revive and gain a vast increase in power. In the second phase, Heolstor gains far-reaching sword beams and becomes far more aggressive. Its speed vastly increases and its attack patterns grow more erratic. Its resistances also increase, meaning you’ll need to outlast its barrage of new moves while also increasing your own damage output to take it down.
Adel, Baron Of Night (Everdark Sovereign)
Adel is the first of the Nightlords to have been given a separate Everdark Sovereign variant, which starts him off in his regular phase 2, gives him more HP, and has him generate a gigantic tornado in the centre of the map at 60% health which you must stay inside or suffer continuous damage. The Adel fight was already a chaotic one, but facing Everdark Sovereign Adel is far more so.
Gnoster, Wisdom Of Night (Everdark Sovereign)
The Sentient Pest that is Gnoster has also been given an Everdark Sovereign variant, which makes this Nightlord far tougher than before. No more simple first phase to ease you into the fight; everything will come at you full force as the moth and scorpion appear together from minute one.
Fulghor, Champion Of Nightglow (Everdark Sovereign)
Fulghor’s Everdark Sovereign variant is definitely set to be one of the most challenging bosses in Nightreign. Taking an already dangerous and powerful Nightlord and giving it more HP and heightened aggression, along with new movesets in its second phase… This is going to be one of the greatest challenges for any Nightfarer.
Weapon Bequeathed Harmonia (Balancers)
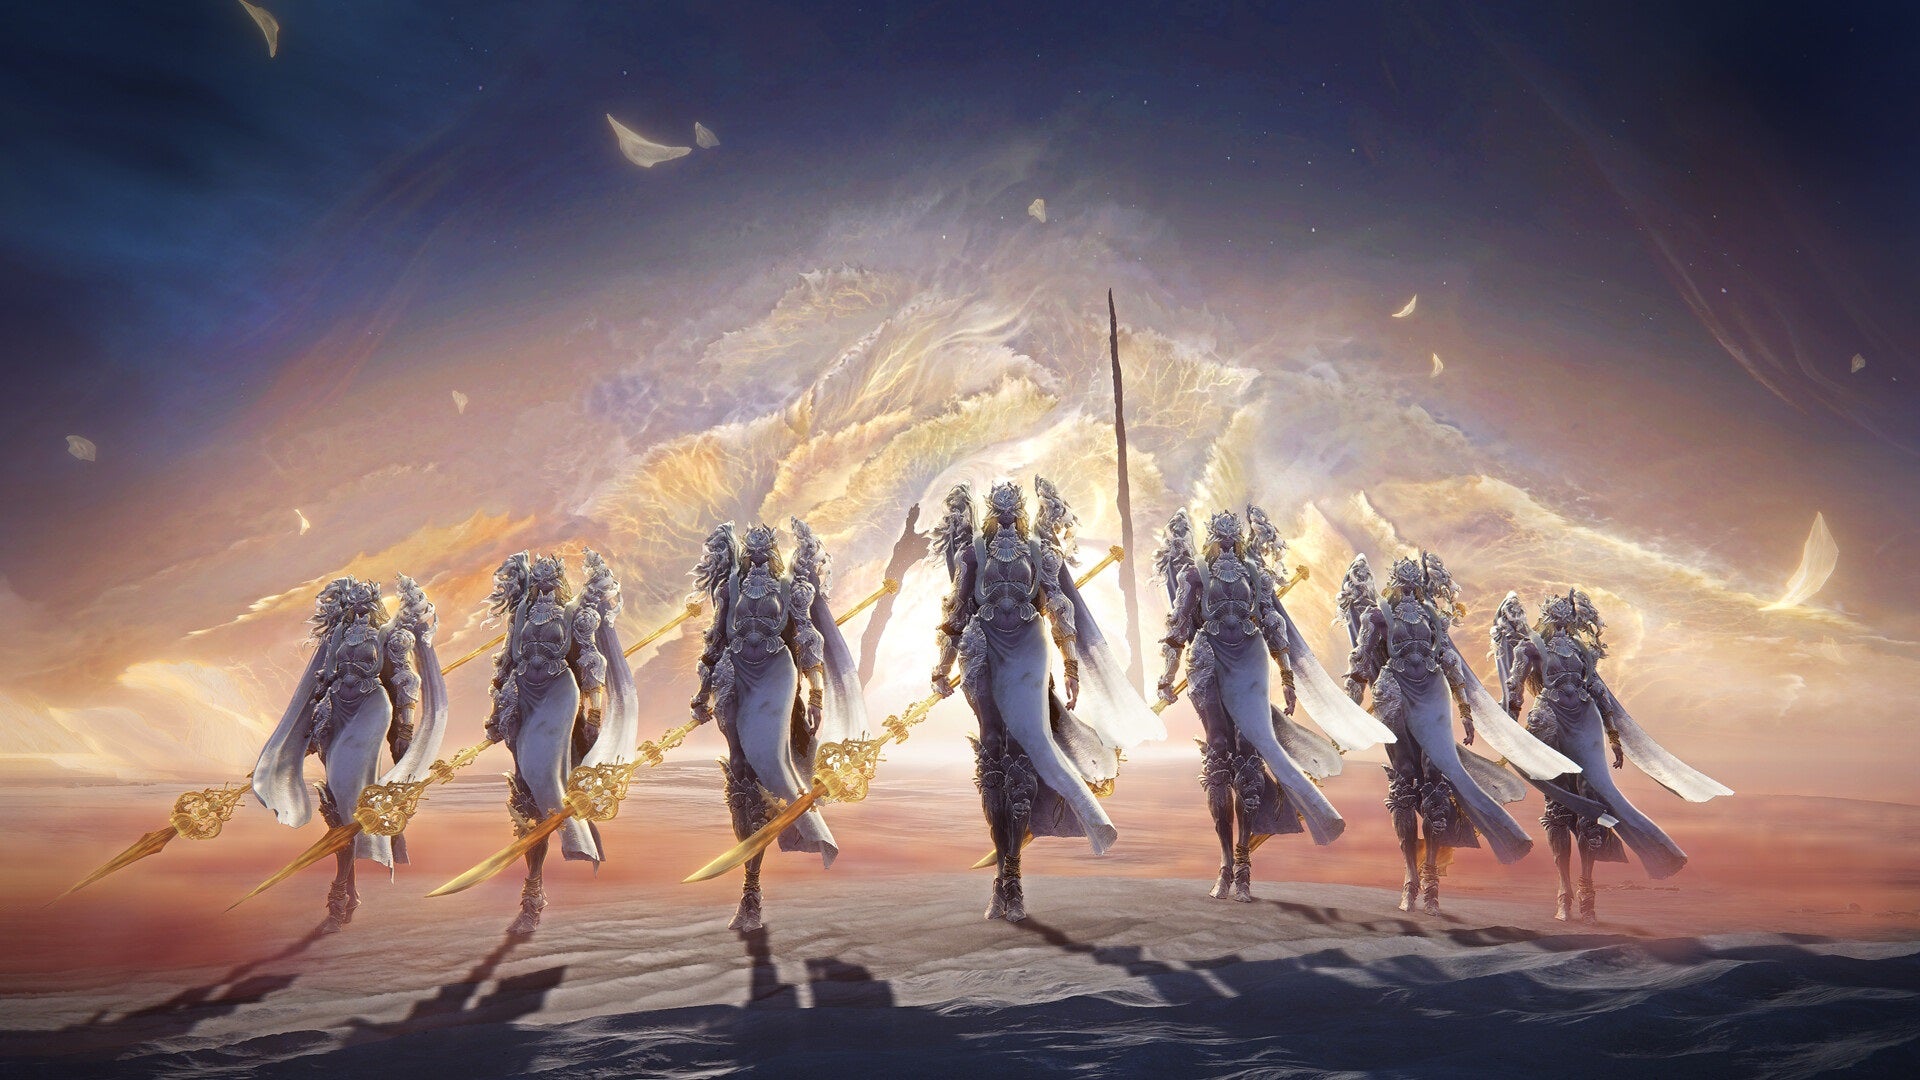
Image credit:Bandai Namco
| Type | Nightlord |
|---|---|
| Night 1 Bosses | Demon in Pain and Demon from Below, Curseblade and Divine Beast Warrior |
| Night 2 Bosses | Demon Prince, Mohg Lord of Blood |
| Key Weakness | Sleep |
| Image credit: Rock Paper Shotgun/Bandai Namco | Image credit: Rock Paper Shotgun/Bandai Namco | Image credit: Rock Paper Shotgun/Bandai Namco | Image credit: Rock Paper Shotgun/Bandai Namco | Image credit: Rock Paper Shotgun/Bandai Namco | Image credit: Rock Paper Shotgun/Bandai Namco | Image credit: Rock Paper Shotgun/Bandai Namco | Image credit: Rock Paper Shotgun/Bandai Namco | Image credit: Rock Paper Shotgun/Bandai Namco | Image credit: Rock Paper Shotgun/Bandai Namco |
|---|---|---|---|---|---|---|---|---|---|
| +0% | -8% | -10% | -30% | 252 | 252 | 252 | 252 | 84 | - |
Weapon Bequeathed Harmonia is the first boss of The Forsaken Hollows, and they’re a force to be reckoned with. This group of angelic Balancers is a pain to take on solo, as they’re seven of them to contend with at once. Fight them with a full party if possible, and try to include a Scholar in your group, as the Scholar’s Analyse skill and Ultimate Art - which let you respectively target multiple foes at once for a debuff and link them together to share damage - is meant for a combat scenario like this.
Arena awareness is key during this fight, as it’s very easy to get overwhelmed by a flurry of Balancers attacking you at once. Their attacks are all well telegraphed, but you’ll need to constantly reposition yourself to avoid getting curbstomped. Keep chipping away at individual Balancers, and you can usually get three or so hits on each before they retaliate. They’re resistant to most things, so sticking with simple strikes (or focus firing with Ironeye’s Marking) is key to whittling them down. Once every Balancer is dead, several of them will revive into a single entity, which is slightly easier to contend with if you can avoid its grab attacks. The other Balancers will stay in the air and make swooping attacks and explosions across the arena that once again require careful dodging to avoid.
Traitorous Straghess/Pure Impulse Straghess (Dreglord)

Image credit:Rock Paper Shotgun/Bandai Namco
| Type | Nightlord |
|---|---|
| Night 1 Bosses | Death Knights, Great Red Bear |
| Night 2 Bosses | Knight Artorias, Divine Beast Dancing Lion |
| Key Weakness | None |
| Form | Image credit: Rock Paper Shotgun/Bandai Namco | Image credit: Rock Paper Shotgun/Bandai Namco | Image credit: Rock Paper Shotgun/Bandai Namco | Image credit: Rock Paper Shotgun/Bandai Namco | Image credit: Rock Paper Shotgun/Bandai Namco | Image credit: Rock Paper Shotgun/Bandai Namco | Image credit: Rock Paper Shotgun/Bandai Namco | Image credit: Rock Paper Shotgun/Bandai Namco | Image credit: Rock Paper Shotgun/Bandai Namco | Image credit: Rock Paper Shotgun/Bandai Namco |
|---|---|---|---|---|---|---|---|---|---|---|
| Phase 1 | +0% | +20% | -10% | +25% | 252 | 252 | 542 | 542 | 252 | - |
| Phase 2 | -5% | +10% | -15% | -15% | 542 | 542 | 542 | 542 | 999 | - |
The second boss of The Forsaken Hollows, Straghess the Dreglord is first encountered when you unlock Scholar and Undertaker , but you aren’t meant to beat him then. When you later meet this hulking skull-faced collection of corpses, you’re in for a tough fight against an opponent who nevertheless does telegraph his huge sweeping strikes pretty clearly. Tackle him as you would any large Elden Ring boss, and take advantage of those openings after he swings. Eventually, Straghess will up the ante by using attacks that inflict Scarlet Rot, and he’ll also summon corpses to distract you. Stay close to him, attack from the sides, and don’t let up!
The second phase sees the Dreglord transform into Pure Impulse Straghess, and the difficulty is truly high here. After he transforms, watch out for his ground punches, as each of these causes a Scarlet Rot burst to shoot up across the arena. Avoid these before continuing your assault, which should rely on the same strategies from phase one of the fight. The main difference here is Straghess’ ultimate attack, when he summons pillars up from the ground. He’ll either target a single Nightfarer by jumping into the pillars, or he’ll unleash a wave of Rot that can sweep the whole area. Guardian’s Wings of Salvation Ultimate comes in very handy for negating this attack if you aren’t able to time your dodges perfectly. Good luck.
All Night 1 bosses
Bell Bearing Hunter

Image credit:Rock Paper Shotgun/Bandai Namco
| Type | Night 1 Boss |
|---|---|
| Expeditions | Tricephalos, Night Aspect |
Demi-Human Queen and Demi-Human Swordmaster
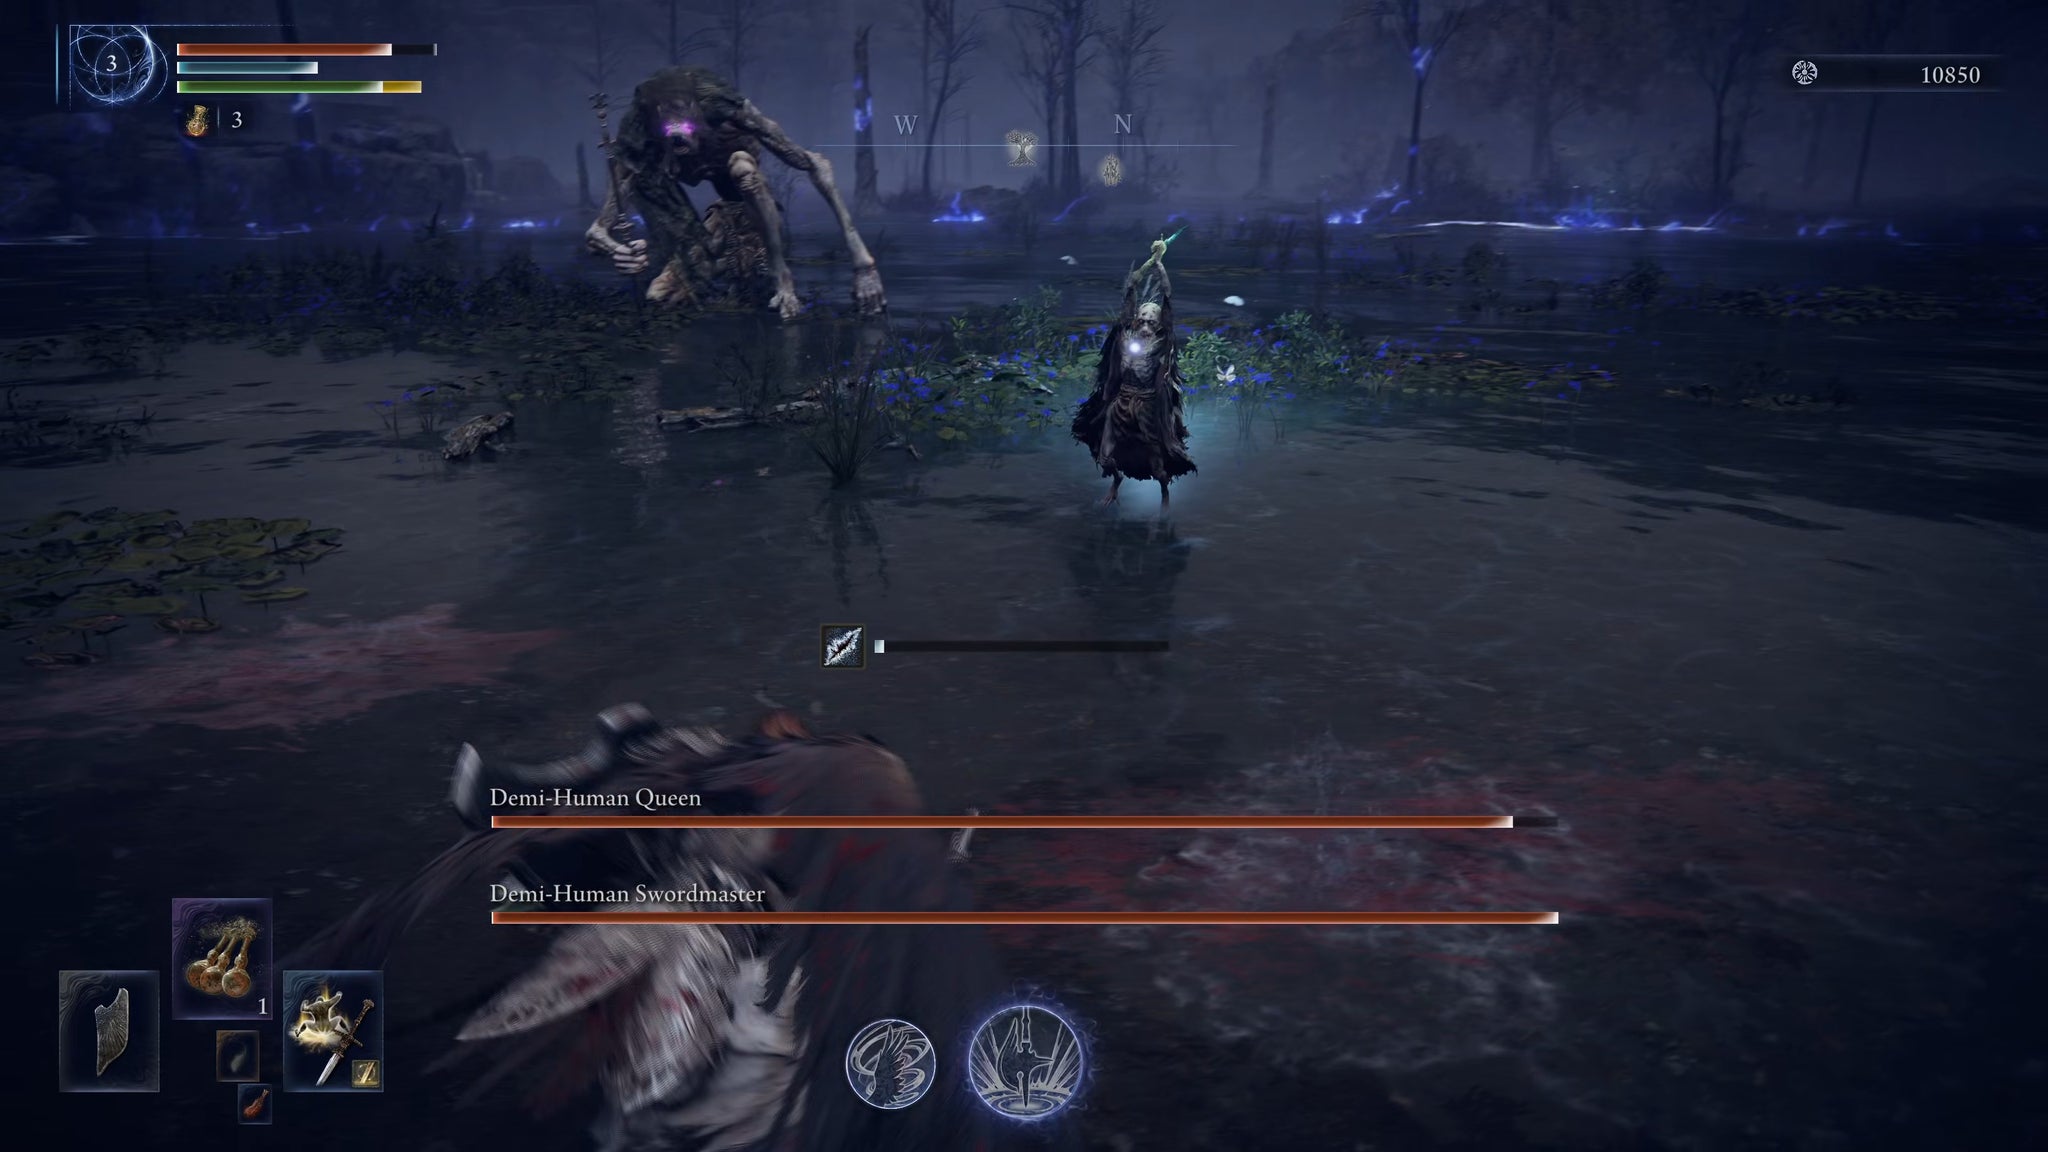
Image credit:Rock Paper Shotgun/Bandai Namco
| Type | Night 1 Boss |
|---|---|
| Expeditions | Tricephalos, Night Aspect |
Battlefield Commander

Image credit:Rock Paper Shotgun/Bandai Namco
| Type | Night 1 Boss |
|---|---|
| Expeditions | Sentient Pest, Night Aspect |
Centipede Demon

Image credit:Rock Paper Shotgun/Bandai Namco
| Type | Night 1 Boss |
|---|---|
| Expeditions | Sentient Pest, Equilibrious Beast, Night Aspect |
Gaping Dragon
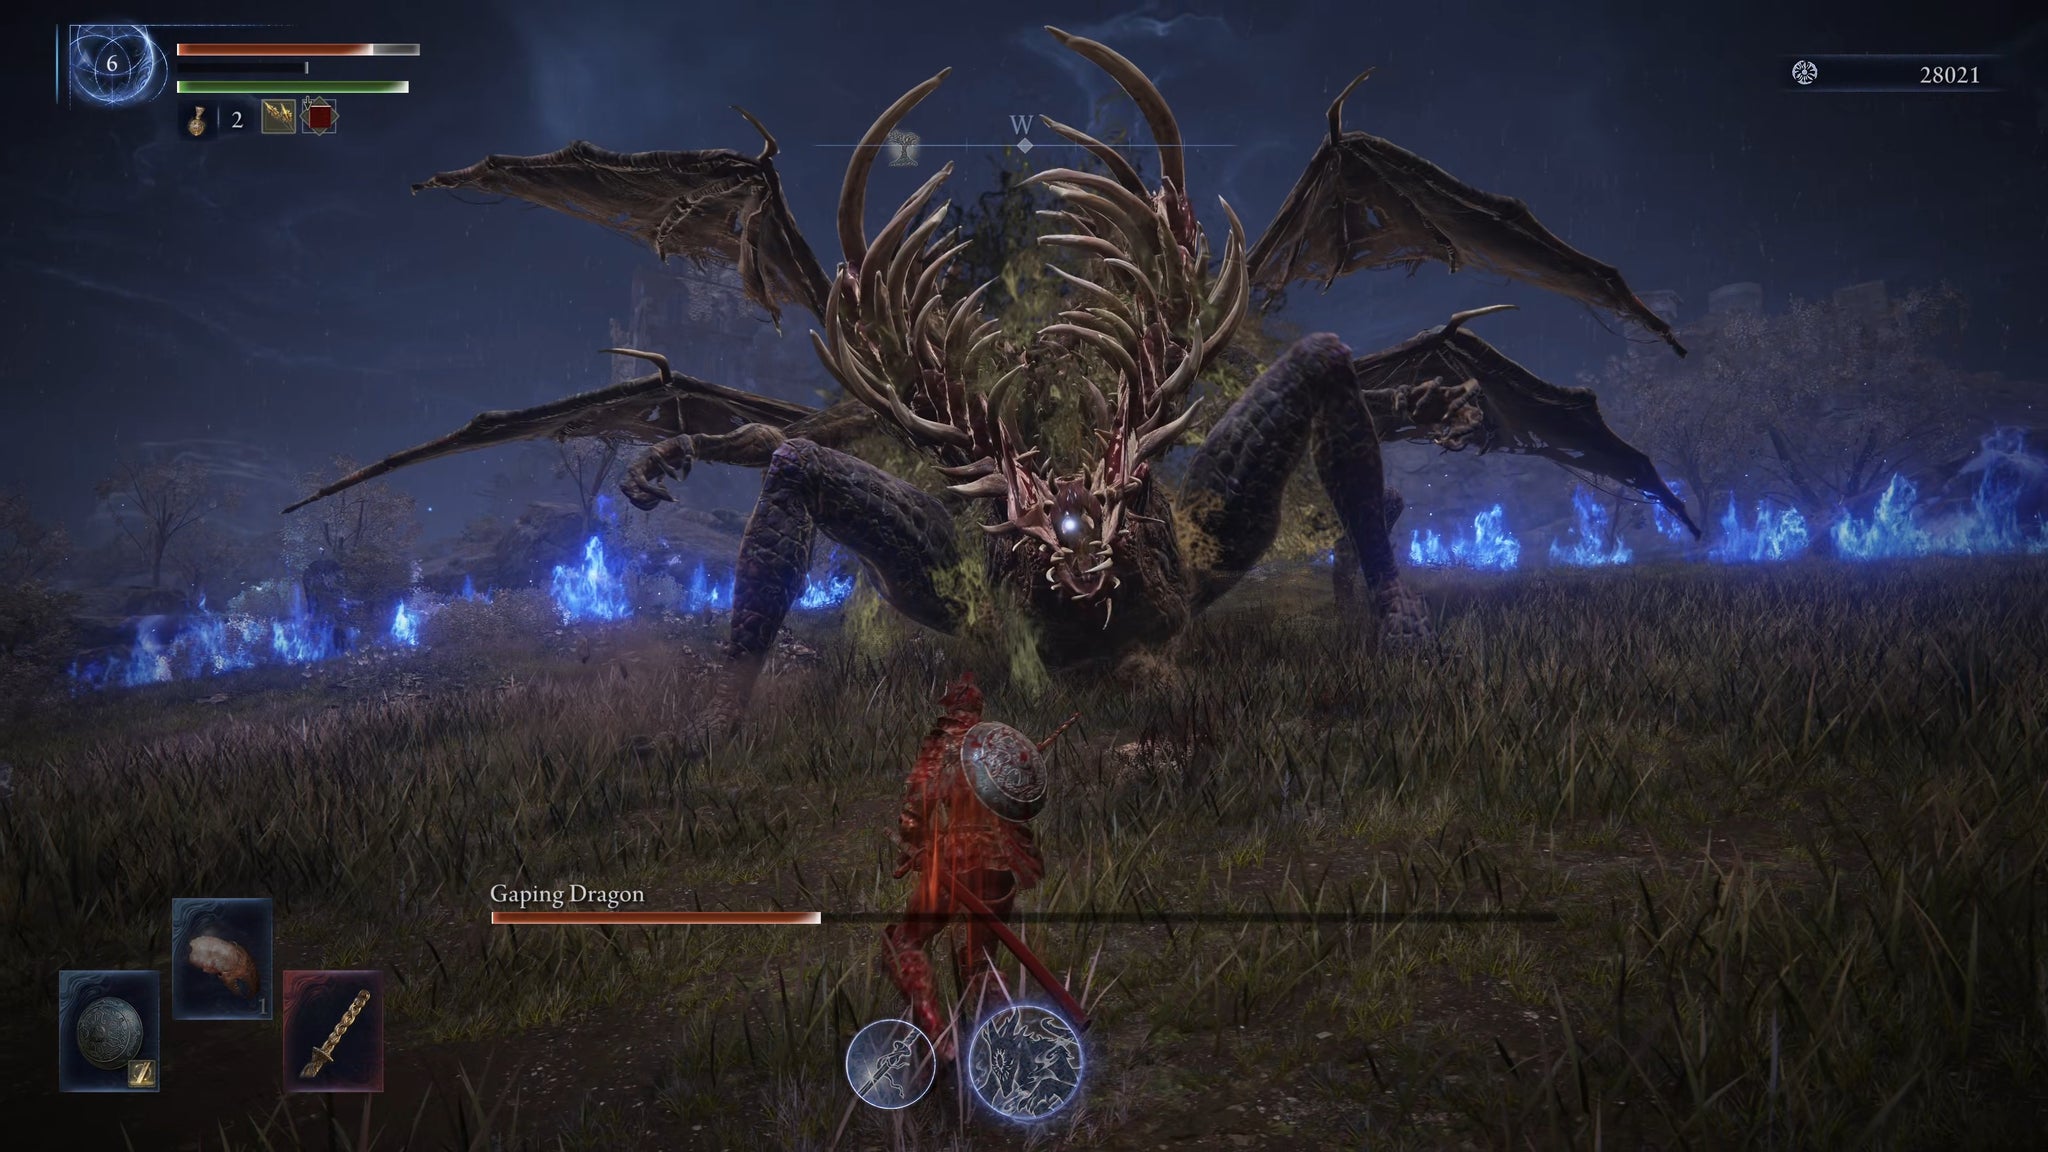
Image credit:Rock Paper Shotgun/Bandai Namco
| Type | Night 1 Boss |
|---|---|
| Expeditions | Augur, Darkdrift Knight, Night Aspect |
Grafted Monarch

Image credit:Rock Paper Shotgun/Bandai Namco
| Type | Night 1 Boss |
|---|---|
| Expeditions | Augur, Fissure In The Fog, Night Aspect |
Night’s Cavalry x2
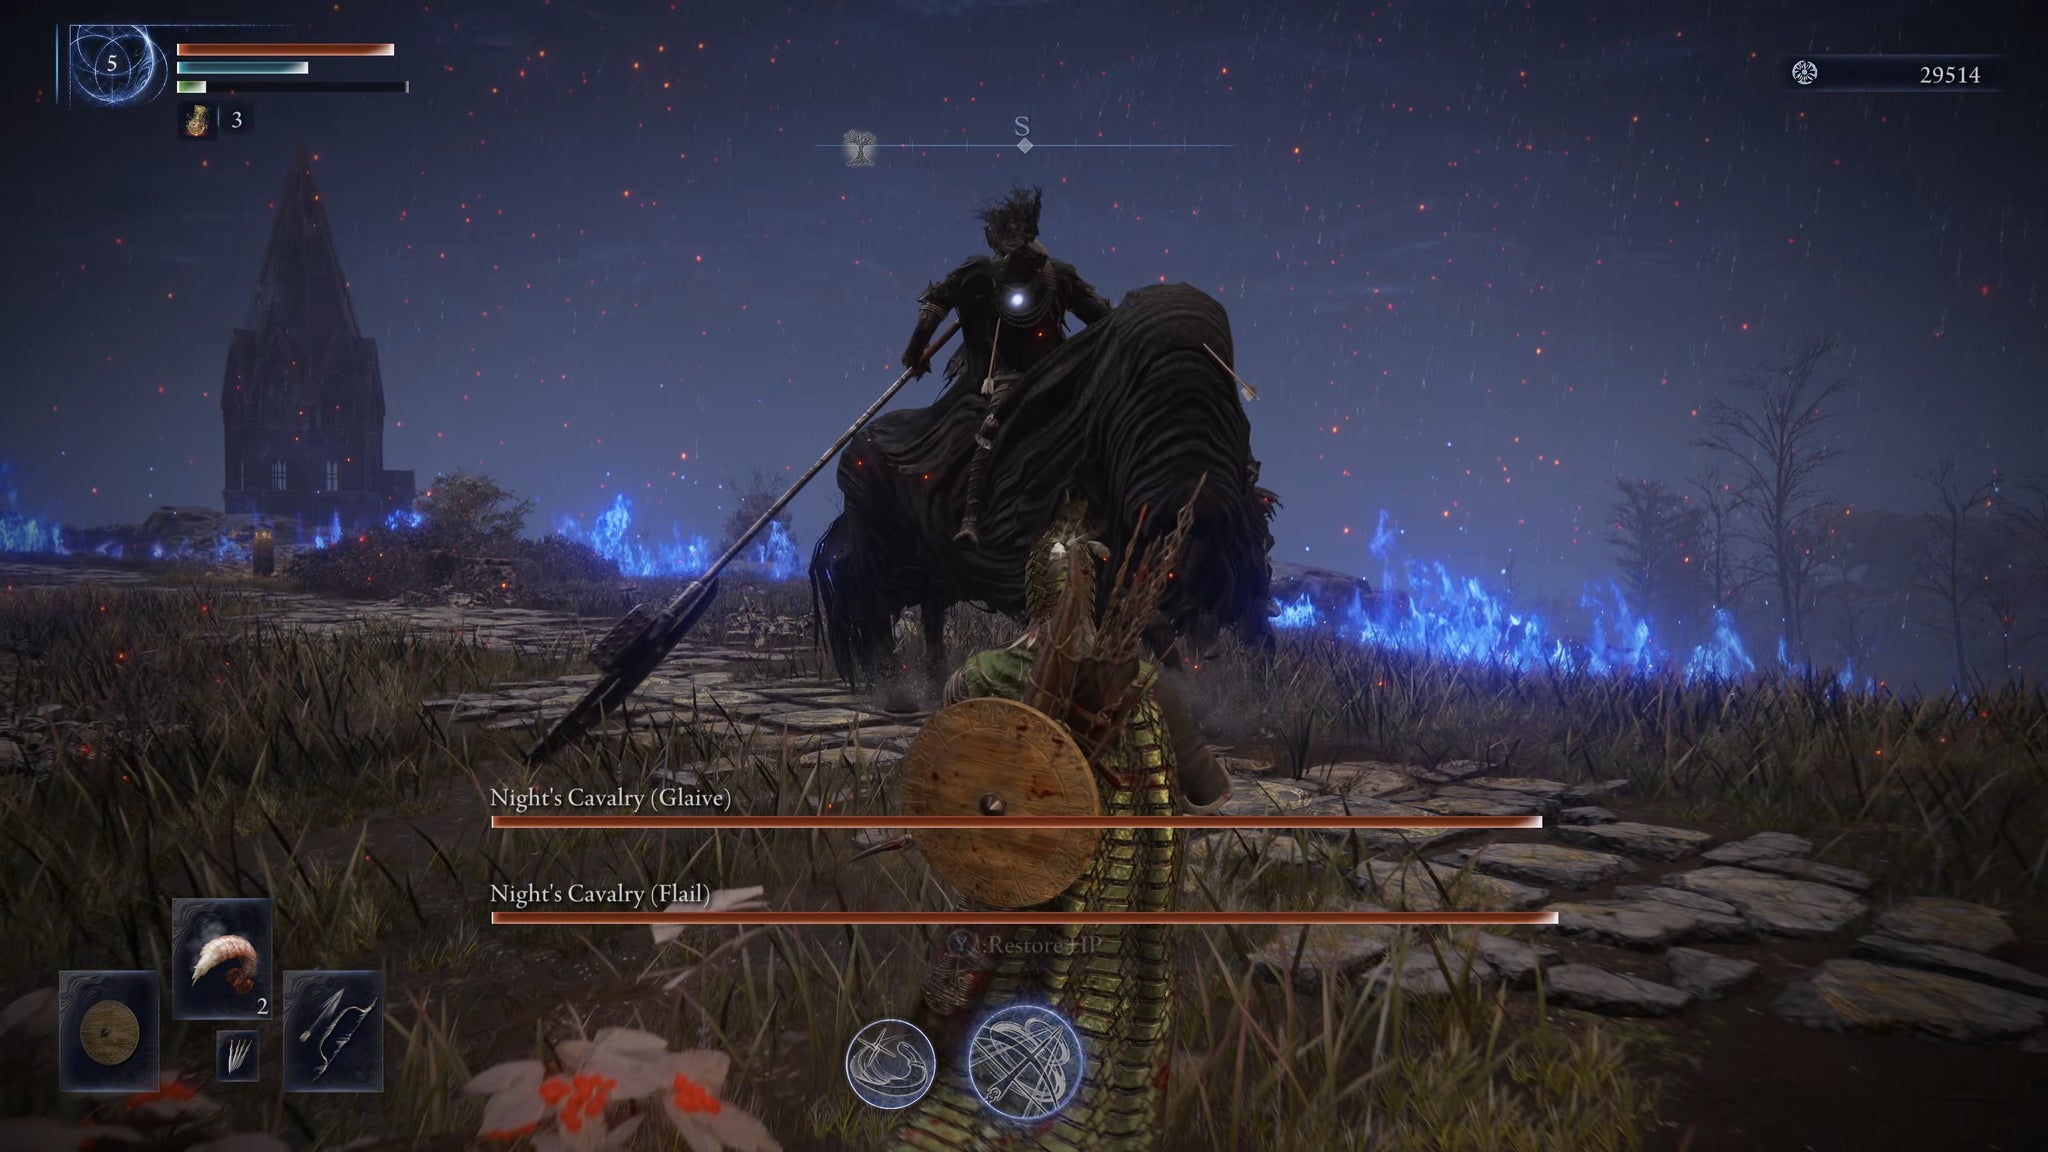
Image credit:Rock Paper Shotgun/Bandai Namco
| Type | Night 1 Boss |
|---|---|
| Expeditions | Gaping Jaw, Darkdrift Knight, Night Aspect |
Royal Revenant
Image credit:Rock Paper Shotgun/Bandai Namco
| Type | Night 1 Boss |
|---|---|
| Expeditions | Equilibrious Beast, Darkdrift Knight, Night Aspect |
Smelter Demon

Image credit:Rock Paper Shotgun/Bandai Namco
| Type | Night 1 Boss |
|---|---|
| Expeditions | Fissure In The Fog, Night Aspect |
Tibia Mariner and Those Who Live In Death

Image credit:Rock Paper Shotgun/Bandai Namco
| Type | Night 1 Boss |
|---|---|
| Expeditions | Sentient Pest, Equilibrious Beast, Fissure In The Fog, Night Aspect |
The Duke’s Dear Freja
Image credit:Rock Paper Shotgun/Bandai Namco
| Type | Night 1 Boss |
|---|---|
| Expeditions | Equilibrious Beast, Fissure In The Fog, Night Aspect |
Ulcerated Tree Spirit

Image credit:Rock Paper Shotgun/Bandai Namco
| Type | Night 1 Boss |
|---|---|
| Expeditions | Sentient Pest, Fissure In The Fog, Night Aspect |
Valiant Gargoyle
Image credit:Rock Paper Shotgun/Bandai Namco
| Type | Night 1 Boss |
|---|---|
| Expeditions | Gaping Jaw, Darkdrift Knight, Night Aspect |
Wormface
Image credit:Rock Paper Shotgun/Bandai Namco
| Type | Night 1 Boss |
|---|---|
| Expeditions | Gaping Jaw, Augur, Darkdrift Knight, Night Aspect |
Demon in Pain and Demon from Below (The Forsaken Hollows)

Image credit:Rock Paper Shotgun/Bandai Namco
| Type | Night 1 Boss |
|---|---|
| Expeditions | Balancers |
Curseblade and Divine Beast Warrior (The Forsaken Hollows)

Image credit:Rock Paper Shotgun/Bandai Namco
| Type | Night 1 Boss |
|---|---|
| Expeditions | Balancers |
Death Knights
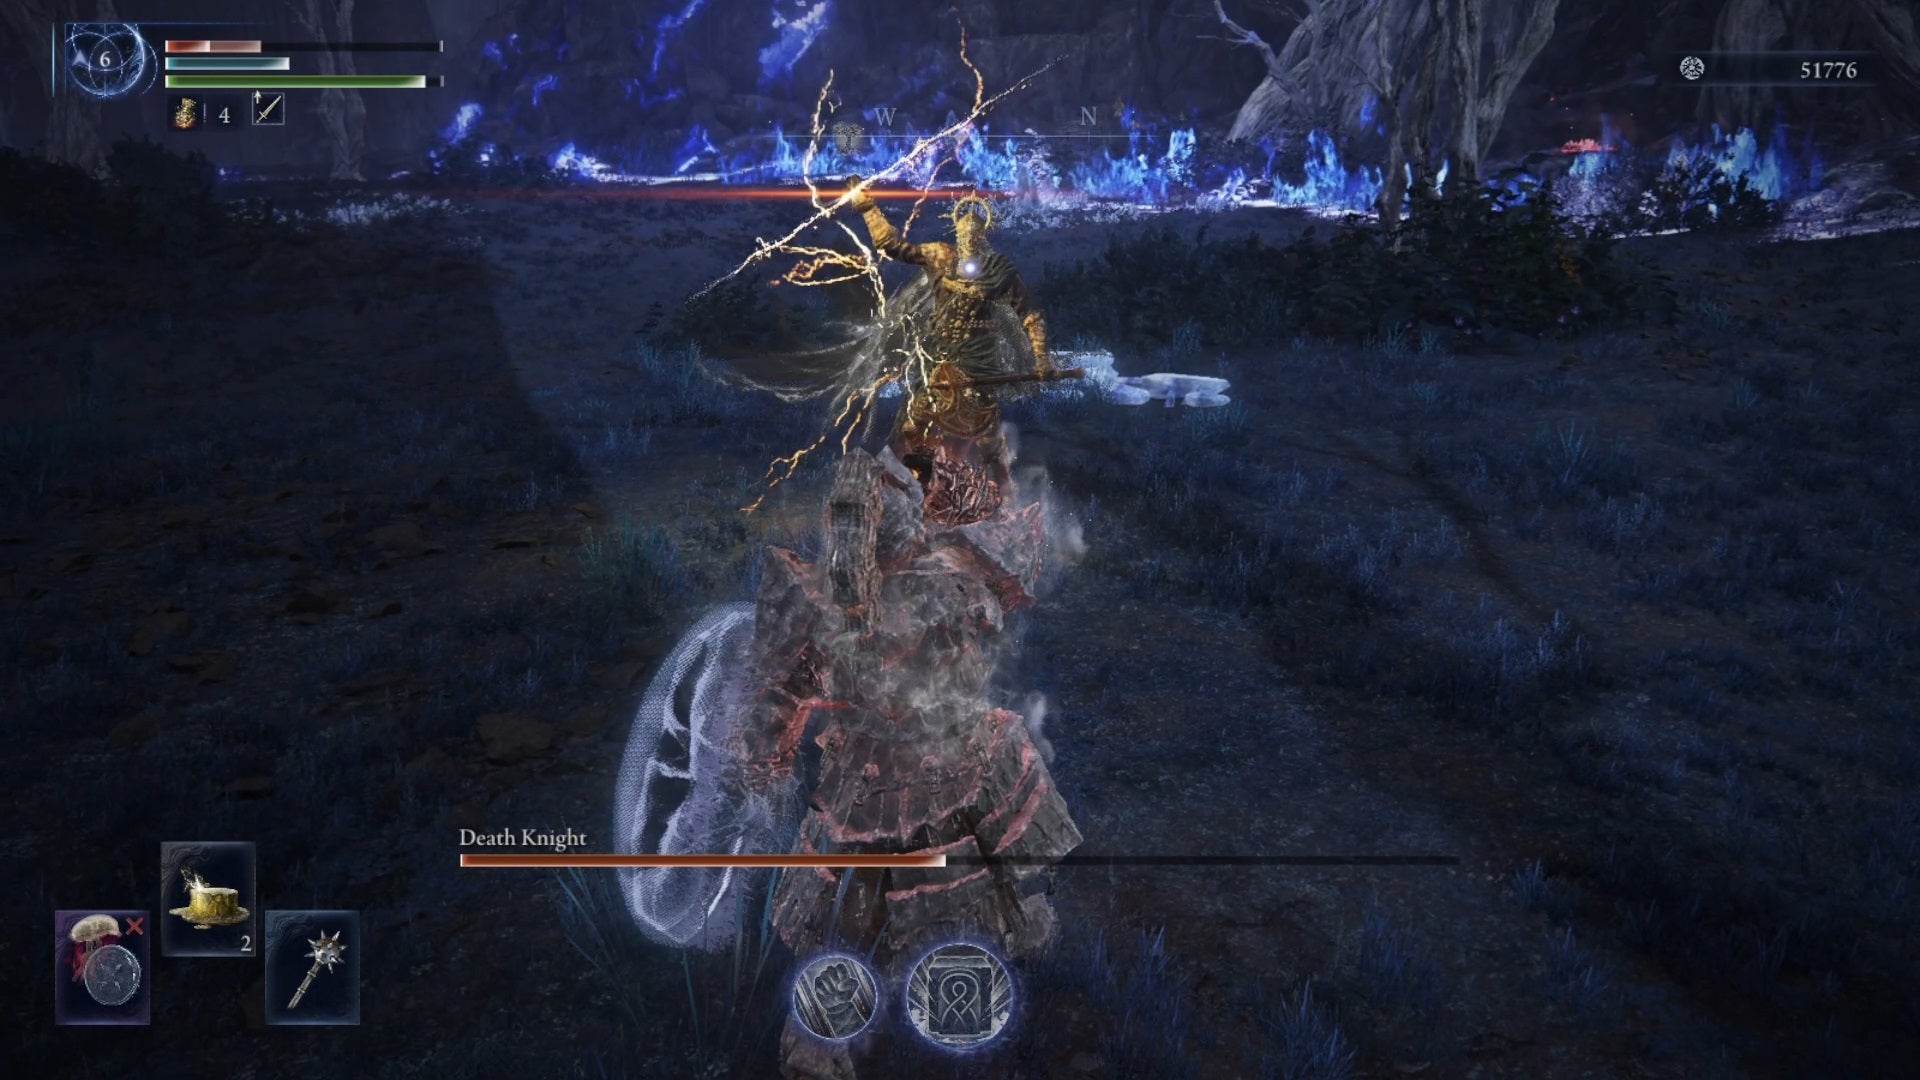
Image credit:IGN/Bandai Namco
| Type | Night 1 Boss |
|---|---|
| Expeditions | Dreglord |
Giant Red Bear
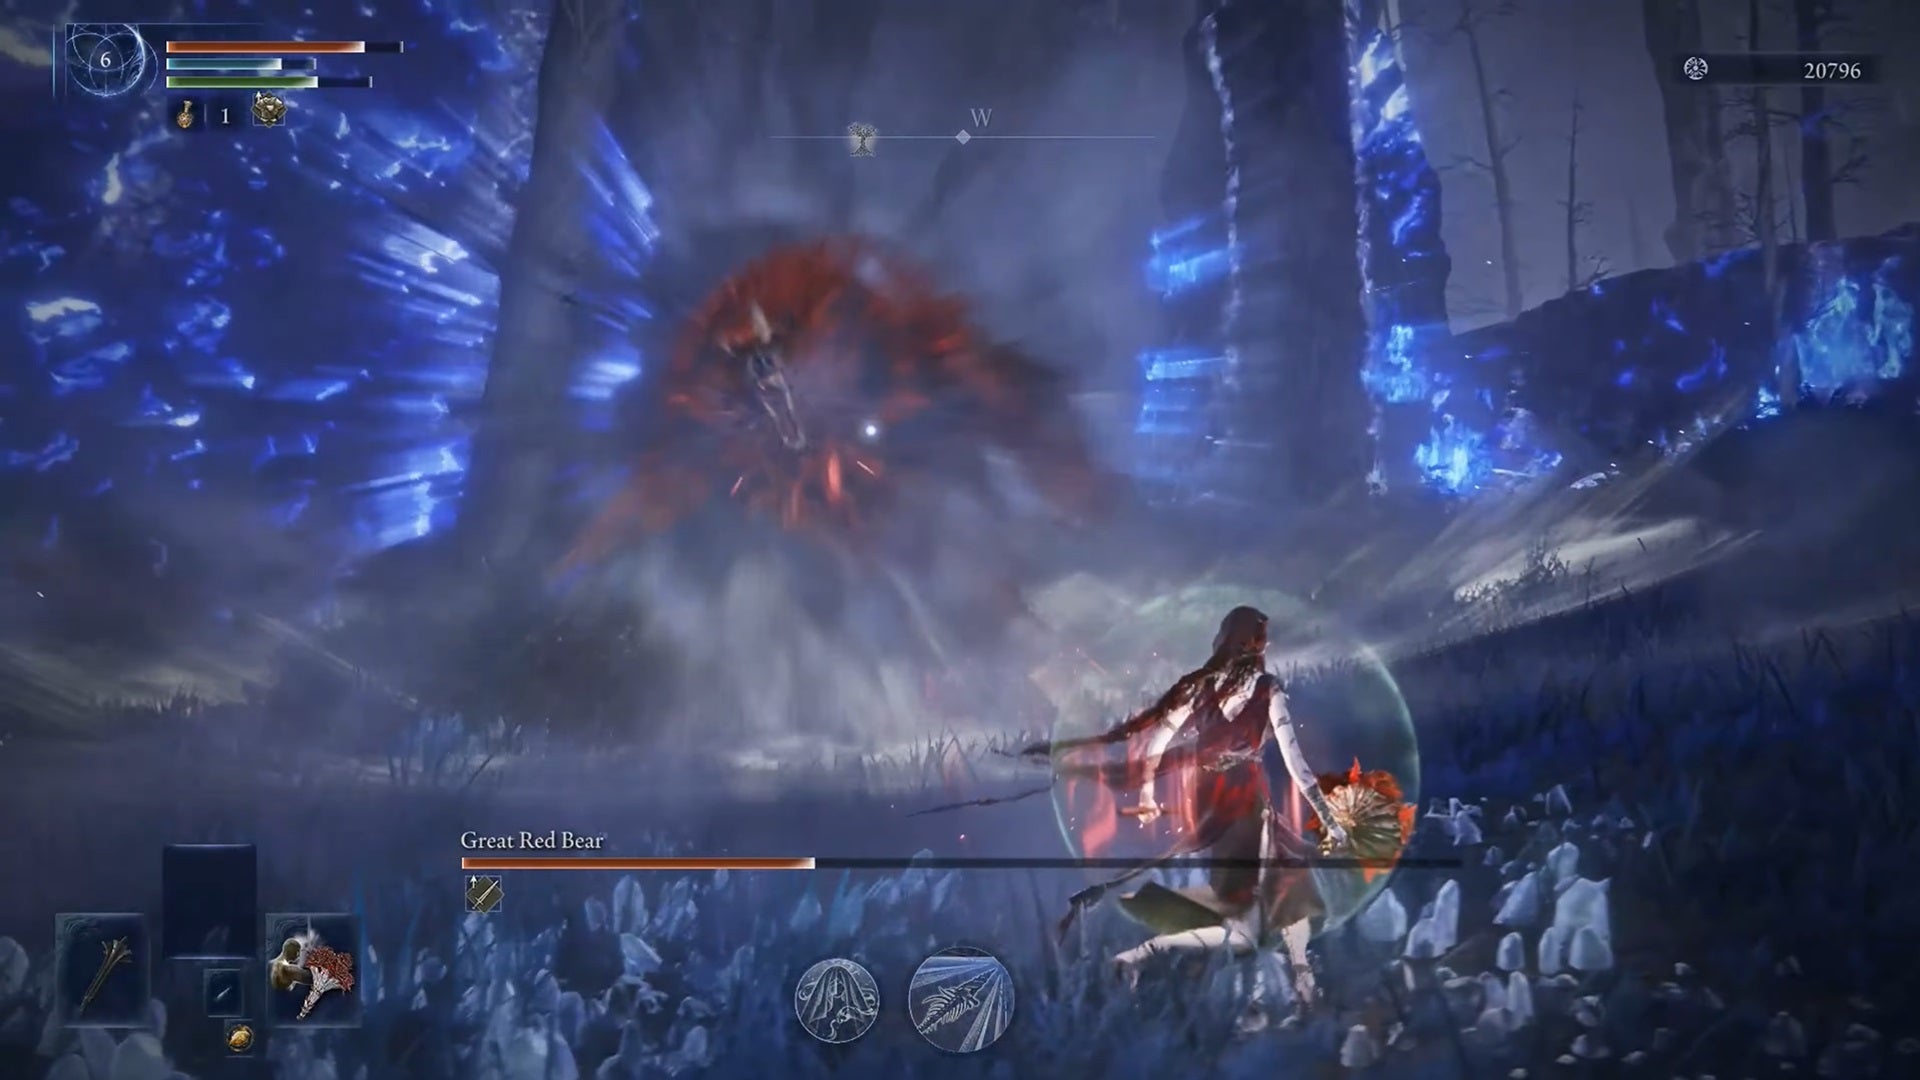
Image credit:Rock Paper Shotgun/Bandai Namco
| Type | Night 1 Boss |
|---|---|
| Expeditions | Dreglord |
All Night 2 bosses
Fell Omen

Image credit:Rock Paper Shotgun/Bandai Namco
| Type | Night 2 Boss |
|---|---|
| Expeditions | Tricephalos, Night Aspect |
Tree Sentinel and Royal Cavalrymen
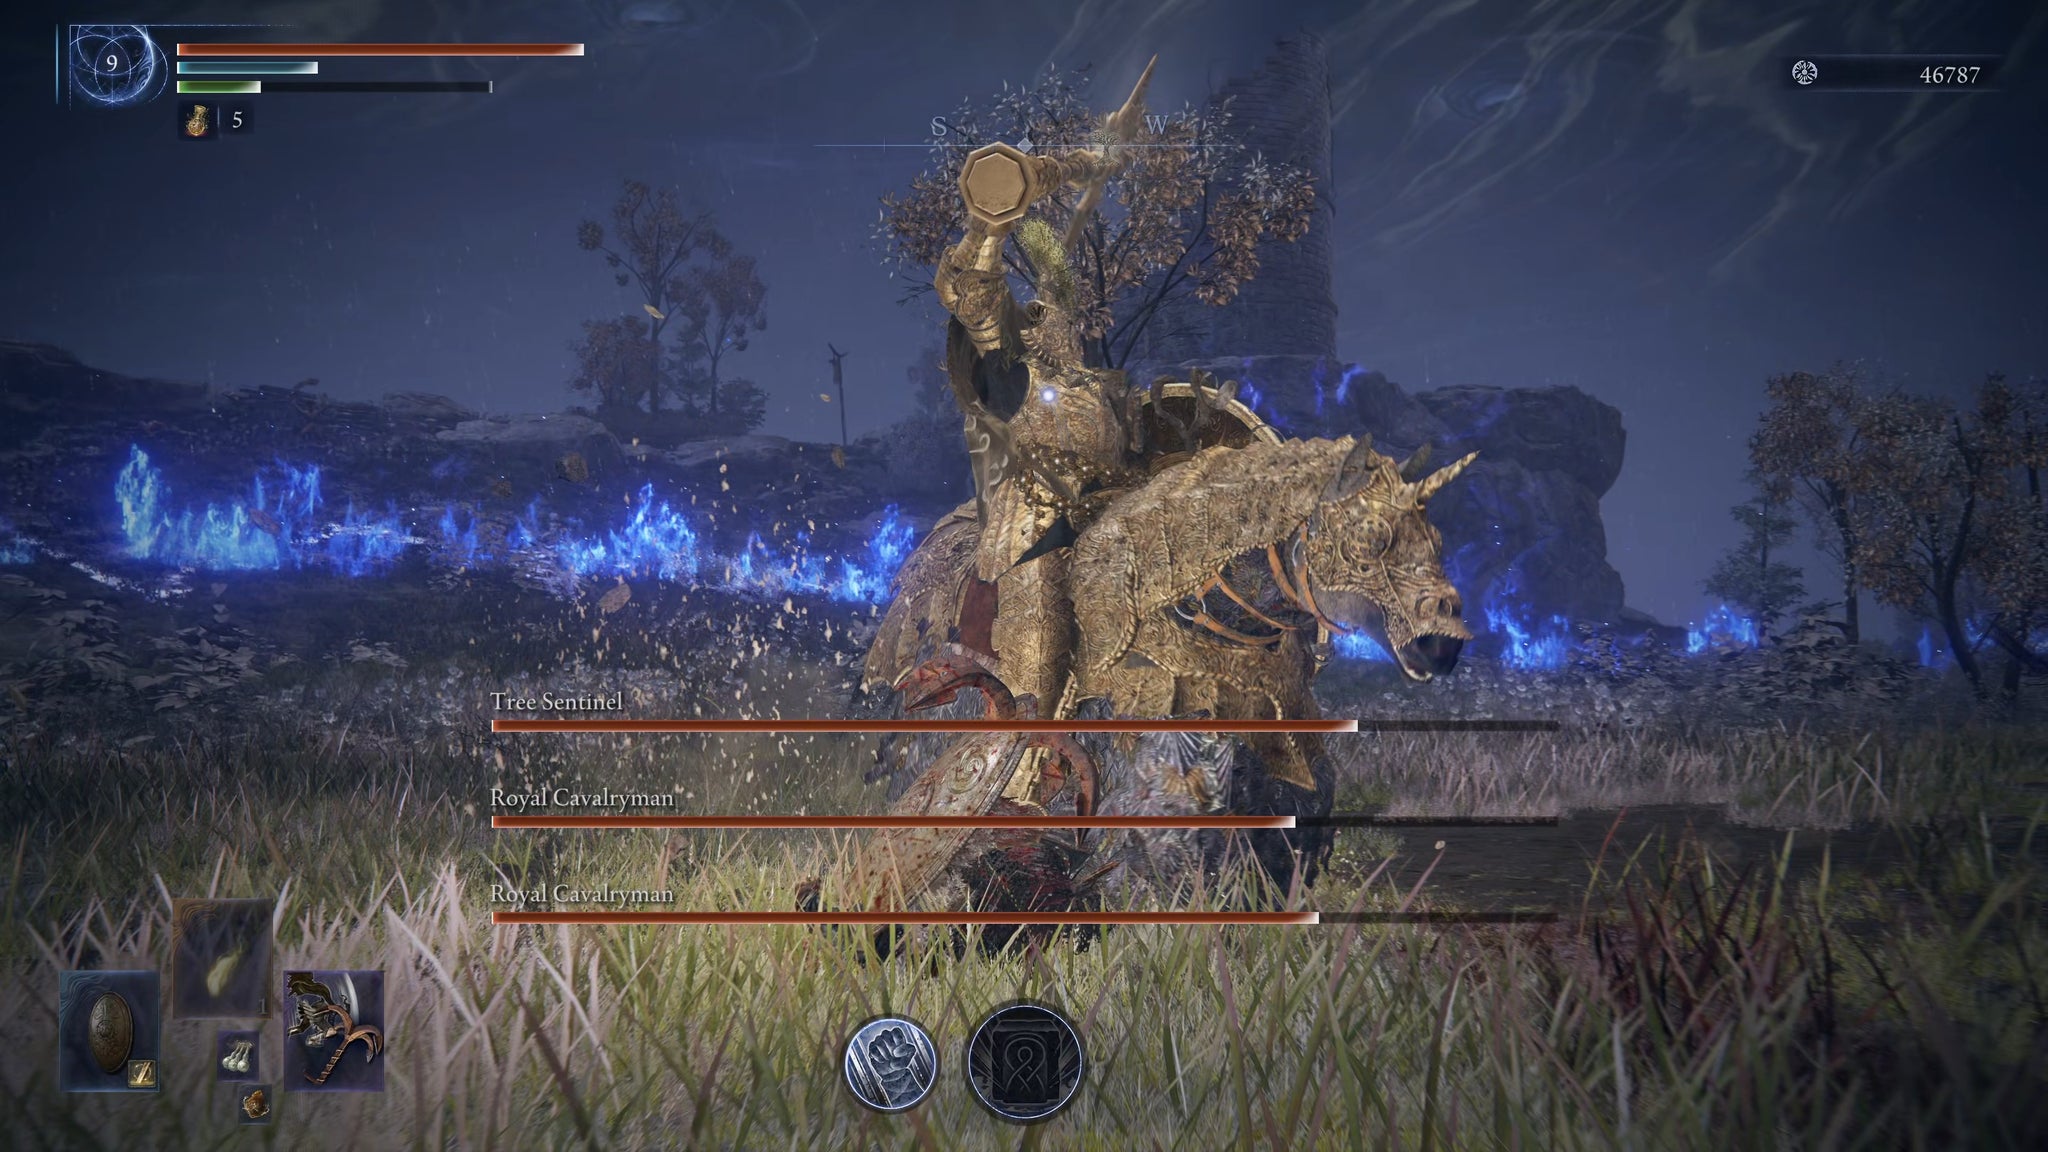
Image credit:Rock Paper Shotgun/Bandai Namco
| Type | Night 2 Boss |
|---|---|
| Expeditions | Tricephalos, Augur, Night Aspect |
Ancient Dragon

Image credit:Rock Paper Shotgun/Bandai Namco
| Type | Night 2 Boss |
|---|---|
| Expeditions | Gaping Jaw, Night Aspect |
Crucible Knight and Golden Hippopotamus
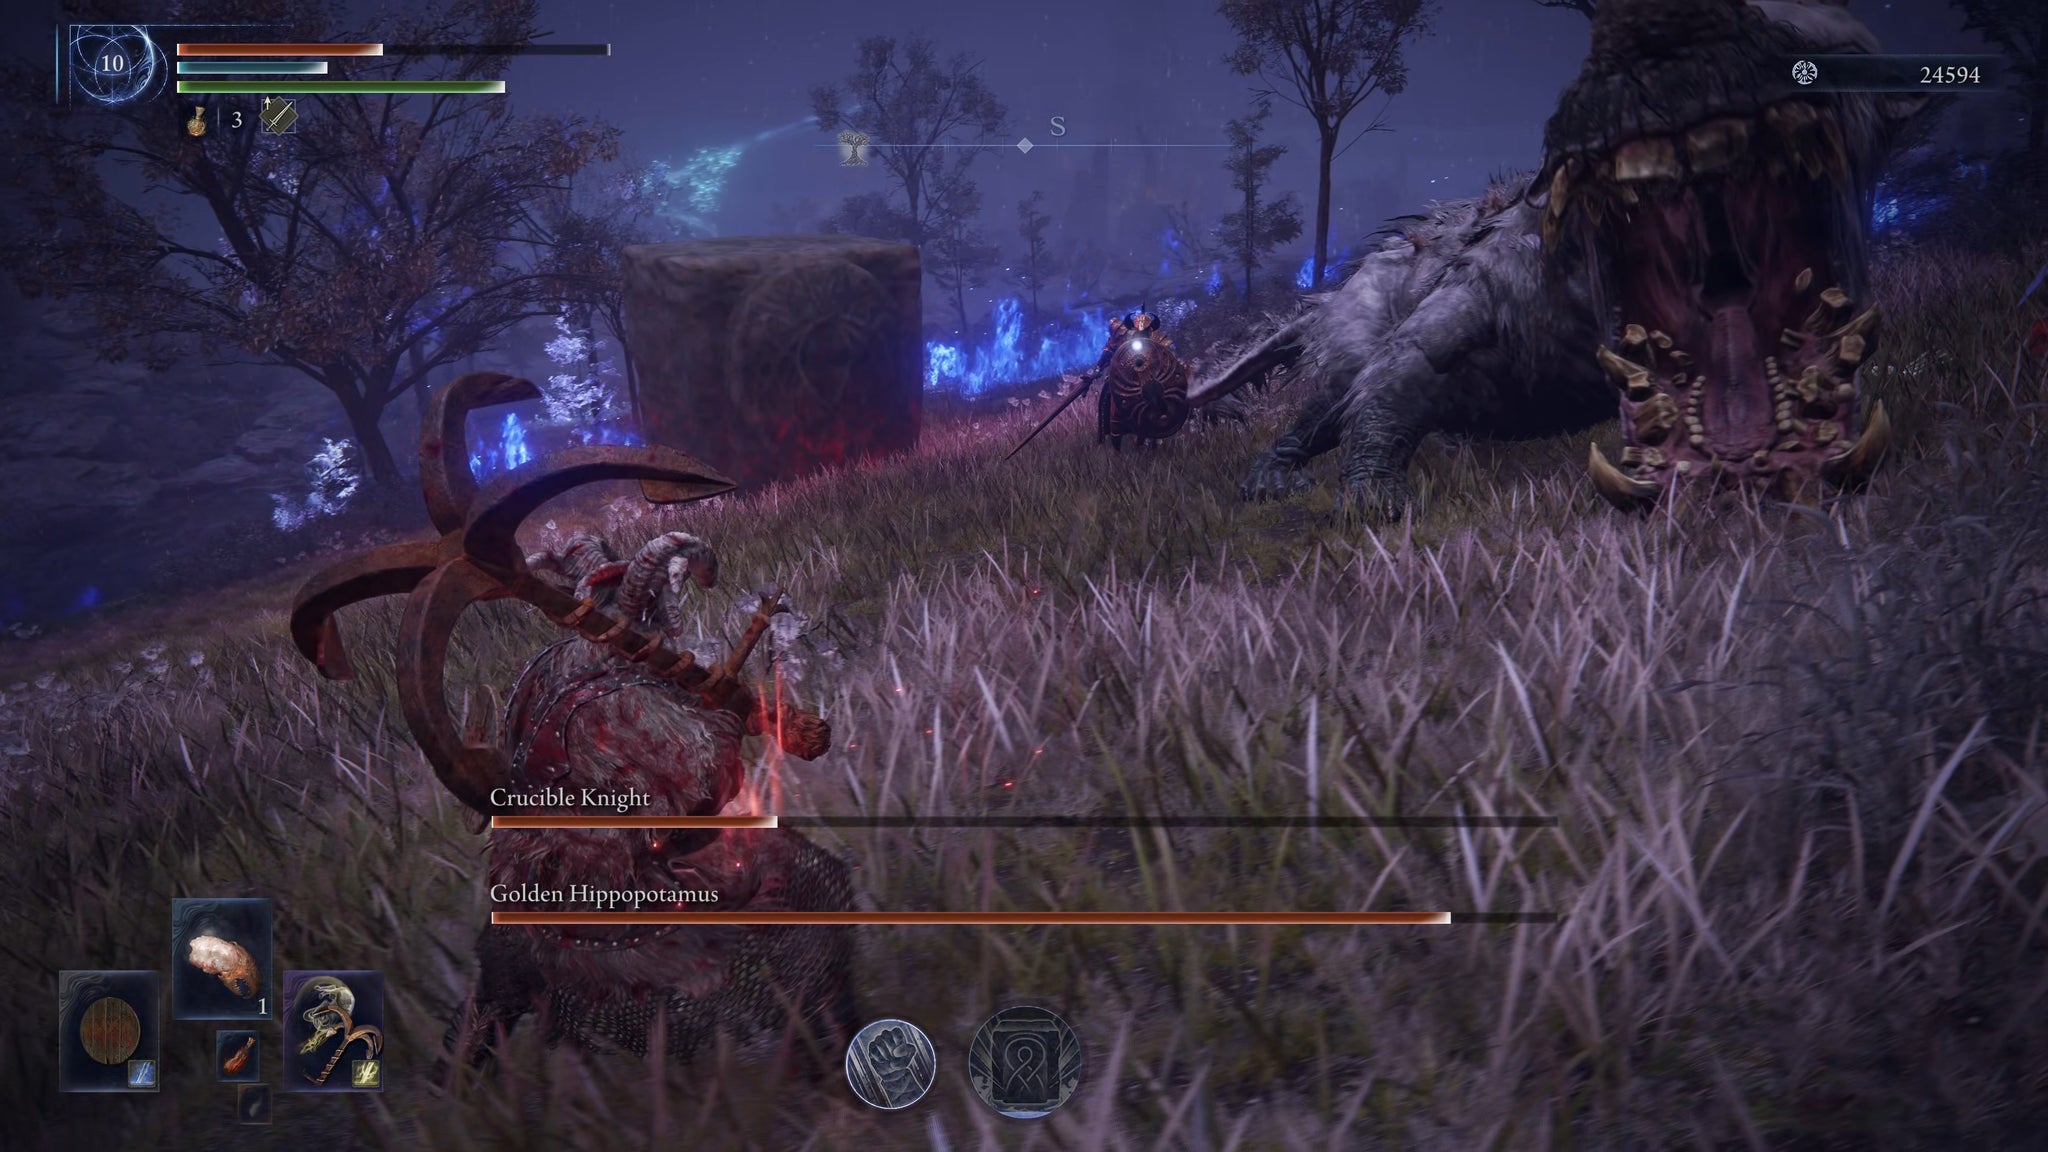
Image credit:Rock Paper Shotgun/Bandai Namco
| Type | Night 2 Boss |
|---|---|
| Expeditions | Gaping Jaw, Equilibrious Beast, Night Aspect |
Dancer Of The Boreal Valley
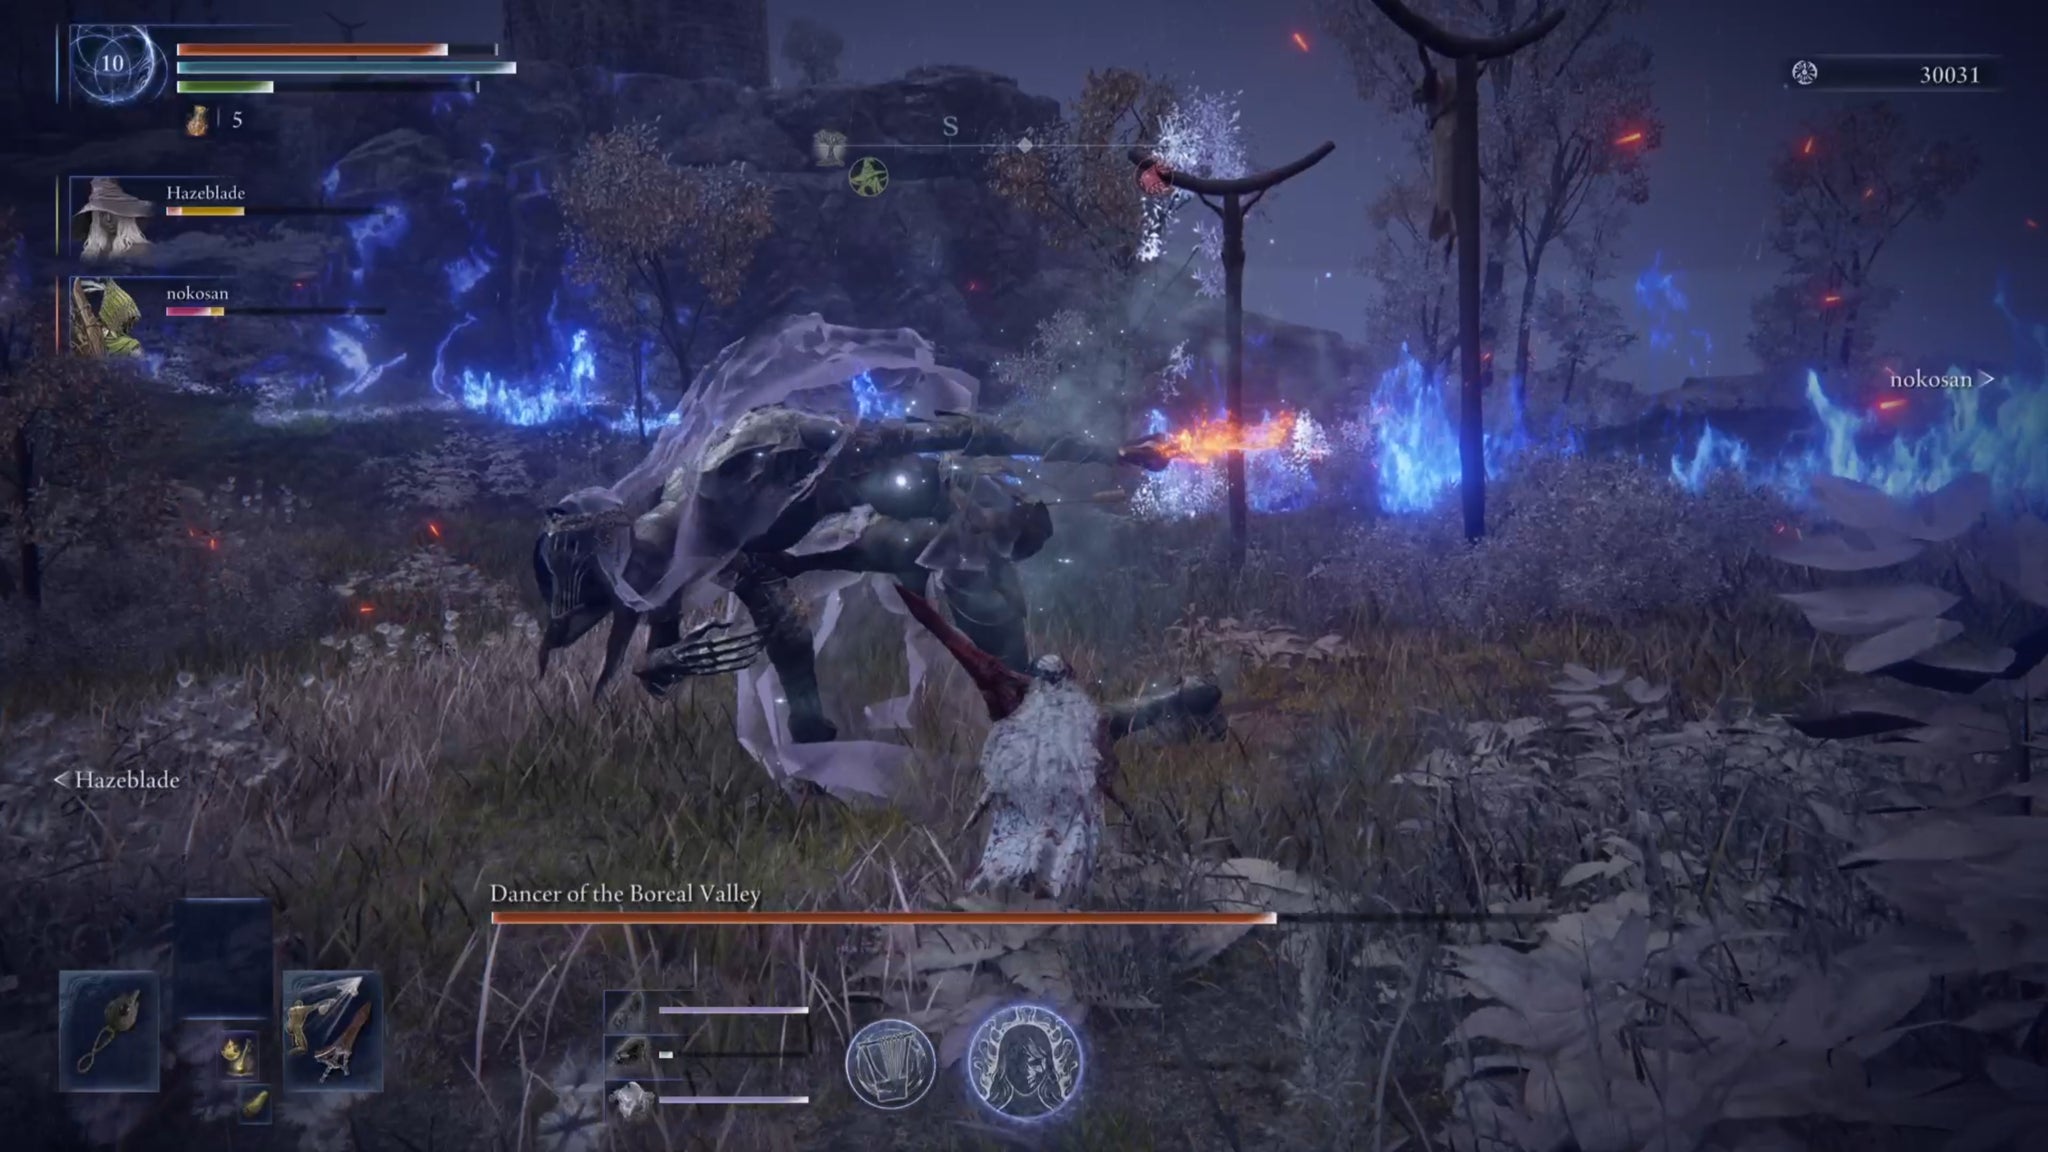
Image credit:Rock Paper Shotgun/Bandai Namco
| Type | Night 2 Boss |
|---|---|
| Expeditions | Fissure In The Fog, Night Aspect |
Death Rite Bird
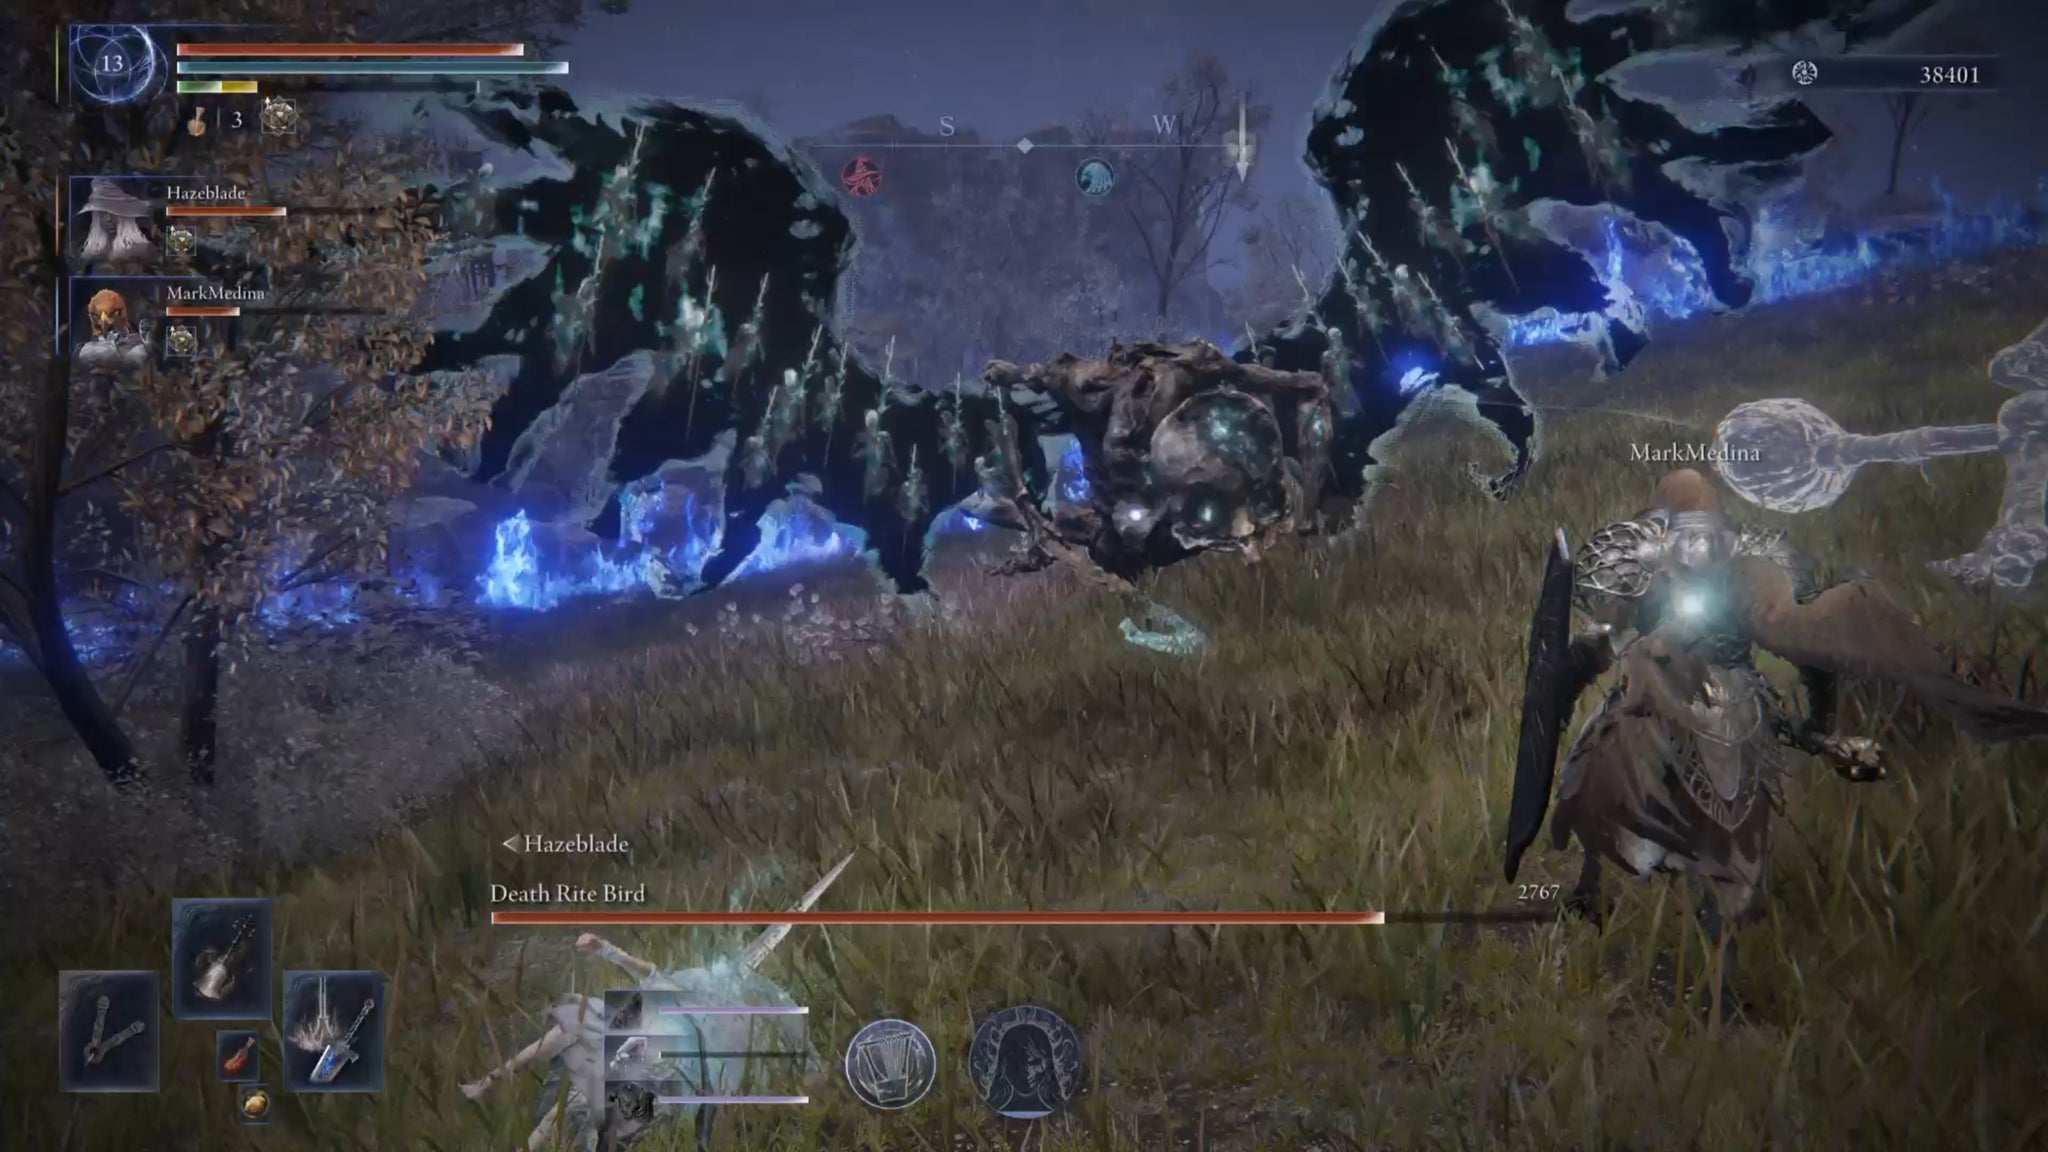
Image credit:Rock Paper Shotgun/Bandai Namco
| Type | Night 2 Boss |
|---|---|
| Expeditions | Equilibrious Beast, Night Aspect |
Draconic Tree Sentinel

Image credit:Rock Paper Shotgun/Bandai Namco
| Type | Night 2 Boss |
|---|---|
| Expeditions | Sentient Pest, Fissure In The Fog, Night Aspect |
Full-Grown Fallingstar Beast
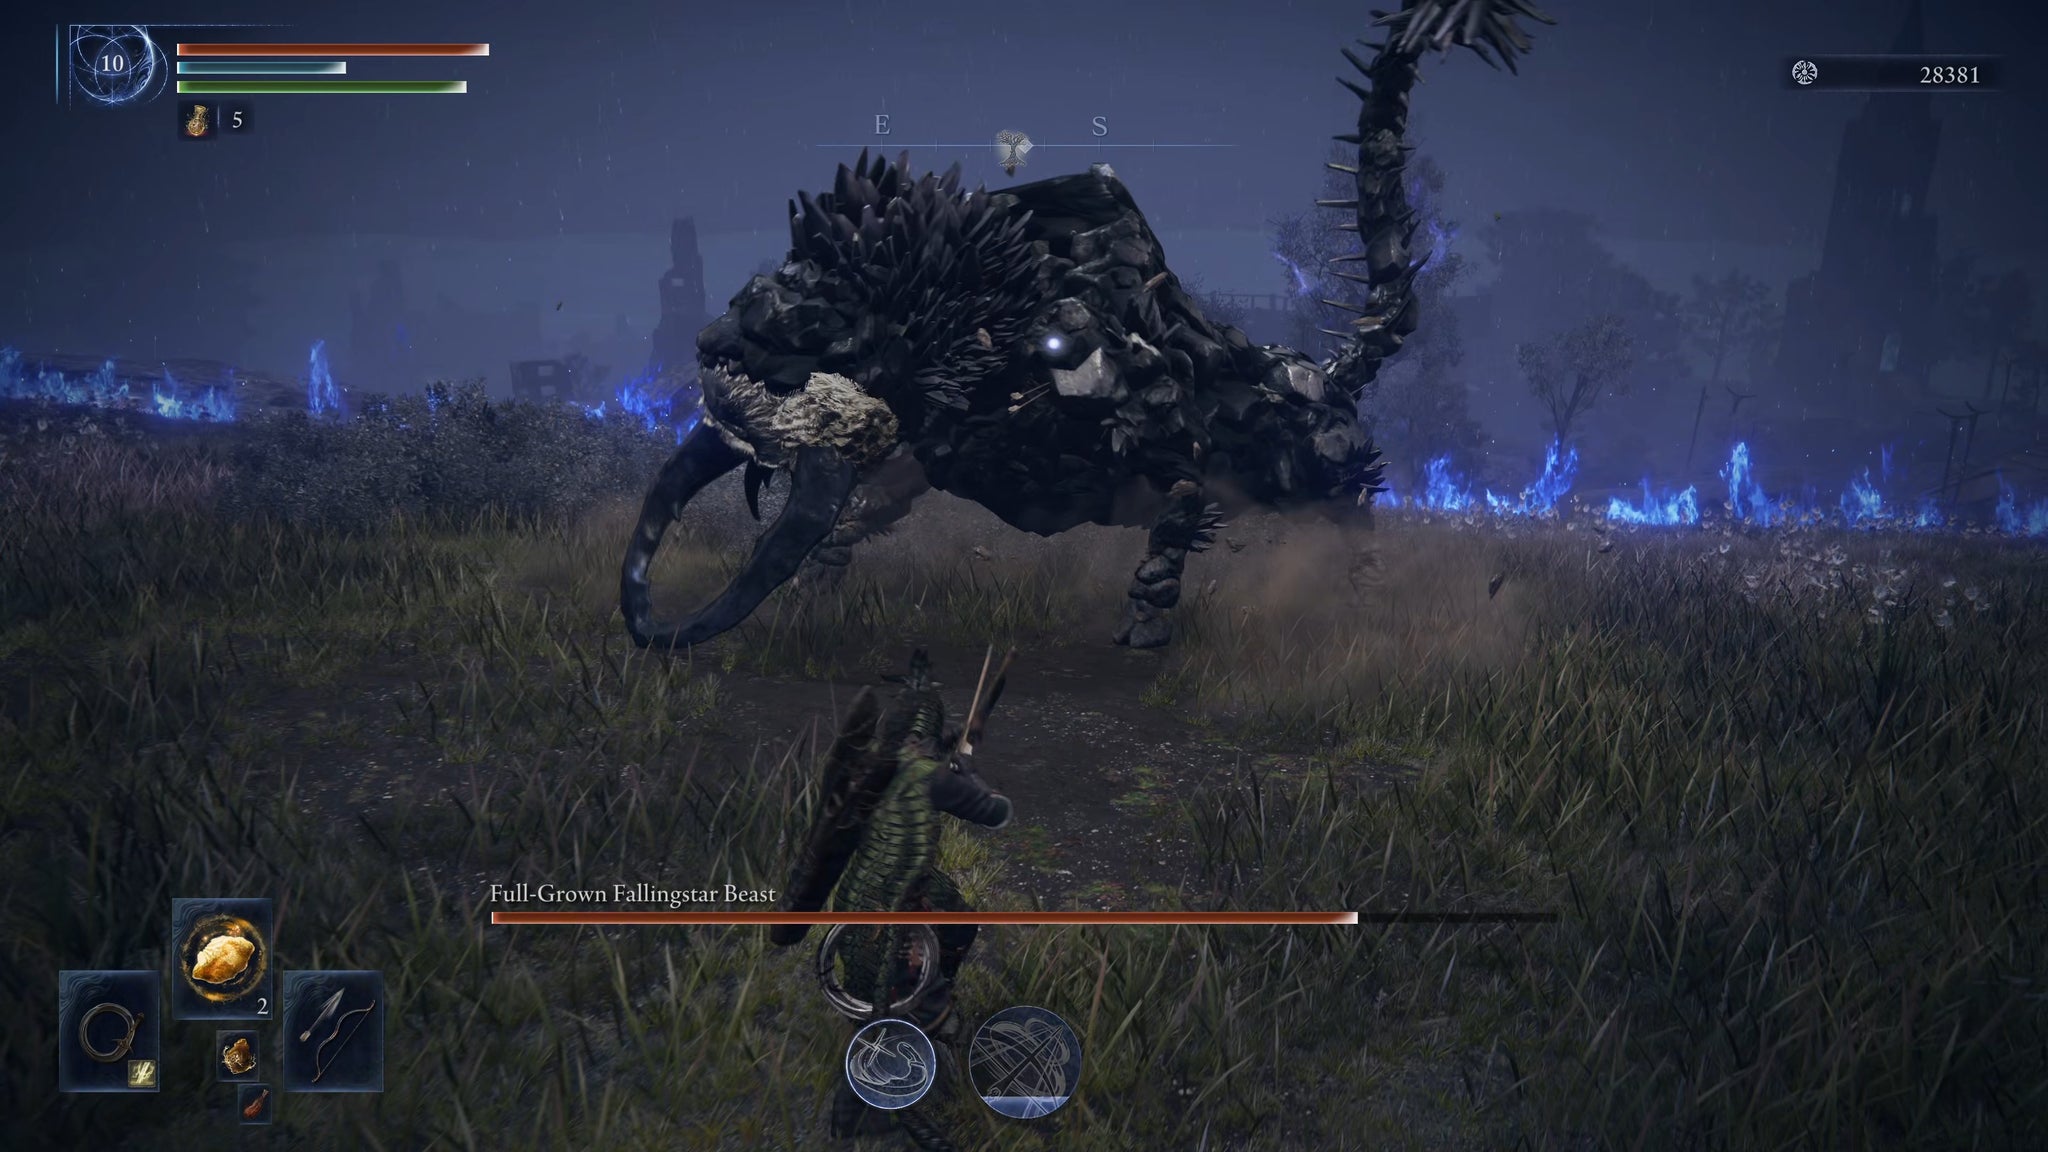
Image credit:Rock Paper Shotgun/Bandai Namco
| Type | Night 2 Boss |
|---|---|
| Expeditions | Augur, Night Aspect |
Godskin Duo

Image credit:Rock Paper Shotgun/Bandai Namco
| Type | Night 2 Boss |
|---|---|
| Expeditions | Equilibrious Beast, Fissure In The Fog, Night Aspect |
Great Wyrm
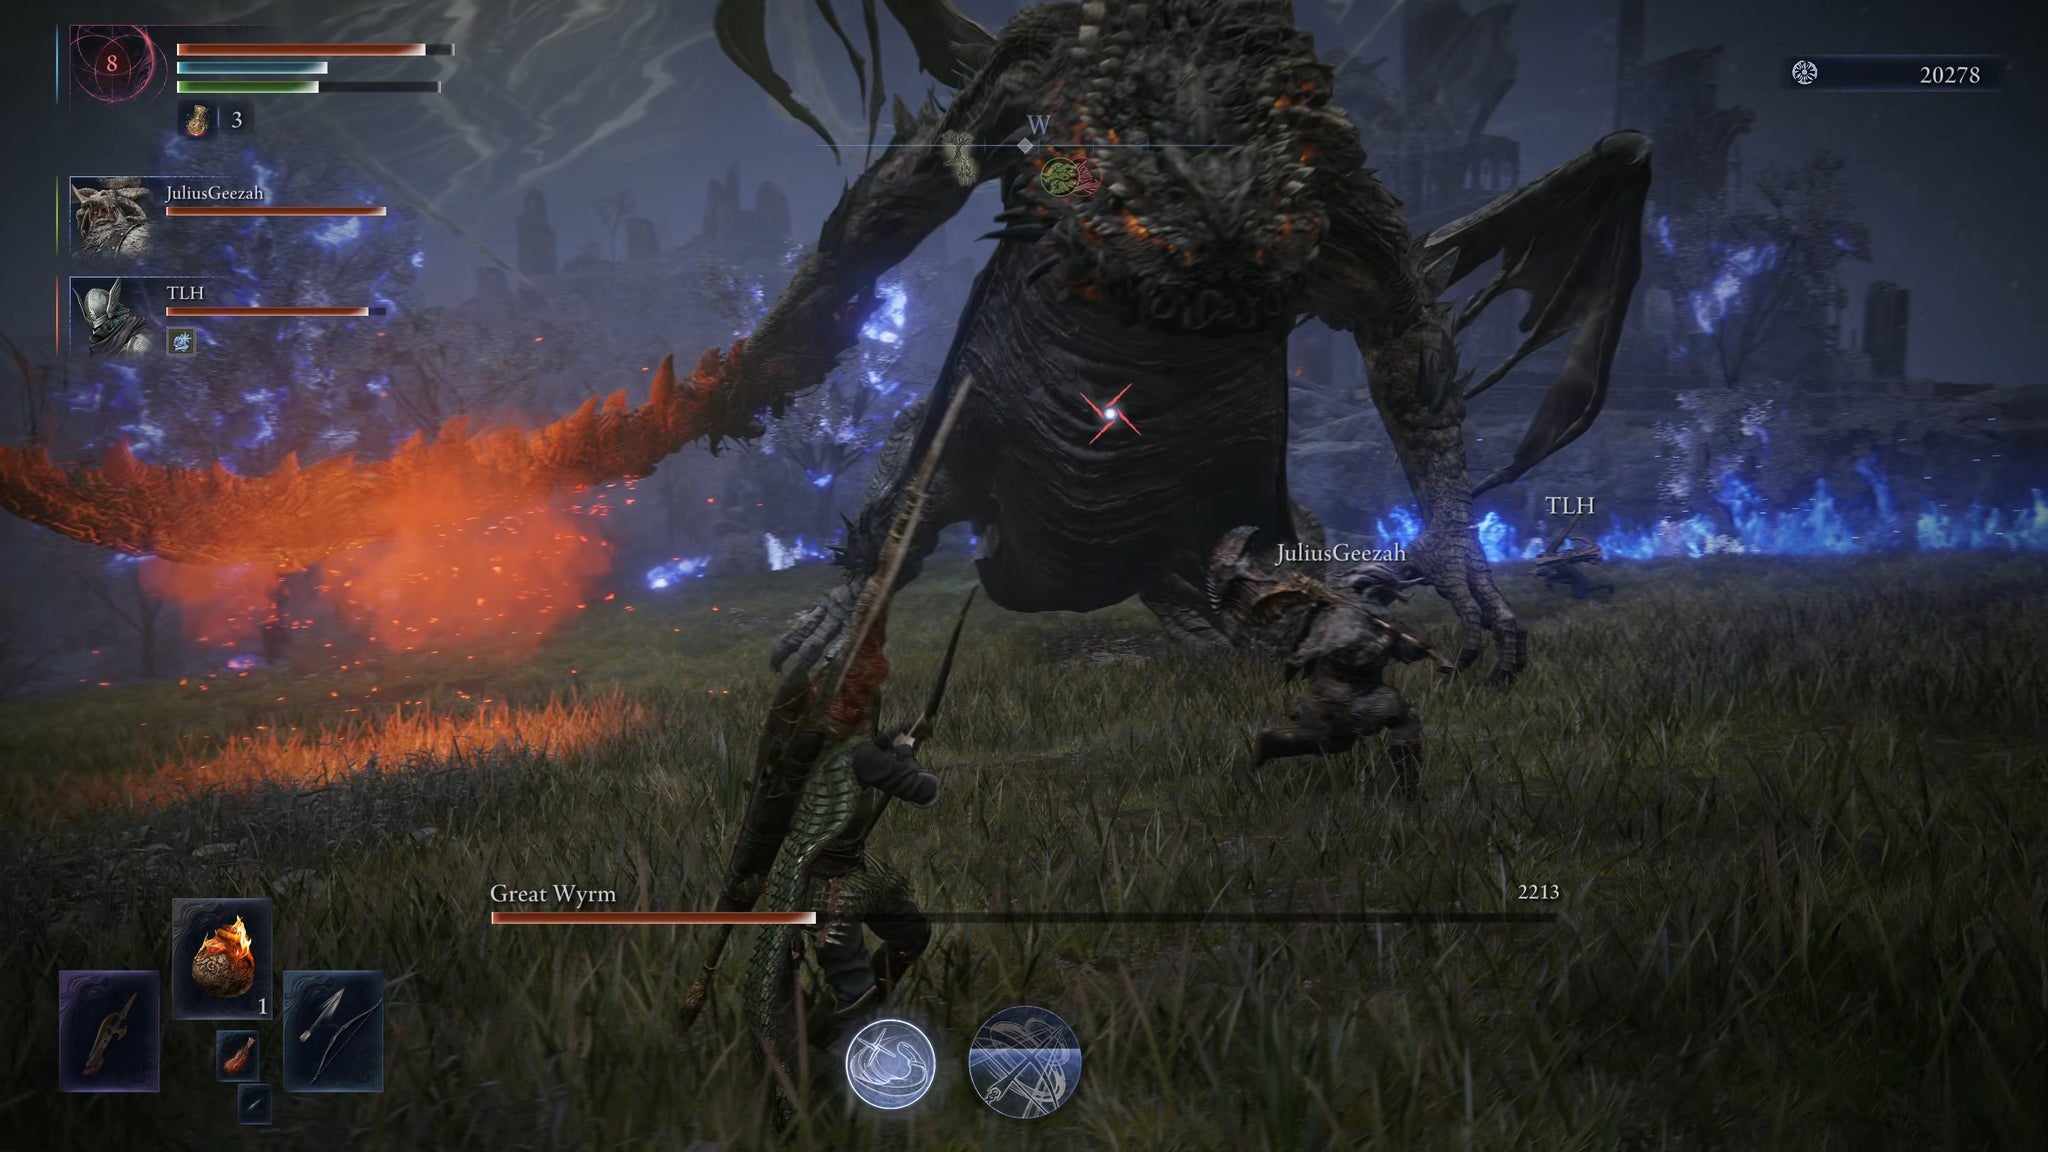
Image credit:Rock Paper Shotgun/Bandai Namco
| Type | Night 2 Boss |
|---|---|
| Expeditions | Sentient Pest, Night Aspect |
Nameless King

Image credit:Rock Paper Shotgun/Bandai Namco
| Type | Night 2 Boss |
|---|---|
| Expeditions | Darkdrift Knight, Night Aspect |
Nox Dragonkin Soldier
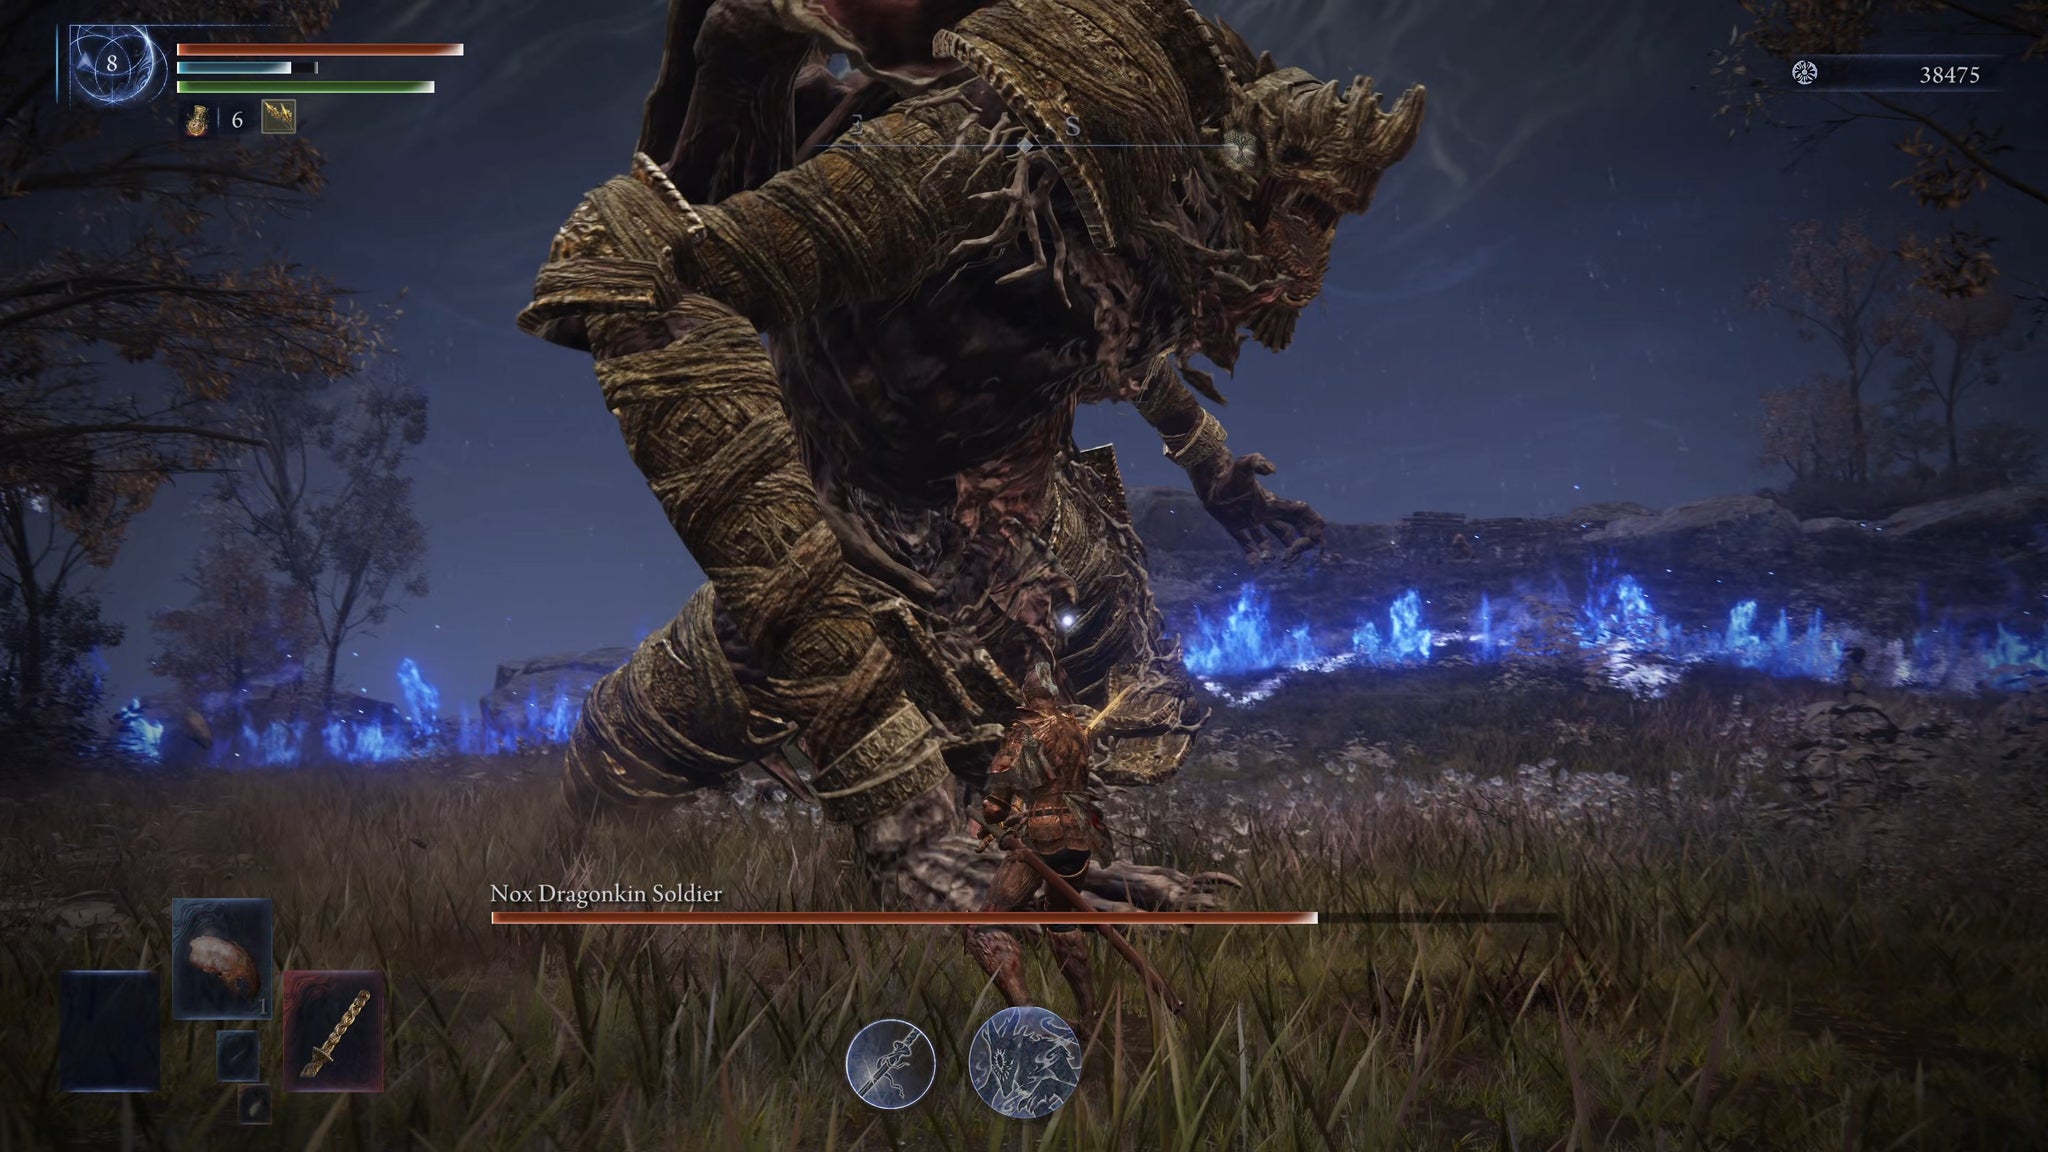
Image credit:Rock Paper Shotgun/Bandai Namco
| Type | Night 2 Boss |
|---|---|
| Expeditions | Sentient Pest, Darkdrift Knight, Night Aspect |
Outland Commander

Image credit:Rock Paper Shotgun/Bandai Namco
| Type | Night 2 Boss |
|---|---|
| Expeditions | Gaping Jaw, Darkdrift Knight, Night Aspect |
Demon Prince
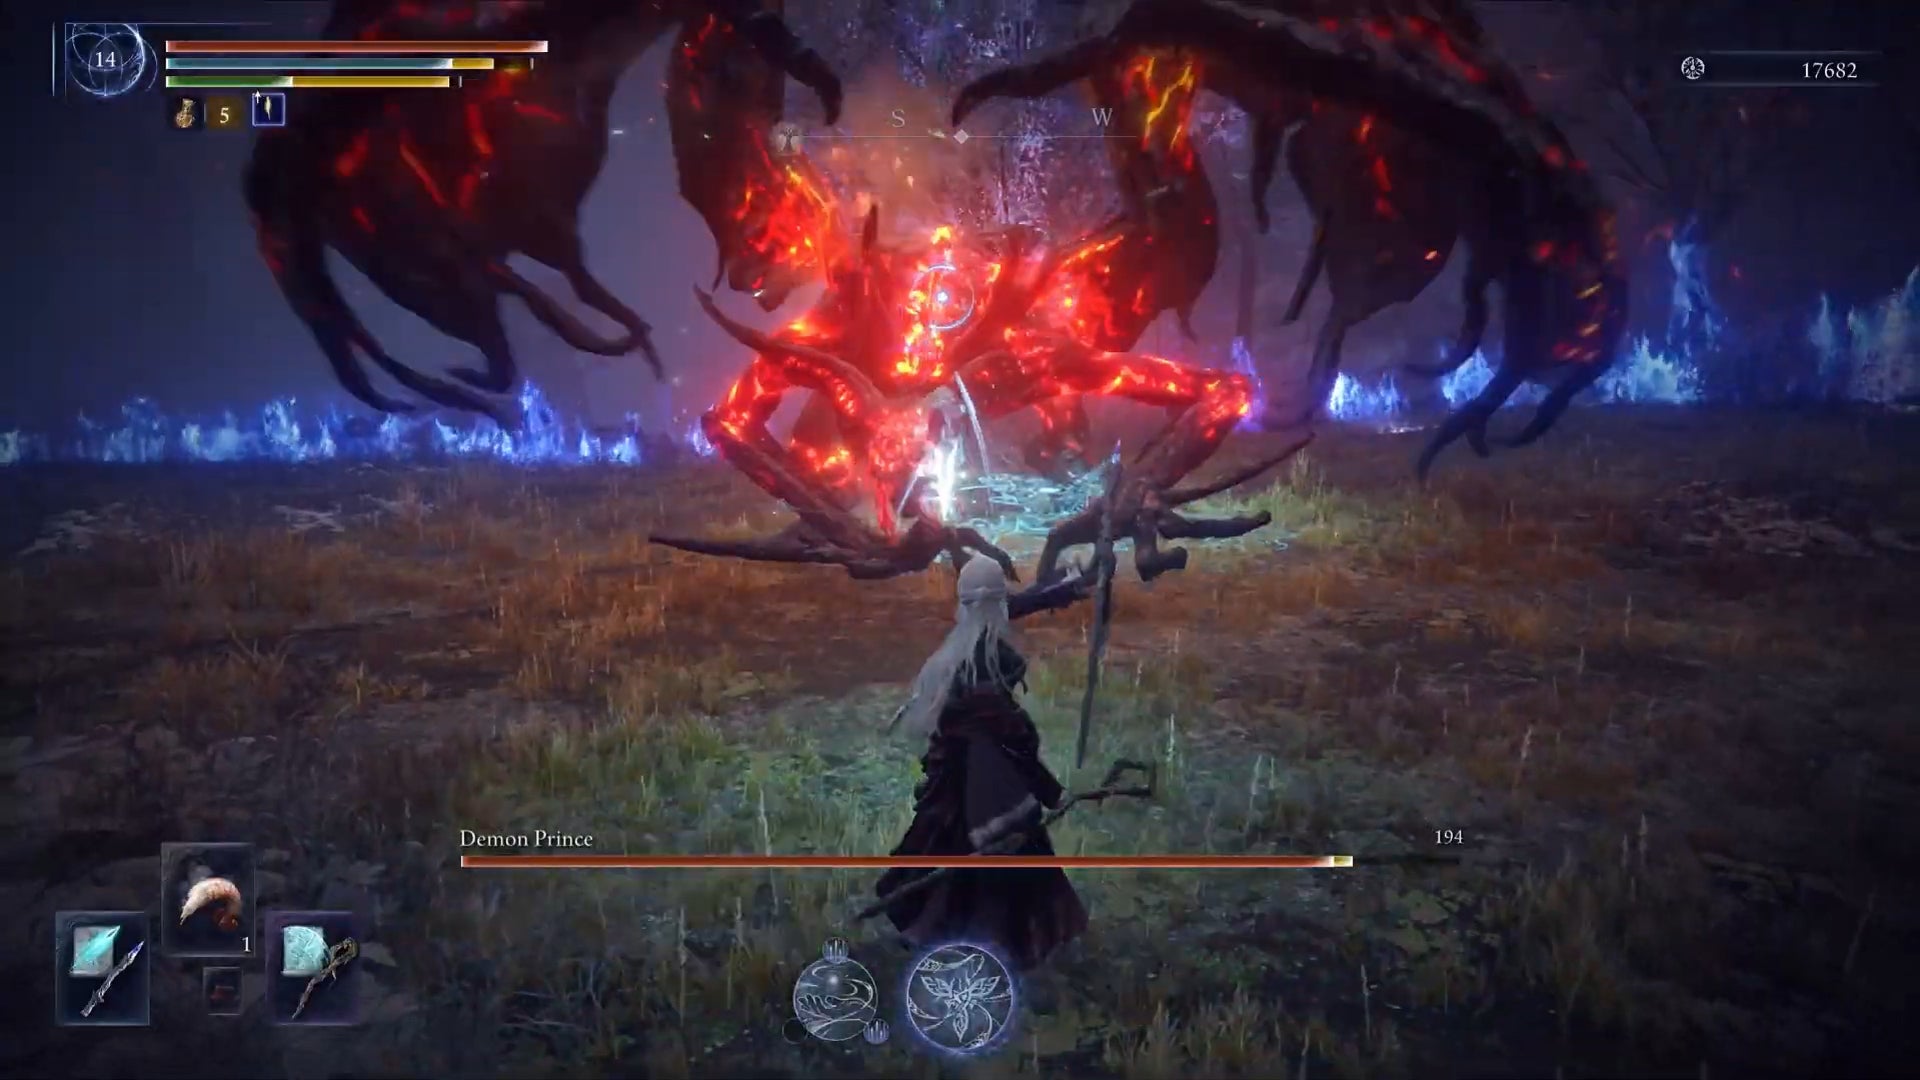
Image credit:Rock Paper Shotgun/Bandai Namco
| Type | Night 2 Boss |
|---|---|
| Expeditions | Balancers |
Mohg, Lord of Blood
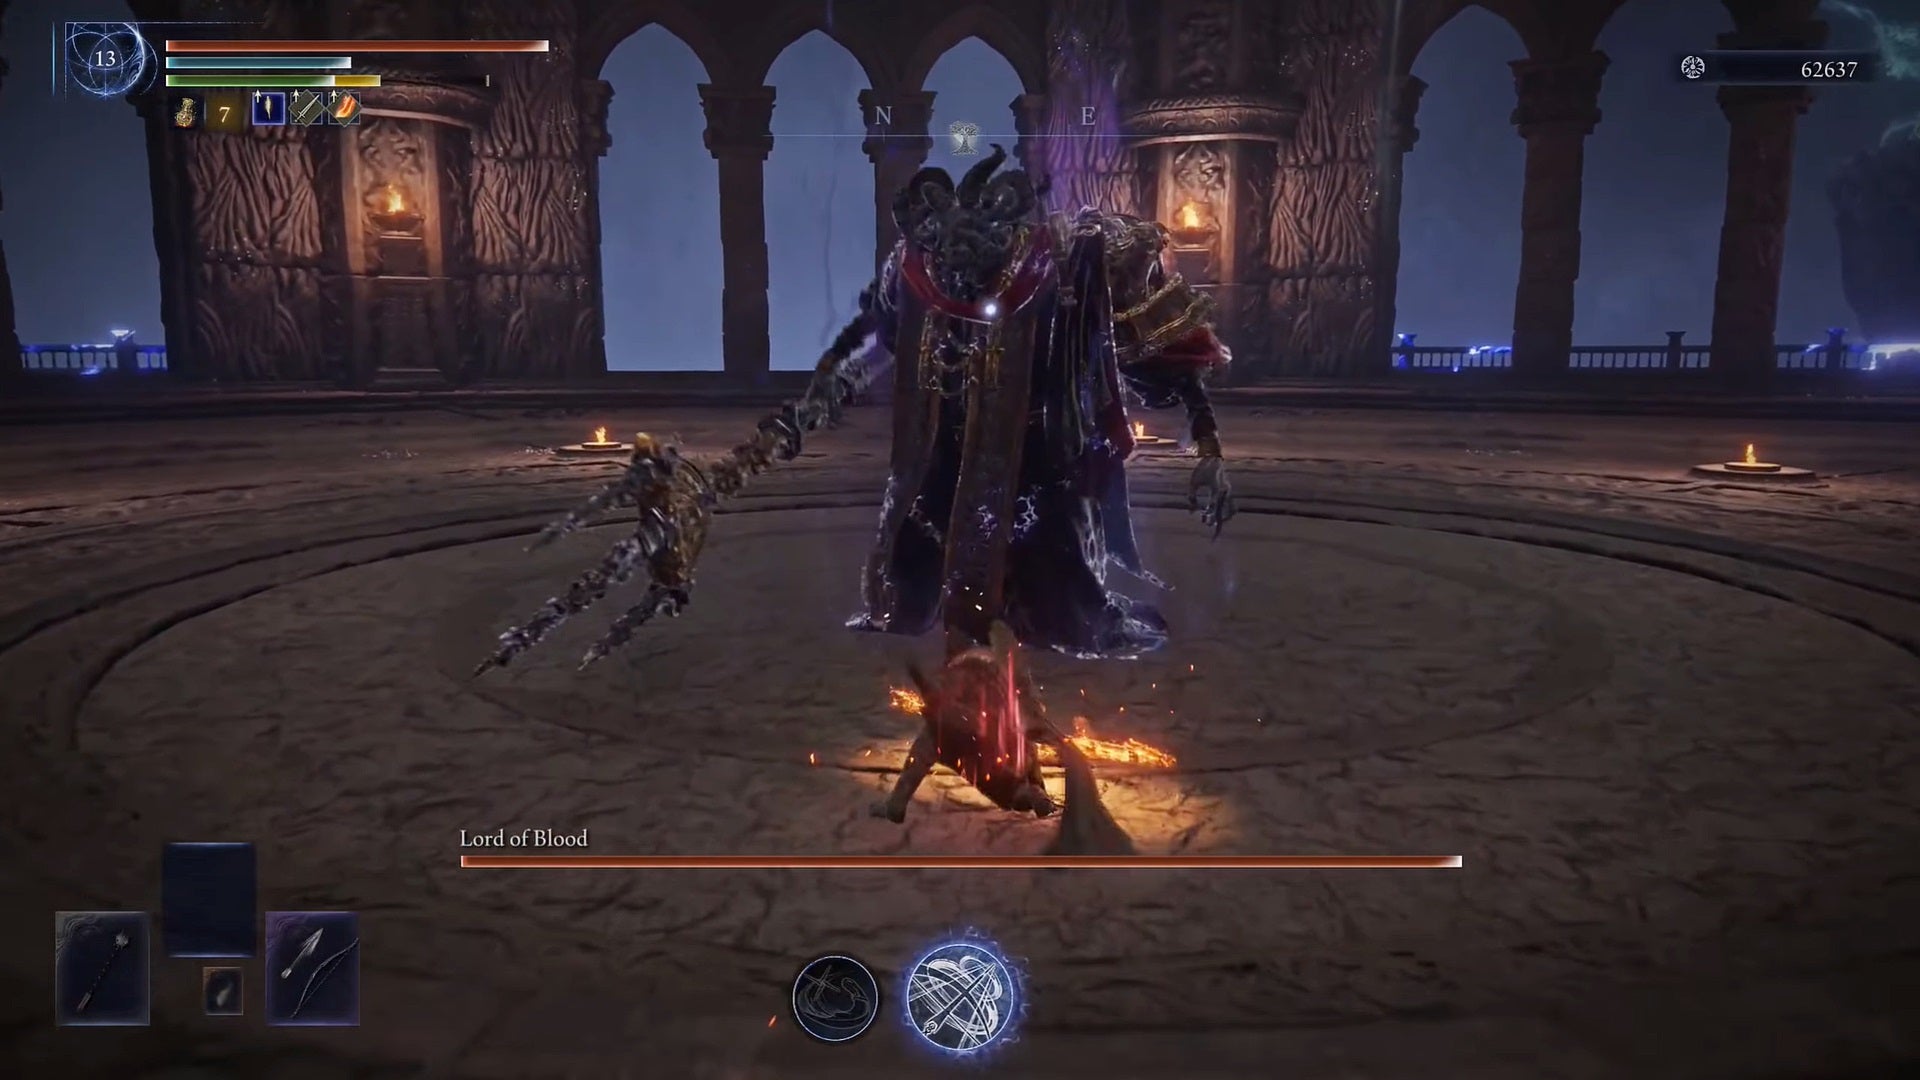
Image credit:Rock Paper Shotgun/Bandai Namco
| Type | Night 2 Boss |
|---|---|
| Expeditions | Balancers |
Knight Artorias

Image credit:IGN/Bandai Namco
| Type | Night 2 Boss |
|---|---|
| Expeditions | Dreglord |
Divine Beast Dancing Lion

Image credit:Rock Paper Shotgun/Bandai Namco
| Type | Night 2 Boss |
|---|---|
| Expeditions | Dreglord |
Elden Ring: Nightreign
PS5 , Xbox Series X/S , PC
Rock Paper Shotgun is better when you sign in
Sign in and join us on our journey to discover strange and compelling PC games.

All 75 Arc Raiders Blueprints and where to get them
These areas have the highest chance of giving you Blueprints

Image credit:Rock Paper Shotgun/Embark Studios
Looking for more Arc Raiders Blueprints? It’s a special day when you find a Blueprint, as they’re among the most valuable items in Arc Raiders. If you find a Blueprint that you haven’t already found, then you must make sure you hold onto it at all costs, because Blueprints are the key to one of the most important and powerful systems of meta-progression in the game.
This guide aims to be the very best guide on Blueprints you can find, starting with a primer on what exactly they are and how they work in Arc Raiders, before delving into exactly where to get Blueprints and the very best farming spots for you to take in your search.
We’ll also go over how to get Blueprints from other unlikely activities, such as destroying Surveyors and completing specific quests. And you’ll also find the full list of all 75 Blueprints in Arc Raiders on this page (including the newest Blueprints added with the Cold Snap update , such as the Deadline Blueprint and Firework Box Blueprint), giving you all the information you need to expand your own crafting repertoire.
In this guide:
- What are Blueprints in Arc Raiders?
- Full Blueprint list: All crafting recipes
- Where to find Blueprints in Arc Raiders Blueprints obtained from quests Blueprints obtained from Trials Best Blueprint farming locations

What are Blueprints in Arc Raiders?
Blueprints in Arc Raiders are special items which, if you manage to extract with them, you can expend to permanently unlock a new crafting recipe in your Workshop. If you manage to extract from a raid with an Anvil Blueprint, for example, you can unlock the ability to craft your very own Anvil Pistol, as many times as you like (as long as you have the crafting materials).
To use a Blueprint, simply open your Inventory while in the lobby, then right-click on the Blueprint and click “Learn And Consume” . This will permanently unlock the recipe for that item in your Workshop. As of the Stella Montis update, there are allegedly 75 different Blueprints to unlock - although only 68 are confirmed to be in the game so far. You can see all the Blueprints you’ve found and unlocked by going to the Workshop menu, and hitting “R” to bring up the Blueprint screen.
It’s possible to find duplicates of past Blueprints you’ve already unlocked. If you find these, then you can either sell them, or - if you like to play with friends - you can take it into a match and gift it to your friend so they can unlock that recipe for themselves. Another option is to keep hold of them until the time comes to donate them to the Expedition.
Full Blueprint list: All crafting recipes
Below is the full list of all the Blueprints that are currently available to find in Arc Raiders, and the crafting recipe required for each item:
| Blueprint | Type | Recipe | Crafted At |
|---|---|---|---|
| Bettina | Weapon | 3x Advanced Mechanical Components 3x Heavy Gun Parts 3x Canister | Gunsmith 3 |
| Blue Light Stick | Quick Use | 3x Chemicals | Utility Station 1 |
| Aphelion | Weapon | 3x Magnetic Accelerator 3x Complex Gun Parts 1x Matriarch Reactor | Gunsmith 3 |
| Combat Mk. 3 (Flanking) | Augment | 2x Advanced Electrical Components 3x Processor | Gear Bench 3 |
| Combat Mk. 3 (Aggressive) | Augment | 2x Advanced Electrical Components 3x Processor | Gear Bench 3 |
| Complex Gun Parts | Material | 2x Light Gun Parts 2x Medium Gun Parts 2x Heavy Gun Parts | Refiner 3 |
| Fireworks Box | Quick Use | 1x Explosive Compound 3x Pop Trigger | Explosives Station 2 |
| Gas Mine | Mine | 4x Chemicals 2x Rubber Parts | Explosives Station 1 |
| Green Light Stick | Quick Use | 3x Chemicals | Utility Station 1 |
| Pulse Mine | Mine | 1x Crude Explosives 1x Wires | Explosives Station 1 |
| Seeker Grenade | Grenade | 1x Crude Explosives 2x ARC Alloy | Explosives Station 1 |
| Looting Mk. 3 (Survivor) | Augment | 2x Advanced Electrical Components 3x Processor | Gear Bench 3 |
| Angled Grip II | Mod | 2x Mechanical Components 3x Duct Tape | Gunsmith 2 |
| Angled Grip III | Mod | 2x Mod Components 5x Duct Tape | Gunsmith 3 |
| Hullcracker | Weapon | 1x Magnetic Accelerator 3x Heavy Gun Parts 1x Exodus Modules | Gunsmith 3 |
| Launcher Ammo | Ammo | 5x Metal Parts 1x Crude Explosives | Workbench 1 |
| Anvil | Weapon | 5x Mechanical Components 5x Simple Gun Parts | Gunsmith 2 |
| Anvil Splitter | Mod | 2x Mod Components 3x Processor | Gunsmith 3 |
| ??? | ??? | ??? | ??? |
| Barricade Kit | Quick Use | 1x Mechanical Components | Utility Station 2 |
| Blaze Grenade | Grenade | 1x Explosive Compound 2x Oil | Explosives Station 3 |
| Bobcat | Weapon | 3x Advanced Mechanical Components 3x Light Gun Parts | Gunsmith 3 |
| Osprey | Weapon | 2x Advanced Mechanical Components 3x Medium Gun Parts 7x Wires | Gunsmith 3 |
| Burletta | Weapon | 3x Mechanical Components 3x Simple Gun Parts | Gunsmith 1 |
| Compensator II | Mod | 2x Mechanical Components 4x Wires | Gunsmith 2 |
| Compensator III | Mod | 2x Mod Components 8x Wires | Gunsmith 3 |
| Defibrillator | Quick Use | 9x Plastic Parts 1x Moss | Medical Lab 2 |
| ??? | ??? | ??? | ??? |
| Equalizer | Weapon | 3x Magnetic Accelerator 3x Complex Gun Parts 1x Queen Reactor | Gunsmith 3 |
| Extended Barrel | Mod | 2x Mod Components 8x Wires | Gunsmith 3 |
| Extended Light Mag II | Mod | 2x Mechanical Components 3x Steel Spring | Gunsmith 2 |
| Extended Light Mag III | Mod | 2x Mod Components 5x Steel Spring | Gunsmith 3 |
| Extended Medium Mag II | Mod | 2x Mechanical Components 3x Steel Spring | Gunsmith 2 |
| Extended Medium Mag III | Mod | 2x Mod Components 5x Steel Spring | Gunsmith 3 |
| Extended Shotgun Mag II | Mod | 2x Mechanical Components 3x Steel Spring | Gunsmith 2 |
| Extended Shotgun Mag III | Mod | 2x Mod Components 5x Steel Spring | Gunsmith 3 |
| Remote Raider Flare | Quick Use | 2x Chemicals 4x Rubber Parts | Utility Station 1 |
| Heavy Gun Parts | Material | 4x Simple Gun Parts | Refiner 2 |
| Venator | Weapon | 2x Advanced Mechanical Components 3x Medium Gun Parts 5x Magnet | Gunsmith 3 |
| Il Toro | Weapon | 5x Mechanical Components 6x Simple Gun Parts | Gunsmith 1 |
| Jolt Mine | Mine | 1x Electrical Components 1x Battery | Explosives Station 2 |
| Explosive Mine | Mine | 1x Explosive Compound 1x Sensors | Explosives Station 3 |
| Jupiter | Weapon | 3x Magnetic Accelerator 3x Complex Gun Parts 1x Queen Reactor | Gunsmith 3 |
| Light Gun Parts | Material | 4x Simple Gun Parts | Refiner 2 |
| Lightweight Stock | Mod | 2x Mod Components 5x Duct Tape | Gunsmith 3 |
| Lure Grenade | Grenade | 1x Speaker Component 1x Electrical Components | Utility Station 2 |
| Medium Gun Parts | Material | 4x Simple Gun Parts | Refiner 2 |
| Torrente | Weapon | 2x Advanced Mechanical Components 3x Medium Gun Parts 6x Steel Spring | Gunsmith 3 |
| Muzzle Brake II | Mod | 2x Mechanical Components 4x Wires | Gunsmith 2 |
| Muzzle Brake III | Mod | 2x Mod Components 8x Wires | Gunsmith 3 |
| Padded Stock | Mod | 2x Mod Components 5x Duct Tape | Gunsmith 3 |
| Shotgun Choke II | Mod | 2x Mechanical Components 4x Wires | Gunsmith 2 |
| Shotgun Choke III | Mod | 2x Mod Components 8x Wires | Gunsmith 3 |
| Shotgun Silencer | Mod | 2x Mod Components 8x Wires | Gunsmith 3 |
| Showstopper | Grenade | 1x Advanced Electrical Components 1x Voltage Converter | Explosives Station 3 |
| Silencer I | Mod | 2x Mechanical Components 4x Wires | Gunsmith 2 |
| Silencer II | Mod | 2x Mod Components 8x Wires | Gunsmith 3 |
| Snap Hook | Quick Use | 2x Power Rod 3x Rope 1x Exodus Modules | Utility Station 3 |
| Stable Stock II | Mod | 2x Mechanical Components 3x Duct Tape | Gunsmith 2 |
| Stable Stock III | Mod | 2x Mod Components 5x Duct Tape | Gunsmith 3 |
| Tagging Grenade | Grenade | 1x Electrical Components 1x Sensors | Utility Station 3 |
| Tempest | Weapon | 3x Advanced Mechanical Components 3x Medium Gun Parts 3x Canister | Gunsmith 3 |
| Trigger Nade | Grenade | 2x Crude Explosives 1x Processor | Explosives Station 2 |
| Vertical Grip II | Mod | 2x Mechanical Components 3x Duct Tape | Gunsmith 2 |
| Vertical Grip III | Mod | 2x Mod Components 5x Duct Tape | Gunsmith 3 |
| Vita Shot | Quick Use | 2x Antiseptic 1x Syringe | Medical Lab 3 |
| Vita Spray | Quick Use | 3x Antiseptic 1x Canister | Medical Lab 3 |
| Vulcano | Weapon | 1x Magnetic Accelerator 3x Heavy Gun Parts 1x Exodus Modules | Gunsmith 3 |
| Wolfpack | Grenade | 2x Explosive Compound 2x Sensors | Explosives Station 3 |
| Red Light Stick | Quick Use | 3x Chemicals | Utility Station 1 |
| Smoke Grenade | Grenade | 14x Chemicals 1x Canister | Utility Station 2 |
| Deadline | Mine | 3x Explosive Compound 2x ARC Circuitry | Explosives Station 3 |
| Trailblazer | Grenade | 1x Explosive Compound 1x Synthesized Fuel | Explosives Station 3 |
| Tactical Mk. 3 (Defensive) | Augment | 2x Advanced Electrical Components 3x Processor | Gear Bench 3 |
| Tactical Mk. 3 (Healing) | Augment | 2x Advanced Electrical Components 3x Processor | Gear Bench 3 |
| Yellow Light Stick | Quick Use | 3x Chemicals | Utility Station 1 |
Note: The missing Blueprints in this list likely have not actually been added to the game at the time of writing, because none of the playerbase has managed to find any of them. As they are added to the game, I will update this page with the most relevant information so you know exactly how to get all 75 Arc Raiders Blueprints.
Where to find Blueprints in Arc Raiders
Below is a list of all containers, modifiers, and events which maximise your chances of finding Blueprints:
- Certain quests reward you with specific Blueprints .
- Completing Trials has a high chance of offering Blueprints as rewards.
- Surveyors have a decent chance of dropping Blueprints on death.
- High loot value areas tend to have a greater chance of spawning Blueprints.
- Night Raids and Storms may increase rare Blueprint spawn chances in containers.
- Containers with higher numbers of items may have a higher tendency to spawn Blueprints. As a result, Blue Gate (which has many “large” containers containing multiple items) may give you a higher chance of spawning Blueprints.
- Raider containers (Raider Caches, Weapon Boxes, Medical Bags, Grenade Tubes) have increased Blueprint drop rates. As a result, the Uncovered Caches event gives you a high chance of finding Blueprints.
- Security Lockers have a higher than average chance of containing Blueprints.
- Certain Blueprints only seem to spawn under specific circumstances: Tempest Blueprint only spawns during Night Raid events. Vulcano Blueprint only spawns during Hidden Bunker events. Jupiter and Equaliser Blueprints only spawn during Harvester events.

Raider Caches, Weapon Boxes, and other raider-oriented container types have a good chance of offering Blueprints. |Image credit:Rock Paper Shotgun/Embark Studios
Blueprints have a very low chance of spawning in any container in Arc Raiders, around 1-2% on average. However, there is a higher chance of finding Blueprints in particular container types. Specifically, you can find more Blueprints in Raider containers and security lockers.
Beyond this, if you’re looking for Blueprints you should focus on regions of the map which are marked as having particularly high-value loot. Areas such as the Control Tower in Dam Battlegrounds, the Arrival and Departure Buildings in Spaceport, and Pilgrim’s Peak in Blue Gate all have a better-than-average chance of spawning Blueprints somewhere amongst all their containers. Night Raids and Electromagnetic Storm events also increase the drop chances of certain Blueprints .
In addition to these containers, you can often loot Blueprints from destroyed Surveyors - the largest of the rolling ball ARC. Surveyors are more commonly found on the later maps - Spaceport and Blue Gate - and if one spawns in your match, you’ll likely see it by the blue laser beam that it casts into the sky while “surveying”.
Surveyors are quite well-armoured and will very speedily run away from you once it notices you, but if you can take one down then make sure you loot all its parts for a chance of obtaining certain unusual Blueprints.
Blueprints obtained from quests
One way in which you can get Blueprints is by completing certain quests for the vendors in Speranza. Some quests will reward you with a specific item Blueprint upon completion, so as long as you work through all the quests in Arc Raiders, you are guaranteed those Blueprints.
Here is the full list of all Blueprints you can get from quest rewards:
- Trigger Nade Blueprint: Rewarded after completing “Sparks Fly”.
- Lure Grenade Blueprint: Rewarded after completing “Greasing Her Palms”.
- Burletta Blueprint: Rewarded after completing “Industrial Espionage”.
- Hullcracker Blueprint (and Launcher Ammo Blueprint): Rewarded after completing “The Major’s Footlocker”.
Alas, that’s only 4 Blueprints out of a total of 75 to unlock, so for the vast majority you will need to find them yourself during a raid. If you’re intent on farming Blueprints, then it’s best to equip yourself with cheap gear in case you lose it, but don’t use a free loadout because then you won’t get a safe pocket to stash any new Blueprint you find. No pain in Arc Raiders is sharper than failing to extract with a new Blueprint you’ve been after for a dozen hours already.

One of the best ways to get Blueprints is by hitting three stars on all five Trials every week. |Image credit:Rock Paper Shotgun/Embark Studios
Blueprints obtained from Trials
One of the very best ways to get Blueprints is as rewards for completing Trials in Arc Raiders. Trials are unlocked from Level 15 onwards, and allow you to earn rewards by focusing on certain tasks over the course of several raids. For example, one Trial might task you with dealing damage to Hornets, while another might challenge you to loot Supply Drops.
Trials refresh on a weekly basis, with a new week bringing five new Trials. Each Trial can offer up to three rewards after passing certain score milestones, and it’s possible to receive very high level loot from these reward crates - including Blueprints. So if you want to unlock as many Blueprints as possible, you should make a point of completing as many Trials as possible each week.
Best Blueprint farming locations
The very best way to get Blueprints is to frequent specific areas of the maps which combine high-tier loot pools with the right types of containers to search. Here are my recommendations for where to find Blueprints on every map, so you can always keep the search going for new crafting recipes to unlock.

Image credit:Rock Paper Shotgun/Embark Studios
Dam Battlegrounds
The best places to farm Blueprints on Dam Battlegrounds are the Control Tower, Power Generation Complex, Ruby Residence, and Pale Apartments . The first two regions, despite only being marked on the map as mid-tier loot, contain a phenomenal number of containers to loot. The Control Tower can also contain a couple of high-tier Security Lockers - though of course, you’ll need to have unlocked the Security Breach skill at the end of the Survival tree.
There’s also a lot of reporting amongst the playerbase that the Residential areas in the top-left of the map - Pale Apartments and Ruby Residence - give you a comparatively strong chance of finding Blueprints. Considering their size, there’s a high density of containers to loot in both locations, and they also have the benefit of being fairly out of the way. So you’re more likely to have all the containers to yourself.
Buried City
The best Blueprint farming locations on Buried City are the Santa Maria Houses, Grandioso Apartments, Town Hall, and the various buildings of the New District . Grandioso Apartments has a lower number of containers than the rest, but a high chance of spawning weapon cases - which have good Blueprint drop rates. The others are high-tier loot areas, with plenty of lootable containers - including Security Lockers.
Spaceport
The best places to find Blueprints on Spaceport are the Arrival and Departure Buildings, as well as Control Tower A6 and the Launch Towers . All these areas are labelled as high-value loot regions, and many of them are also very handily connected to one another by the Spaceport wall, which you can use to quickly run from one area to the next. At the tops of most of these buildings you’ll find at least one Security Locker, so this is an excellent farming route for players looking to find Blueprints.
The downside to looting Blueprints on Spaceport is that all these areas are hotly contested, particularly in Duos and Squads. You’ll need to be very focused and fast in order to complete the full farming route.

Image credit:Rock Paper Shotgun/Embark Studios
Blue Gate
Blue Gate tends to have a good chance of dropping Blueprints, potentially because it generally has a high number of containers which can hold lots of items; so there’s a higher chance of a Blueprint spawning in each container. In my experience, the best Blueprint farming spots on Blue Gate are Pilgrim’s Peak, Raider’s Refuge, the Ancient Fort, and the Underground Complex beneath the Warehouse .
All of these areas contain a wealth of containers to loot. Raider’s Refuge has less to loot, but the majority of the containers in and around the Refuge are raider containers, which have a high chance of containing Blueprints - particularly during major events.
Stella Montis
On the whole, Stella Montis seems to have a very low drop rate for Blueprints (though a high chance of dropping other high-tier loot). If you do want to try farming Blueprints on this map, the best places to find Blueprints in Stella Montis are Medical Research, Assembly Workshop, and the Business Center . These areas have the highest density of containers to loot on the map.
In addition to this, the Western Tunnel has a few different Security Lockers to loot, so while there’s very little to loot elsewhere in this area of the map, it’s worth hitting those Security Lockers if you spawn there at the start of a match.
That wraps up this primer on how to get all the Blueprints in Arc Raiders as quickly as possible. With the Expedition system constantly resetting a large number of players’ Blueprints, it’s more important than ever to have the most up-to-date information on where to find all these Blueprints.
While you’re here, be sure to check out our Arc Raiders best guns tier list , as well as our primers on the best skills to unlock and all the different Field Depot locations on every map.

ARC Raiders
PS5 , Xbox Series X/S , PC
Rock Paper Shotgun is better when you sign in
Sign in and join us on our journey to discover strange and compelling PC games.
