All Black Myth: Wukong Chapter 5 bosses and where to find them
Track down all 18 boss locations in Chapter 5 of Black Myth: Wukong

Image credit:Rock Paper Shotgun/Game Science

Looking for all 18 bosses in Chapter 5 of Black Myth: Wukong? Chapter 5 is generally more linear than the previous couple of regions in Black Myth: Wukong , but it still has plenty of secrets and hidden boss encounters. It’s all too easy to miss out on bosses like the Mother Of Flamlings , the Flint Vanguard , the Bishui Golden-Eyed Beast … At least, without the help of a guide like ours.
In this guide we’ll walk you through exactly where to find all 18 bosses in Chapter 5, starting at the very beginning with the Pale-Axe Stalwart , and working our way through every secret area and encounter in order until you reach the final boss of the Chapter (and beyond!).
Skip to a different Chapter here! Chapter 1 bosses Chapter 2 bosses Chapter 3 bosses Chapter 4 bosses Chapter 5 bosses (you’re here!) Chapter 6 bosses
All Chapter 5 bosses in Black Myth: Wukong
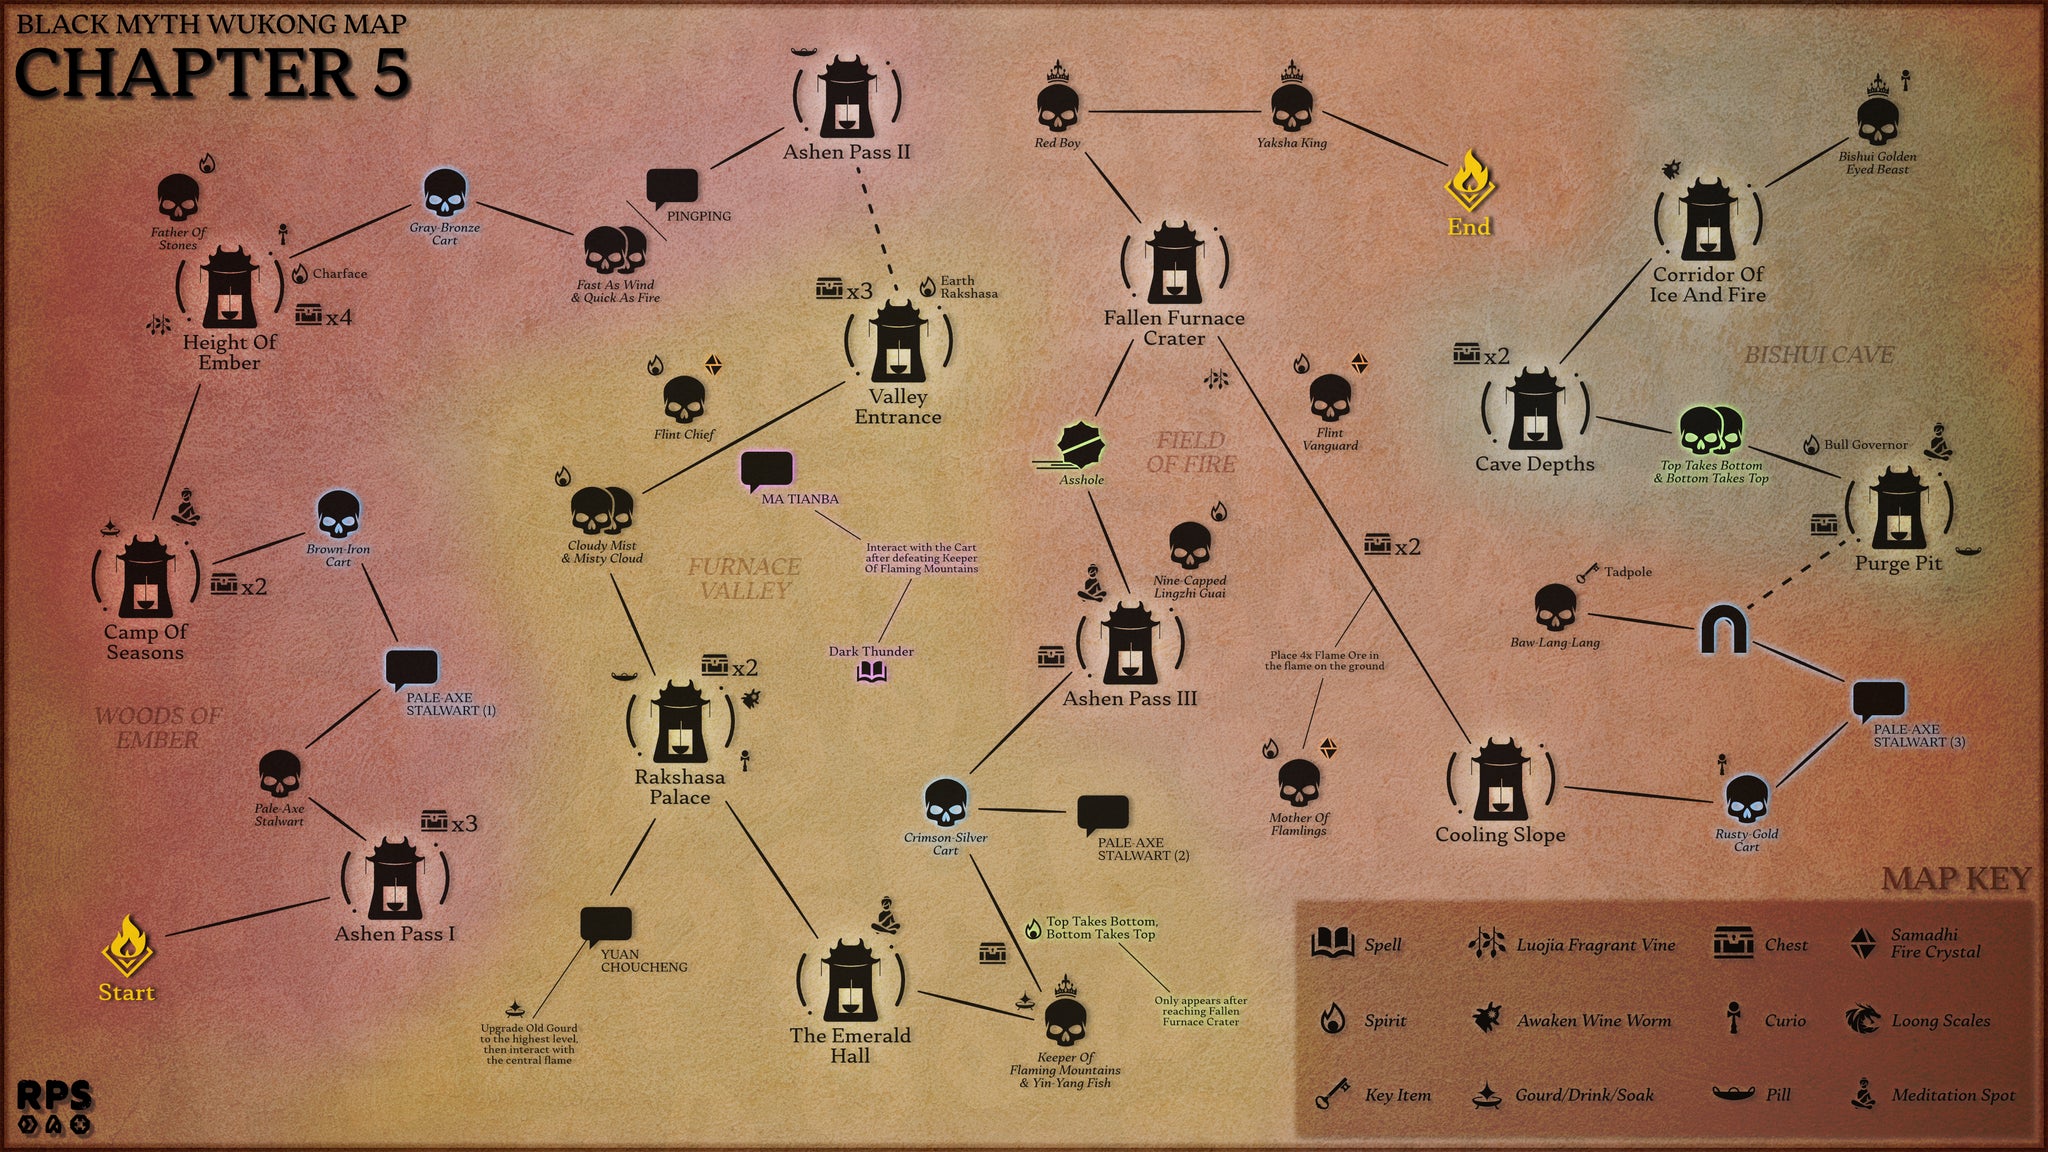
Our handmadeChapter 5 mapgives you a clear idea of the locations of all major items and bosses, and the connections between various Shrines and regions. |Image credit:Rock Paper Shotgun
Just like the previous Chapter, there’s a grand total of 18 bosses to find in Chapter 5 of Black Myth: Wukong. The vast majority of them are Yaoguai Chiefs, including the various Carts which you must track down in order to access the Chapter’s secret area, Bishui Cave. You can tackle Bishui Cave before or after the Chapter’s final boss, although the final boss is definitely the hardest in the Chapter so you may wish to leave him until last!
Here’s the full list of all Chapter 5 boss locations in Black Myth: Wukong:
| No. | Boss Name | Type | Location |
|---|---|---|---|
| 1 | Pale-Axe Stalwart | Character | Woods Of Ember / Ashen Pass I |
| 2 | Brown-Iron Cart | Yaoguai Chief | Woods Of Ember / Ashen Pass I |
| 3 | Father Of Stones | Yaoguai Chief | Woods Of Ember / Height Of Ember |
| 4 | Gray-Bronze Cart | Yaoguai Chief | Woods Of Ember / Height Of Ember |
| 5 | Fast As Wind + Quick As Fire | Yaoguai Chief | Woods Of Ember / Height Of Ember |
| 6 | Flint Chief | Yaoguai Chief | Furnace Valley / Valley Entrance |
| 7 | Cloudy Mist + Misty Cloud | Yaoguai Chief | Furnace Valley / Valley Entrance |
| 8 | Keeper Of Flaming Mountains / Yin-Yang Fish | Yaoguai King | Furnace Valley / The Emerald Hall |
| 9 | Crimson-Silver Cart | Yaoguai Chief | Furnace Valley / The Emerald Hall |
| 10 | Nine-Capped Lingzhi Guai | Yaoguai Chief | Field Of Fire / Ashen Pass III |
| 11 | Flint Vanguard | Yaoguai Chief | Field Of Fire / Ashen Pass III |
| 12 | Mother Of Flamlings (secret boss) | Yaoguai Chief | Field Of Fire / Ashen Pass III |
| 13 | Rusty-Gold Cart (secret boss) | Yaoguai Chief | Field Of Fire / Cooling Slope |
| 14 | Baw-Lang-Lang (secret boss) | Yaoguai Chief | Field Of Fire / Cooling Slope |
| 15 | Top Takes Bottom + Bottom Takes Top (secret boss) | Yaoguai Chief | Secret: Bishui Cave / Purge Pit |
| 16 | Bishui Golden-Eyed Beast (secret boss) | Yaoguai King | Secret: Bishui Cave / Corridor Of Fire And Ice |
| 17 | Red Boy | Yaoguai King | Field Of Fire / Fallen Furnace Crater |
| 18 | Yaksha King | Yaoguai King | Field Of Fire / Fallen Furnace Crater |
Below, we’ll explore the exact location of all 18 bosses in Chapter 5, so you can find each of them without any issues during your Black Myth playthrough.
1. Pale-Axe Stalwart
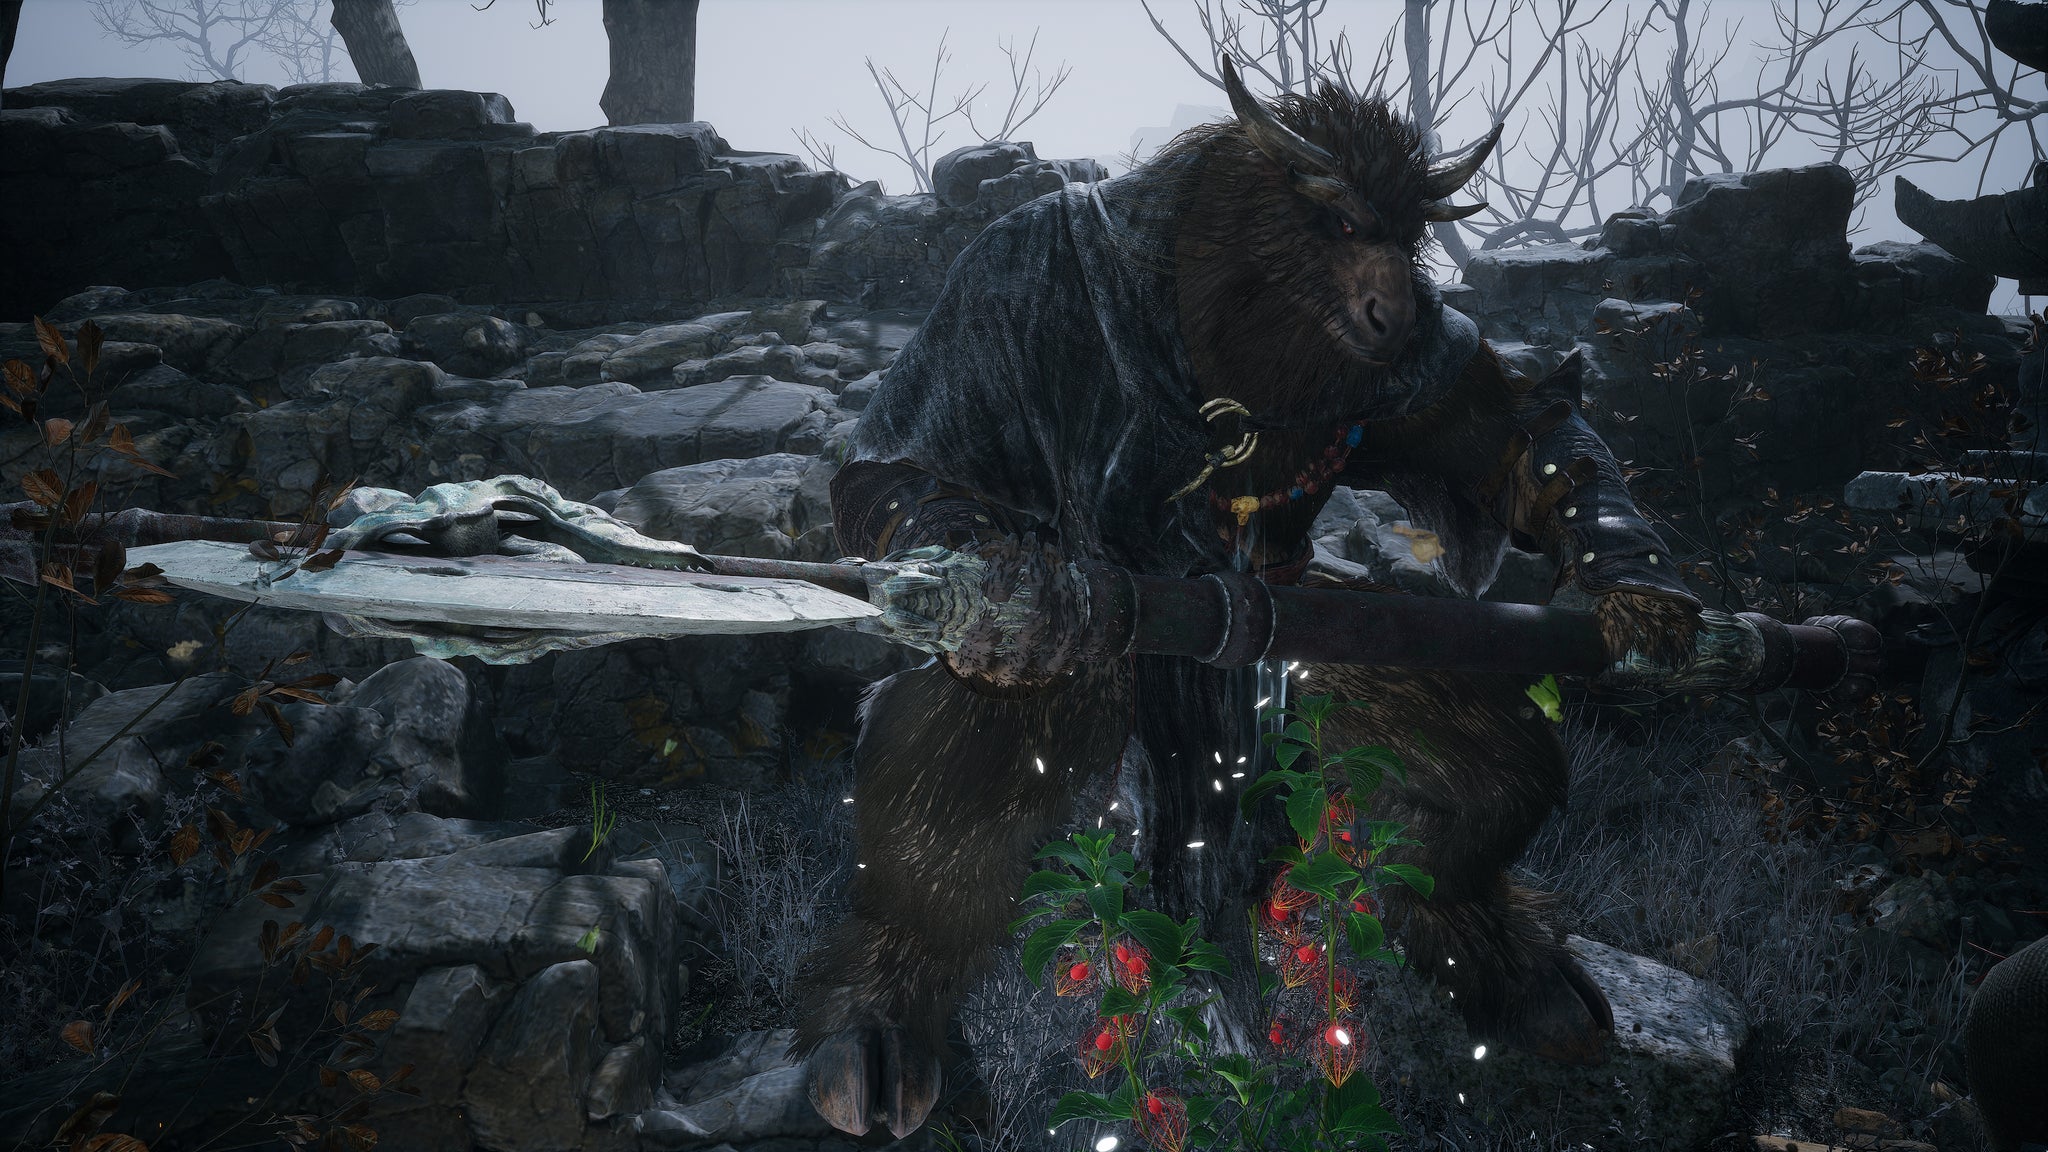
Image credit:Rock Paper Shotgun/Game Science
The first boss you’ll encounter in Chapter 5 is the Pale-Axe Stalwart. This unmissable hunk can be found along the story path very shortly after the first Keeper’s Shrine : " Ashen Pass I". Just take a right turn after the Shrine and follow the path to arrive at a large fight between Bull Soldiers and Revenants. The biggest among them is the Pale-Axe Stalwart, who mistakes you for another Revenant - hence the fight.
You should watch out for the Cart on the hill raining fire down upon you during this fight (see the next section), but otherwise this is a simple fight as long as you take out the other enemies first, allowing you to overwhelm the Stalwart one-on-one. He doesn’t have much in the way of fighting tactics beyond swinging his big poleaxe around. Use Rock Solid to punish his massive wind-up attacks, and you’ll be past him soon enough. Well, not really, because he stops the fight before you can kill him, and thereafter becomes an ally for the rest of Chapter 5.
Be sure to speak to the Pale-Axe Stalwart before you move on! He’ll tell you about the Cart enemies you’re soon to face.
2. Brown-Iron Cart
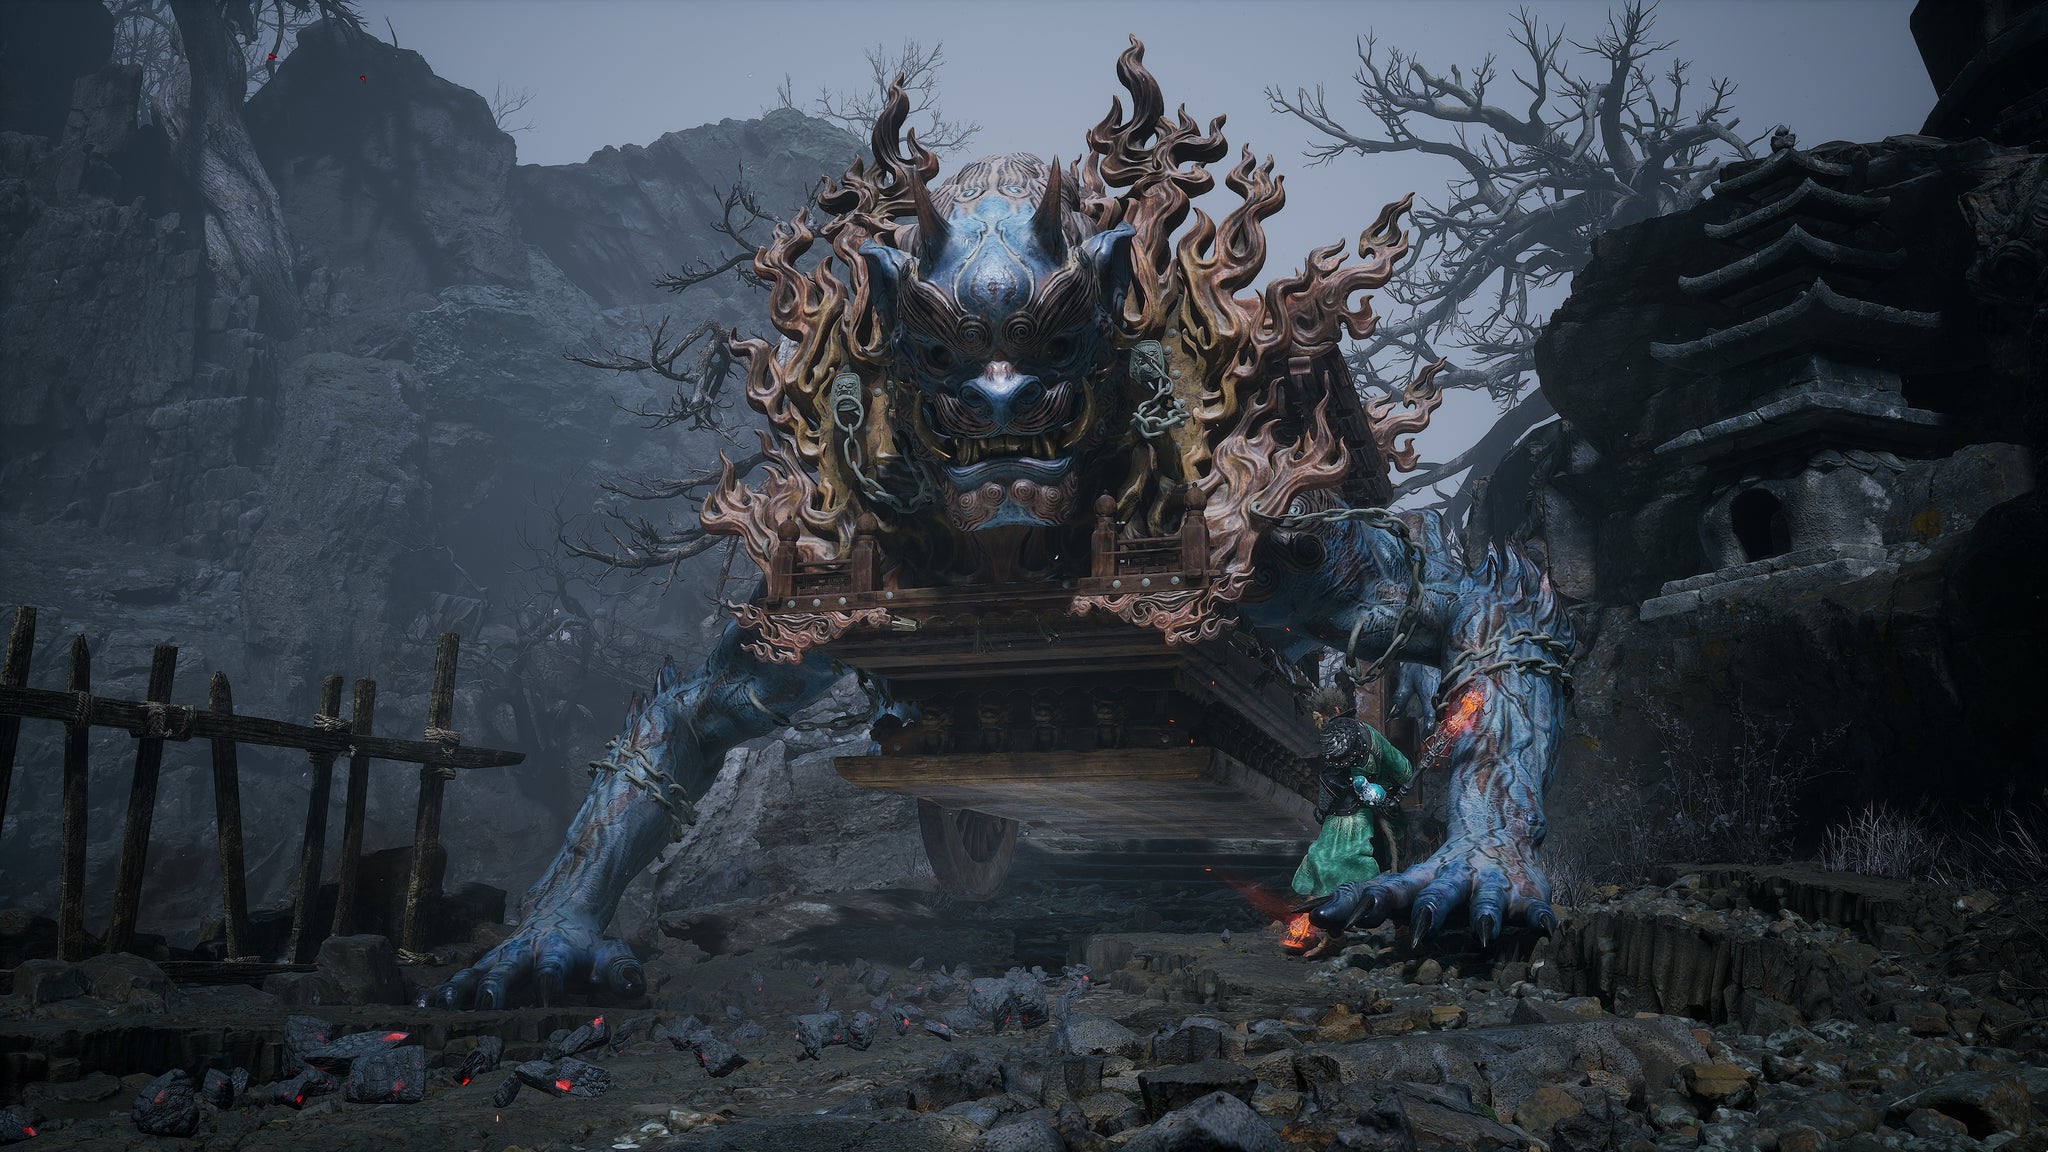
Image credit:Rock Paper Shotgun/Game Science
The Brown-Iron Cart is the first (and least) of the Cart bosses strewn throughout Chapter 5 of Black Myth: Wukong. It can be found just up the hill from where you fought the Pale-Axe Stalwart, a few steps before the “Camp Of Seasons” Shrine.
The Brown-Iron Cart is a bit of an annoying enemy, given its tendency to spew powerfully damaging flames in front of itself. The arena is narrow, but work your way to its side and start hammering its wheels, dodging whenever it uses one of its slam attacks. It can’t easily be staggered, but you can just repeat this process until it goes down without much hassle.
3. Father Of Stones
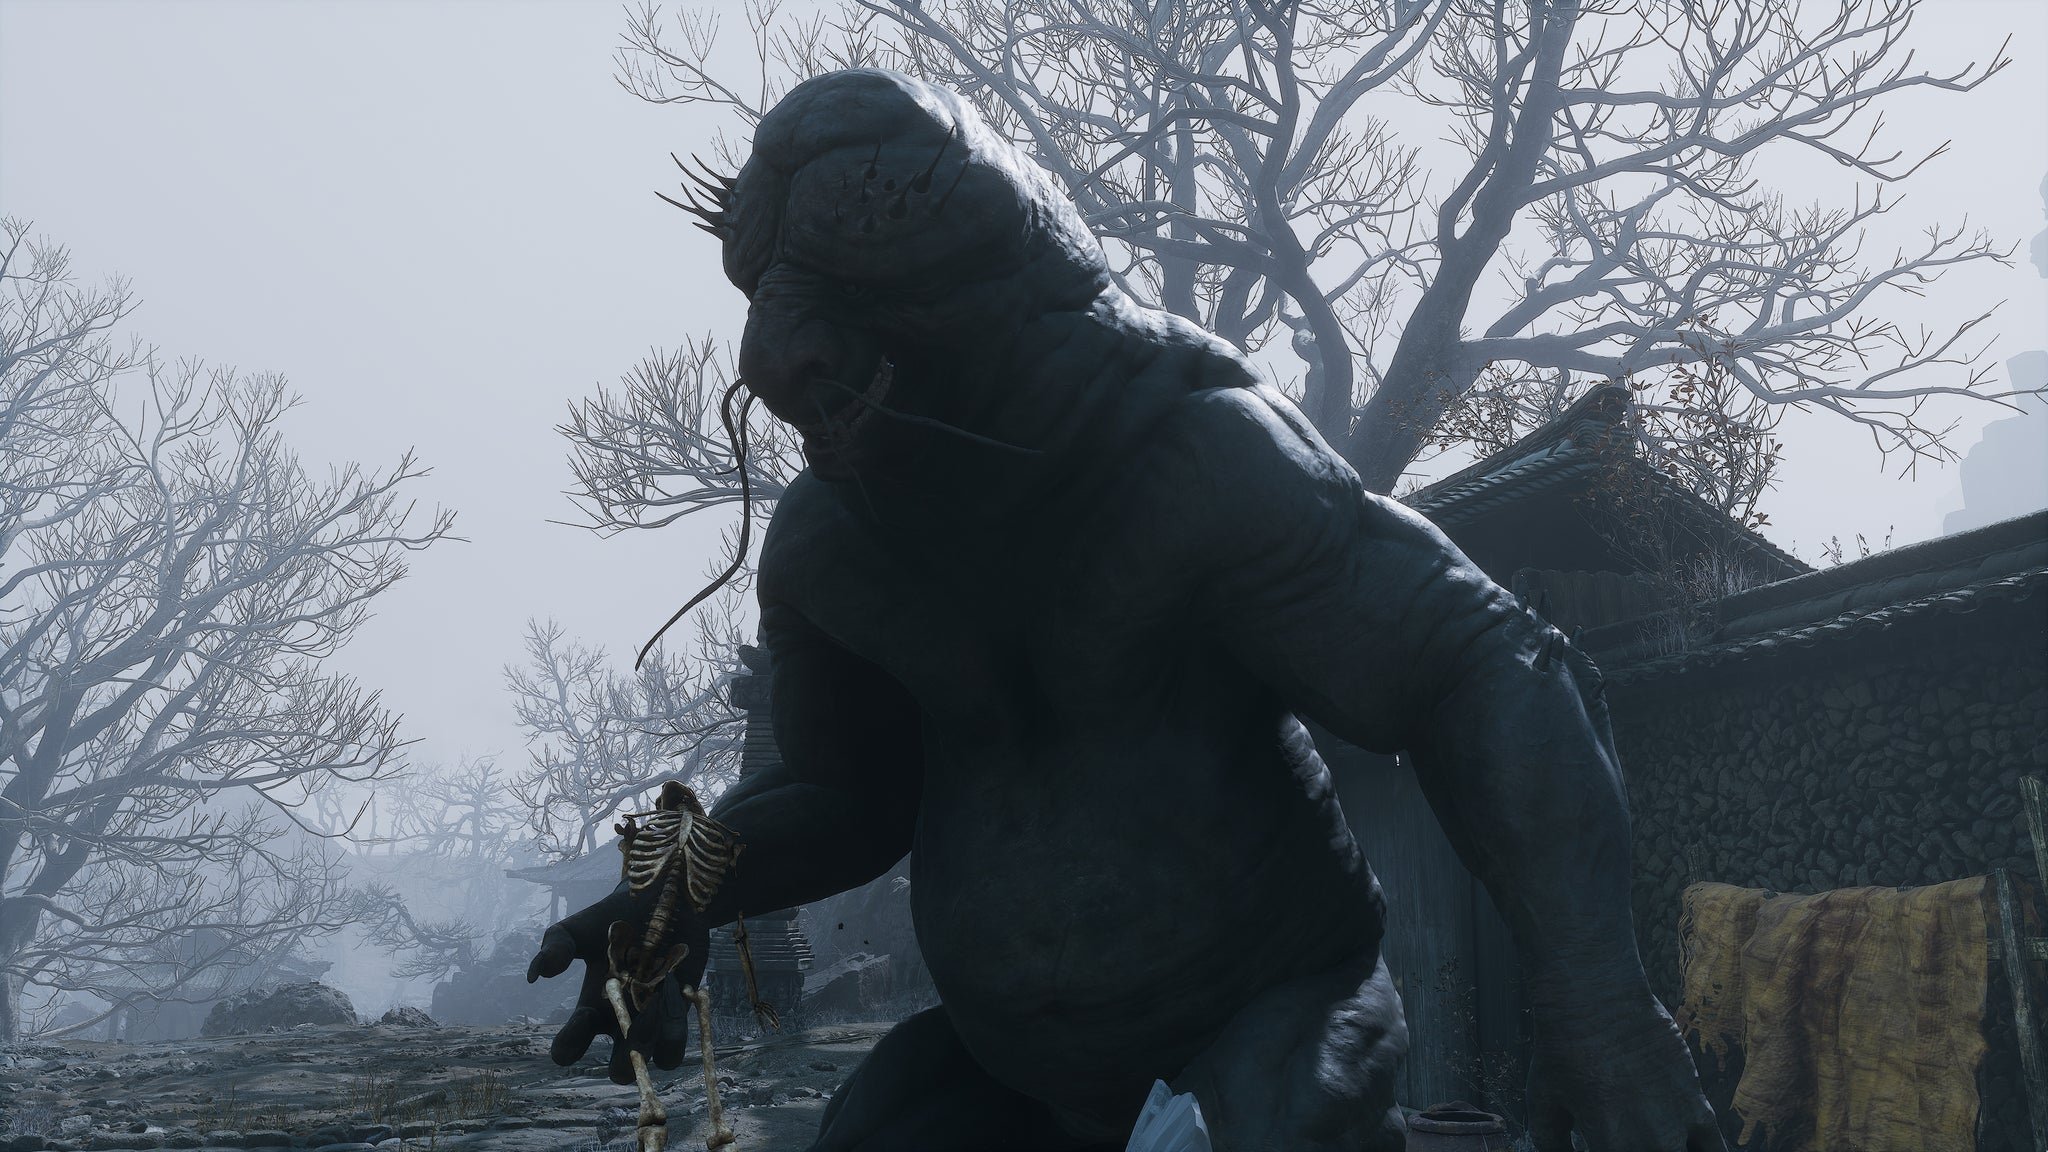
Image credit:Rock Paper Shotgun/Game Science
The Father Of Stones is a big unfriendly guai that attacks you just a few steps on from the “Height Of Ember” Shrine. To get there, you need to battle your way up the various steps and across the various bridges beyond the “Camp Of Seasons” Shrine, but it’s a pretty linear path so you should find your way easily.
Aside from his double-barrelled shout, which is rather annoying, this fight is another very straightforward one. He obviously hits quite hard, but he’s so slow and his attacks are very simplistic, making them easy to dodge. His Spirit can be absorbed at the end of the fight, giving you that double-barrelled shout for yourself.
4. Gray-Bronze Cart
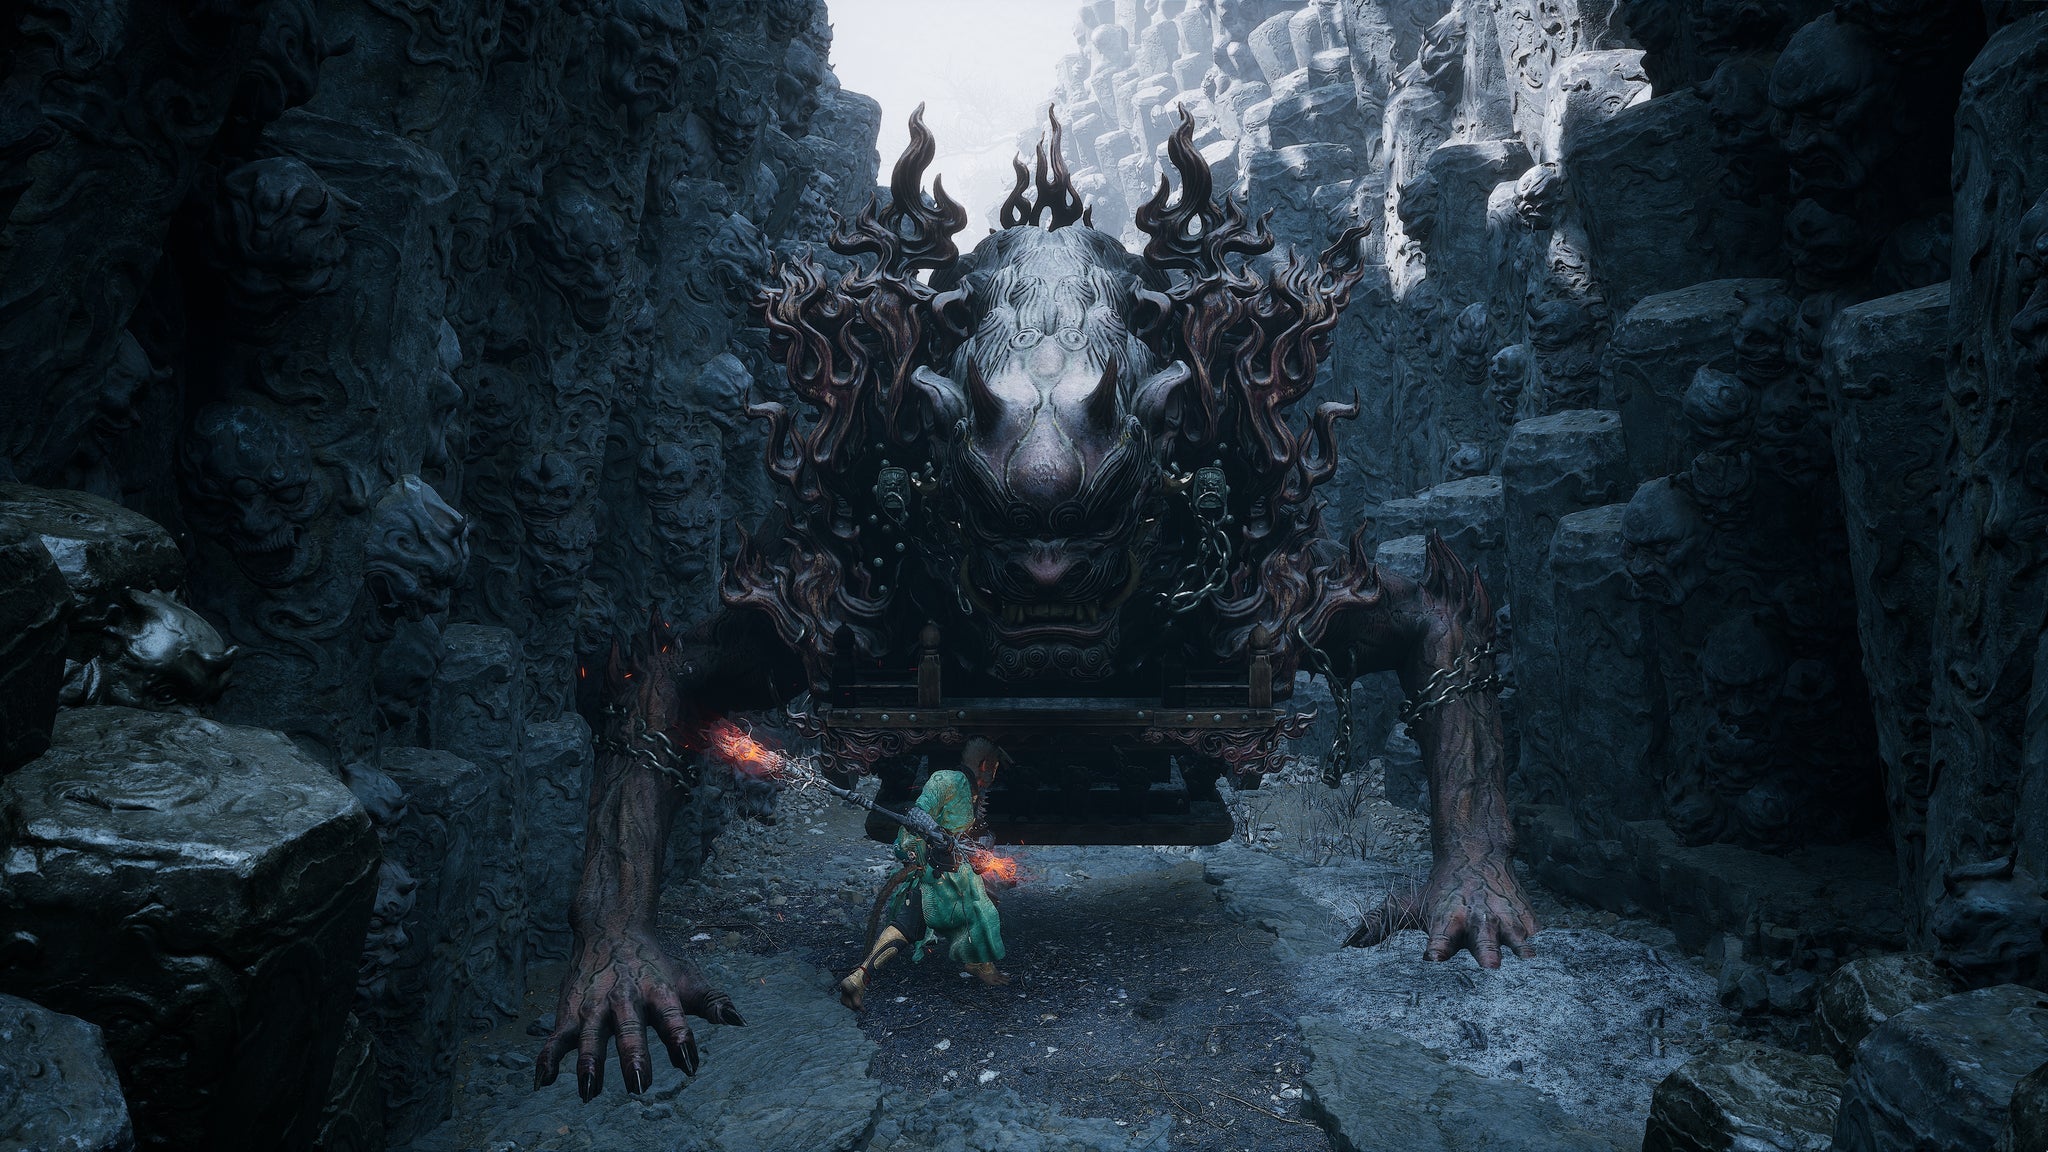
Image credit:Rock Paper Shotgun/Game Science
The Gray-Bronze Cart is next up, and if you thought the previous Cart fight took place in a narrow space, you’ve got another thing coming. Again, it’s impossible to miss - just head through the doors next to the Father Of Stones boss fight, and follow the path through the cave. Just beyond the cave is the narrow pathway where you’ll find the Gray-Bronze Cart.
The Gray-Bronze Cart loves to spew fire down this pathway to hinder your approach, so you need to dodge out of the way into one of the various little cubby holes to the sides whenever that happens. Once you’re close, it has the same attack patterns as the Brown-Iron Cart - which is to say, nothing beyond a flame spew and a two-handed ground slam. Soak up damage with your Transformation if need be, but the real aim is to deal as much damage as possible as quickly as possible before ducking back into the nearest cubby hole to avoid flame damage.
F-F-F-Fire! If it’s not yet clear, many of the enemies in Chapter 5 deal tonnes of Scorch damage, so you should make use of Celestial Pills and Armor to buff your Scorch Resistance, ideally along with the Fireproof Mantle Vessel you got back in Chapter 1.
5. Fast As Wind and Quick As Fire
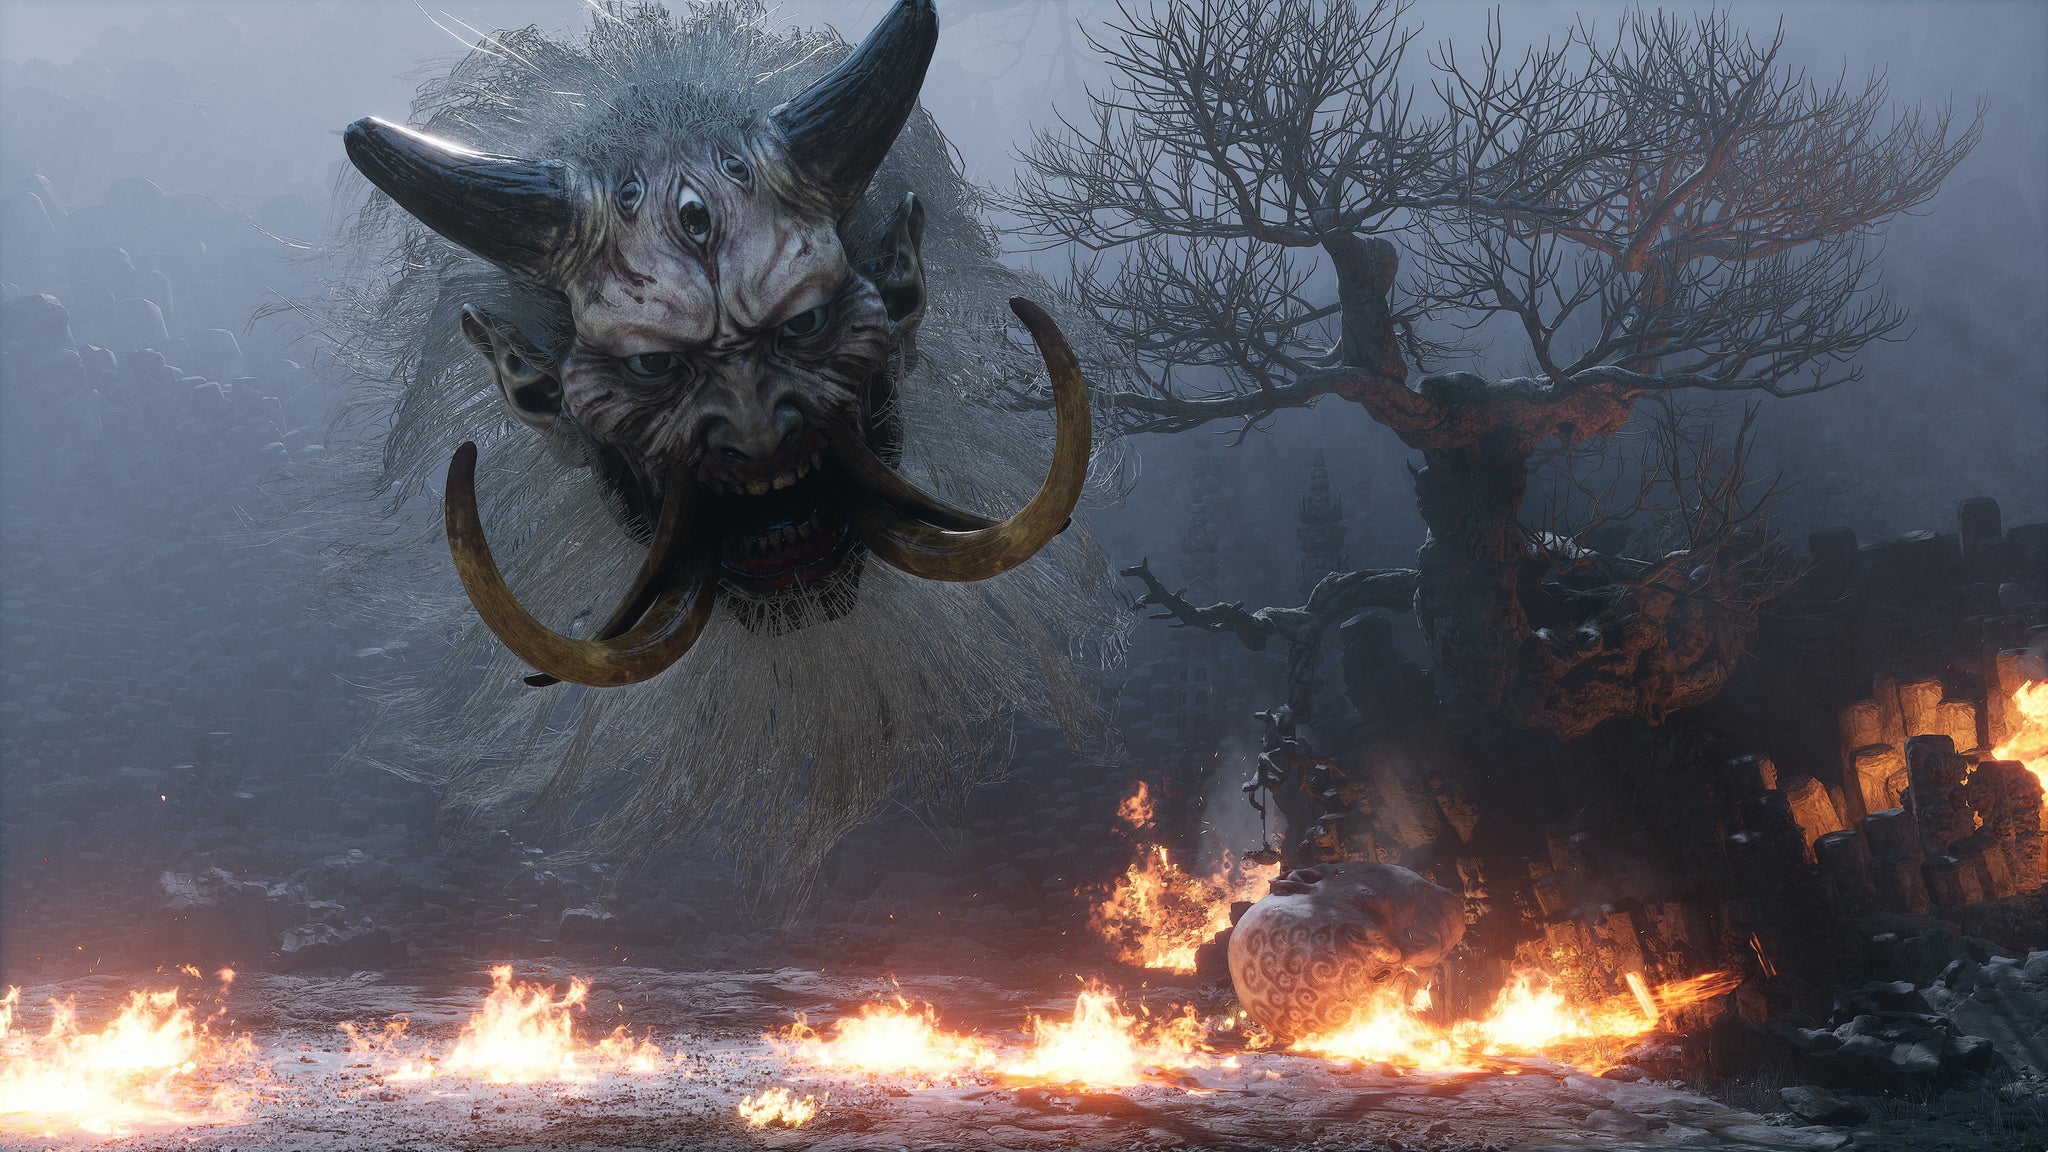
Image credit:Rock Paper Shotgun/Game Science
Oh look, more fire! Fast As Wind and Quick As Fire form a boss duo which you can find immediately after the Gray-Bronze Cart fight. The issue here, then, is that most players won’t realise this, and head straight into combat before returning to the nearest Shrine to heal up after the Cart boss. Then again, I forged ahead and still beat the boss duo first try, so you may be fine regardless.
Lots of dodging is necessary here. The only hard part is keeping track of both enemies at once; one is a floating head that breathes tornadoes and other wind attacks at you, while the other rolls around on the floor, charging at you and leaving a fire trail in its wake. Separately, both are easy to damage, stagger, and dodge. Together, they’re a bit annoying, but as long as you keep both are in your sights at all times (make use of Immobilize if you need to!) and focus one boss at a time, they shouldn’t strain your skills too much.
6. Flint Chief
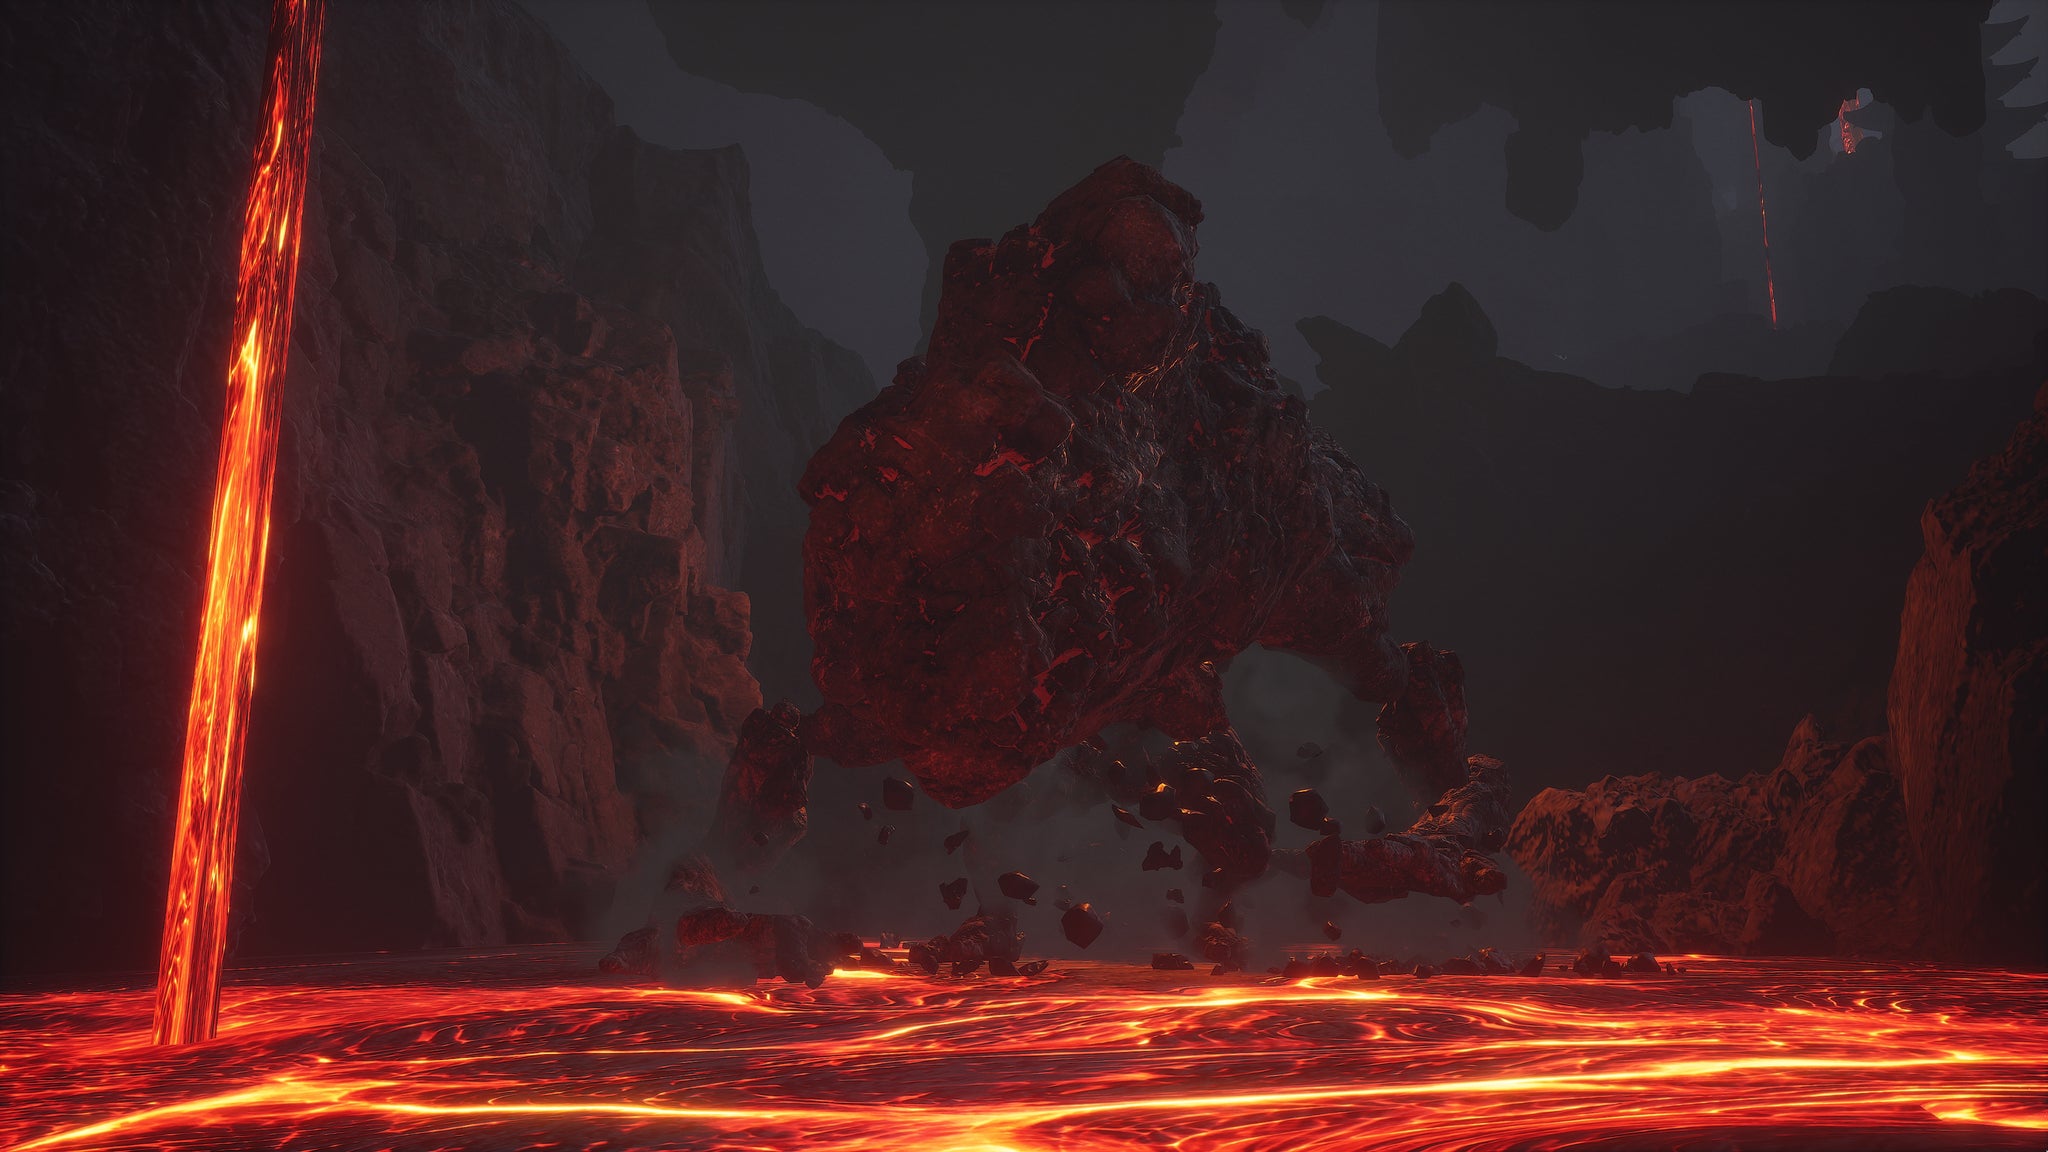
Image credit:Rock Paper Shotgun/Game Science
The Flint Chief is the first easily missed boss in Chapter 5. It’s located near the “Valley Entrance” Shrine, which you can reach by following Pingping (the fox) along the main path and down the massive drop. Once you hit the “Valley Entrance” Shrine, head all the way down the slope. Just before you hit the large archway, head left into the lava (equip the Fireproof Mantle Vessel so you don’t take damage!), and then turn right. The Flint Chief will form itself out of rocks as you approach.
Due to the Flint Chief’s size, you need to target its massive arms (the hands can be locked onto). The strategy here is to just keep dodging round to its side and attacking, using your largest Charged Heavy Attacks whenever you’ve built up enough Focus Points. You can use spells to quicken the fight if you like - Immobilize works great, as does Cloud Step.
7. Cloudy Mist and Misty Cloud
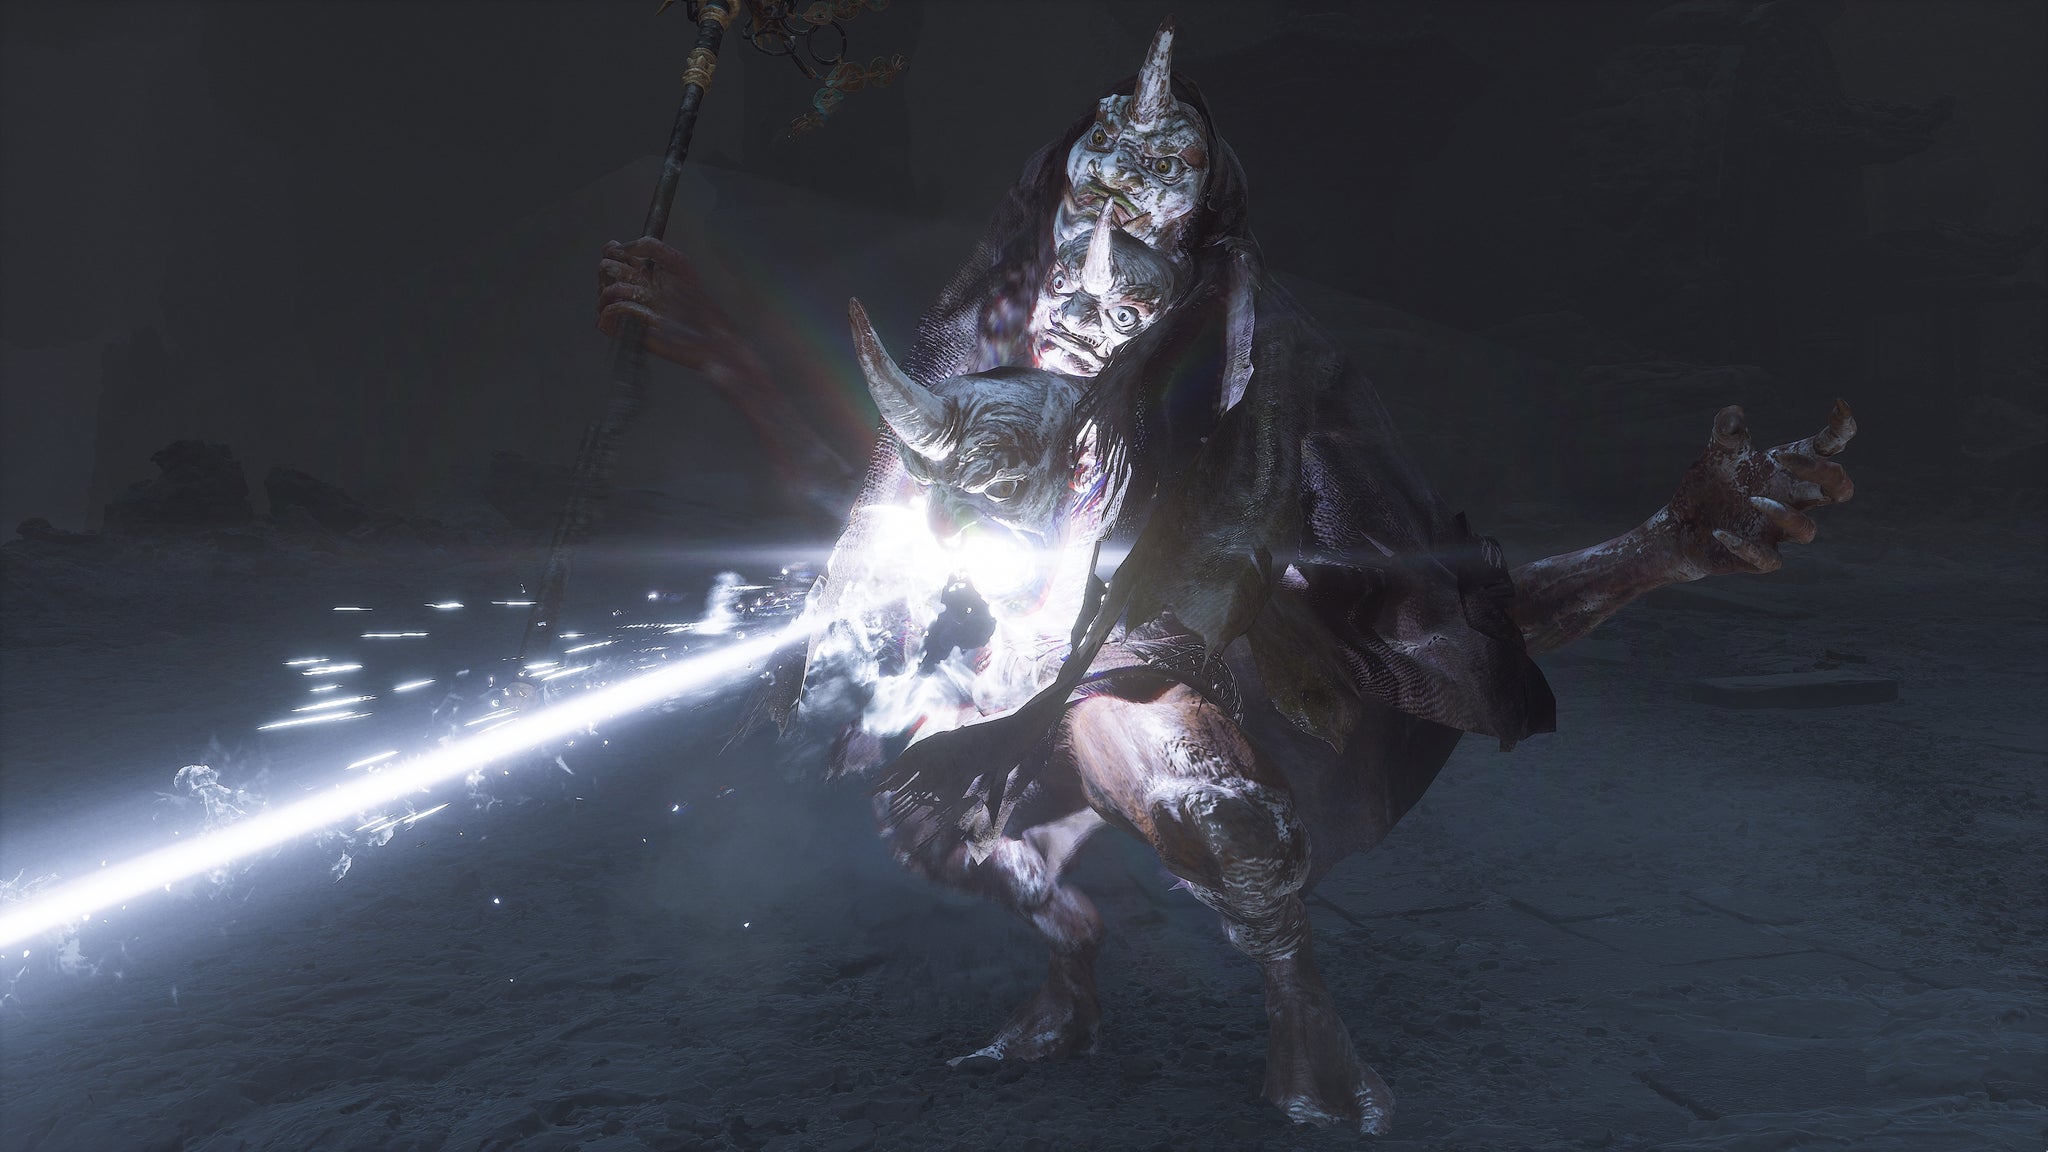
Image credit:Rock Paper Shotgun/Game Science
Mechanically, there’s very little difference between this fight and the previous duo fight against Fast As Wind and Quick As Fire . One will stay back and attack you at range, while the other will charge you with flame attacks. The only wrinkle this time is that you can’t just burst one down first - deal enough damage to one and they’ll hide for a while, forcing you to contend with the other. Still, you should get to this point as quickly as possible by focusing one, because these guys aren’t much of a threat on their own.
8. Keeper Of Flaming Mountains / Yin-Yang Fish
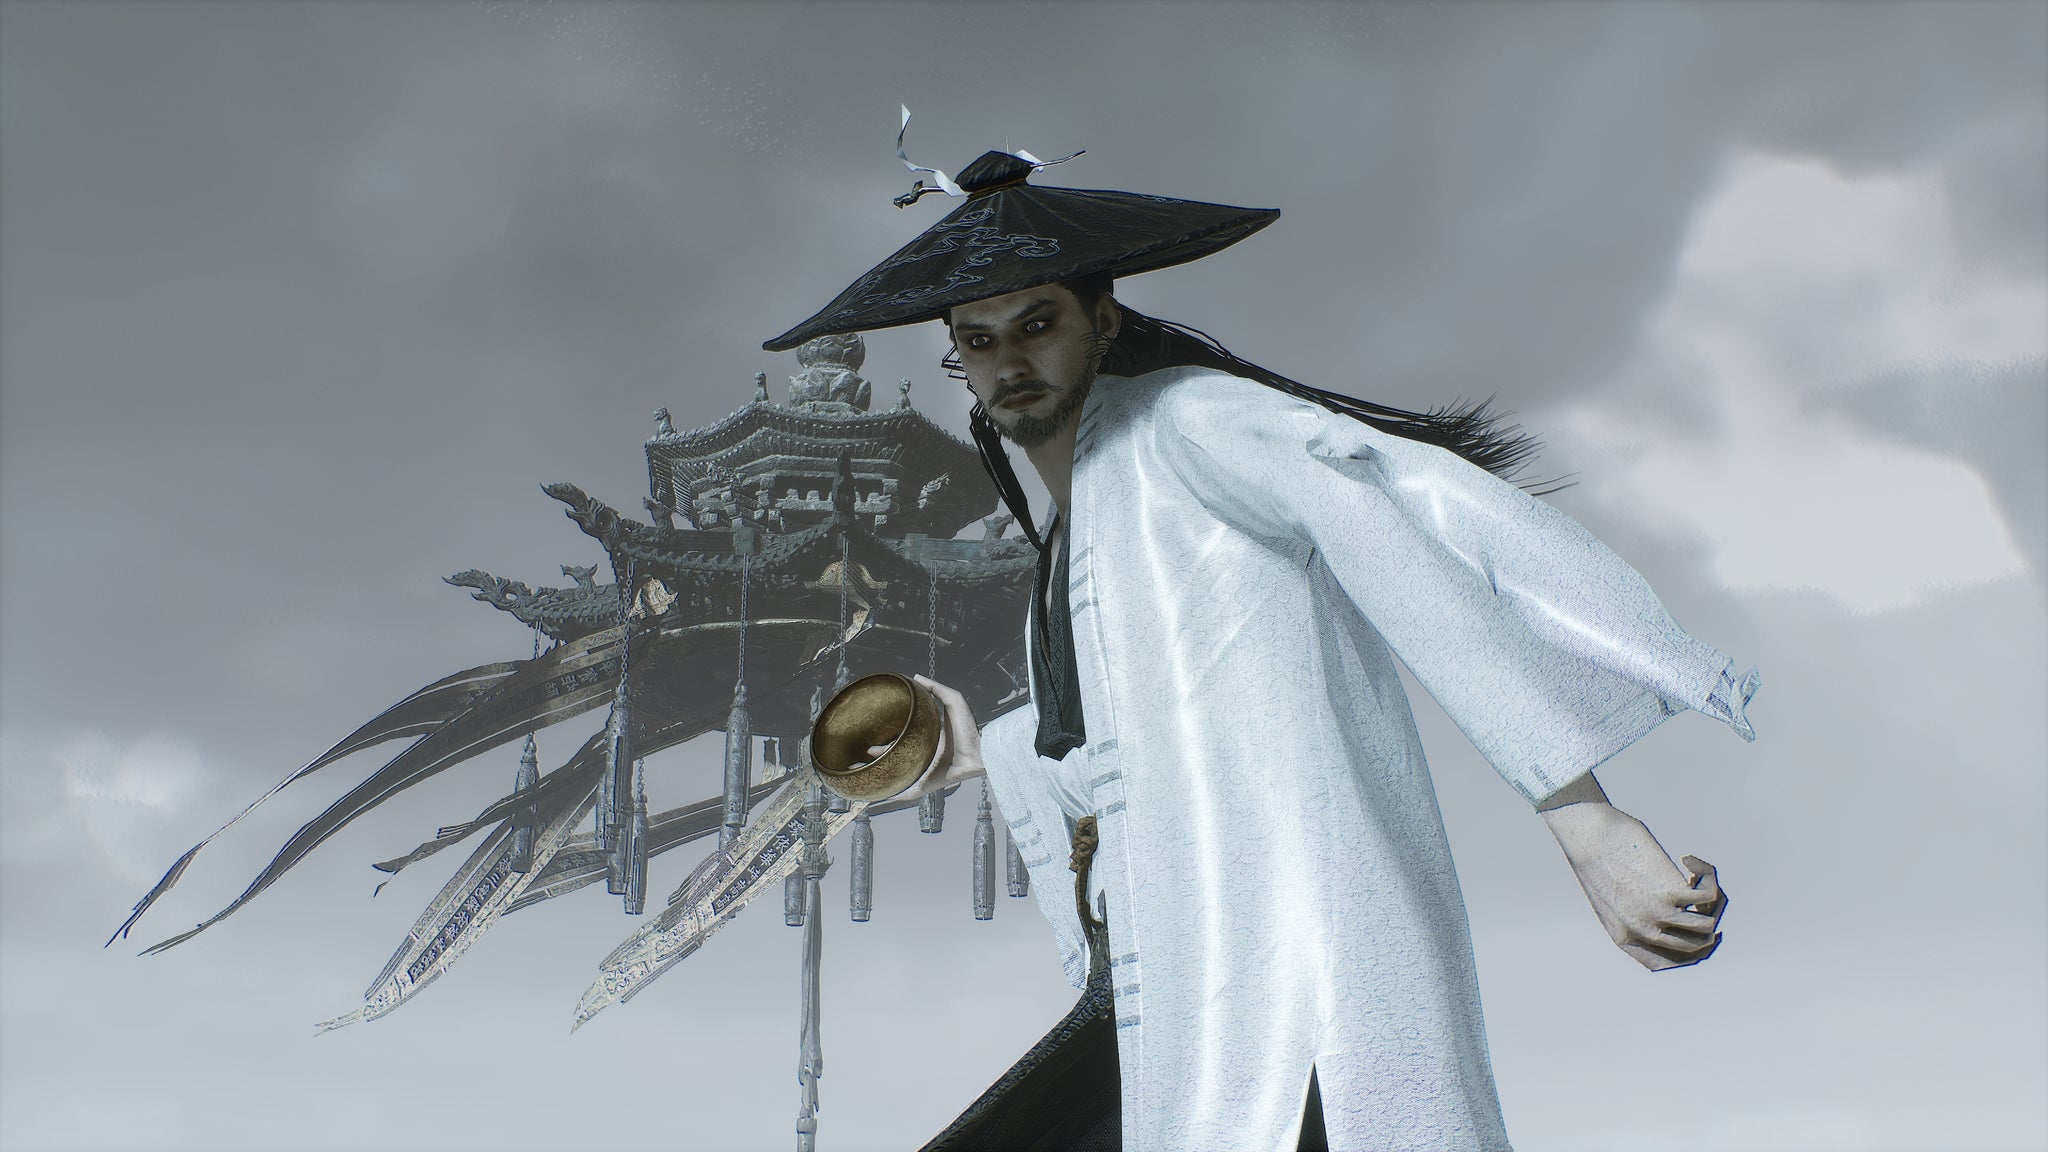
Image credit:Rock Paper Shotgun/Game Science
The Keeper Of Flaming Mountains is the first Yaoguai King of Chapter 5, and the most challenging fight so far in the Chapter. You’ll need to battle through Rakshasa Palace to reach the “Emerald Hall” Shrine where he can be found. It’s still on the main path though, so you can’t miss it.
This aesthetically wonderful boss fight is divided into two segments. In the first, you fight the Keeper Of Flaming Mountains, who isn’t much of a threat on his own but who at regular intervals summons dark and light minions to attack you. Efficiency is key here. Wipe out the archers quickly, before they overwhelm you; then do the same with the melee attackers. The second time a summon occurs, it is Ma Tianba - the large horse-man you’ve no doubt encountered several times in your playthrough already. He’s a tough one, with a very long range on his whip. He’s a worthy target for Immobilize and your Transformation ability.
Once you’ve handled Ma Tianba, the Keeper Of Flaming Mountains will summon the Yin-Yang Fish, and the second phase will begin. Expect lots of projectile attacks and tail swipes - both of which you can dodge with a little practice. I recommend using Cloud Step in this phase of the fight, because you can use it to get close easily, and also to reliably dodge the Fish’s most dangerous attack - where it floats into the air and sends off dozens of projectiles to track you. If one hits, they all hit, so carefully timed dodging is paramount here.
9. Crimson-Silver Cart
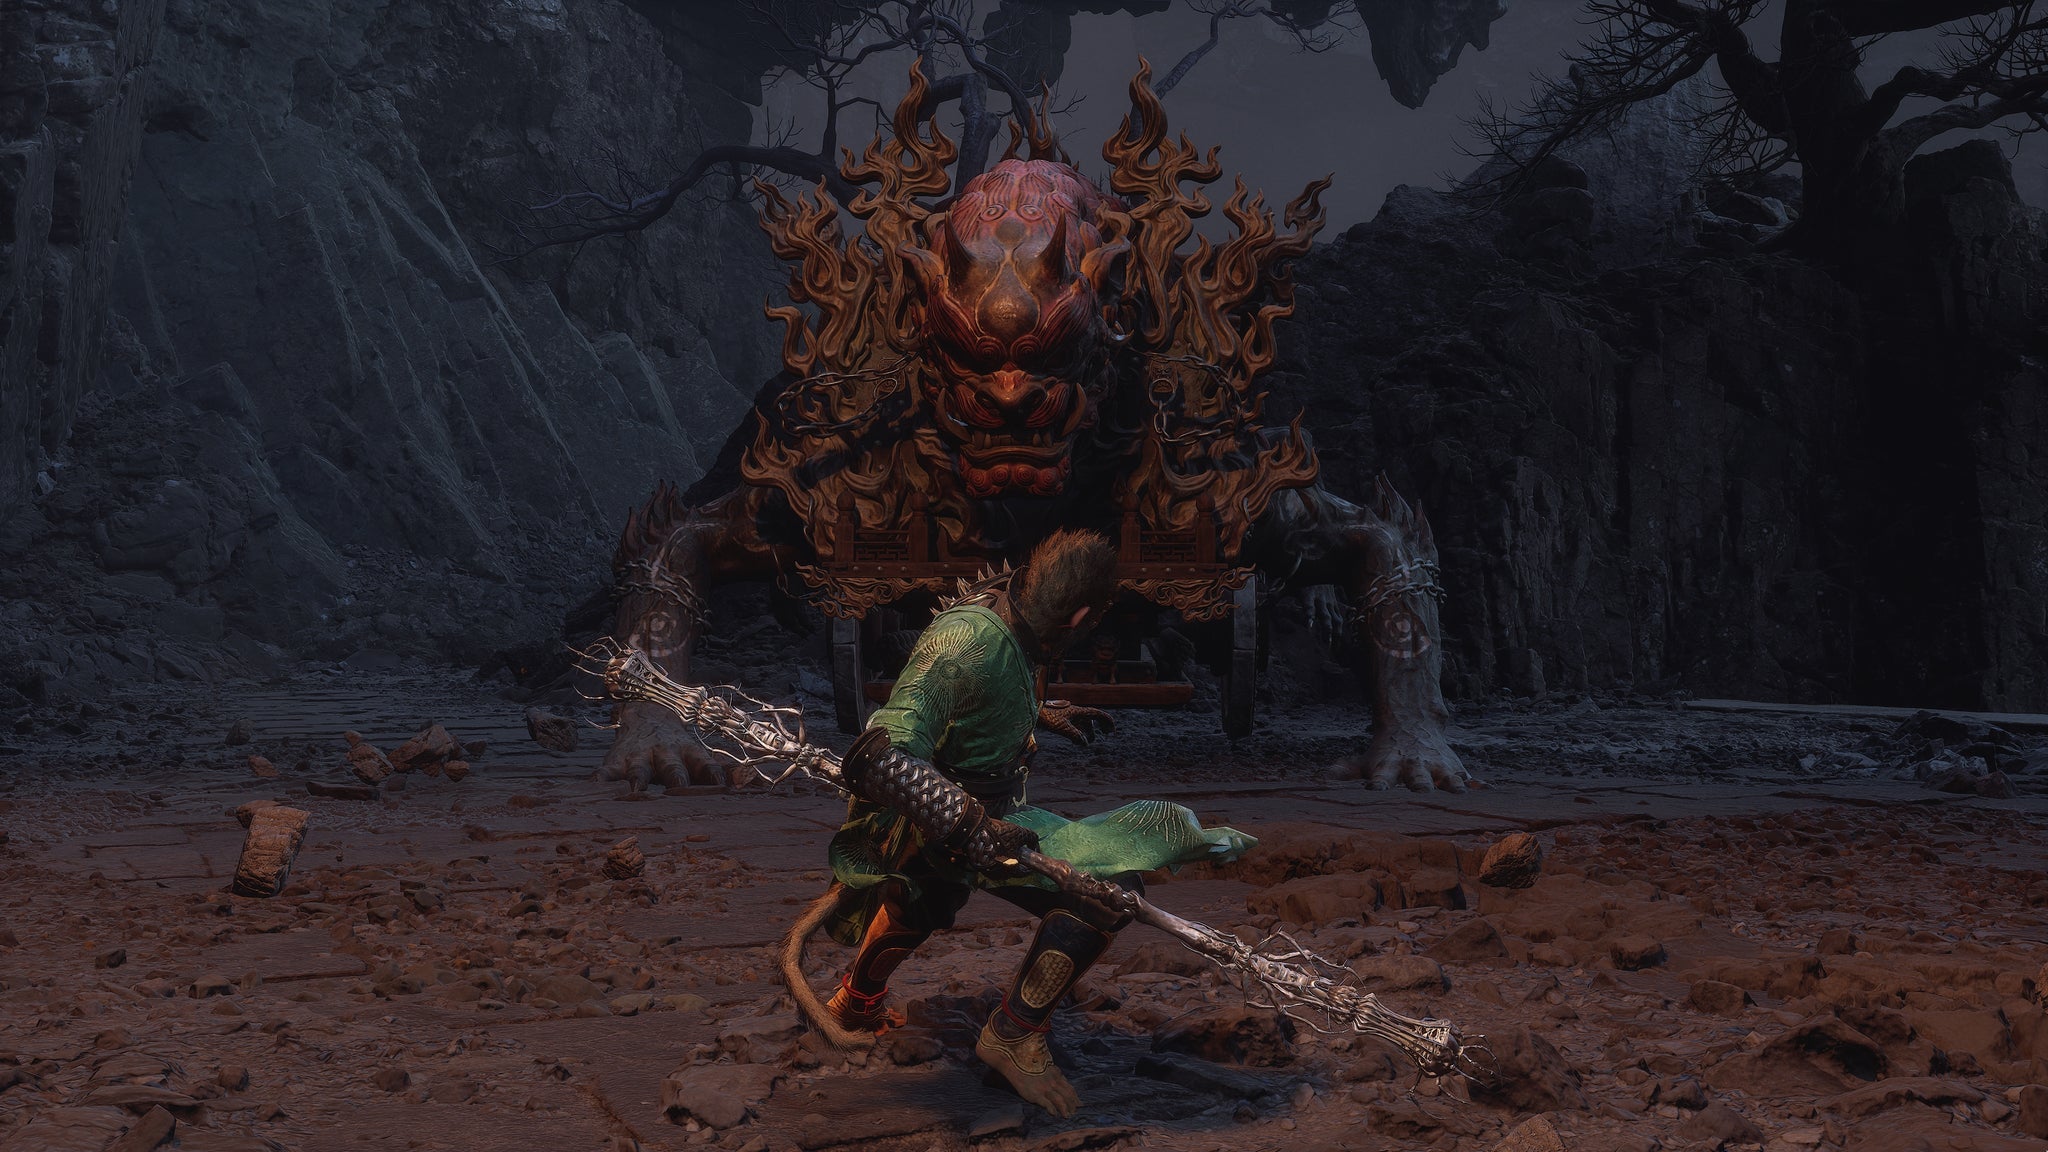
Image credit:Rock Paper Shotgun/Game Science
The location of the Crimson-Silver Cart is again slap bang on the story path, so you can’t miss it. Take the left-hand path from the Keeper Of Flaming Mountains arena and after the next archway you’ll be attacked from afar by the Crimson-Silver Cart up on the clifftop to your right. Follow the path up to reach it and defeat it.
This Cart is a bit more aggressive than previous Carts, so it may take you slightly by surprise. It can spout flames from its sides and back to counter flanks (this shouldn’t stop you, but you should be prepared to dodge), and charge around if you try to break for a breather. Like the others, however, it really doesn’t like being hit in the back with a big Charged Heavy Attack, so it shouldn’t take too long to destroy.
10. Nine-Capped Lingzhi Guai
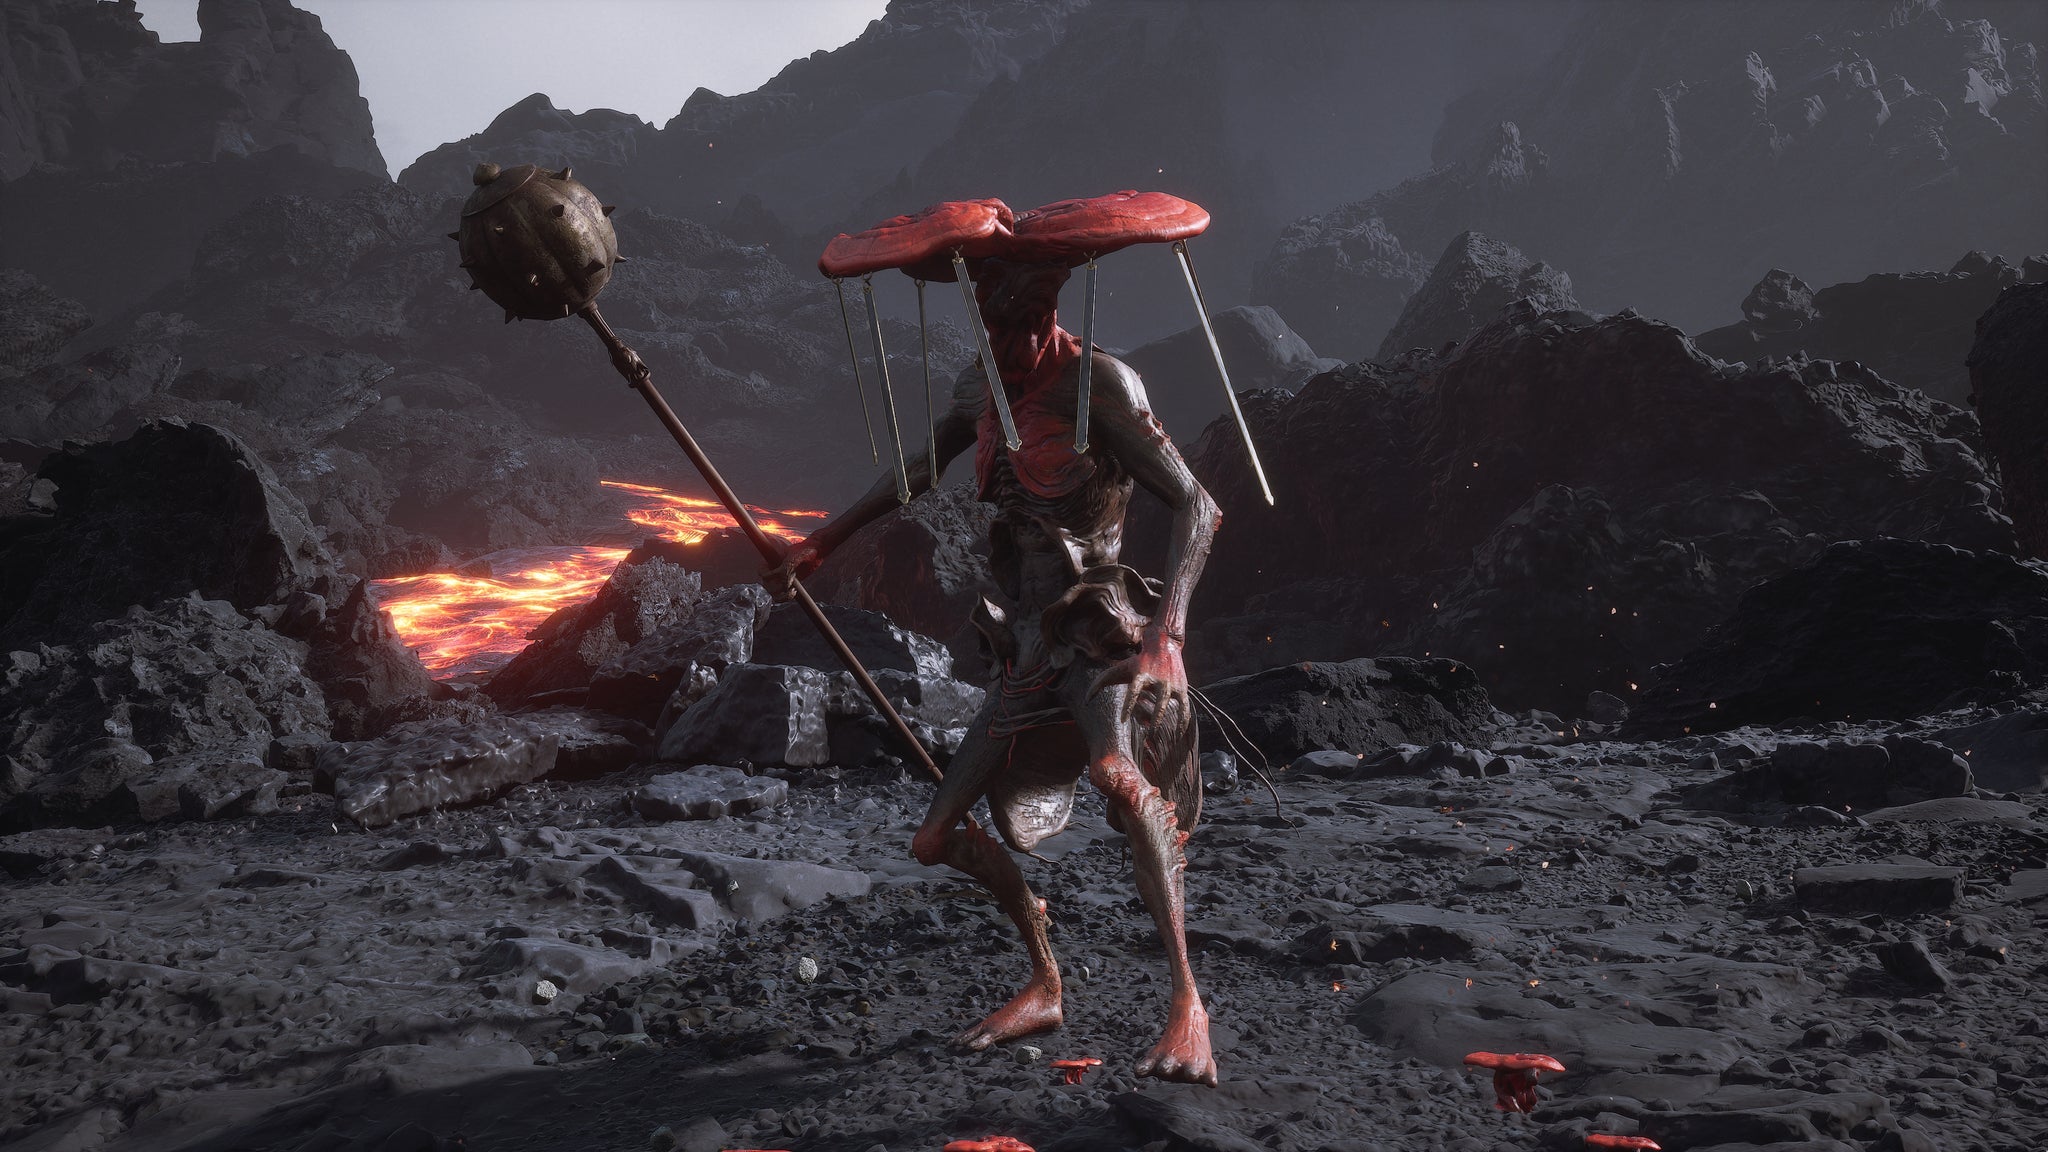
Image credit:Rock Paper Shotgun/Game Science
The Nine-Capped Lingzhi Guai is very easy to find if you know where to look. This boss is located in a small clearing just to the right of the “Ashen Pass III” Shrine; to get there, just follow the long linear path up the slope beyond the Crimson-Silver Cart boss. Once you’re at the Shrine, turn right and pluck the largest, most central plant to spawn the Nine-Capped Lingzhi Guai.
The Nine-Capped Lingzhi Guai is much more of a troublemaker than it looks. It spews deadly poison at every opportunity, but more importantly, it can throw its hat (head?) at you, sticking it to your head and dramatically slowing your movement and dodge speed while also poisoning you over time. It’s a move that can quickly result in your death, so if it happens to you, look for ways to counter the process - such as Transforming, or using Cloud Step. In general, you should use Spells heavily in this fight, because when given room to breathe, the Nine-Capped Linzhi Guai can be a bit of a terror.
11. Flint Vanguard
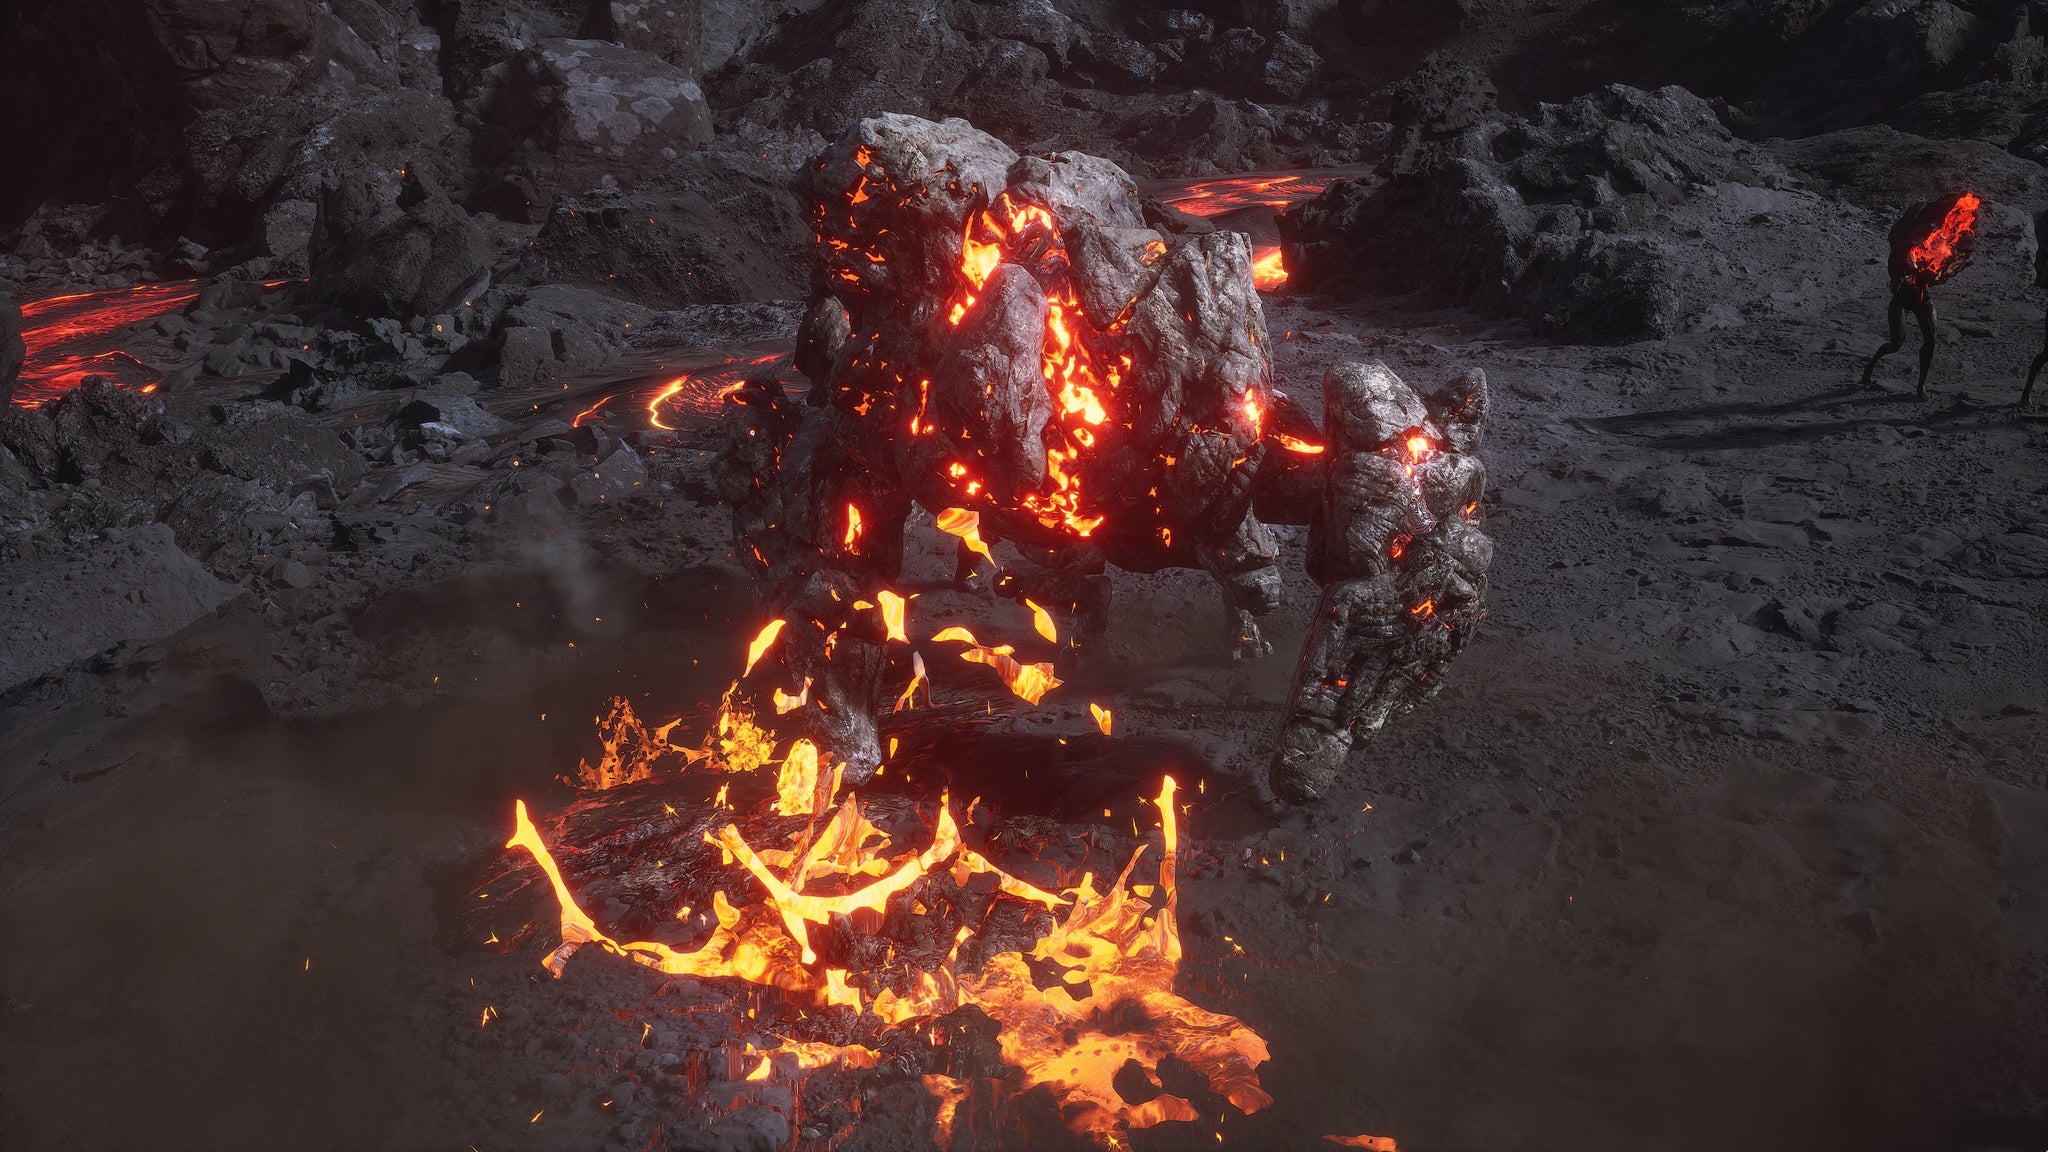
Image credit:Rock Paper Shotgun/Game Science
The Flint Vanguard is located in the “Ashen Pass III” section, but you first need to reach the end of this section and the next Shrine (“Fallen Furnace Crater”) before doubling back to find the Flint Vanguard. This is because of the big fuck-off spiked boulder that rolls back and forth along the main path, preventing you from doing pretty much anything until you (very carefully) get to the end and prompt a cutscene which ends the spiked boulder’s reign of terror on the mountain slope.
Once you’ve reached the “Fallen Furnace Crater” Shrine, turn back around and go down the path you just came from. Keep following the path until it clearly splits into two, then take the left path. A short way along the path you’ll encounter a cluster of rocks which - just like the Flint Chief - form themselves into the Flint Vanguard as you approach.
The Flint Vanguard itself is really no different from the Flint Chief, and therefore would be quite easy - if it weren’t for all the extremely annoying minions clustered around him. These guys are hard to stagger, and so they can overwhelm you very quickly unless you’re careful. Use A Flock Of Many to split their attention, then take care of the minions as quickly as possible before focusing on the big one.
12. Mother Of Flamlings (secret boss)
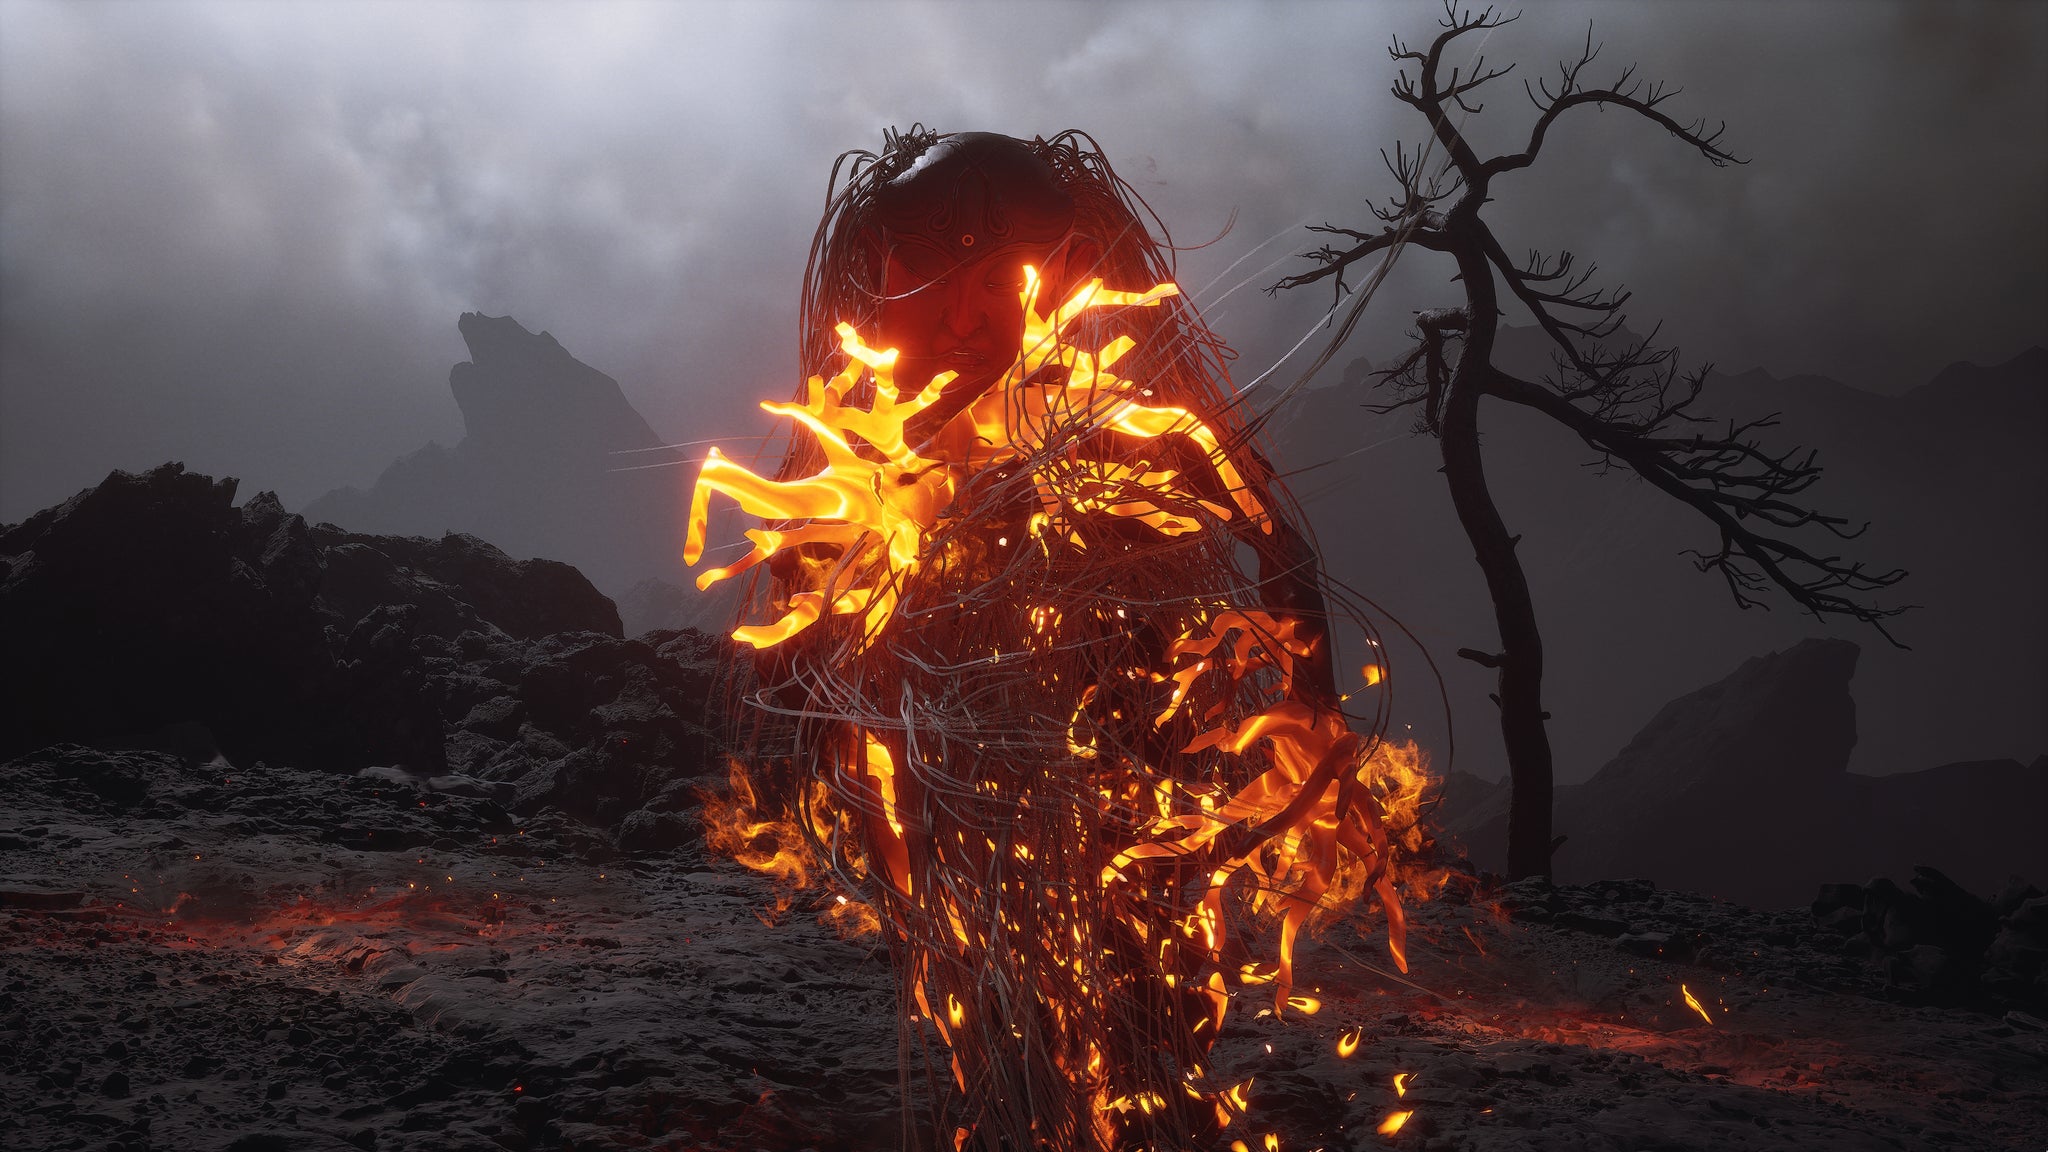
Image credit:Rock Paper Shotgun/Game Science
The Mother Of Flamlings is a semi-hidden boss that you must actively summon at a particular location. That location is just a short way past where the Flint Vanguard is located. Head past the Flint Vanguard and you’ll start to see little Flamlings crop up from the ground. Kill these Flamlings as they appear; some of them will give you Flame Ore. Once you have 4x Flame Ore, head to the clearing beyond, where you’ll see a patch of ground that’s smoldering with red flame beneath the surface. Interact with the patch of ground to deliver the 4x Flame Ore, spawning the Mother of Flamlings.
Again, the main issue with this fight is that you probably just used a load of your mana on the Flint Vanguard beforehand. But otherwise, it’s a straightforward fight that involves lots of dodging flaming bullets, and also quickly killing smaller Flamlings as they arrive.
13. Rusty-Gold Cart (secret boss)
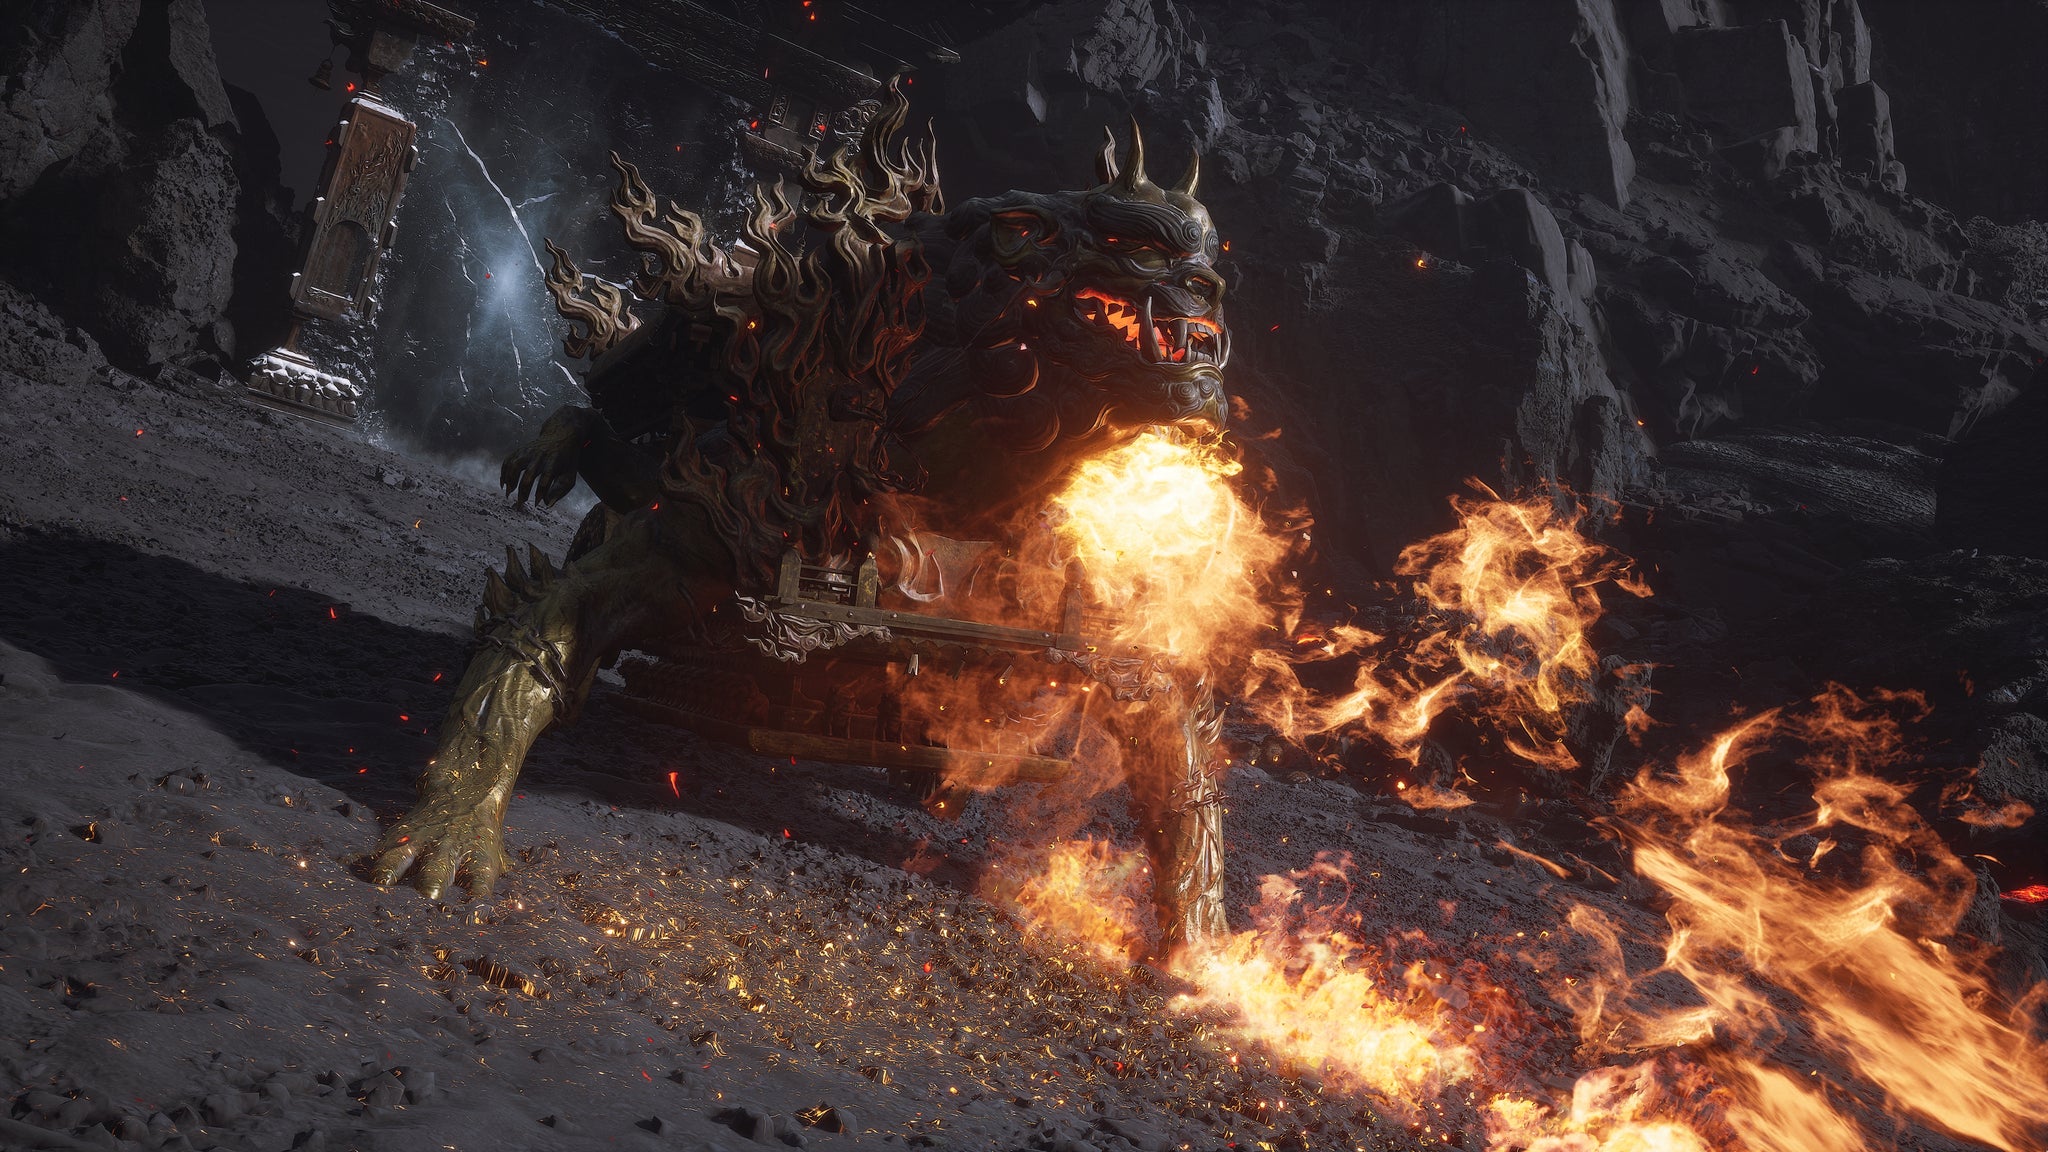
Image credit:Rock Paper Shotgun/Game Science
The final Cart of Chapter 5 is the Rusty-Gold Cart. It’s found guarding the iced over archway near the “Cooling Slope” Shrine, which you can reach by following the path beyond the Mother Of Flamlings arena. However, the Rusty-Gold Cart will only spawn if you’ve followed certain specific steps in order. Here’s what to do to spawn the Rusty-Gold Cart:
- Defeat and speak to the Pale-Axe Stalwart.
- Defeat the Brown-Iron Cart.
- Defeat the Gray-Bronze Cart.
- Speak to Ma Tianba inside the broken down Cart in the lava past the “Valley Entrance” Shrine.
- Defeat the Crimson-Silver Cart.
- Speak to the Pale-Axe Stalwart again at “Ashen Pass I”.
- Speak to the Pale-Axe Stalwart again where you fought the Crimson-Silver Cart.
- Approach the iced over archway near the “Cooling Slope” Shrine to spawn the Rusty-Gold Cart.
If you complete all of these steps, then as you approach, a cutscene will trigger, showing the Rusty-Gold Cart having just wiped the floor with the Pale-Axe Stalwart. This is the toughest Cart of all, with a lot of mobility and health to whittle away at over time. A Flock Of Many, Immobilize, and Charged Heavy Attacks are still your best bet here. Don’t expect the Rusty-Gold Cart to stagger; just keep circling round to its back and preparing to dodge its flame gouts.
As a reward for defeating the Rusty-Gold Cart, you get the Flame Orb Curio, and you can also speak to the (now-dying) Pale-Axe Stalwart, after which you can finally open Chapter 5’s secret area: Bishui Cave. Just go up to the iced over archway and interact with it to reveal the secret area, which contains three more bosses to face. Better rest up first!
14. Baw-Lang-Lang (secret boss)
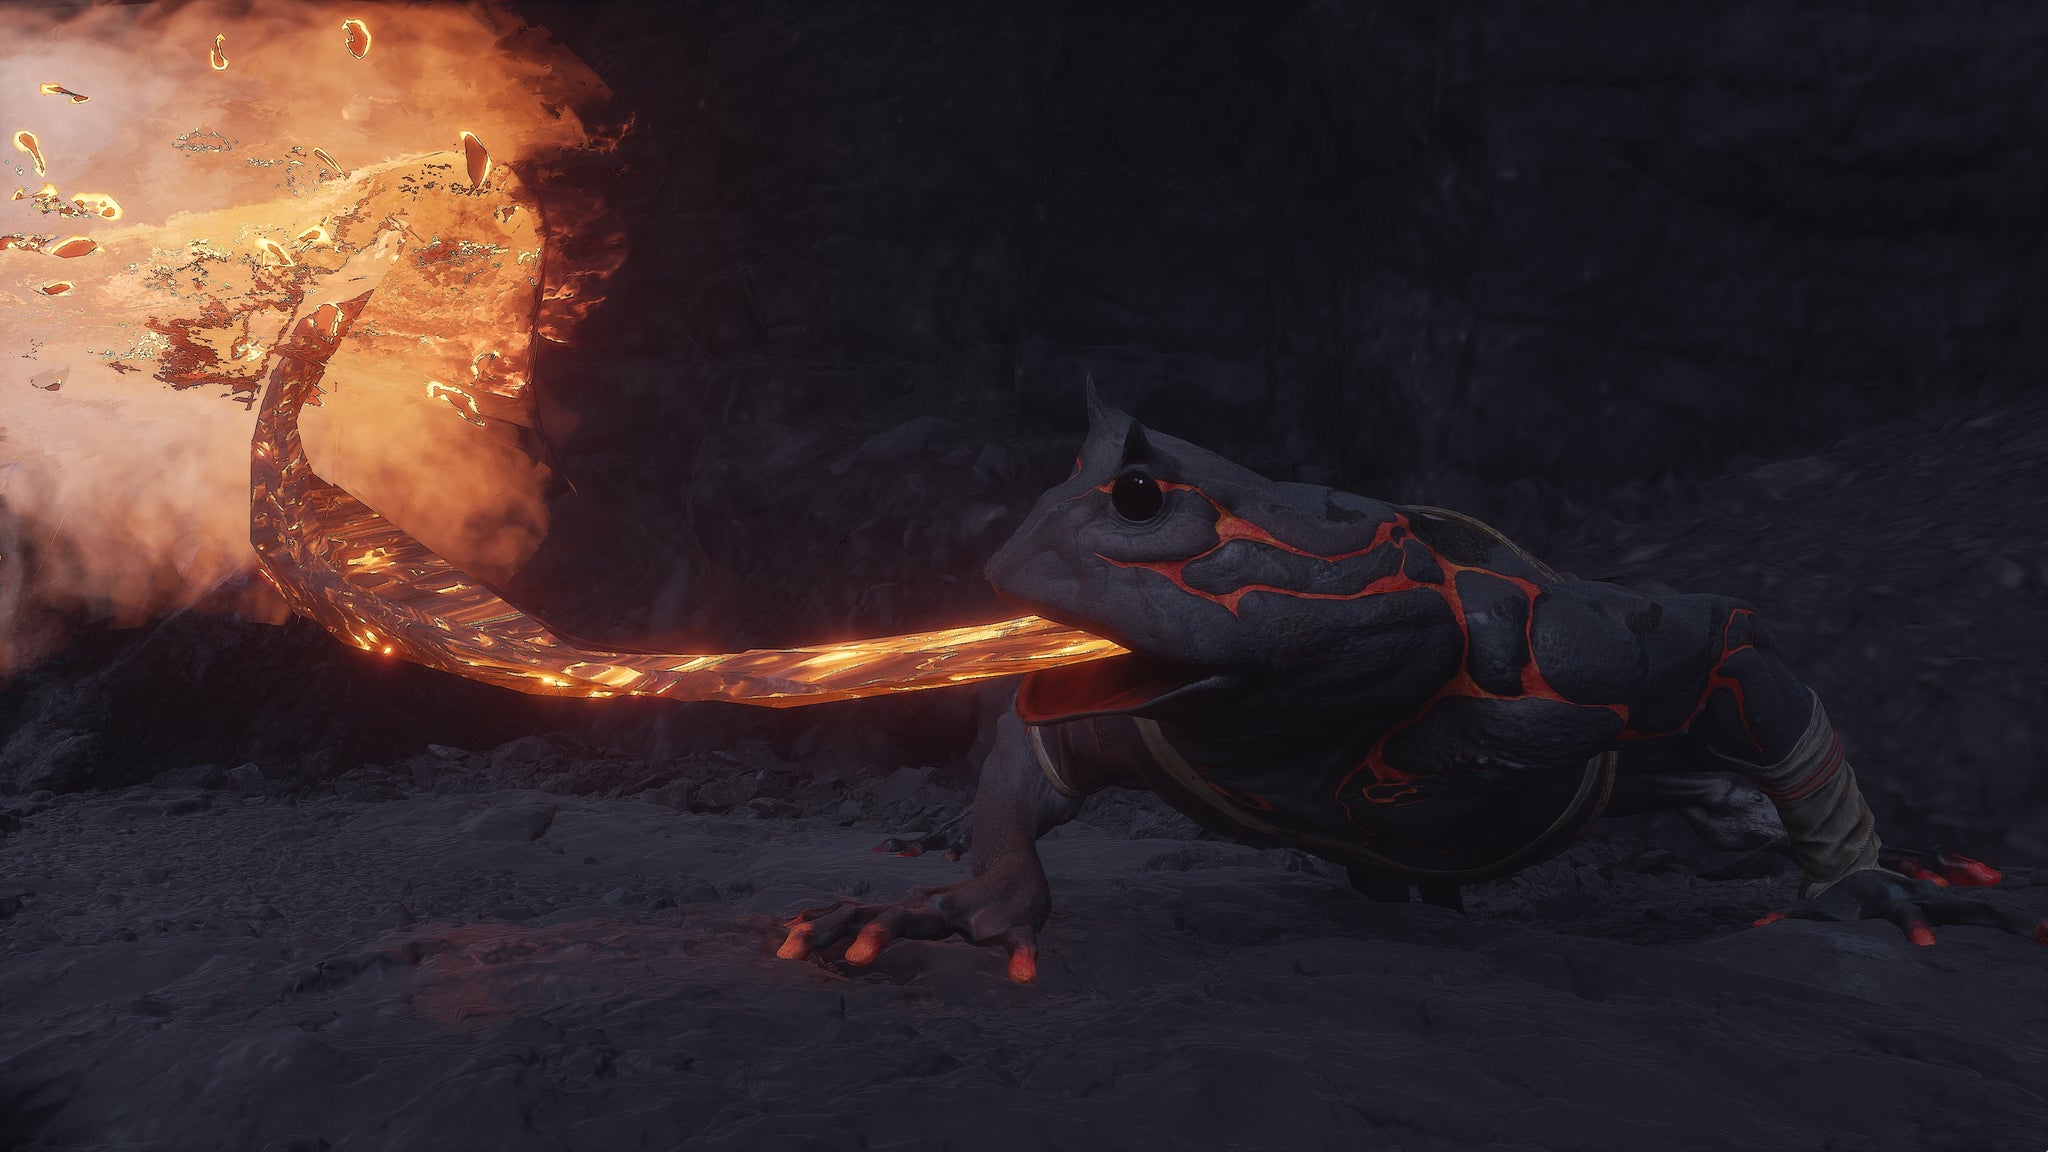
Image credit:Rock Paper Shotgun/Game Science
Baw-Lang-Lang is another oversized frog guai skulking off to the left-hand side, just beyond the Rusty-Gold Cart’s icy archway once you open it up. It’s in darkness, so it’s easy to miss, but it’s right there inside the cave, waiting for you.
As for defeating it, that shouldn’t be too difficult. This one deals Scorch damage and has a flaming tongue, which means you should probably stock up on Scorch resistance (as you should have been doing throughout Chapter 5, really), but otherwise it’s the same fight as before. Beware the backwards kicks and the tongue attack, but otherwise you won’t have much of an issue here.
15. Top Takes Bottom and Bottom Takes Top (secret boss)
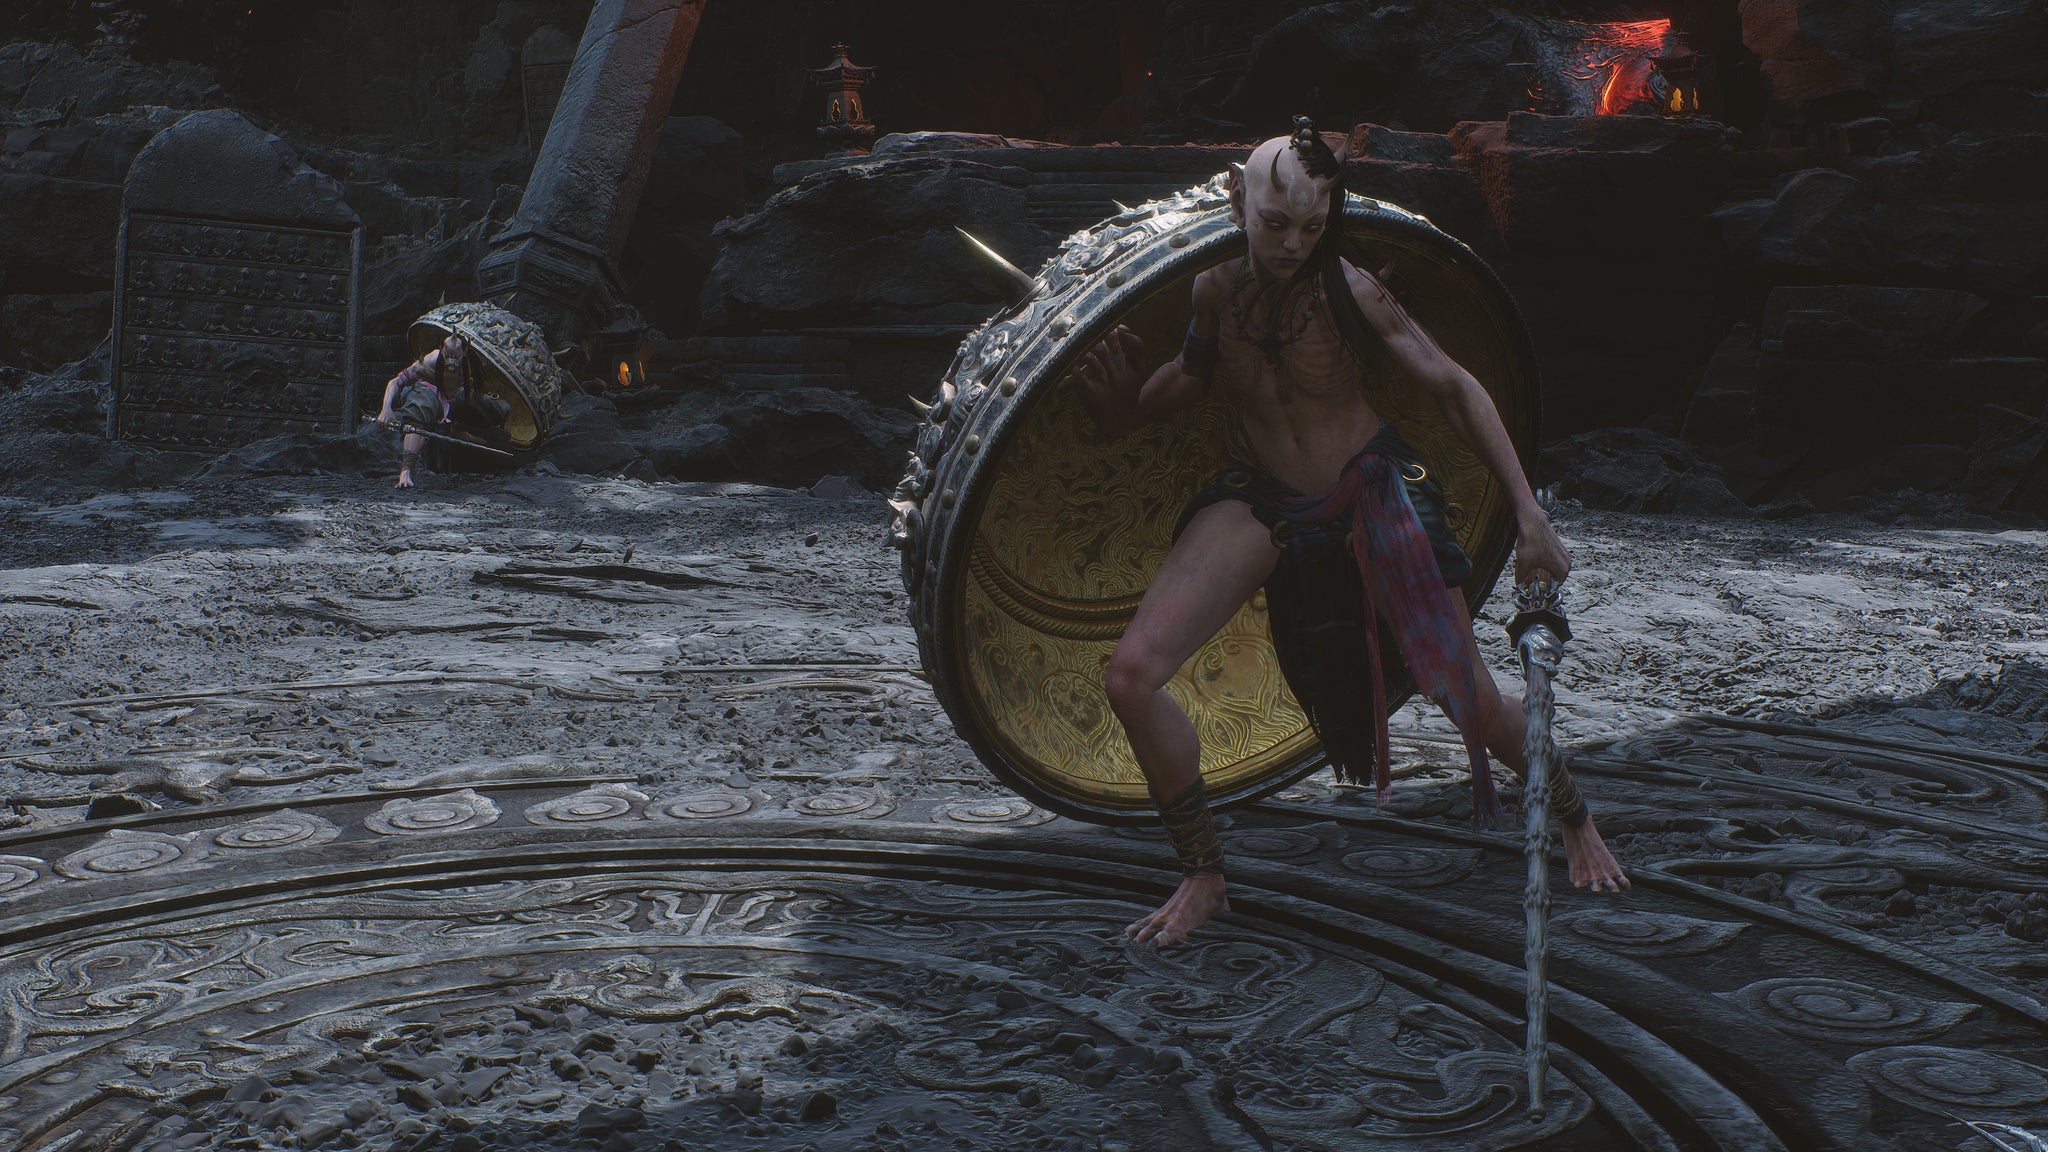
Image credit:Rock Paper Shotgun/Game Science
Once you’ve opened up the iced over archway, approach the large pillar in the cave to trigger an Obsession which transports you into Bishui Cave. A short way down the path beyond the “Purge Pit” Shrine, you’ll be set upon by yet another boss duo: Top Takes Bottom, and Bottom Takes Top.
This fight is another step up in challenge from the previous duo fight; rather than disappearing when one of them reaches low health, they instead hide inside their hemisphere and become invulnerable, forcing you to attack the other boss. This is worse than disappearing, because they’ll occasionally reappear and attack you before hiding again. Mercifully, however, their attacks are simplistic and heavily telegraphed, so you can easily dance around them and whittle down their health pools.
16. Bishui Golden-Eyed Beast (secret boss)
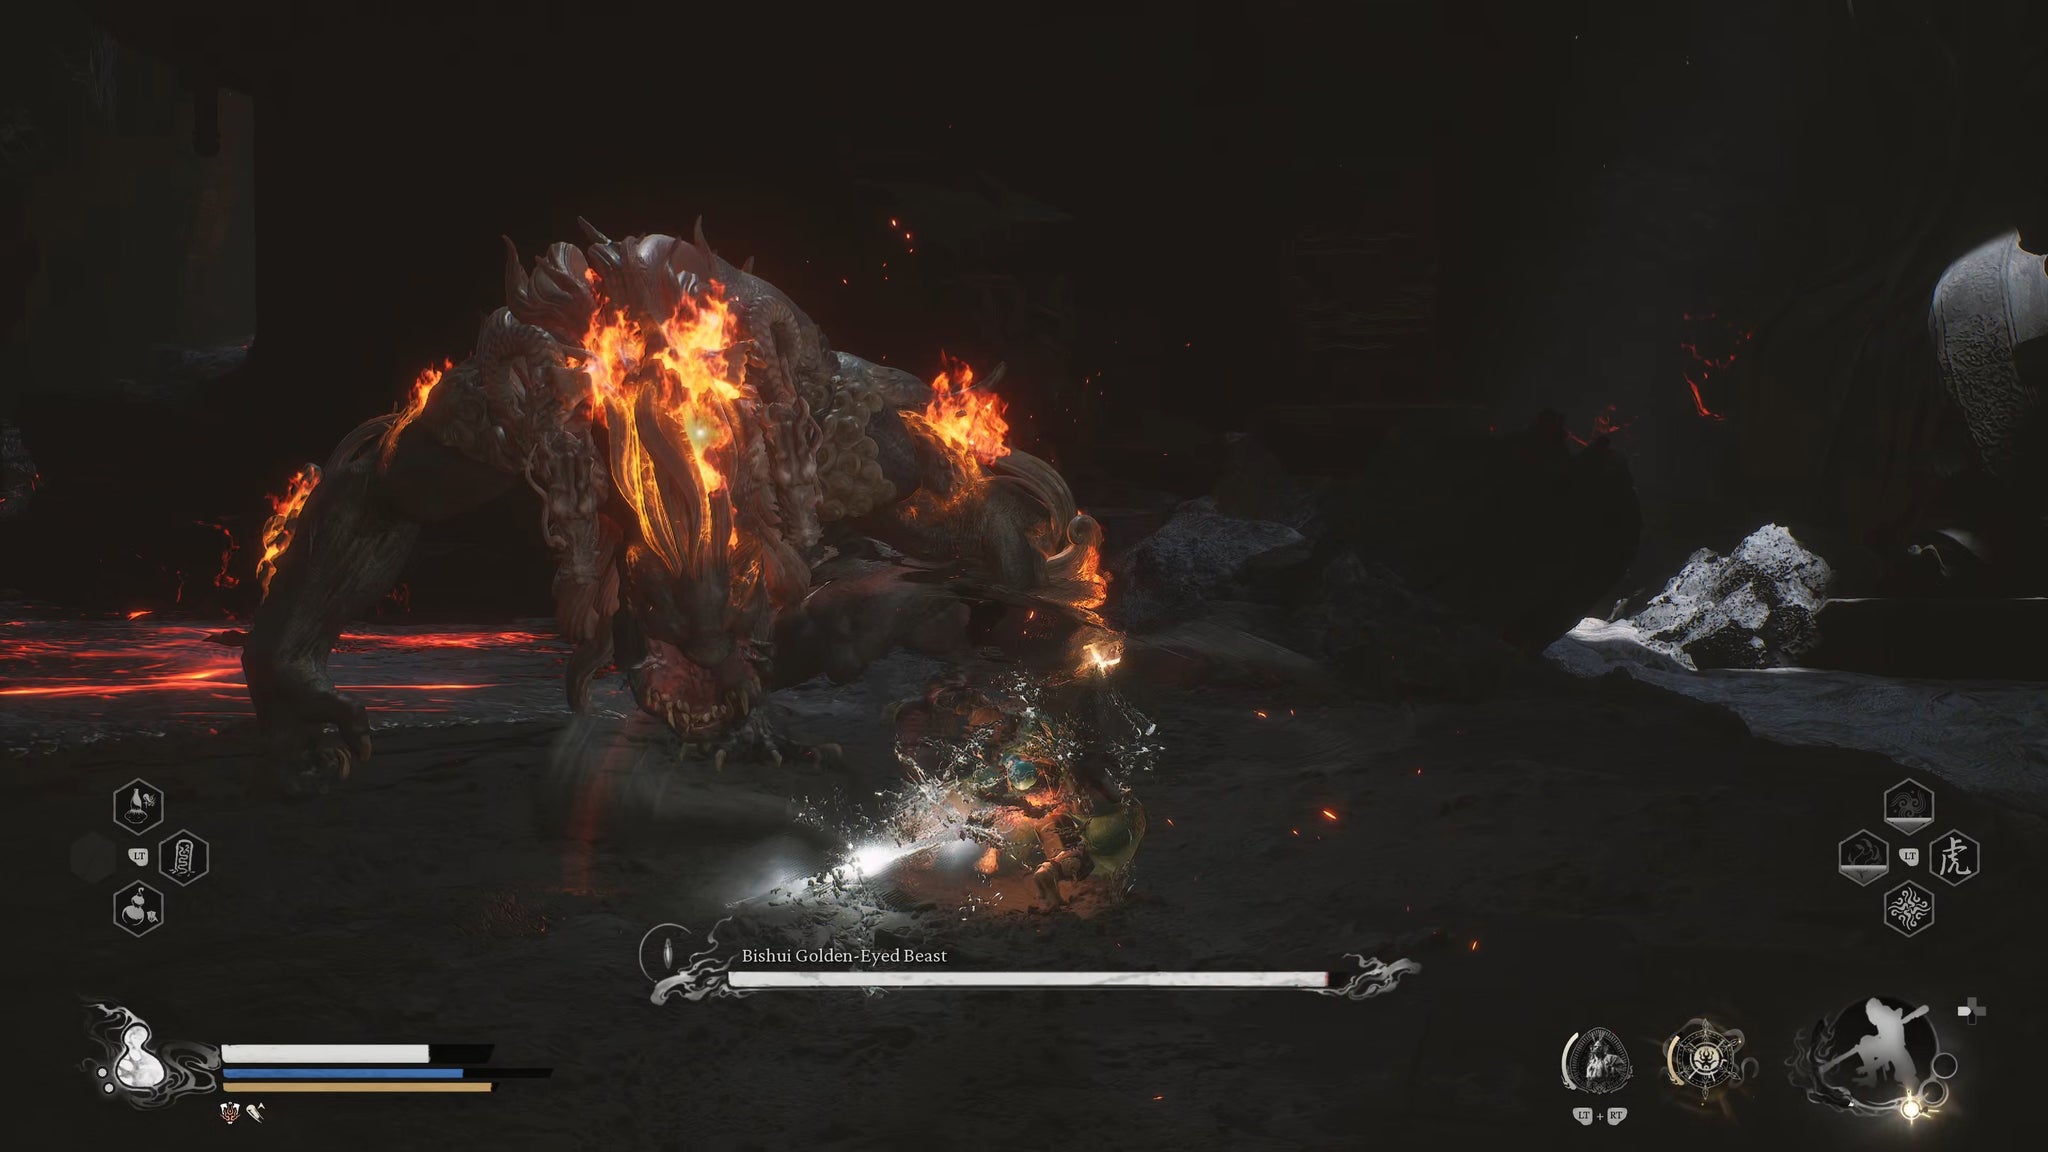
Image credit:Rock Paper Shotgun/Game Science
The Bishui Golden-Eyed Beast is the main boss of Bishui Cave, and the second-hardest boss of Chapter 5, thanks mainly to its incredible aggression. It’s impossible to miss as long as you keep delving deeper into Bishui Cave. An ice slide will get you to the “Corridor Of Fire And Ice” Shrine, and just beyond that is the Bishui Golden-Eyed Beast arena.
First off - watch out for an immediate attack the first time you see him. As his name comes up, he’s literally pouncing towards you, so get ready to dodge, fast. After that, prepare to use all your Spells (and likely some consumables too) to make this fight easier. The Bishui Golden-Eyed Beast will set the entire arena aflame over the course of the fight, so make sure your Scorch Resistance is as high as possible. A Flock Of Many is not a great choice here due to the flames; save your Mana for Transformations and either Cloud Step or Rock Solid.
17. Red Boy
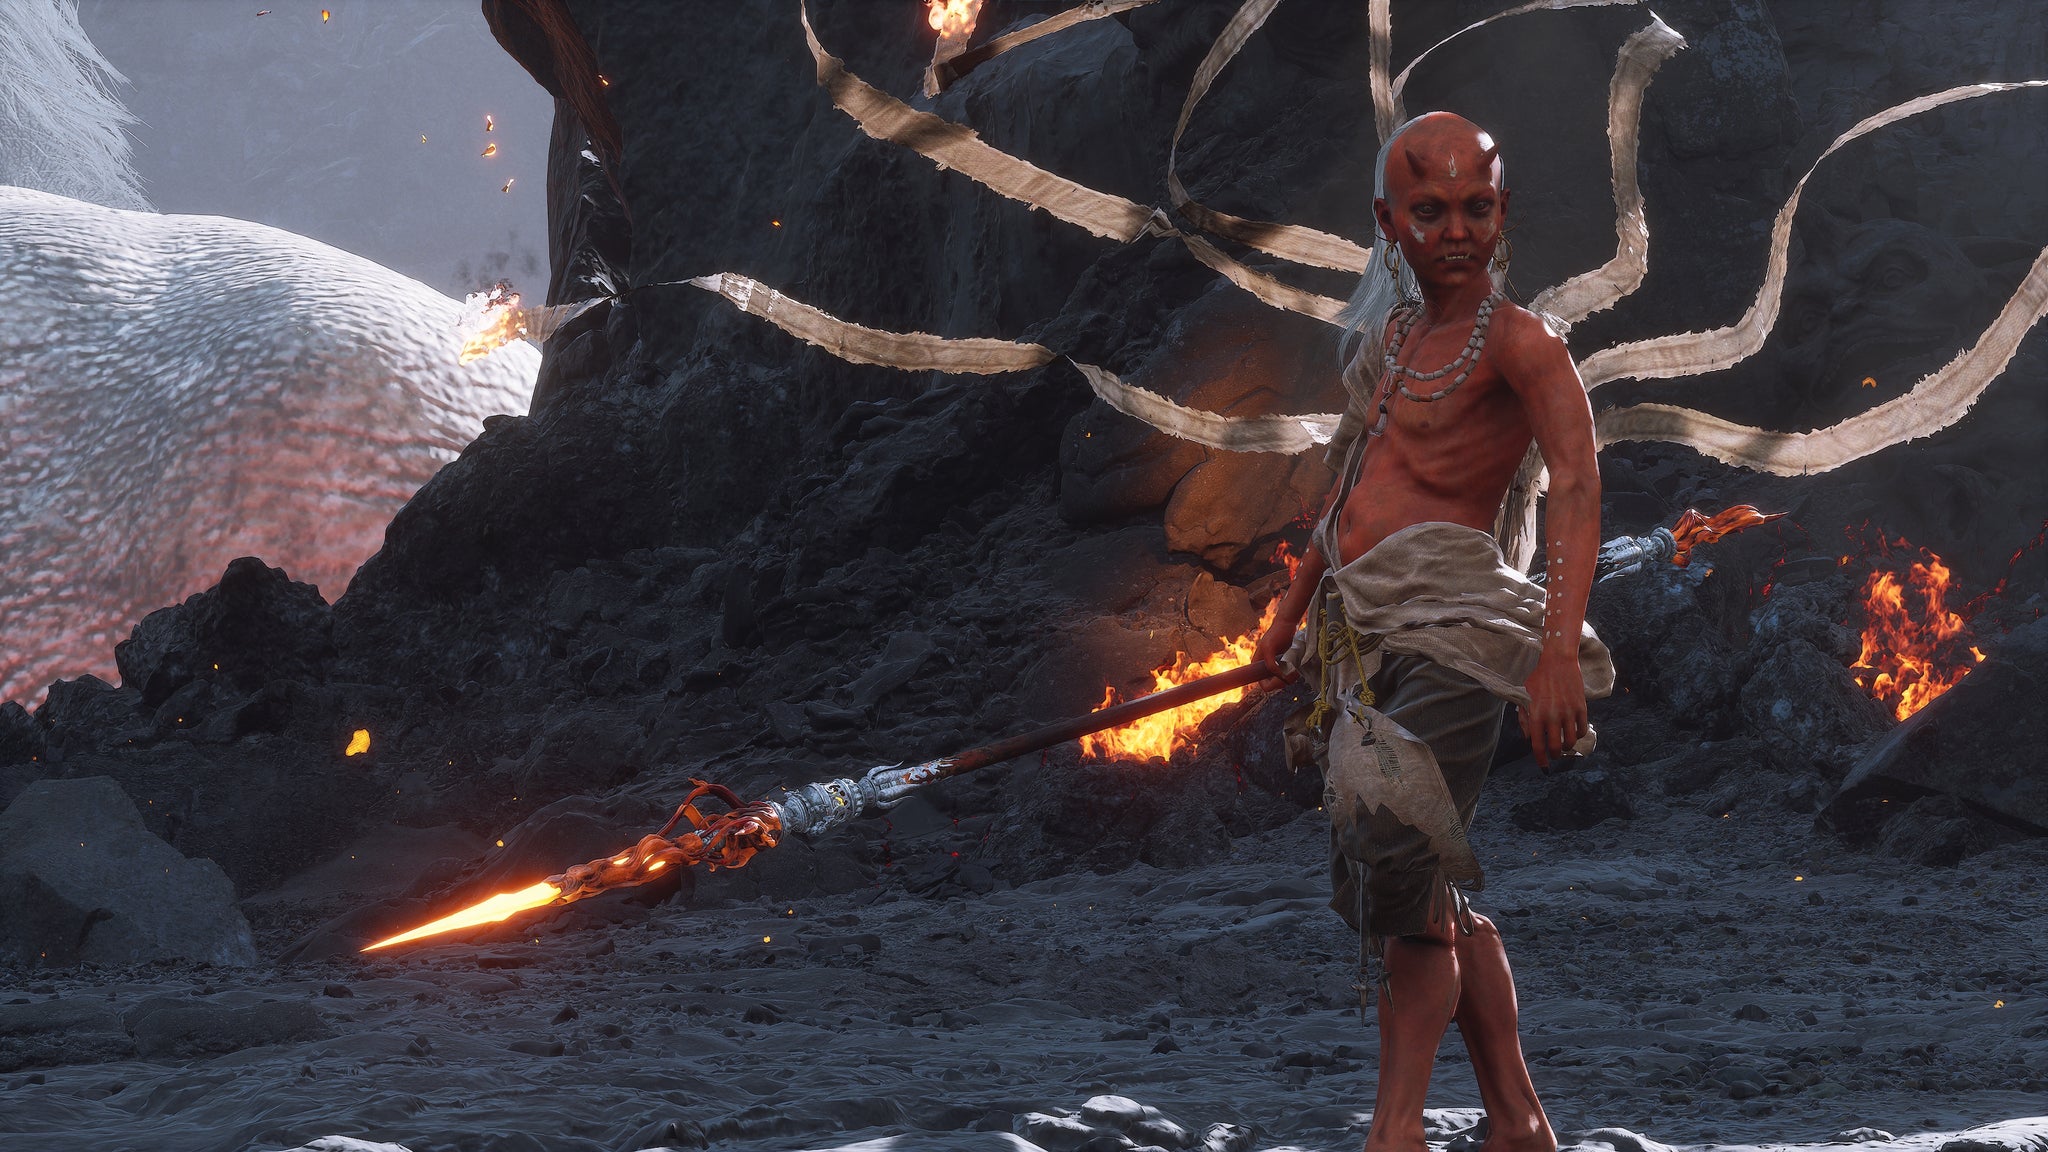
Image credit:Rock Paper Shotgun/Game Science
Now, it’s back to the “Fallen Furnace Crater” Shrine for the final fights of Chapter 5. Approach the Bull King just a short distance beyond the Shrine, and a cutscene will trigger, during which it transpires that Pingping the fox was actually the Bull King’s son, the Red Boy, all along.
The themes of this fight are range and flame. The Red Boy makes a habit of sending forth various kinds of ranged attacks at you rather than attacking you in melee, using shockwaves, summons, or just letting his double-bladed spear fly around by itself and attack you. When he does engage in melee, it’s usually with fast dash attacks that can be hard to see coming.
Fortunately, the Red Boy doesn’t have a huge health pool, and he is susceptible to your Spells - particularly Immobilize. He’s also easily staggered, which makes Transformations like the Yin Tiger’s Ebon Flow very effective at keeping him under control. Sadly, your trials are not over once you defeat the Red Boy, for he shortly thereafter transforms into the much more powerful Yaksha King .
18. Yaksha King
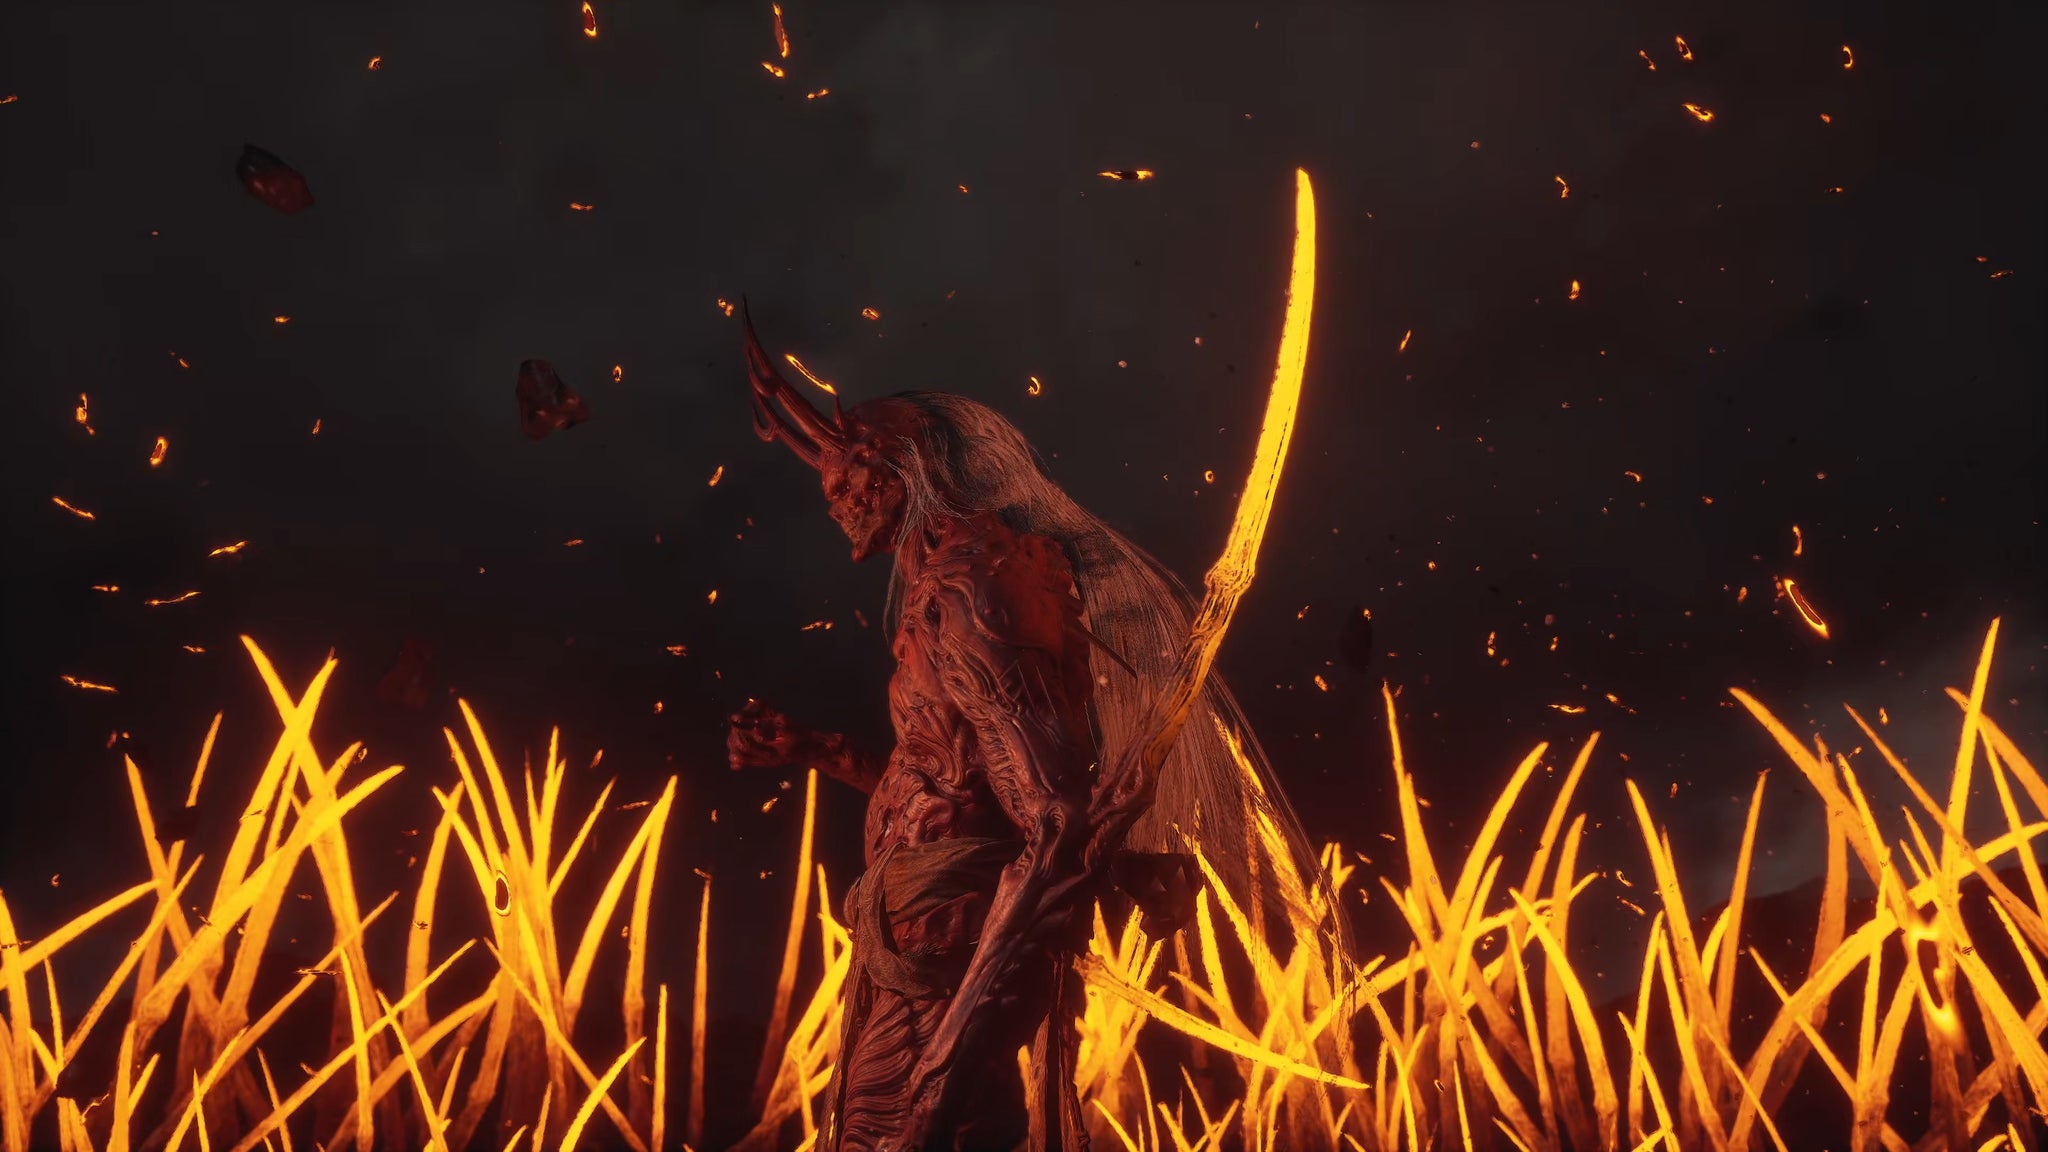
Image credit:Rock Paper Shotgun/Game Science
The Yaksha King is the final boss of Chapter 5, and the most powerful enemy of the entire Chapter by quite a long way. I’m labelling him as a separate boss from the Red Boy because, mercifully, if you die while facing the Yaksha King, you don’t have to go through the Red Boy phase again. You can just respawn at the “Fallen Furnace Crater” Shrine and fight the Yaksha King immediately.
The good news is that Zhu Bajie is there to help you for the first part of the fight. The bad news is, the Yaksha King is really fucking strong. I advise practicing a fair bit without consumables until you’re more confident, and then using several of your best potions to give yourself a better chance of victory. Rock Solid is a lifesaver in this fight - as is the Golden Lining Transformation, which allows you to easily parry a good chunk of the Yaksha King’s attacks.
The most dangerous attack you need to prepare for is when the Yaksha King grows two long strands of flame and starts twirling them around in a succession of very long-reaching and extremely damaging attacks. The timing is very awkward for this combo, so if you’re having trouble, I recommend using your Transformation at this point and staying in melee range so you can deal damage and soak up attacks without depleting your real health bar. The Yaksha King’s area-of-effect attacks will also annihilate your duplicates, so don’t bother with A Flock Of Many - you need that Mana for your Rock Solid deflects and Immobilizes. Keep at it, it’s tough but doable!
That concludes our Chapter 5 boss locations guide! Be sure to check out our guide on the best skills in Black Myth Wukong if you’re struggling. Alternatively, feel free to peruse our guides on any quests you may have missed, including the Chen Loong questline , the Drunken Boar quest , the Old Rattle-Drum quest , and the Man-In-Stone quest .


Black Myth: Wukong
PS5 , PC
Rock Paper Shotgun is better when you sign in
Sign in and join us on our journey to discover strange and compelling PC games.

All 75 Arc Raiders Blueprints and where to get them
These areas have the highest chance of giving you Blueprints

Image credit:Rock Paper Shotgun/Embark Studios

Looking for more Arc Raiders Blueprints? It’s a special day when you find a Blueprint, as they’re among the most valuable items in Arc Raiders. If you find a Blueprint that you haven’t already found, then you must make sure you hold onto it at all costs, because Blueprints are the key to one of the most important and powerful systems of meta-progression in the game.
This guide aims to be the very best guide on Blueprints you can find, starting with a primer on what exactly they are and how they work in Arc Raiders, before delving into exactly where to get Blueprints and the very best farming spots for you to take in your search.
We’ll also go over how to get Blueprints from other unlikely activities, such as destroying Surveyors and completing specific quests. And you’ll also find the full list of all 75 Blueprints in Arc Raiders on this page (including the newest Blueprints added with the Cold Snap update , such as the Deadline Blueprint and Firework Box Blueprint), giving you all the information you need to expand your own crafting repertoire.
In this guide:
- What are Blueprints in Arc Raiders?
- Full Blueprint list: All crafting recipes
- Where to find Blueprints in Arc Raiders Blueprints obtained from quests Blueprints obtained from Trials Best Blueprint farming locations

What are Blueprints in Arc Raiders?
Blueprints in Arc Raiders are special items which, if you manage to extract with them, you can expend to permanently unlock a new crafting recipe in your Workshop. If you manage to extract from a raid with an Anvil Blueprint, for example, you can unlock the ability to craft your very own Anvil Pistol, as many times as you like (as long as you have the crafting materials).
To use a Blueprint, simply open your Inventory while in the lobby, then right-click on the Blueprint and click “Learn And Consume” . This will permanently unlock the recipe for that item in your Workshop. As of the Stella Montis update, there are allegedly 75 different Blueprints to unlock - although only 68 are confirmed to be in the game so far. You can see all the Blueprints you’ve found and unlocked by going to the Workshop menu, and hitting “R” to bring up the Blueprint screen.
It’s possible to find duplicates of past Blueprints you’ve already unlocked. If you find these, then you can either sell them, or - if you like to play with friends - you can take it into a match and gift it to your friend so they can unlock that recipe for themselves. Another option is to keep hold of them until the time comes to donate them to the Expedition.
Full Blueprint list: All crafting recipes
Below is the full list of all the Blueprints that are currently available to find in Arc Raiders, and the crafting recipe required for each item:
| Blueprint | Type | Recipe | Crafted At |
|---|---|---|---|
| Bettina | Weapon | 3x Advanced Mechanical Components 3x Heavy Gun Parts 3x Canister | Gunsmith 3 |
| Blue Light Stick | Quick Use | 3x Chemicals | Utility Station 1 |
| Aphelion | Weapon | 3x Magnetic Accelerator 3x Complex Gun Parts 1x Matriarch Reactor | Gunsmith 3 |
| Combat Mk. 3 (Flanking) | Augment | 2x Advanced Electrical Components 3x Processor | Gear Bench 3 |
| Combat Mk. 3 (Aggressive) | Augment | 2x Advanced Electrical Components 3x Processor | Gear Bench 3 |
| Complex Gun Parts | Material | 2x Light Gun Parts 2x Medium Gun Parts 2x Heavy Gun Parts | Refiner 3 |
| Fireworks Box | Quick Use | 1x Explosive Compound 3x Pop Trigger | Explosives Station 2 |
| Gas Mine | Mine | 4x Chemicals 2x Rubber Parts | Explosives Station 1 |
| Green Light Stick | Quick Use | 3x Chemicals | Utility Station 1 |
| Pulse Mine | Mine | 1x Crude Explosives 1x Wires | Explosives Station 1 |
| Seeker Grenade | Grenade | 1x Crude Explosives 2x ARC Alloy | Explosives Station 1 |
| Looting Mk. 3 (Survivor) | Augment | 2x Advanced Electrical Components 3x Processor | Gear Bench 3 |
| Angled Grip II | Mod | 2x Mechanical Components 3x Duct Tape | Gunsmith 2 |
| Angled Grip III | Mod | 2x Mod Components 5x Duct Tape | Gunsmith 3 |
| Hullcracker | Weapon | 1x Magnetic Accelerator 3x Heavy Gun Parts 1x Exodus Modules | Gunsmith 3 |
| Launcher Ammo | Ammo | 5x Metal Parts 1x Crude Explosives | Workbench 1 |
| Anvil | Weapon | 5x Mechanical Components 5x Simple Gun Parts | Gunsmith 2 |
| Anvil Splitter | Mod | 2x Mod Components 3x Processor | Gunsmith 3 |
| ??? | ??? | ??? | ??? |
| Barricade Kit | Quick Use | 1x Mechanical Components | Utility Station 2 |
| Blaze Grenade | Grenade | 1x Explosive Compound 2x Oil | Explosives Station 3 |
| Bobcat | Weapon | 3x Advanced Mechanical Components 3x Light Gun Parts | Gunsmith 3 |
| Osprey | Weapon | 2x Advanced Mechanical Components 3x Medium Gun Parts 7x Wires | Gunsmith 3 |
| Burletta | Weapon | 3x Mechanical Components 3x Simple Gun Parts | Gunsmith 1 |
| Compensator II | Mod | 2x Mechanical Components 4x Wires | Gunsmith 2 |
| Compensator III | Mod | 2x Mod Components 8x Wires | Gunsmith 3 |
| Defibrillator | Quick Use | 9x Plastic Parts 1x Moss | Medical Lab 2 |
| ??? | ??? | ??? | ??? |
| Equalizer | Weapon | 3x Magnetic Accelerator 3x Complex Gun Parts 1x Queen Reactor | Gunsmith 3 |
| Extended Barrel | Mod | 2x Mod Components 8x Wires | Gunsmith 3 |
| Extended Light Mag II | Mod | 2x Mechanical Components 3x Steel Spring | Gunsmith 2 |
| Extended Light Mag III | Mod | 2x Mod Components 5x Steel Spring | Gunsmith 3 |
| Extended Medium Mag II | Mod | 2x Mechanical Components 3x Steel Spring | Gunsmith 2 |
| Extended Medium Mag III | Mod | 2x Mod Components 5x Steel Spring | Gunsmith 3 |
| Extended Shotgun Mag II | Mod | 2x Mechanical Components 3x Steel Spring | Gunsmith 2 |
| Extended Shotgun Mag III | Mod | 2x Mod Components 5x Steel Spring | Gunsmith 3 |
| Remote Raider Flare | Quick Use | 2x Chemicals 4x Rubber Parts | Utility Station 1 |
| Heavy Gun Parts | Material | 4x Simple Gun Parts | Refiner 2 |
| Venator | Weapon | 2x Advanced Mechanical Components 3x Medium Gun Parts 5x Magnet | Gunsmith 3 |
| Il Toro | Weapon | 5x Mechanical Components 6x Simple Gun Parts | Gunsmith 1 |
| Jolt Mine | Mine | 1x Electrical Components 1x Battery | Explosives Station 2 |
| Explosive Mine | Mine | 1x Explosive Compound 1x Sensors | Explosives Station 3 |
| Jupiter | Weapon | 3x Magnetic Accelerator 3x Complex Gun Parts 1x Queen Reactor | Gunsmith 3 |
| Light Gun Parts | Material | 4x Simple Gun Parts | Refiner 2 |
| Lightweight Stock | Mod | 2x Mod Components 5x Duct Tape | Gunsmith 3 |
| Lure Grenade | Grenade | 1x Speaker Component 1x Electrical Components | Utility Station 2 |
| Medium Gun Parts | Material | 4x Simple Gun Parts | Refiner 2 |
| Torrente | Weapon | 2x Advanced Mechanical Components 3x Medium Gun Parts 6x Steel Spring | Gunsmith 3 |
| Muzzle Brake II | Mod | 2x Mechanical Components 4x Wires | Gunsmith 2 |
| Muzzle Brake III | Mod | 2x Mod Components 8x Wires | Gunsmith 3 |
| Padded Stock | Mod | 2x Mod Components 5x Duct Tape | Gunsmith 3 |
| Shotgun Choke II | Mod | 2x Mechanical Components 4x Wires | Gunsmith 2 |
| Shotgun Choke III | Mod | 2x Mod Components 8x Wires | Gunsmith 3 |
| Shotgun Silencer | Mod | 2x Mod Components 8x Wires | Gunsmith 3 |
| Showstopper | Grenade | 1x Advanced Electrical Components 1x Voltage Converter | Explosives Station 3 |
| Silencer I | Mod | 2x Mechanical Components 4x Wires | Gunsmith 2 |
| Silencer II | Mod | 2x Mod Components 8x Wires | Gunsmith 3 |
| Snap Hook | Quick Use | 2x Power Rod 3x Rope 1x Exodus Modules | Utility Station 3 |
| Stable Stock II | Mod | 2x Mechanical Components 3x Duct Tape | Gunsmith 2 |
| Stable Stock III | Mod | 2x Mod Components 5x Duct Tape | Gunsmith 3 |
| Tagging Grenade | Grenade | 1x Electrical Components 1x Sensors | Utility Station 3 |
| Tempest | Weapon | 3x Advanced Mechanical Components 3x Medium Gun Parts 3x Canister | Gunsmith 3 |
| Trigger Nade | Grenade | 2x Crude Explosives 1x Processor | Explosives Station 2 |
| Vertical Grip II | Mod | 2x Mechanical Components 3x Duct Tape | Gunsmith 2 |
| Vertical Grip III | Mod | 2x Mod Components 5x Duct Tape | Gunsmith 3 |
| Vita Shot | Quick Use | 2x Antiseptic 1x Syringe | Medical Lab 3 |
| Vita Spray | Quick Use | 3x Antiseptic 1x Canister | Medical Lab 3 |
| Vulcano | Weapon | 1x Magnetic Accelerator 3x Heavy Gun Parts 1x Exodus Modules | Gunsmith 3 |
| Wolfpack | Grenade | 2x Explosive Compound 2x Sensors | Explosives Station 3 |
| Red Light Stick | Quick Use | 3x Chemicals | Utility Station 1 |
| Smoke Grenade | Grenade | 14x Chemicals 1x Canister | Utility Station 2 |
| Deadline | Mine | 3x Explosive Compound 2x ARC Circuitry | Explosives Station 3 |
| Trailblazer | Grenade | 1x Explosive Compound 1x Synthesized Fuel | Explosives Station 3 |
| Tactical Mk. 3 (Defensive) | Augment | 2x Advanced Electrical Components 3x Processor | Gear Bench 3 |
| Tactical Mk. 3 (Healing) | Augment | 2x Advanced Electrical Components 3x Processor | Gear Bench 3 |
| Yellow Light Stick | Quick Use | 3x Chemicals | Utility Station 1 |
Note: The missing Blueprints in this list likely have not actually been added to the game at the time of writing, because none of the playerbase has managed to find any of them. As they are added to the game, I will update this page with the most relevant information so you know exactly how to get all 75 Arc Raiders Blueprints.
Where to find Blueprints in Arc Raiders
Below is a list of all containers, modifiers, and events which maximise your chances of finding Blueprints:
- Certain quests reward you with specific Blueprints .
- Completing Trials has a high chance of offering Blueprints as rewards.
- Surveyors have a decent chance of dropping Blueprints on death.
- High loot value areas tend to have a greater chance of spawning Blueprints.
- Night Raids and Storms may increase rare Blueprint spawn chances in containers.
- Containers with higher numbers of items may have a higher tendency to spawn Blueprints. As a result, Blue Gate (which has many “large” containers containing multiple items) may give you a higher chance of spawning Blueprints.
- Raider containers (Raider Caches, Weapon Boxes, Medical Bags, Grenade Tubes) have increased Blueprint drop rates. As a result, the Uncovered Caches event gives you a high chance of finding Blueprints.
- Security Lockers have a higher than average chance of containing Blueprints.
- Certain Blueprints only seem to spawn under specific circumstances: Tempest Blueprint only spawns during Night Raid events. Vulcano Blueprint only spawns during Hidden Bunker events. Jupiter and Equaliser Blueprints only spawn during Harvester events.

Raider Caches, Weapon Boxes, and other raider-oriented container types have a good chance of offering Blueprints. |Image credit:Rock Paper Shotgun/Embark Studios
Blueprints have a very low chance of spawning in any container in Arc Raiders, around 1-2% on average. However, there is a higher chance of finding Blueprints in particular container types. Specifically, you can find more Blueprints in Raider containers and security lockers.
Beyond this, if you’re looking for Blueprints you should focus on regions of the map which are marked as having particularly high-value loot. Areas such as the Control Tower in Dam Battlegrounds, the Arrival and Departure Buildings in Spaceport, and Pilgrim’s Peak in Blue Gate all have a better-than-average chance of spawning Blueprints somewhere amongst all their containers. Night Raids and Electromagnetic Storm events also increase the drop chances of certain Blueprints .
In addition to these containers, you can often loot Blueprints from destroyed Surveyors - the largest of the rolling ball ARC. Surveyors are more commonly found on the later maps - Spaceport and Blue Gate - and if one spawns in your match, you’ll likely see it by the blue laser beam that it casts into the sky while “surveying”.
Surveyors are quite well-armoured and will very speedily run away from you once it notices you, but if you can take one down then make sure you loot all its parts for a chance of obtaining certain unusual Blueprints.
Blueprints obtained from quests
One way in which you can get Blueprints is by completing certain quests for the vendors in Speranza. Some quests will reward you with a specific item Blueprint upon completion, so as long as you work through all the quests in Arc Raiders, you are guaranteed those Blueprints.
Here is the full list of all Blueprints you can get from quest rewards:
- Trigger Nade Blueprint: Rewarded after completing “Sparks Fly”.
- Lure Grenade Blueprint: Rewarded after completing “Greasing Her Palms”.
- Burletta Blueprint: Rewarded after completing “Industrial Espionage”.
- Hullcracker Blueprint (and Launcher Ammo Blueprint): Rewarded after completing “The Major’s Footlocker”.
Alas, that’s only 4 Blueprints out of a total of 75 to unlock, so for the vast majority you will need to find them yourself during a raid. If you’re intent on farming Blueprints, then it’s best to equip yourself with cheap gear in case you lose it, but don’t use a free loadout because then you won’t get a safe pocket to stash any new Blueprint you find. No pain in Arc Raiders is sharper than failing to extract with a new Blueprint you’ve been after for a dozen hours already.

One of the best ways to get Blueprints is by hitting three stars on all five Trials every week. |Image credit:Rock Paper Shotgun/Embark Studios
Blueprints obtained from Trials
One of the very best ways to get Blueprints is as rewards for completing Trials in Arc Raiders. Trials are unlocked from Level 15 onwards, and allow you to earn rewards by focusing on certain tasks over the course of several raids. For example, one Trial might task you with dealing damage to Hornets, while another might challenge you to loot Supply Drops.
Trials refresh on a weekly basis, with a new week bringing five new Trials. Each Trial can offer up to three rewards after passing certain score milestones, and it’s possible to receive very high level loot from these reward crates - including Blueprints. So if you want to unlock as many Blueprints as possible, you should make a point of completing as many Trials as possible each week.
Best Blueprint farming locations
The very best way to get Blueprints is to frequent specific areas of the maps which combine high-tier loot pools with the right types of containers to search. Here are my recommendations for where to find Blueprints on every map, so you can always keep the search going for new crafting recipes to unlock.

Image credit:Rock Paper Shotgun/Embark Studios
Dam Battlegrounds
The best places to farm Blueprints on Dam Battlegrounds are the Control Tower, Power Generation Complex, Ruby Residence, and Pale Apartments . The first two regions, despite only being marked on the map as mid-tier loot, contain a phenomenal number of containers to loot. The Control Tower can also contain a couple of high-tier Security Lockers - though of course, you’ll need to have unlocked the Security Breach skill at the end of the Survival tree.
There’s also a lot of reporting amongst the playerbase that the Residential areas in the top-left of the map - Pale Apartments and Ruby Residence - give you a comparatively strong chance of finding Blueprints. Considering their size, there’s a high density of containers to loot in both locations, and they also have the benefit of being fairly out of the way. So you’re more likely to have all the containers to yourself.
Buried City
The best Blueprint farming locations on Buried City are the Santa Maria Houses, Grandioso Apartments, Town Hall, and the various buildings of the New District . Grandioso Apartments has a lower number of containers than the rest, but a high chance of spawning weapon cases - which have good Blueprint drop rates. The others are high-tier loot areas, with plenty of lootable containers - including Security Lockers.
Spaceport
The best places to find Blueprints on Spaceport are the Arrival and Departure Buildings, as well as Control Tower A6 and the Launch Towers . All these areas are labelled as high-value loot regions, and many of them are also very handily connected to one another by the Spaceport wall, which you can use to quickly run from one area to the next. At the tops of most of these buildings you’ll find at least one Security Locker, so this is an excellent farming route for players looking to find Blueprints.
The downside to looting Blueprints on Spaceport is that all these areas are hotly contested, particularly in Duos and Squads. You’ll need to be very focused and fast in order to complete the full farming route.

Image credit:Rock Paper Shotgun/Embark Studios
Blue Gate
Blue Gate tends to have a good chance of dropping Blueprints, potentially because it generally has a high number of containers which can hold lots of items; so there’s a higher chance of a Blueprint spawning in each container. In my experience, the best Blueprint farming spots on Blue Gate are Pilgrim’s Peak, Raider’s Refuge, the Ancient Fort, and the Underground Complex beneath the Warehouse .
All of these areas contain a wealth of containers to loot. Raider’s Refuge has less to loot, but the majority of the containers in and around the Refuge are raider containers, which have a high chance of containing Blueprints - particularly during major events.
Stella Montis
On the whole, Stella Montis seems to have a very low drop rate for Blueprints (though a high chance of dropping other high-tier loot). If you do want to try farming Blueprints on this map, the best places to find Blueprints in Stella Montis are Medical Research, Assembly Workshop, and the Business Center . These areas have the highest density of containers to loot on the map.
In addition to this, the Western Tunnel has a few different Security Lockers to loot, so while there’s very little to loot elsewhere in this area of the map, it’s worth hitting those Security Lockers if you spawn there at the start of a match.
That wraps up this primer on how to get all the Blueprints in Arc Raiders as quickly as possible. With the Expedition system constantly resetting a large number of players’ Blueprints, it’s more important than ever to have the most up-to-date information on where to find all these Blueprints.
While you’re here, be sure to check out our Arc Raiders best guns tier list , as well as our primers on the best skills to unlock and all the different Field Depot locations on every map.


ARC Raiders
PS5 , Xbox Series X/S , PC
Rock Paper Shotgun is better when you sign in
Sign in and join us on our journey to discover strange and compelling PC games.
